HomeDIY
This post may contain affiliate links:full affiliate disclosure.
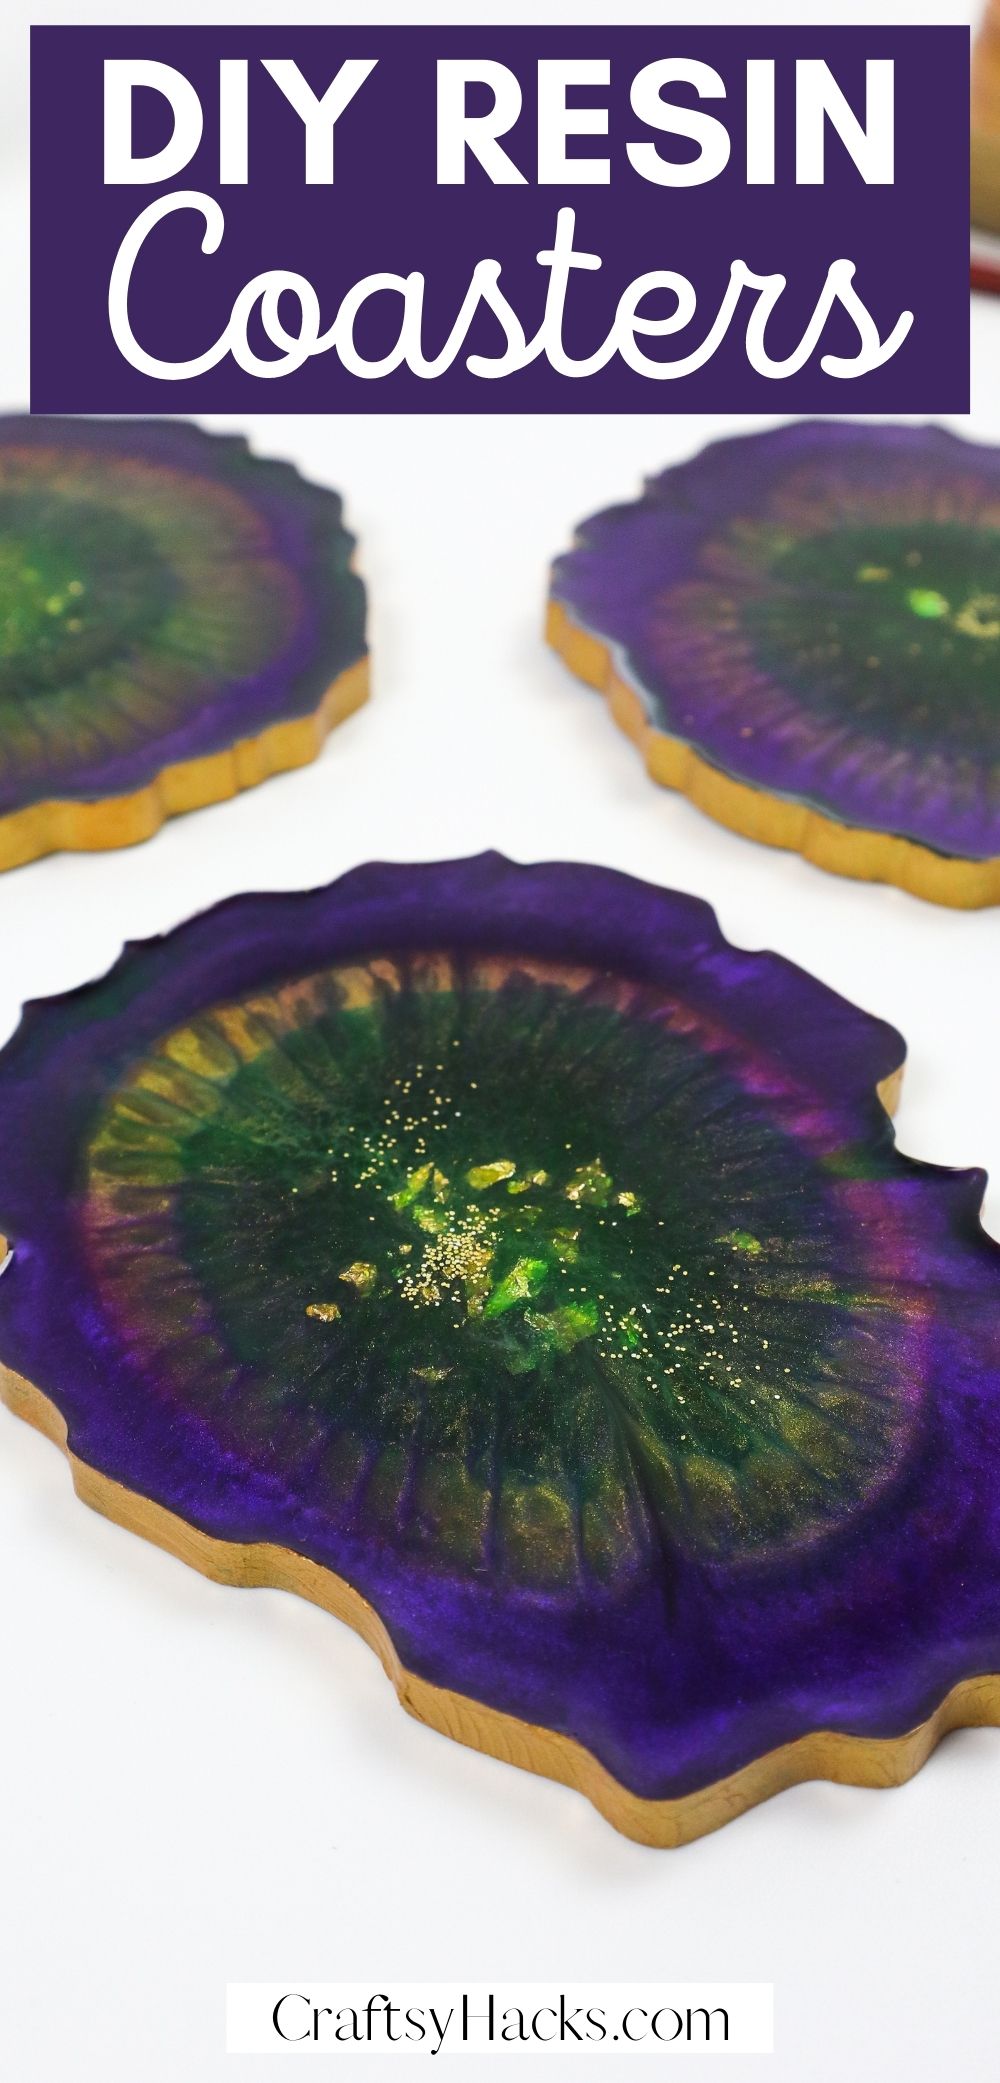
This is a tutorial on how to make resin coasters from scratch and get creative with it.
This is a perfect creative project for adults and even teens.
Coasters are just the perfectDIY projectfor, well, pretty much all occasions.
Youre looking for a quick and easyDIY craft?Coasters.
Something you could make without having to buy new craft supplies?
When youre bored and want to work on an elaborate project?
Well, you’ve got the option to make elaborate coasters.
You get the point.
it’s possible for you to use different mediums, from cloth to wood, to make coasters.
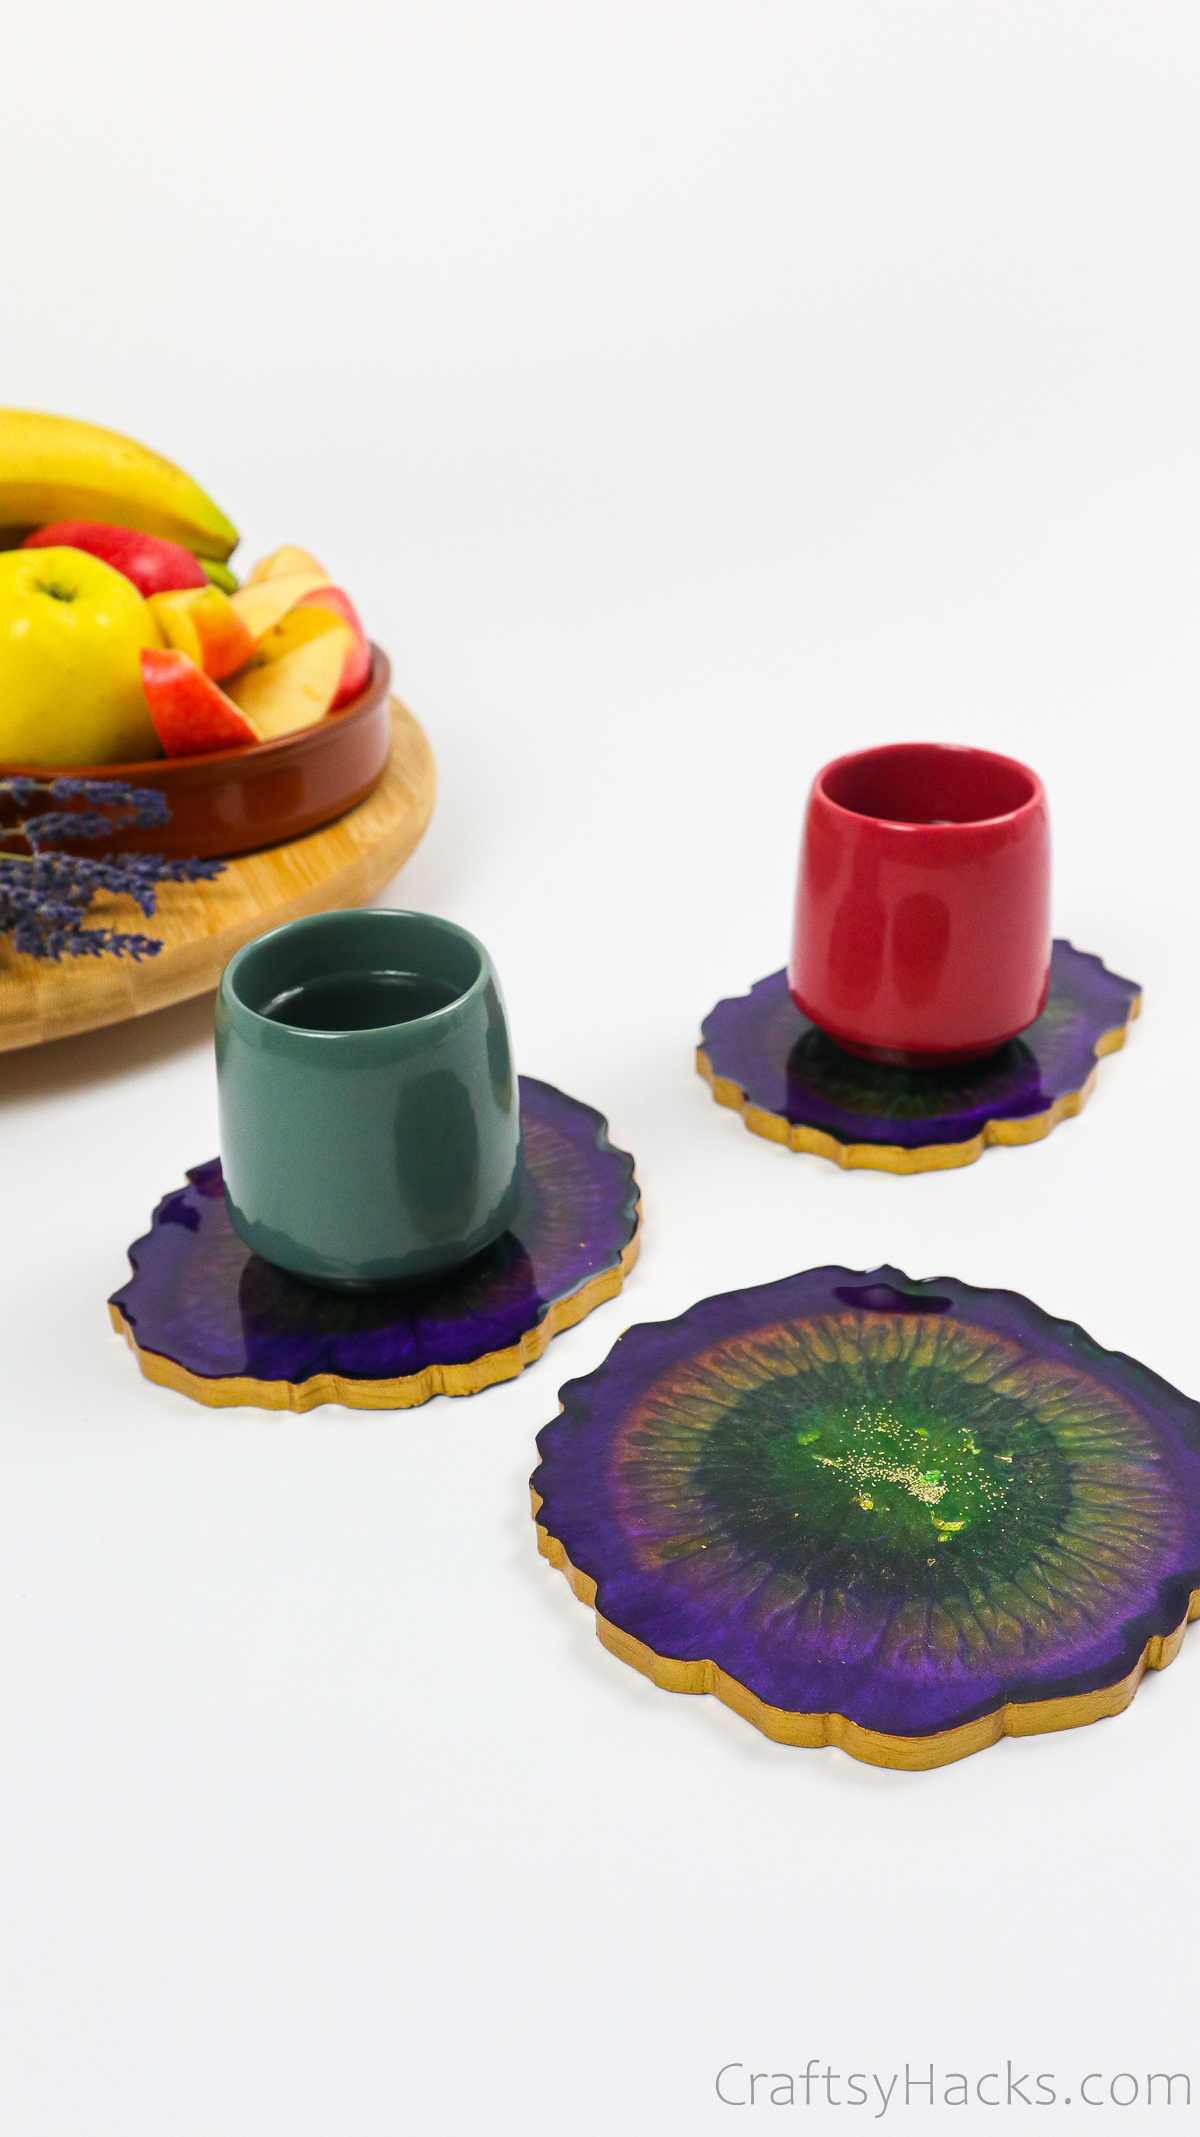
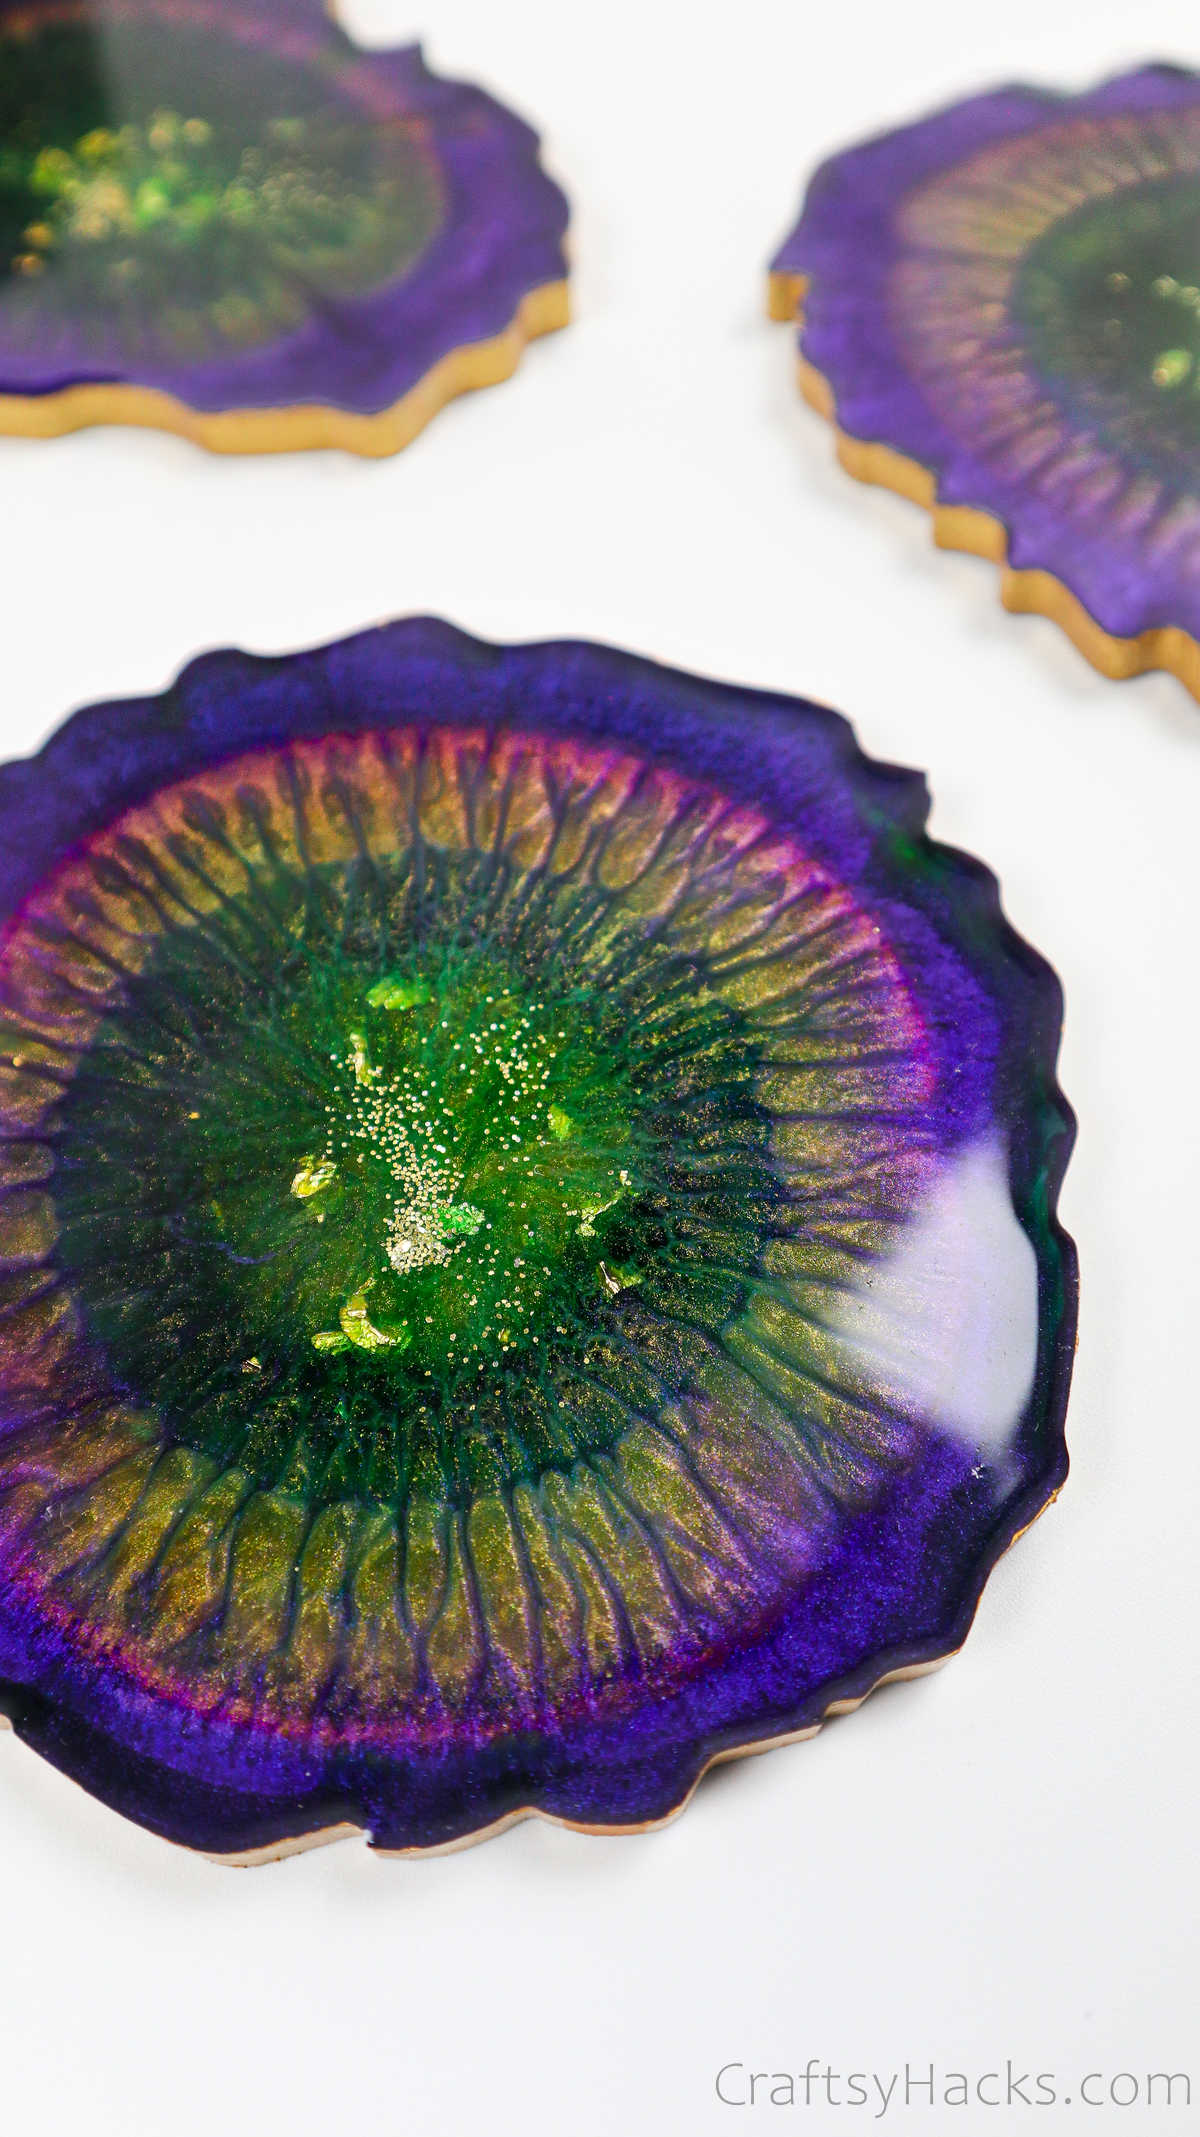
Forthis project, however, youll be using epoxy resin to make these exquisite and unique resin coasters.
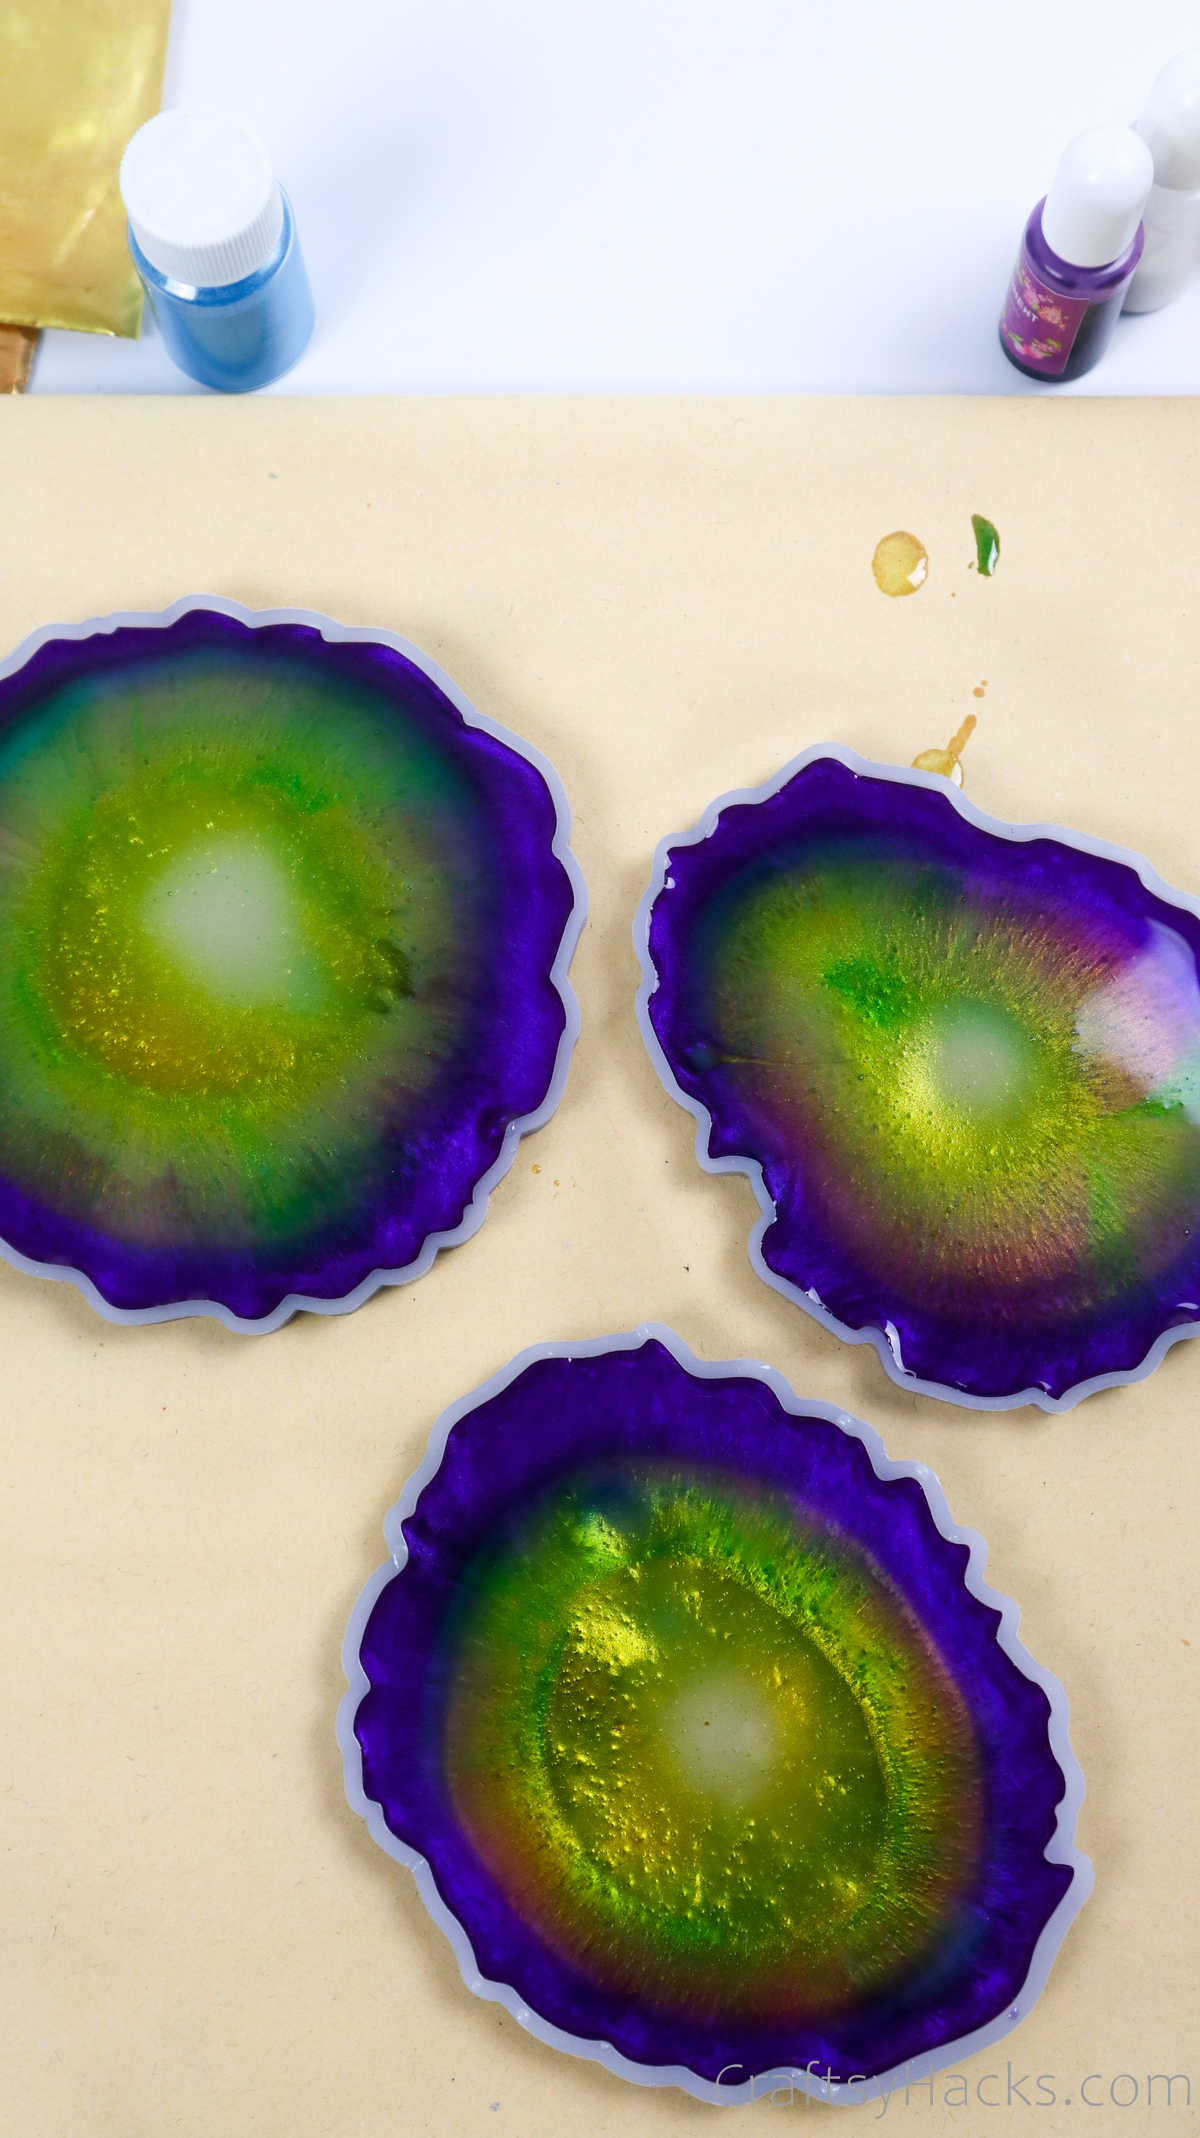
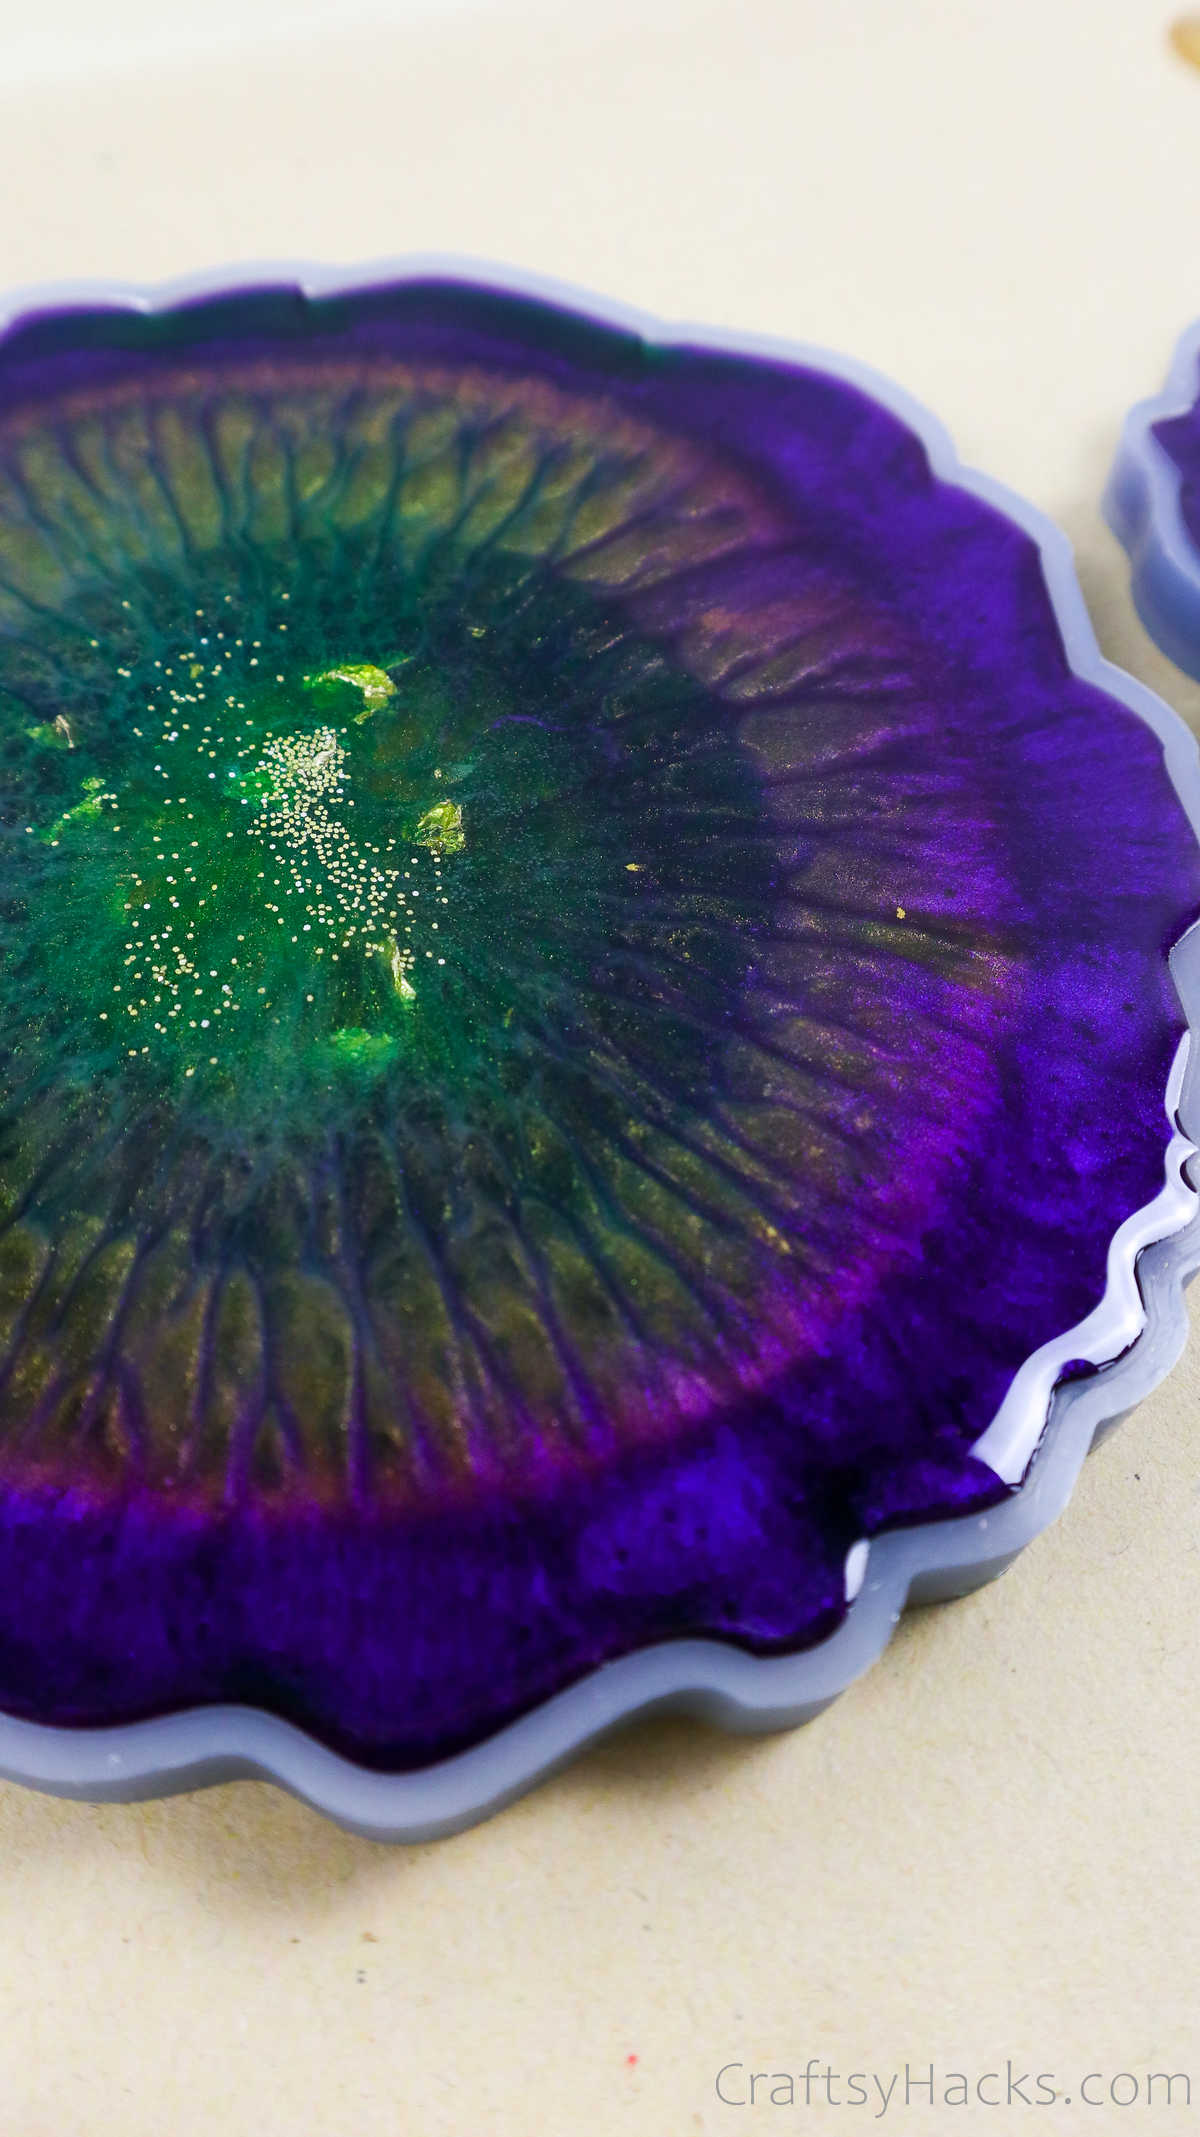
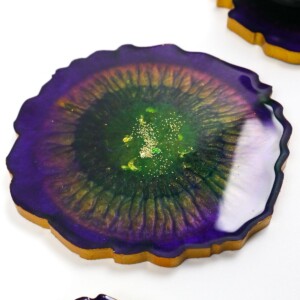
You know, if you look closely, youll see they look a lot like eyes, dont they?
Somehow, it manages to look a little elegant and eerie all in one single coaster.
Otherwise, the colors you use will start to change over time.
Well, if youre ready, lets get started!
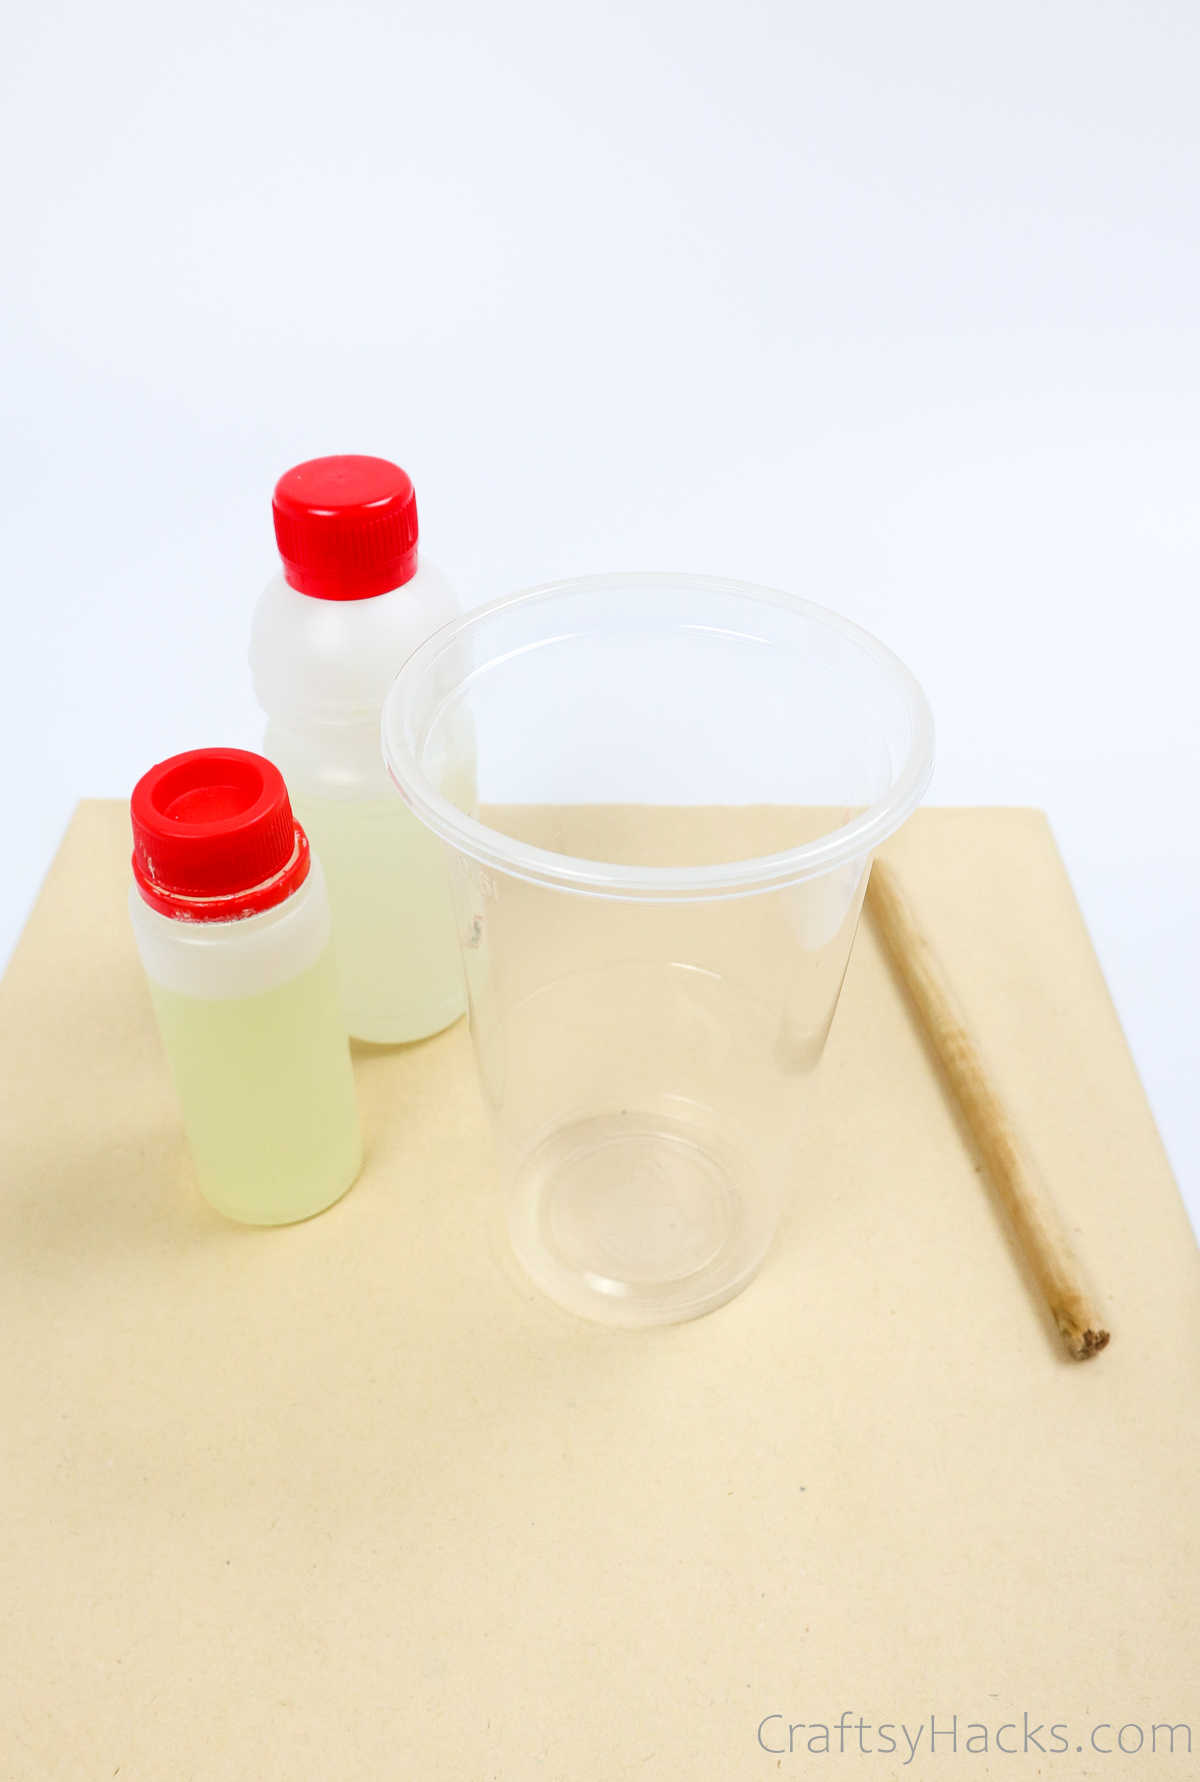
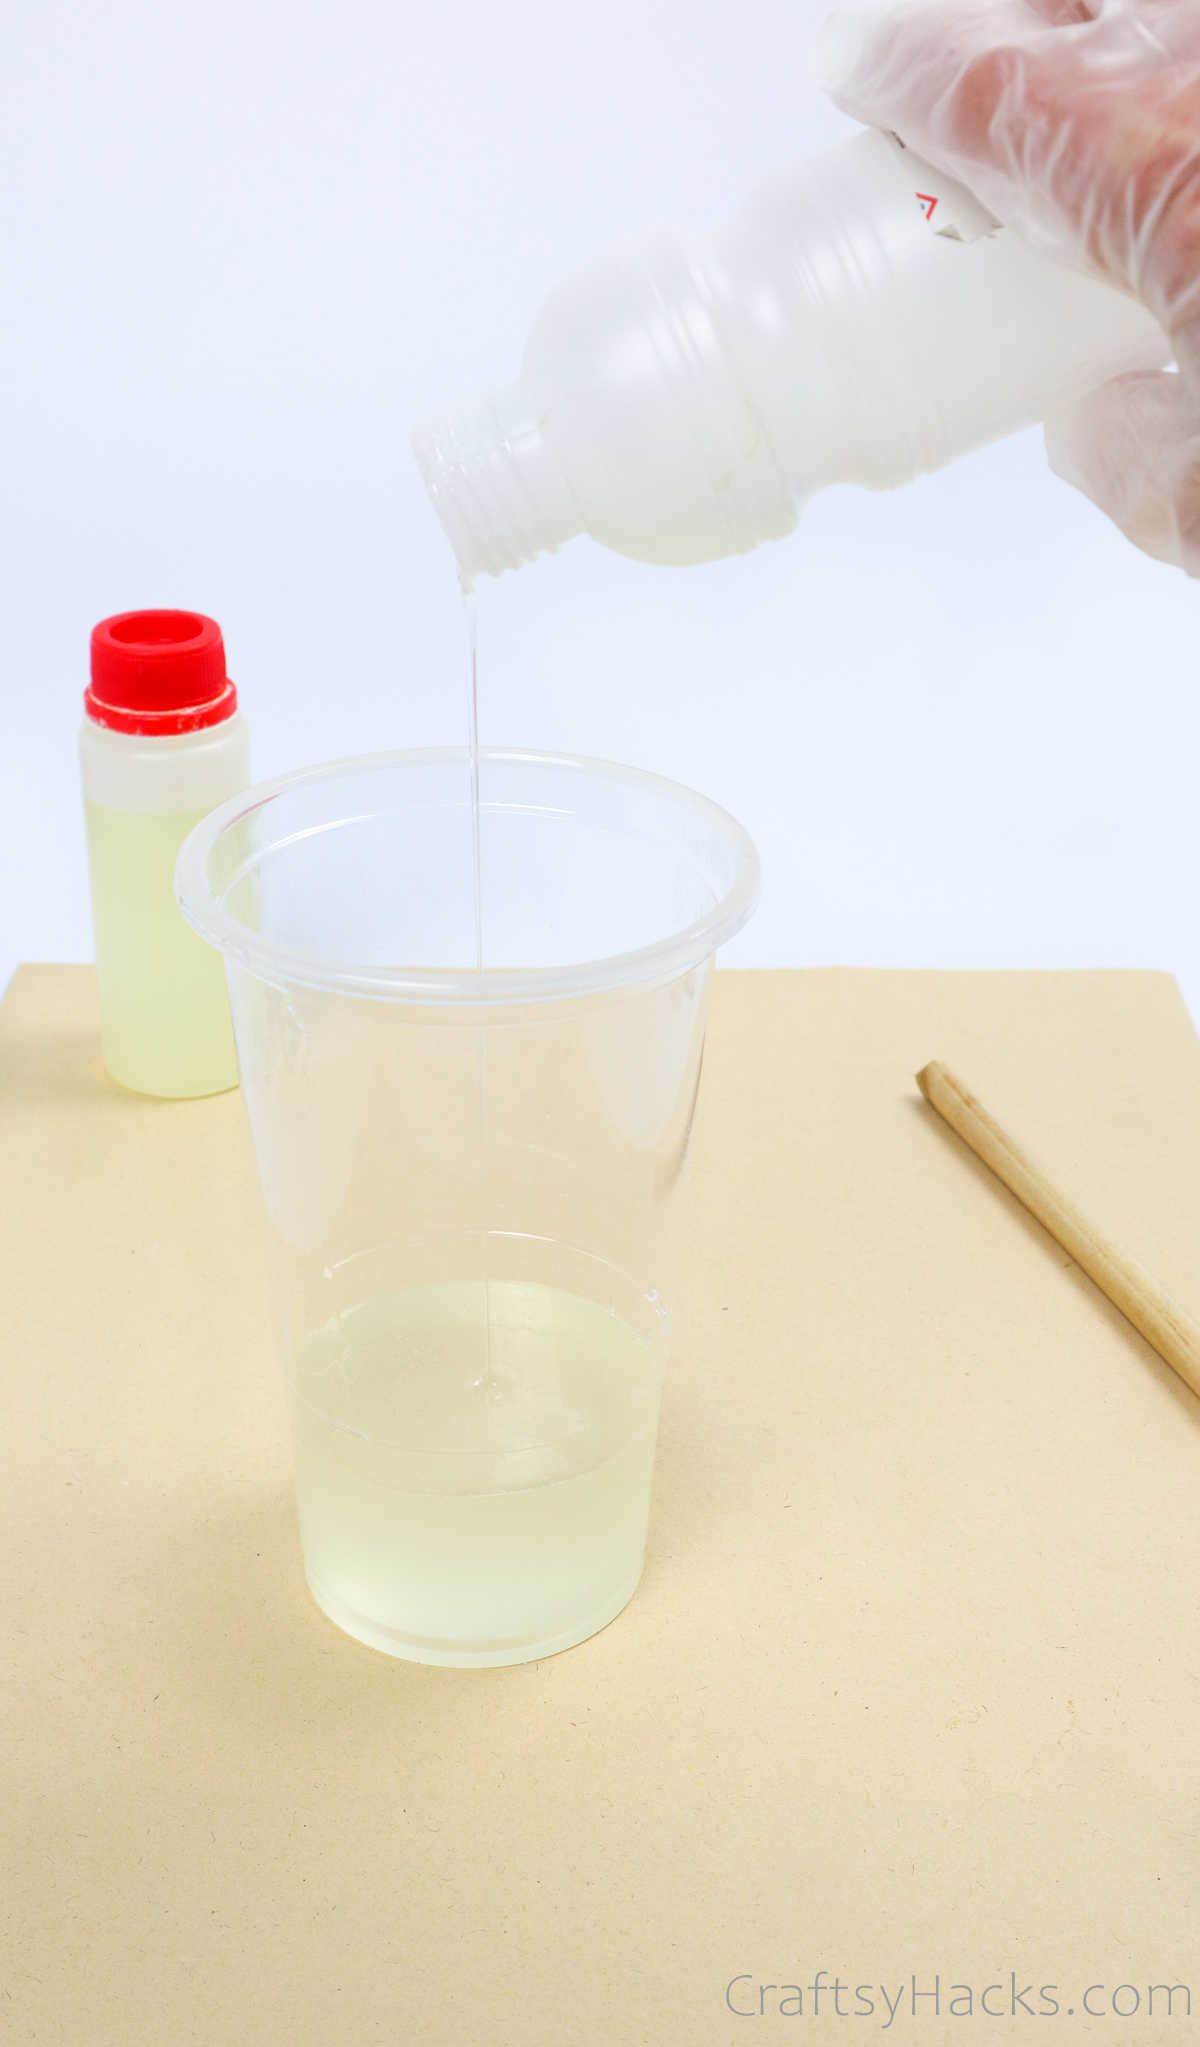
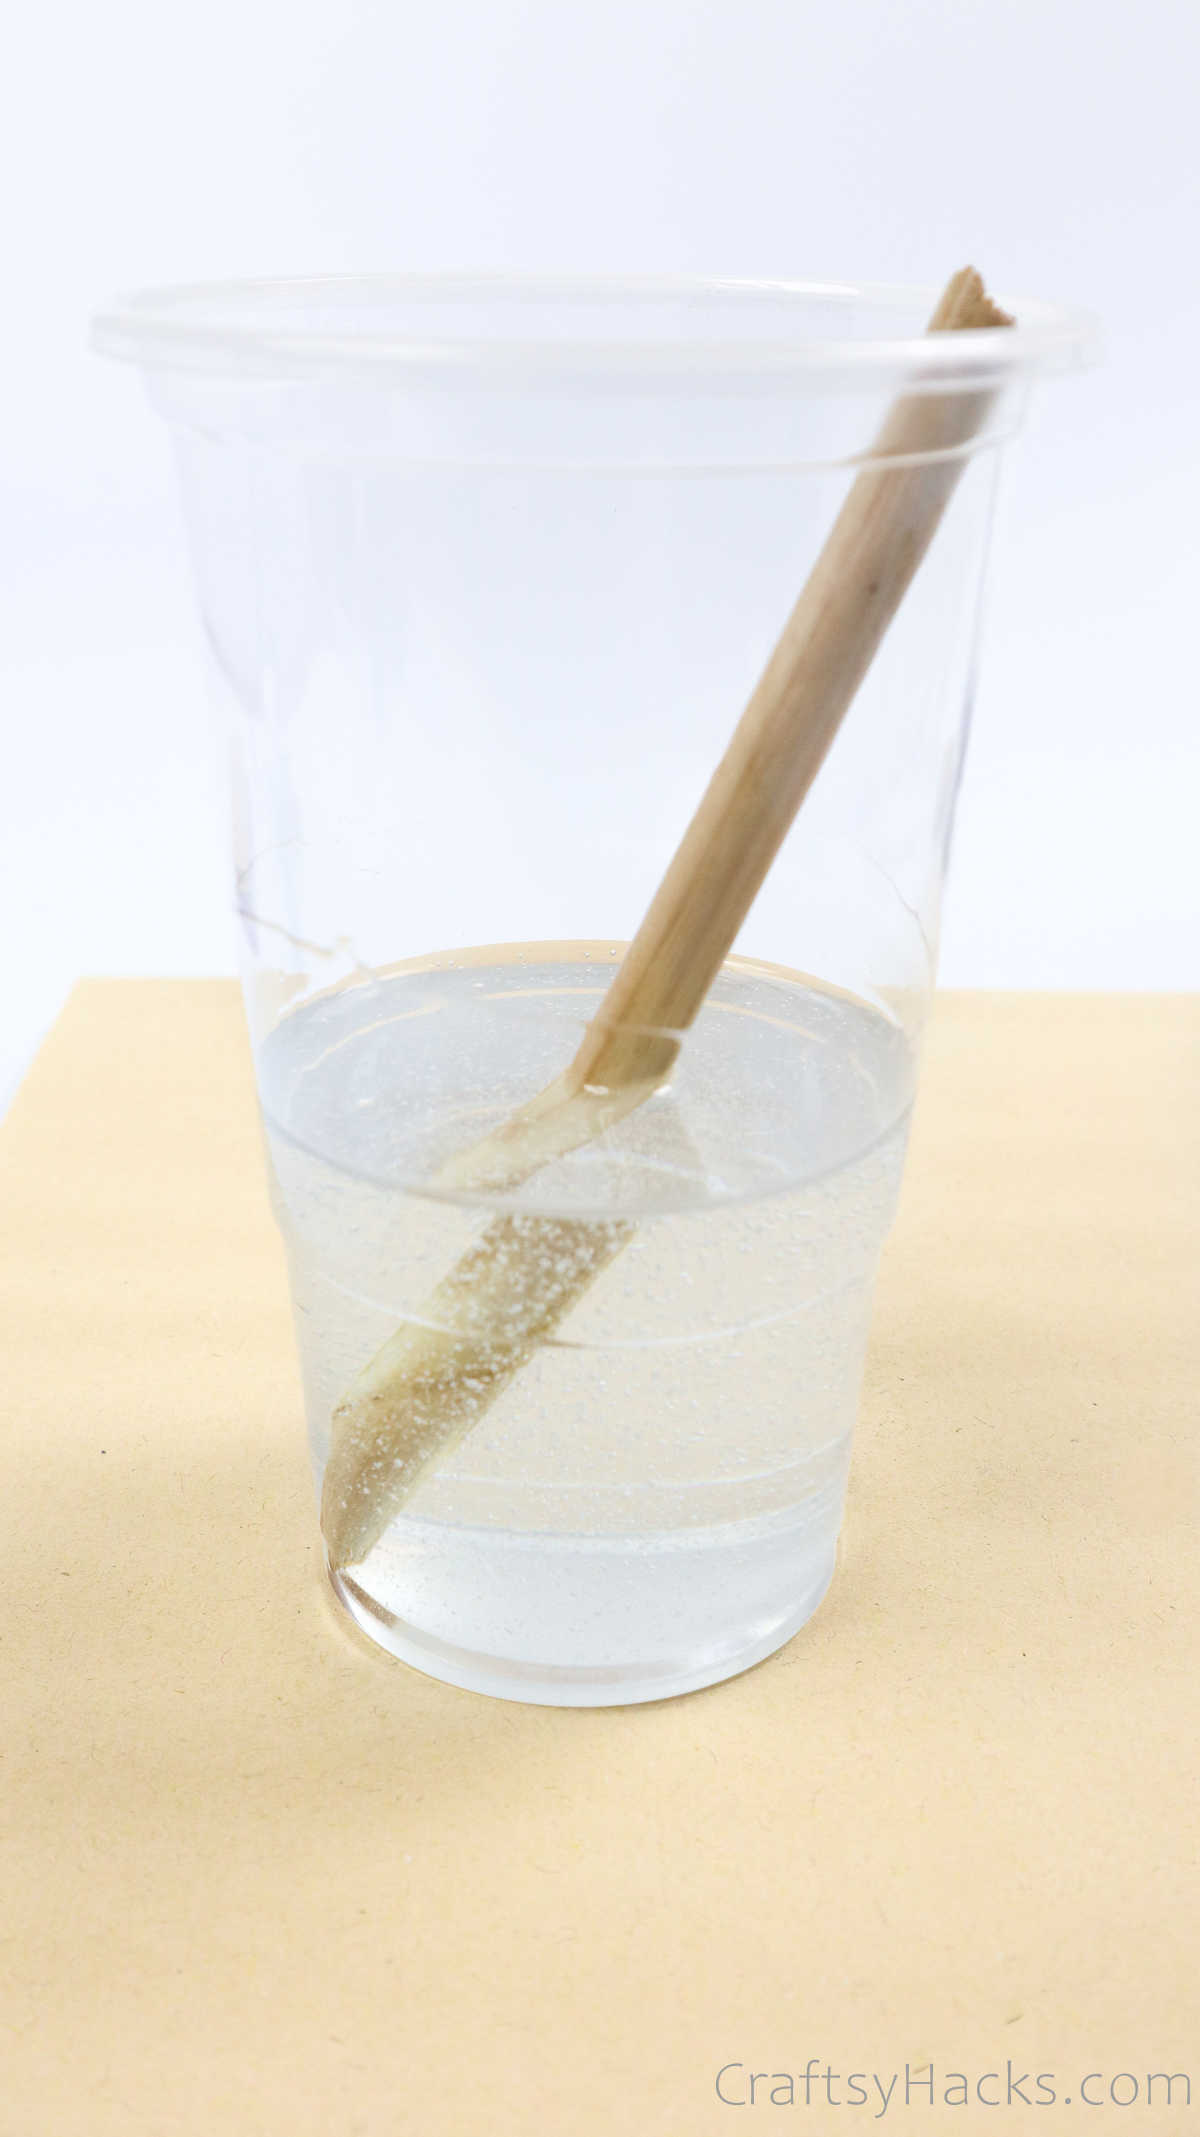
it’s possible for you to use a wooden stick or a popsicle stick to mix them together.
I cannot stress how important it is to mix the two substances properly.
If you dont mix them properly, when the substance hardens, it will do so unevenly.
Dont worry about the bubbles; youll be dealing with them later.
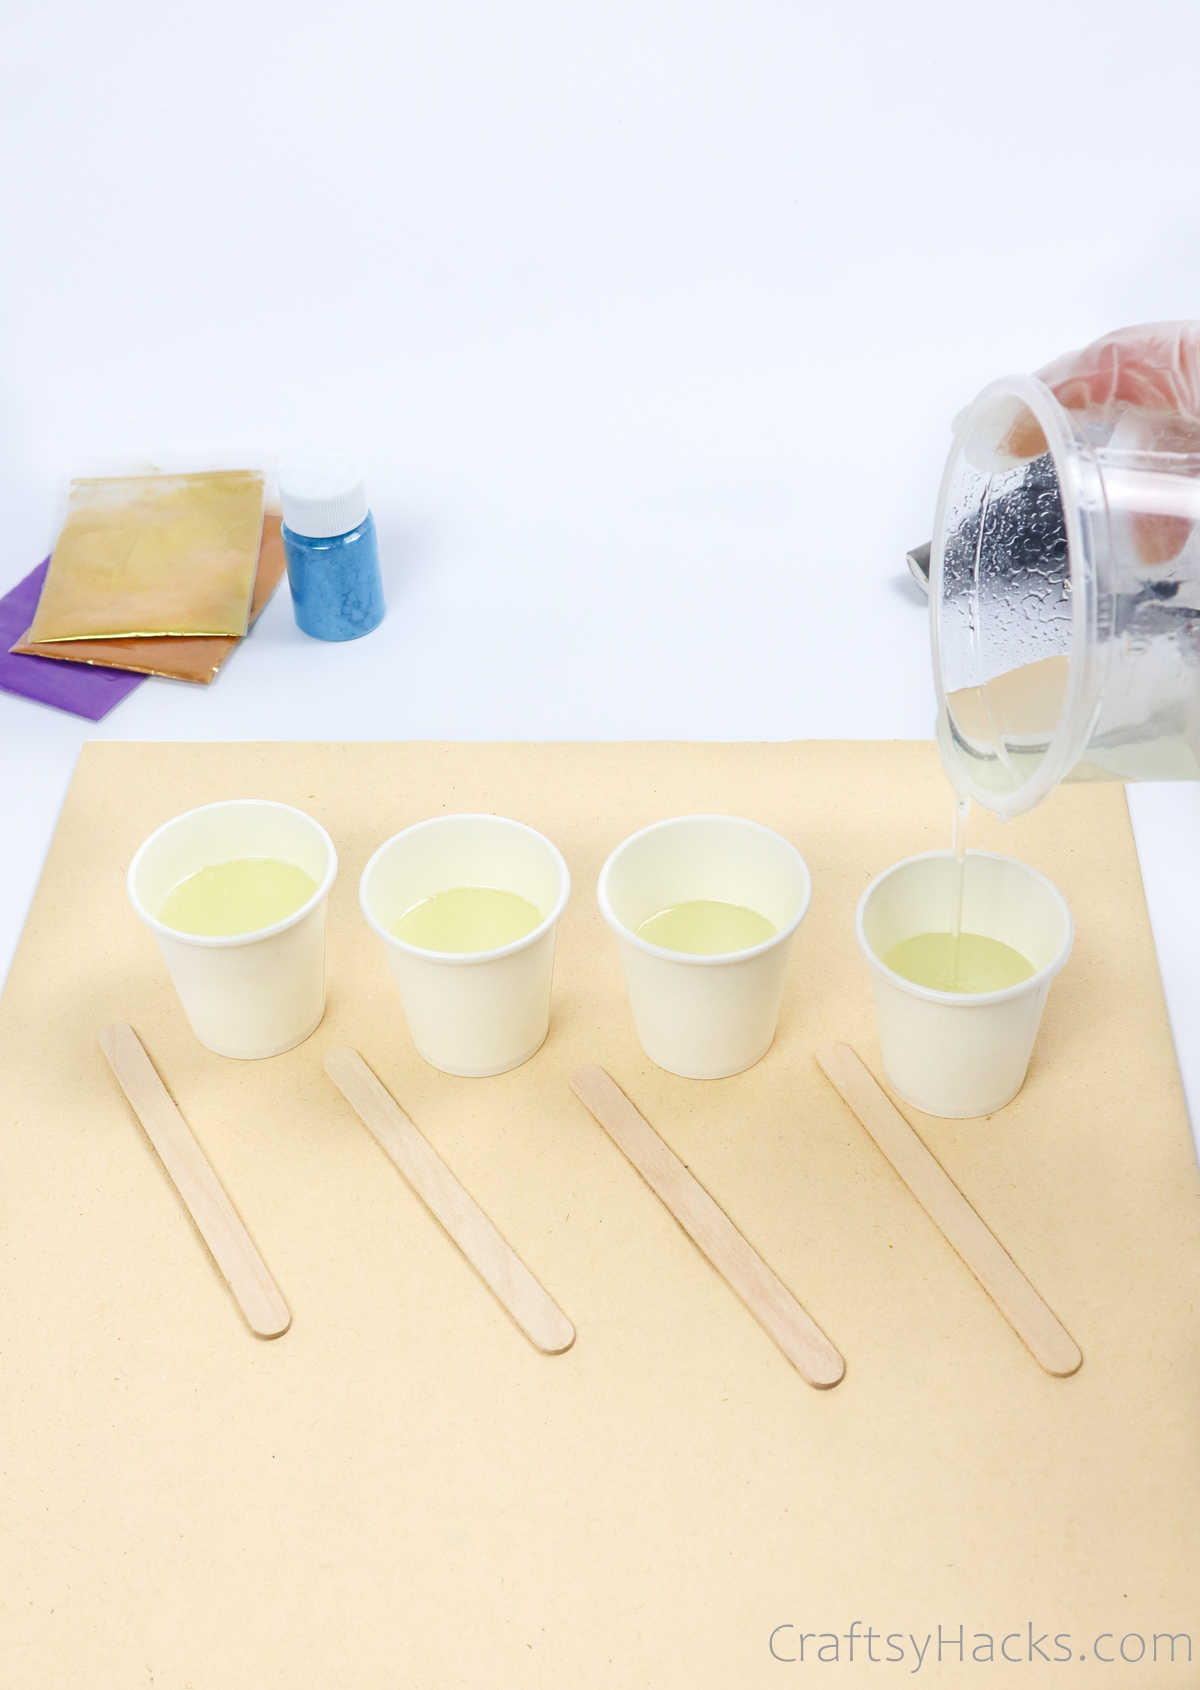
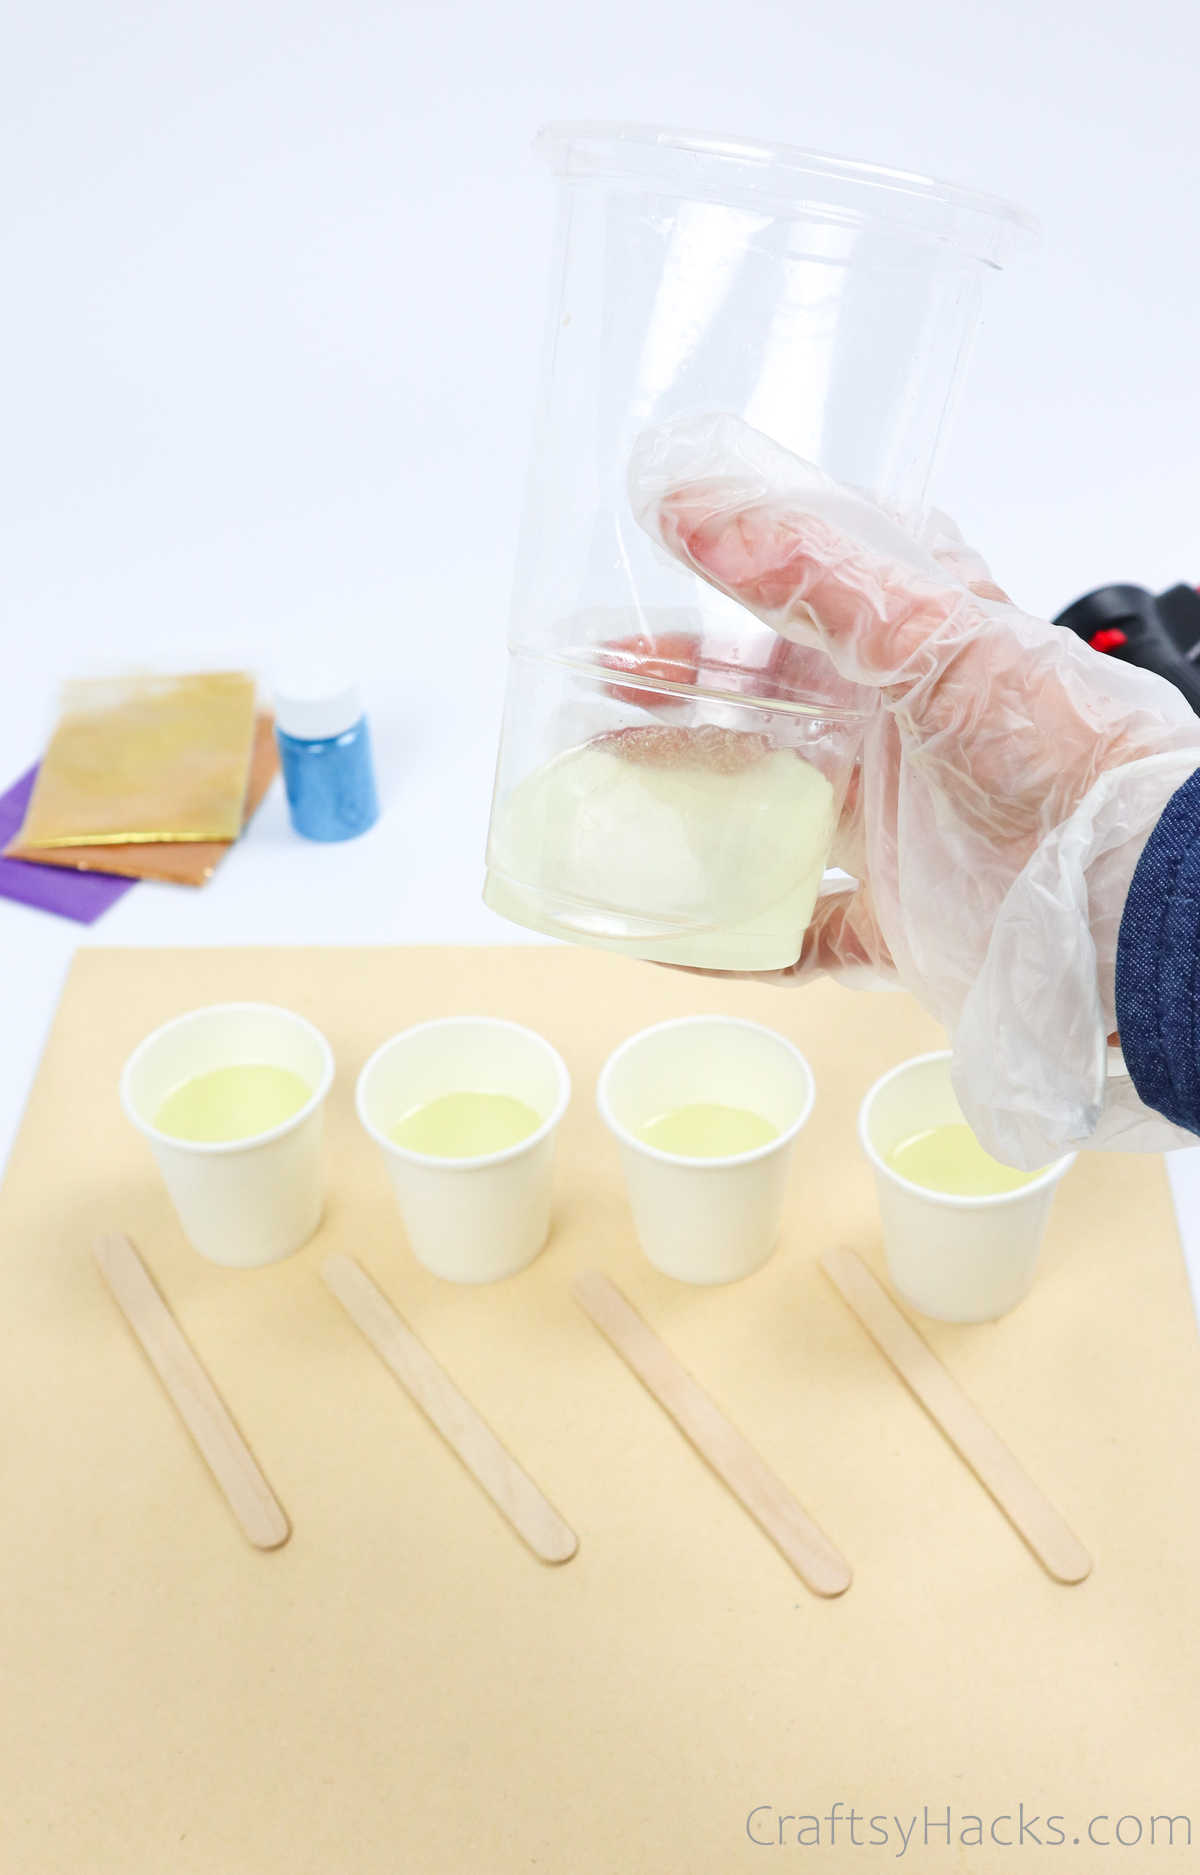
Step 2
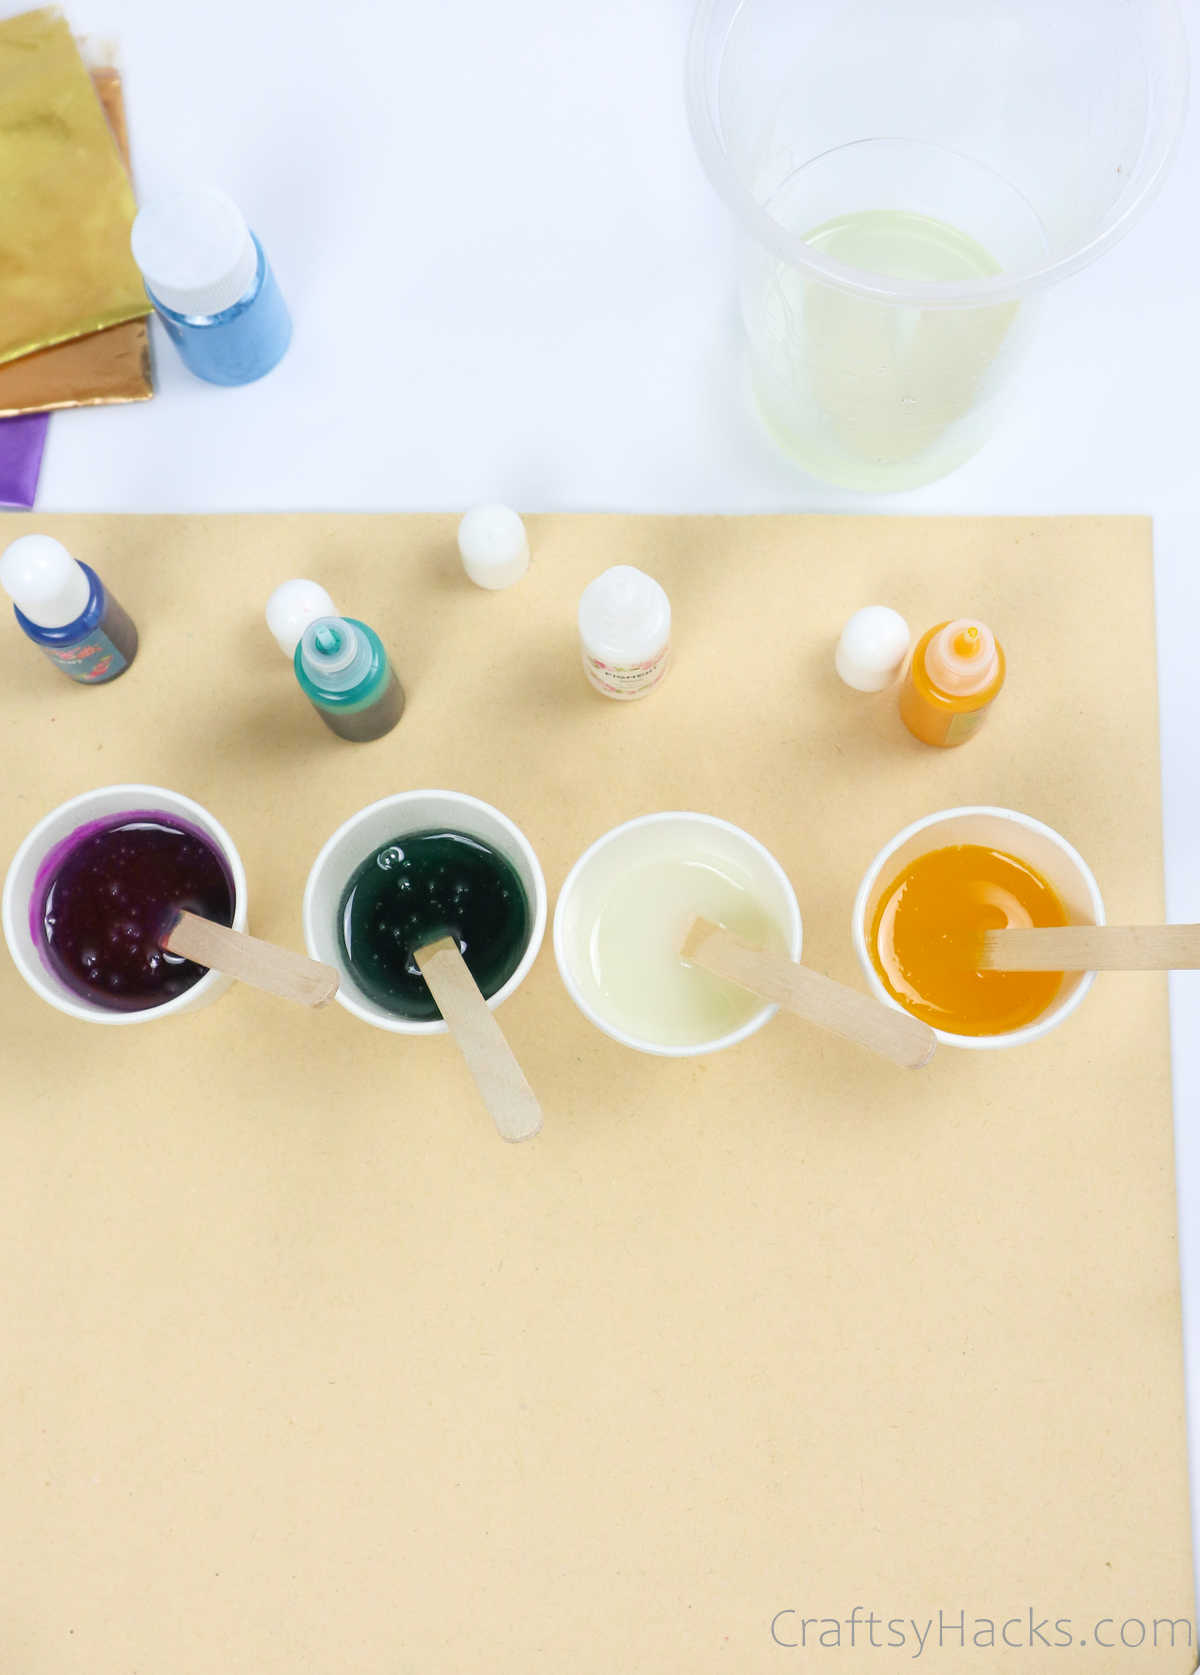
Pour the resin mixture into four different cups, dividing them equally.
Youll be adding color to them in just a bit!
Dont pour all the resin into the cups, though.
Set some of the clear resin aside for later.
Step 3
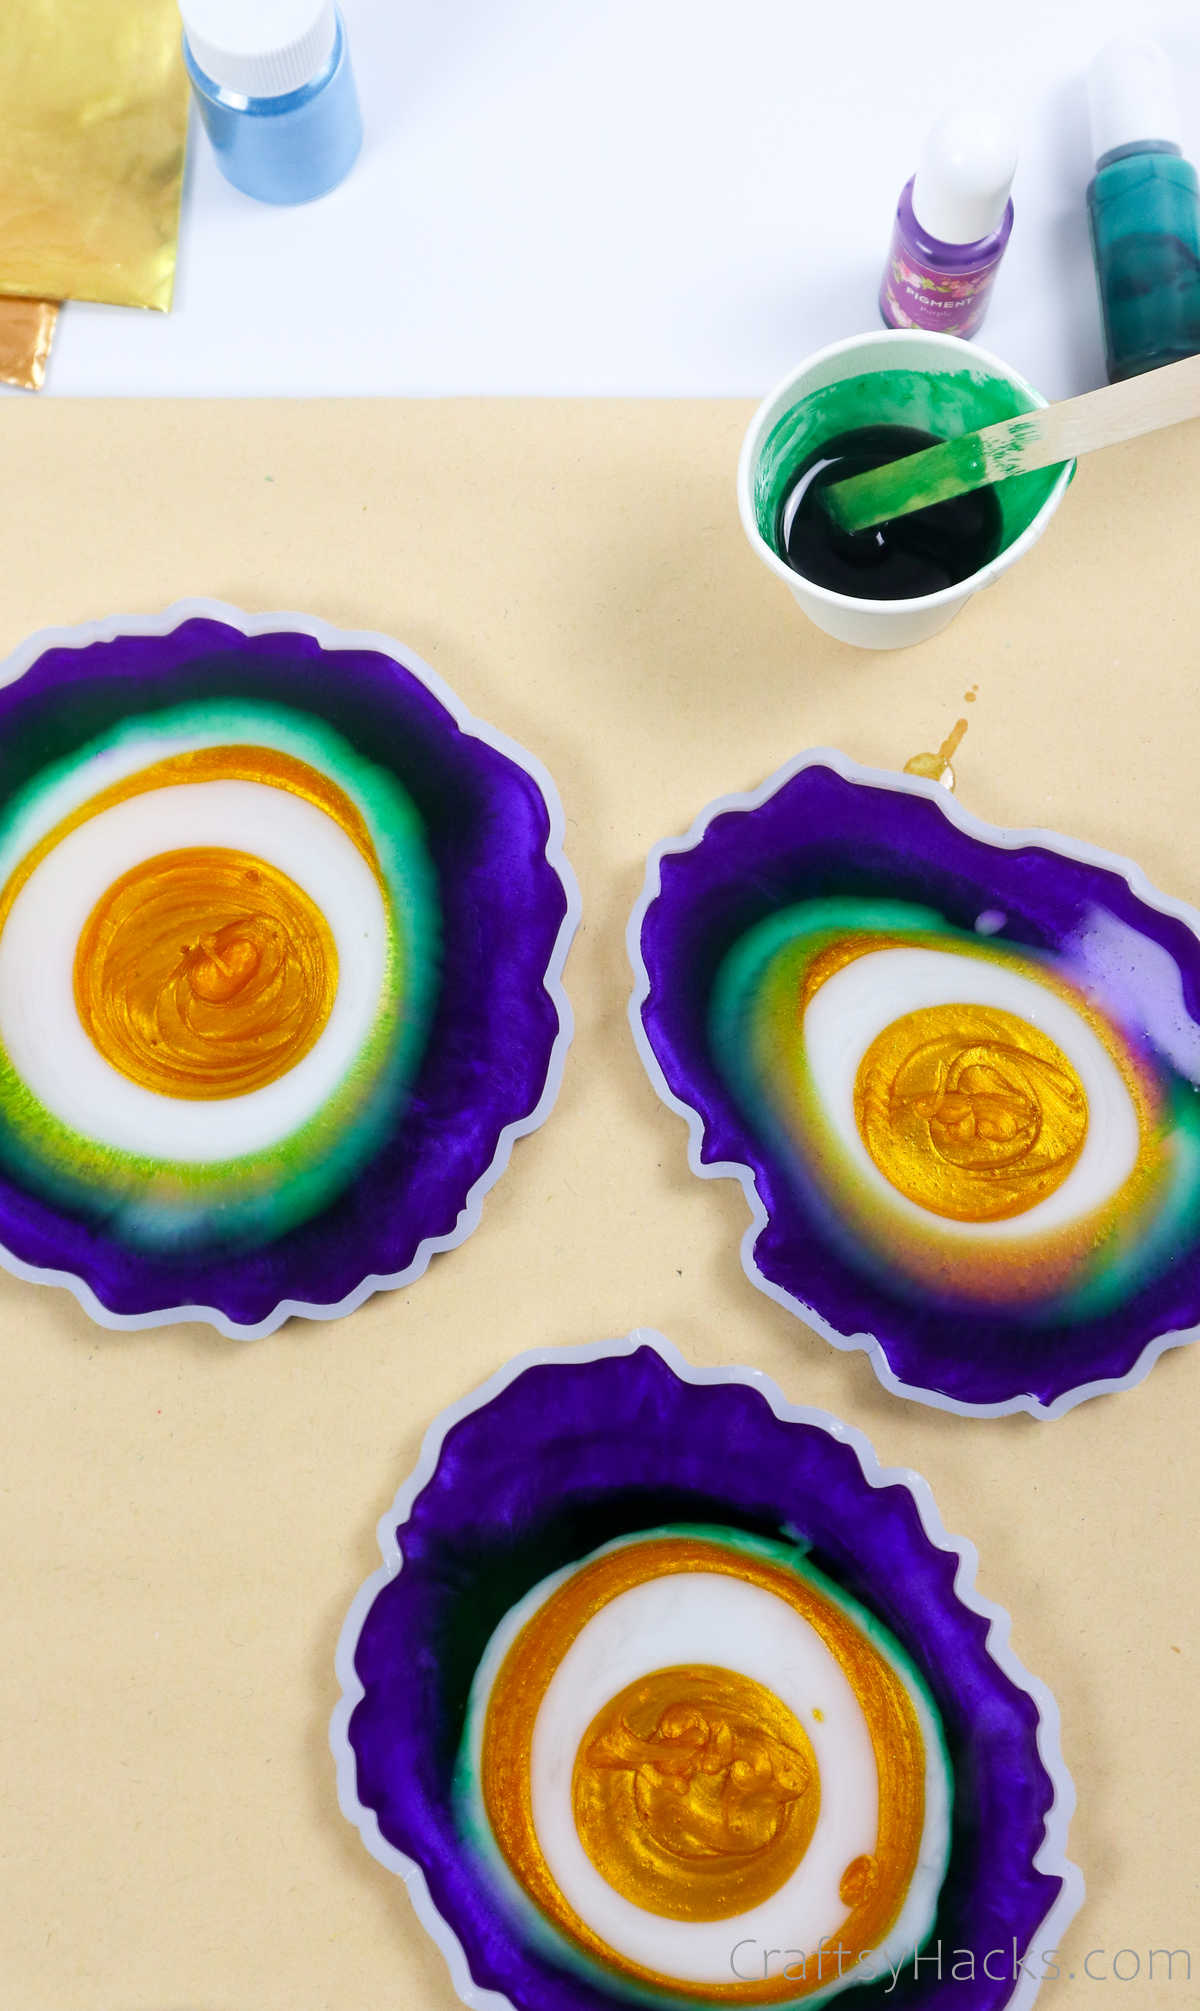
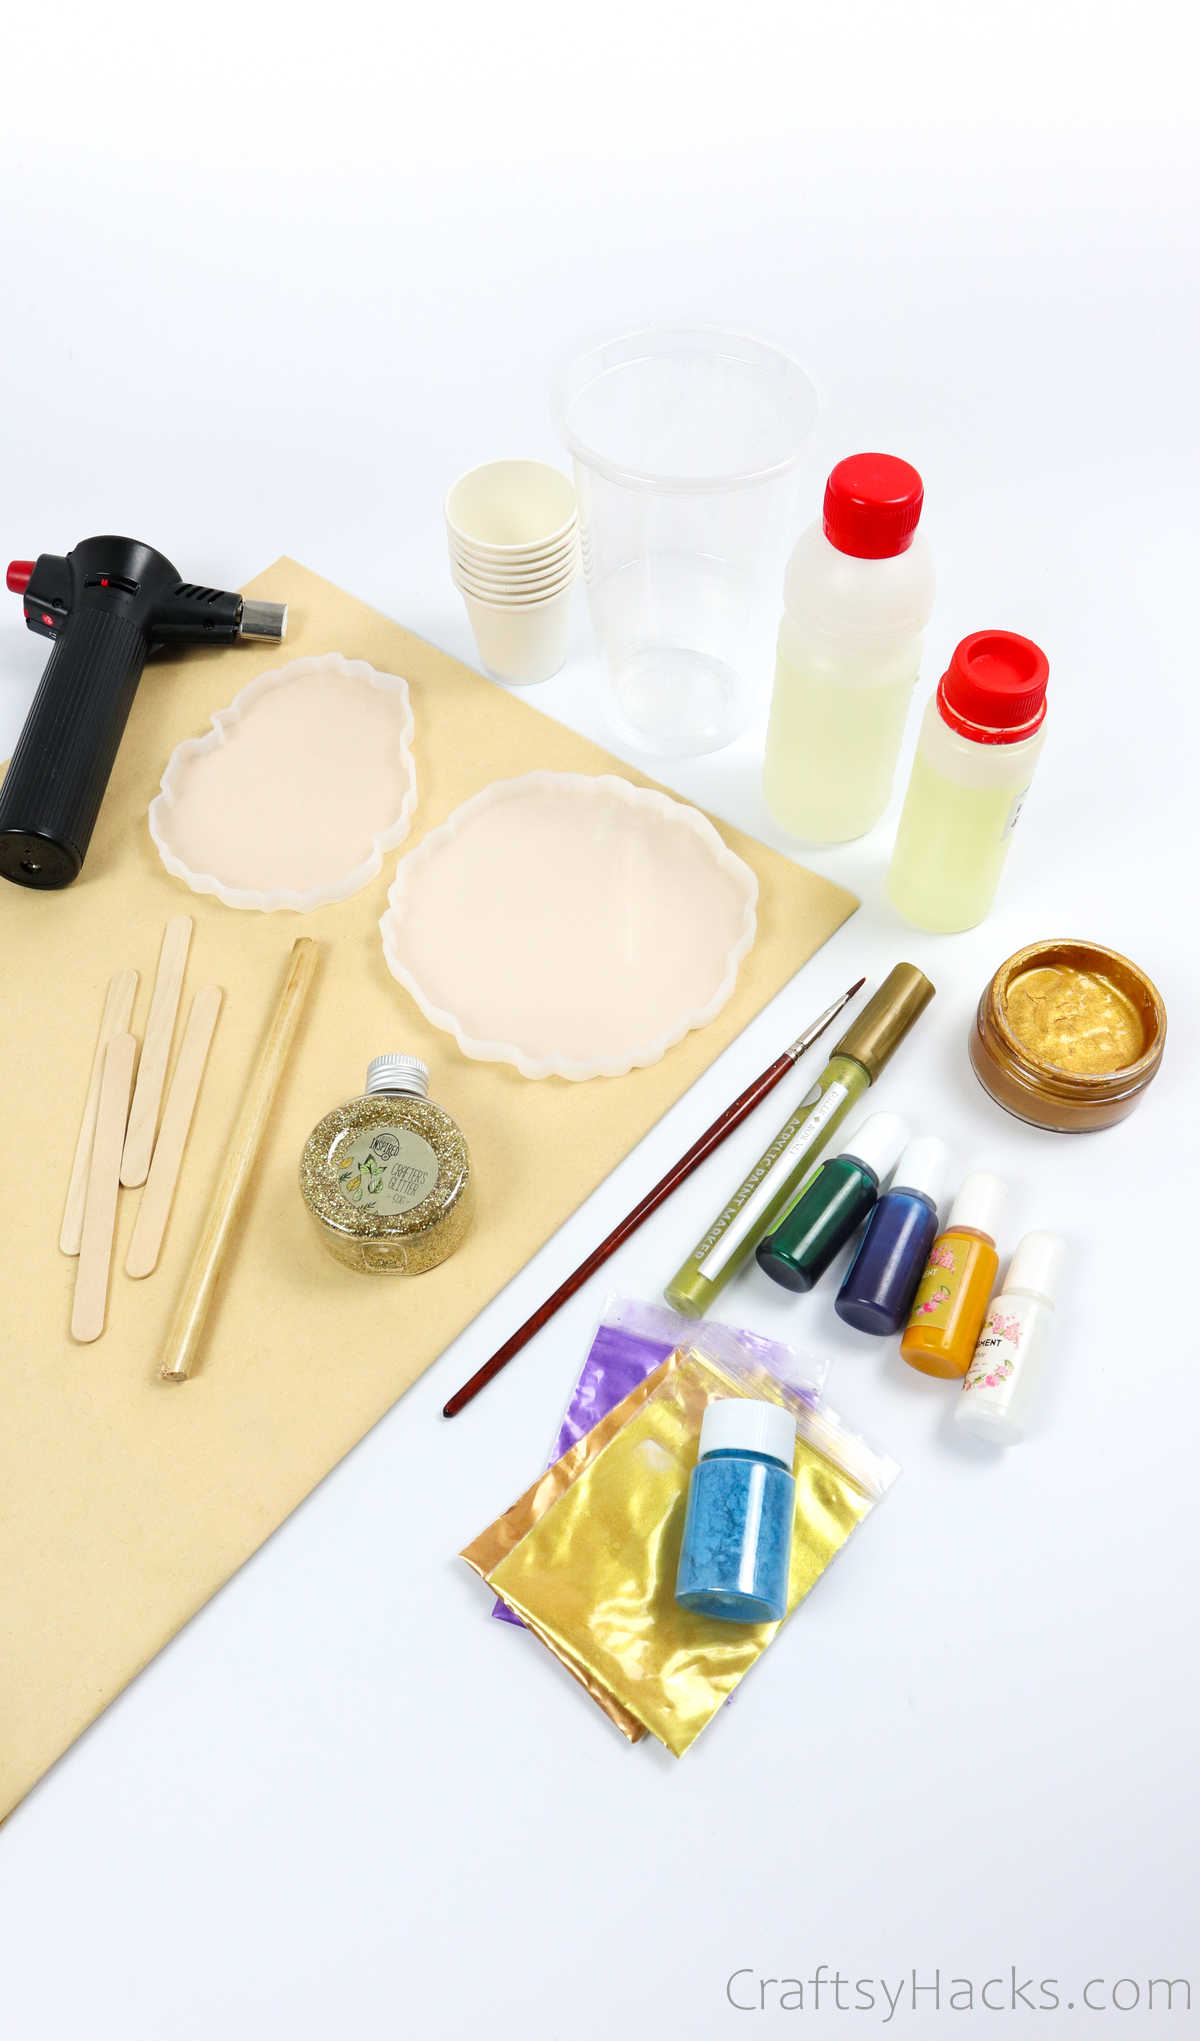
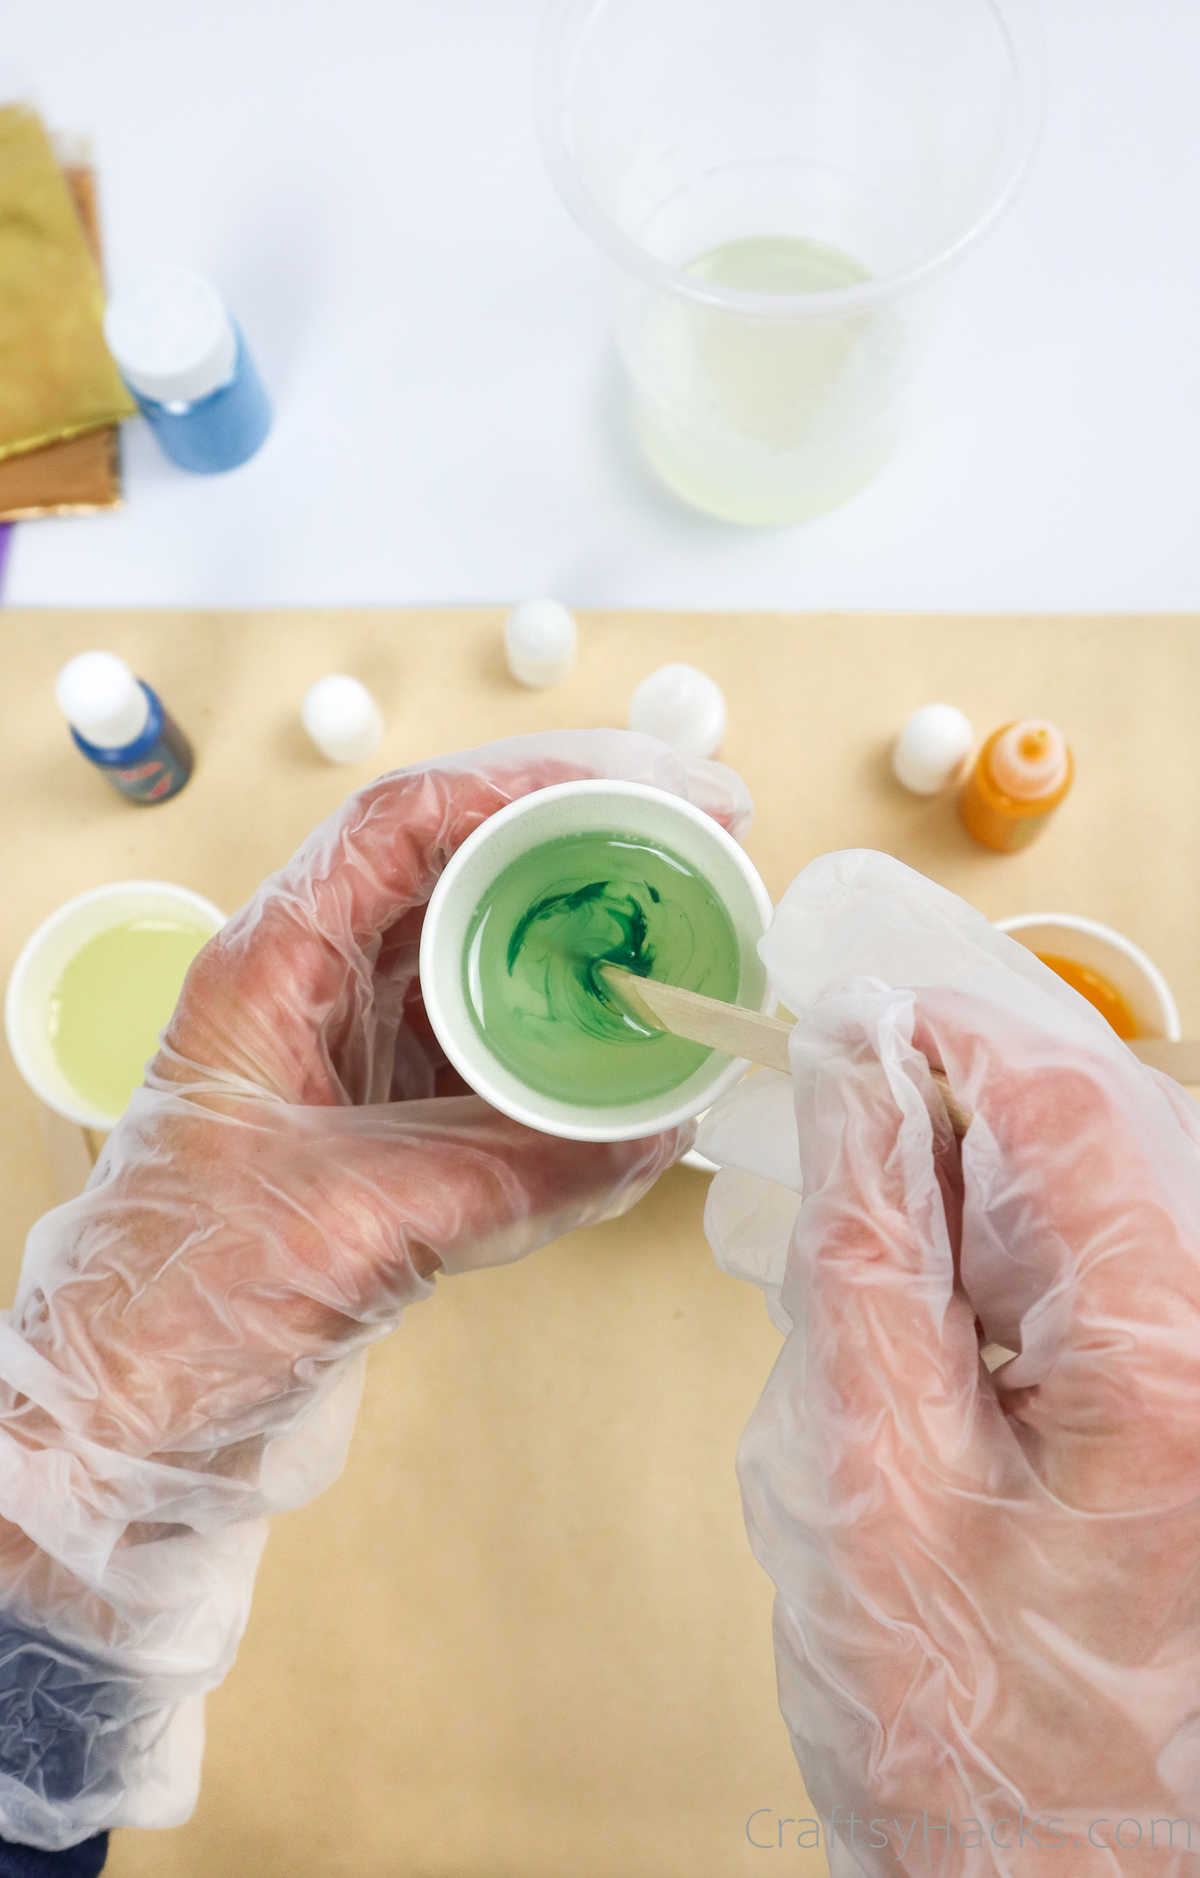
The next step is to add dyes to your resin and color them.

Youll need a few drops of purple, green, gold/yellow, and white.
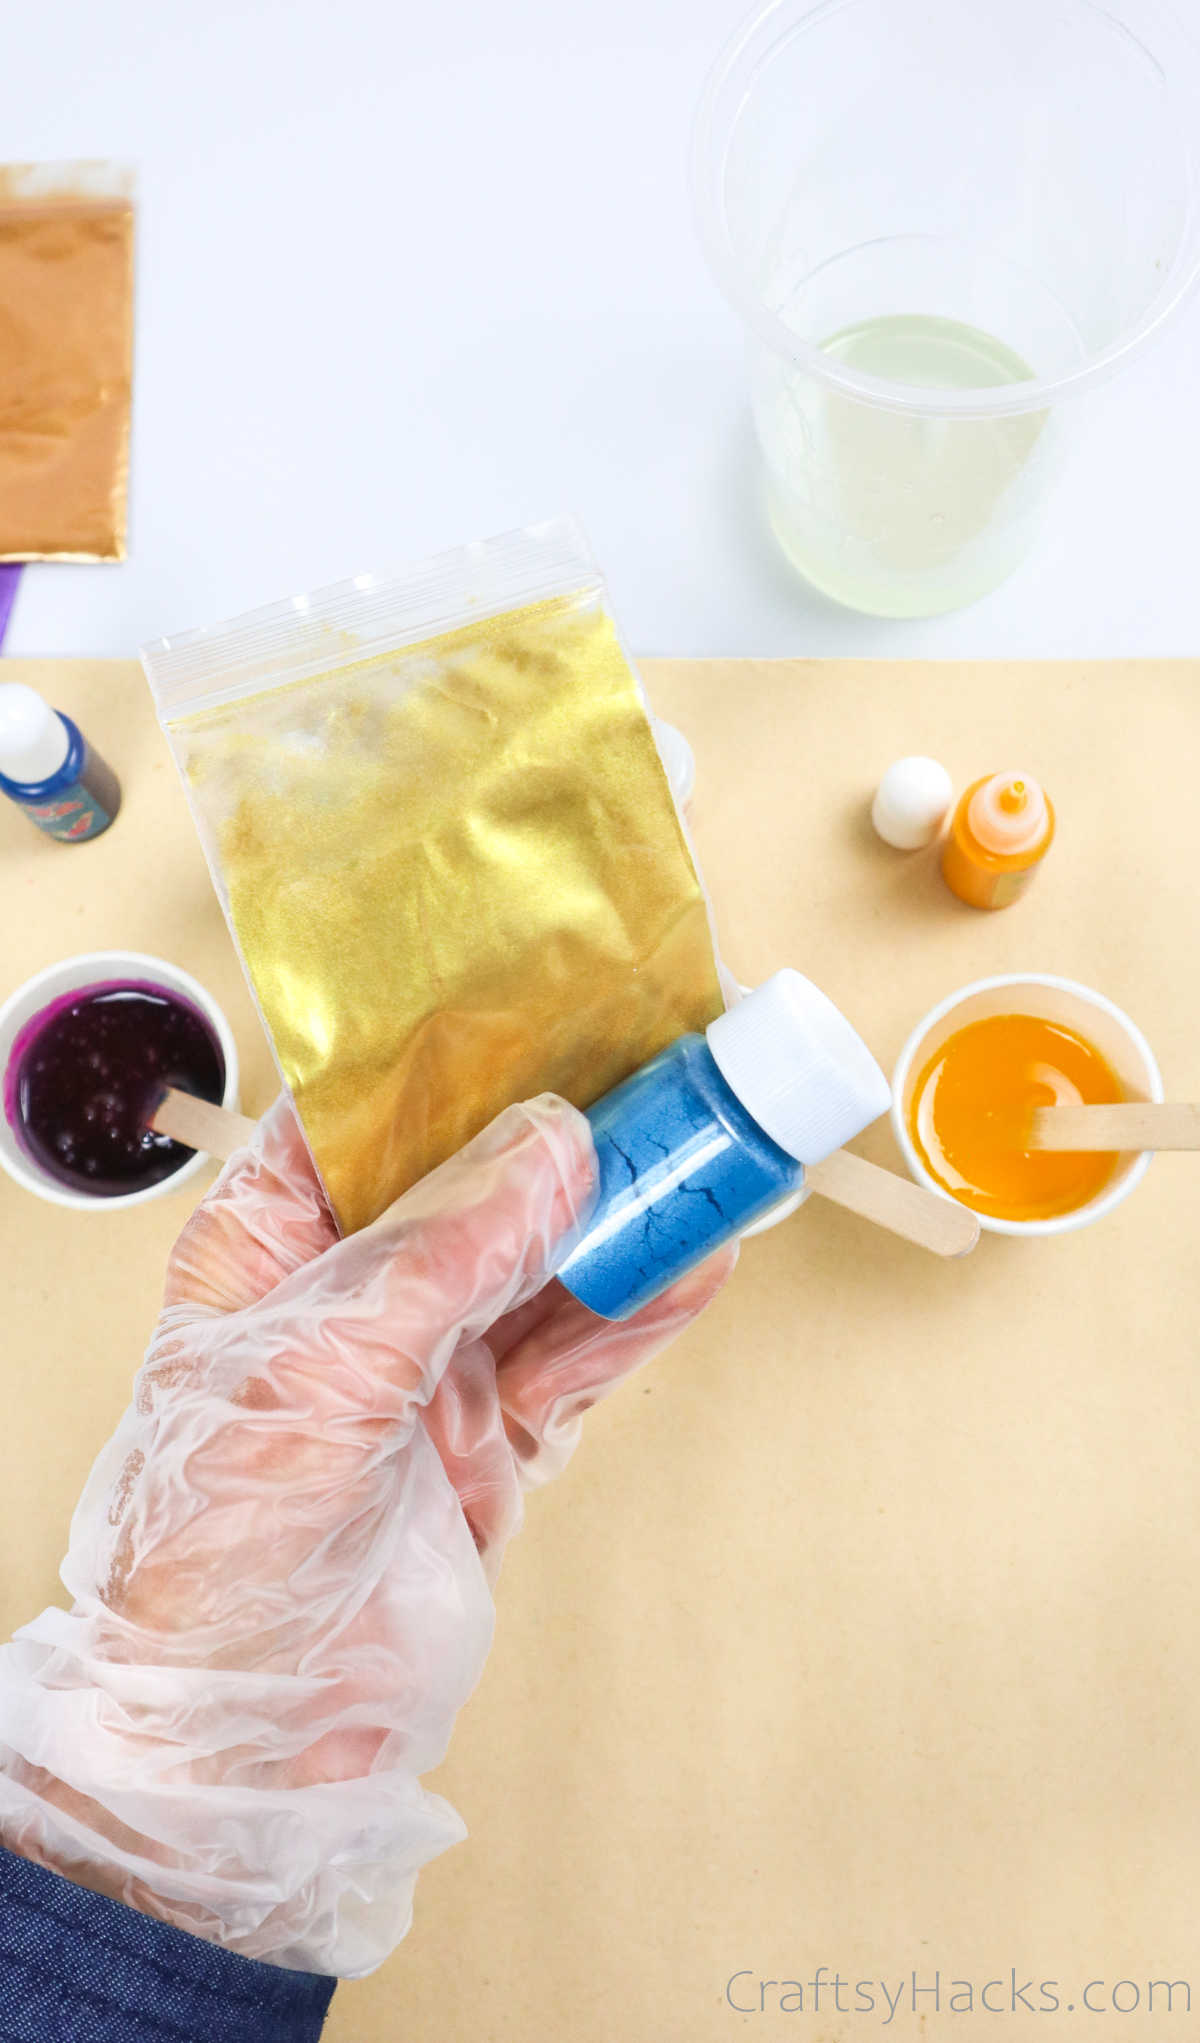
you could add both liquid color and mica and use a stick to stir the color in.
Keep stirring till the colors are to your satisfaction.
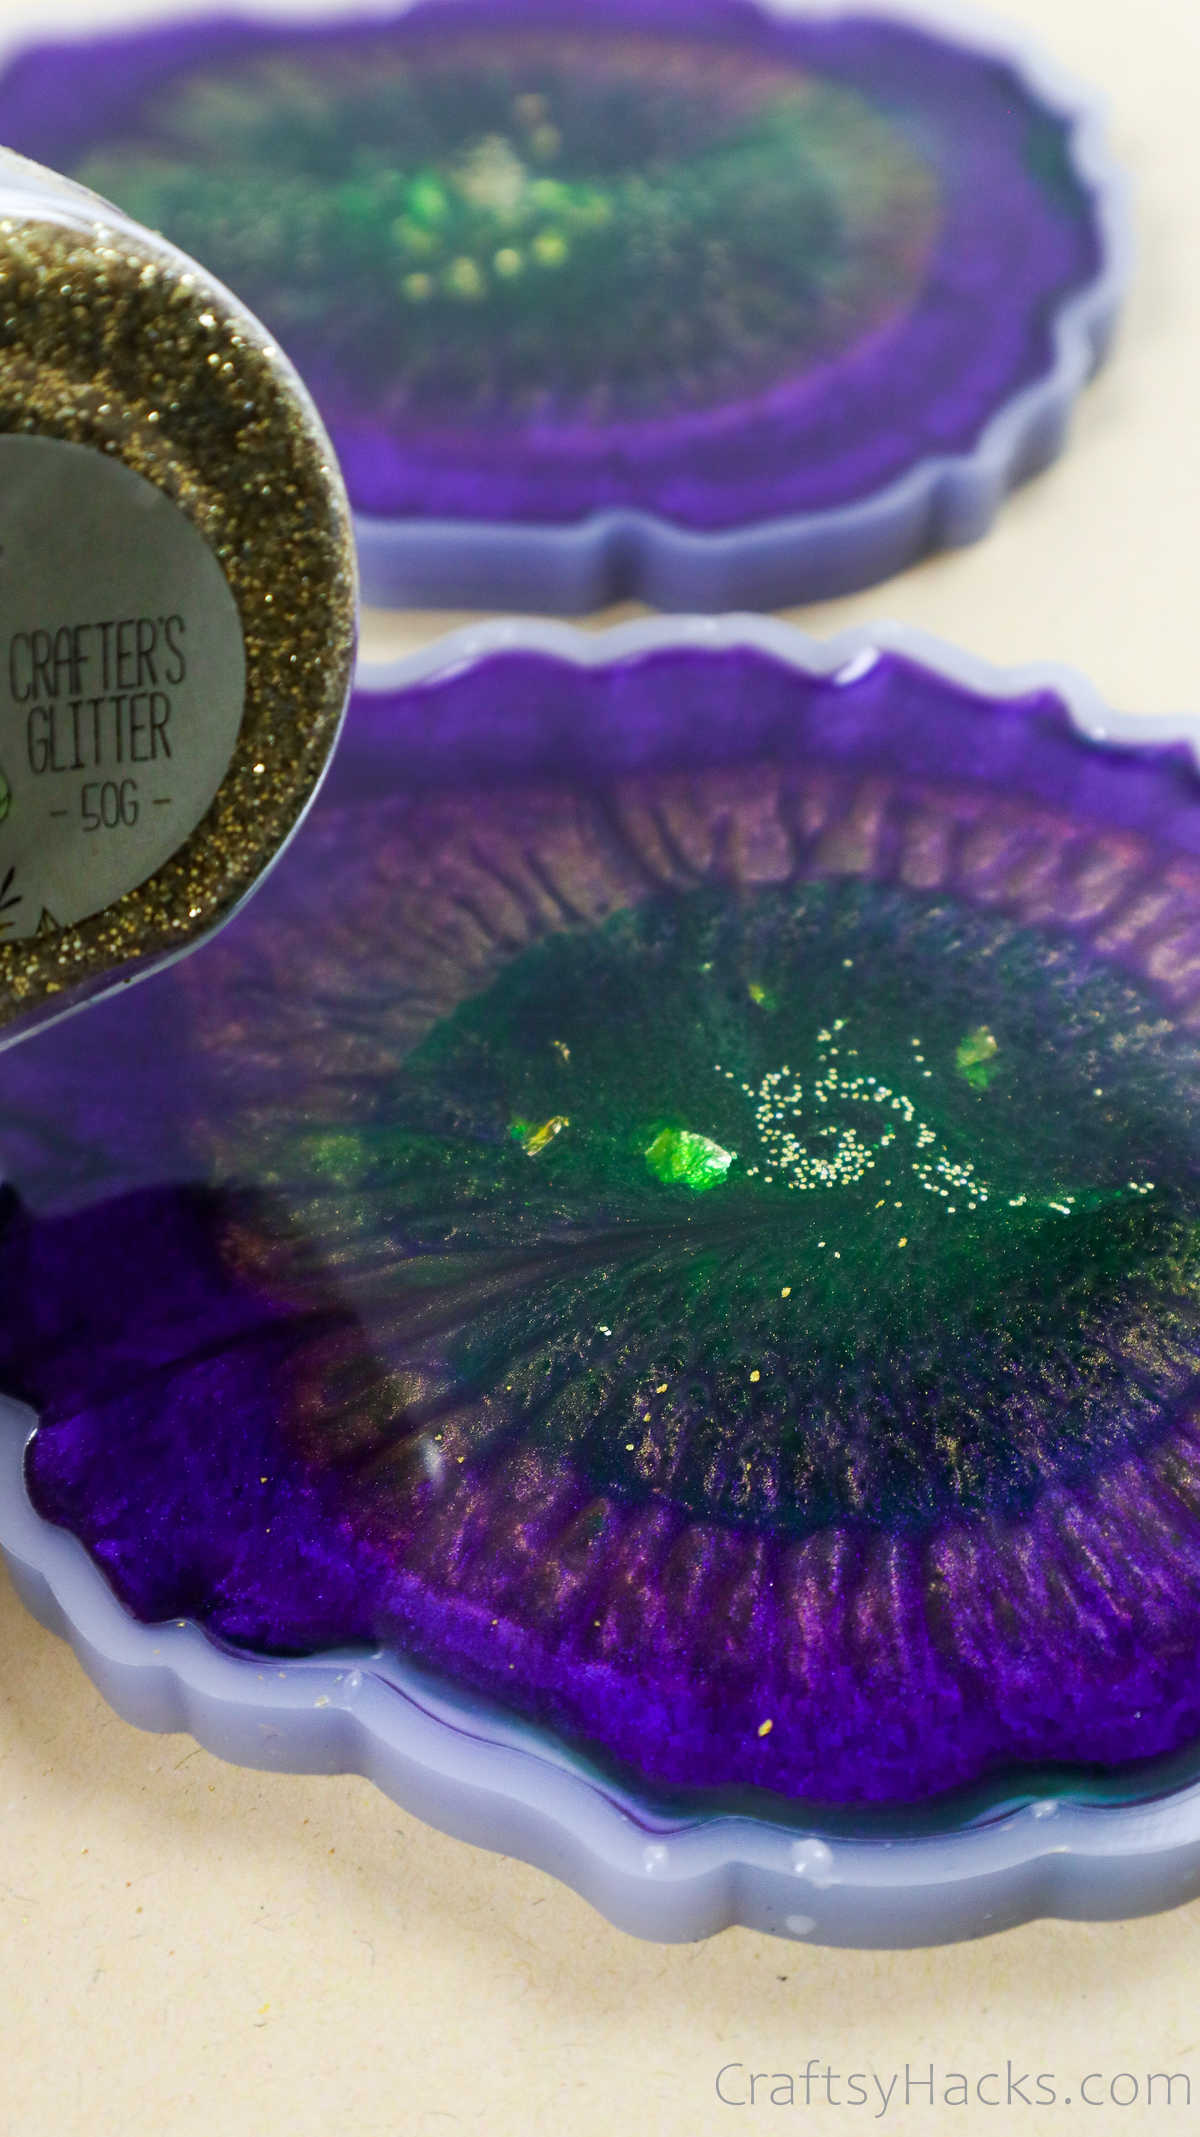
you’ve got the option to also add glitter (mica) powder to the mixture.
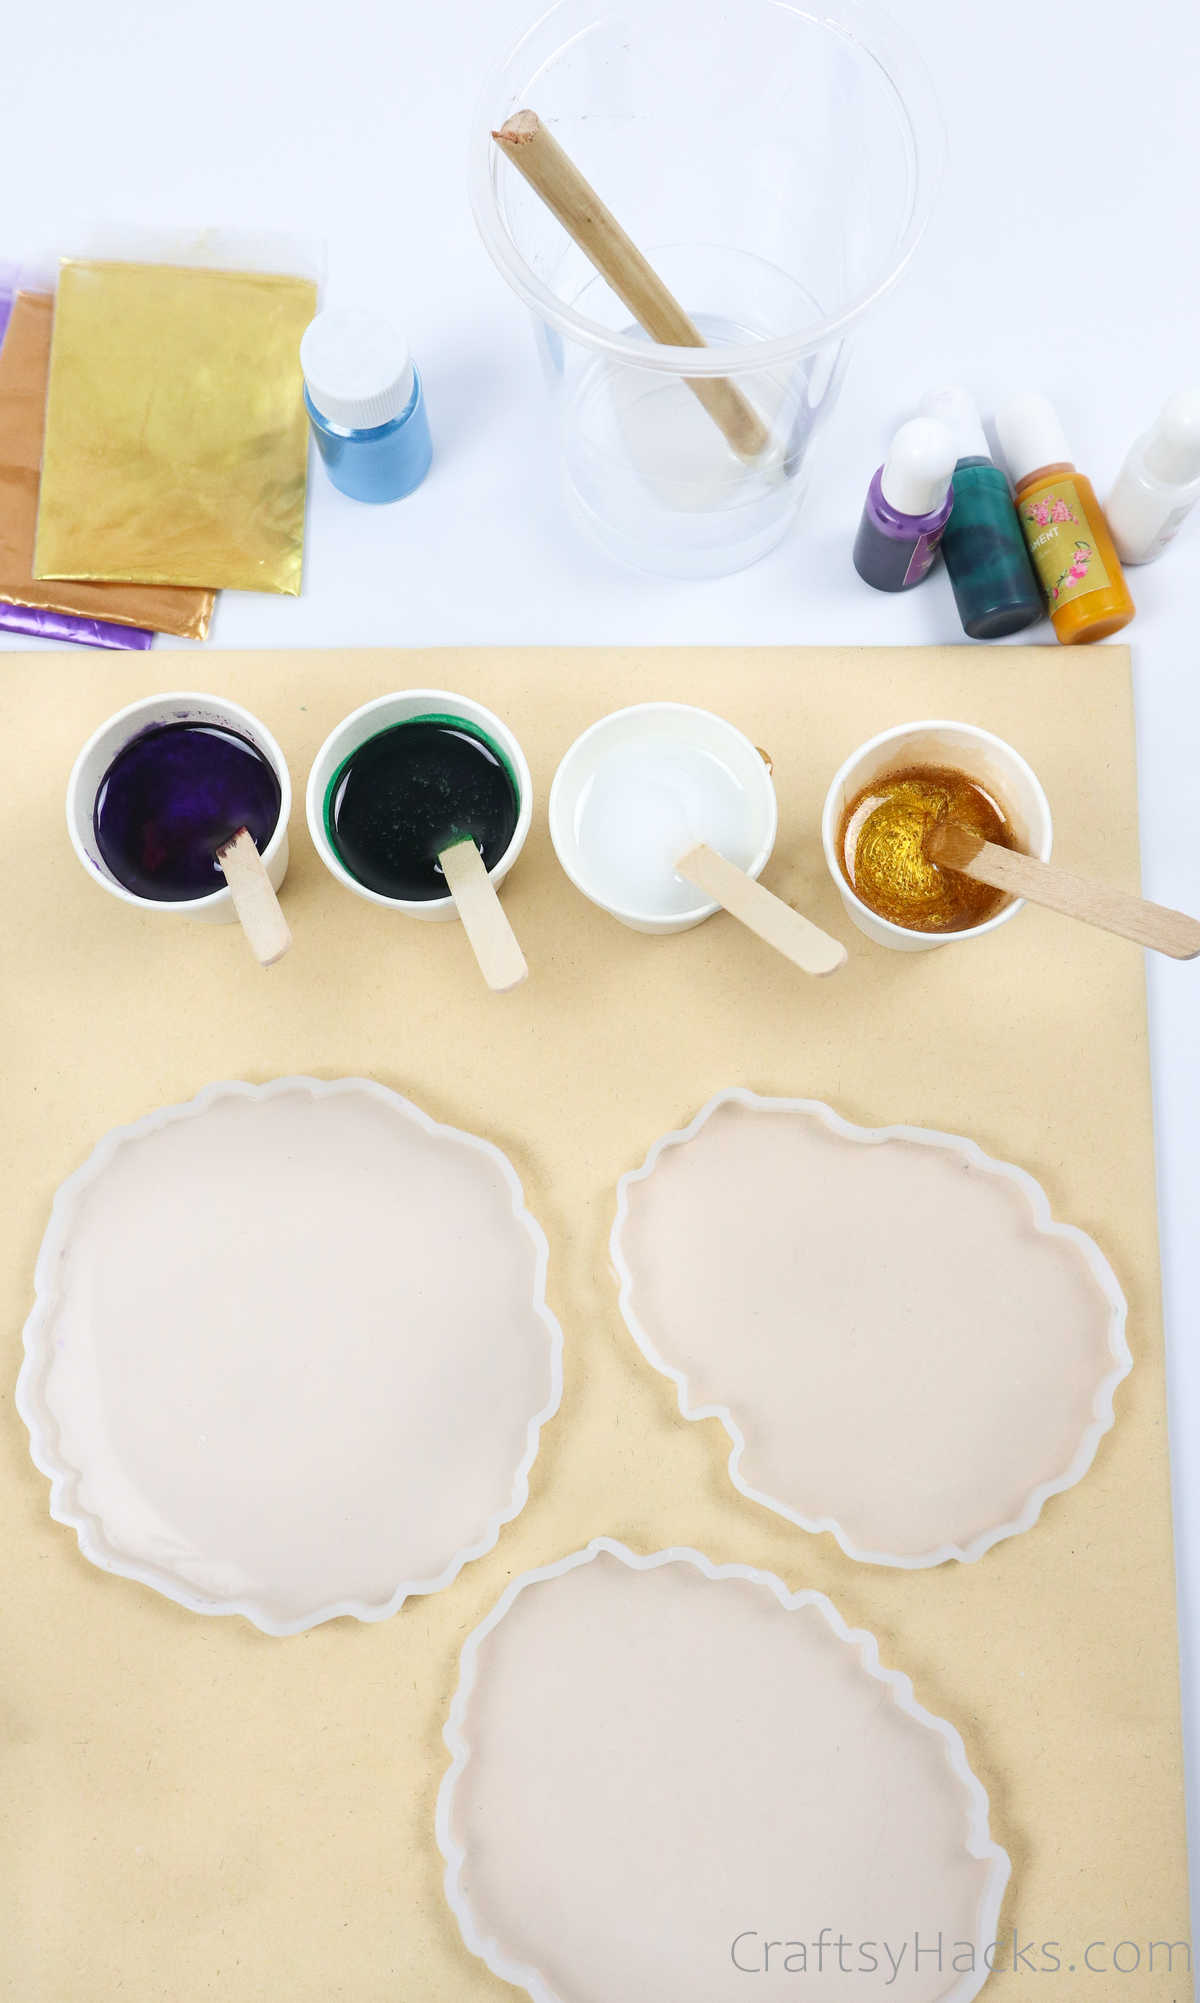
Step 4
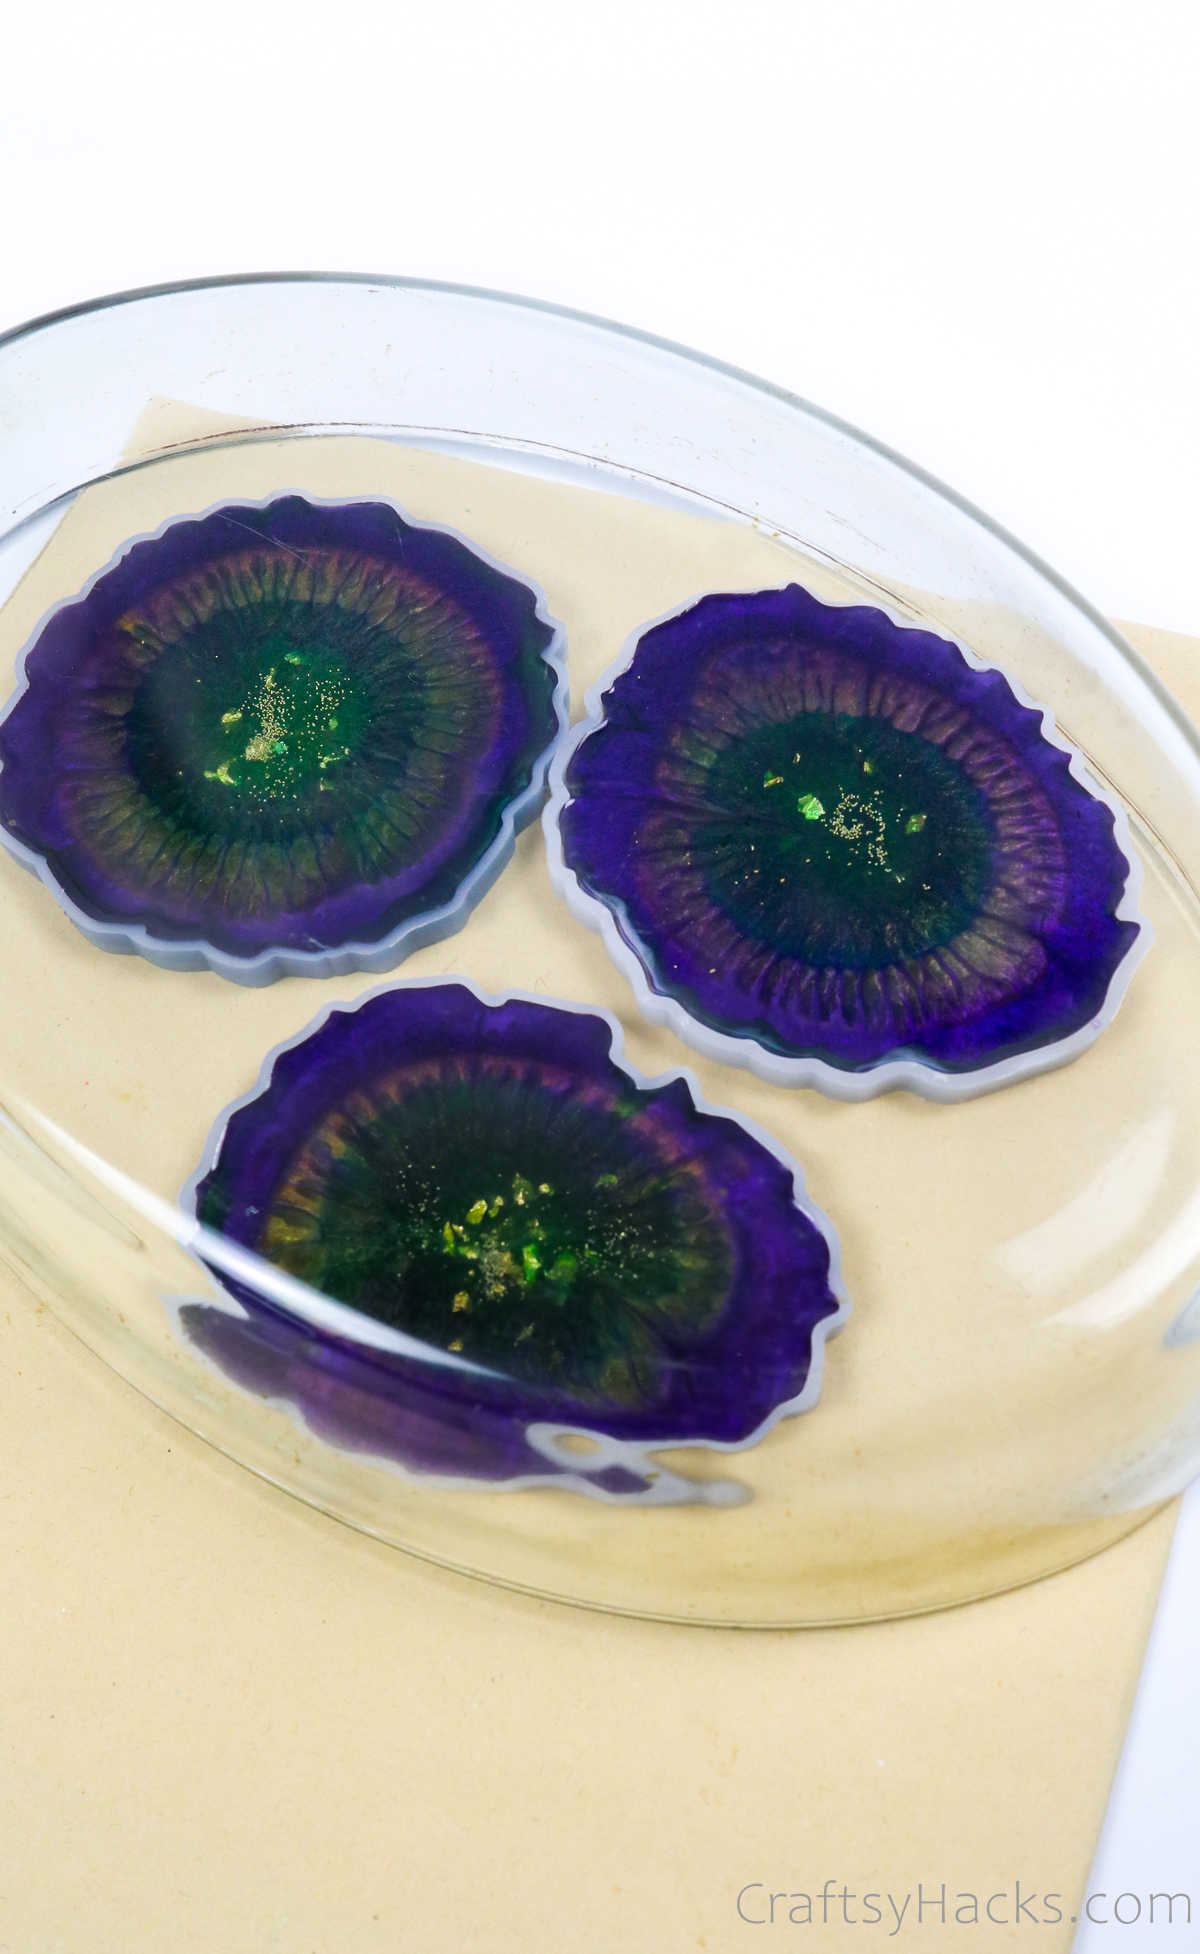
Its time to lay out the molds youll be using to make your coasters.
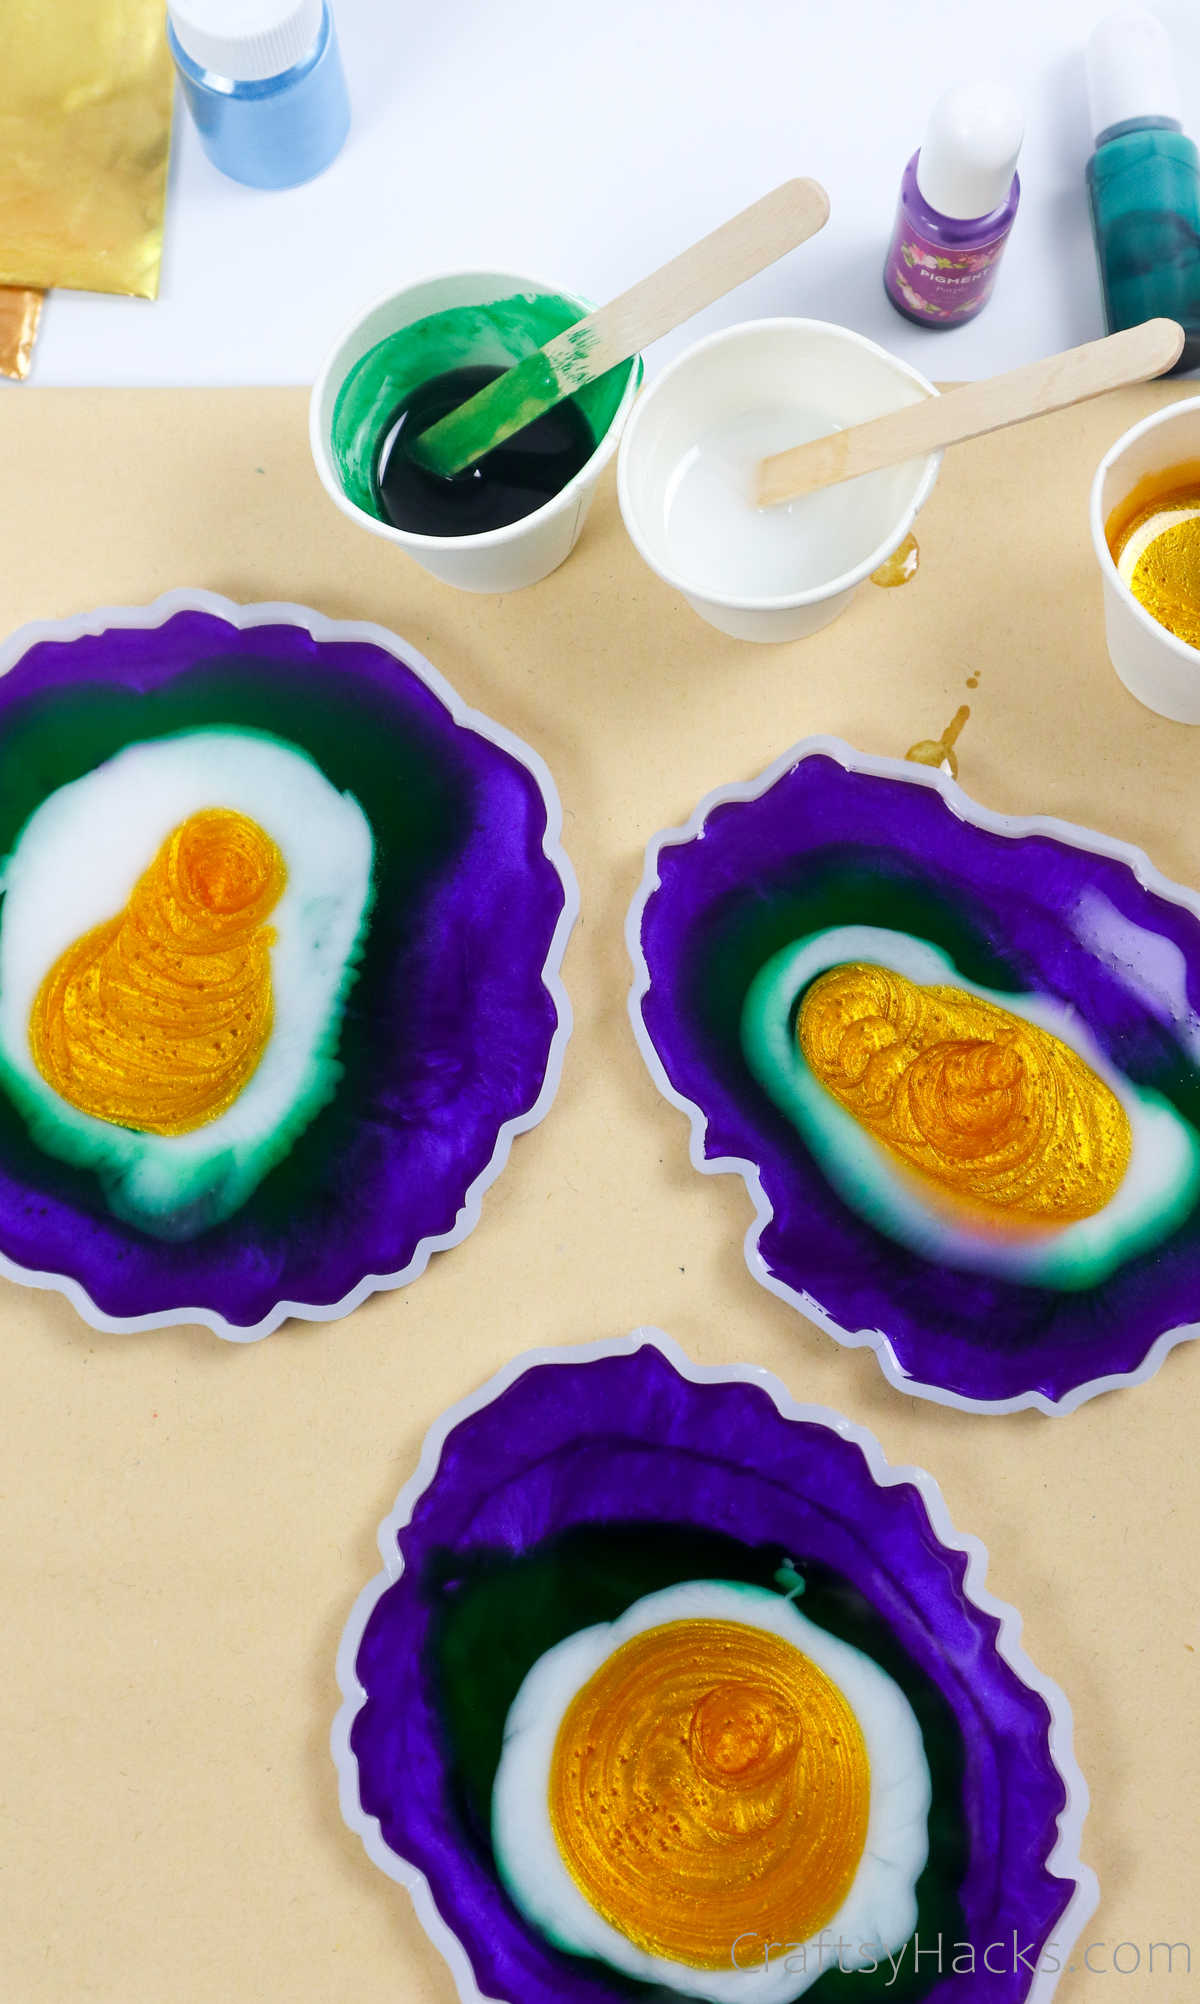
Step 5
Start by pouring the outermost layer of colored resinpurple, in this instanceonto the mold.
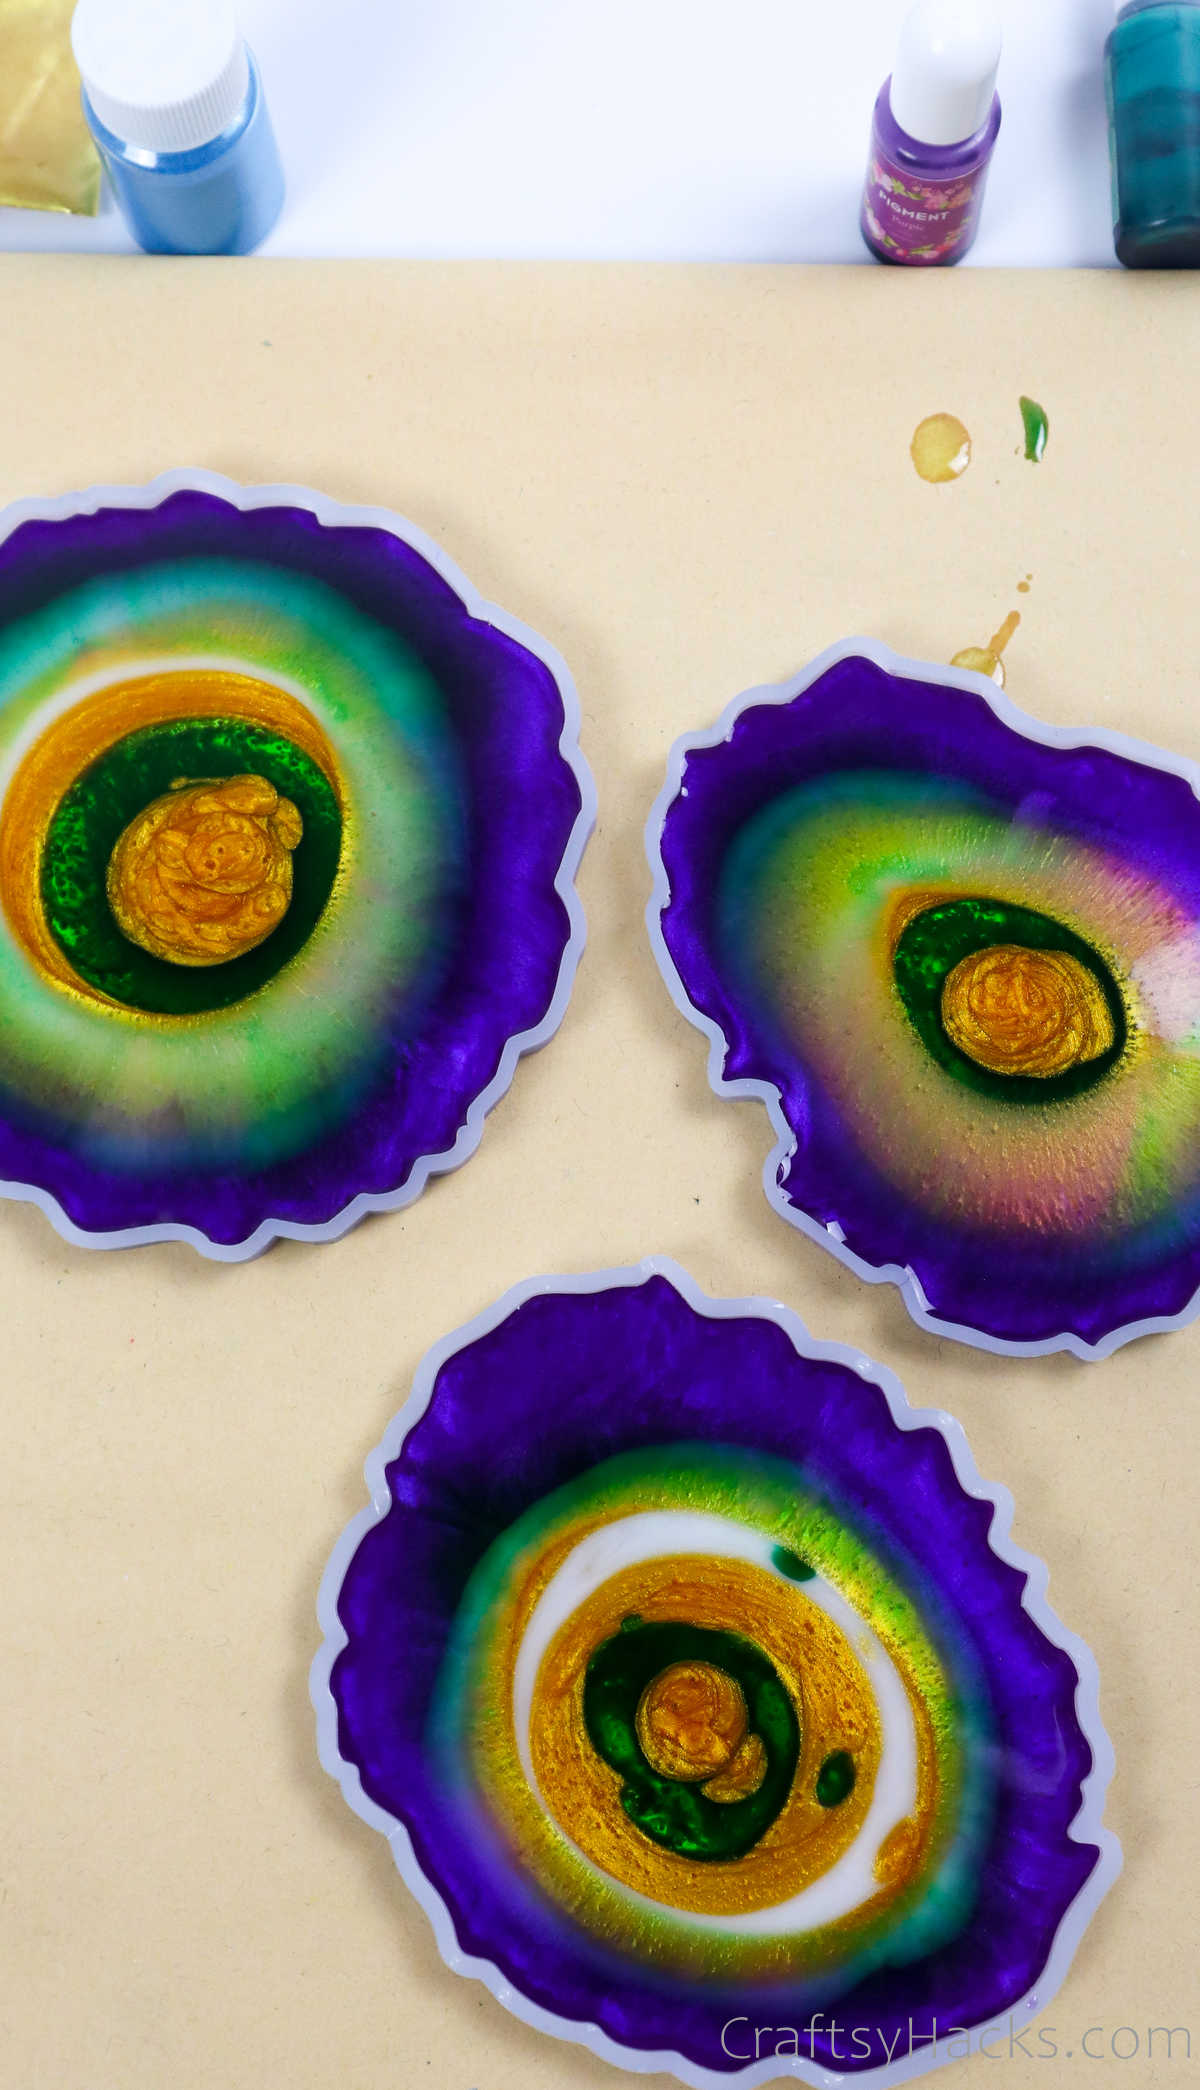
Step 7
Remember that clear resin you set aside earlier?
Go ahead and grab that.
Youll be pouring that over the colored layers you just made.
This will create a domed effect and help push the colors outwards so that they set evenly.
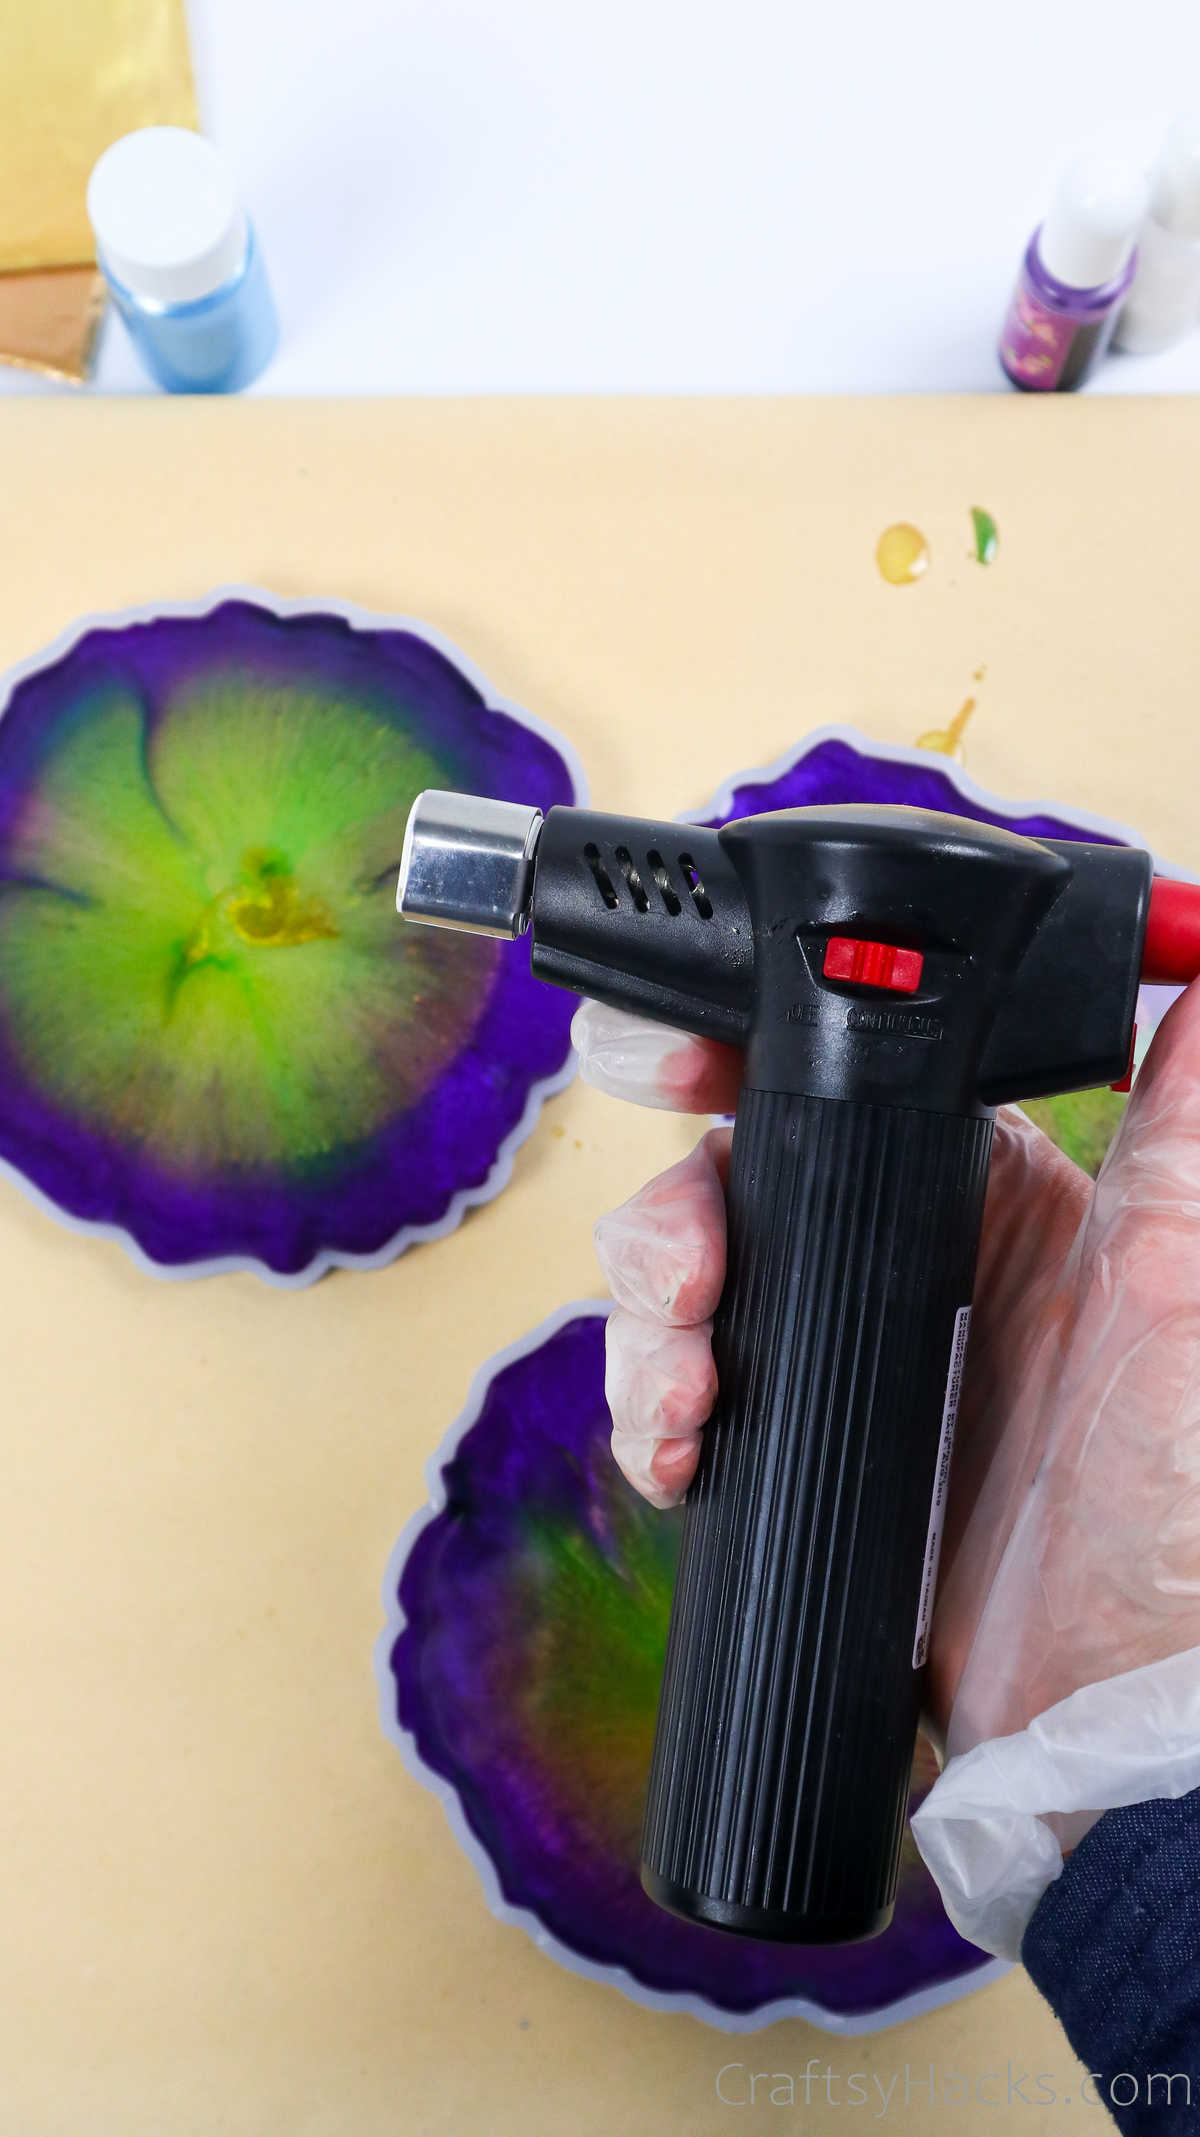
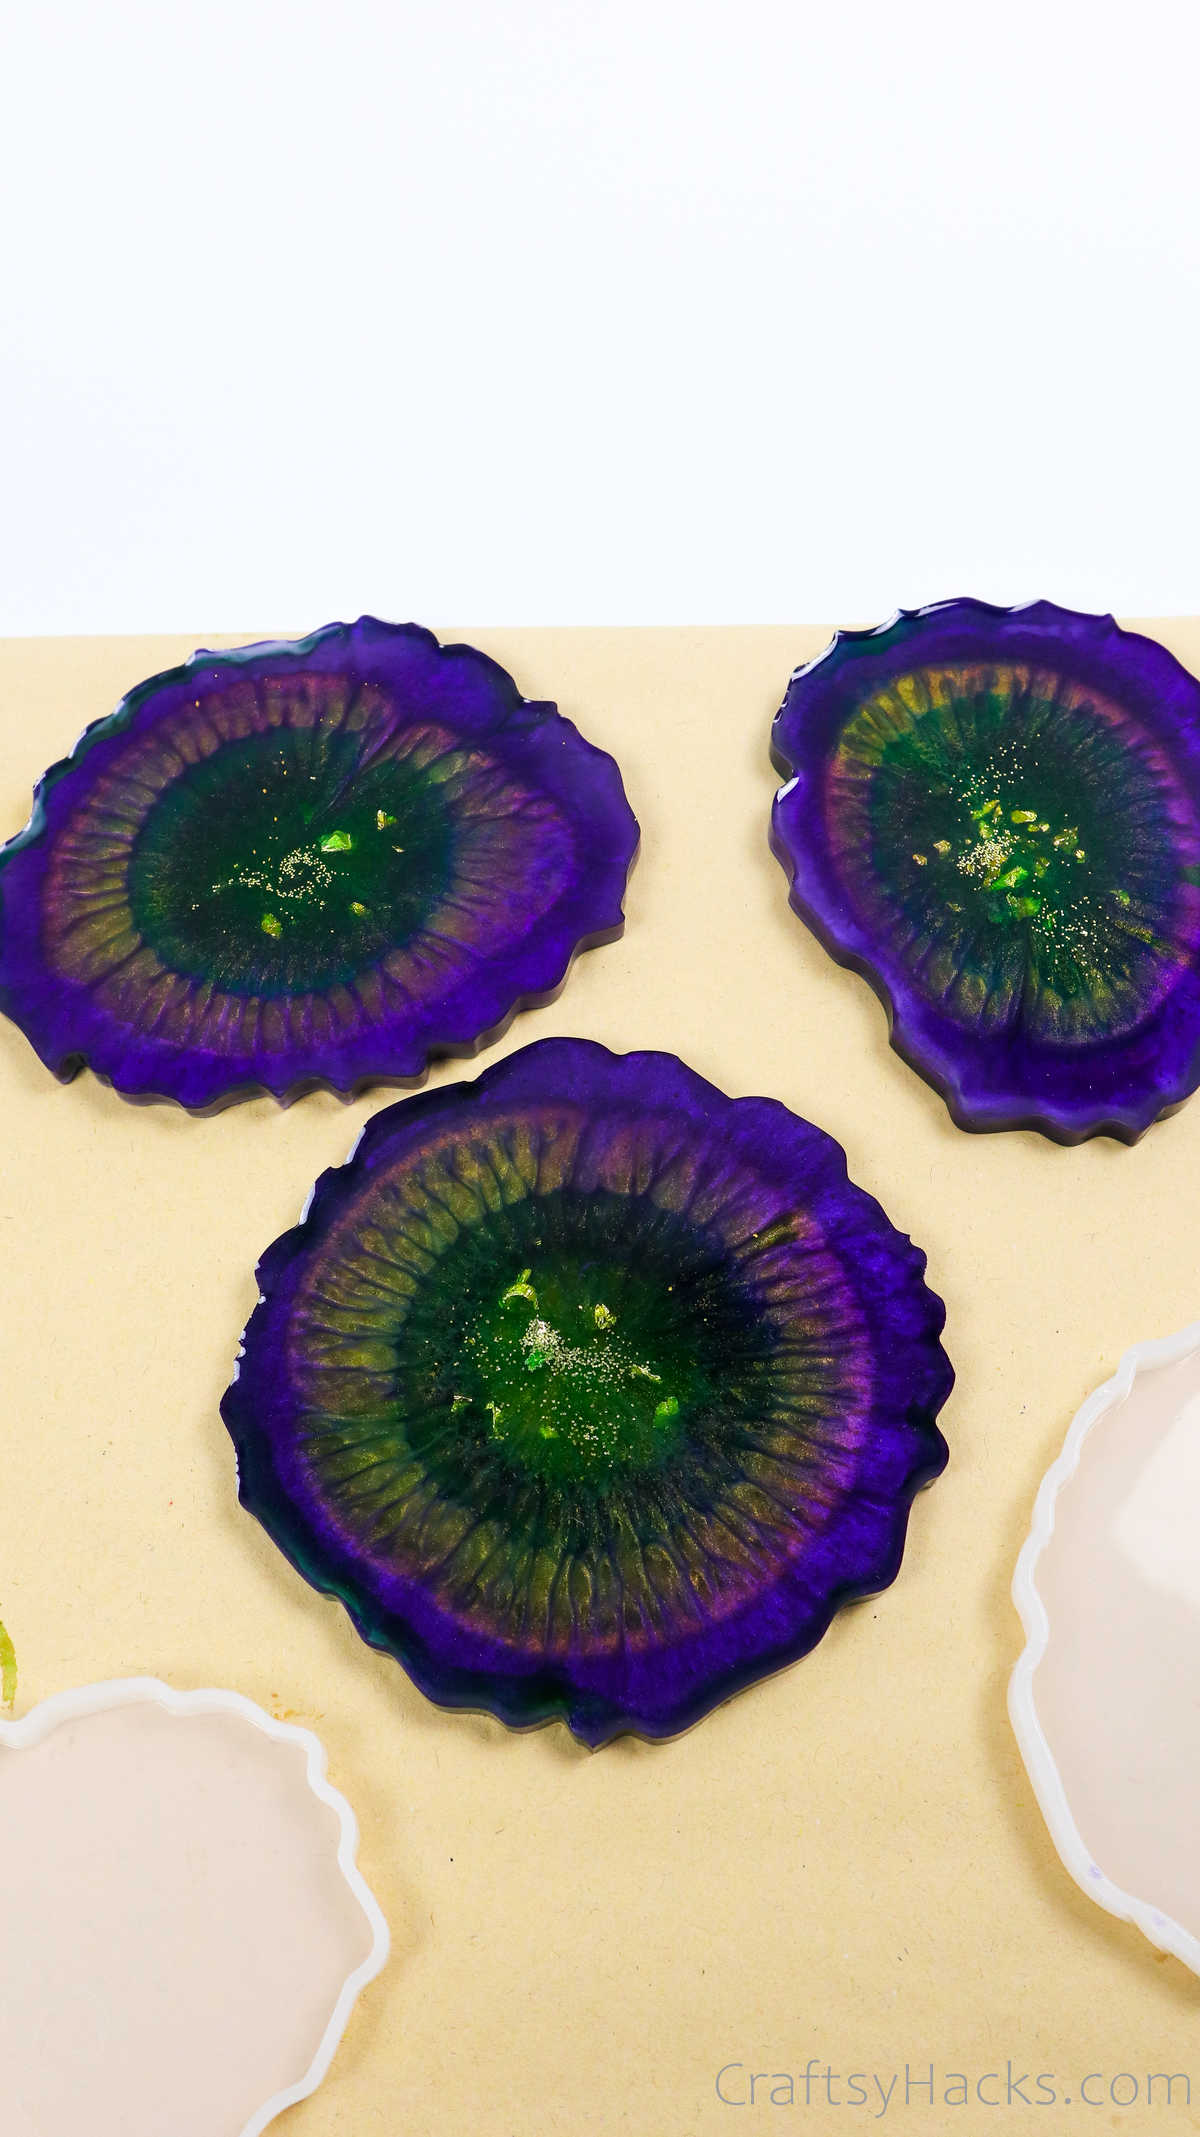
Step 8
Youll find that there are plenty of air bubbles on the surface.
Youll need to get rid of them before the resin hardens.
Quickly glaze the surface with the torch, and all your bubbles should disappear just like that!
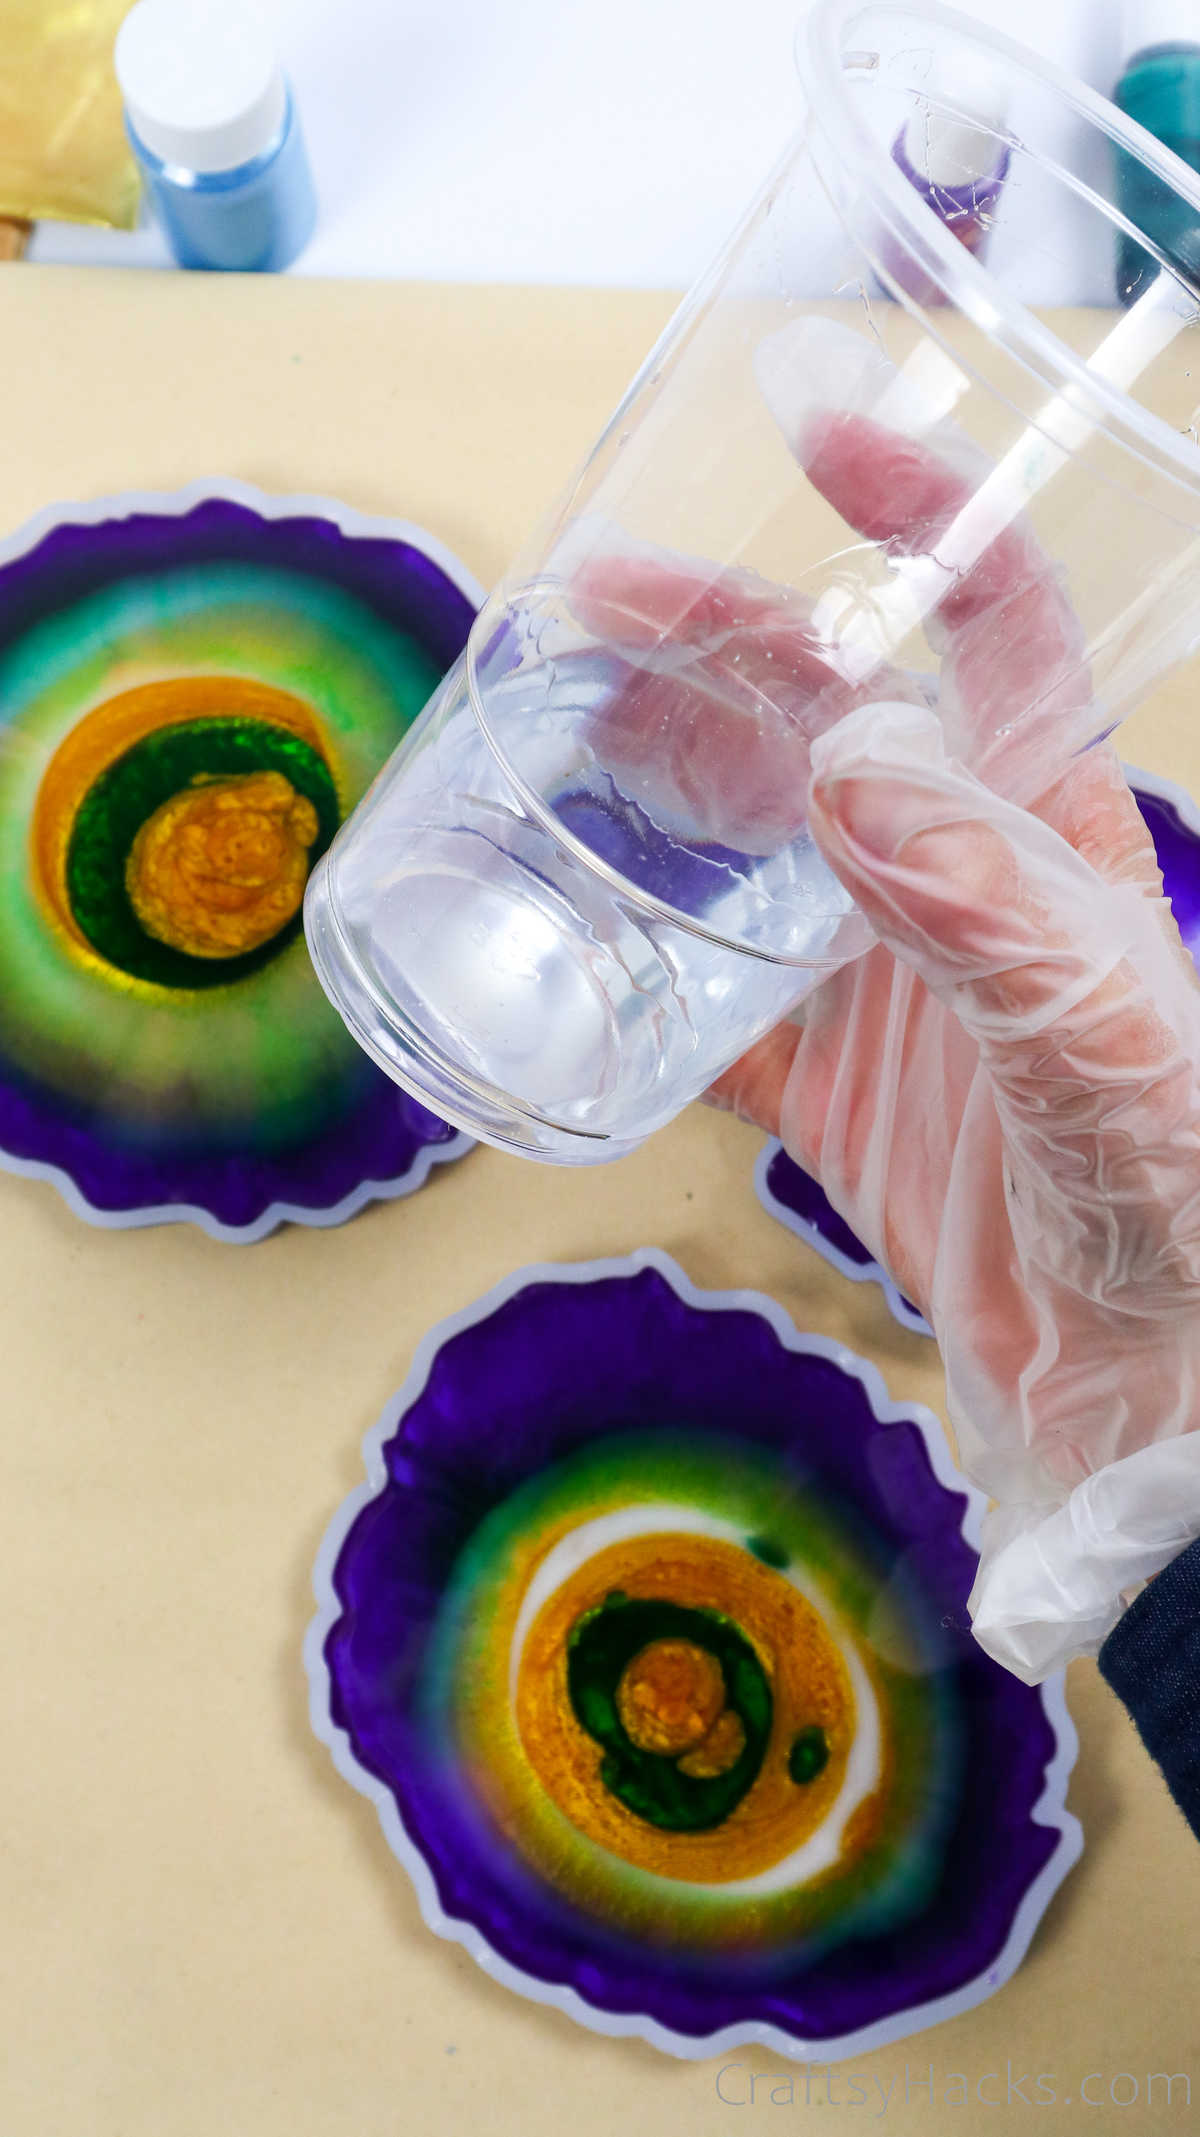
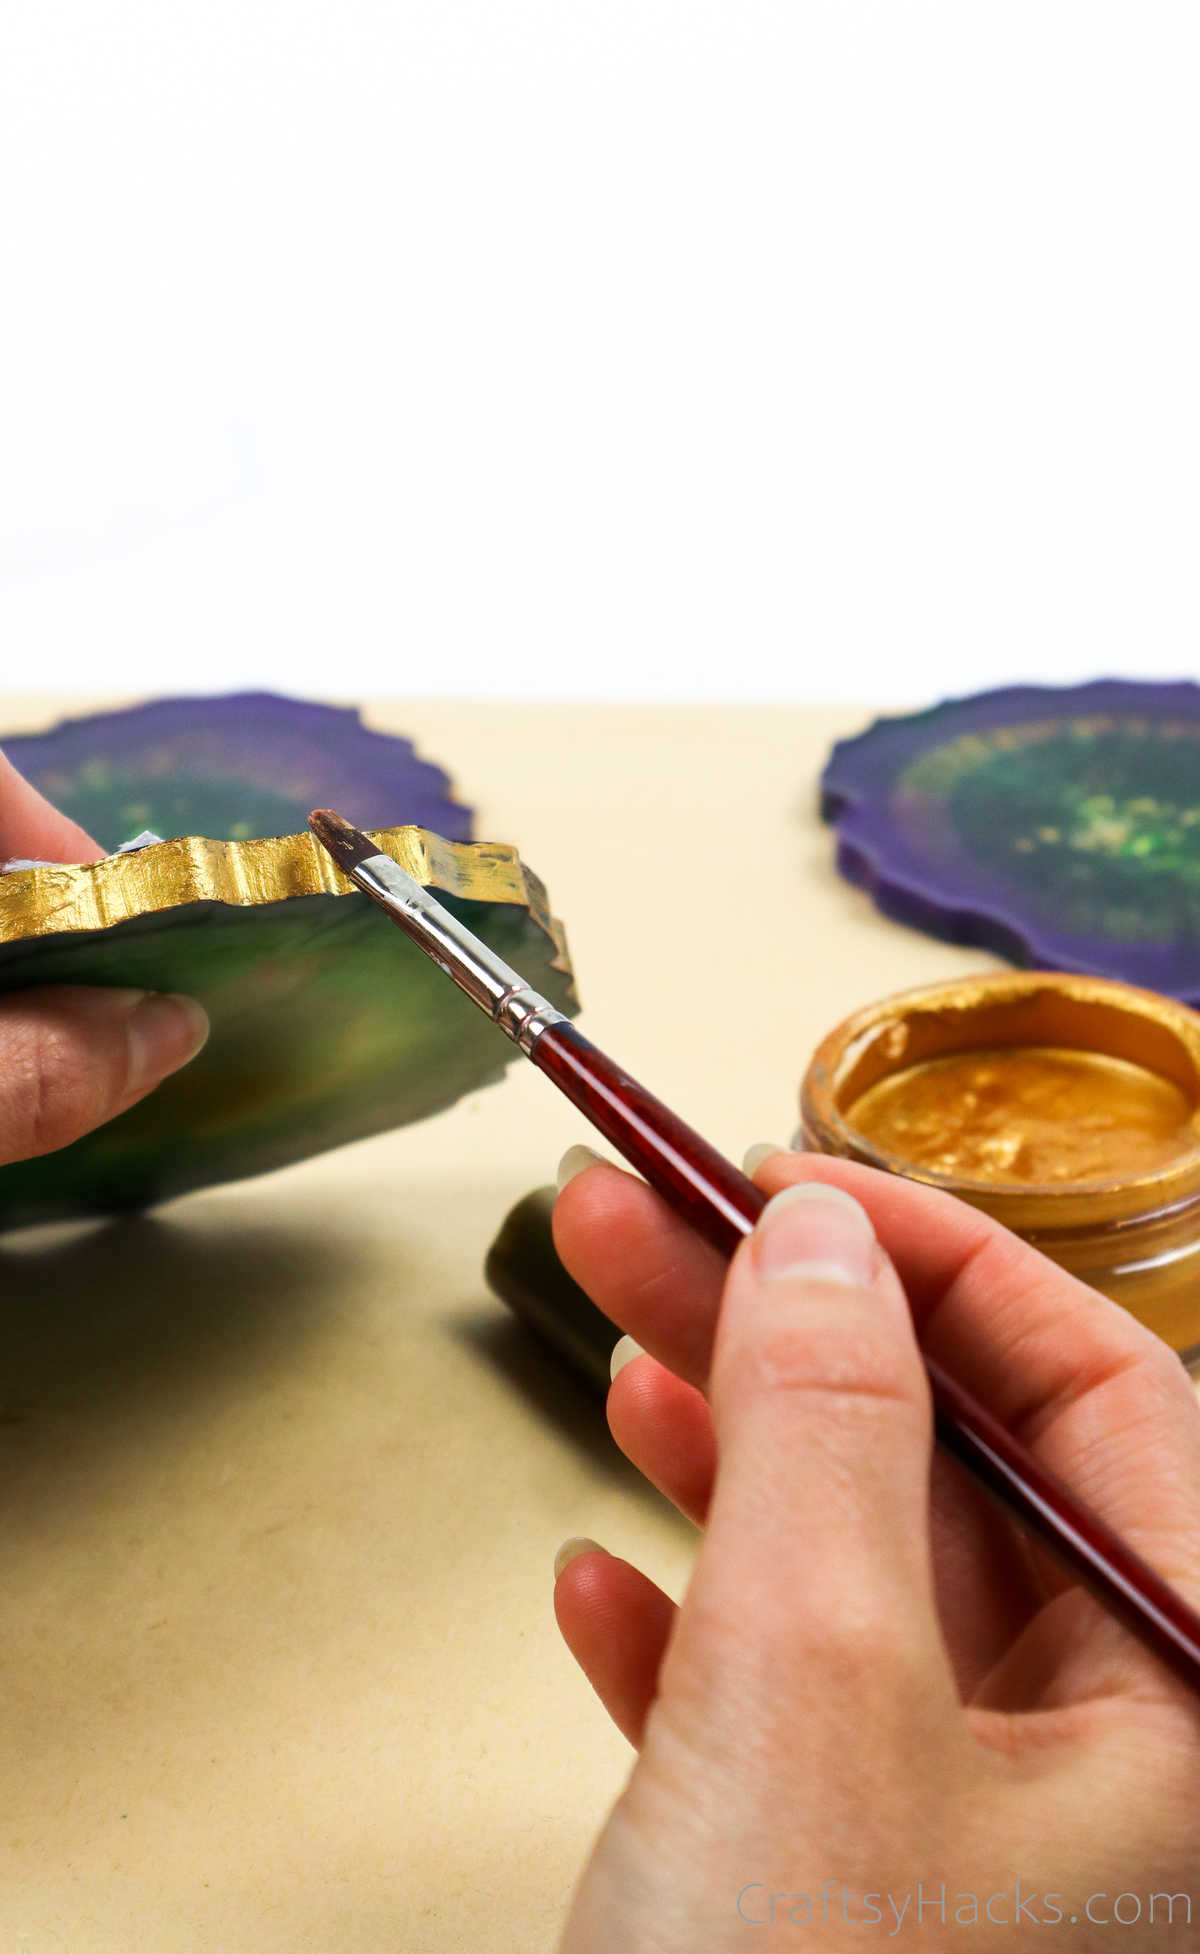
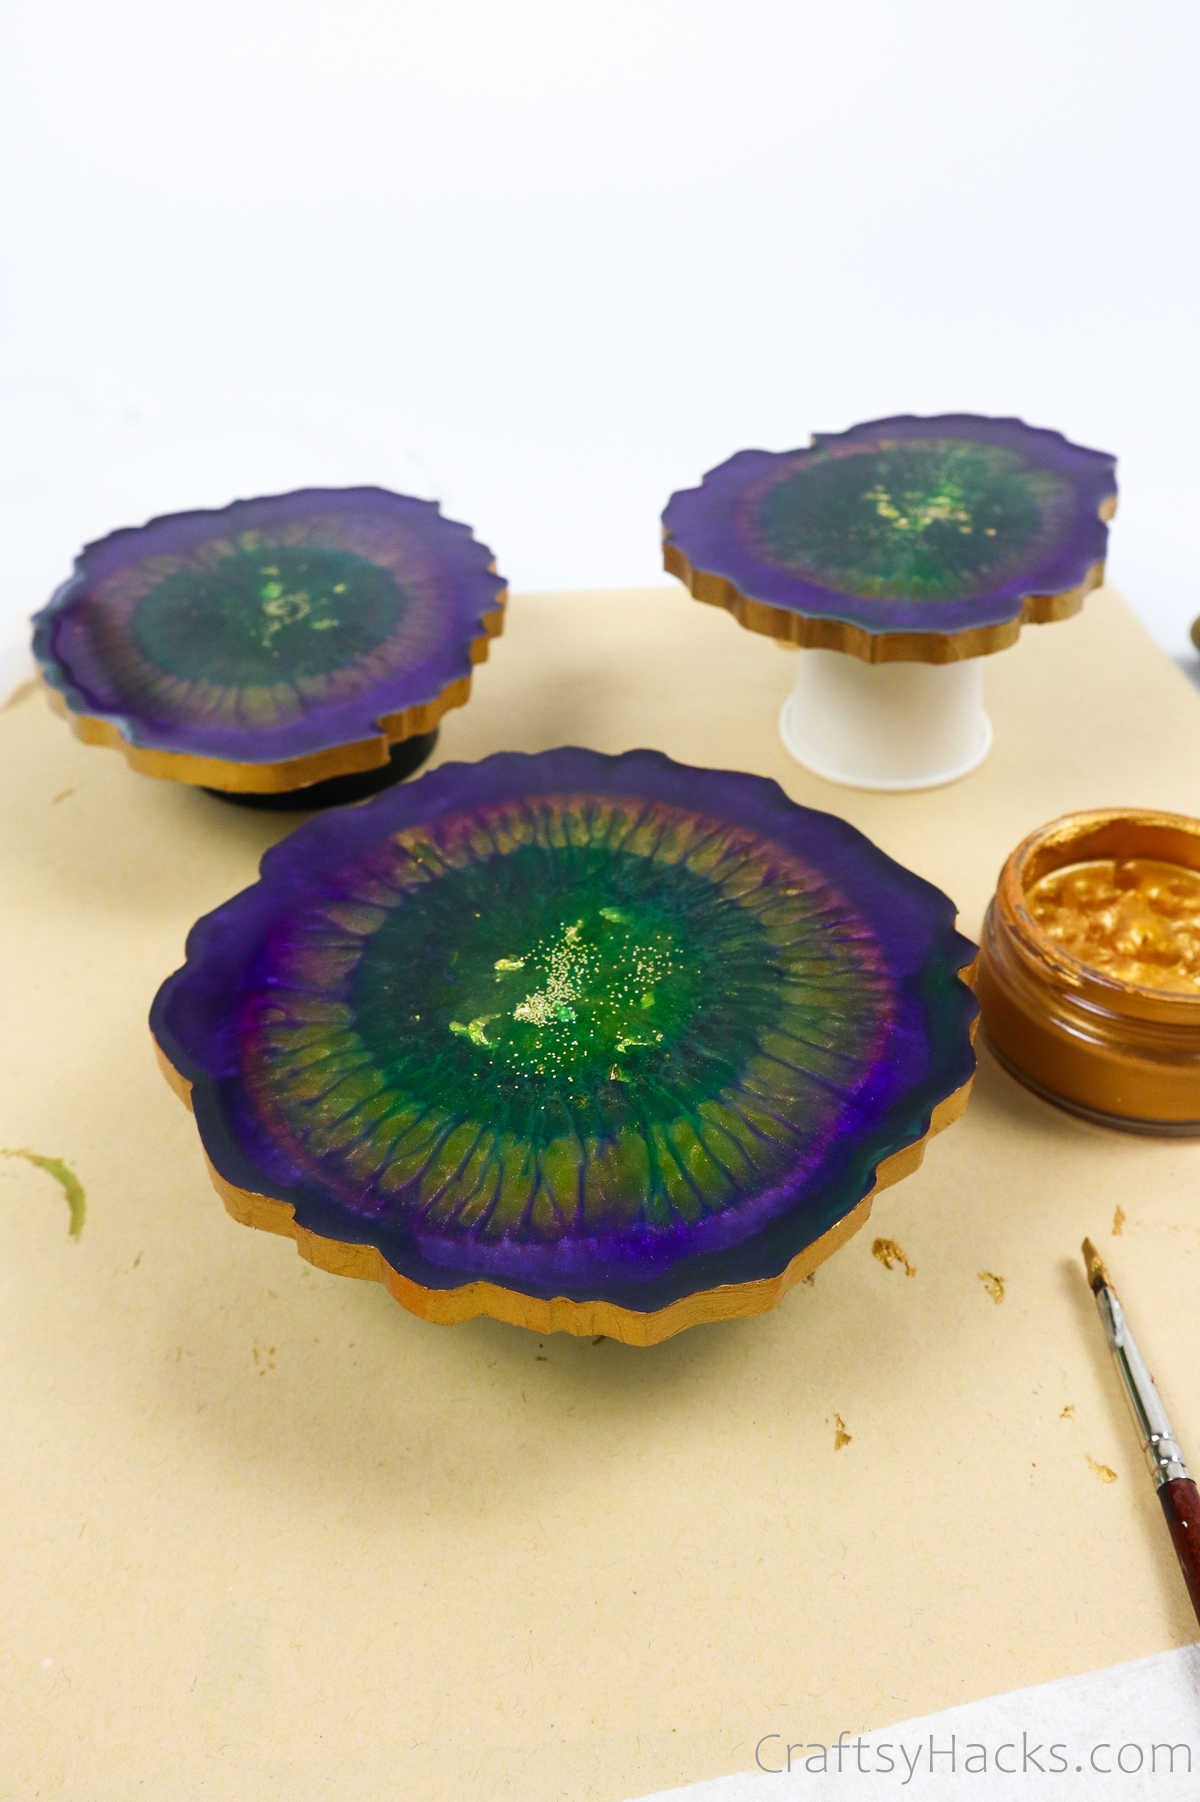
Go ahead and decorate the coasters!
That should take around 24-48 hours.
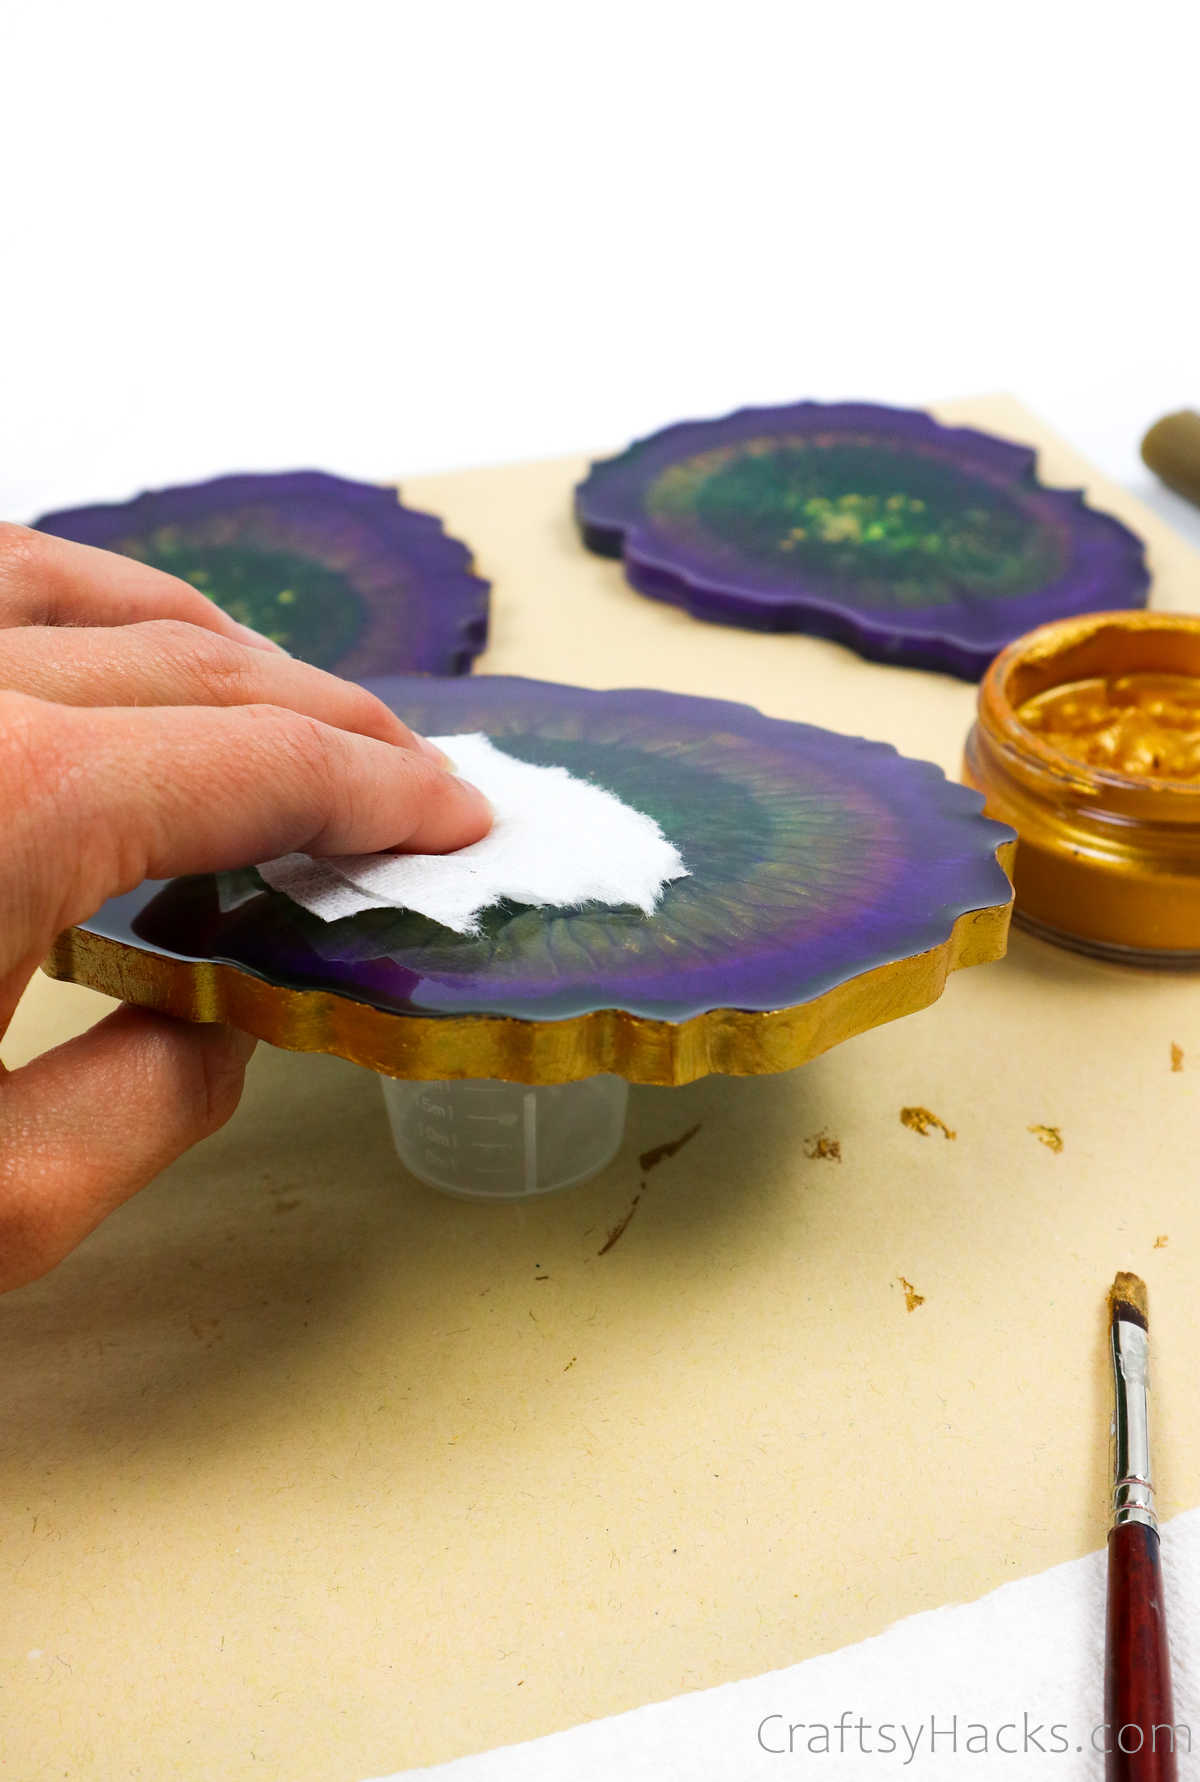
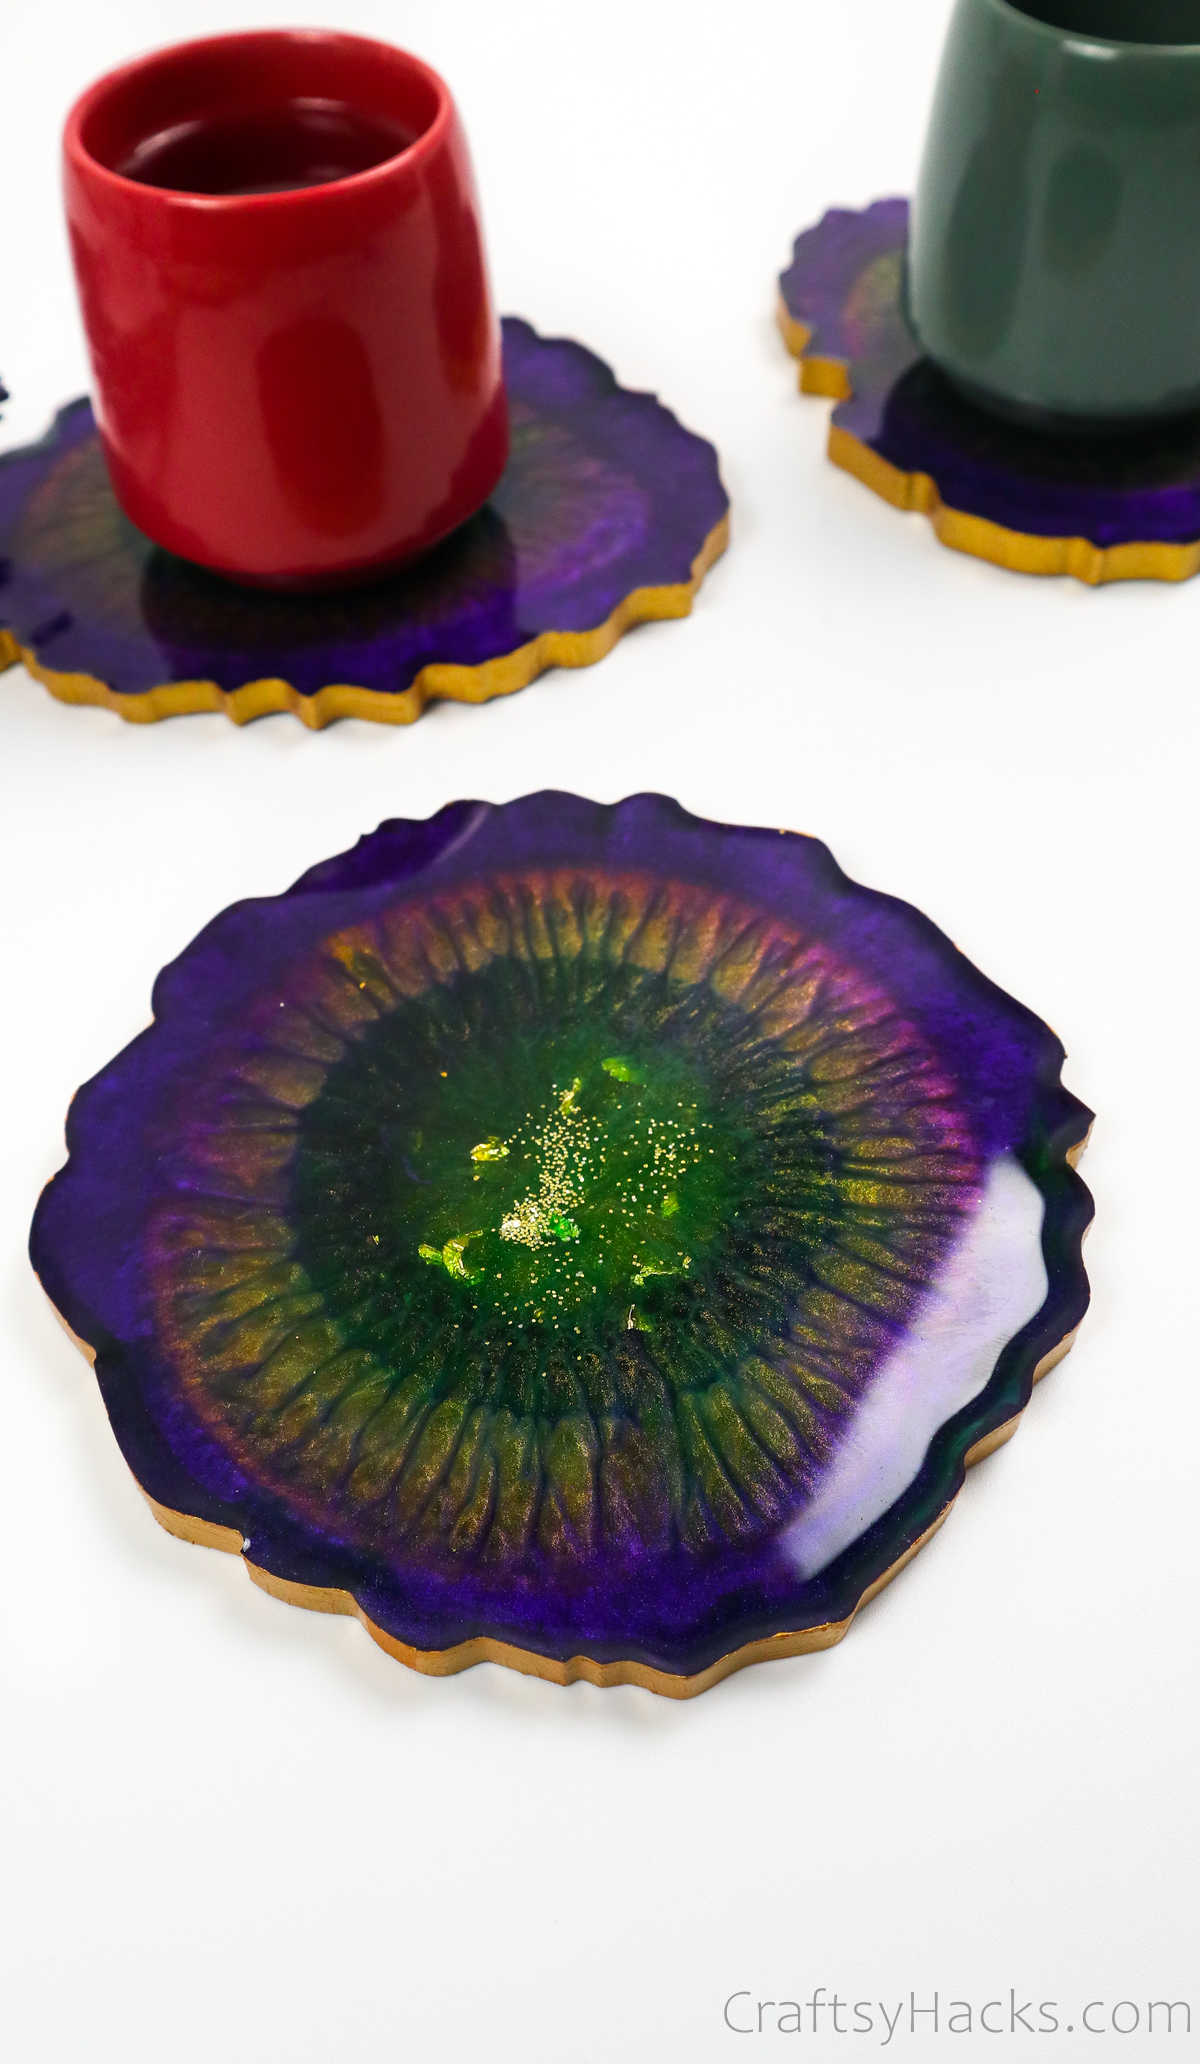
Prop the coaster up on a cup while the painted edges dry.
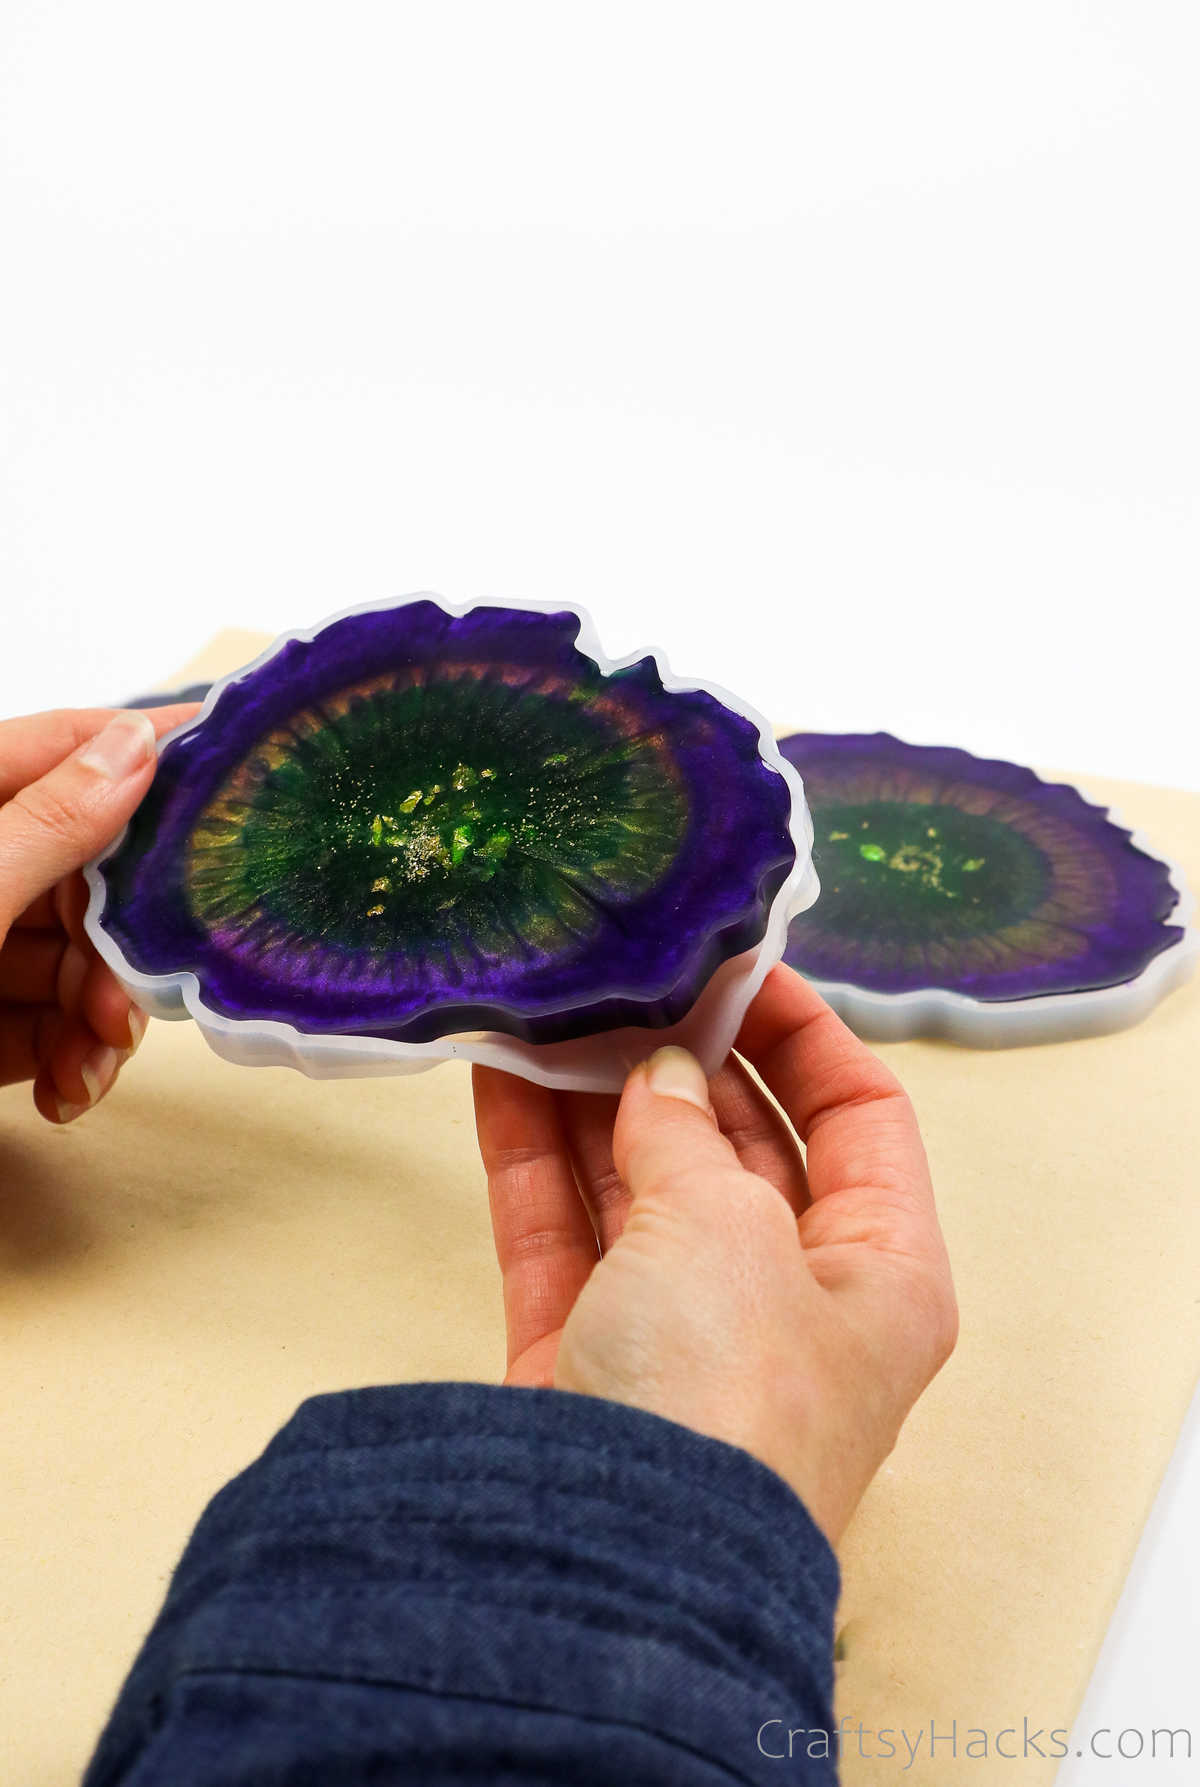
Use a piece of tissue when handling the coaster so you dont get any fingerprints on the glossy surface.
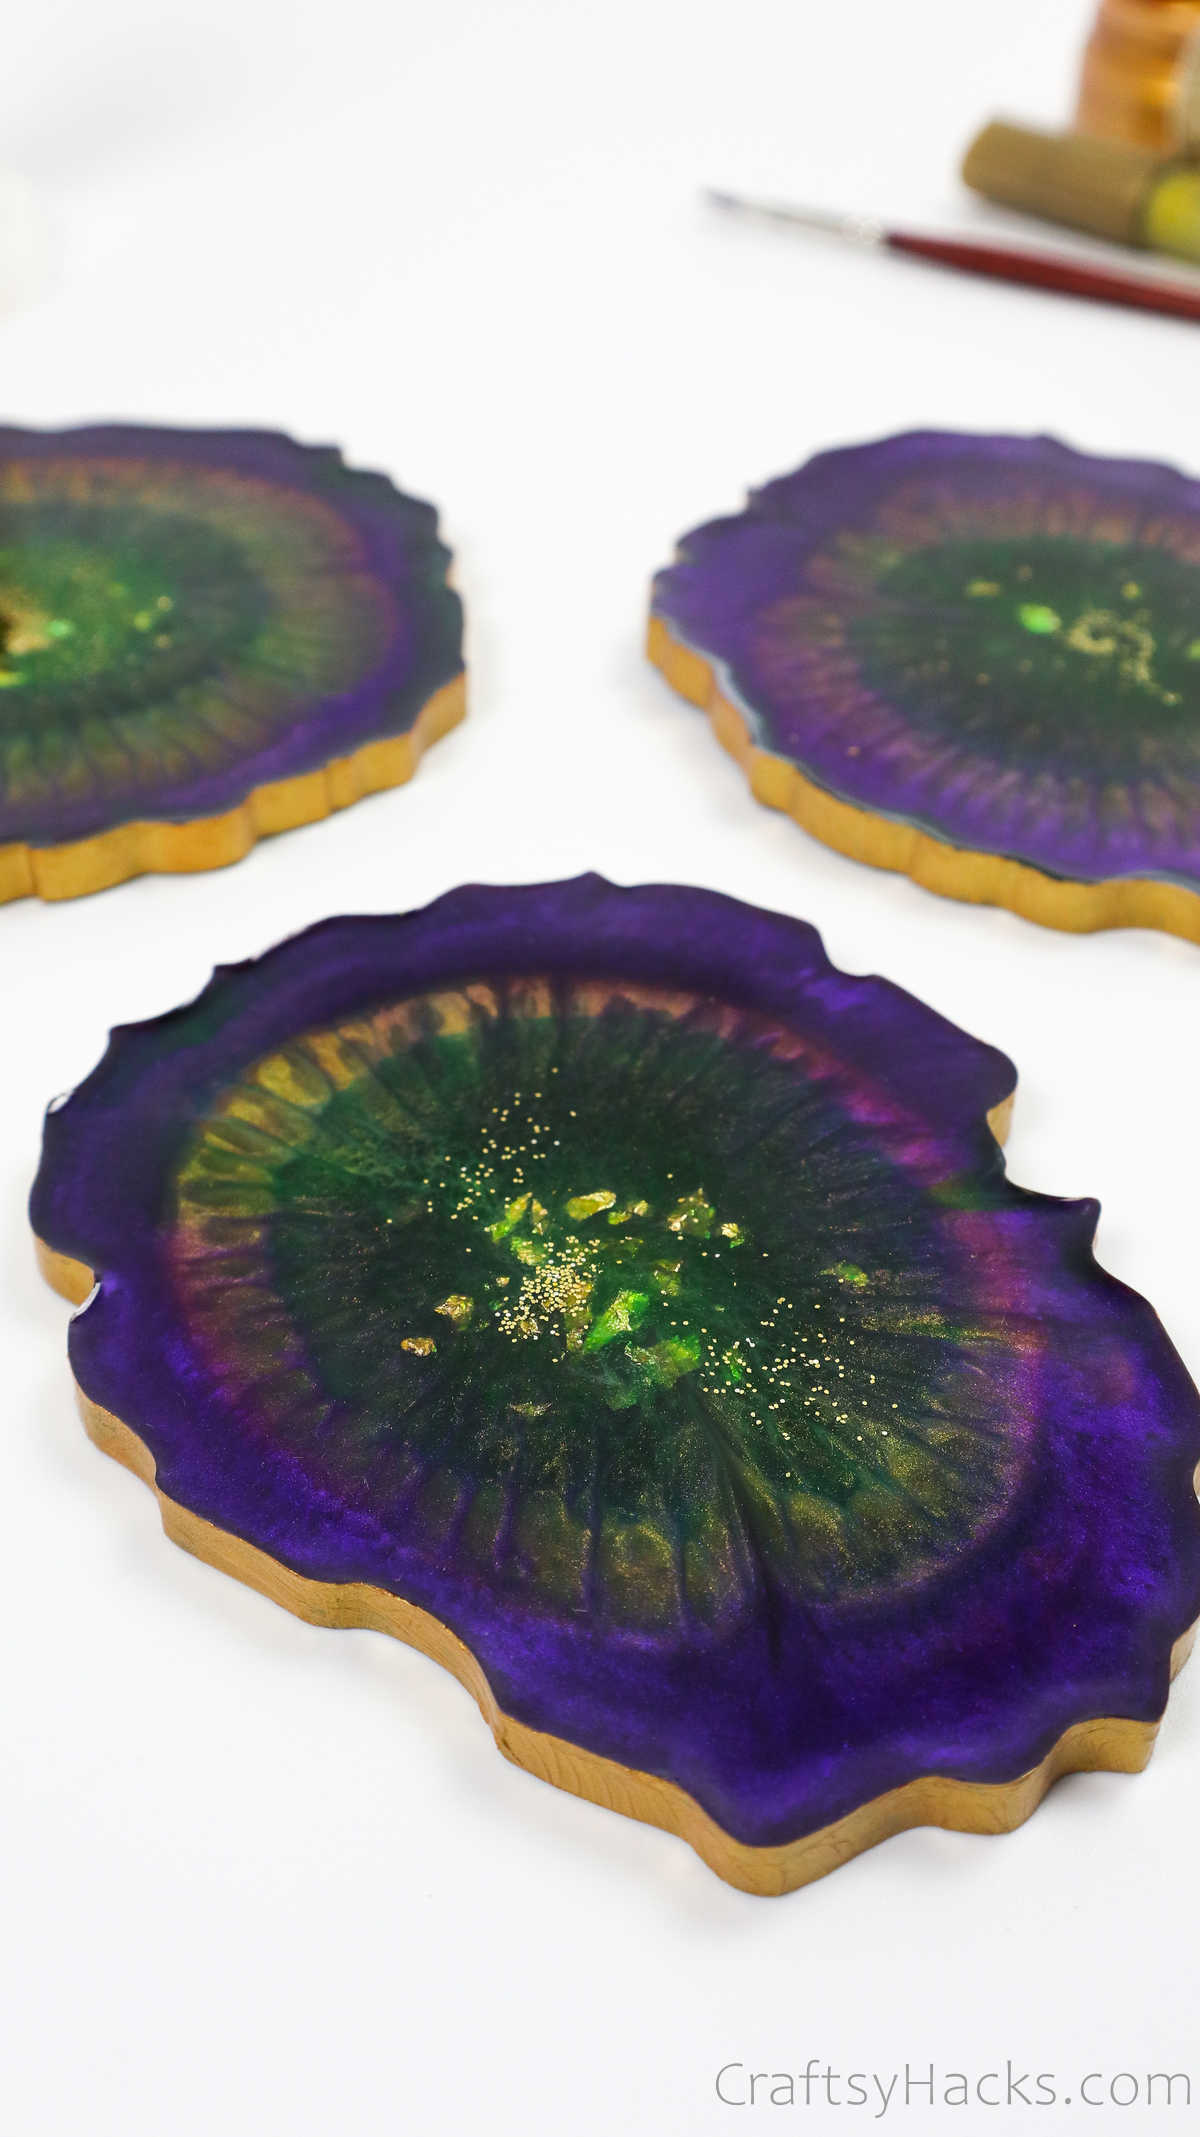
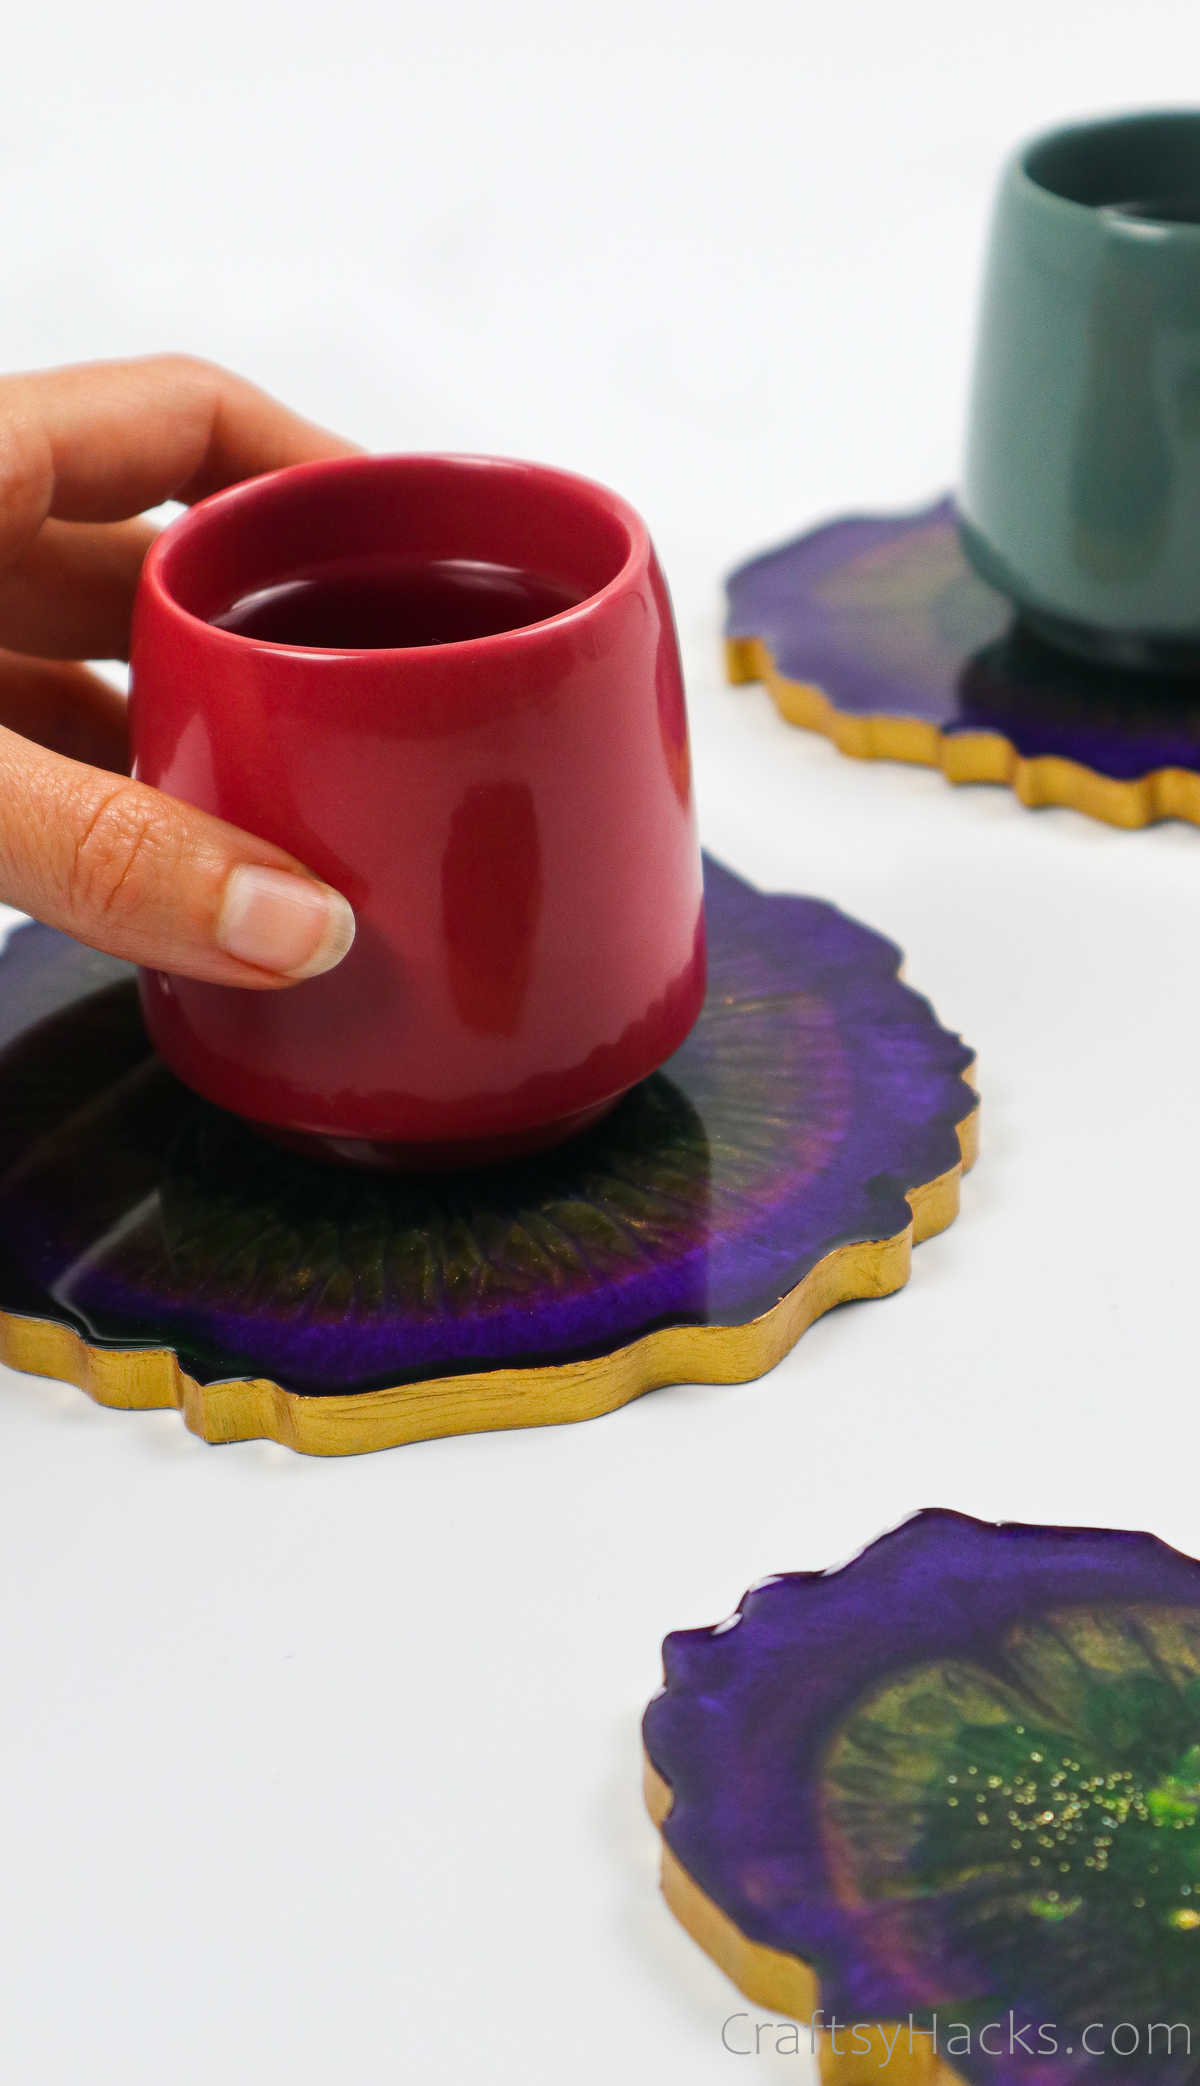
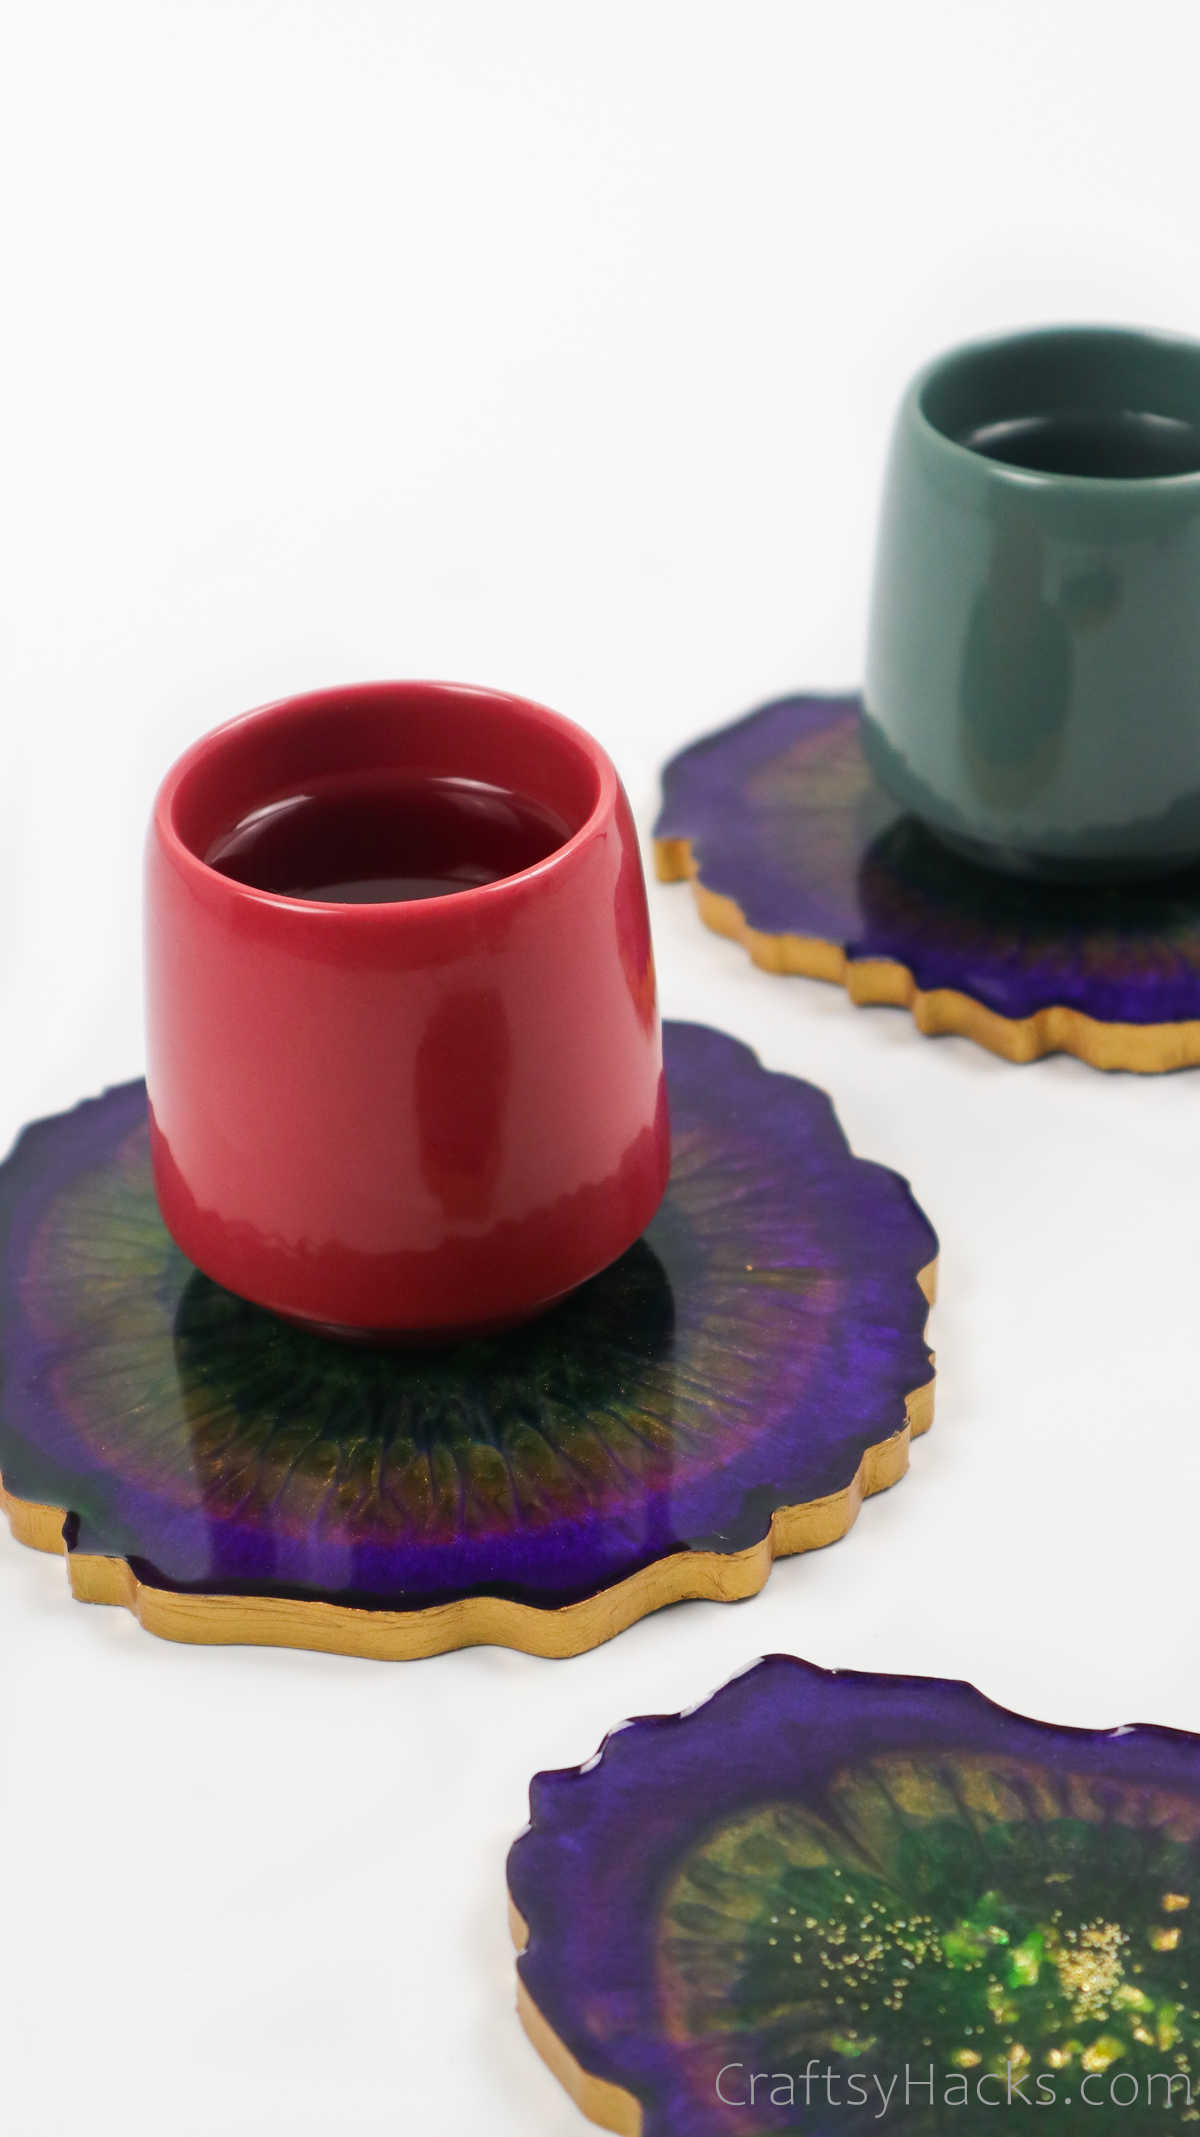
Once the edges have dried, your DIY coasters are all done and ready to use!
How Long Should Resin Coasters Sit?
Your coasters can take anywhere between 24-48 hours to dry.
It all comes down to just how thick your coasters are.
The thicker the coaster, the longer it will take for it to dry all the way through.
Is There a Difference Between Epoxy and Resin?
Contrary to what most people think, epoxy and resin are not one and the same.

Otherwise, when you place hot mugs on the surface, the resin will be affected.