We promise to send you only the good stuff.
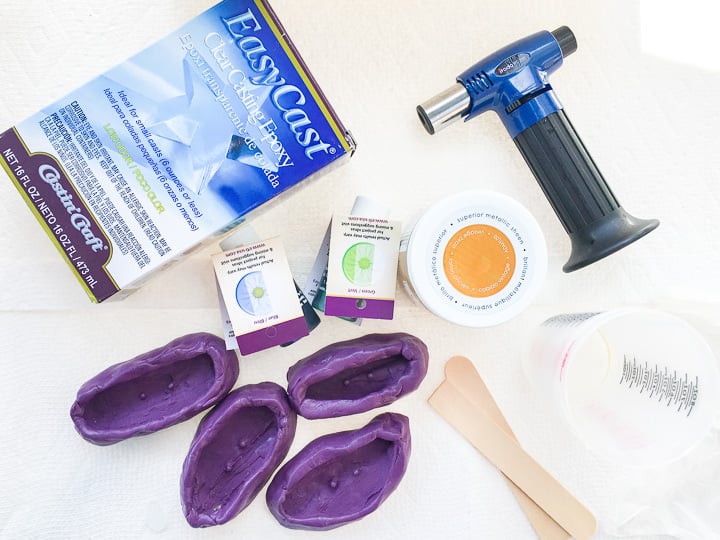
Materials Needed
Disclosure: This post contains affiliate links for your shopping convenience.
you might readour full disclosure policy here.

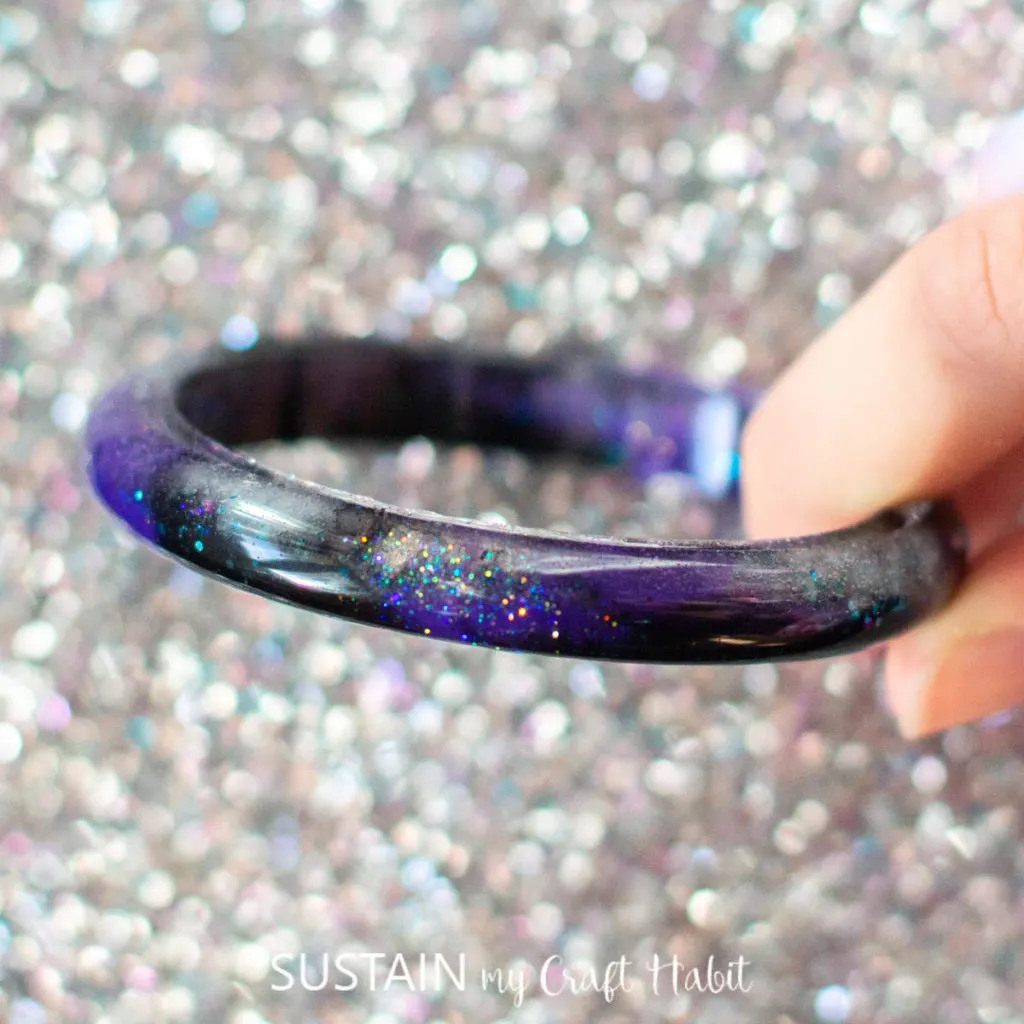
Galaxy Resin Bracelet
To prepare the resin for pouring, mix equal amounts of resin and hardener in a measuring cup.
Two ounces of each should be sufficient for this part of the project.
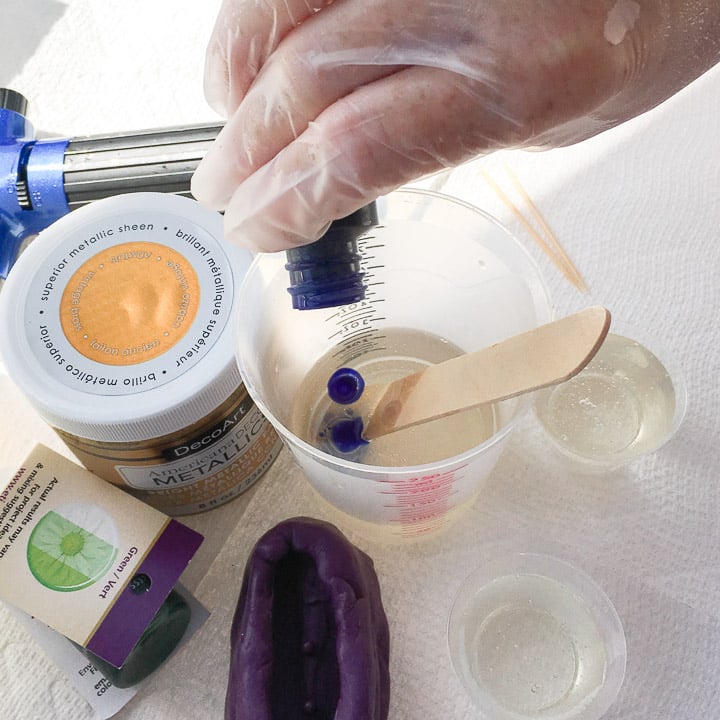
Stir the two parts together for 2 minutes scraping the bottom and sides with the wooden stir stick.

Pour the mixture into a second measuring cup and continue stirring for another minute.
Divide the resin mixture amongst 3 cups.
Add 2 drops of the translucent blue dye into one portion and green dye to another.
Stir until each color is completely blended.
Your resin will then be ready to pour.
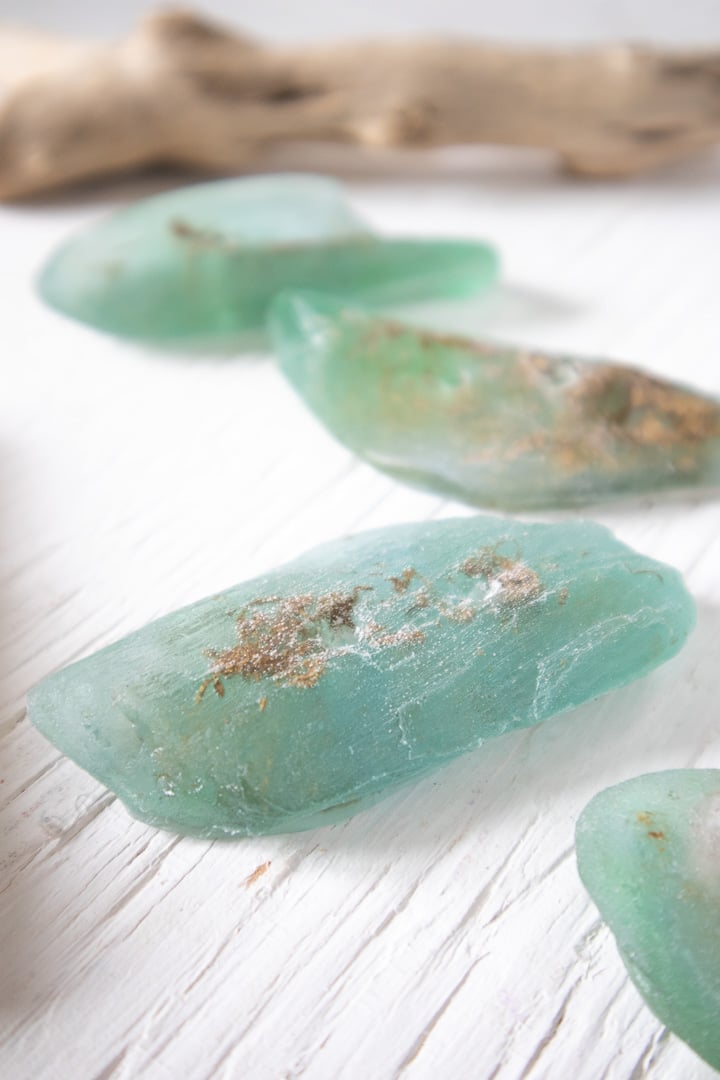
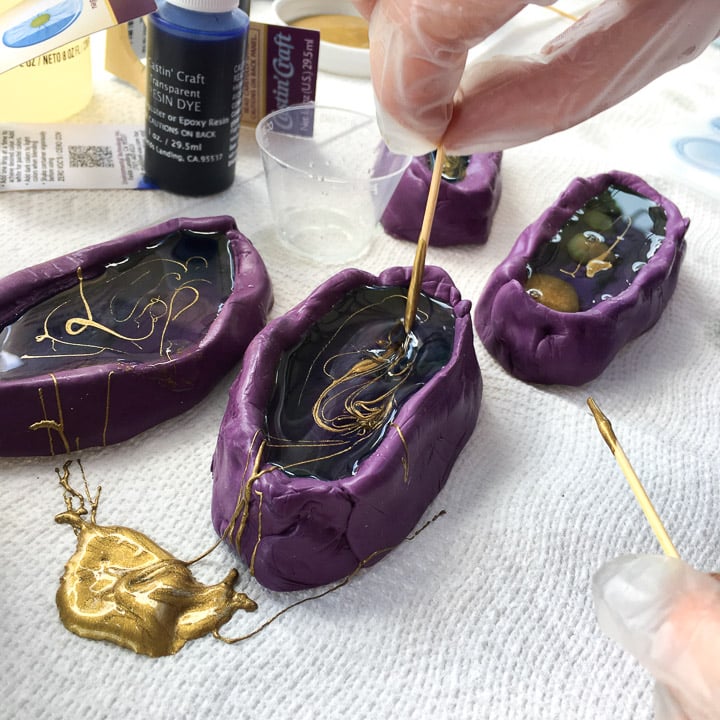
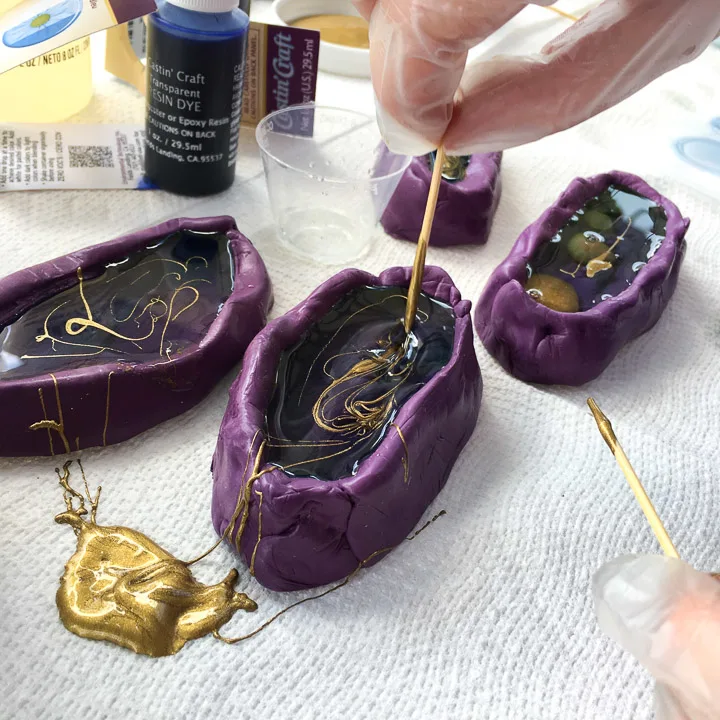
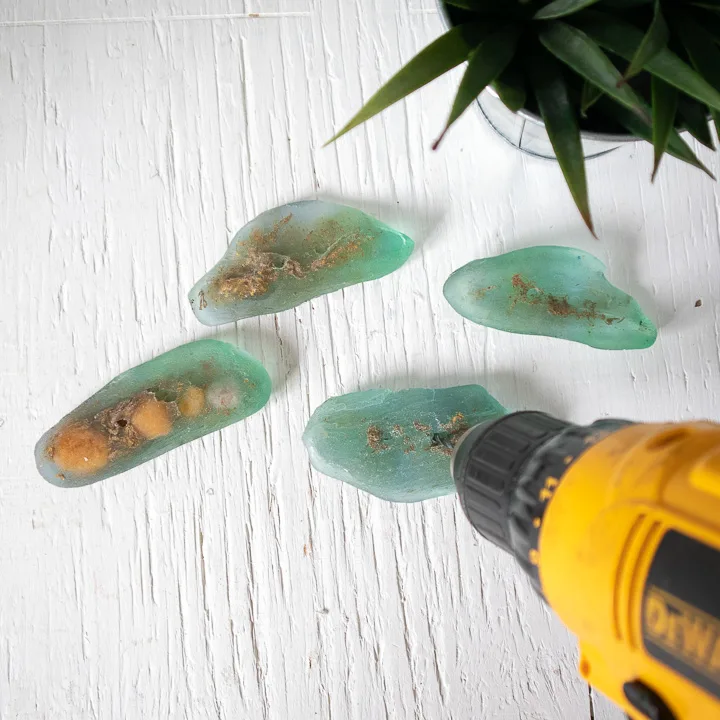
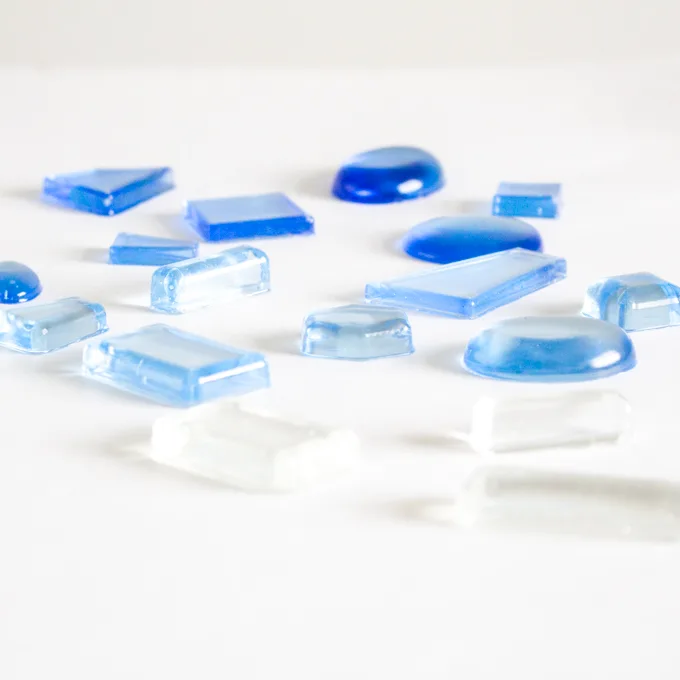
If youd like, add small inclusions into one of the mold such as pebbles or sea glass.

Next, alternate pouring each of the three colors of resin into the molds until filled.
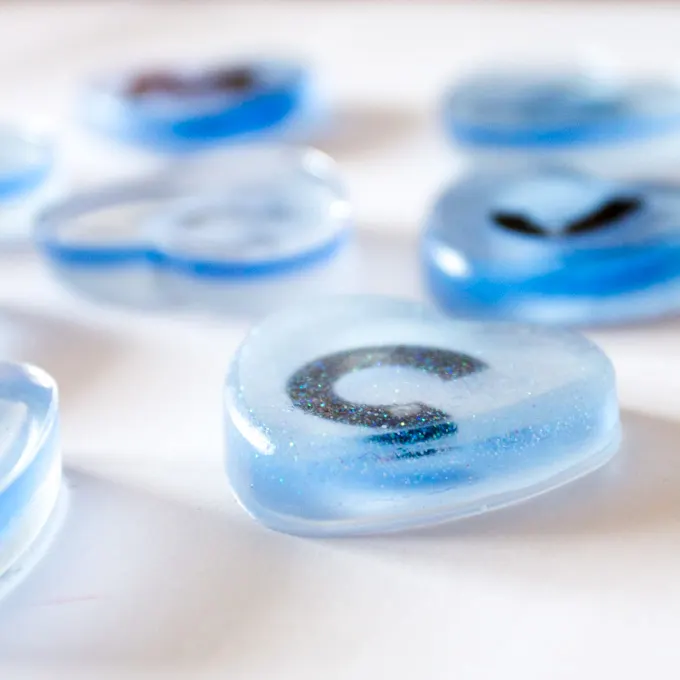
Using a toothpick, add threads of gold metallic paint to the molds.
Swirl around and into the resin in the molds.
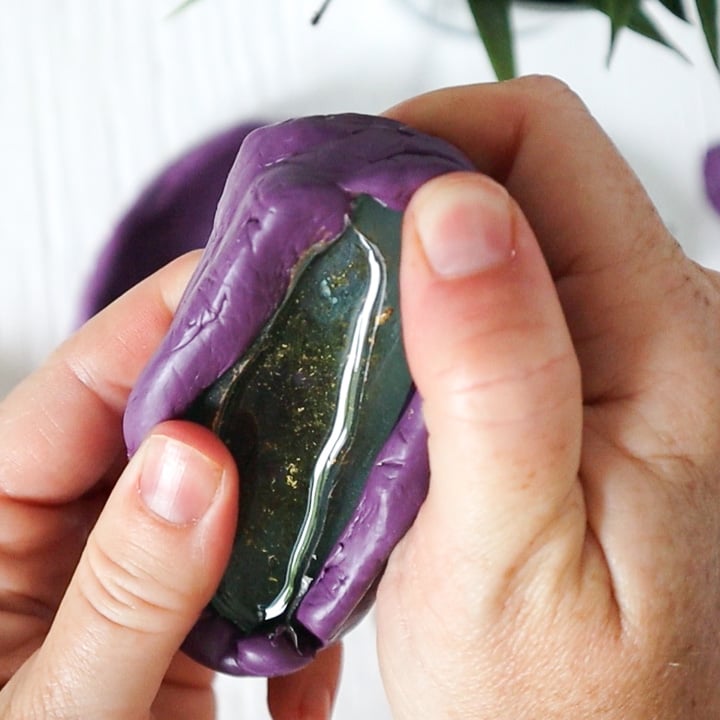
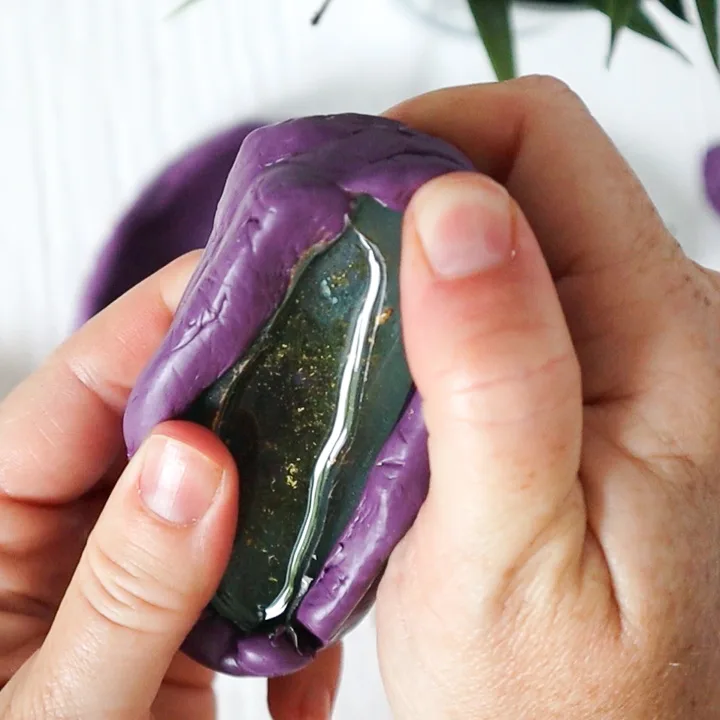
Cover and let cure for 24 to 48 hours before removing from the molds.
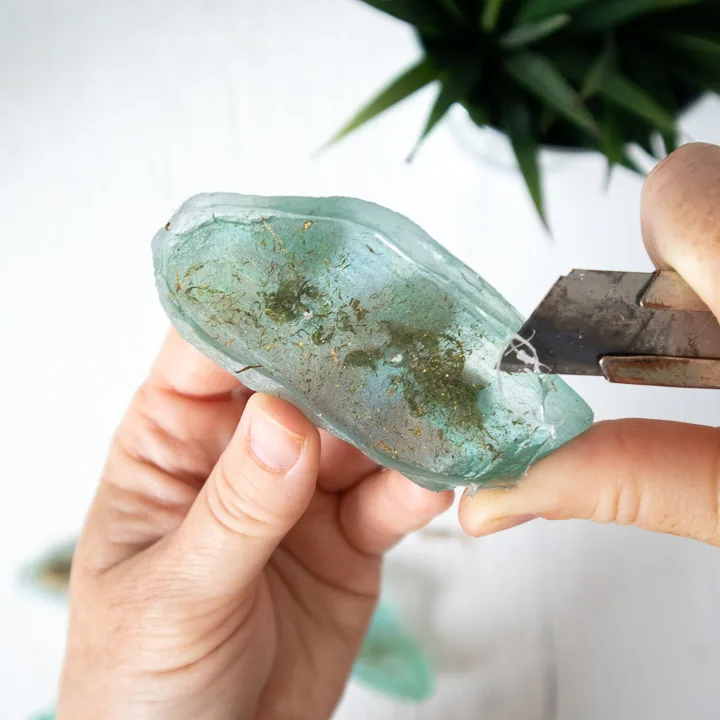
Carefully use a utility knife to clean off the sharp edges.
Use a toothpick to remove the fine sanded resin.

This project originally appeared on theResin Crafts Blog.
Thanks so much for stopping by to visit us here on the blog.
If you want to receive a ton of inspiration and money saving ideas for decorating, gift-giving and crafting?

Pin it for later!
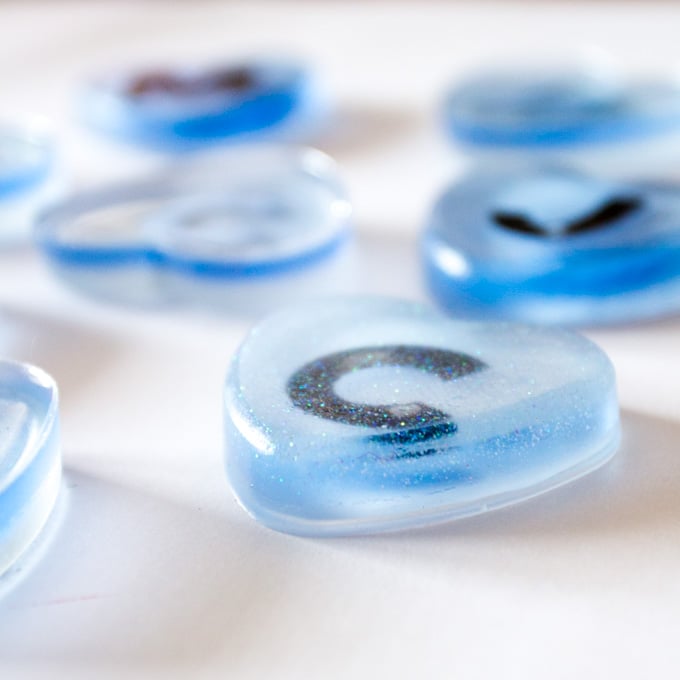
How to Make Resin Buttons with Silicone Putty
Materials
Instructions


Galaxy Resin Bracelet

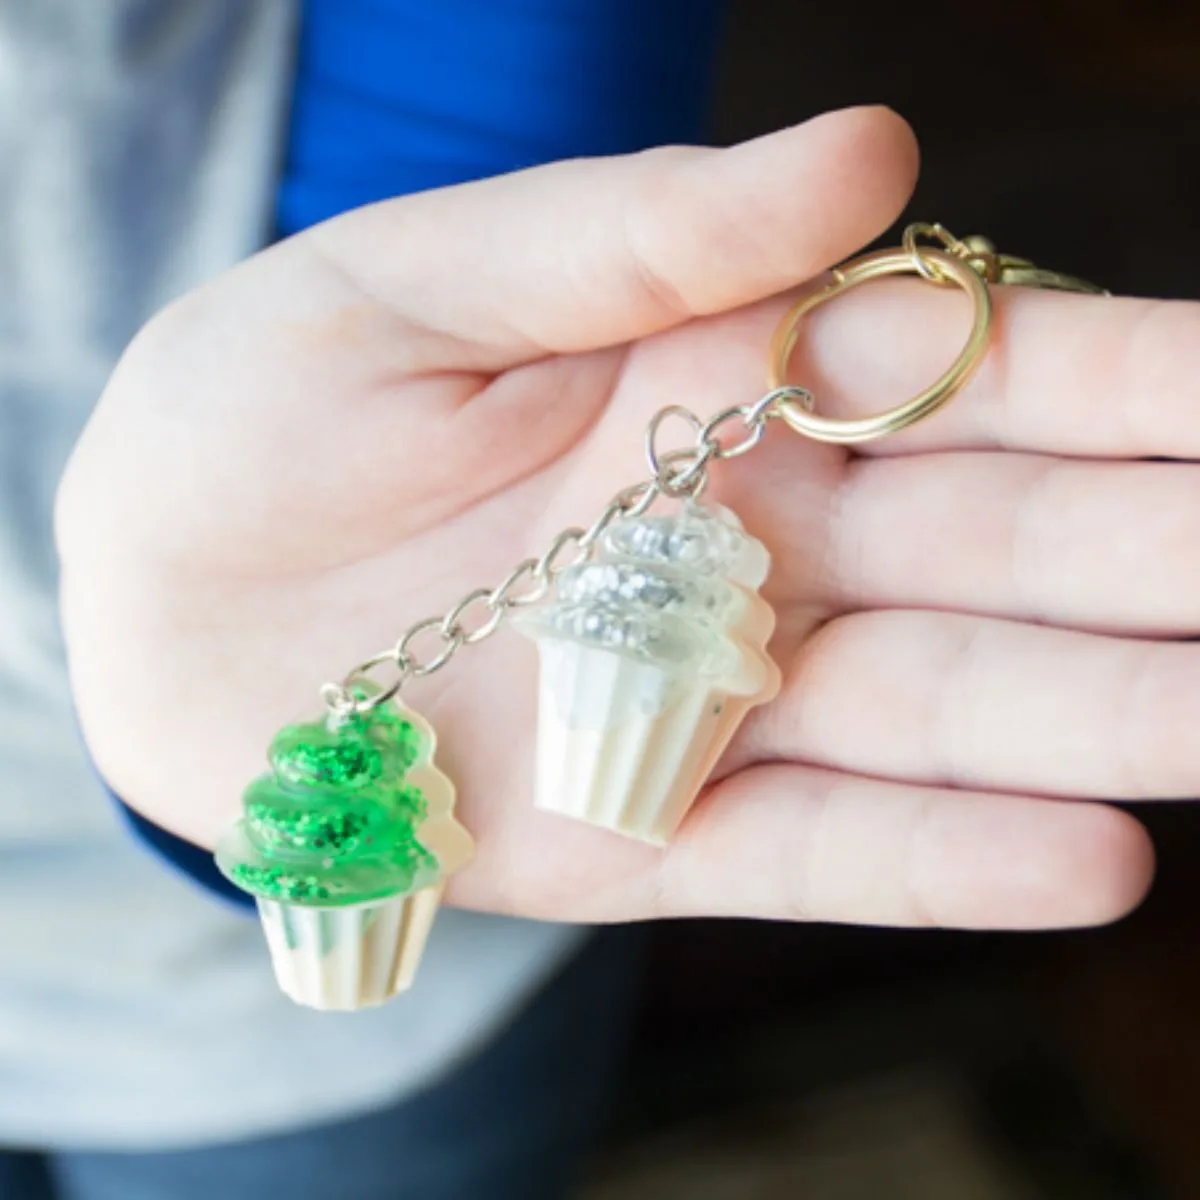
Cupcake Charms

Resin Feather Pendant

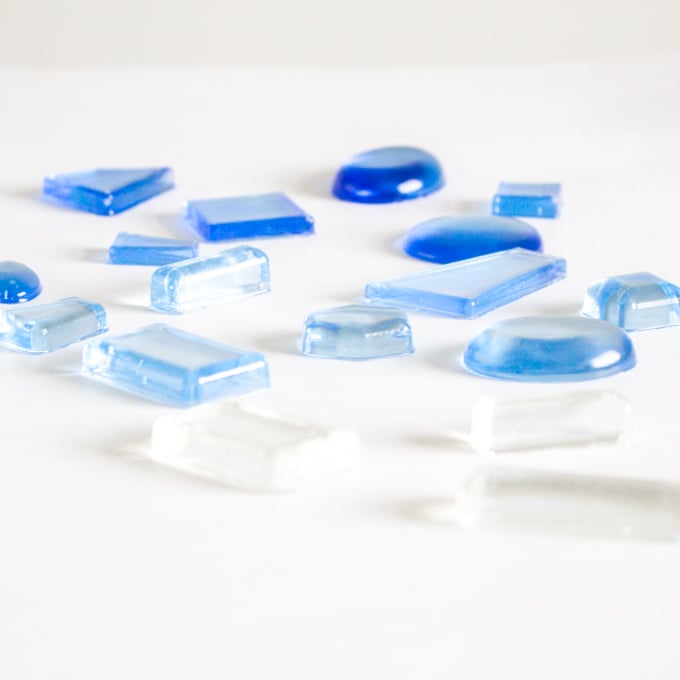
Resin Seaglass
Fridge Magnets