HomeDIY
This post may contain affiliate links:full affiliate disclosure.
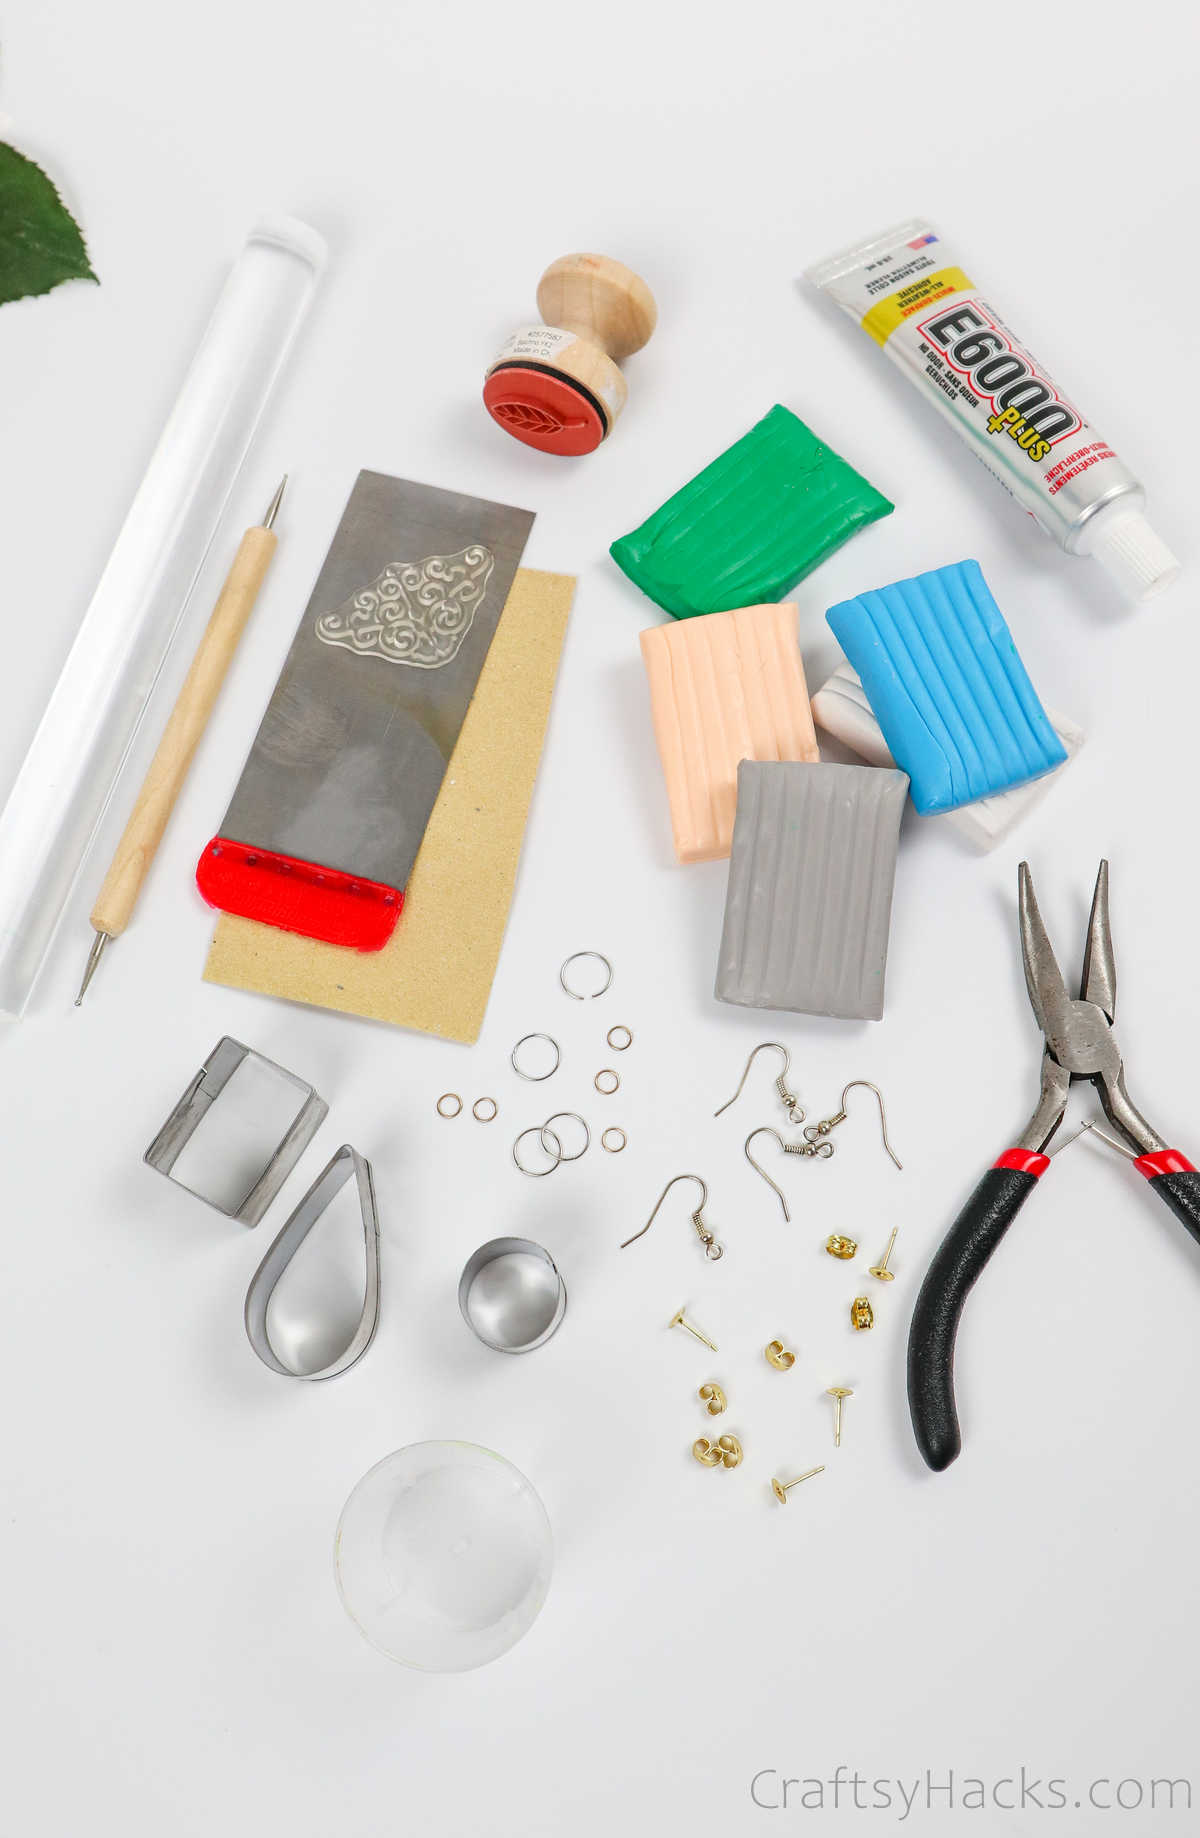
Learn how to make your very own unique polymer clay earrings.
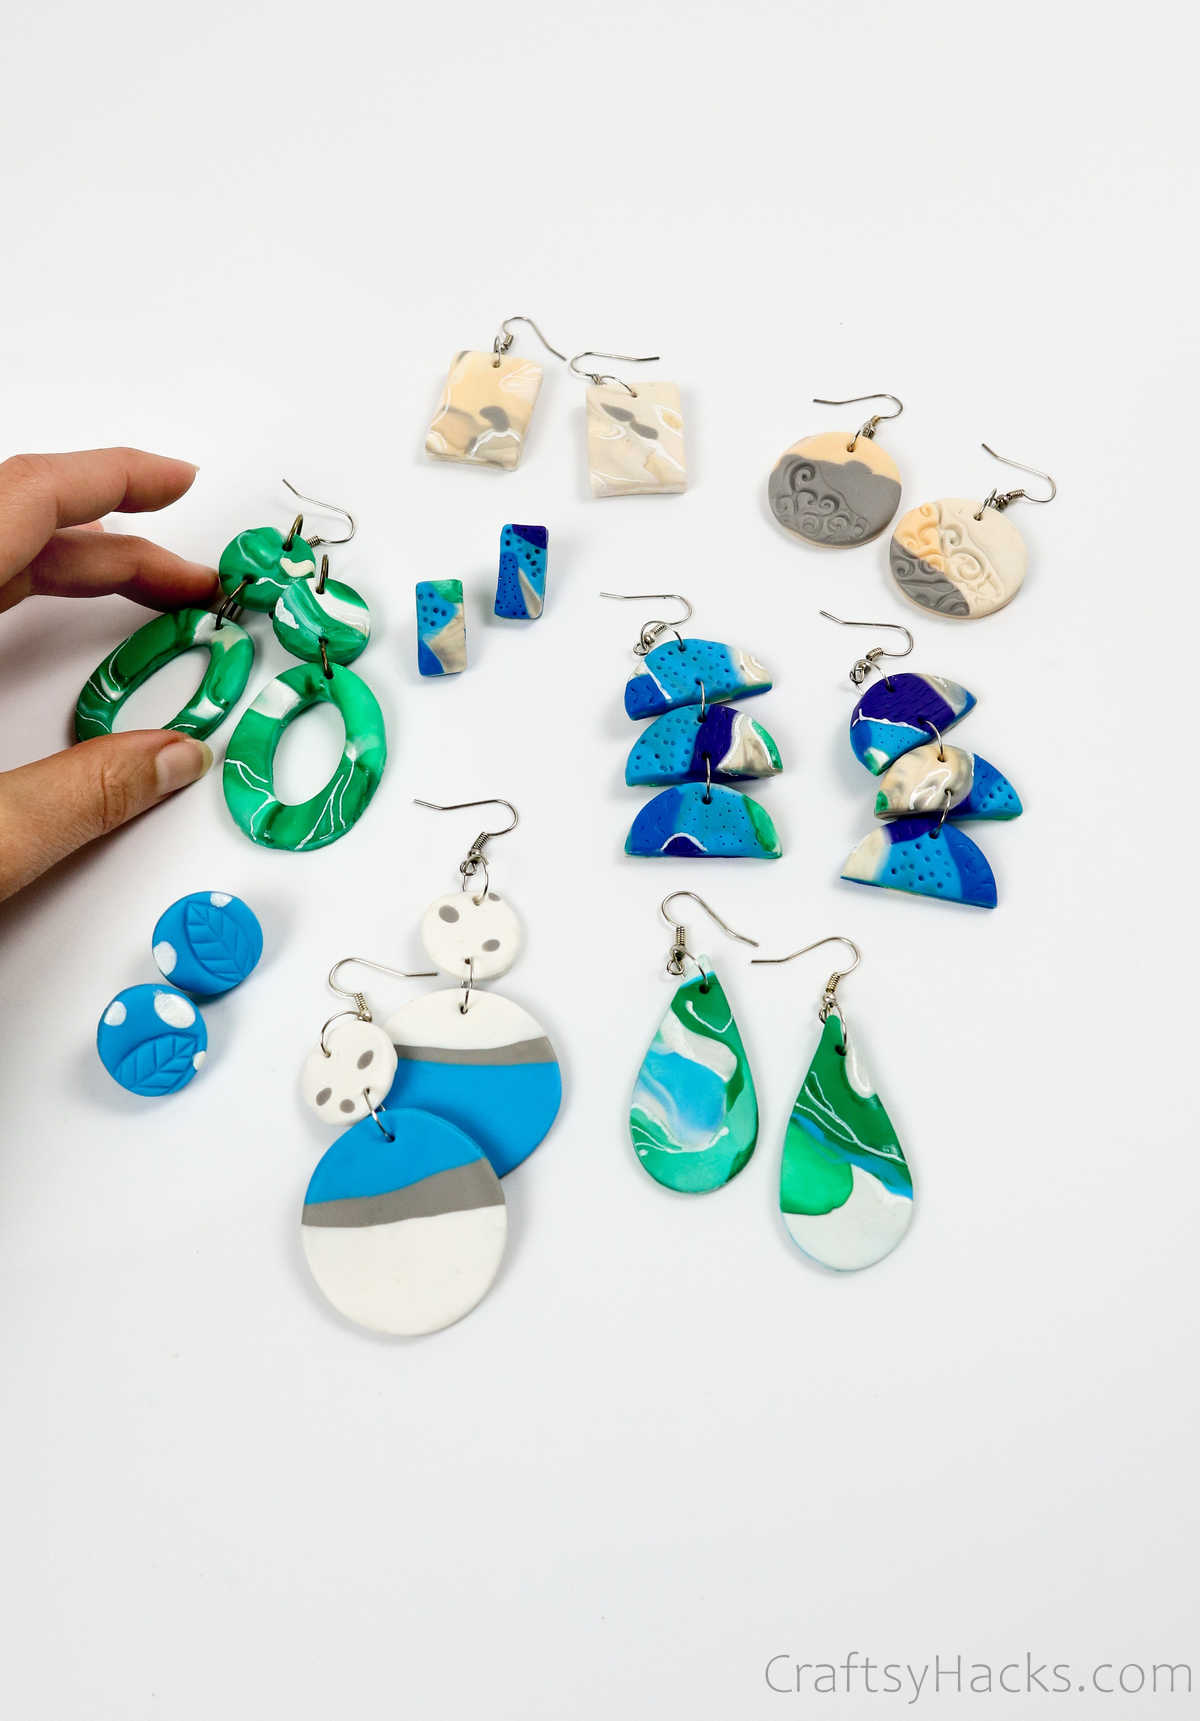
Im sharing 6 different earring designs that will give you inspiration for your next jewelry project.

You dont ever need a reason or occasion to add to your stash of earrings.
Not buying more earrings is definitely not the solution, but you also cant keep buying more and more.
you gotta do something more sustainable and pocket-friendly…likemakingyour ownDIY earrings!
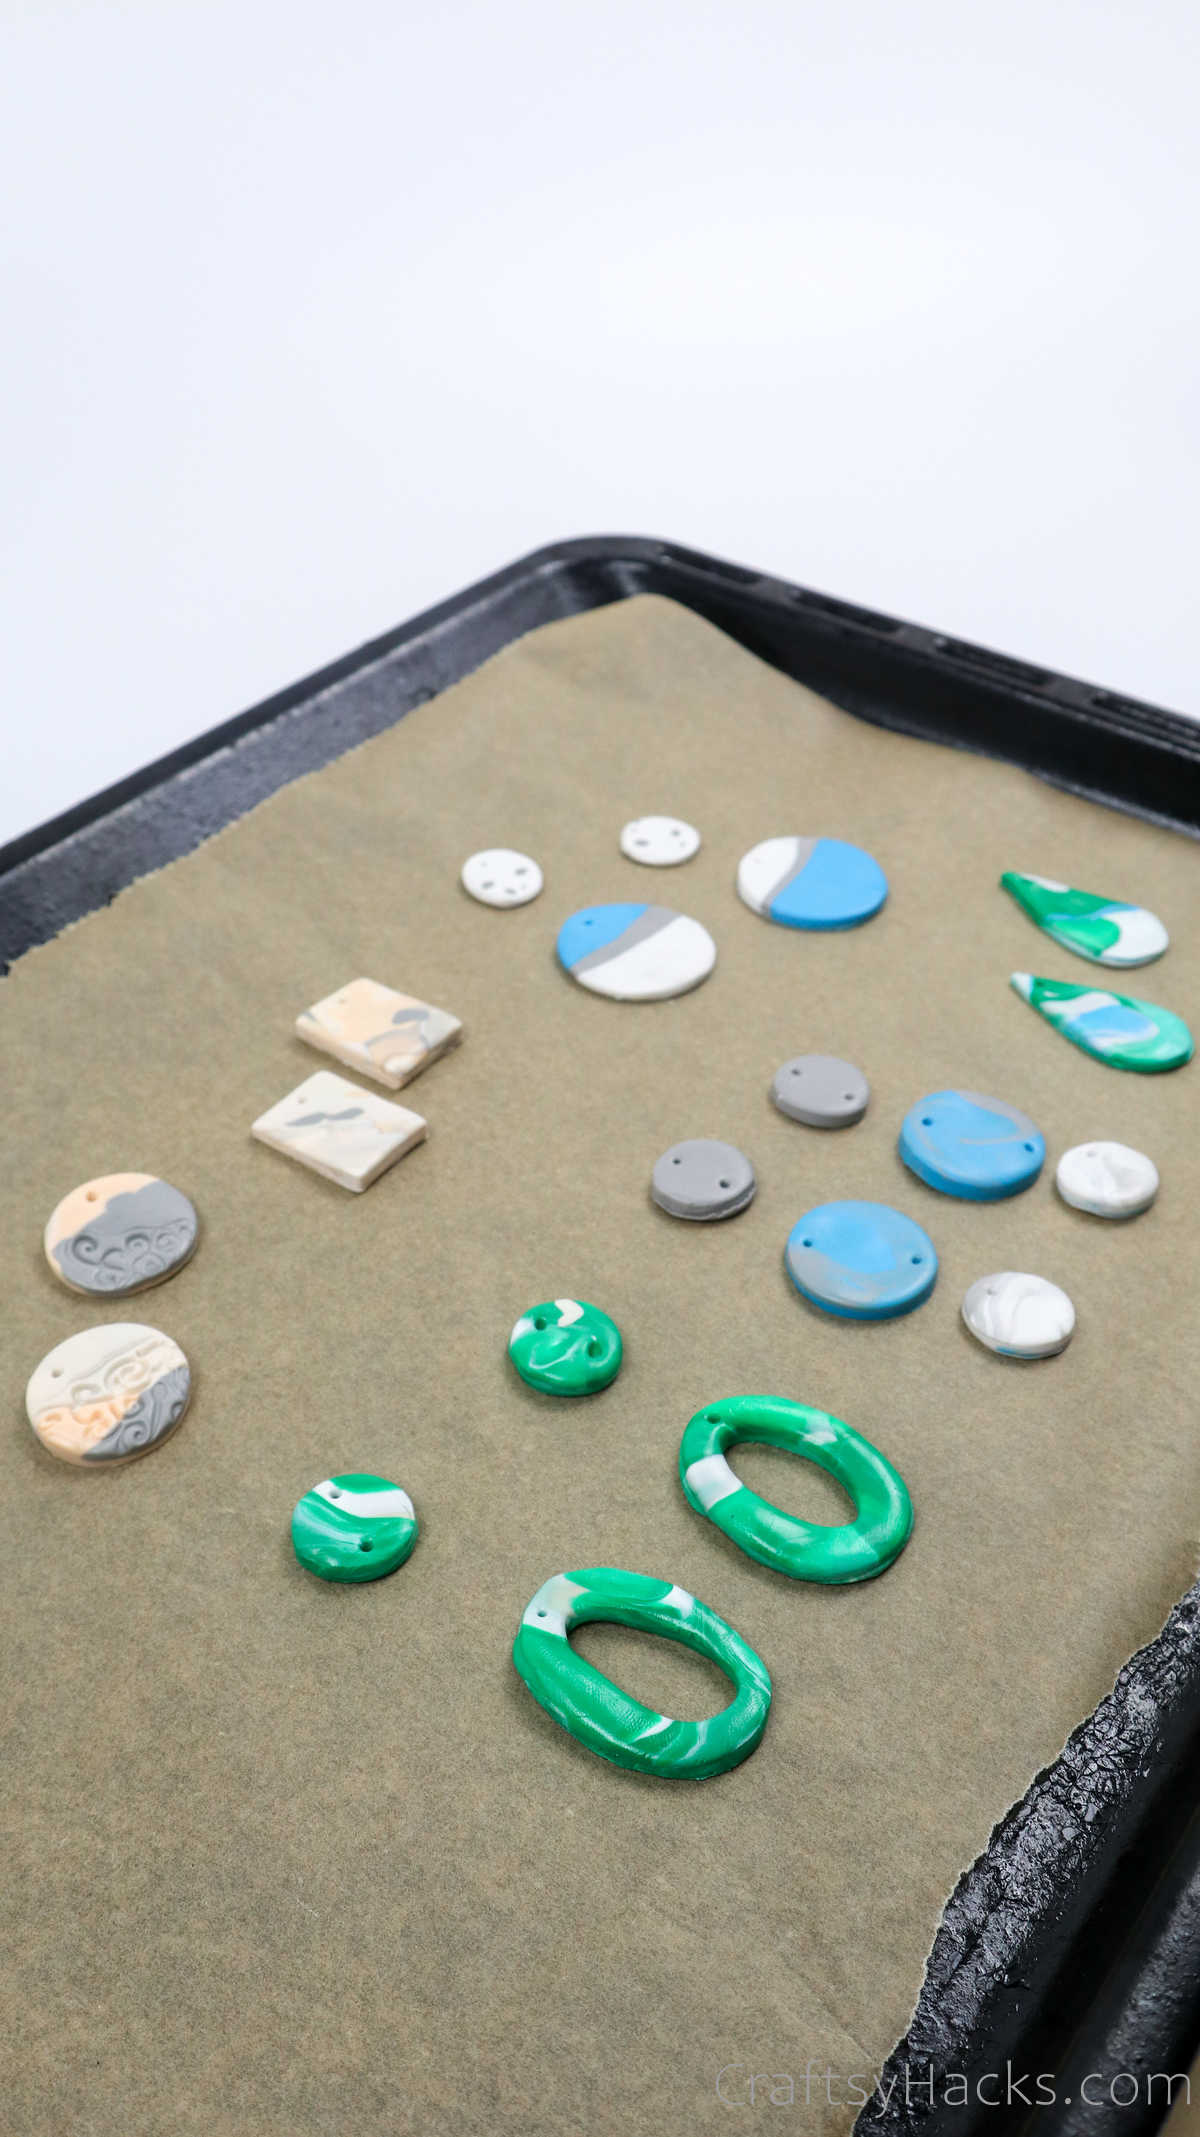
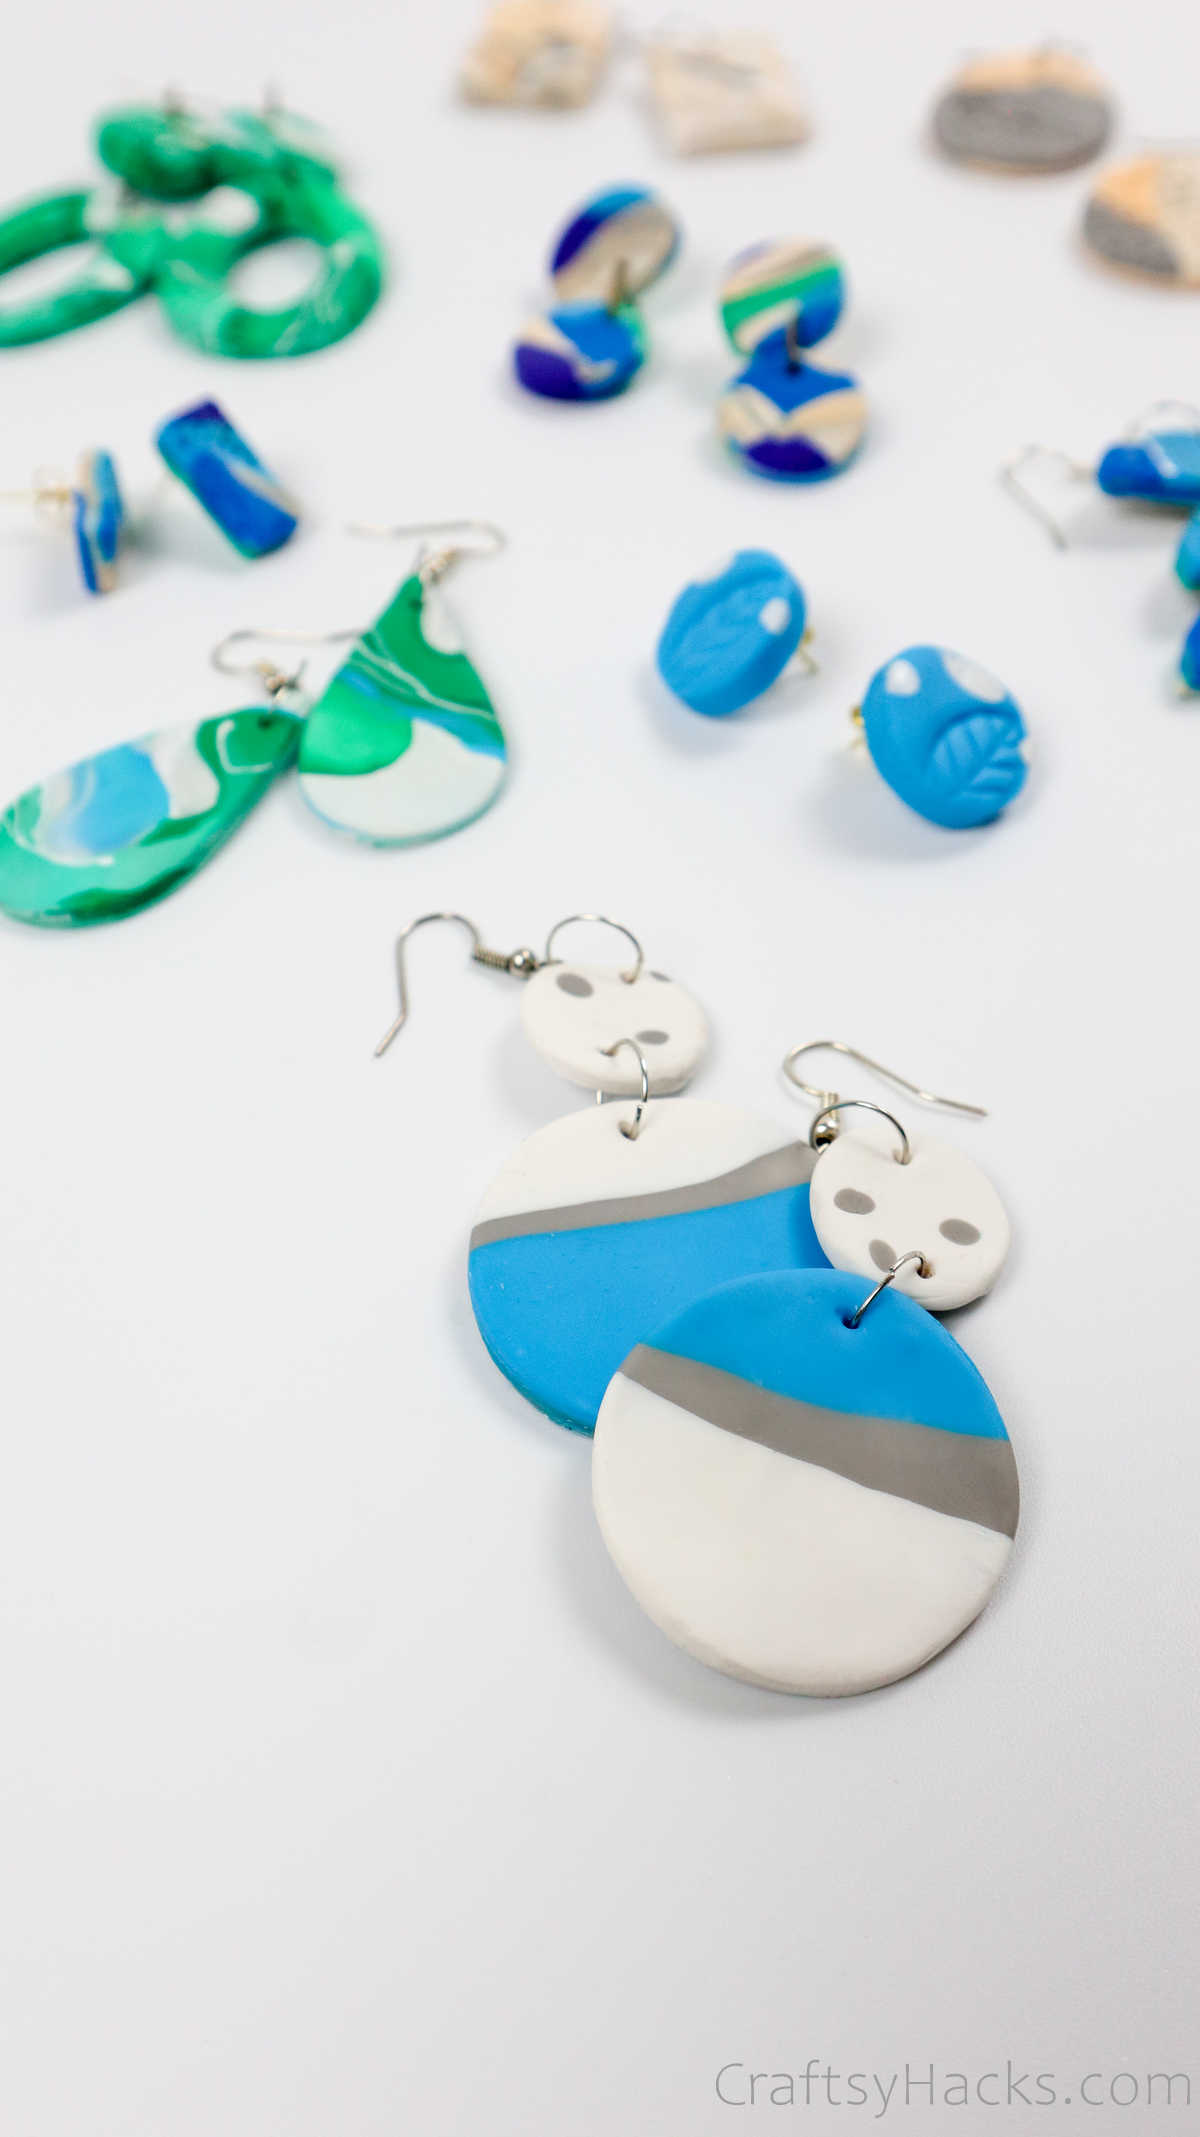
Take a look at these gorgeous earrings made out of polymer clay.
Theyre super pretty, and they are also surprisingly easy to make once you know how.
So, lets get right down to it.
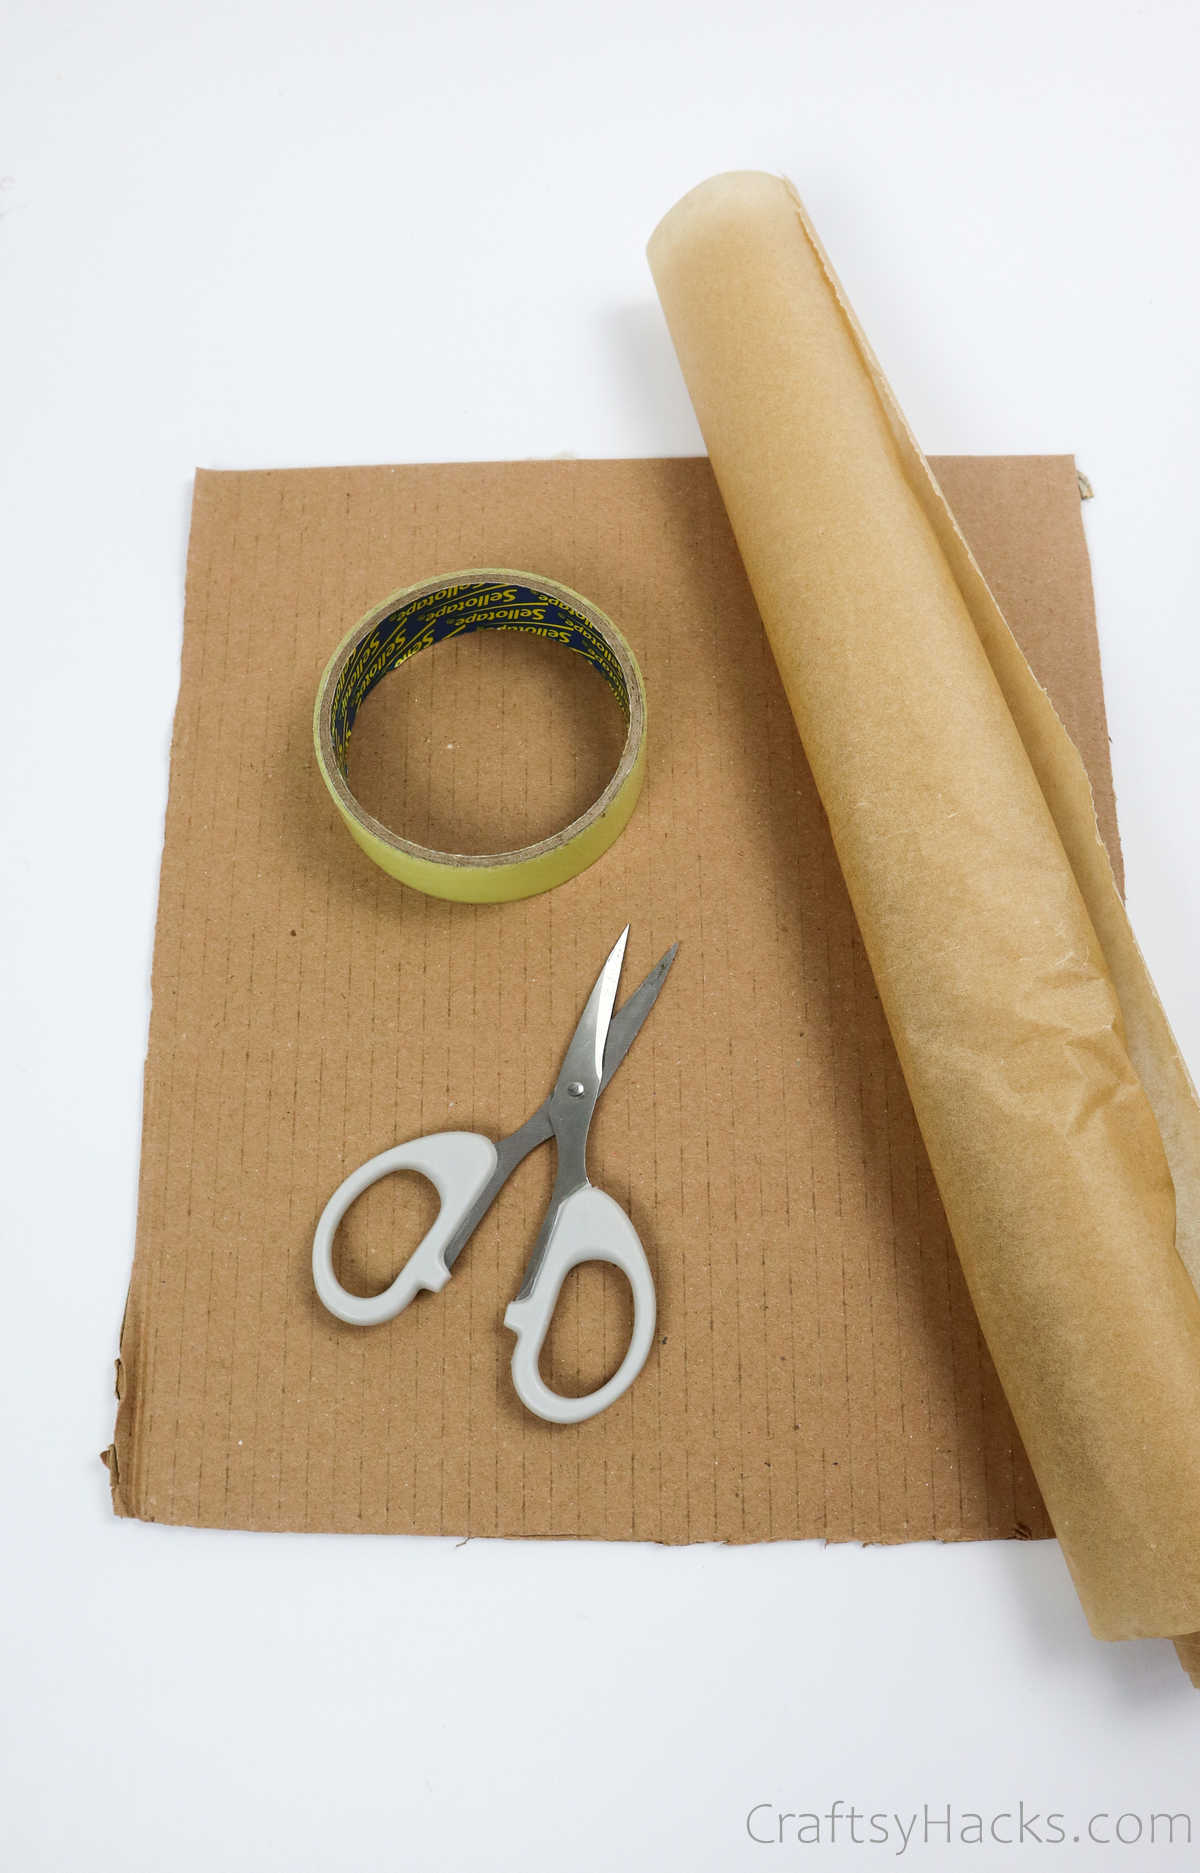
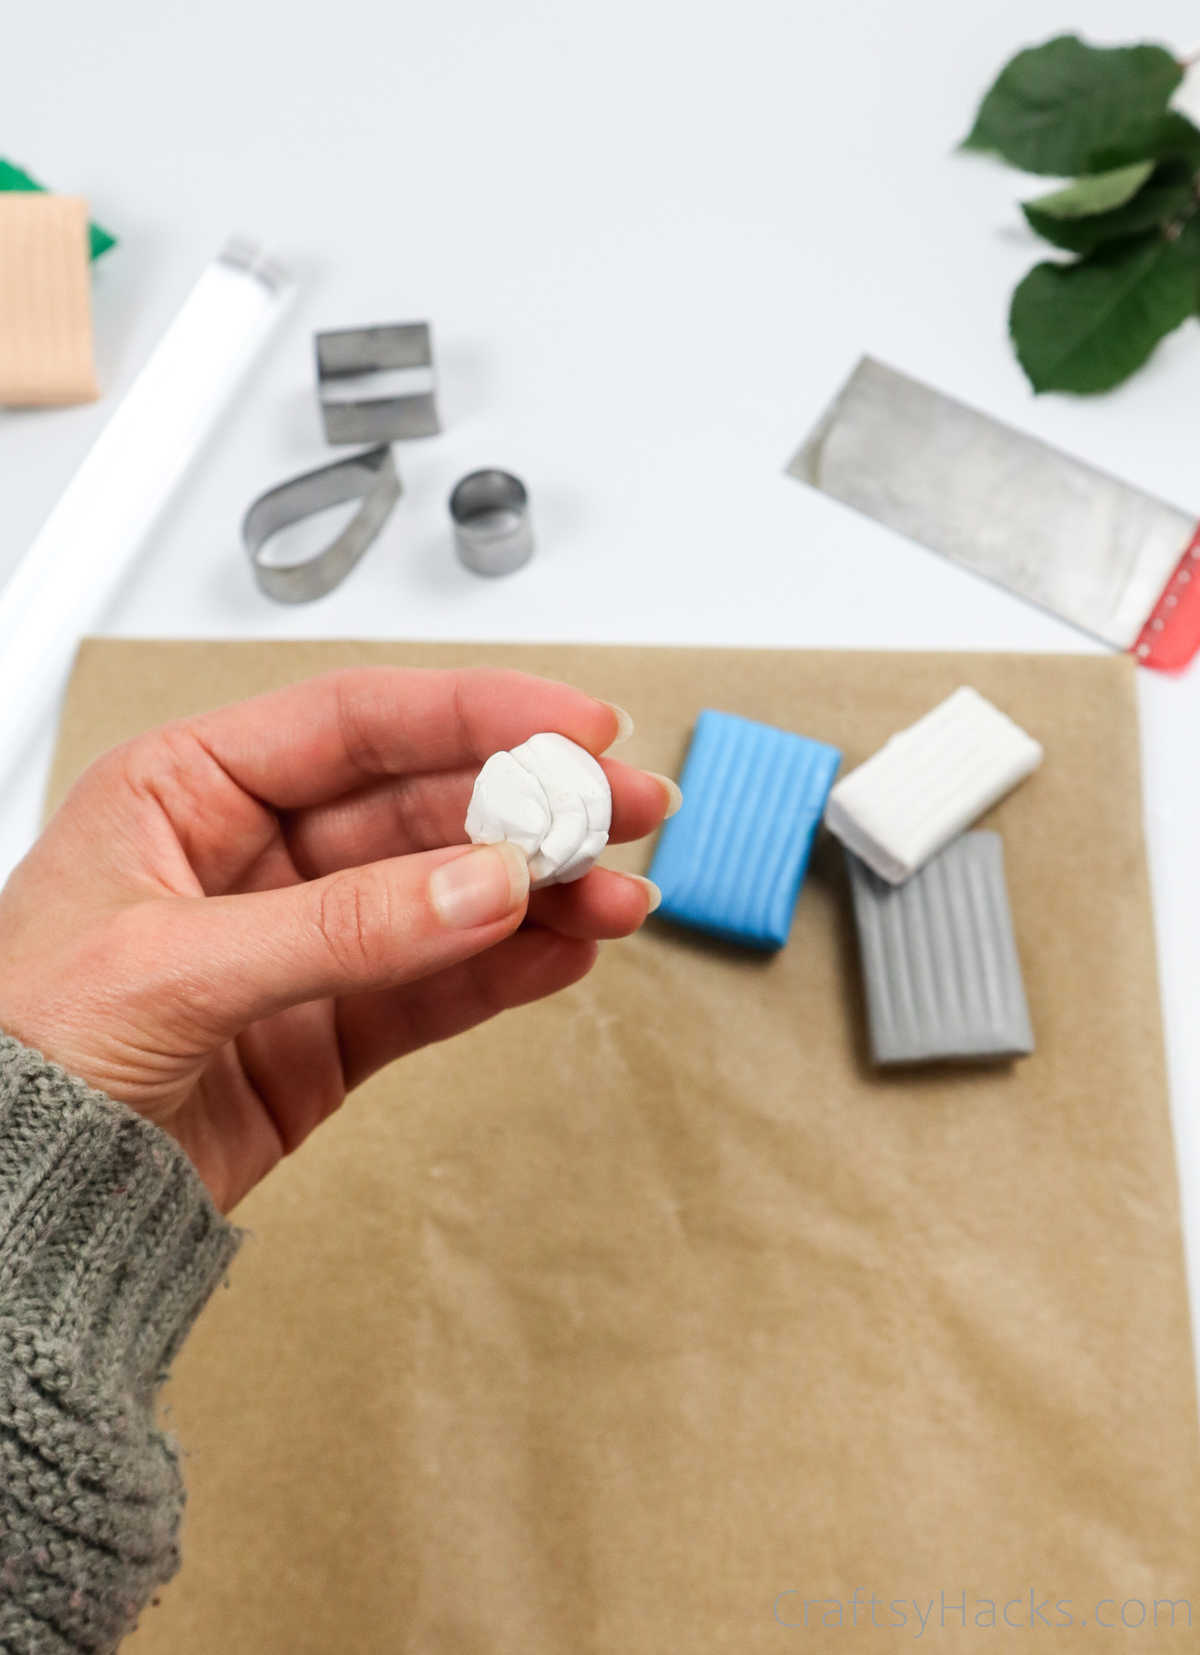
But before you do, youll need to prepare your work surface.
This is where your cardboard comes in.
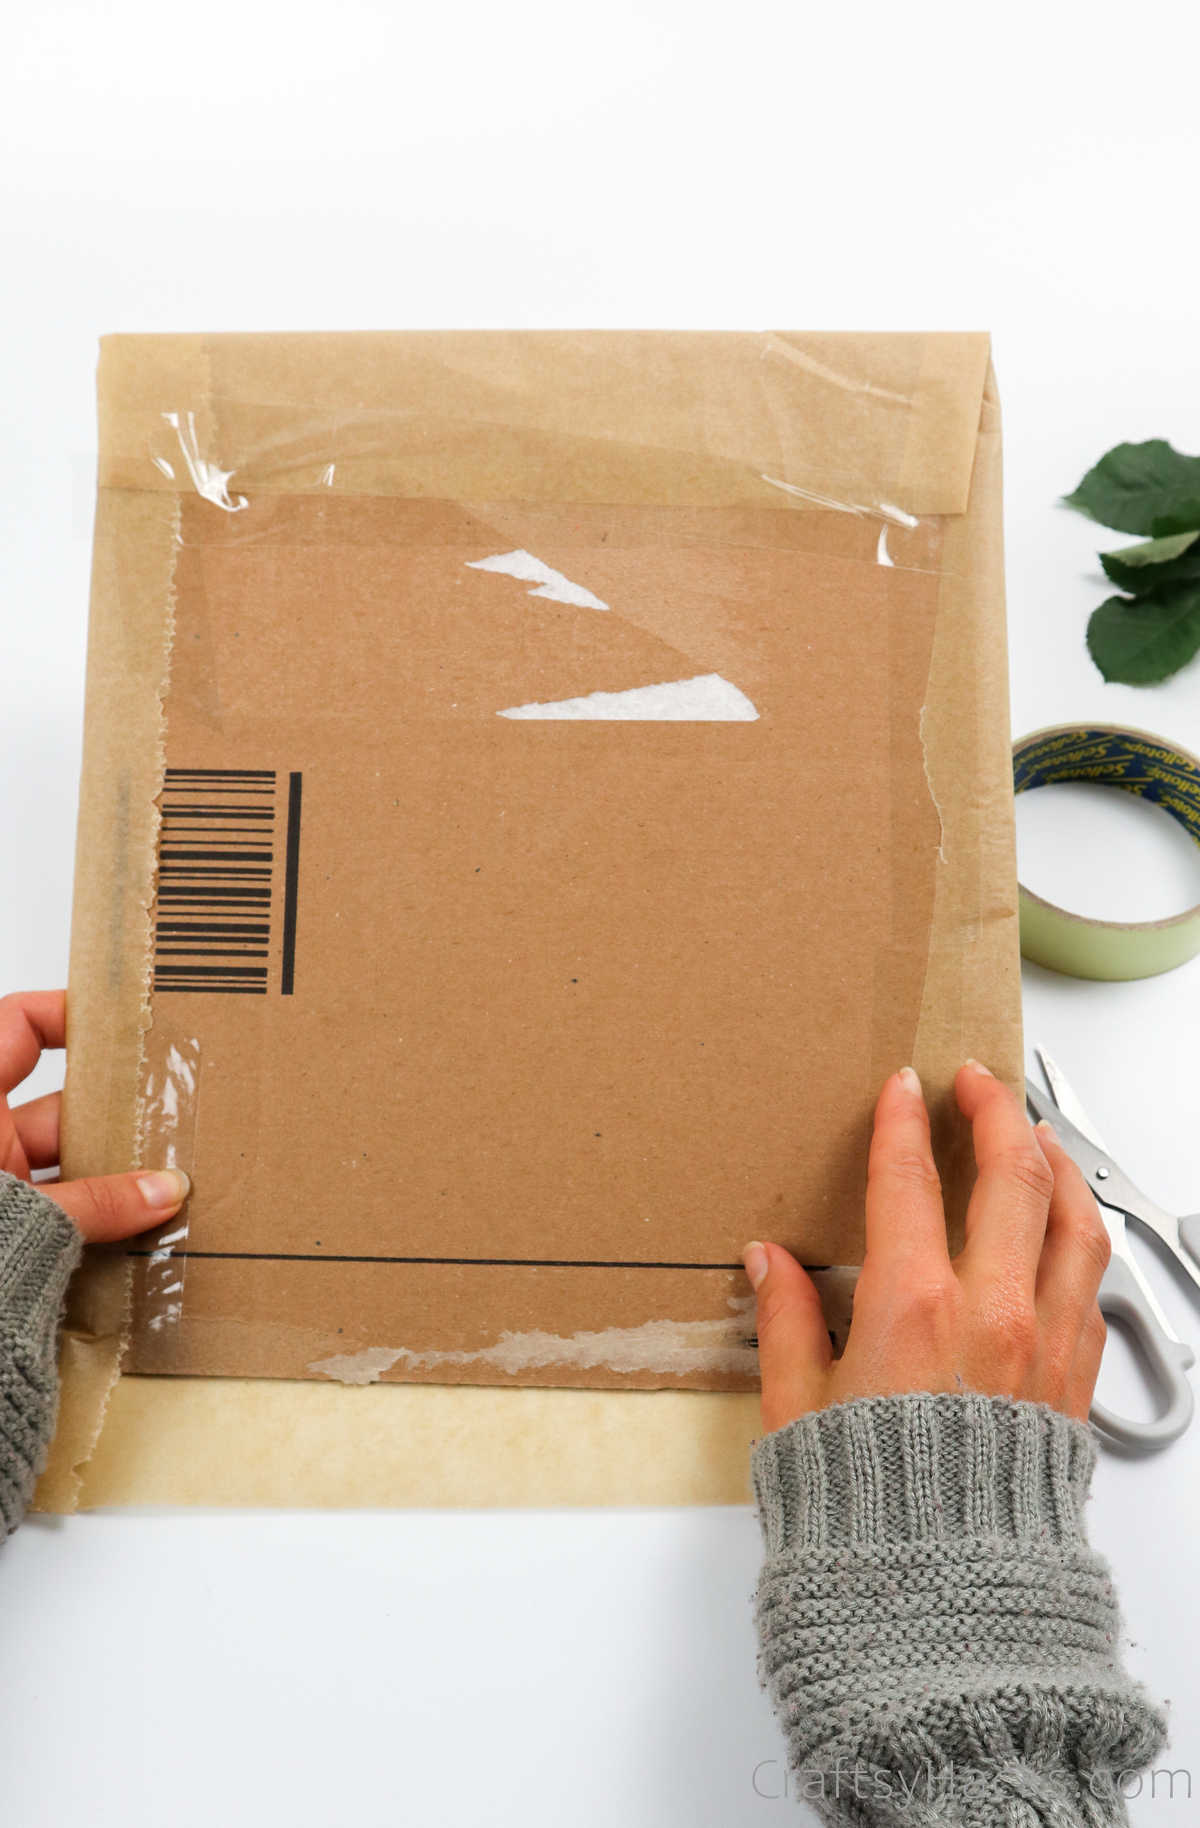
Cut some parchment paper to fit the cardboard sheet and tape it in place.
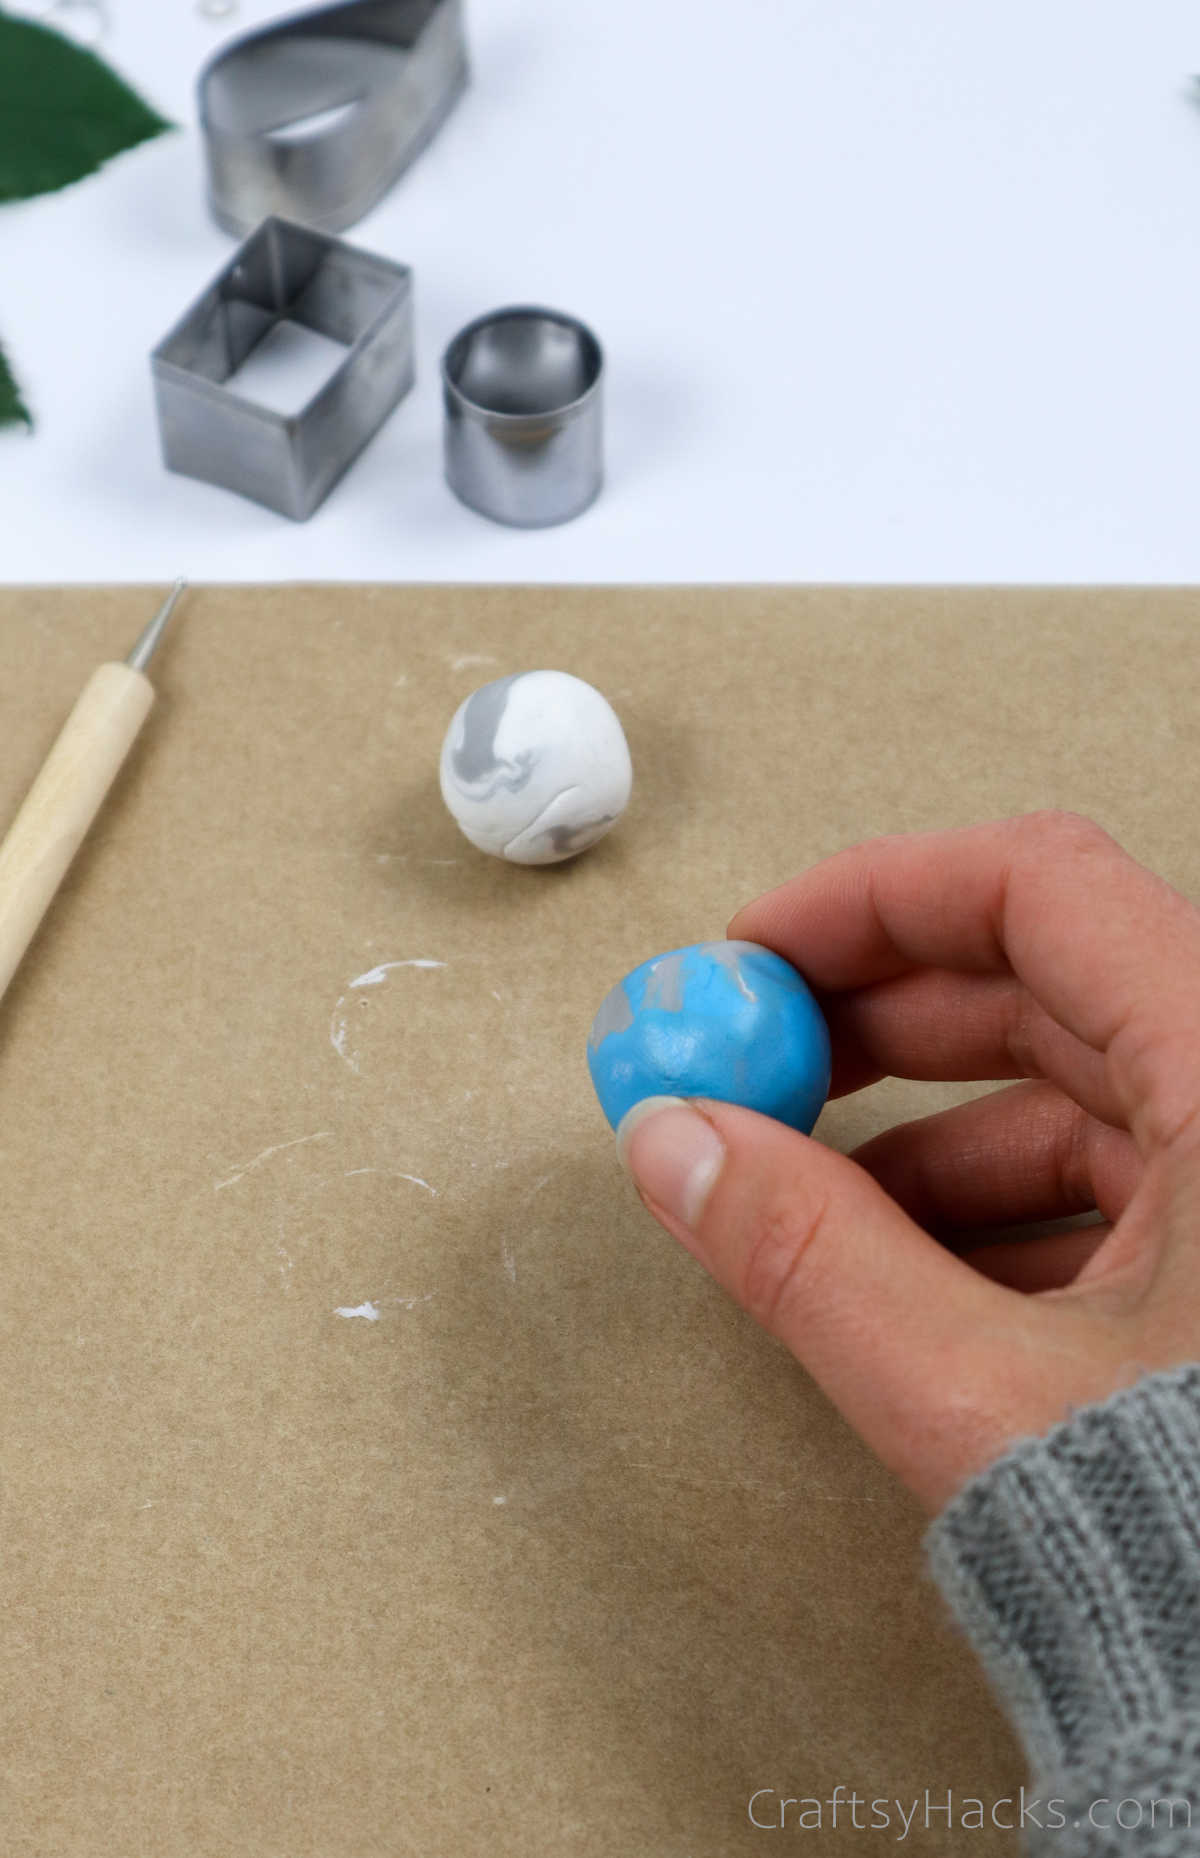
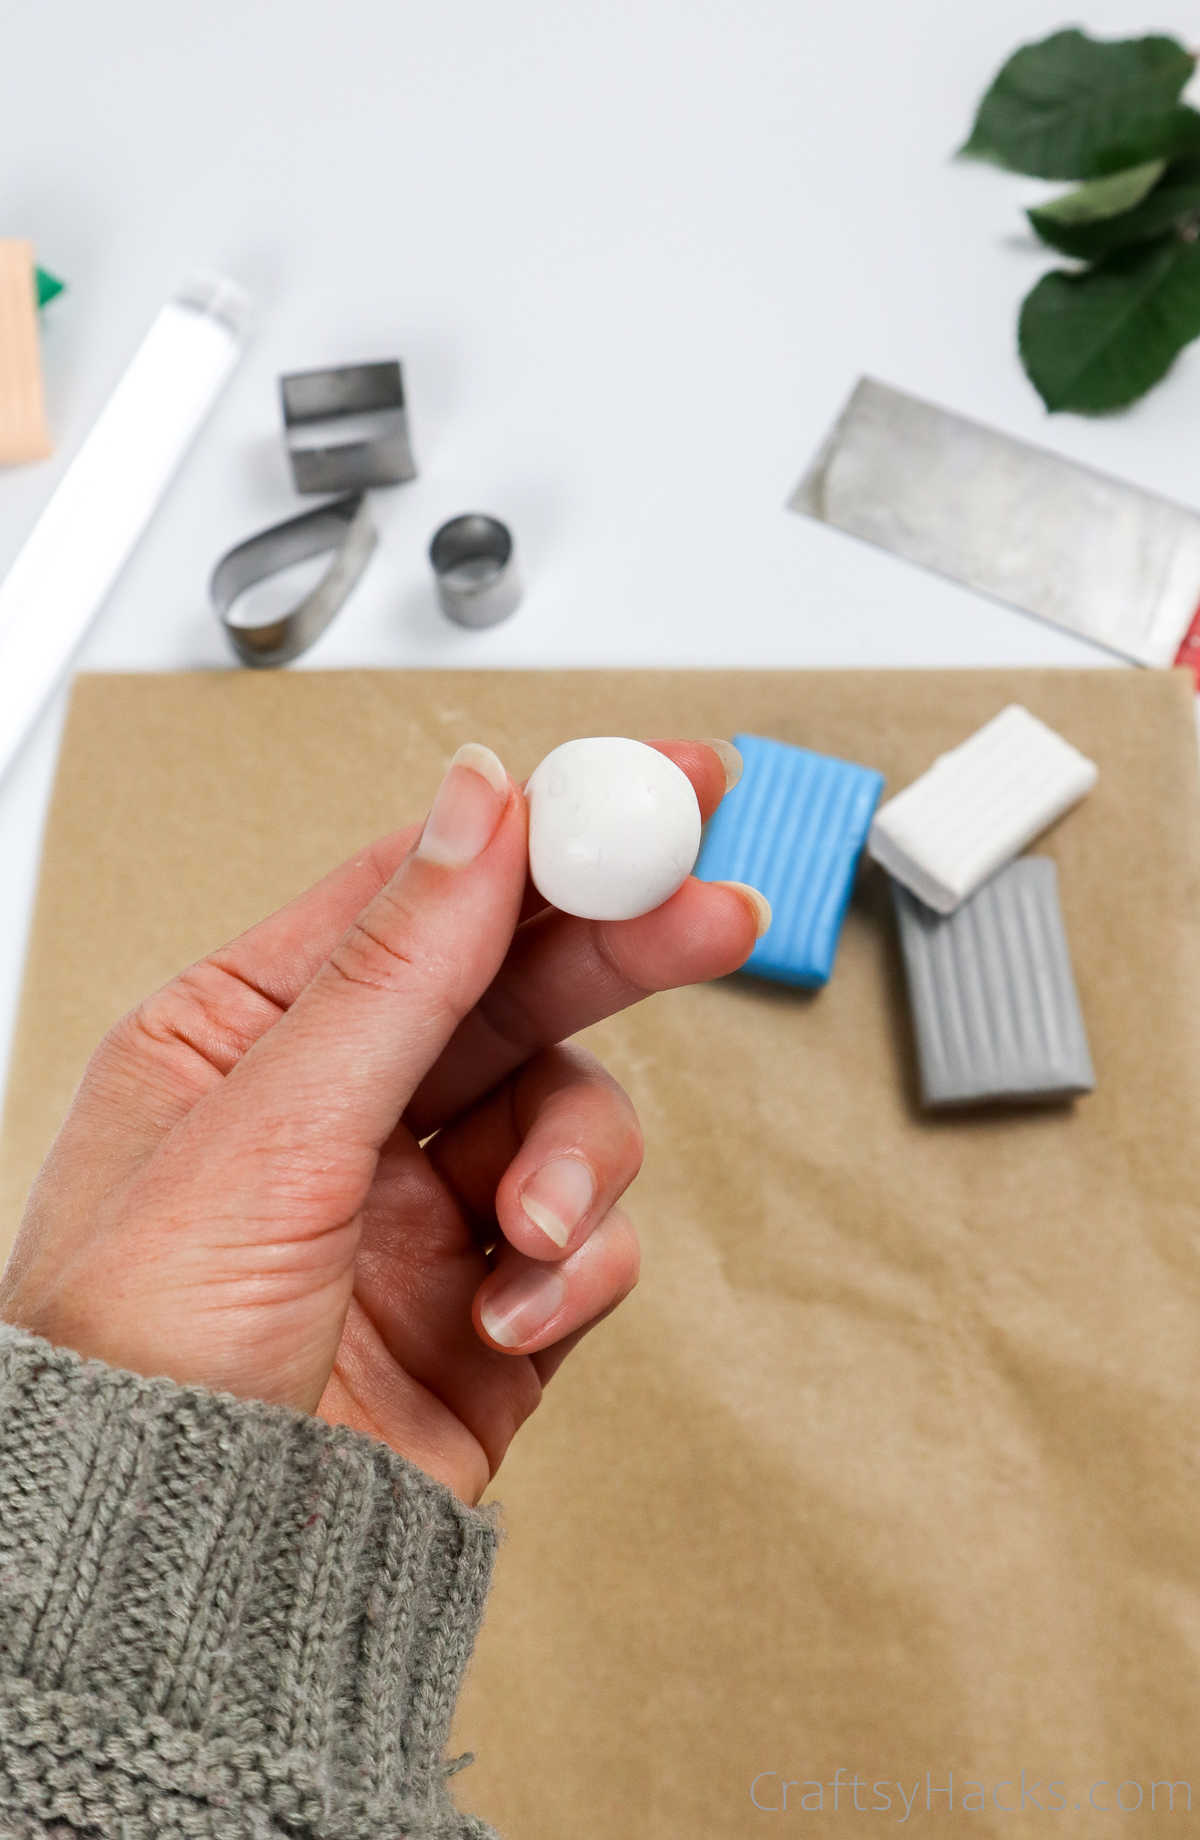
Dont let it become too squishy; it needs to be firm but still pliable.
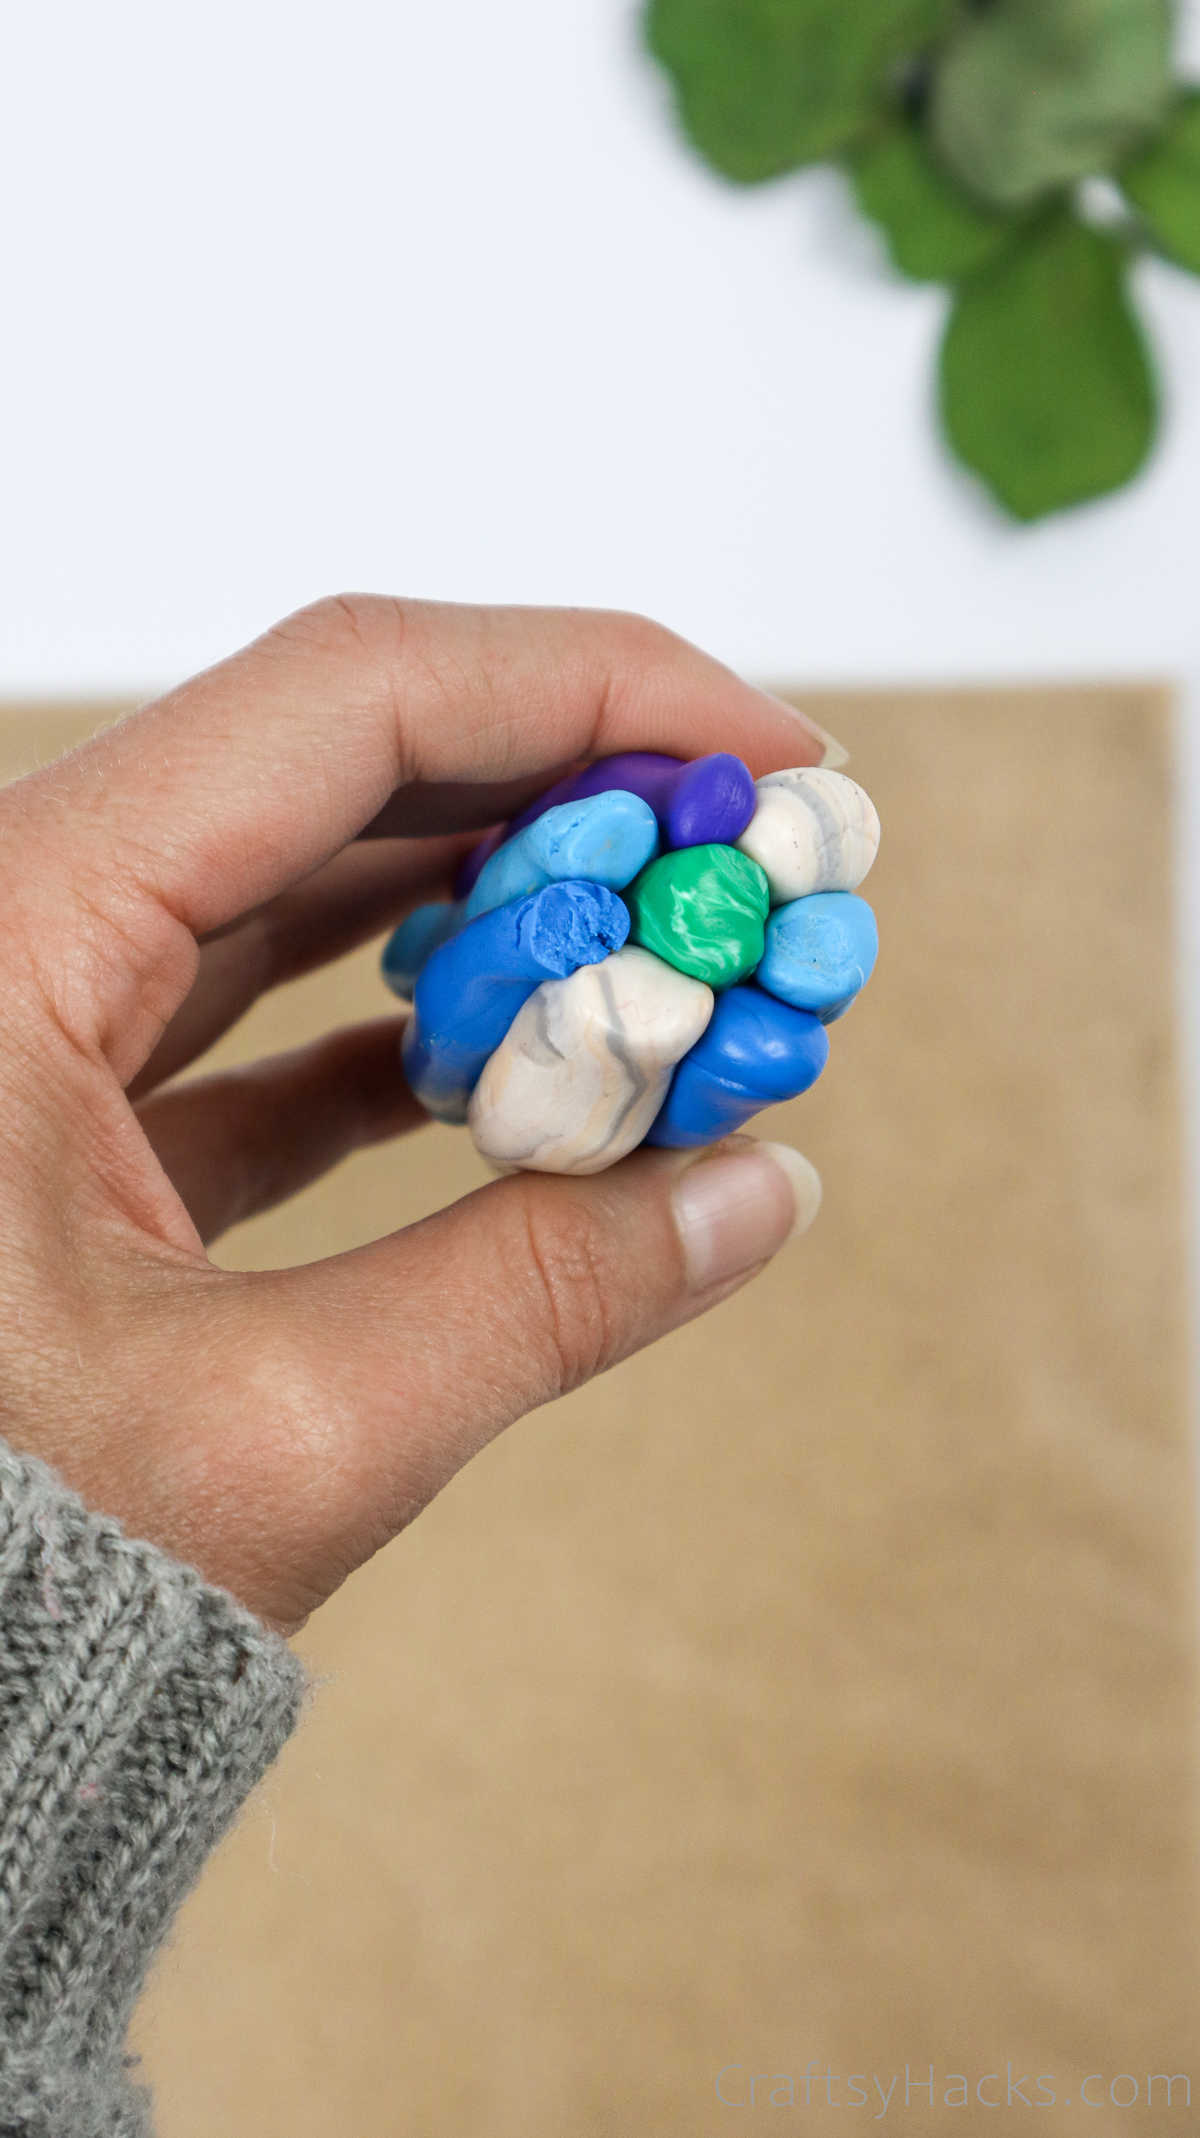
Once youve smoothened the clay and rolled it into a ball, it should look something like this.
Repeat this step with all the different colors of clay.
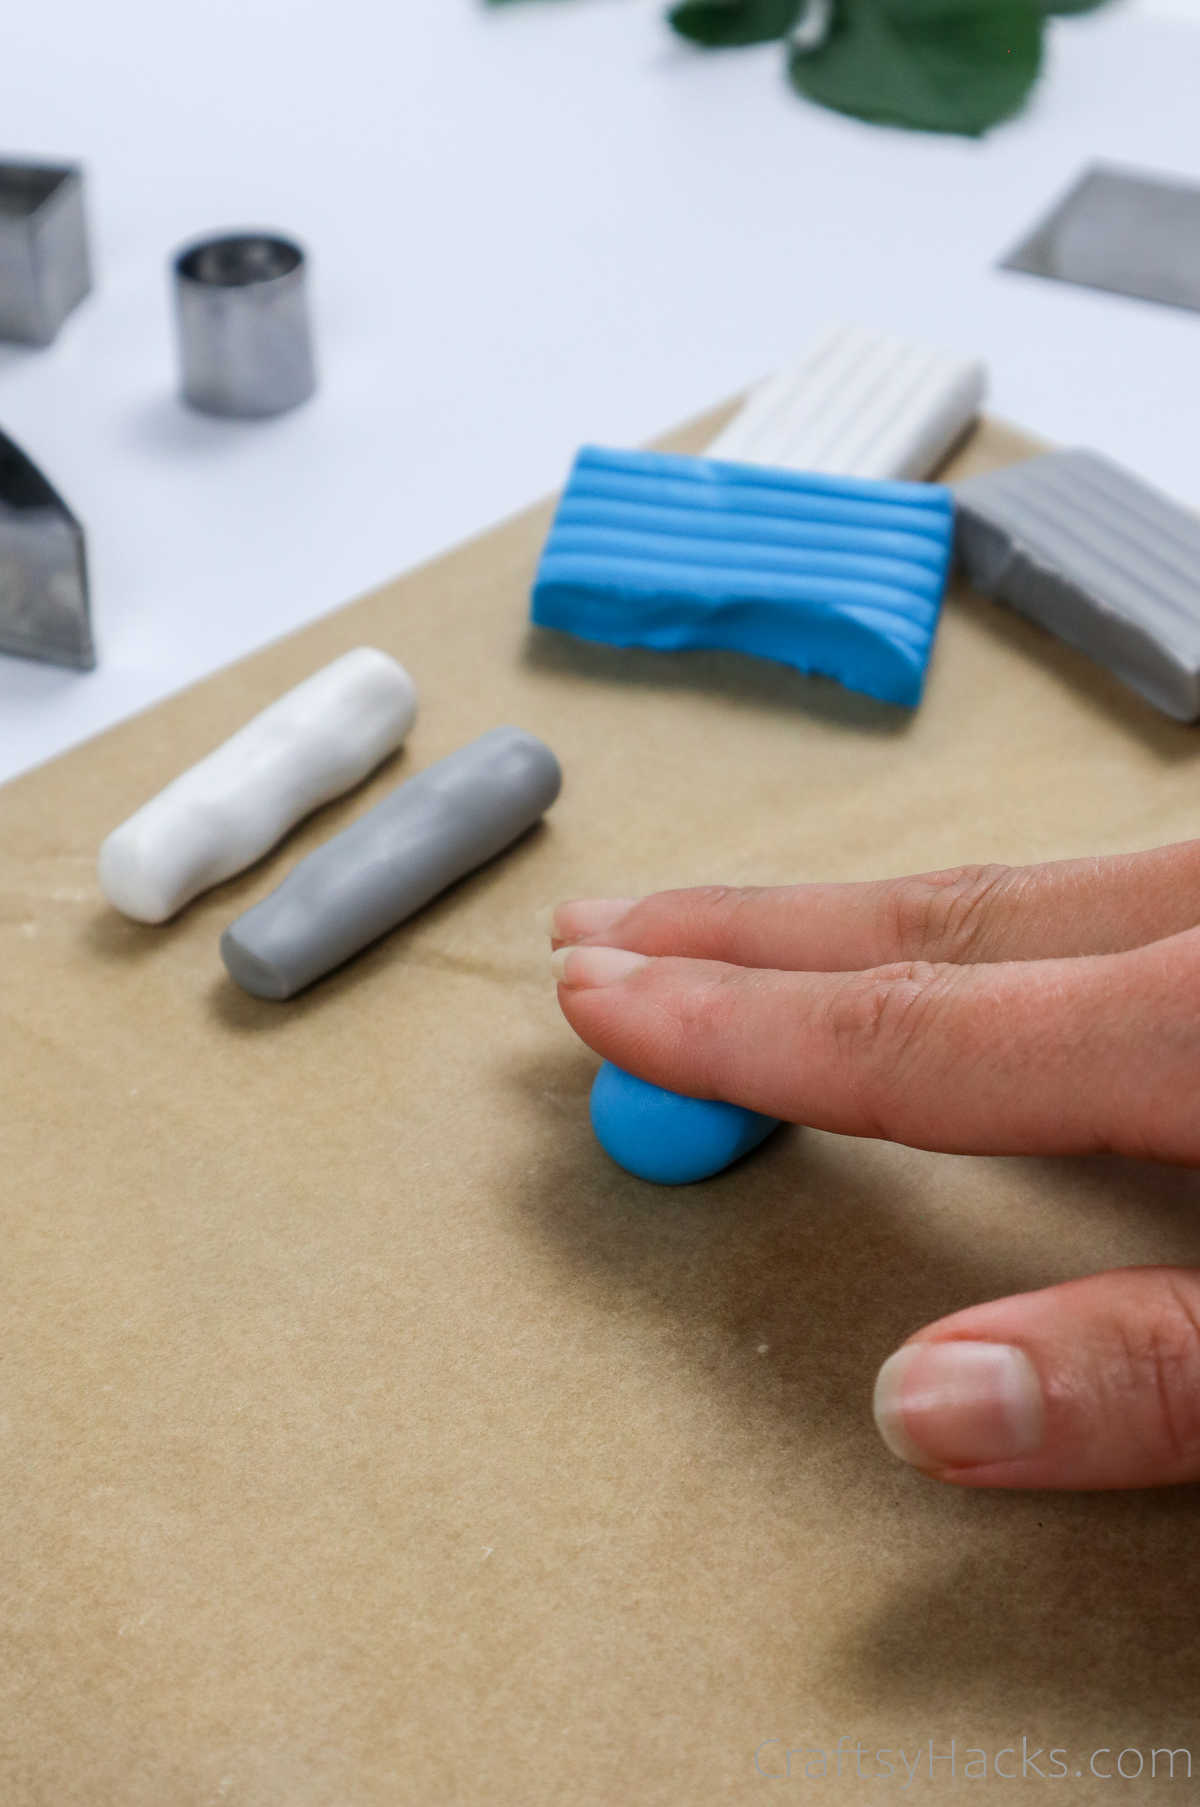
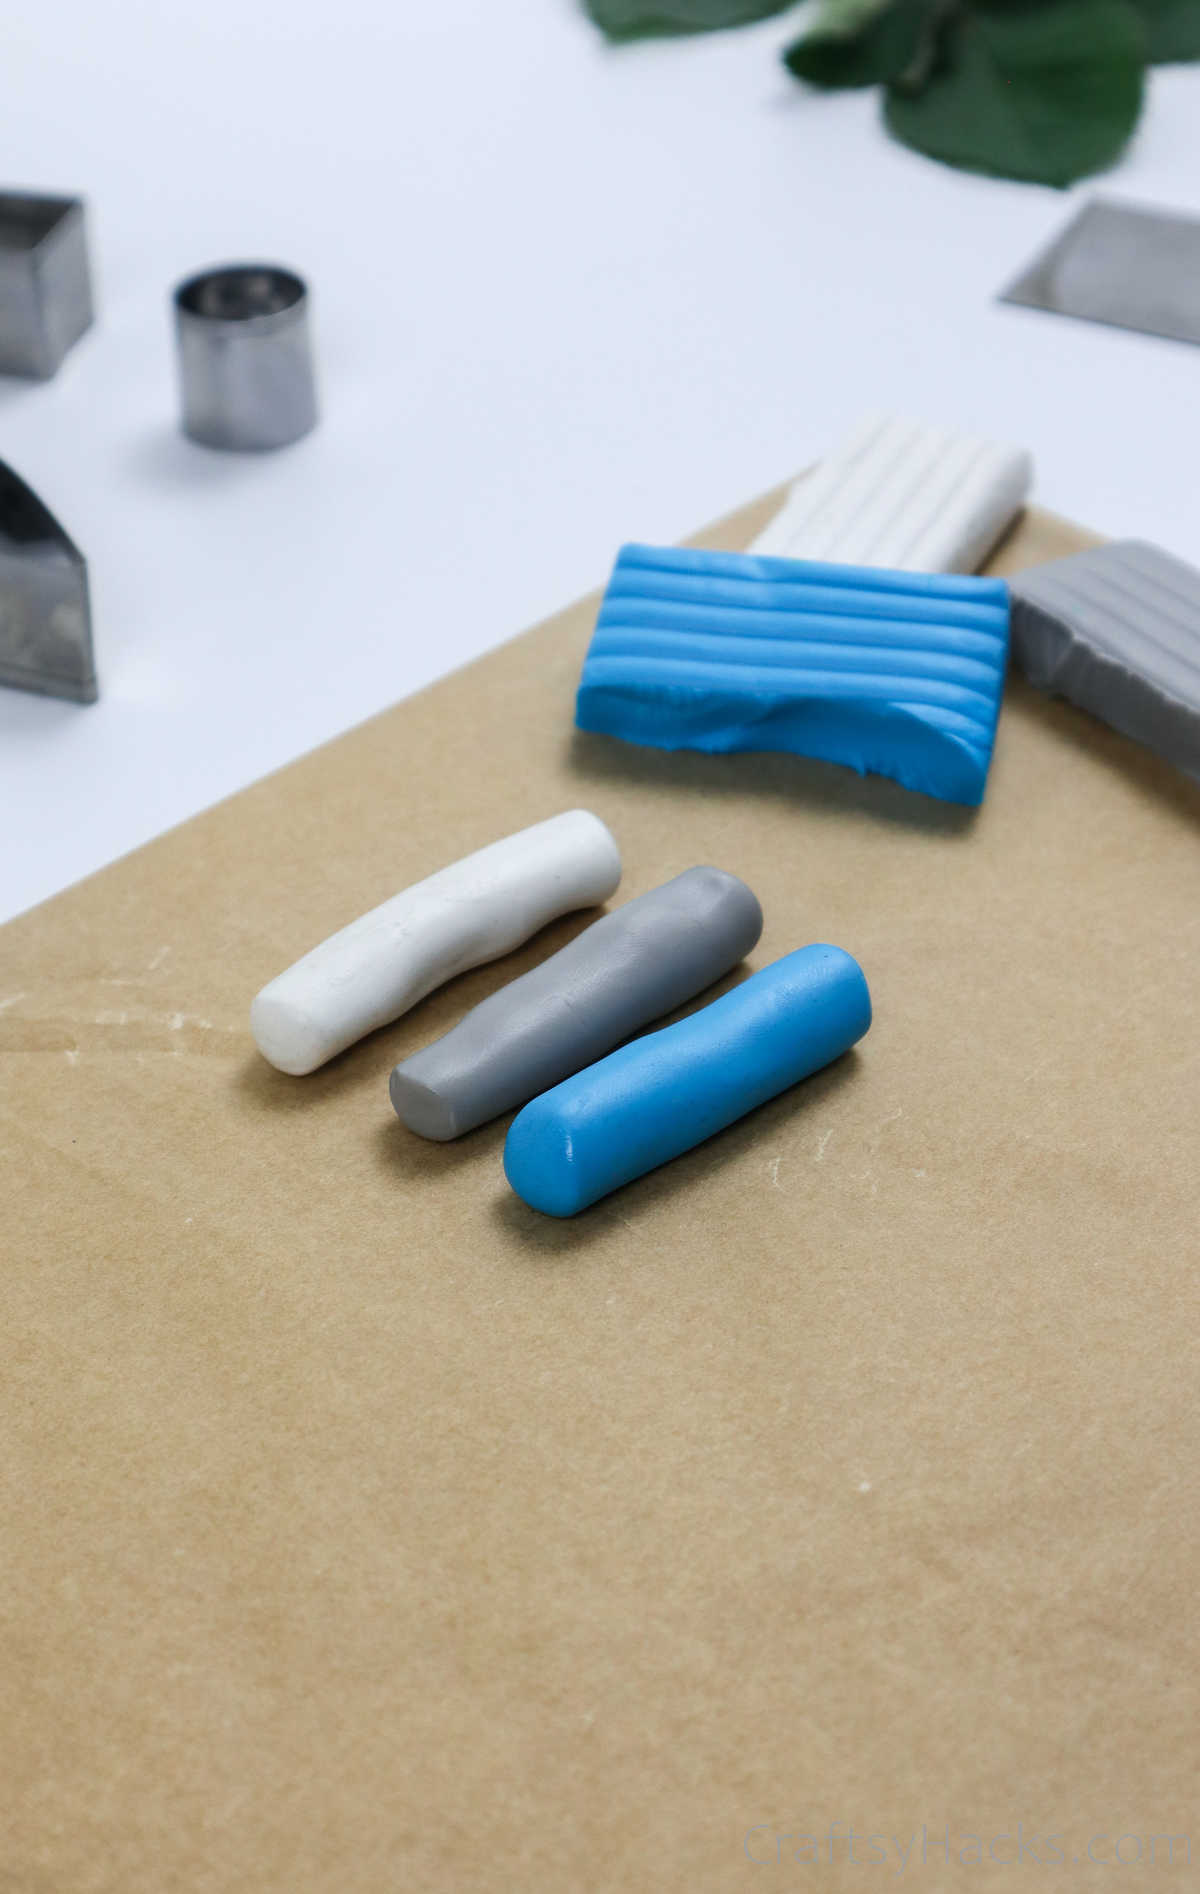
Step 3
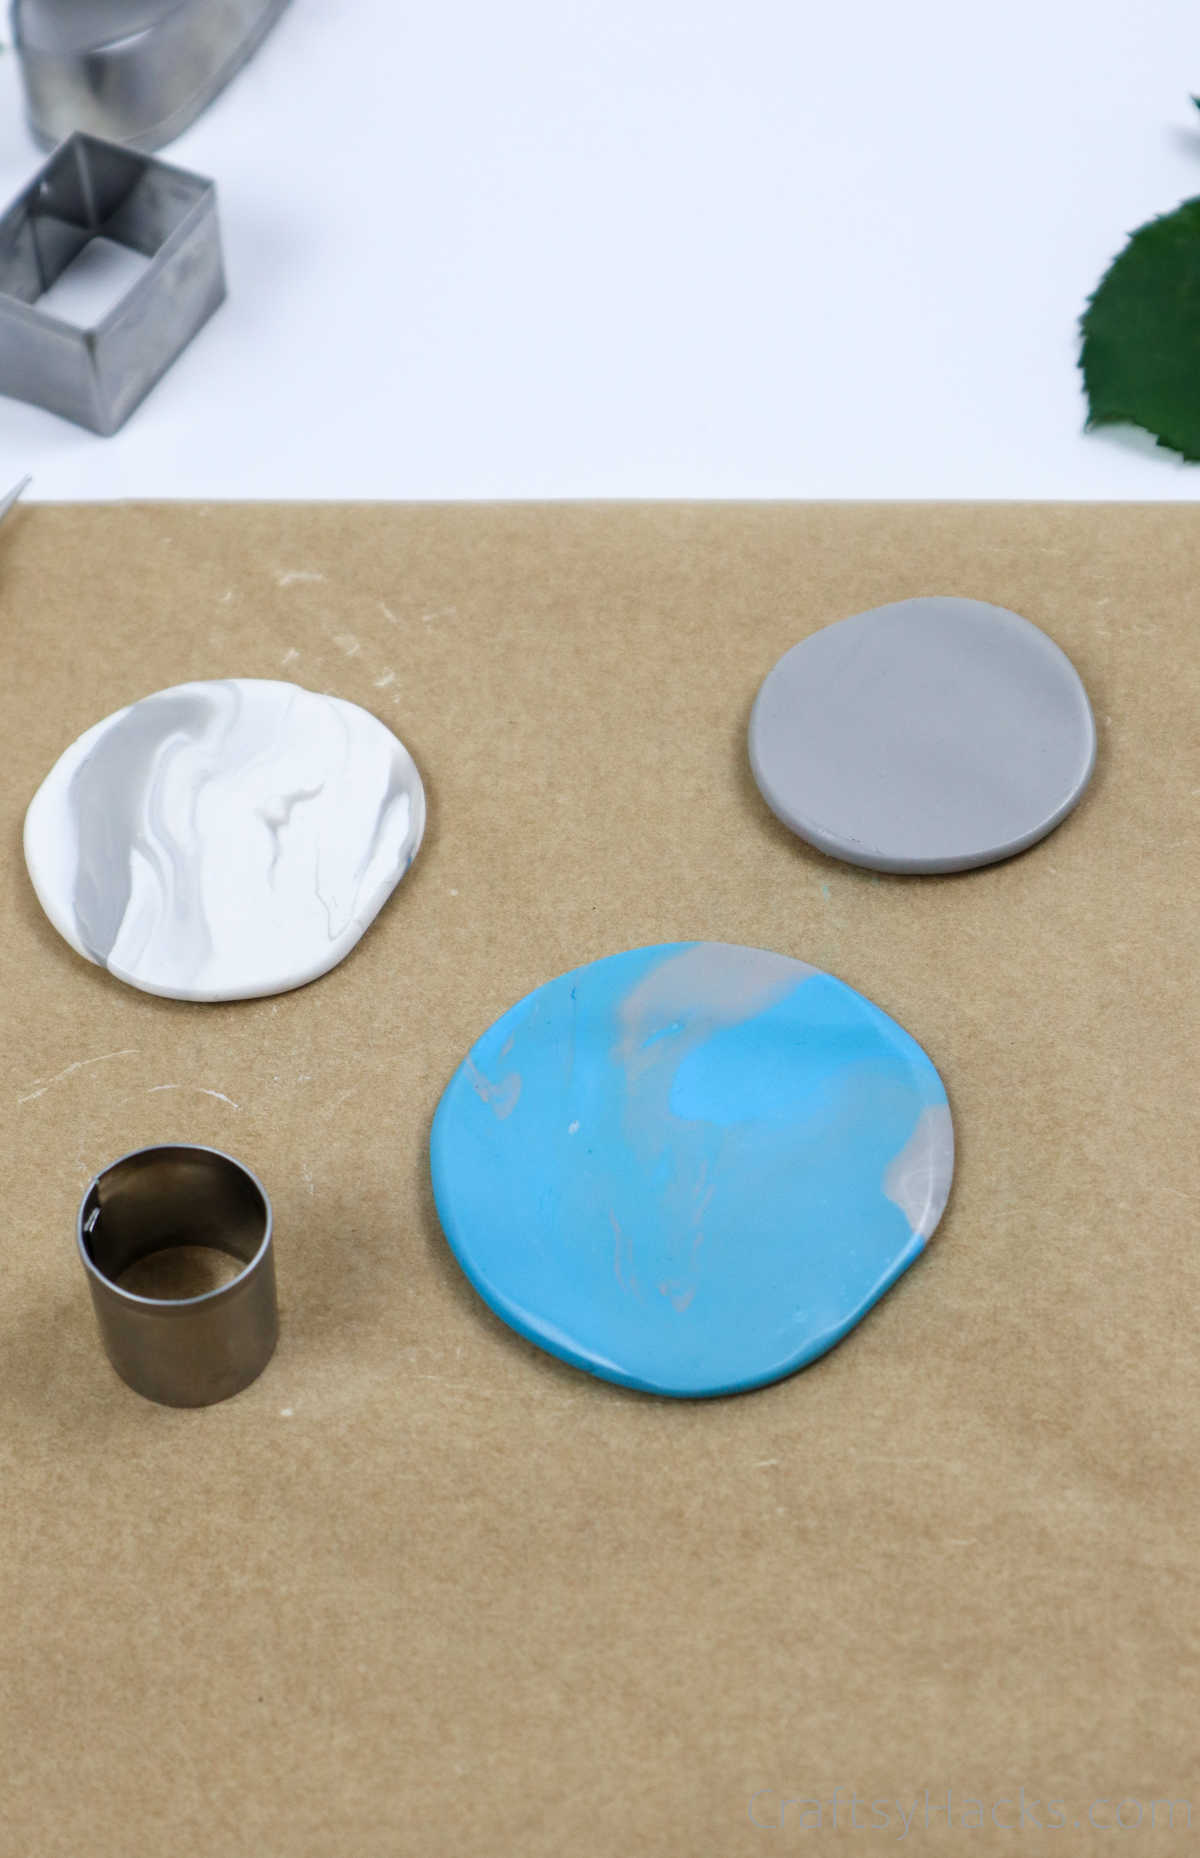
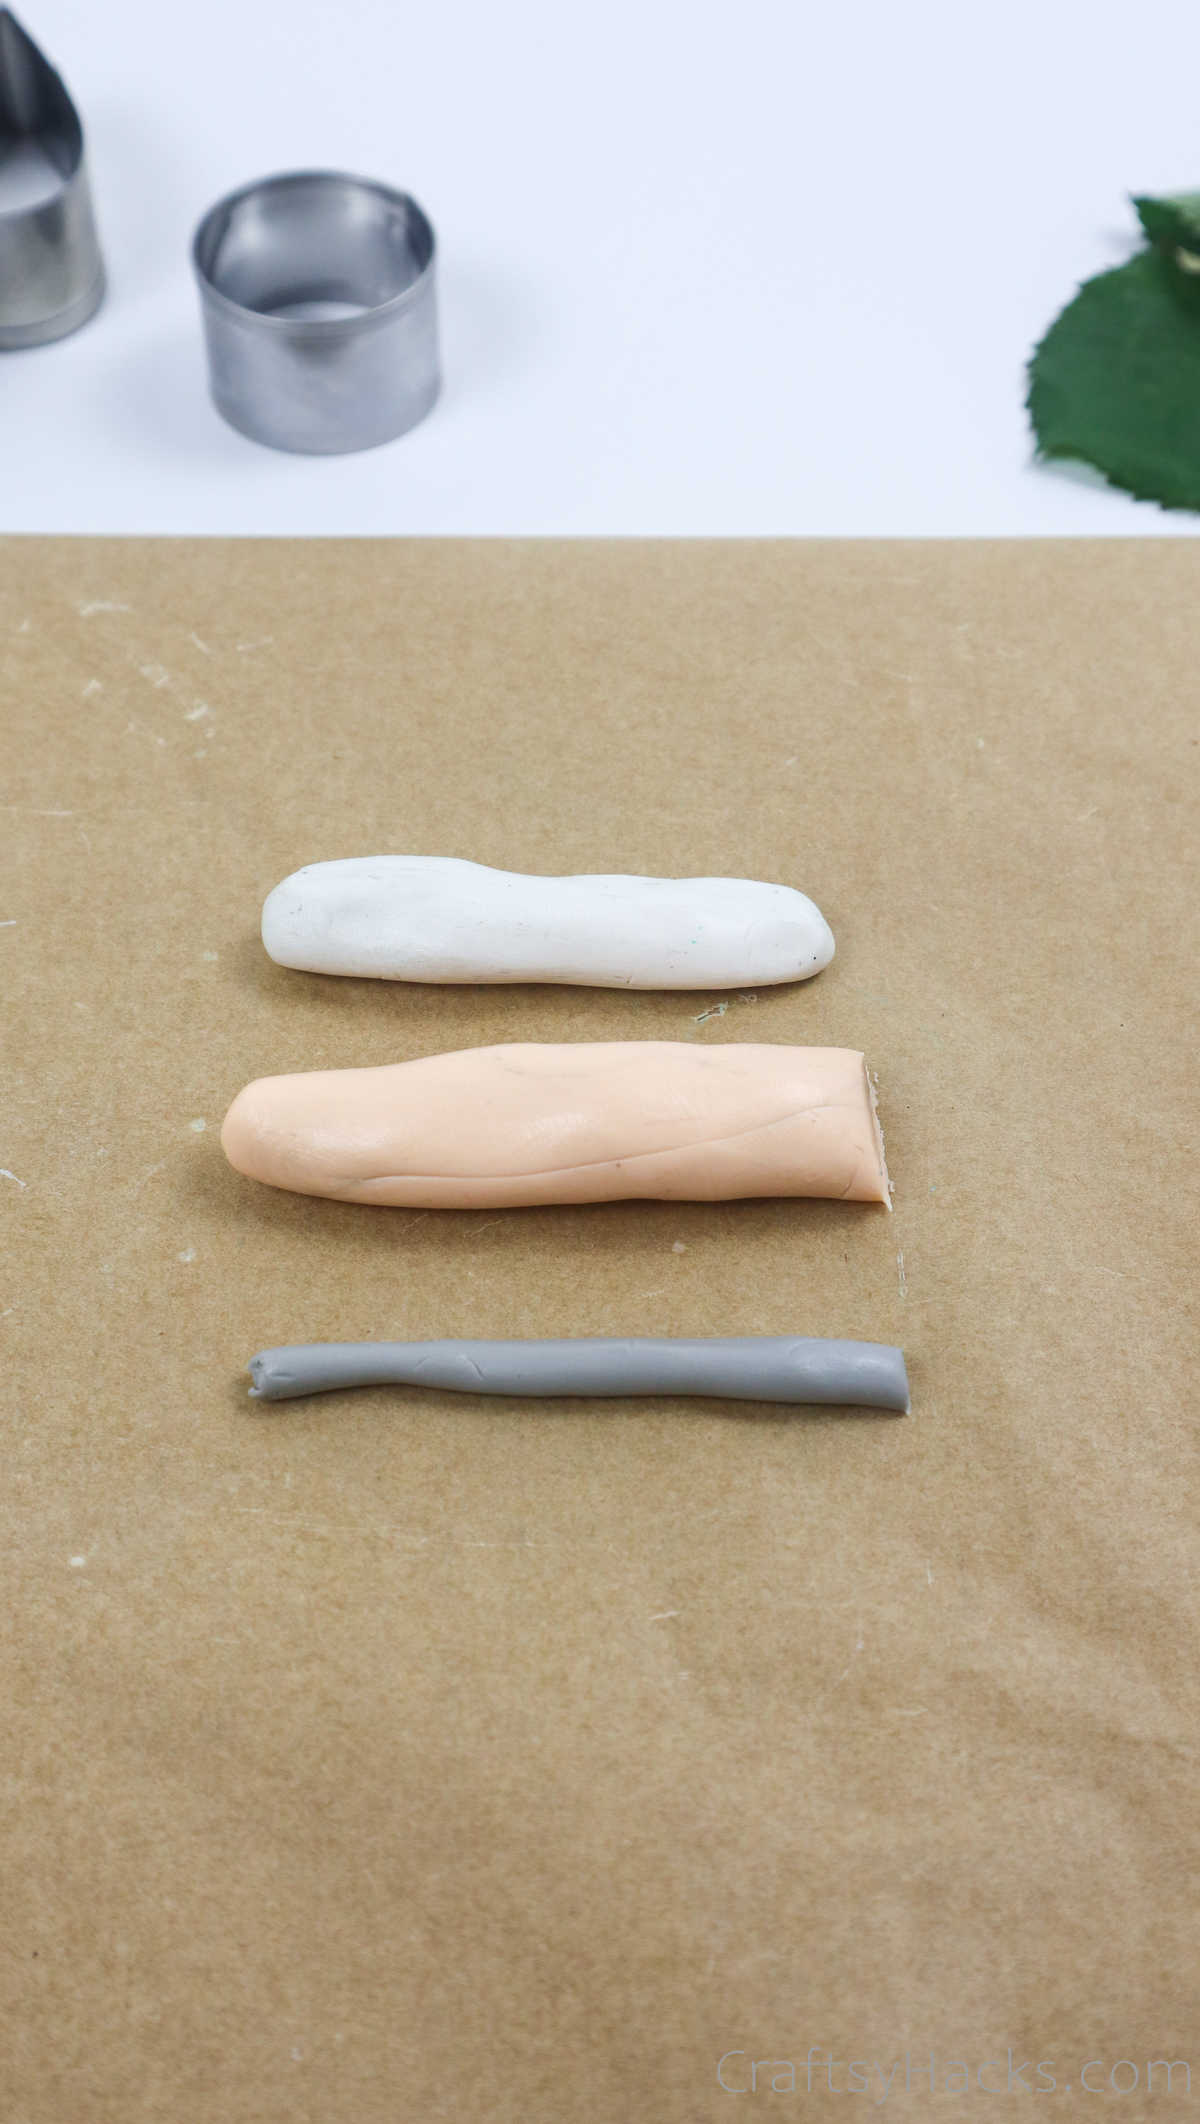
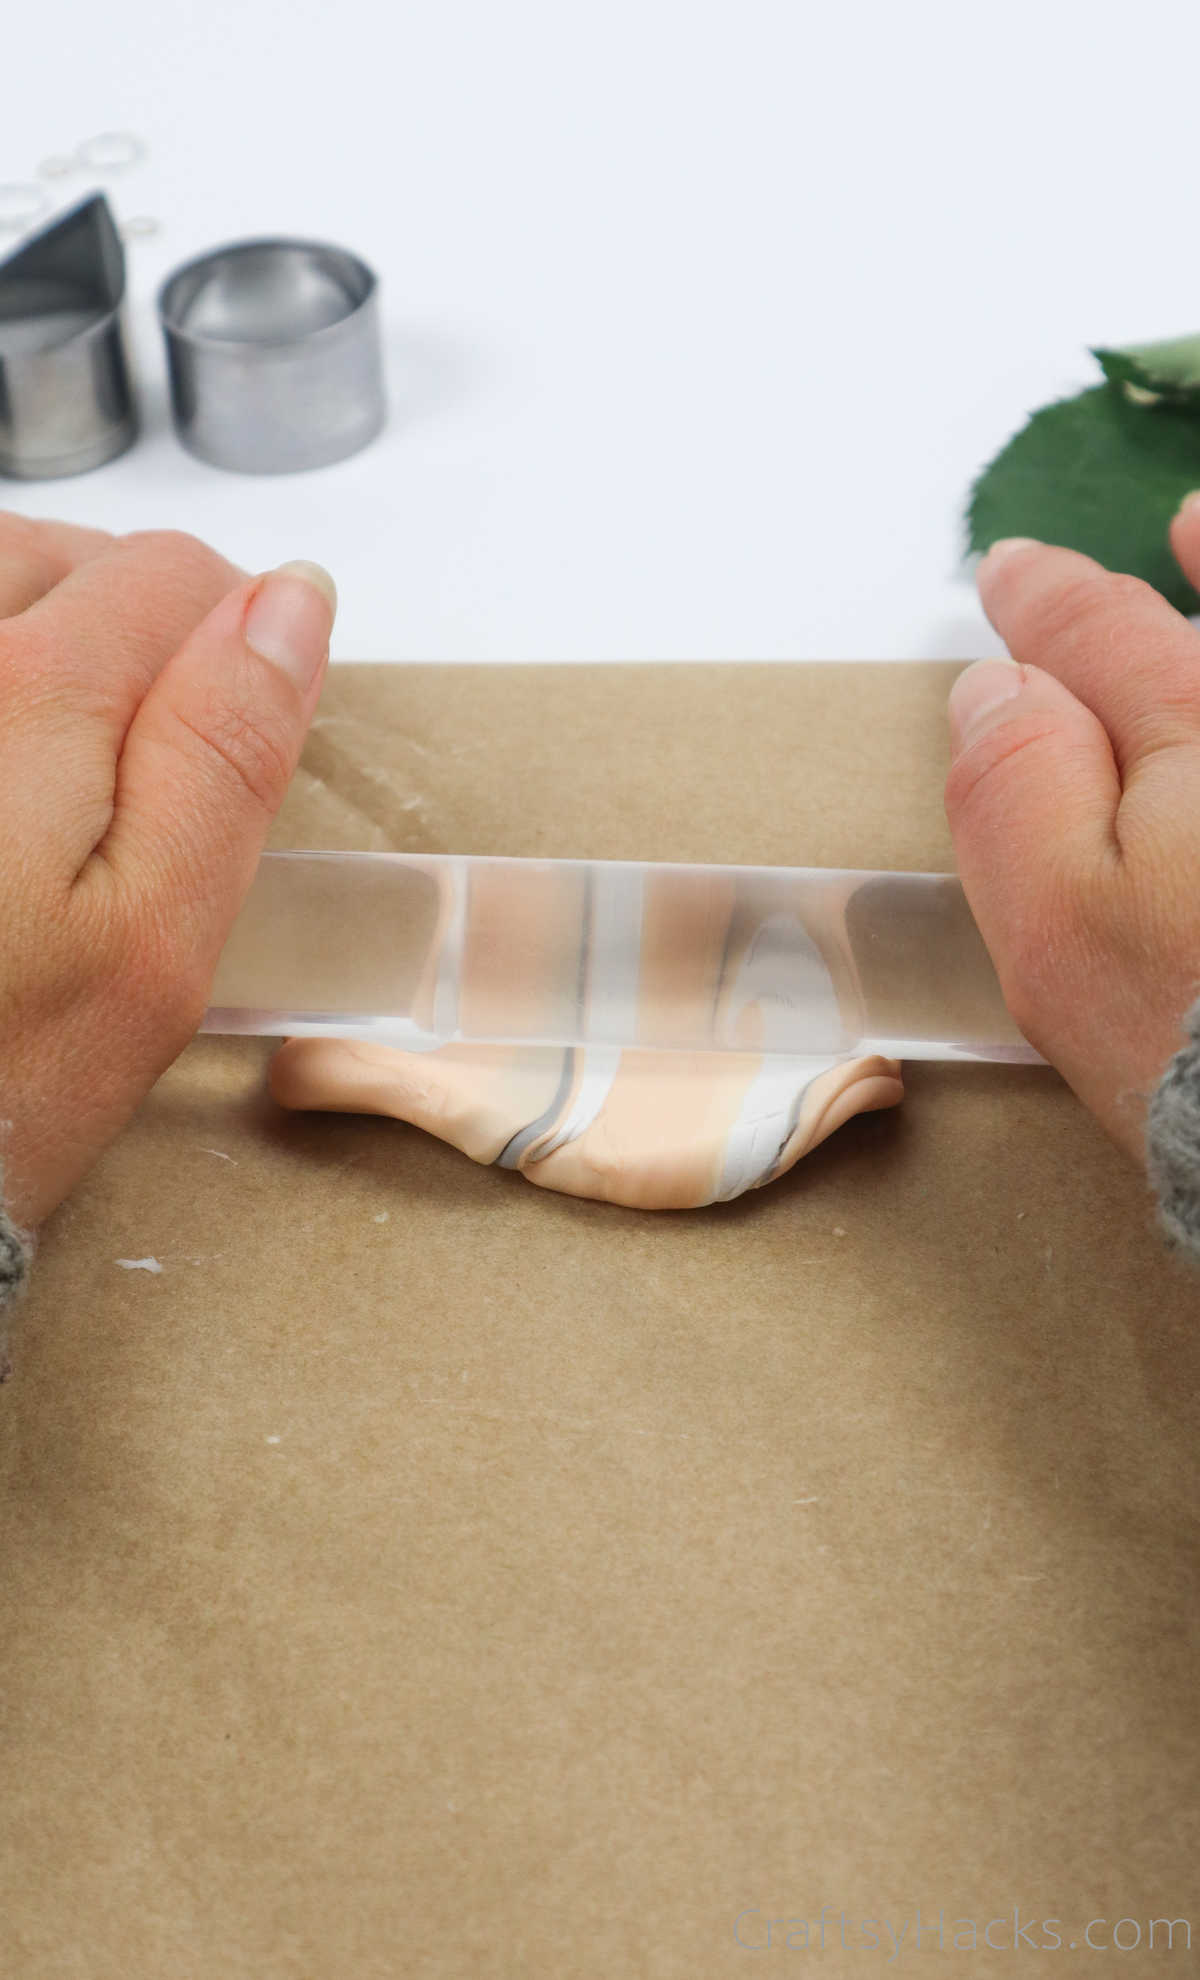
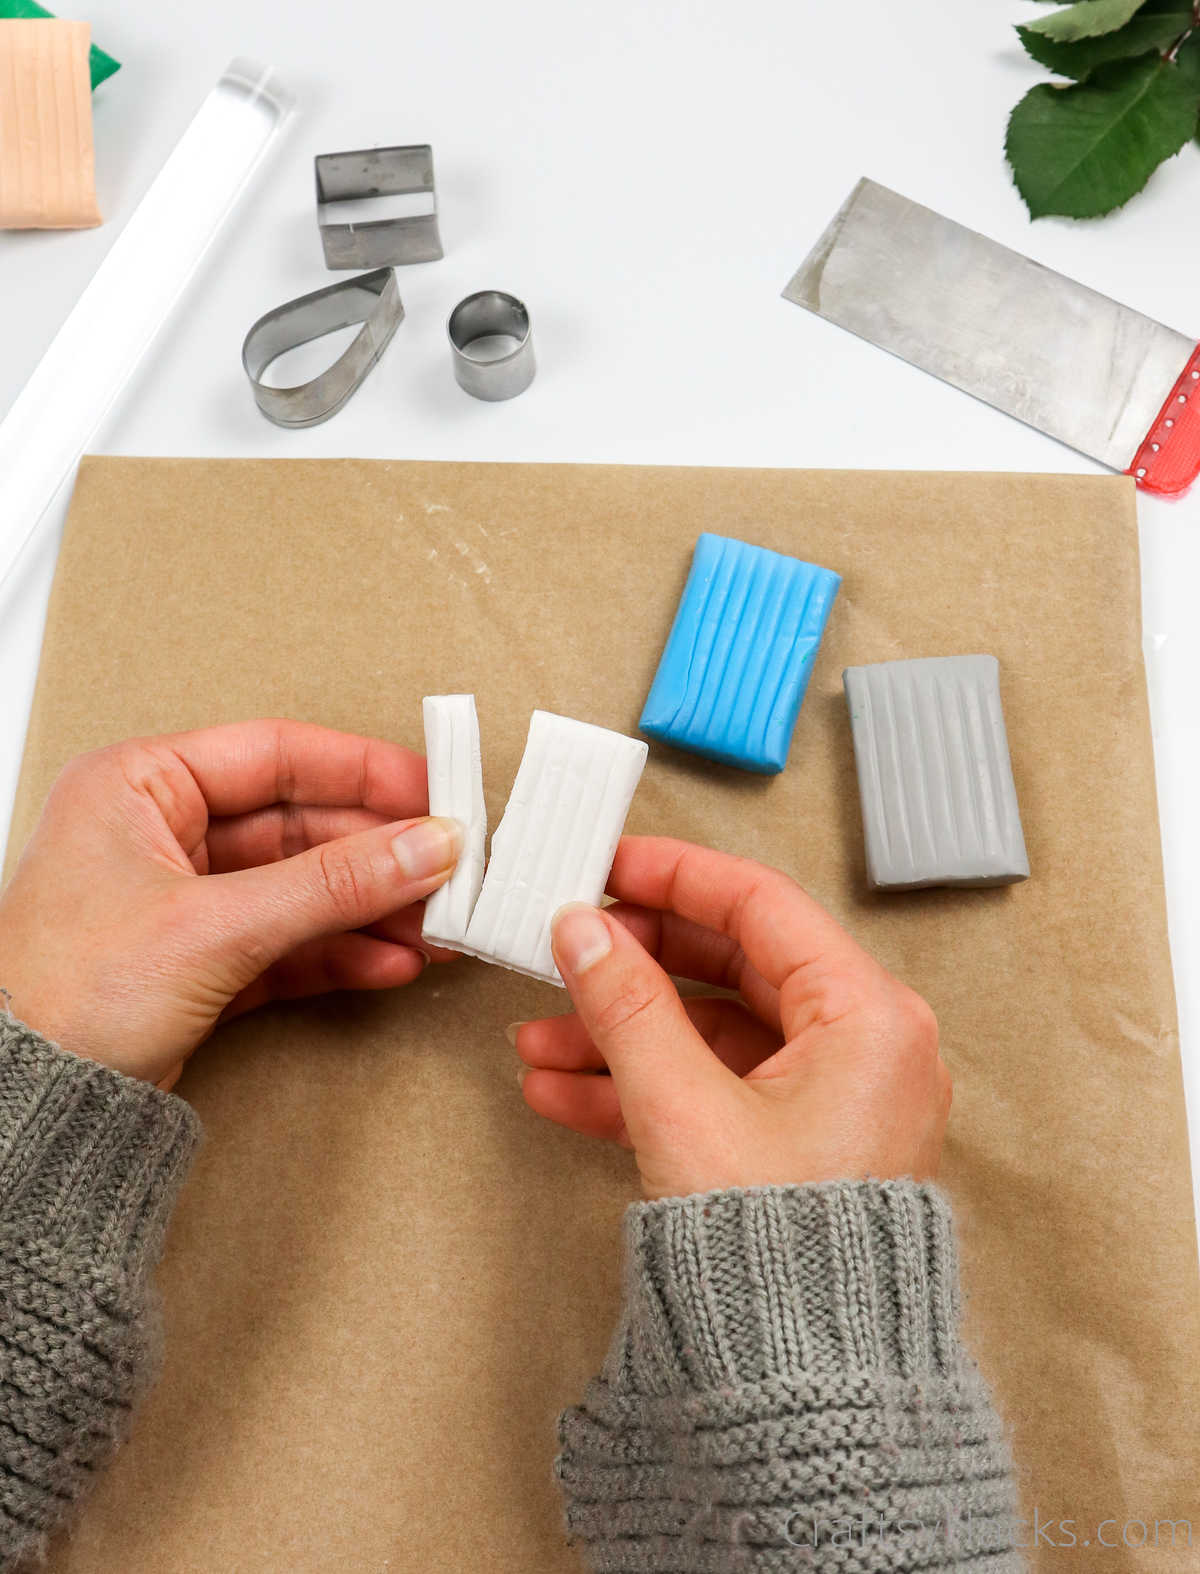
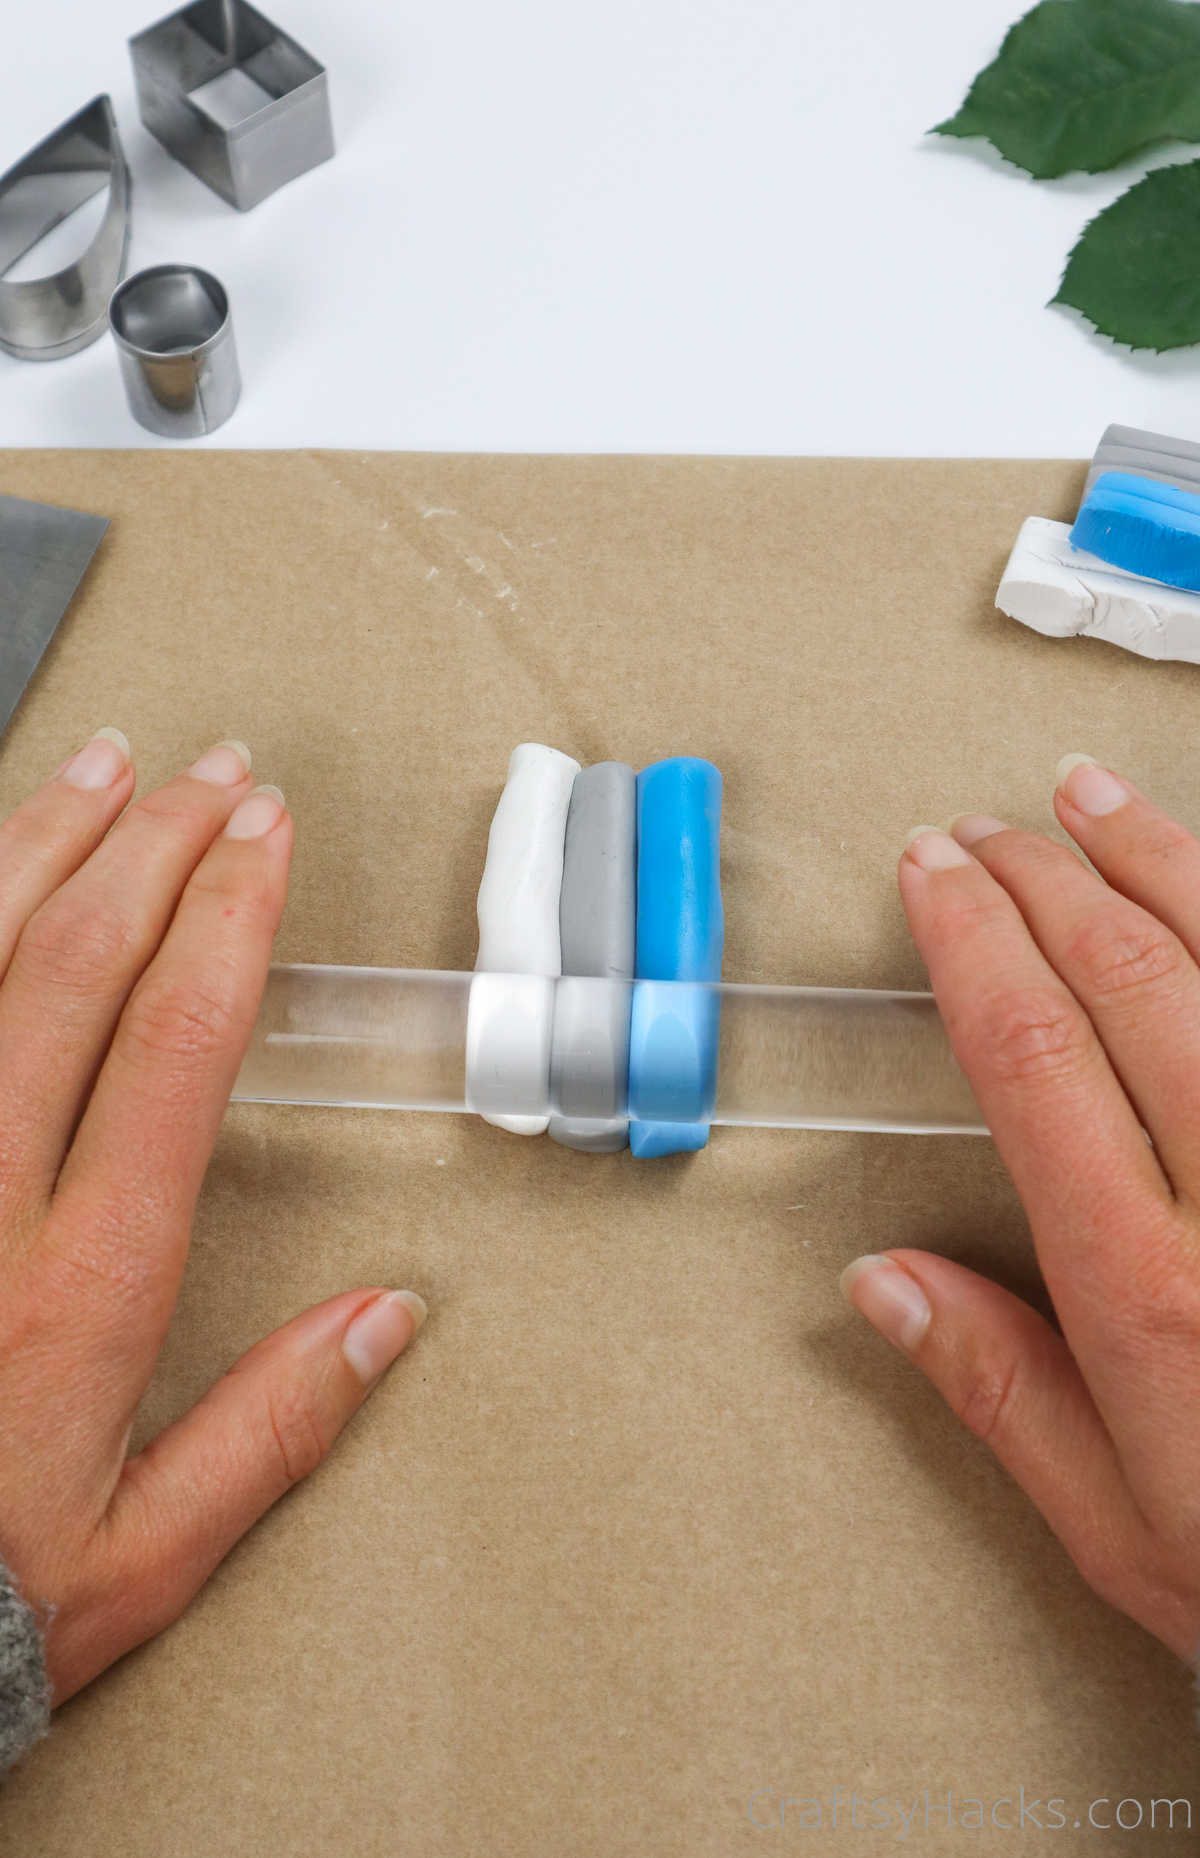
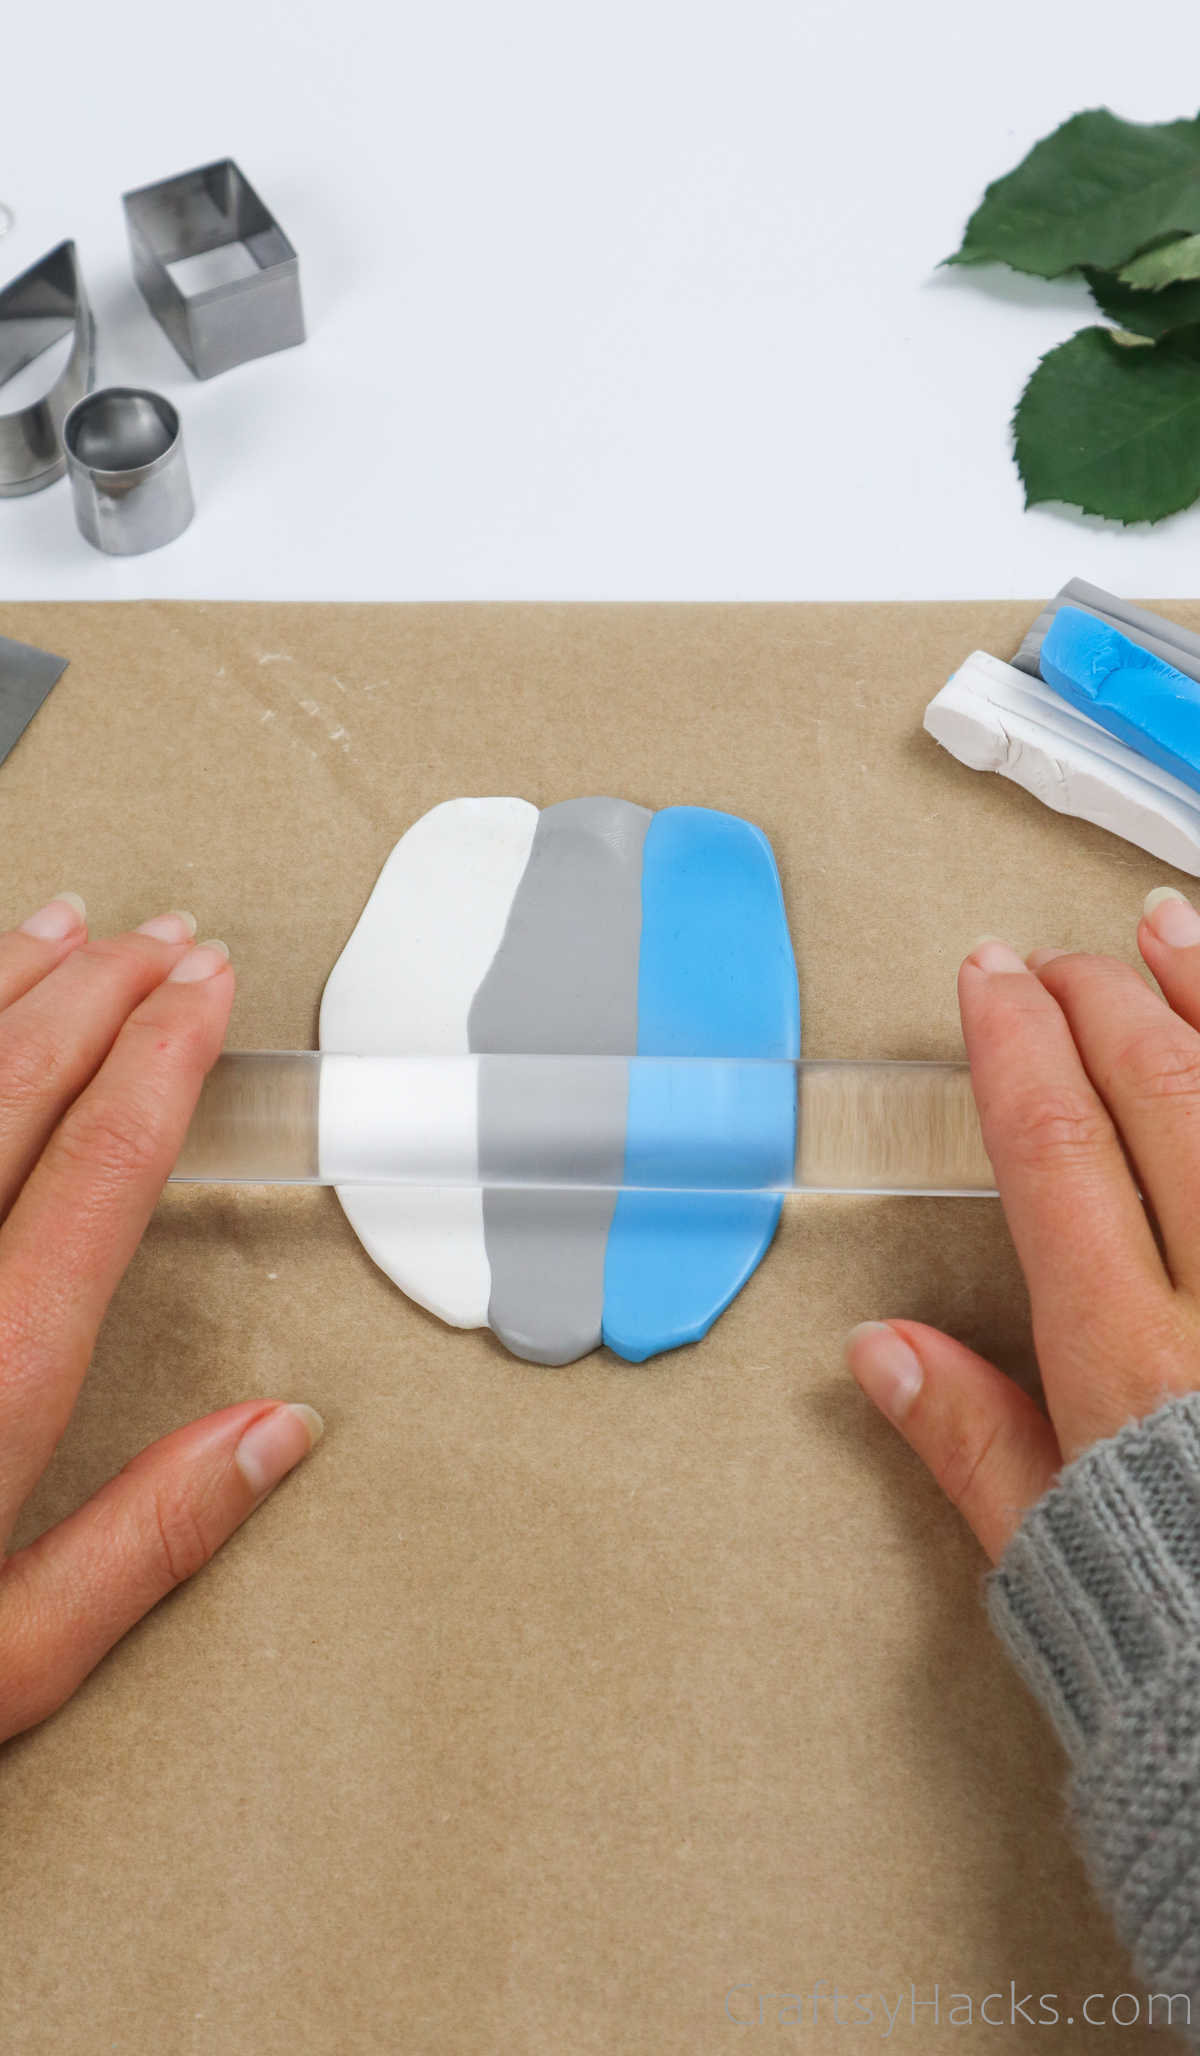
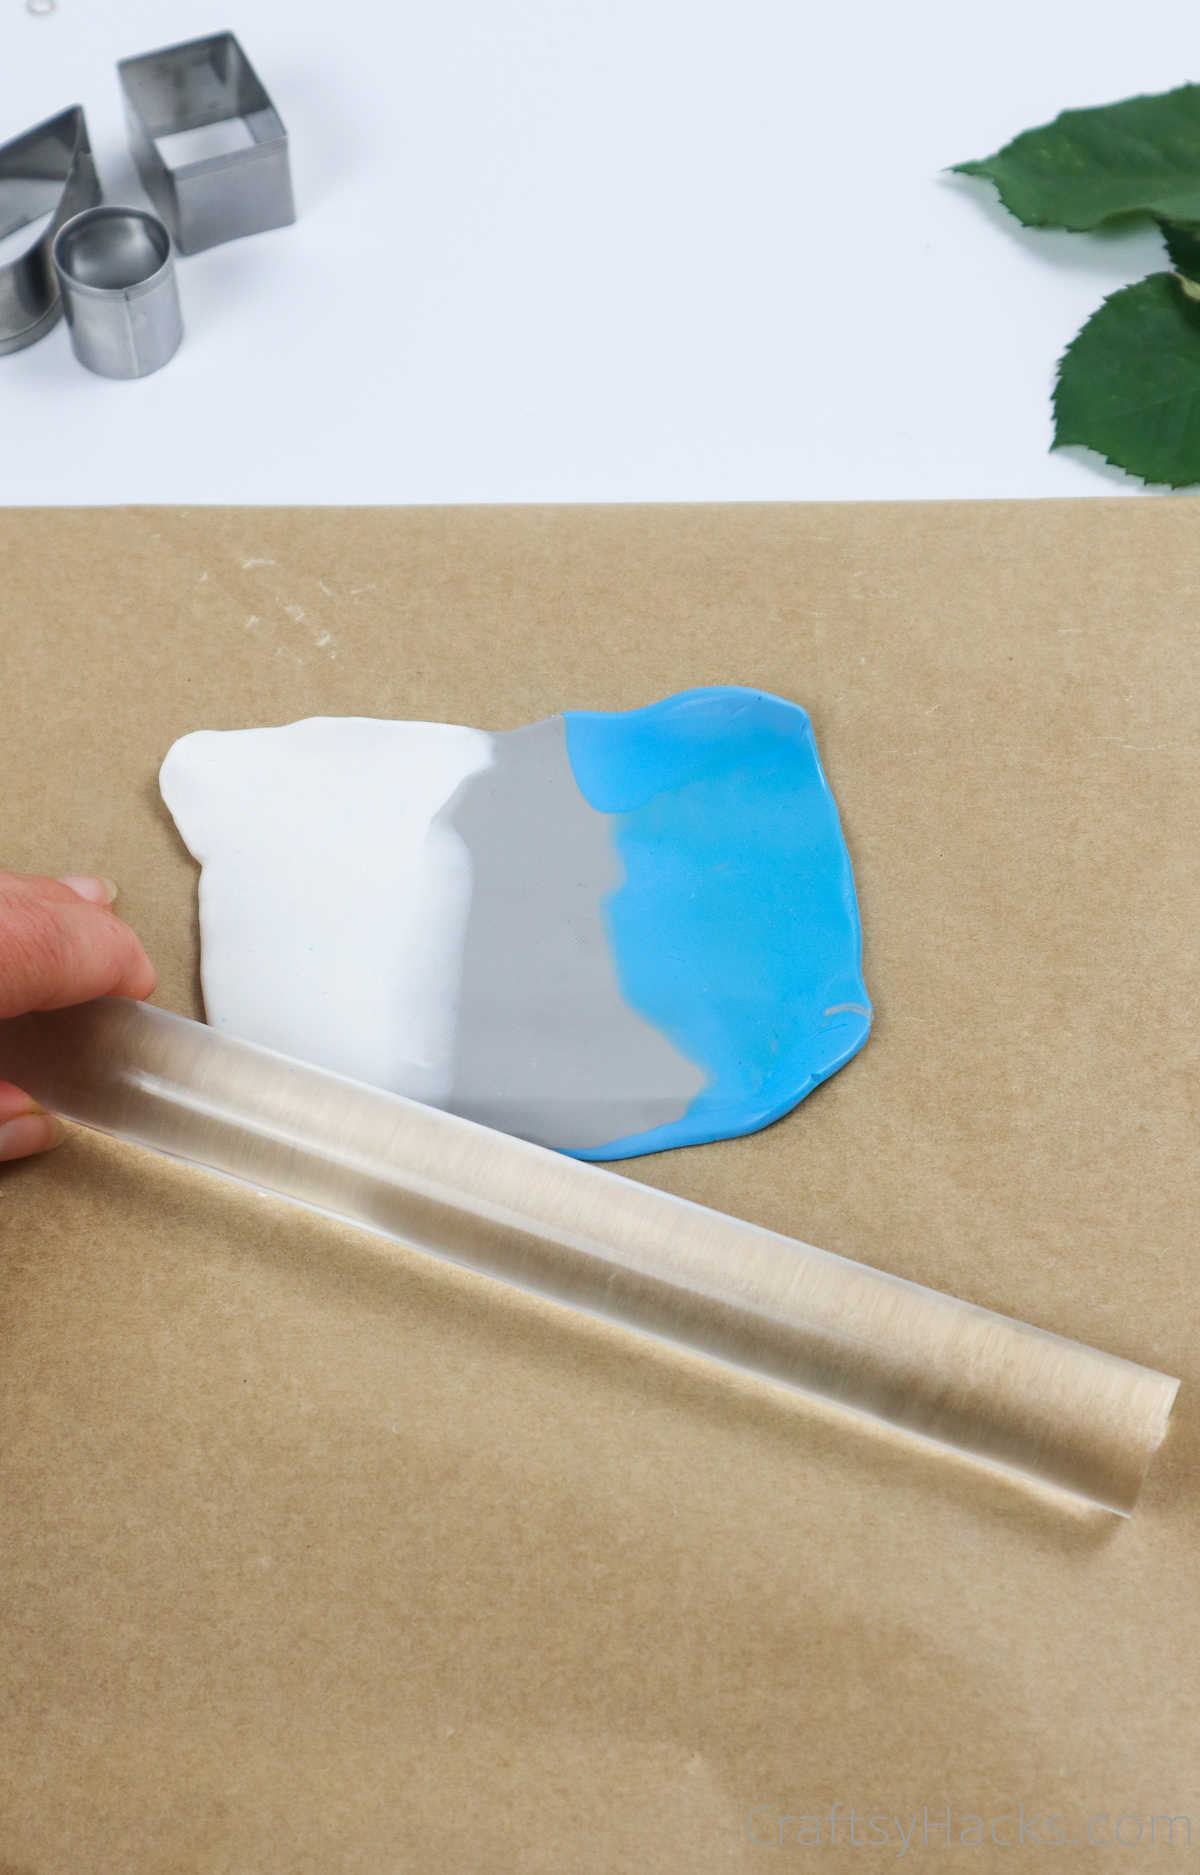
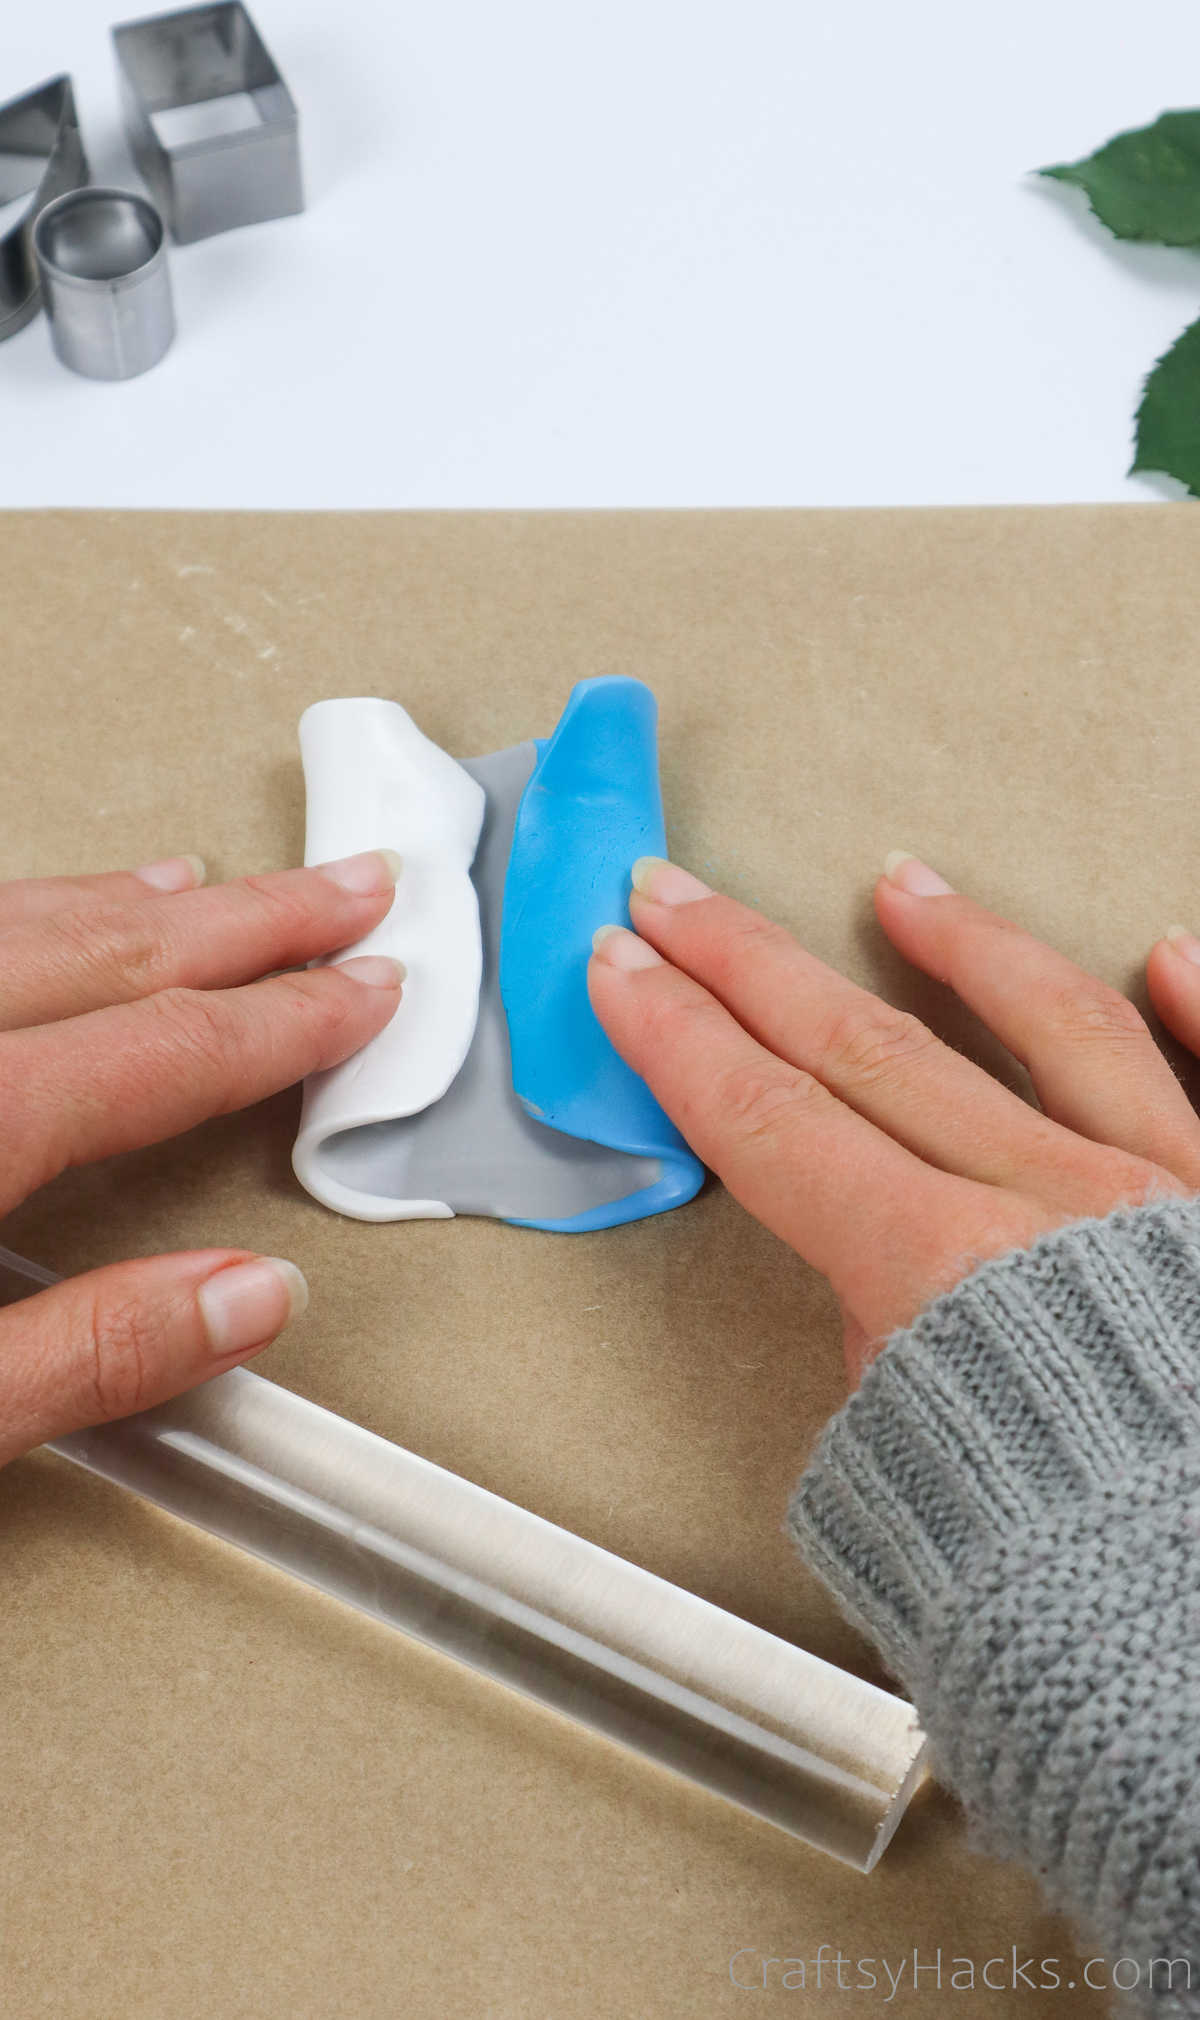
Next, roll the clay into cylindrical strips.
Keep rolling the clay to blend the colors.
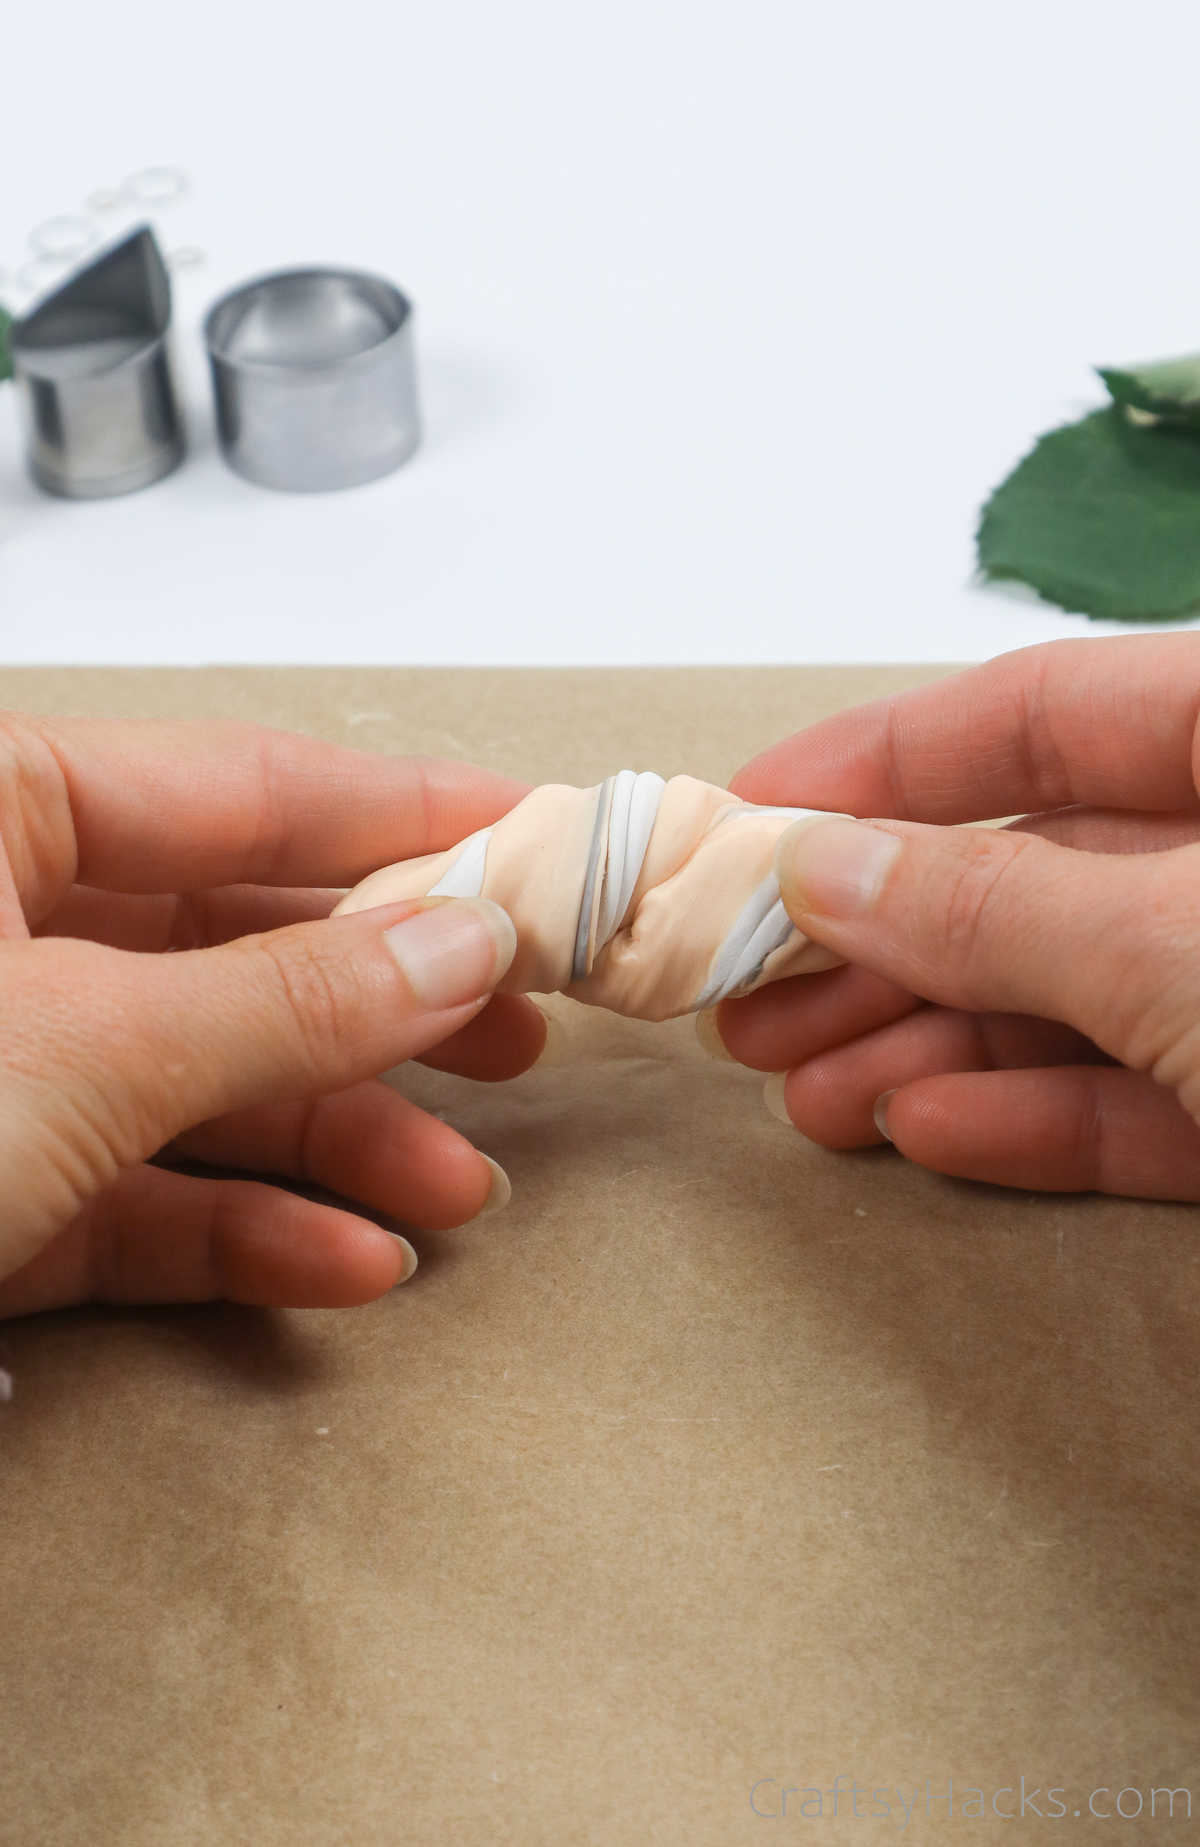
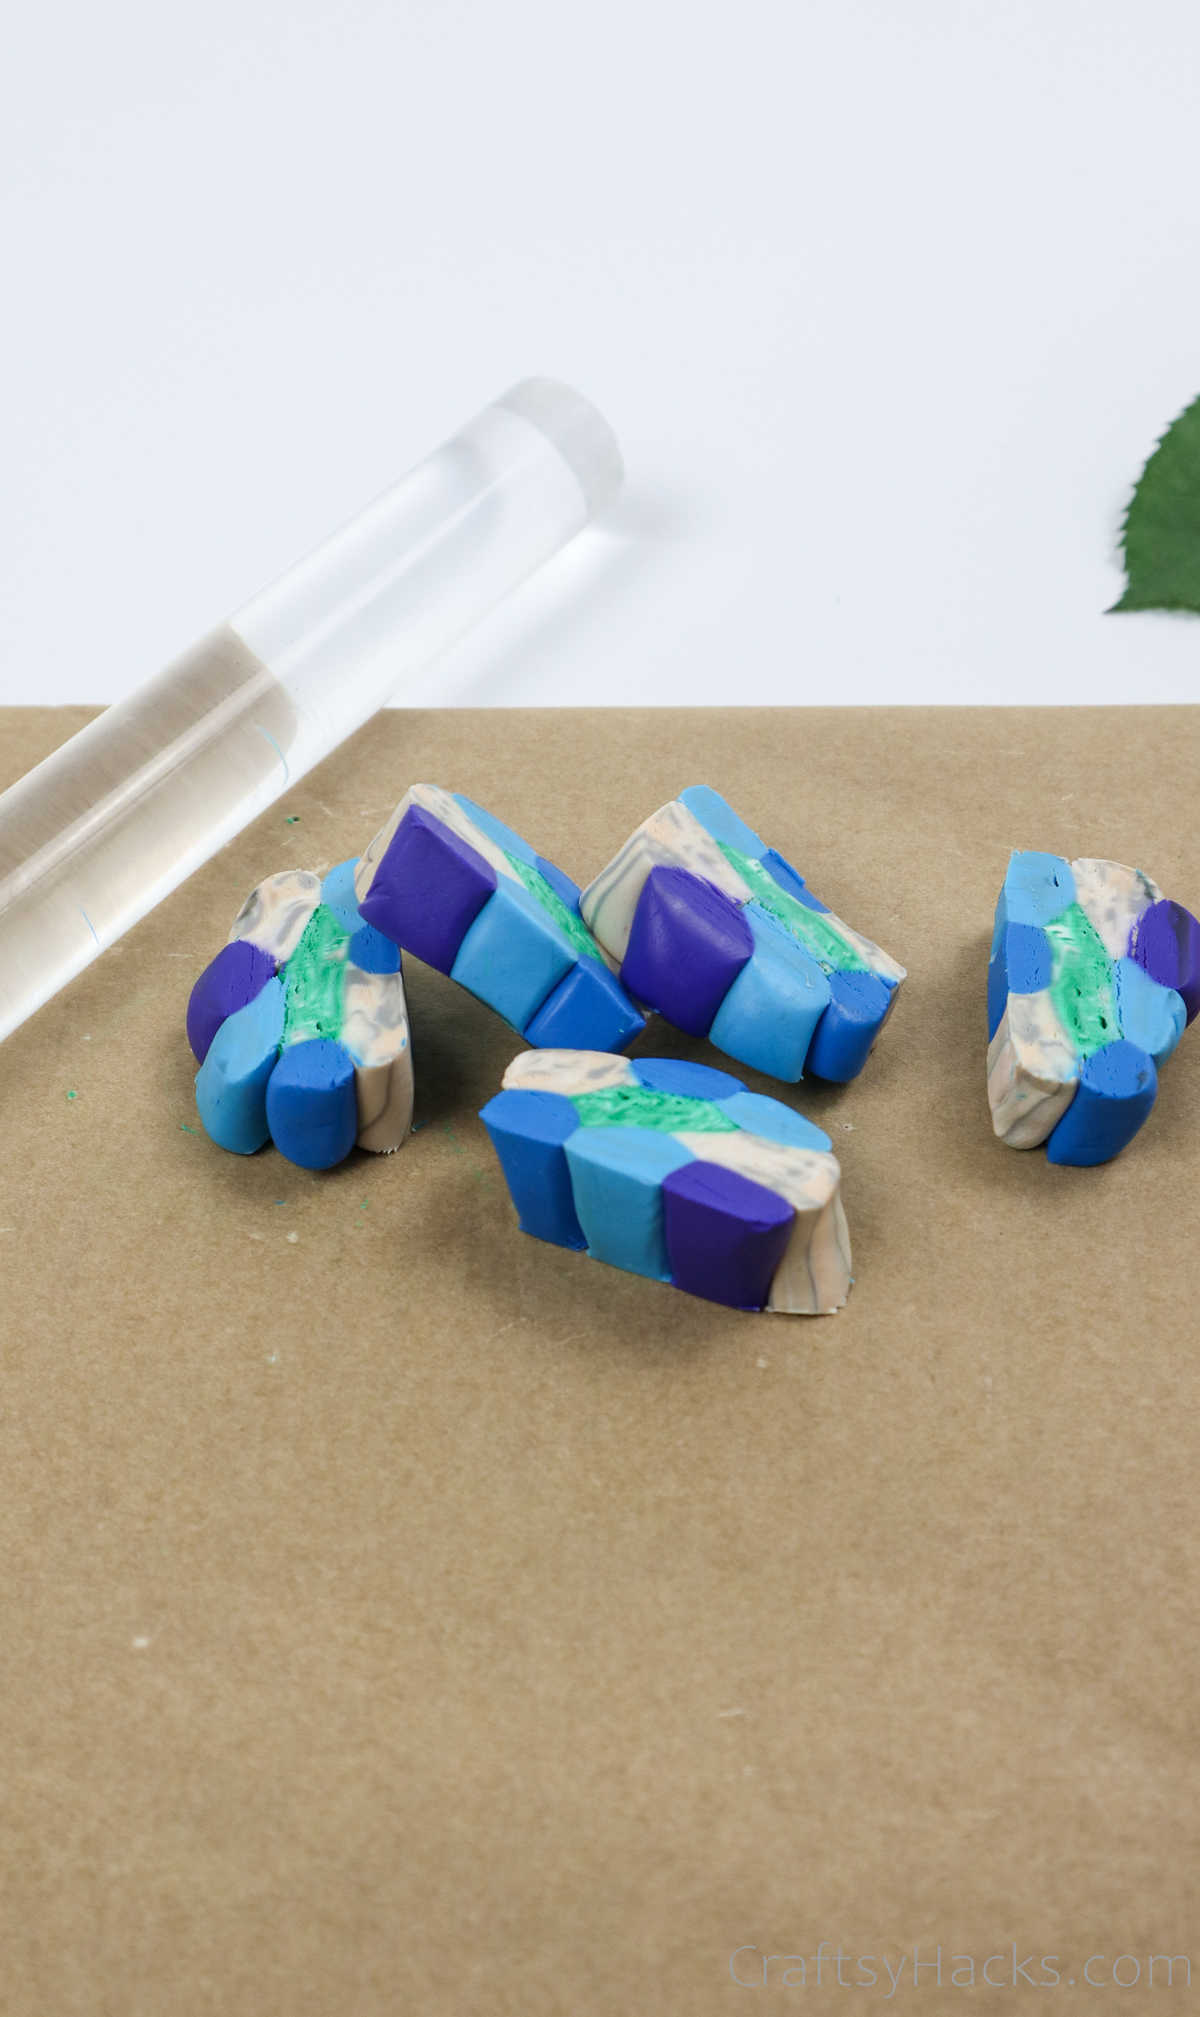
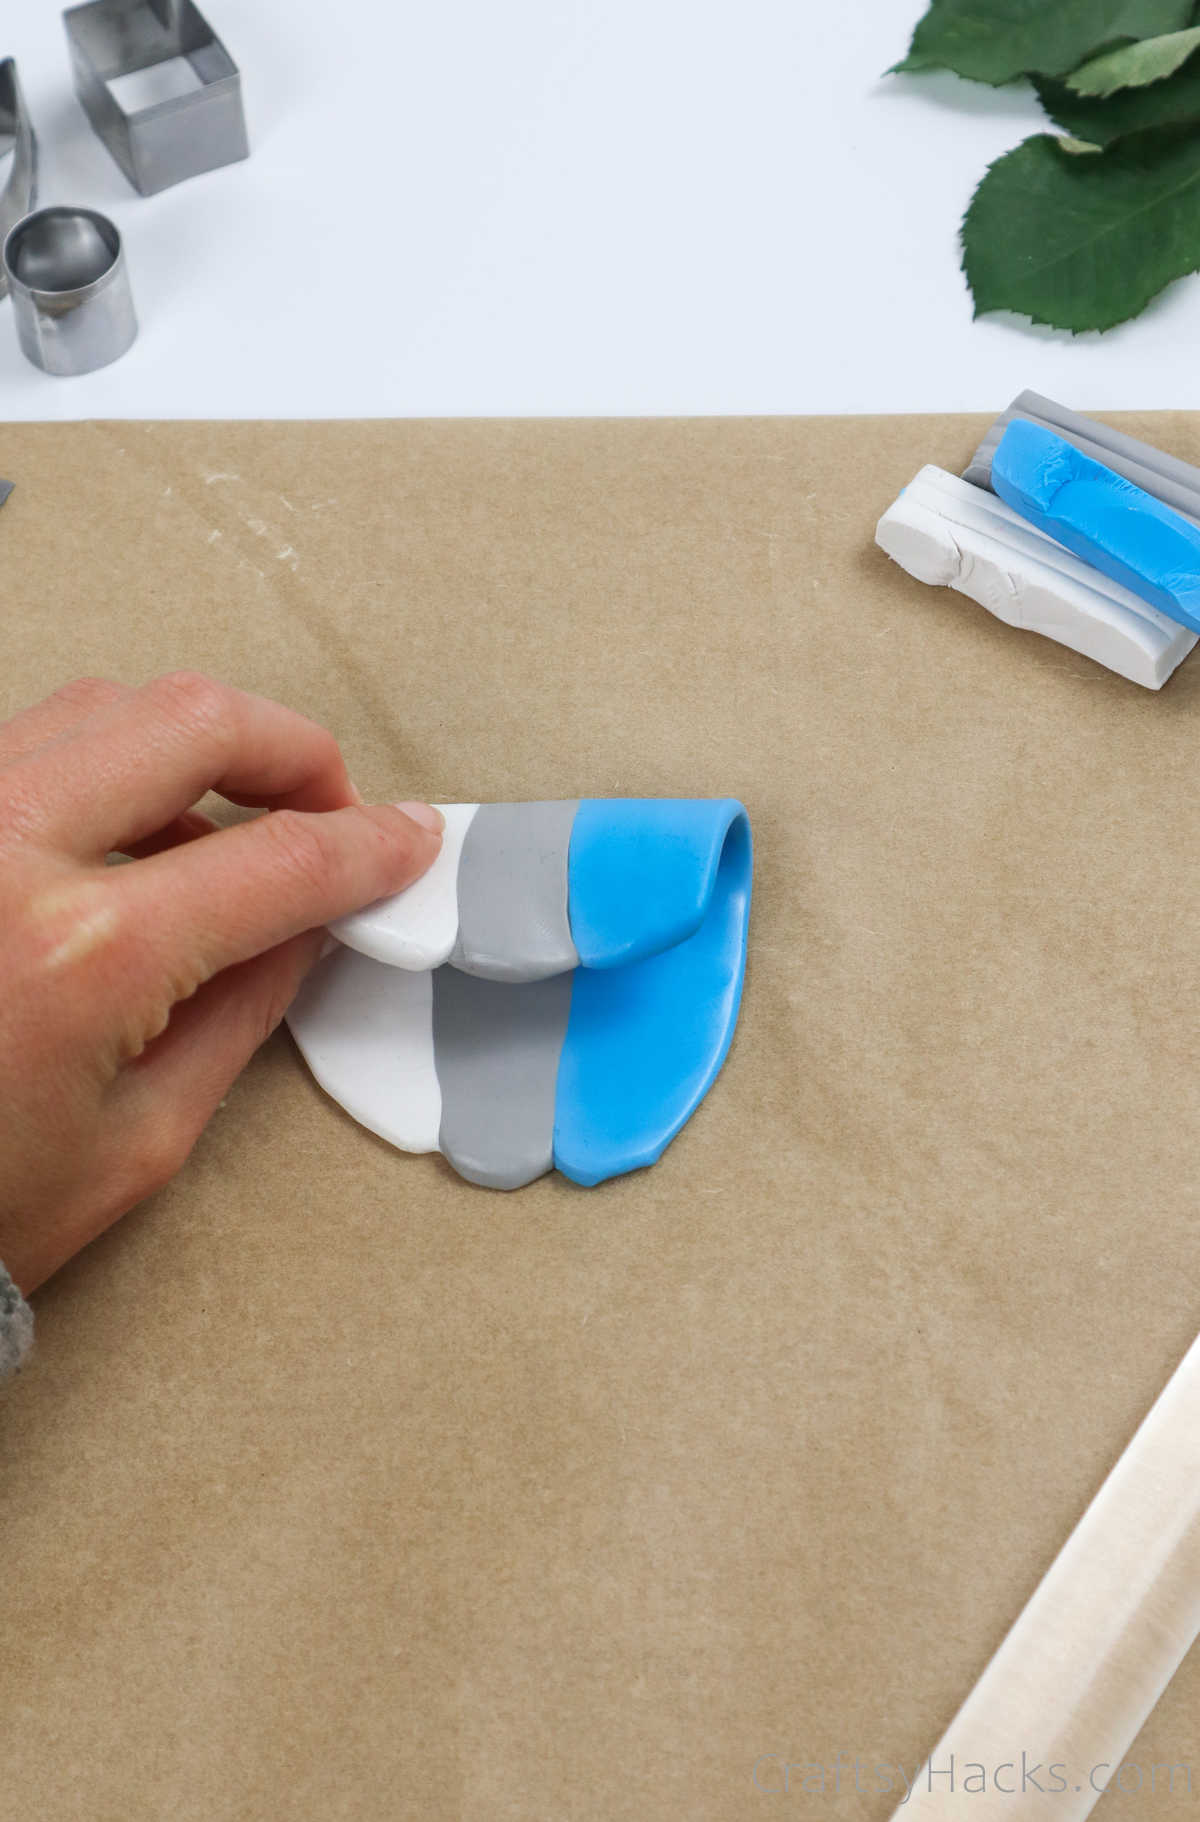
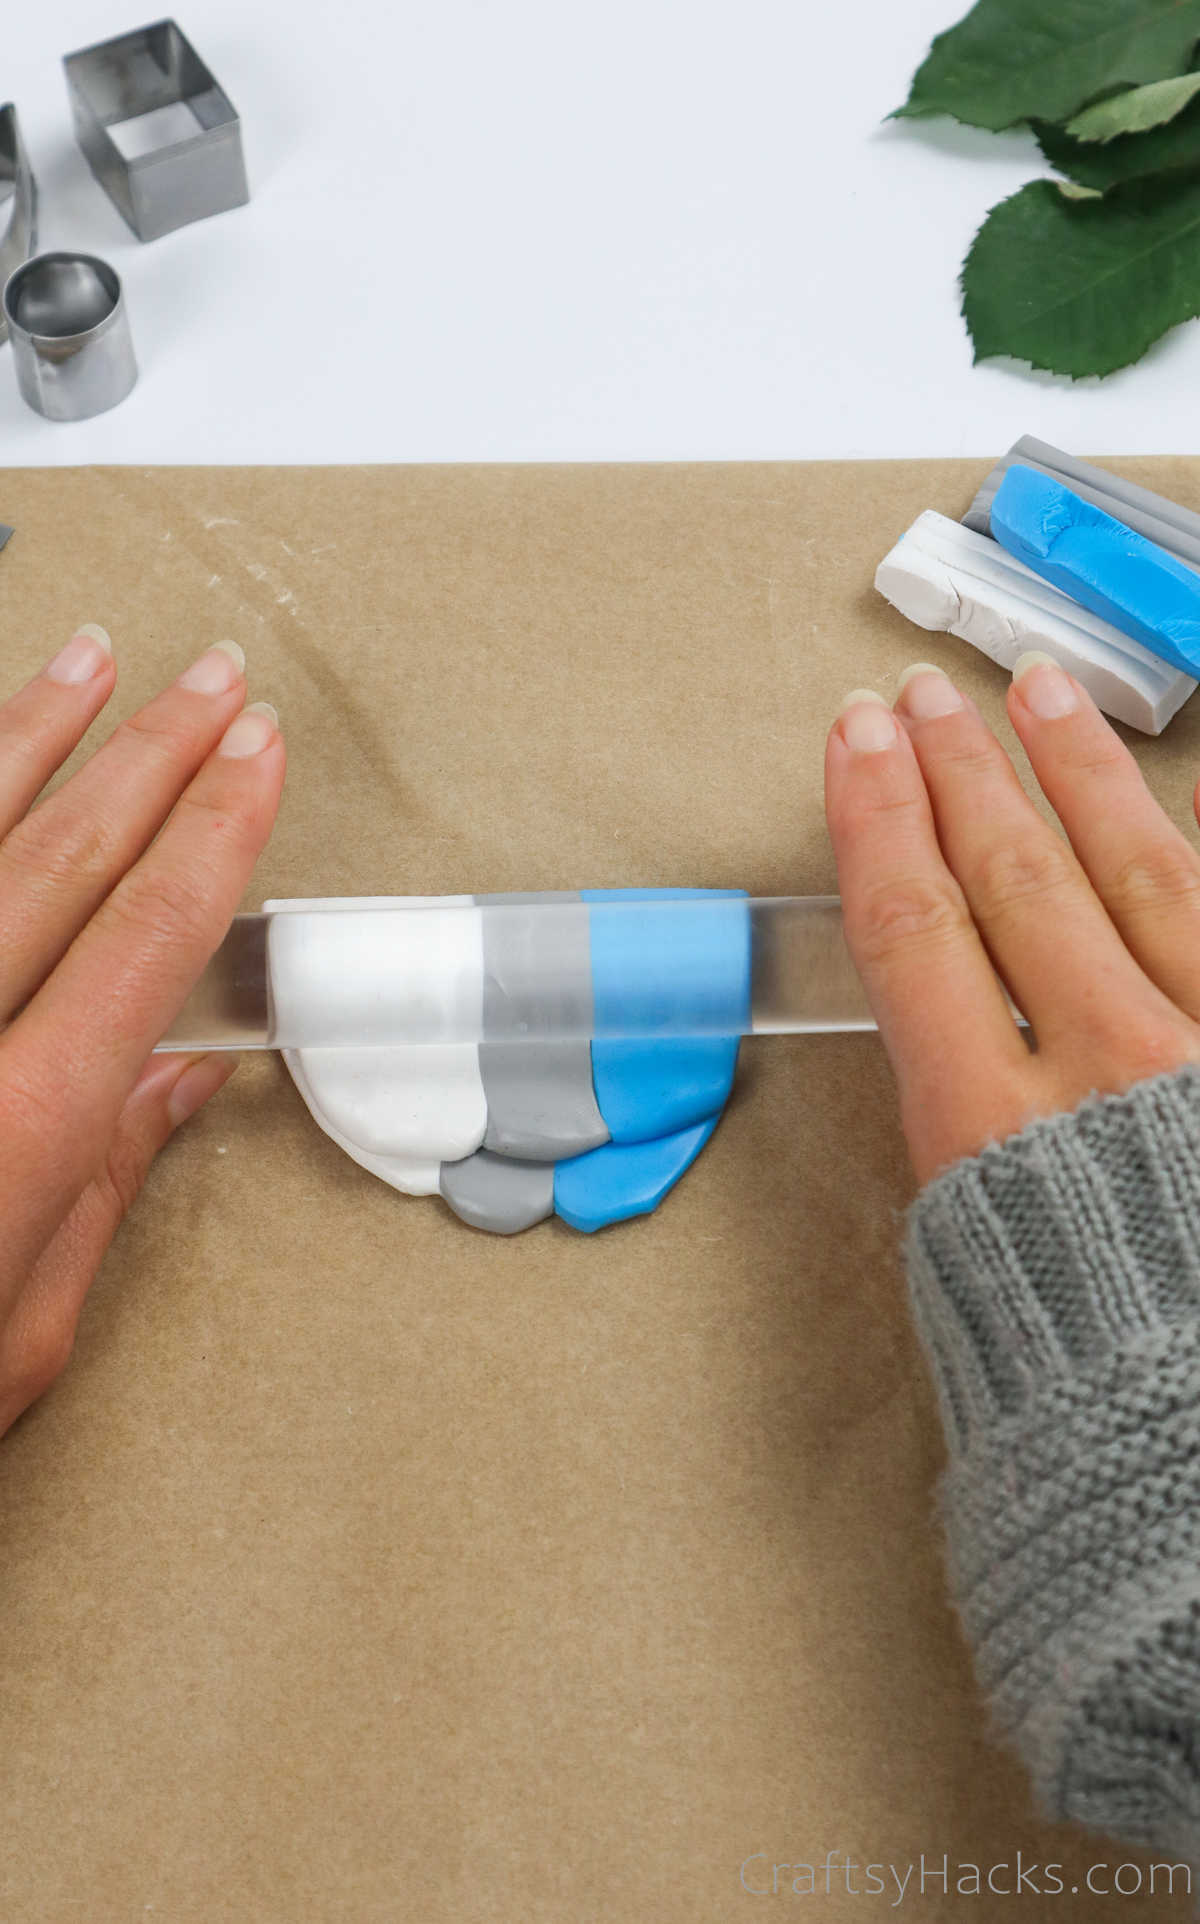
Then, bring one end over and fold it down over the other and continue rolling it.
Keep folding and twisting the clay alternatingly and rolling and flattening it to blend the colors.
Your clay should end up being around 5mm thick.
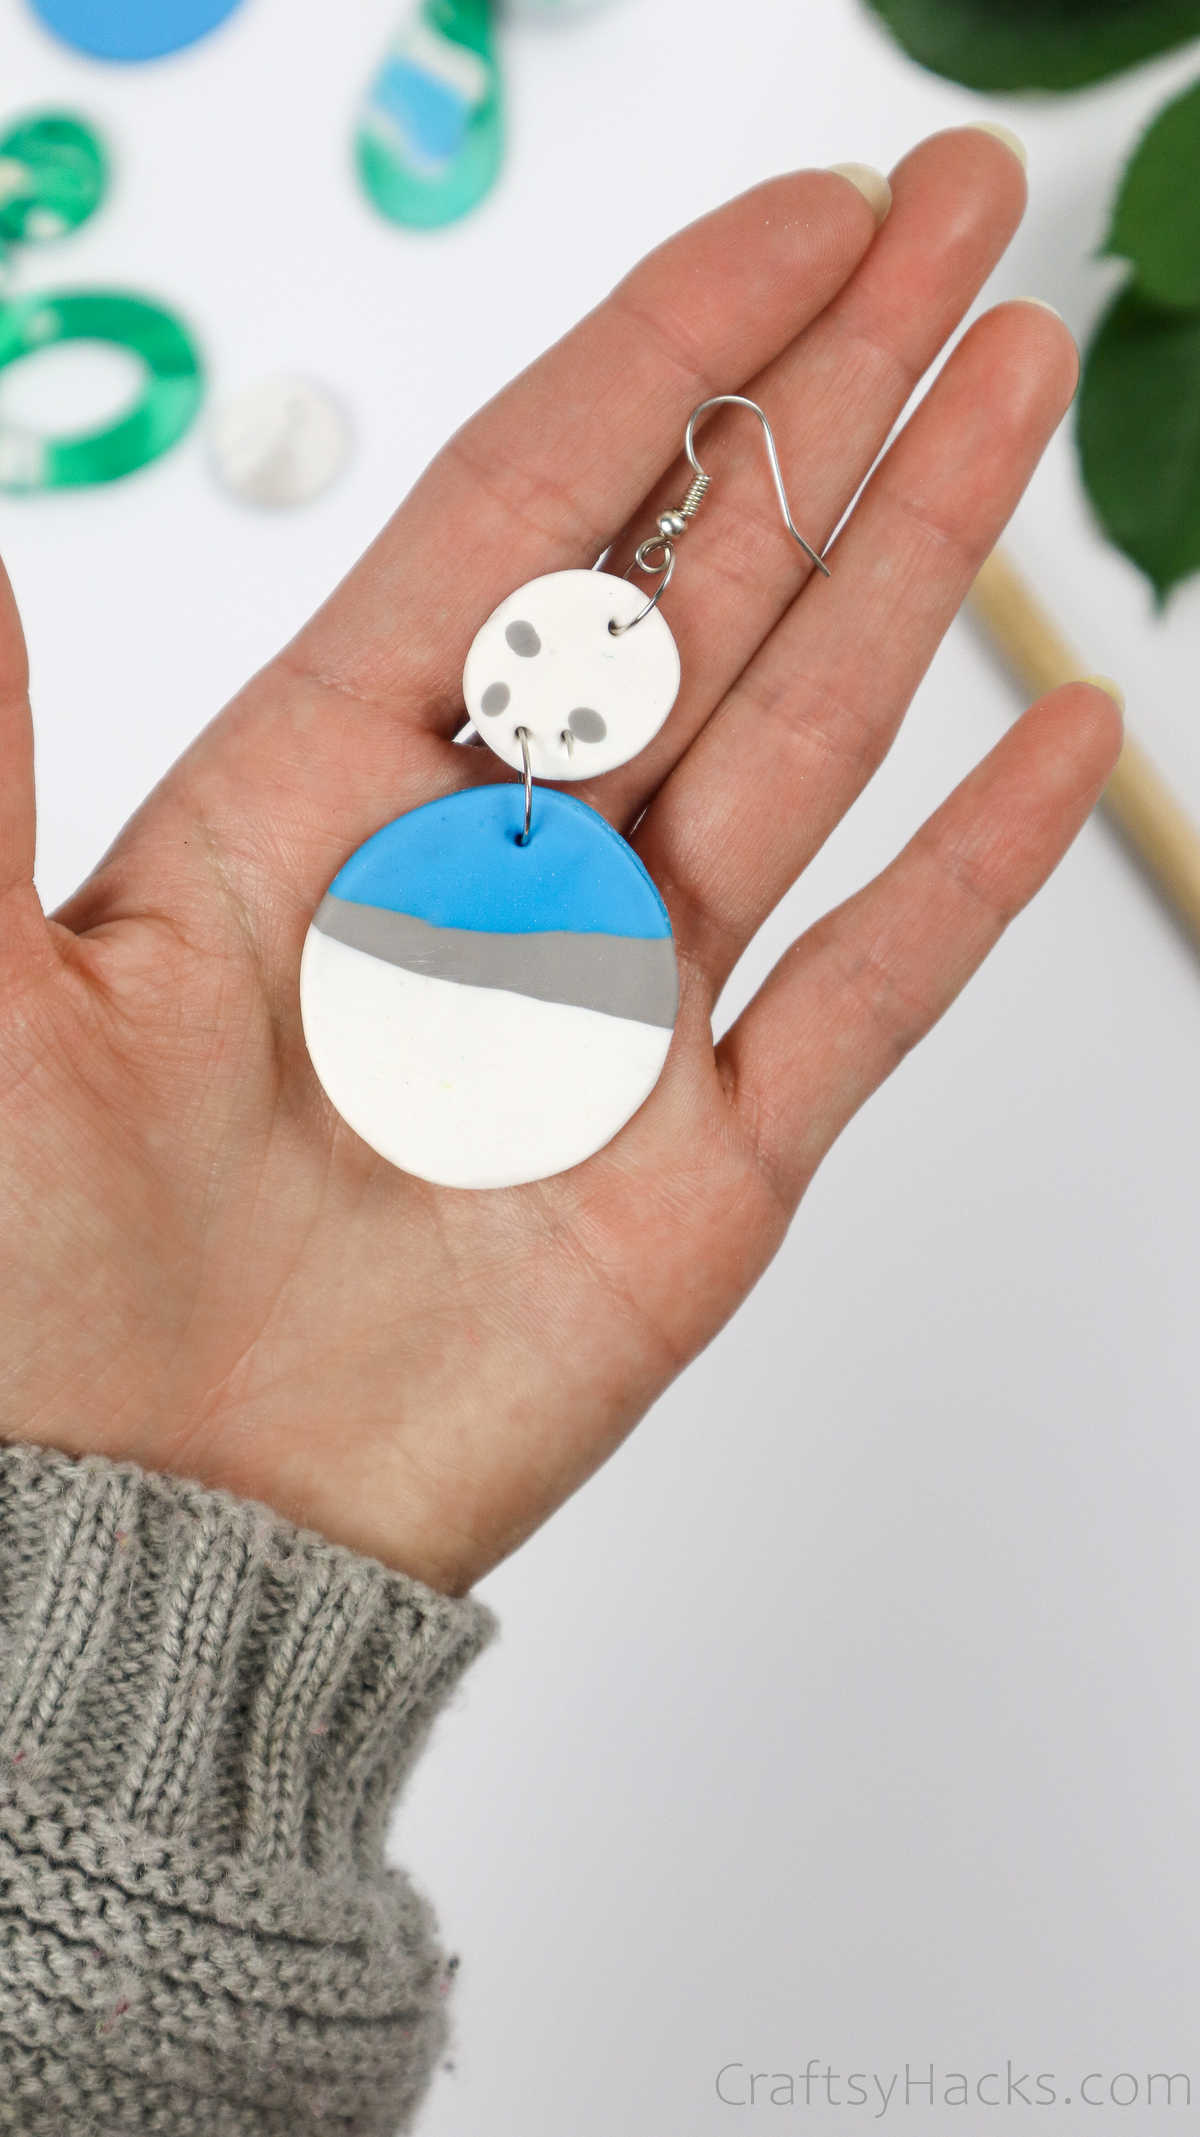
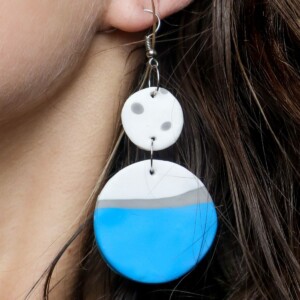
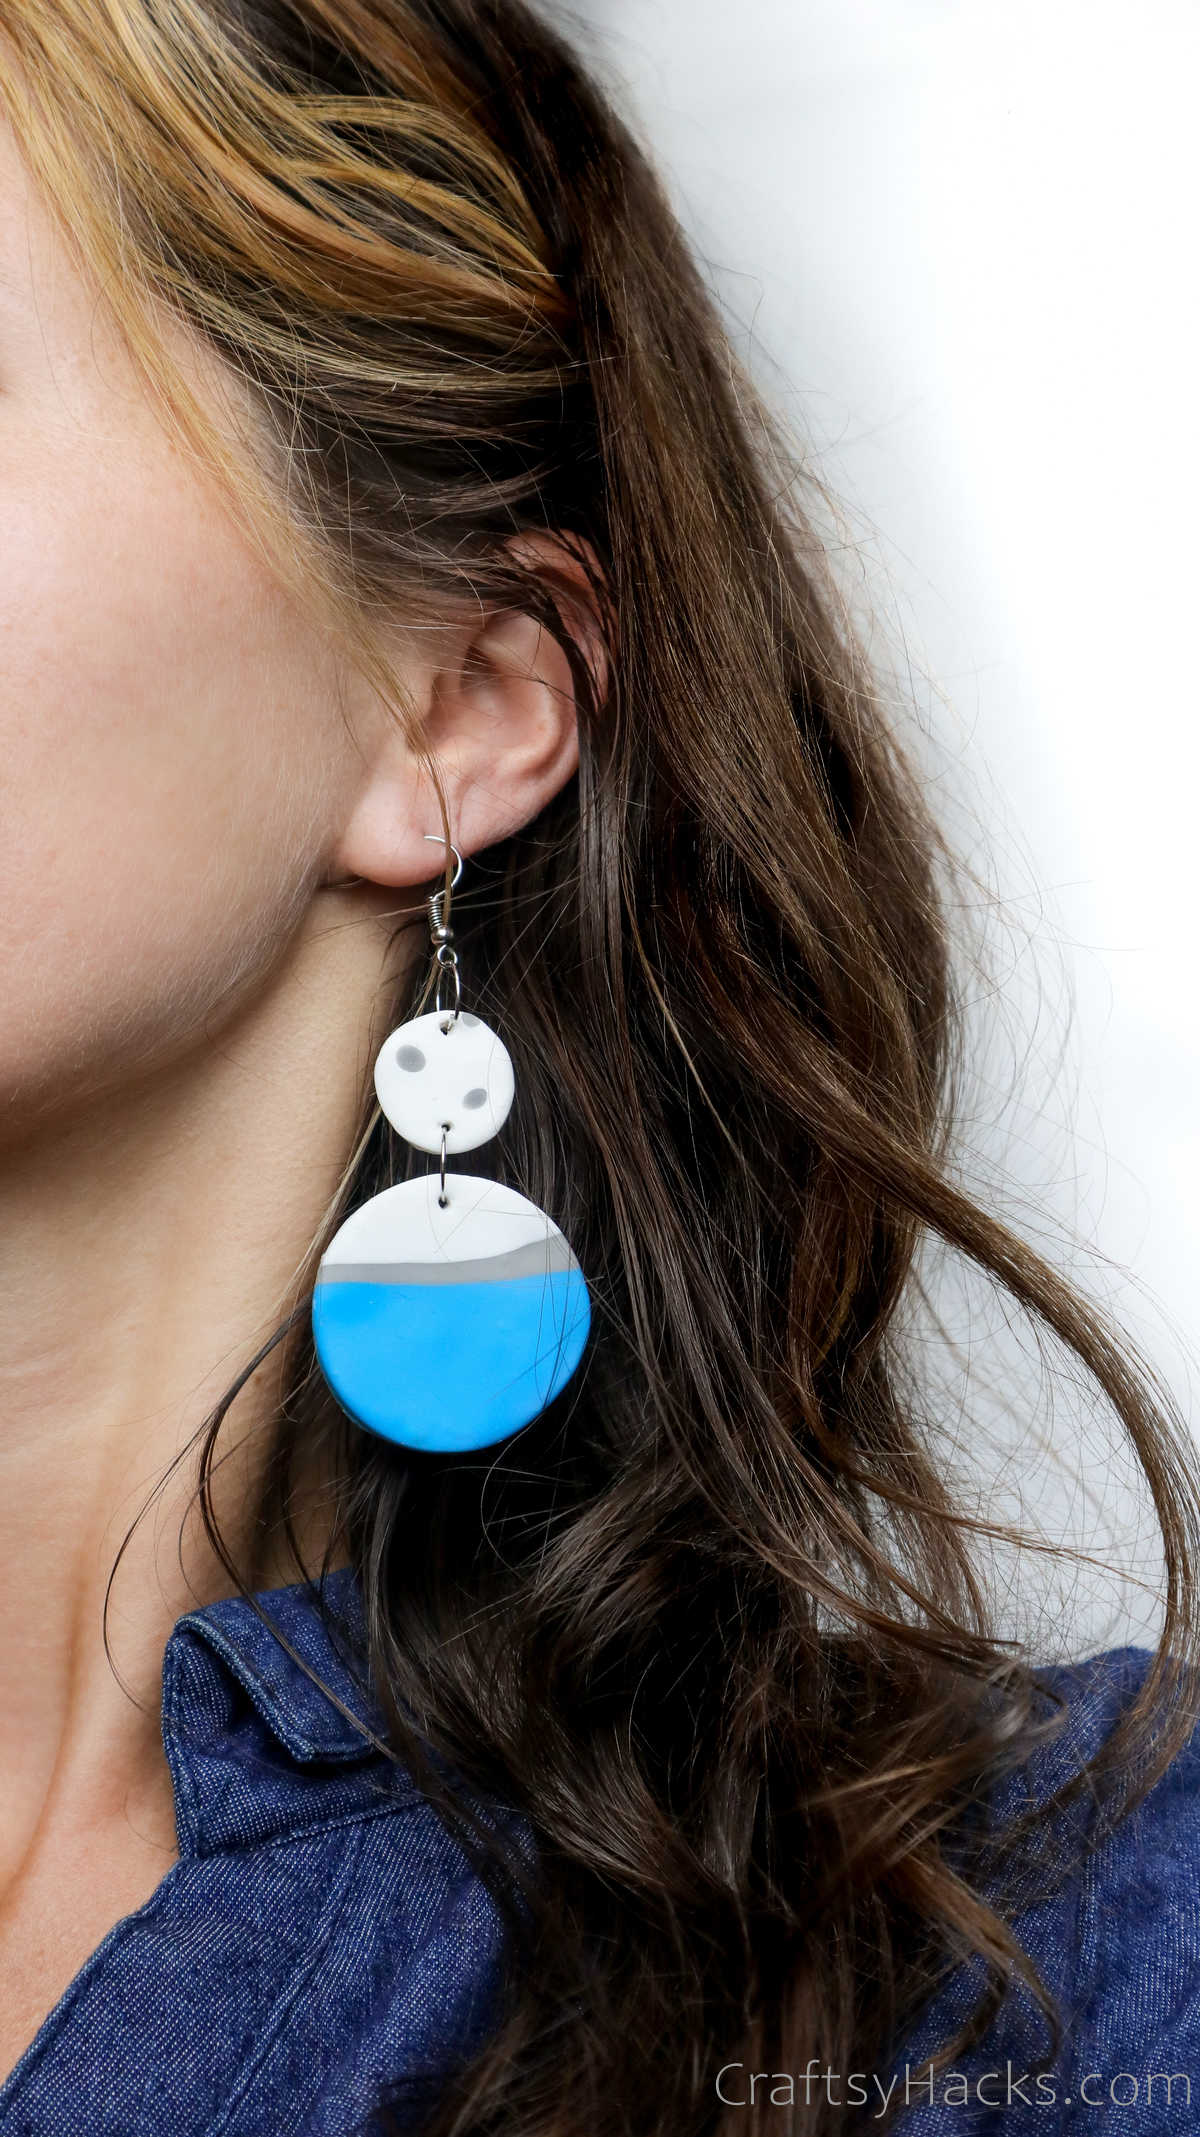
Design 2
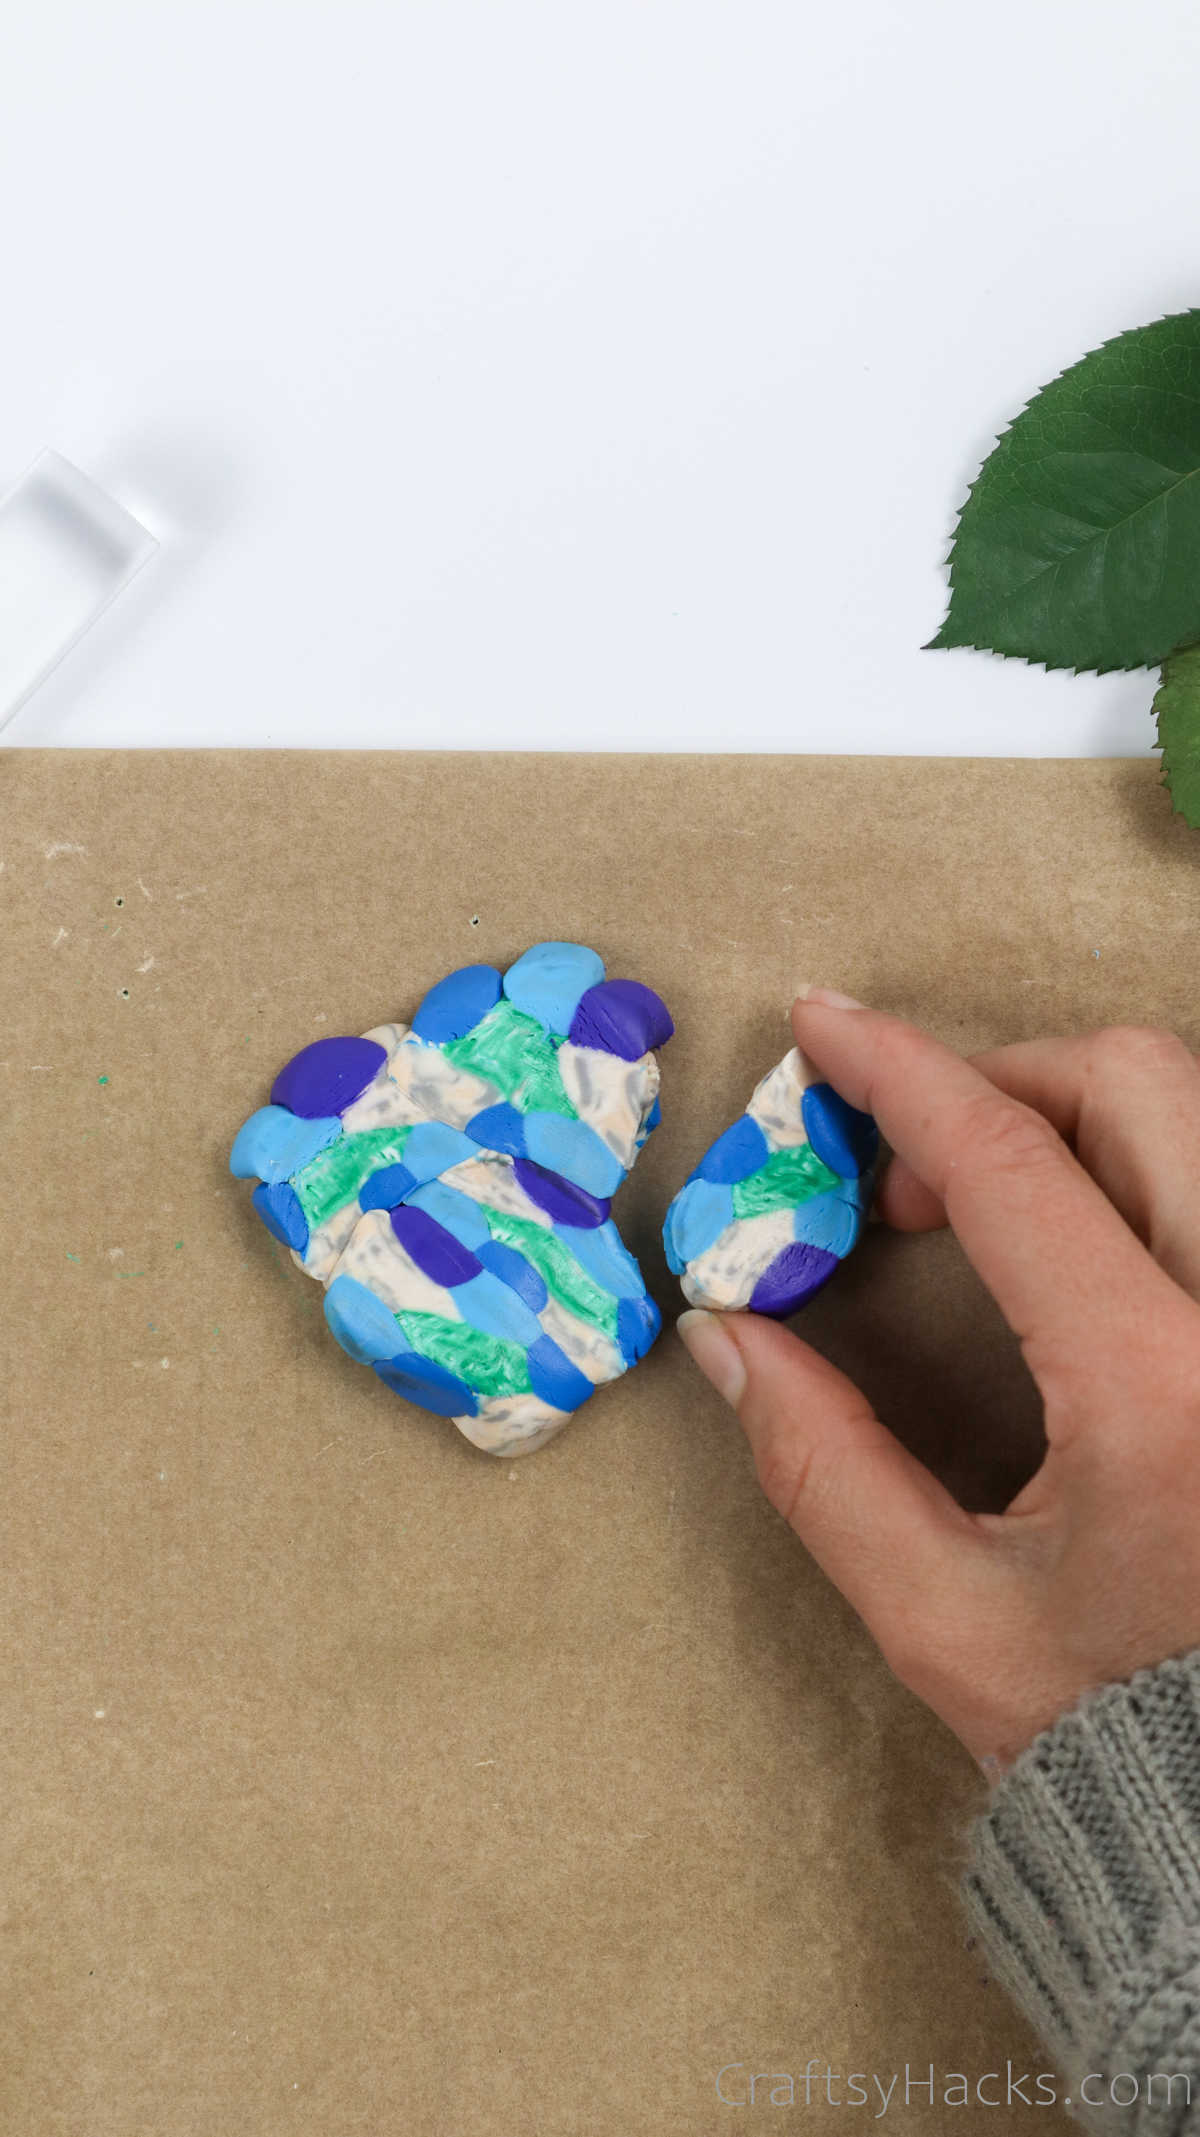
You dont have to stop with just one pair.
You still have some clay left, right?
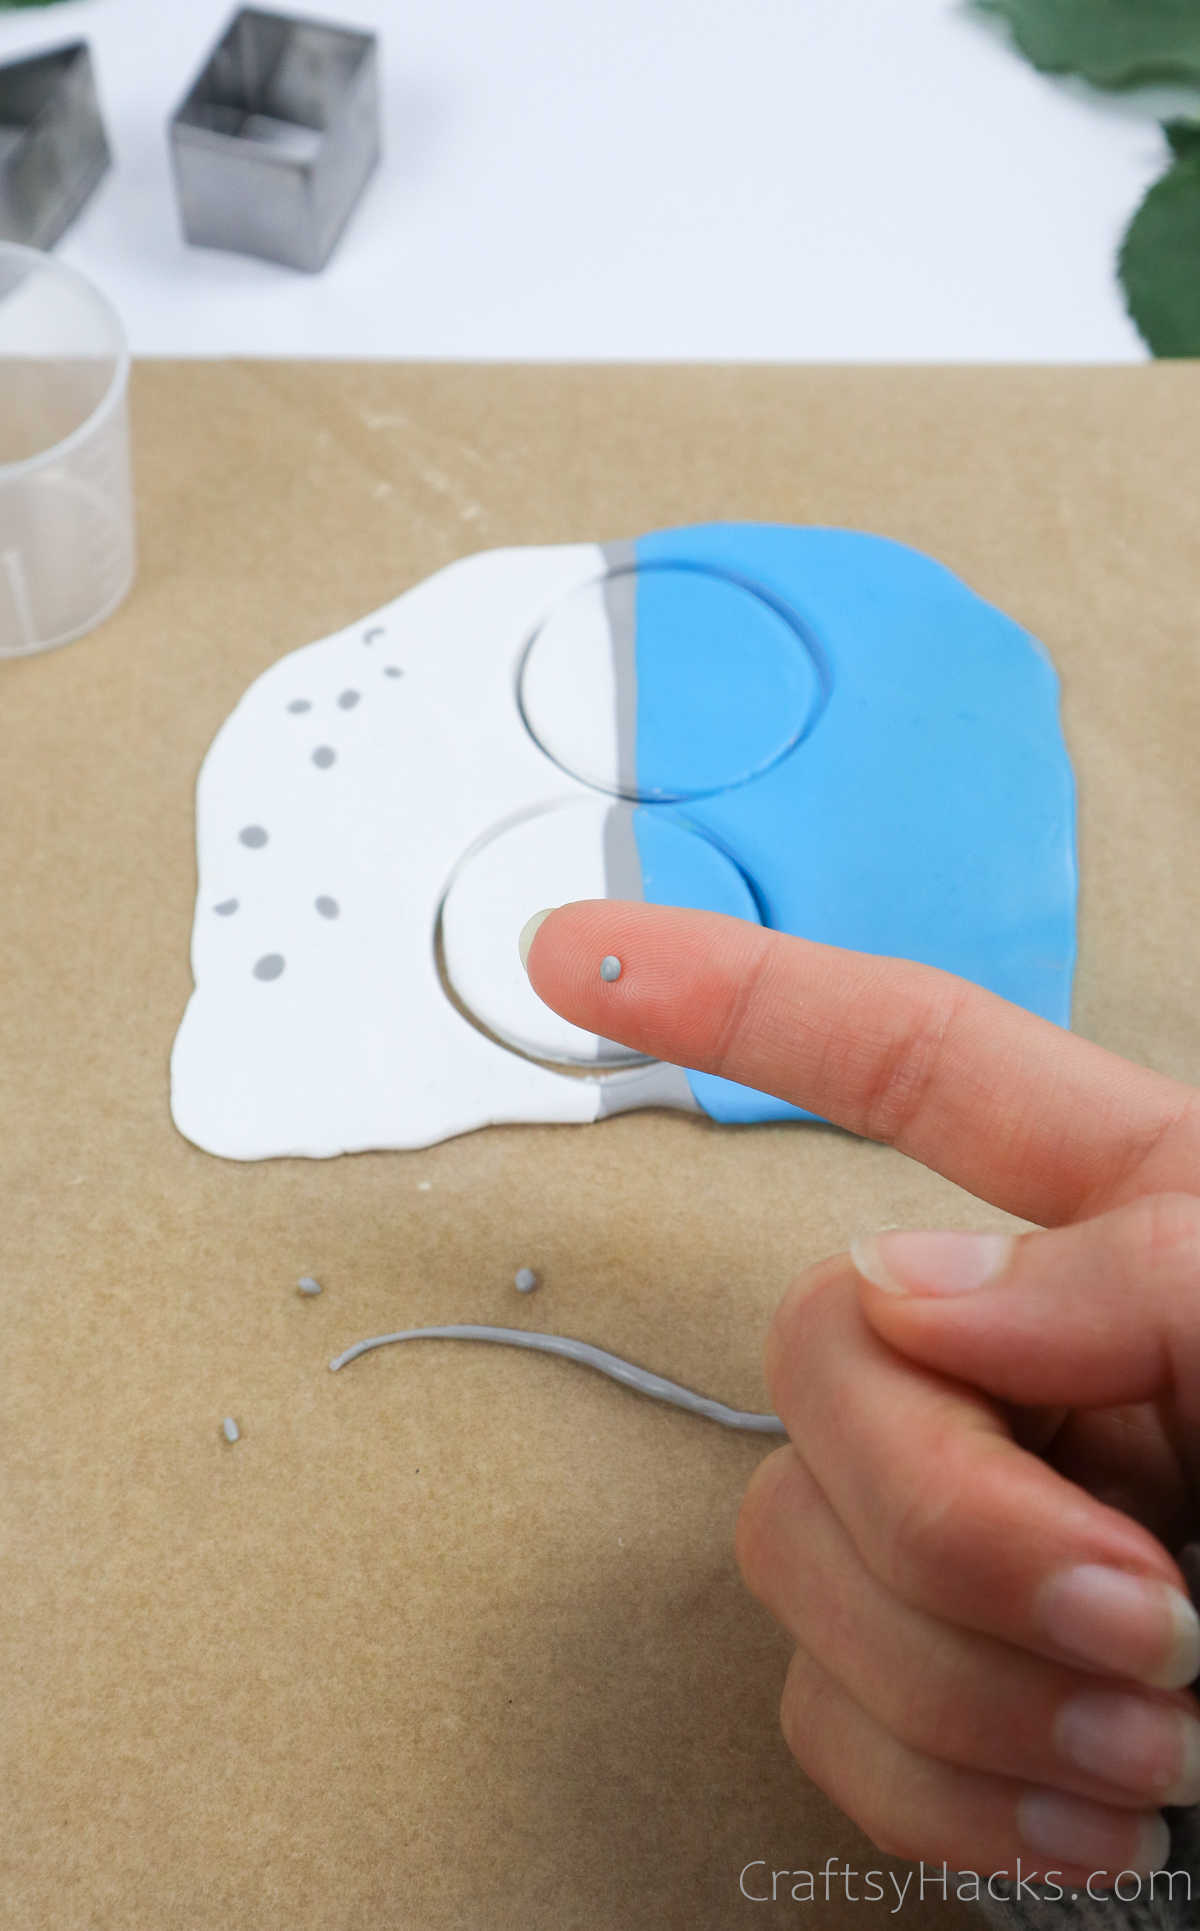
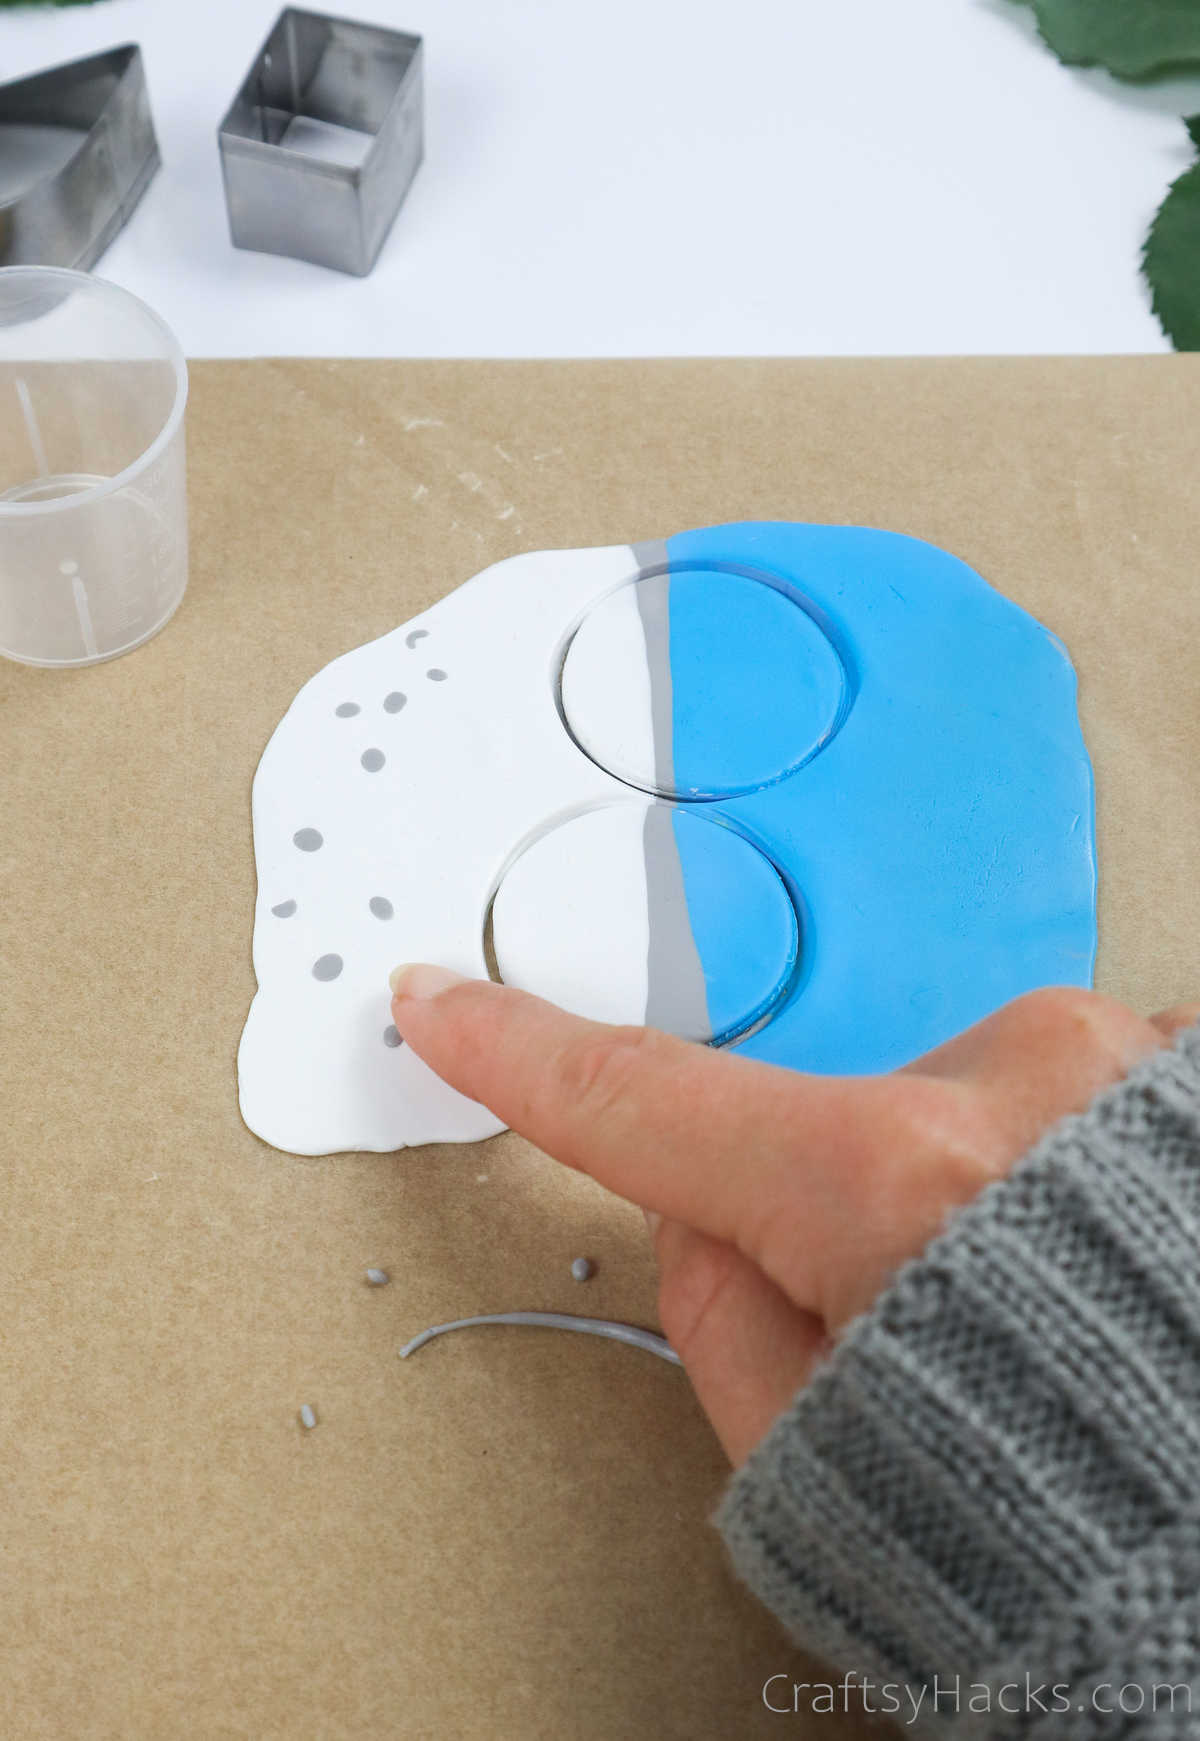
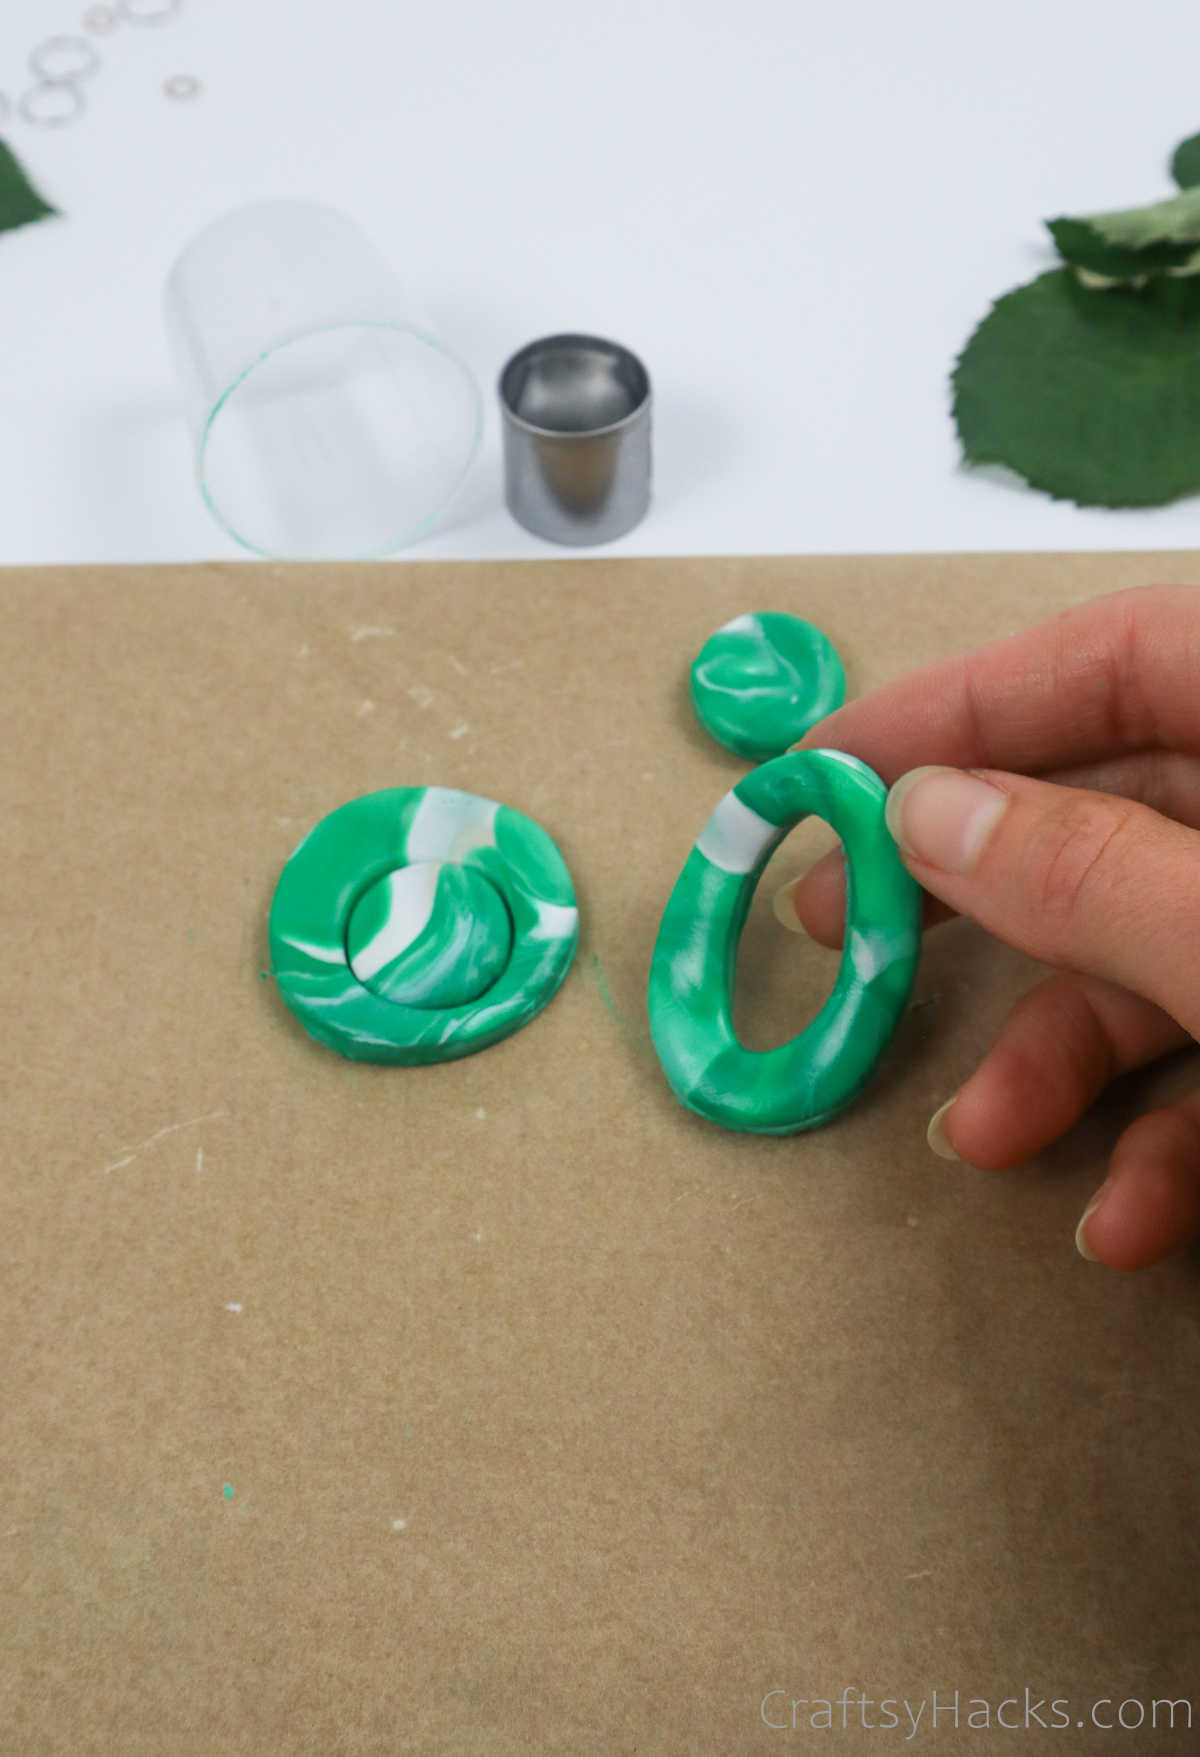
Then, press the dots into the flattened clay to speckle it.
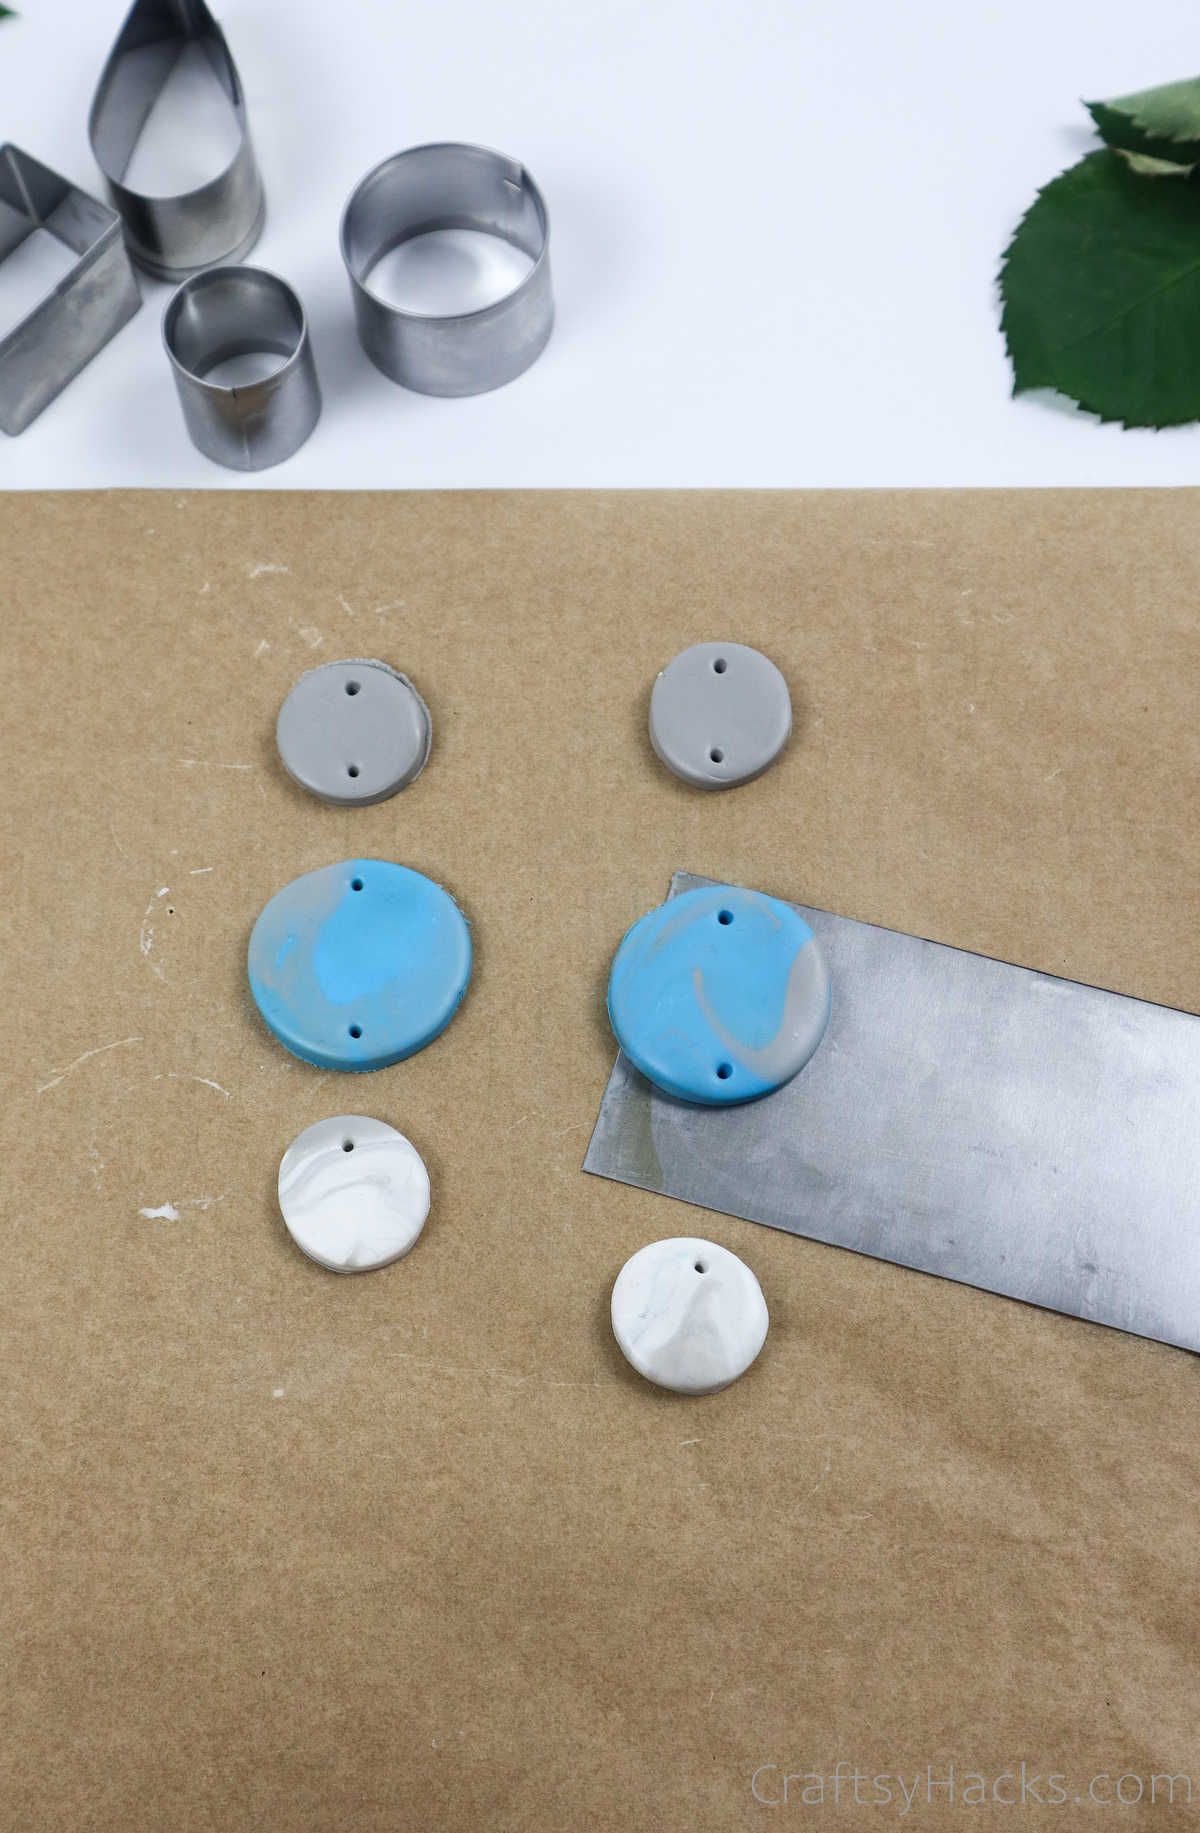
Grab another cookie cutter and cut out two more pieces for another pair of earrings.
you’re able to stick to the same round cutter or try another shape, too.
Step 6
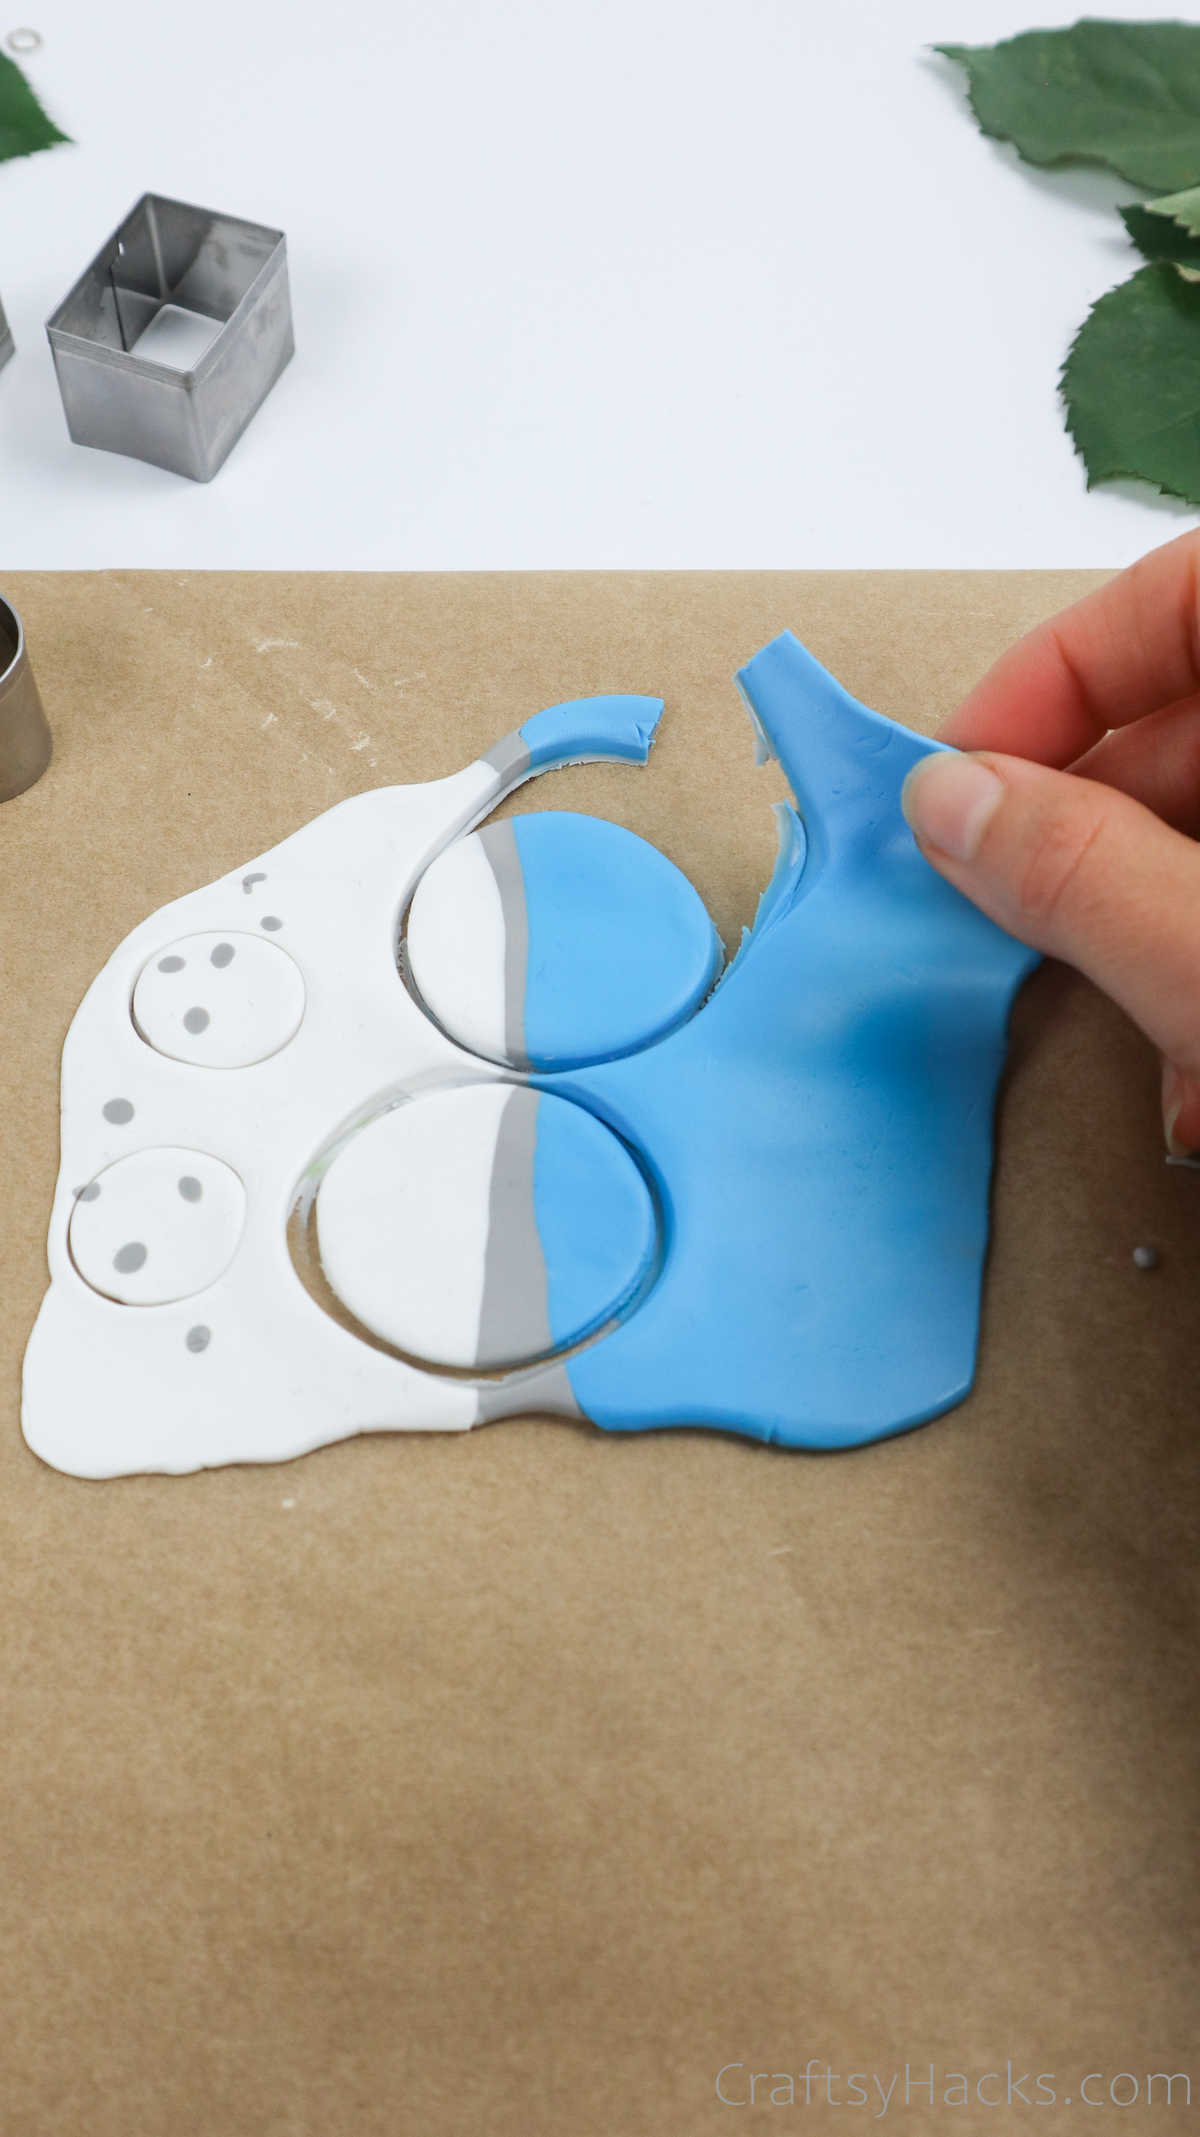
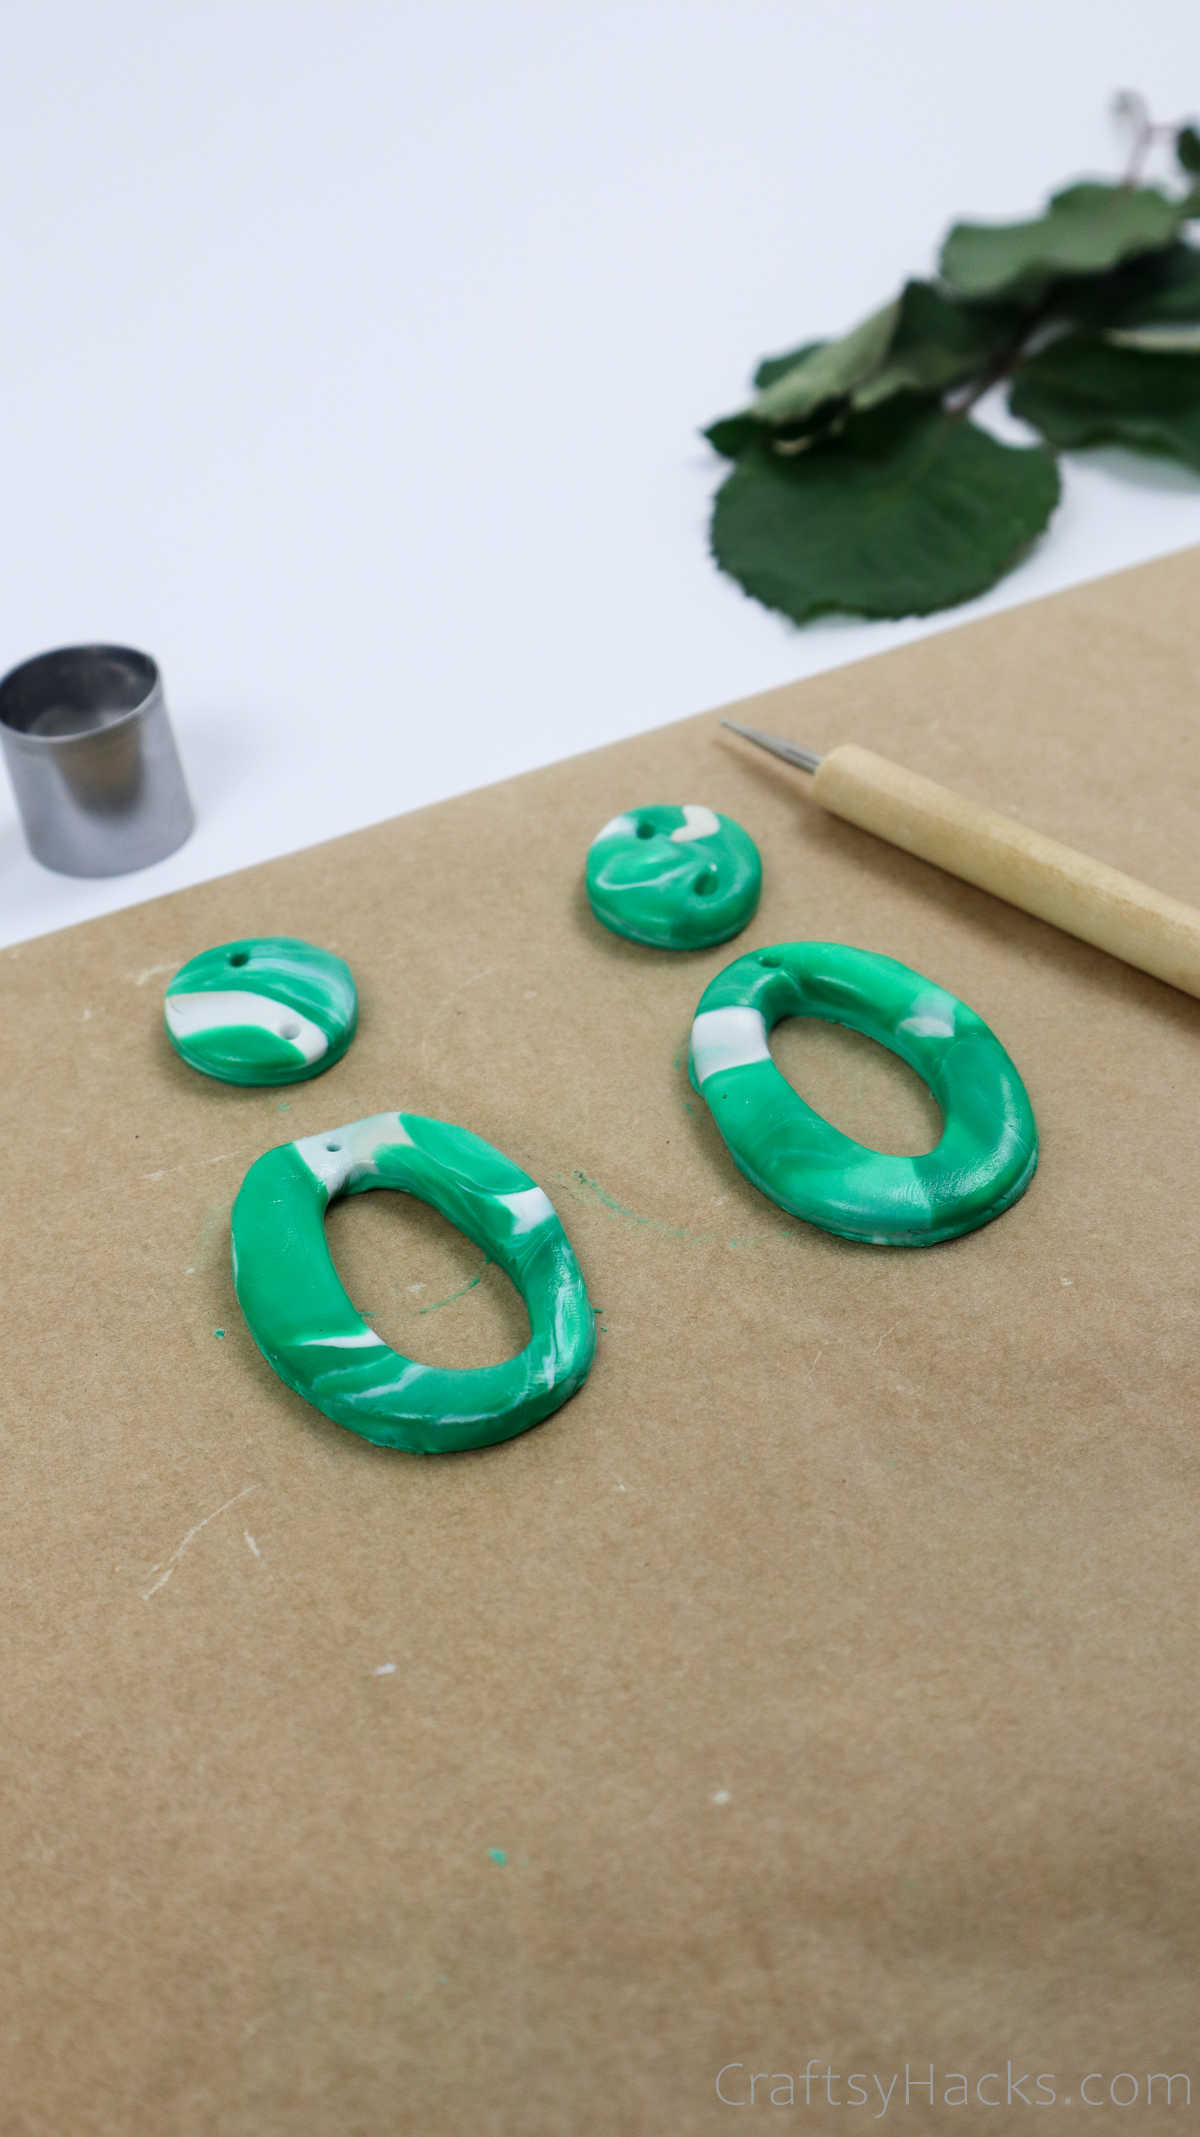
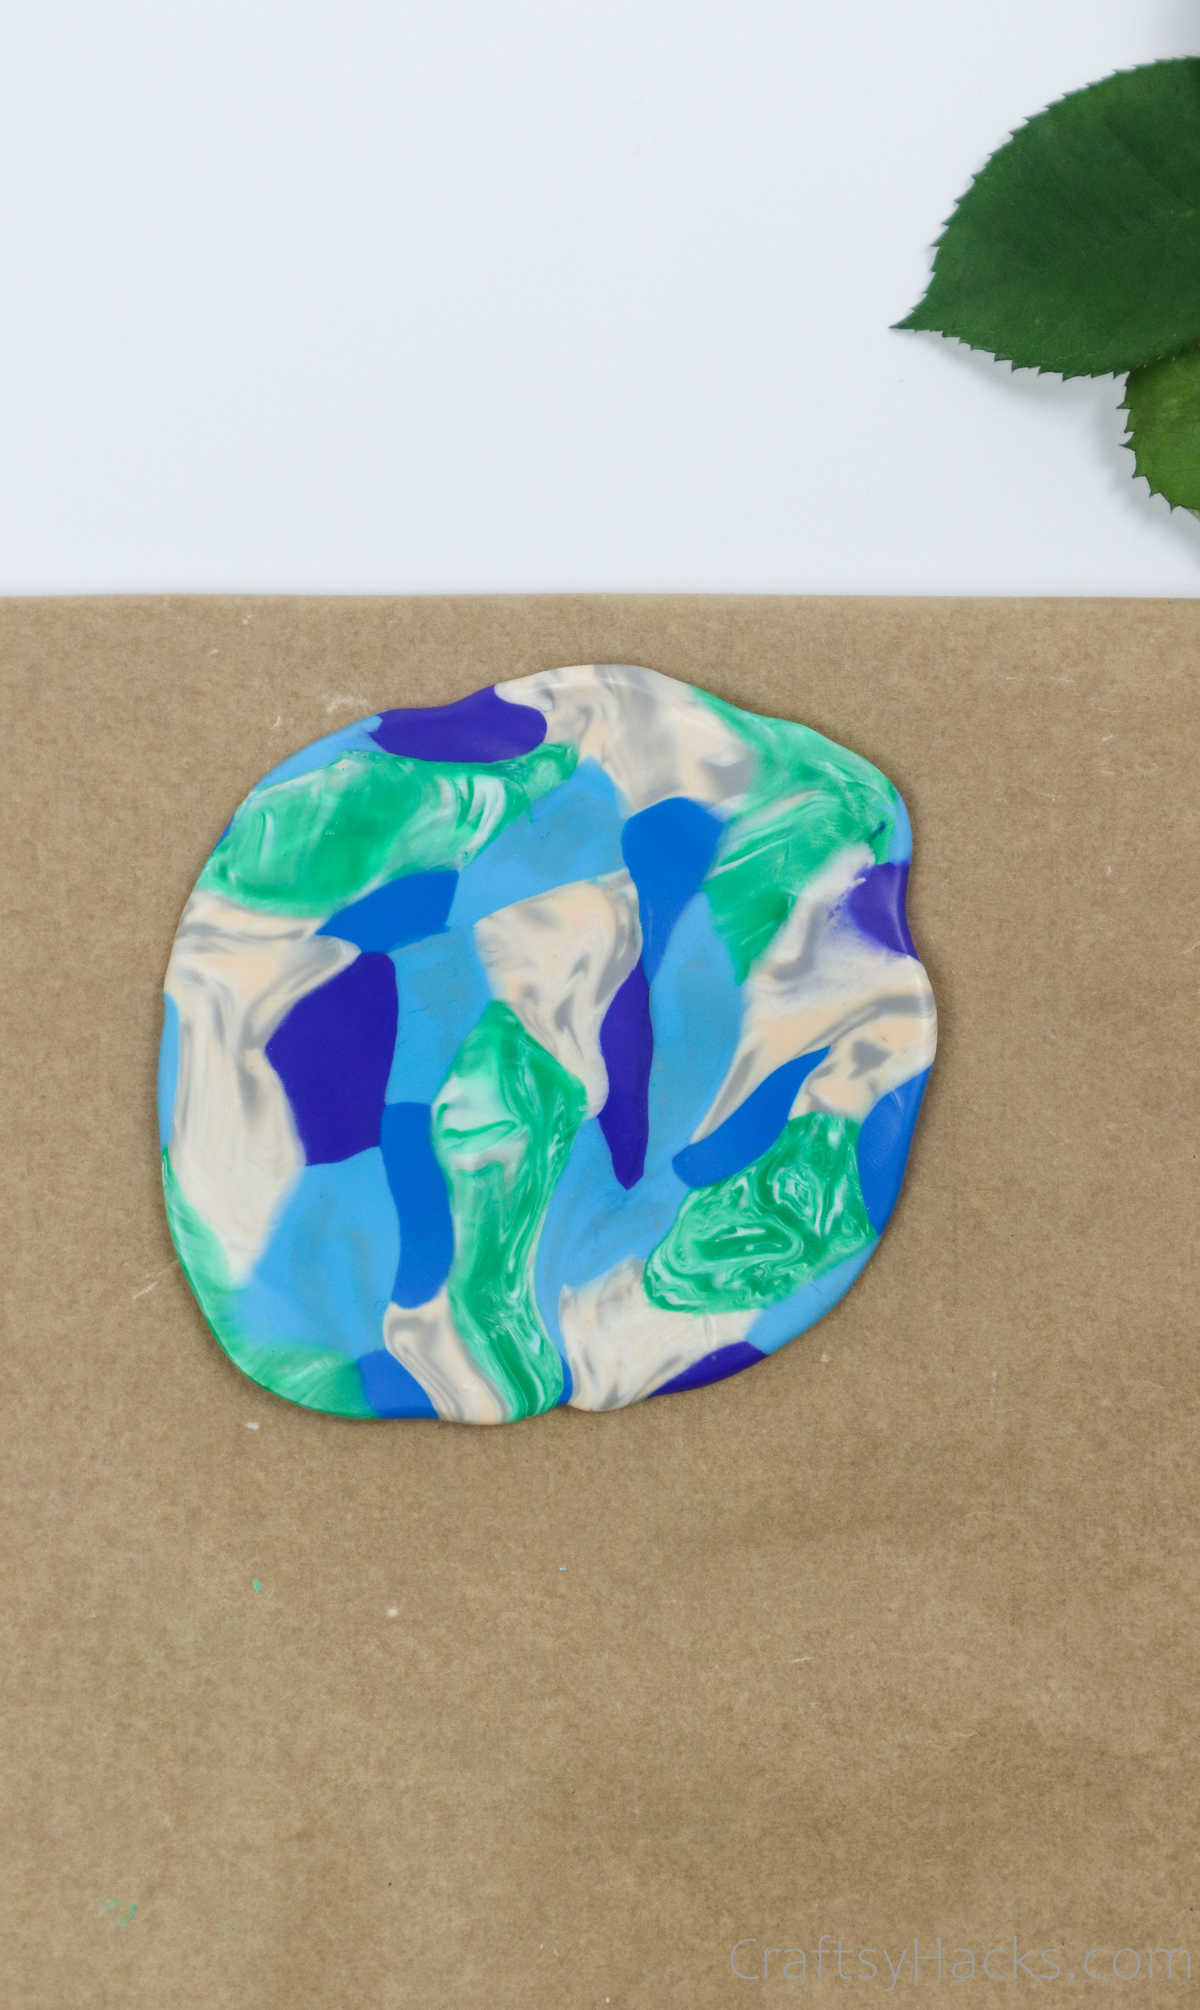
Carefully pull the excess clay away from the shapes you cut out.
you might set it aside to use later for other projects.
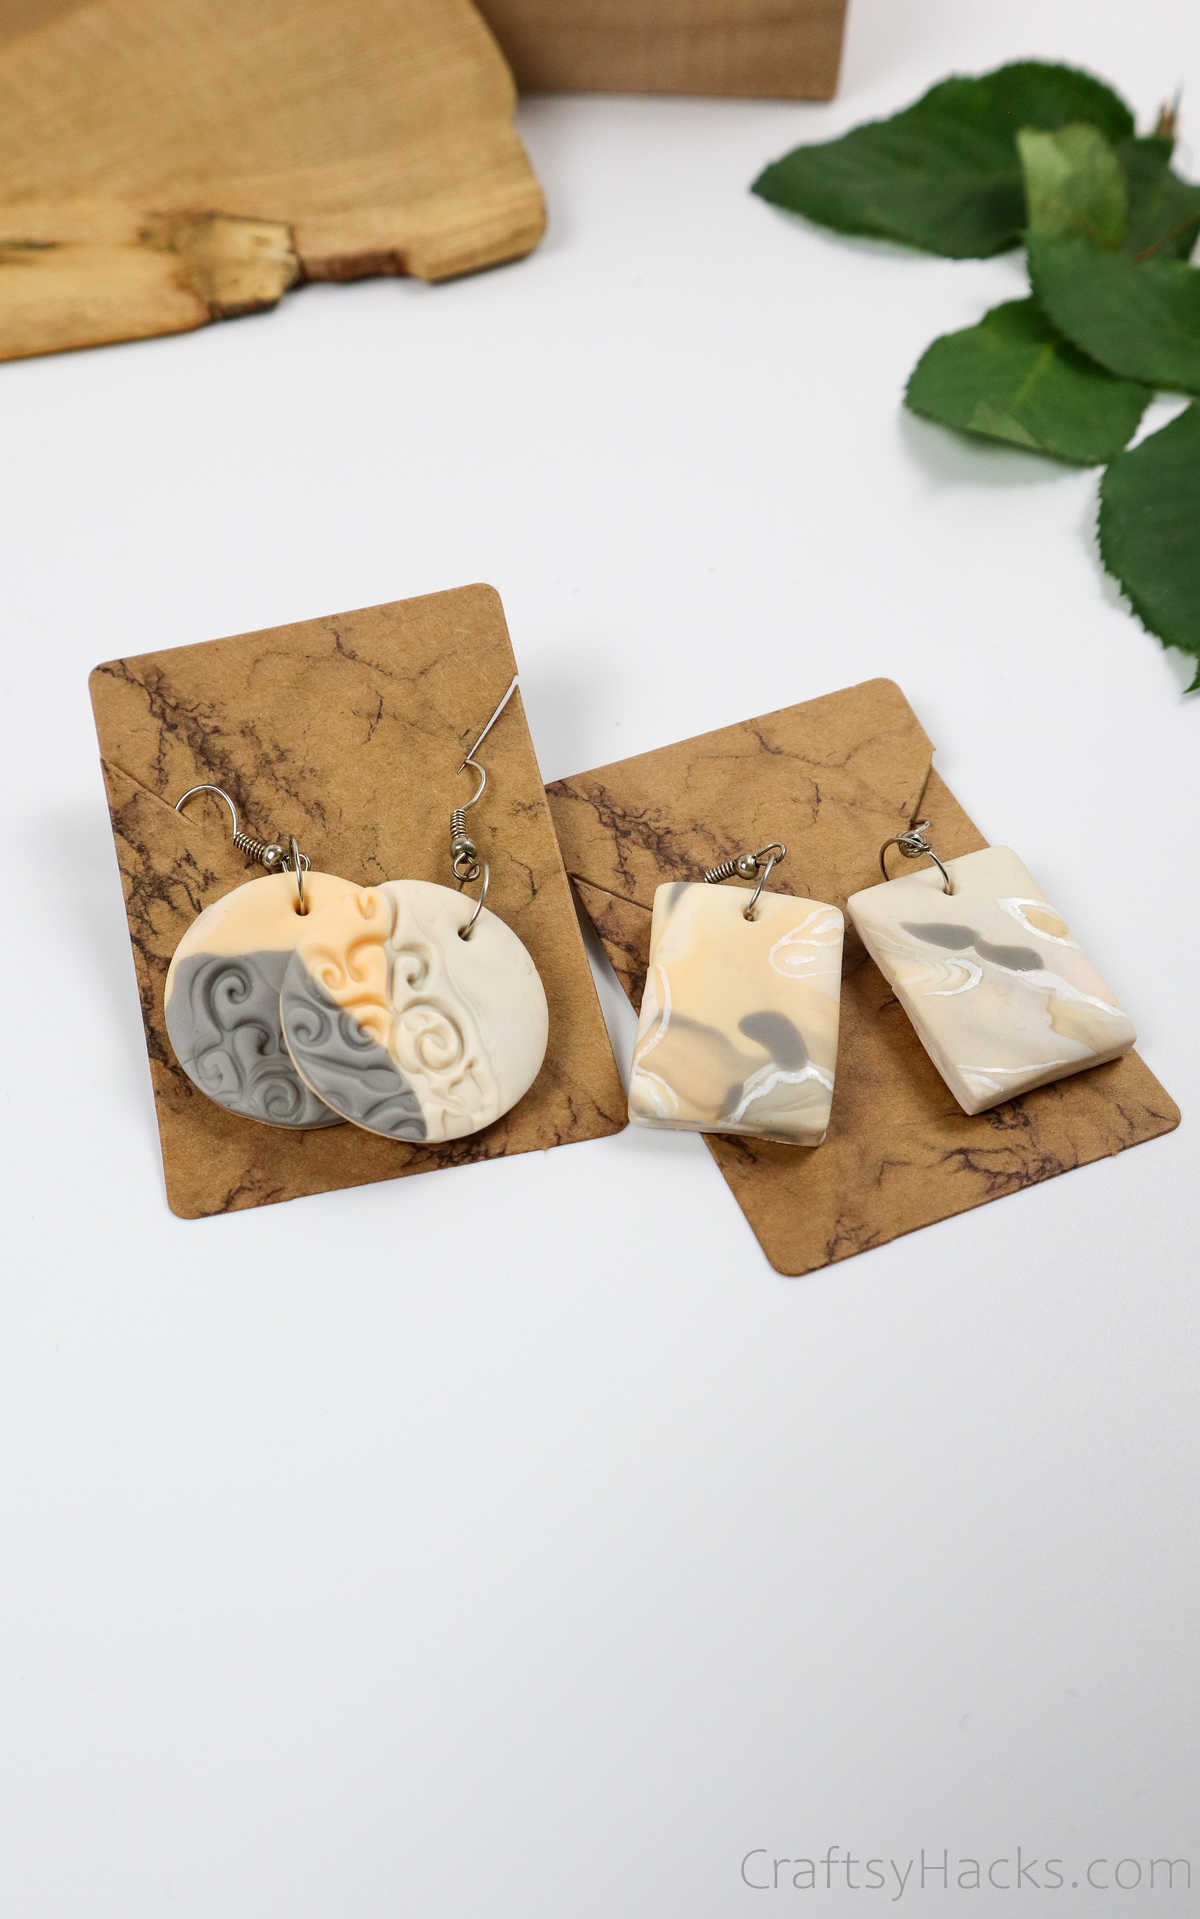
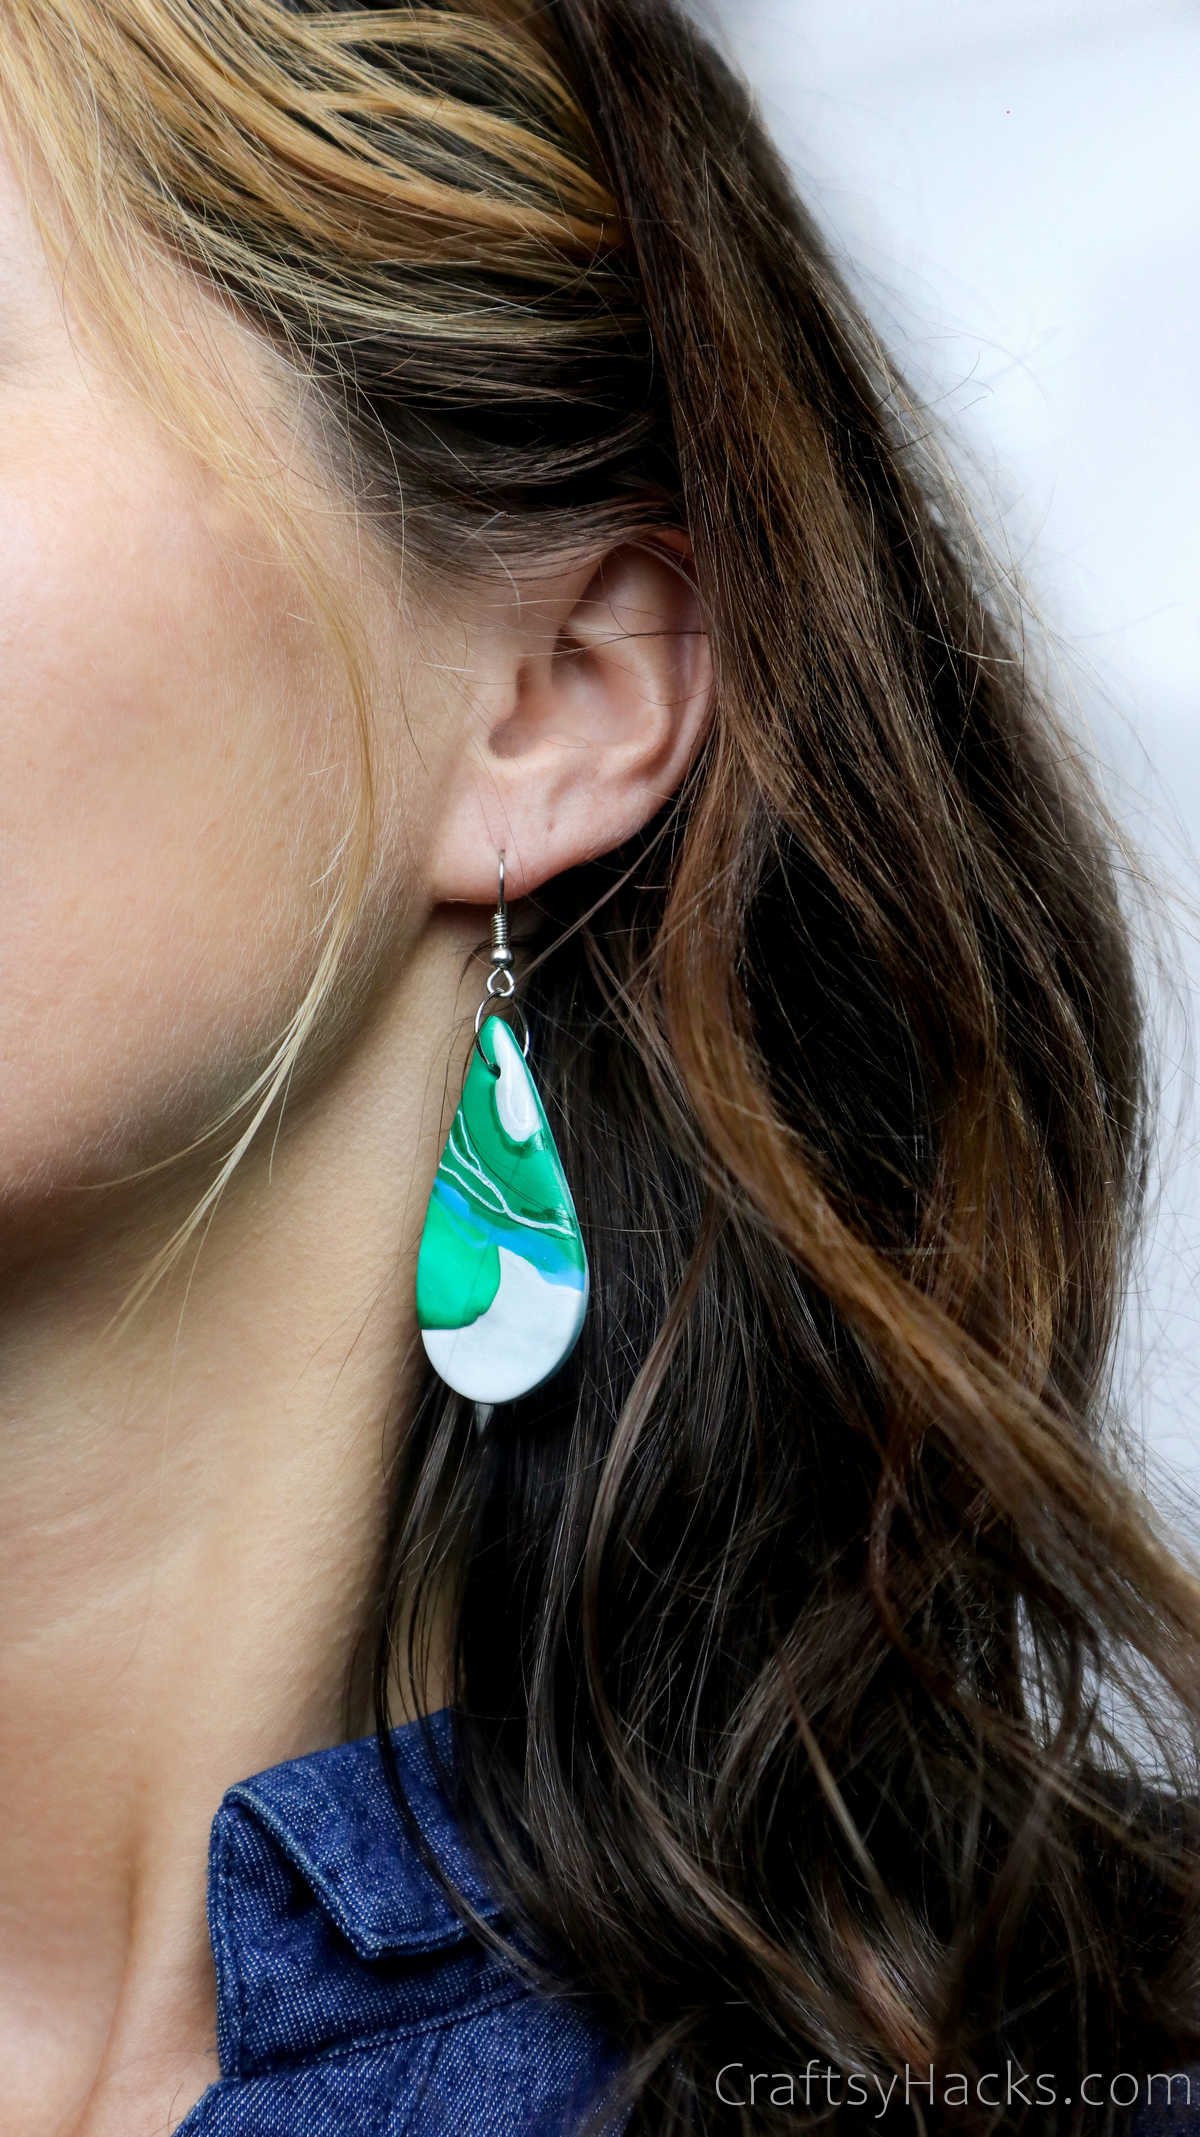
Design 3
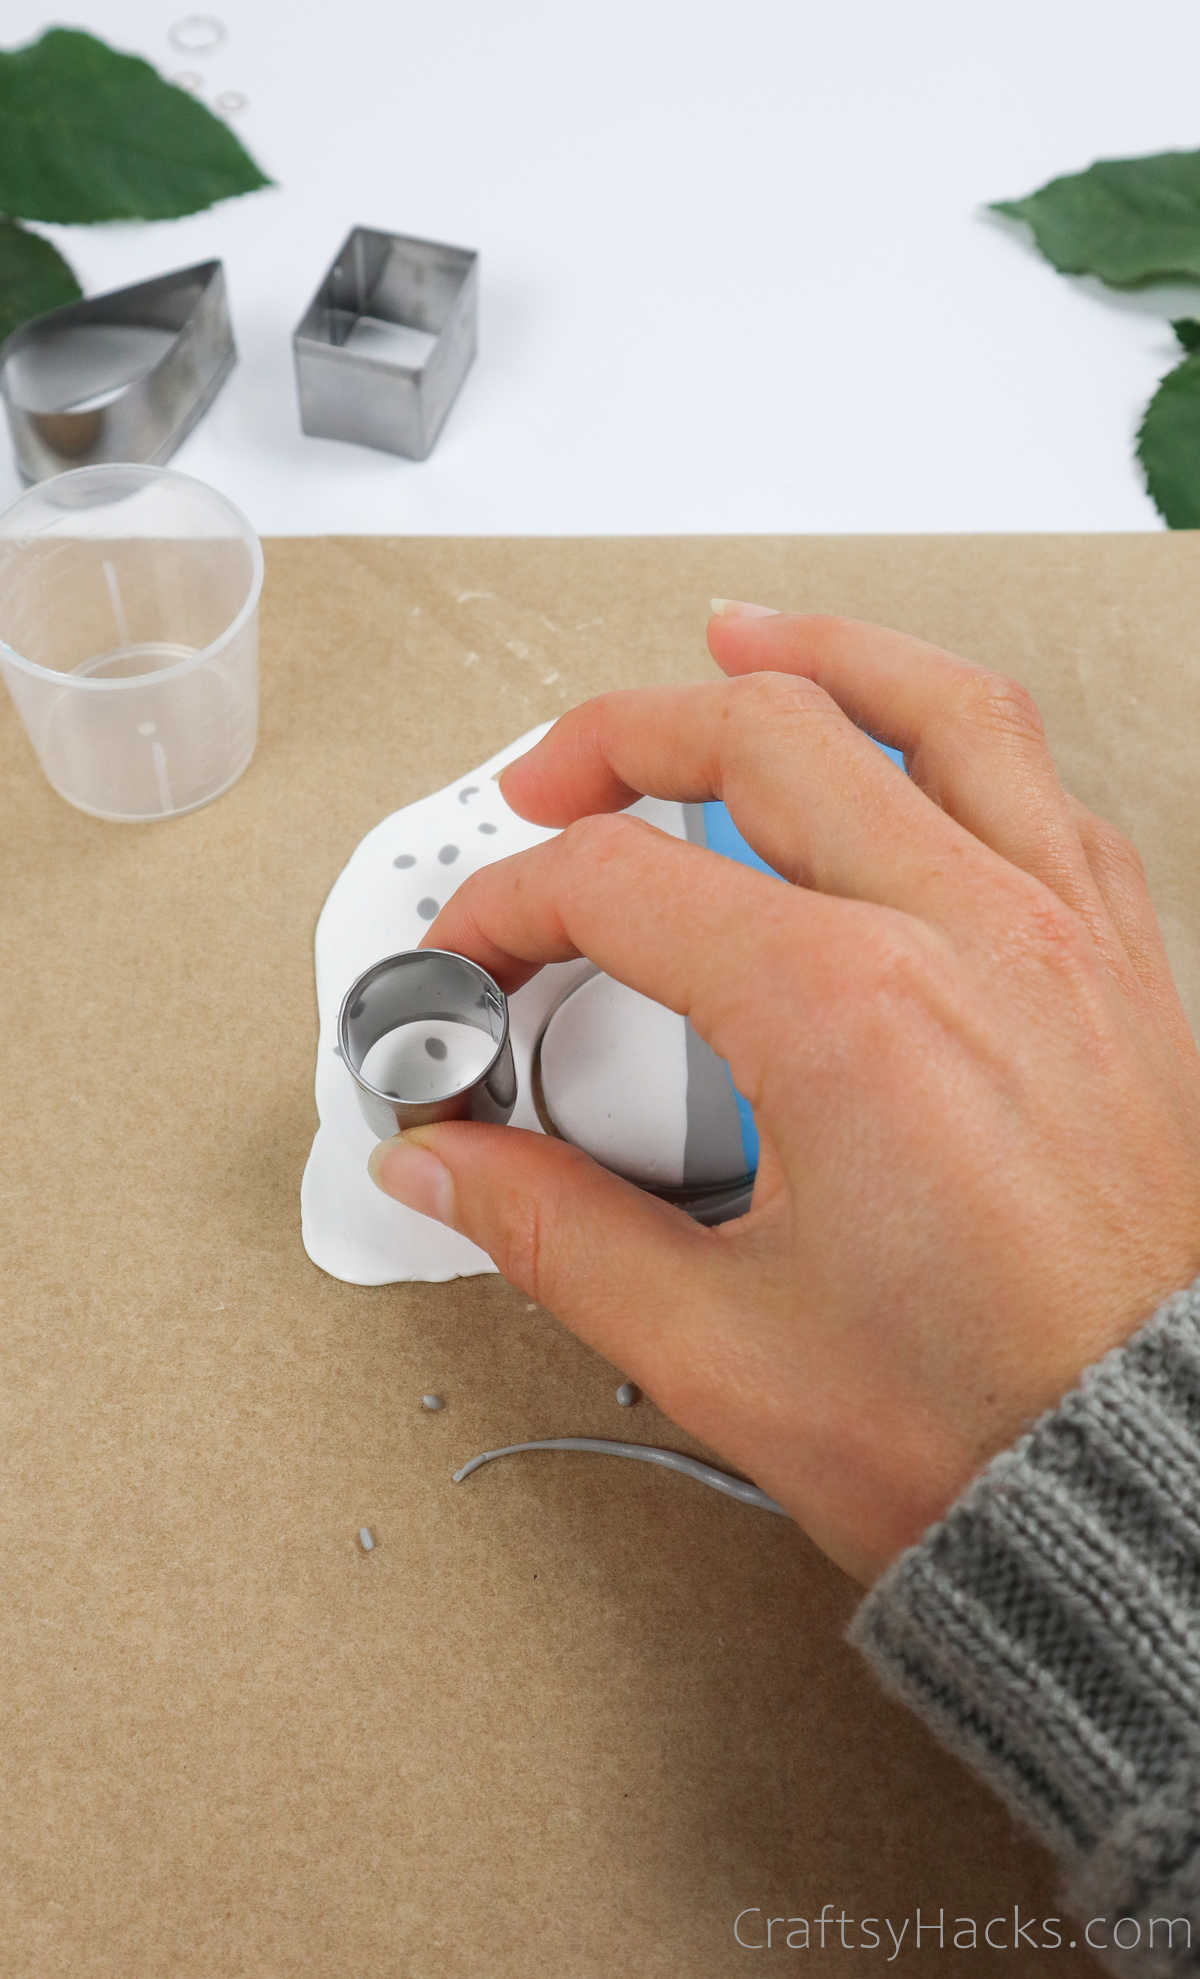
Remember that extra clay you set aside earlier?
Once again, use cookie cutters and make a few more pairs of earrings.
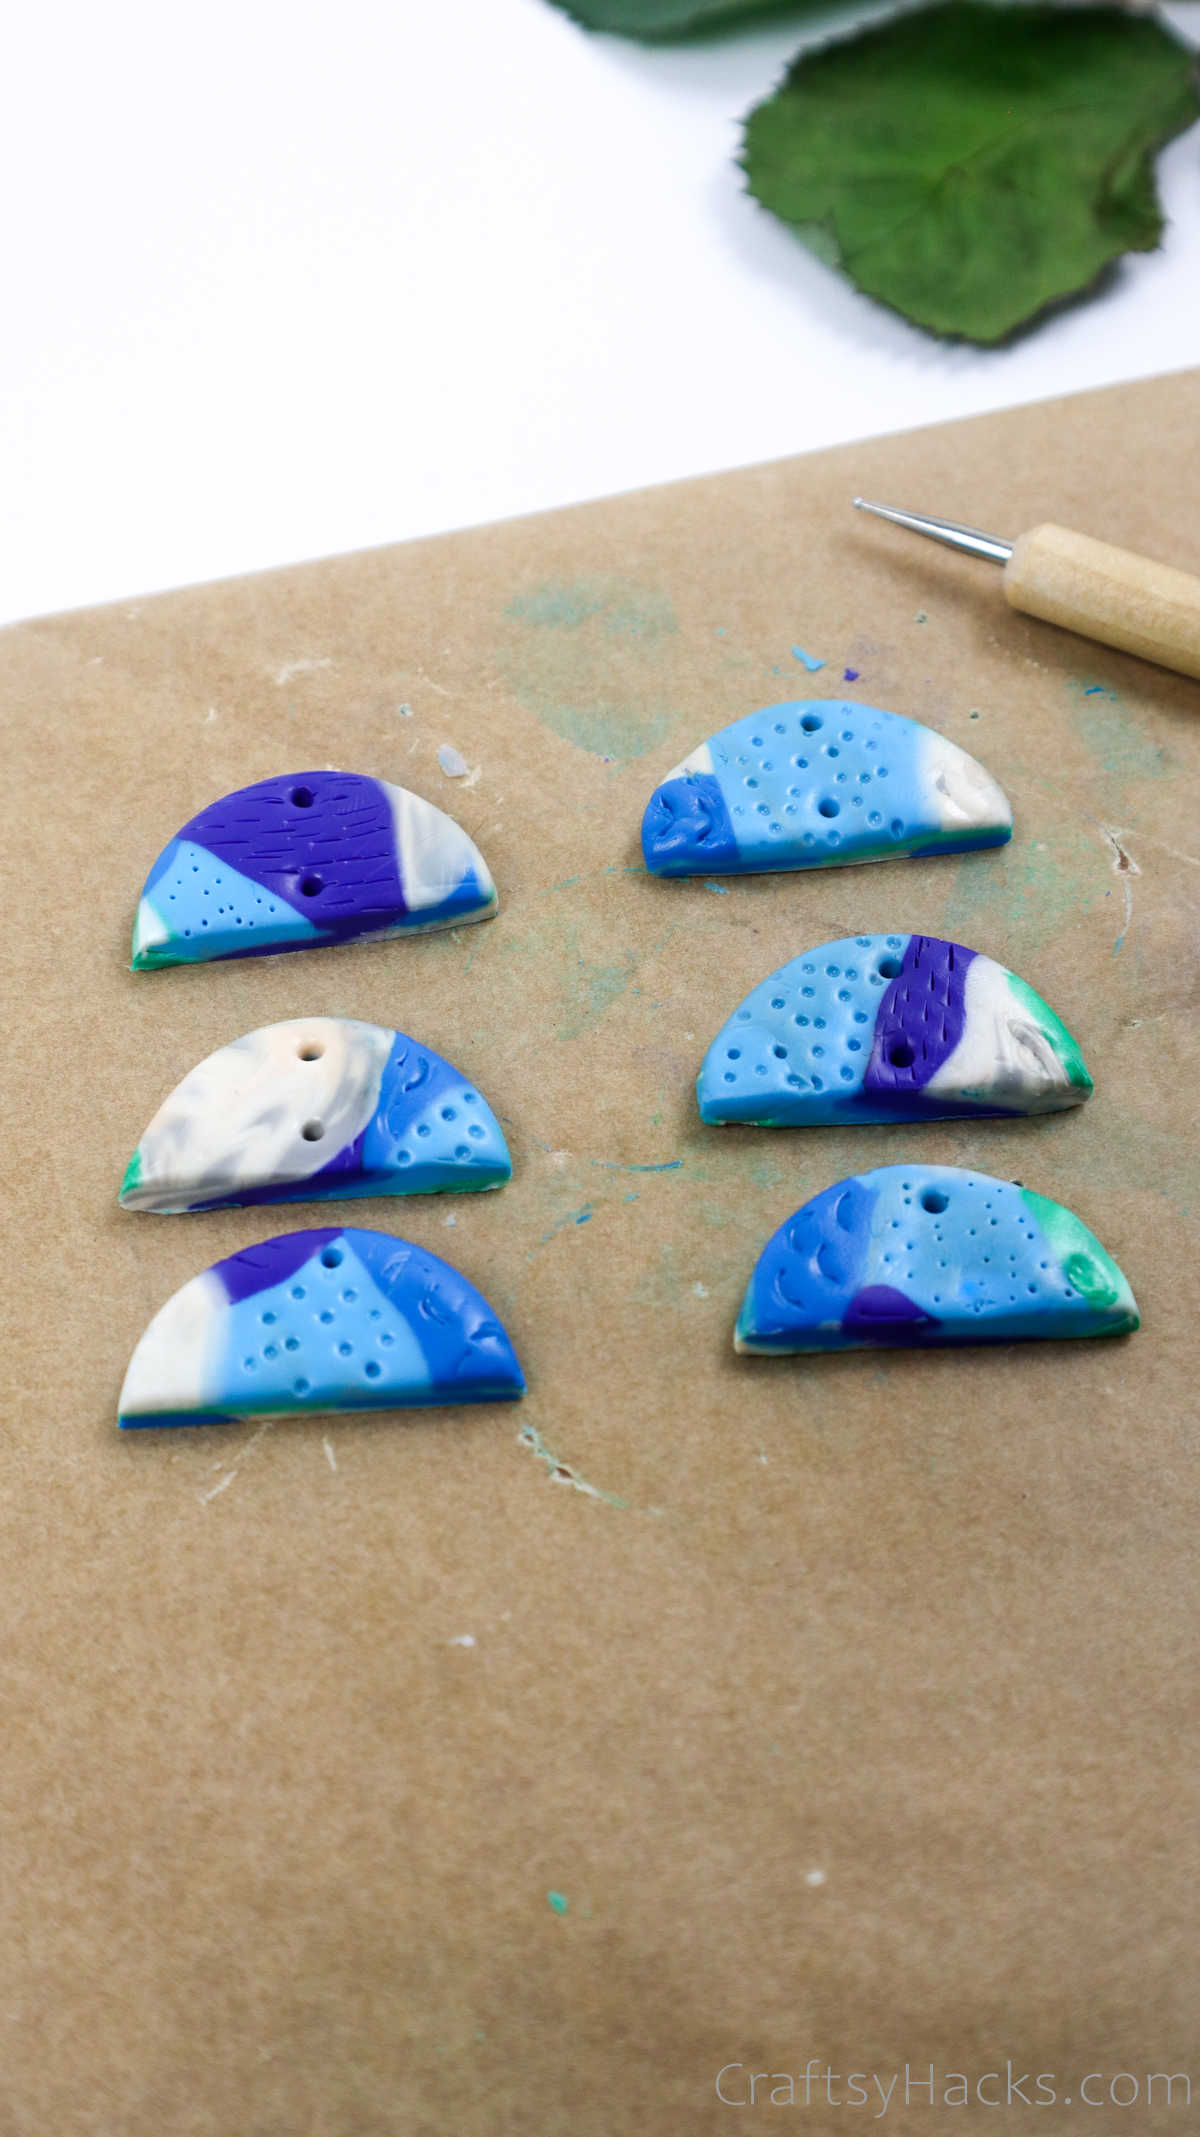
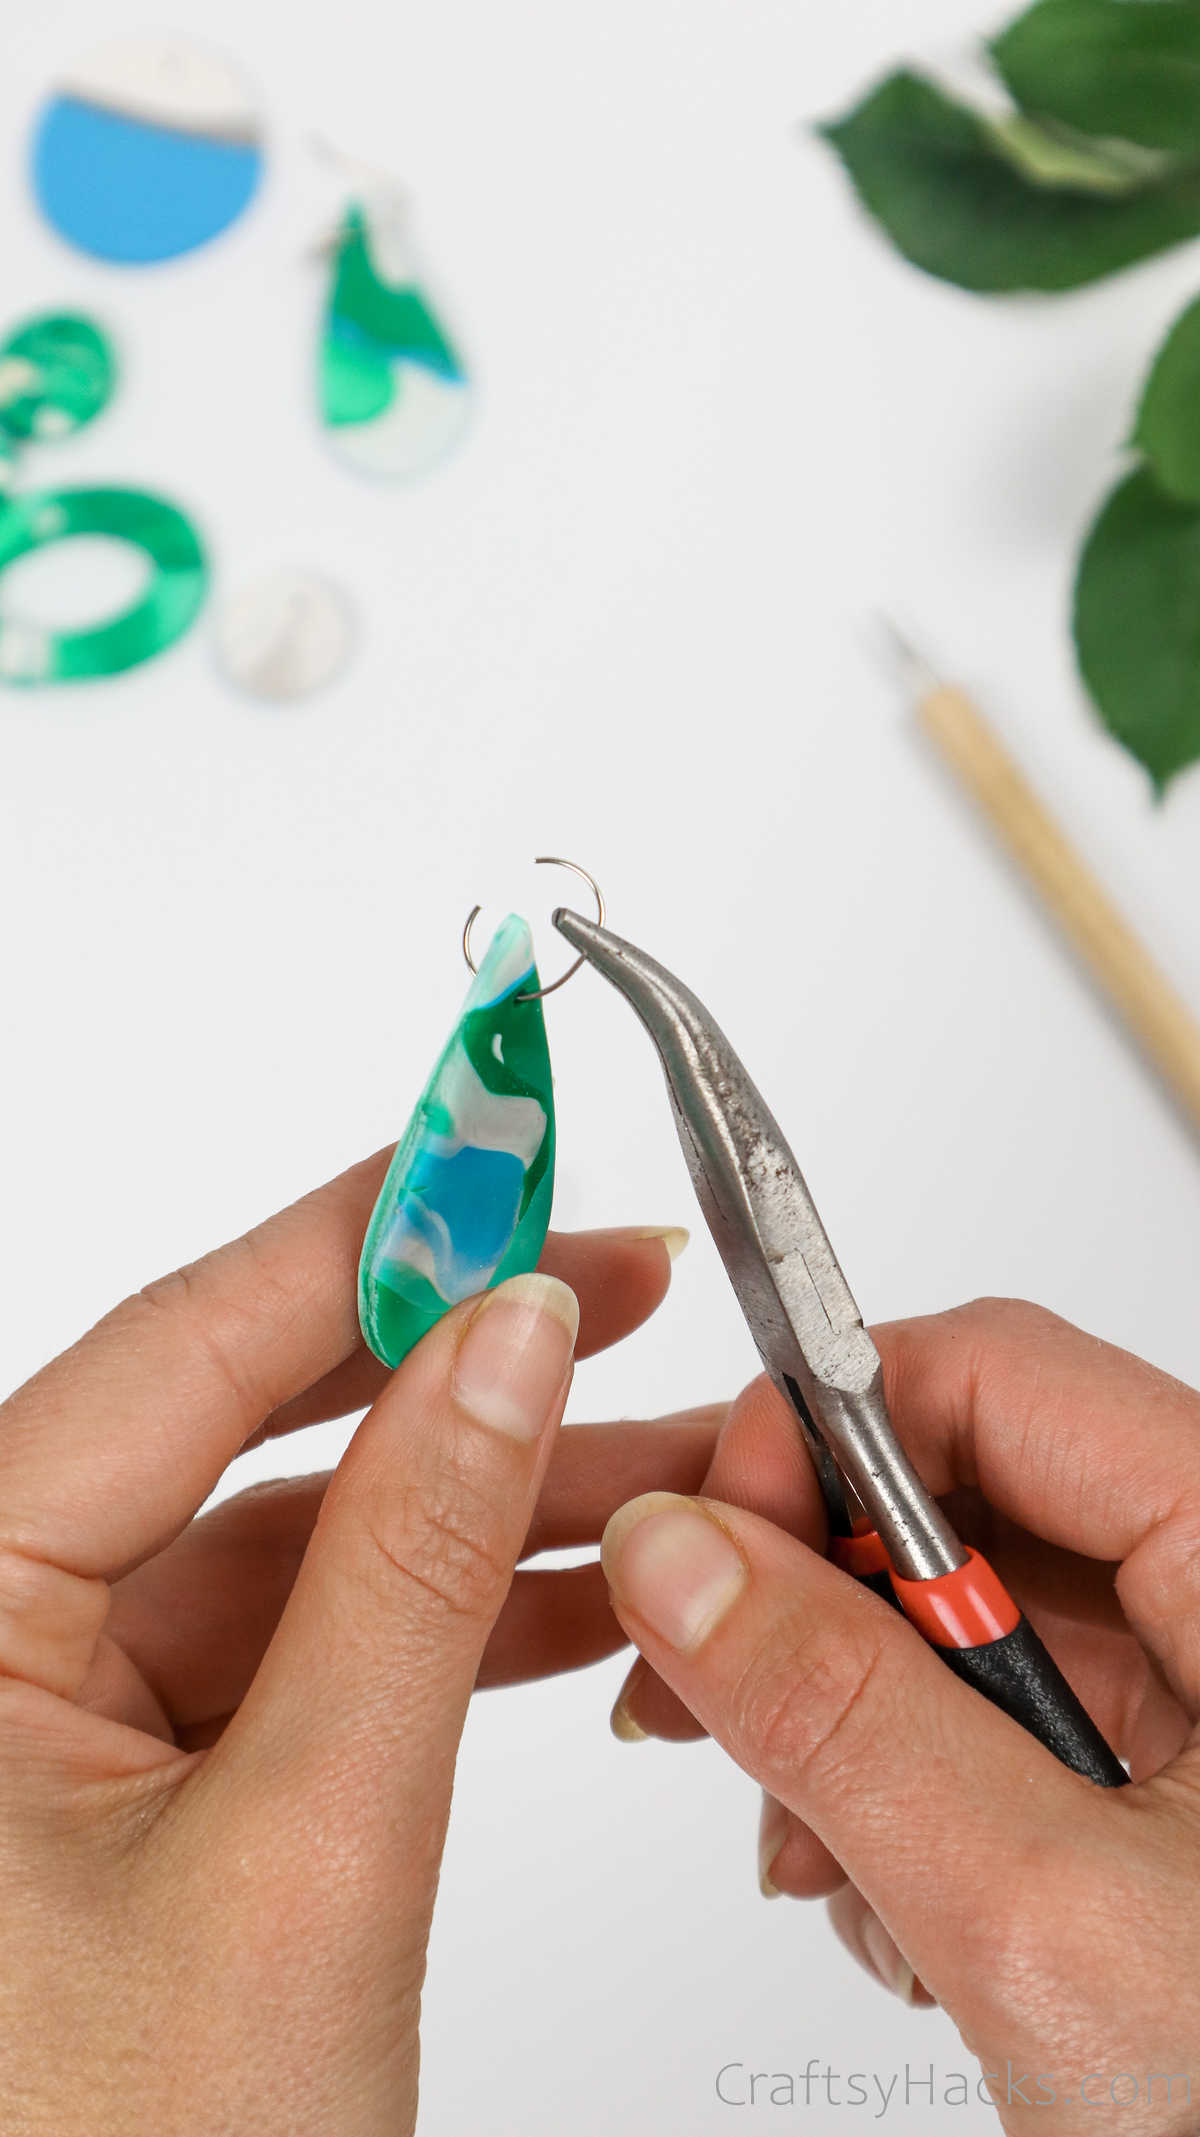
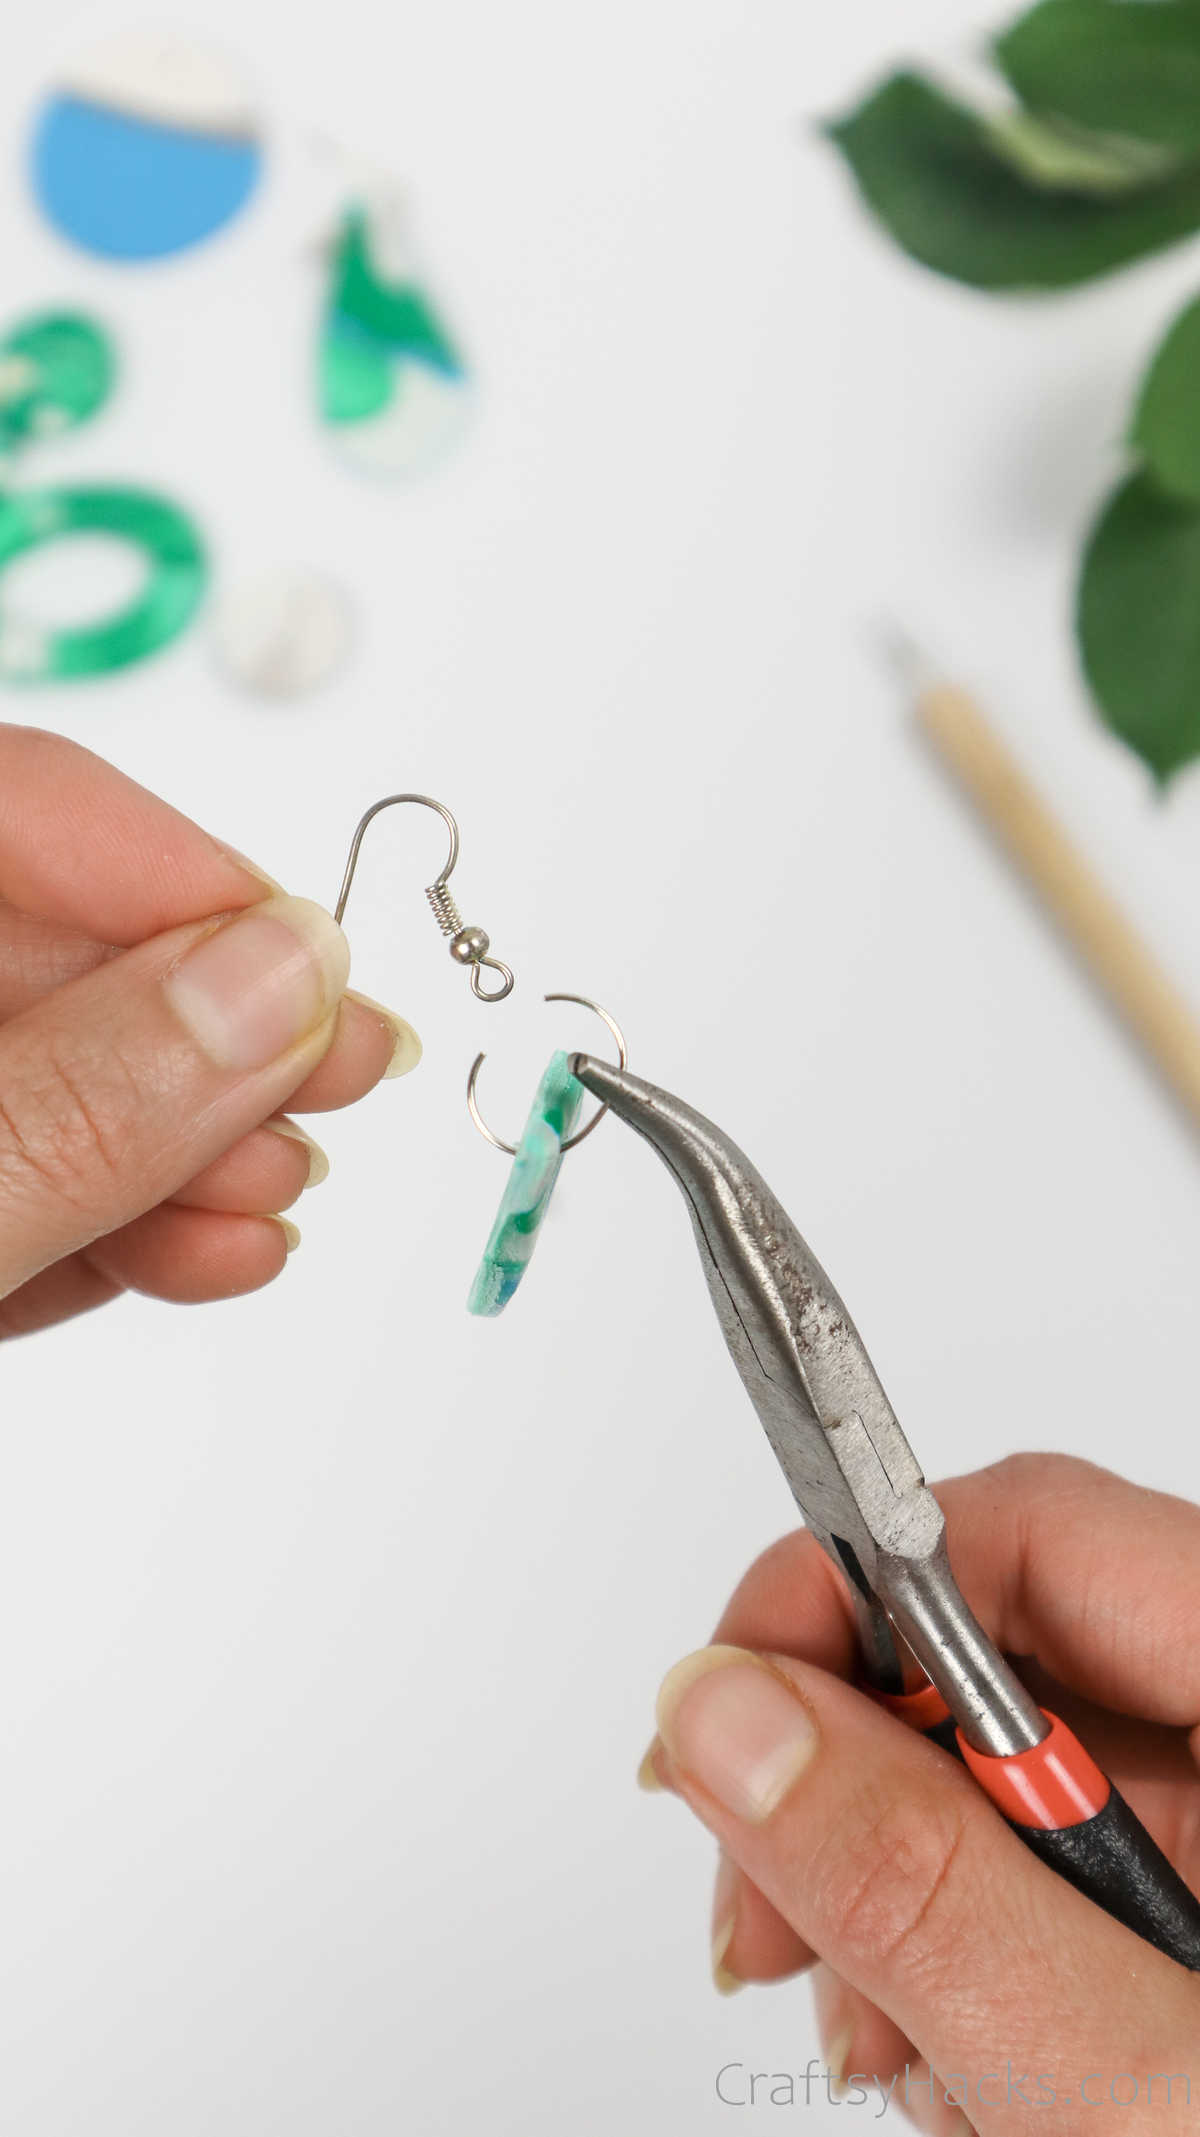
Then, pull the excess clay away, and use your cutter to poke holes for the hooks.
Finally, use your blade or scrape to peel the clay away.
Its completely freestyle, of course, but thats what makes these earrings unique!
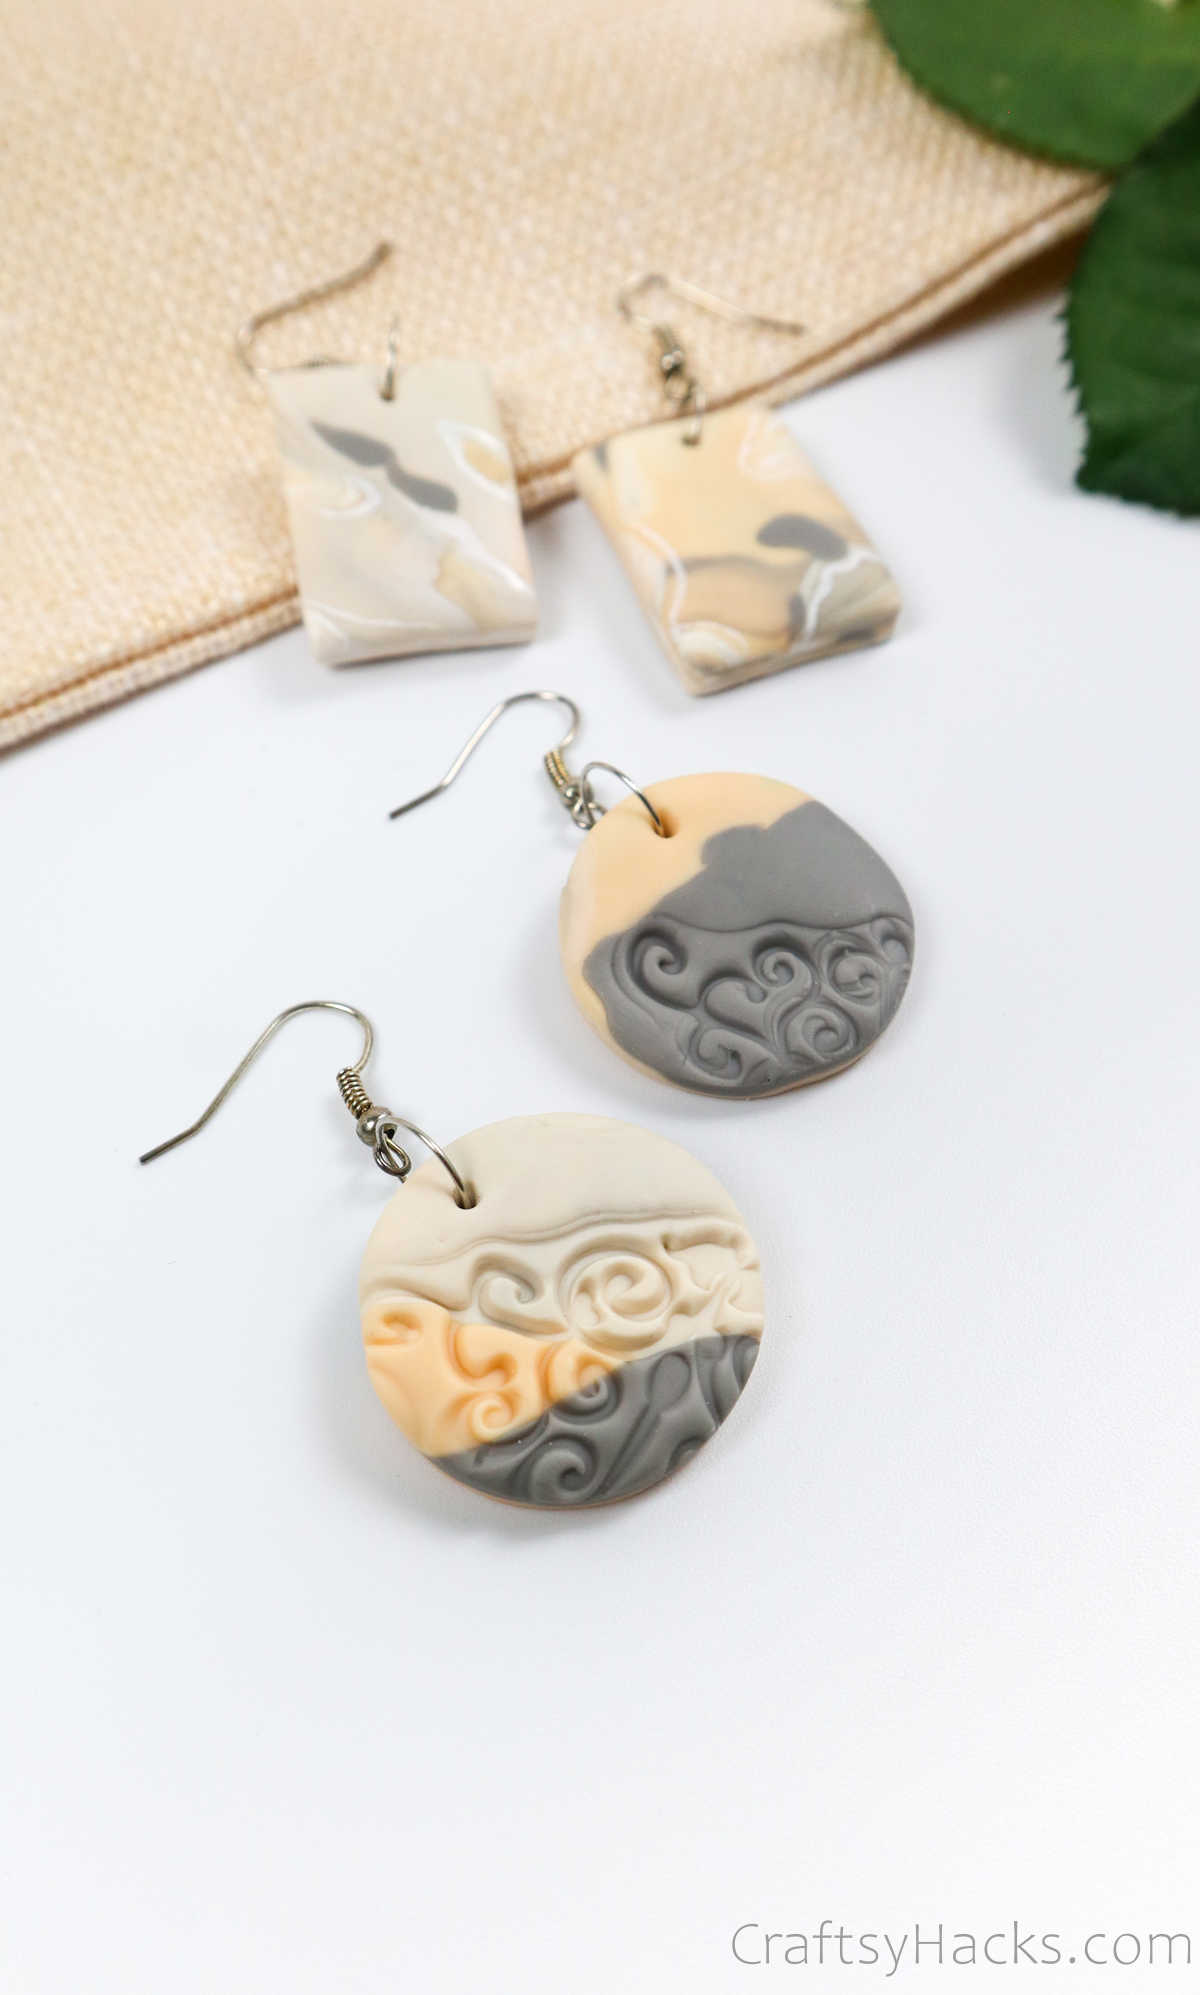
How about you make a two-piece earring set?

The one you see below has a small stud-like top with an oval piece that drops down from it.
Design 6
Check out all these funky colors.
For this particular pattern, youre going to try something a little different.
Youll have three to five of these half-inch pieces, depending on how long your initial cylinder rolls were.
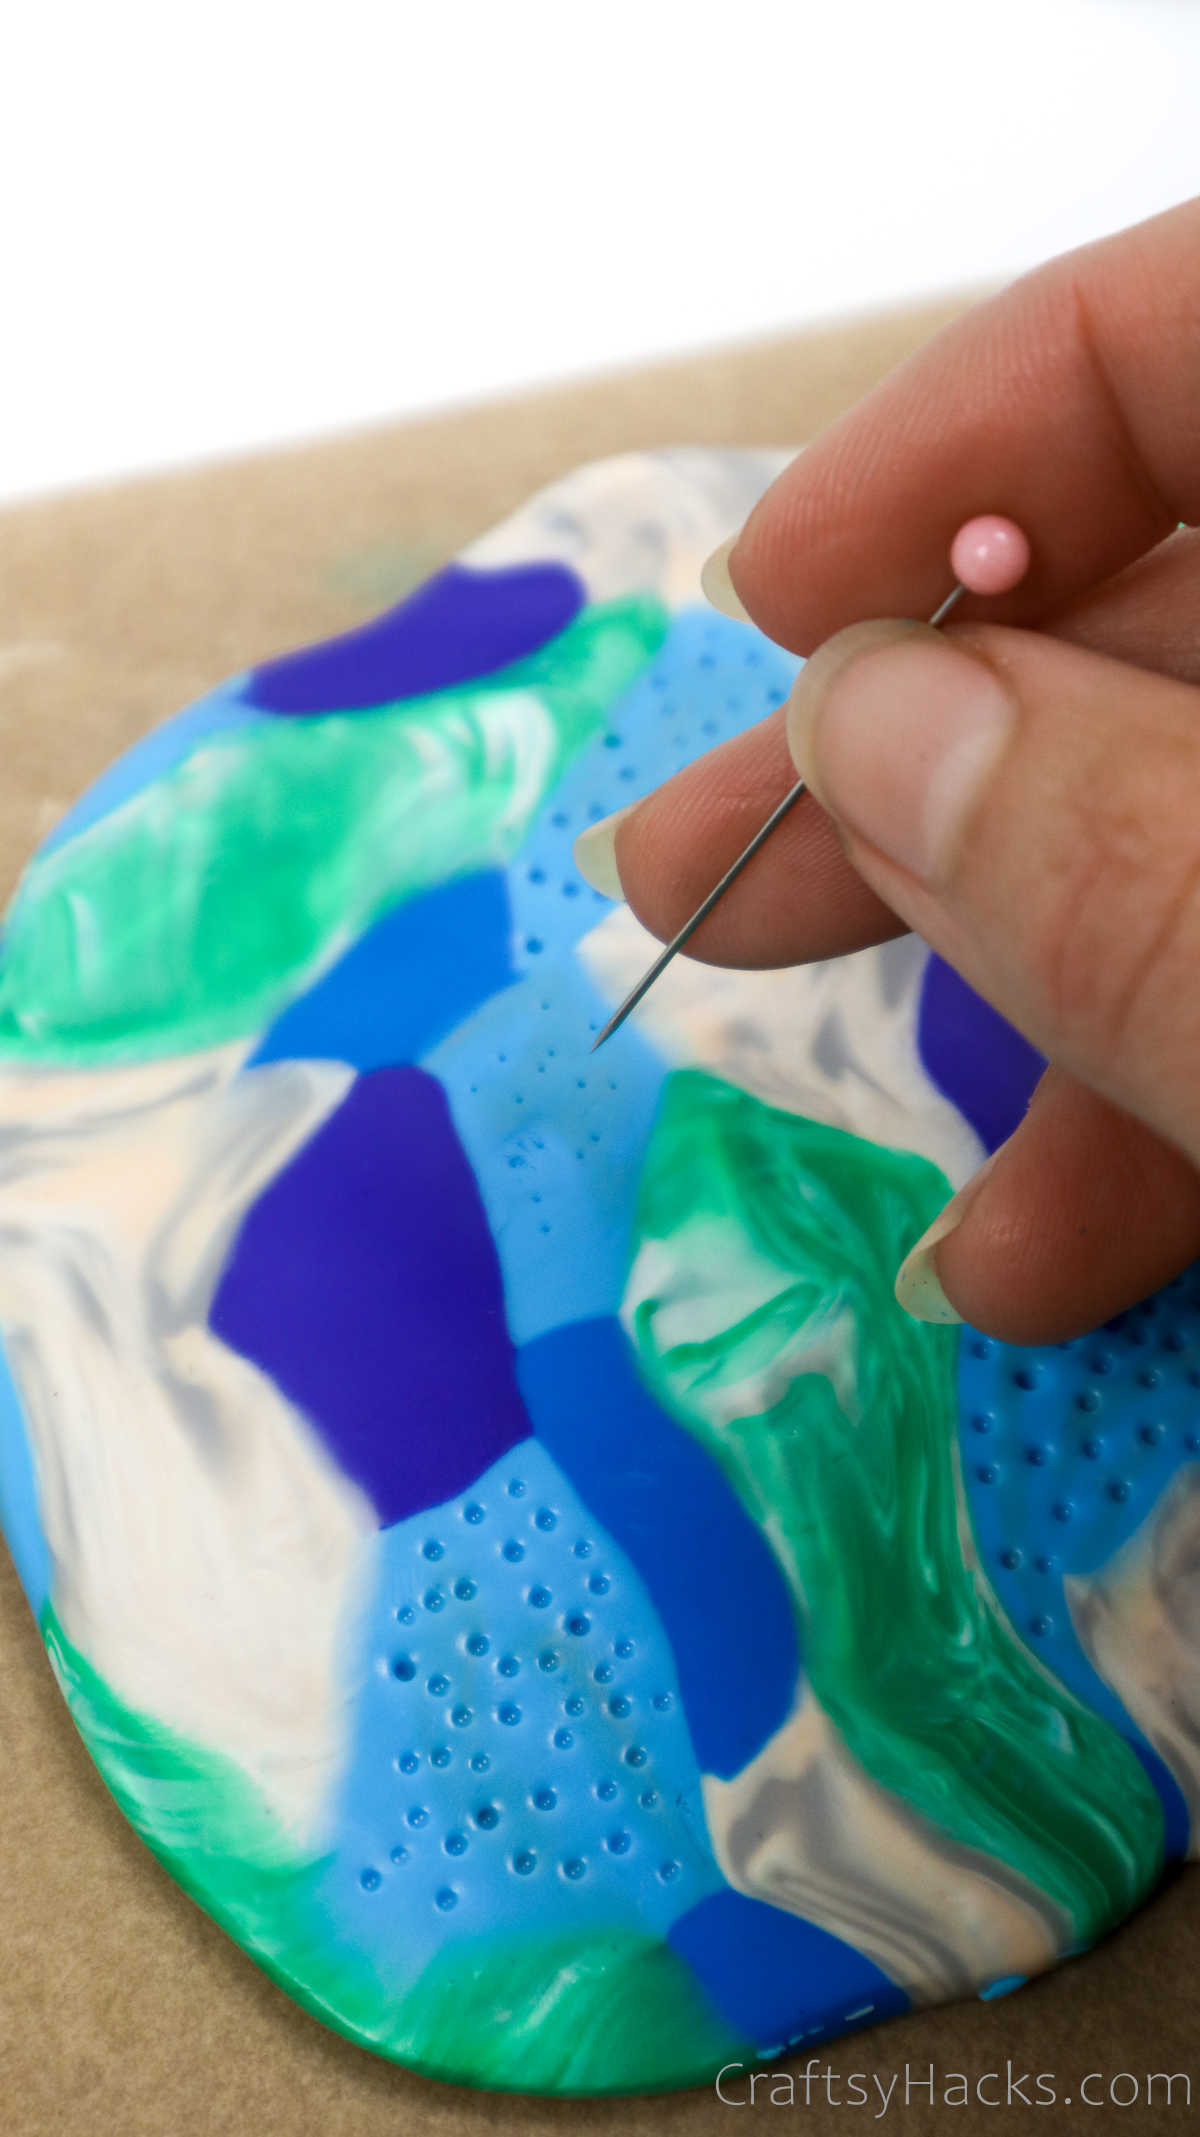
Use a craft tool, or even just a toothpick to poke little holes into the clay.
Youll find that theres already some gorgeous marbling at work.
So these little holes will add a ton of texture to your already fabulous piece.
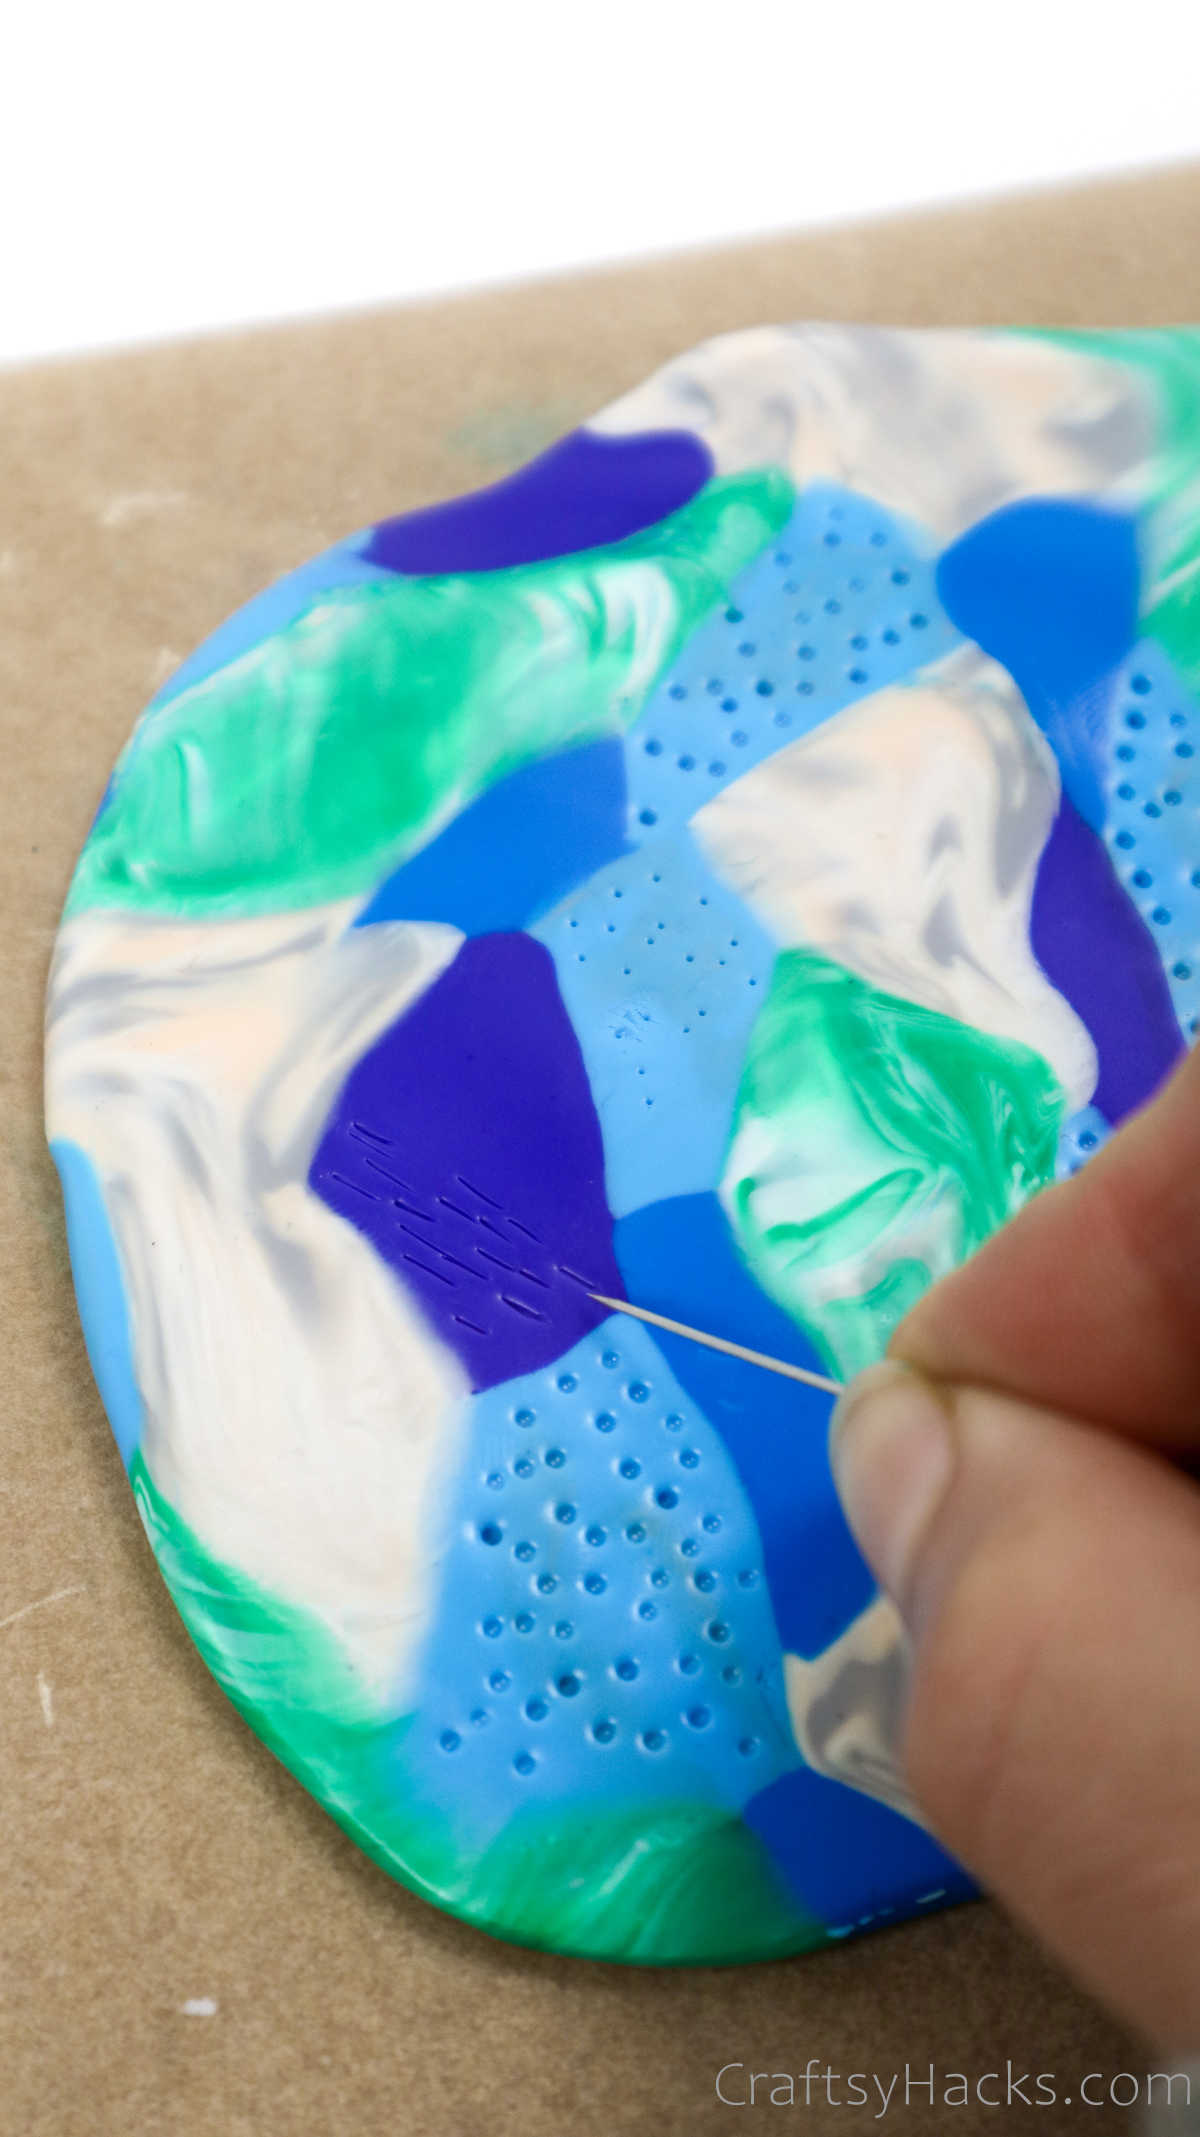
Just grab a scoring tool and score some lines along the clay in different color swatches.
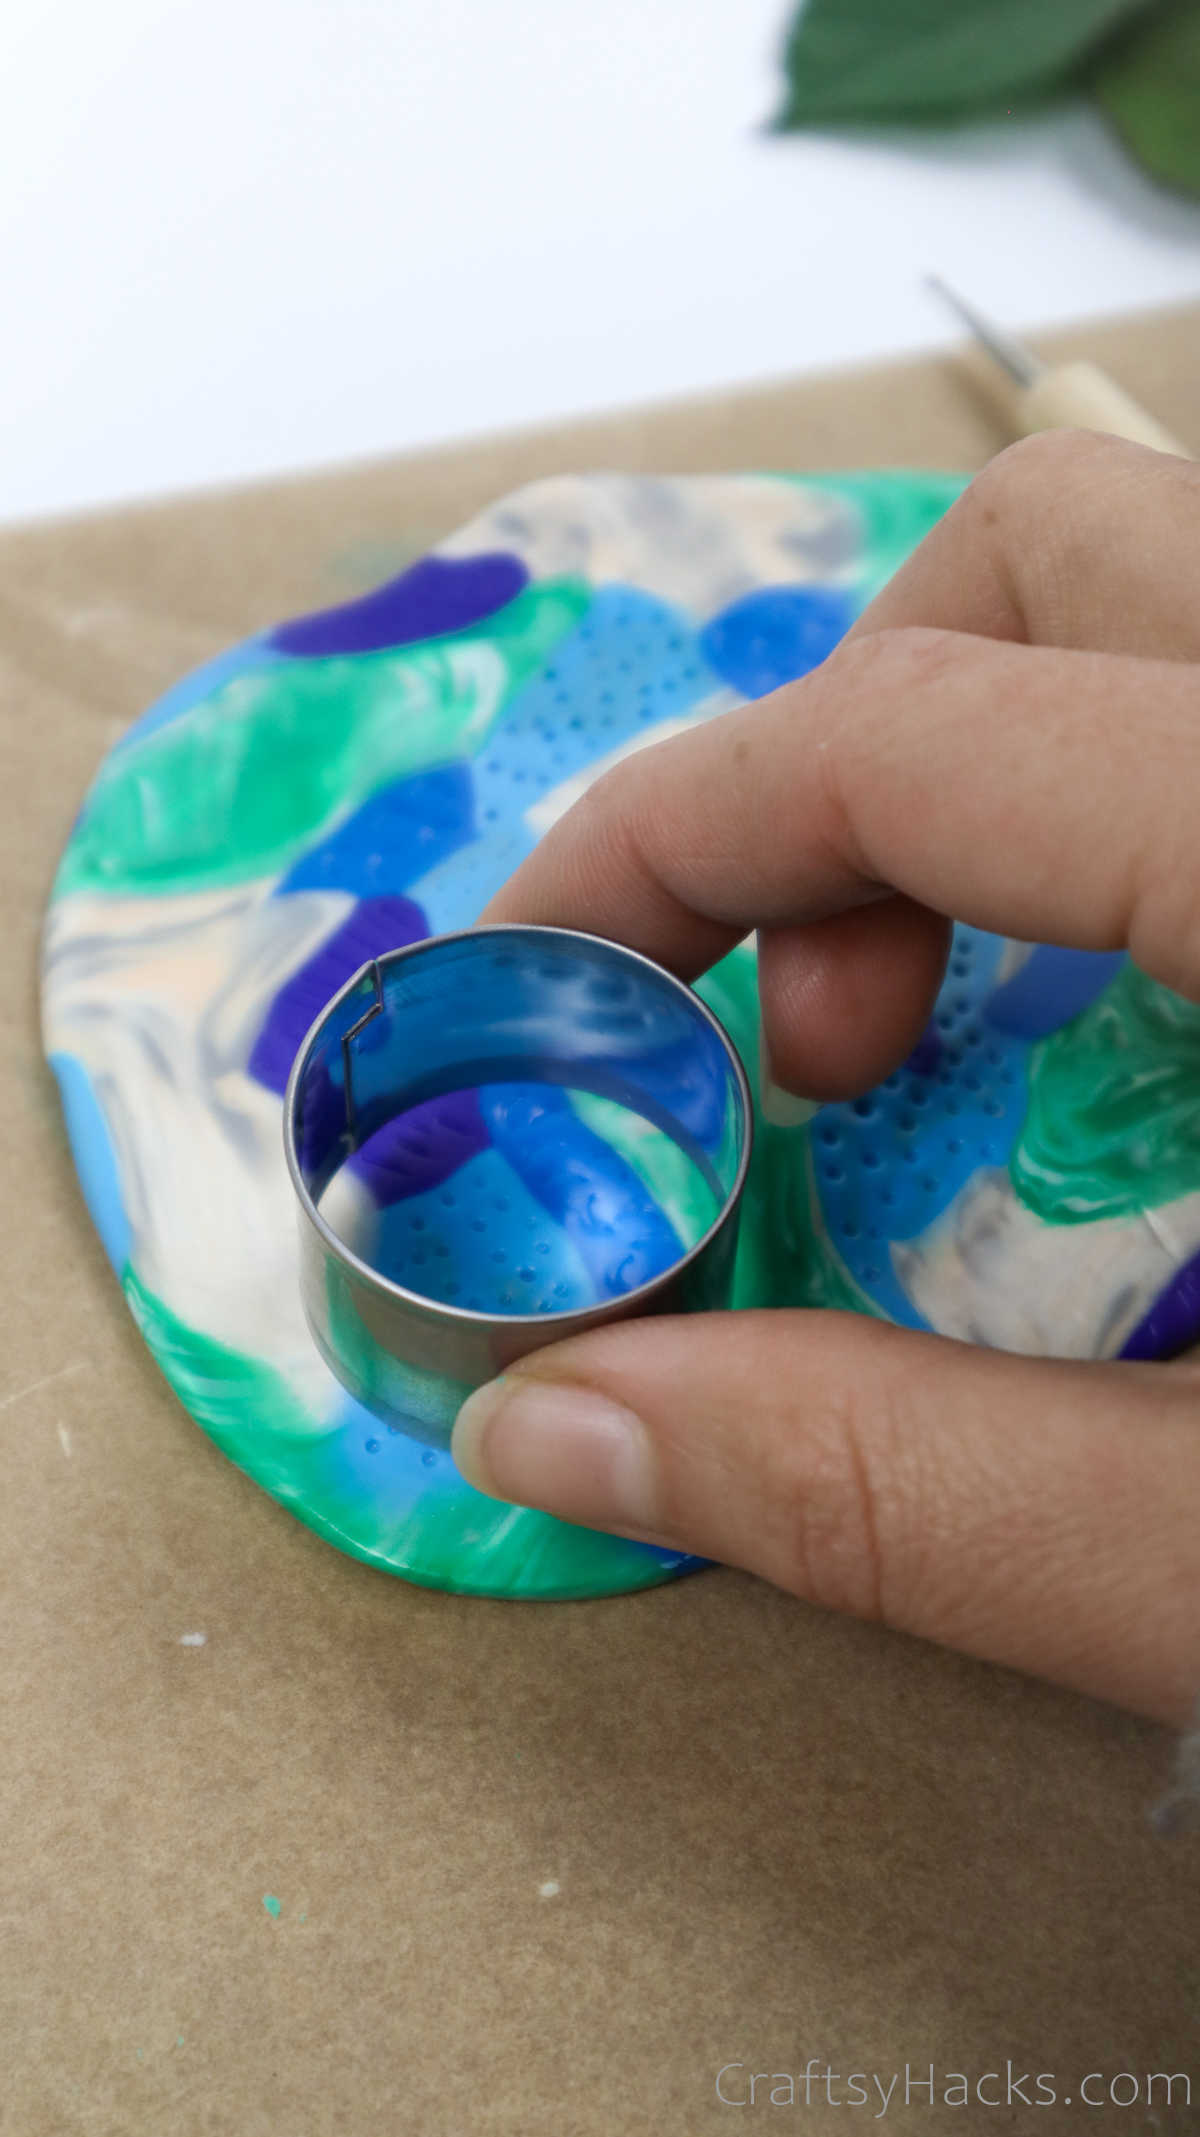
Finally, if youre happy with the pattern, grab your cookie cutter and cut the clay.
you might also cut the clay into semi-circles, like you see here.
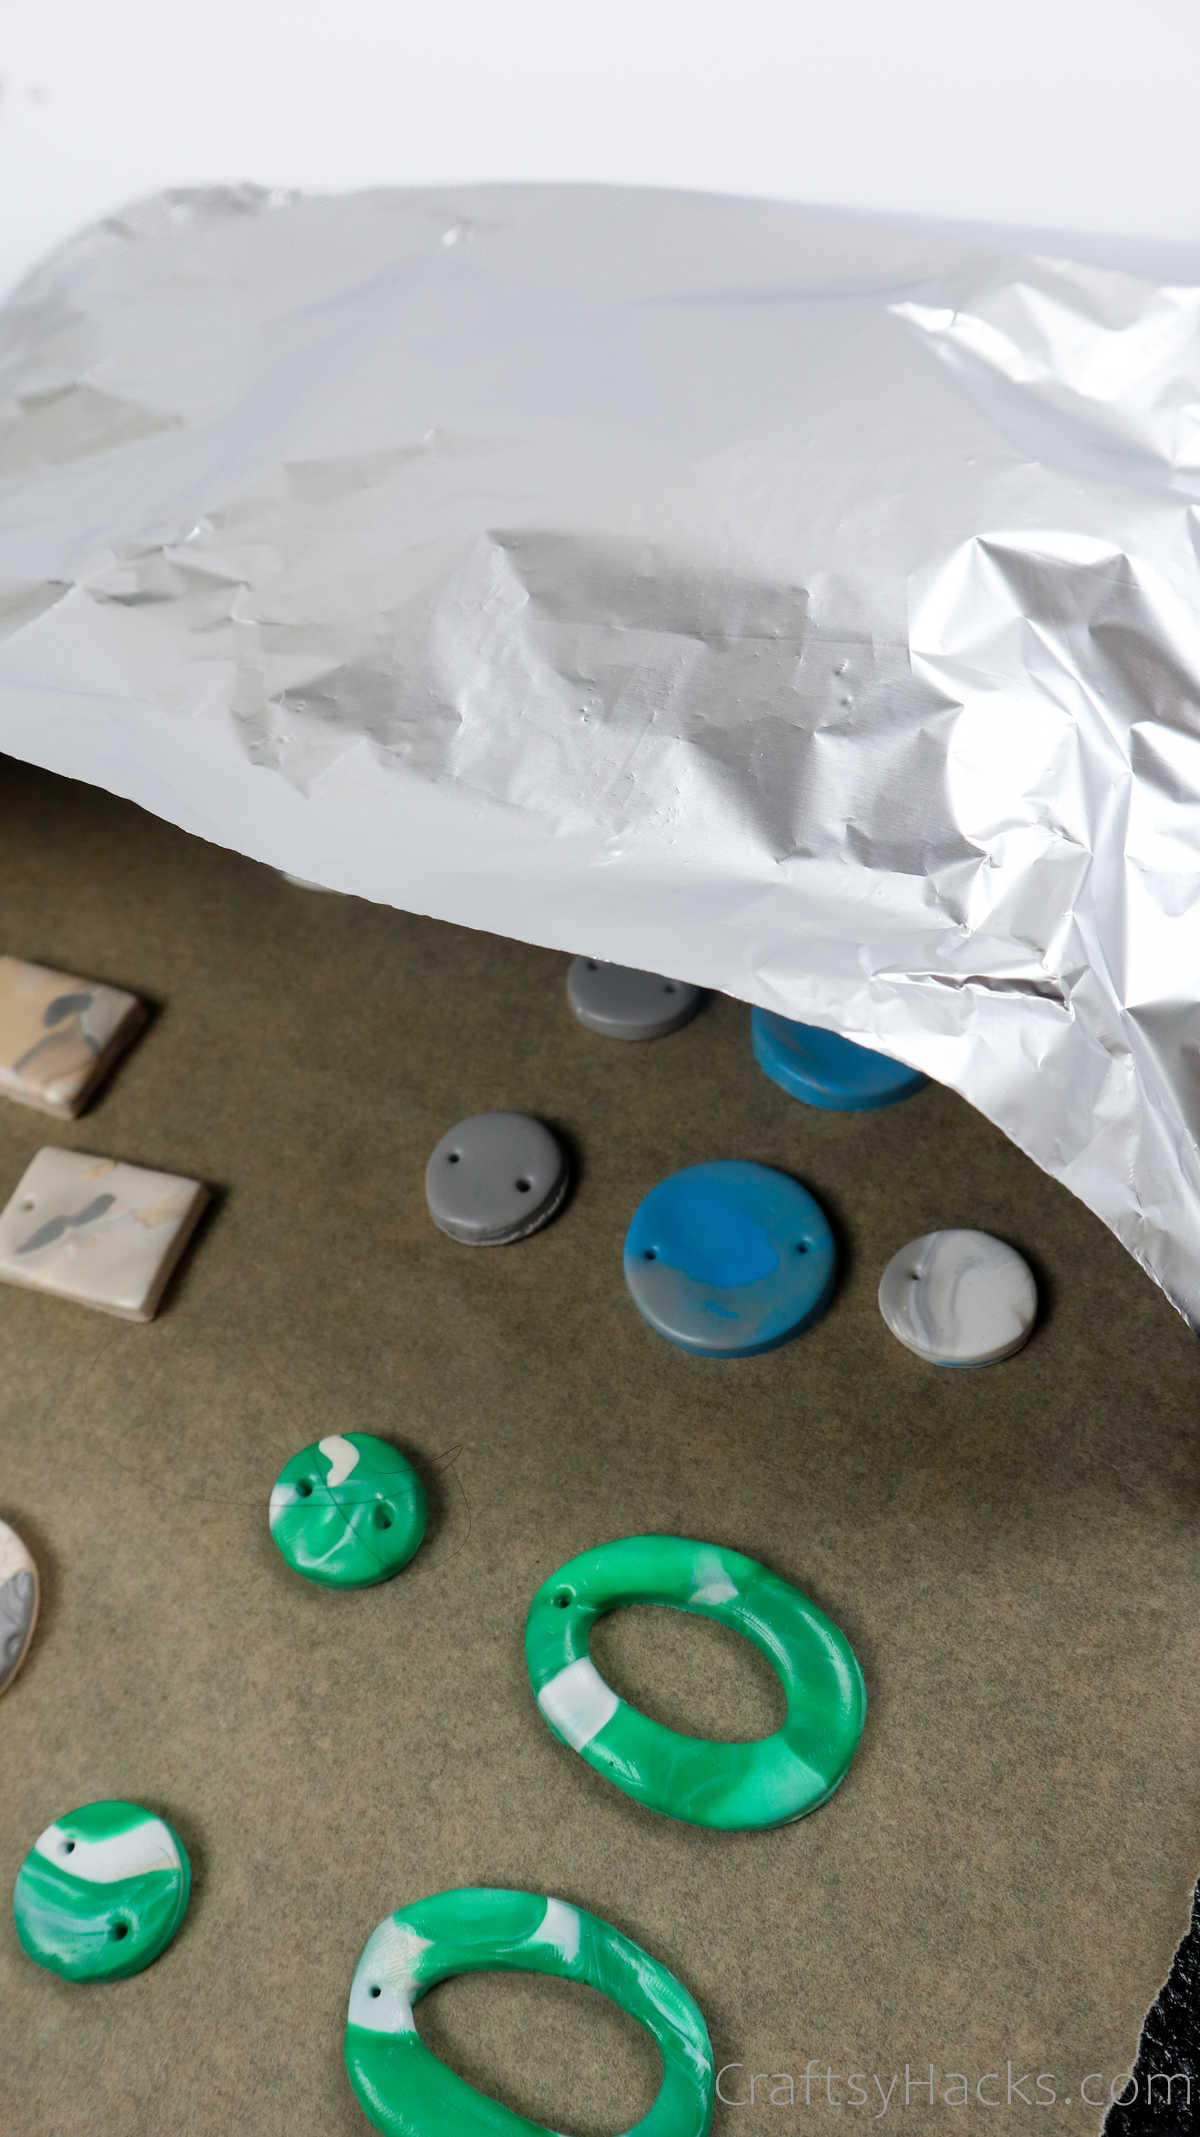
Cover the earring pieces with aluminum foil to prevent them from cracking or burning after theyre baked.
Im baking these in the oven for 30 minutes at 230F (110C).
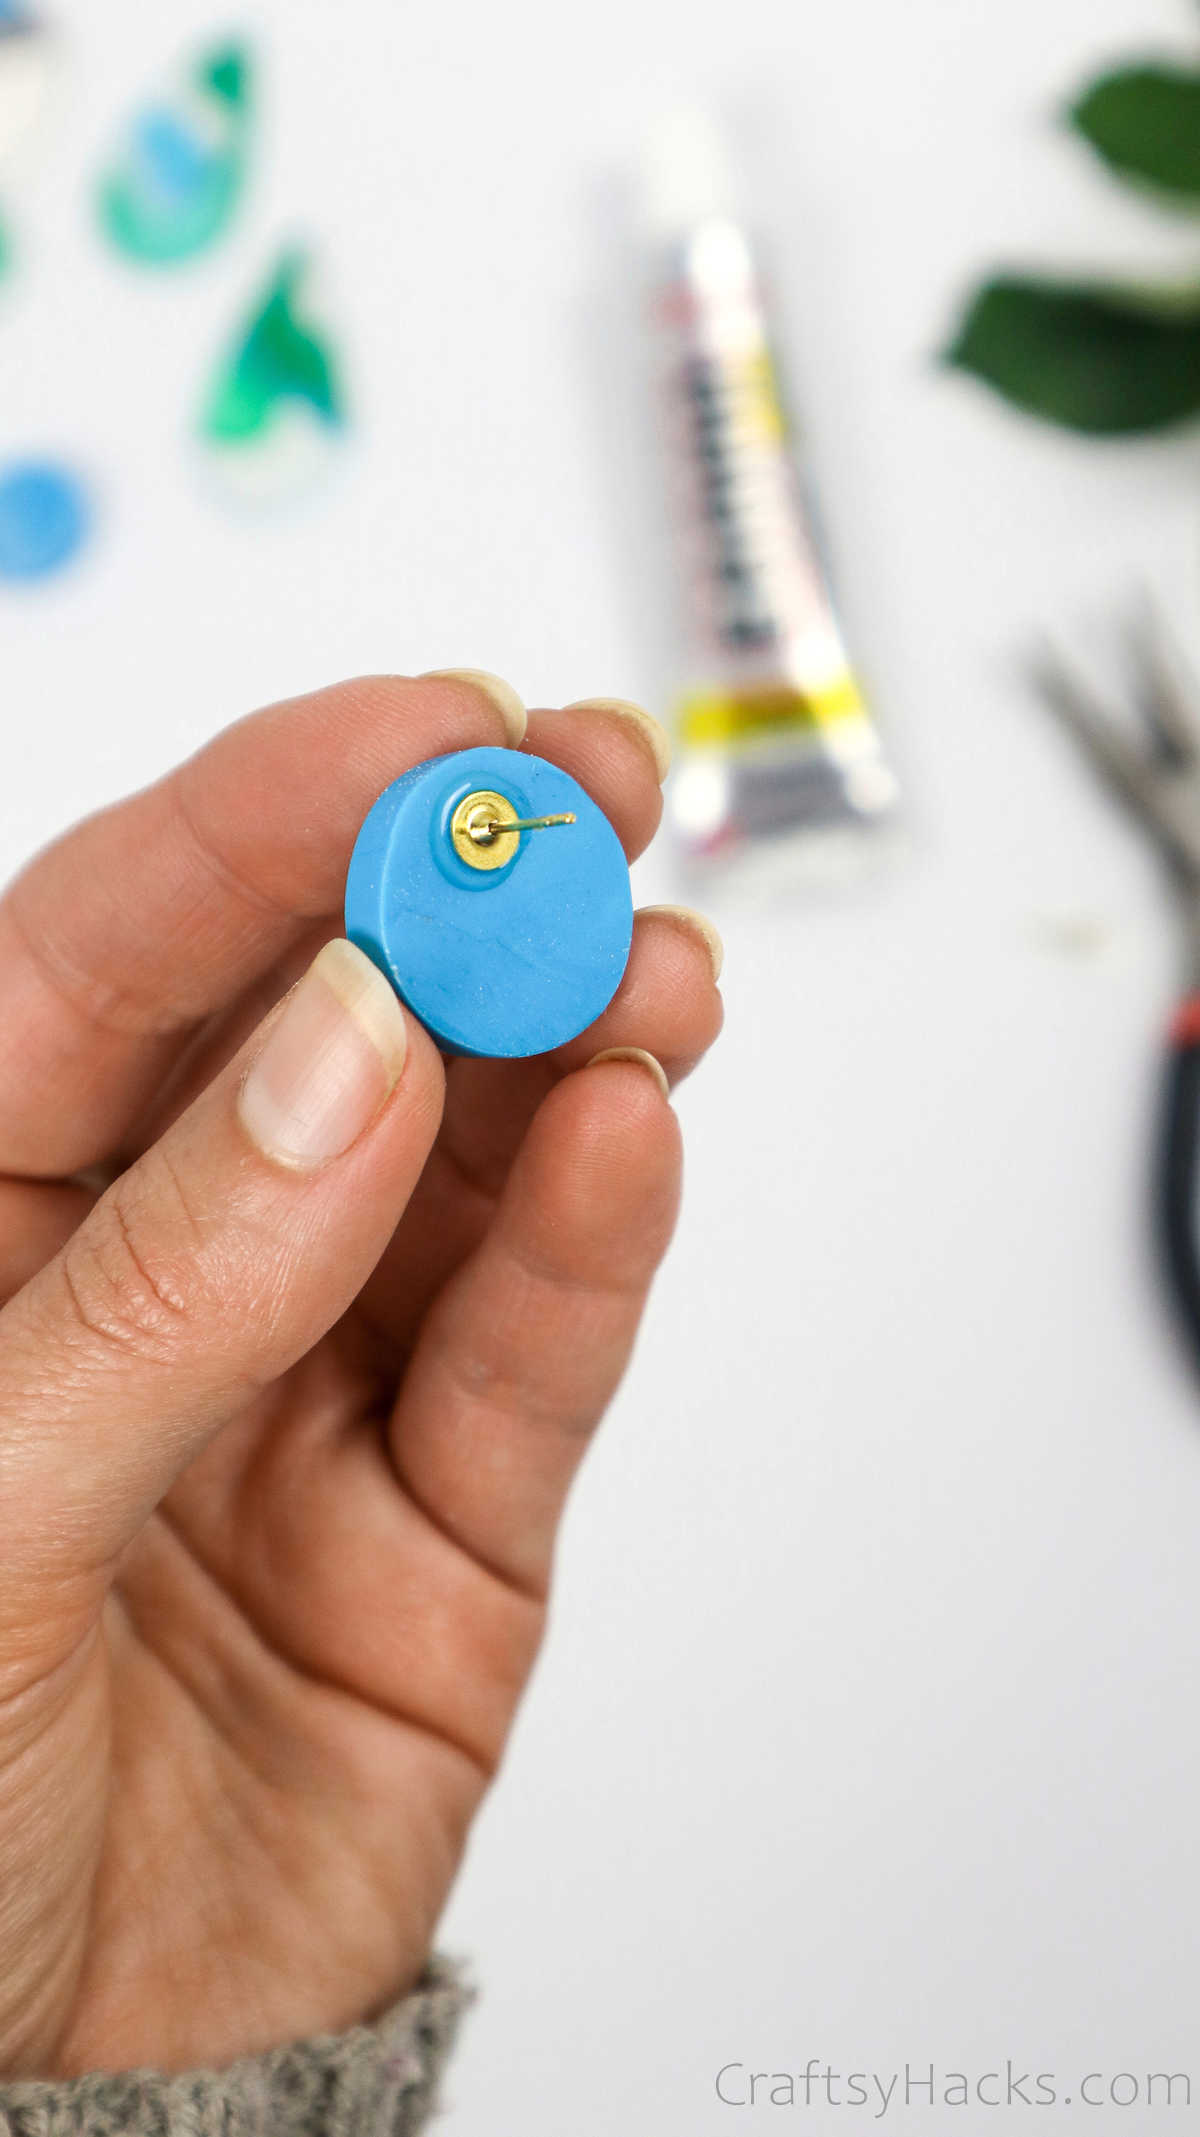
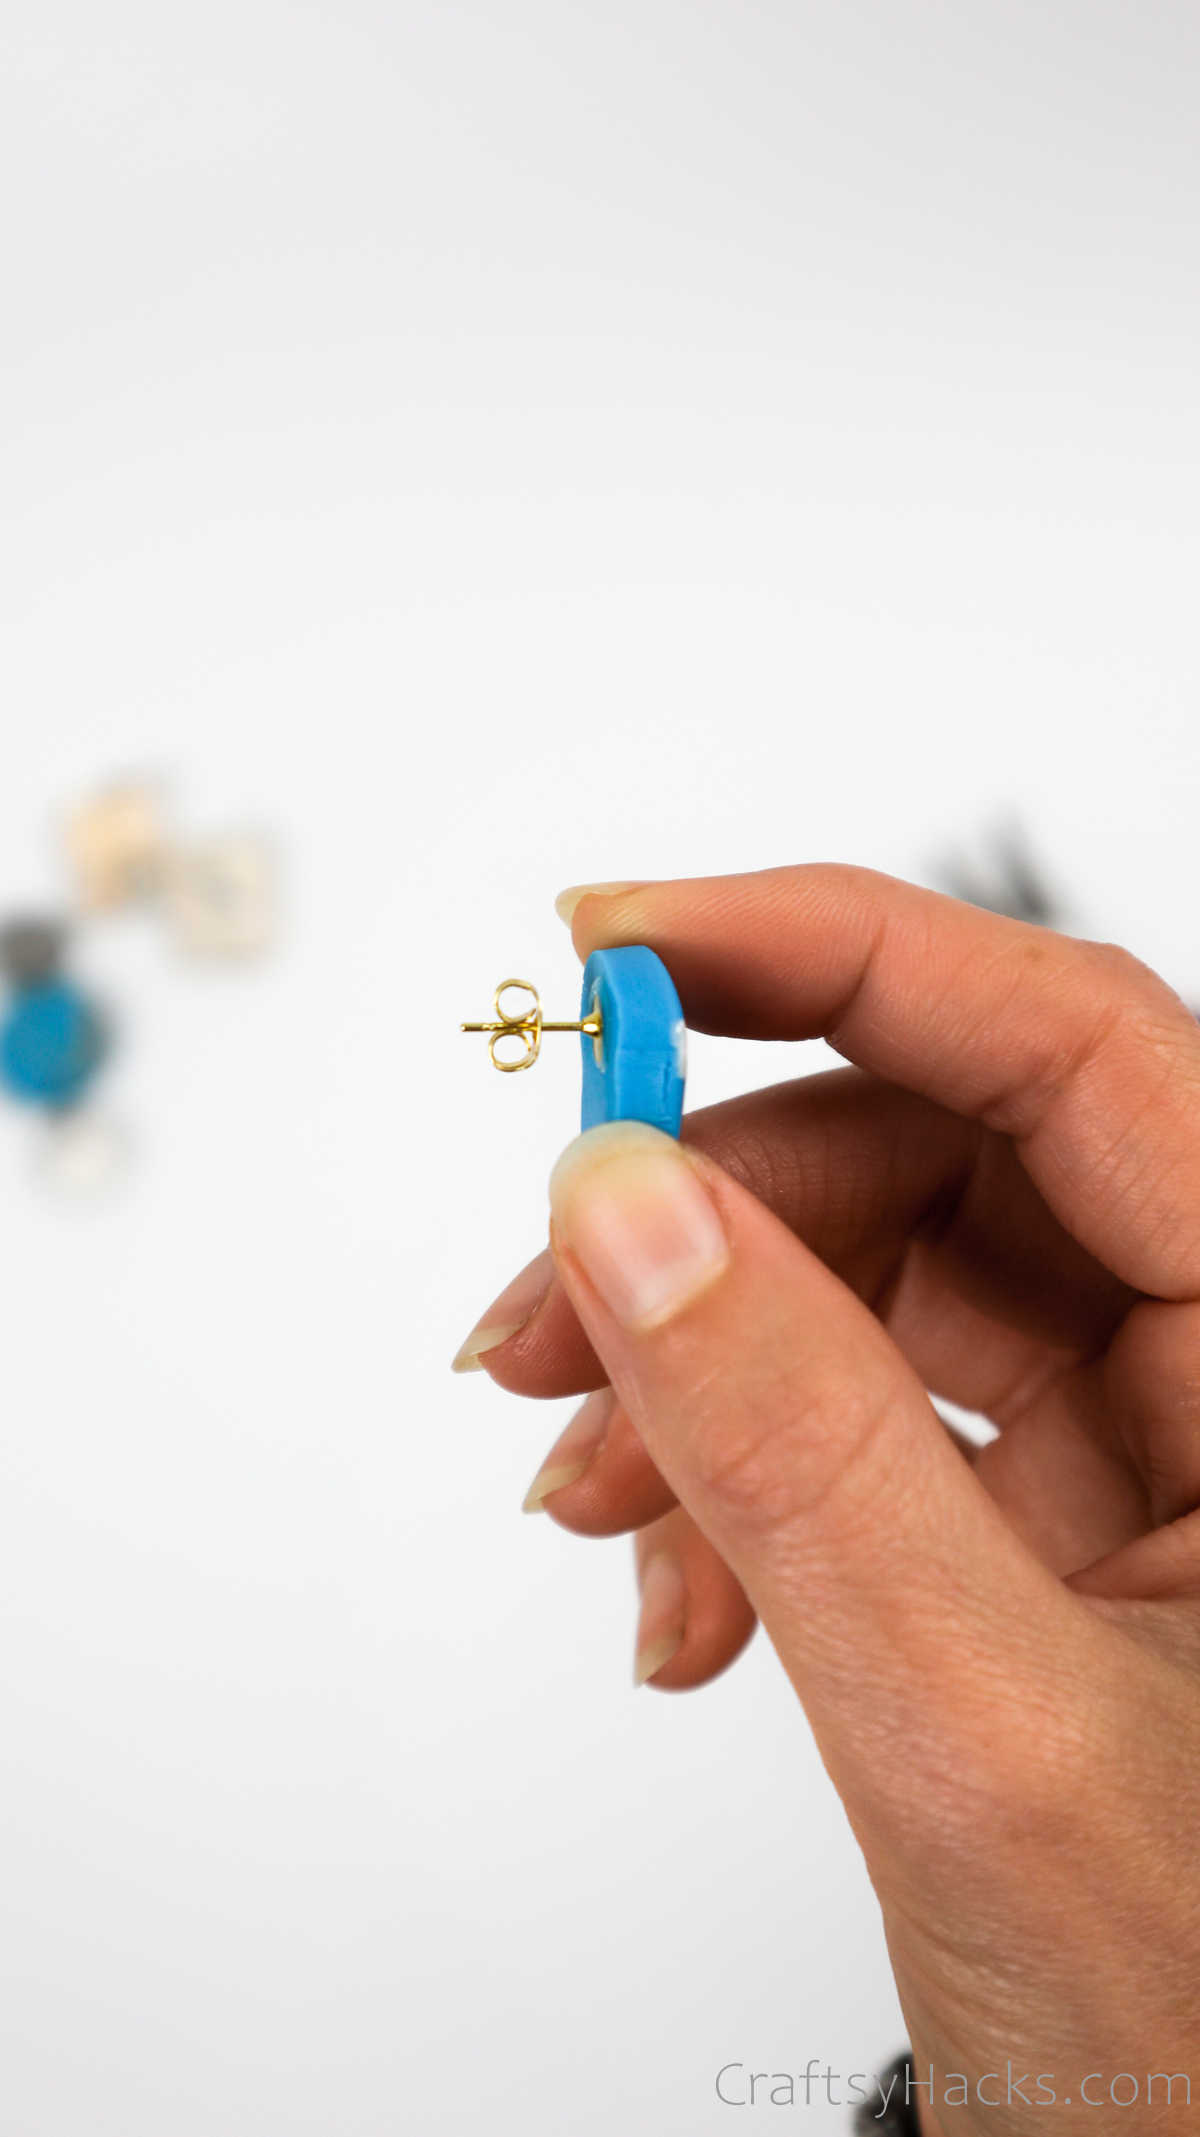
This method applies only to earrings that you didnt poke holes into and would rather use as studs.
And there you go; your DIY polymer clay earrings are all set and ready to be worn!
They make amazing little gifts, too, dont you think?
Check the full tutorial on video.
How Do You Seal Polymer Clay Earrings?
Its important that you seal the polymer clay earring once youve made them.
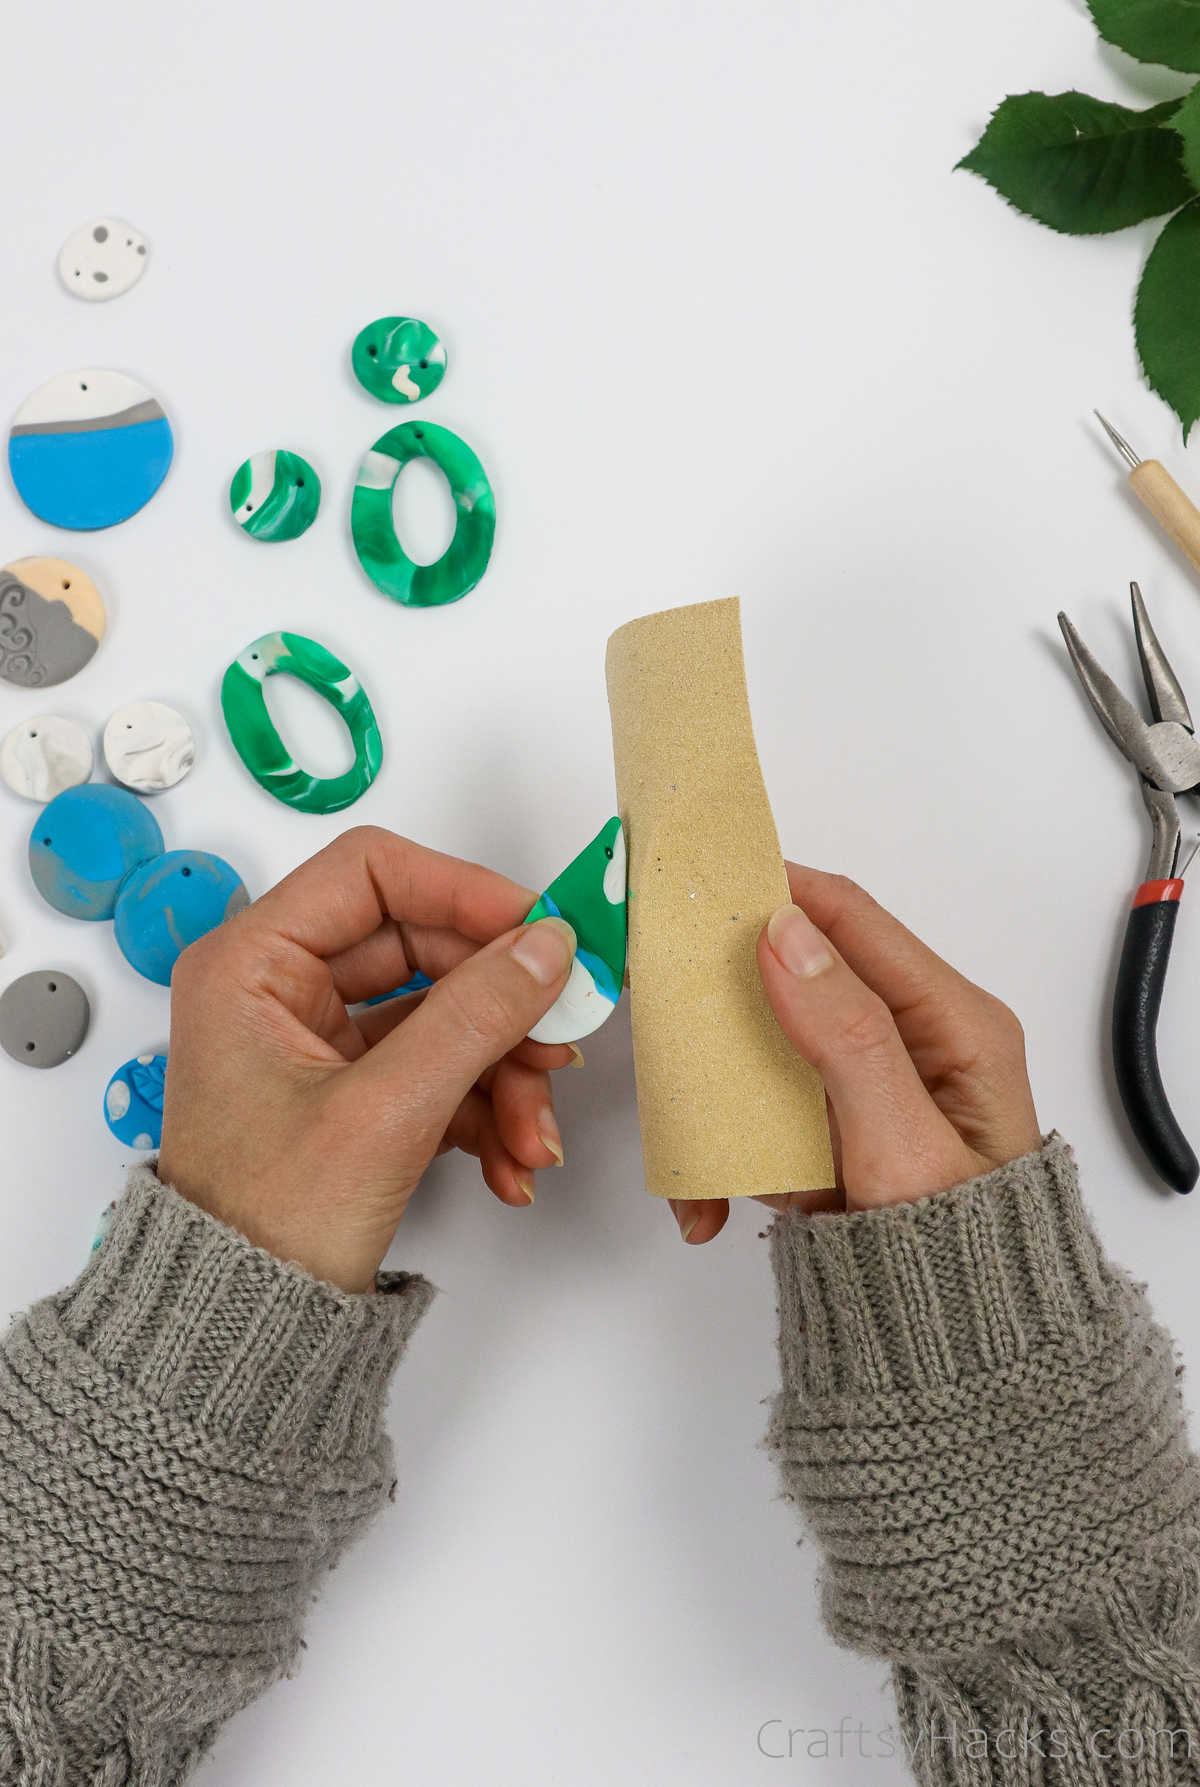
After you sandpaper the earring, it’s possible for you to effectively just use your earring as is.
Youll find that polymer clay doesnt change color when baked, so your colors will still be vibrant.
But, you still need to protect the surface.
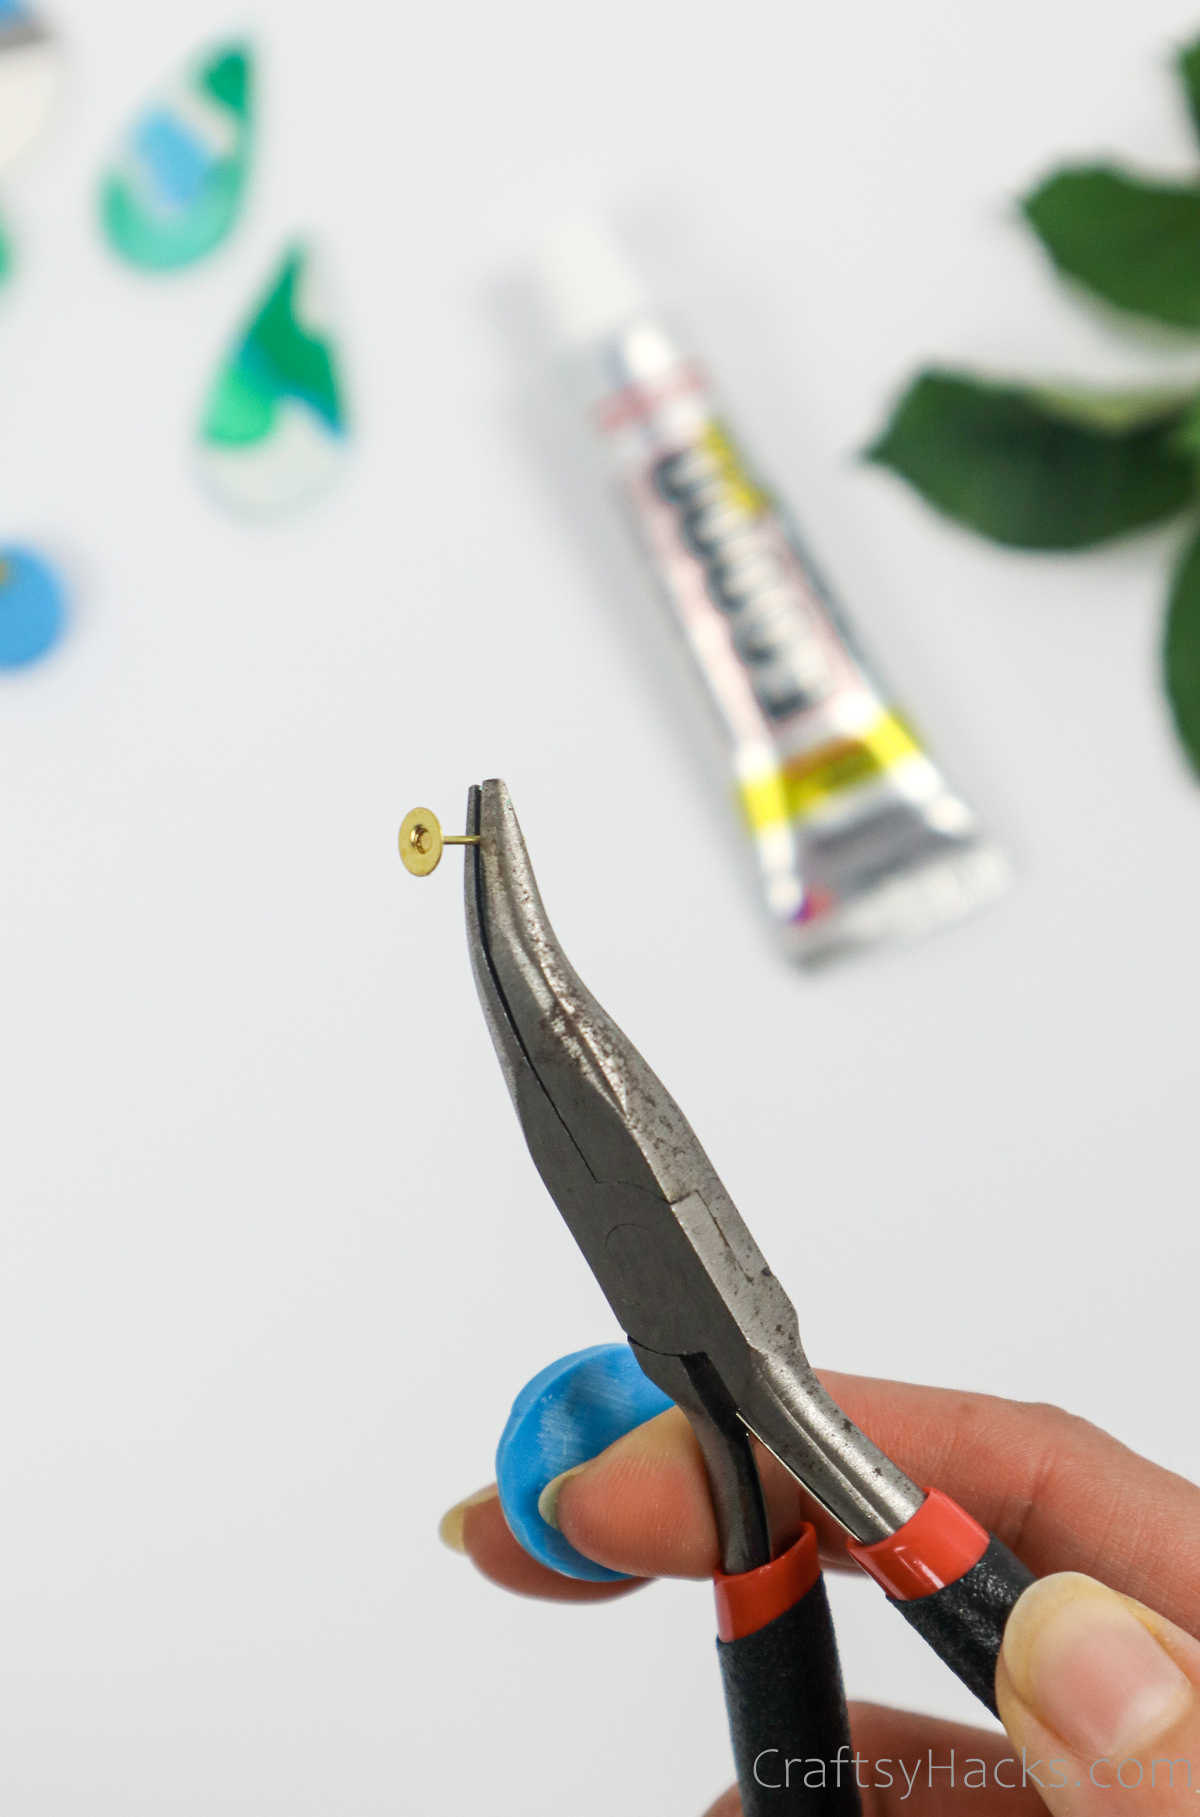
you’re able to use either a gloss or matte finish varnish spray to seal the polymer clay.
While acrylic clay is also often used, its not as long-term as youd want it to be.
Other Craft Ideas for You
How Long Should I Bake Polymer Clay Earrings?
The same rule applies to the amount of time you bake your earrings.
If you bake the earring for too short a period, your clay will not set and will crumble.
Too long, and youll find that the clay cracks into hard pieces.

This project calls for 30 minutes of baking in the oven at 230F (110C).
Another word of advice: preheat your oven!
How Thick Should My Polymer Clay Earrings Be?

A rule of thumb is that your clay earrings should ideally be 5mm thick.
Too thin, and the clay will simply snap or be too brittle.