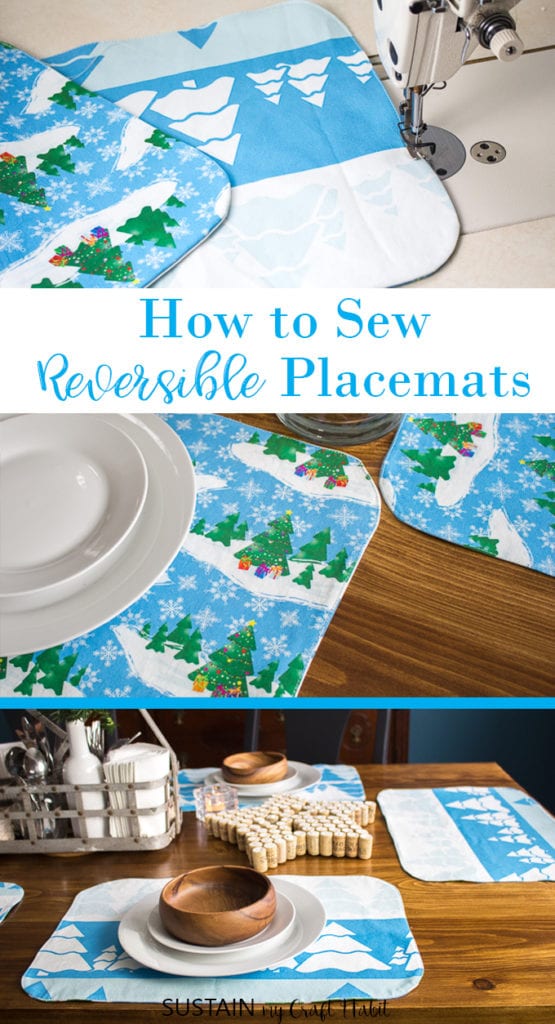
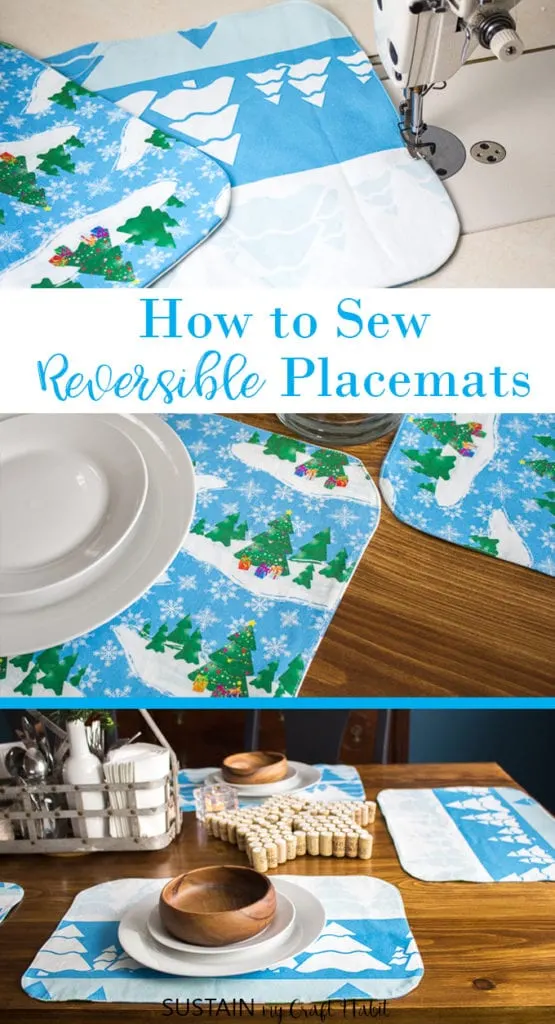
HomeHow to Make Placemats that are Reversible (Easy DIY!)
Have you ever thought about DIYing your own placemats for a custom table setting?
All opinions are our own.
Also, this post contains affiliate links for you shopping convenience.
you’re able to read ourfull disclosure statement here.
We have a running joke in my home when it comes to placemats.
We say that we can guess exactly who sat where for dinner just by looking at the placemats afterwards.
My placemat is the tidiest, whereas my husbands is always full of crumbs and food spills.
As for our daughter, hers always falls somewhere in the middle!

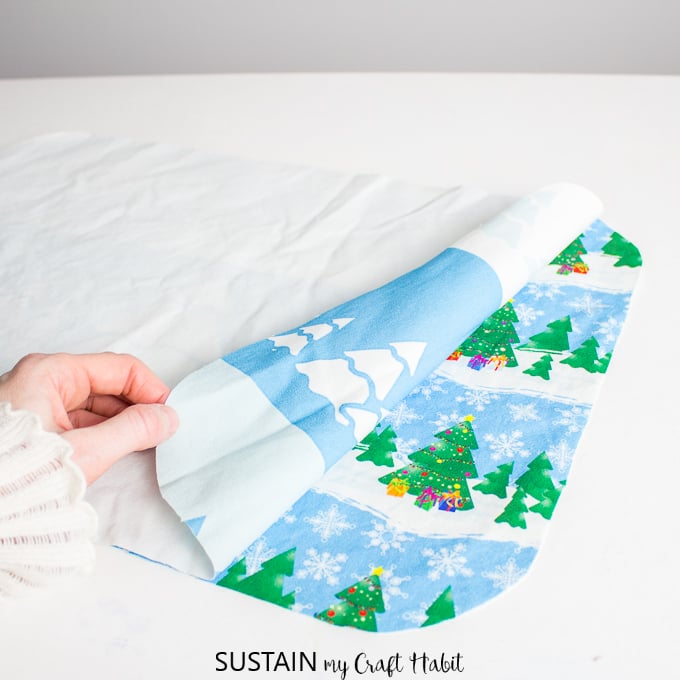
To make these simple reversible placemats, I chose the 100% cotton fabric from CanvasEtc.
The best fabric for this project is something that will wash and iron easily.
This simple reversible placemat makes the easiest sewing project and is perfect for absolute beginners.
or other special occasions.
Did you know that CanvasEtc.
offers theirfabric remnants for free!
Just pay a nominal shipping fee for a 5lb box of remnants for your DIY and crafting projects!
has a wide selection of fabrics to choose from.
Soon well share a tutorial on making curtains using soft and airy printed voile fabric.

Remove fabric from dryer promptly to avoid fabric from creasing and become overly wrinkled.
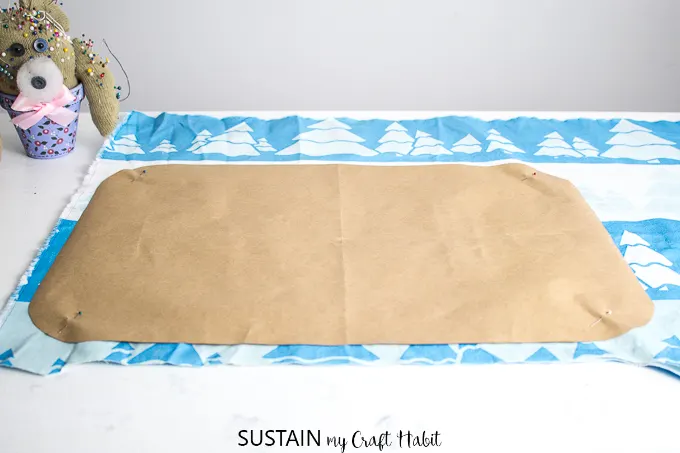
Print out theplacemat pattern templateand tape the pattern piece together if printed across multiple pages.
Lay the fabric out on a flat, smooth surface.
To cut multiple layers at a time, fold the fabric in half lengthwise matching the selvedge edges.
Each placemat has two sides: pattern side A and pattern side B.
Place the paper pattern over top of the fabric and pin in place.

Pin the pattern in place.
Repeat for the other side of the place mat using the contrasting printed fabric.
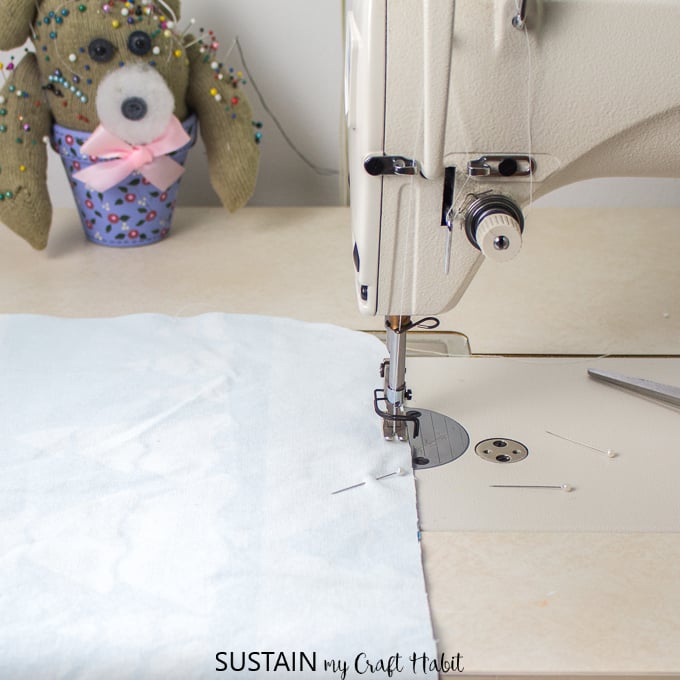
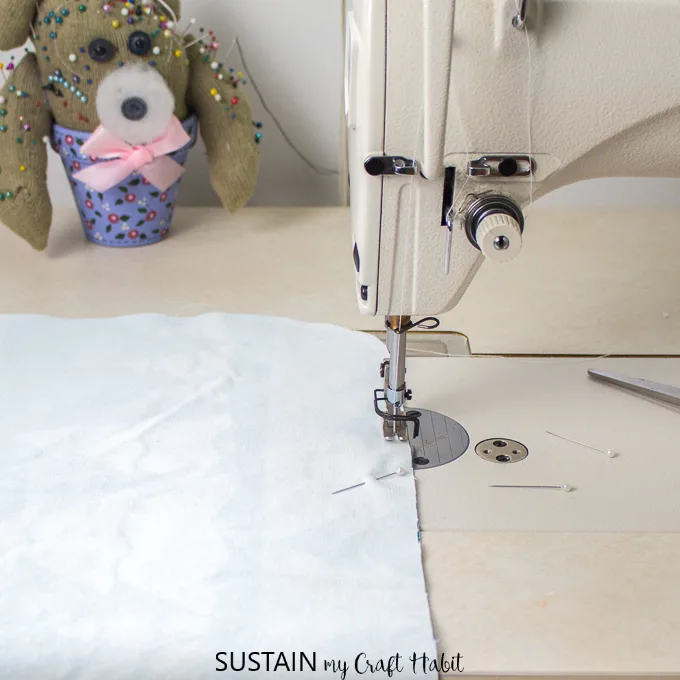
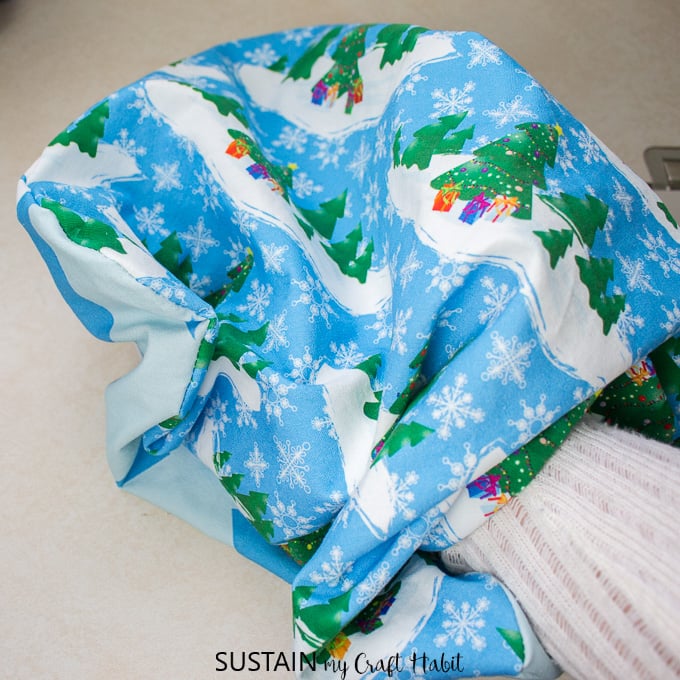
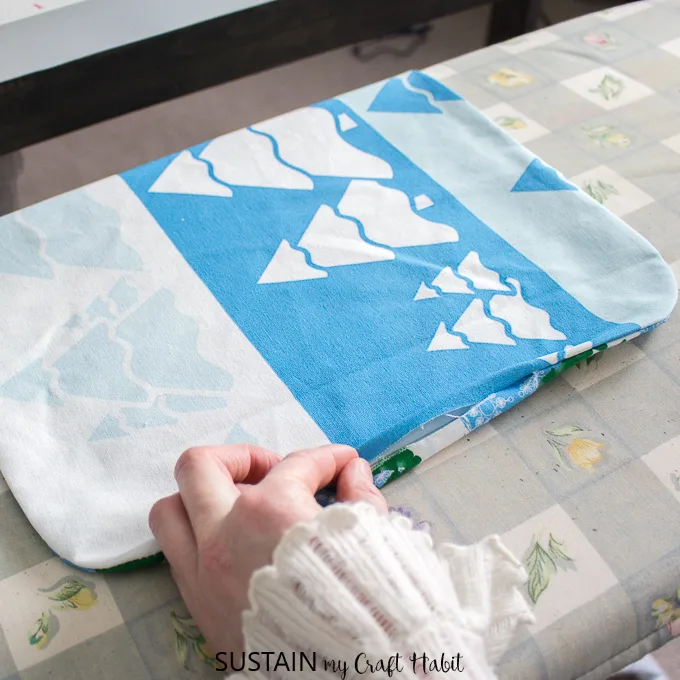
With right sides of the fabric pieces together, align placemat side A with placemat side B.

If needed, pin the pieces together for sewing.
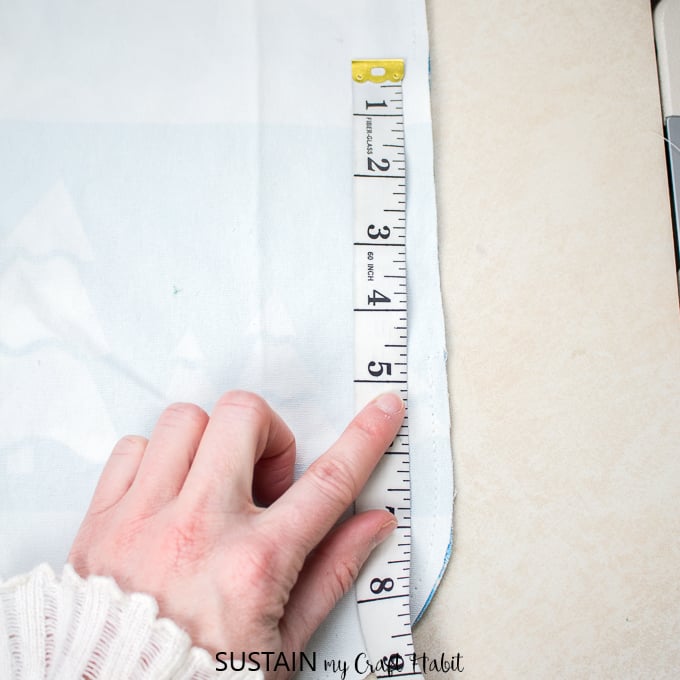
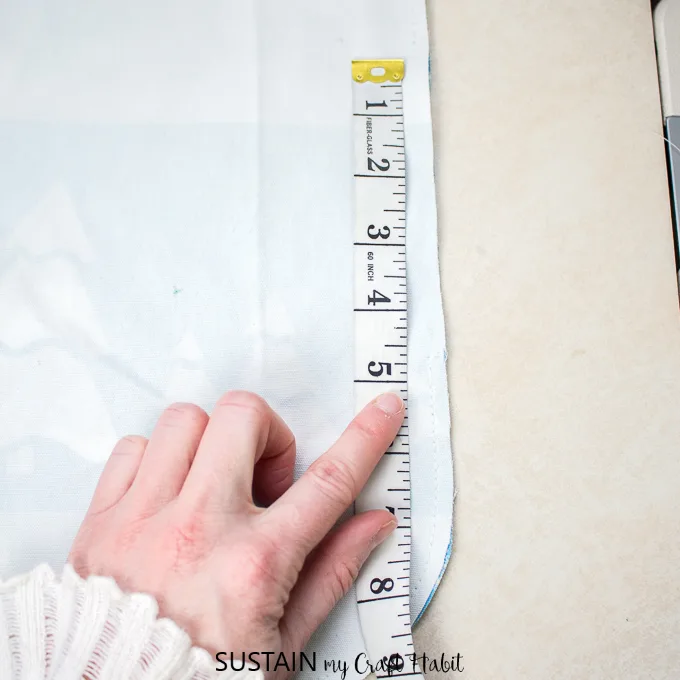
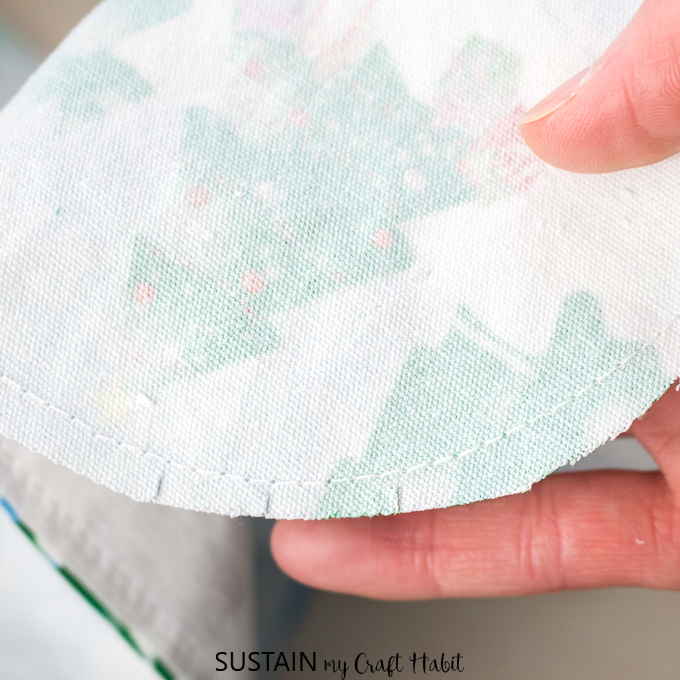
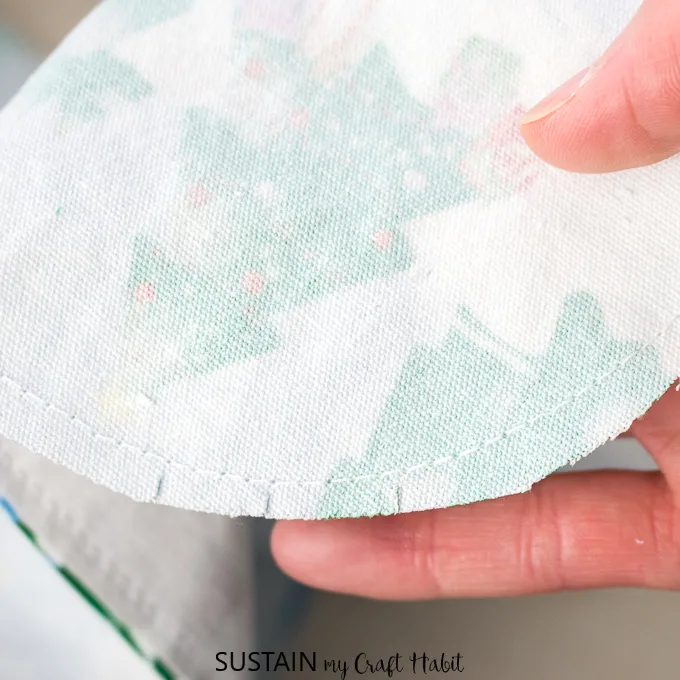
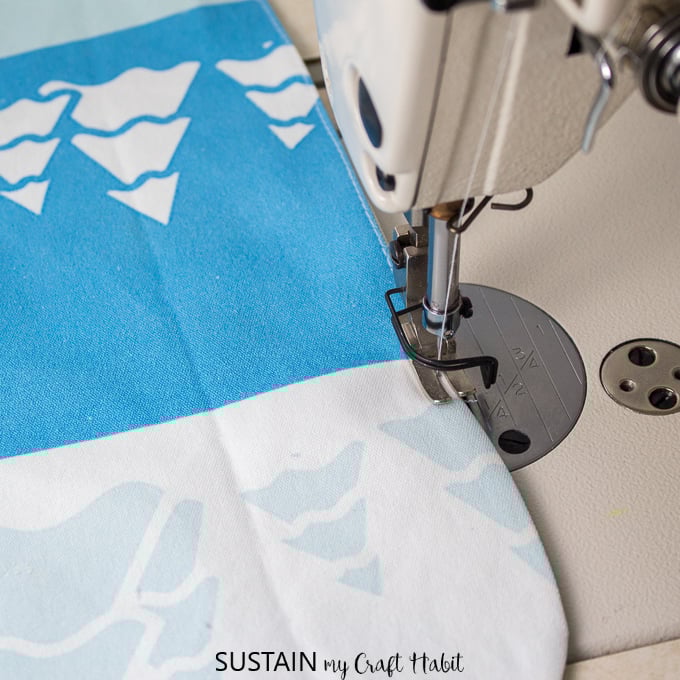
Continue around the perimeter of the placemat and stop when you are about 5 from the original start position.
Back stitch to lock the stitch in place.
Do not true the seam allowance at the open edge.
This will also help the fabric to lay flat when placemats are turned right side out.
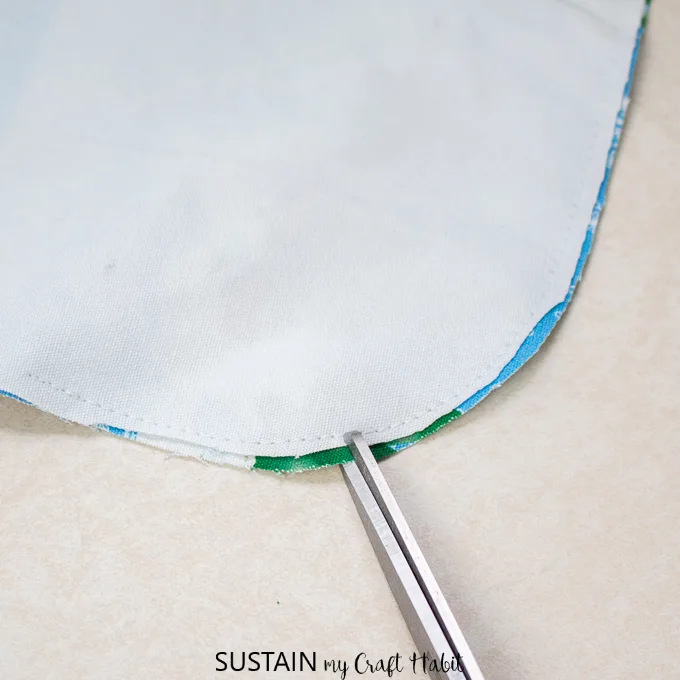
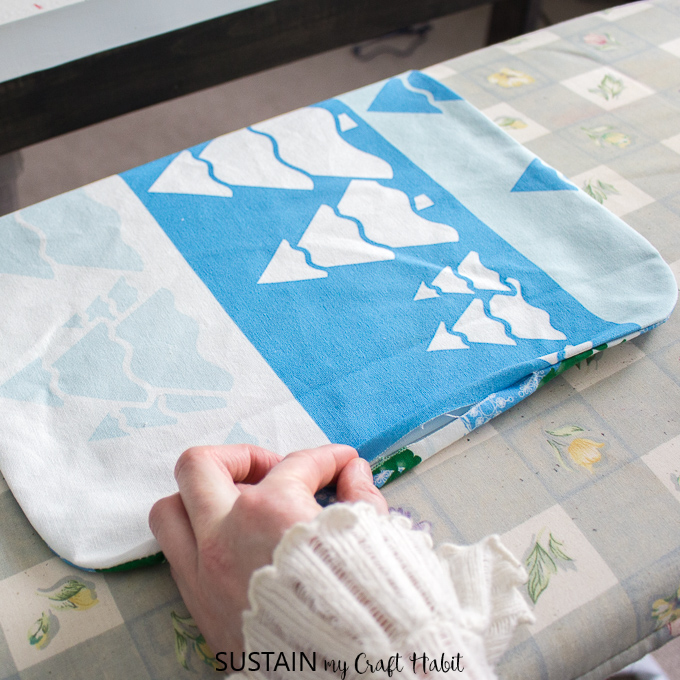
Turn the sewn placemat right side out and press seamed edges flat using an iron.

Fold the open unstitched edges in by 14 and press in place.
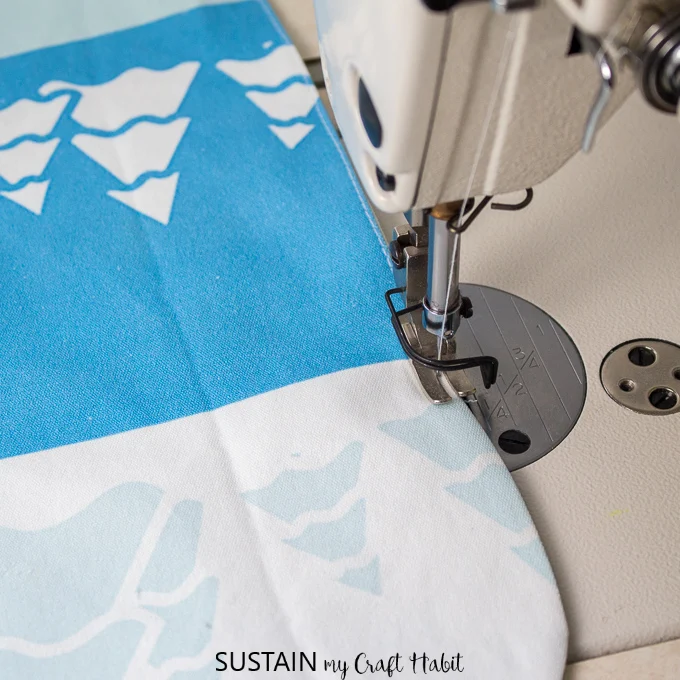
Sew a single needle topo stitch around the perimeter of the placemat closing the open hole as you go.
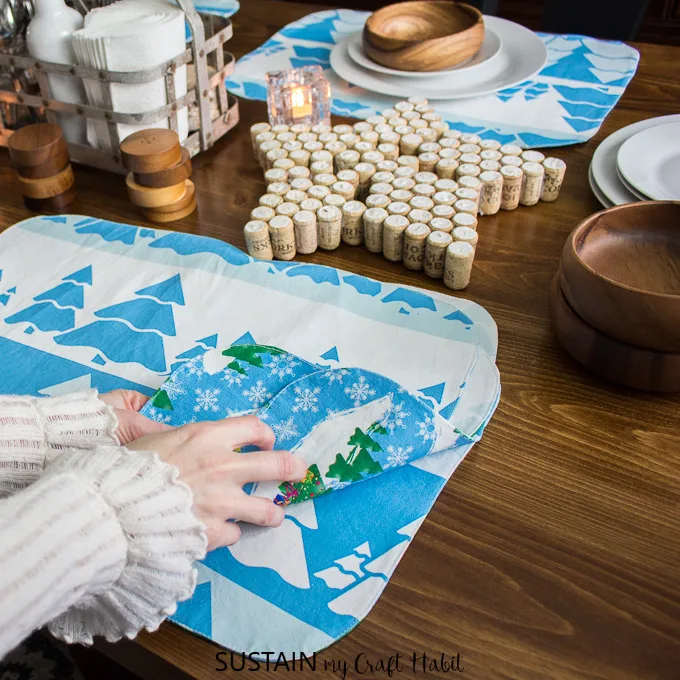
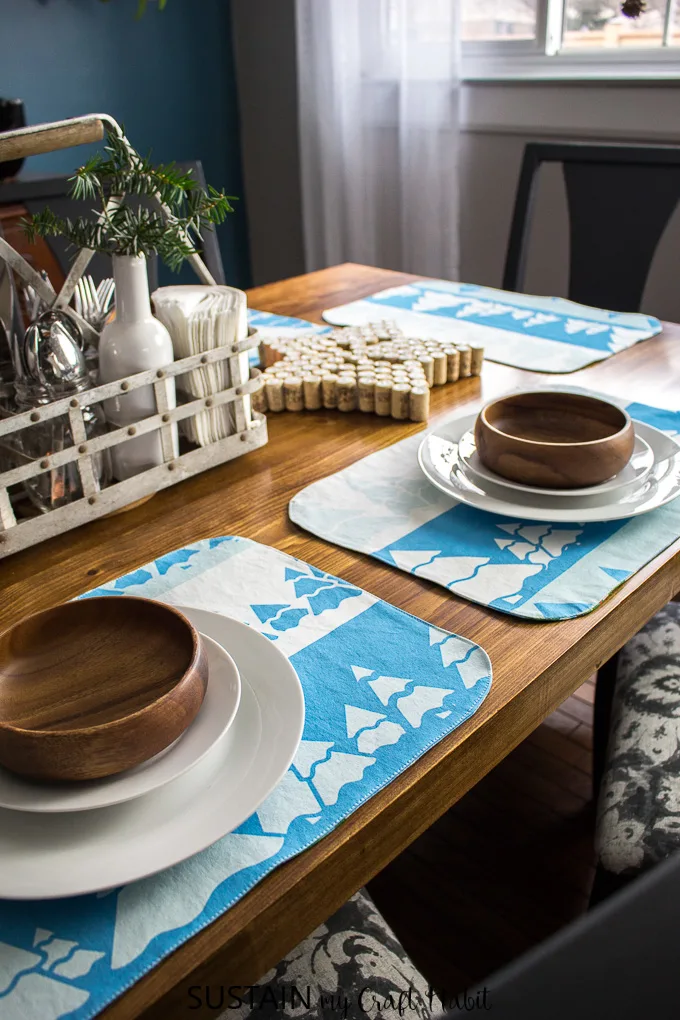
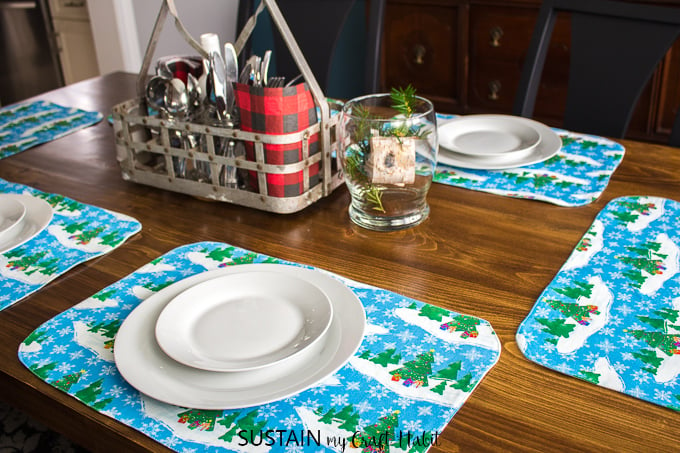
We hope youve found this placemat tutorial helpful to dress up your dining room!

I anticipate Ill get a lot of use out of these new placements over the Christmas and Winter season.
All I need is to add one of theserustic centerpiece ideasto the table and Im all set to go!
And maybe hubby will be just a little less messy with these new linens (fingers crossed).

So, who is the messiest eater in your home?
Pin it for Later!
To make these durable and reversible placemats, I chose the 100% cotton canvas.
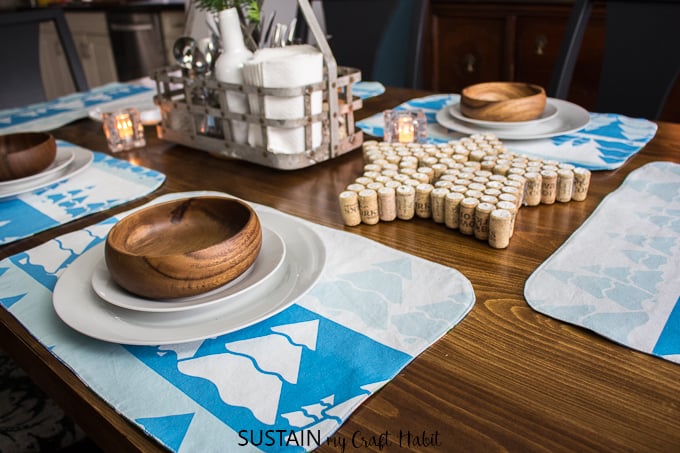
So, spills or no spills, these new place mats will be easy to wash.
This Winter Wonder Tree pattern will look great now through the spring.
Isnt that really one of the best parts of sewing?

Being able to choose the pattern and style and quality that suits your needs?
you’ve got the option to check out all of the fun coordinating prints here.
I love the Winter Wonder Snowflake pattern paired with the Winter Wonder Tree pattern as well!
has a wide selection of fabrics to choose from.
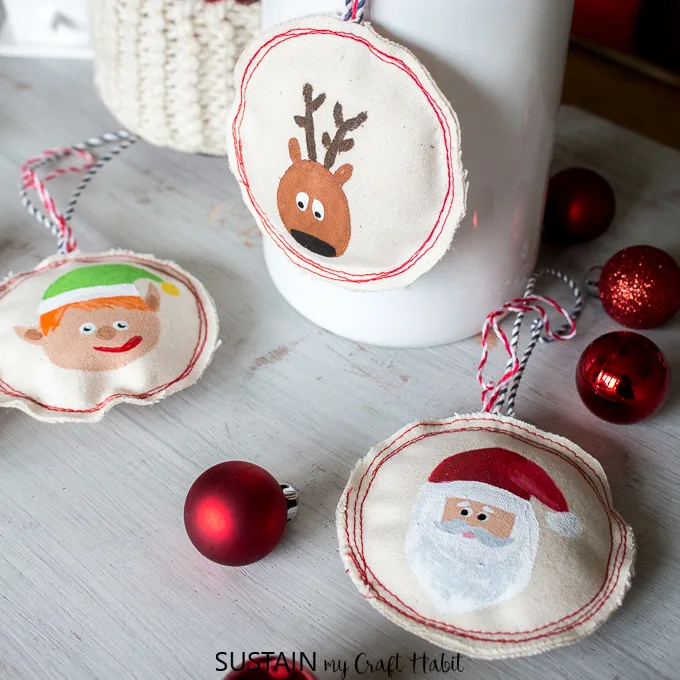
Weve used a heavier canvas forsewing Christmas ornamentsand a classic red velour to make aChristmas tree skirt.
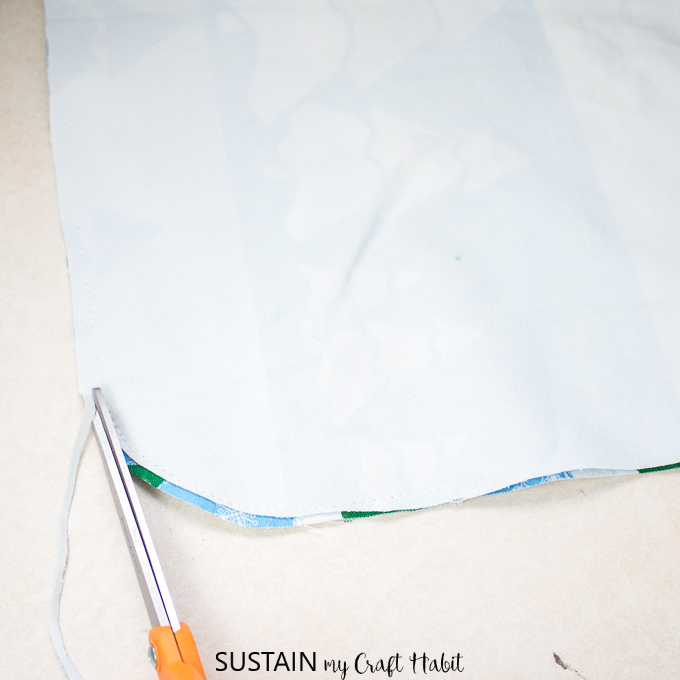
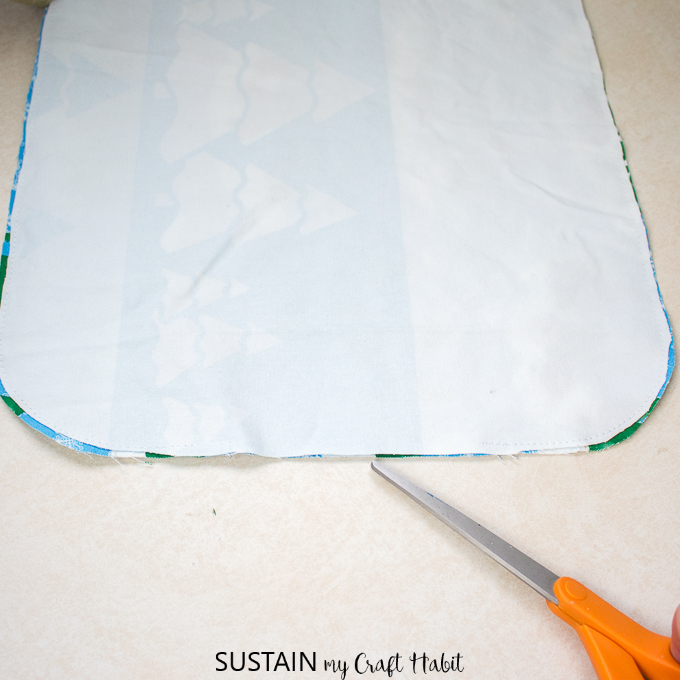
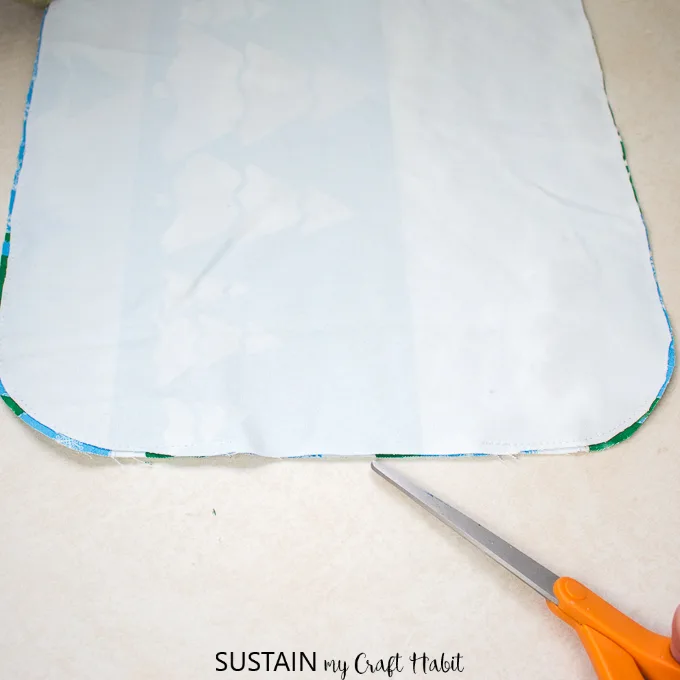
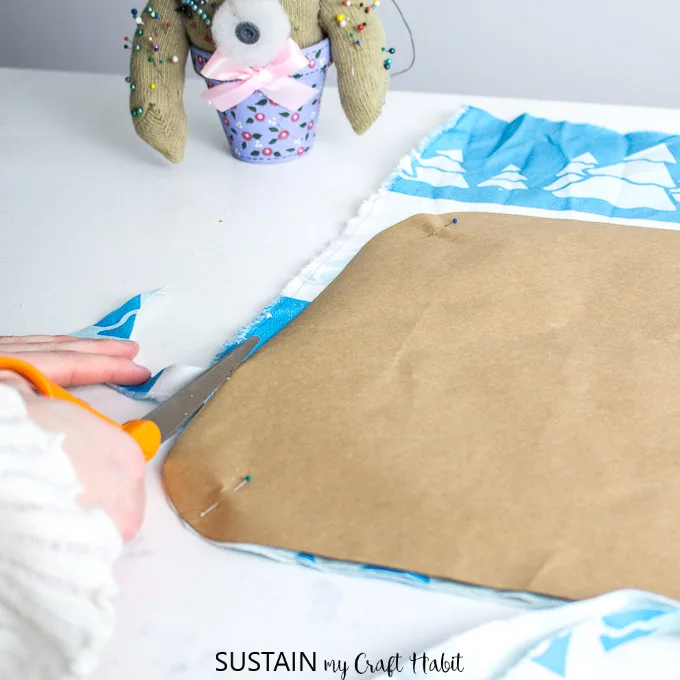
Using fabric scissors, cut along the solid line through all layers (paper pattern and fabric).

With right sides together, align placemat side A with placemat side B.
If needed, pin the pieces together for sewing.
Sew a single needle edgestitch around the perimeter of the placemat closing the open hole as you go.

Iron again to remove all creases and wrinkles and repeat the cutting and sewing steps for each placemat.
I anticipate Ill get a lot of use out of these new placemats over the Christmas and Winter season.
All I need is to add one of theserustic centerpiece ideasto the table and Im all set to go!
And maybe hubby will be just a little less messy with these new linens (fingers crossed).