Whether youre new to Cricut or a seasoned crafter, making labels has never been more satisfying.
This craft is particularly rewarding because its virtually impossible to mess up!
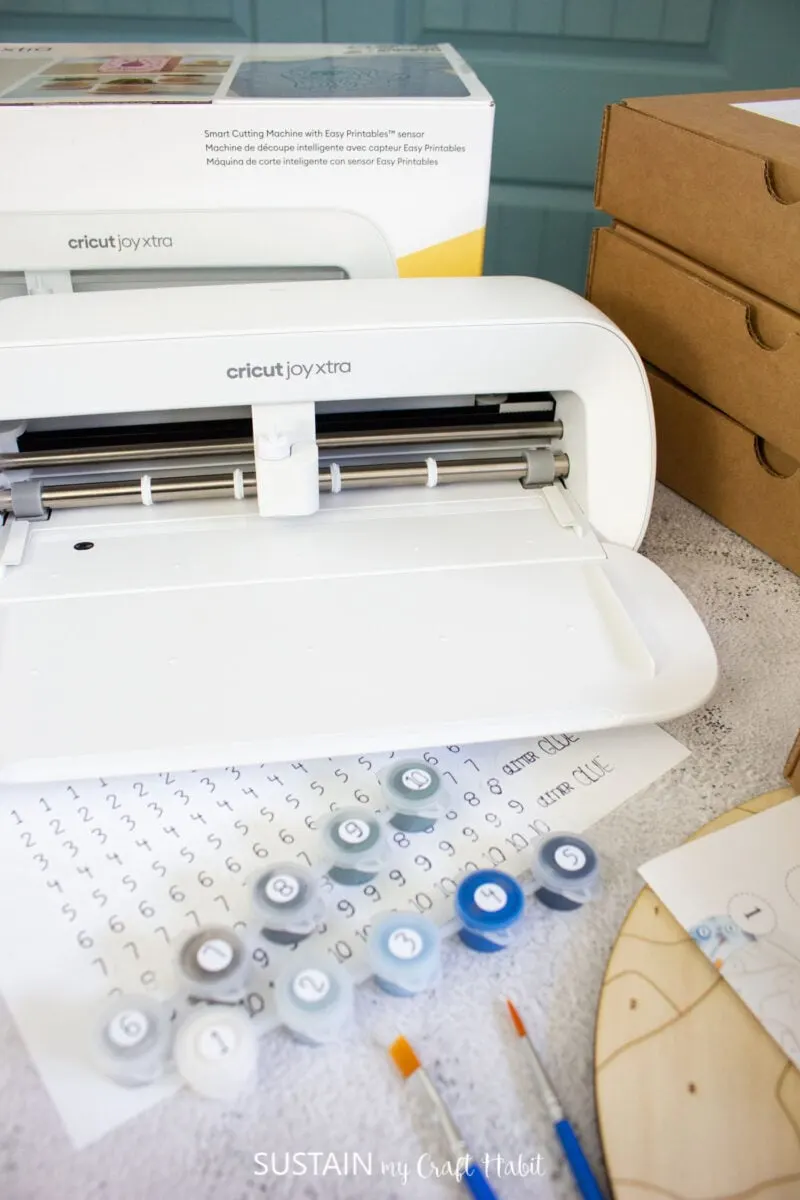
The Cricut Joy Xtra guides you through each step, ensuring precise cuts and professional results every time.
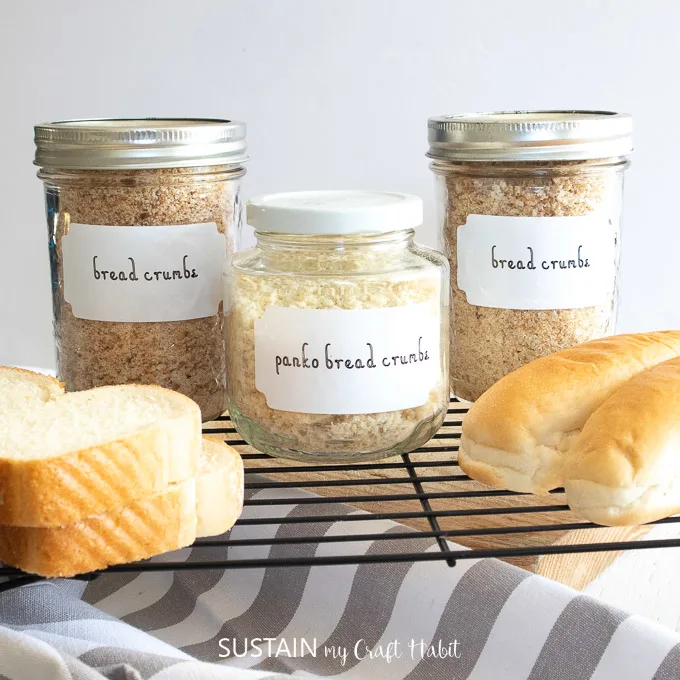
Printable Jar Labels
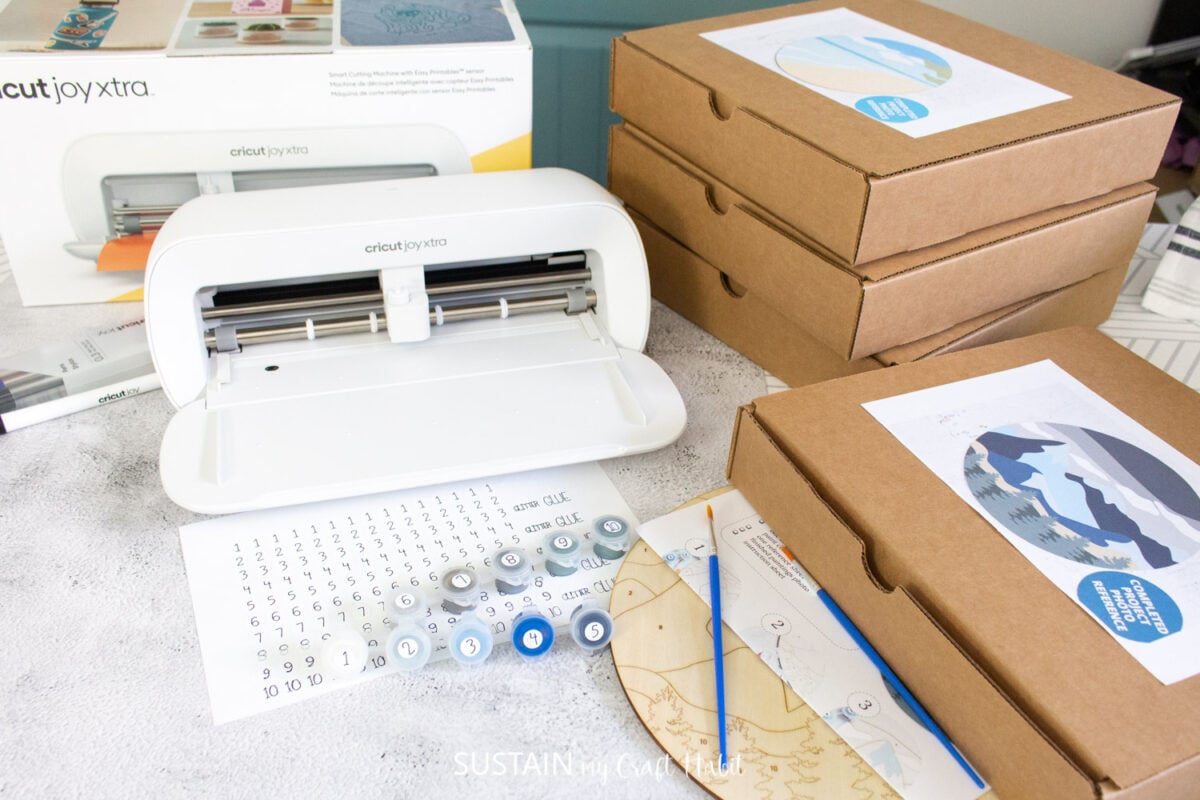
Materials Needed
Disclosure: This post contains affiliate links for your shopping convenience.
you’re free to readour full disclosure policy here.
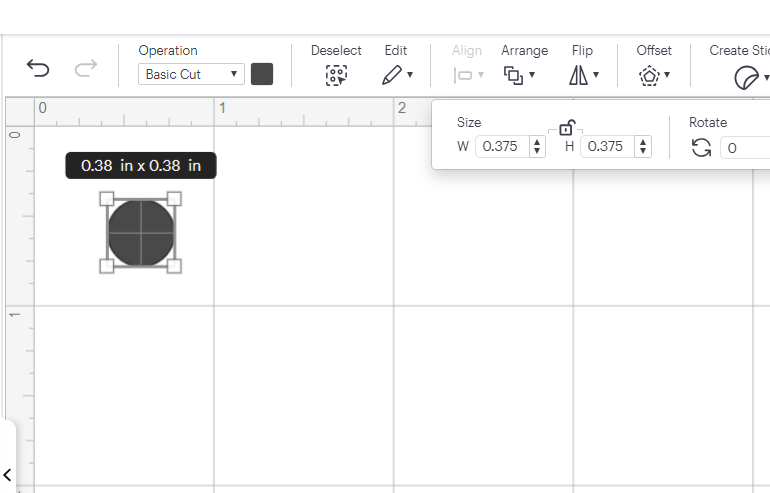
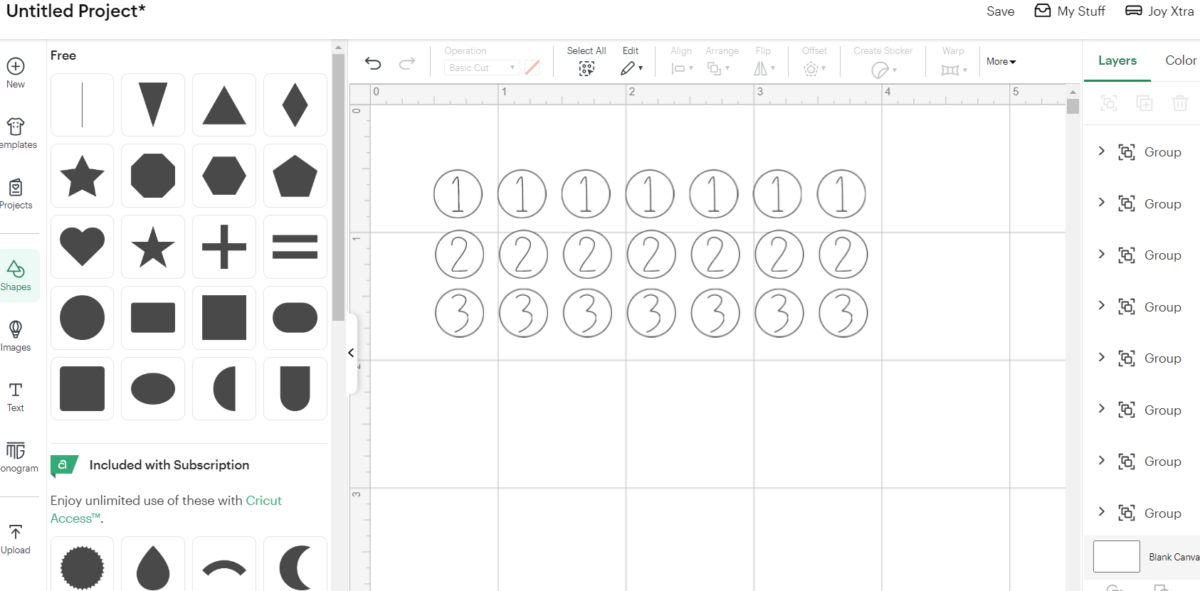
Open Design Space and select a new canvas.

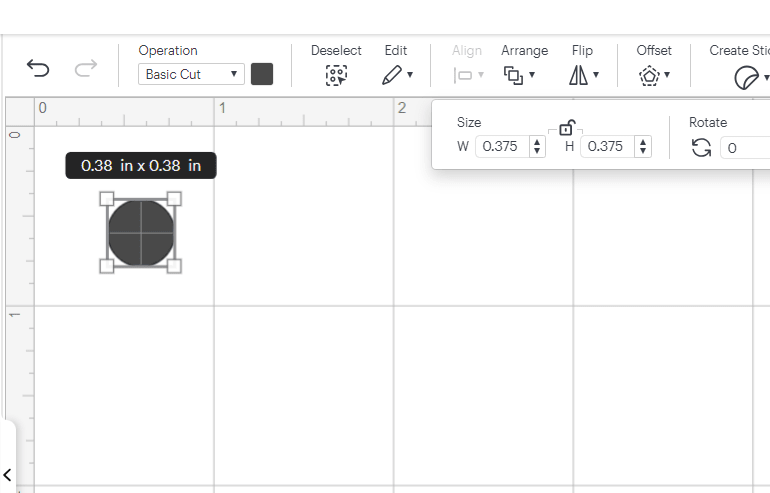
Insert a circle shape on to the canvas and size it to 38 diameter.
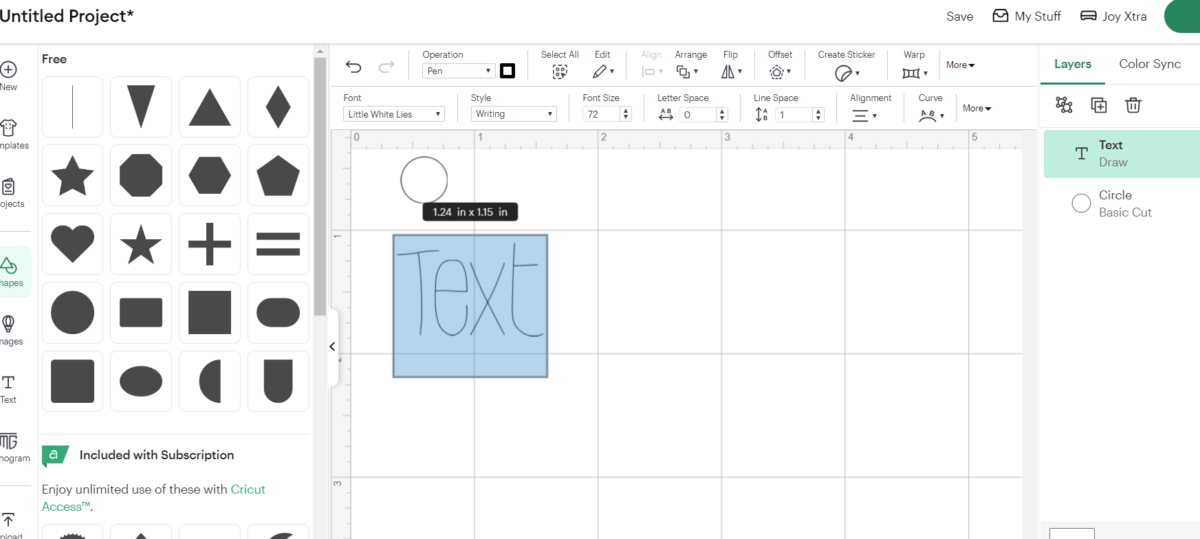
Next, insert a text box onto the canvas and change the font to your choosing.
We chose little white lies font for our labels.
This works well because of its single layer writing style option, which makes the writing process faster.
Keep this in mind when choosing a font for your project.
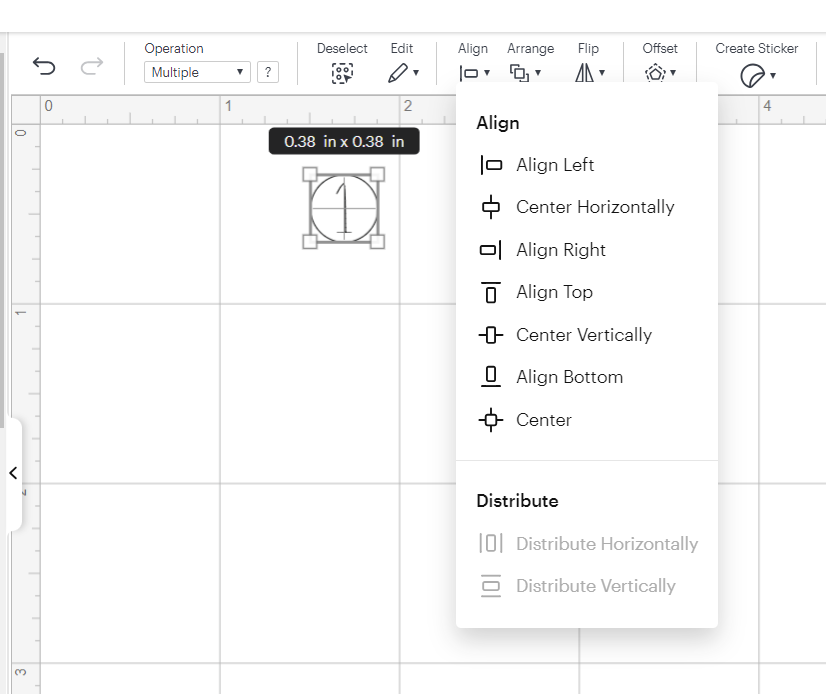
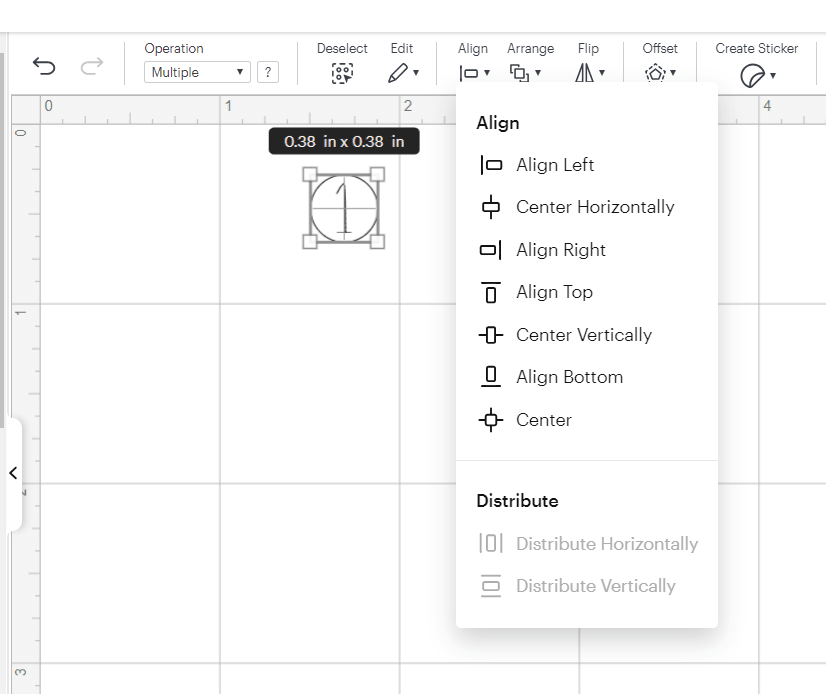
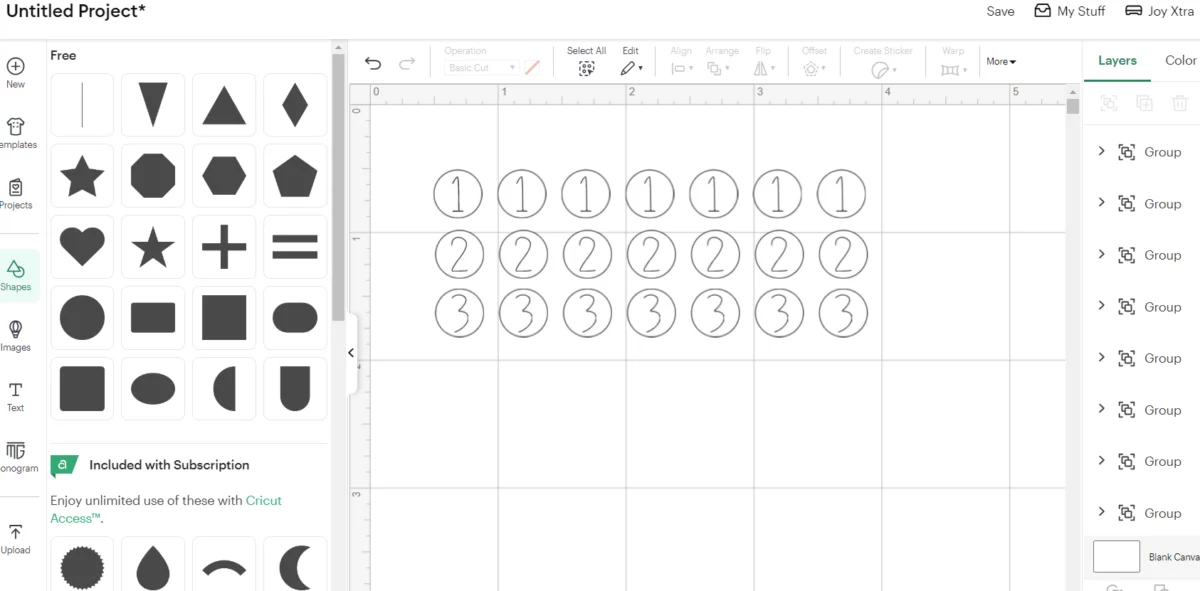
Center the number, letter or word inside of the circle shape, centering it vertically and horizontally.
Repeat this step for the other numbers, letters or words.
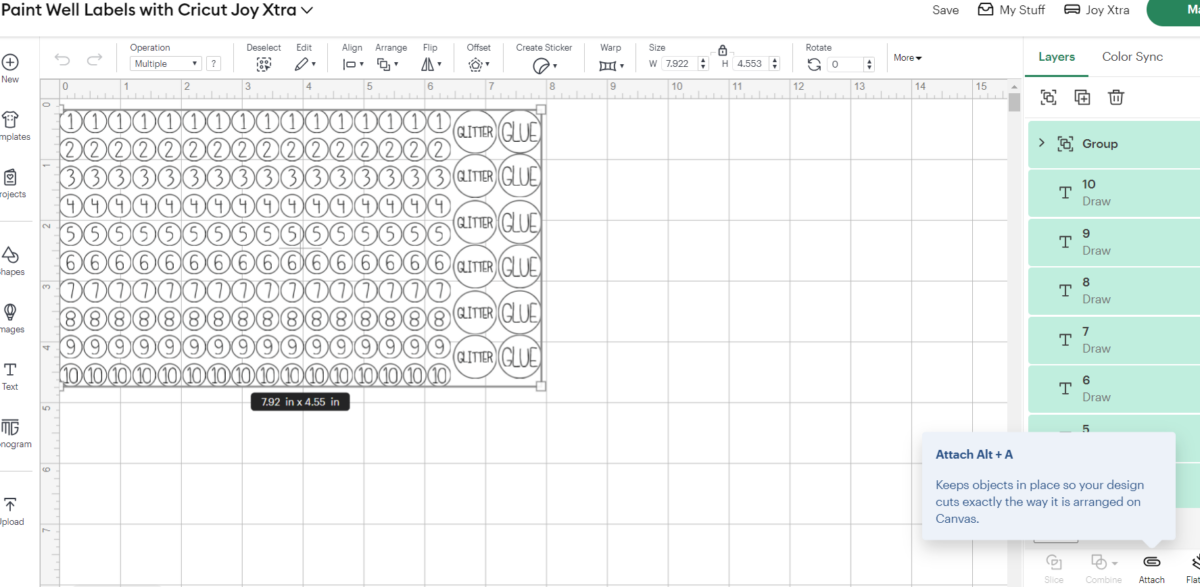
Select all and duplicate it as many times as needed for your project.
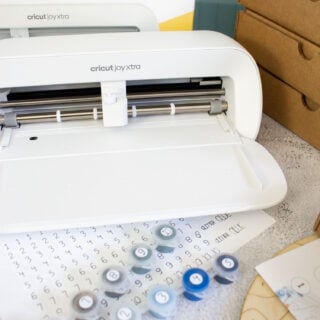
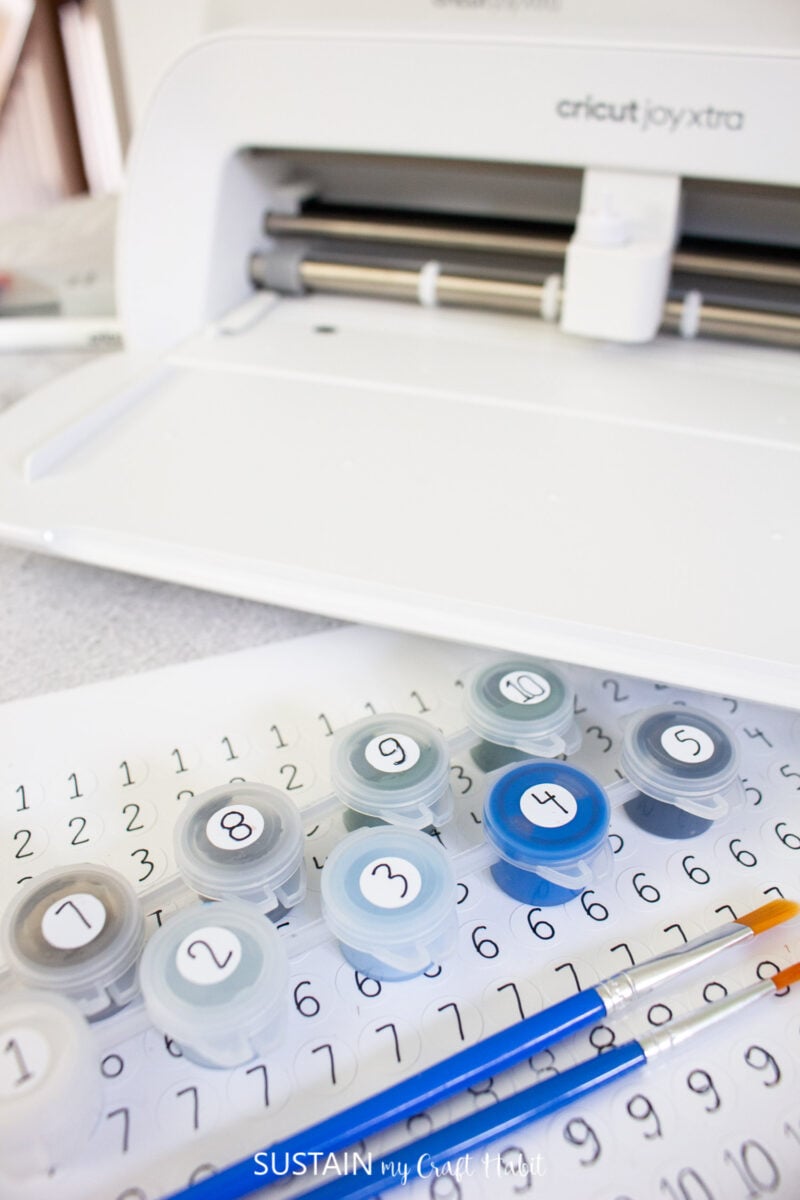
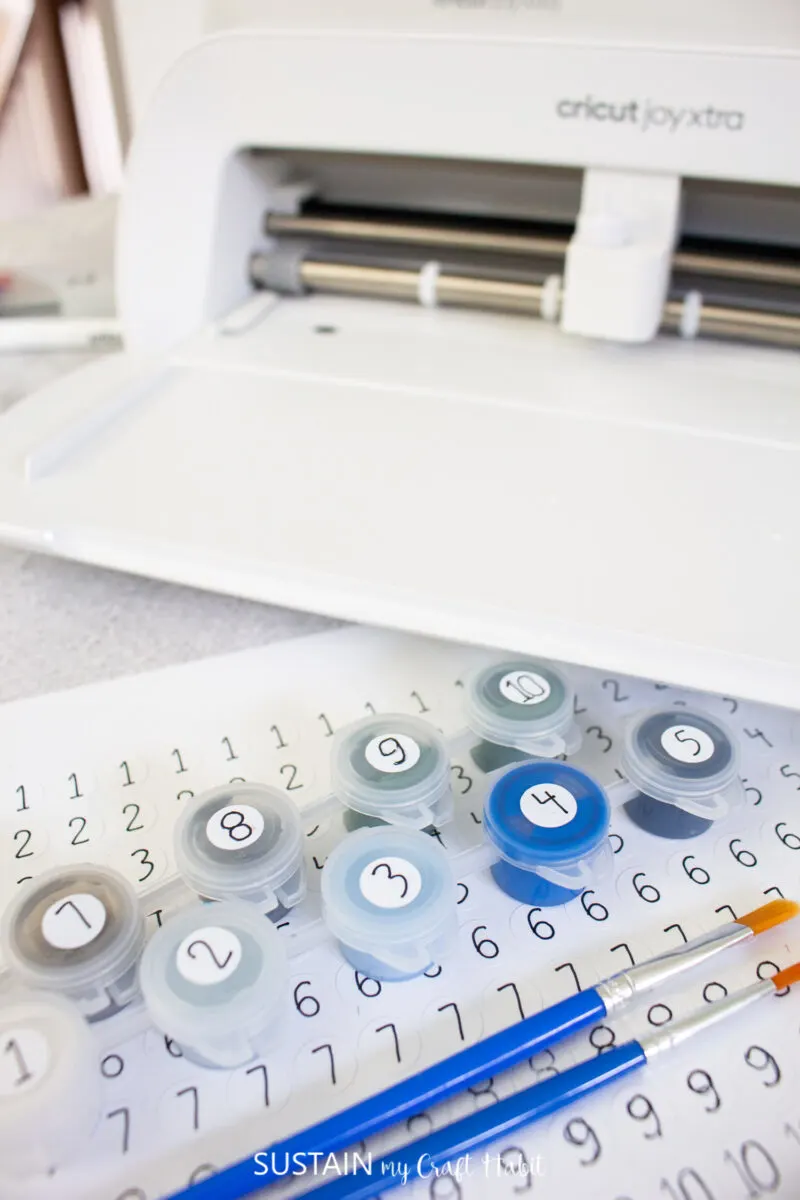
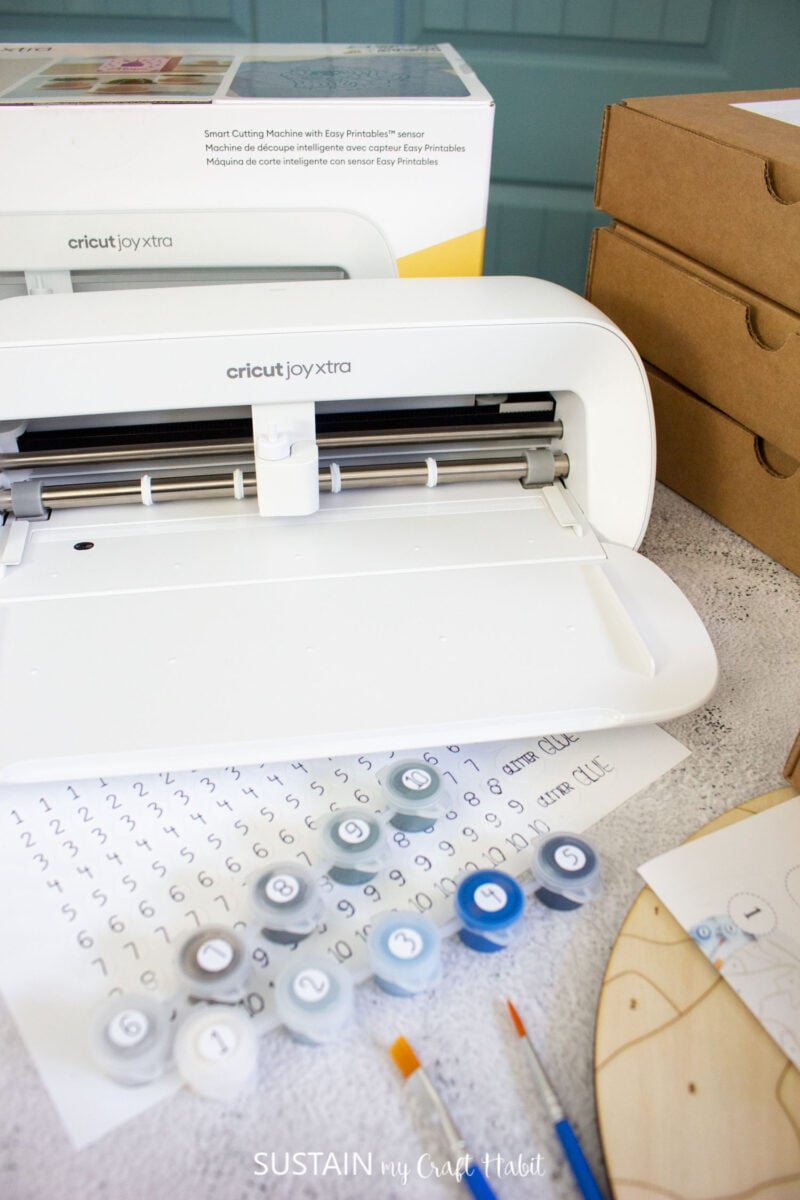
Peel away the sticker and place on the paint well or whatever product it’s crucial that you label.
The satisfaction of seeing your handmade labels brightening up spaces and simplifying organization is truly unmatched.
Pin it for later!
Materials
Instructions


Printable Jar Labels
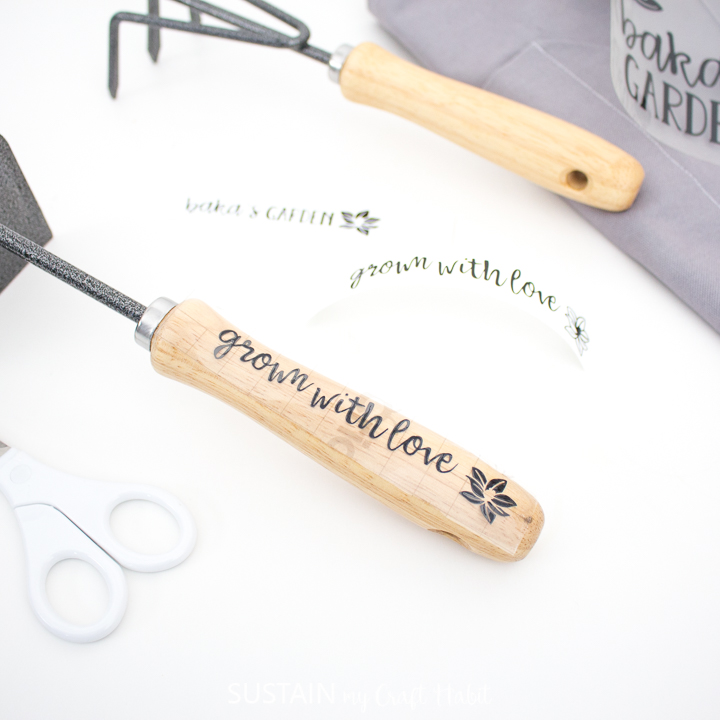
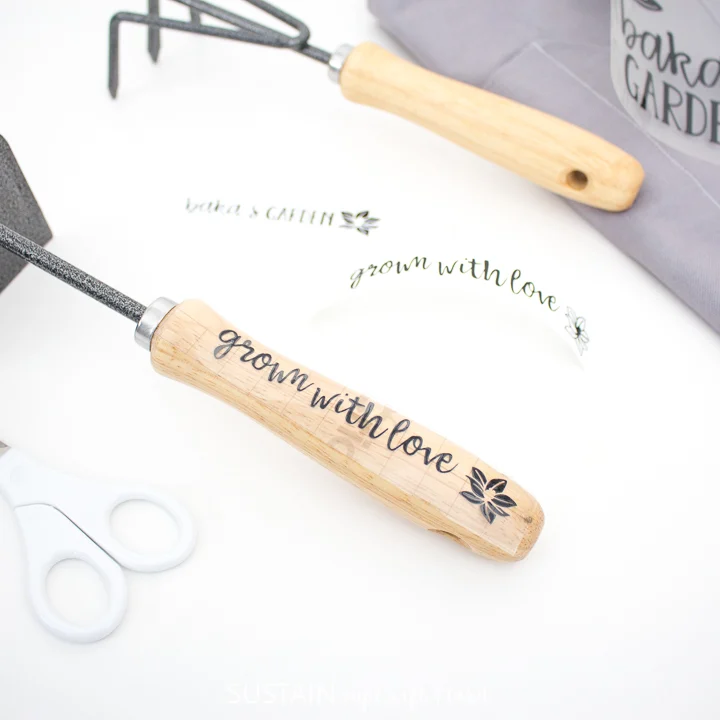
Personalized Gifts
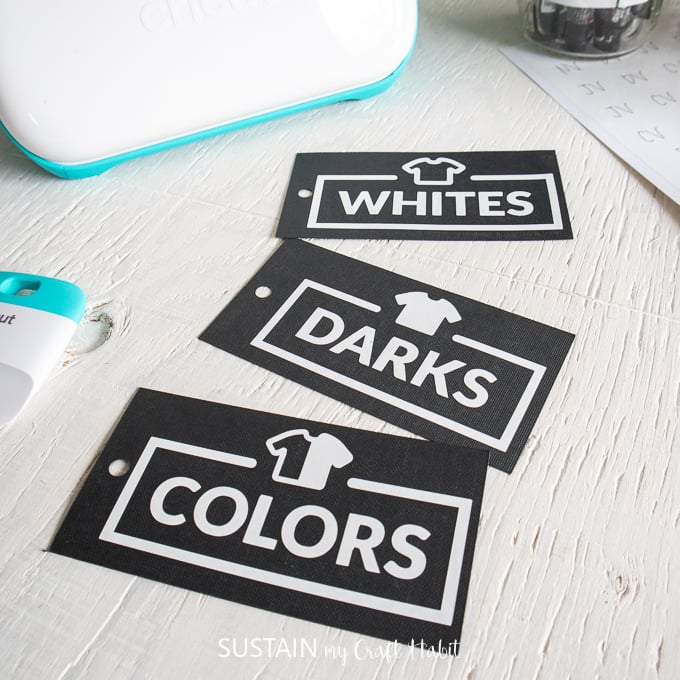
Laundry Organization Tags


Thanks a Latte Card