HomeDIY
This post may contain affiliate links:full affiliate disclosure.
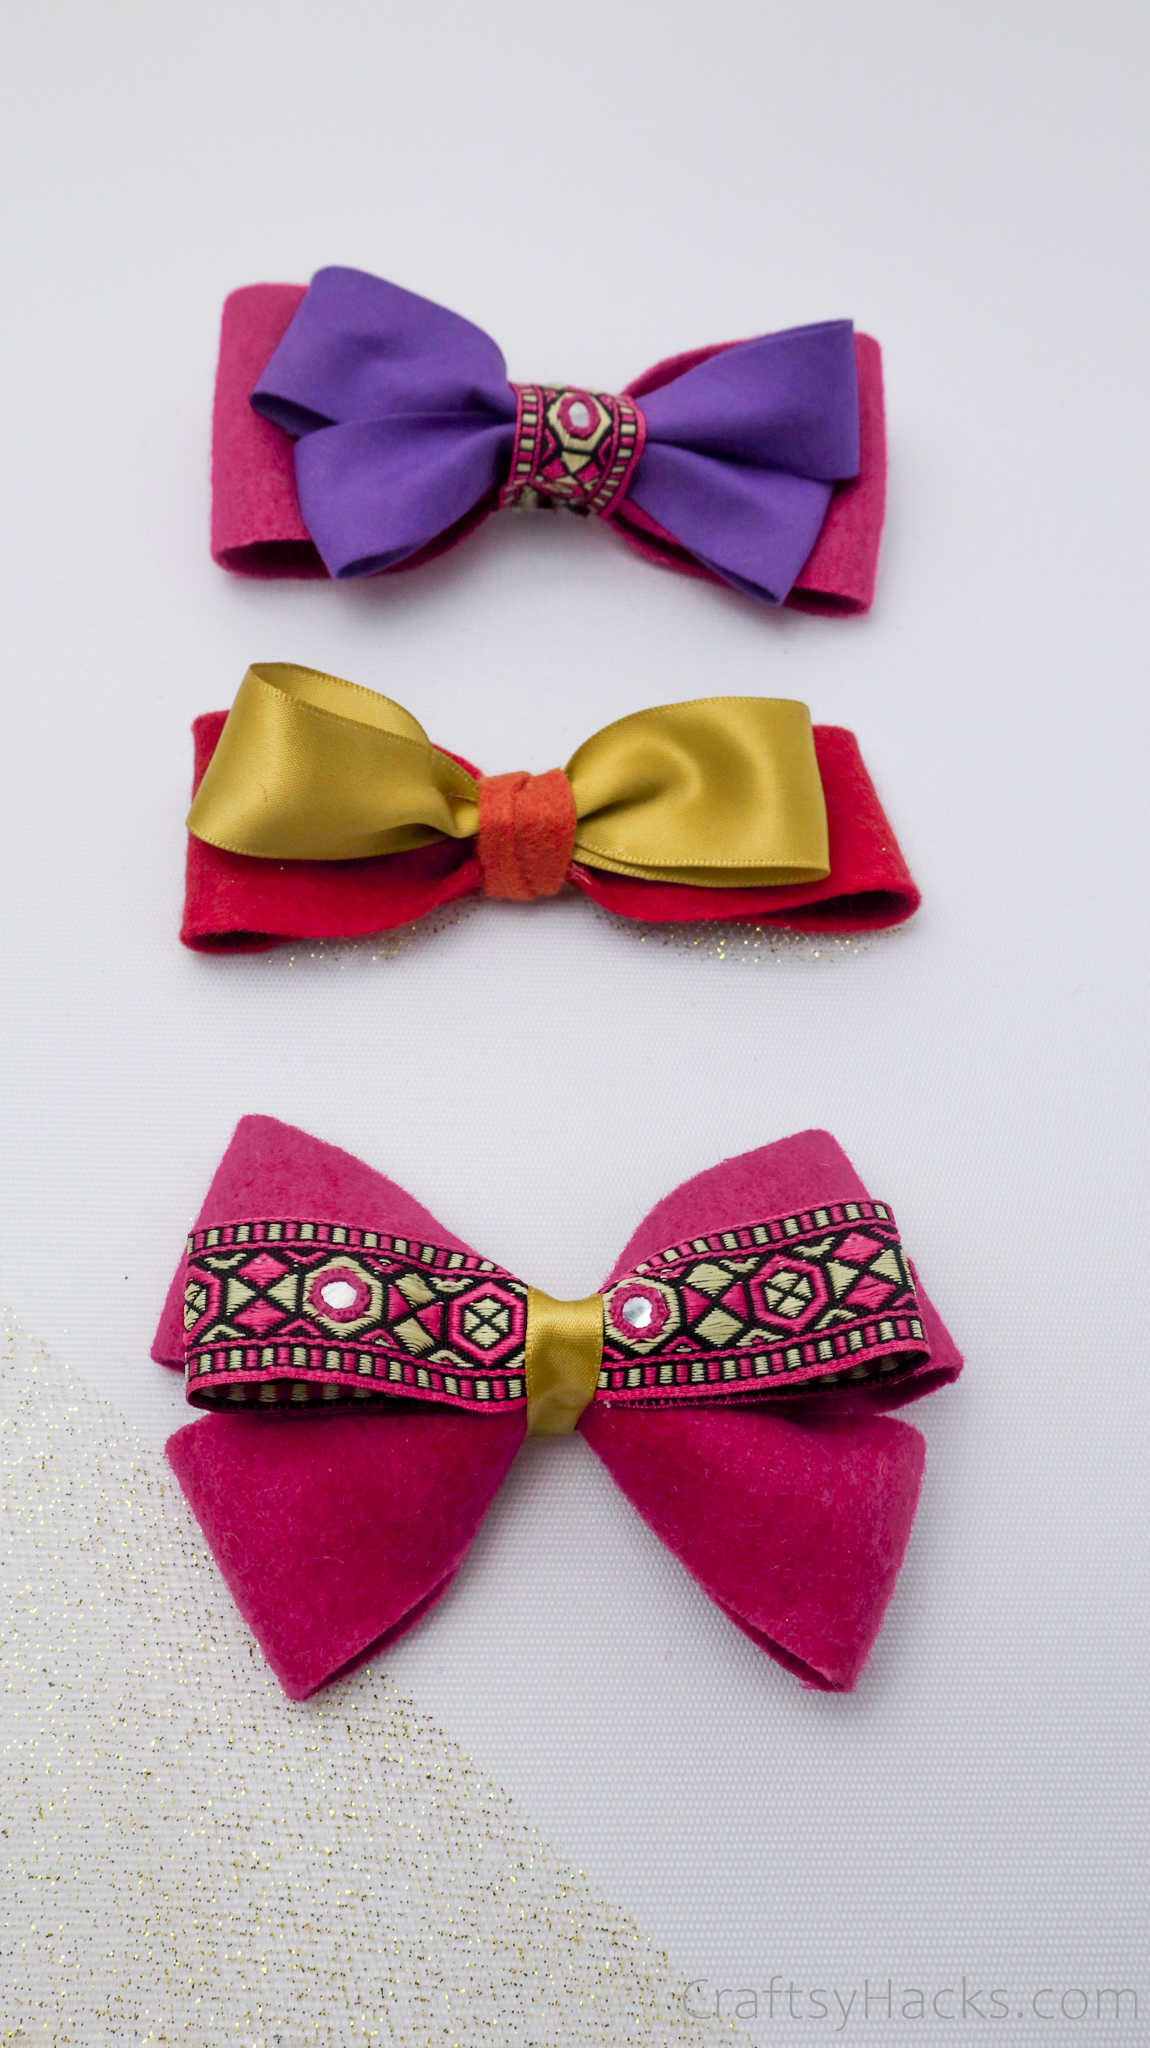
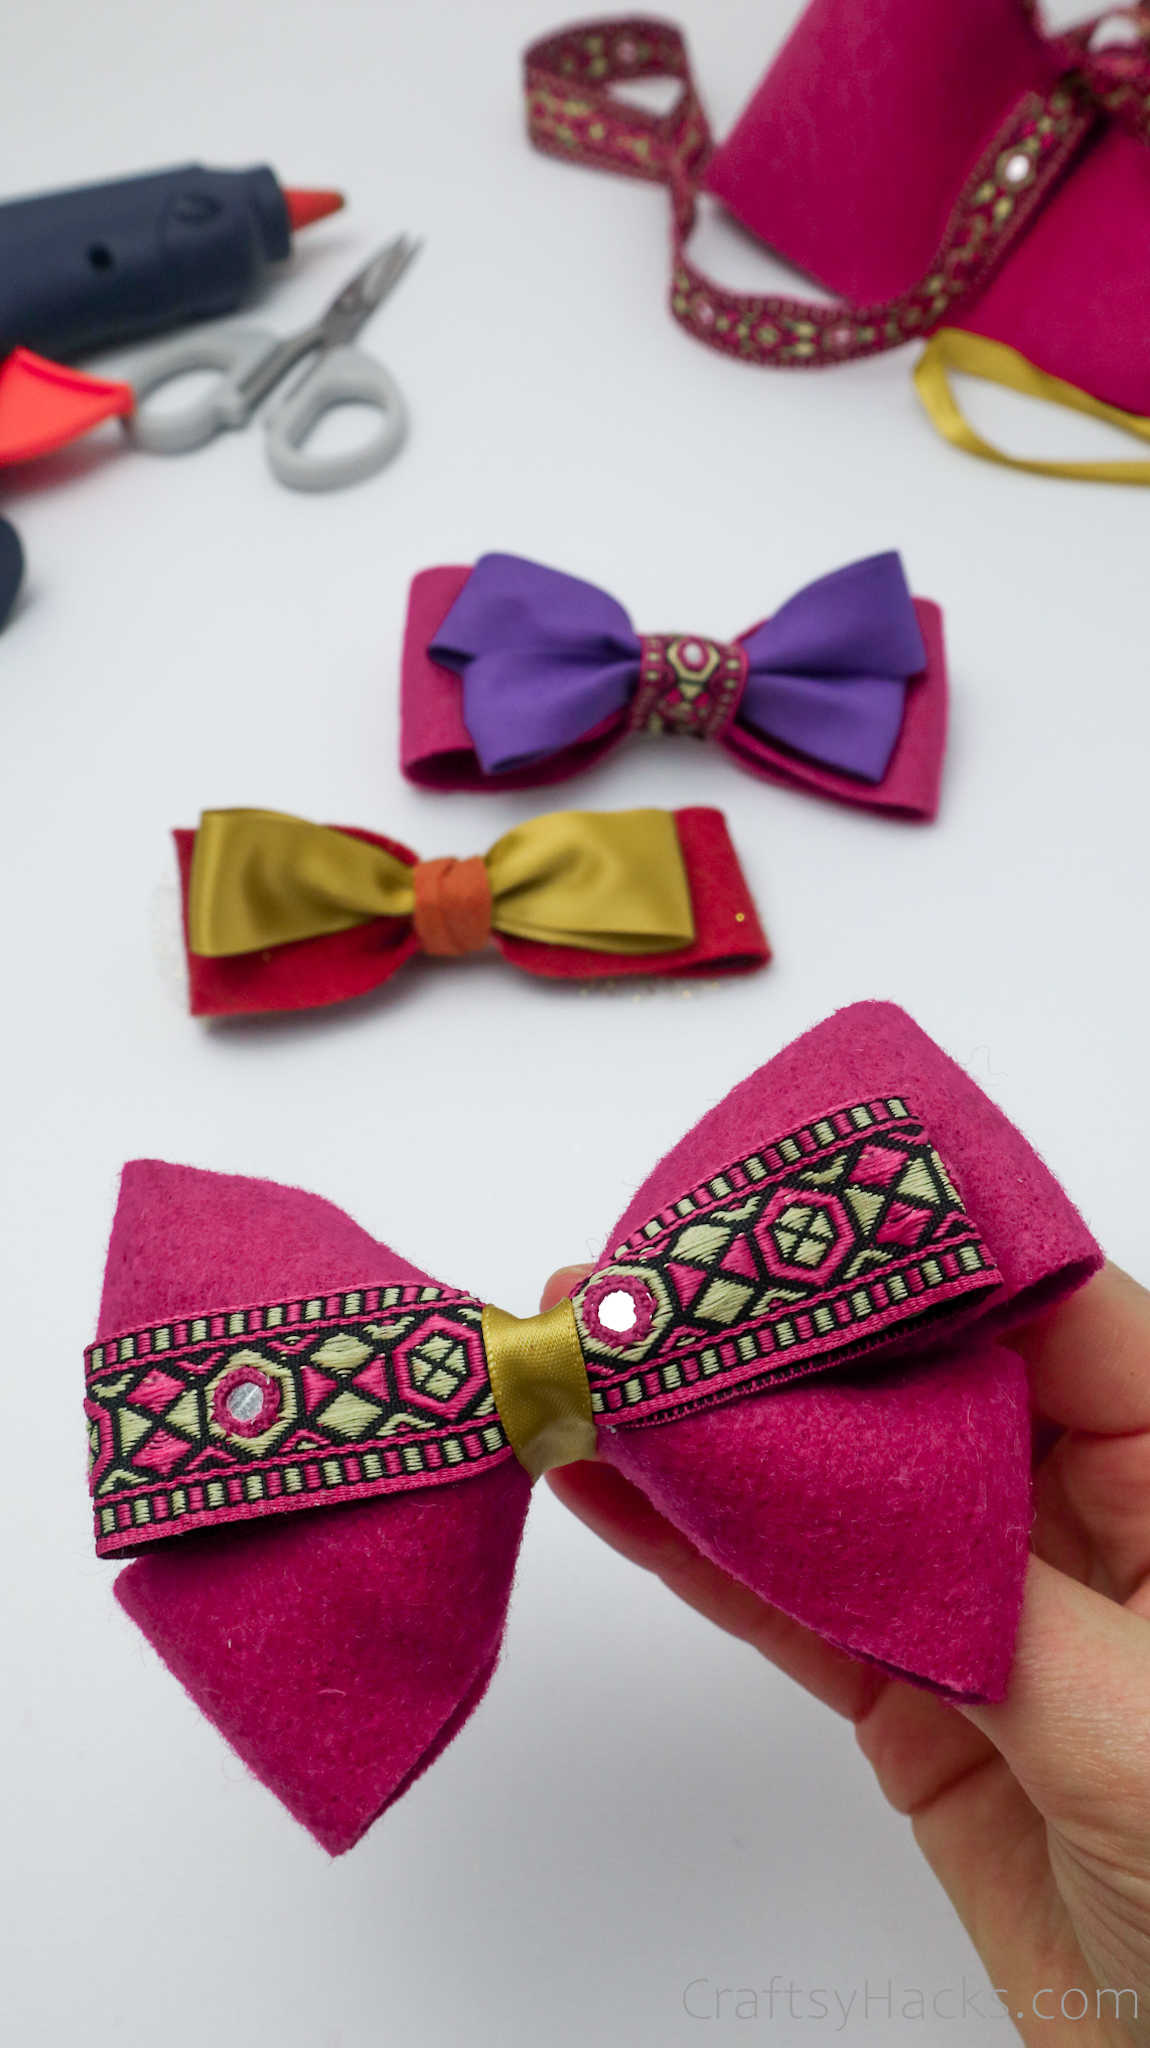
Make your very own DIY accessory.
These hair bows are easy and fun to make!

Great for teens and adults.
Youve got your favorite outfit on, and youre slaying it with the shoes and accessories.
Your make-up is on point,andyour hair looks perfect.
But wait, you know what would really kick this outfit up a notch?
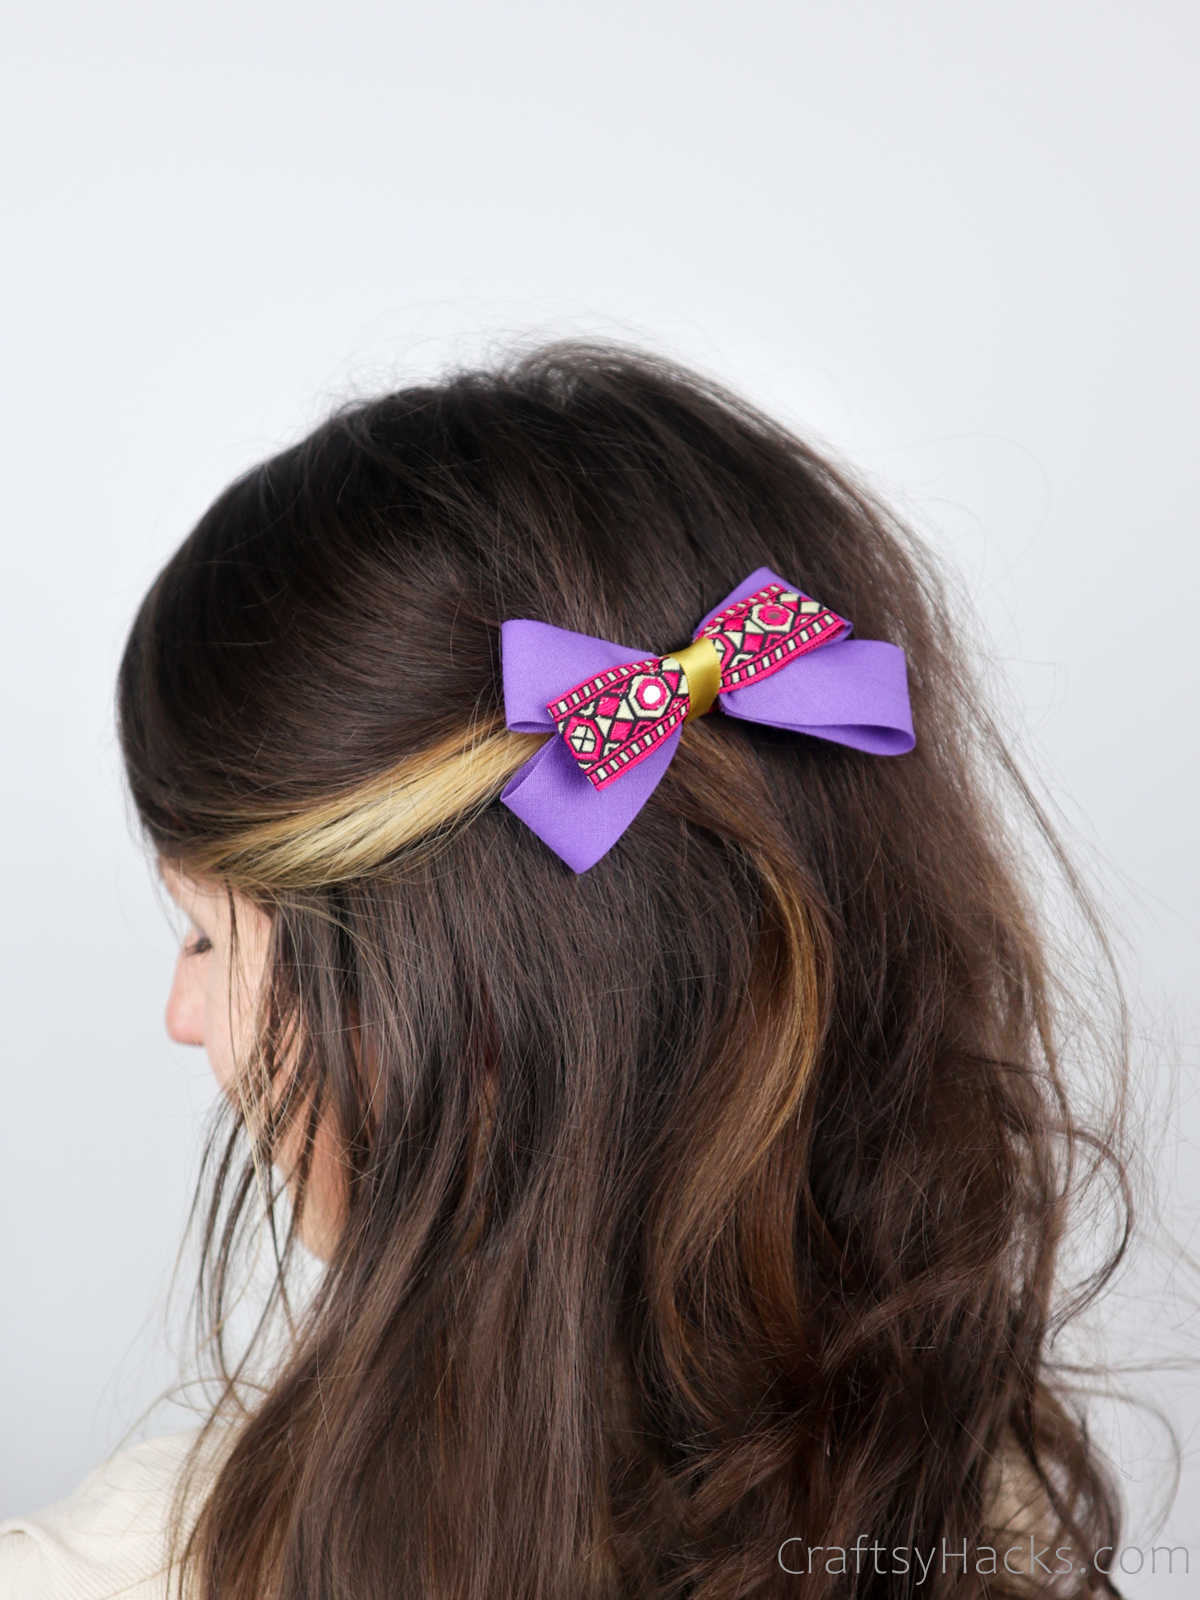
A really pretty bow tie to hold your hair back!
Dont you wish you could have a cute hair bow for every single outfit you own?
But it can be pretty hard matching every outfit you have to the perfect hair bow.
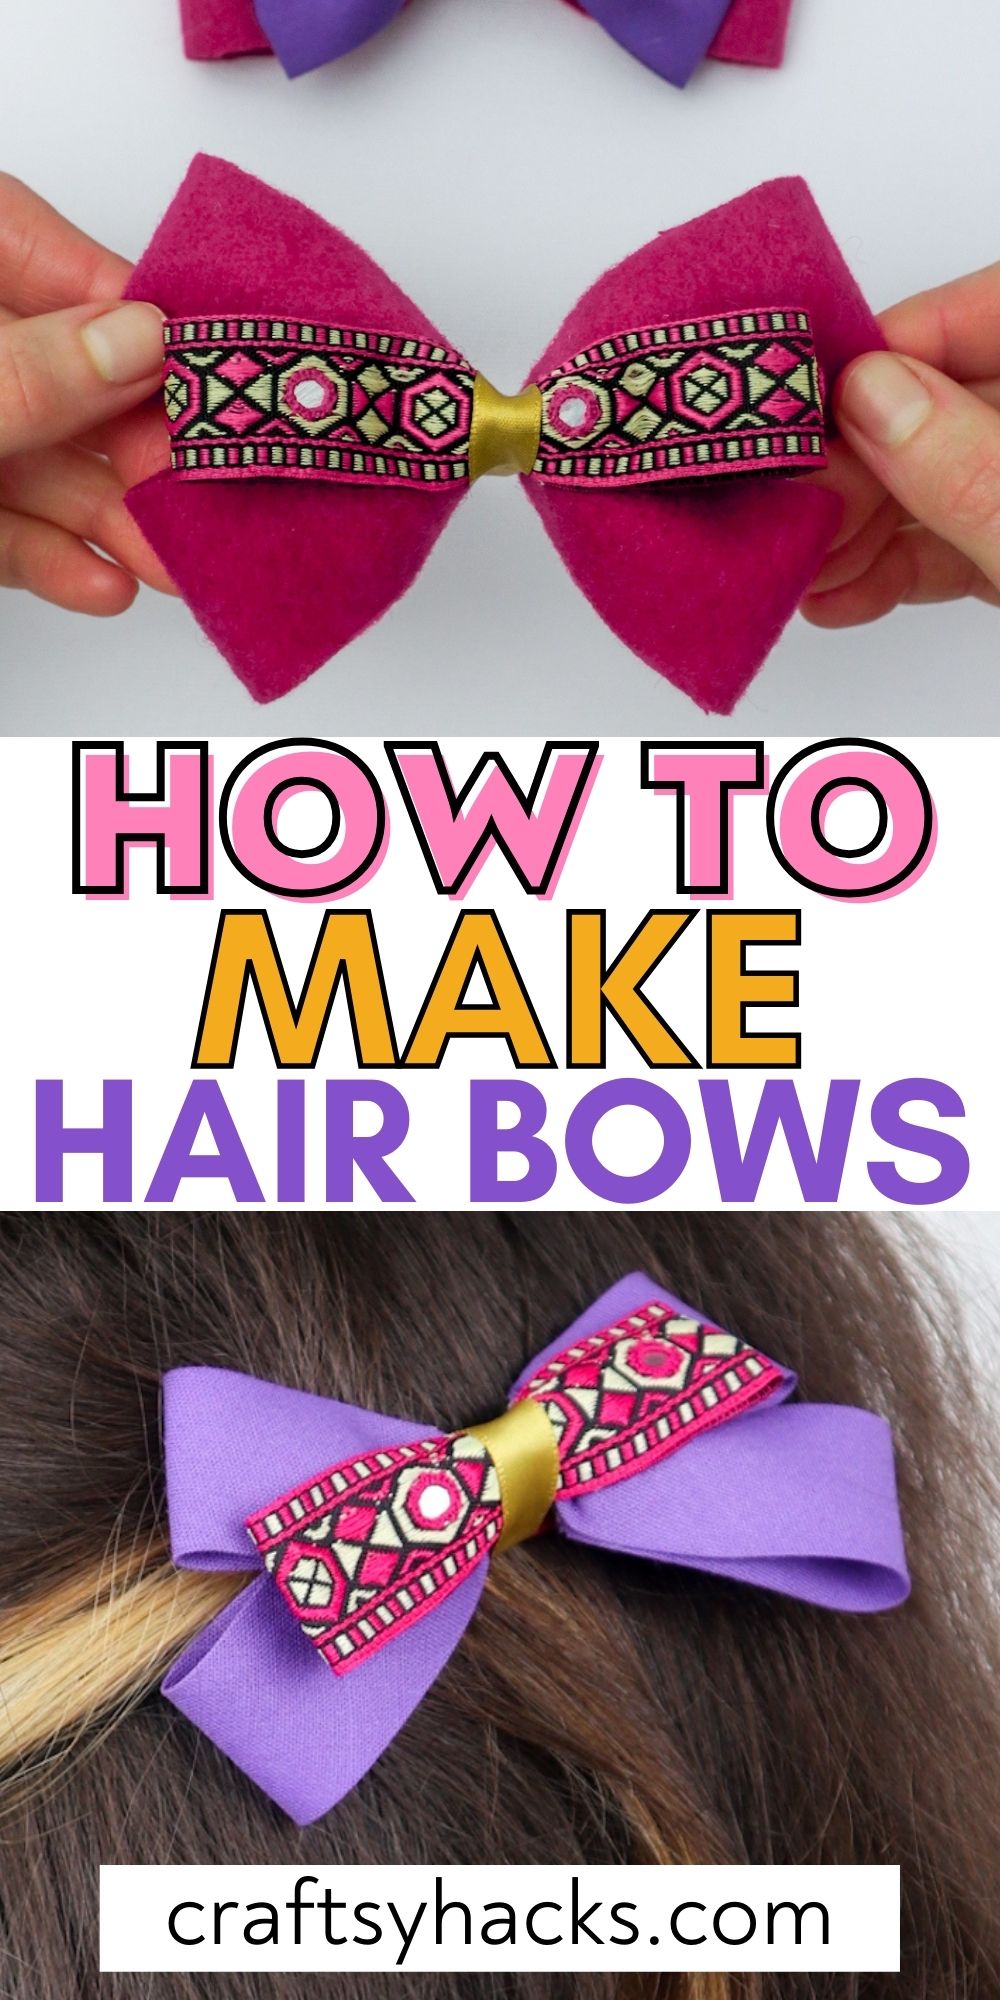
Heres the solution: make your own hair bows at home.
Just follow this step-by-step tutorial, and youll be making a dozen of these bows in no time!
I bet you have a ton of scrap fabric lying around, ready to be used.
In fact, while youre at it, why dont you check out these47 DIY scrap fabric projects?
Youll find a ton of creative ways to use up your scrap fabric stash.
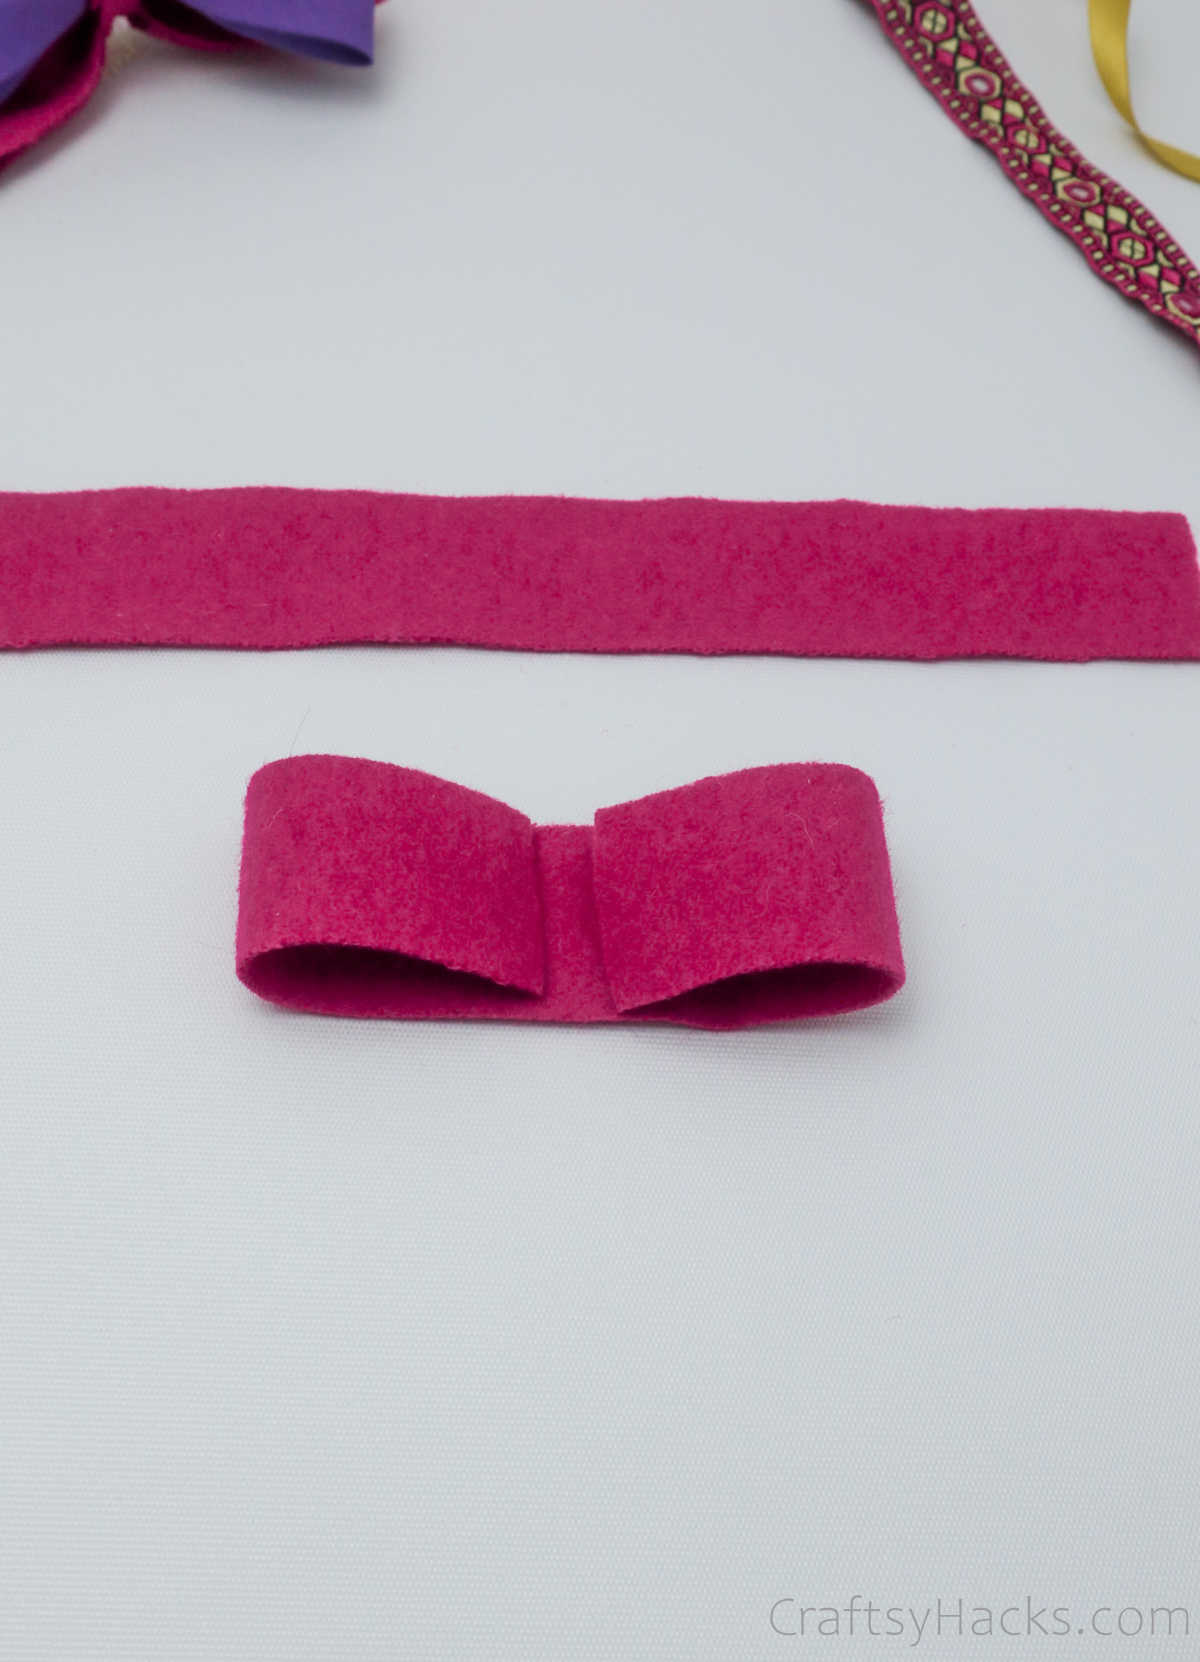
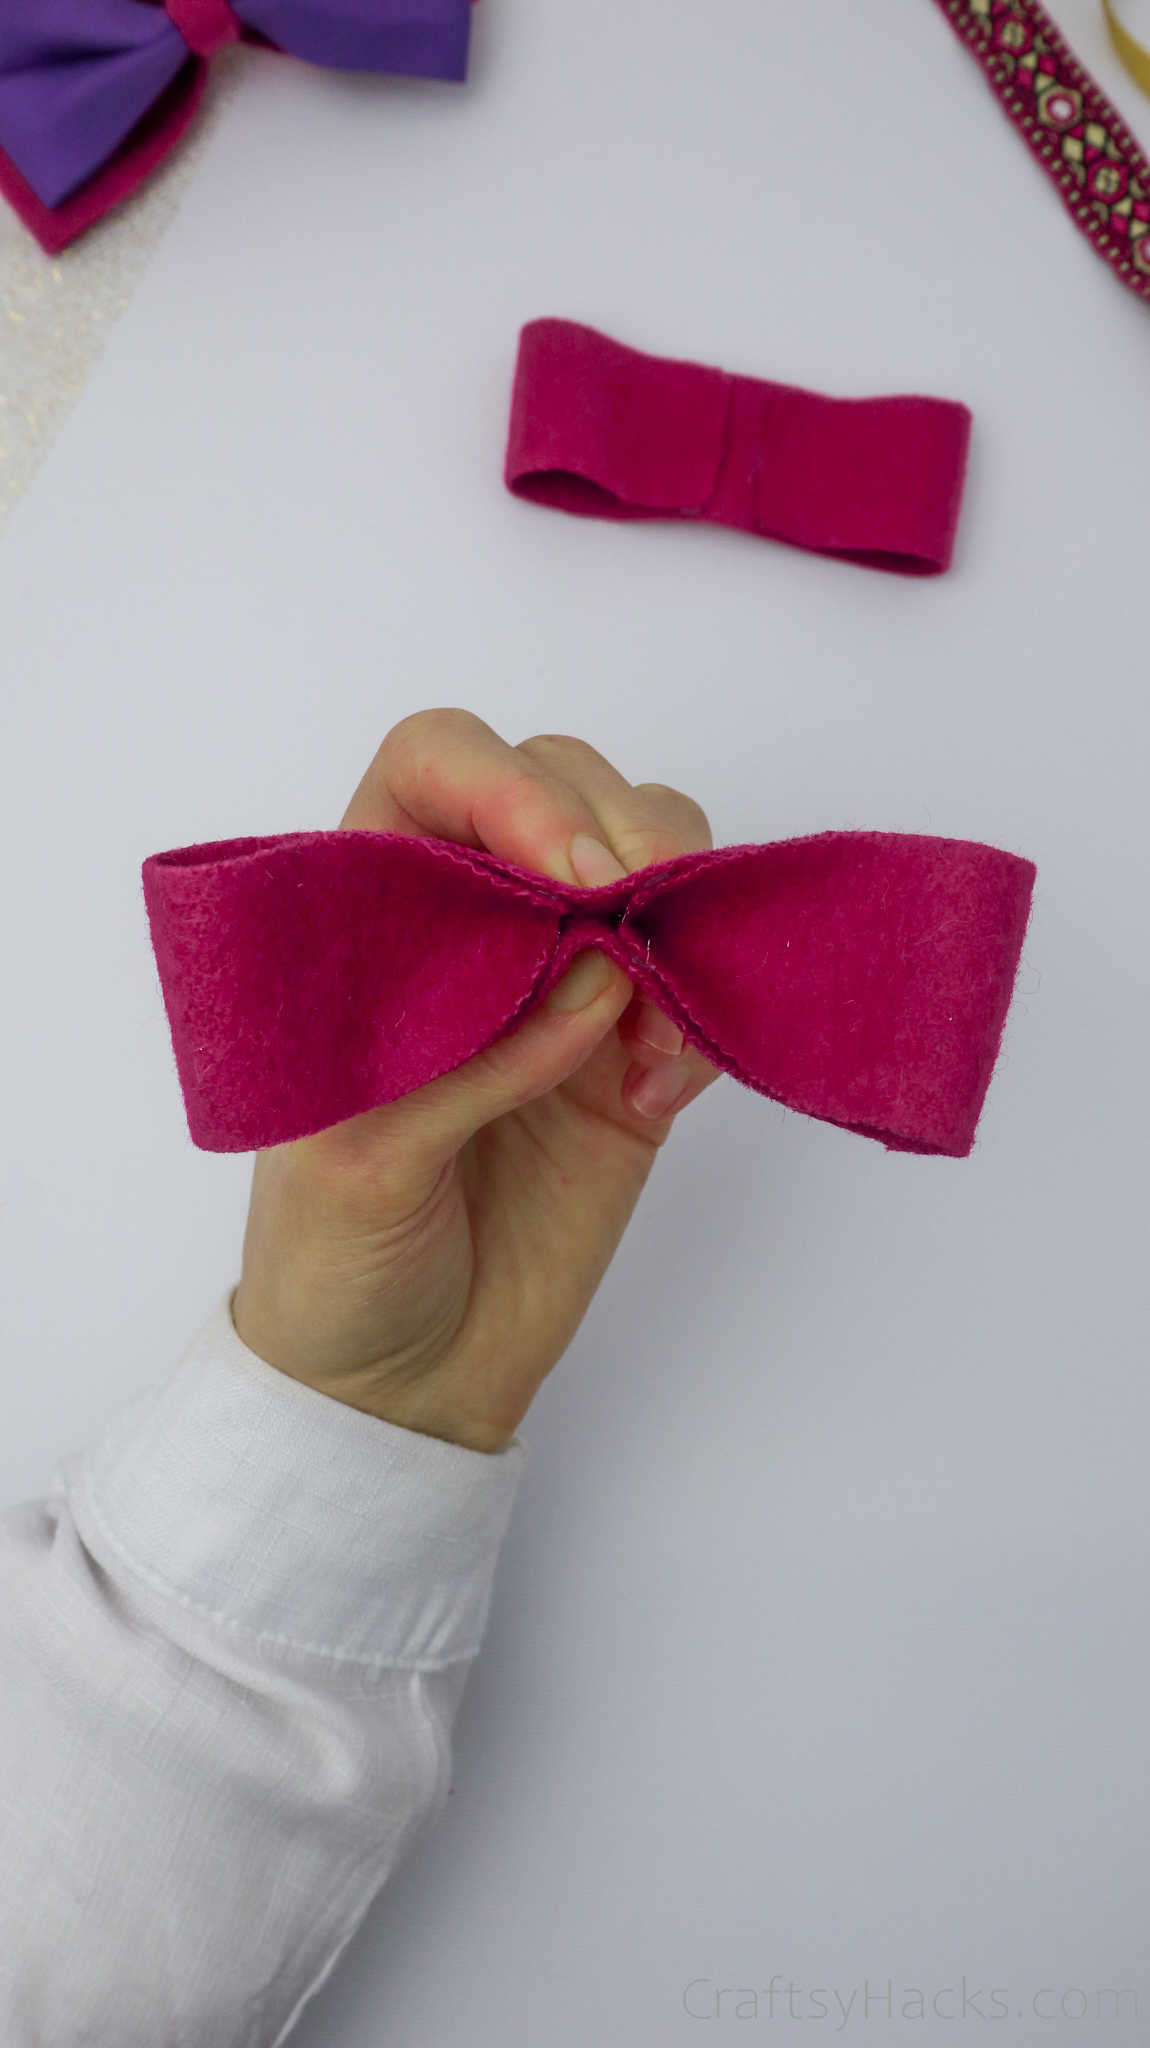
Grab the two ends and pull them in towards the center.
Step 3
Repeat this step once more with the second strip of fabric.
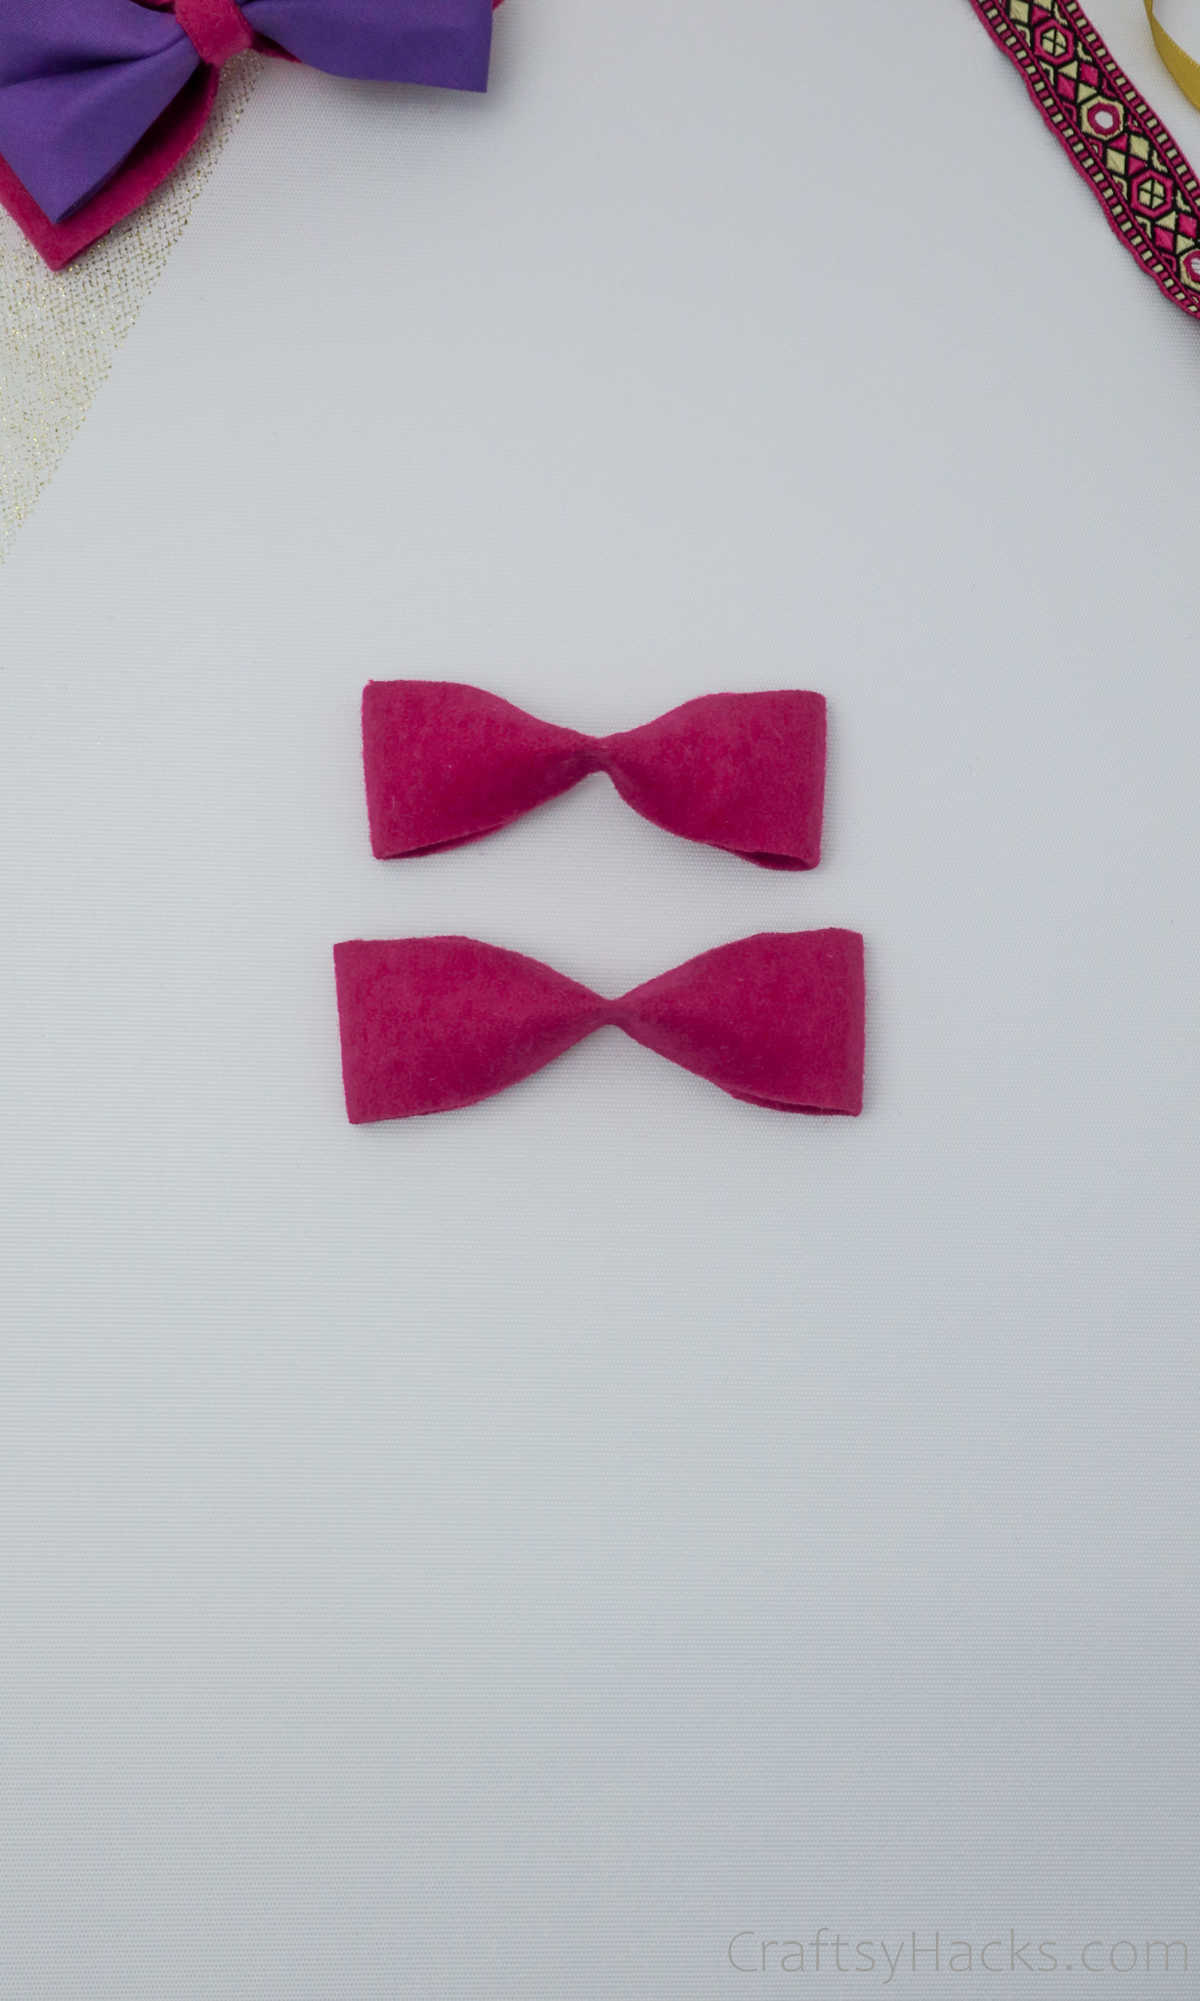
Your two bows should look something like the image below.
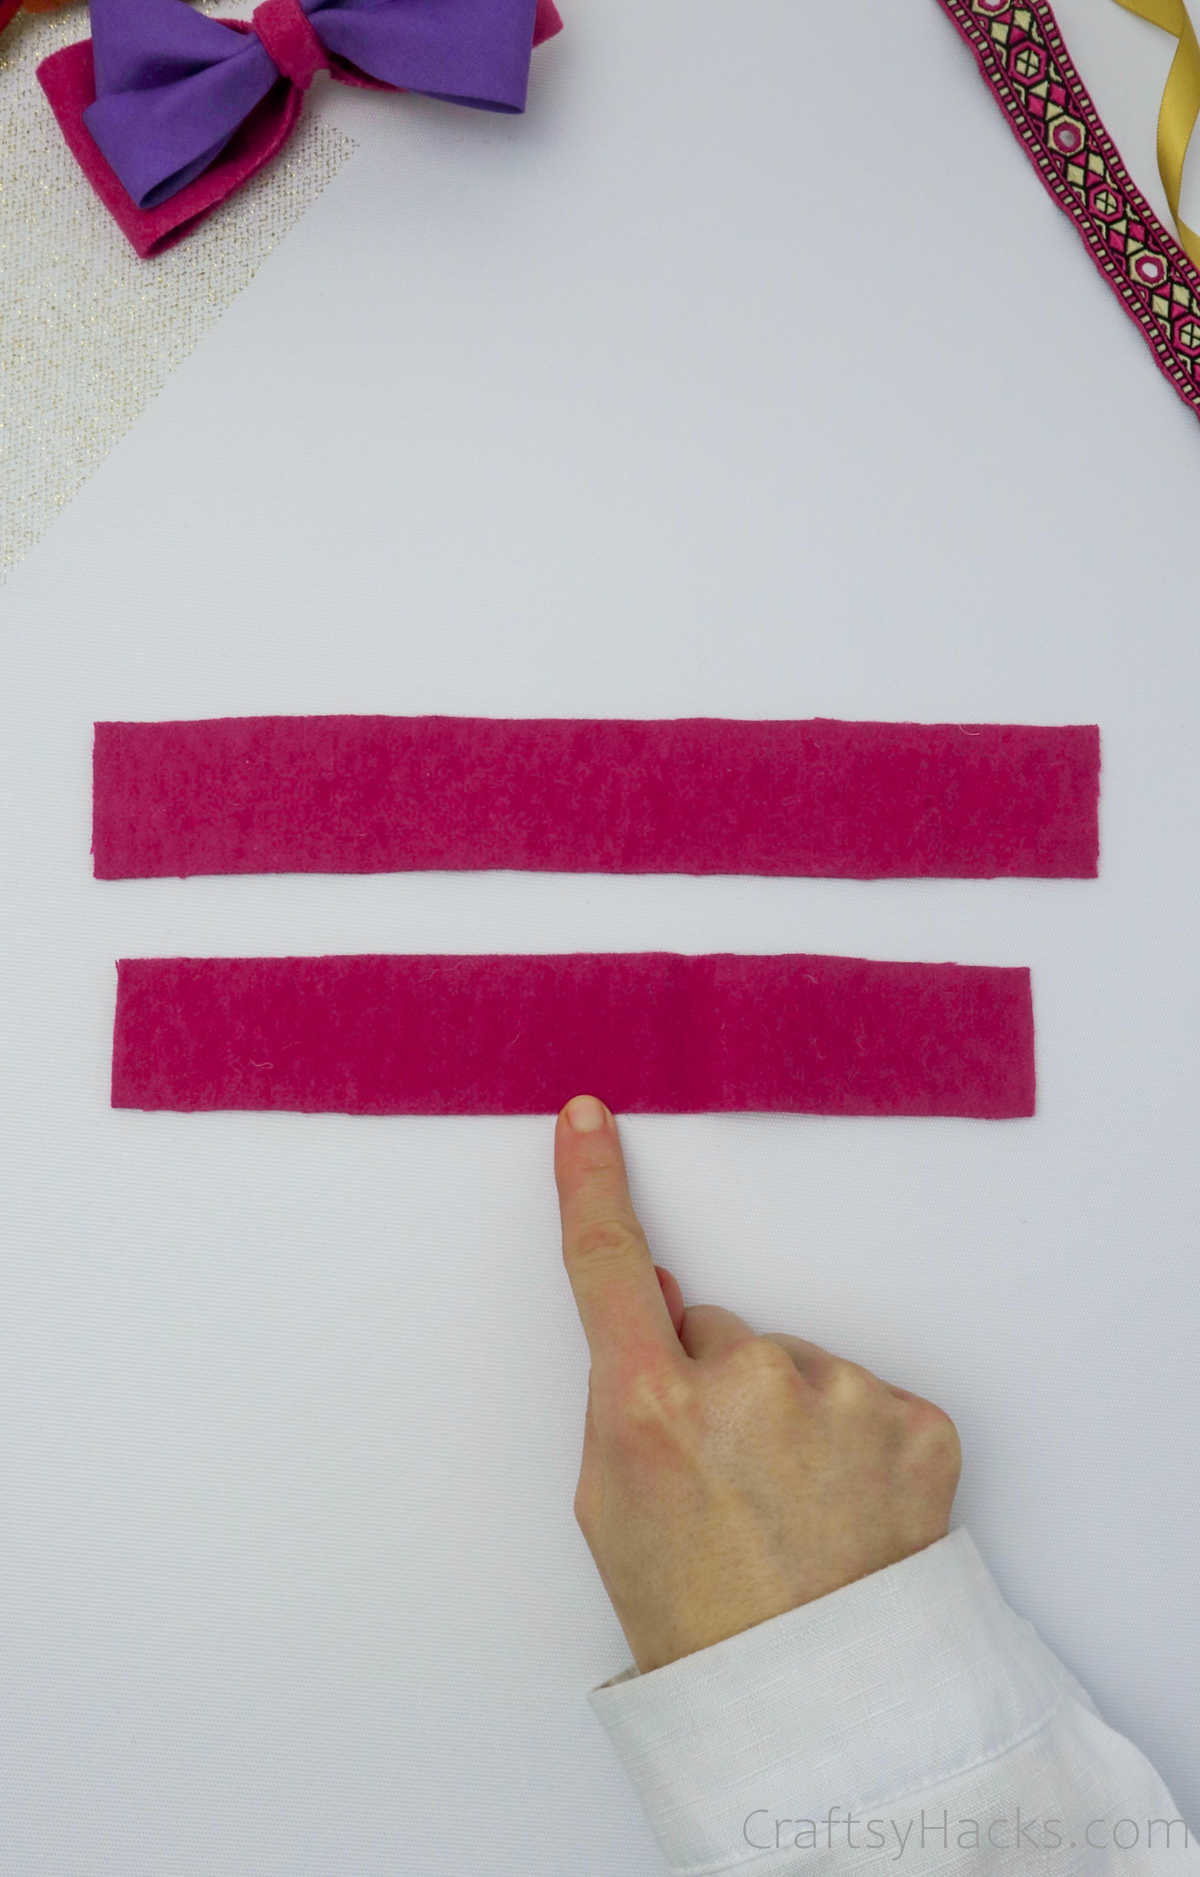
Notice that generously curved arch from when you folded the scrap?
That gap will provide an added lift to your hair bow.
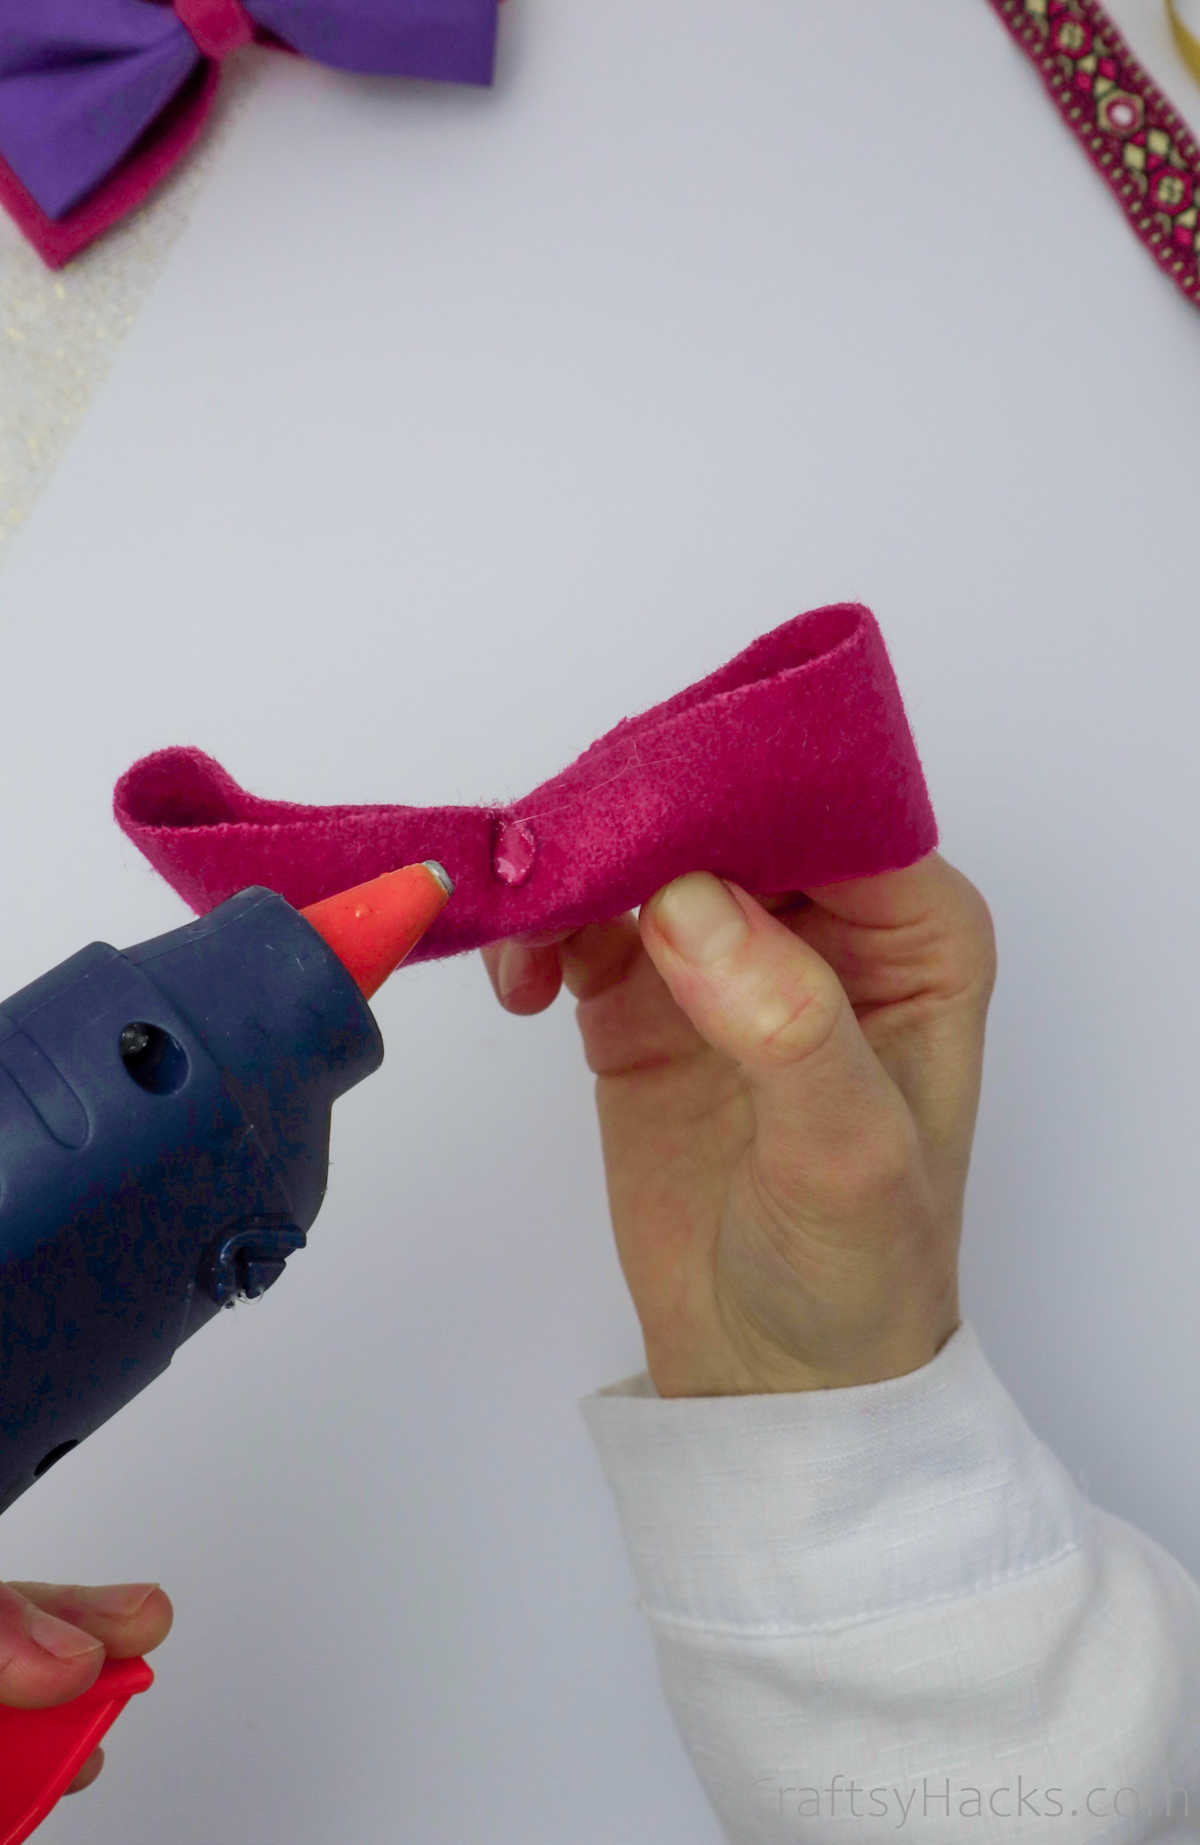
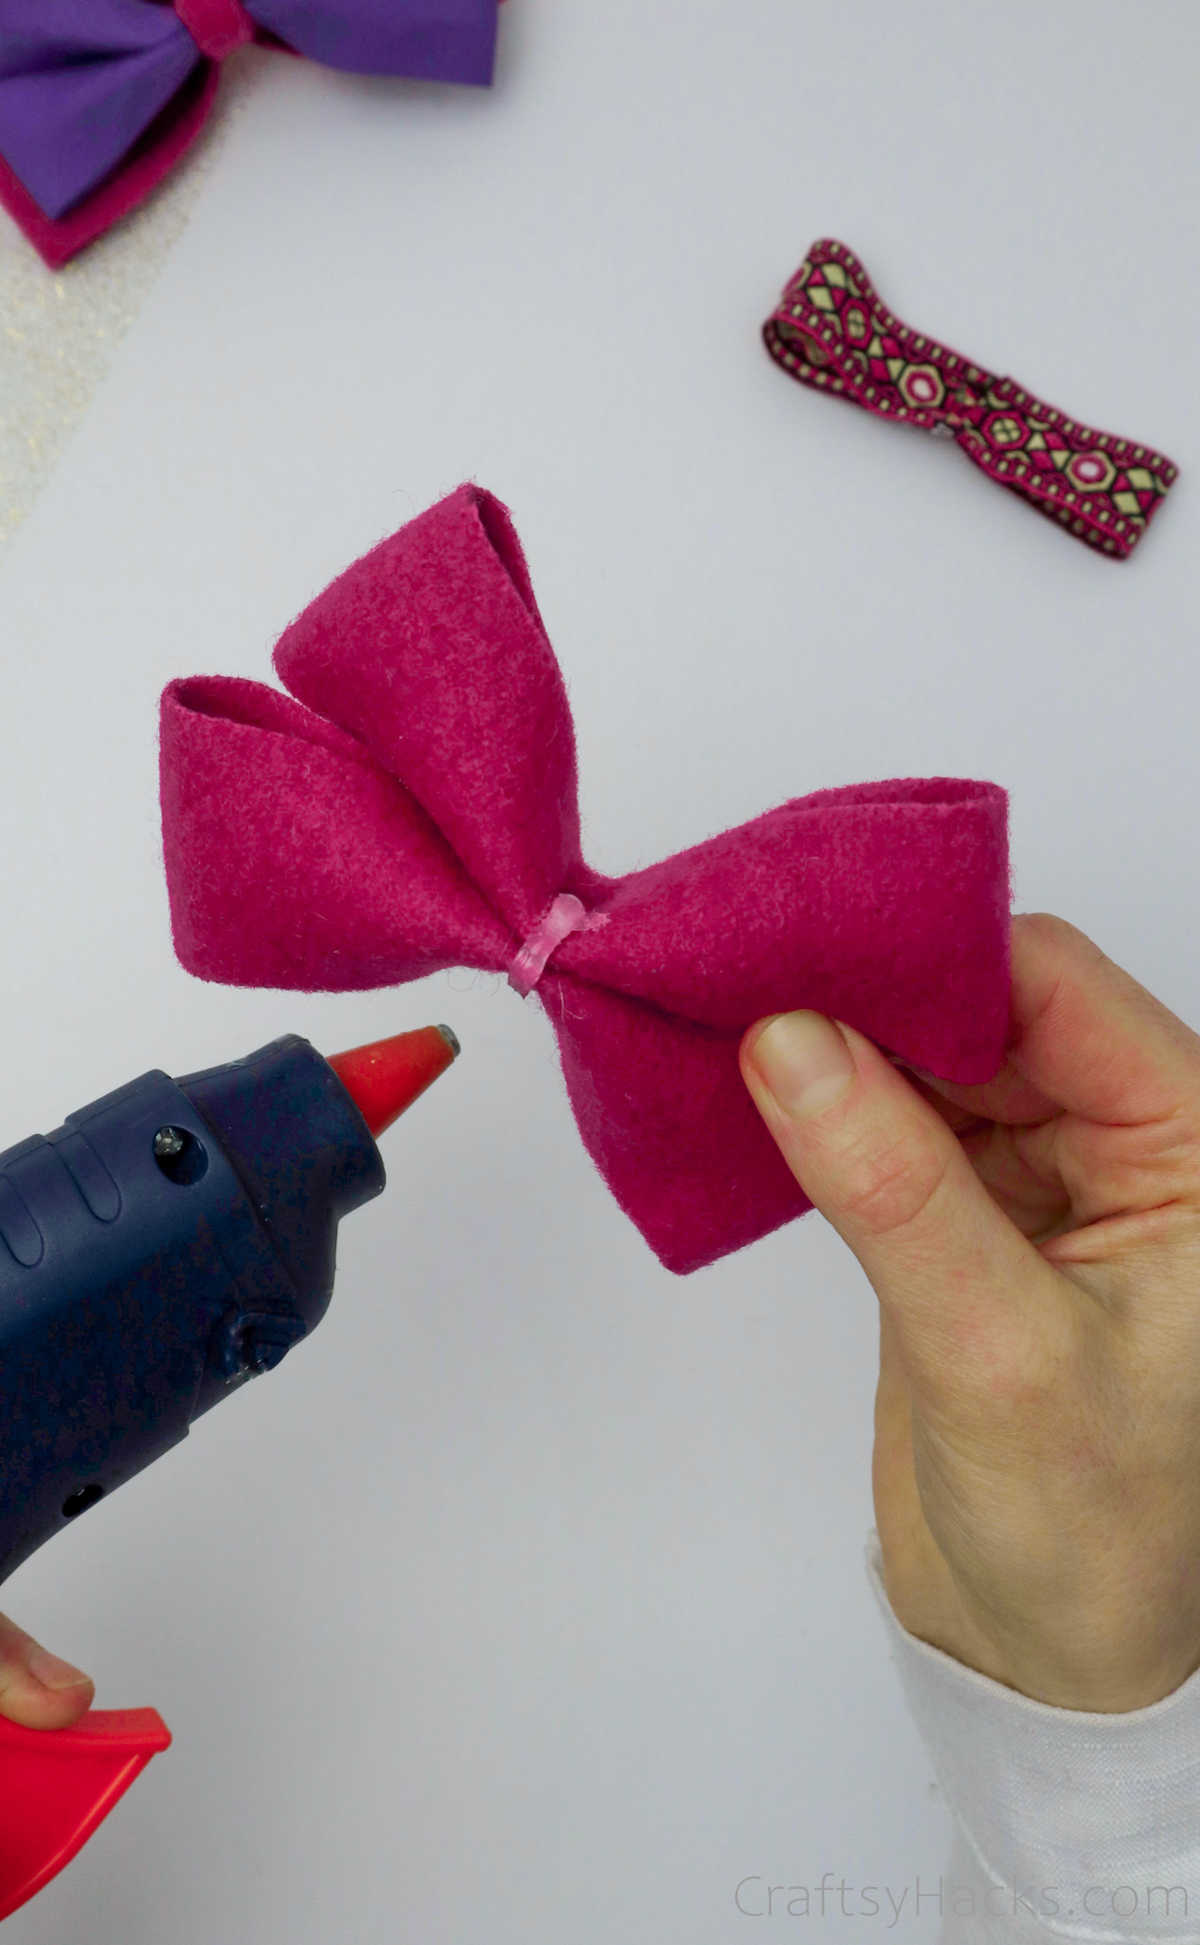
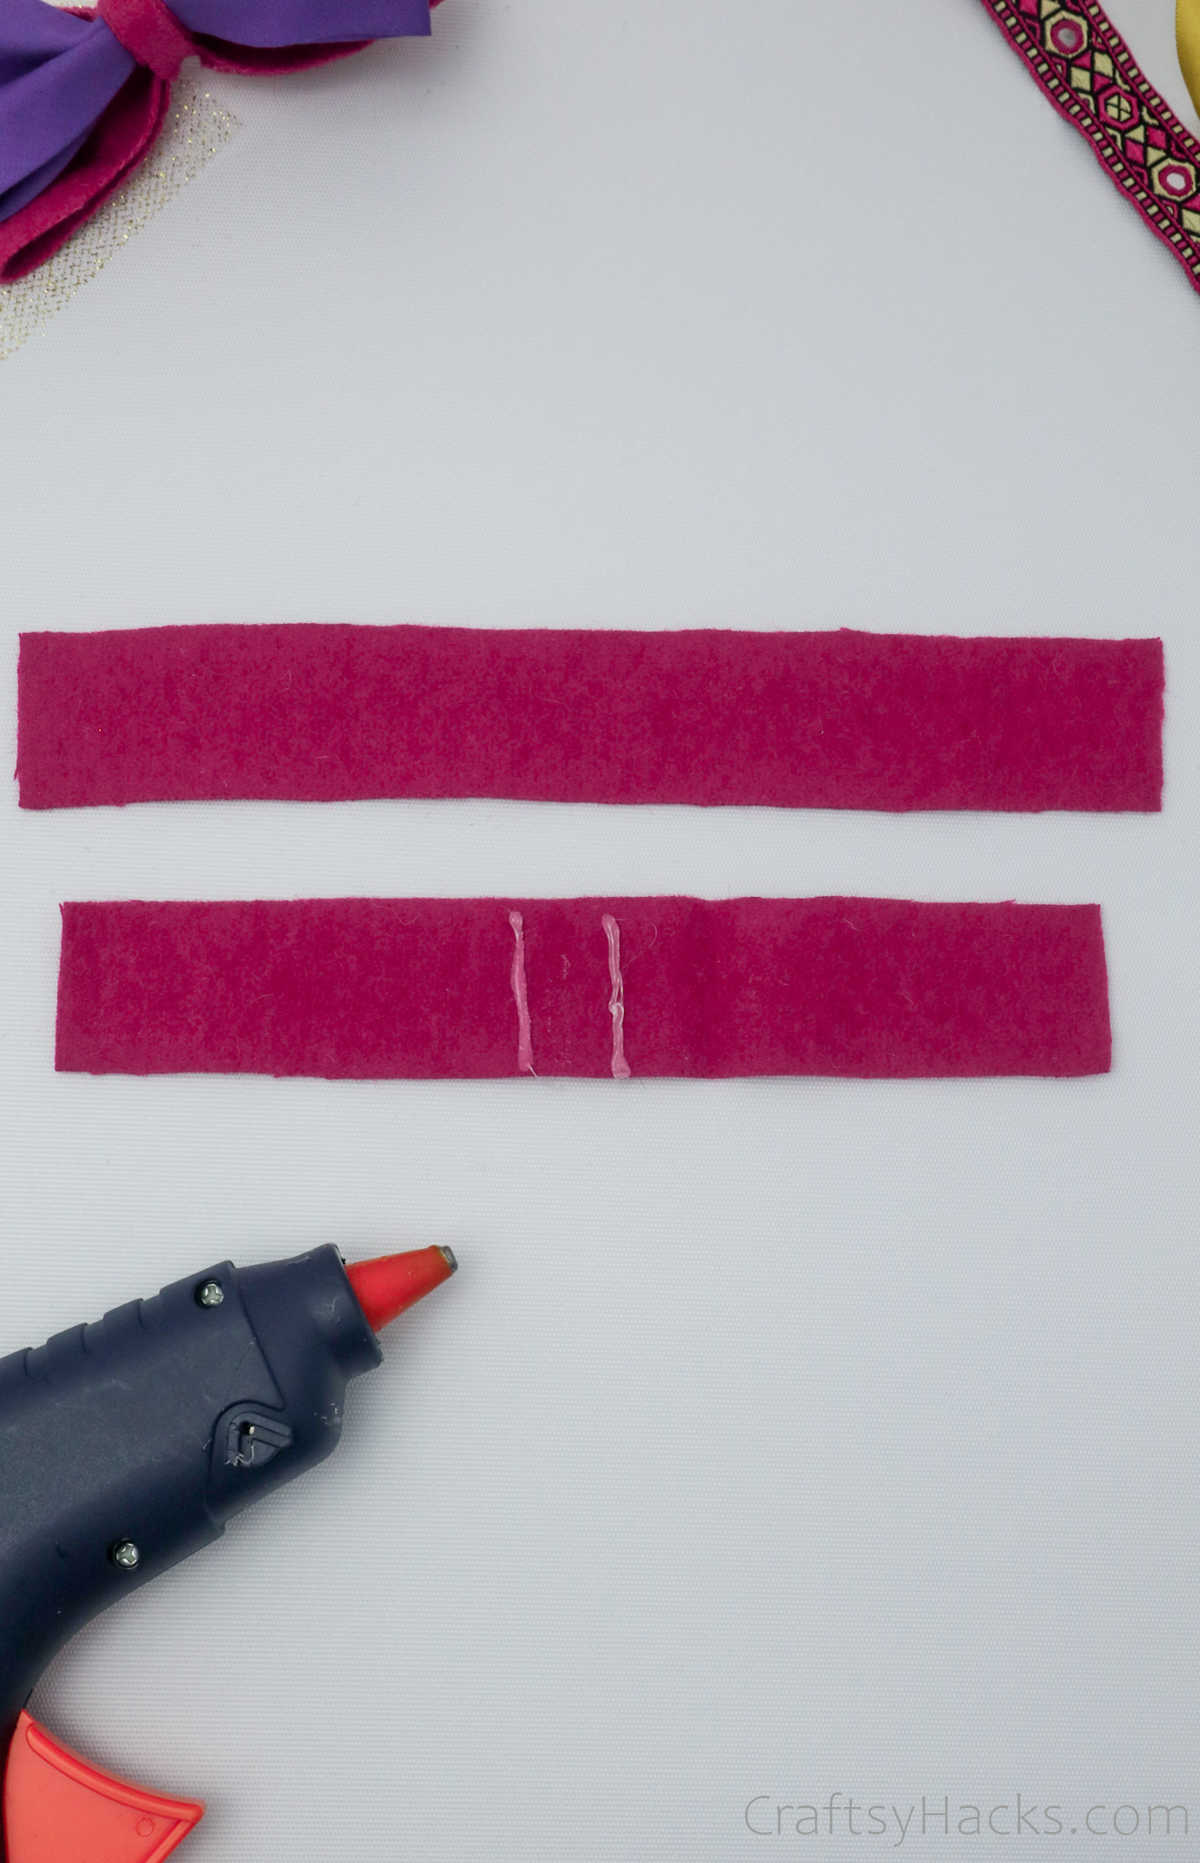
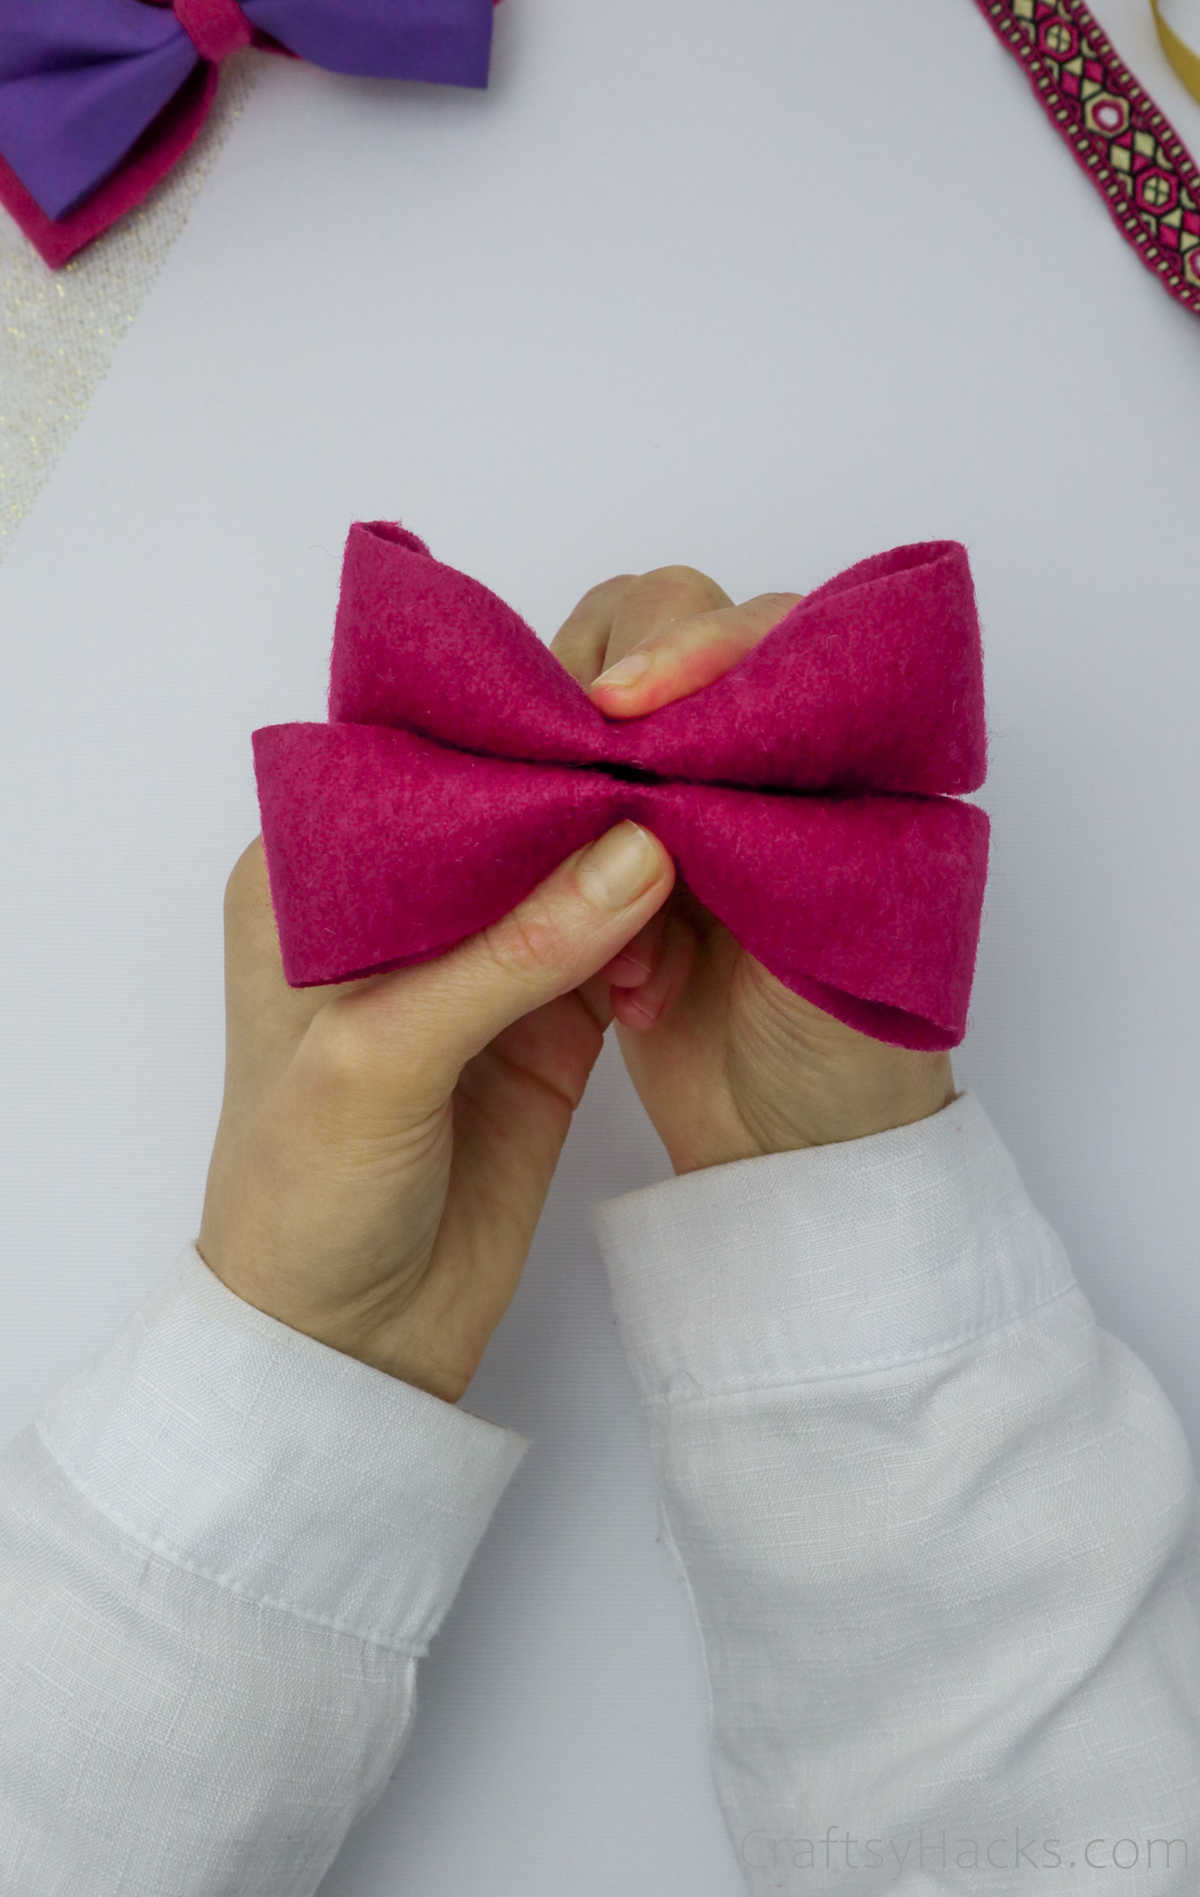
Step 4
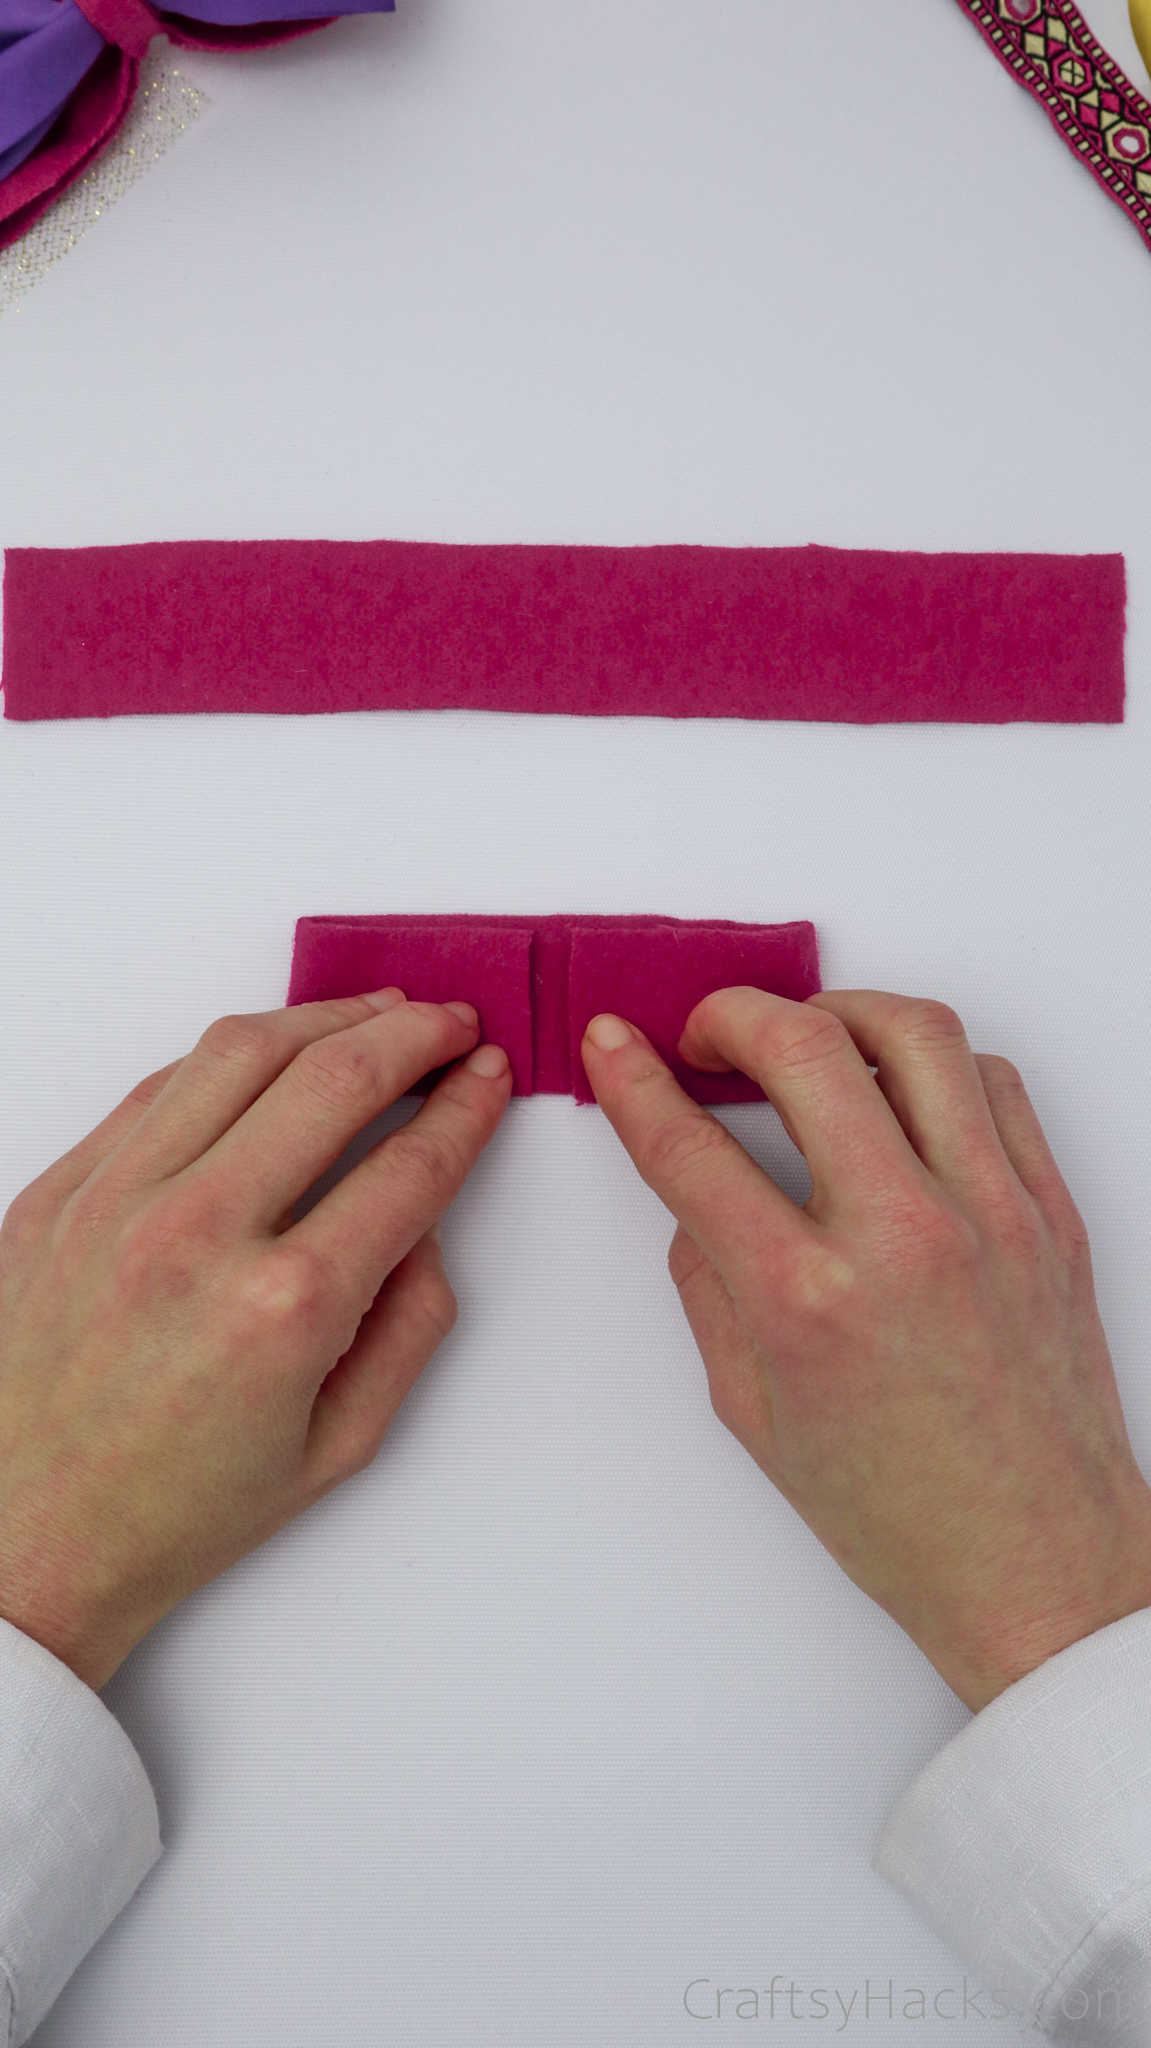
The next step is to pinch both components inward to form the actual bow-like shape.
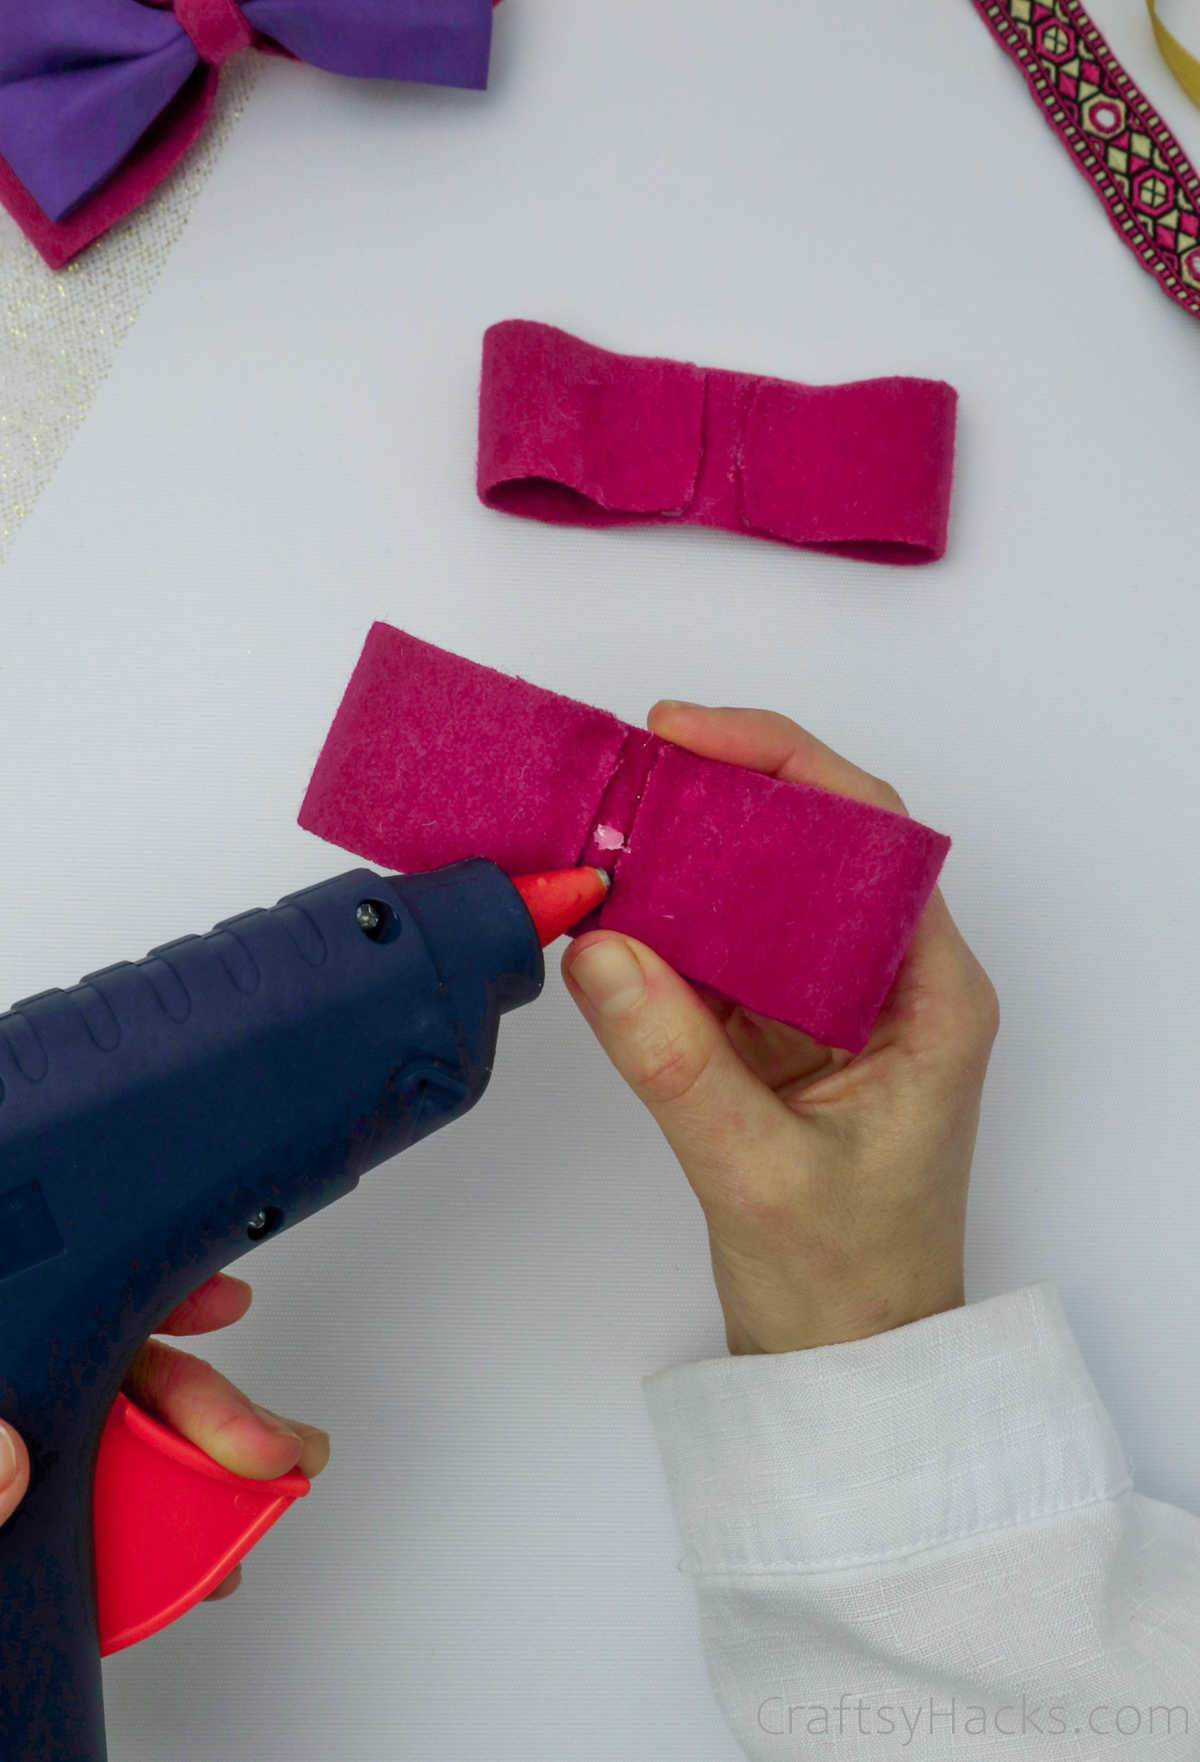
Just apply a dot of glue to the middle of each bow.
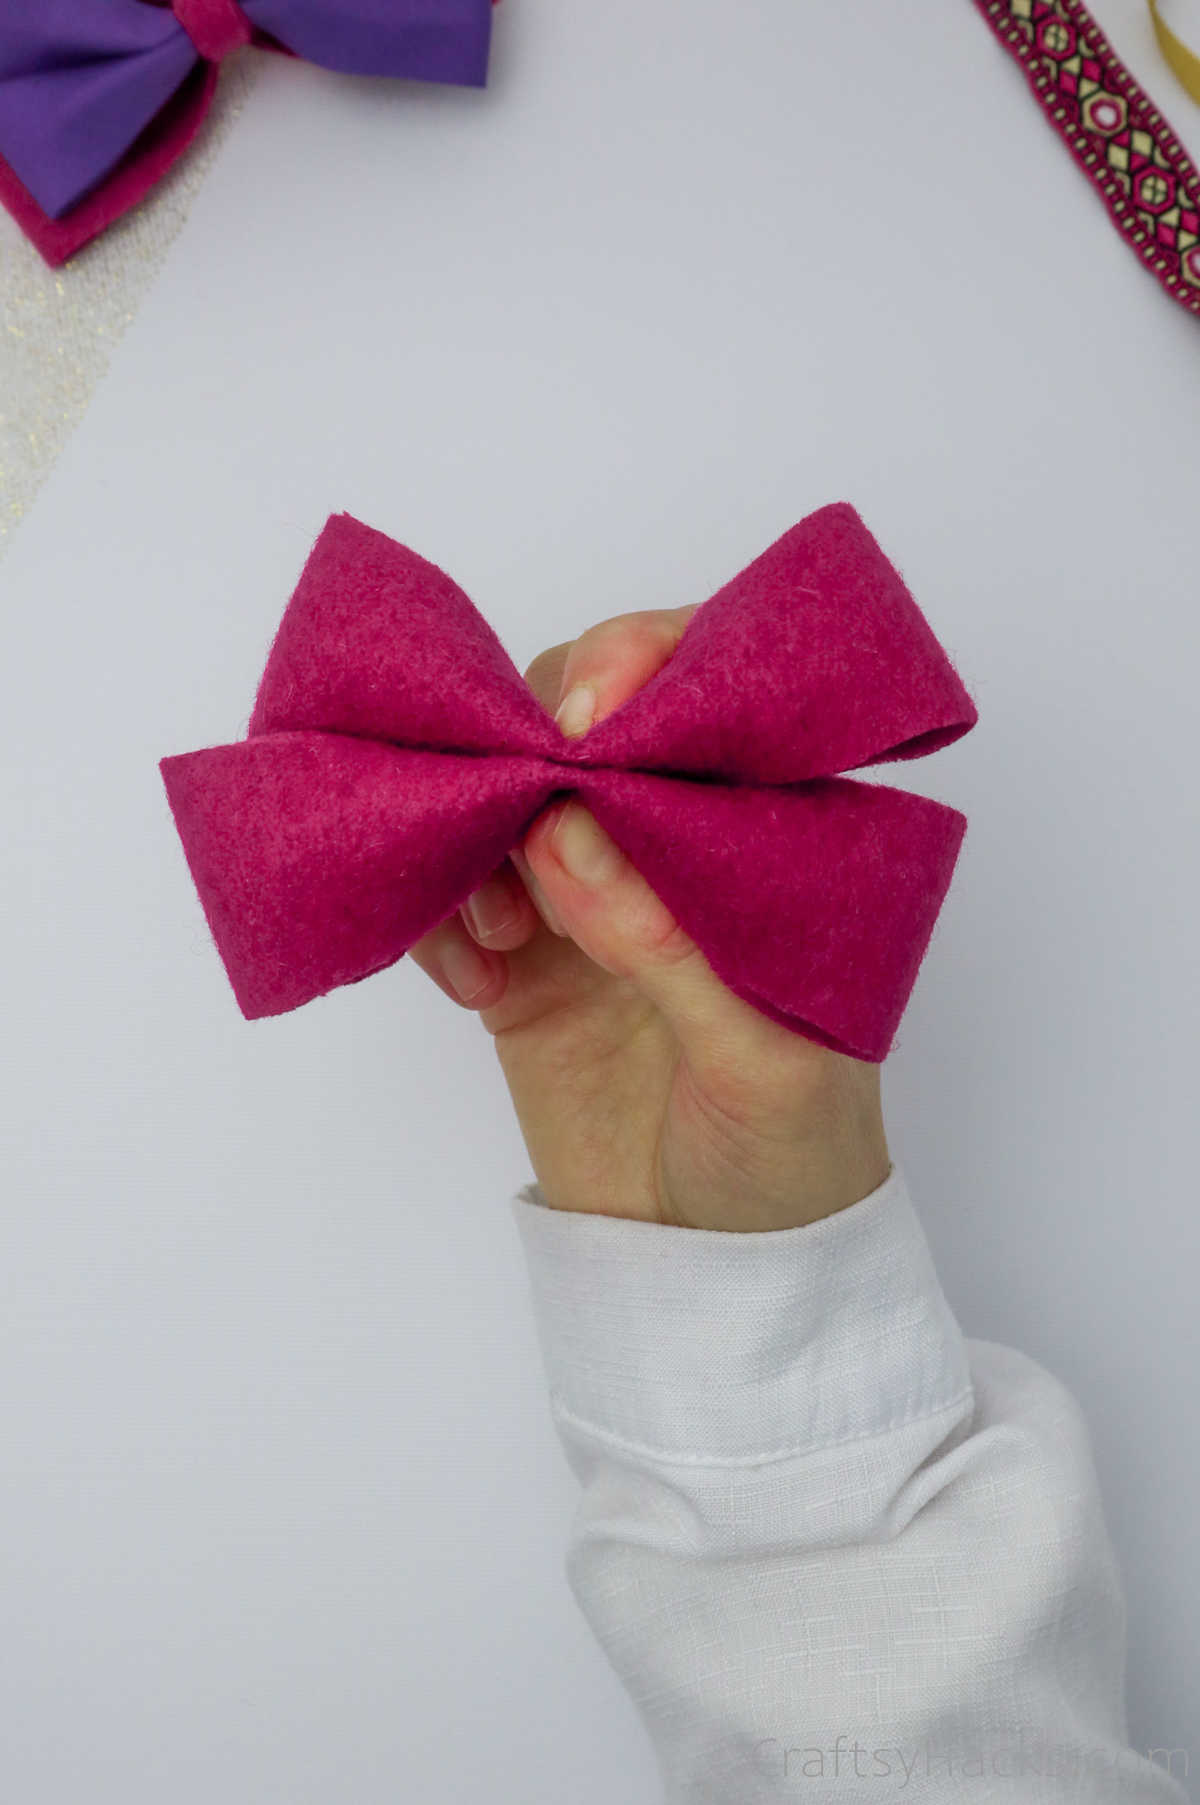
Then, pinch the middle inward, as shown below.
Its really starting to come together, isnt it?
Just repeat this step with both components.
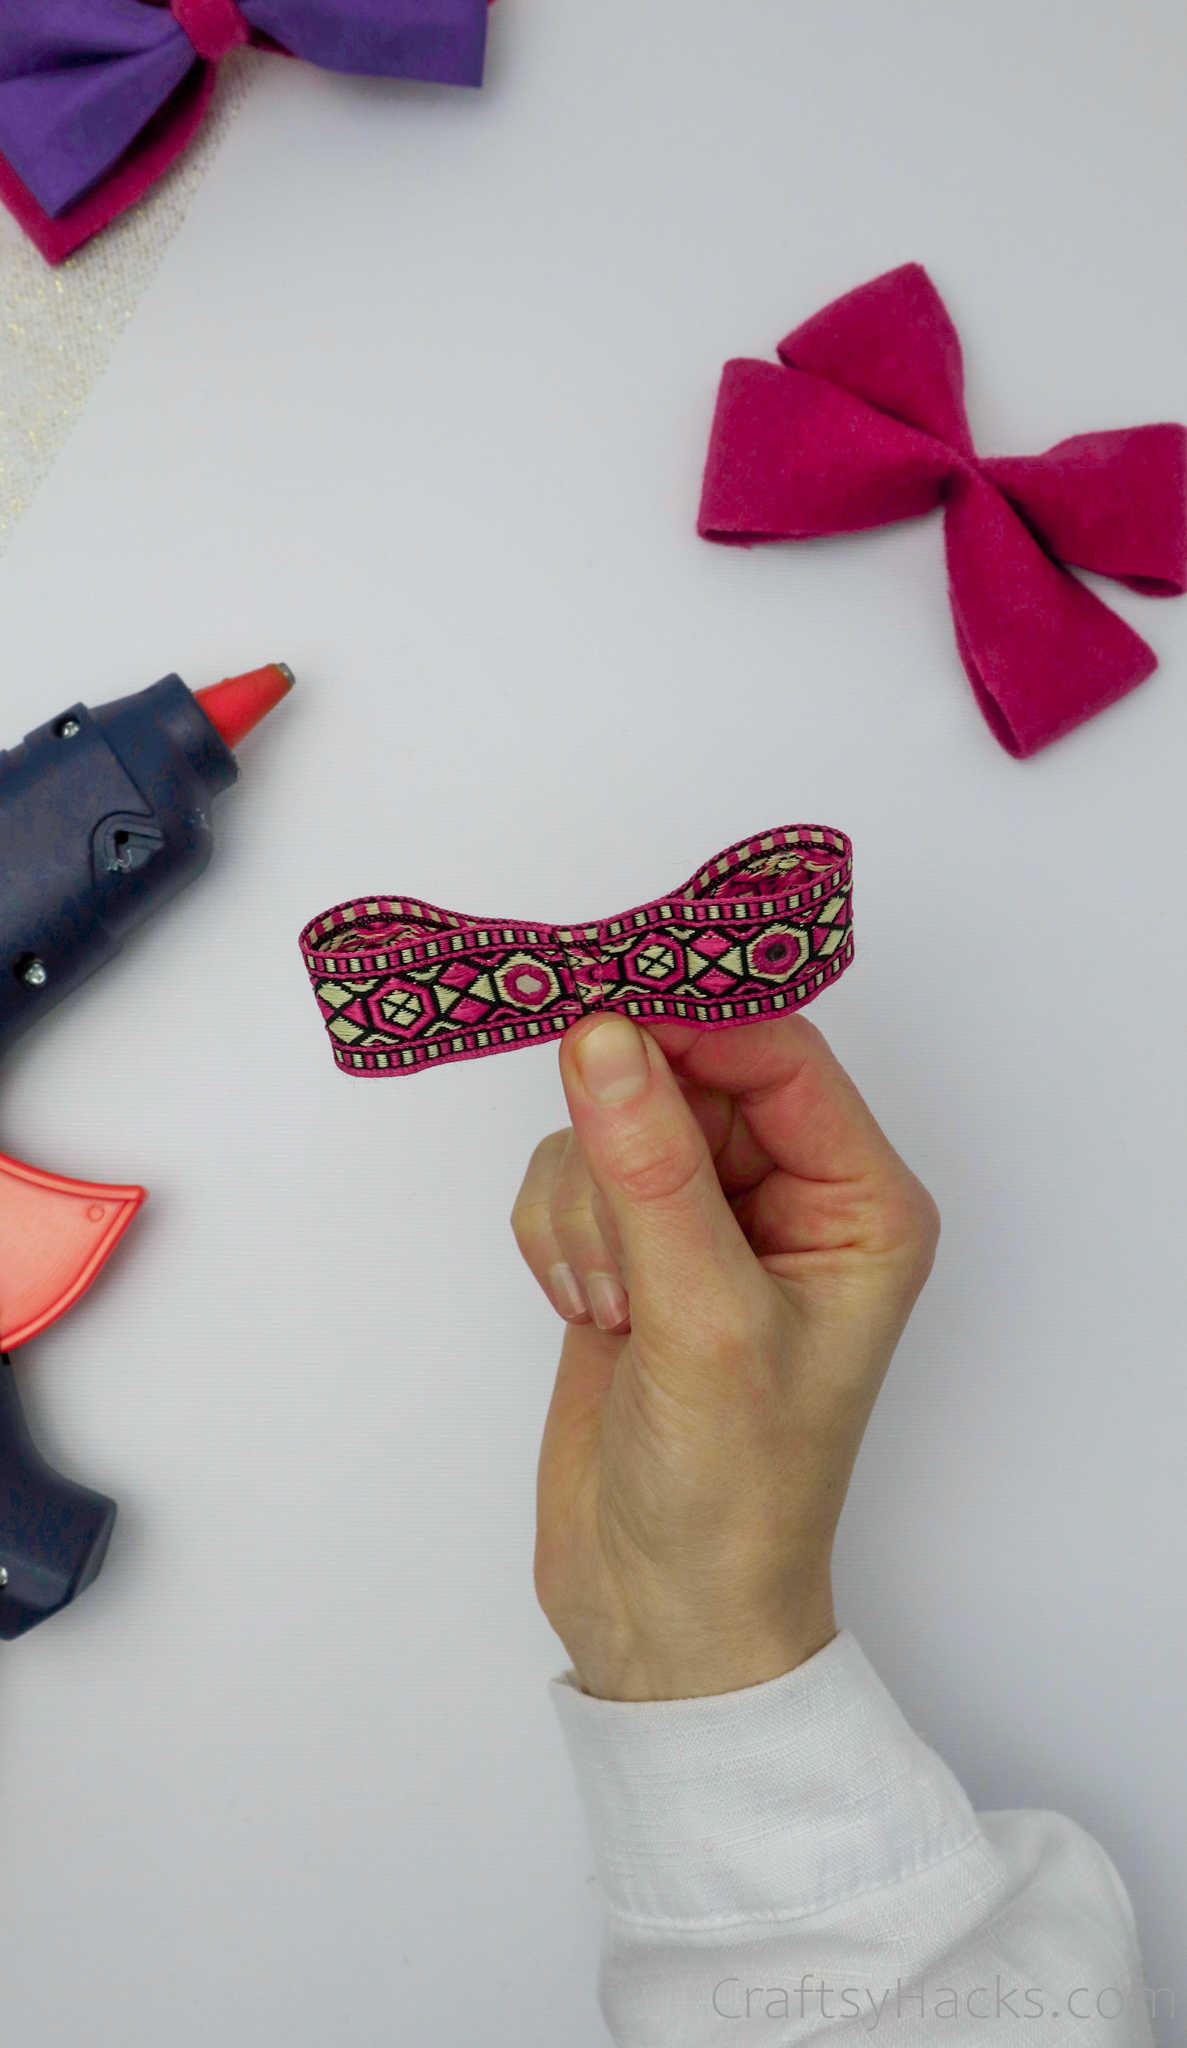
Step 5
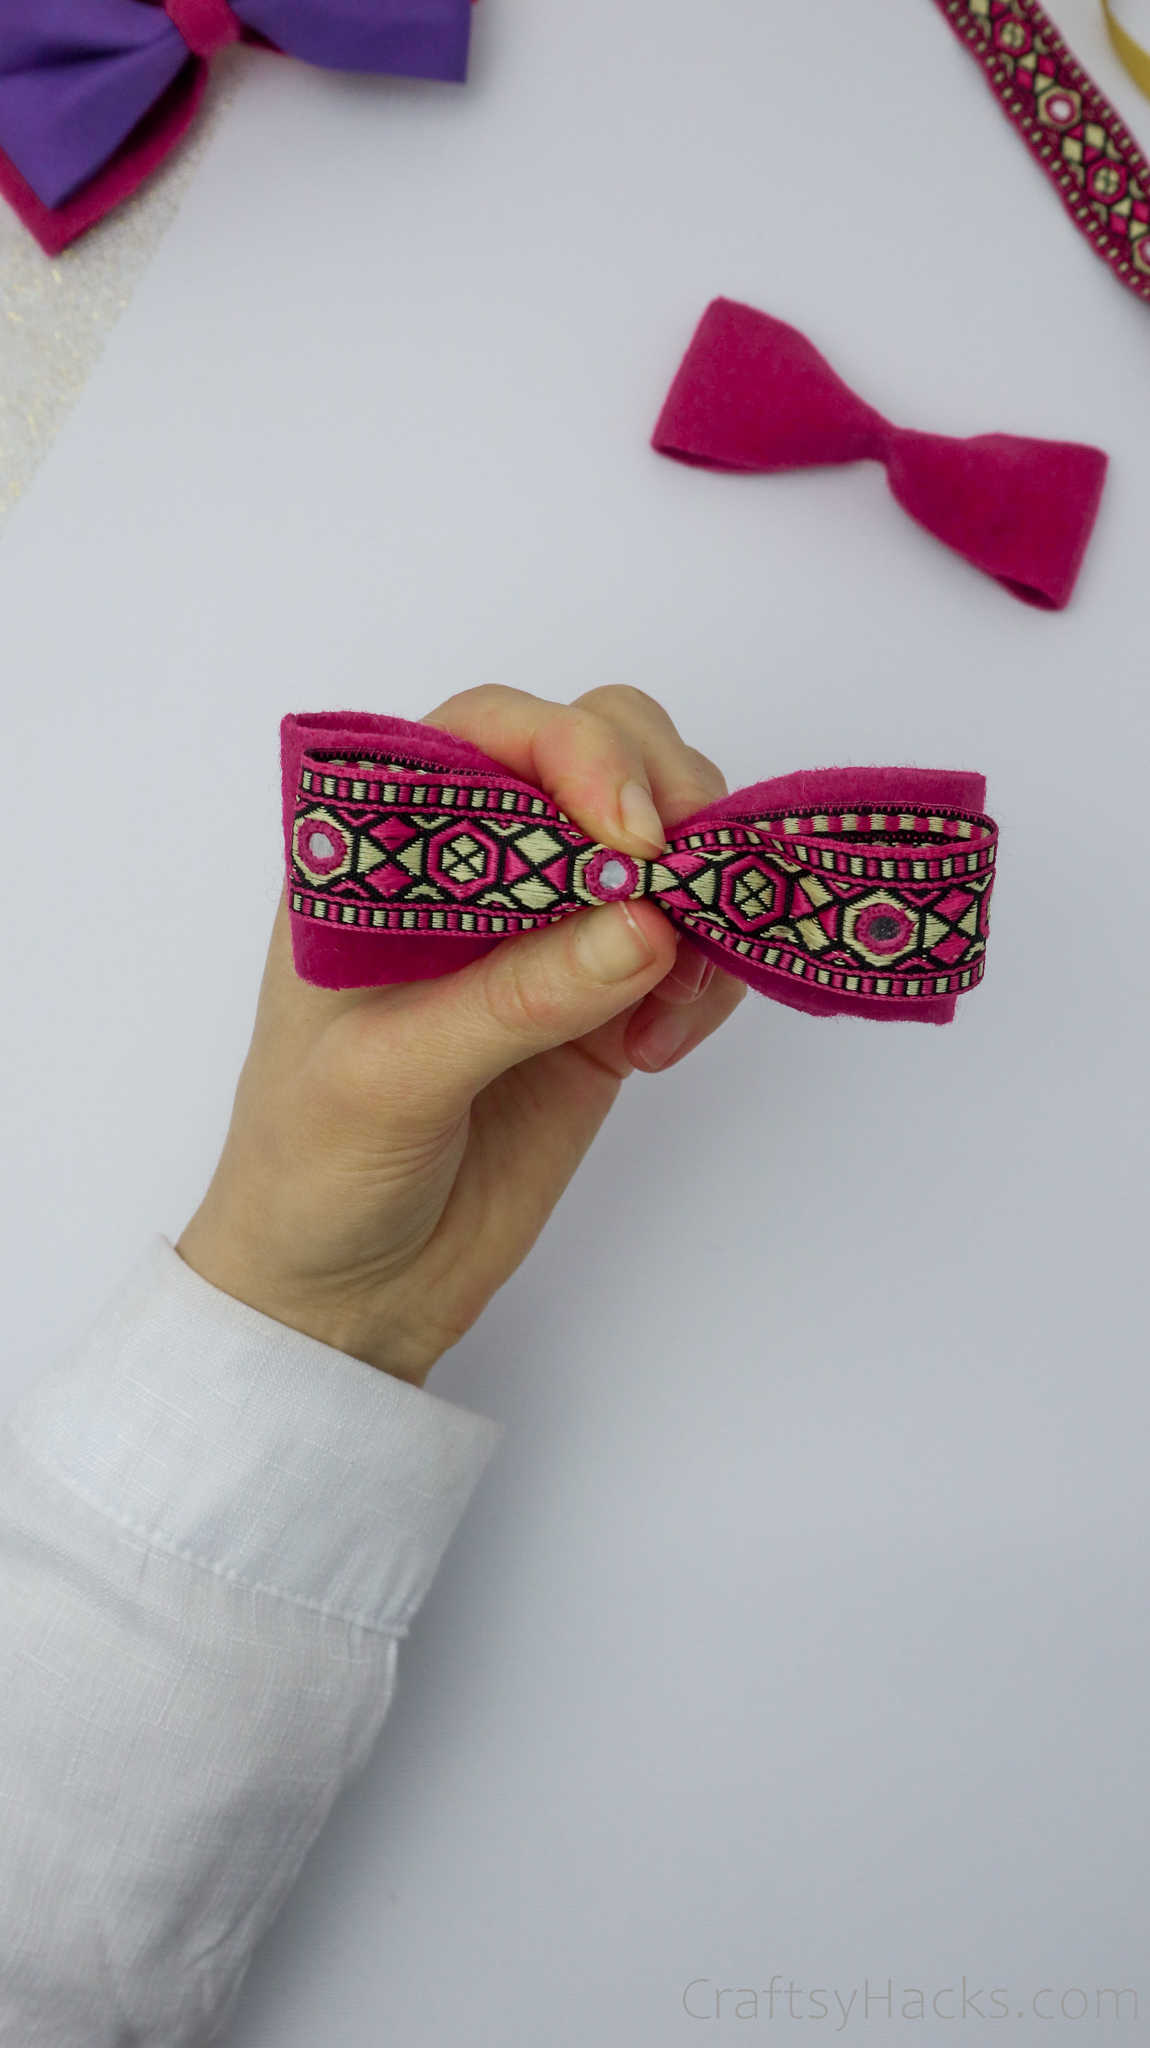
This is the part that I enjoy the most: decorating your hair bow!
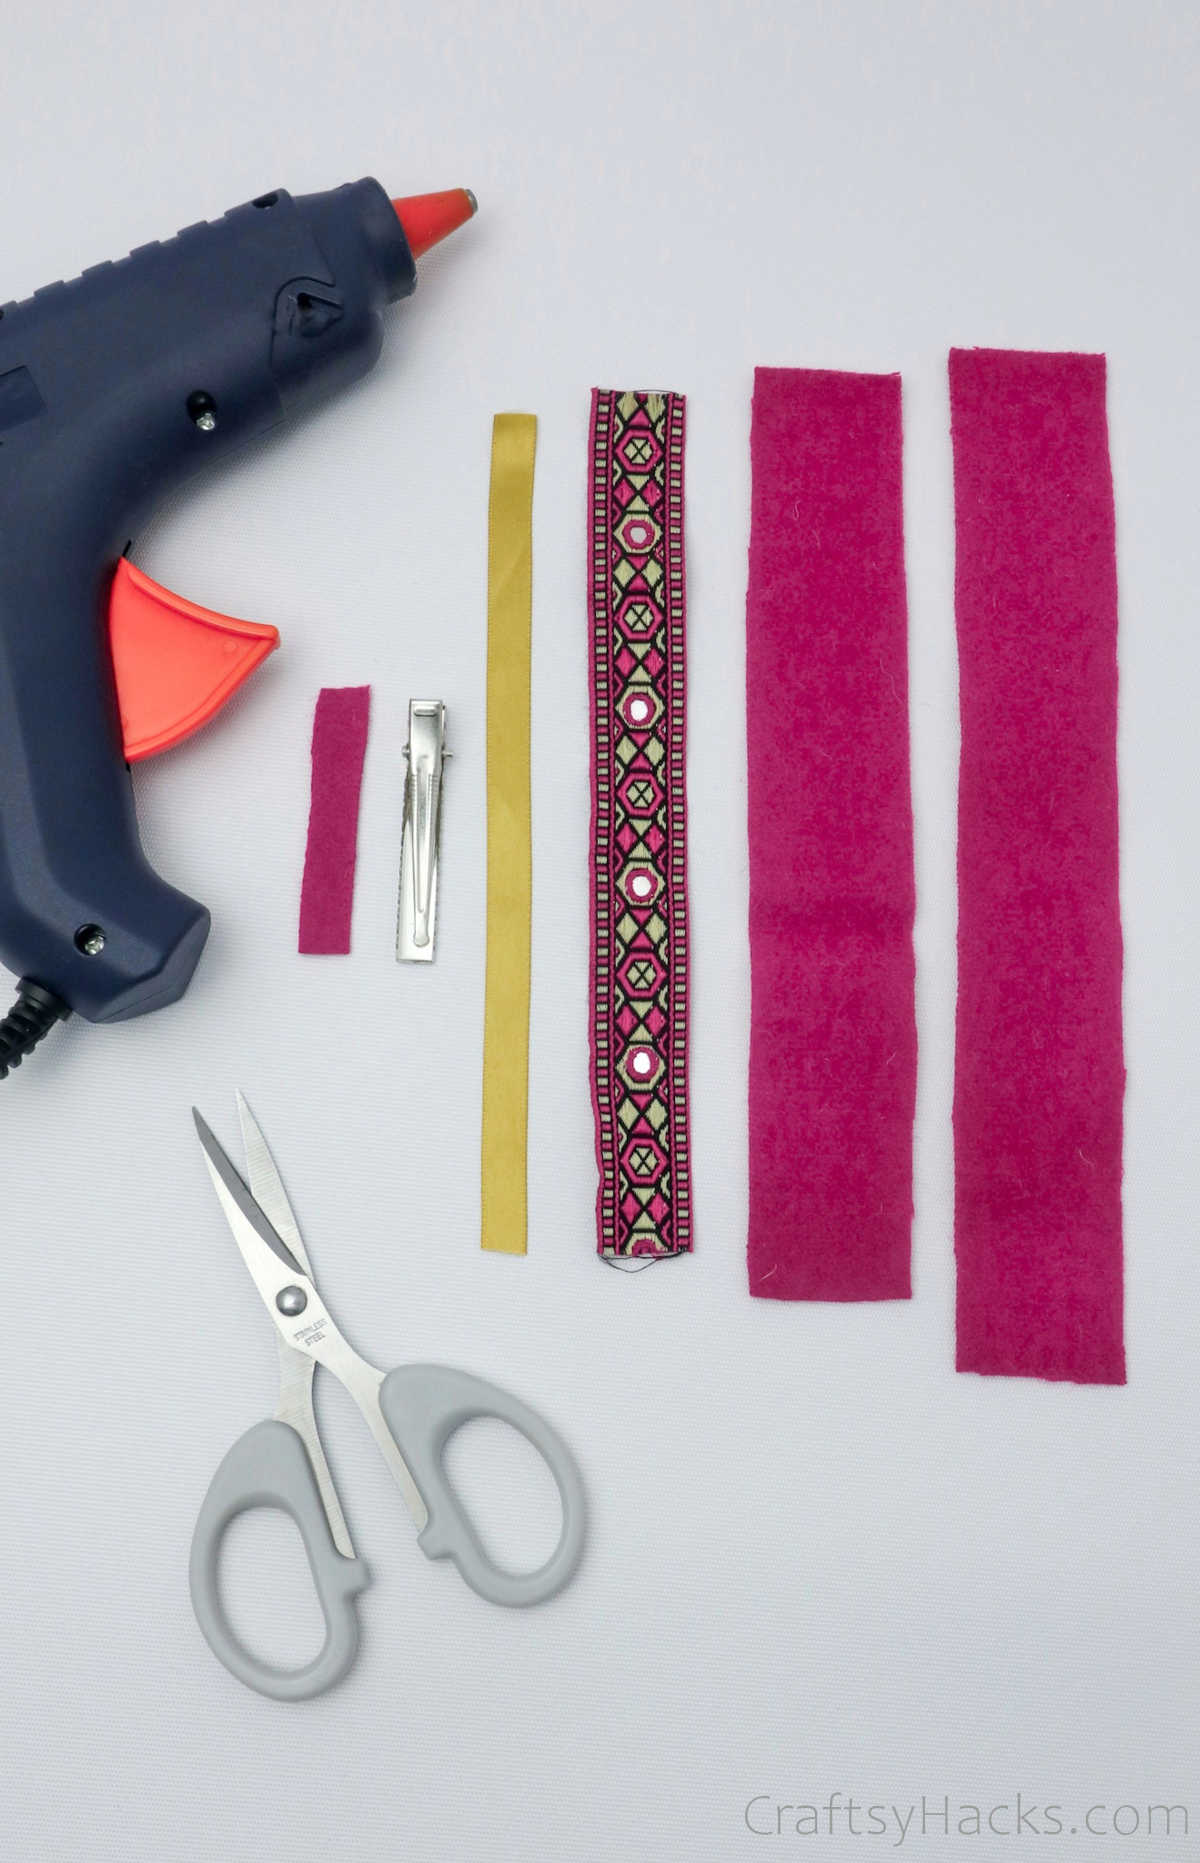
So go ahead and pick out the decorative fabric.
Step 6
Now its time to bring all the components together and wrap up(ha!)
Hold the two pain fabric bows in place, as shown below.
Apply a dab of hot glue and stick both pieces together.

The bigger piece should sit below the small one for a more pronounced and flamboyant bow.
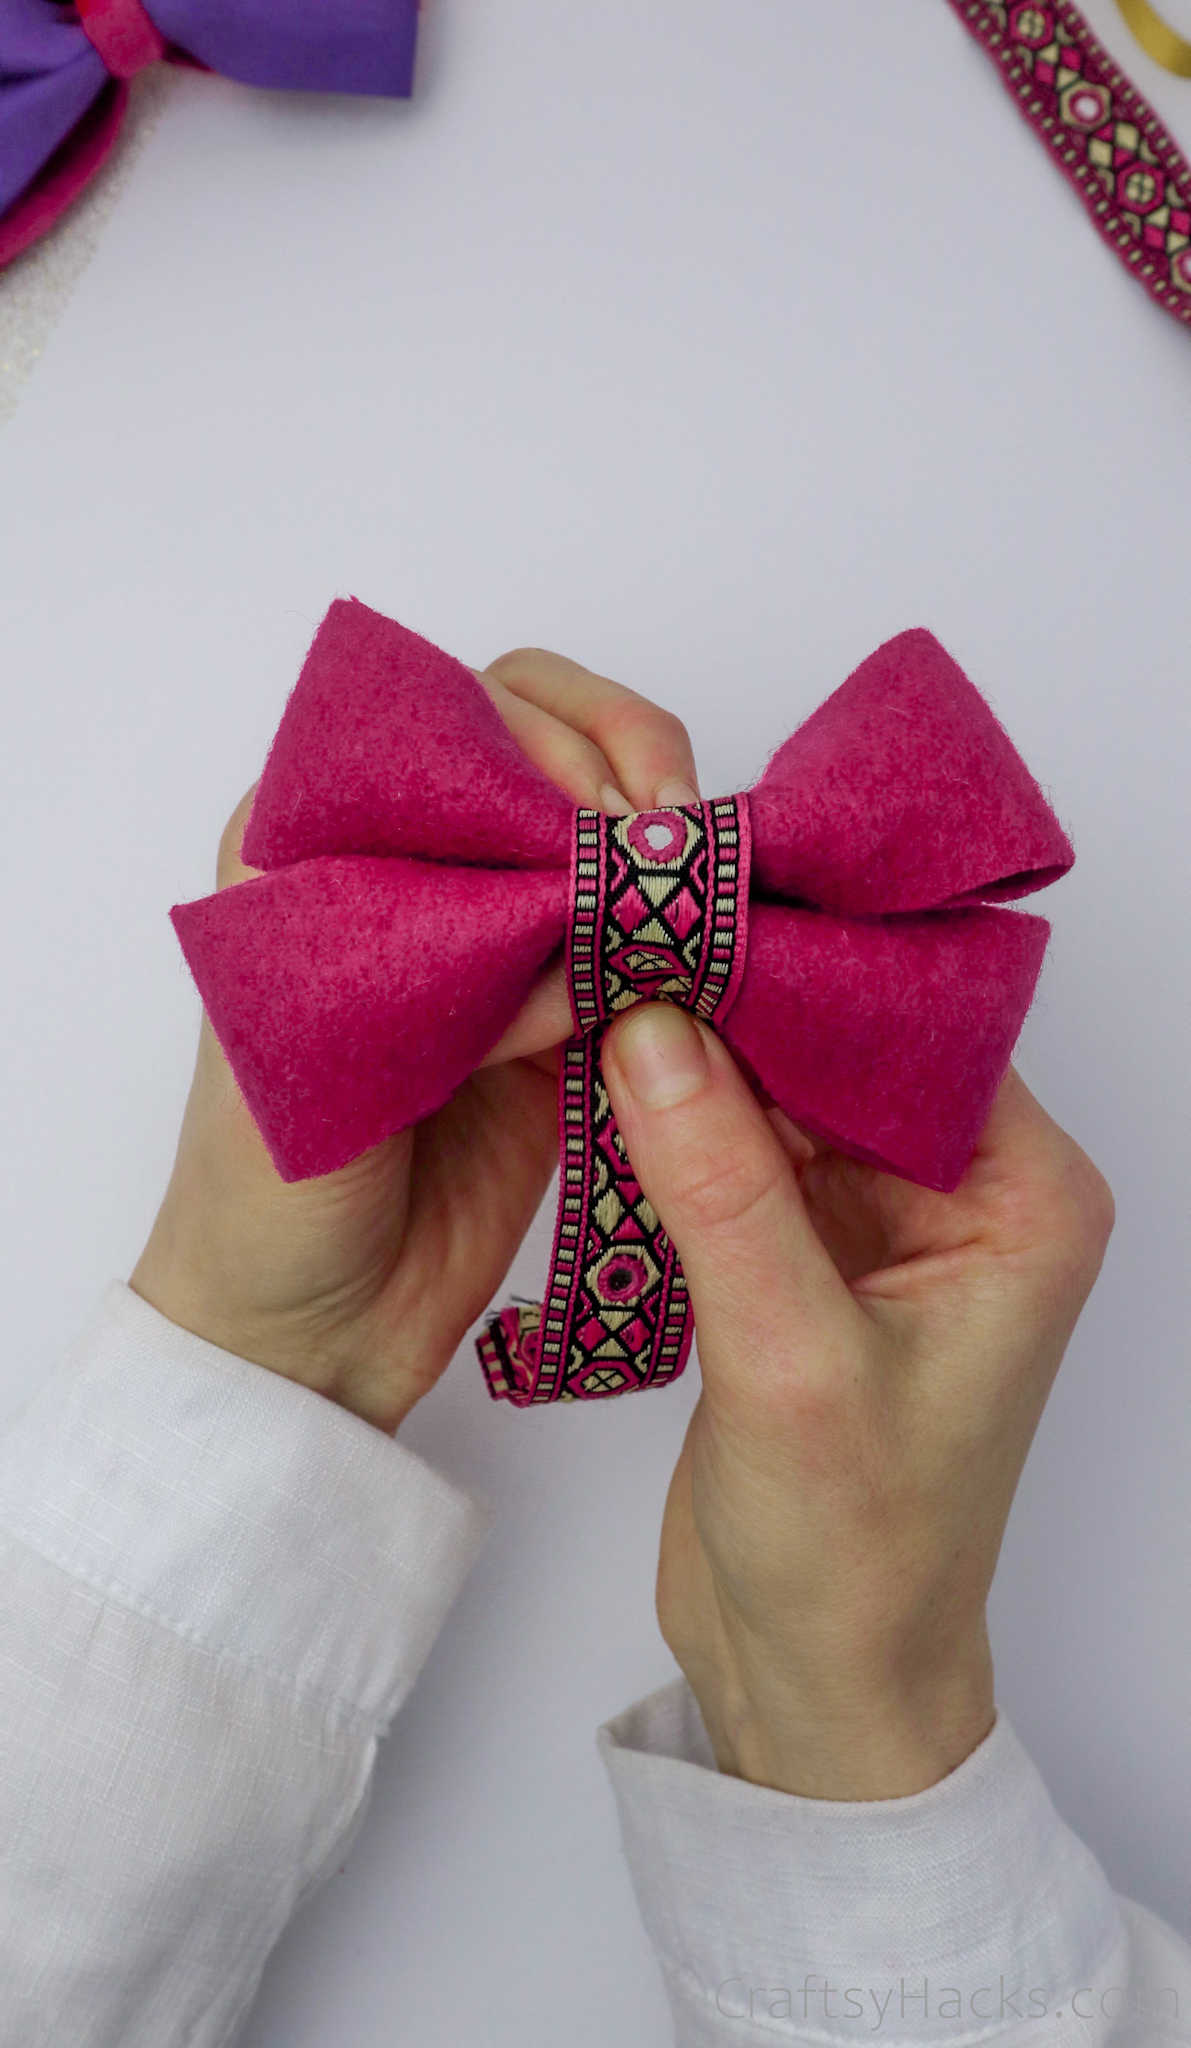
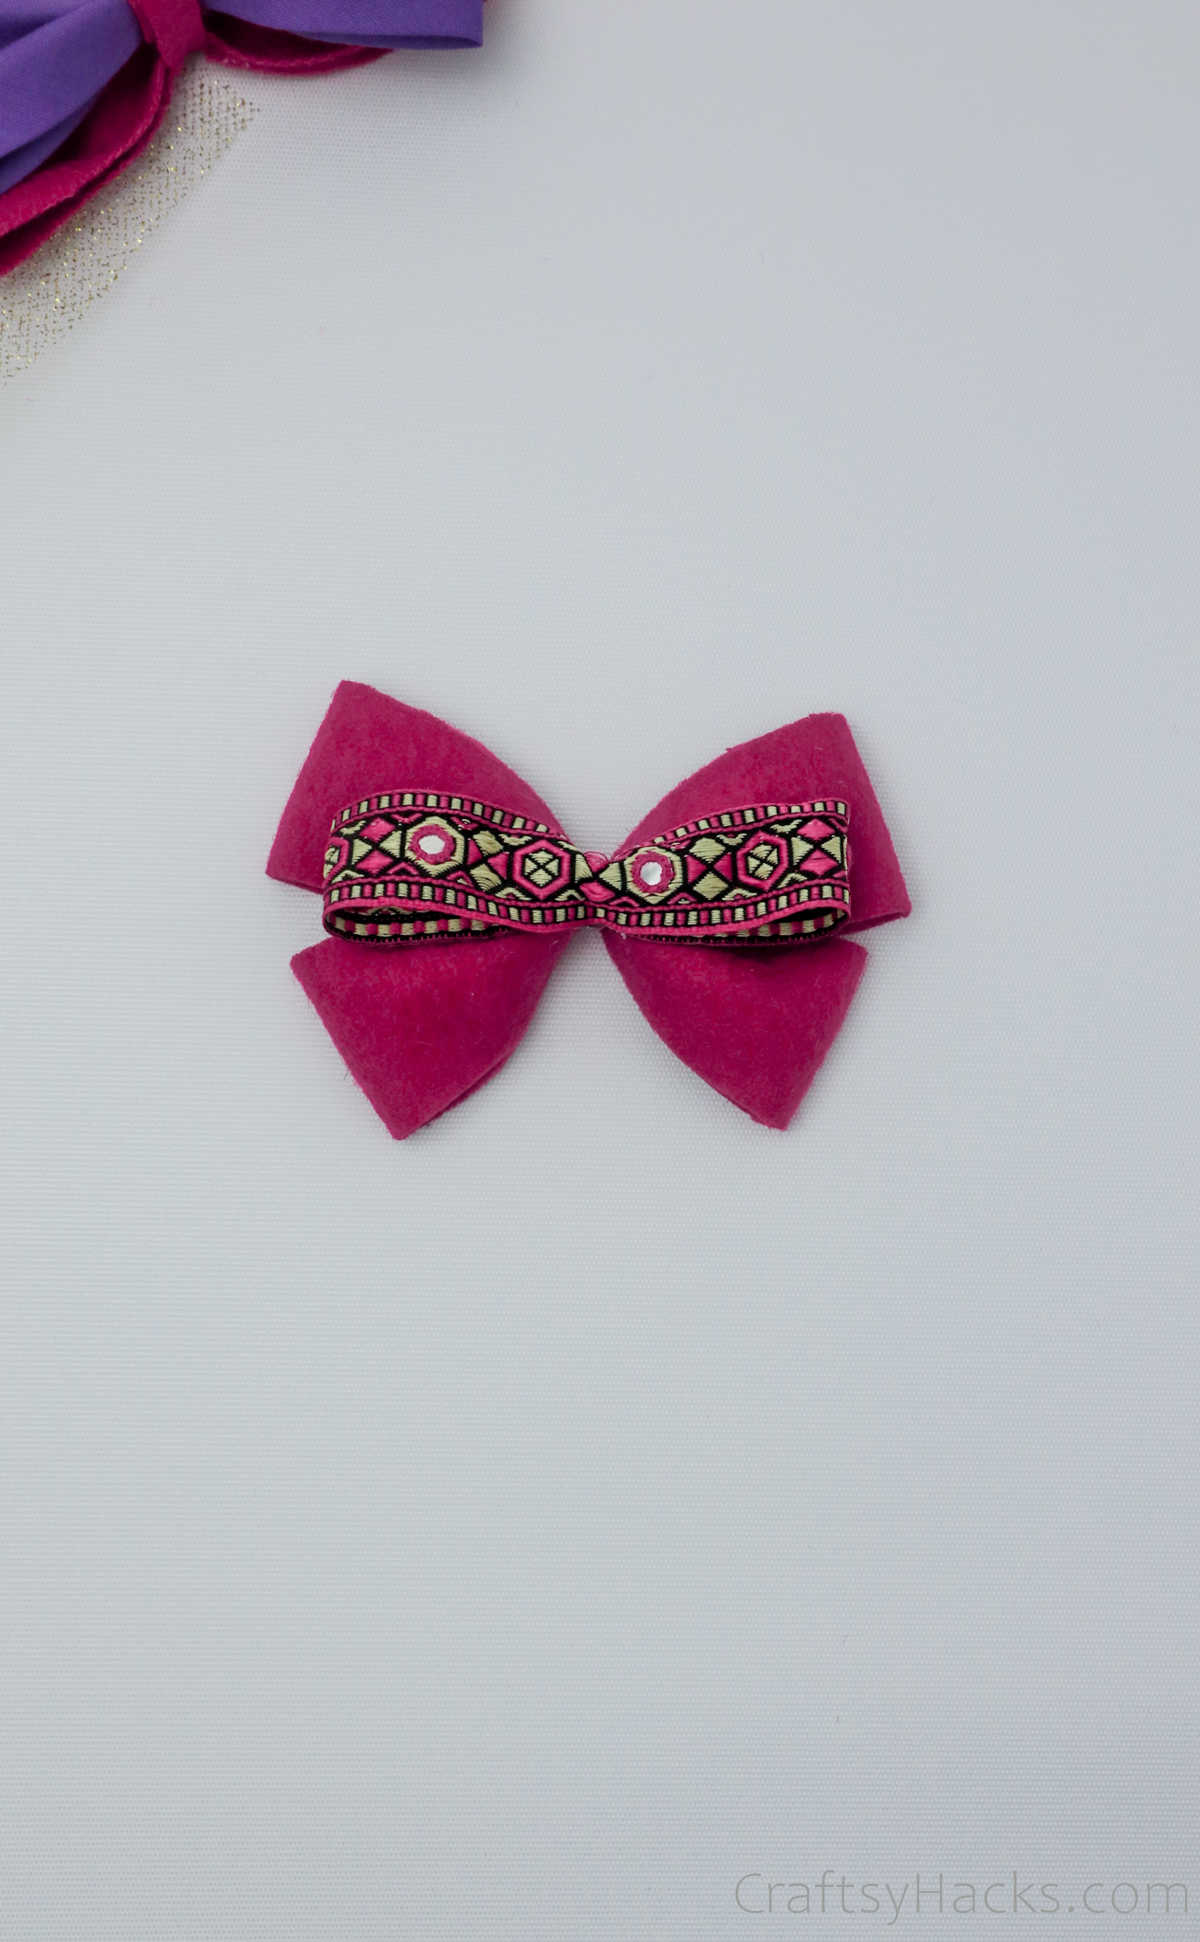
Step 7
Once the glue has dried up, move on to the next step.
Grab your decorated fabric strip.
Fold it and subsequently stick it in place, like you did with the other two components.
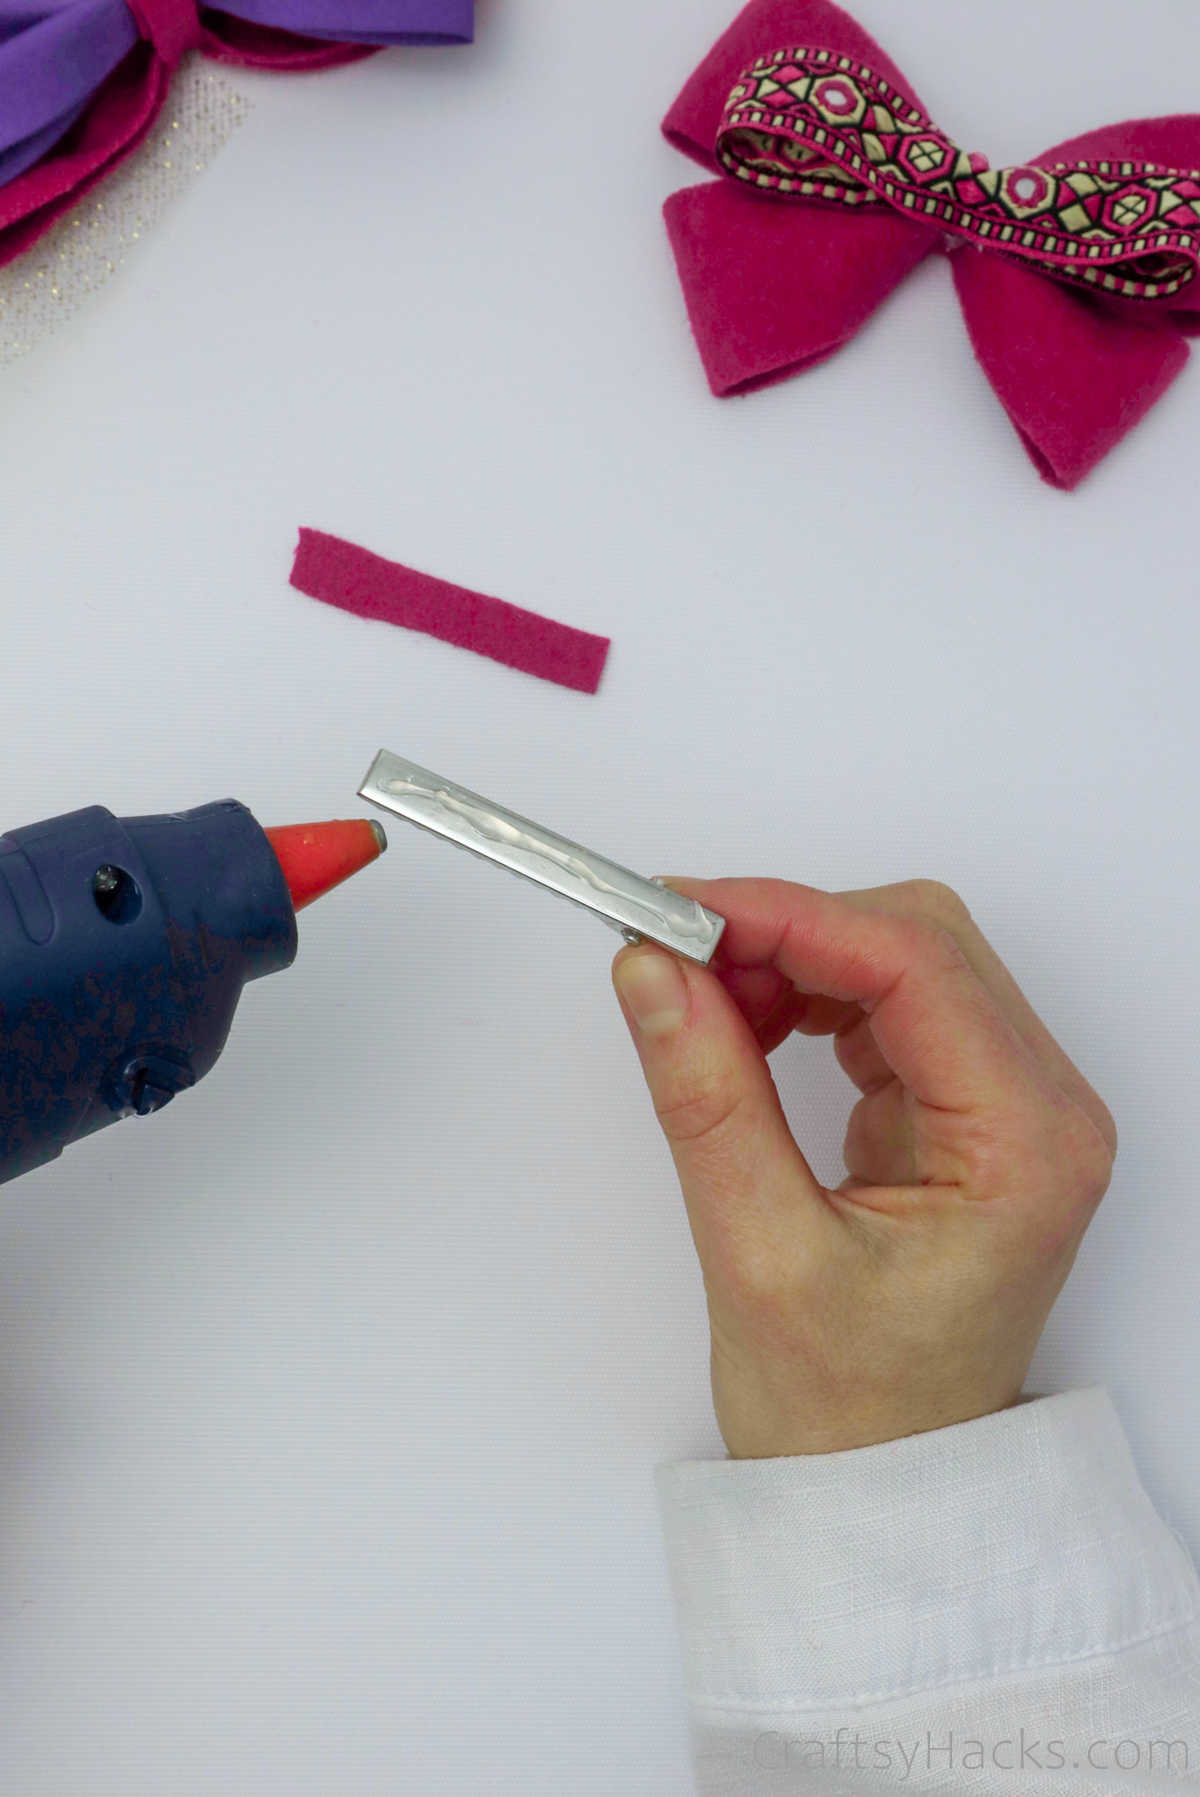
Step 9
Youre nearly there!
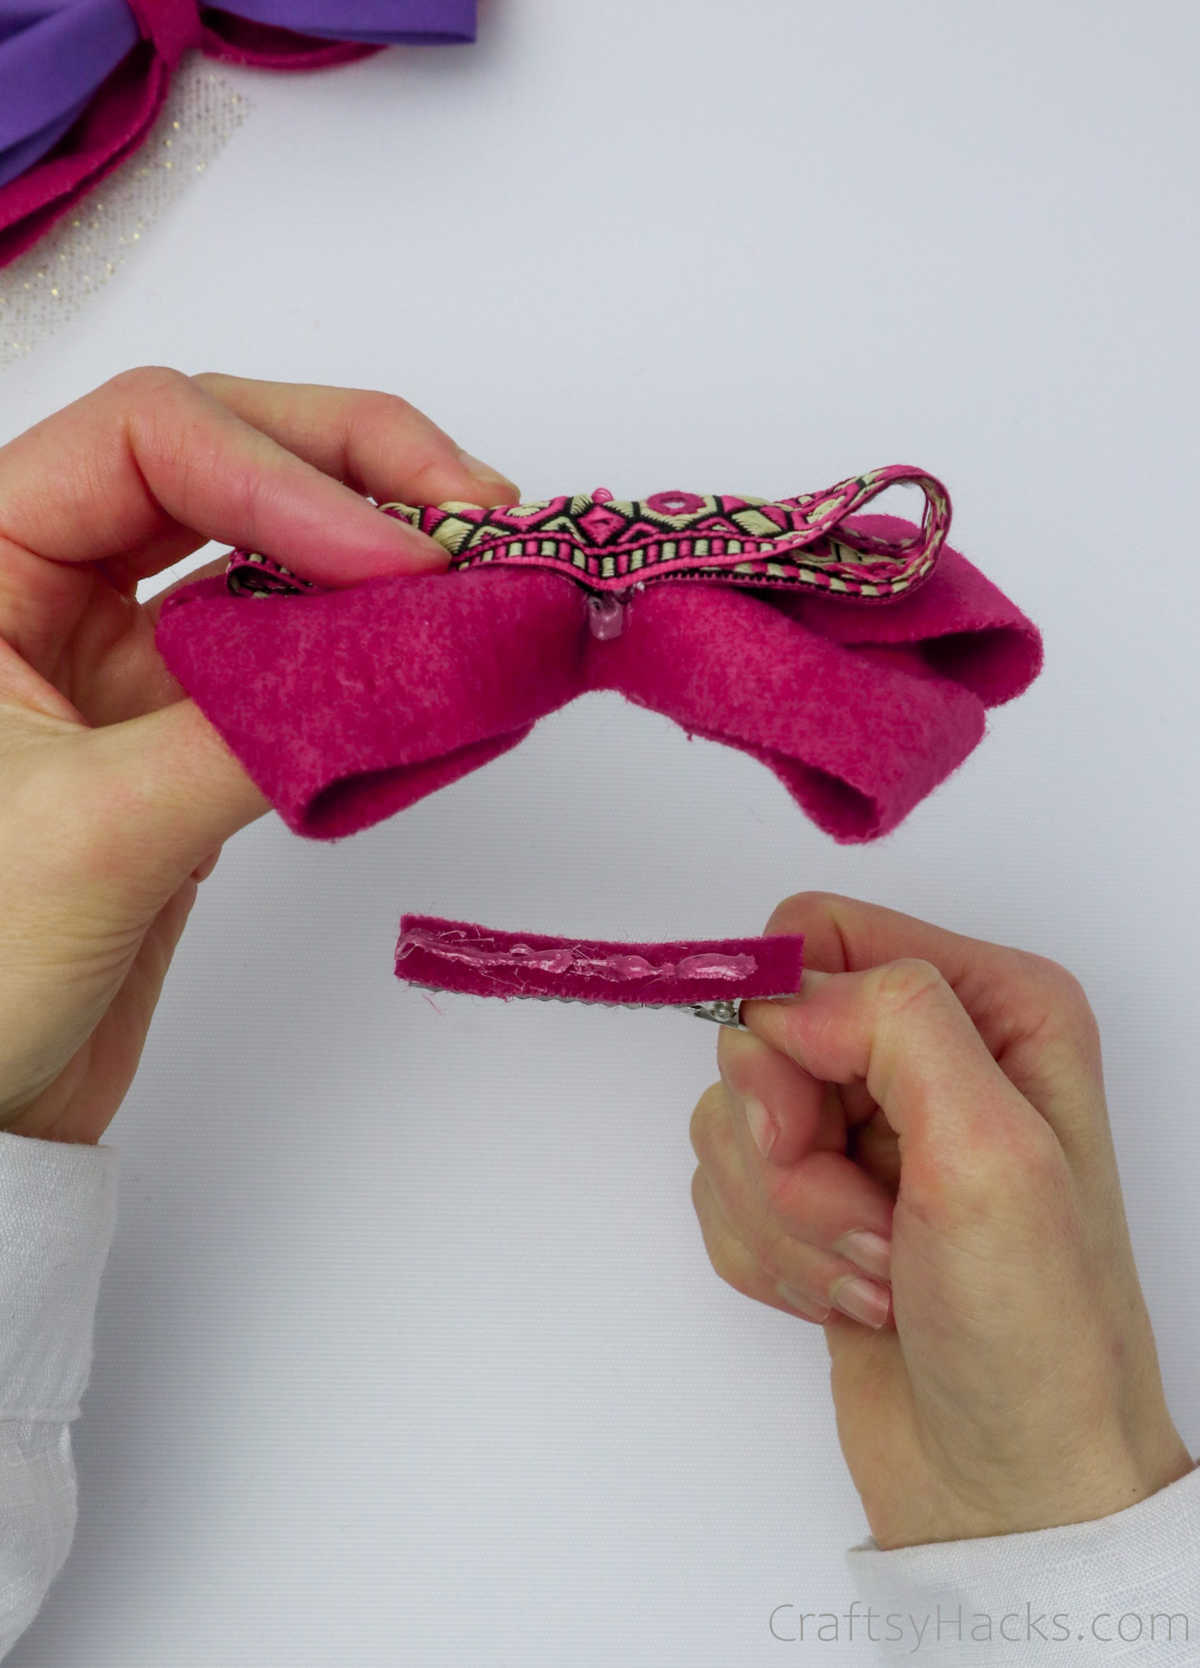
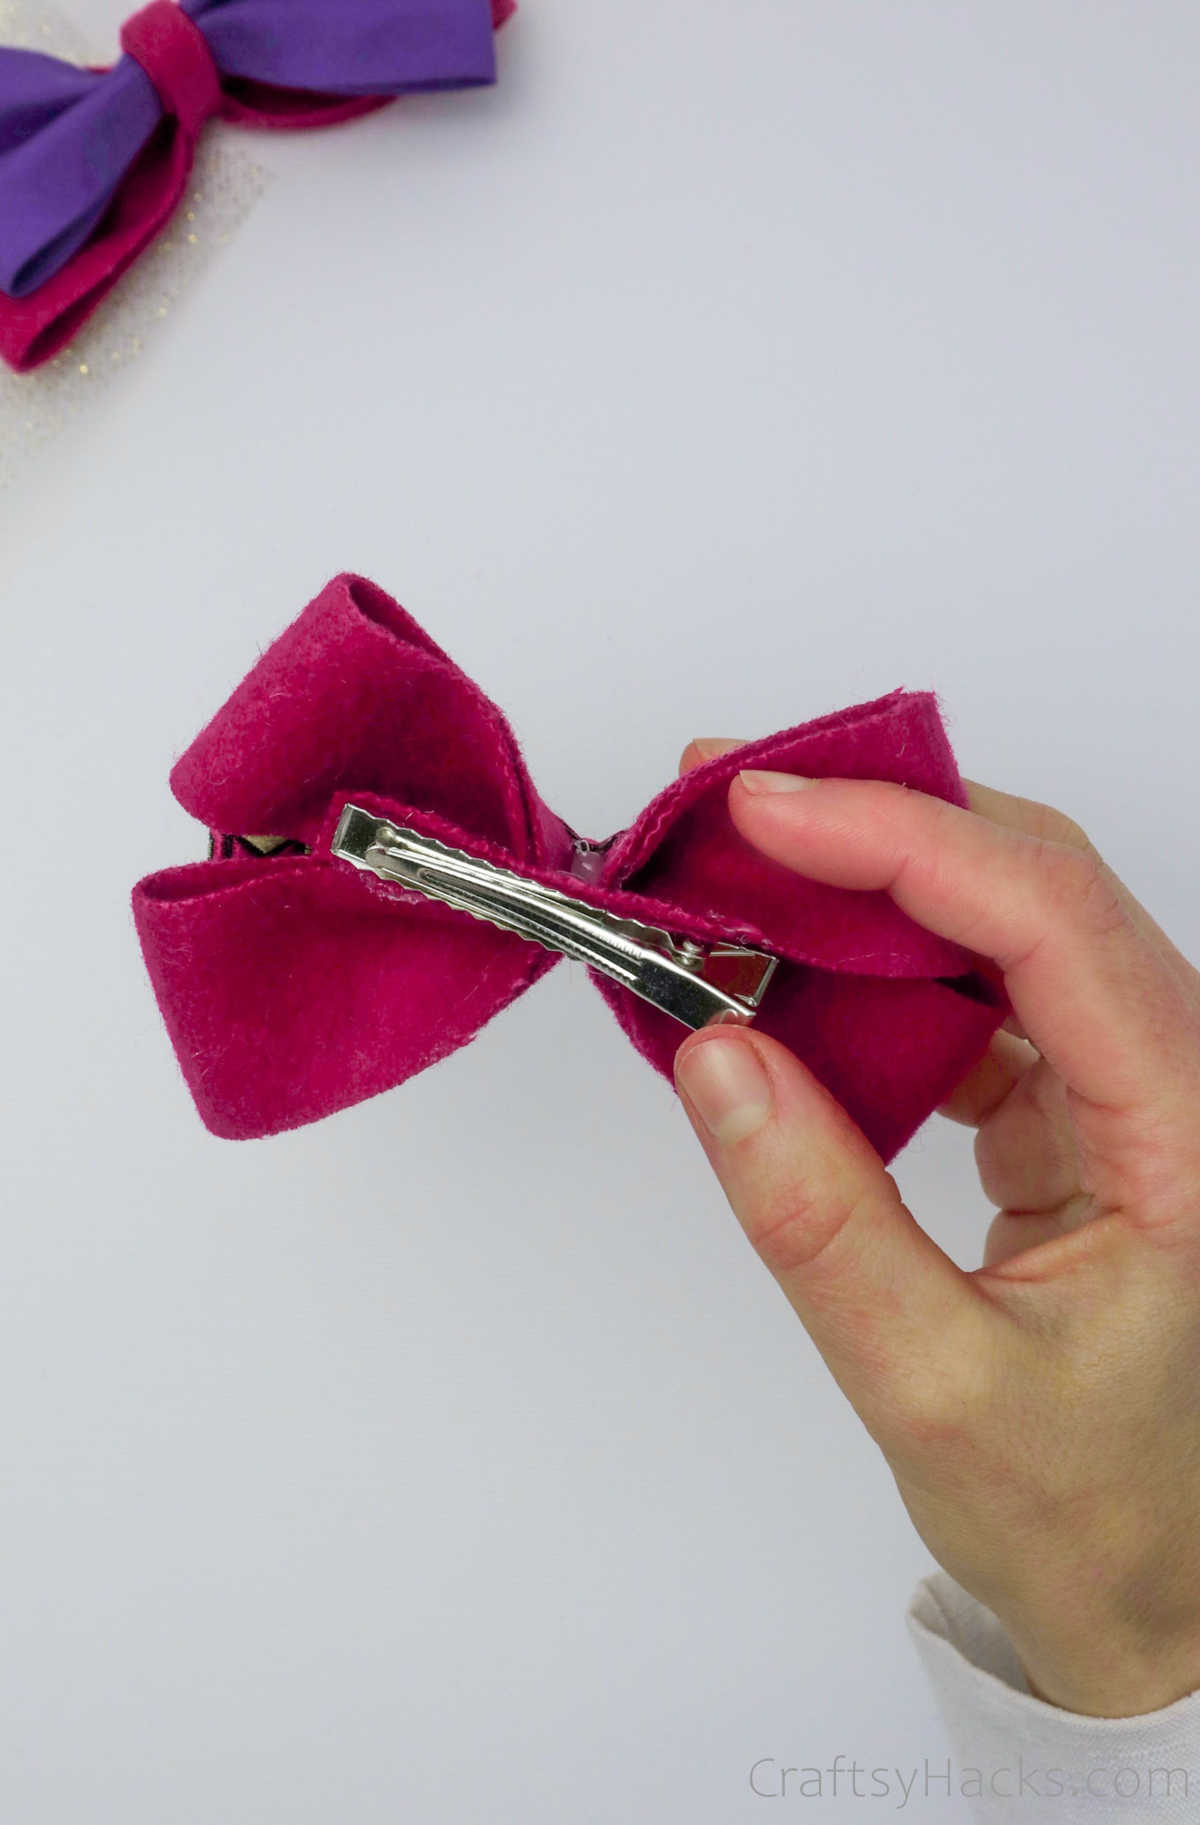
Now all thats left to do is hot glue the back of your crocodile hair clip.
This will help you cover up the metal bit of your clip.
Allow it to dry completely.
Be patient, and allow the hair bow to dry before you try it on.
Step 11
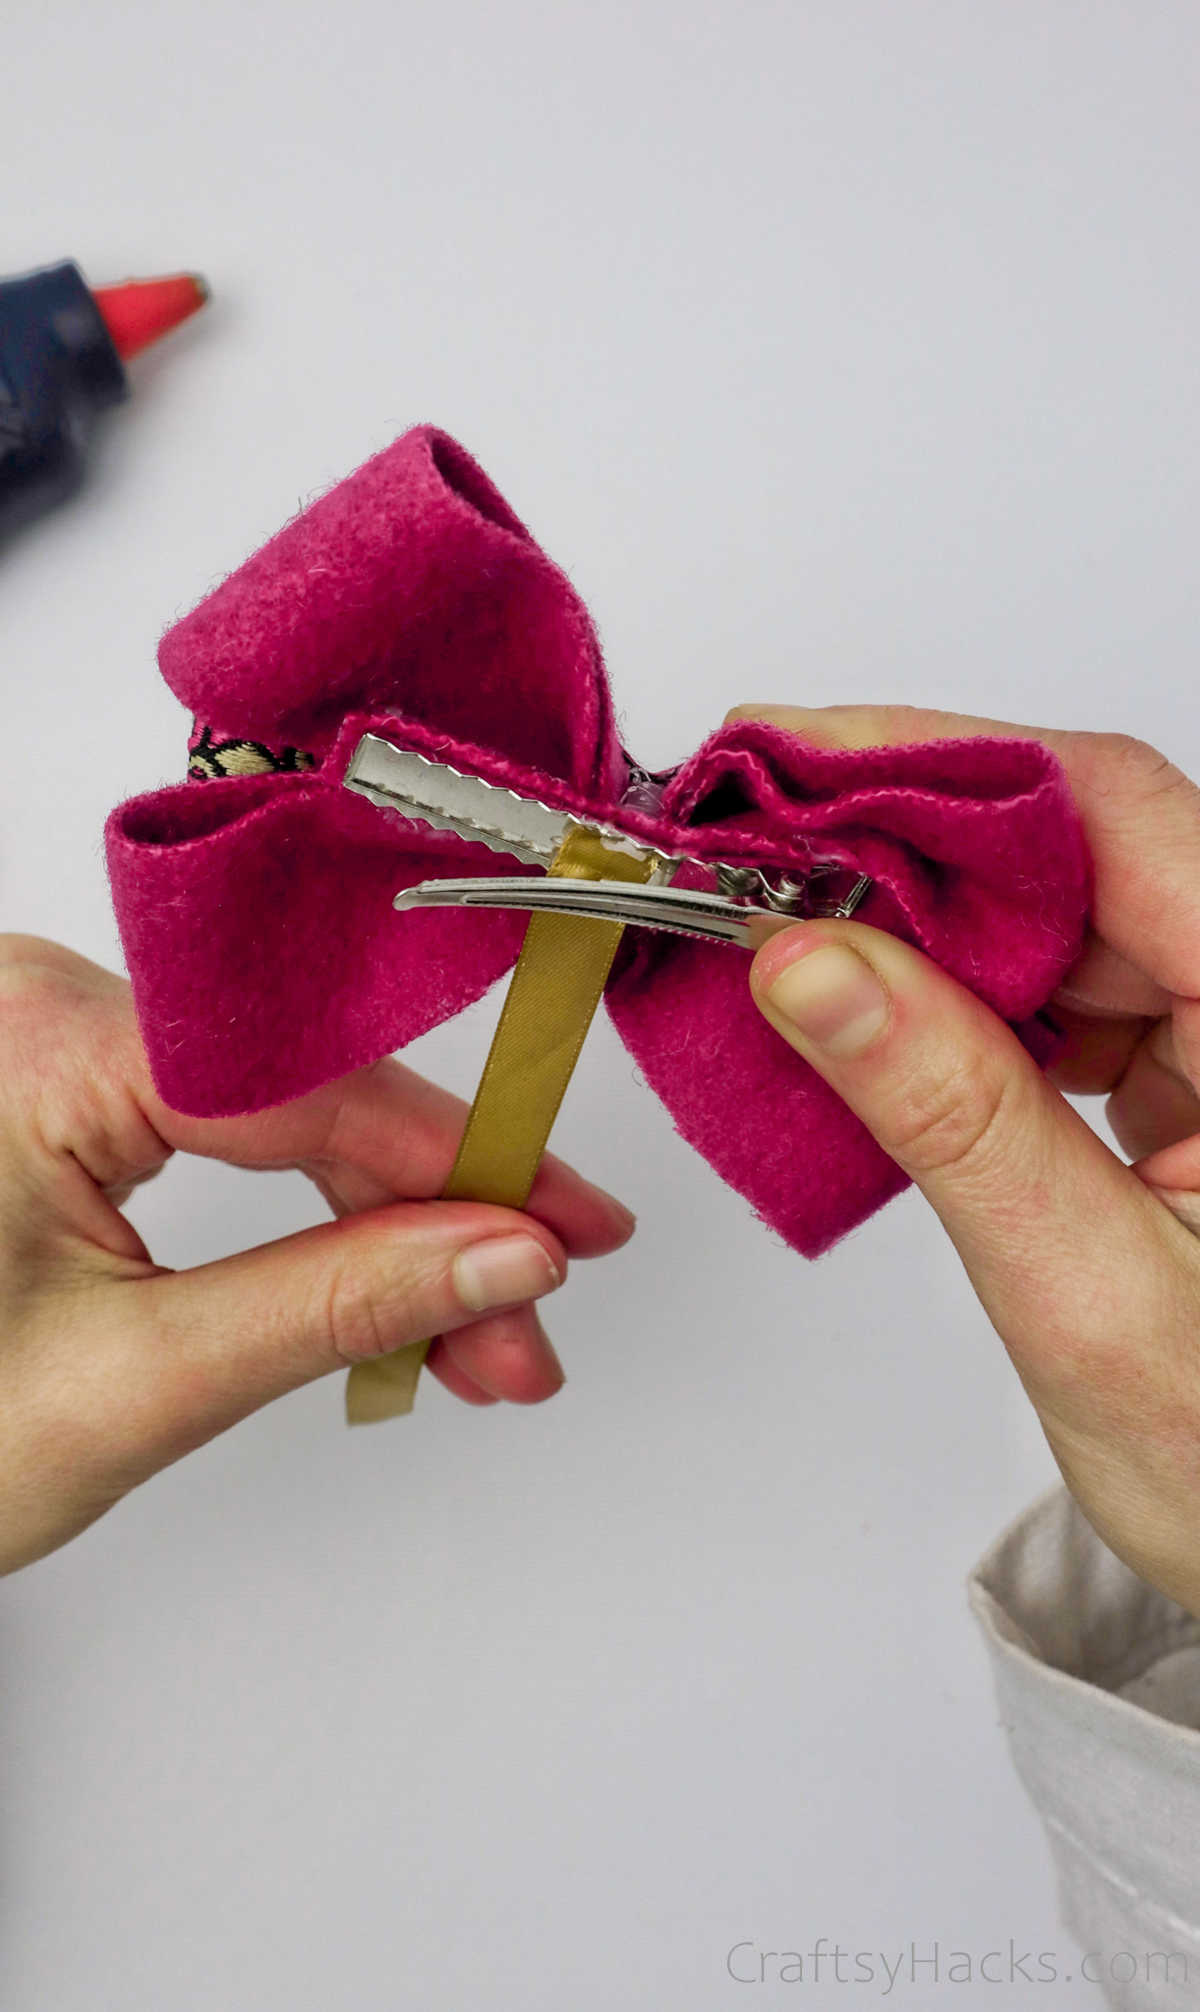
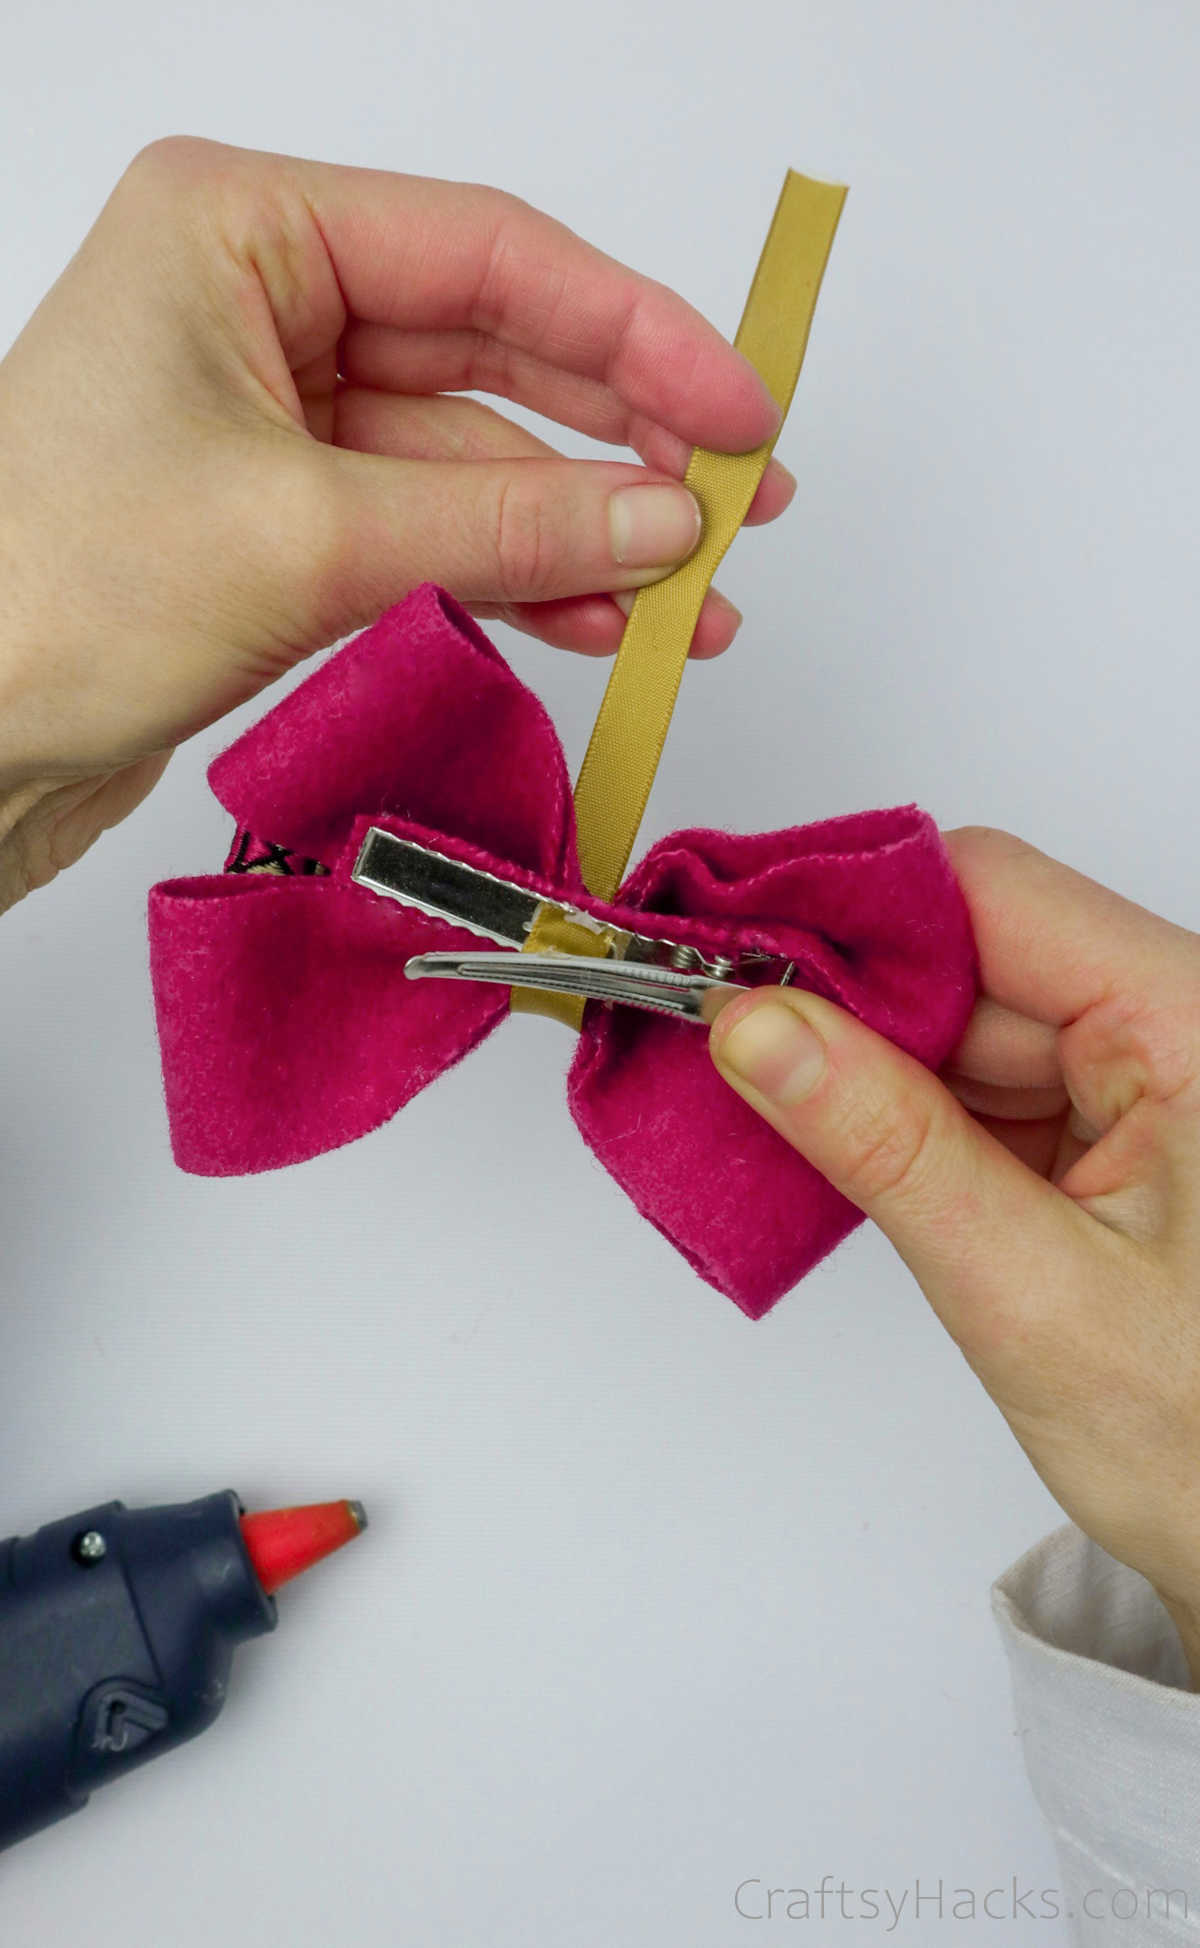
Loop a narrow strip of ribbon into and through your crocodile clip.
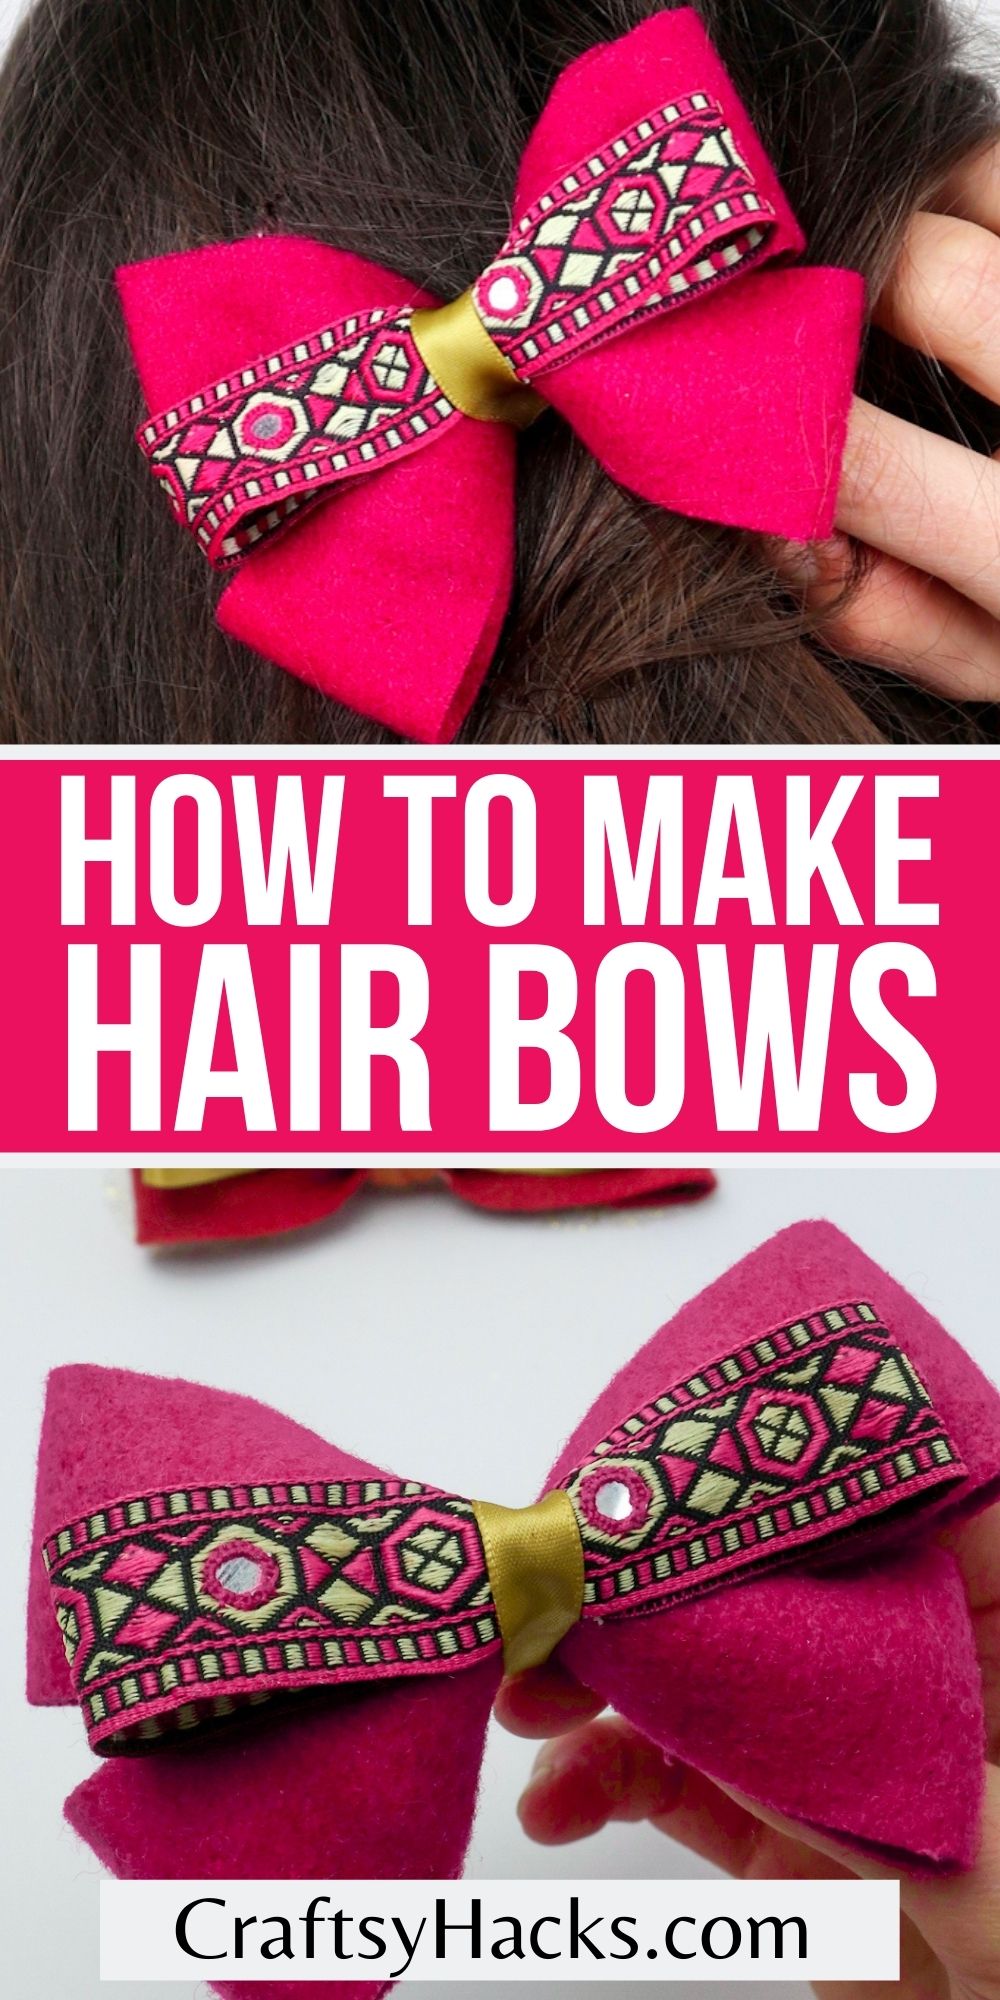
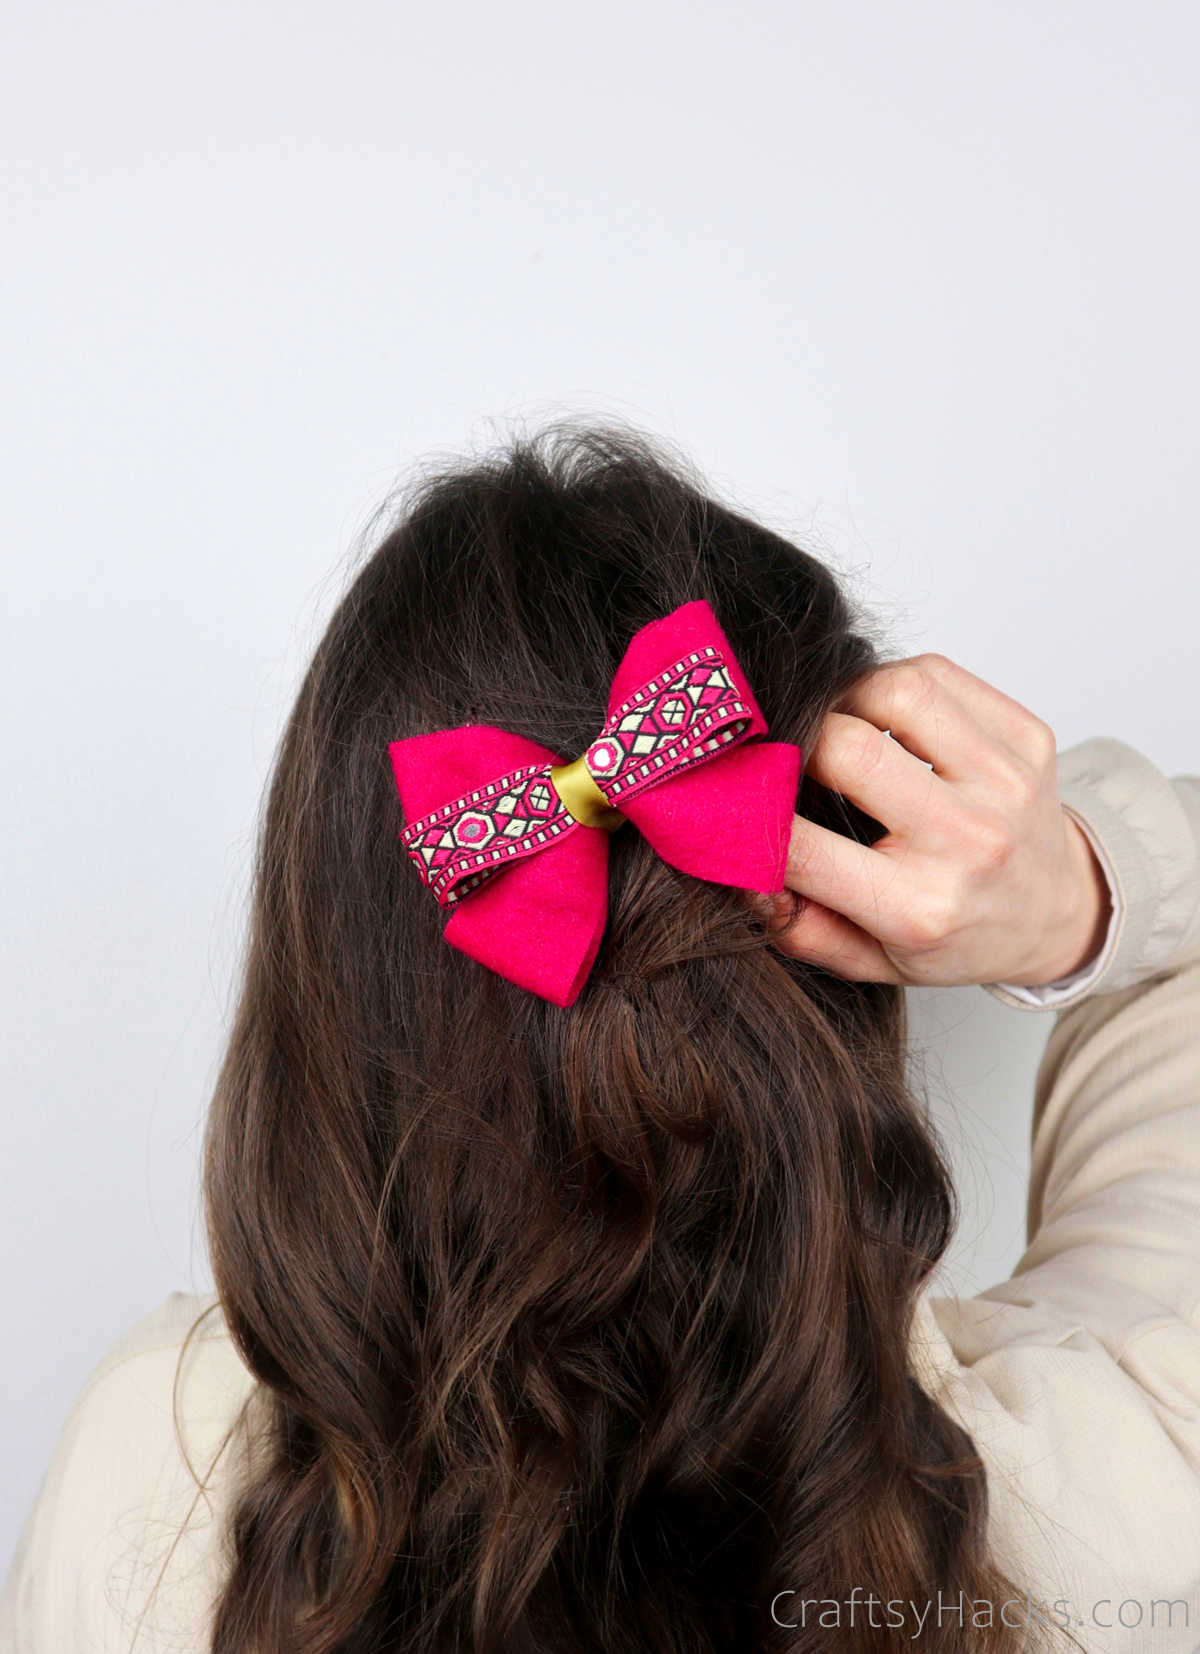
Bring it up and over the bow, wrapping it around the center.
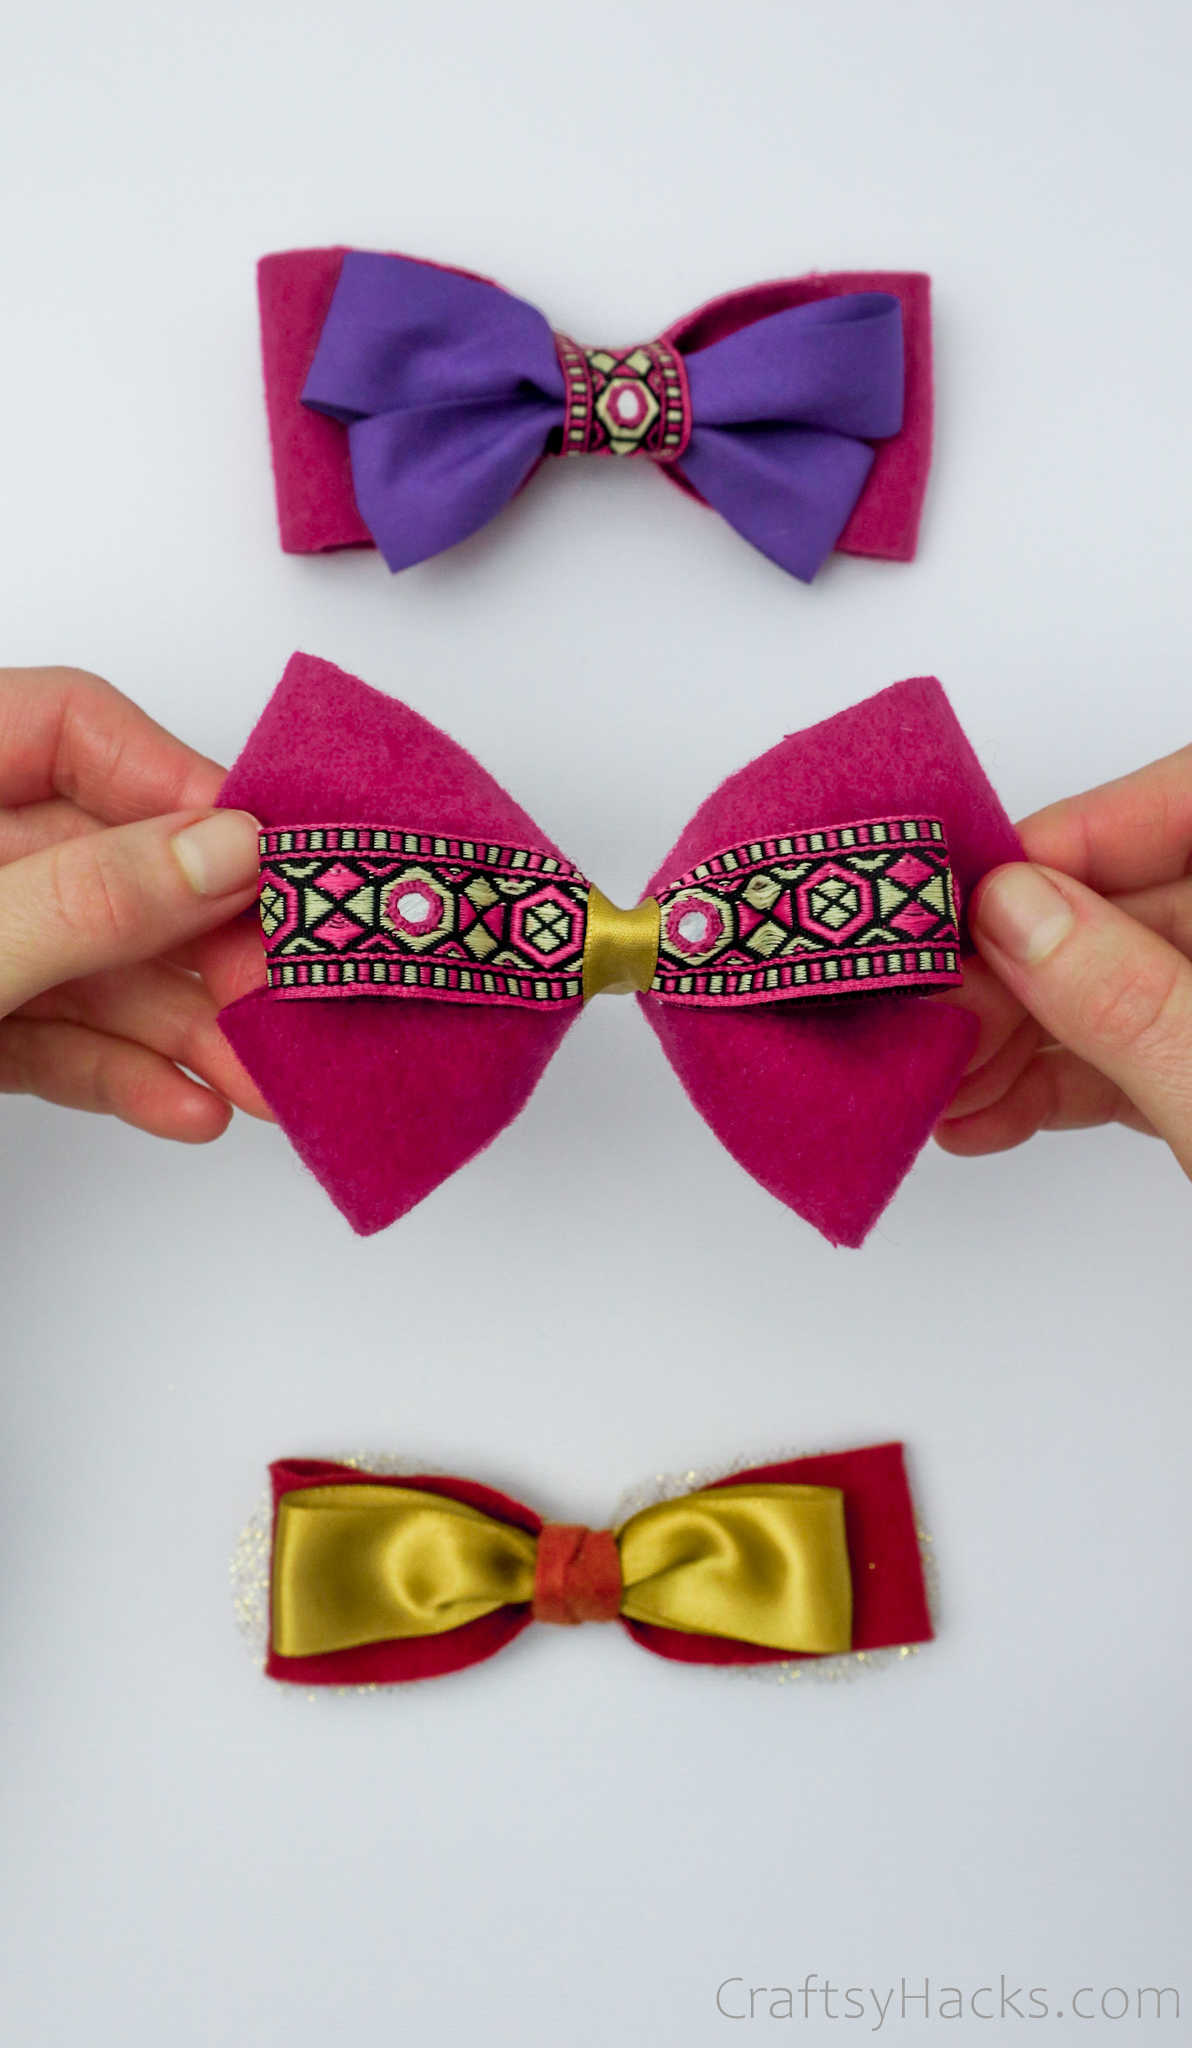
Doesnt this hair bow look absolutely adorable?
What Fabric is Best for Hair Bows?
Id recommend using felt, or satin to make these hair bows.
They fold better and the bows always end up more pronounced if you use such fabric.
Full Video Tutorial!
Have fun following the tutorial!
Equipment
Materials1x2x3x
Instructions
Video