HomeDIY
This post may contain affiliate links:full affiliate disclosure.
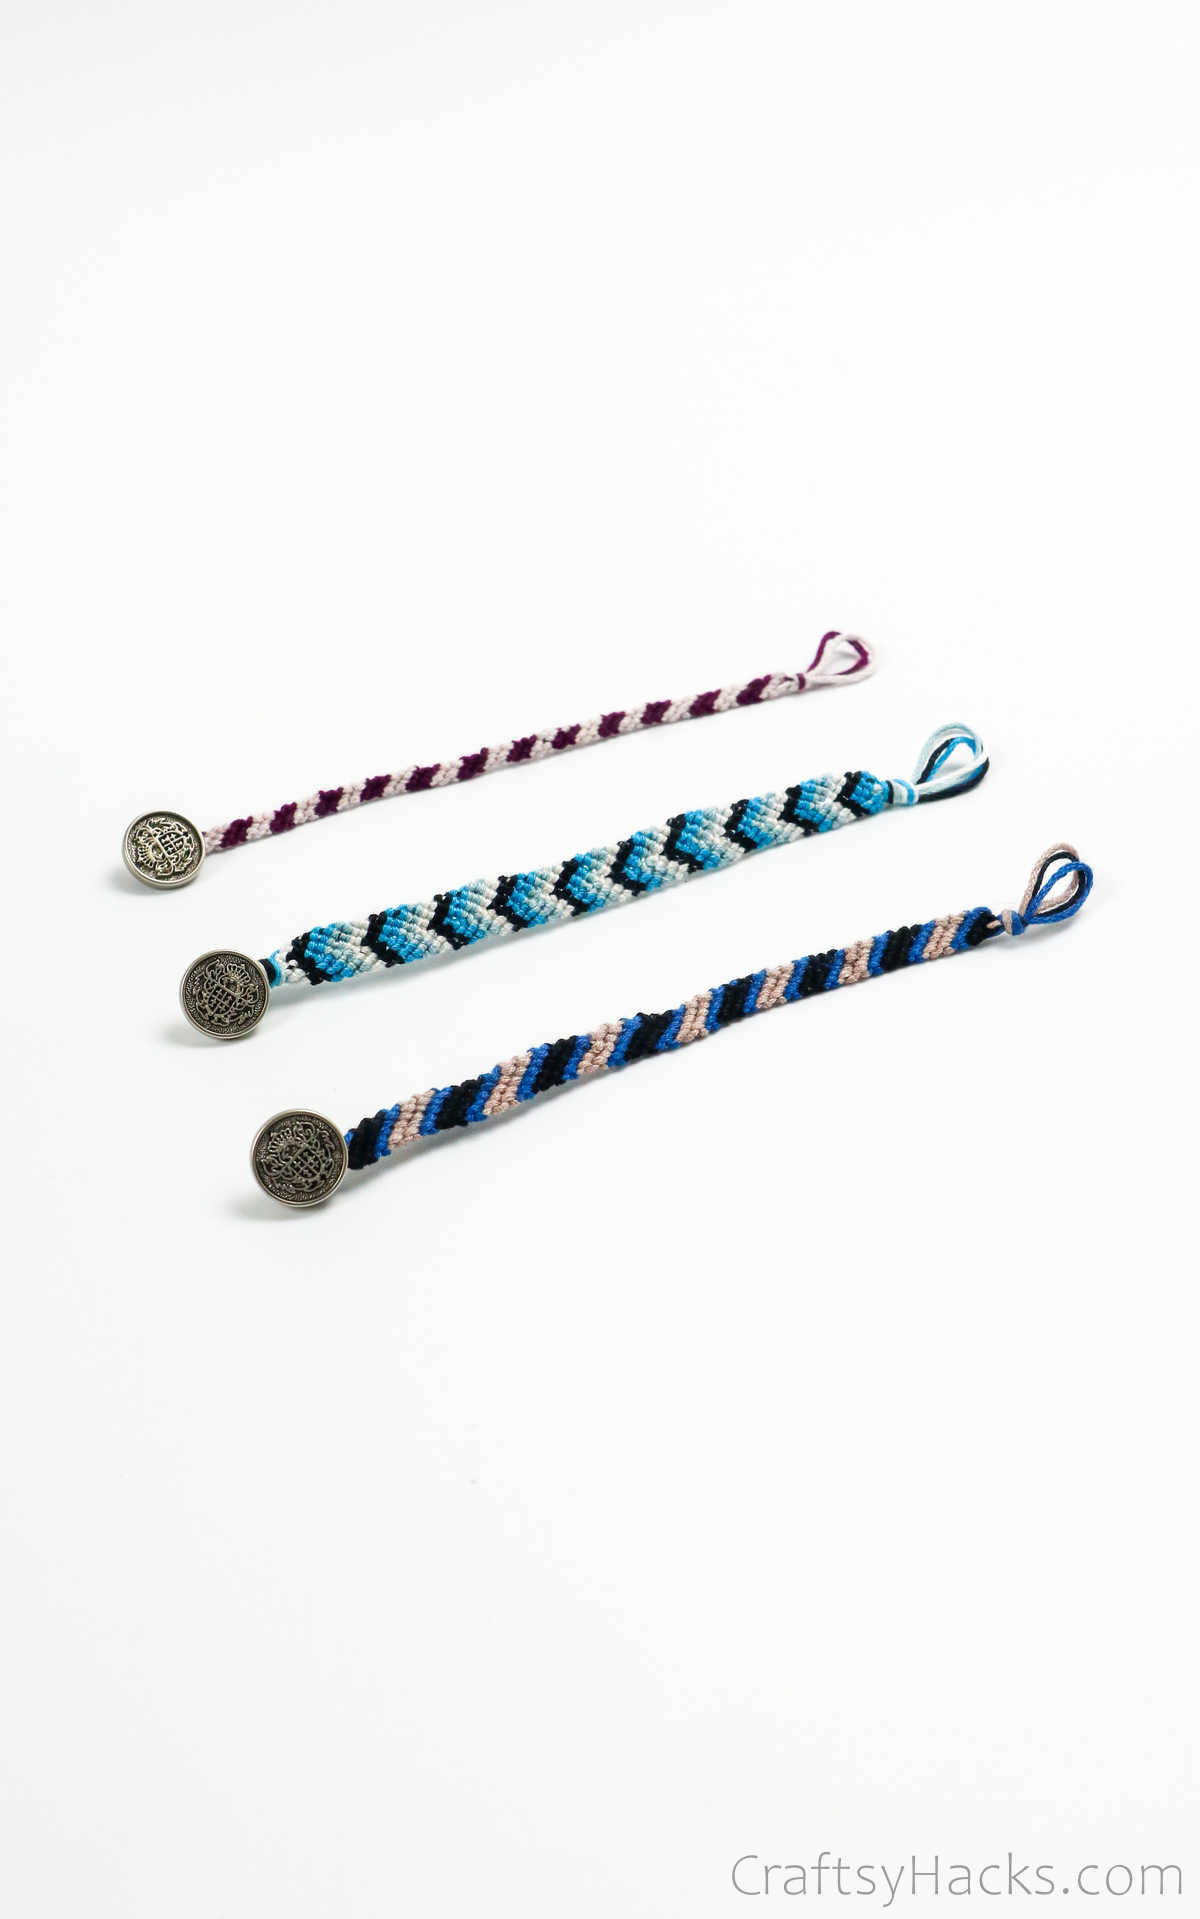
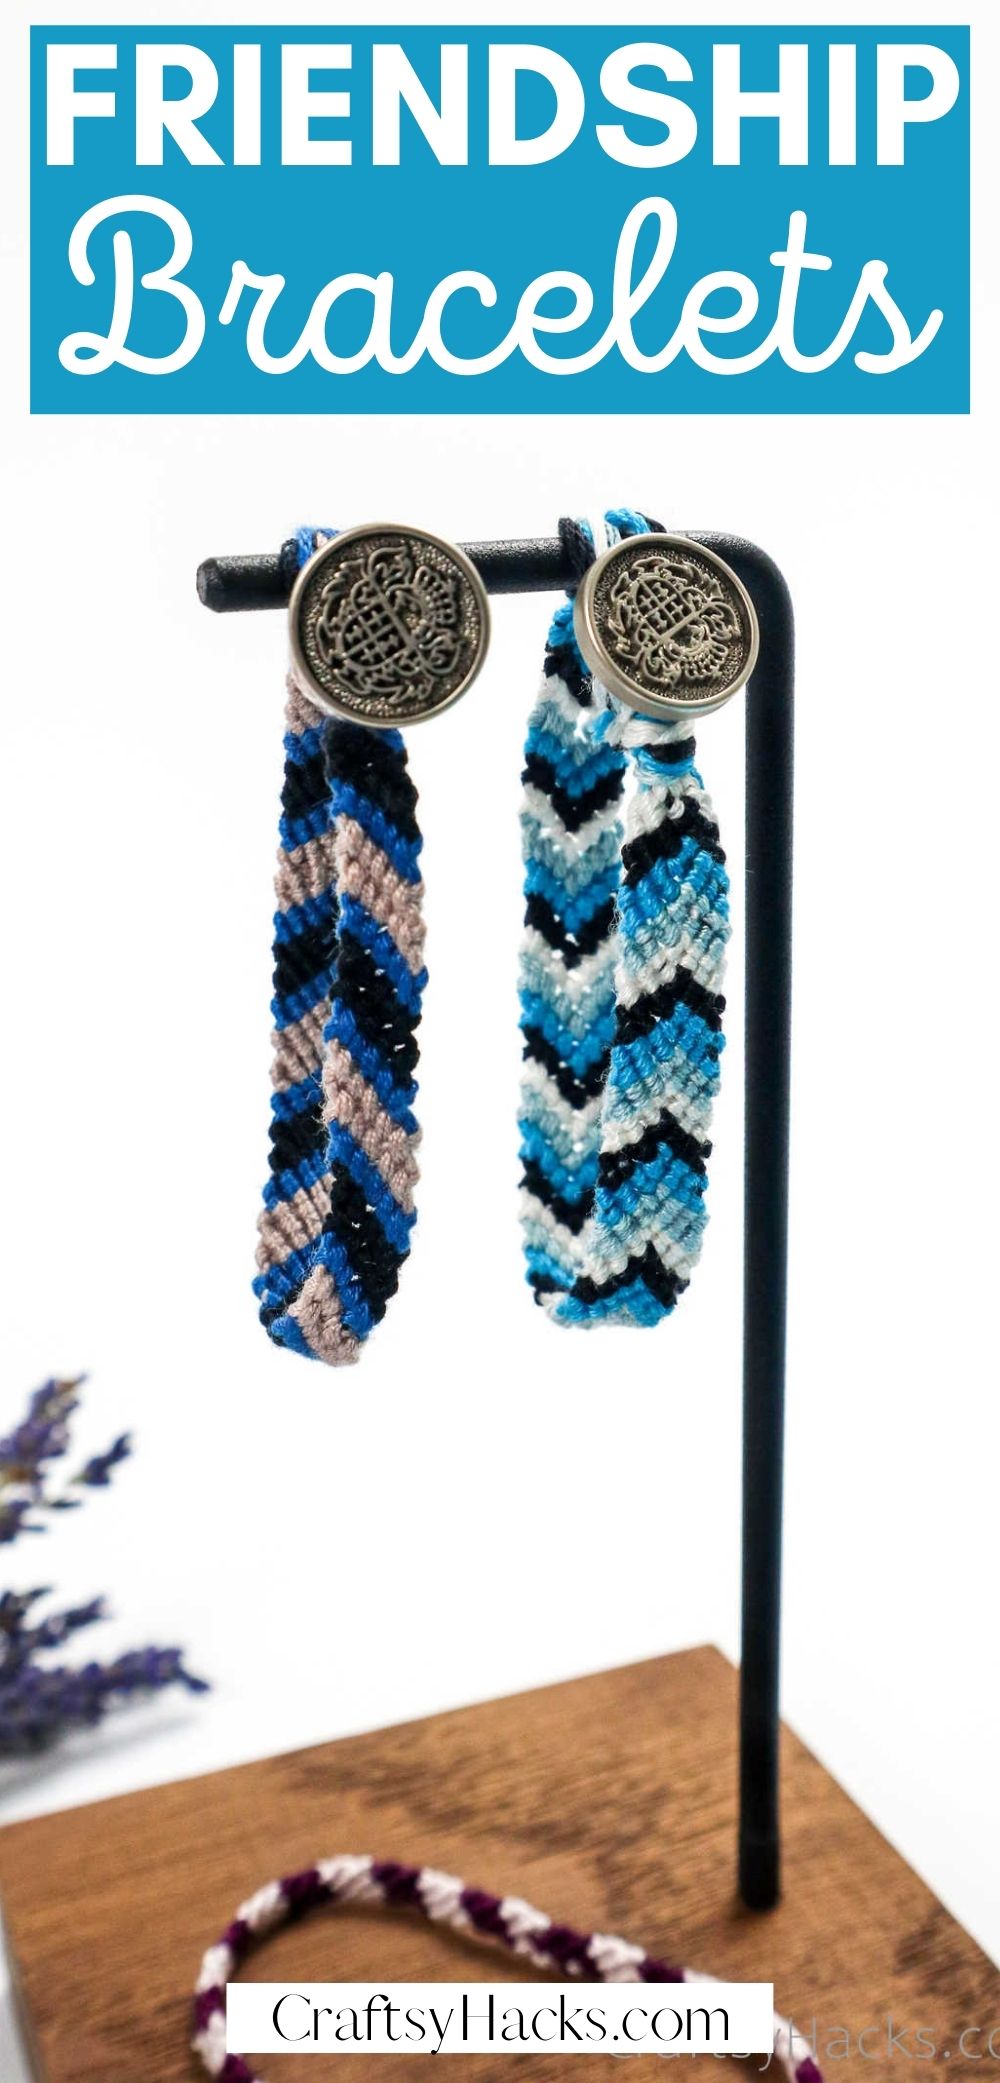
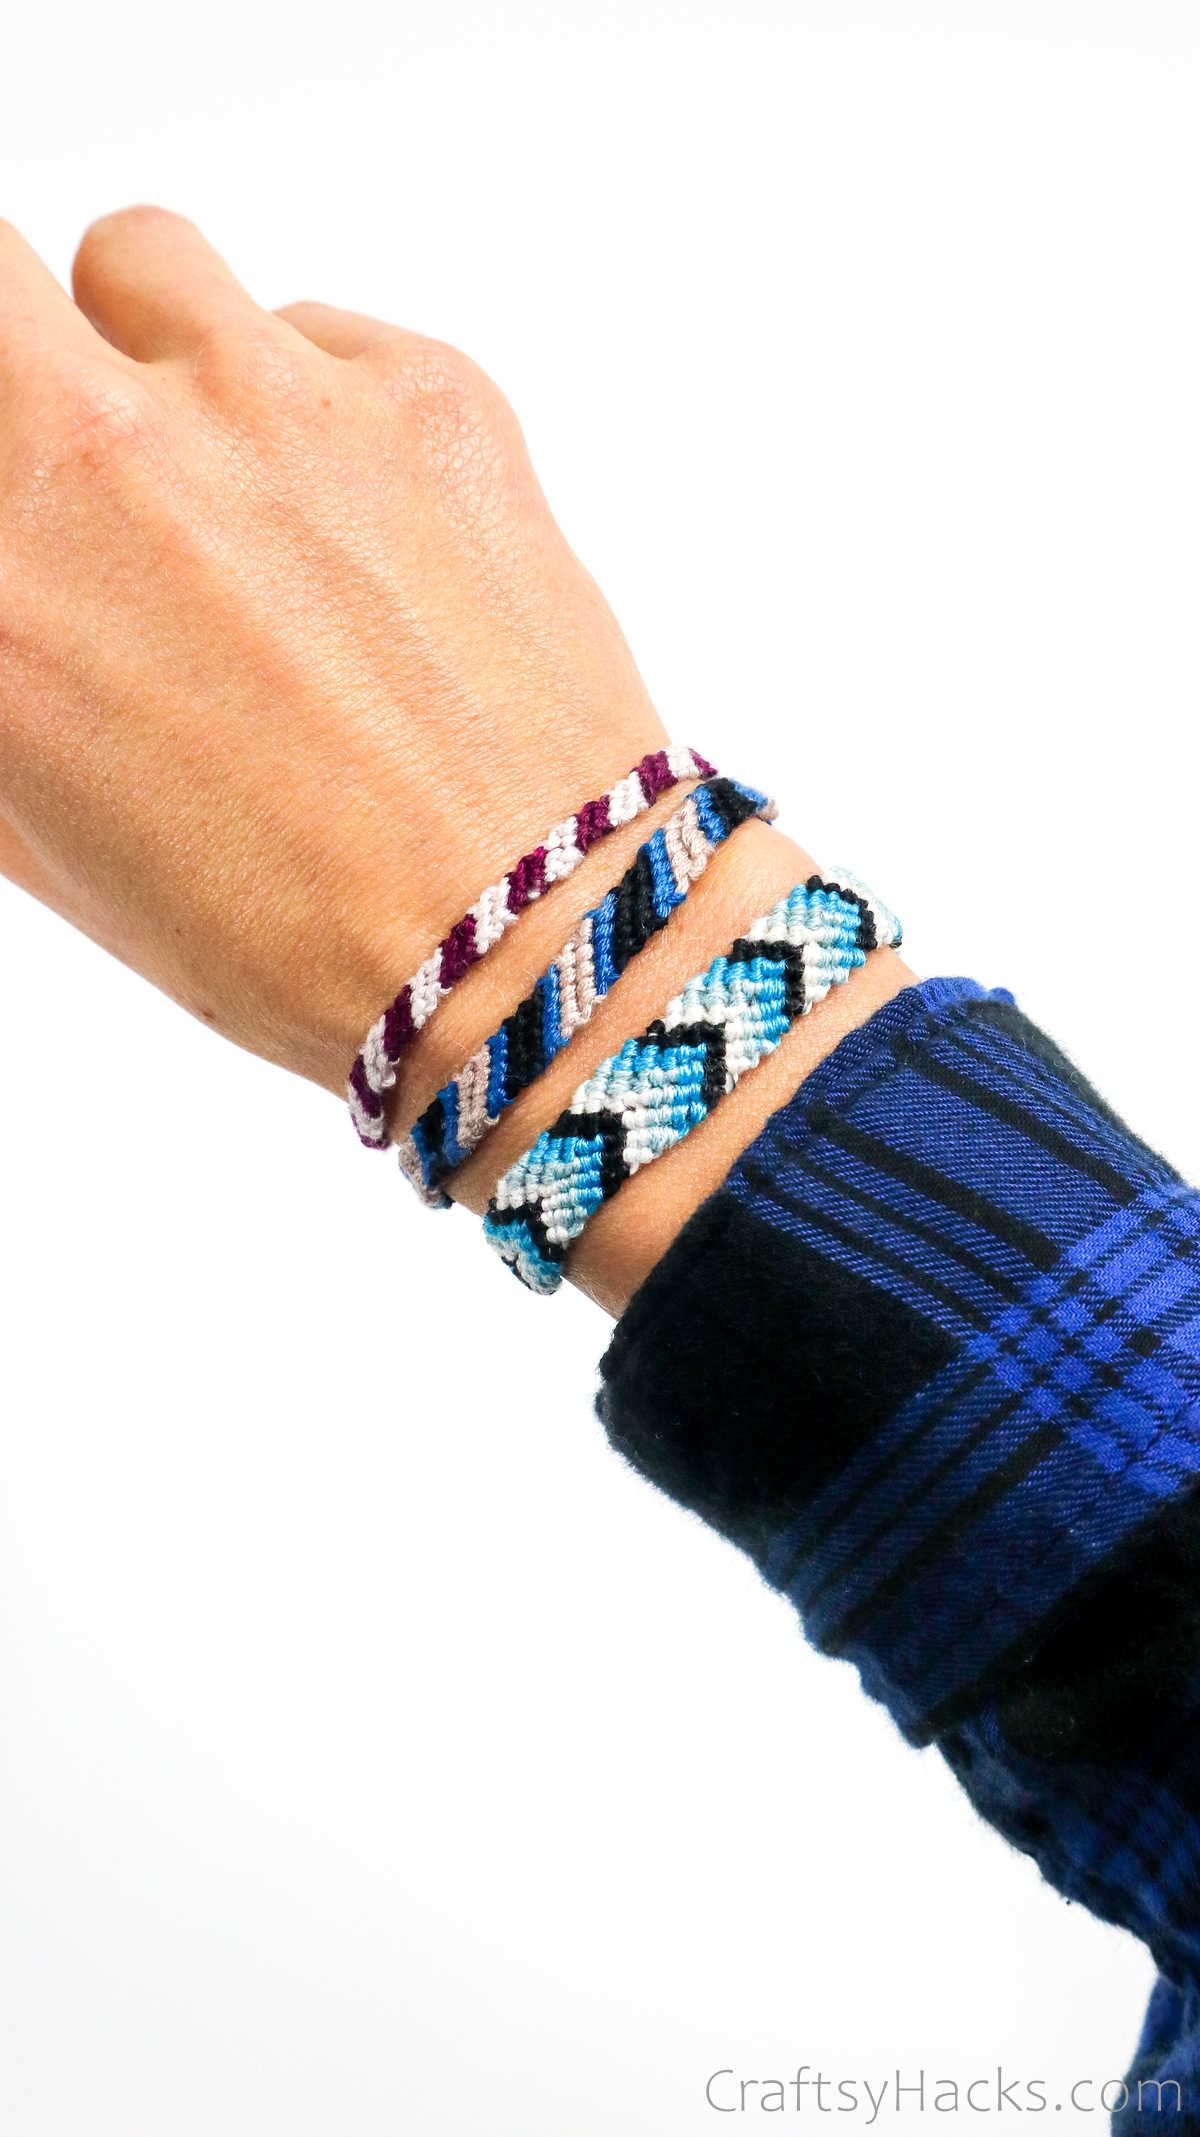
Learnhow to make friendship braceletsin 2 different methods.
This is a perfect DIY project for teens and adults.
Theres something so fundamentally wholesome about DIY bracelets.
It brings to mind warm summer afternoons when we were just tweens, doesnt it?
Friendship bracelets made out of embroidery floss wasisan all-time favorite.
How to Make a 3 String Friendship Bracelet?
Here is a full tutorial!
Step 2
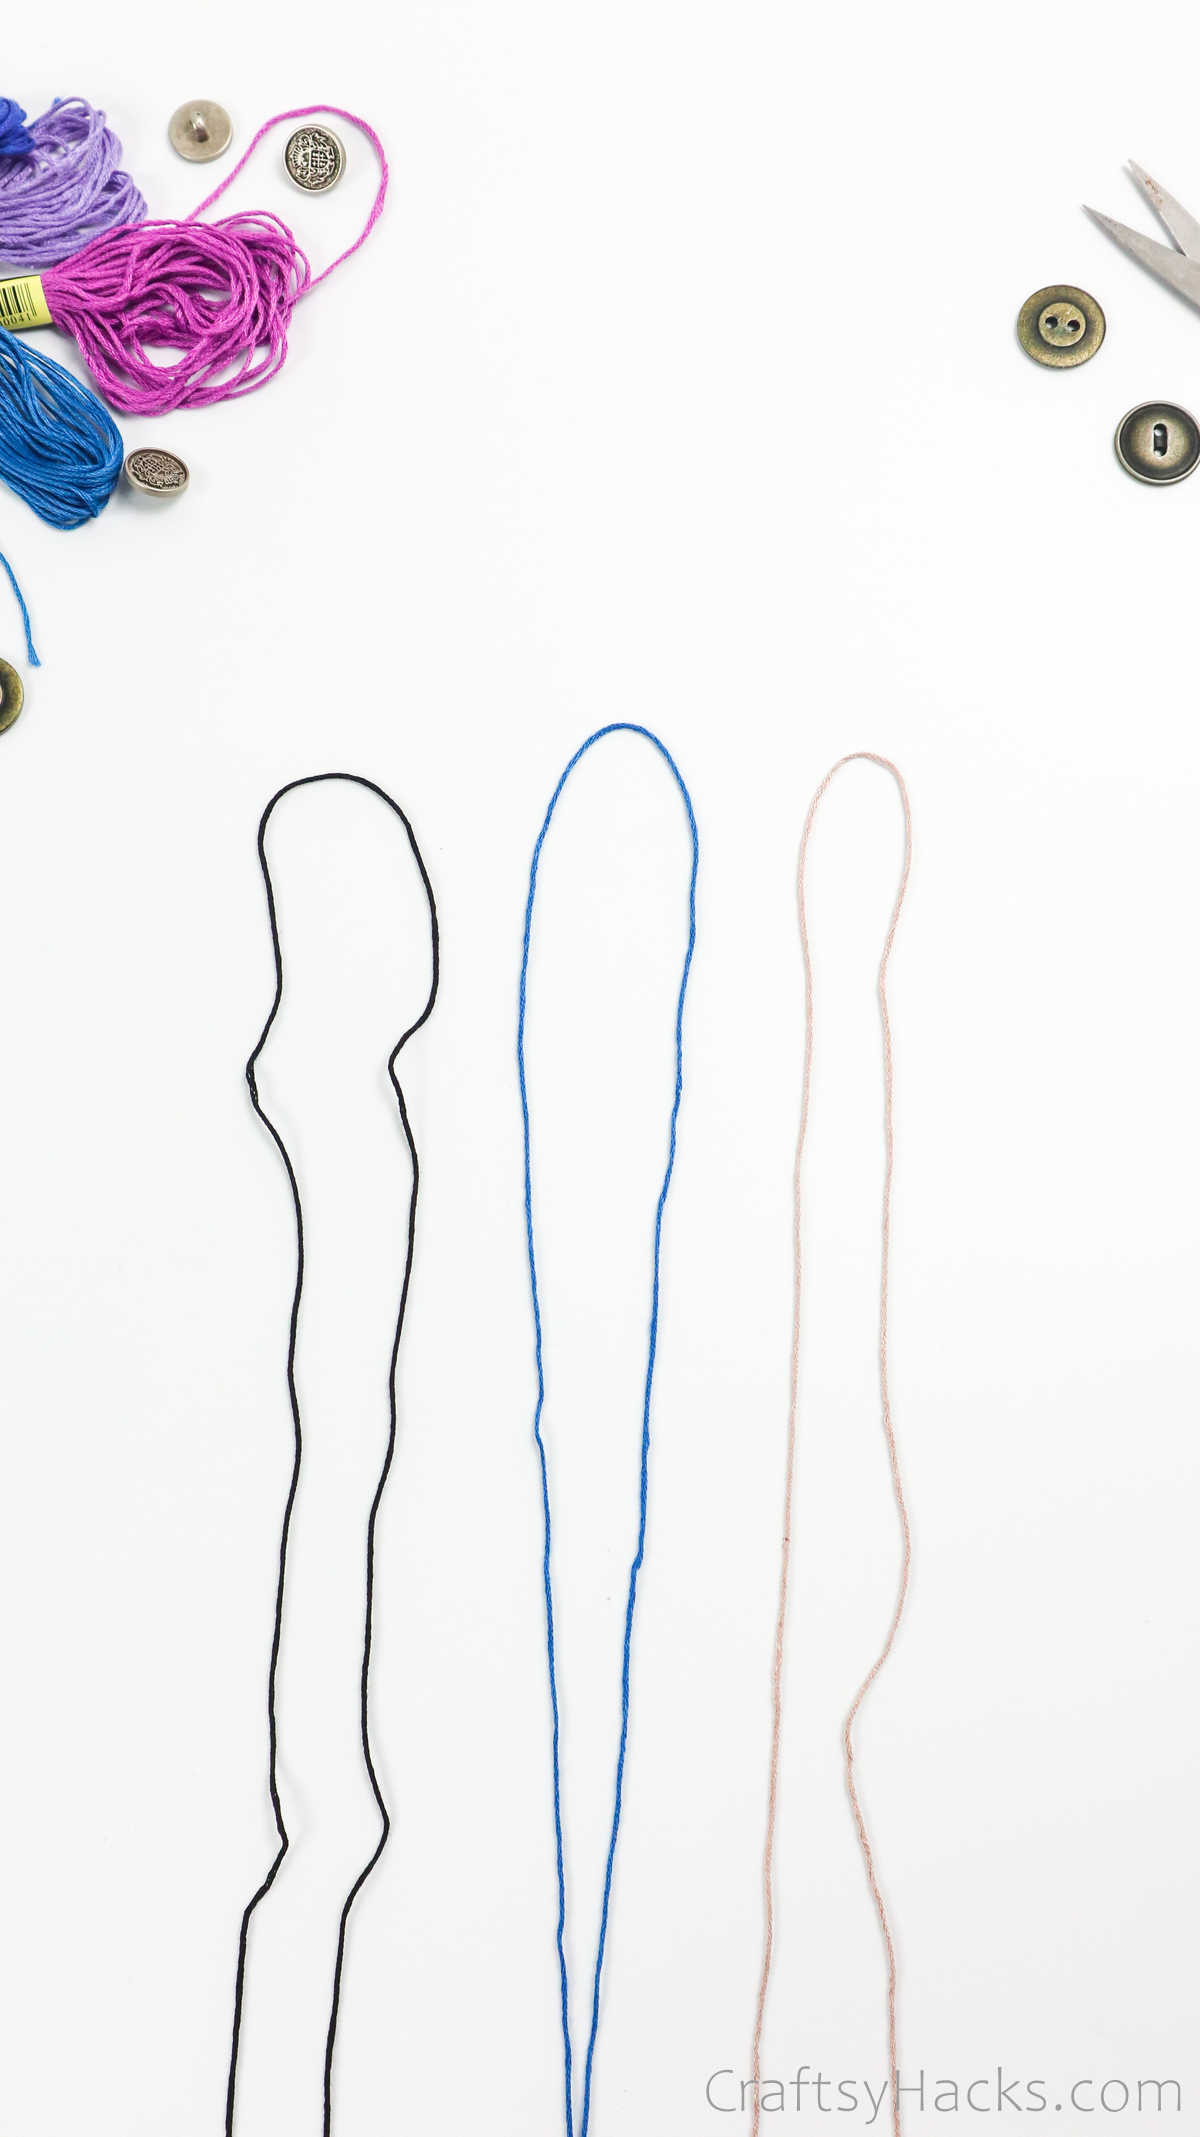
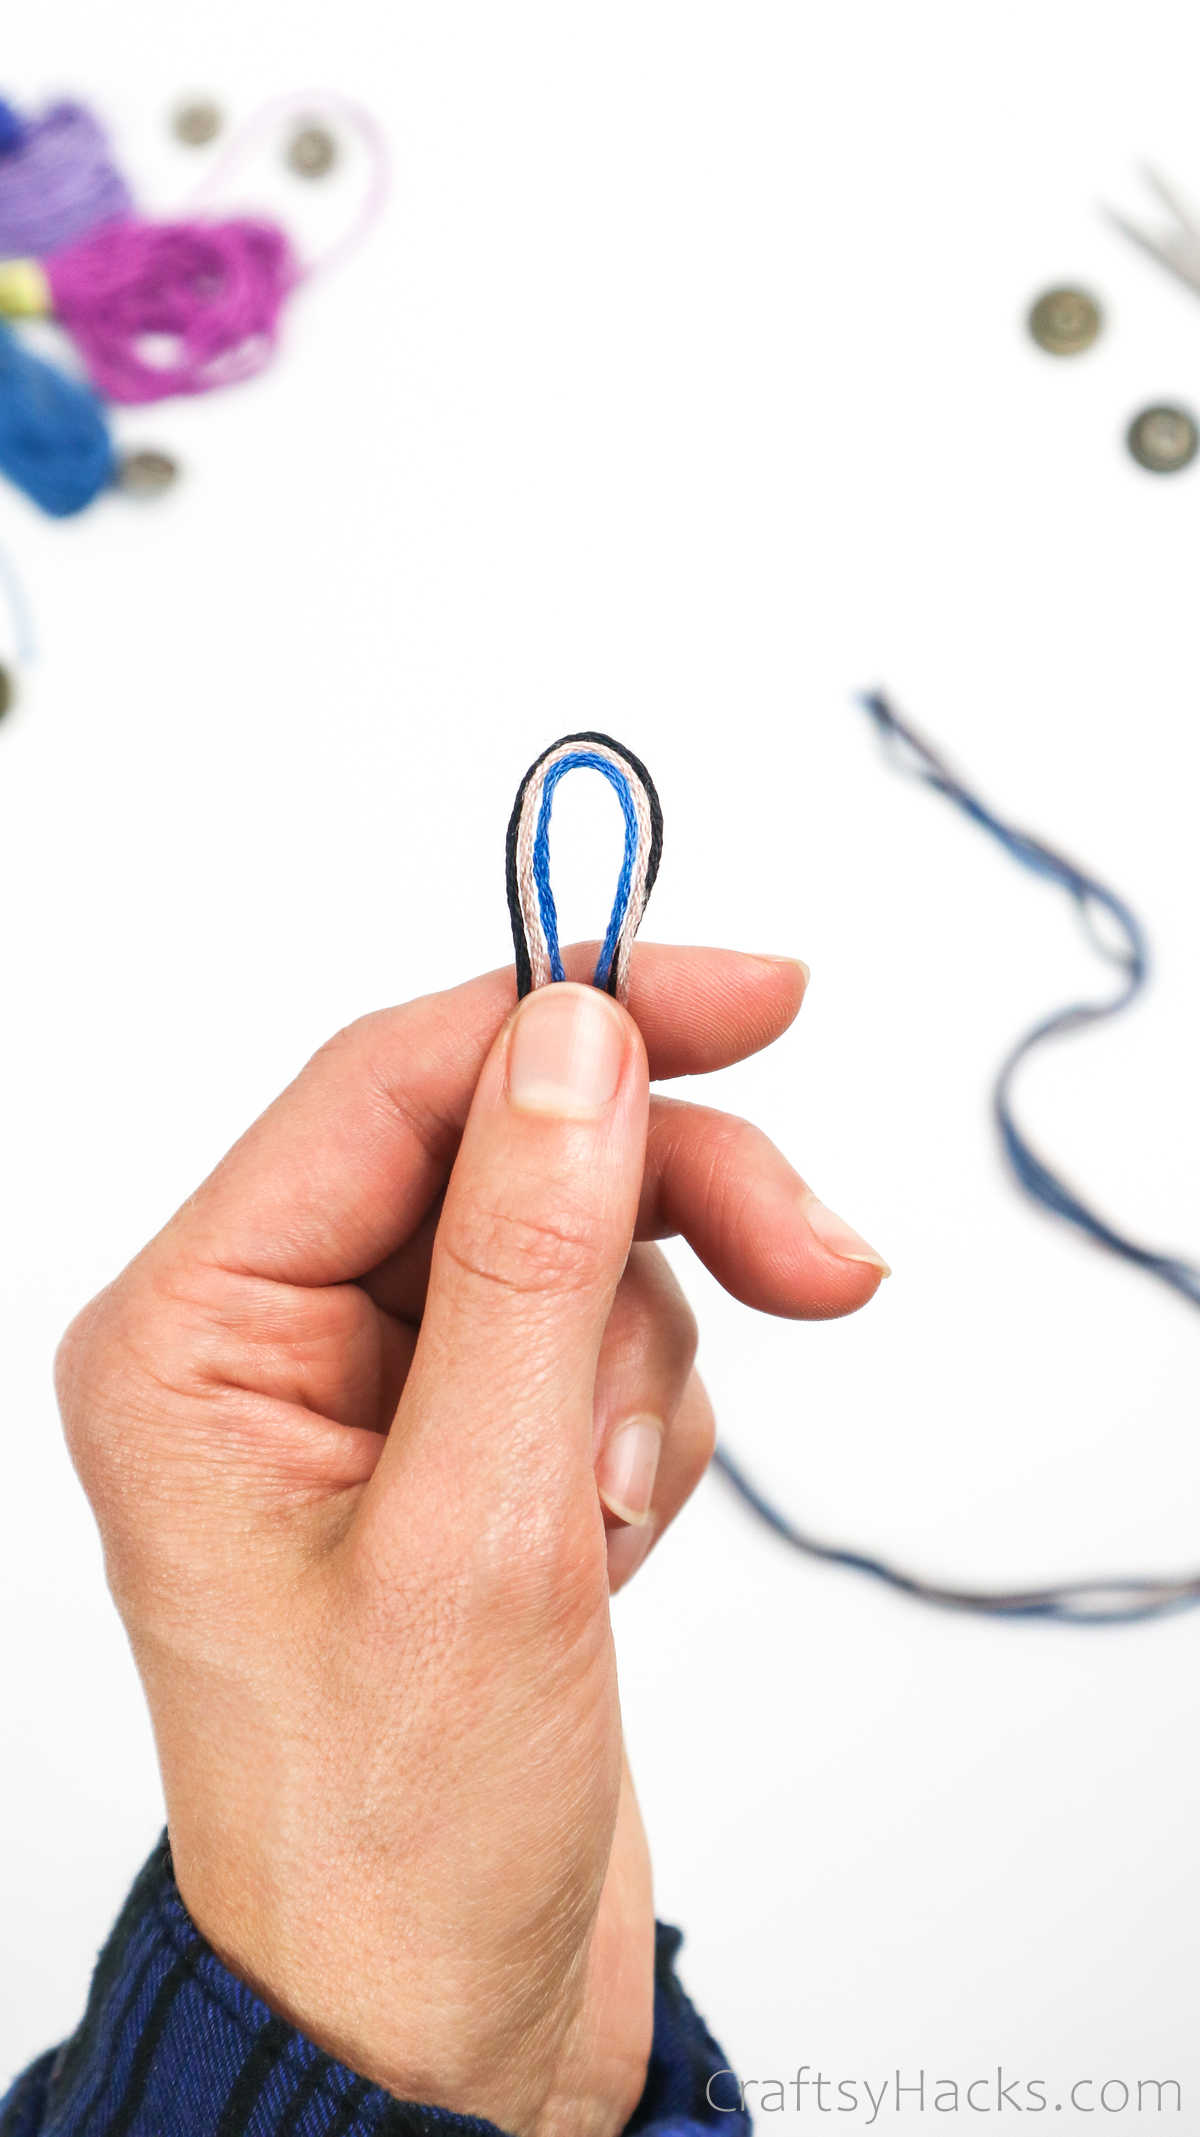
Fold the three cords in half and form a loop at the top.
Then, make a regular knot at the top, about half an inch from the loop.
Your knotted loop should look like this.
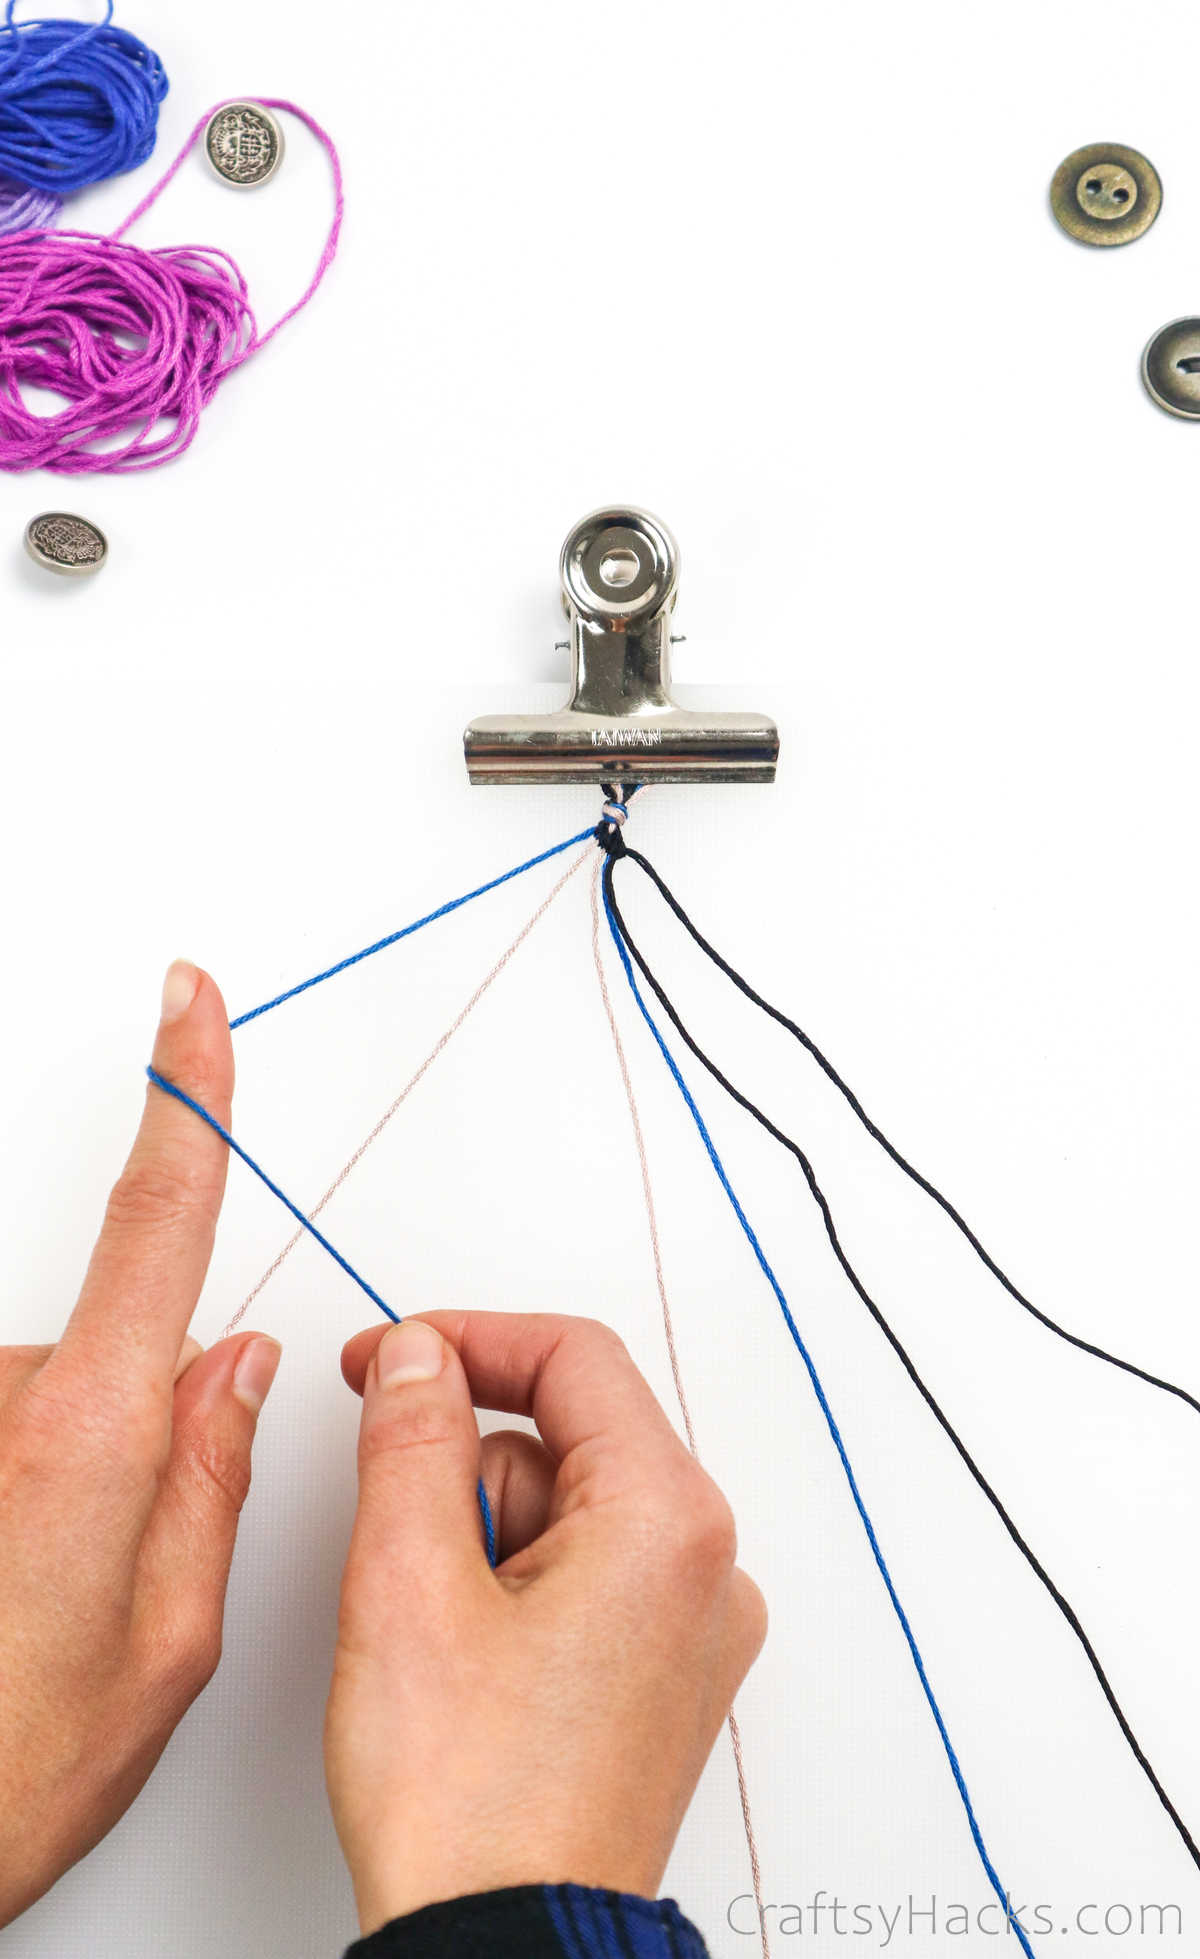
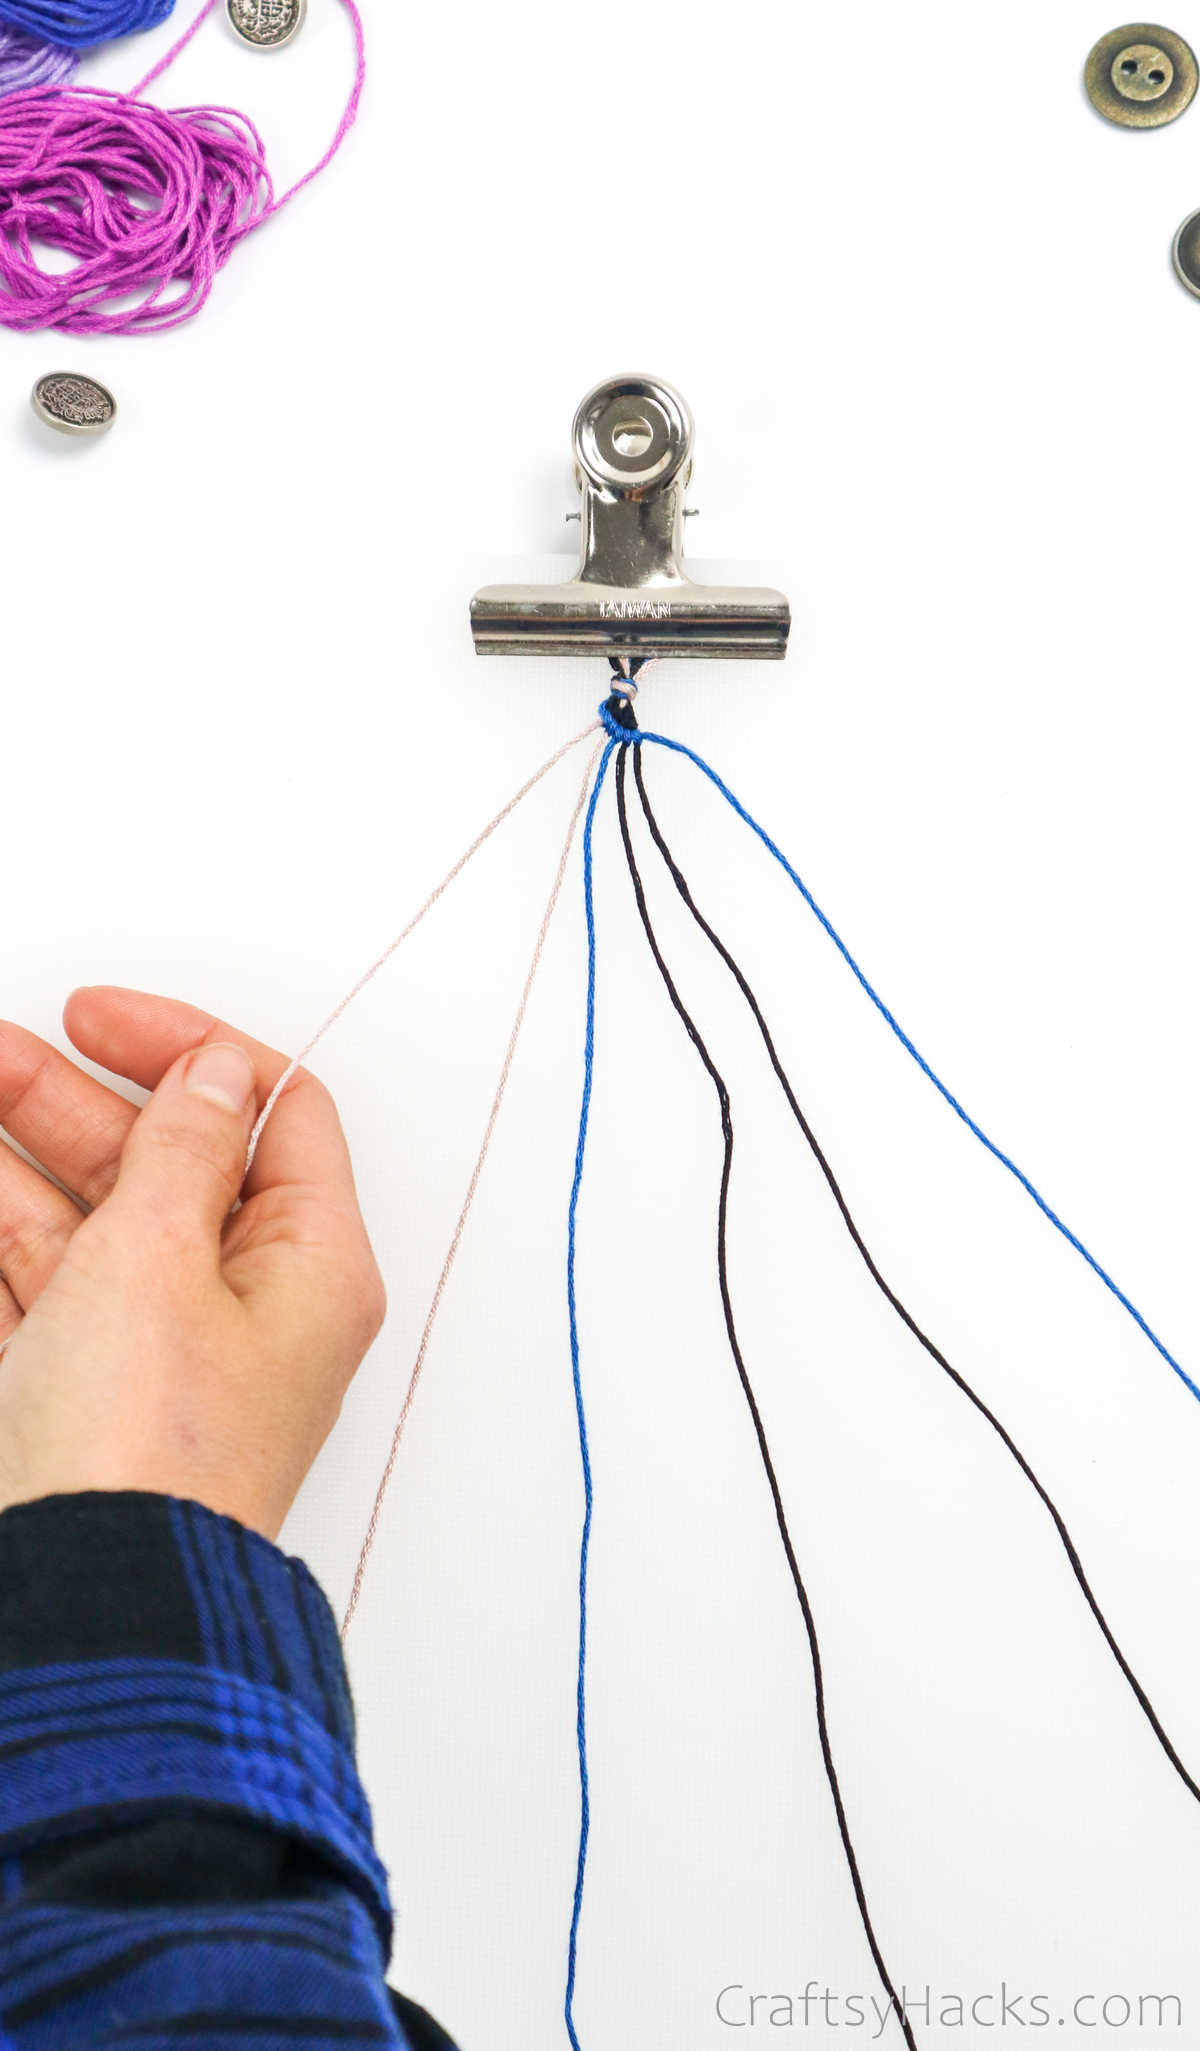
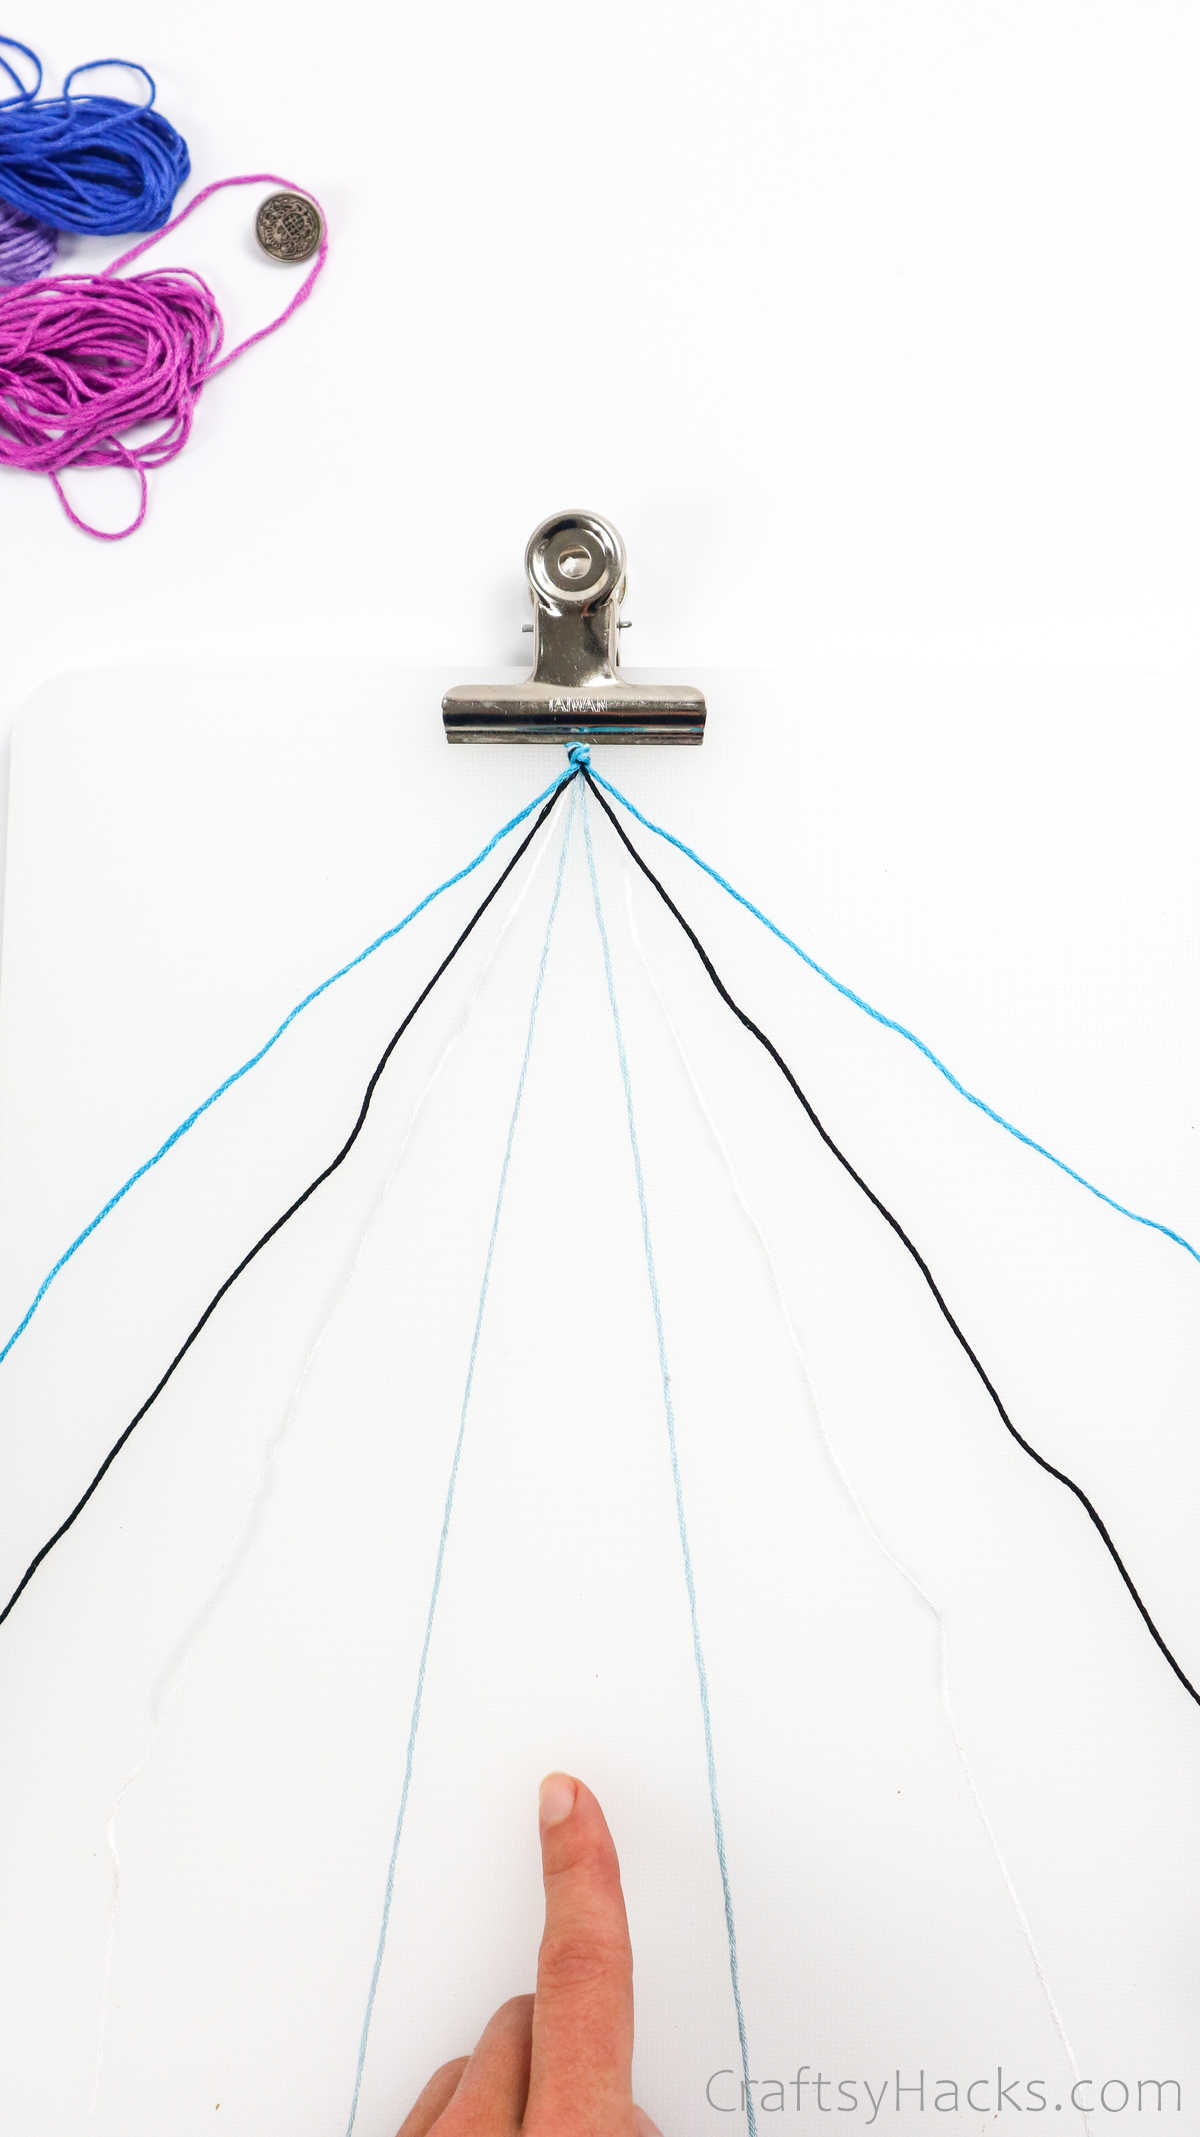
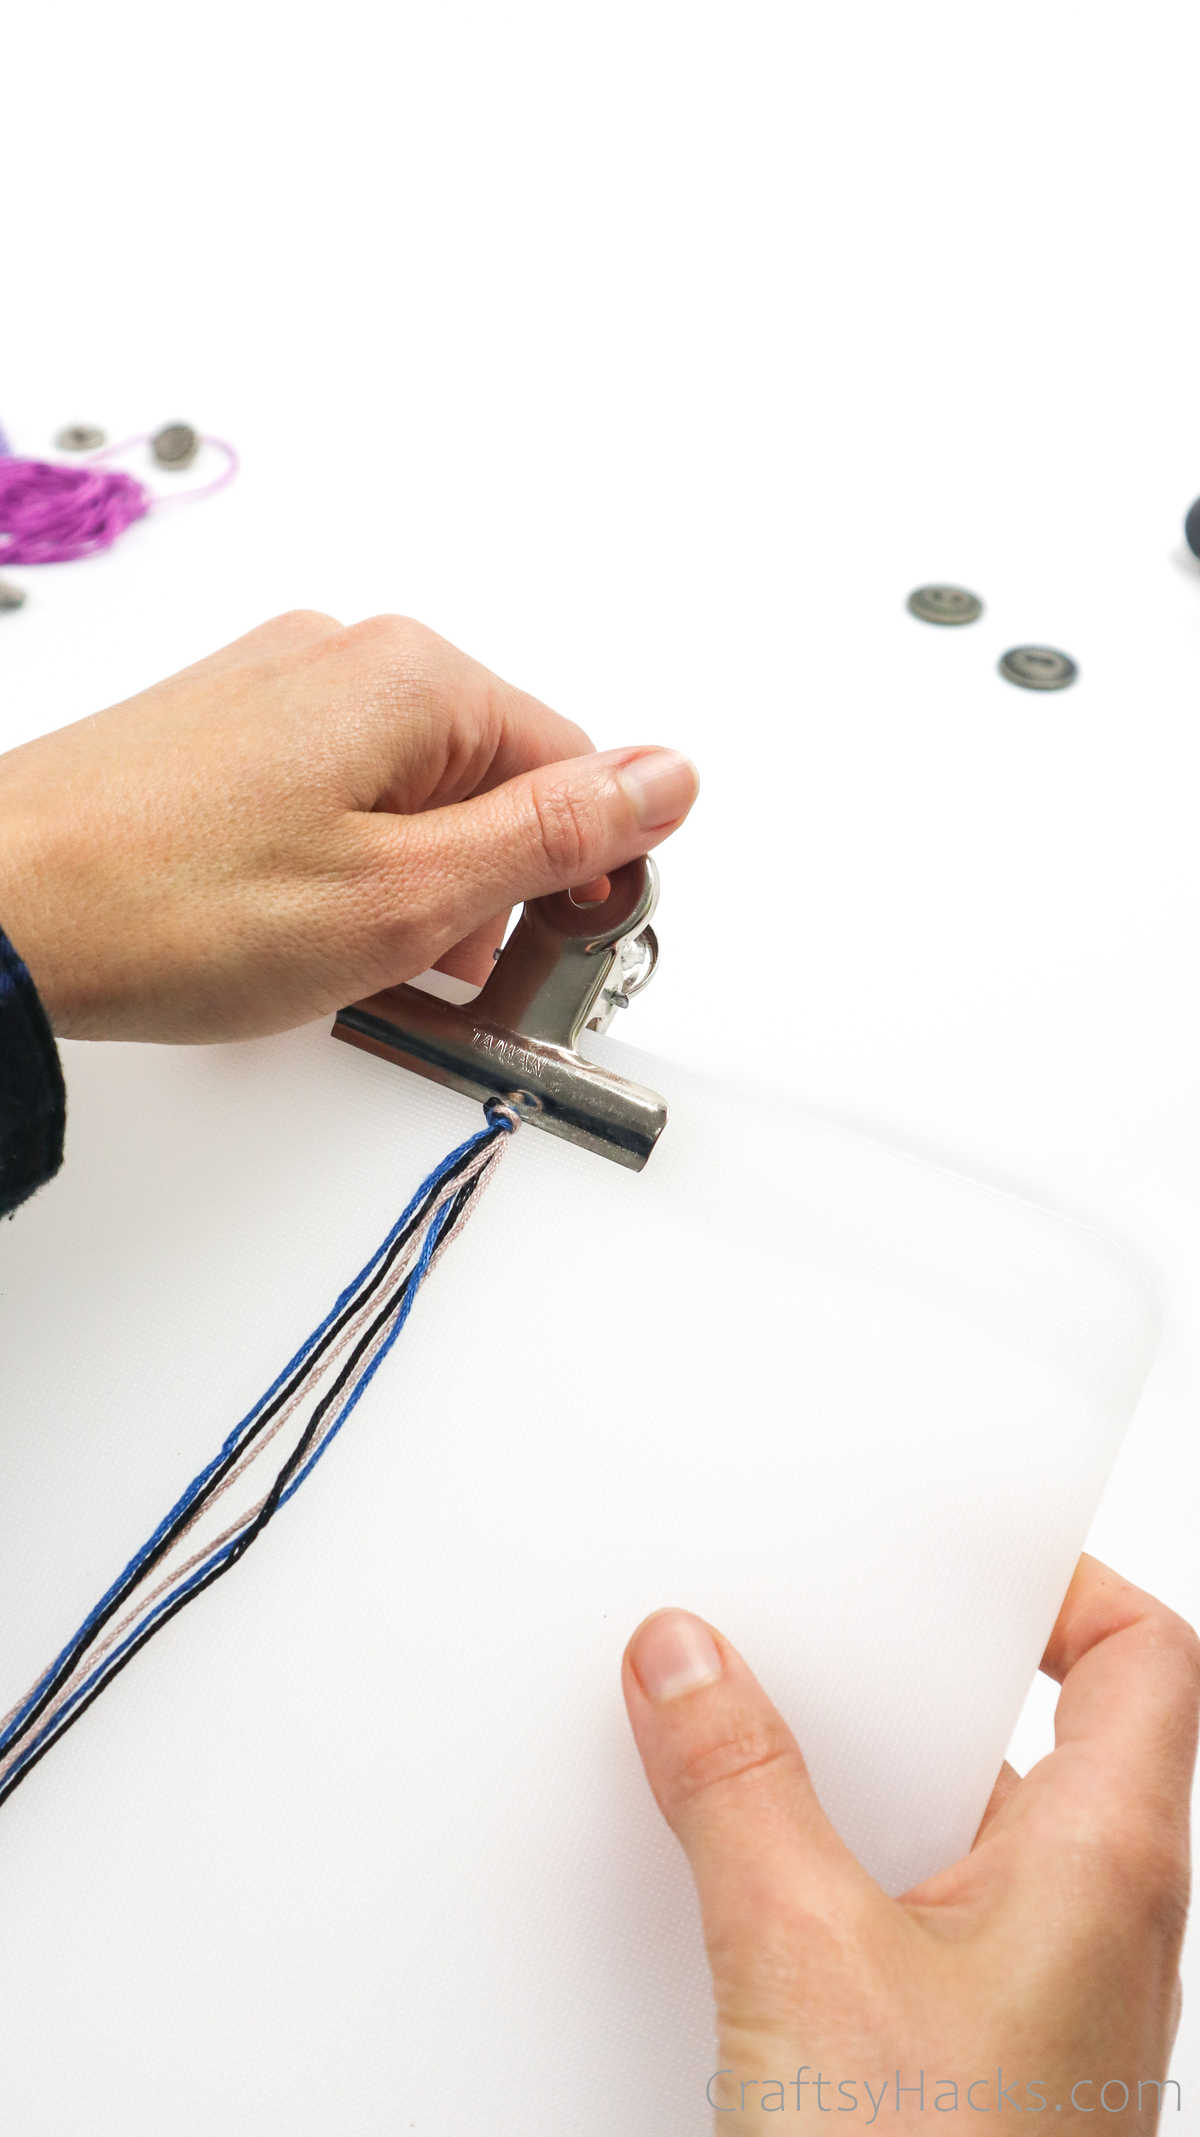
Step 3
You remember when you used exam pads back in school?
Well, grab one of those, with a clip at the top.
Carefully clip the threads in place, clasping the cords just above the knot.
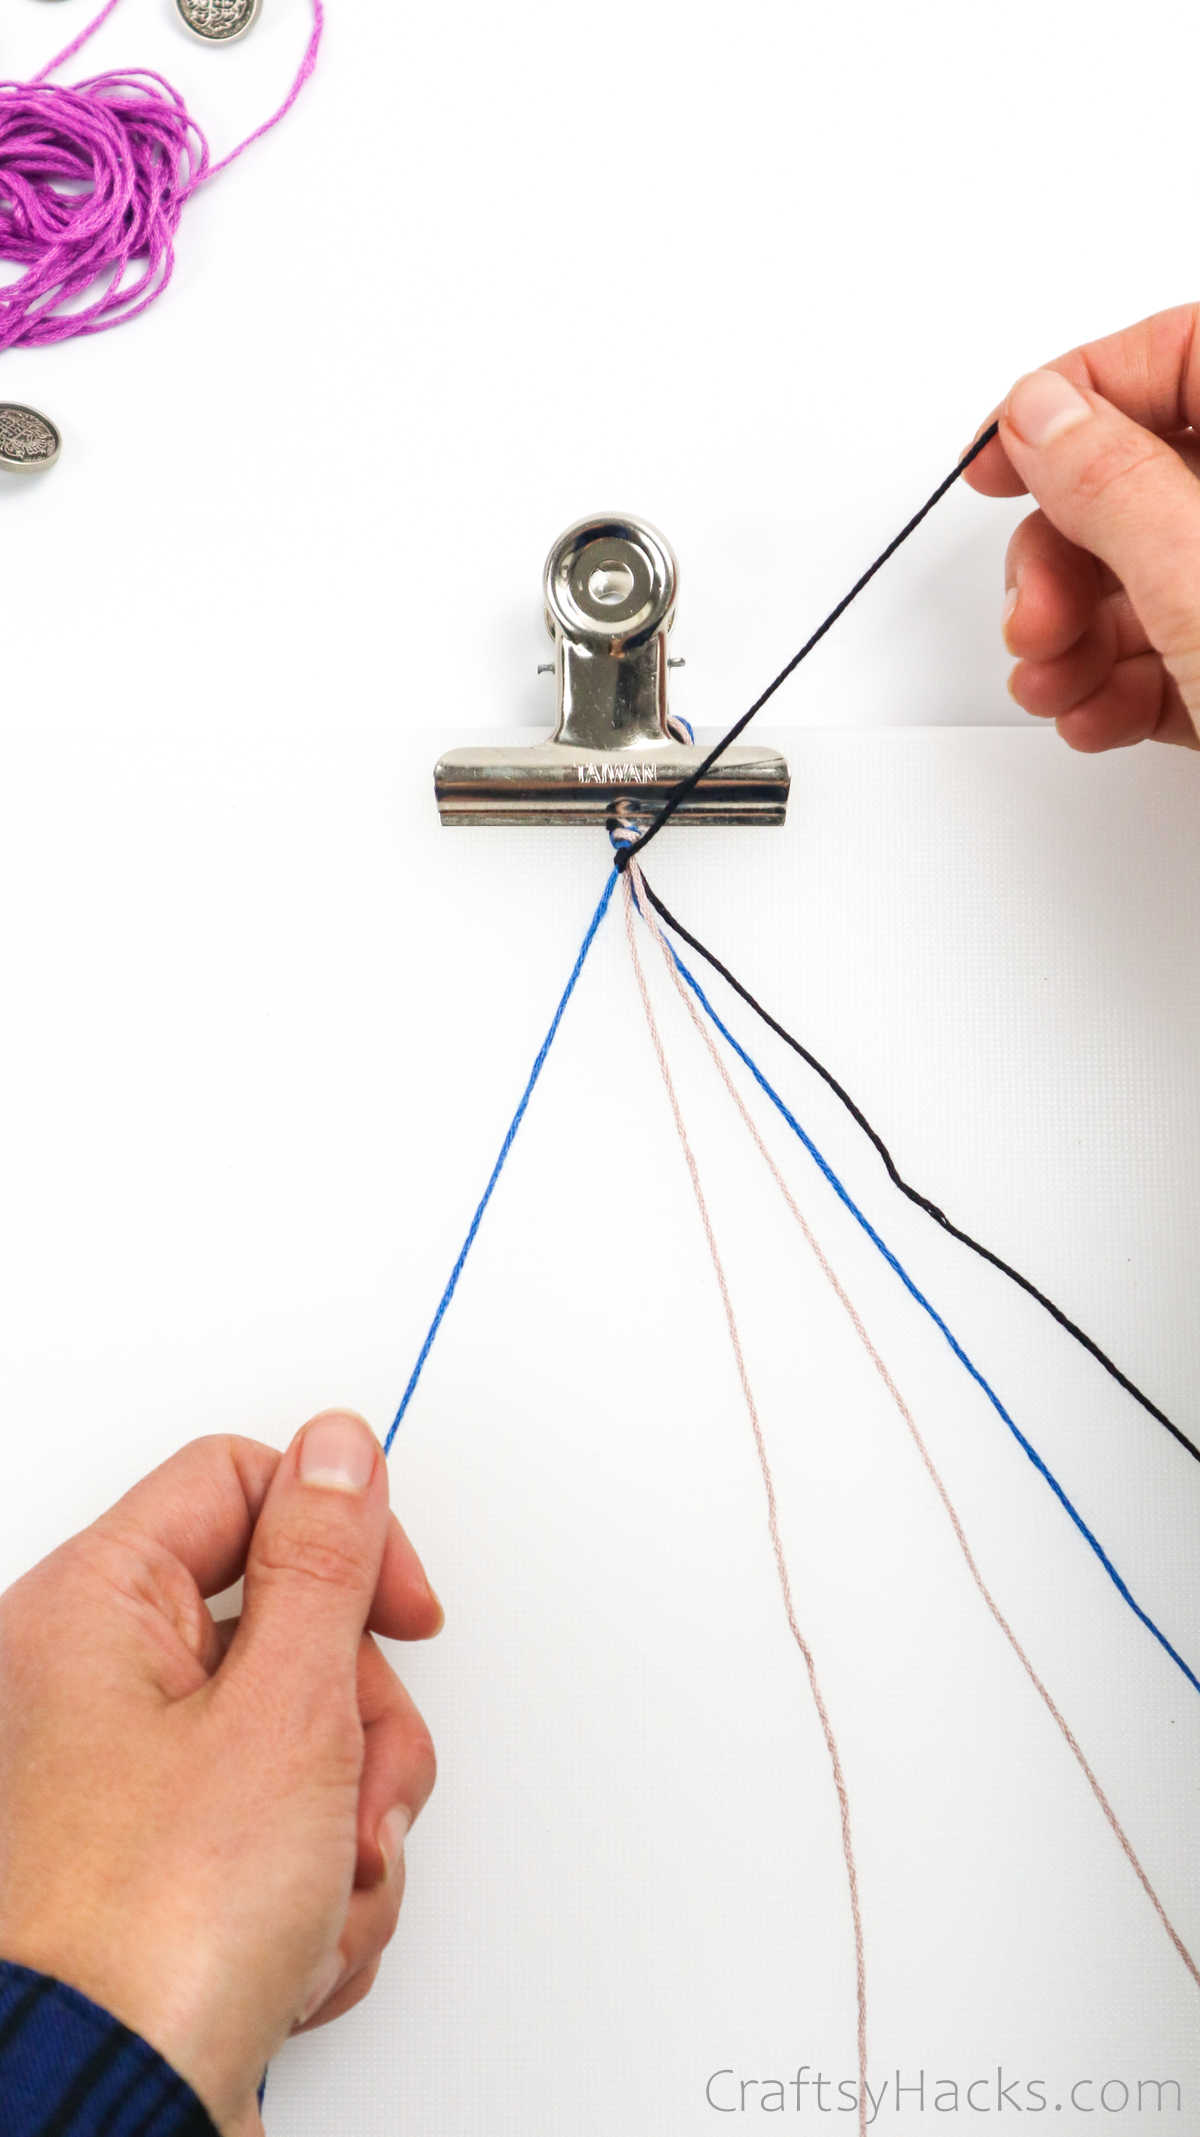
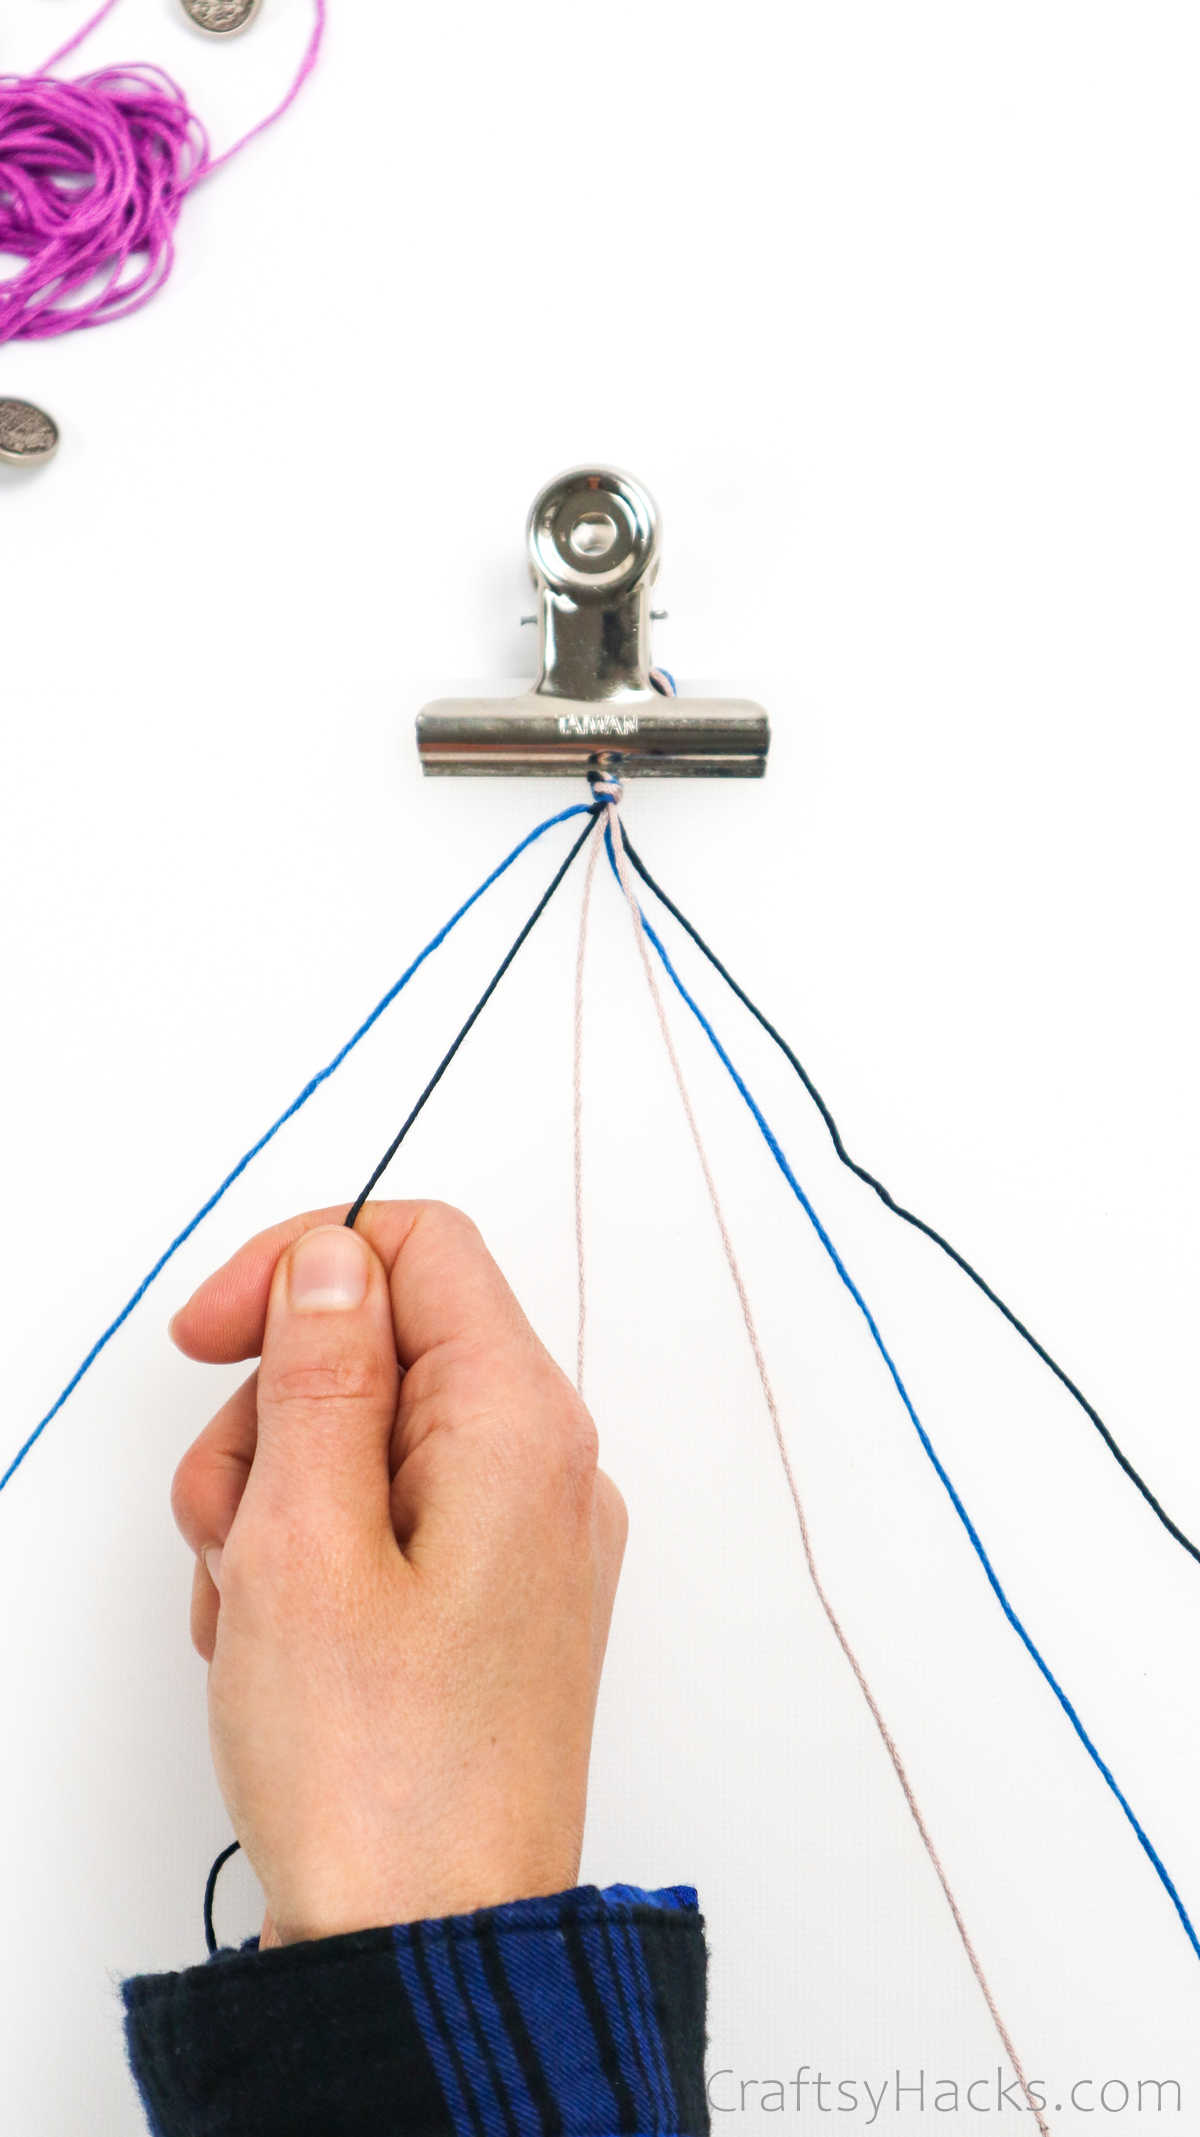
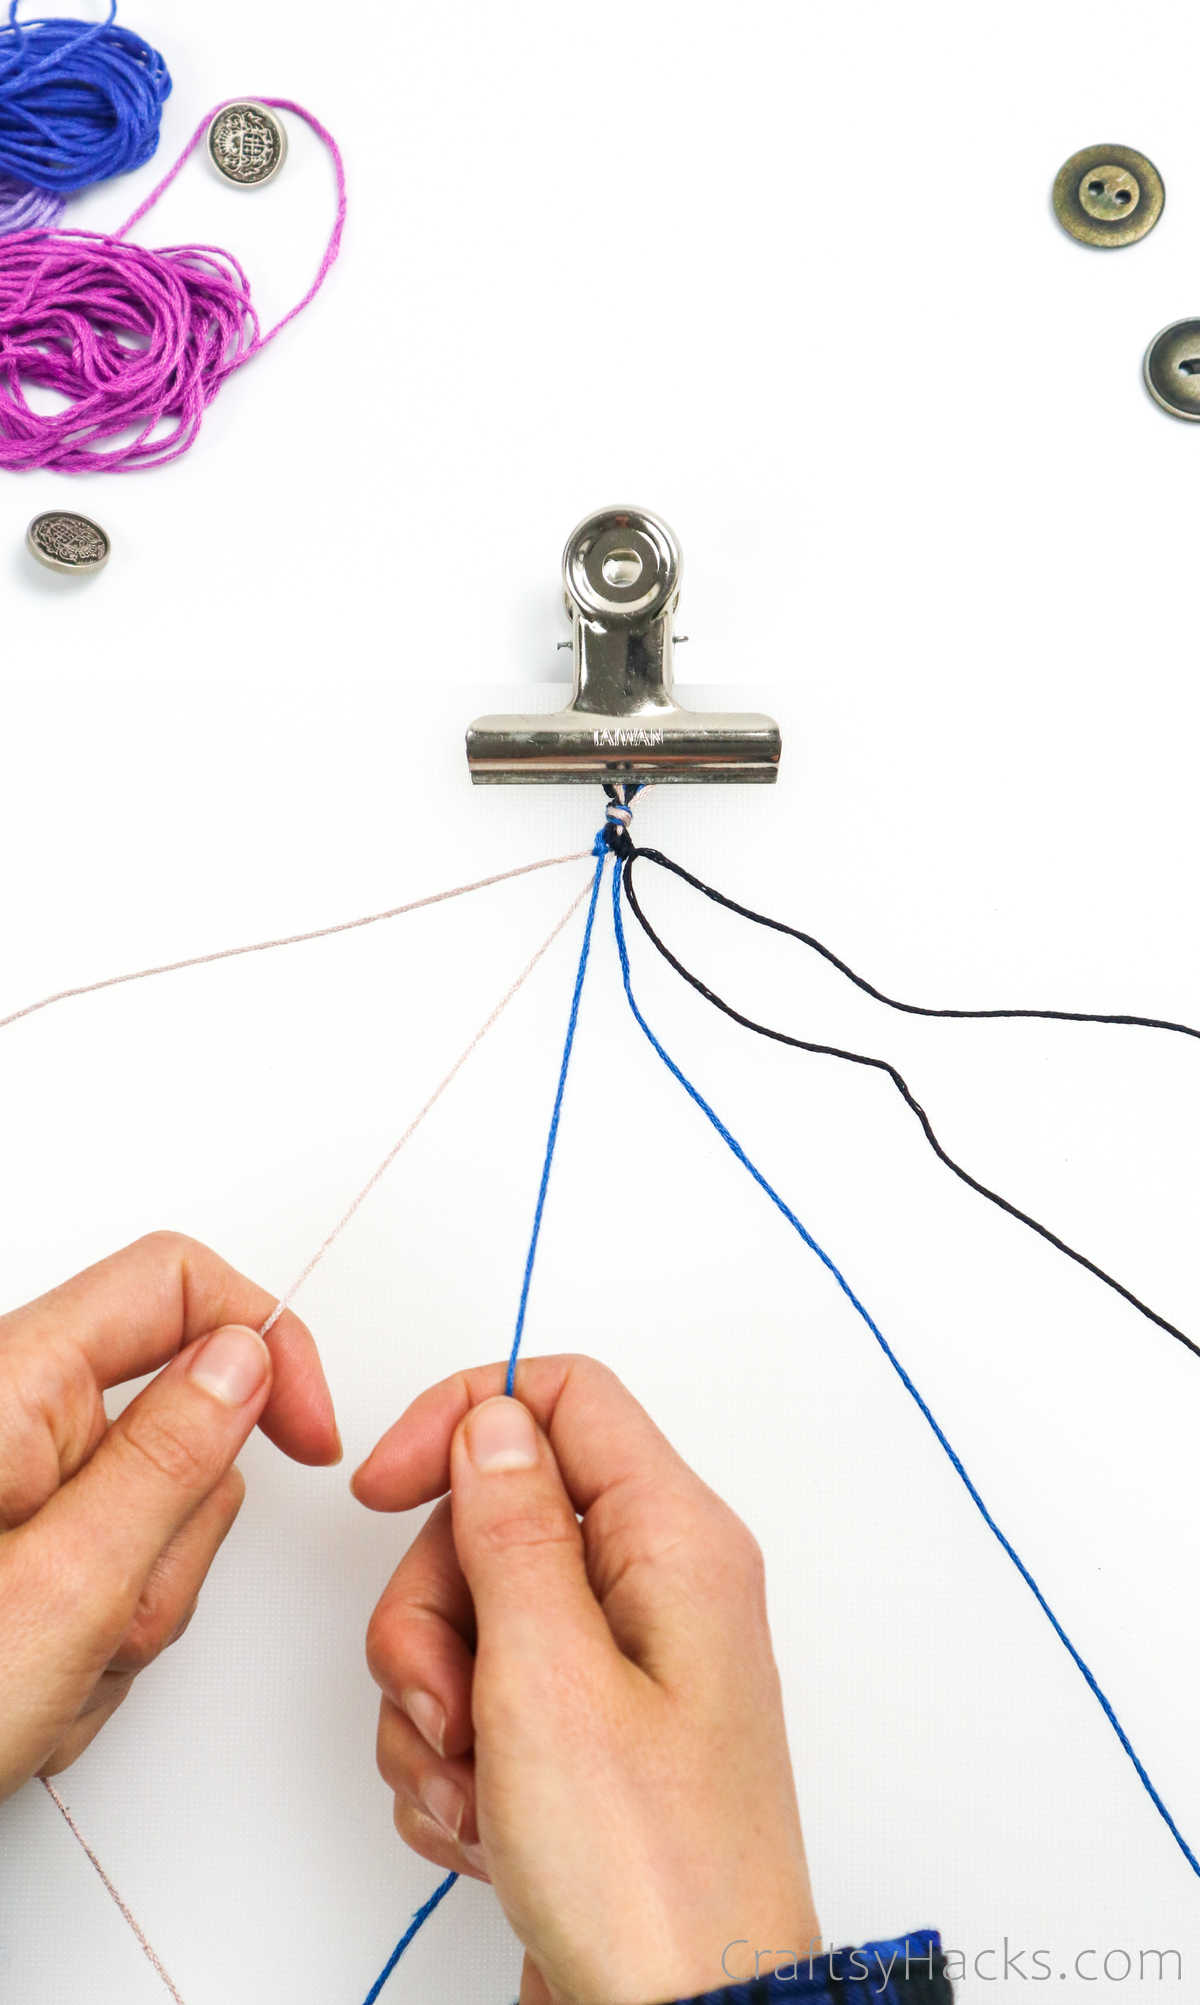
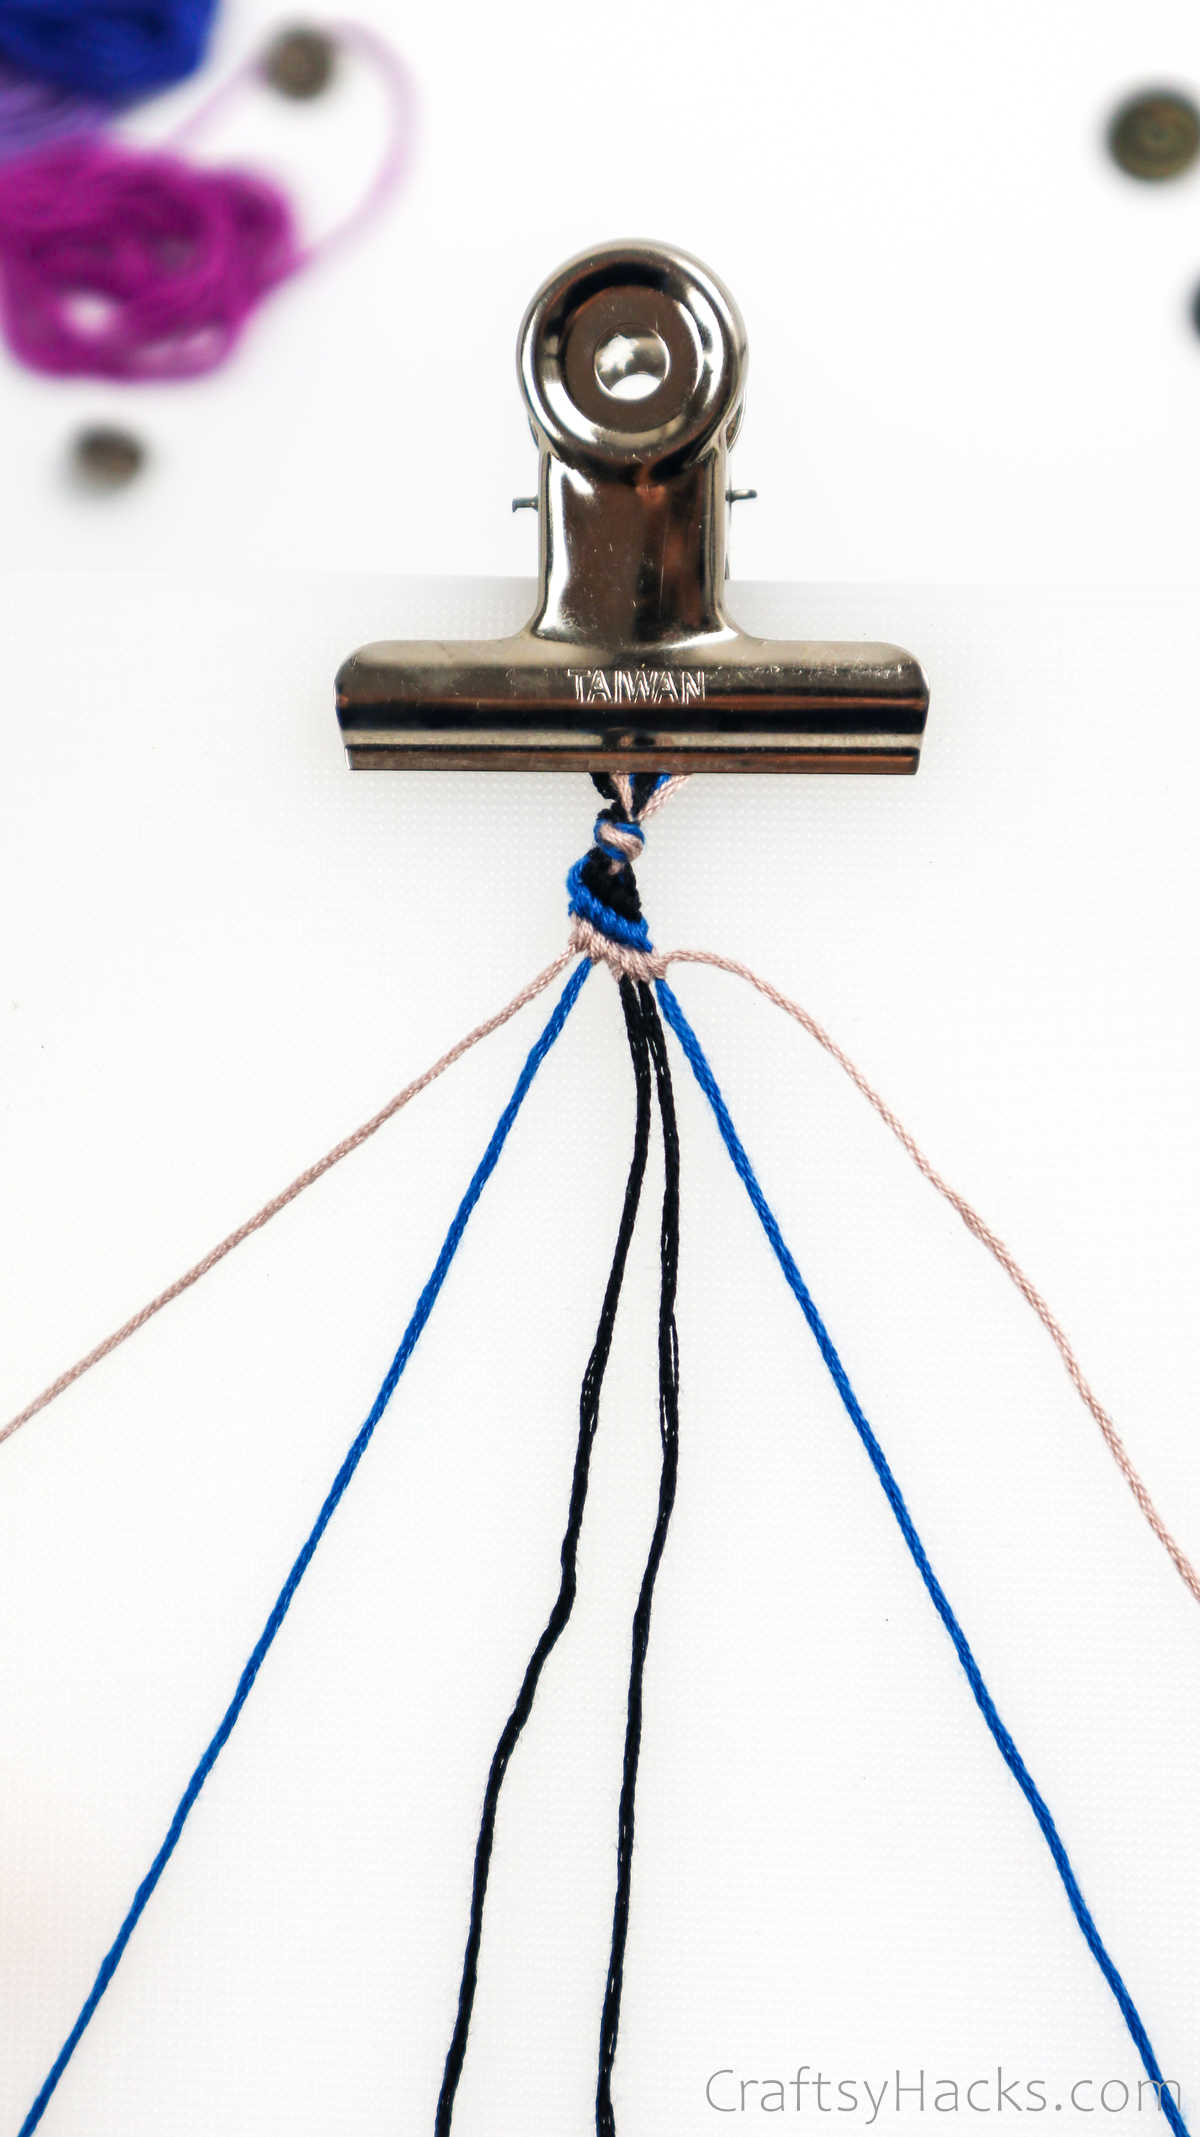
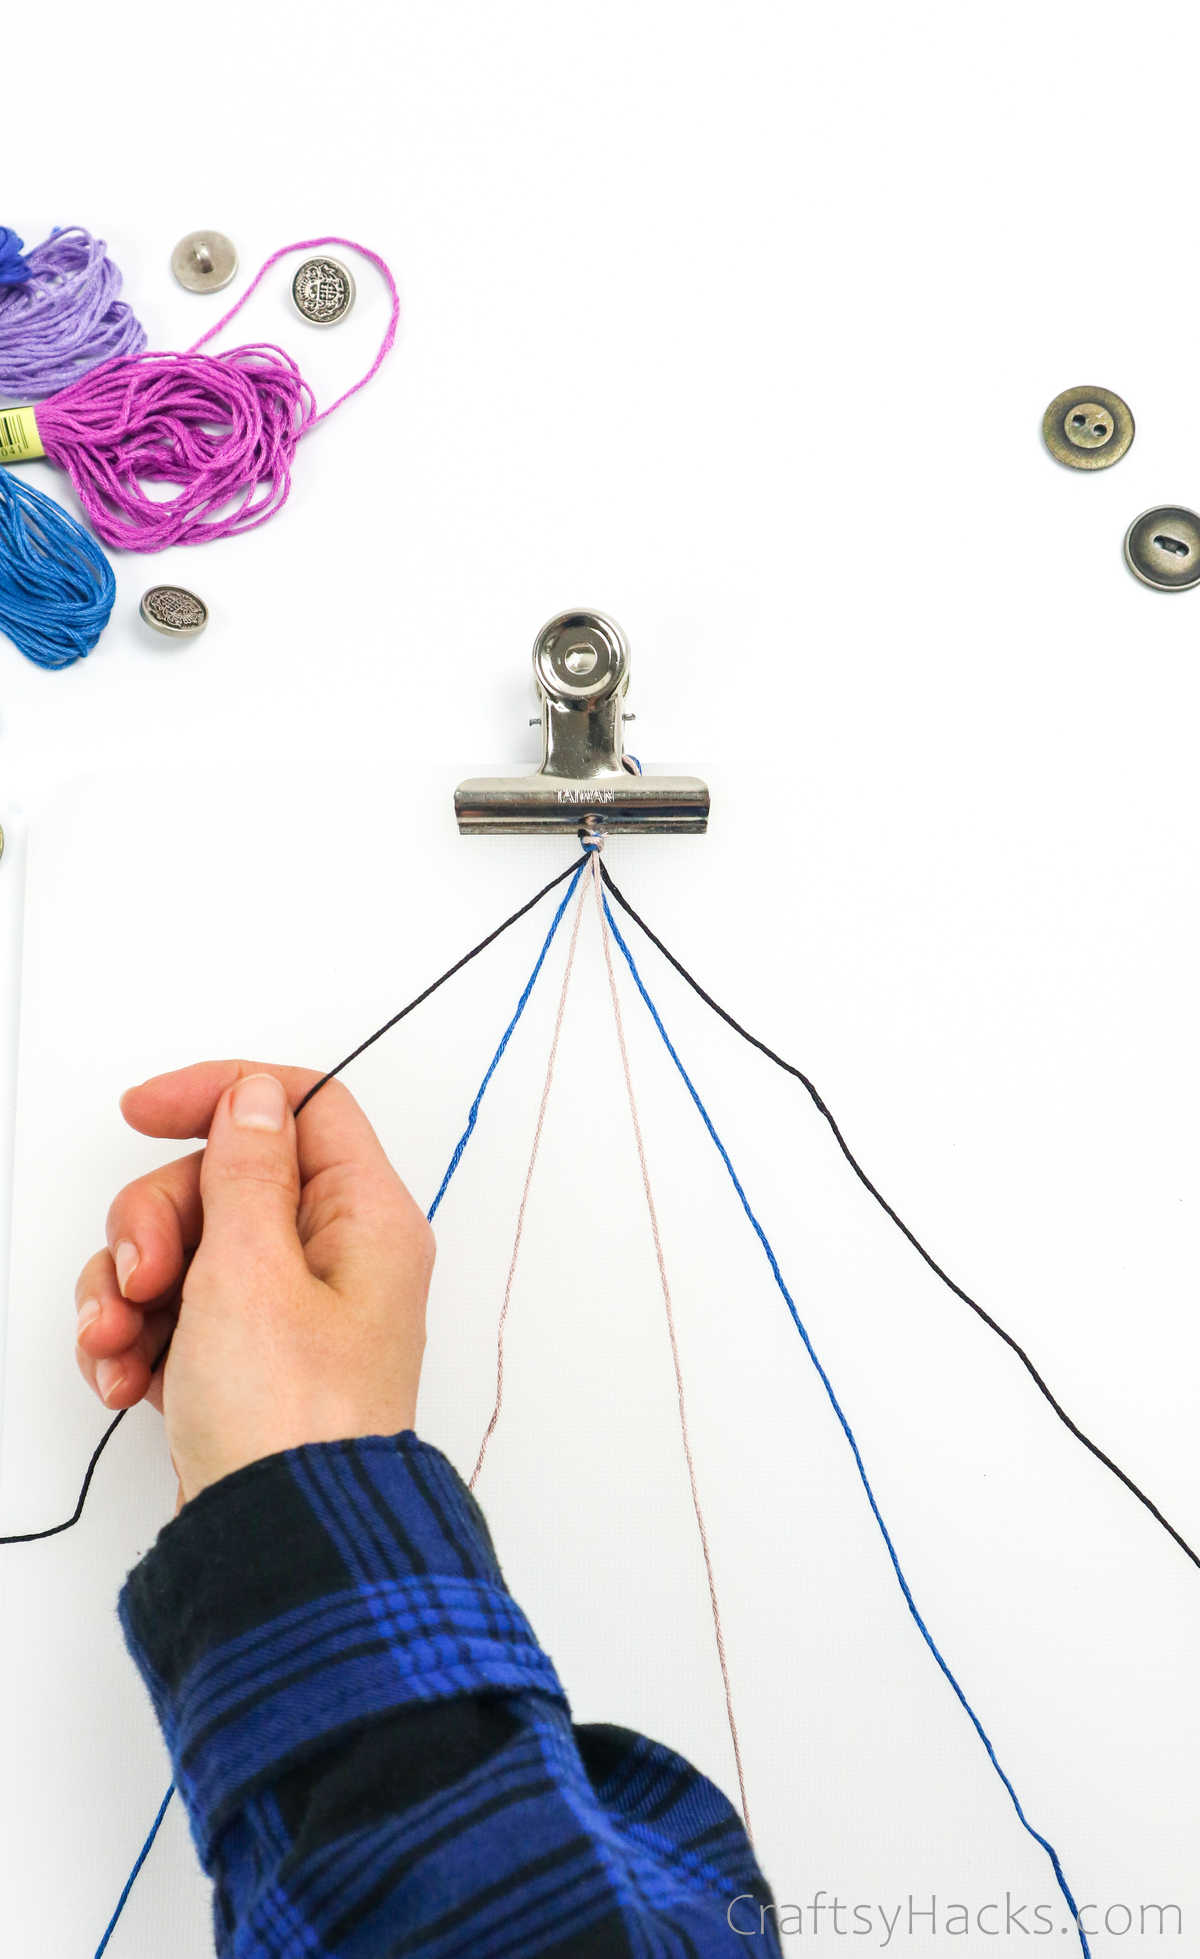
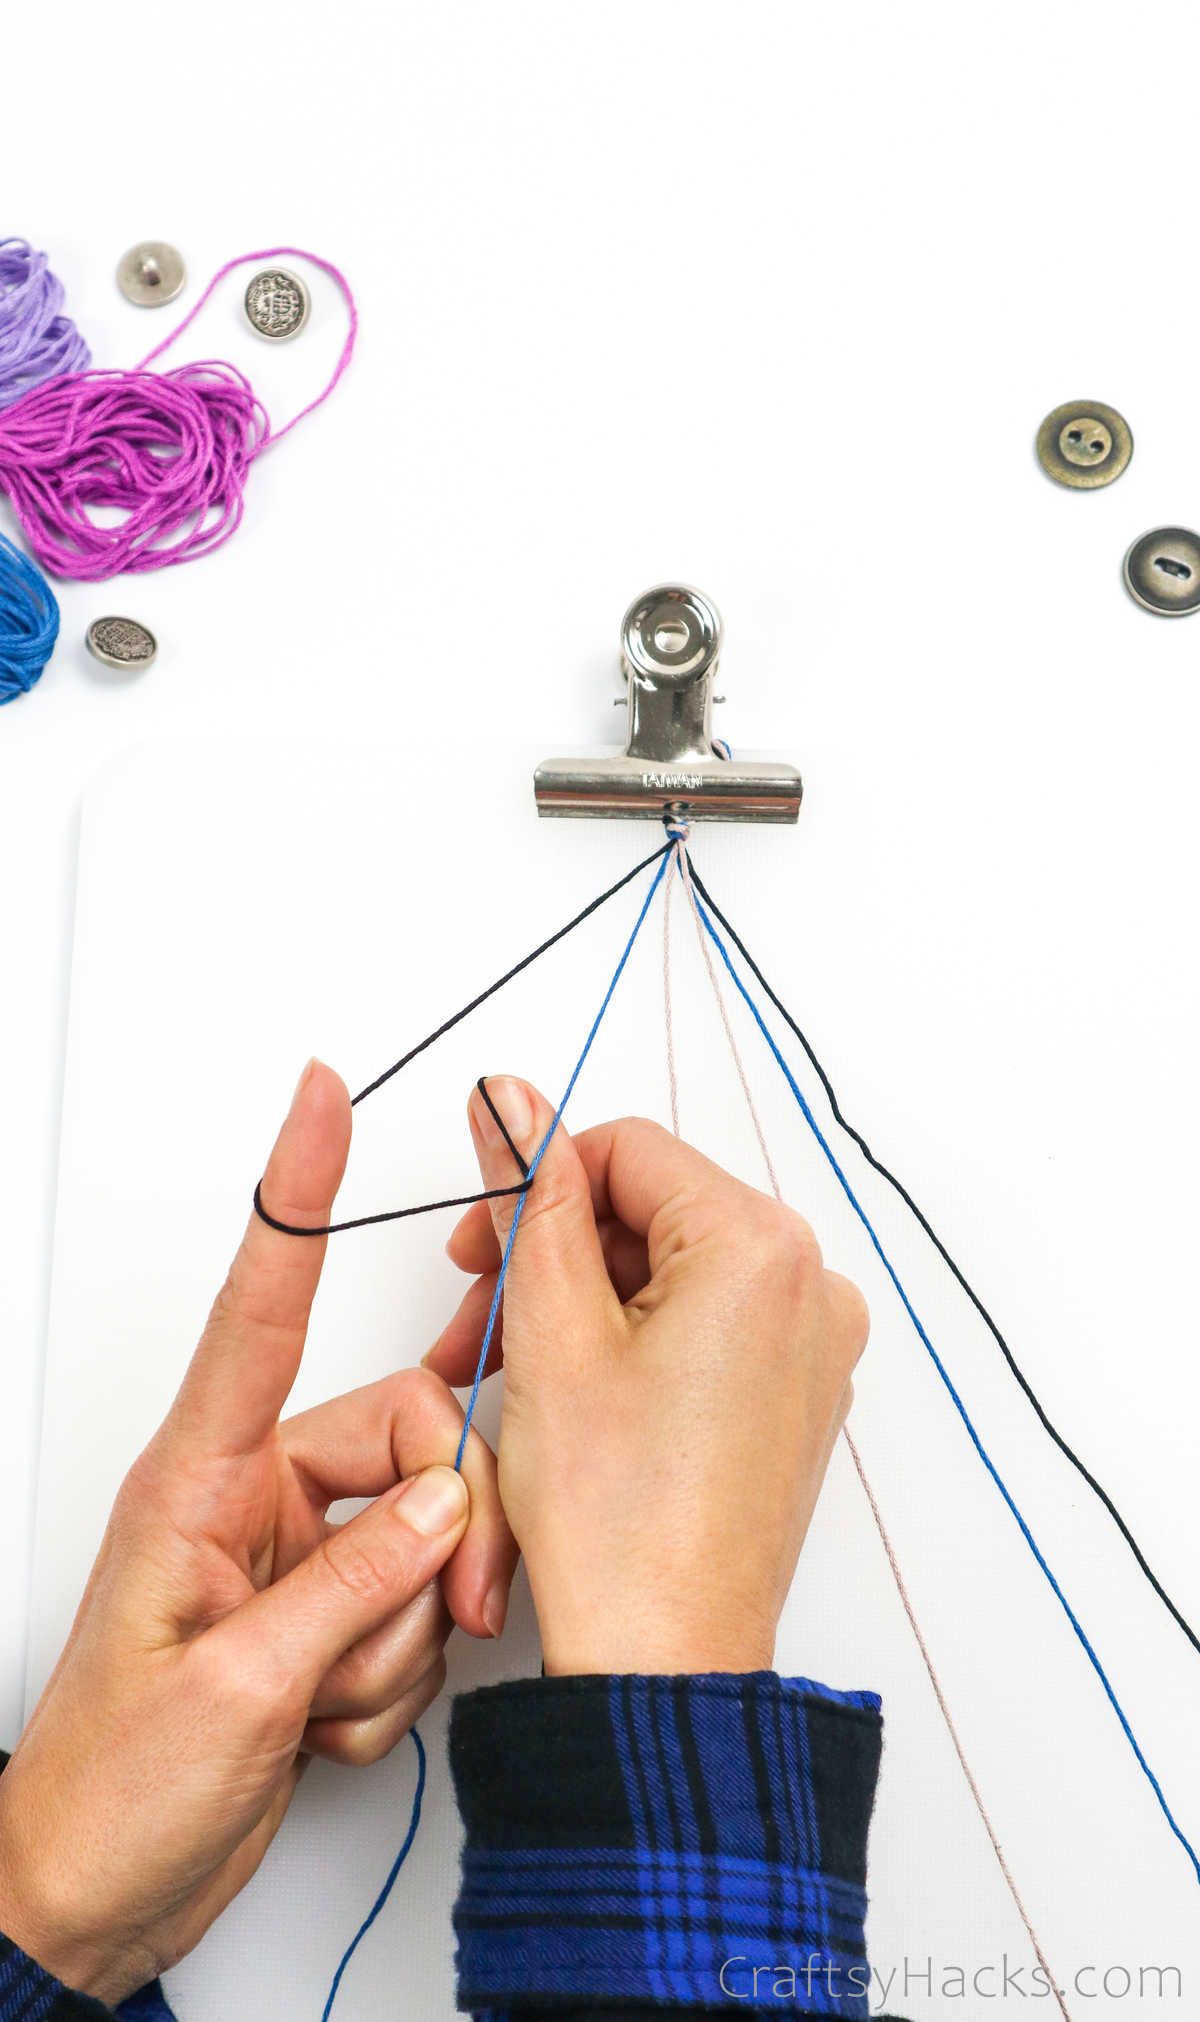
Step 4
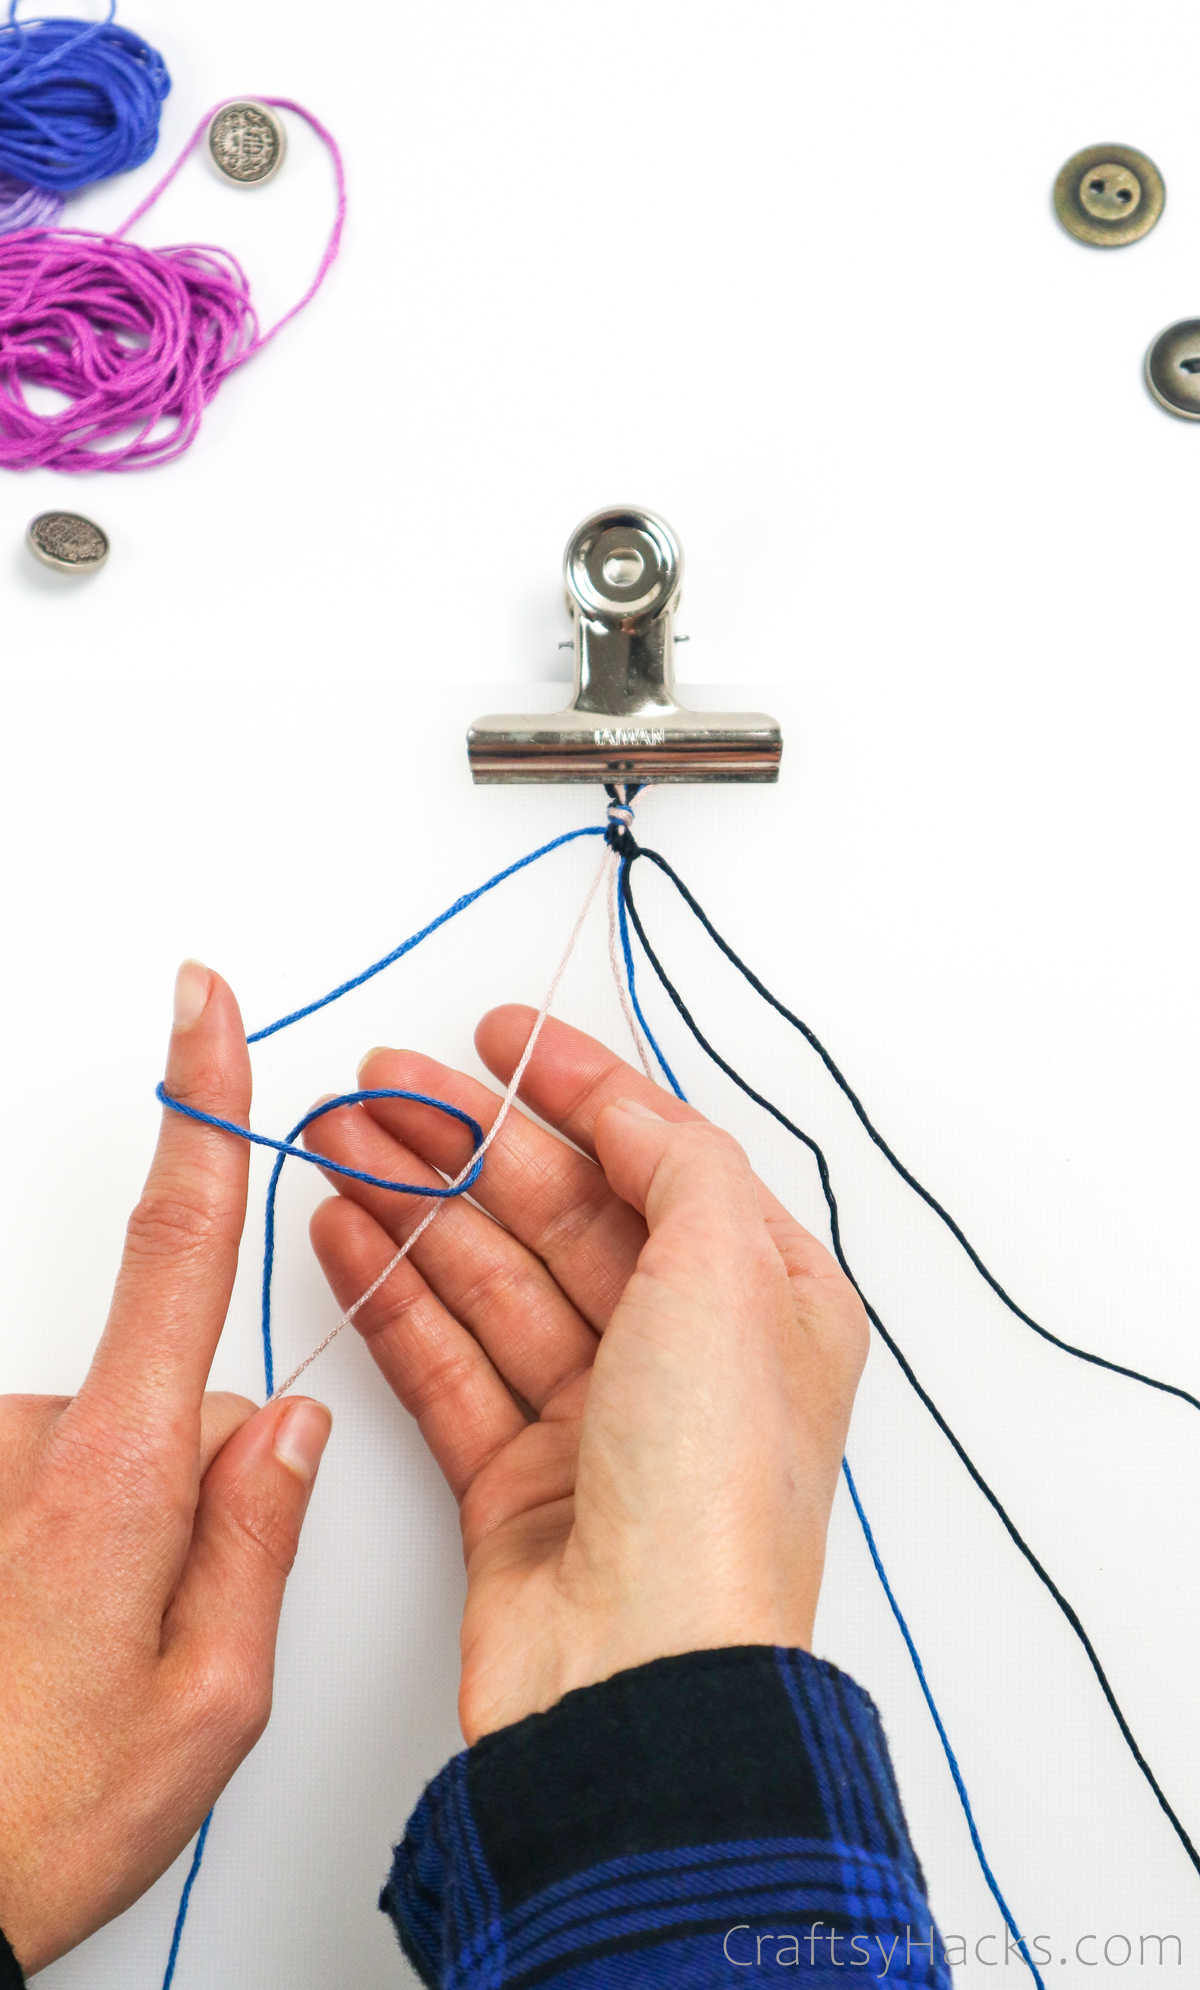
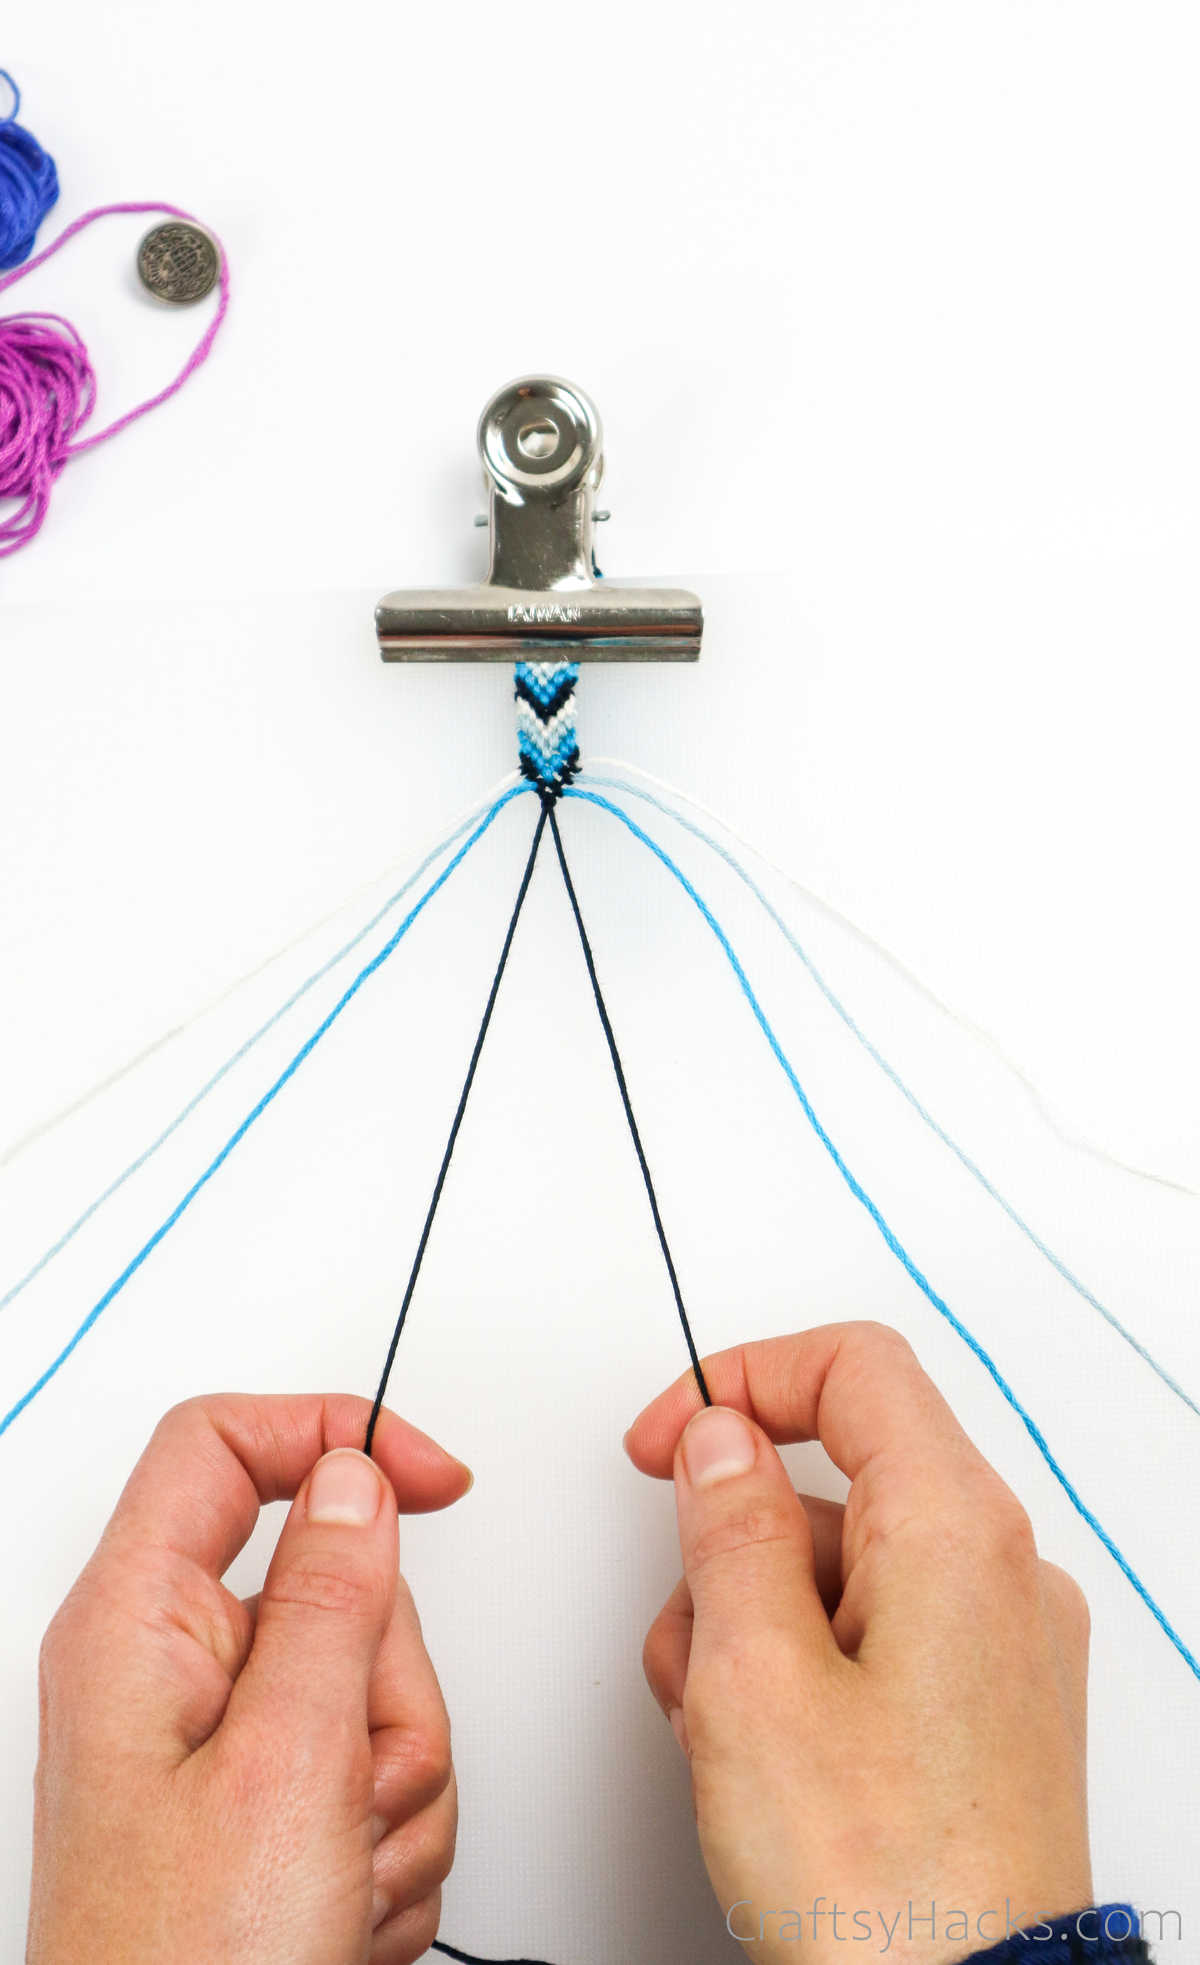
Now, fan out all six of your cords.
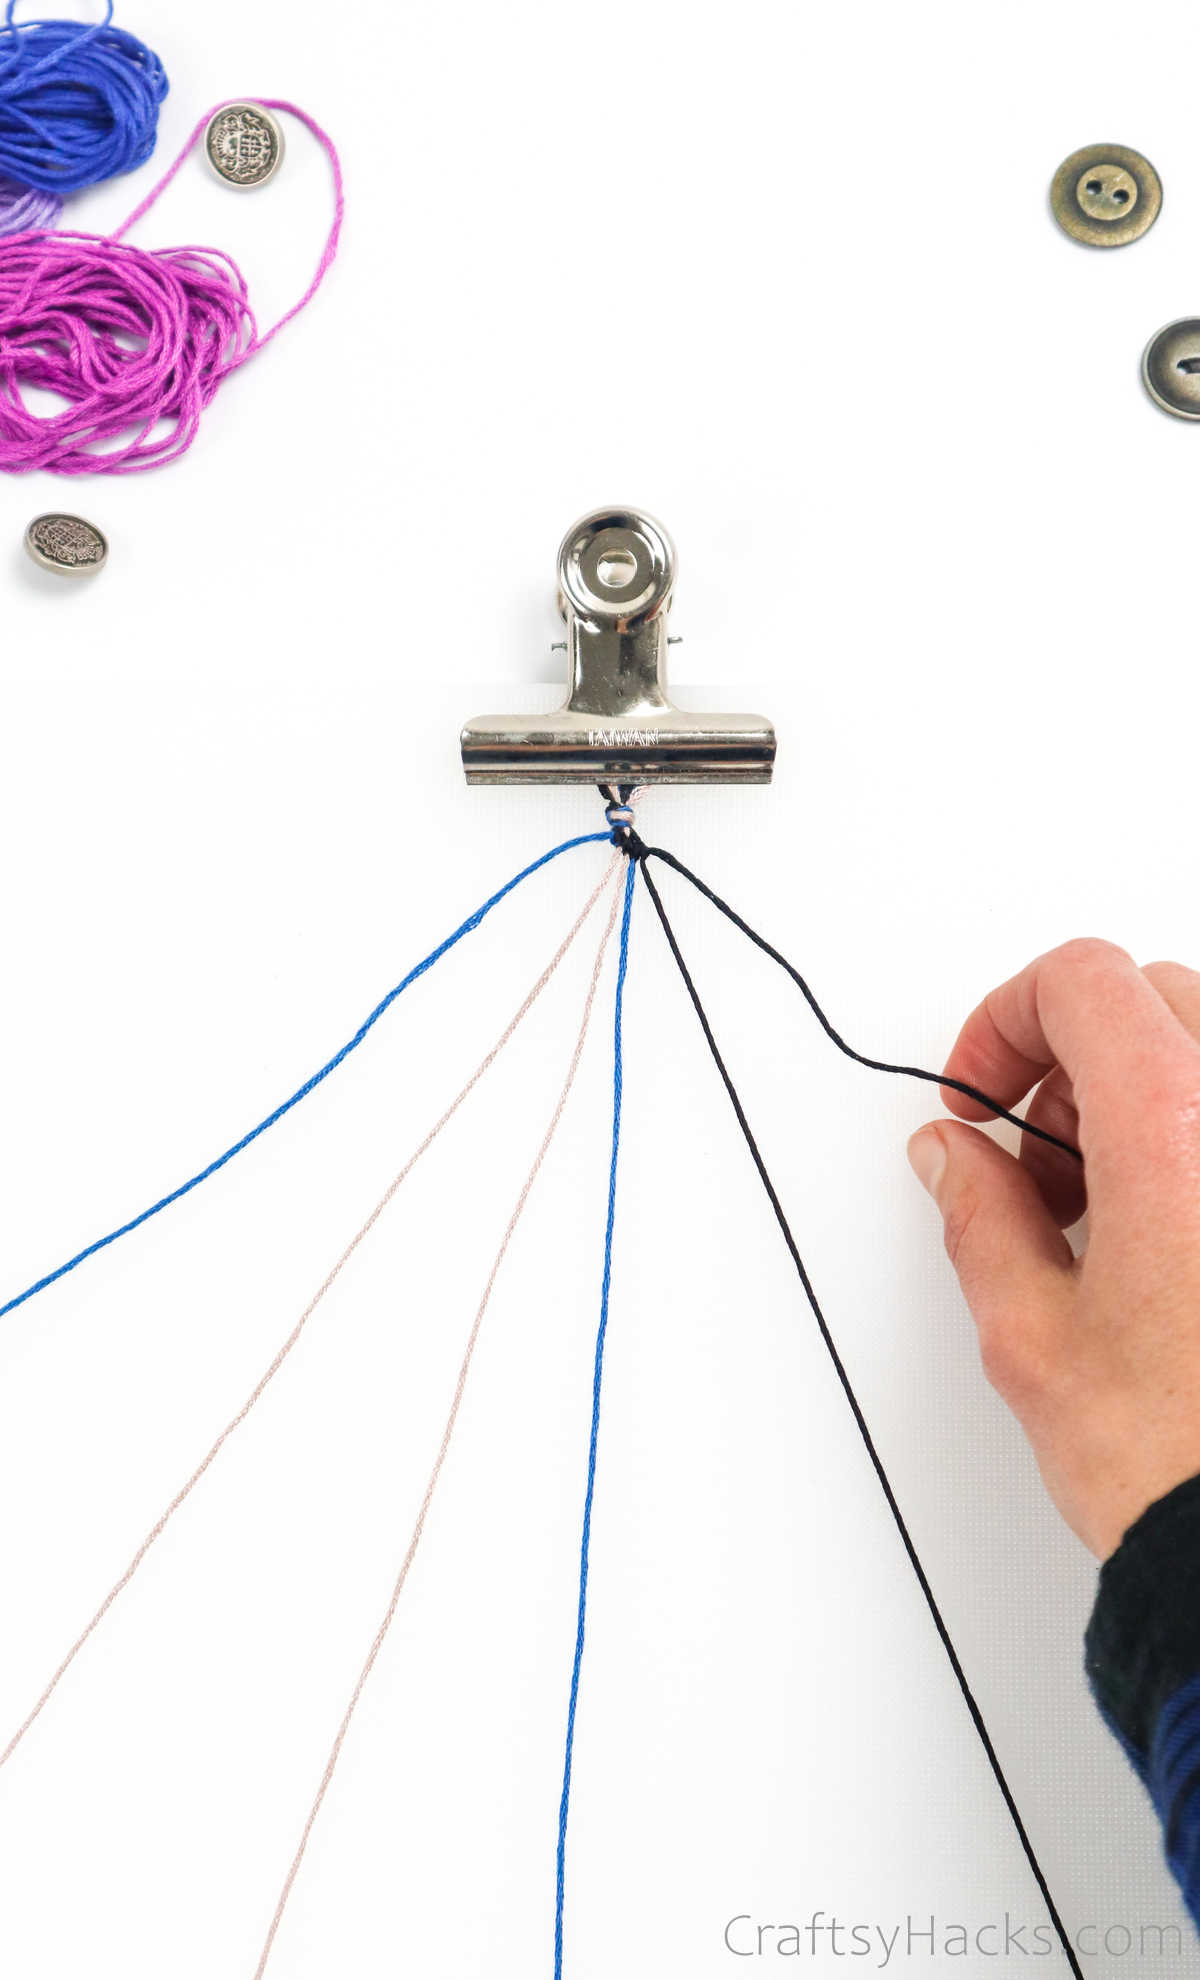
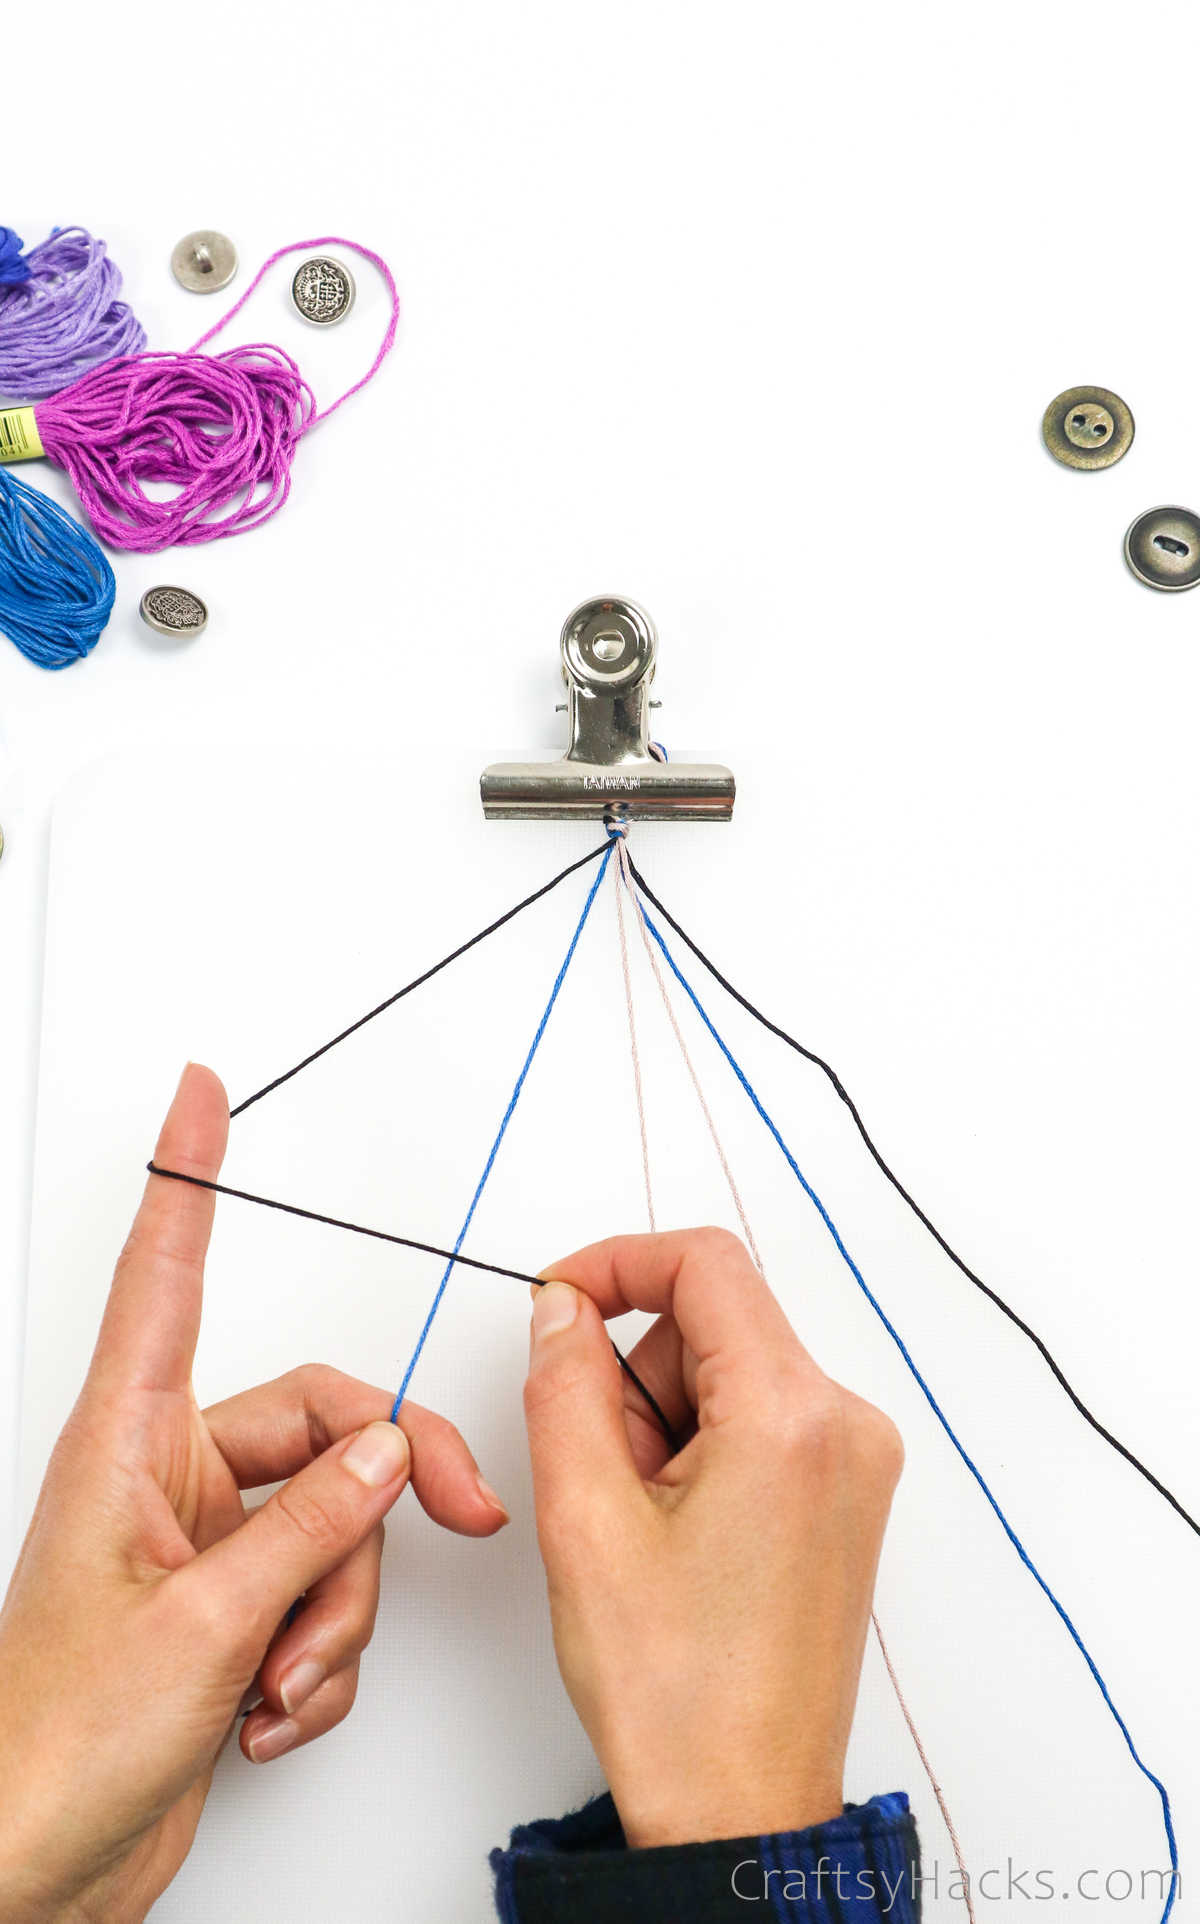
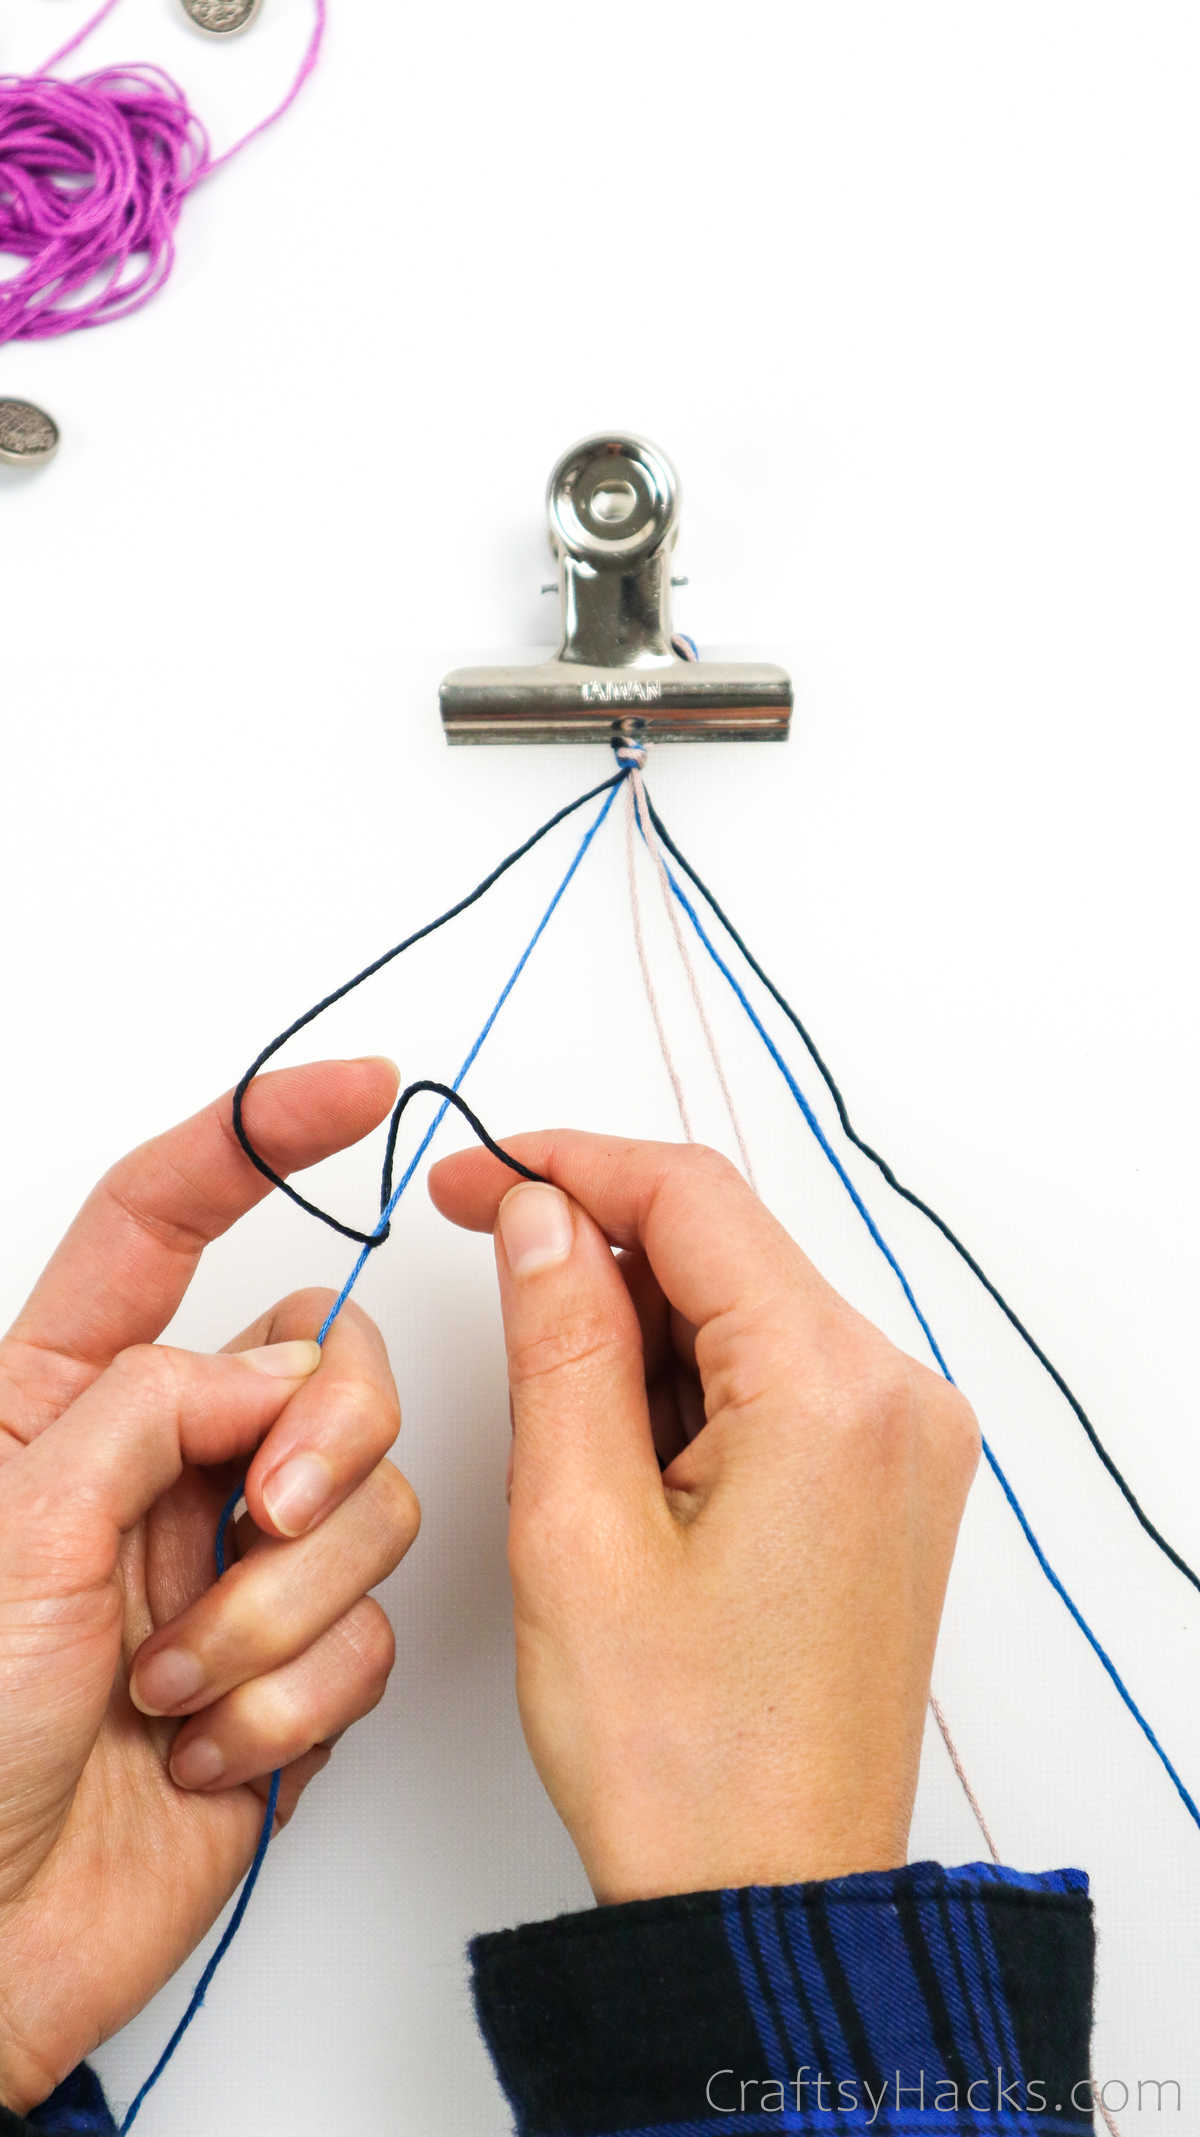
Now, pull it over the second cord and form a 4-shaped loop, as seen here.
Then, pull the first cord under the second cord and through the loop.
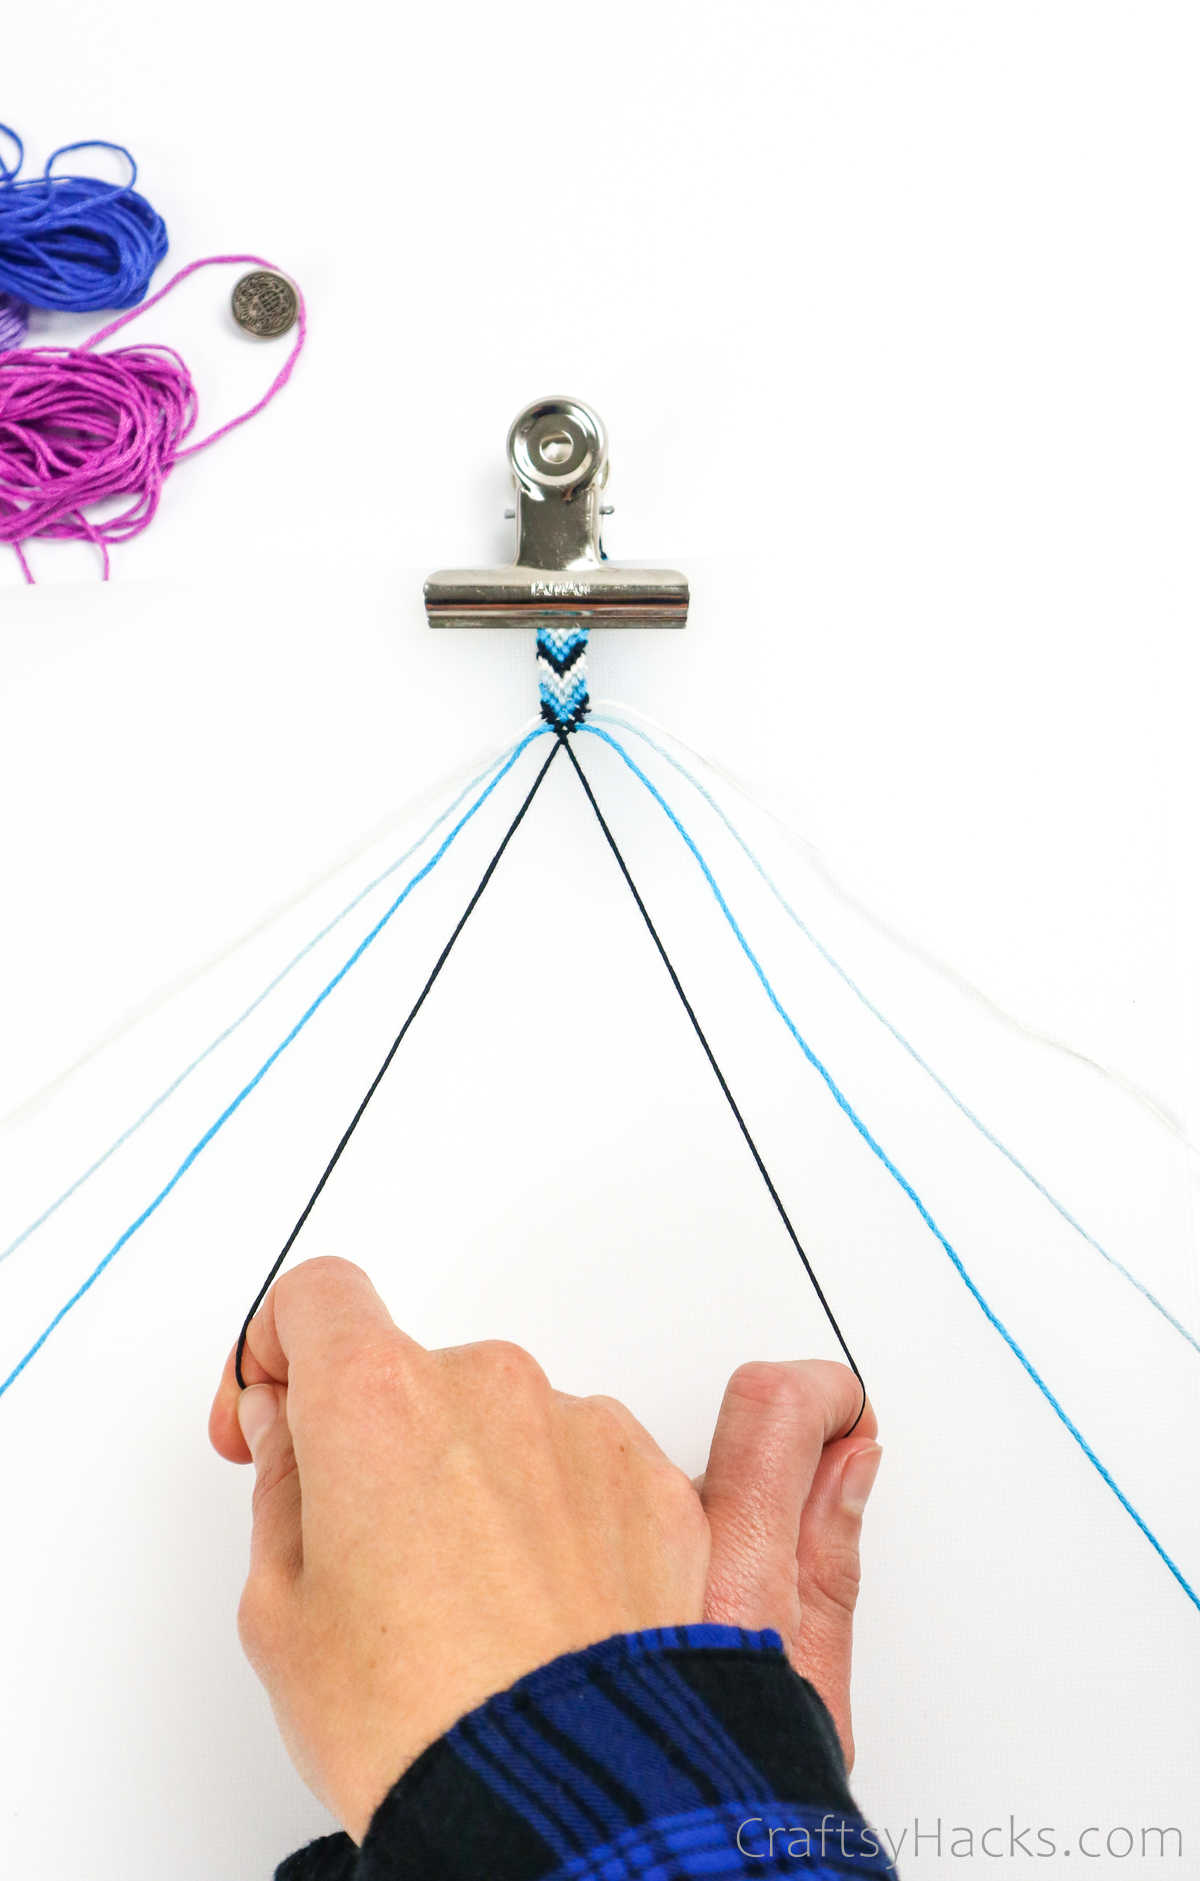
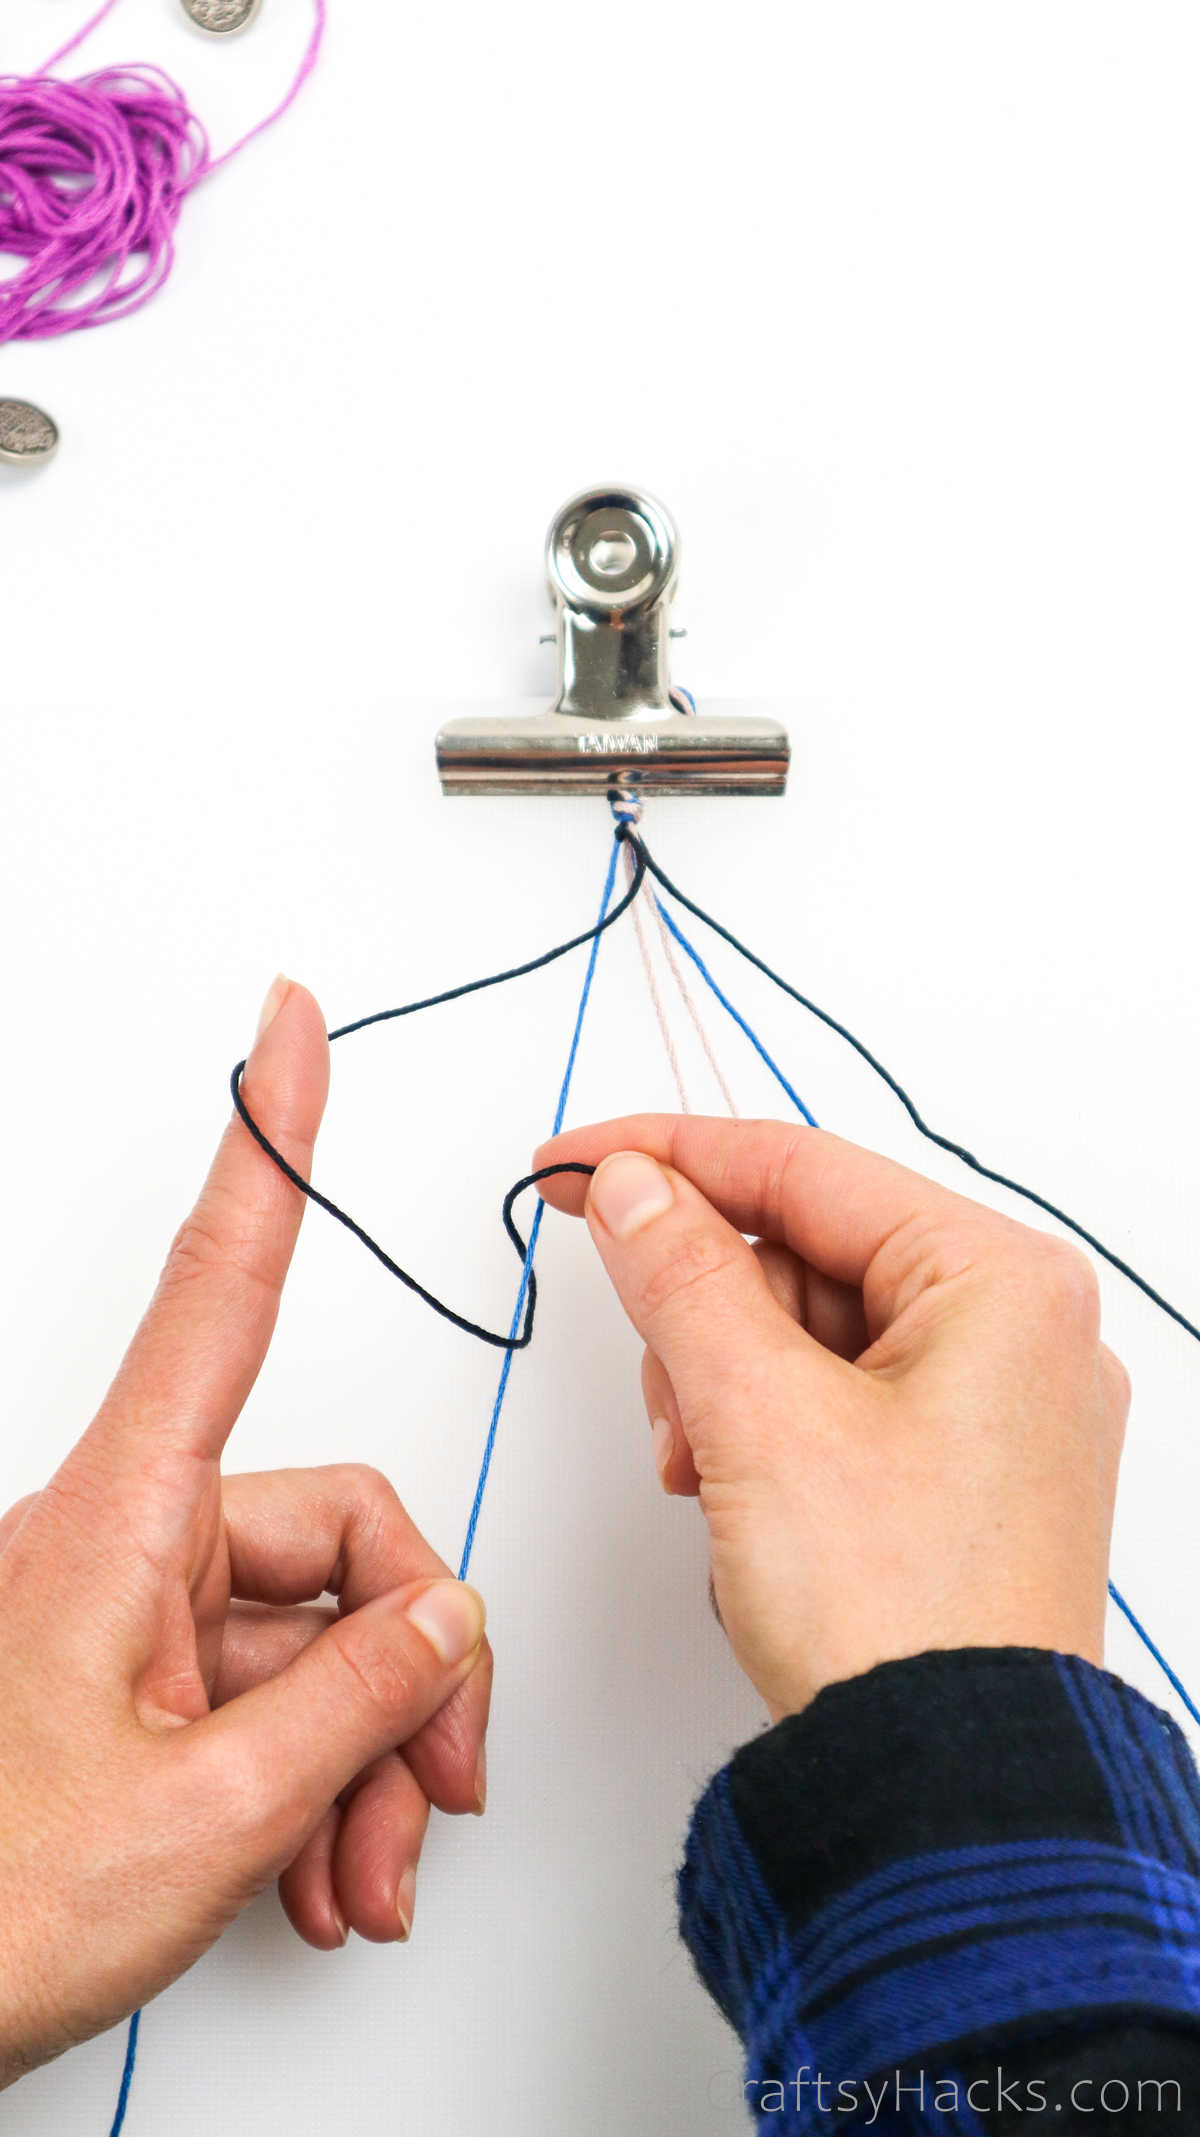
Now, tighten the first cord, and youll have a knot.
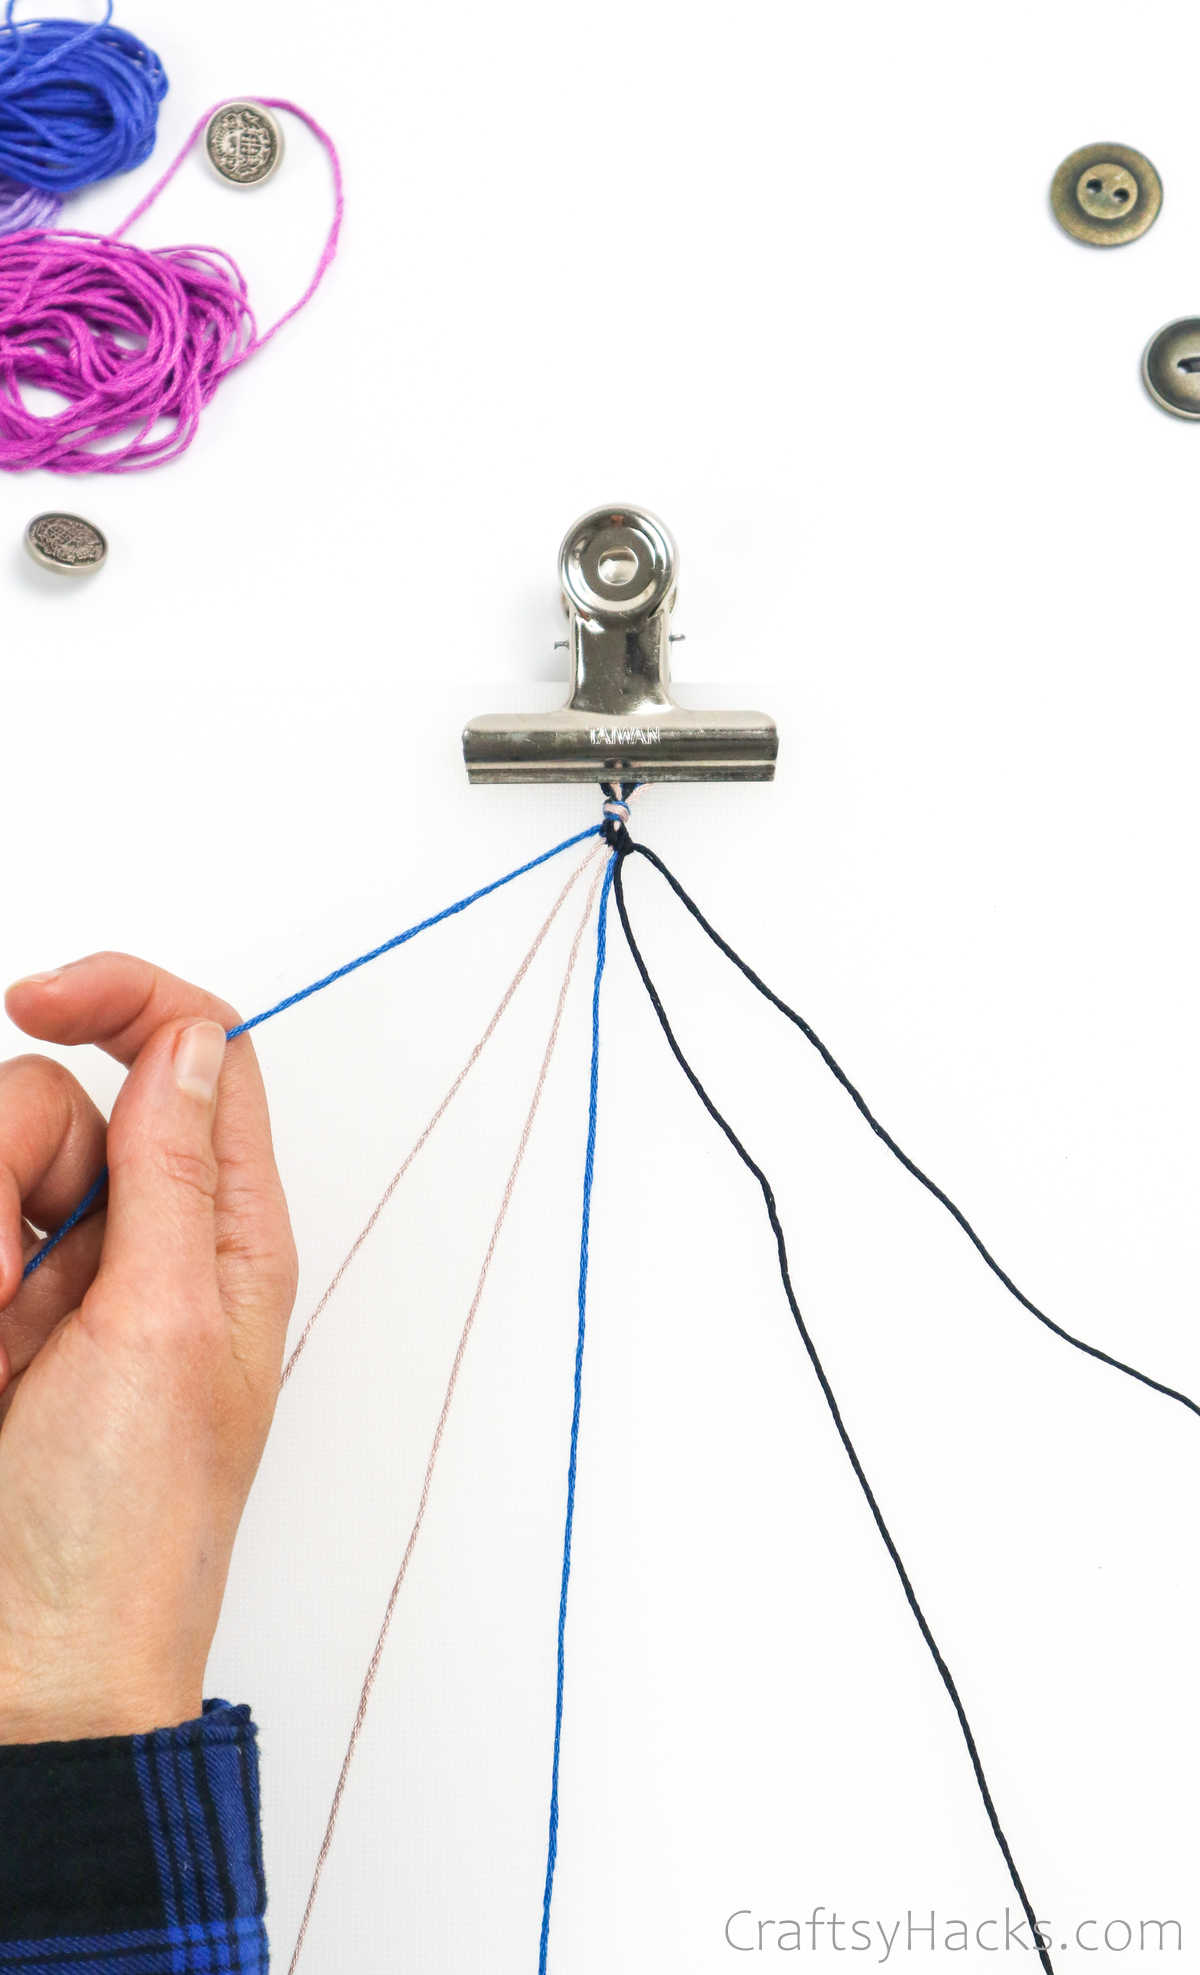
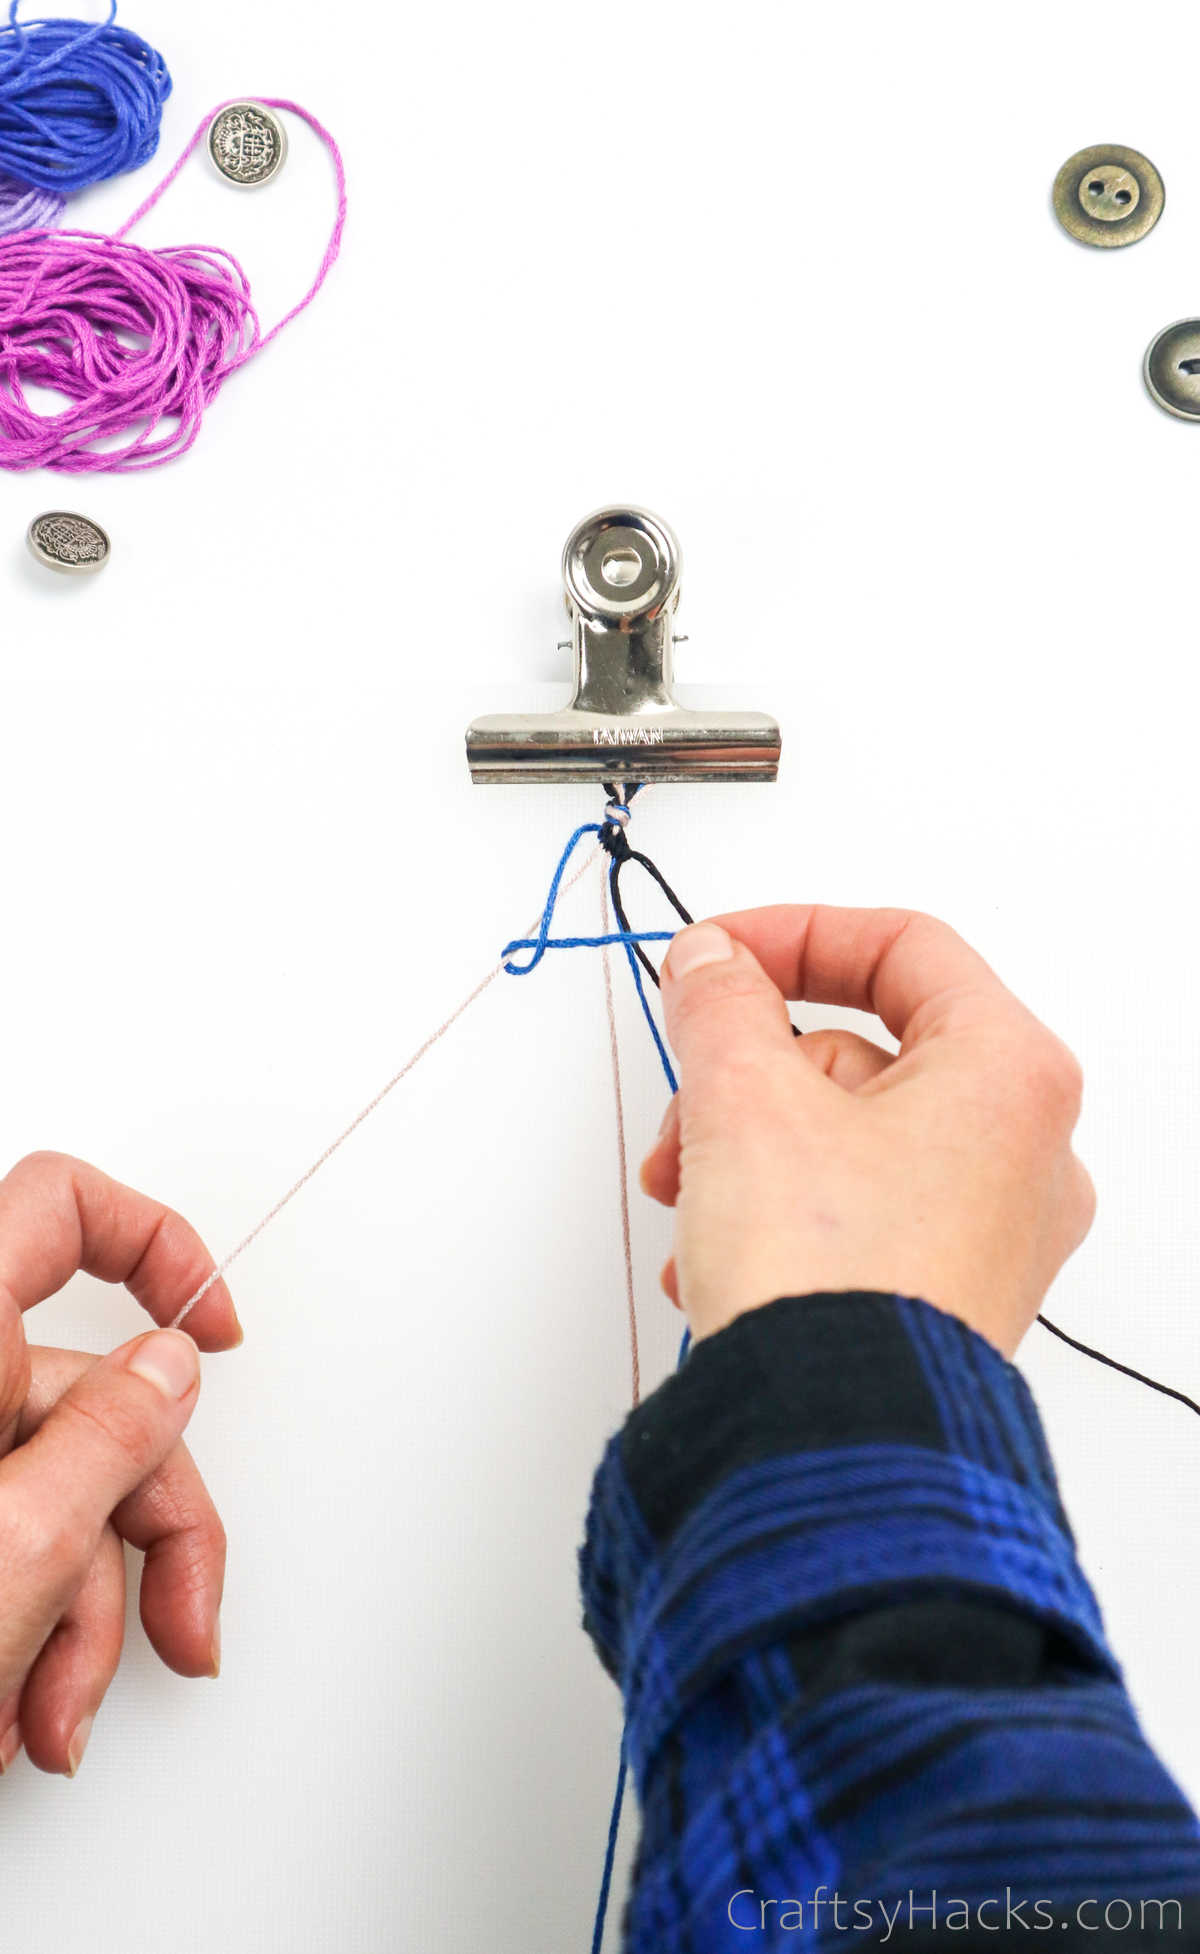
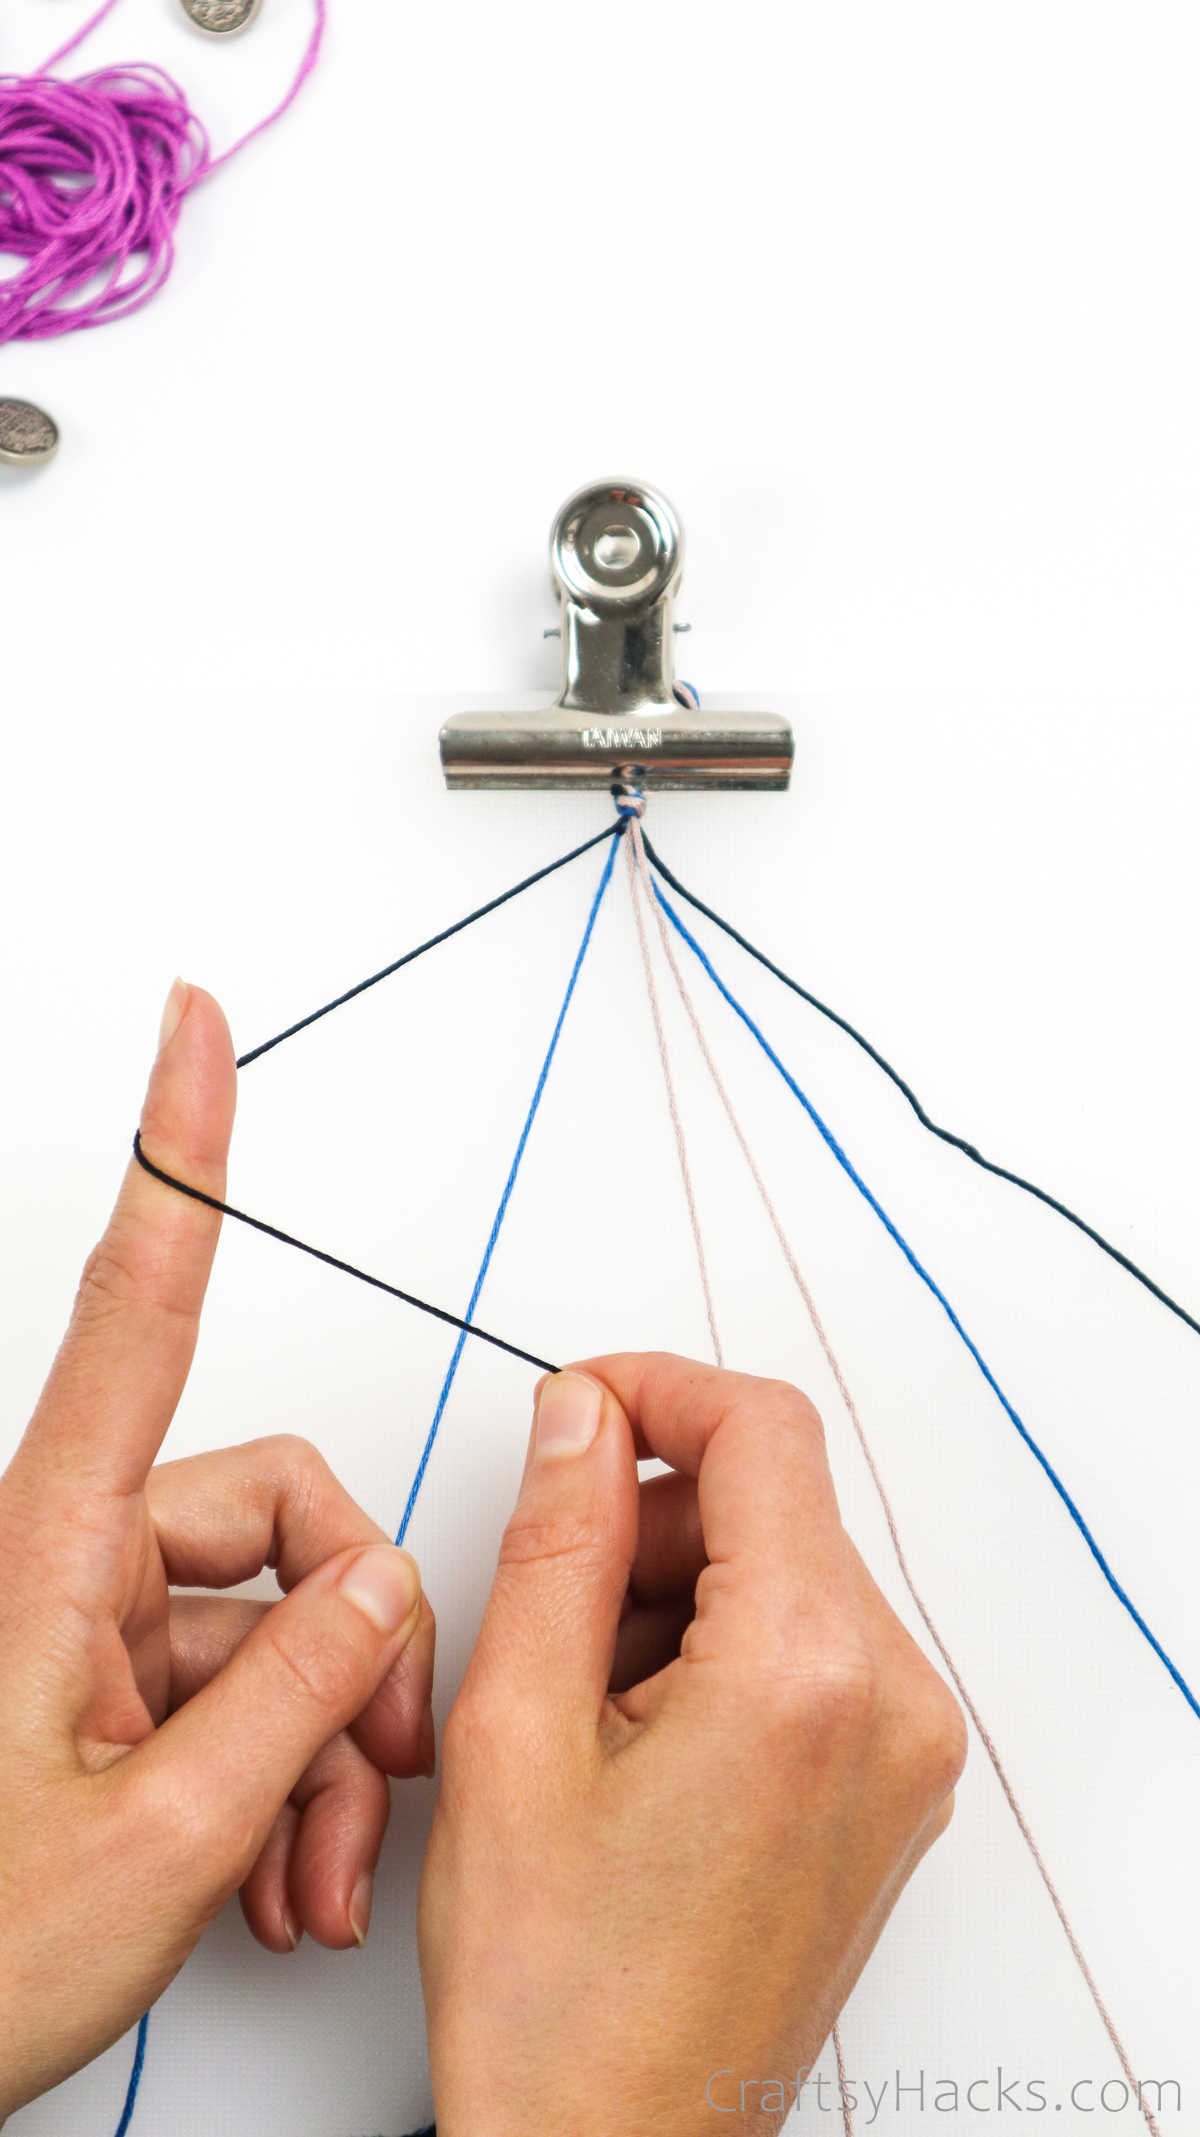
Pull the cord(and the knot) up and towards the main knot on top.
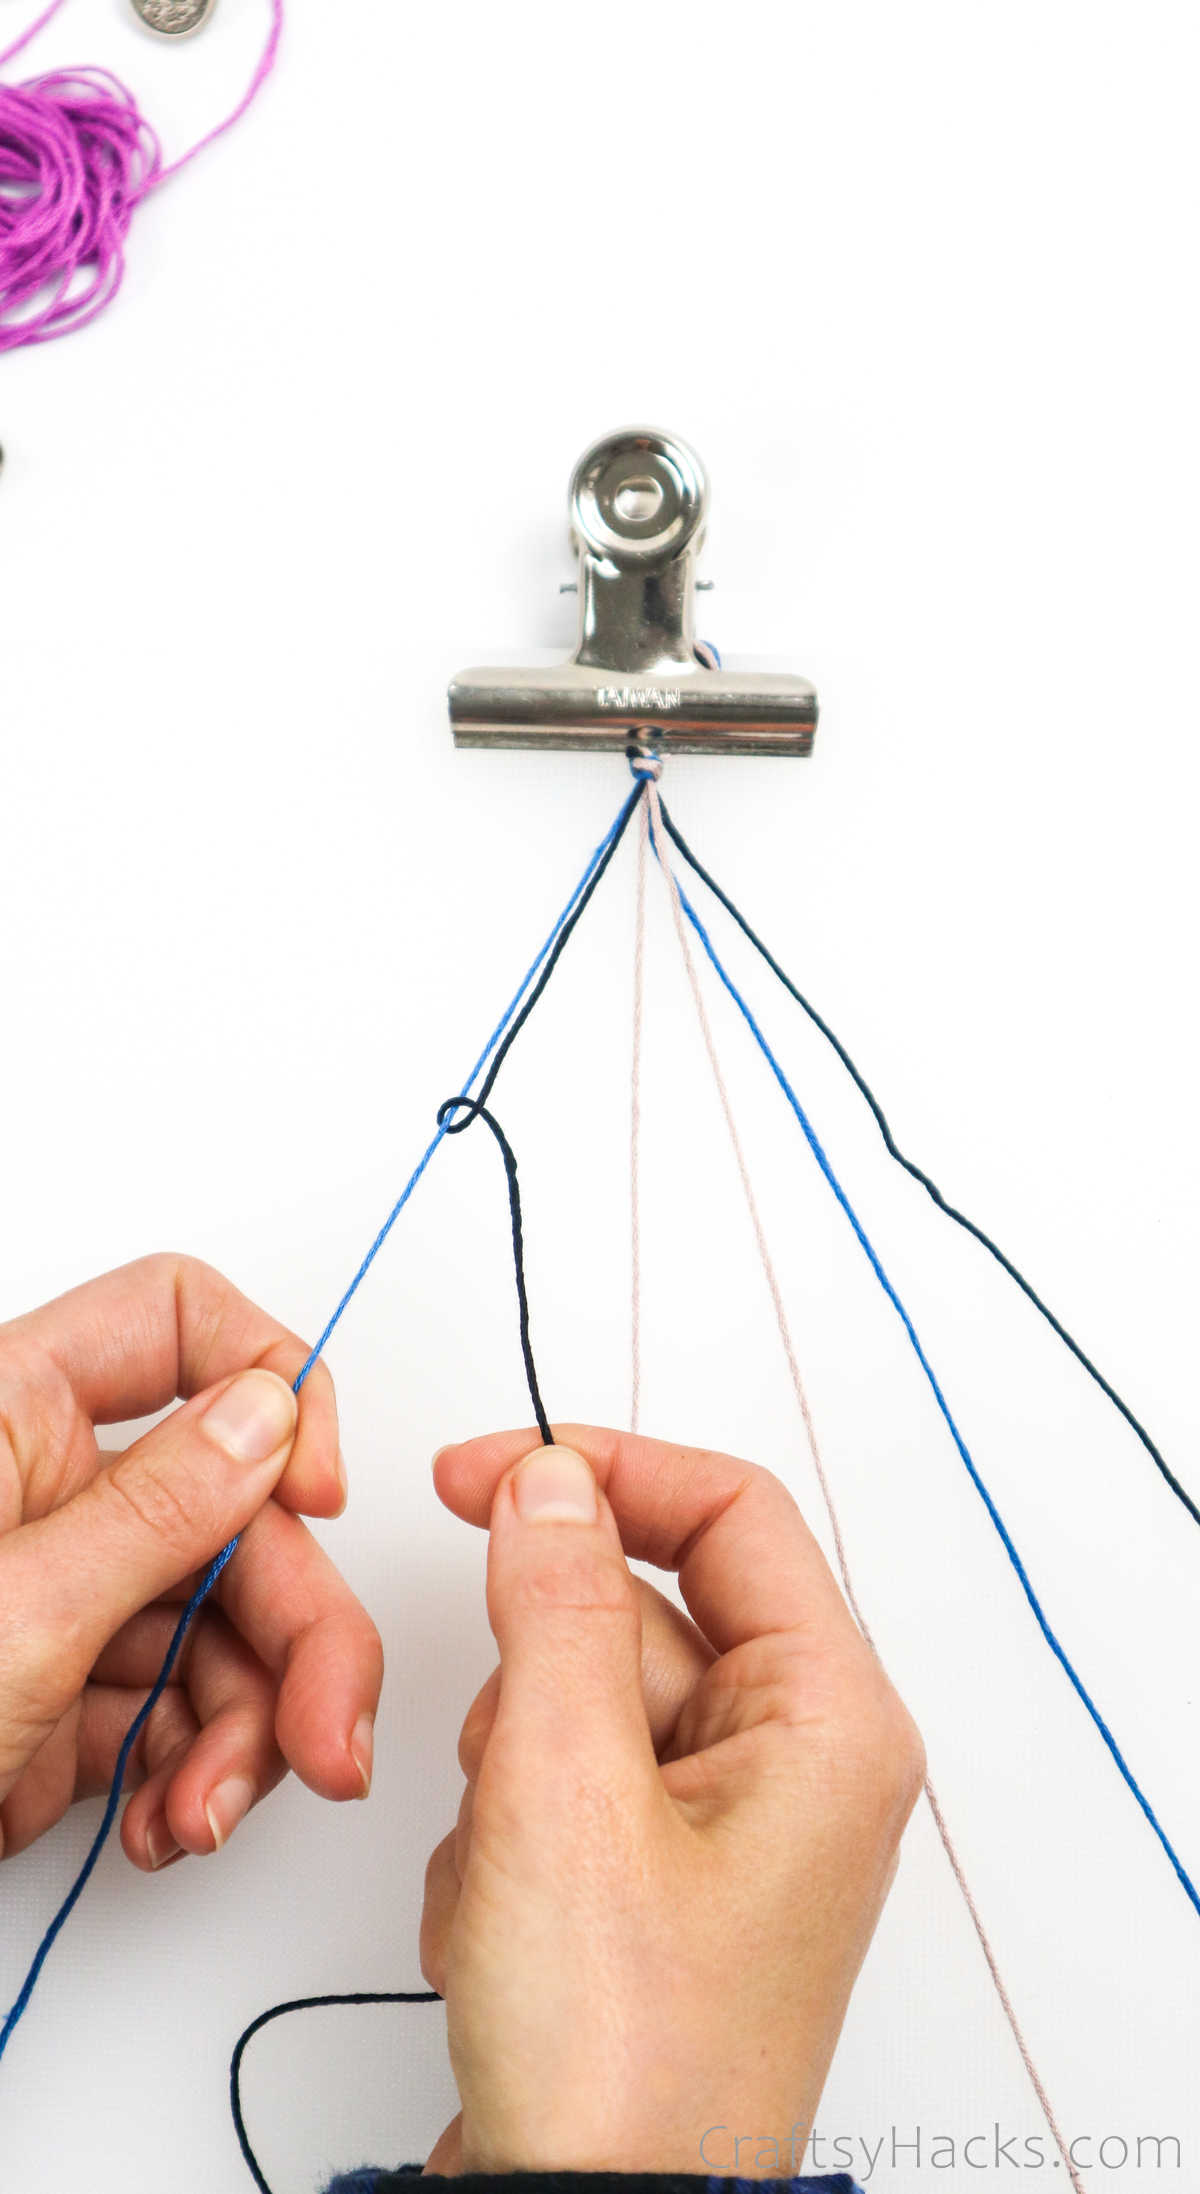
Youll notice that the leading cord is now in the place of the second cord.
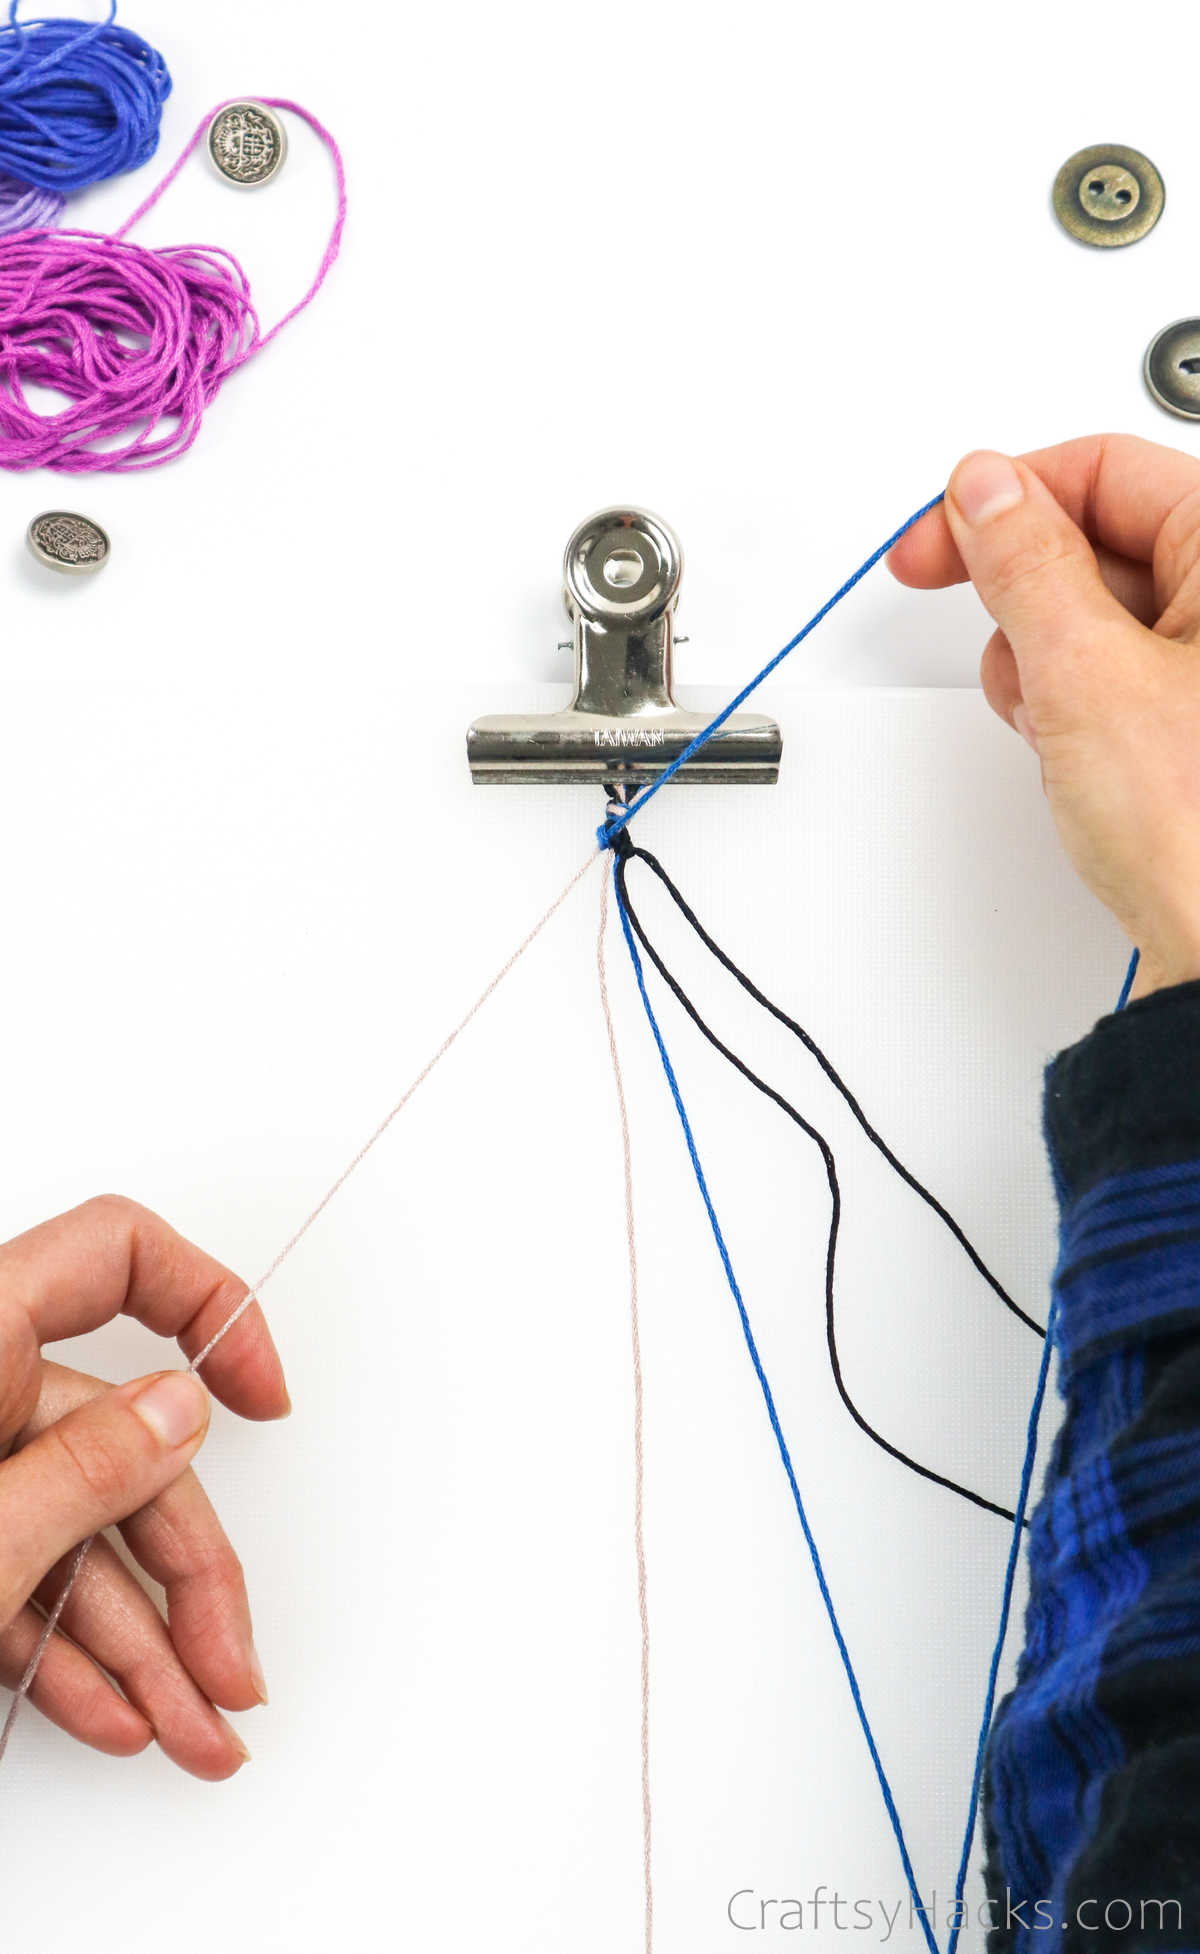
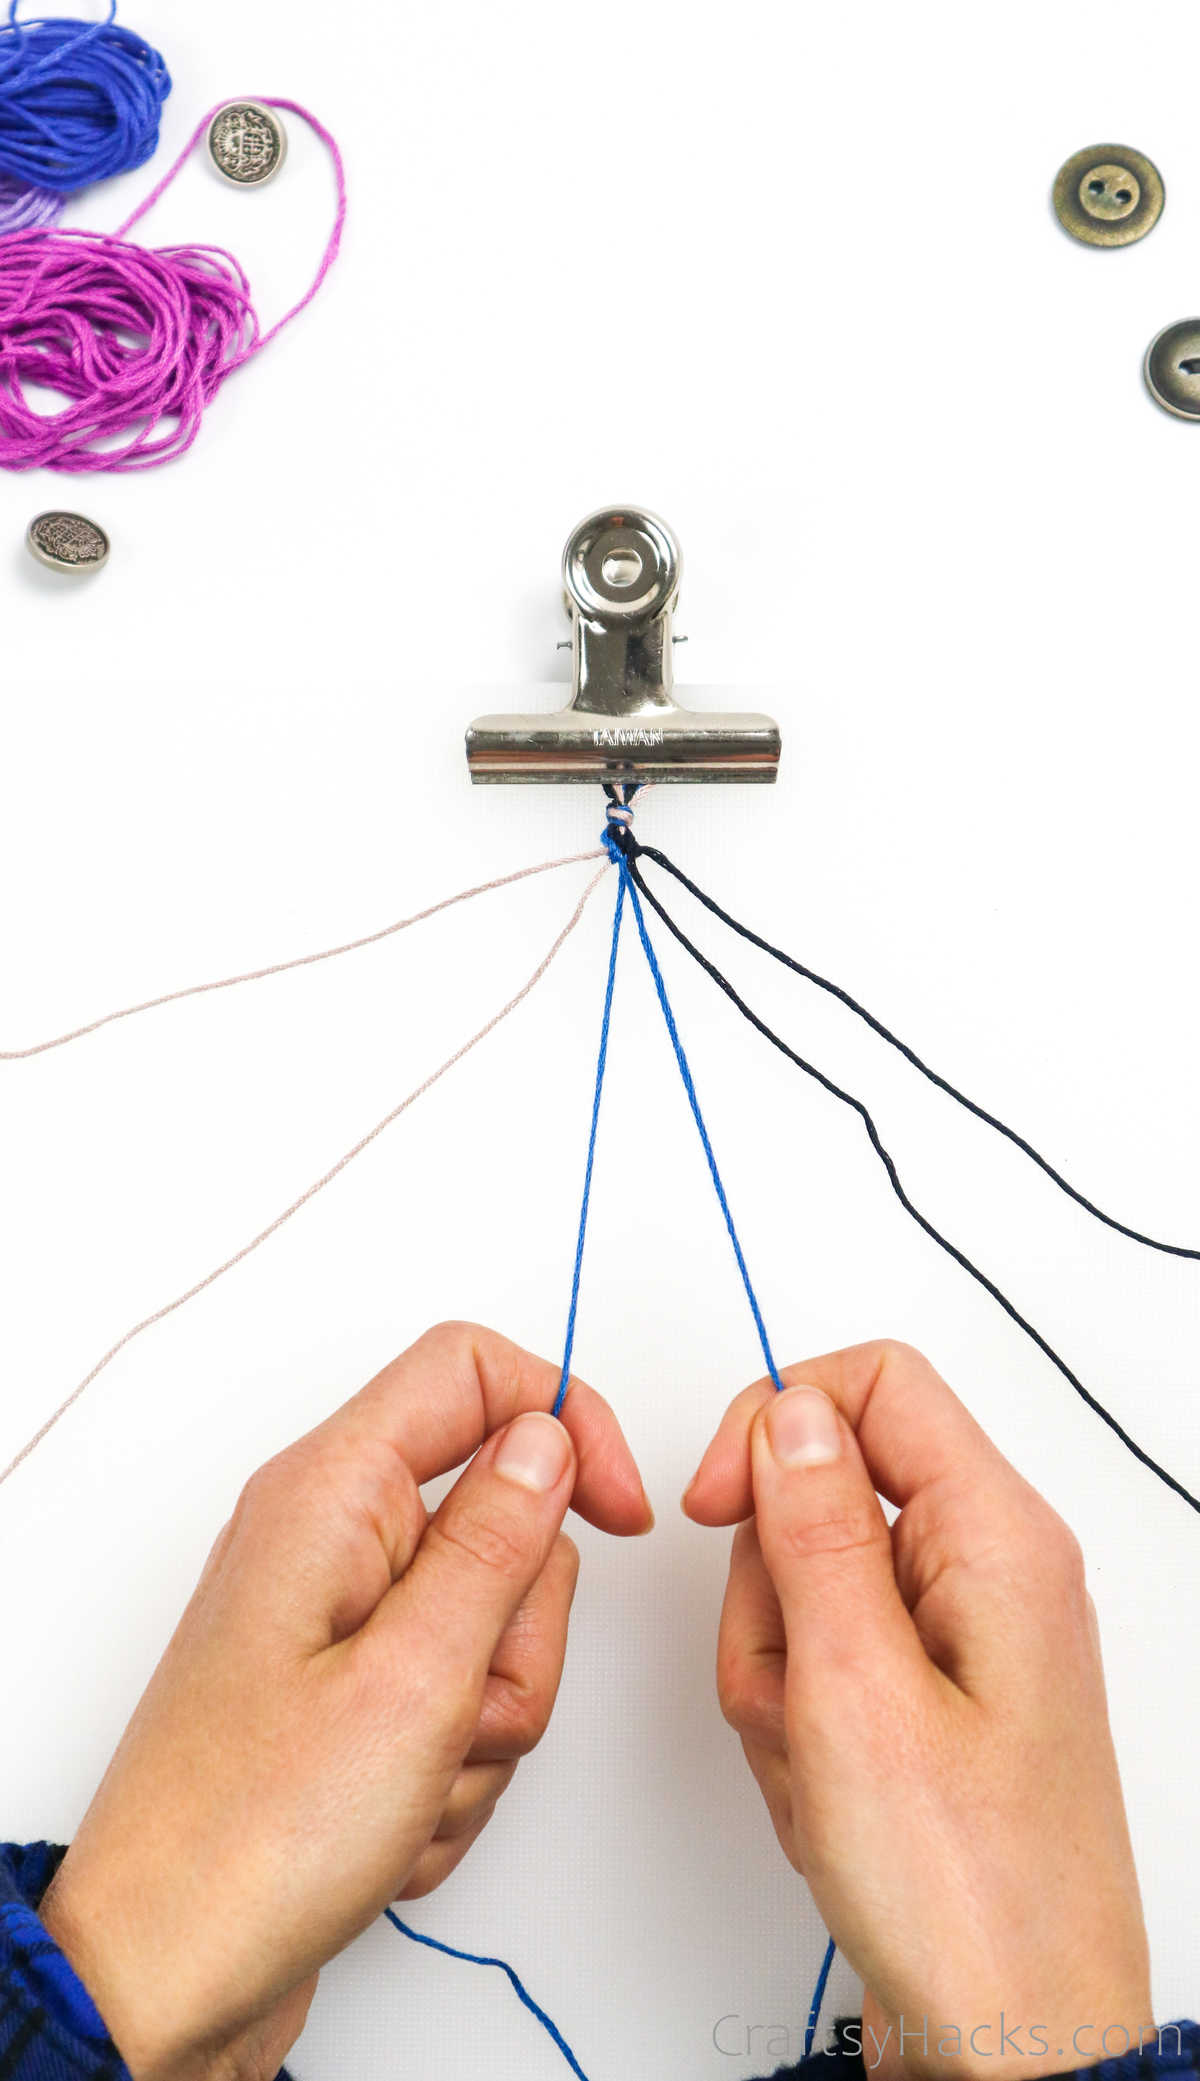
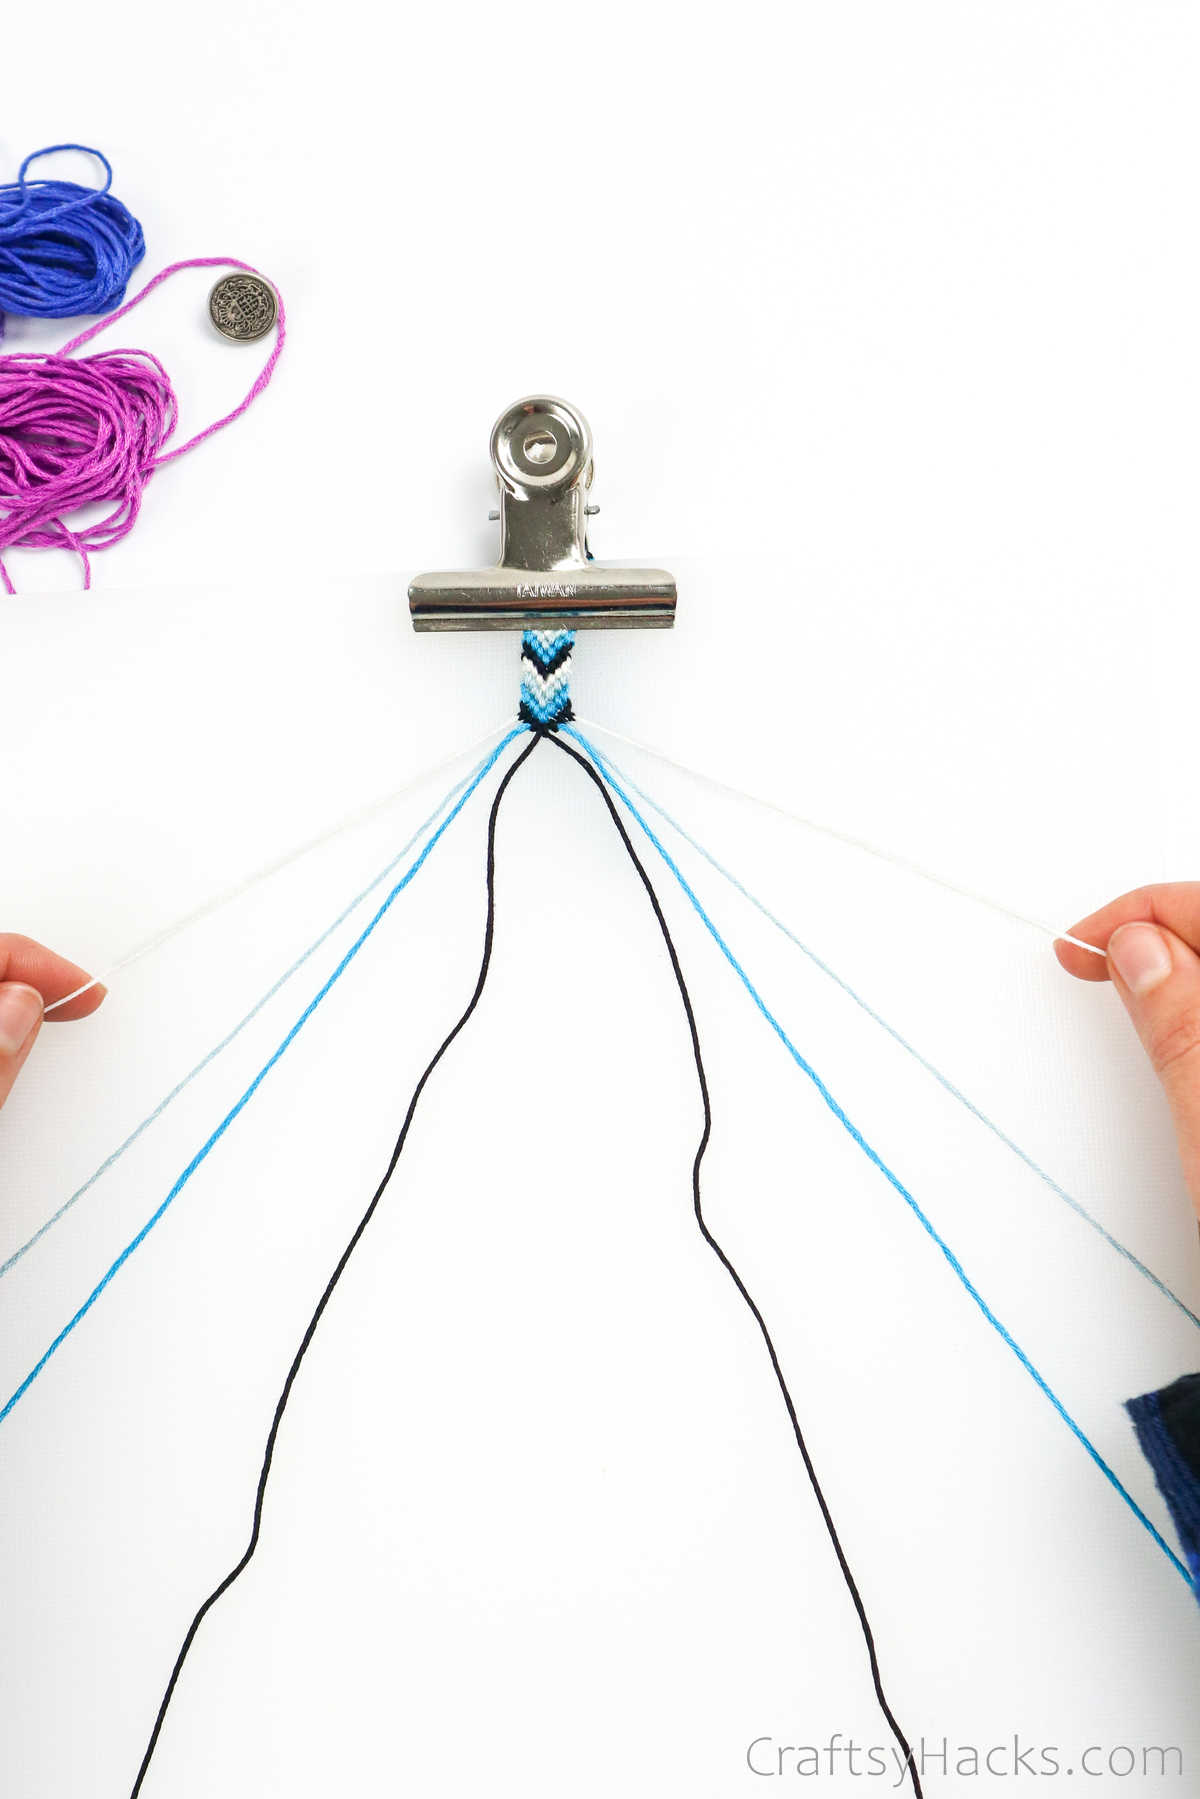
Just continue to recreate this knot using the leading cord all the way across the remaining five cords.
Step 6
Next, grab the first loop on the left again.
If you remember, this used to be the second cord on the left.
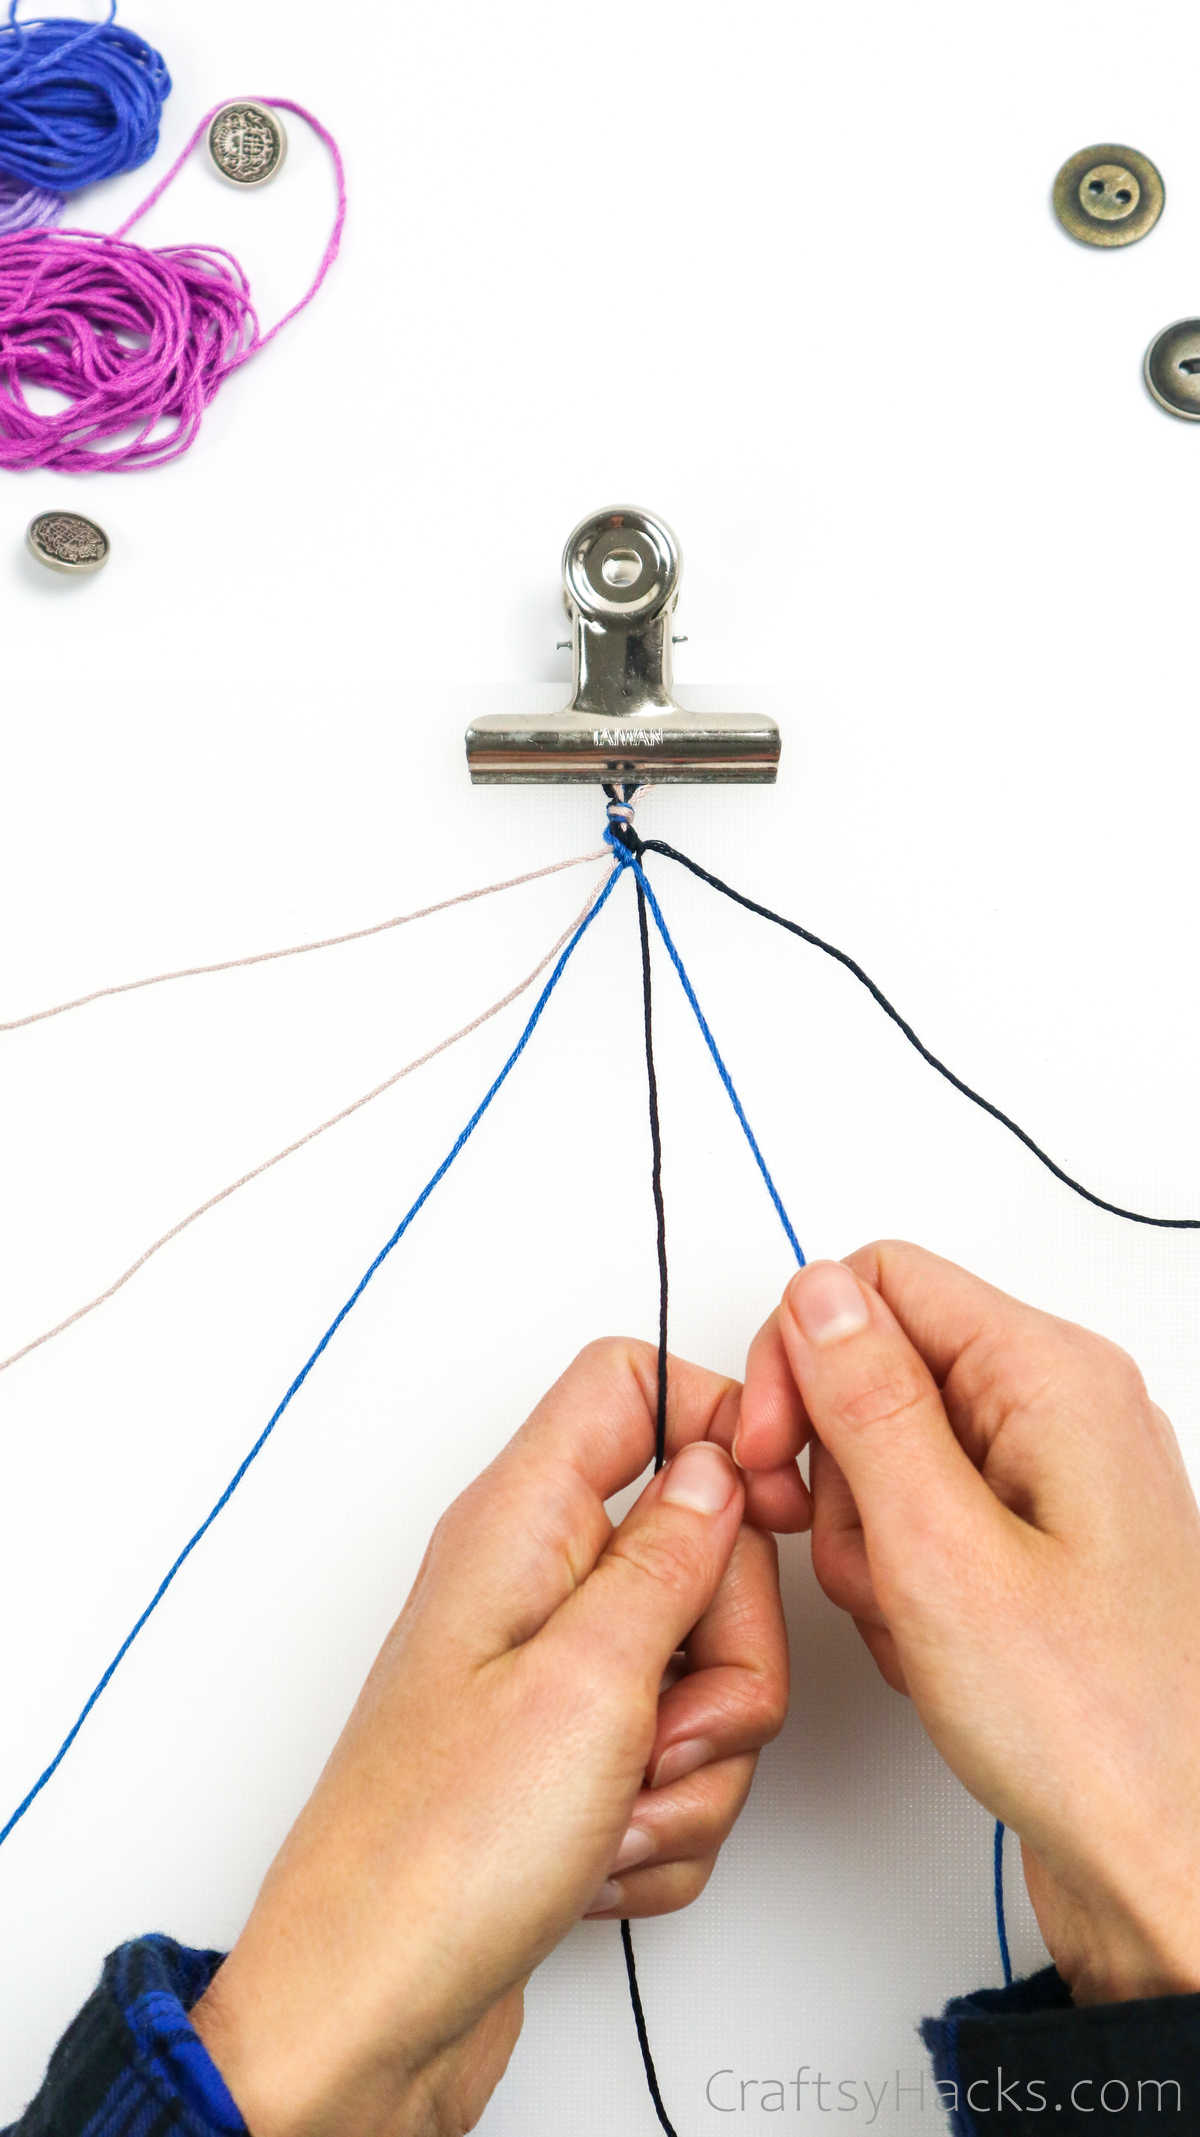
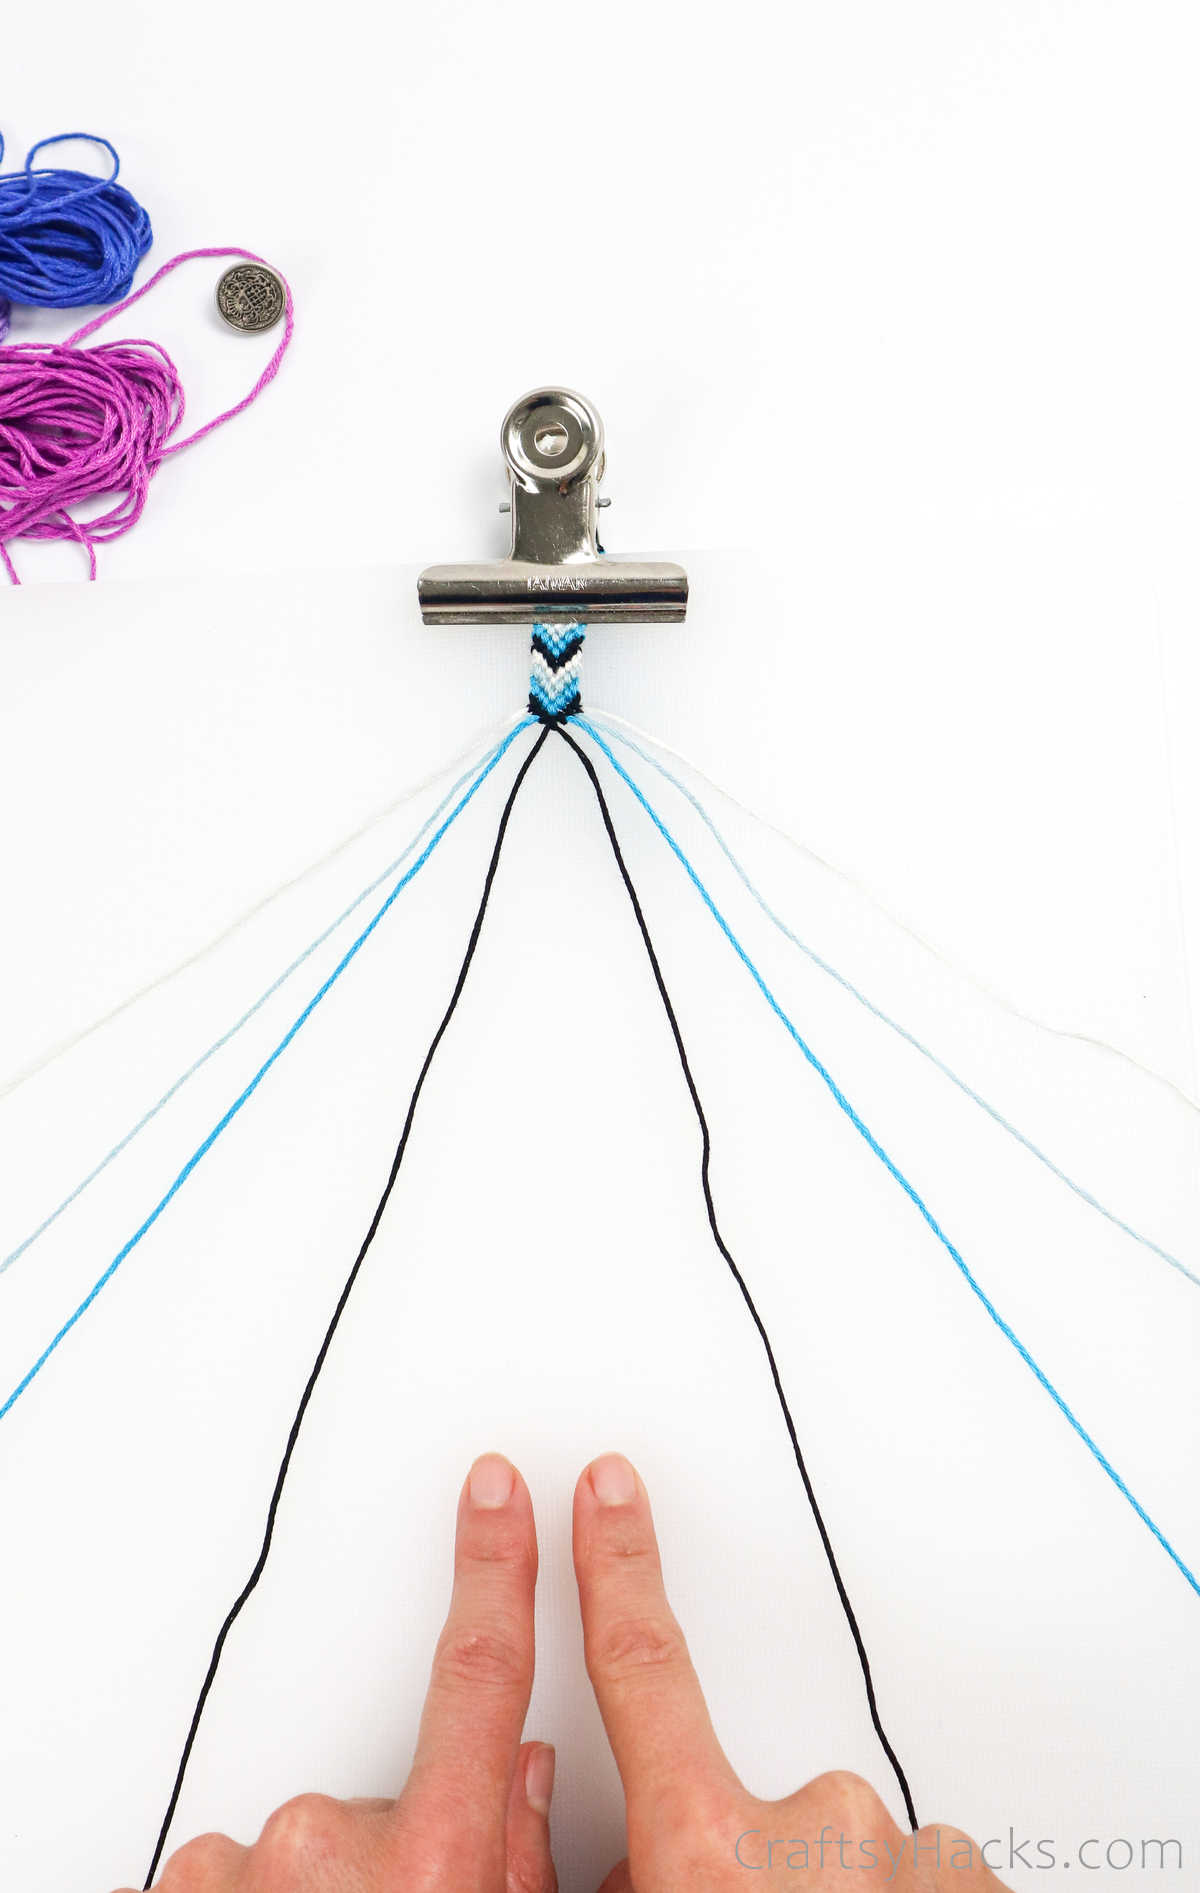
You know the drill.
Just use the leading cord to form a loop.
Repeat this with the next cord and the next, all the way across.
Work a row of knots across all five cords.
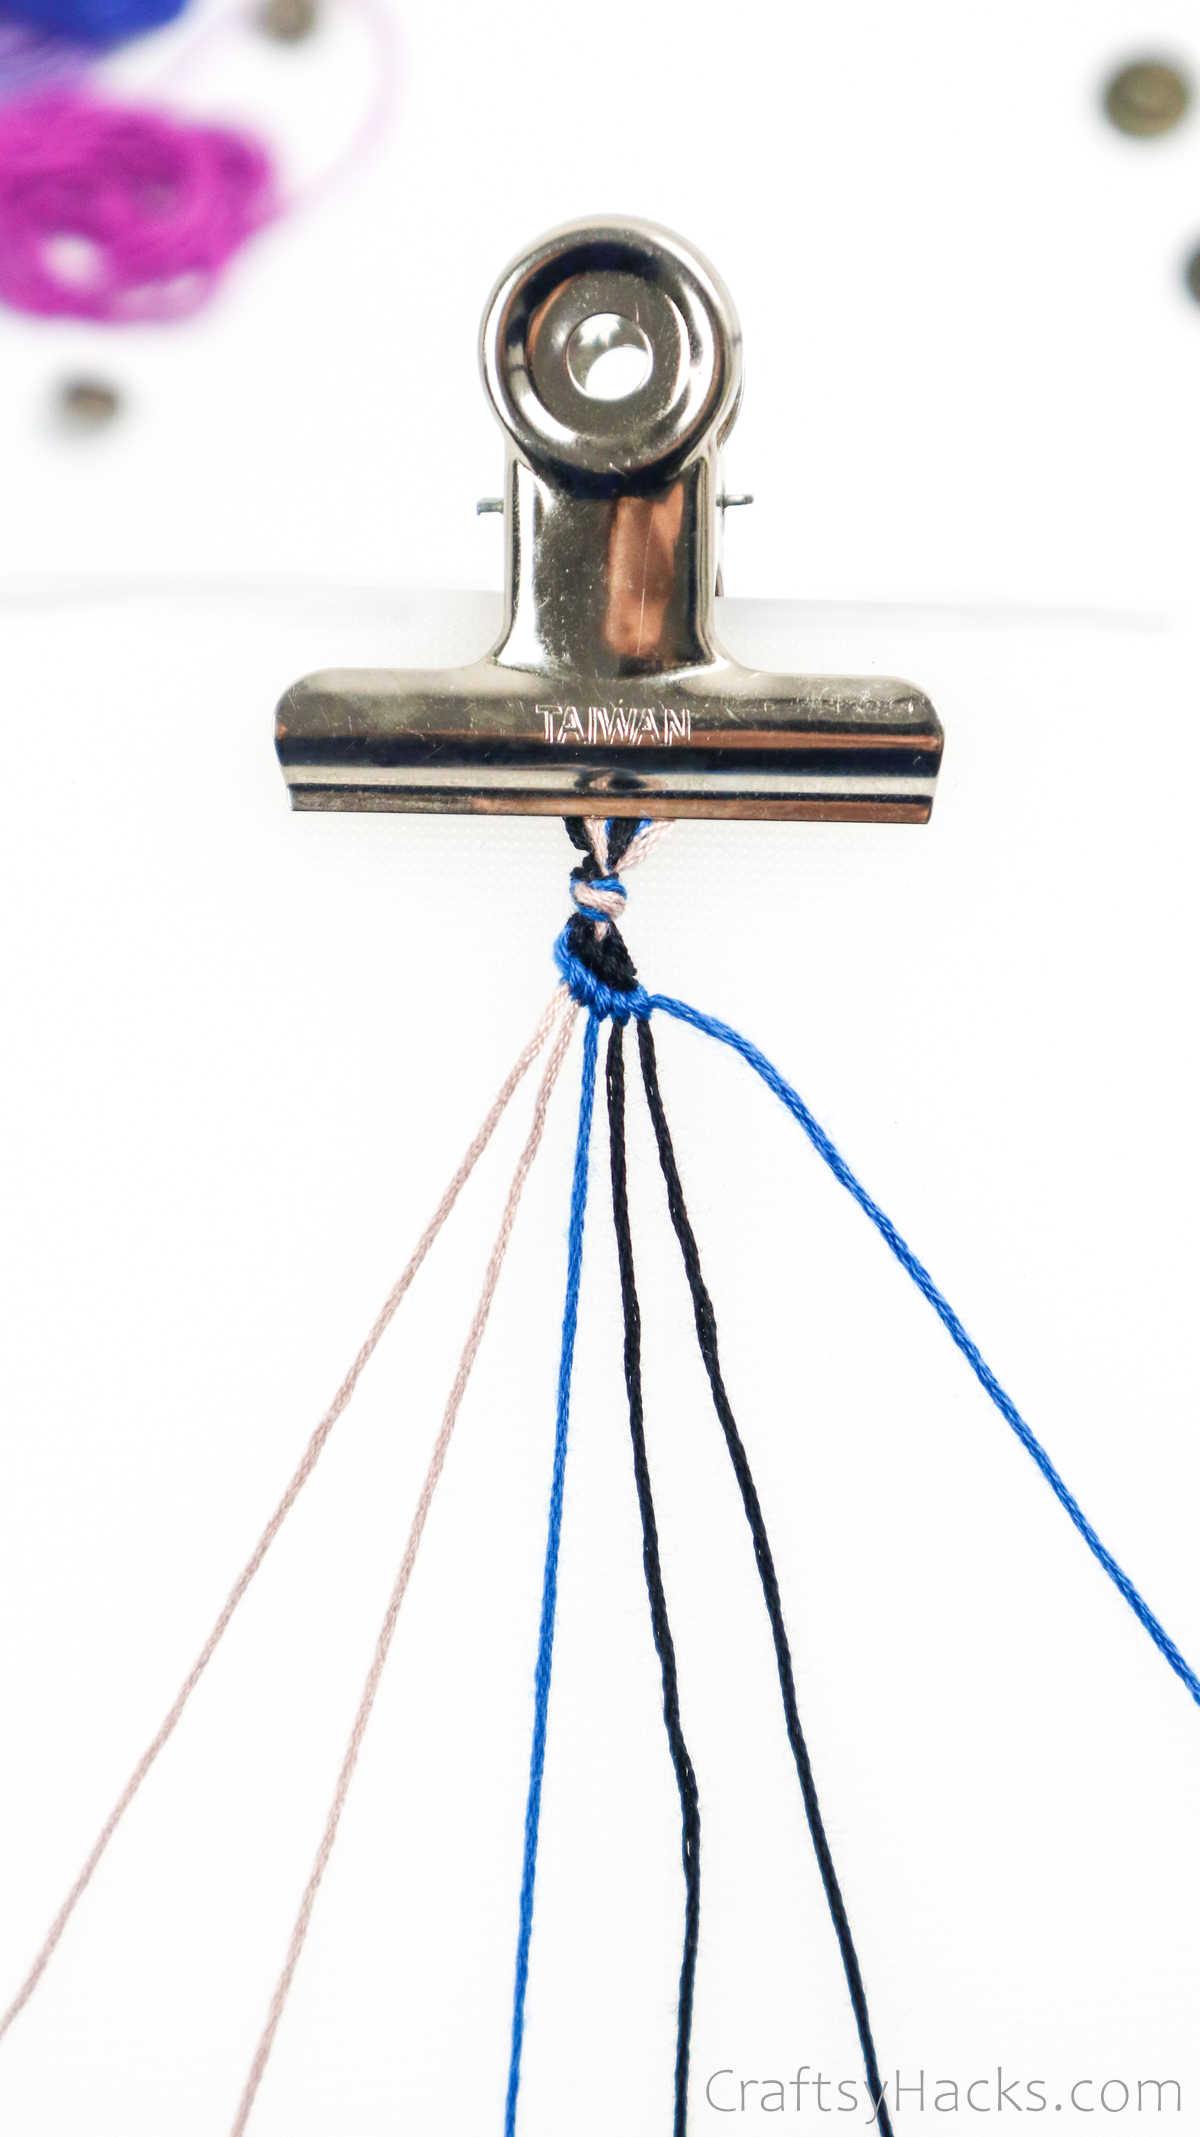
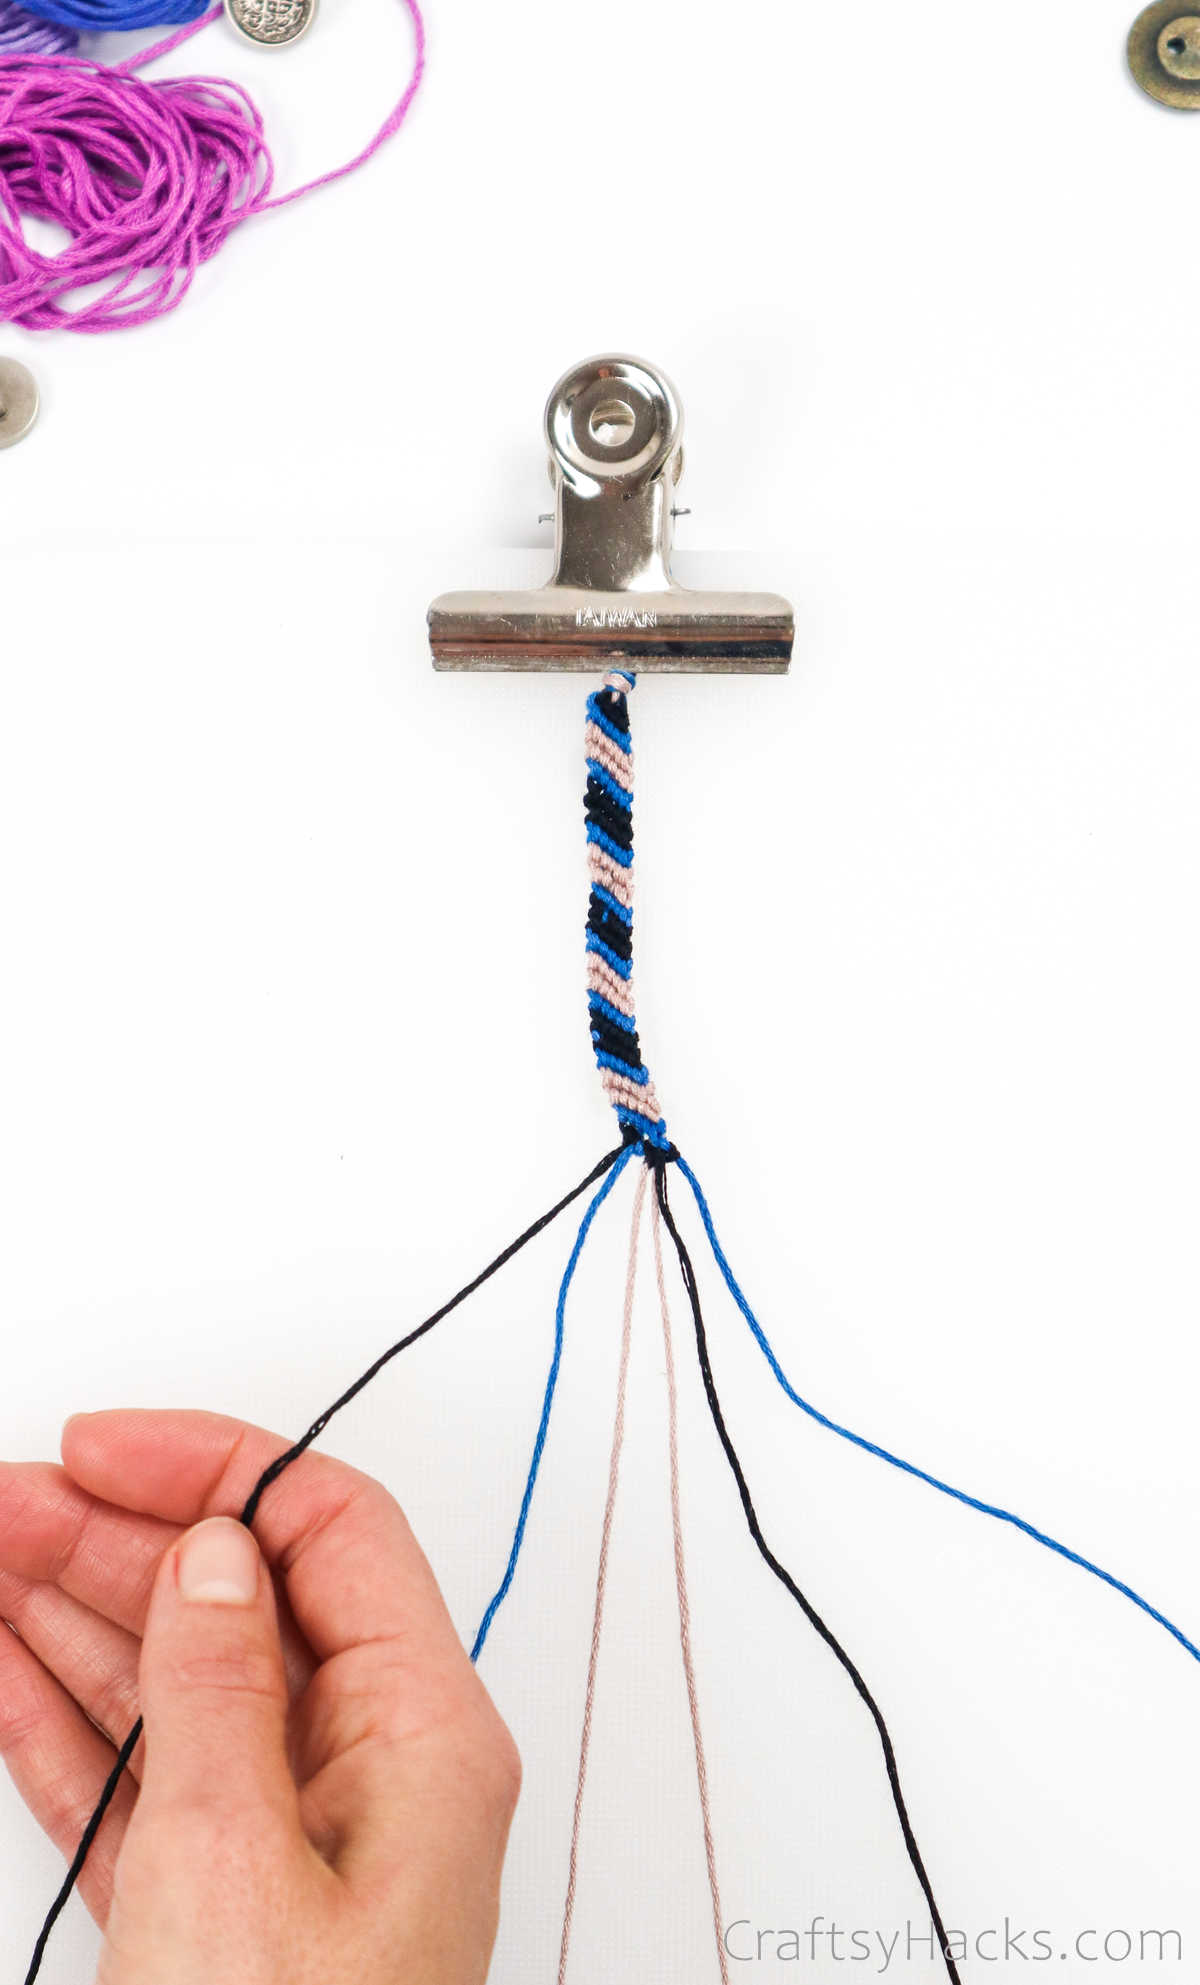
Step 8
Keep moving down the rows, making a set of 6 knots per row.
you might also make two rows if you like if you knot one color twice.
Feel free to experiment as you work your way down the bracelet.

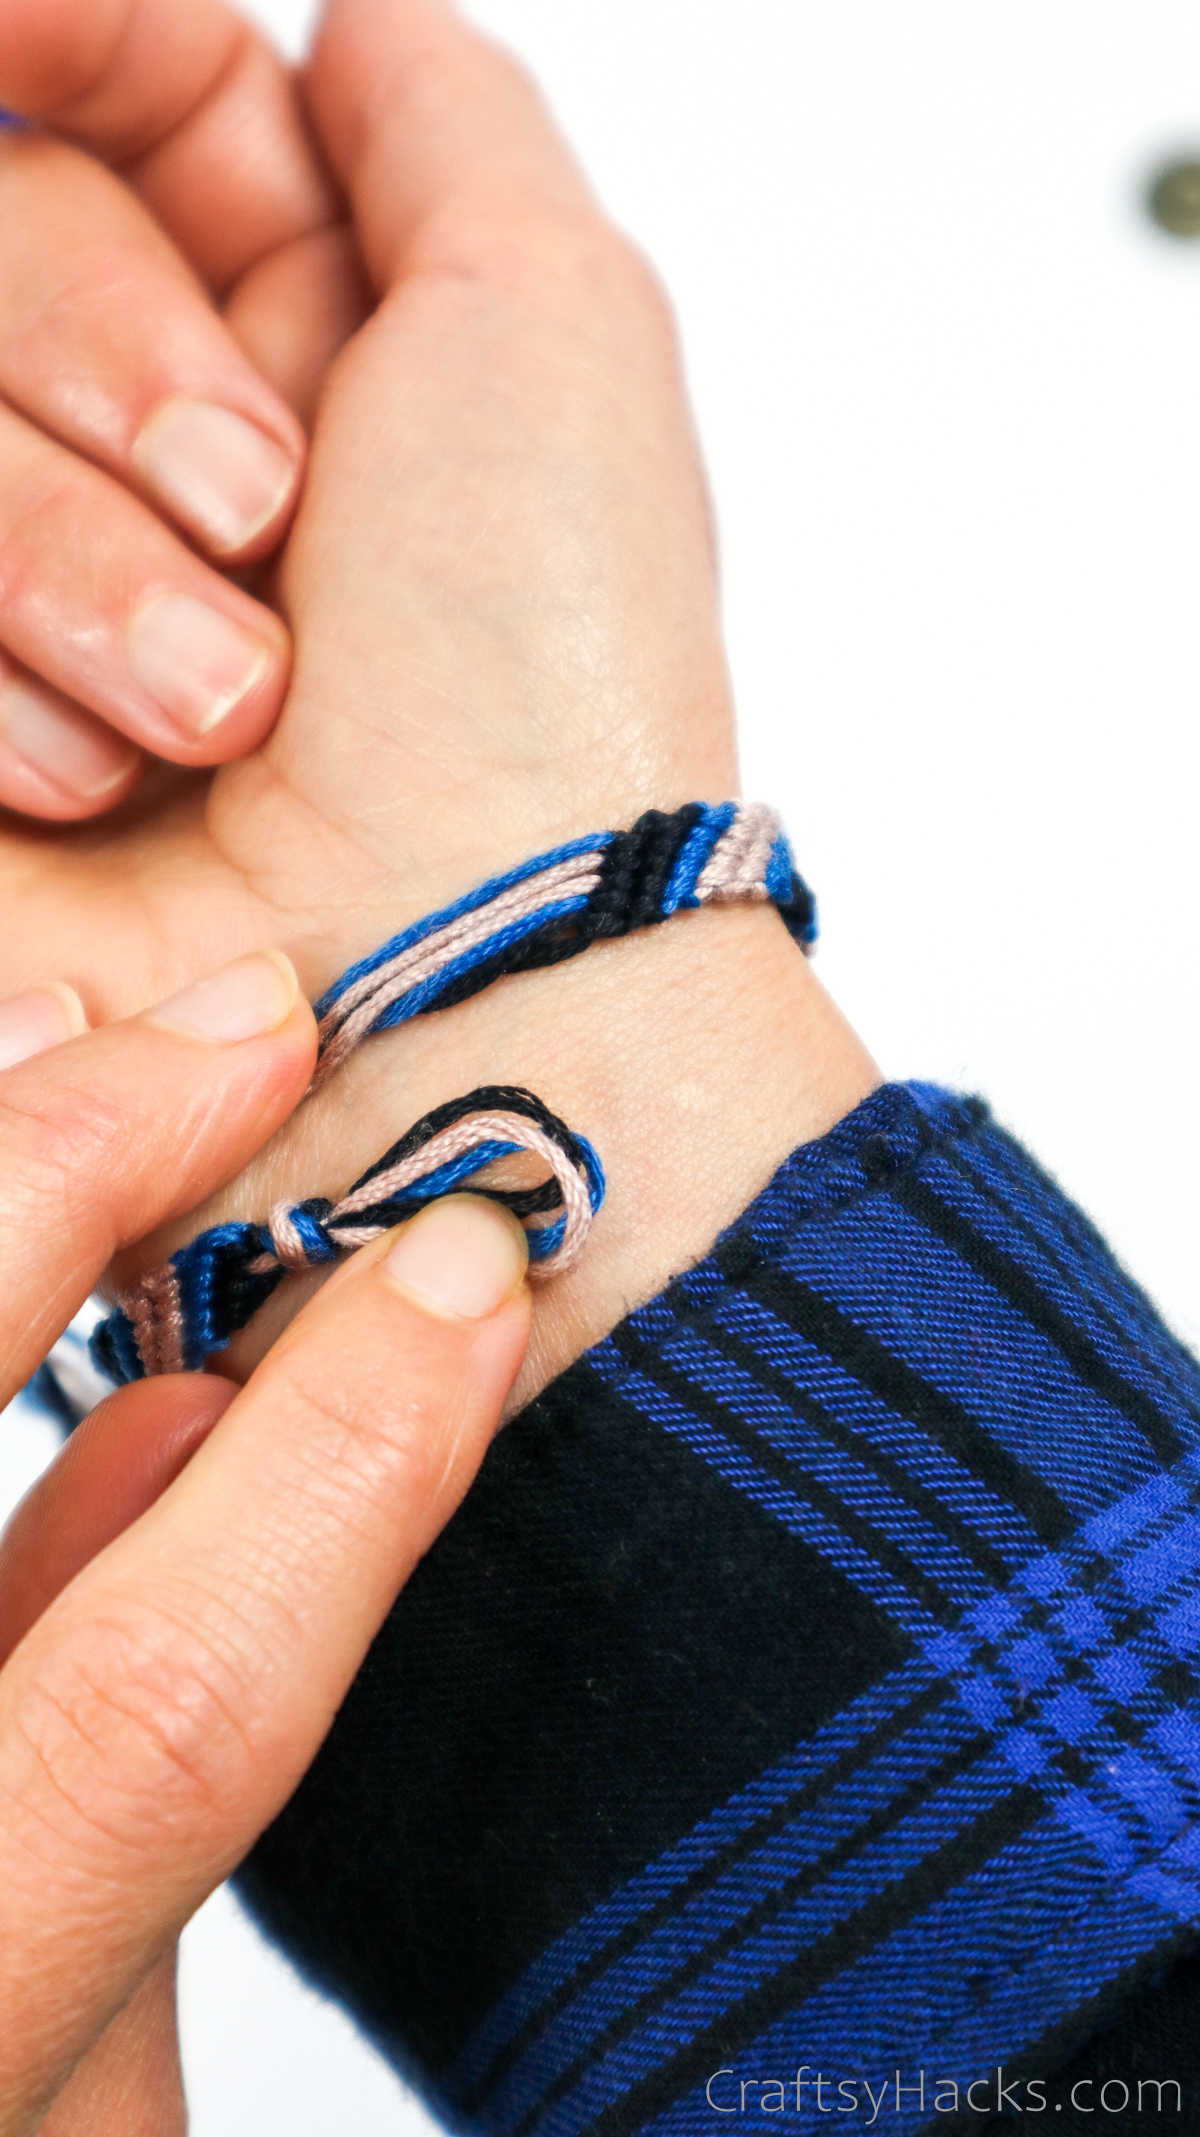
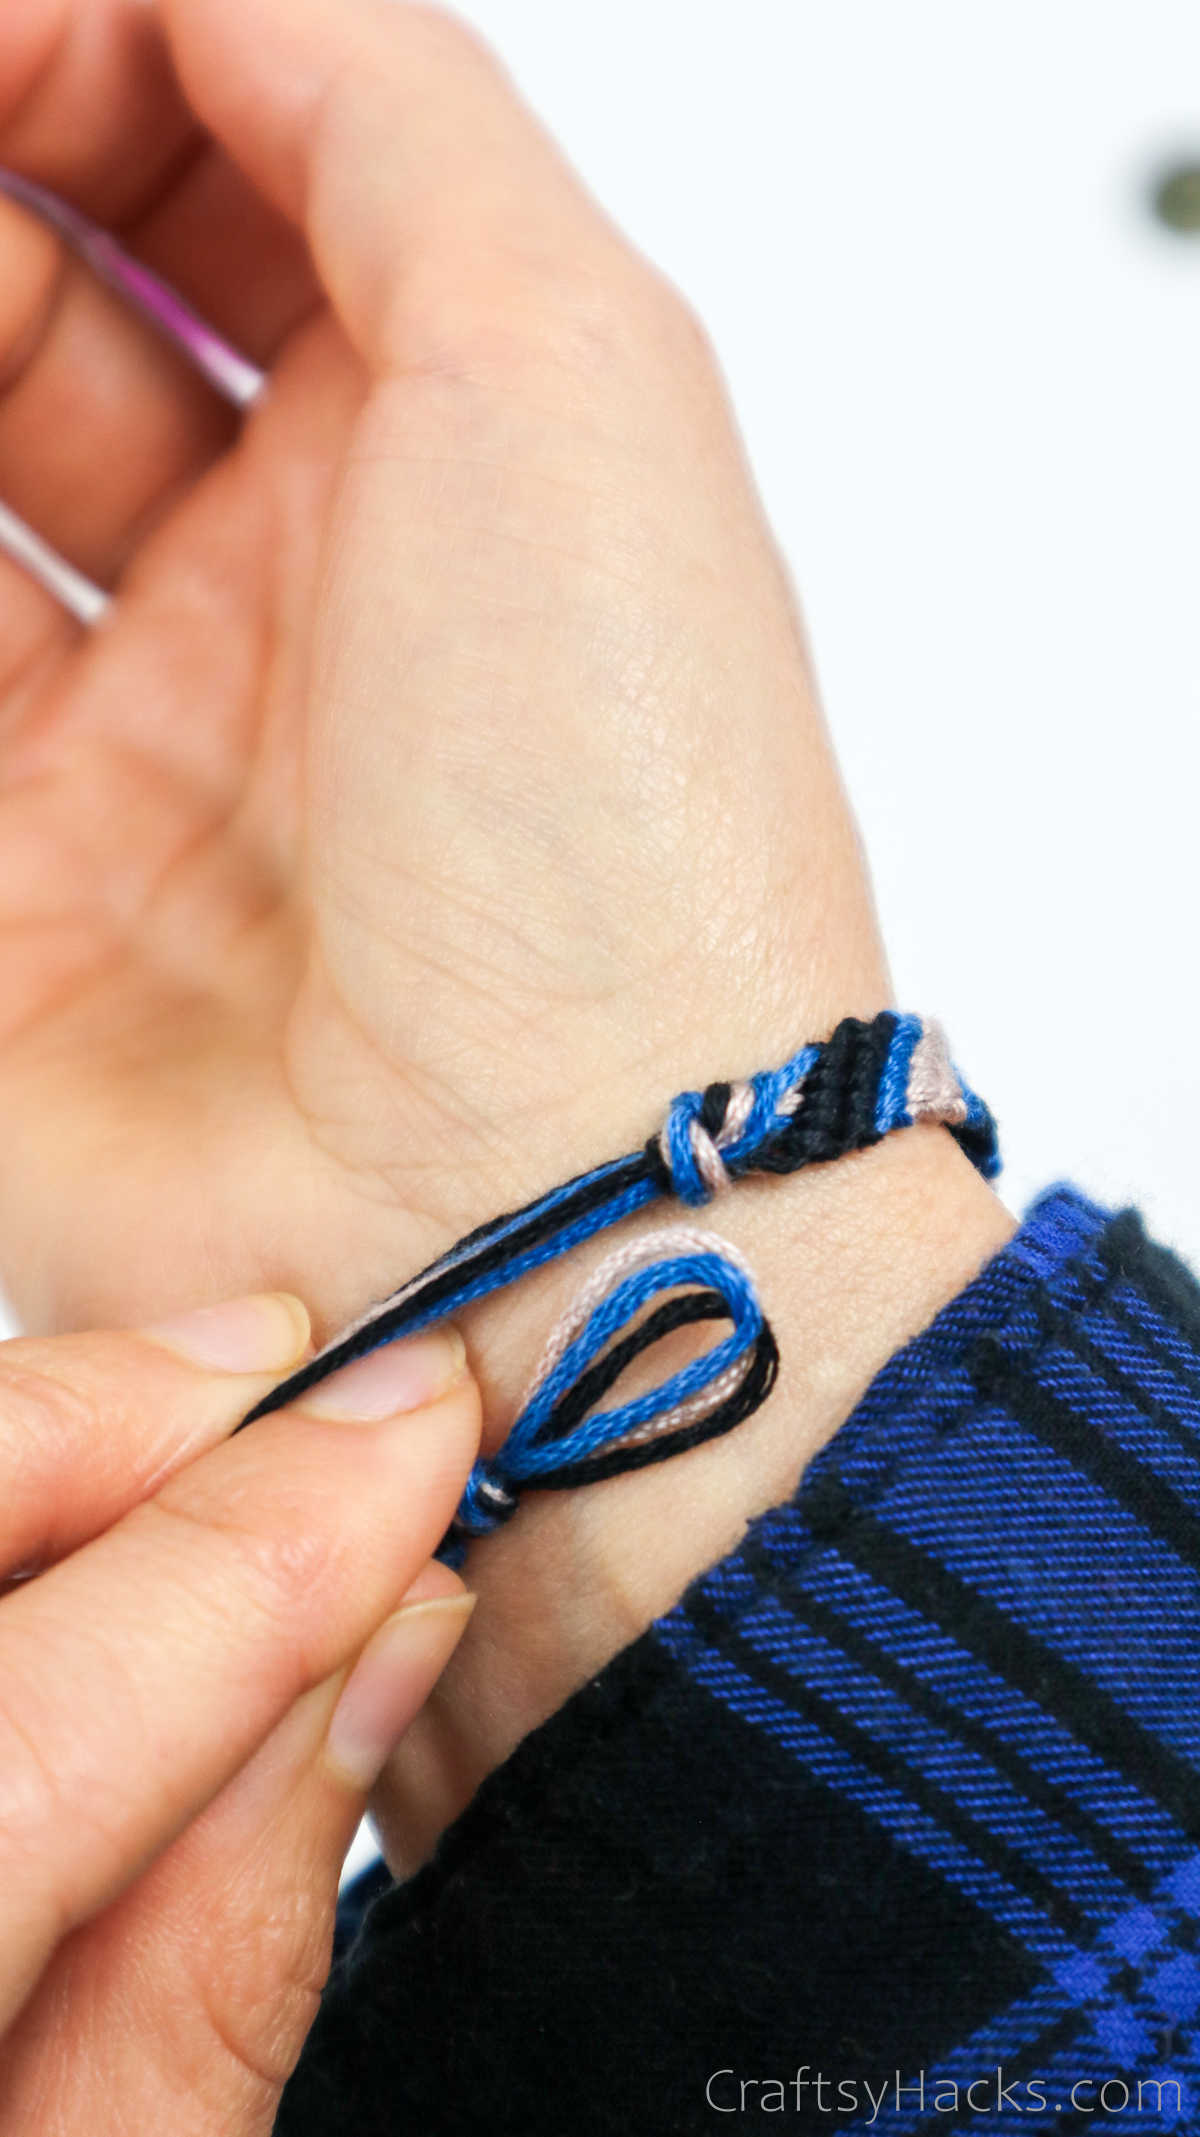
To measure how long you need the length to be, just loop it around your wrist.
To fasten off, just make a single knot using all six cords.
Tug the cords until the knot sits right under the last row.
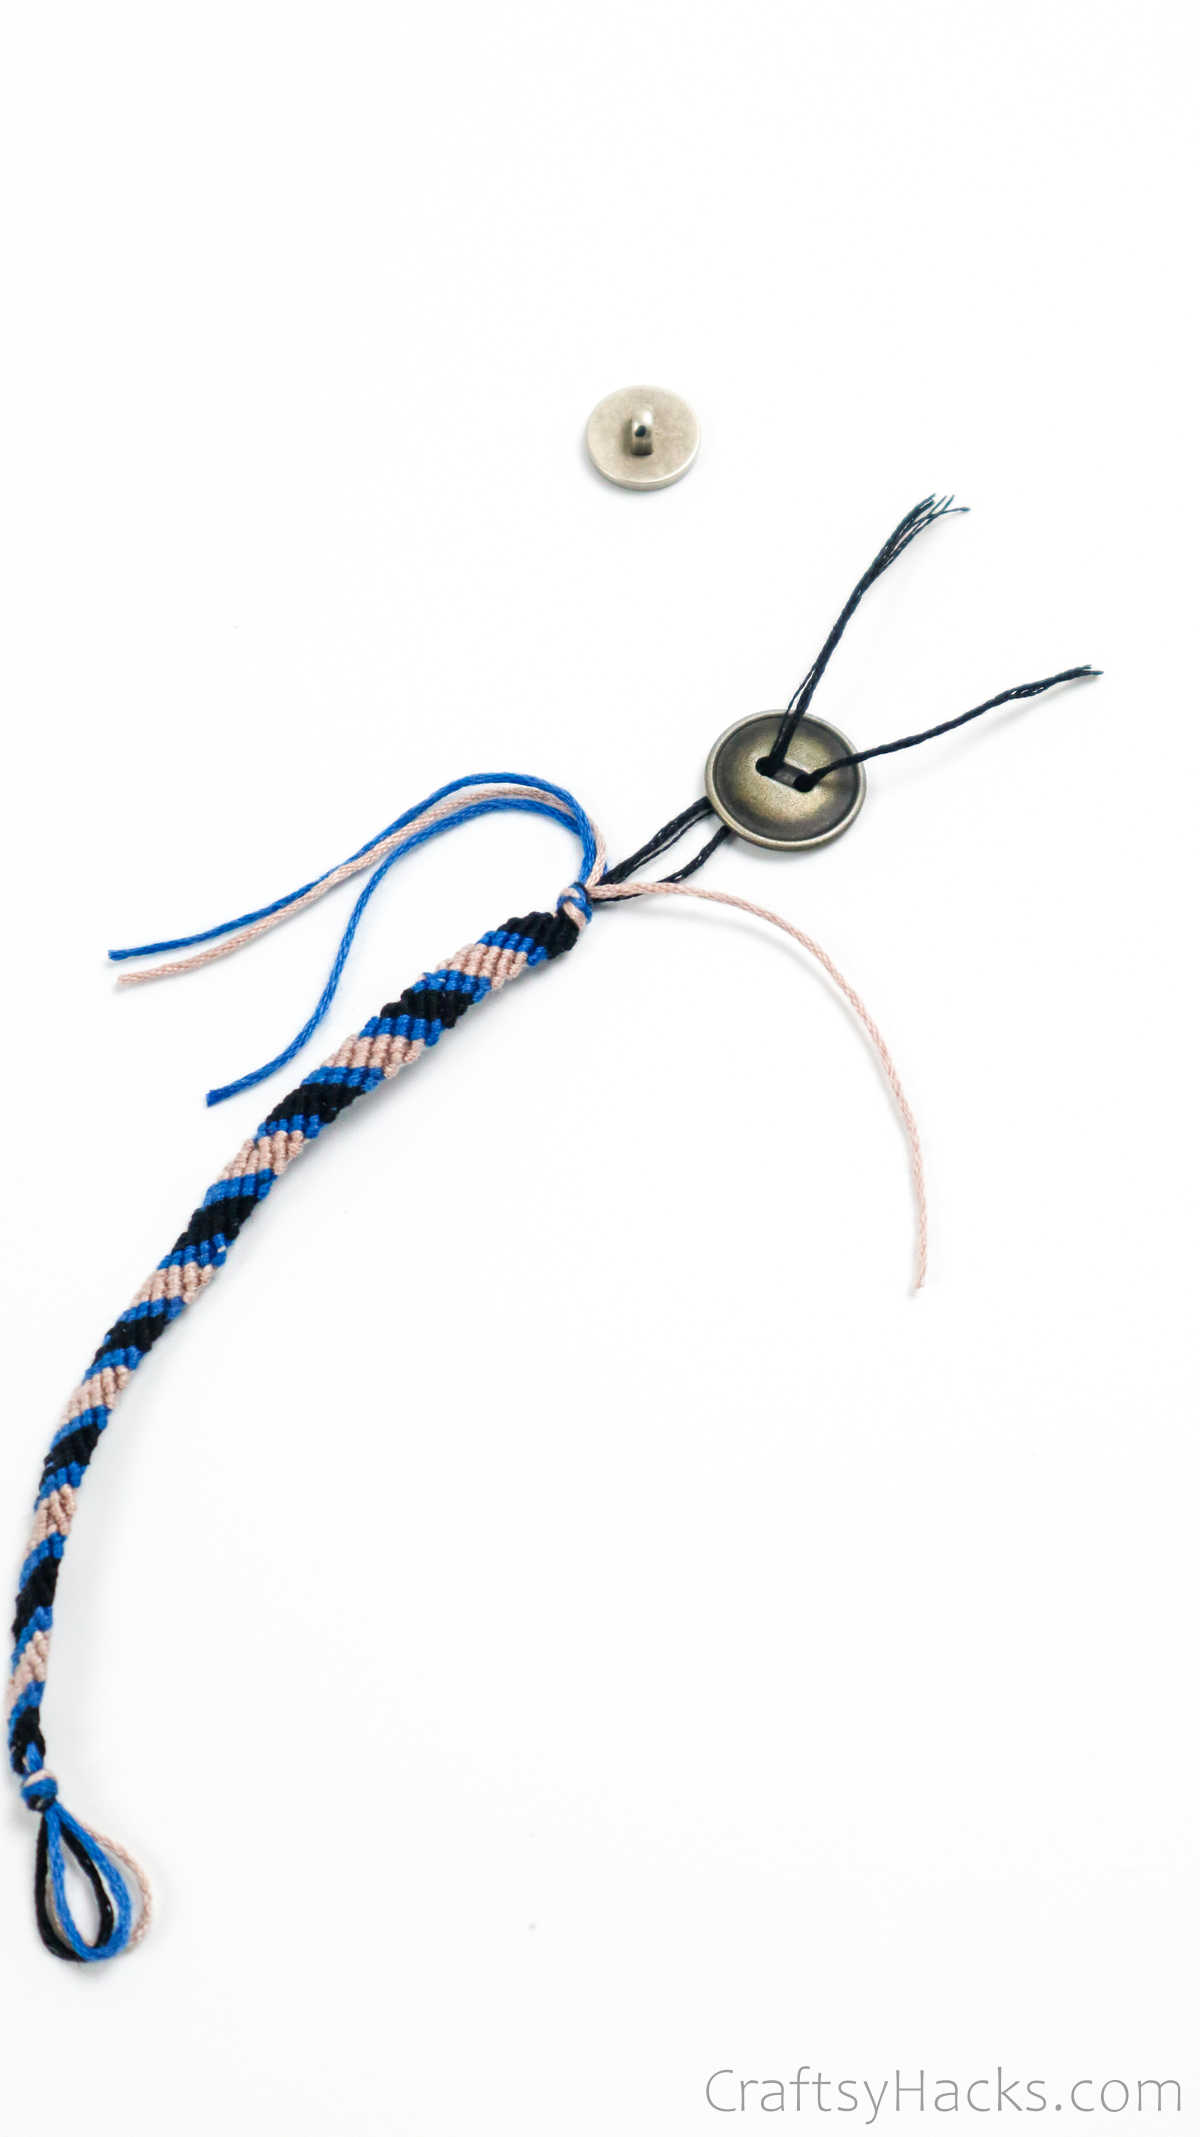
Step 9
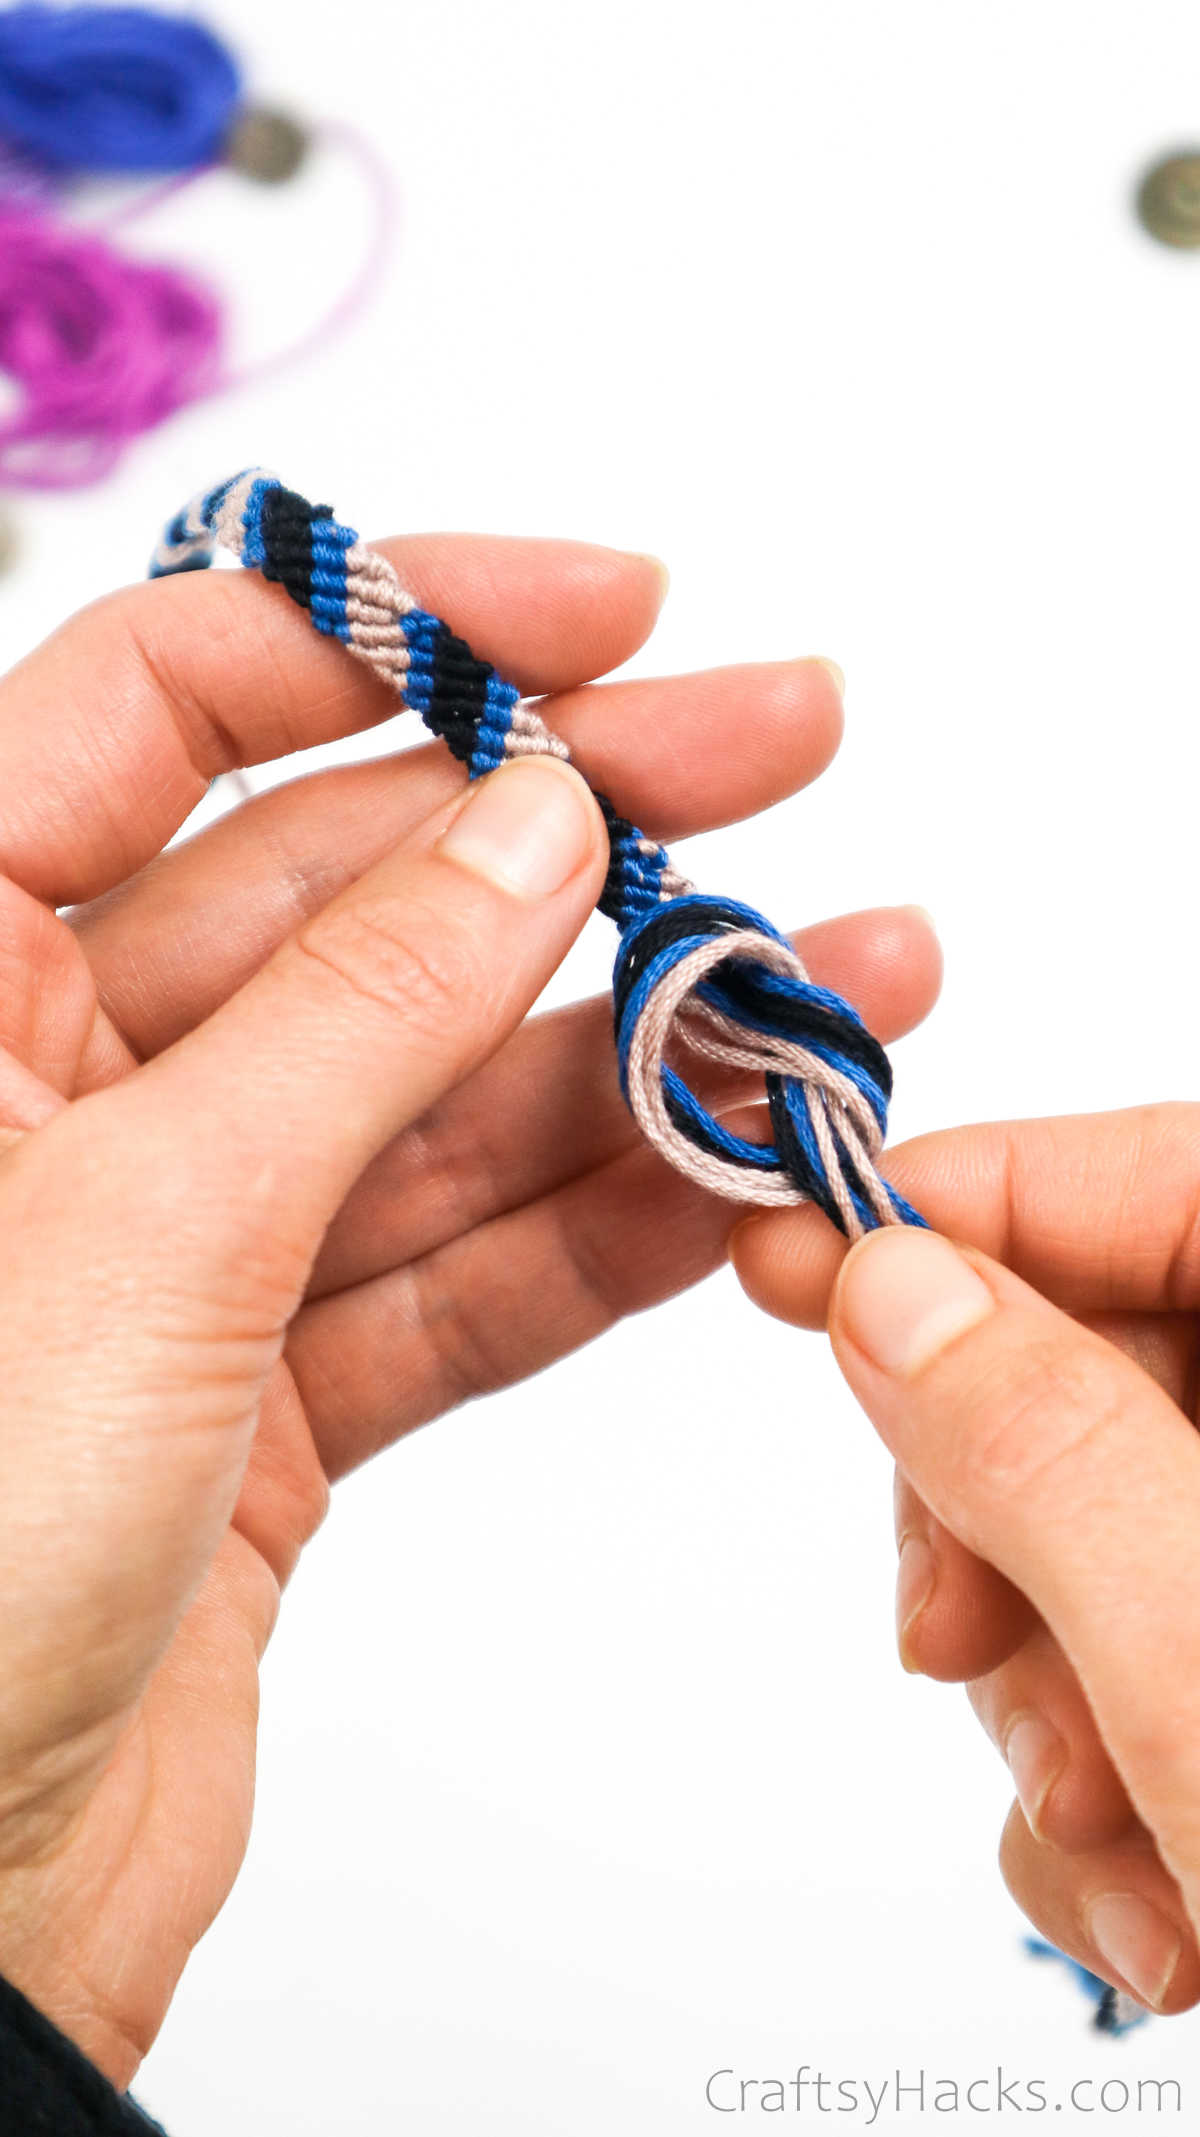
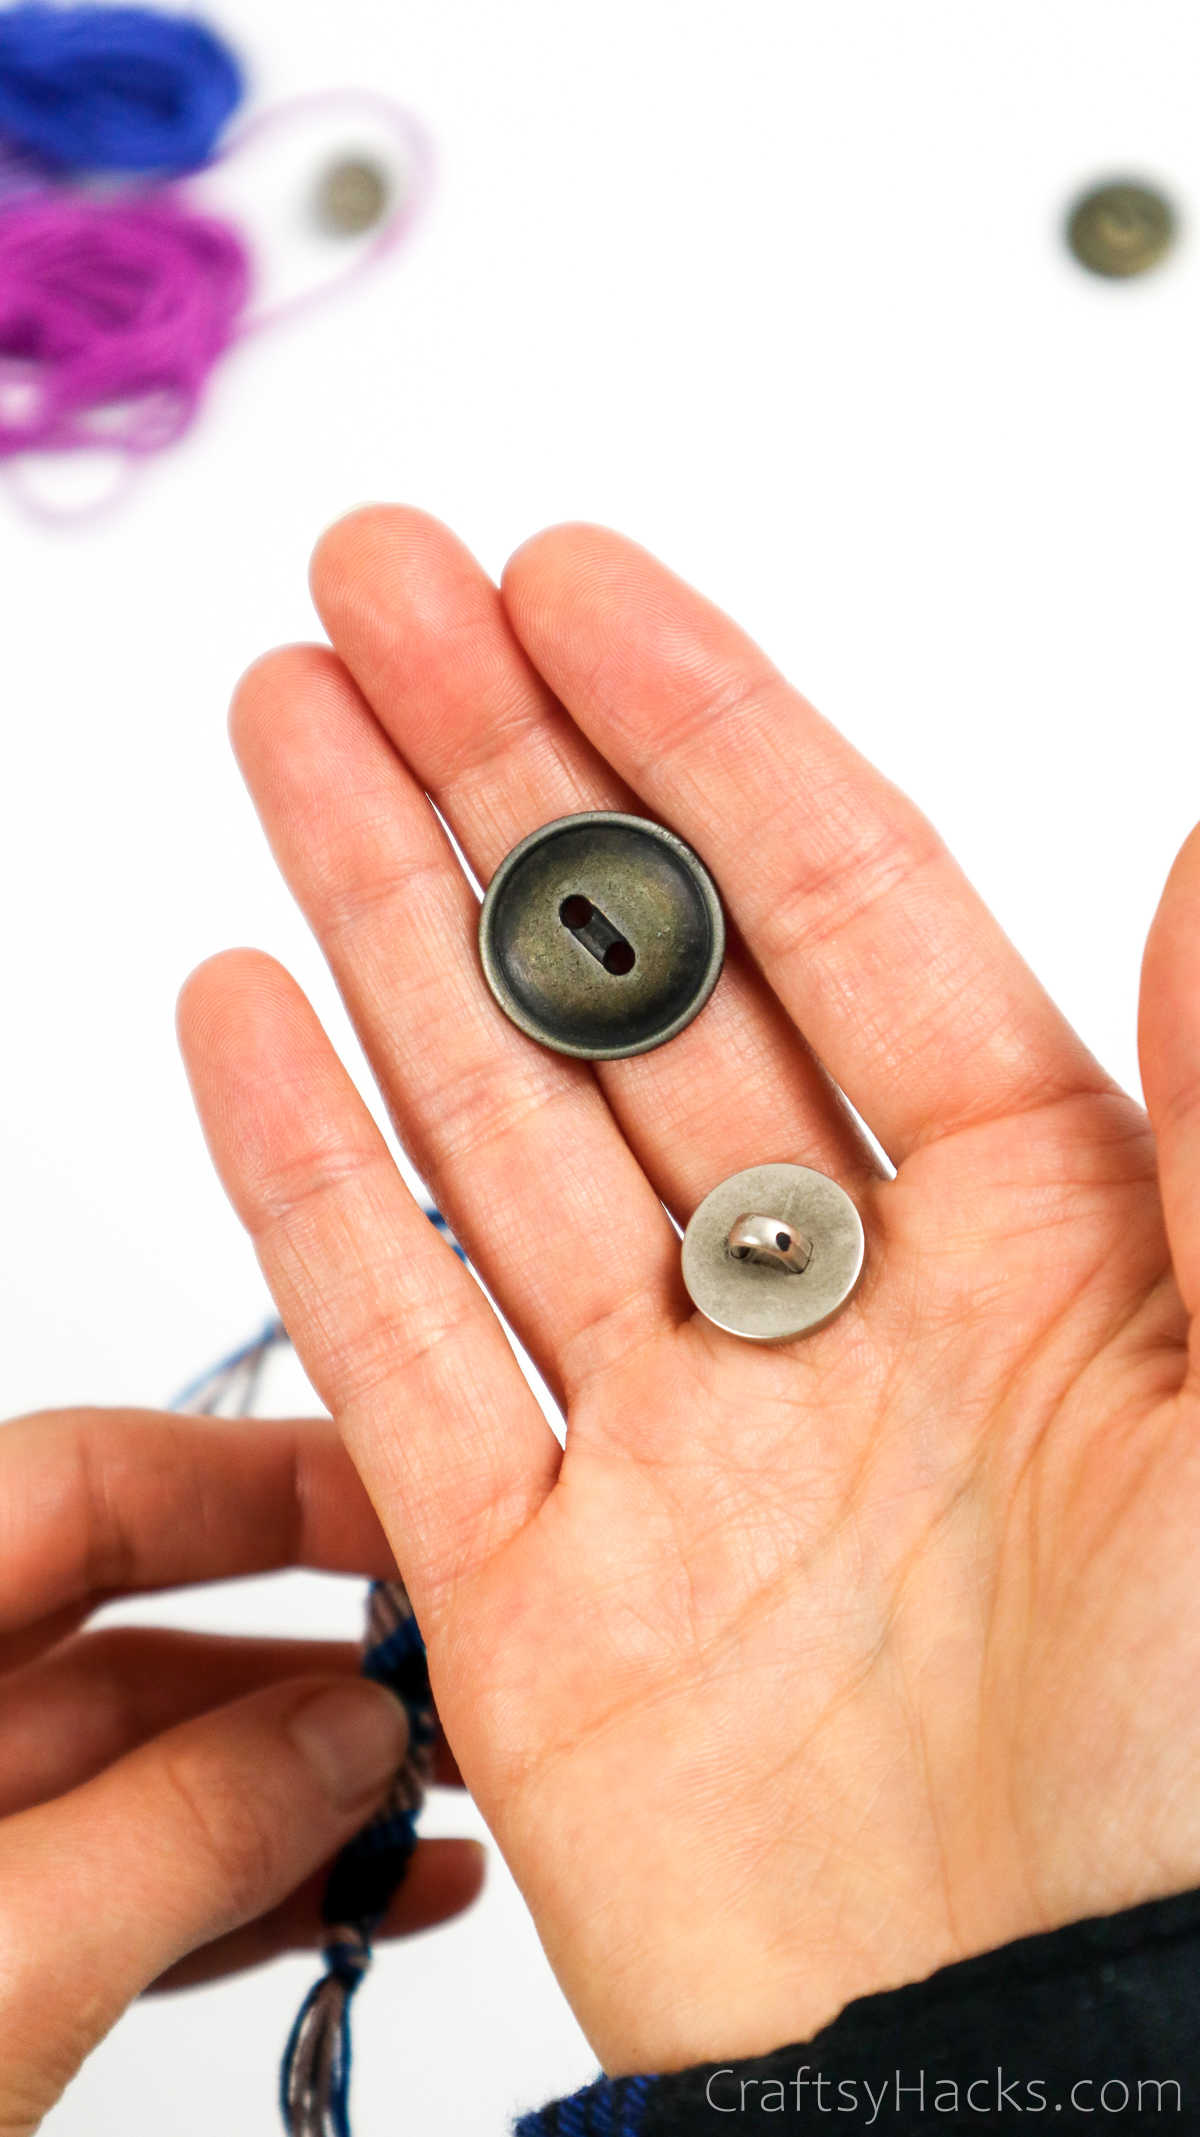
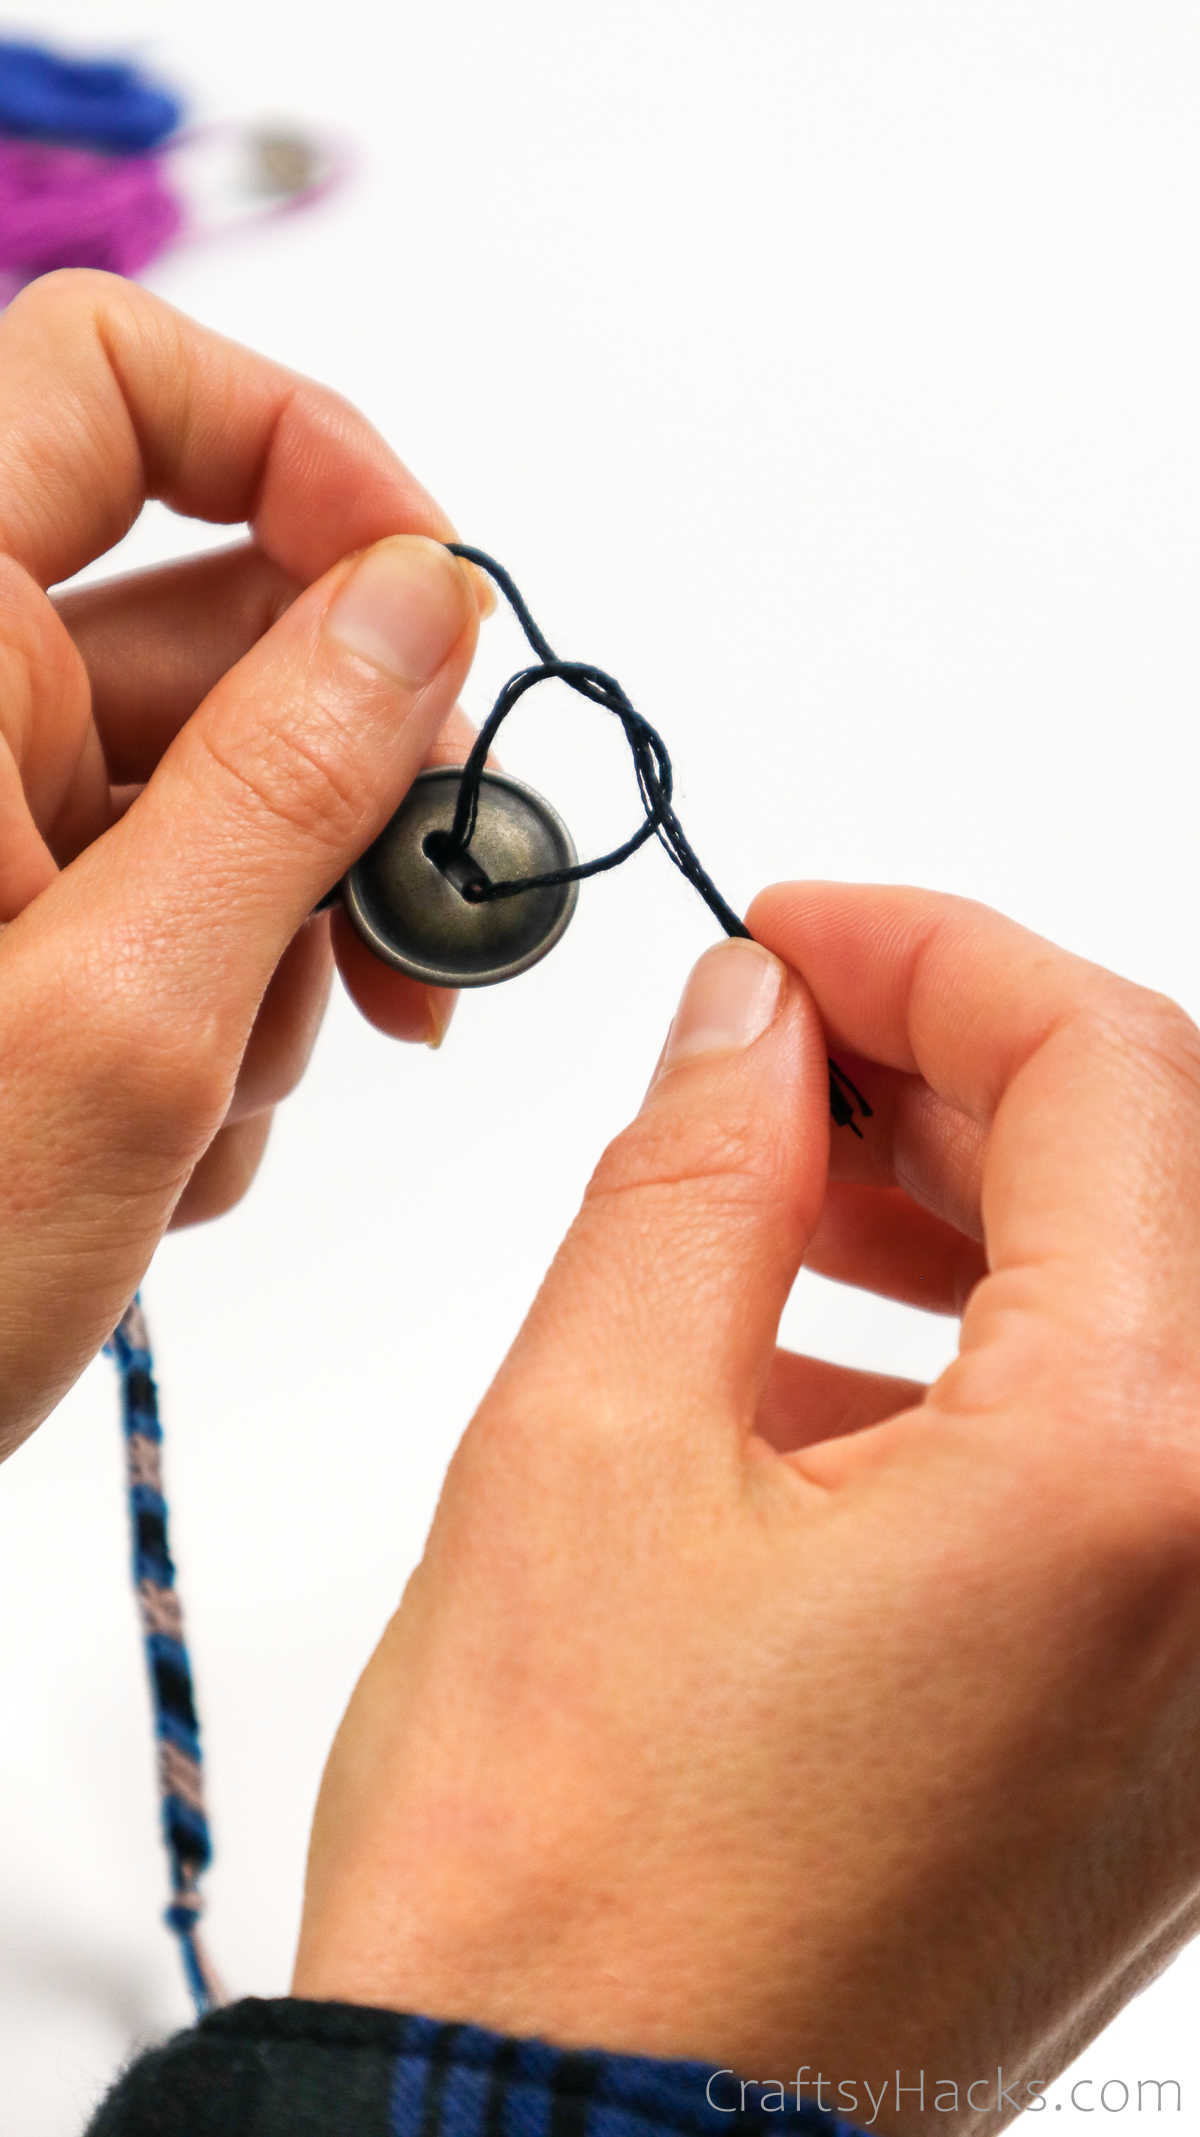
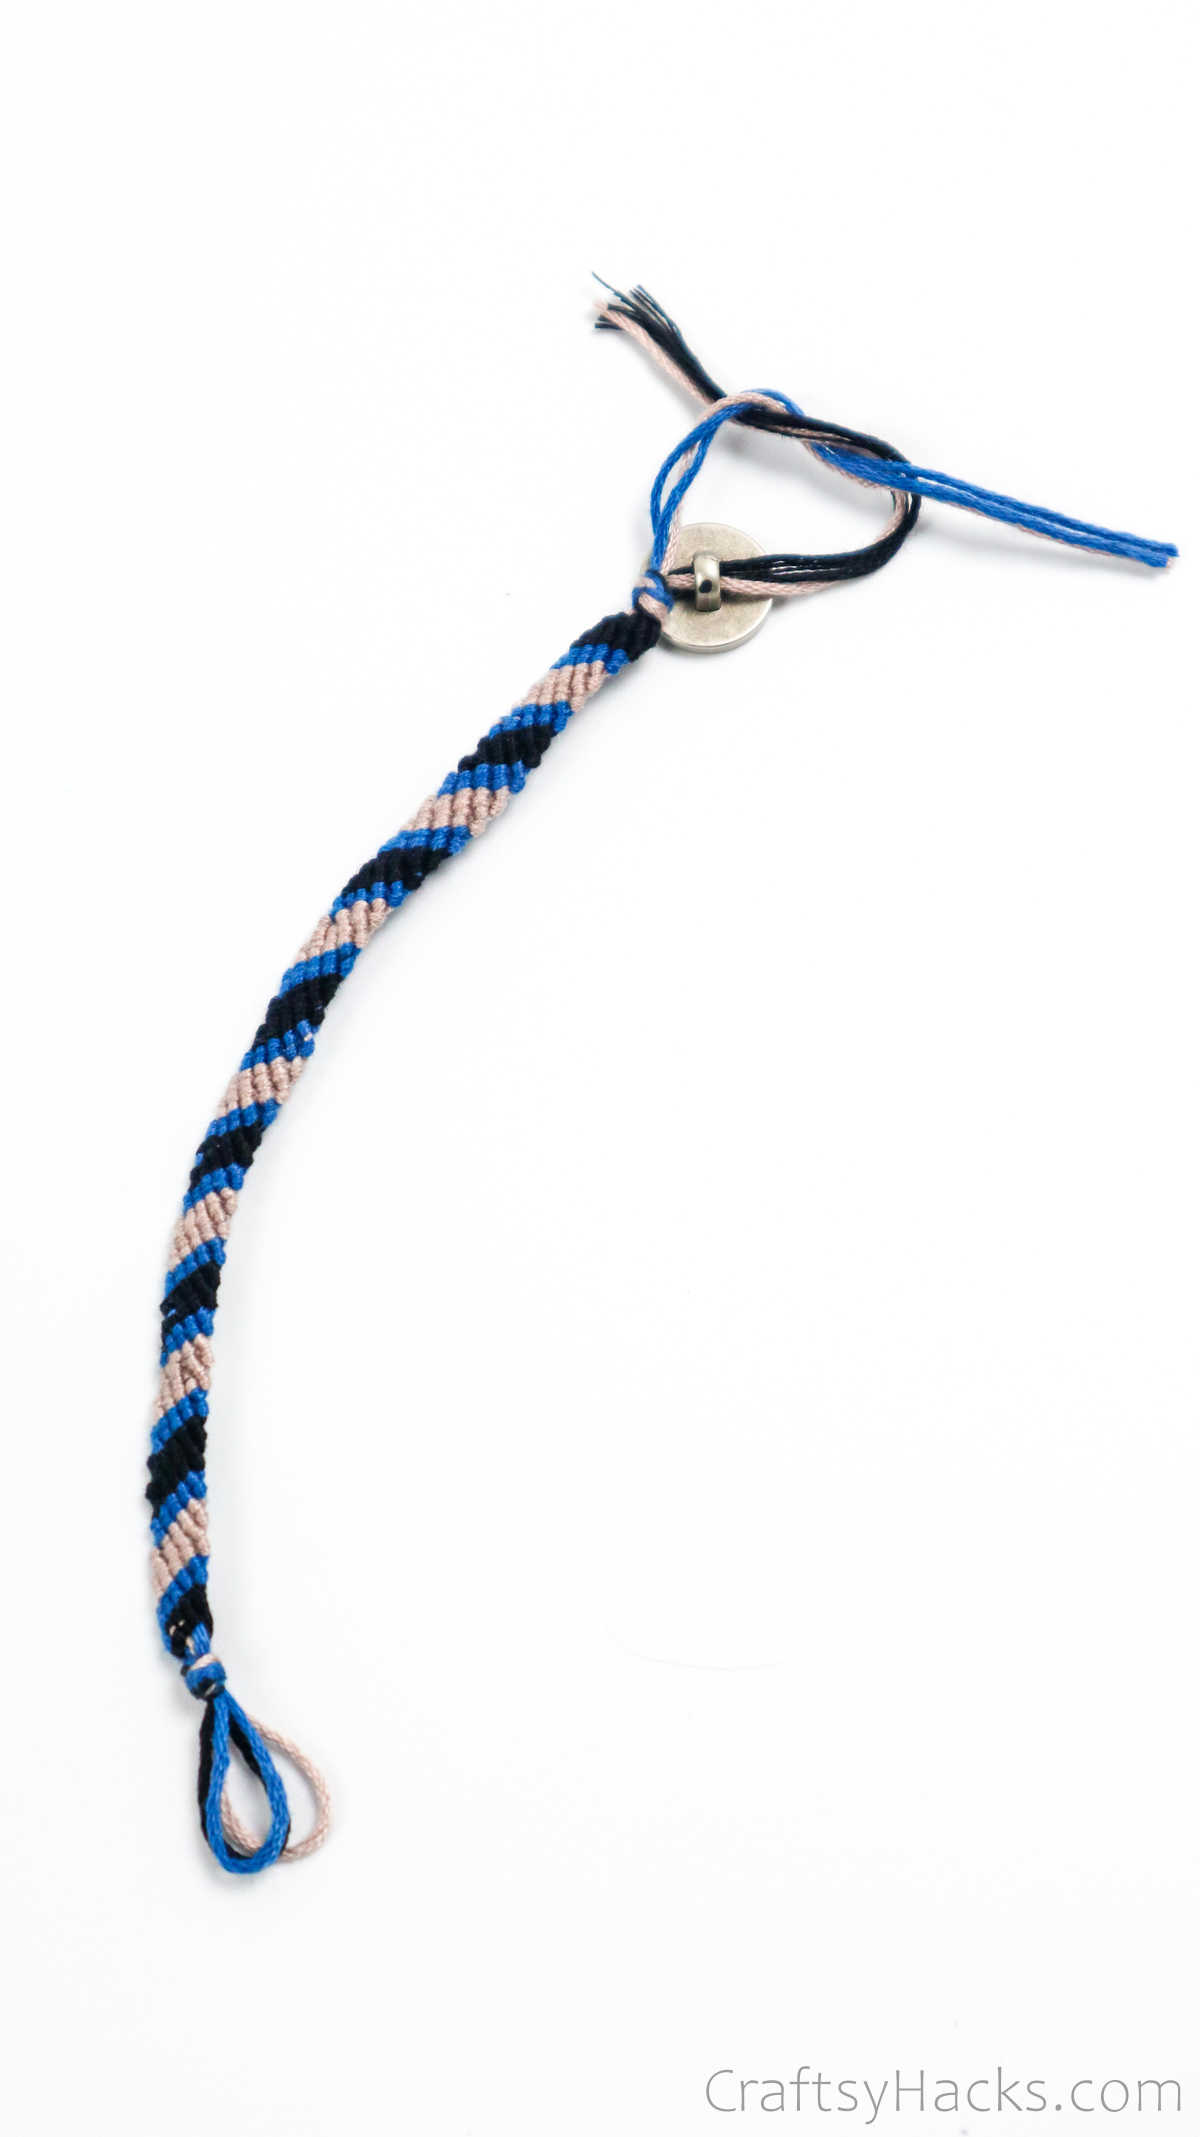
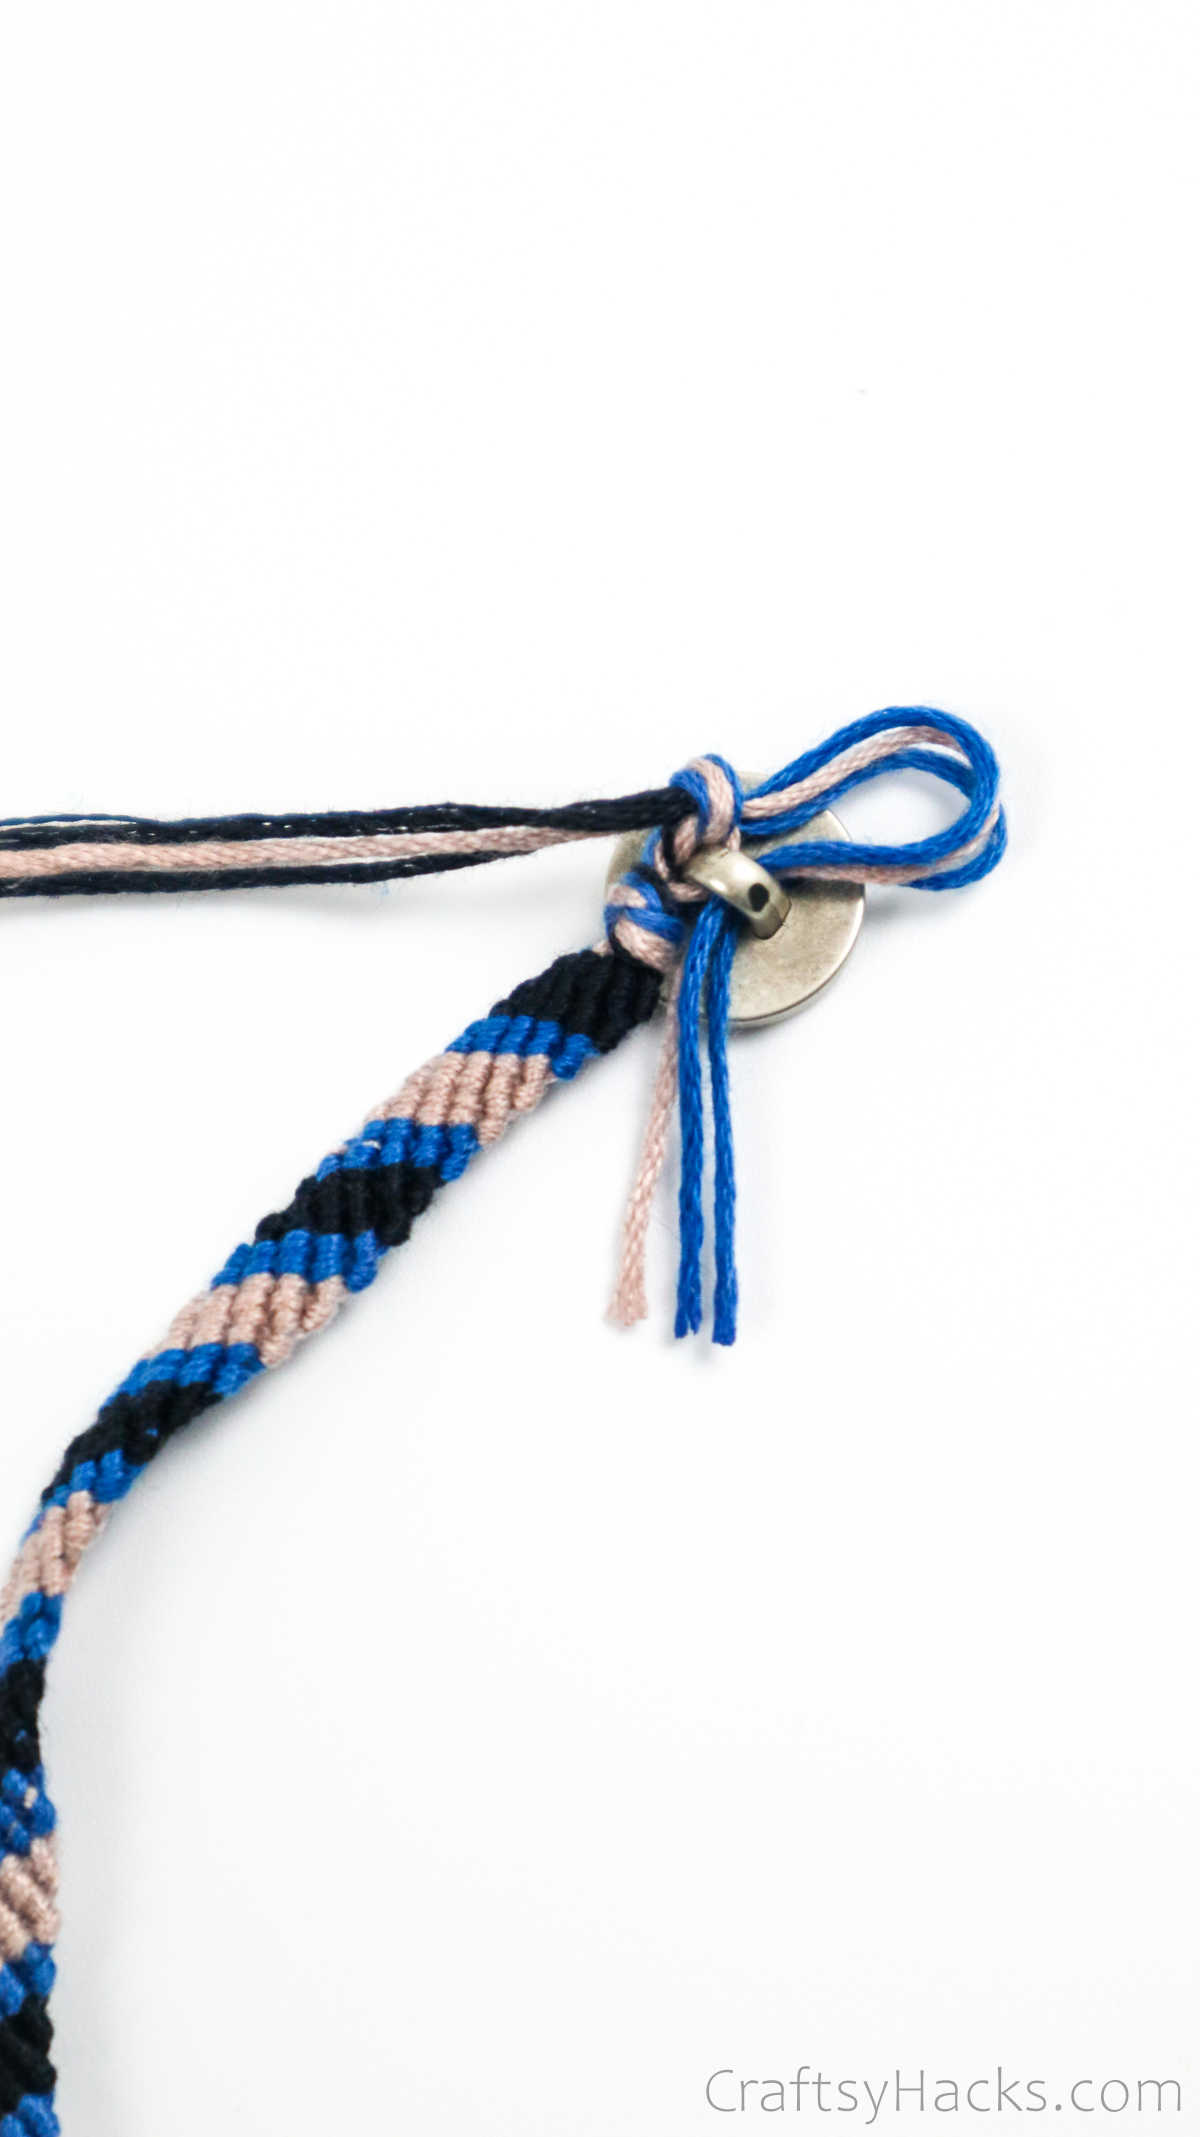
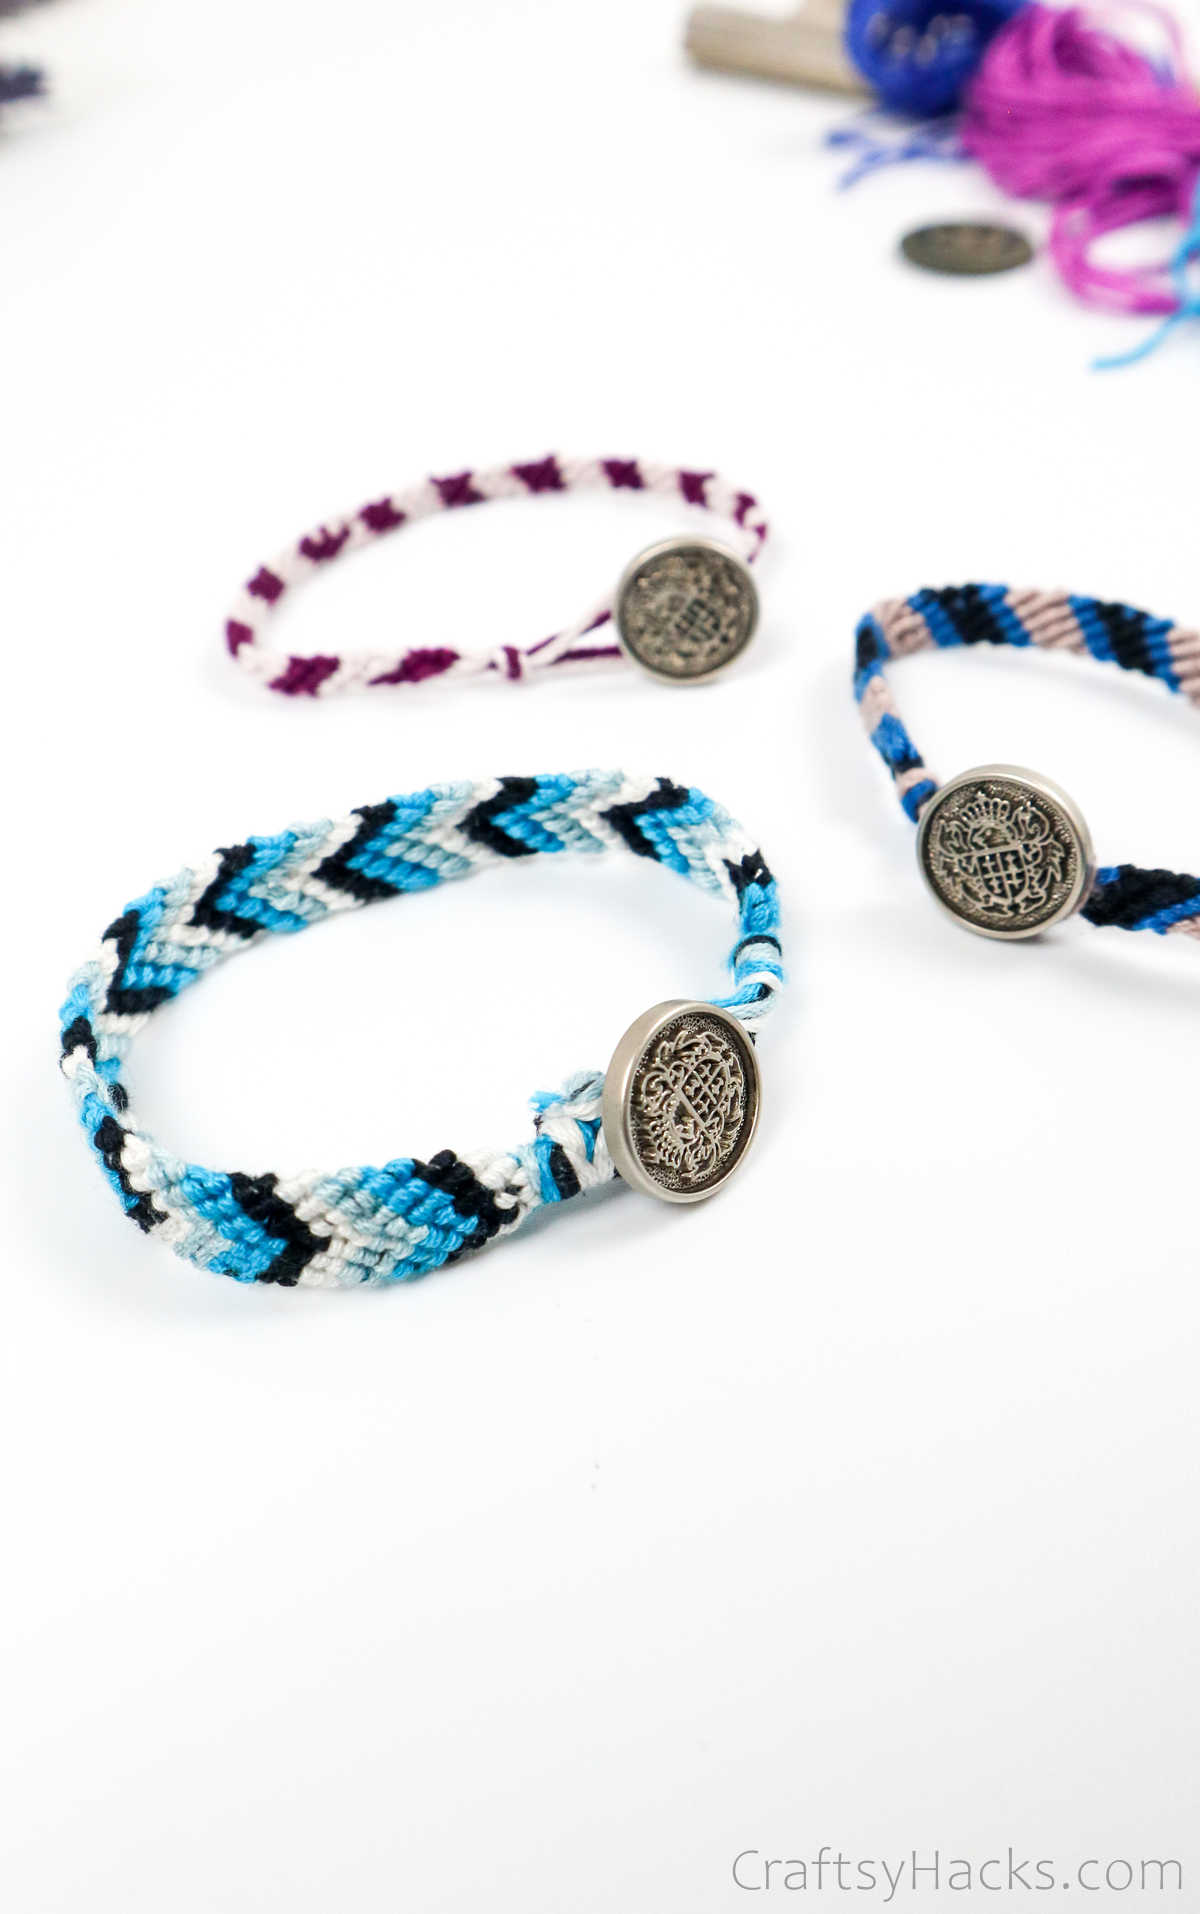
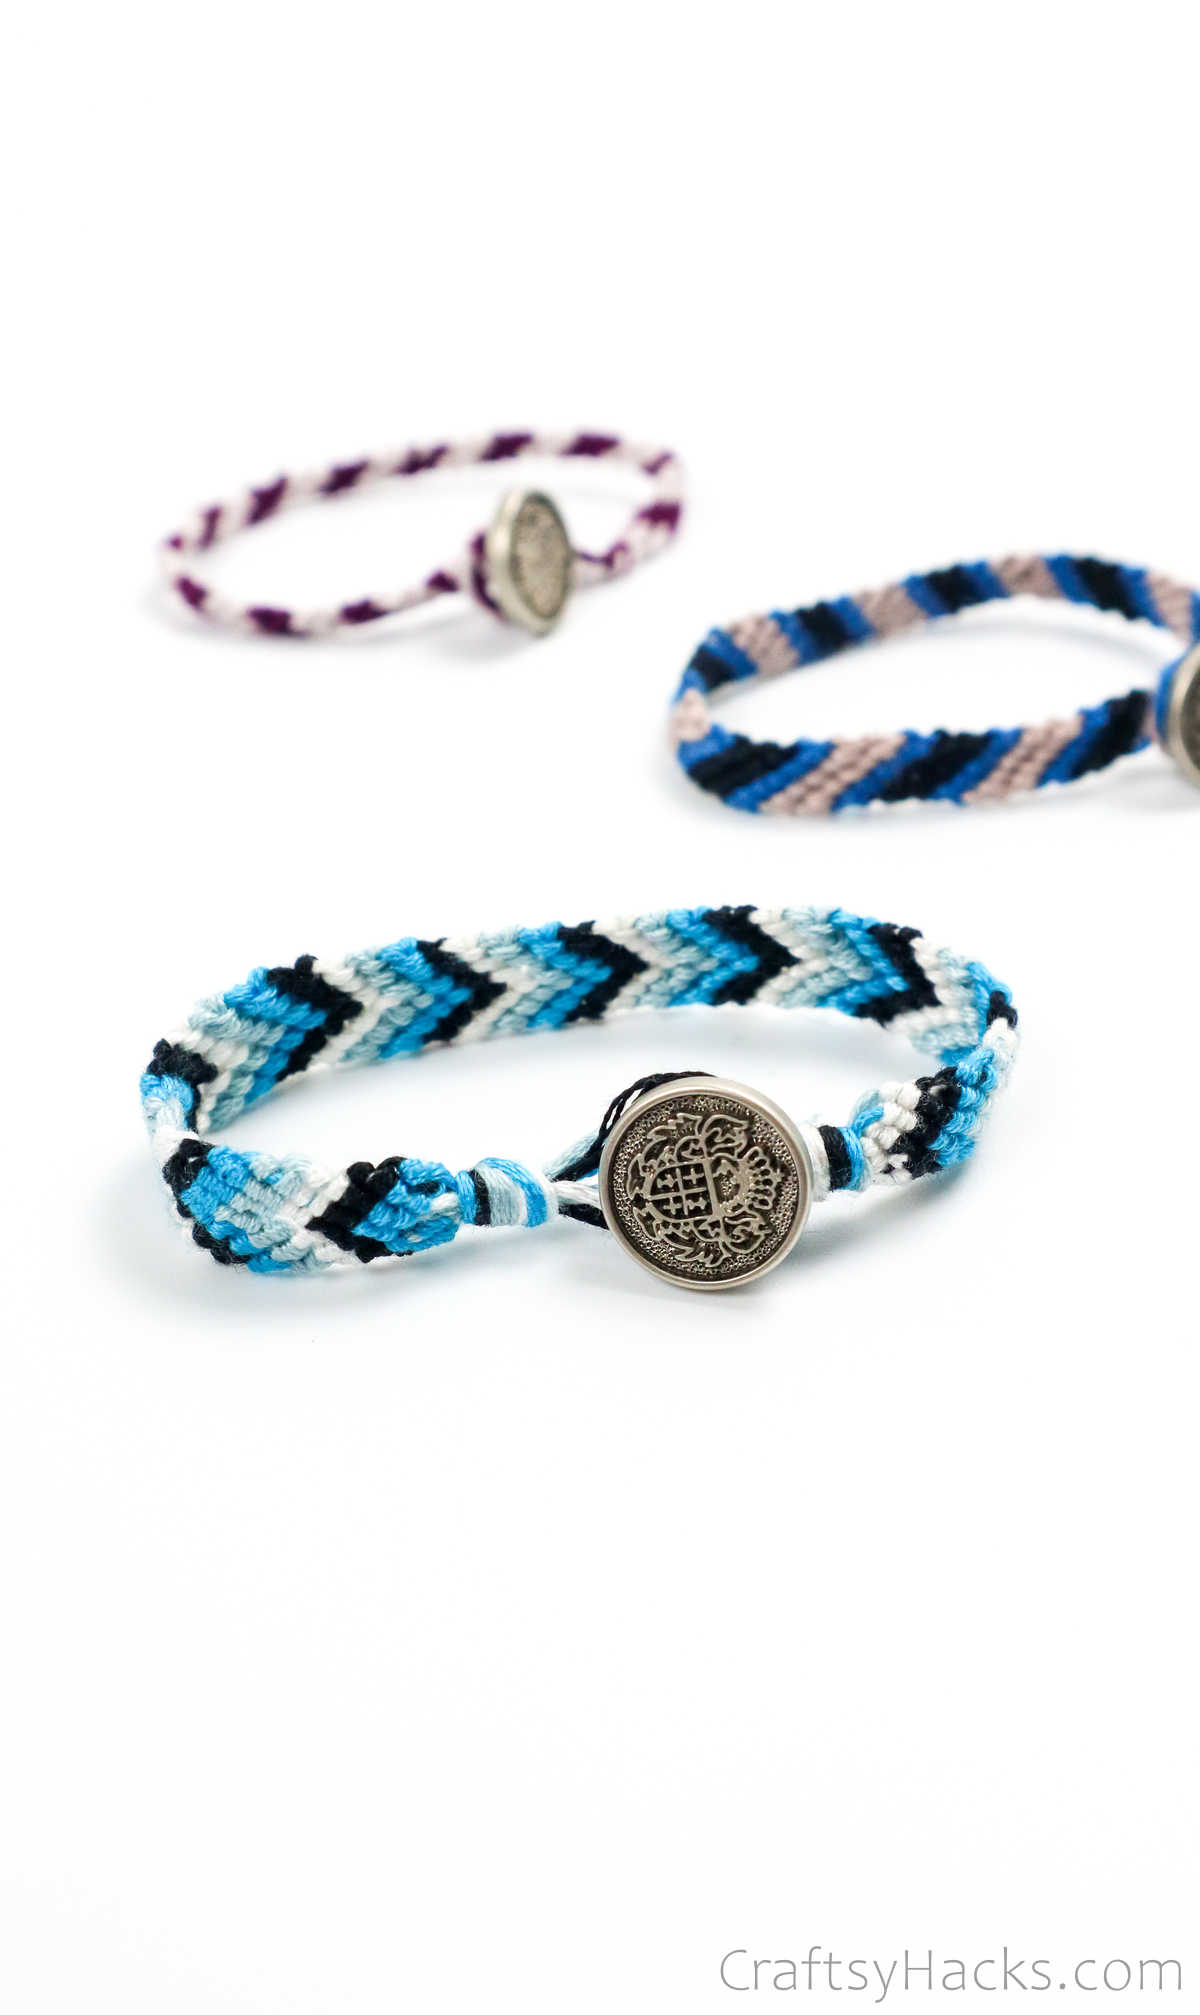
you’re able to accessorize your bracelet with charms, beads, and buttons.
Pull the button through two cords, as indicated here.
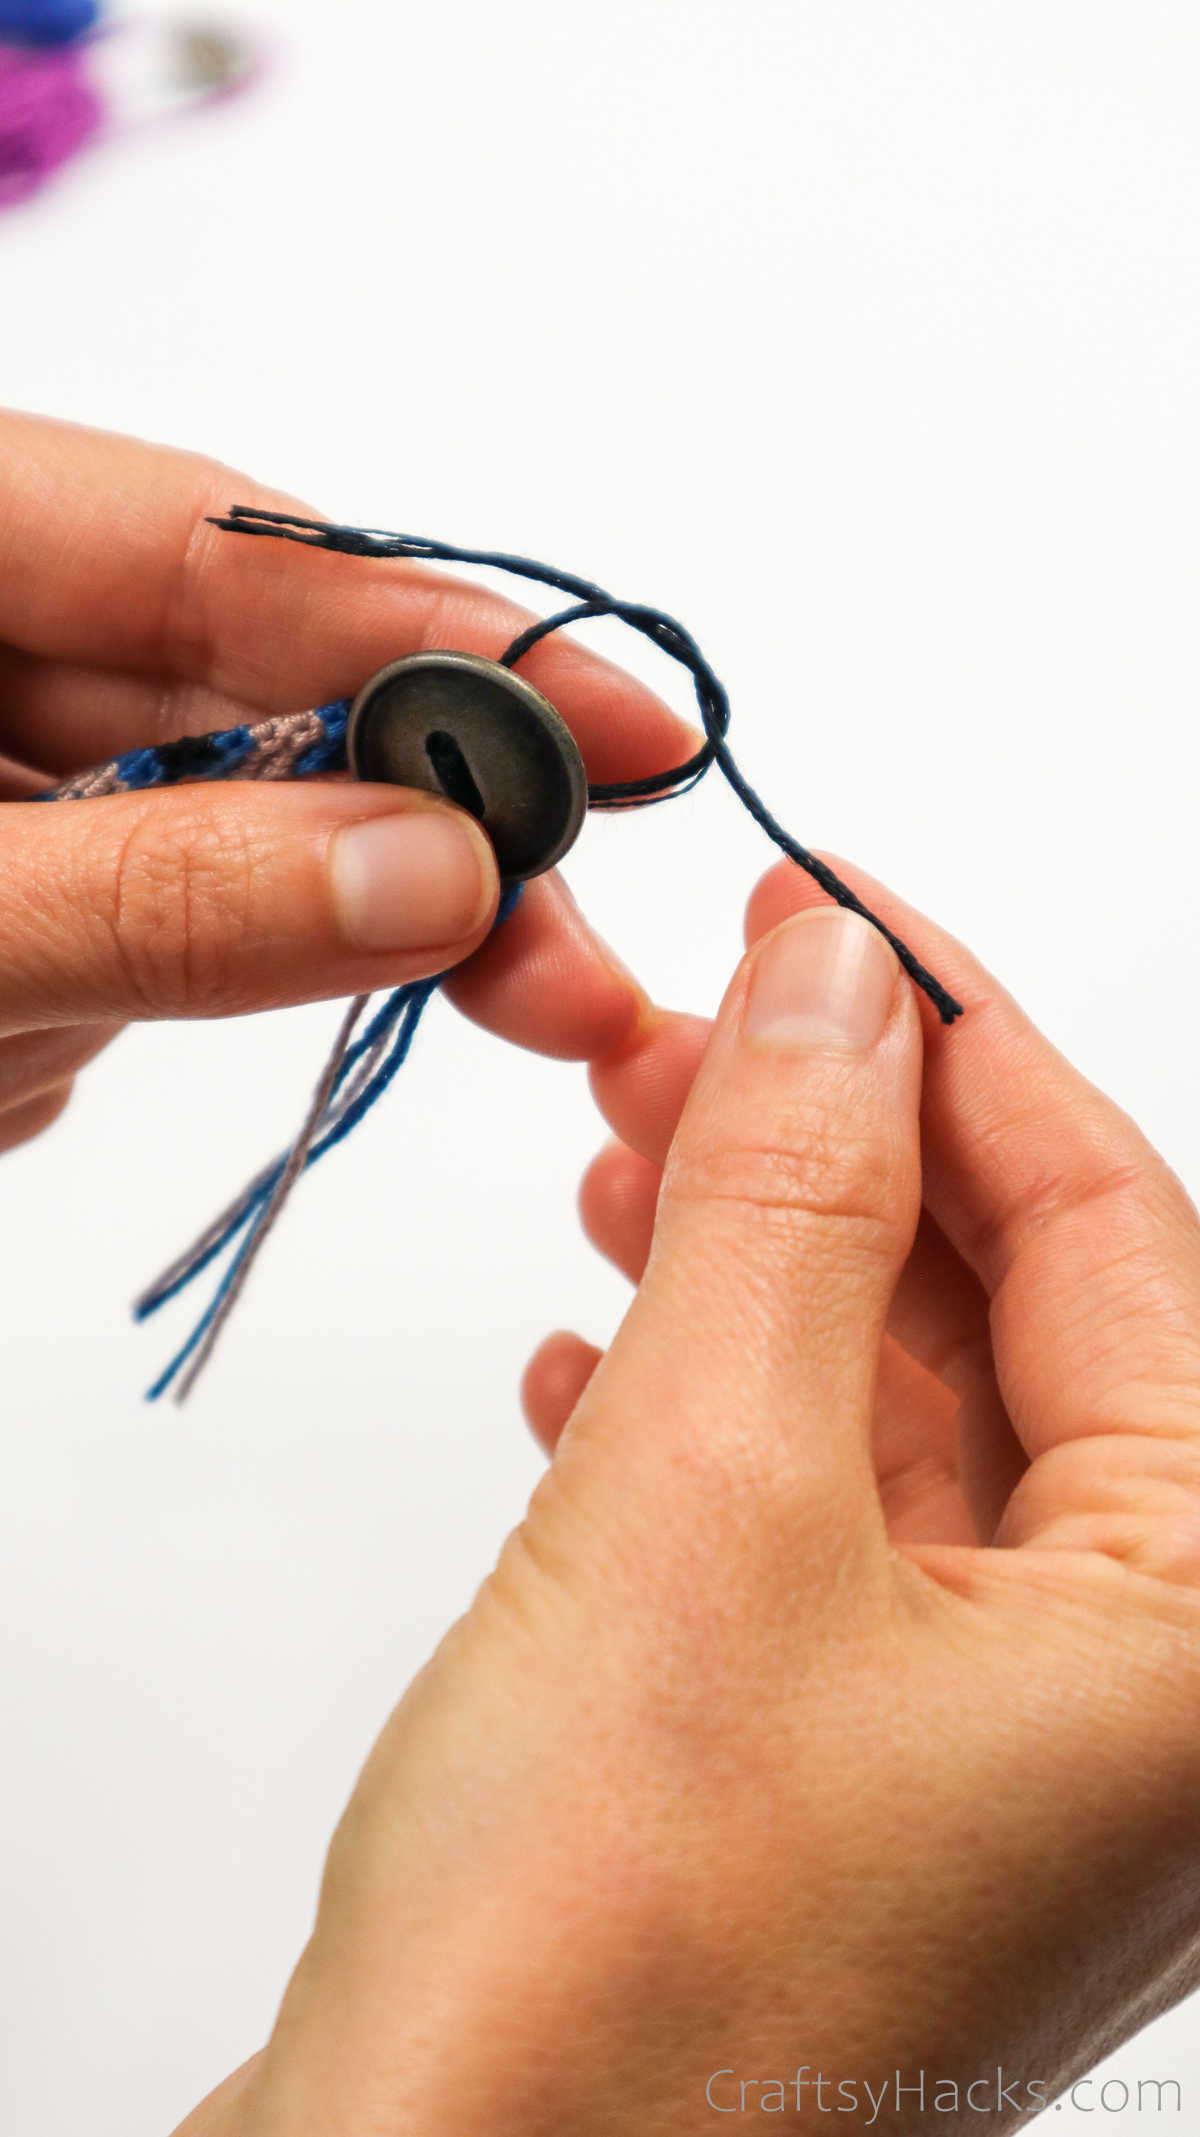
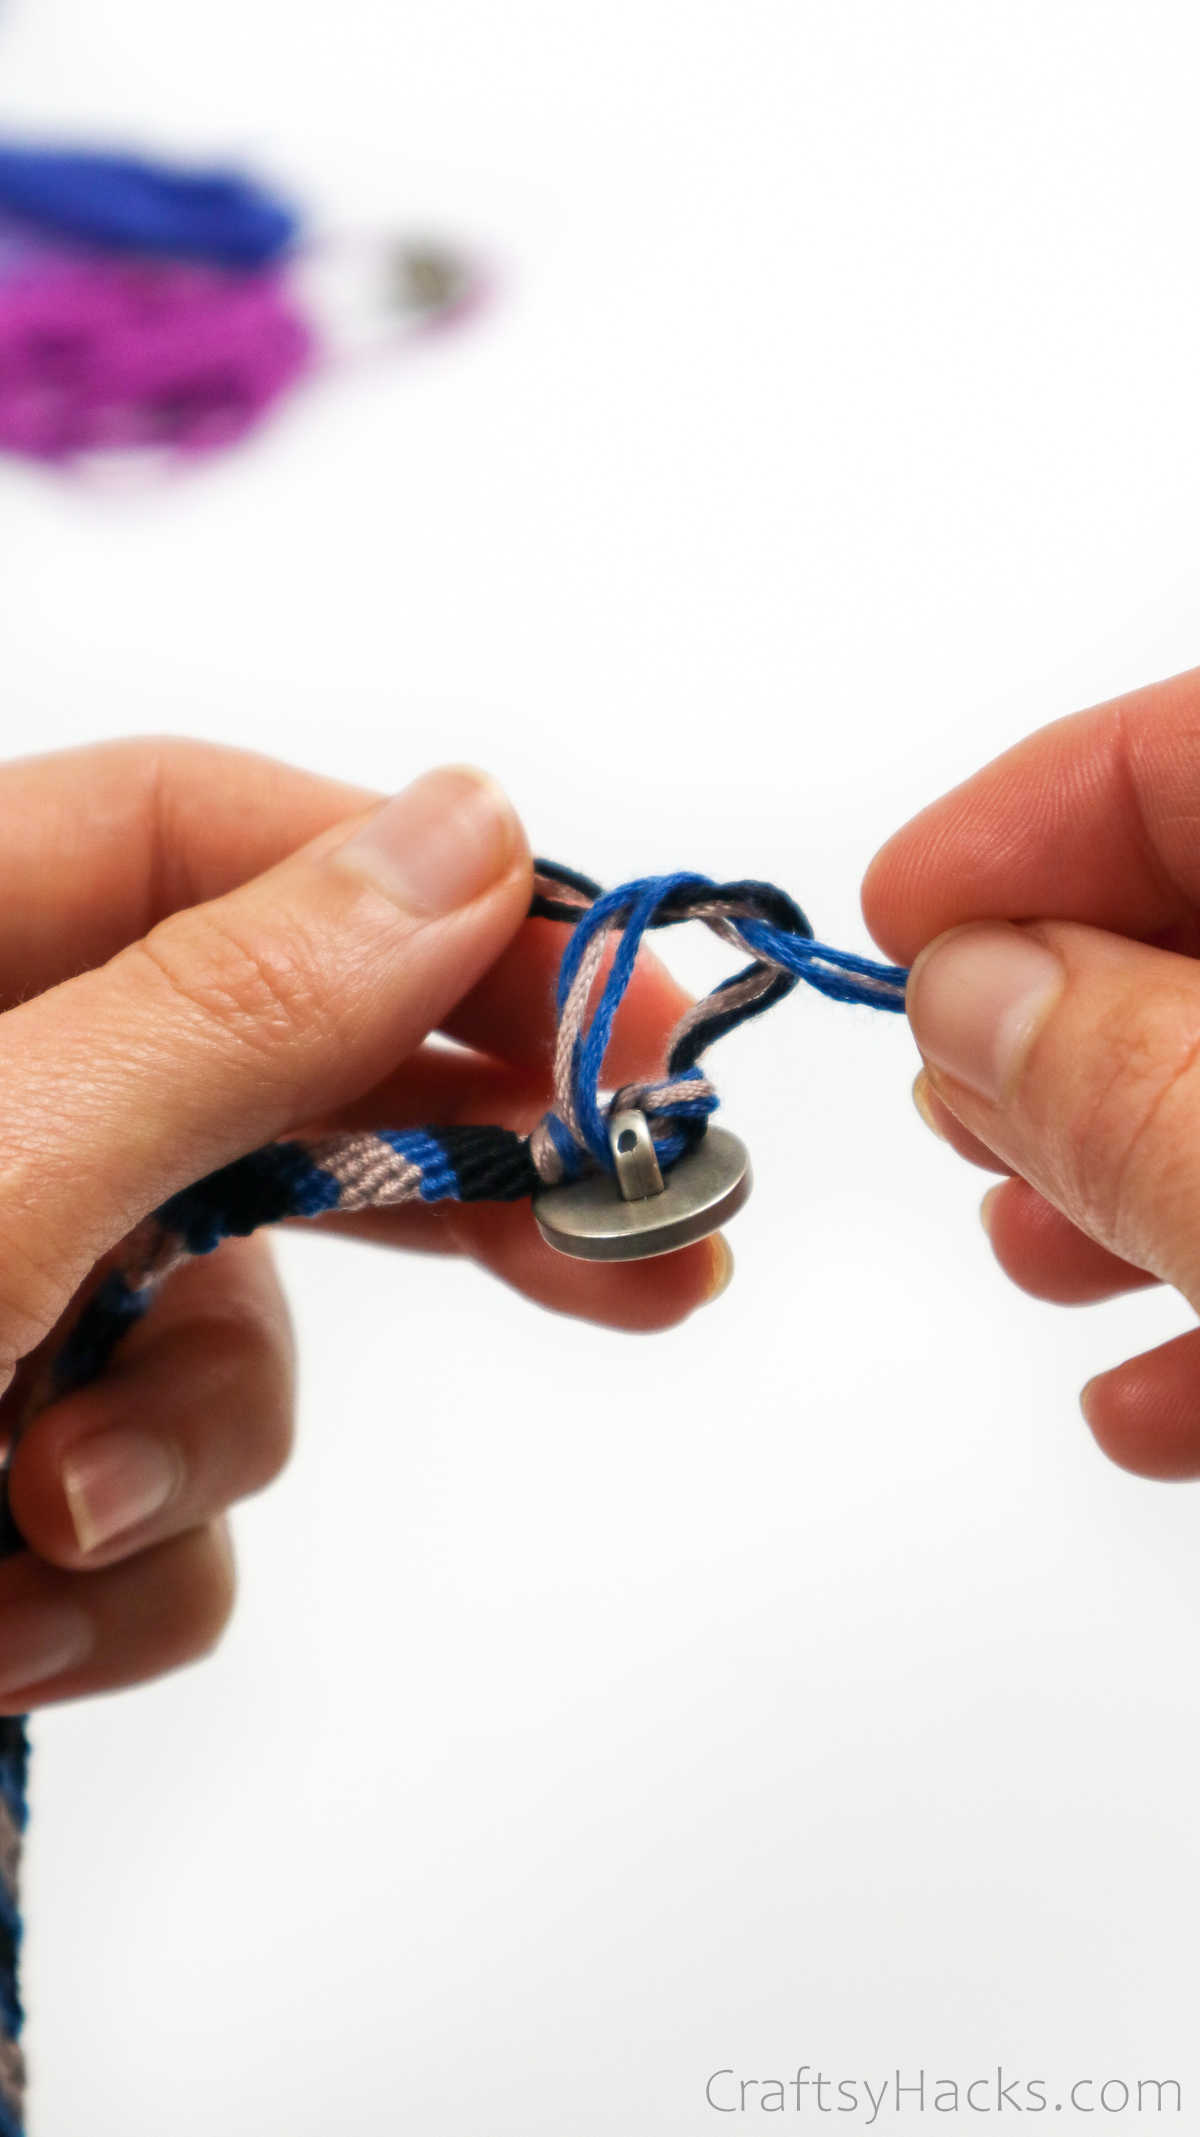
Now, make a knot and tighten it to secure it.
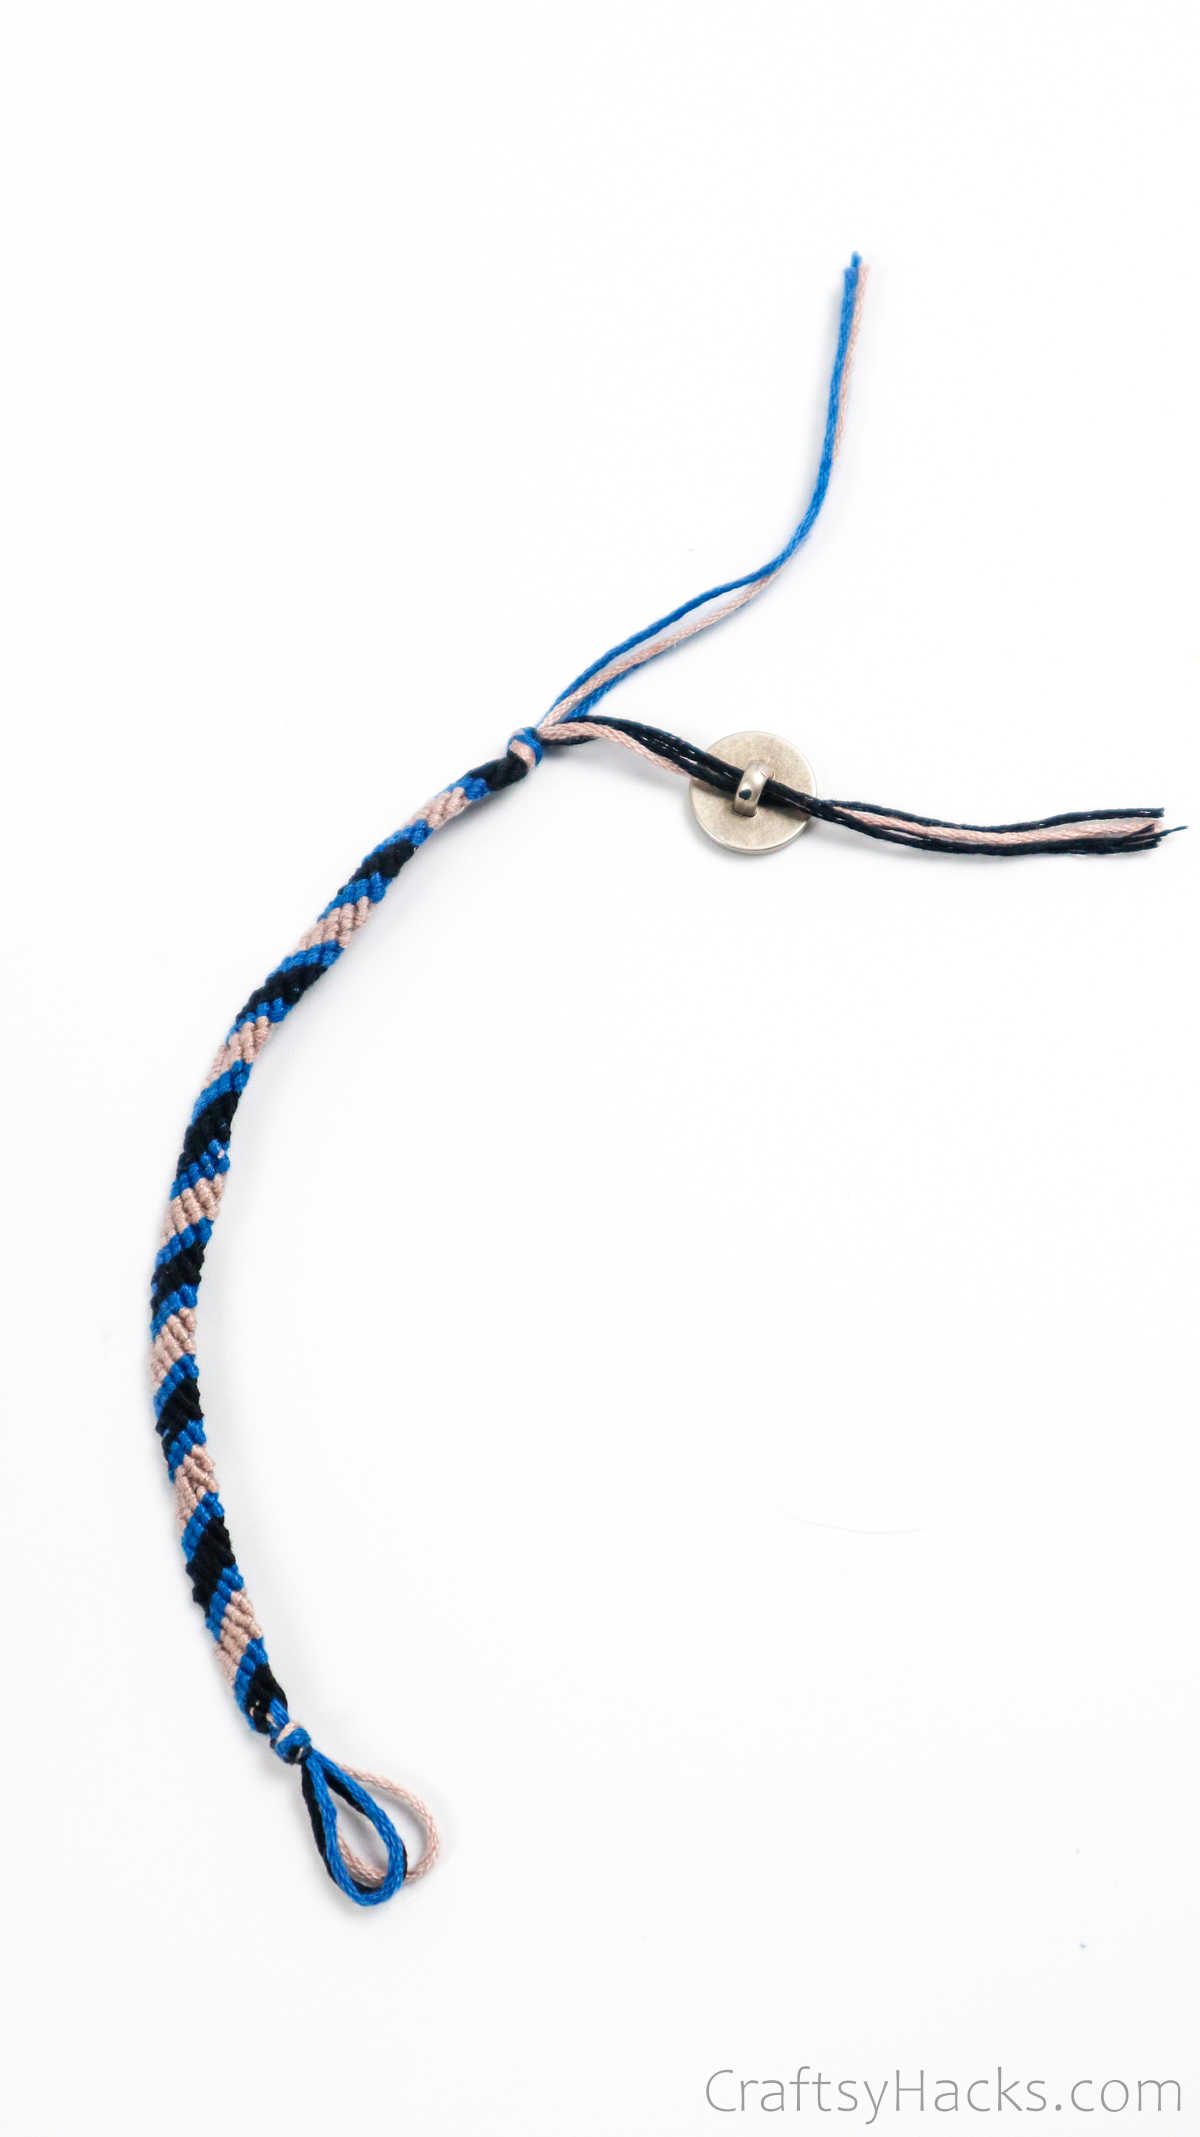
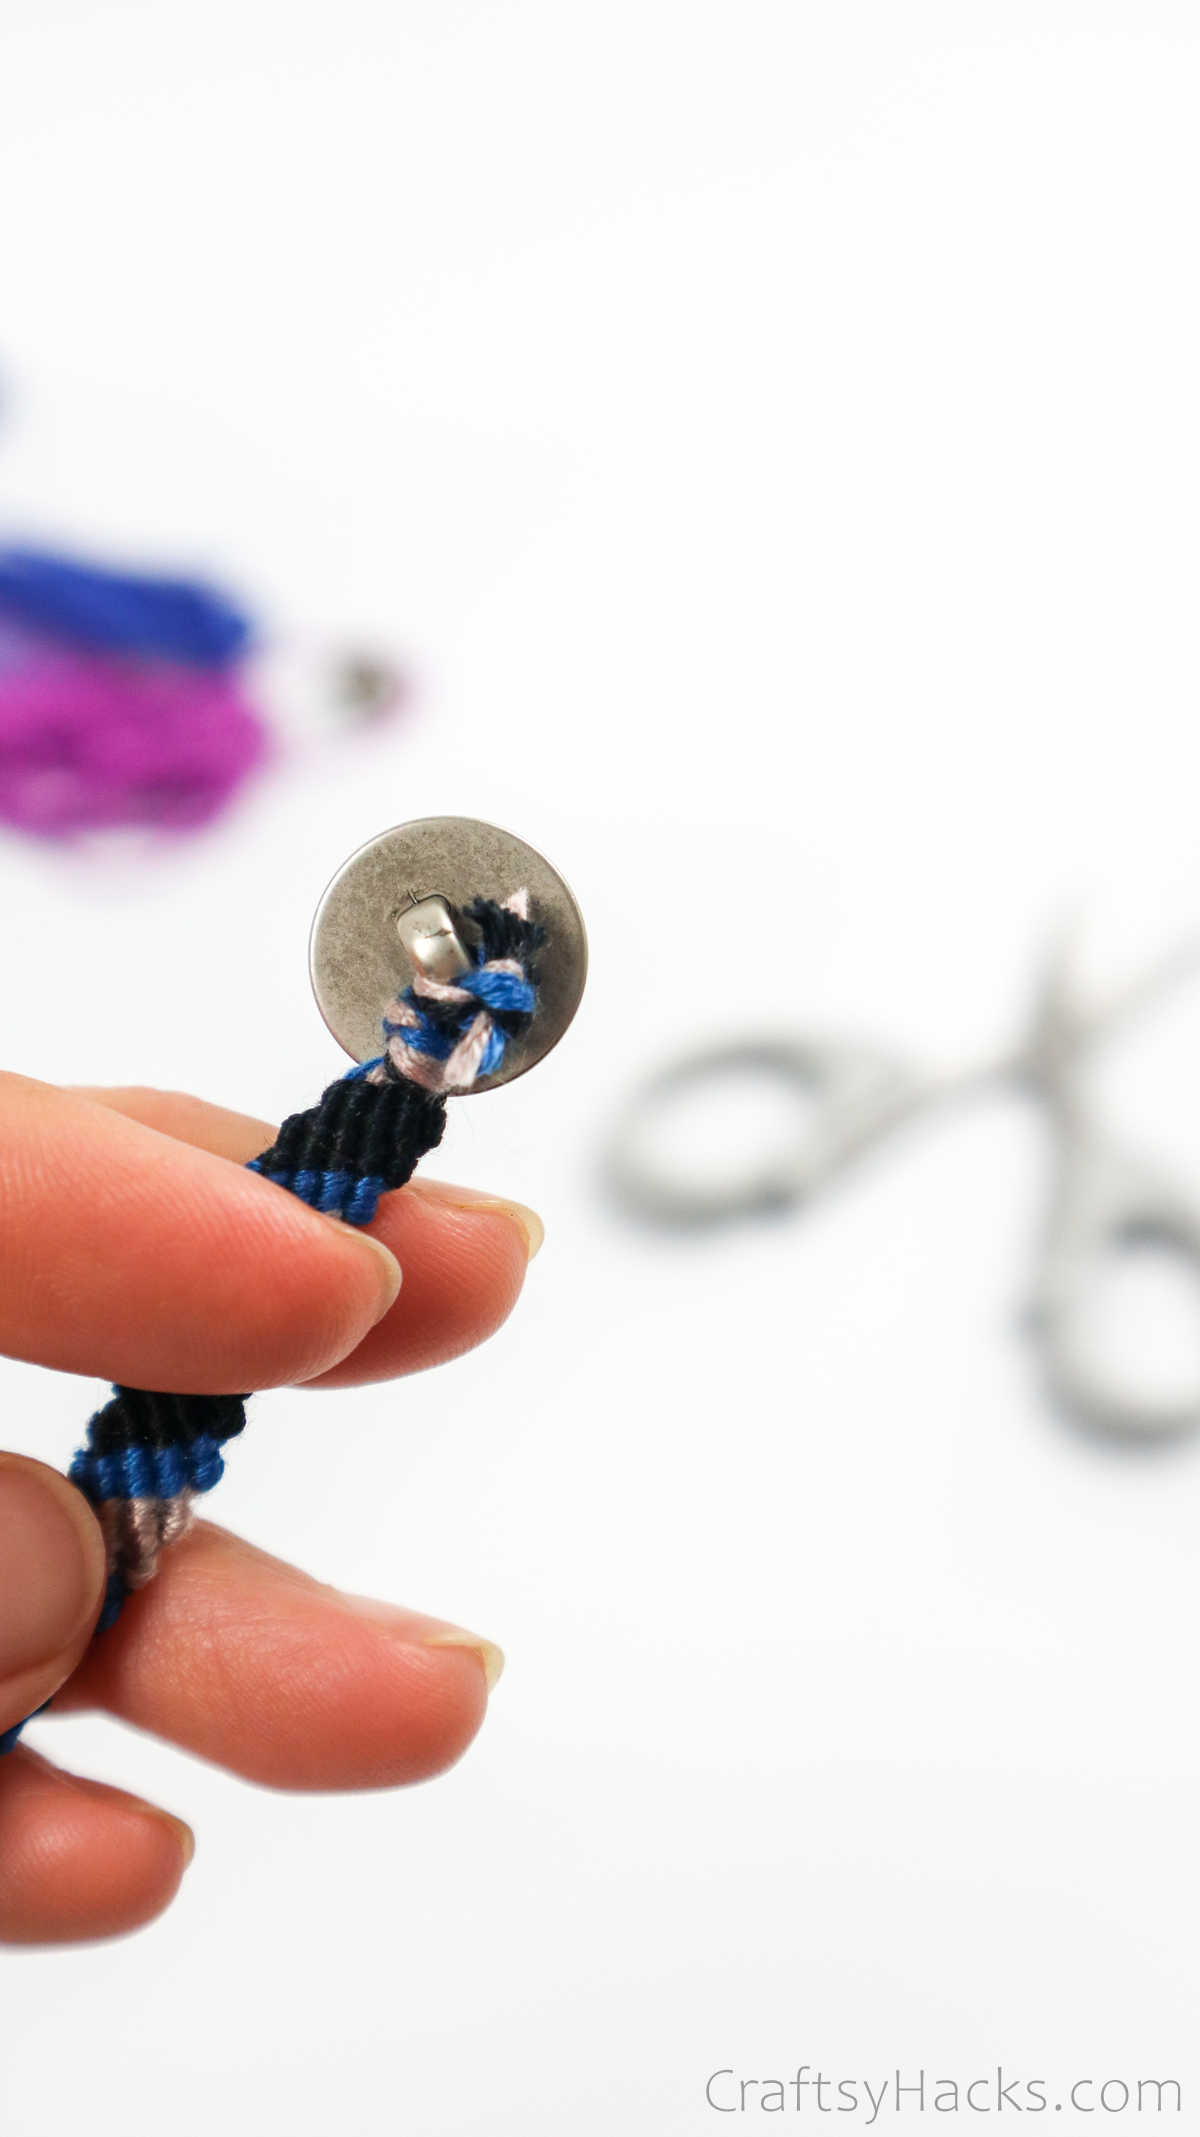
Then, put the three strands back into the loop and make another knot.
This should keep the button in place!
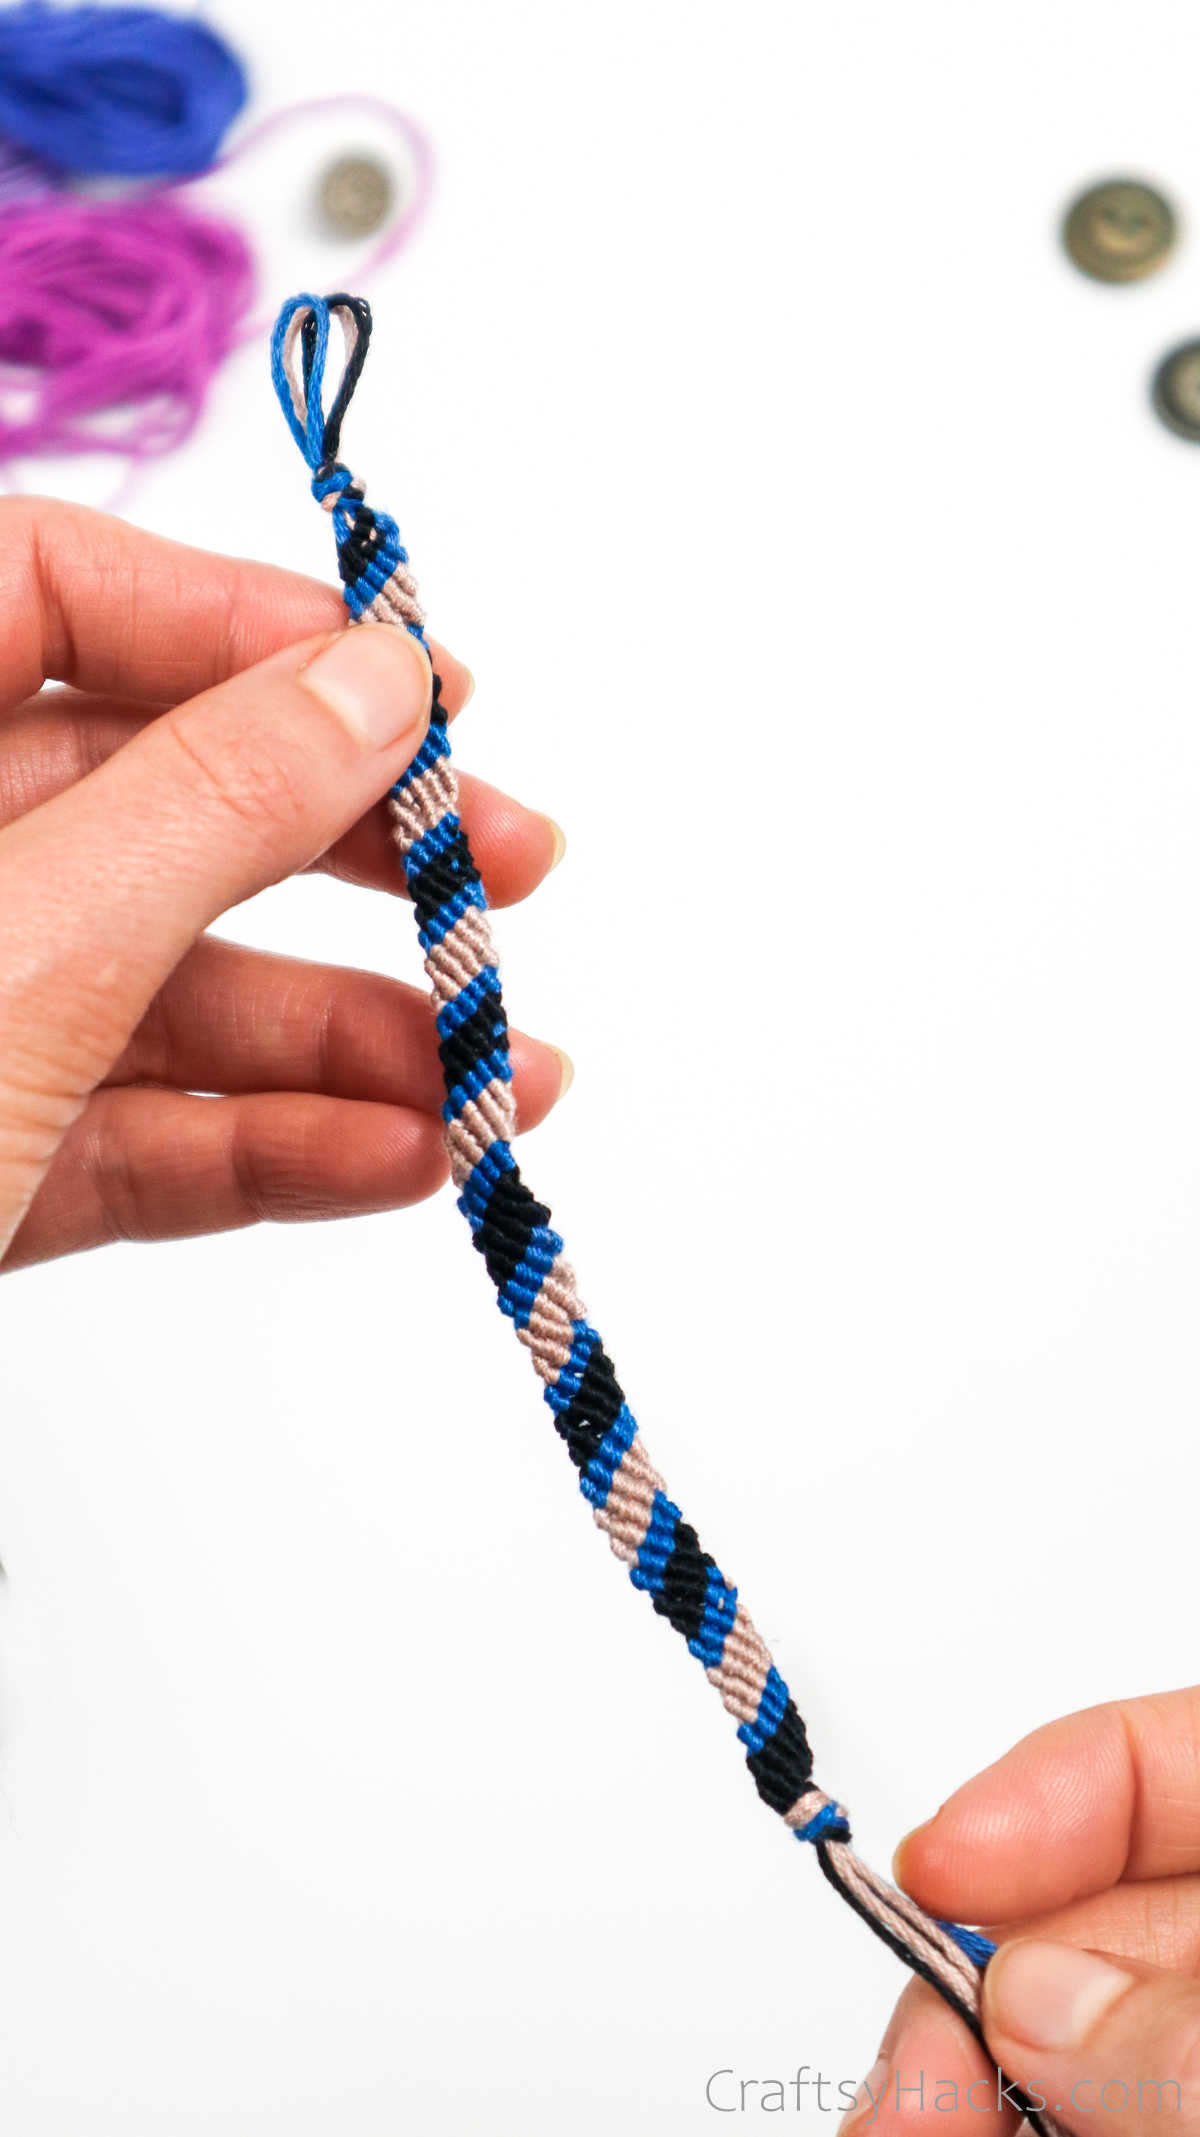
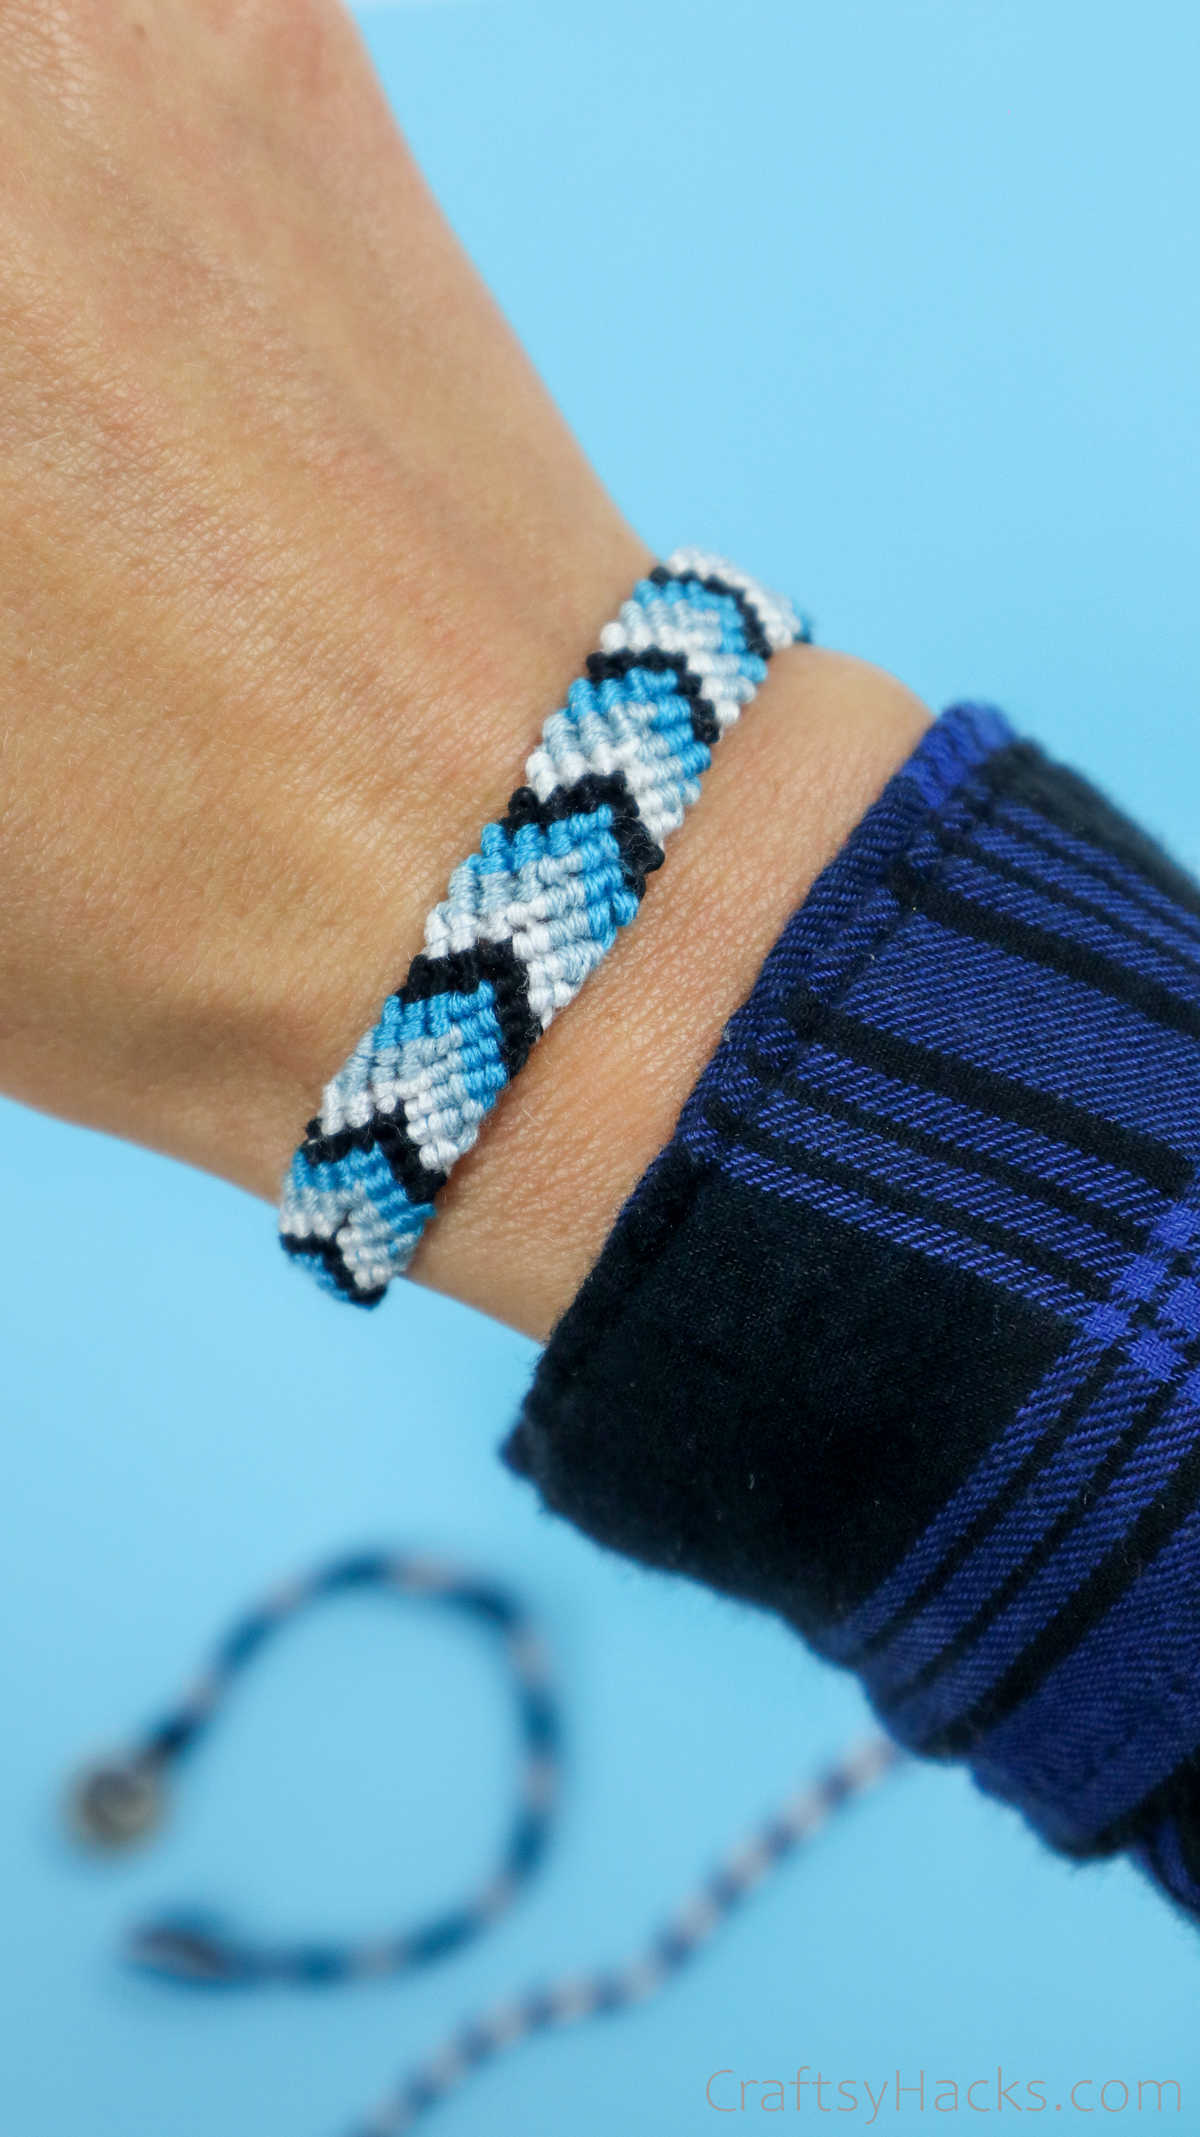
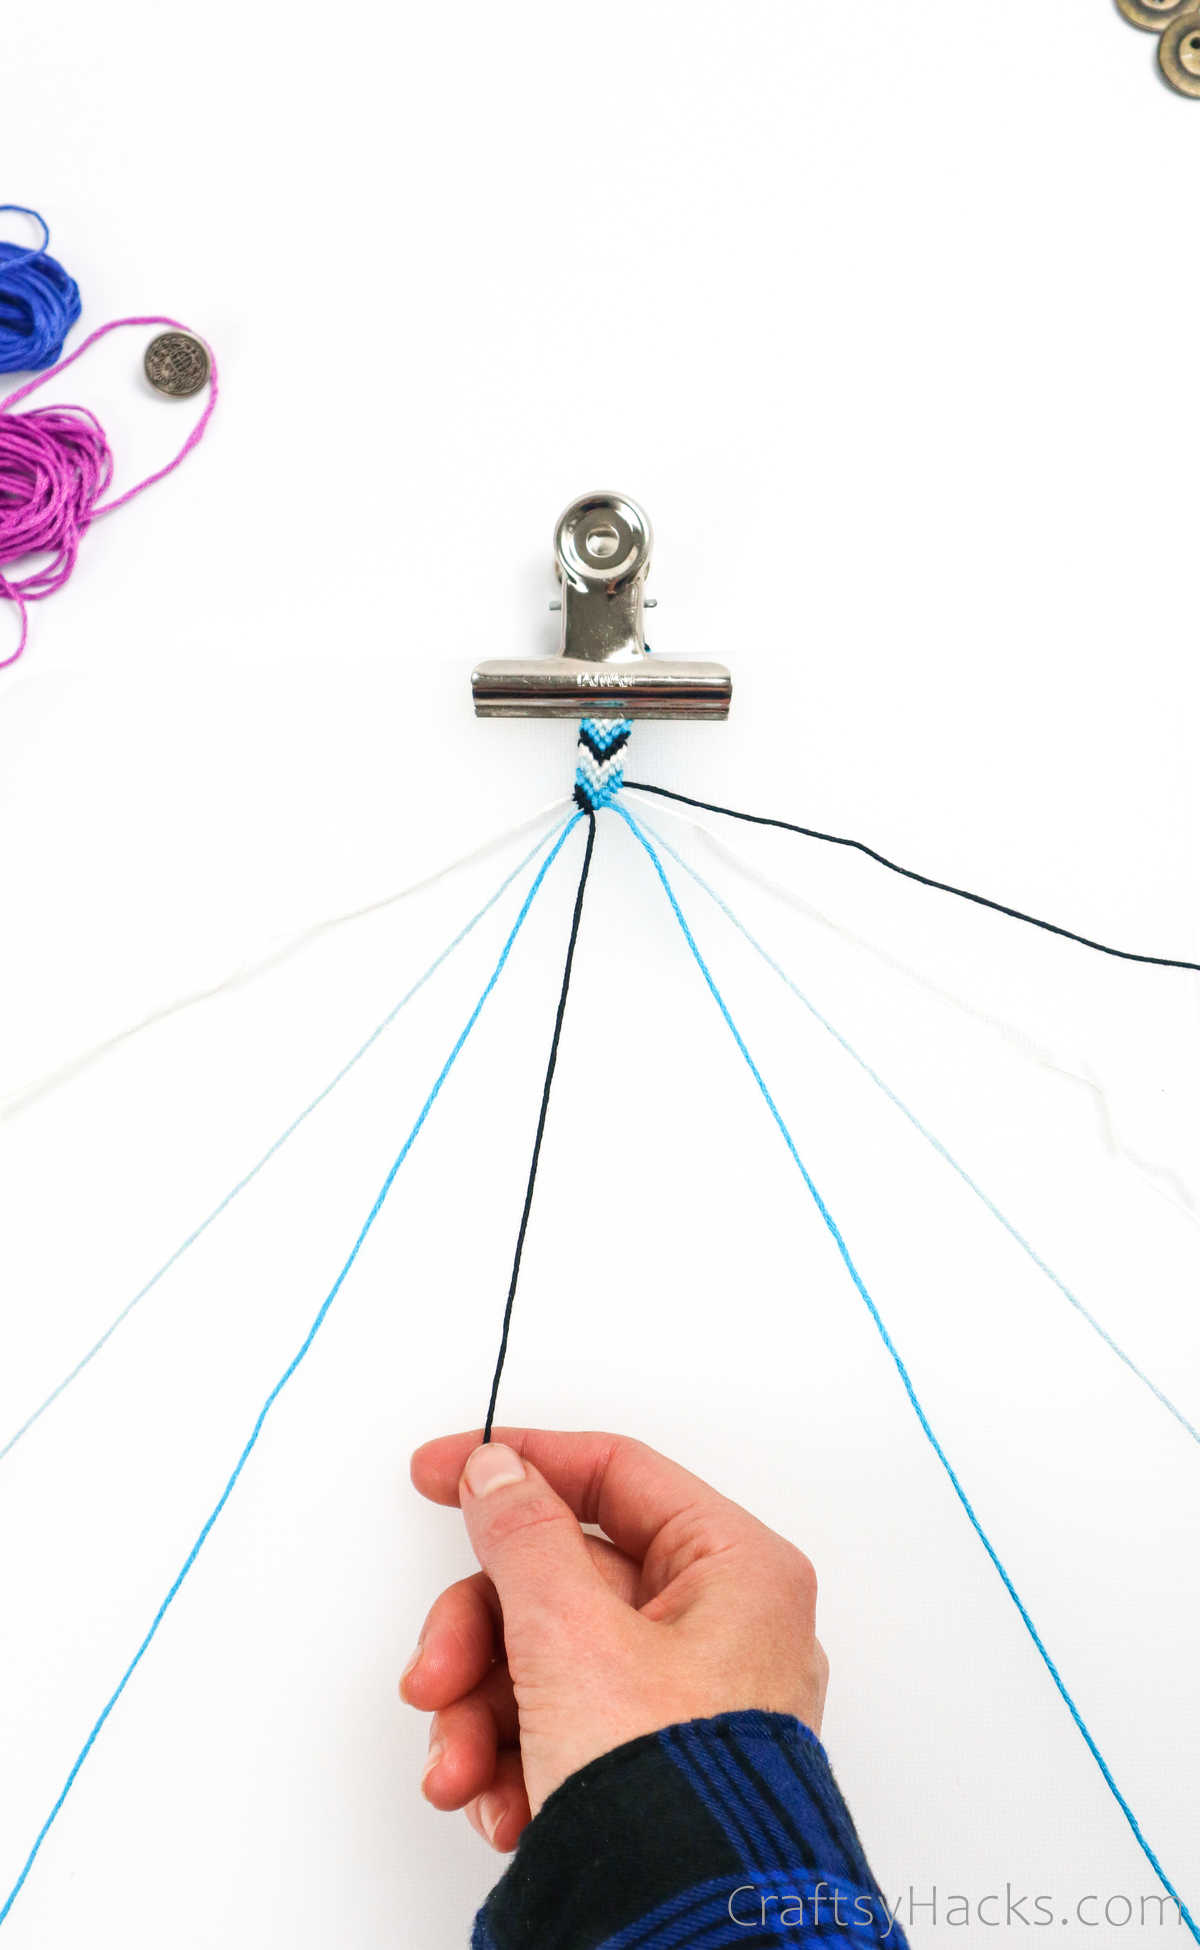
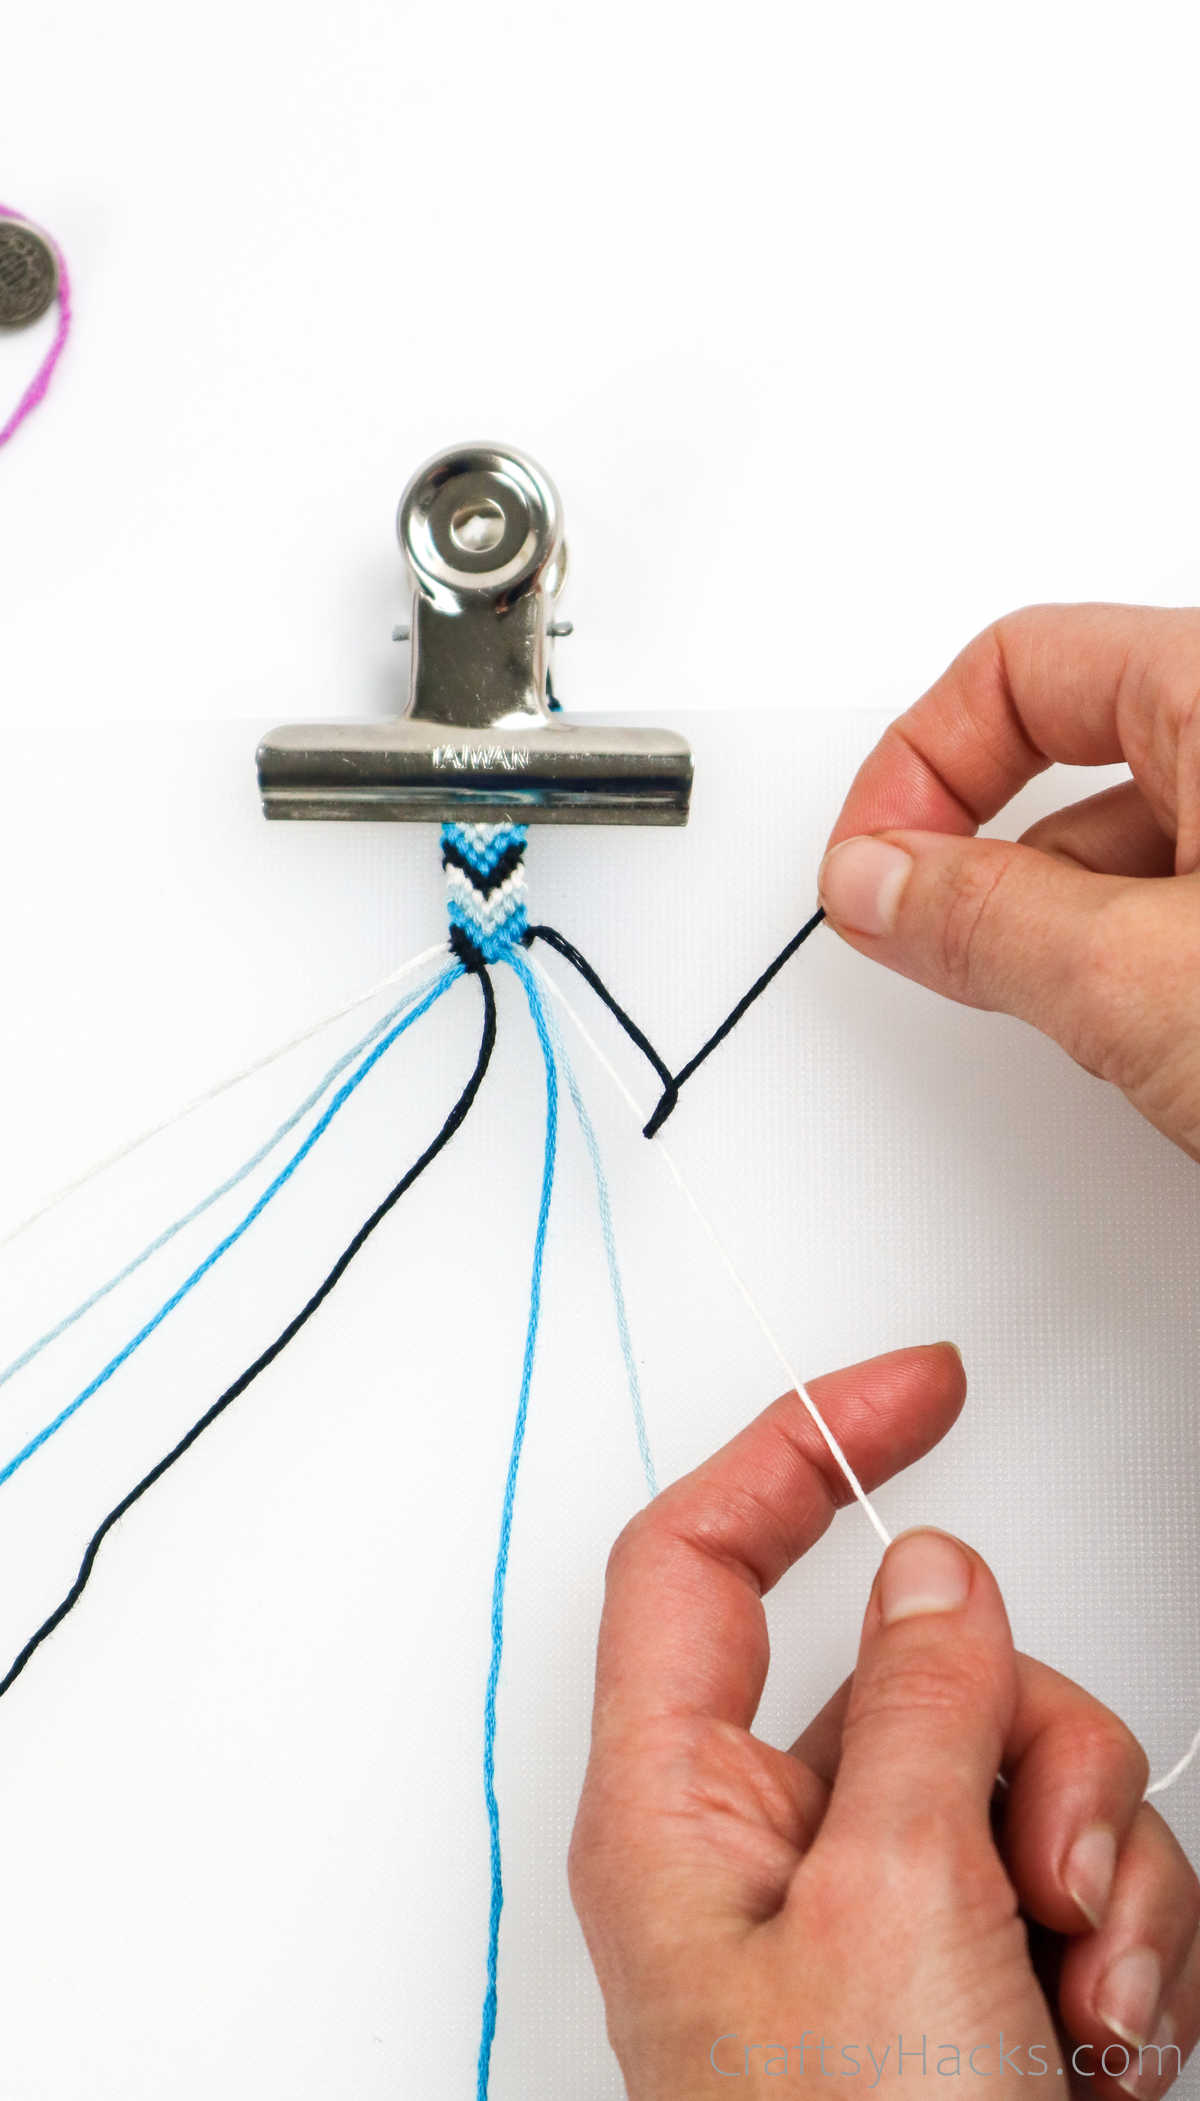
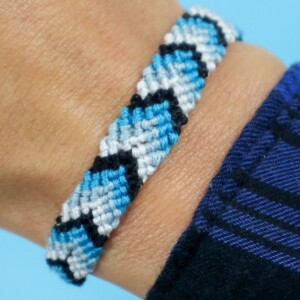
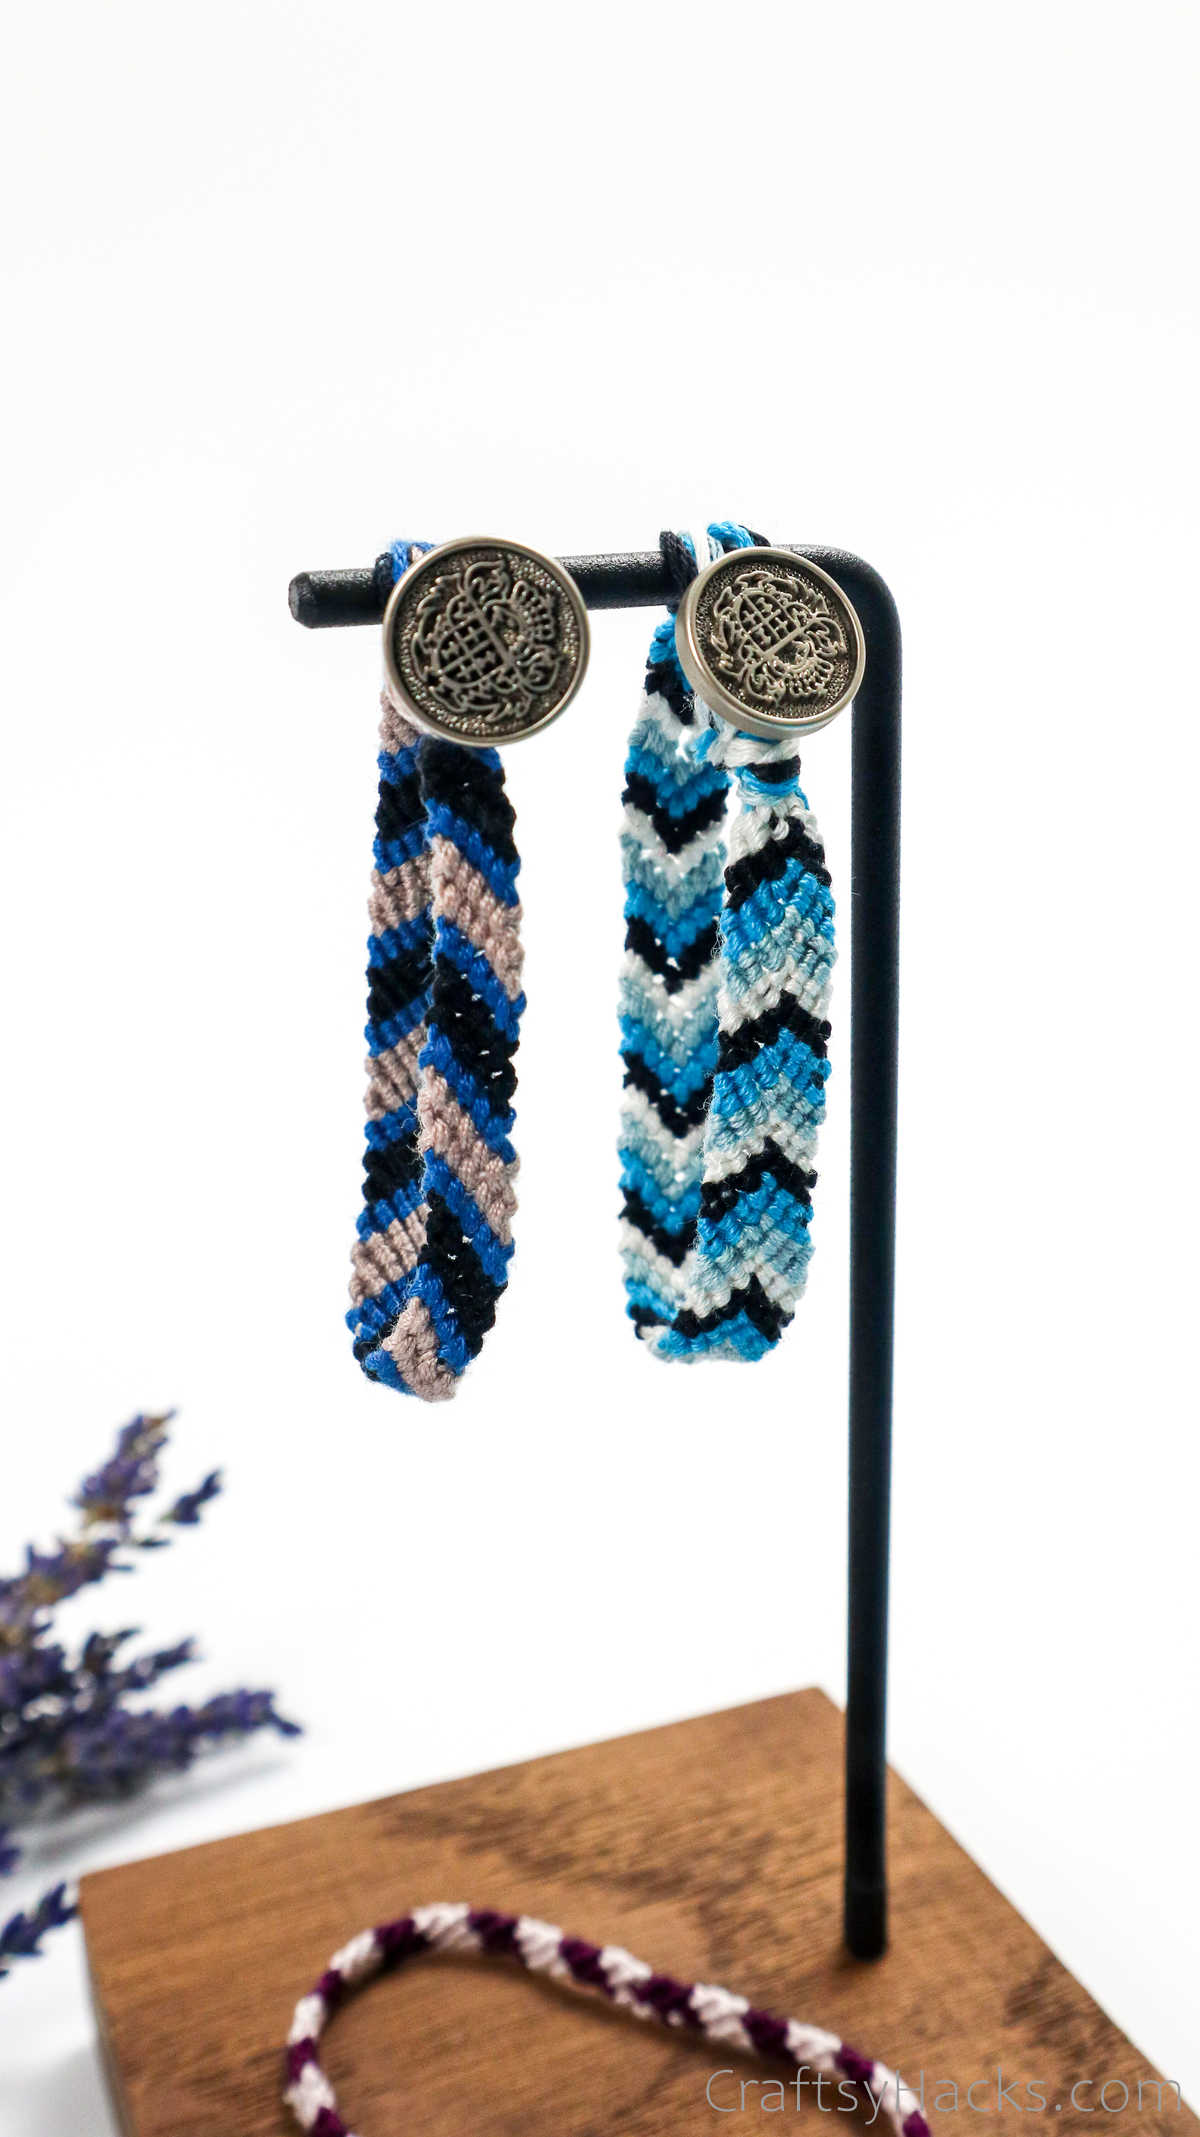
Youll notice that this bracelet has a v-shaped pattern going all the way down.
So take a look at how it’s possible for you to make it!
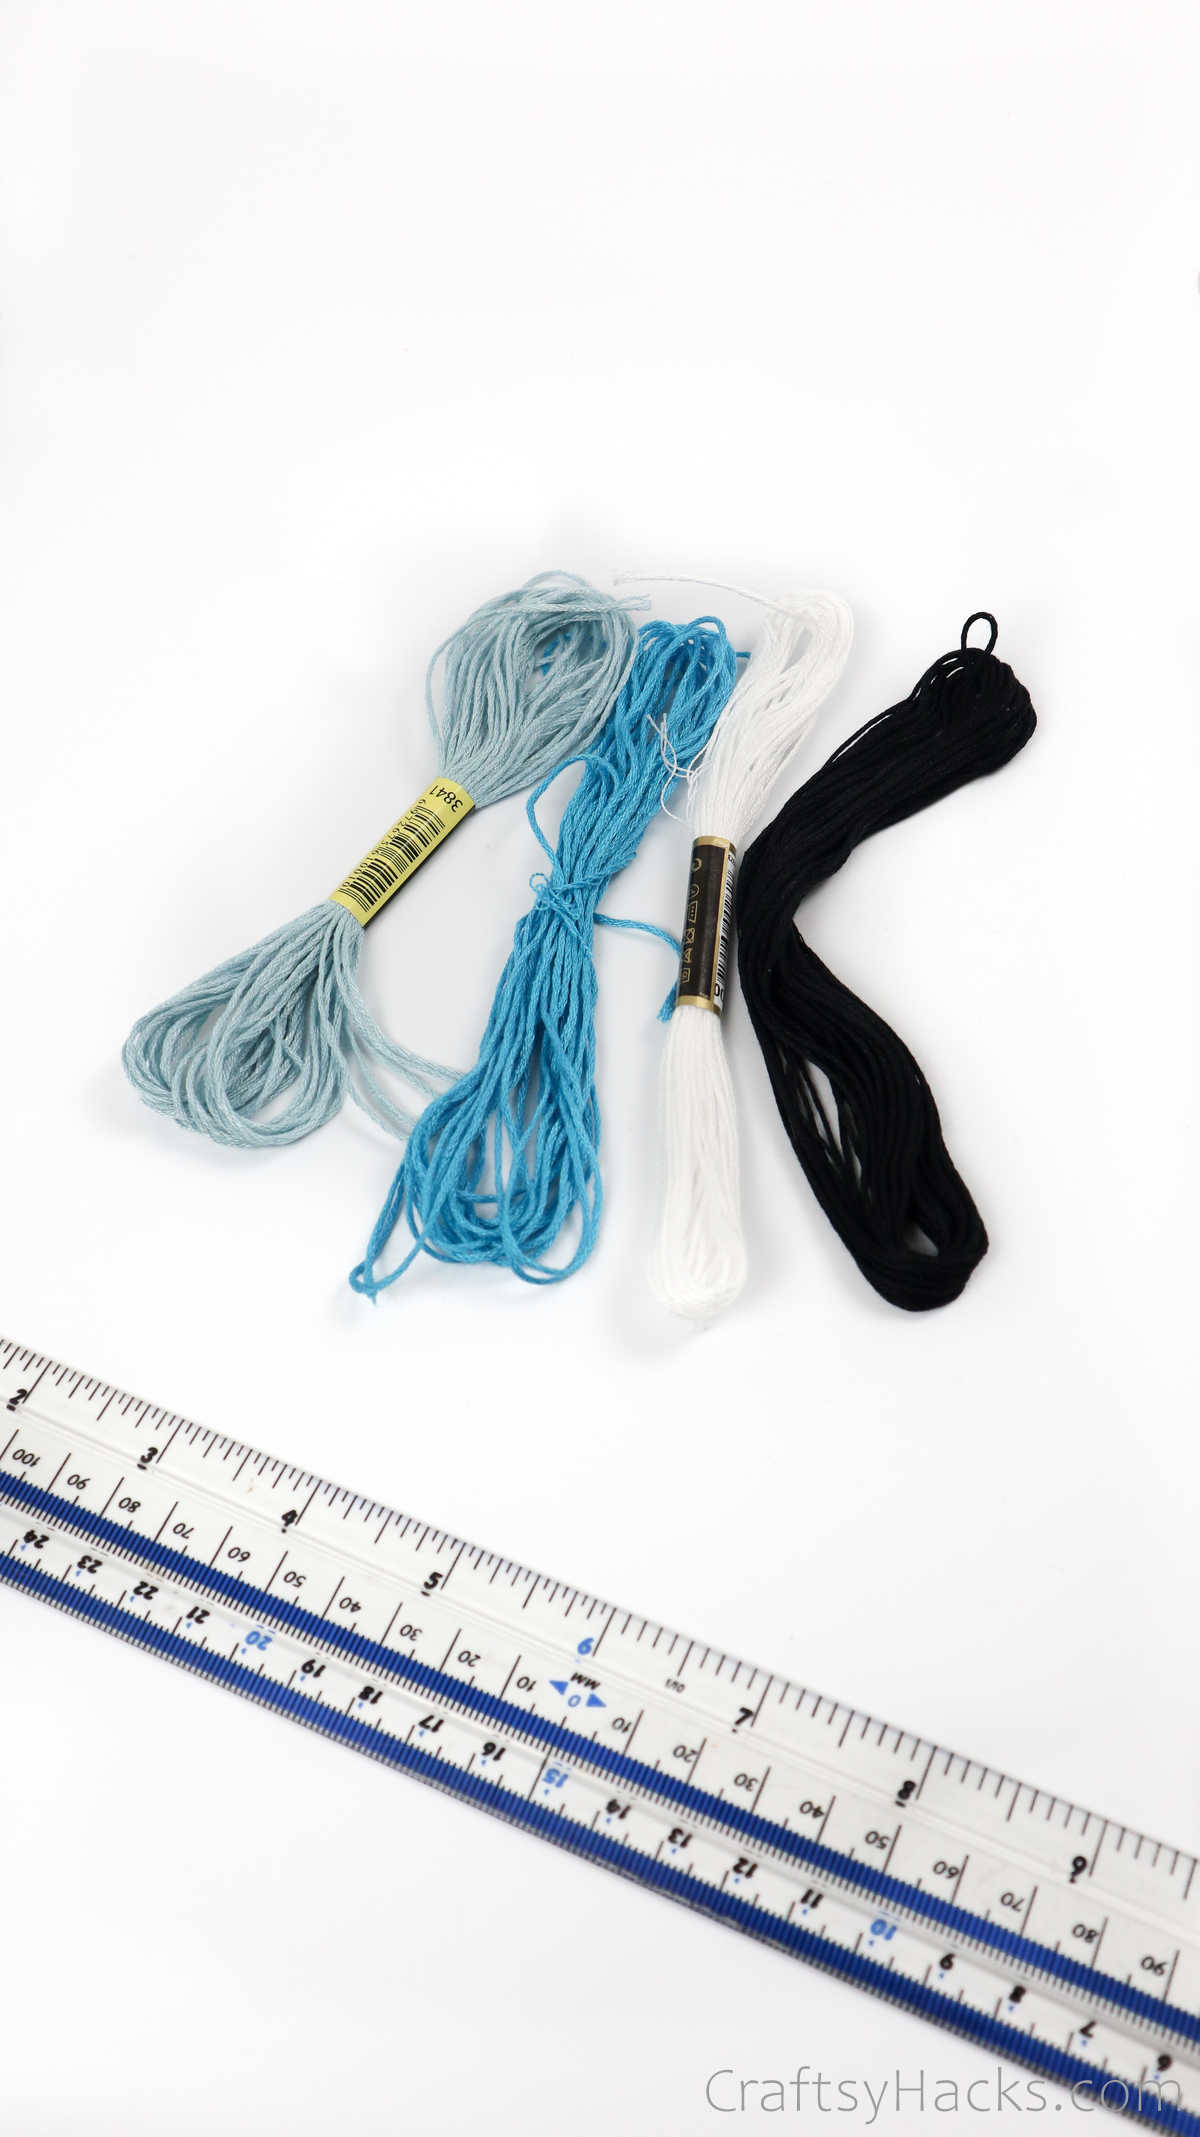
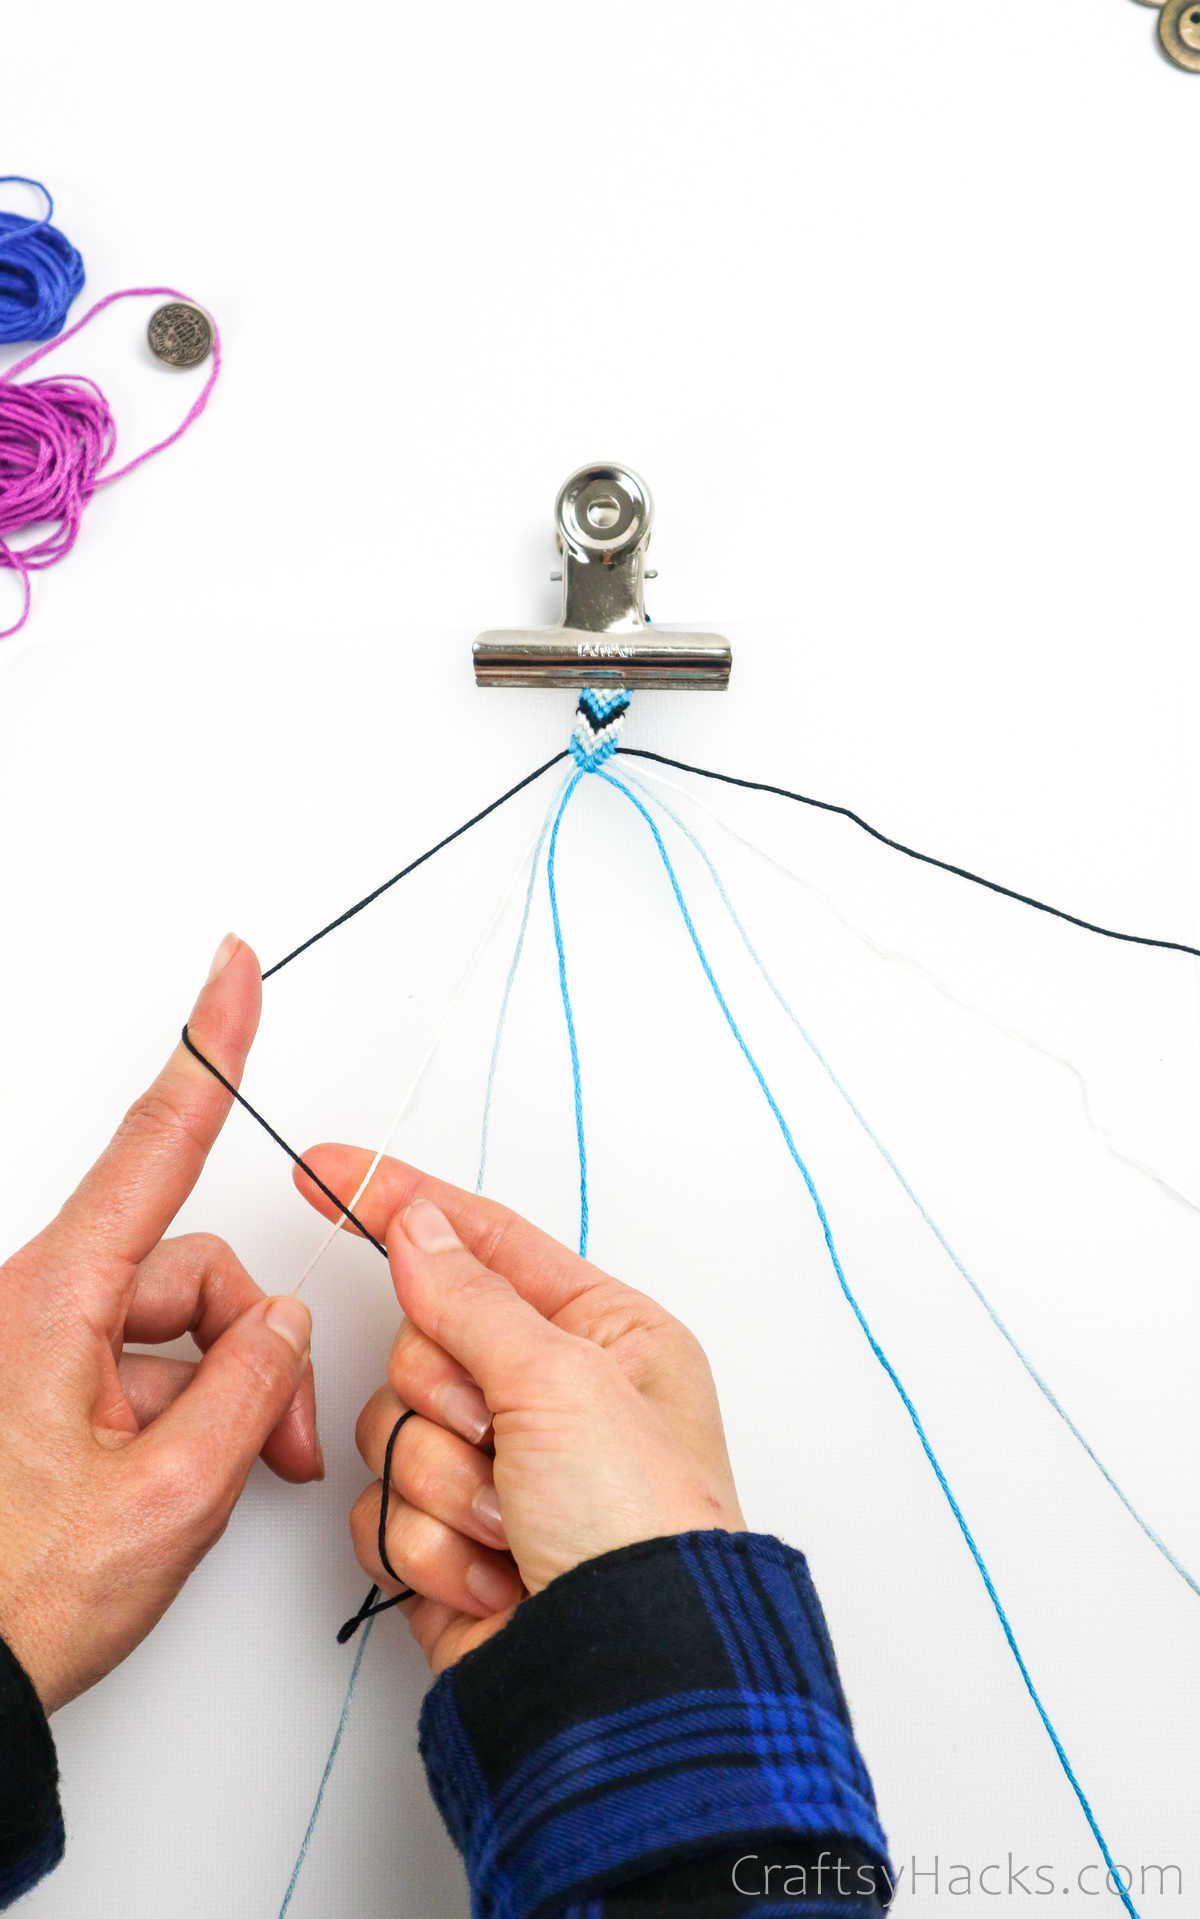
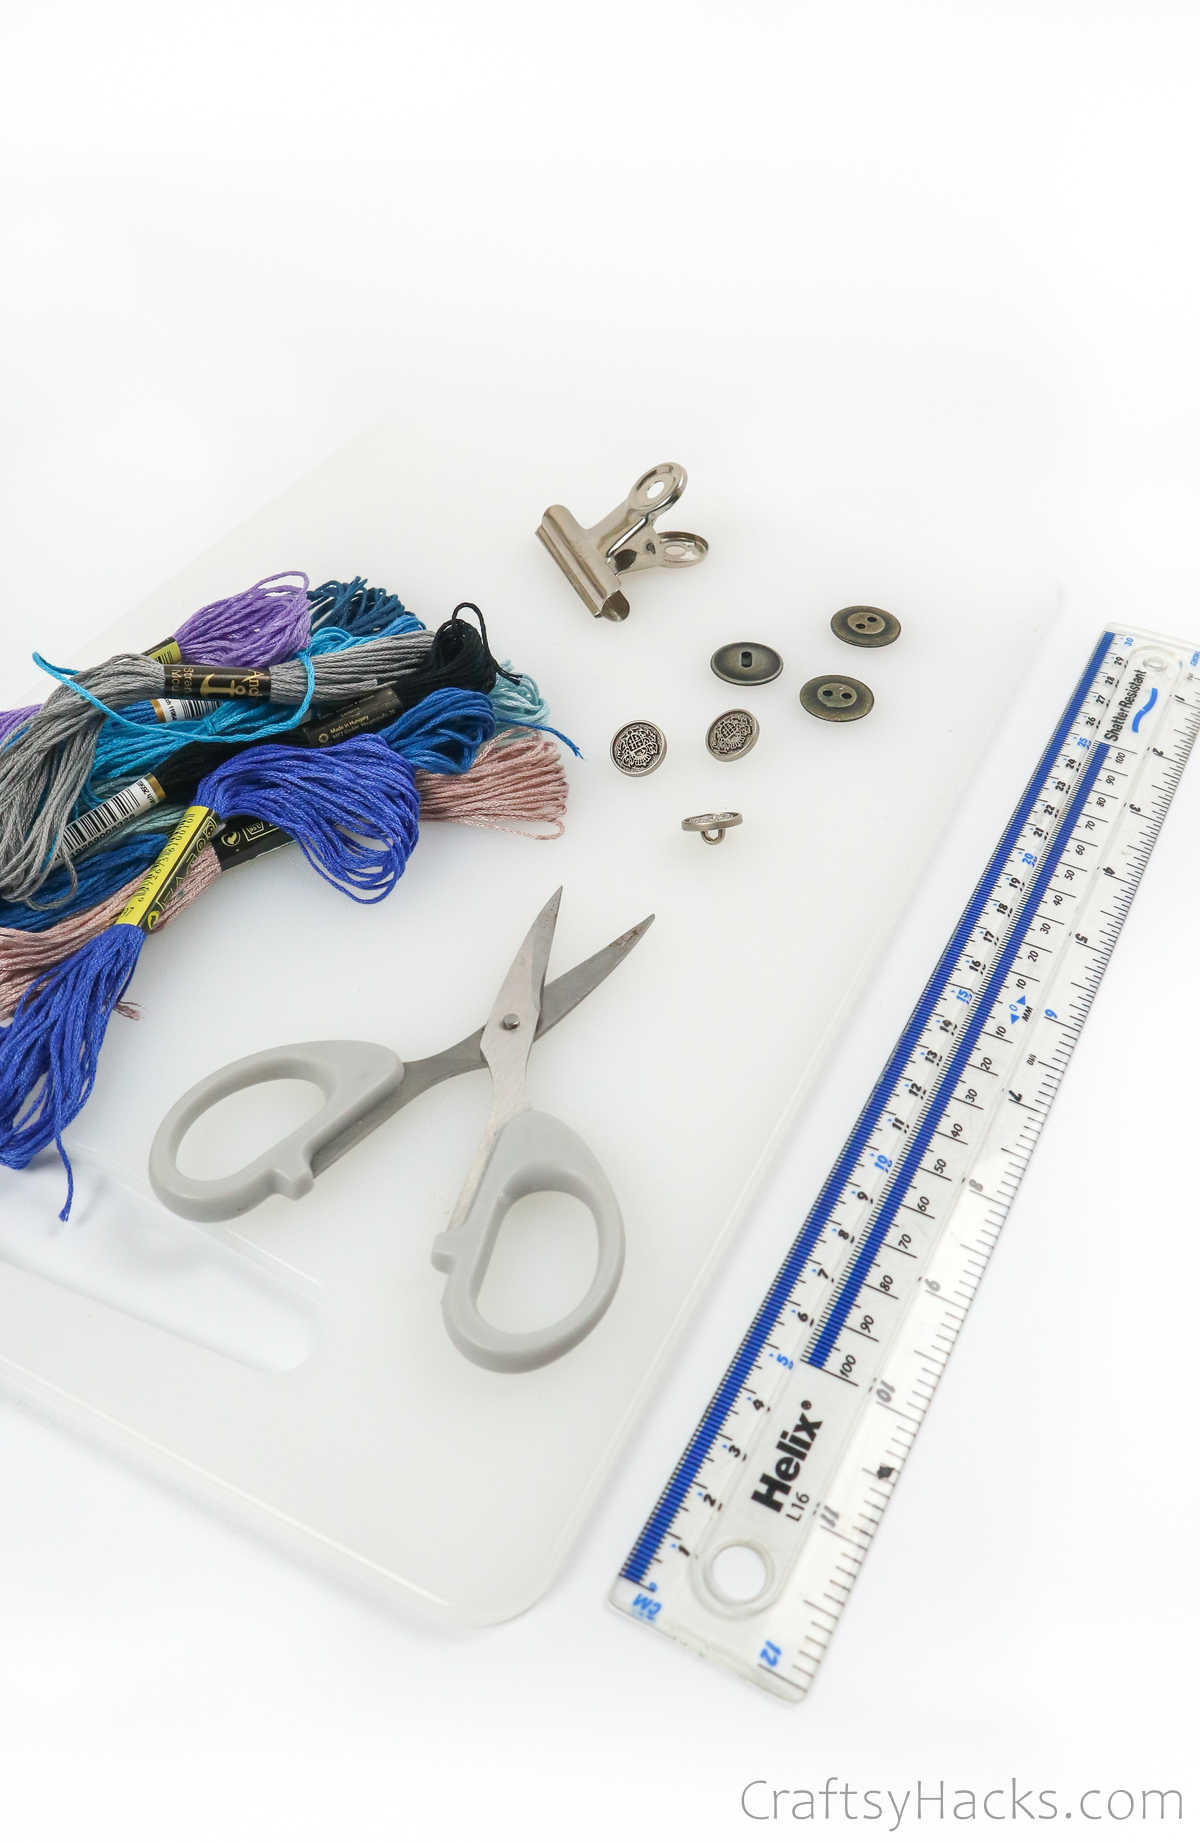
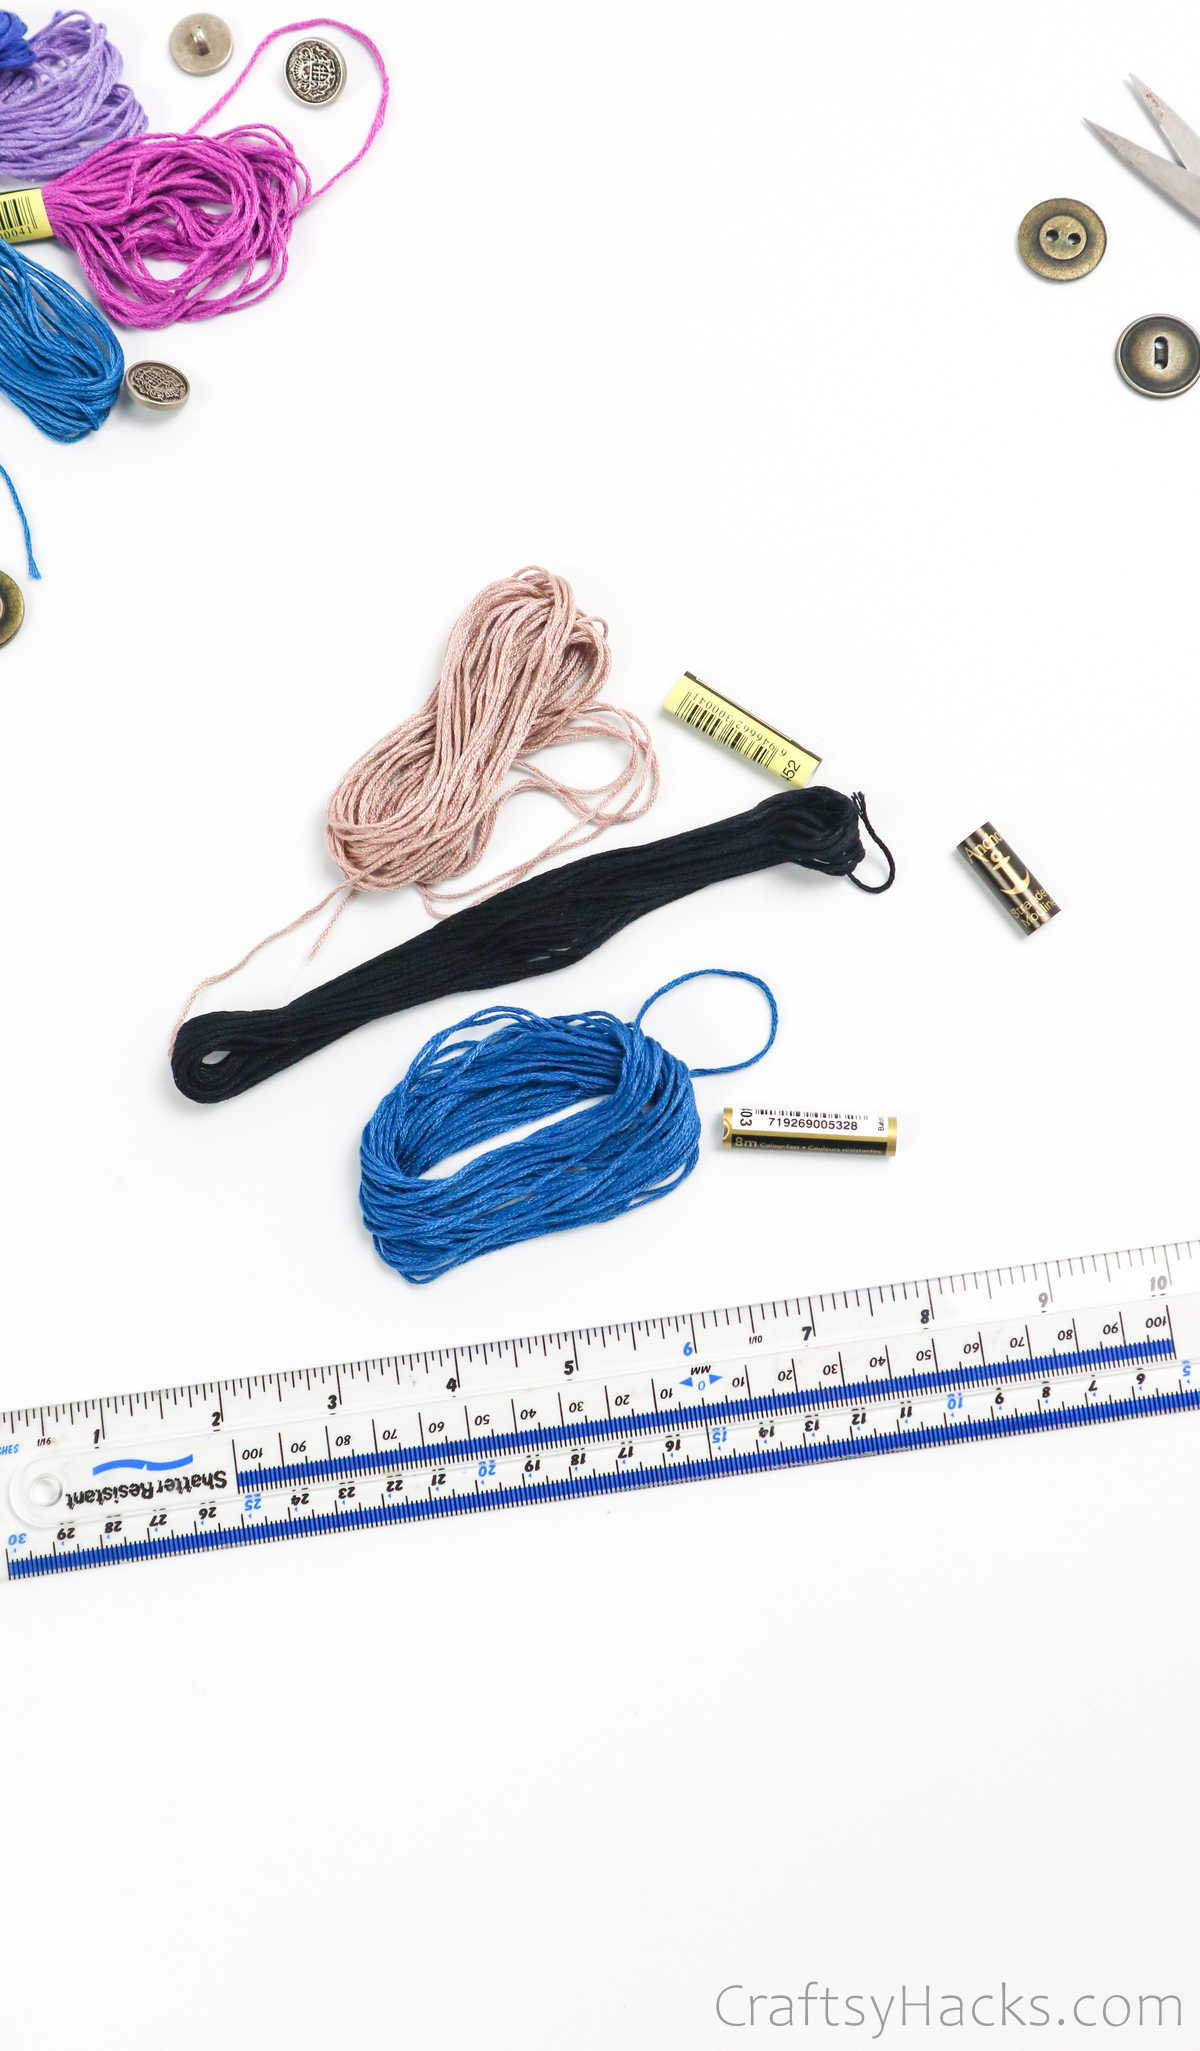
Take your different colors of embroidery cordsblack, blue, grey, and white, as you see below.
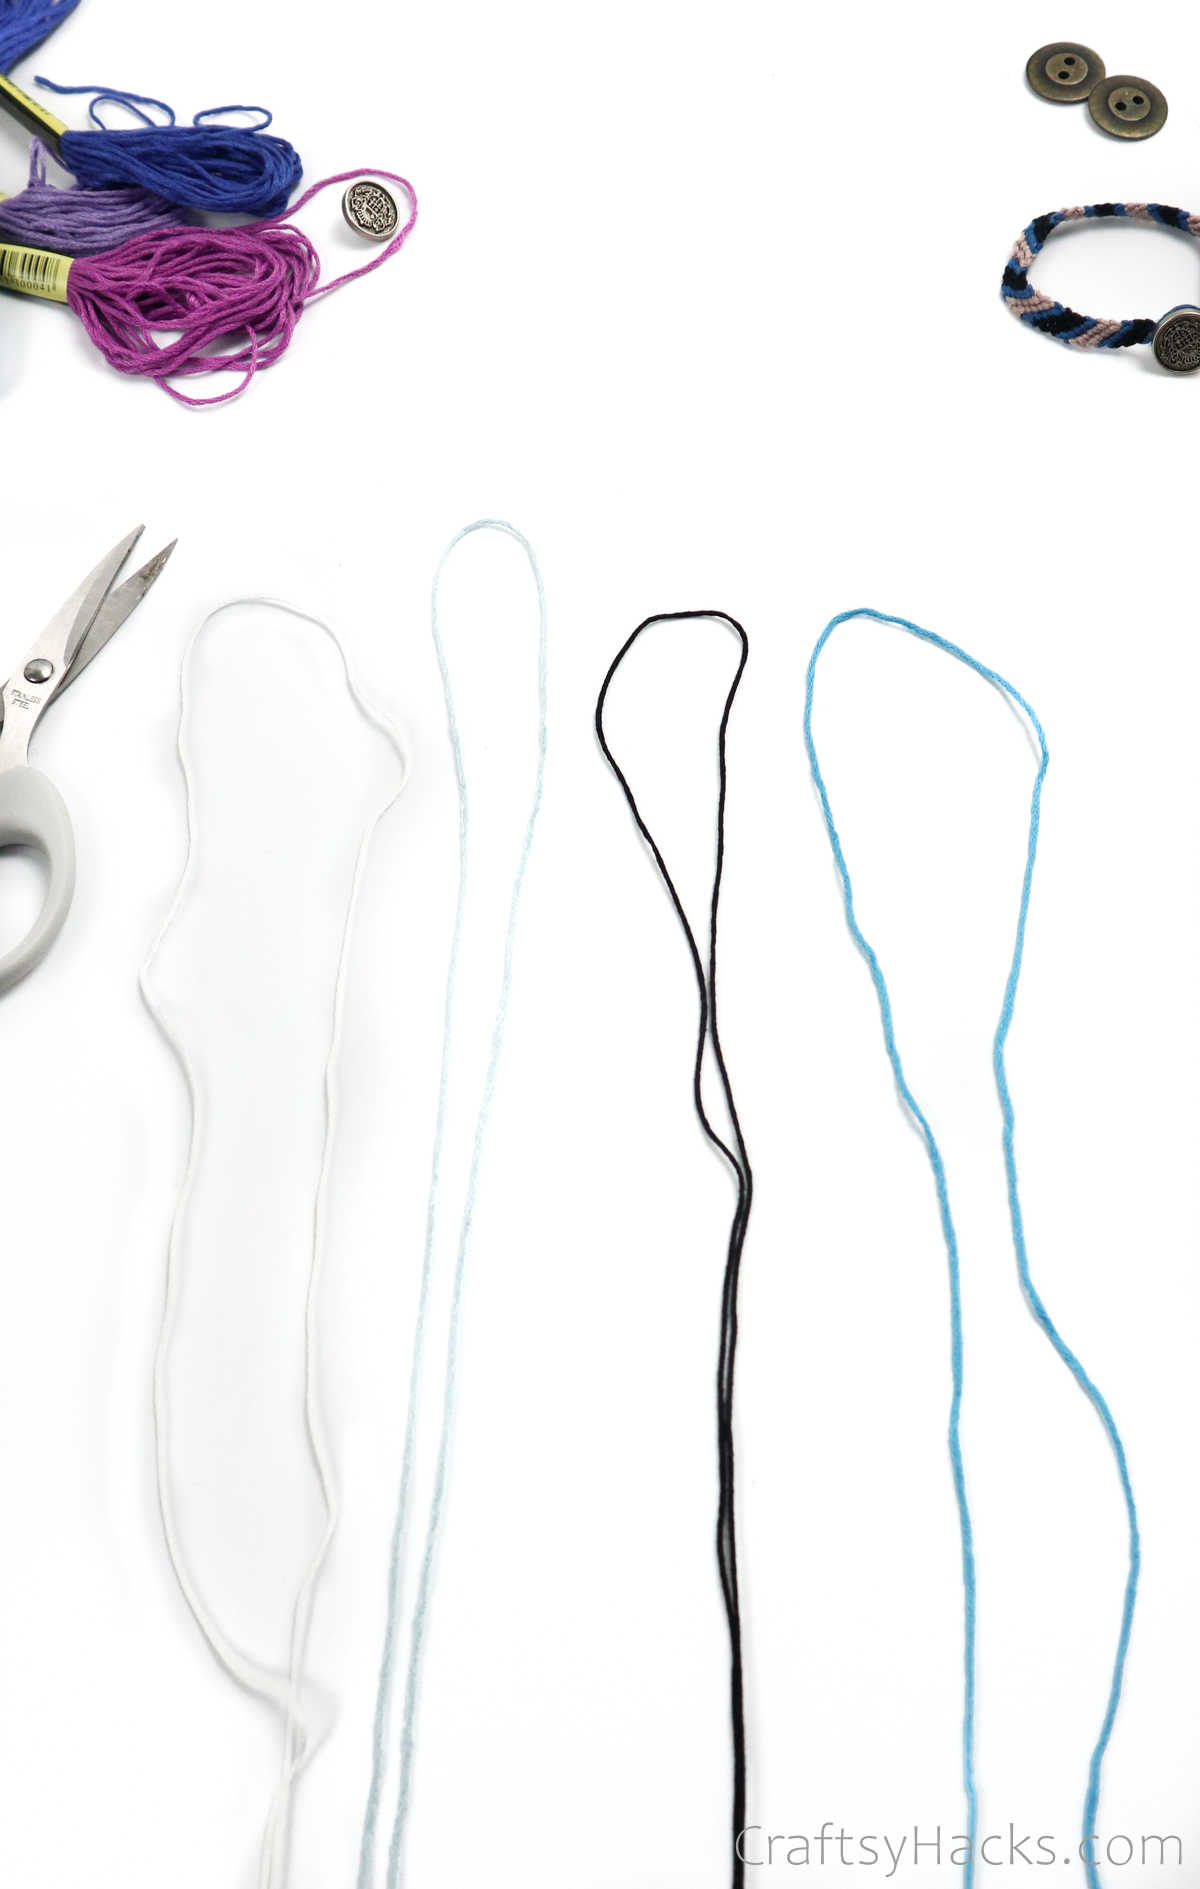
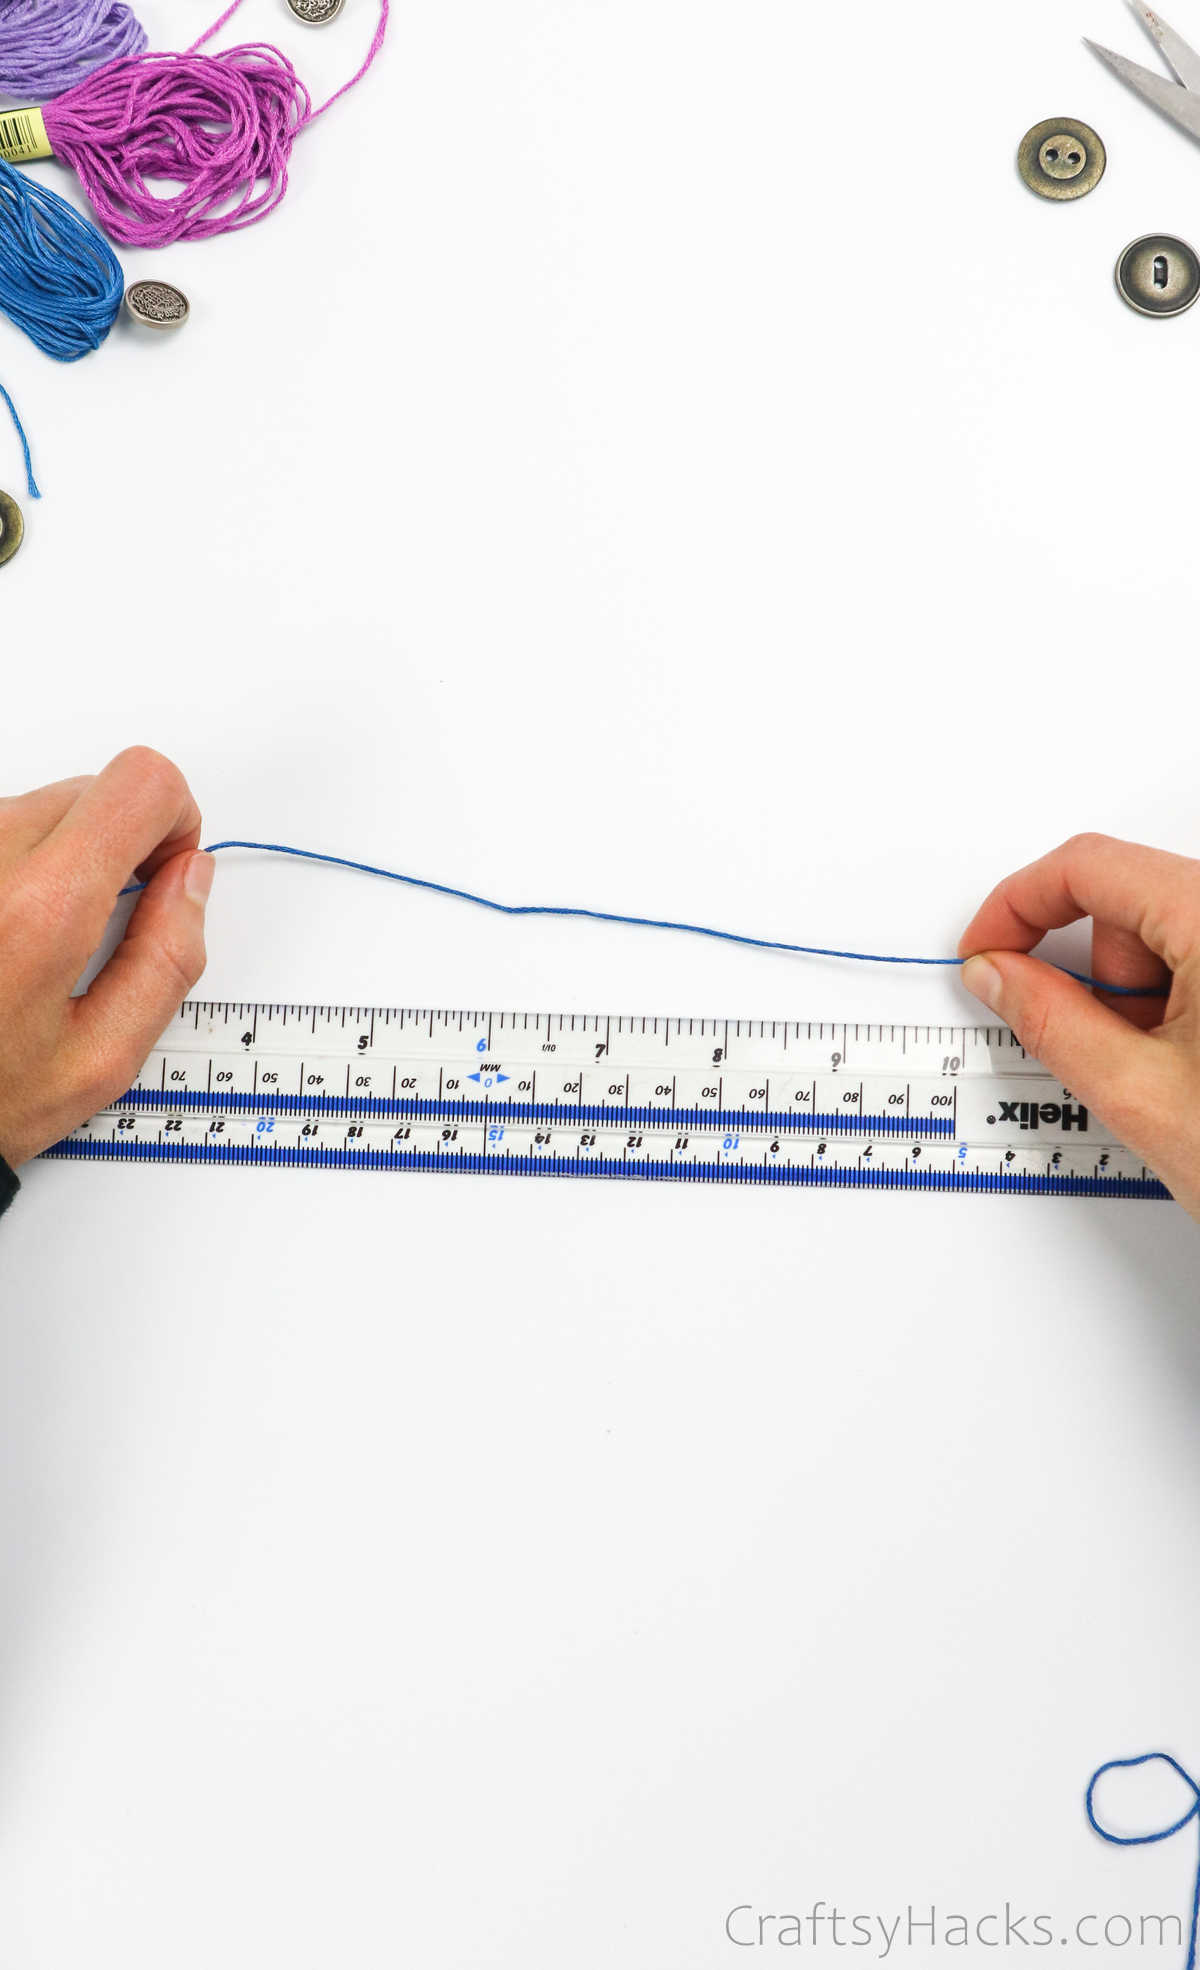
Cut each of those cords to measure 60 inches.
Youll be using the same technique you used earlier to make your rows of knots.
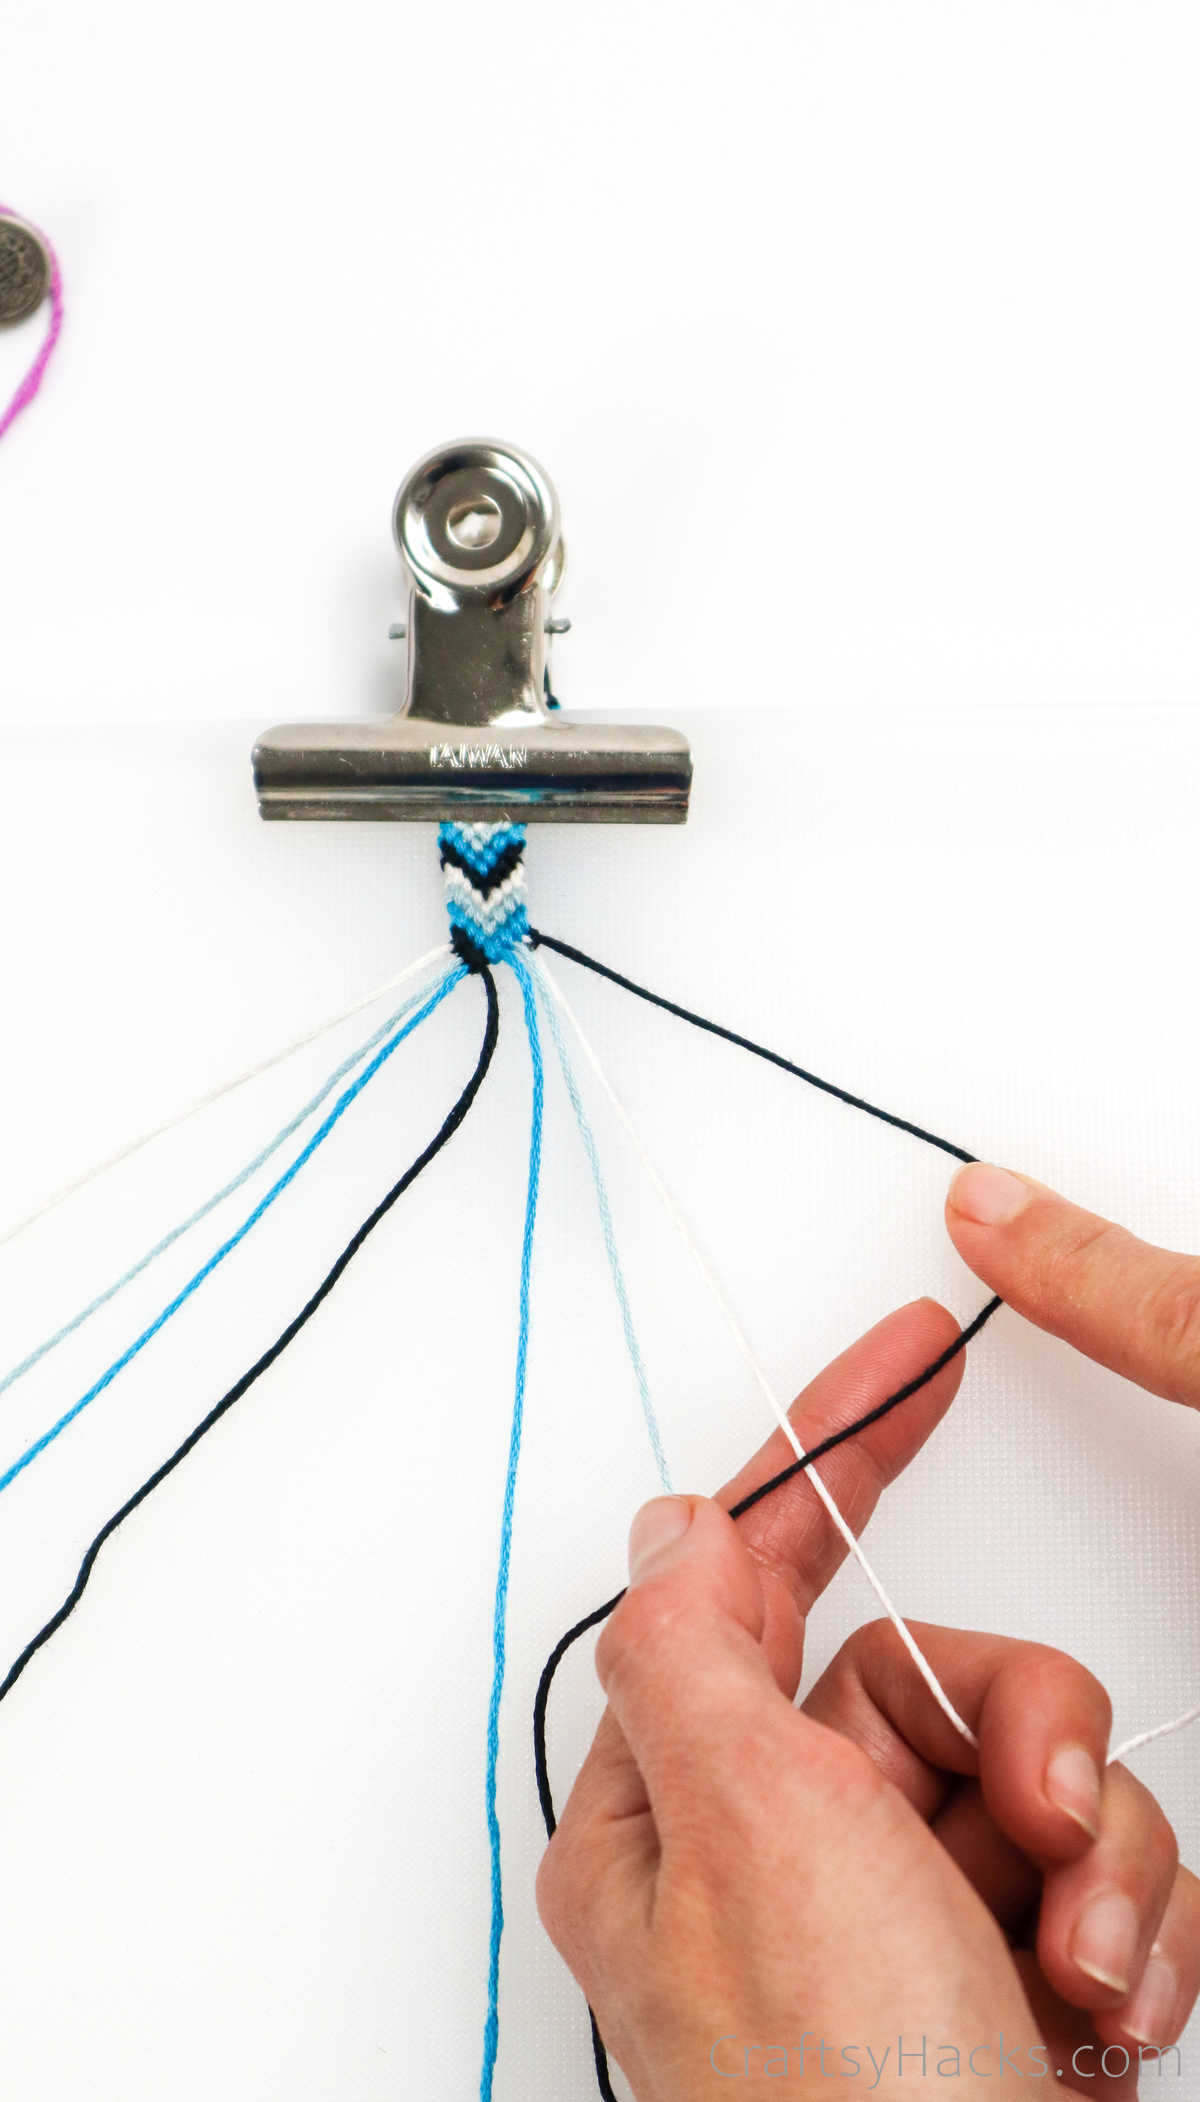
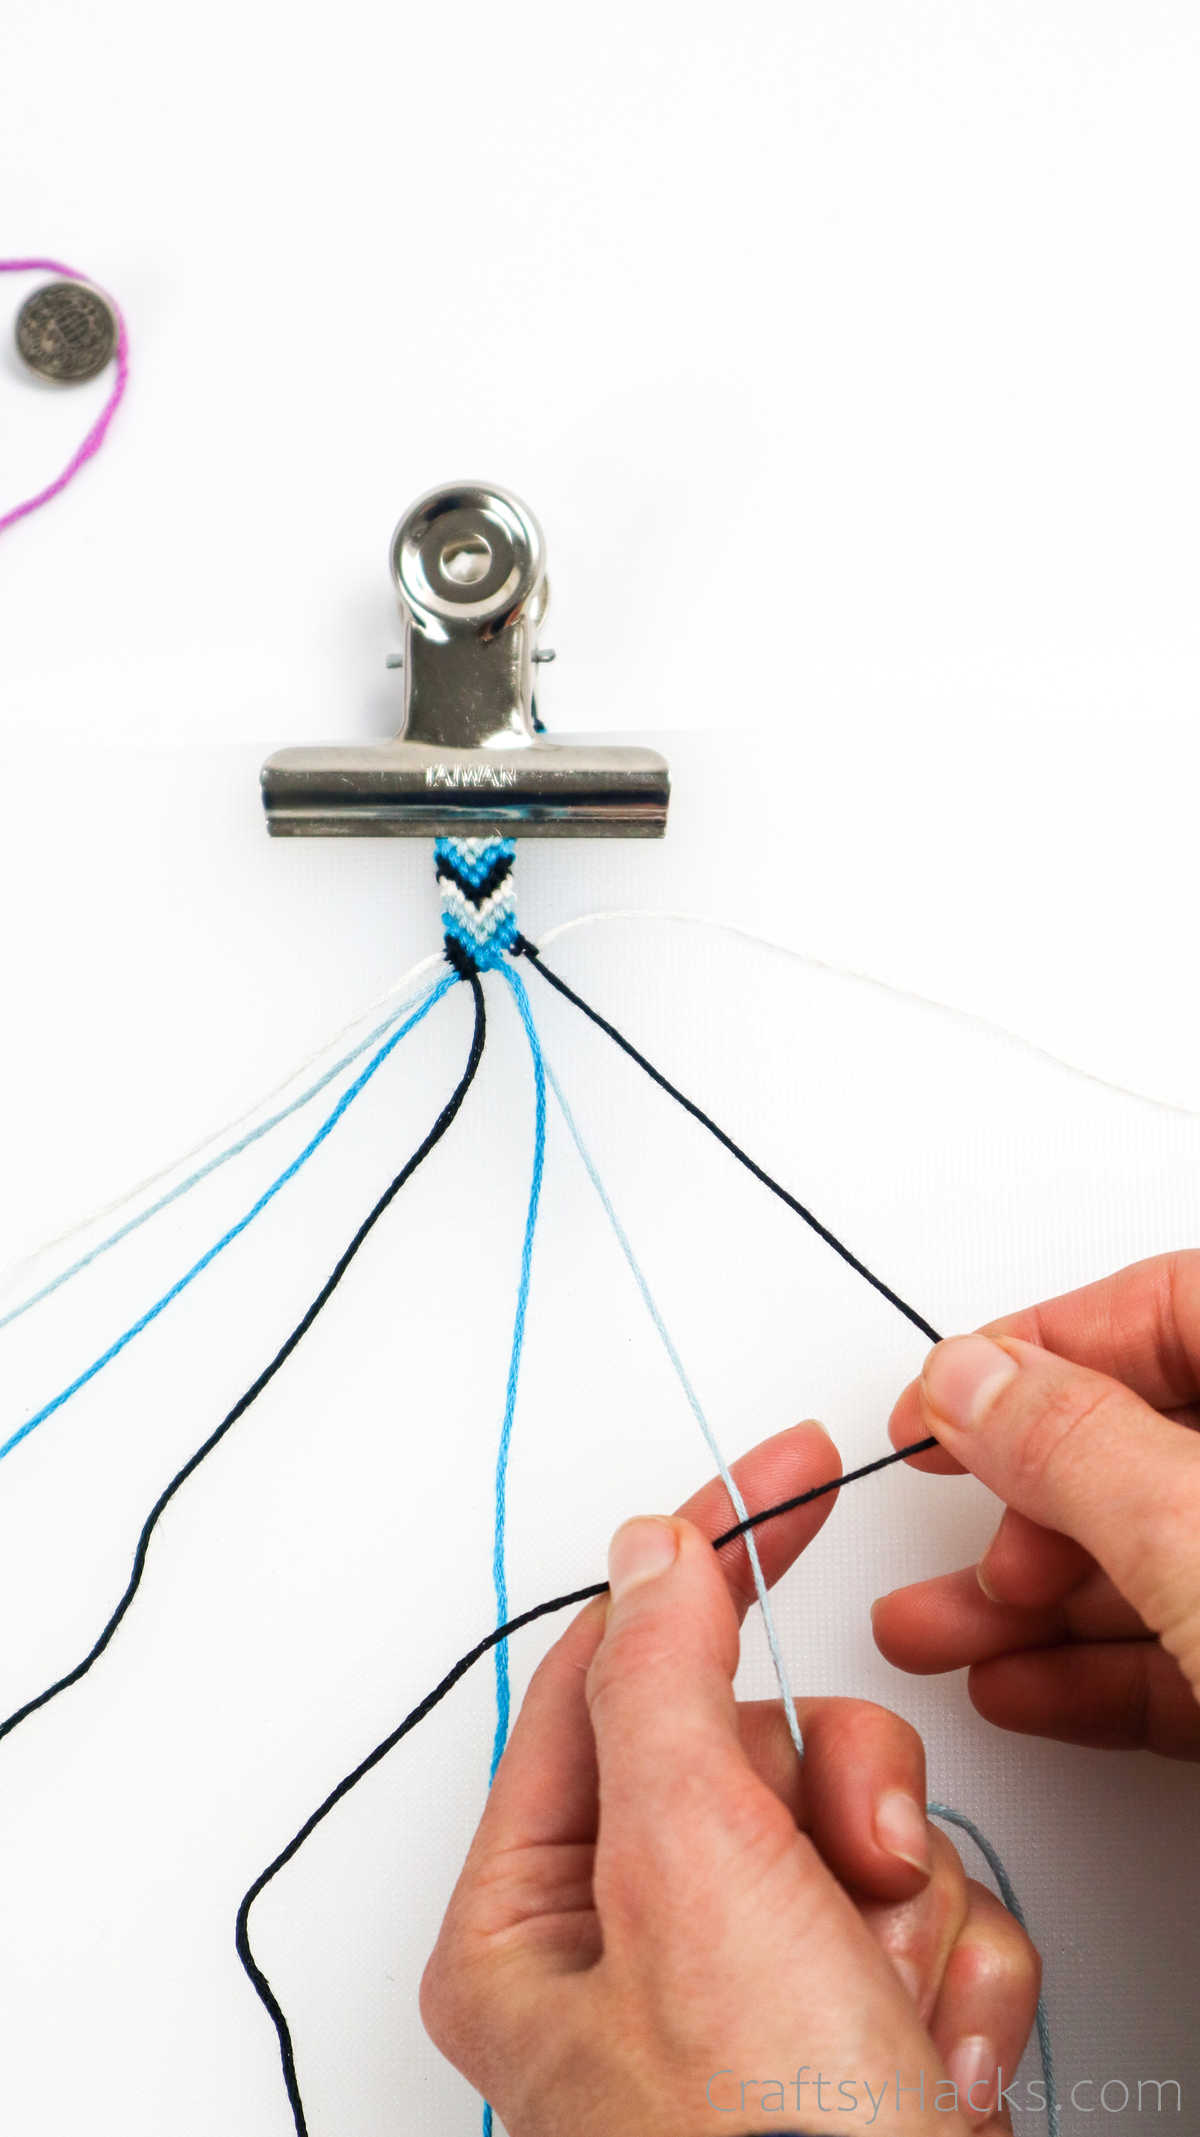
Grab the outermost knot on the left and make three knots down the row till you reach the middle.
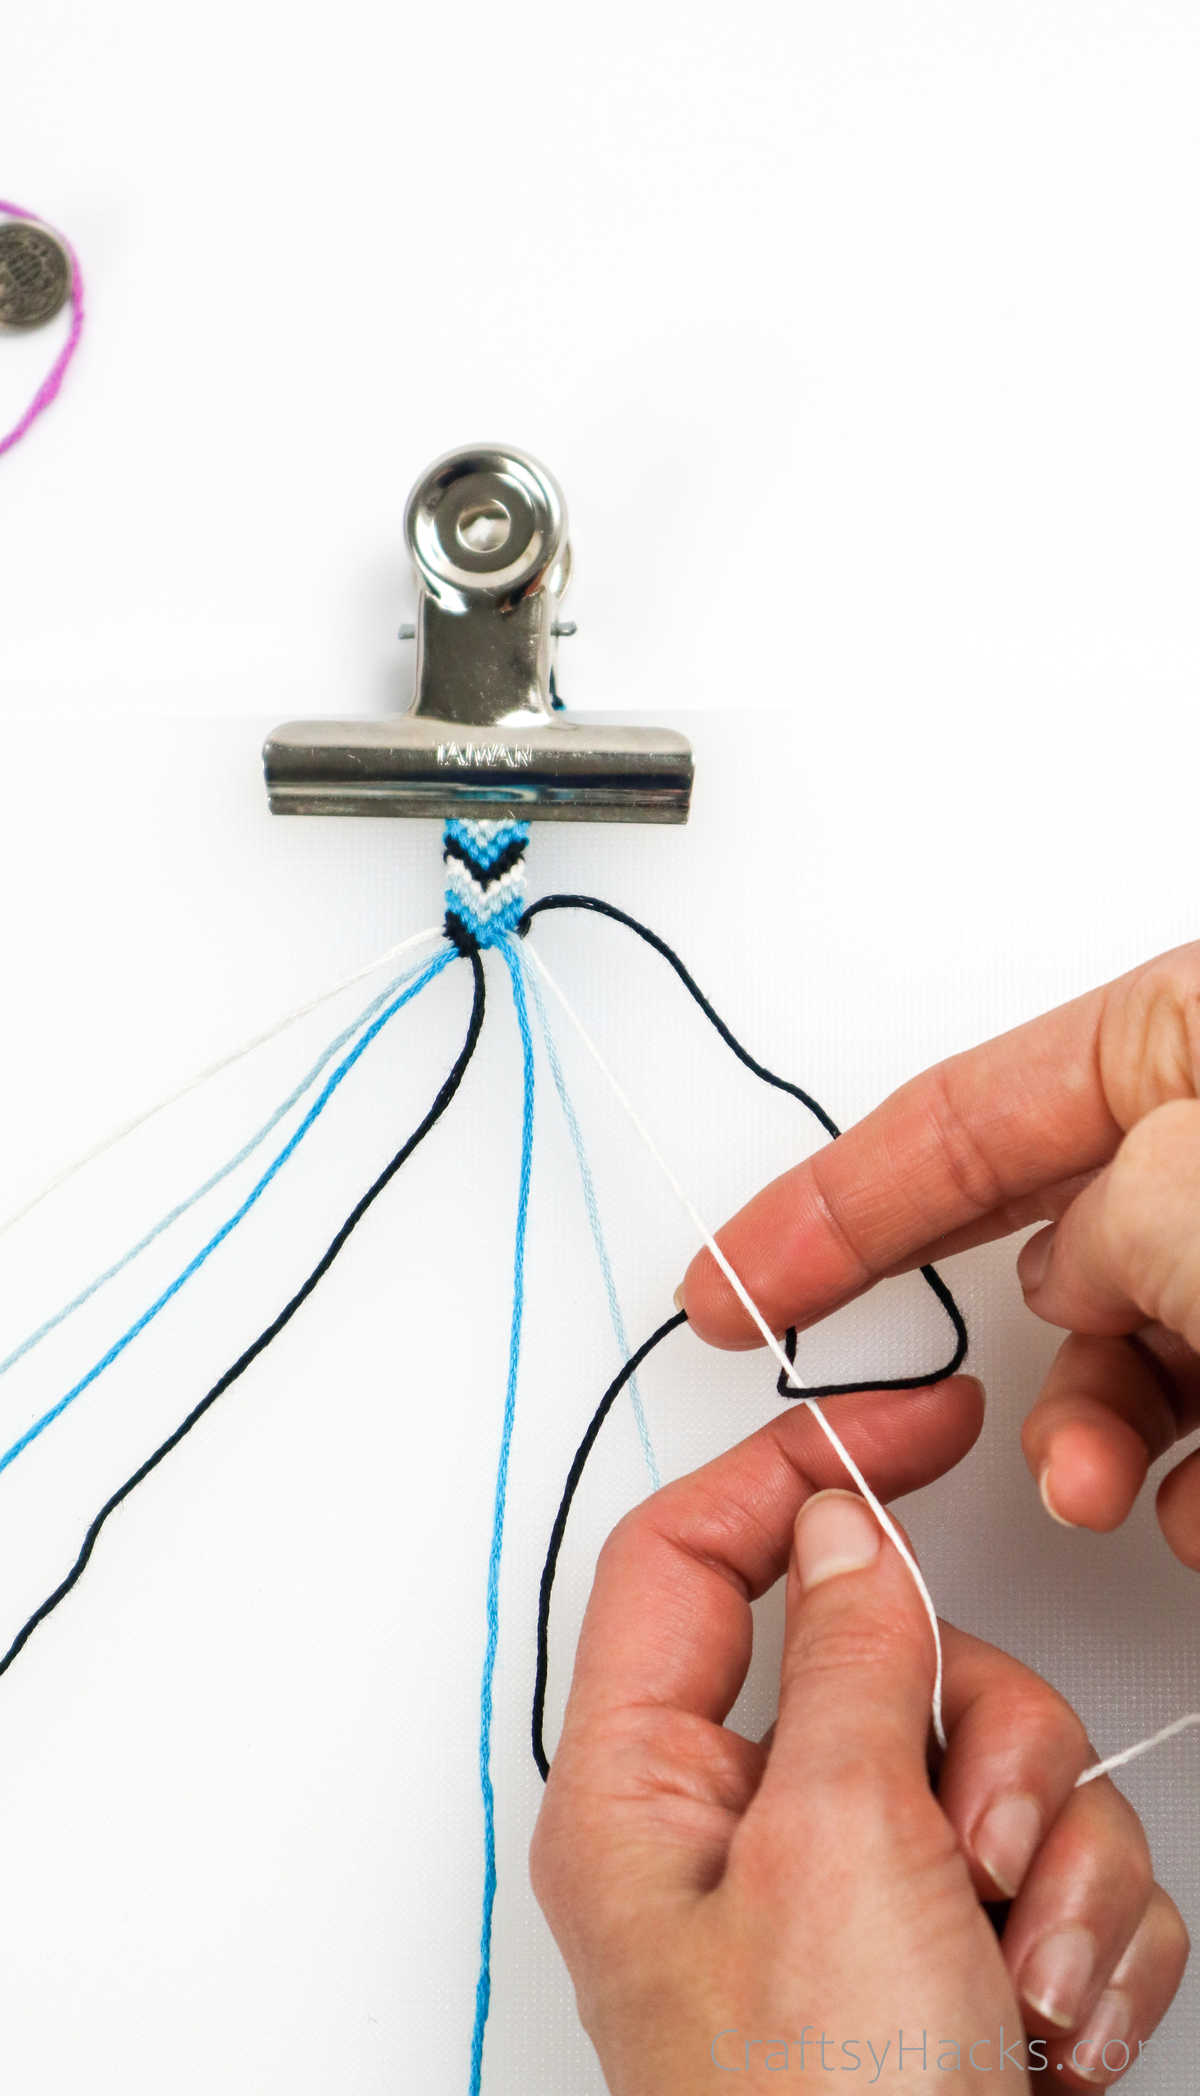
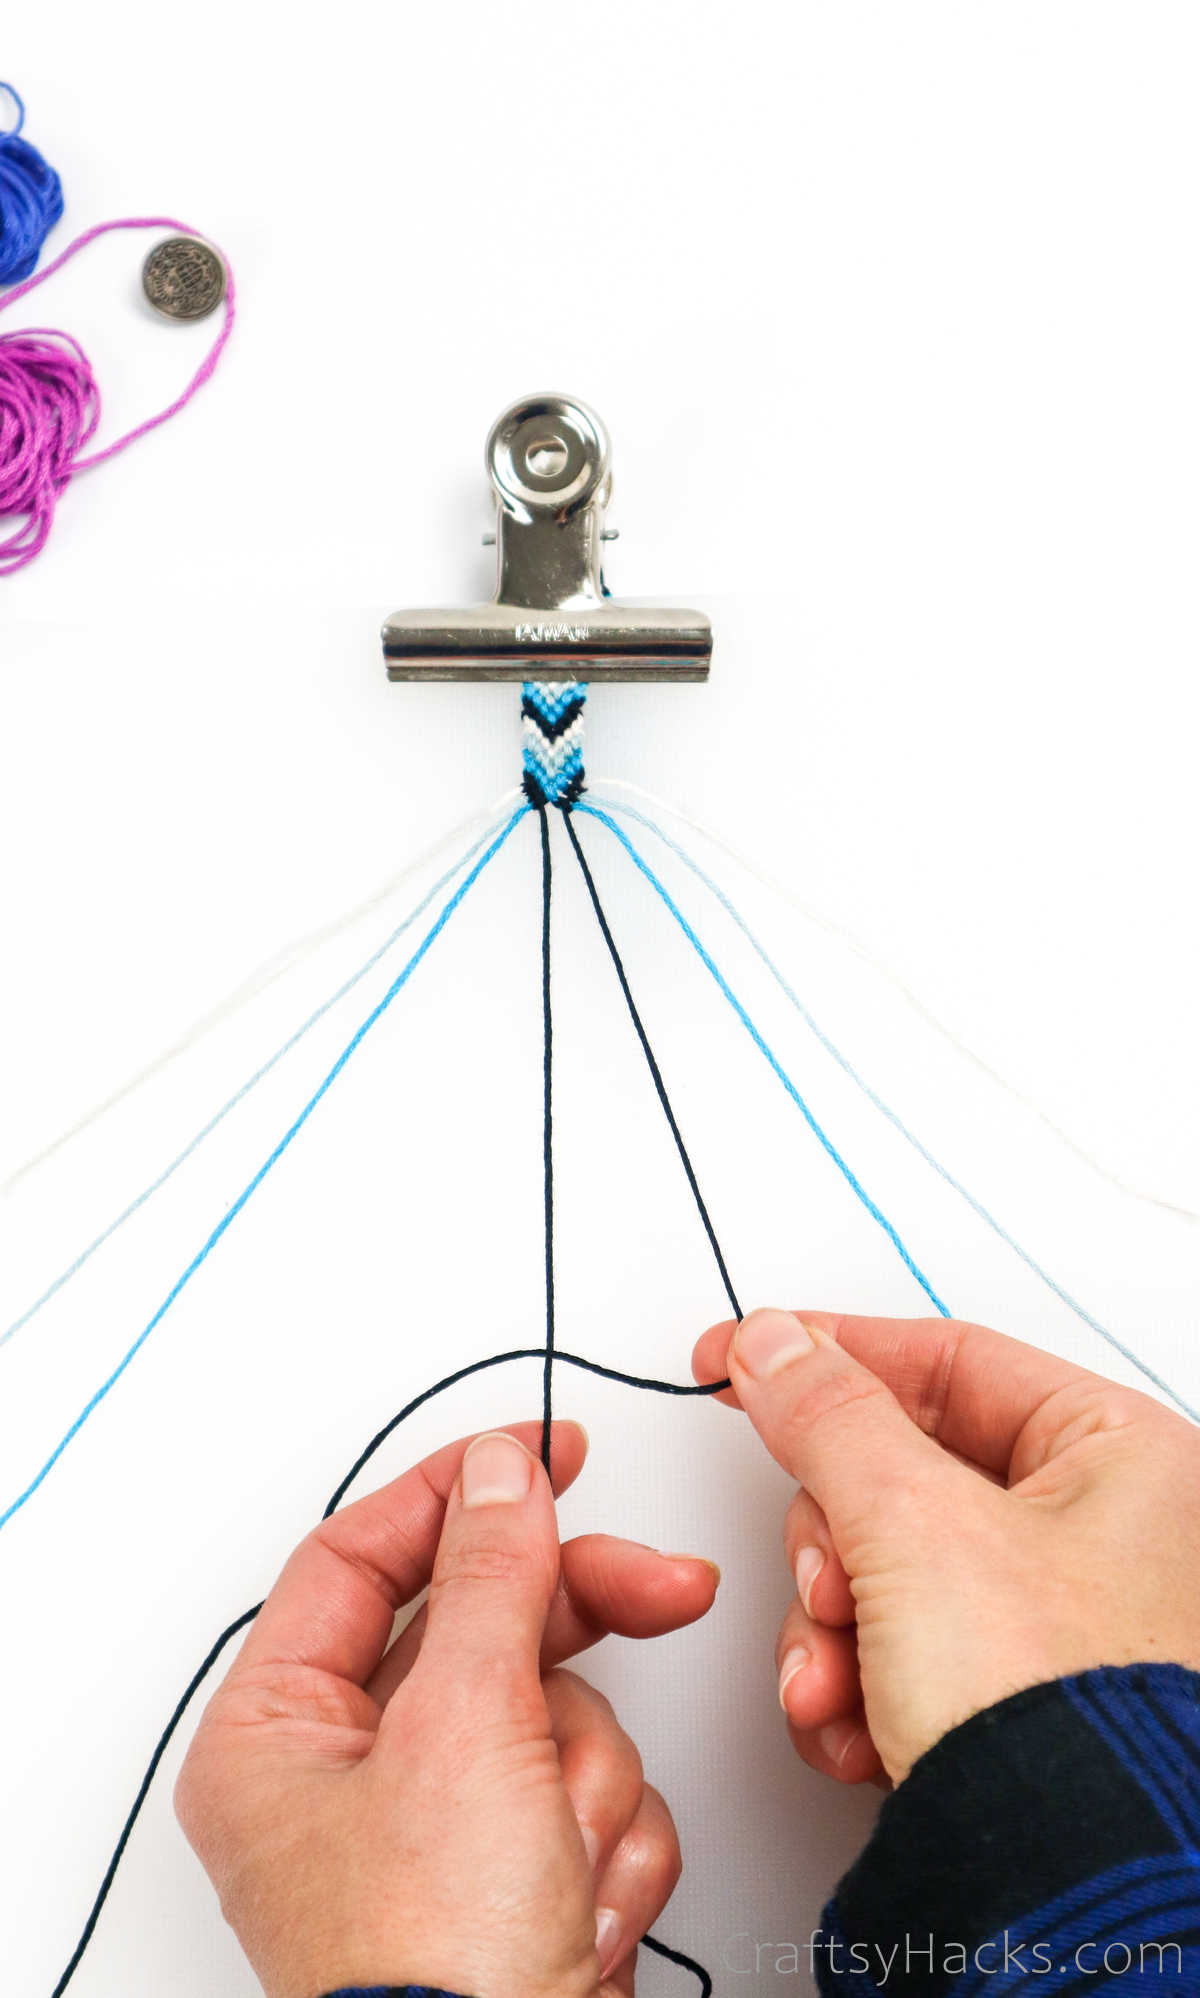
Pull the leading cord over the second one to form a loop.
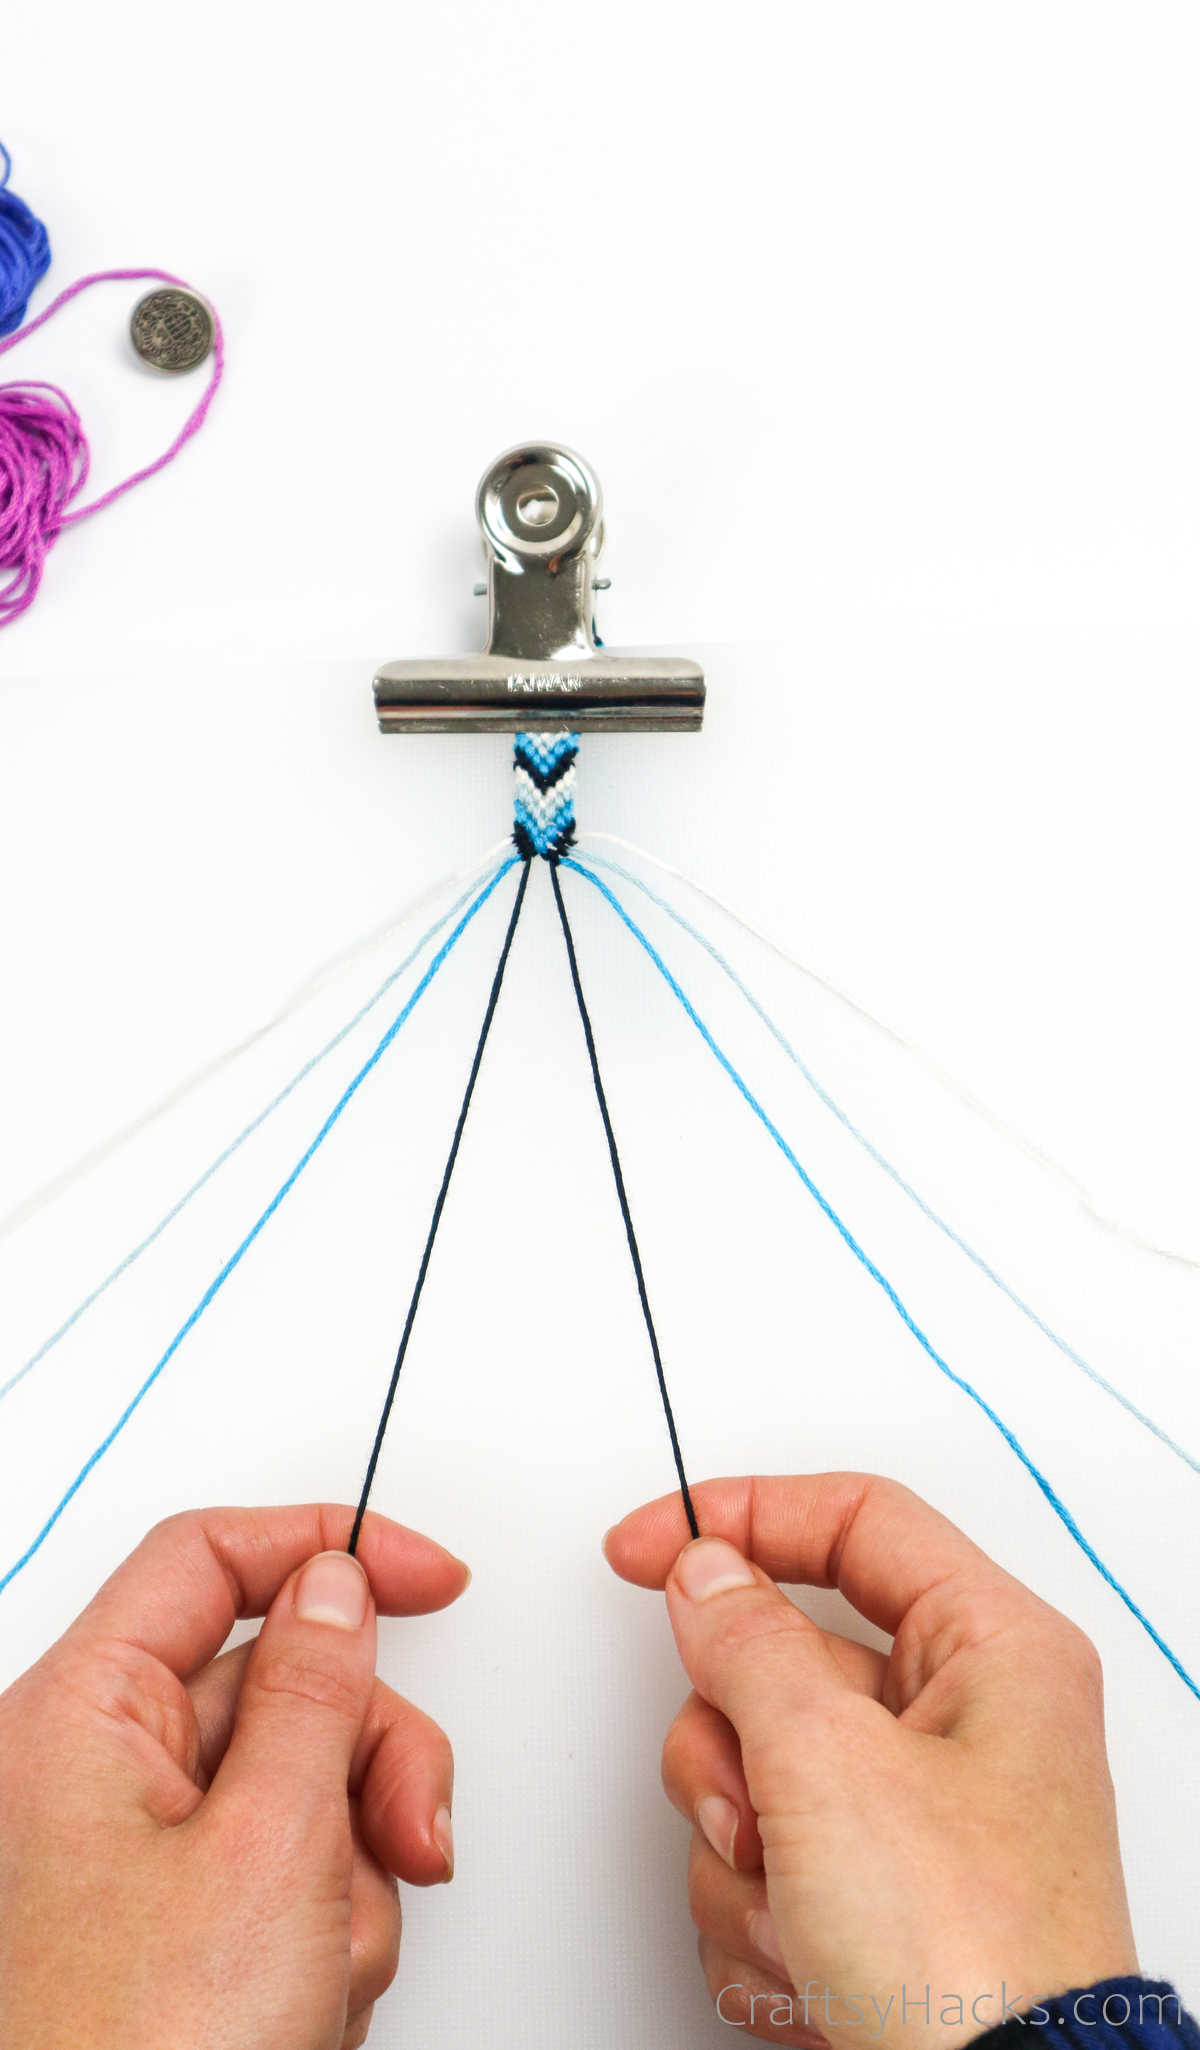
Work your way down to the middle, just like you did with the cords on the left.
Go ahead and finish up the rest of the bracelet and accessorize if needed.
Your friendship bracelets look fabulous, dont they?
How to Flatten Curled Friendship Bracelets?
Dont fret, though, because you’re able to definitely straighten them out.
One way to straighten them is to block the bracelets with water.
Just wet your fingertips and pat the bracelet with the droplets.
Alternatively, you might use a flat iron or a straightener to iron the bracelets.
double-check you dont scorch the threads, though.
Lay a thin towel over the bracelet before you run an iron over it.
What to Do if I Run Out of String?
If you run out of thread halfway through yourDIY project, you could always attach another cord.

Grab a new string of the same color.
Other Crafts You Might Like
Equipment
Materials
Instructions
Video