HomeDIY
This post may contain affiliate links:full affiliate disclosure.
Got some clay and want to engage the little ones?
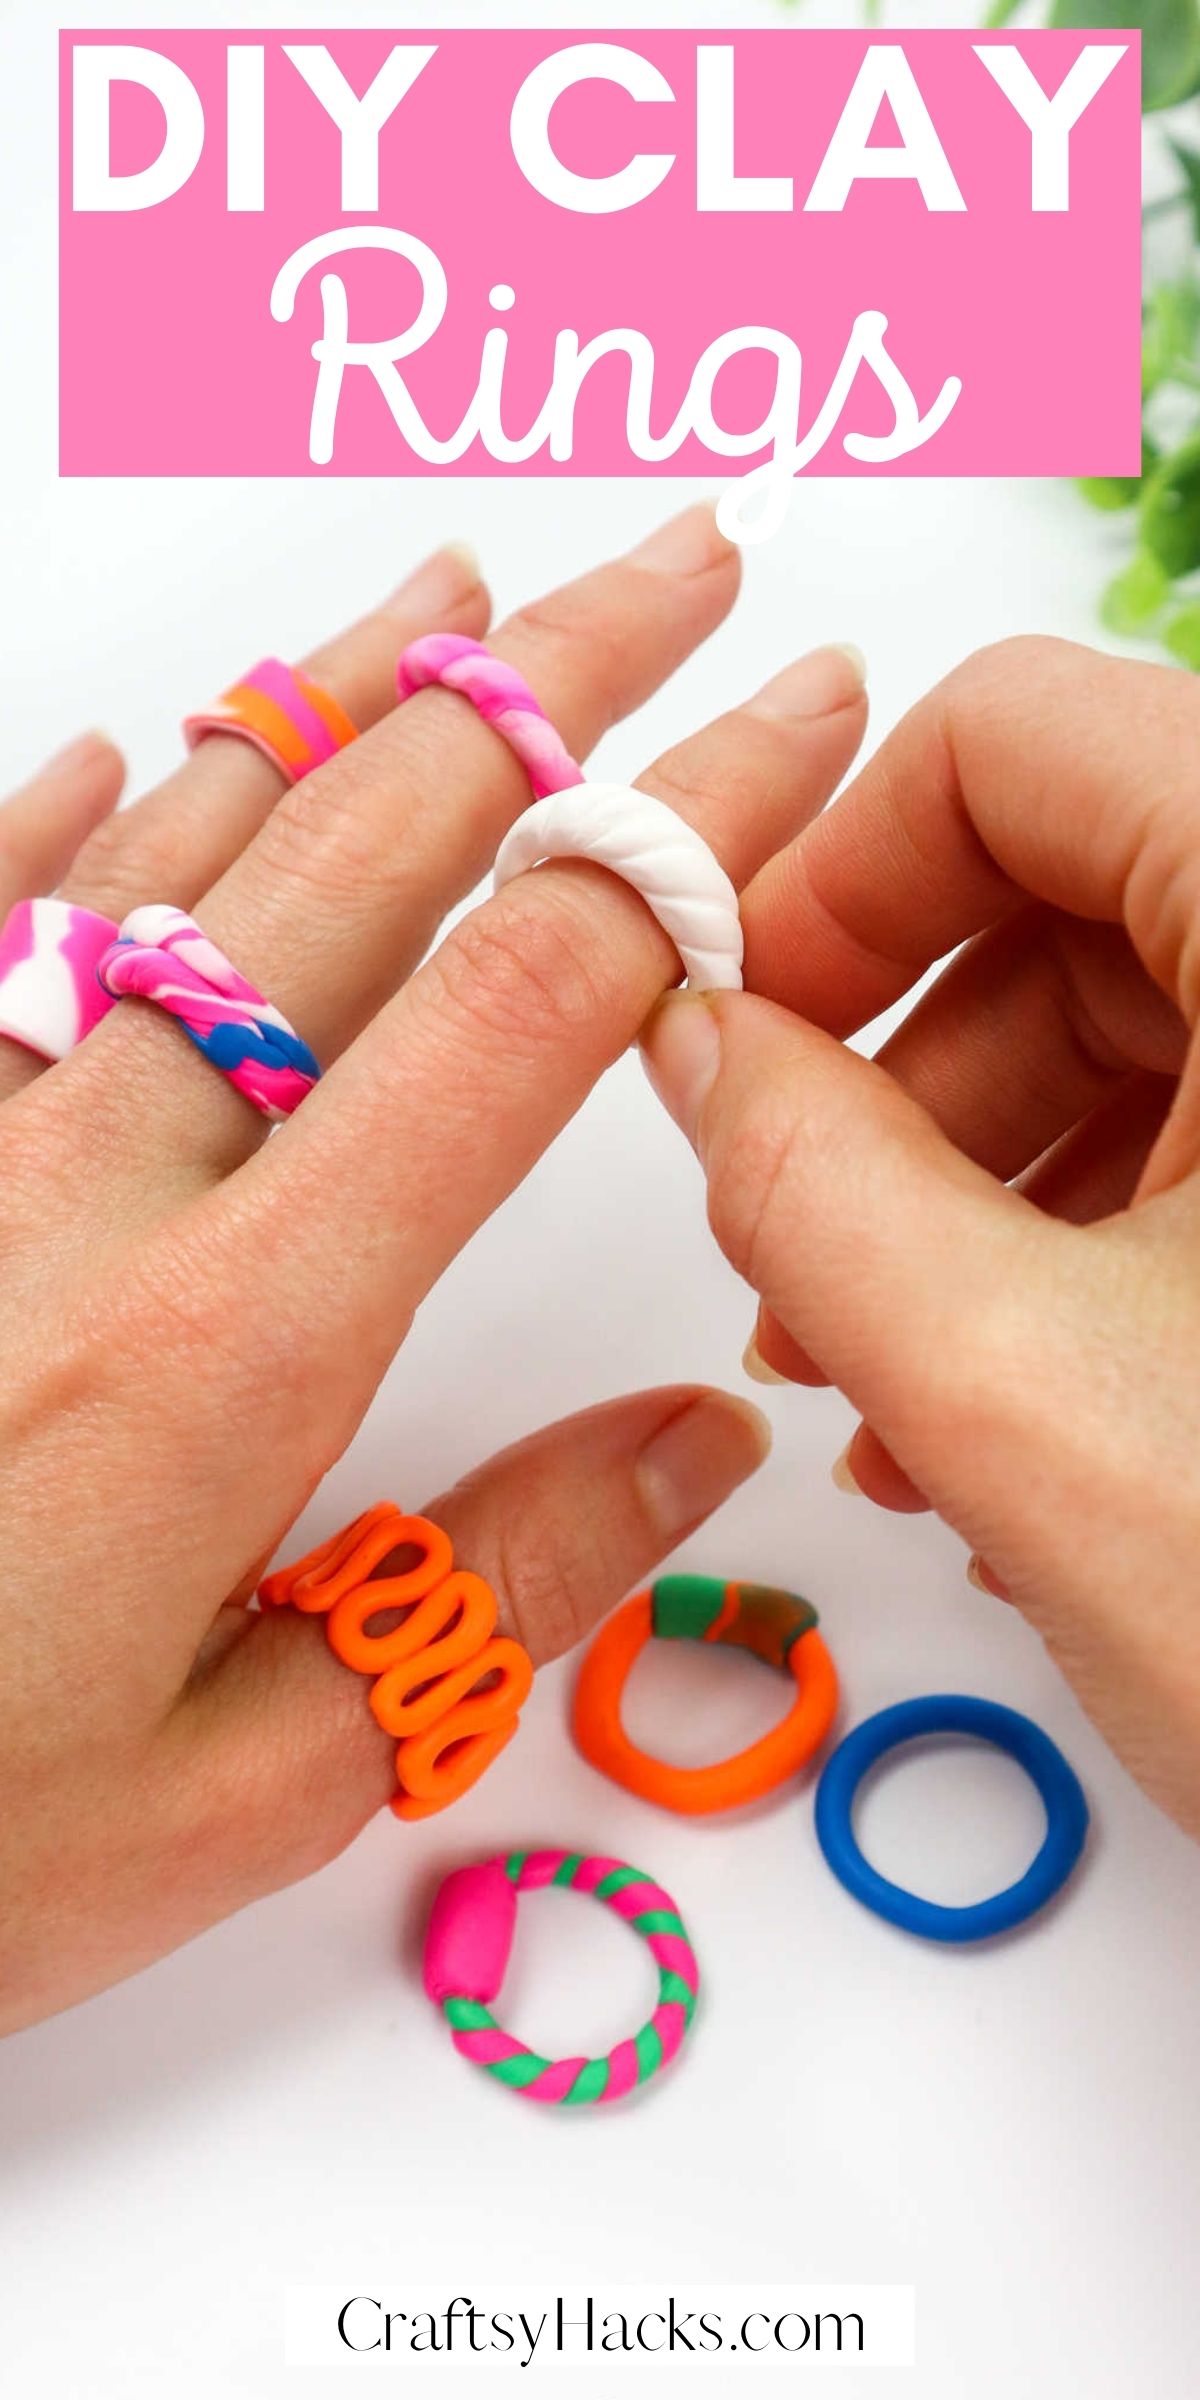
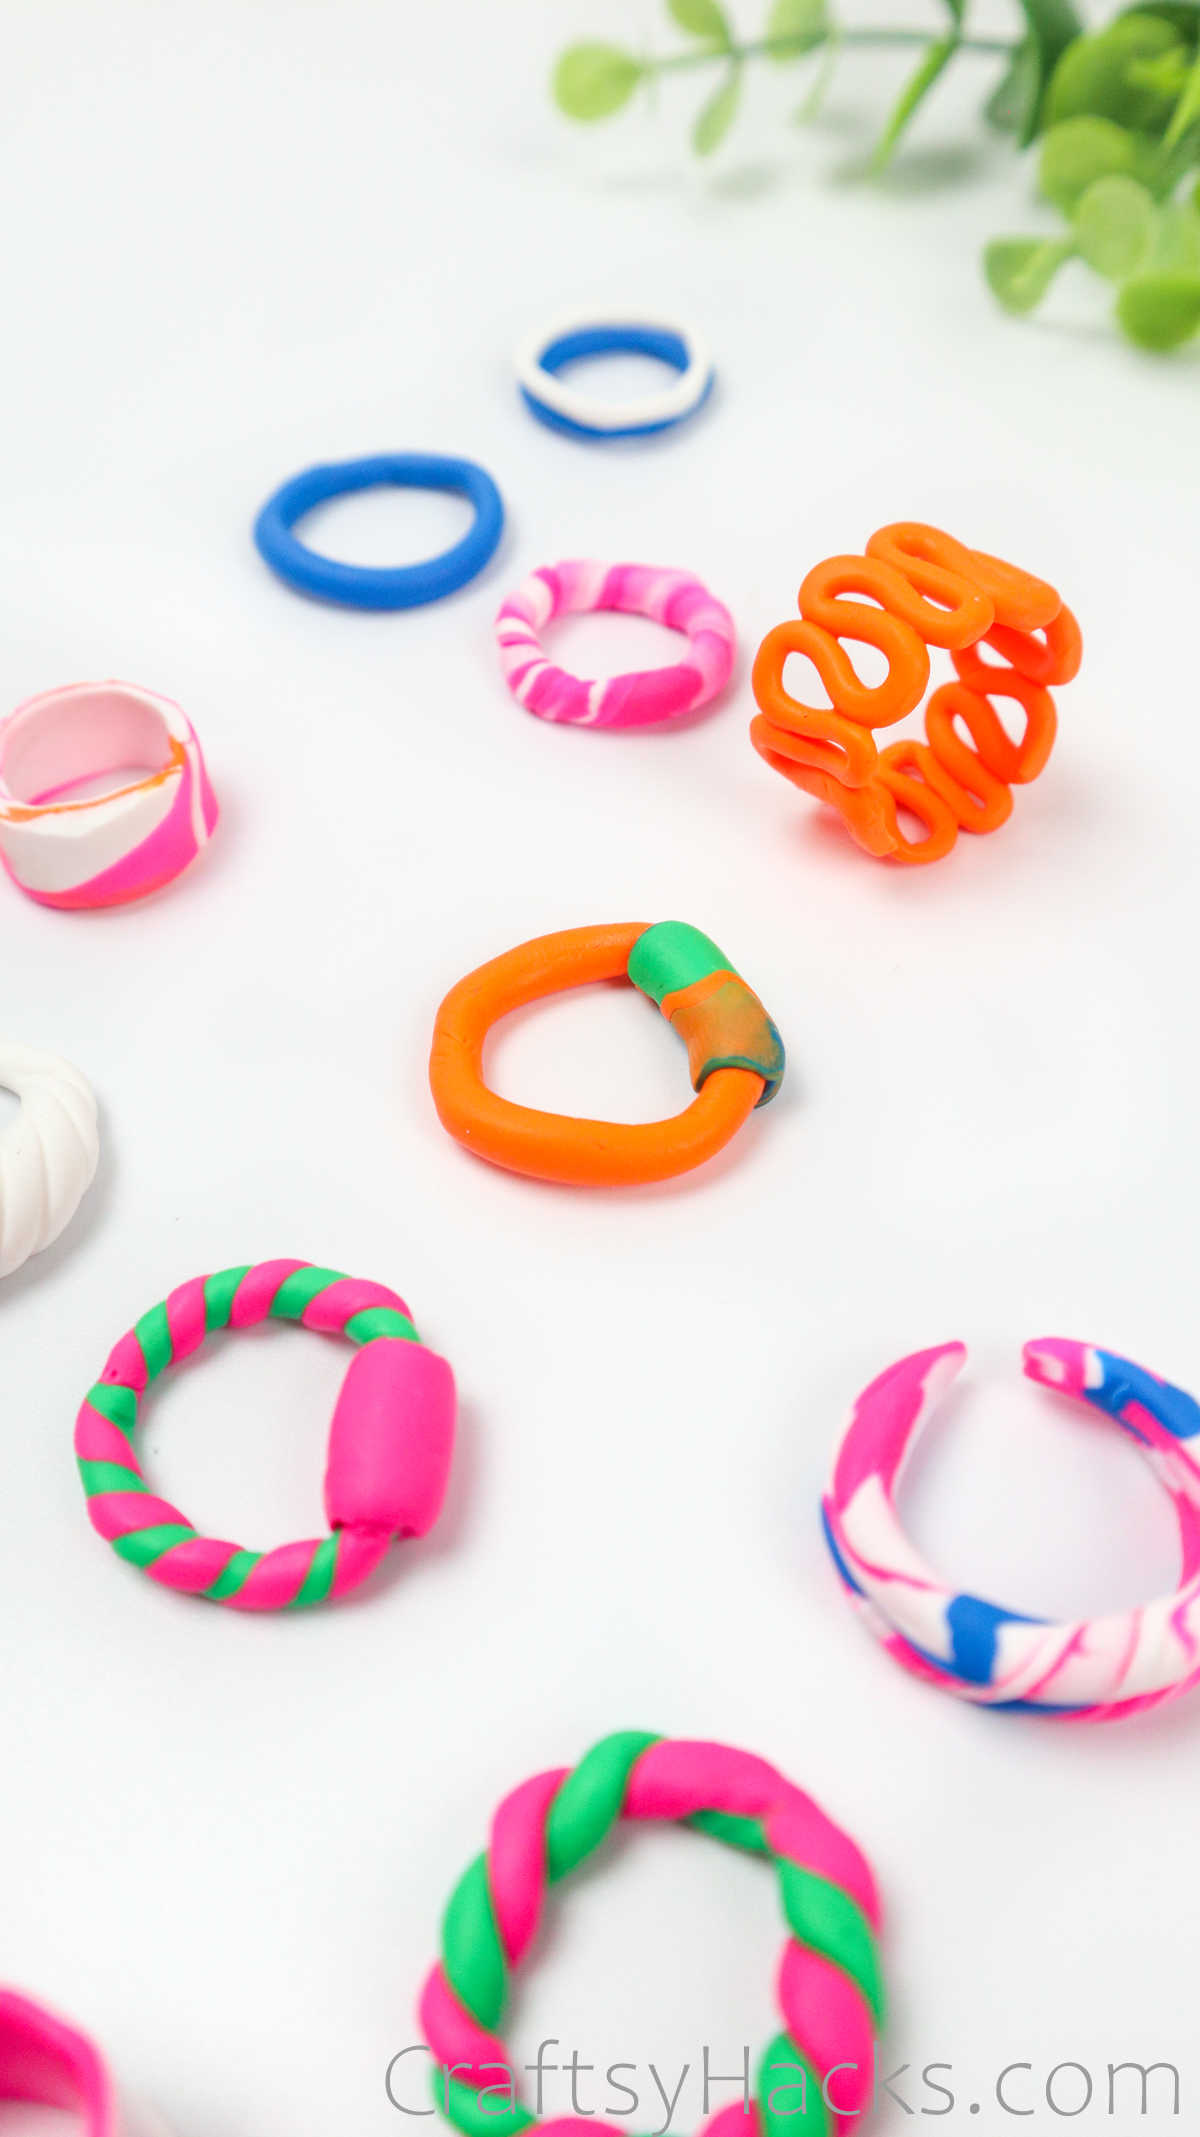
This is a step-by-step tutorial onhow to make clay rings.
I love query rings on my fingers.
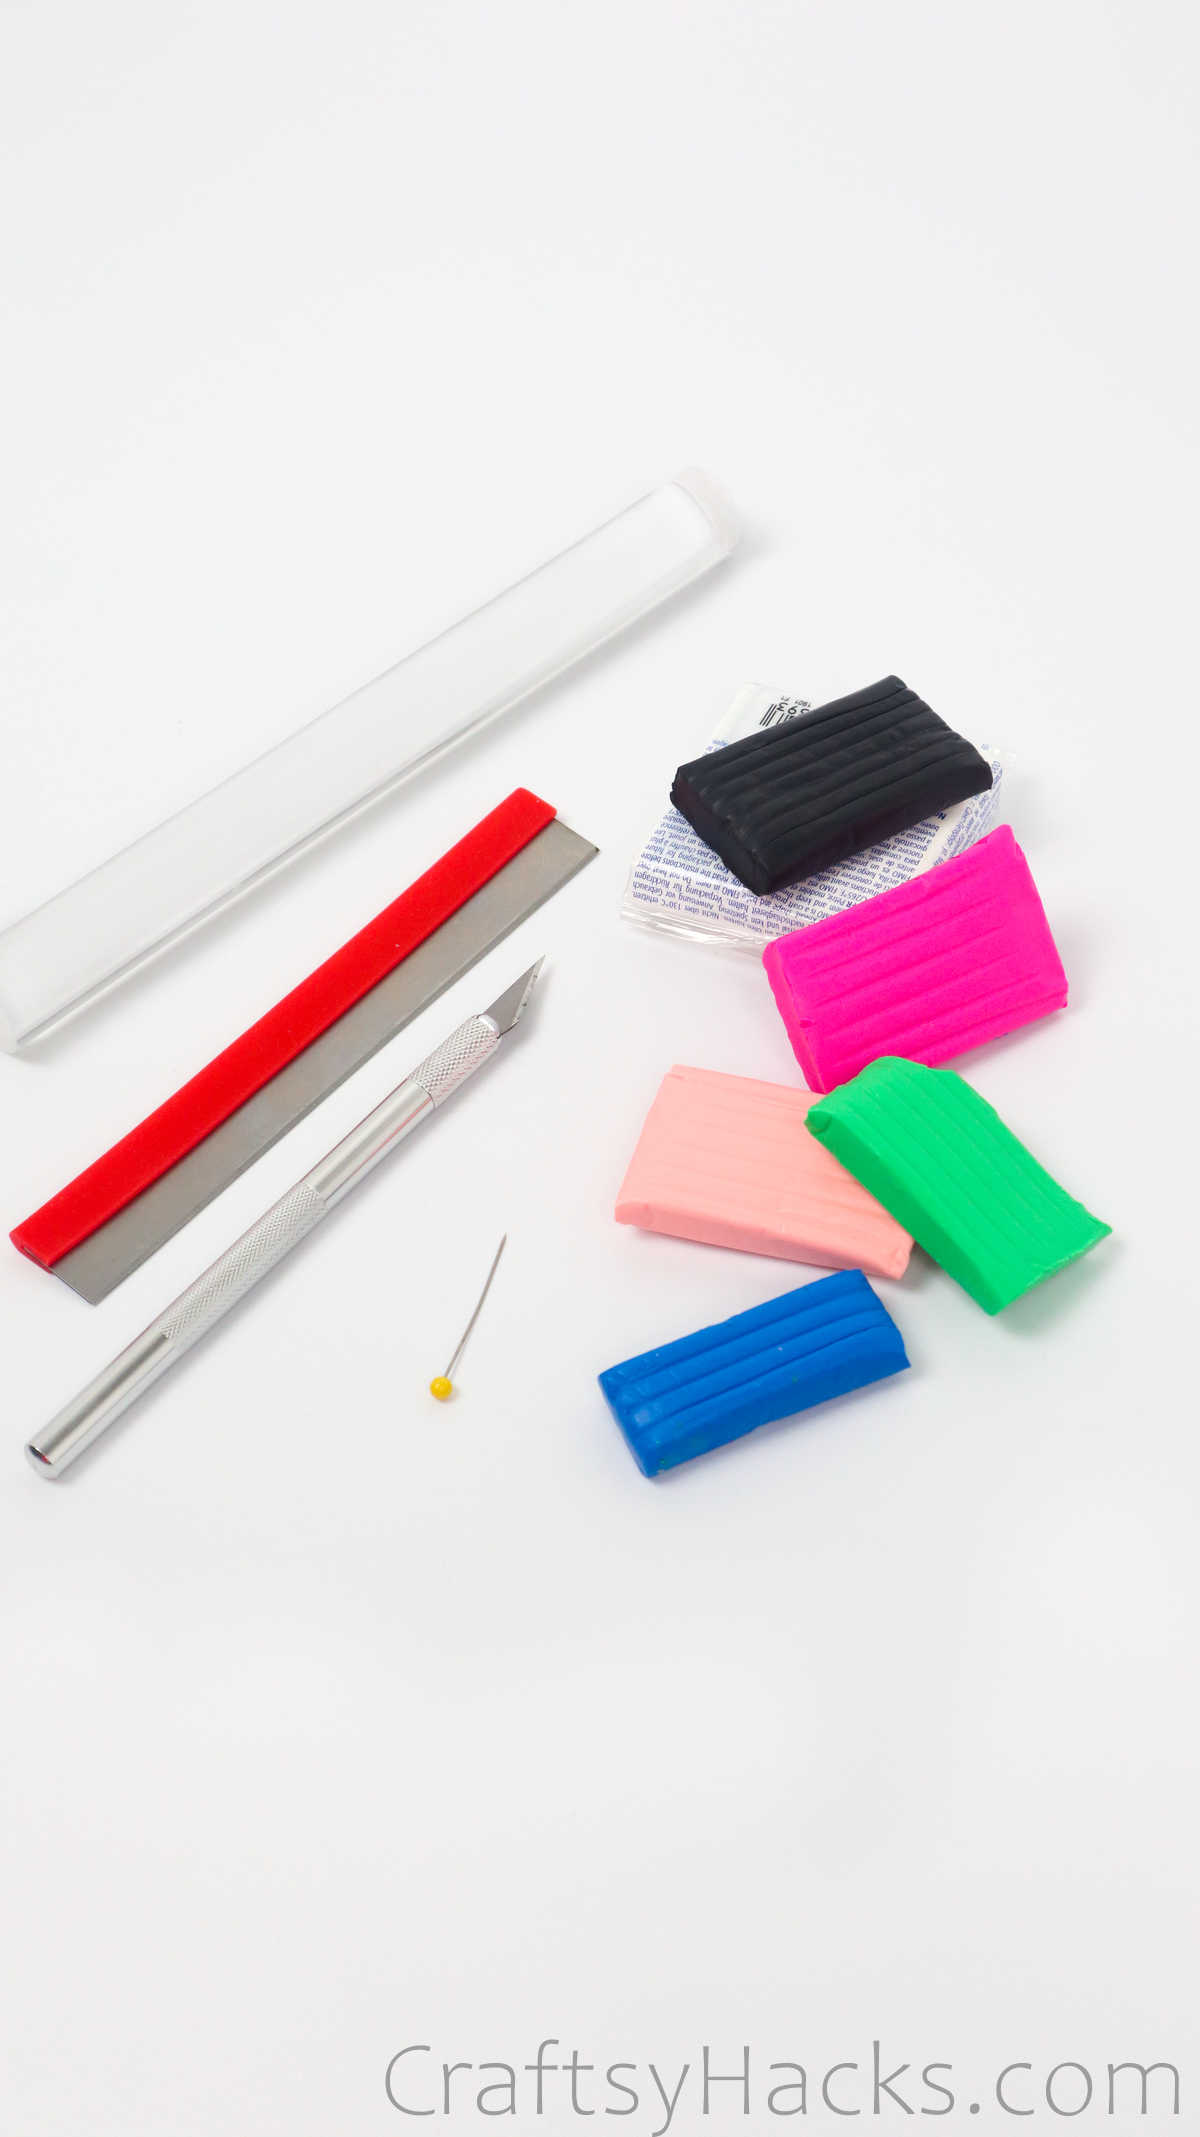
So heres what you need for that next step of the project.
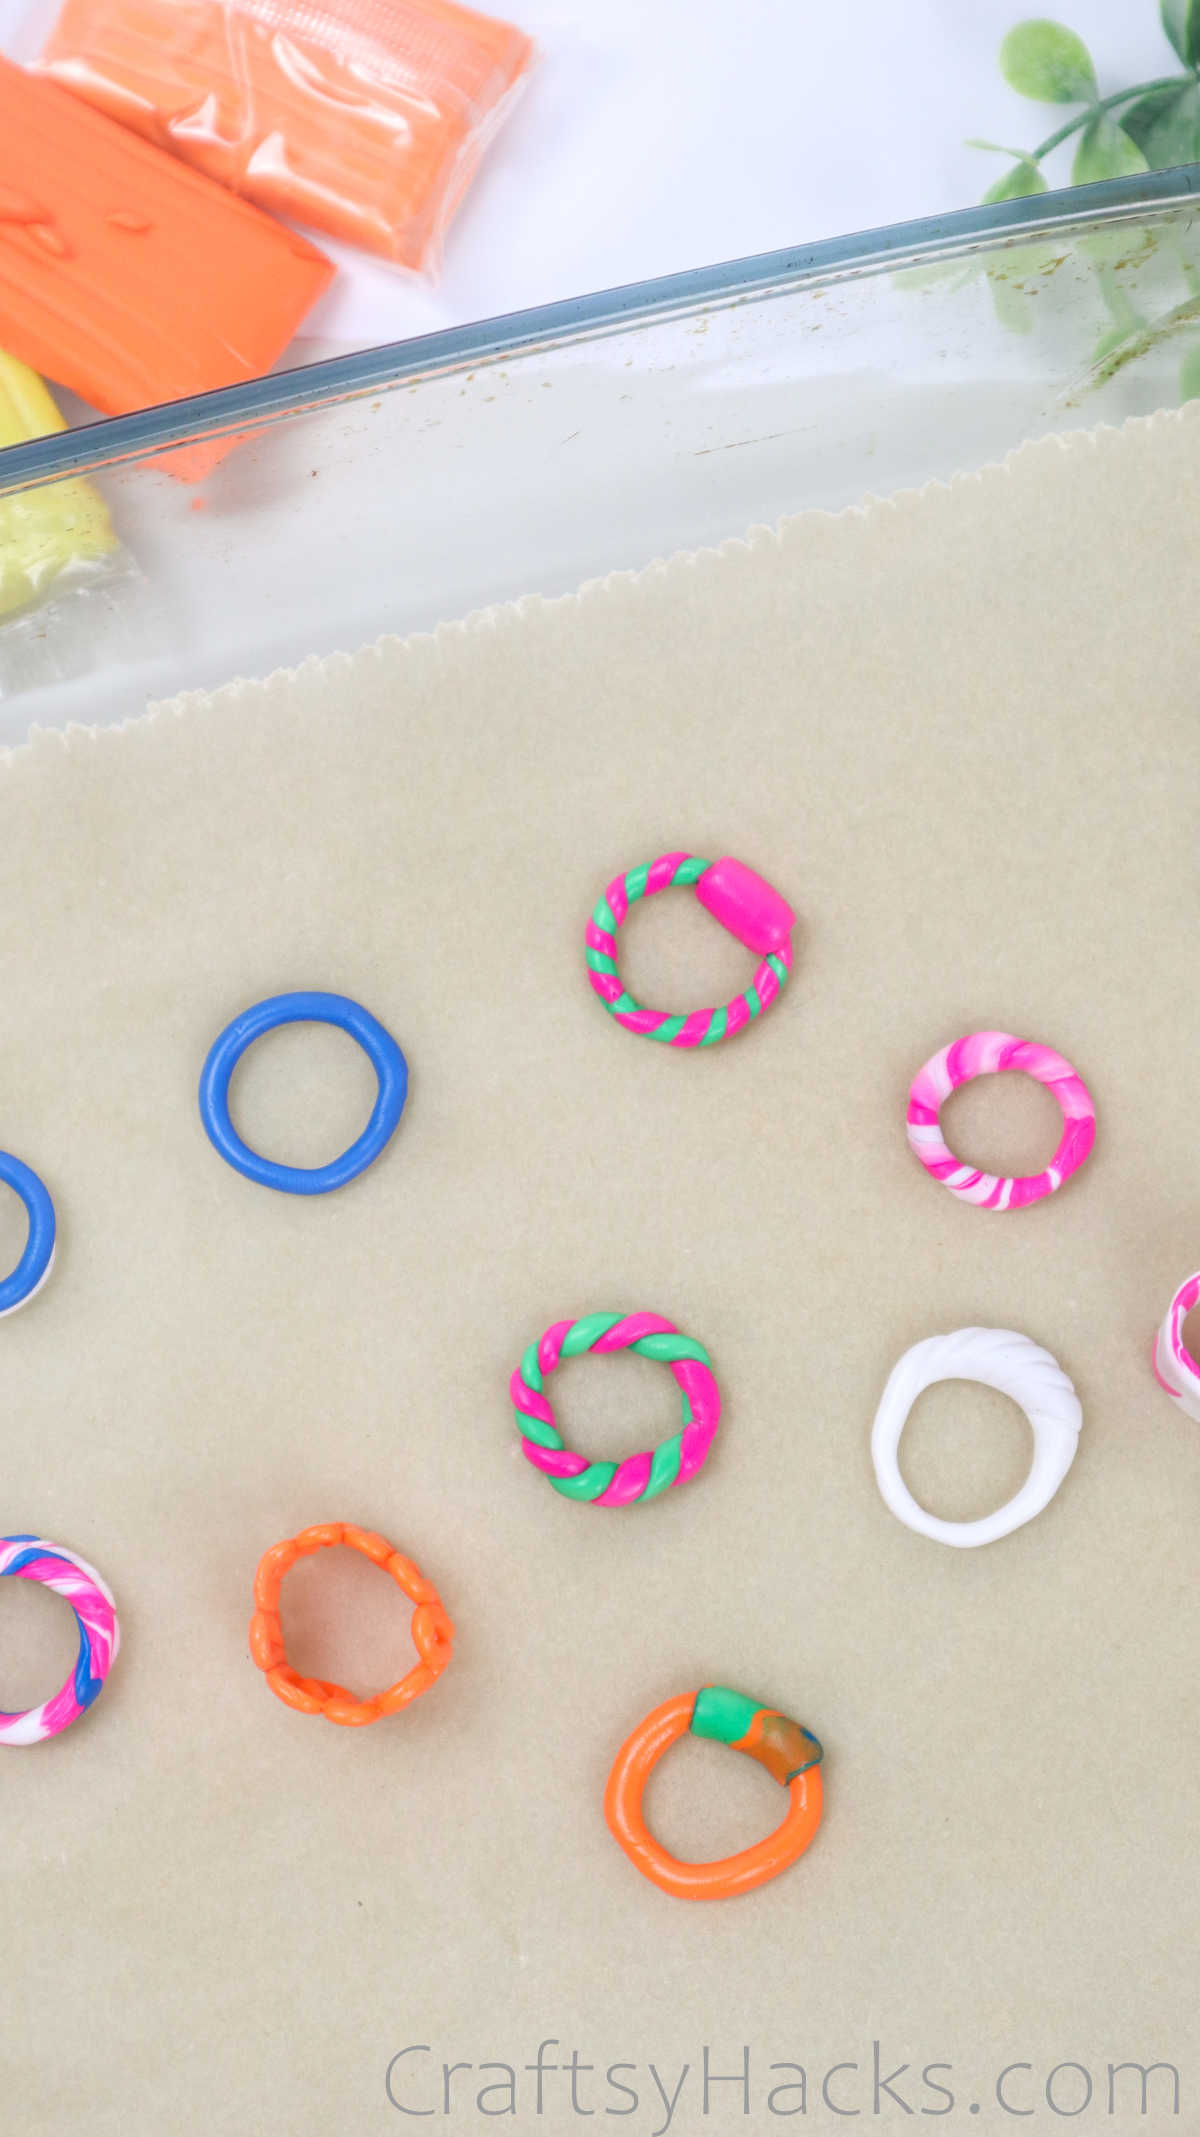
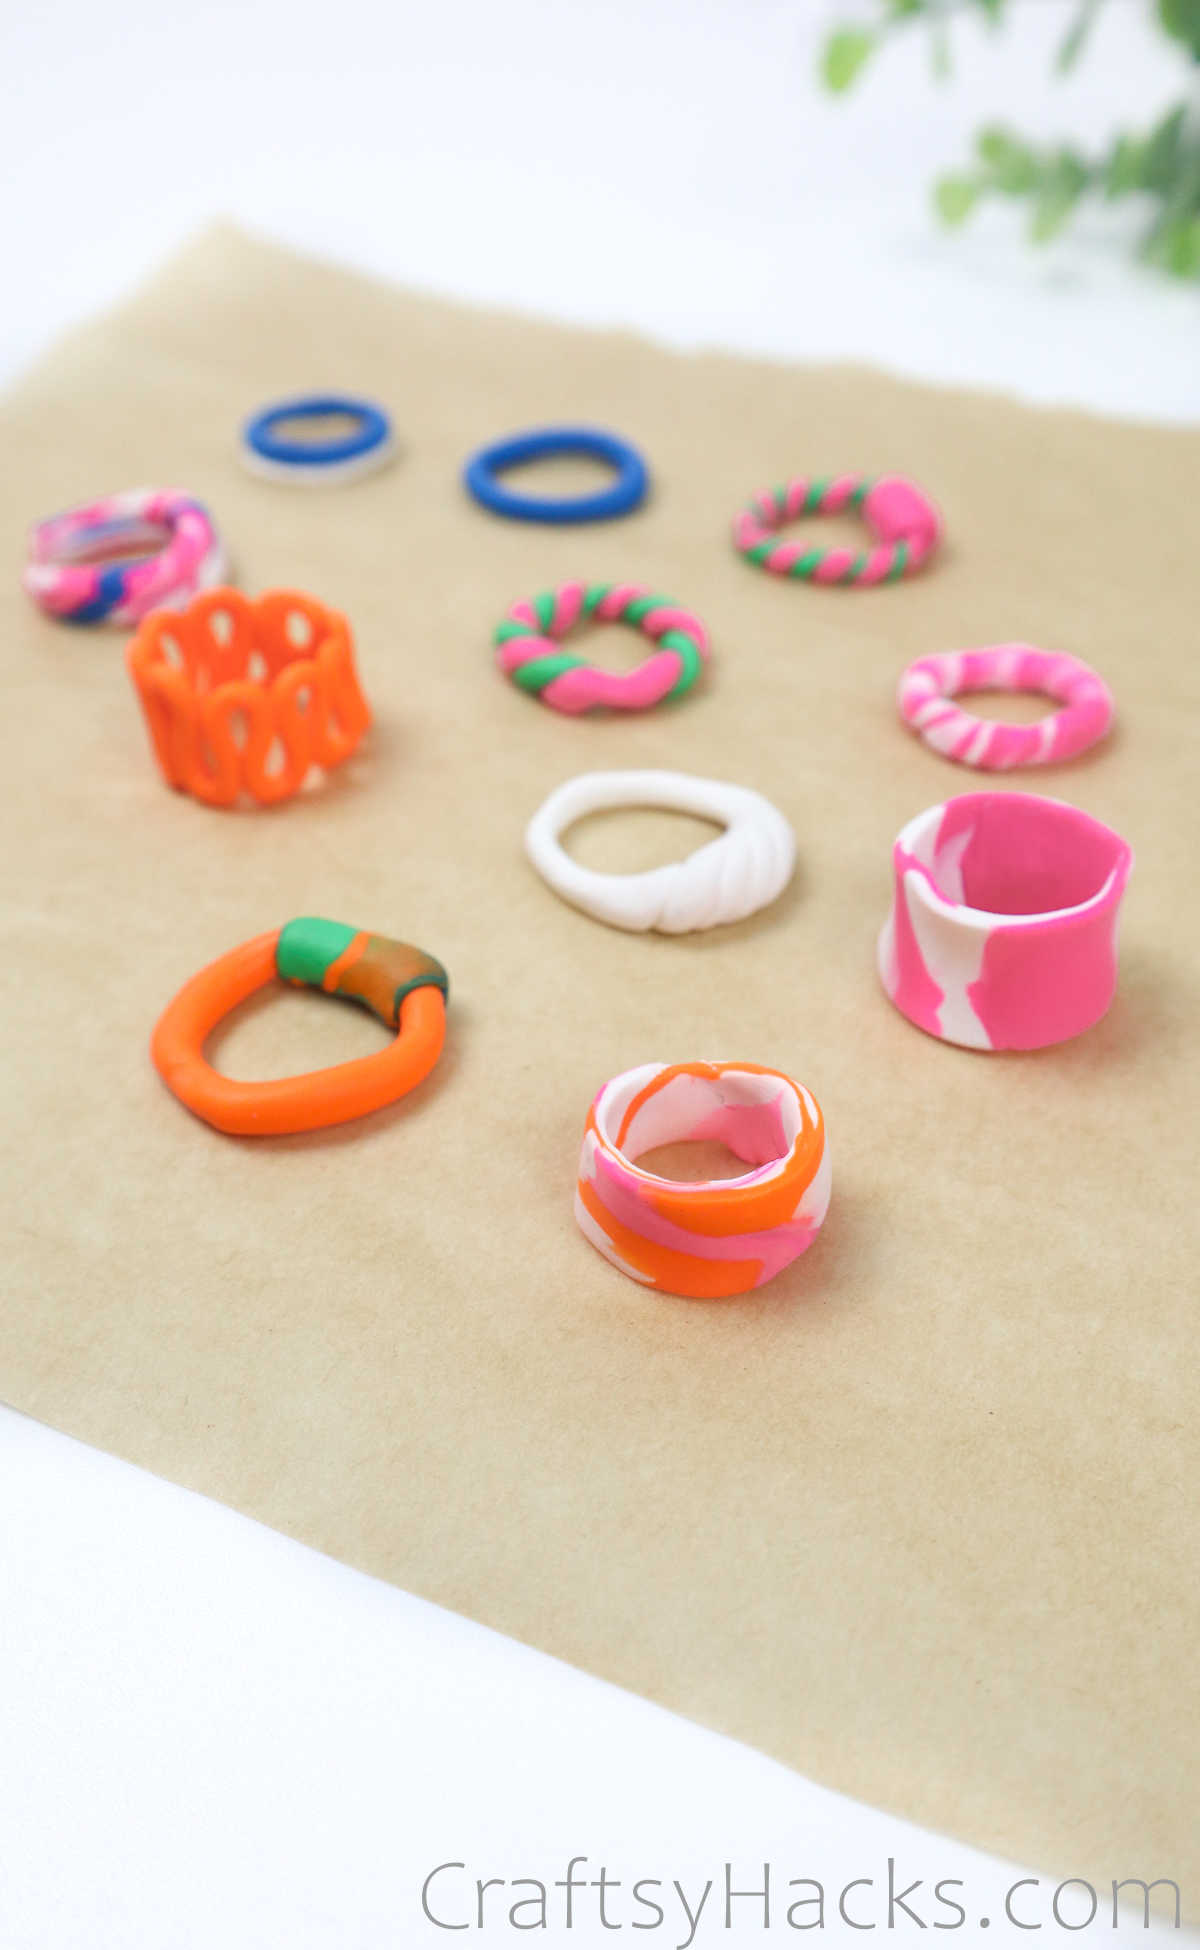
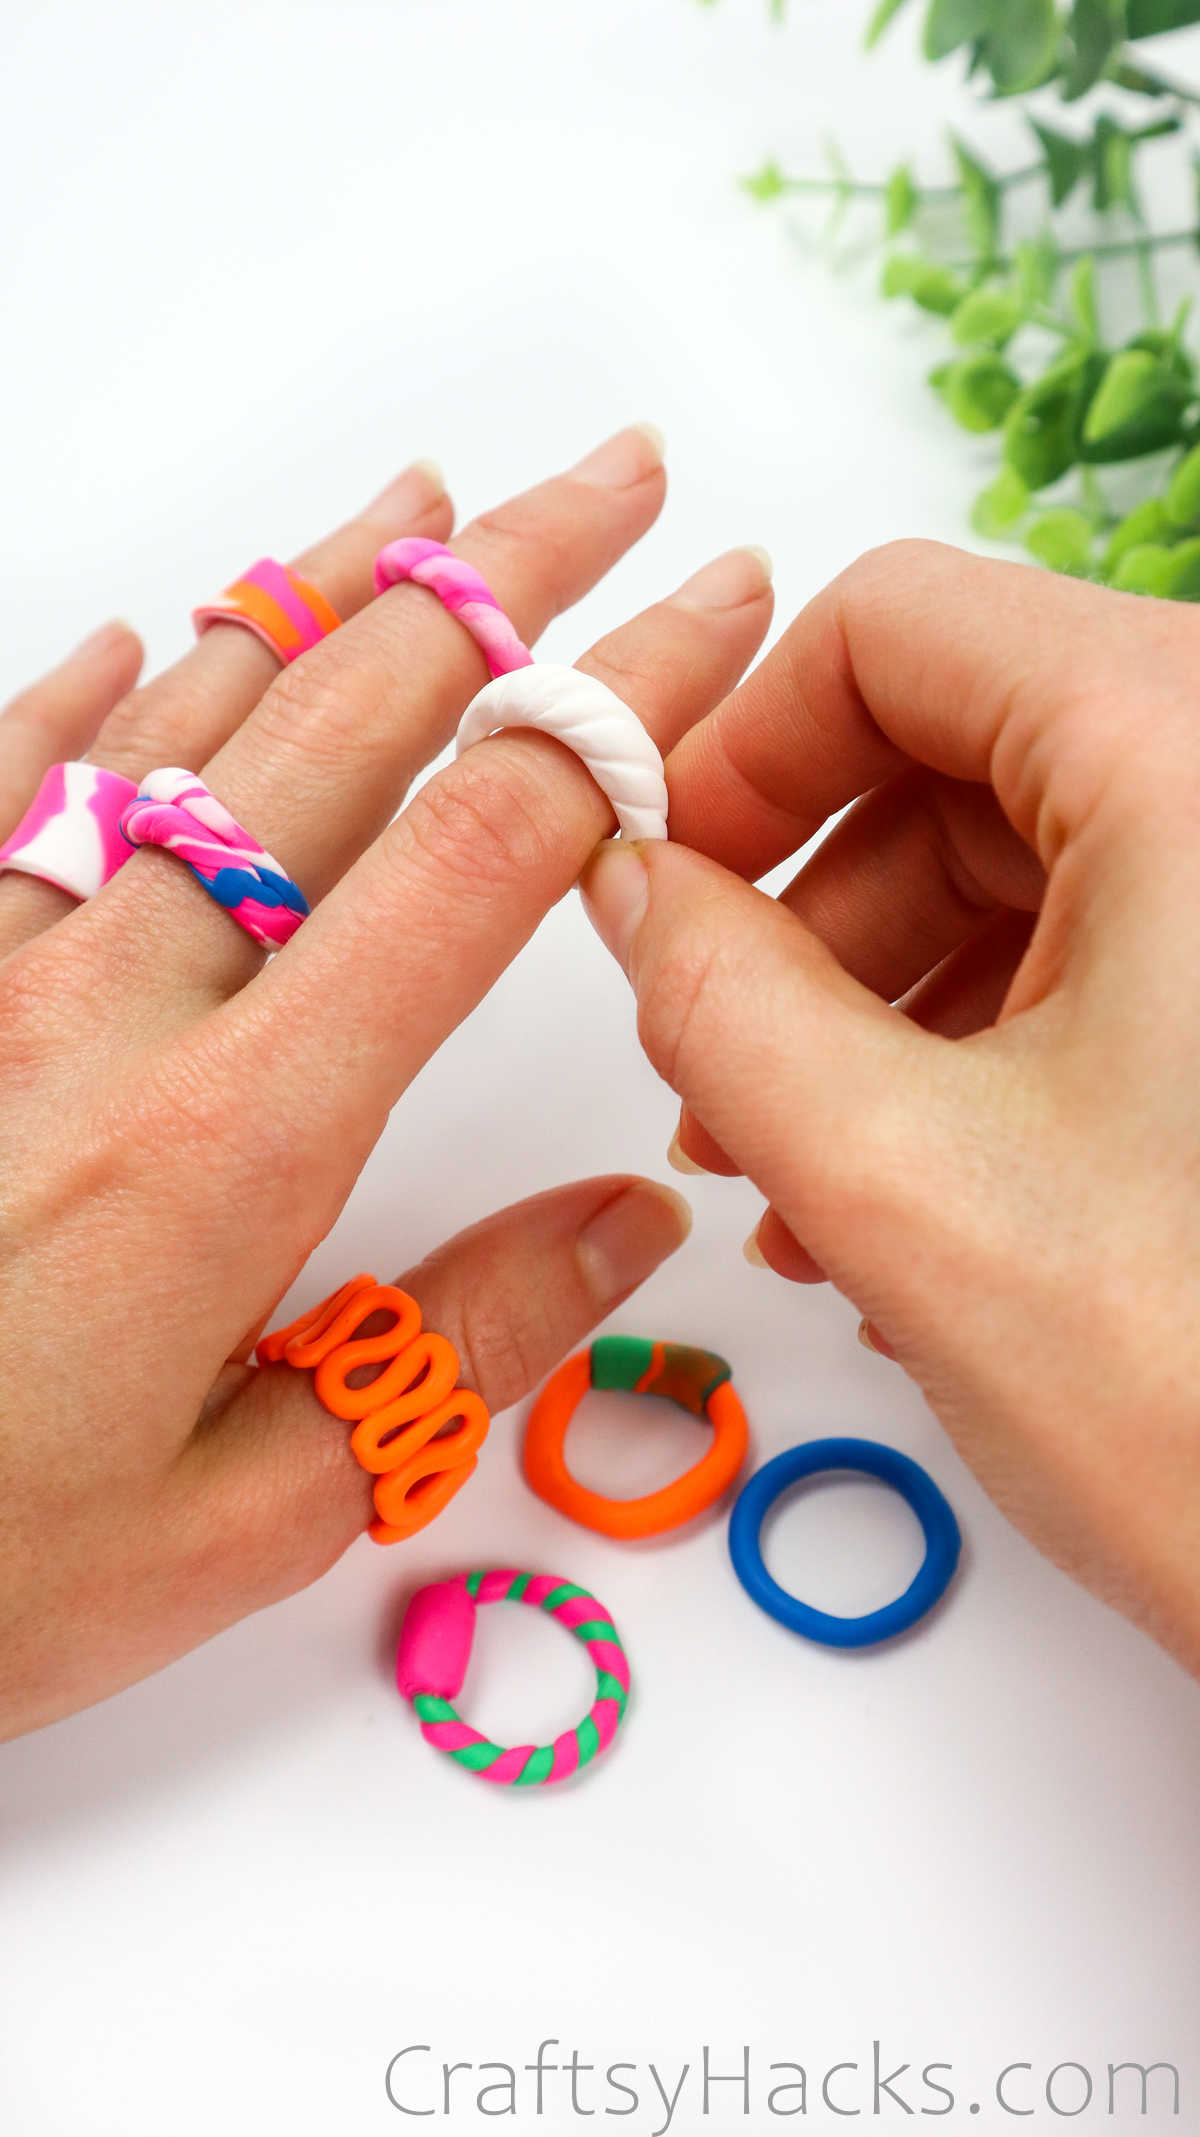
You will be working on fivefive!different designs, so its time you get started!
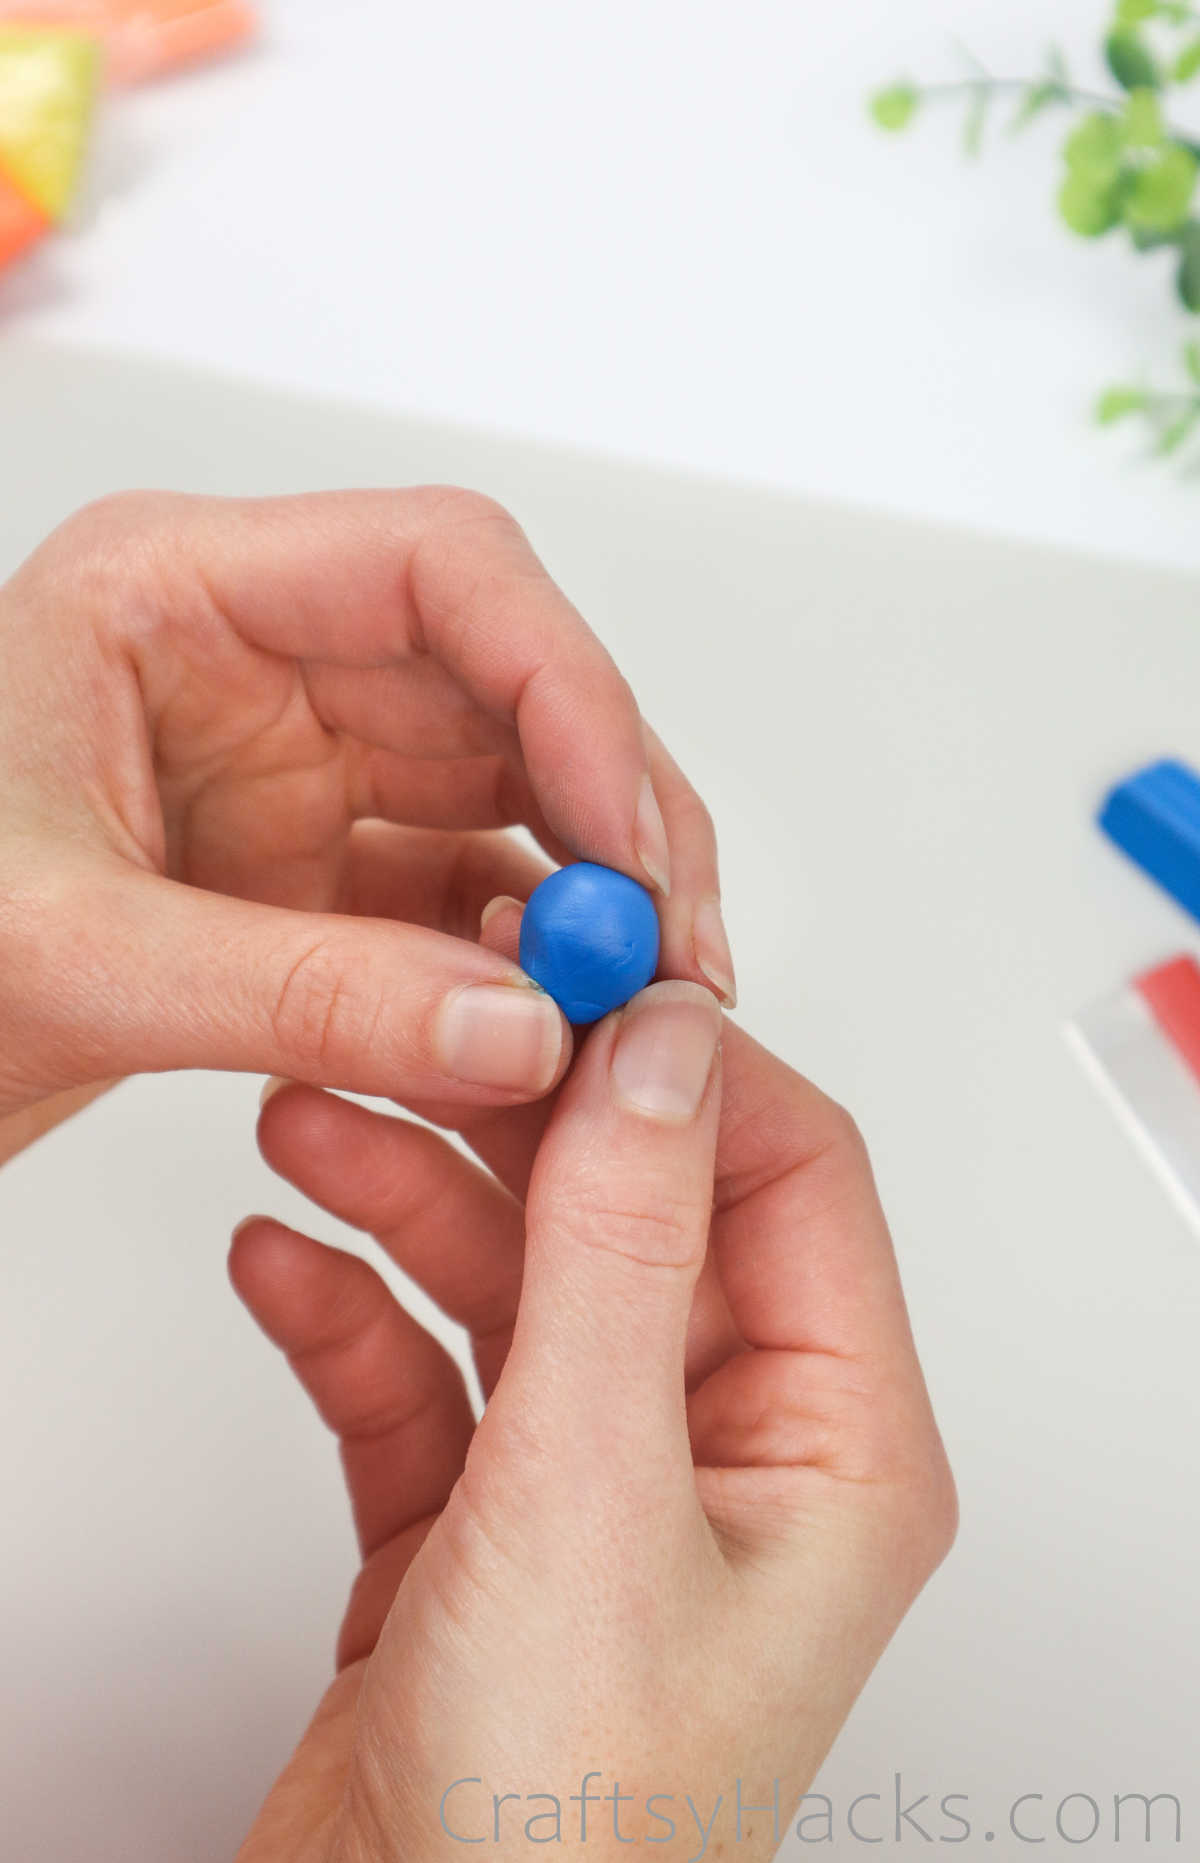
If you knead it too much, the dough will soften up too much.
If this happens, just set it aside and allow it to cool and harden a little before proceeding.
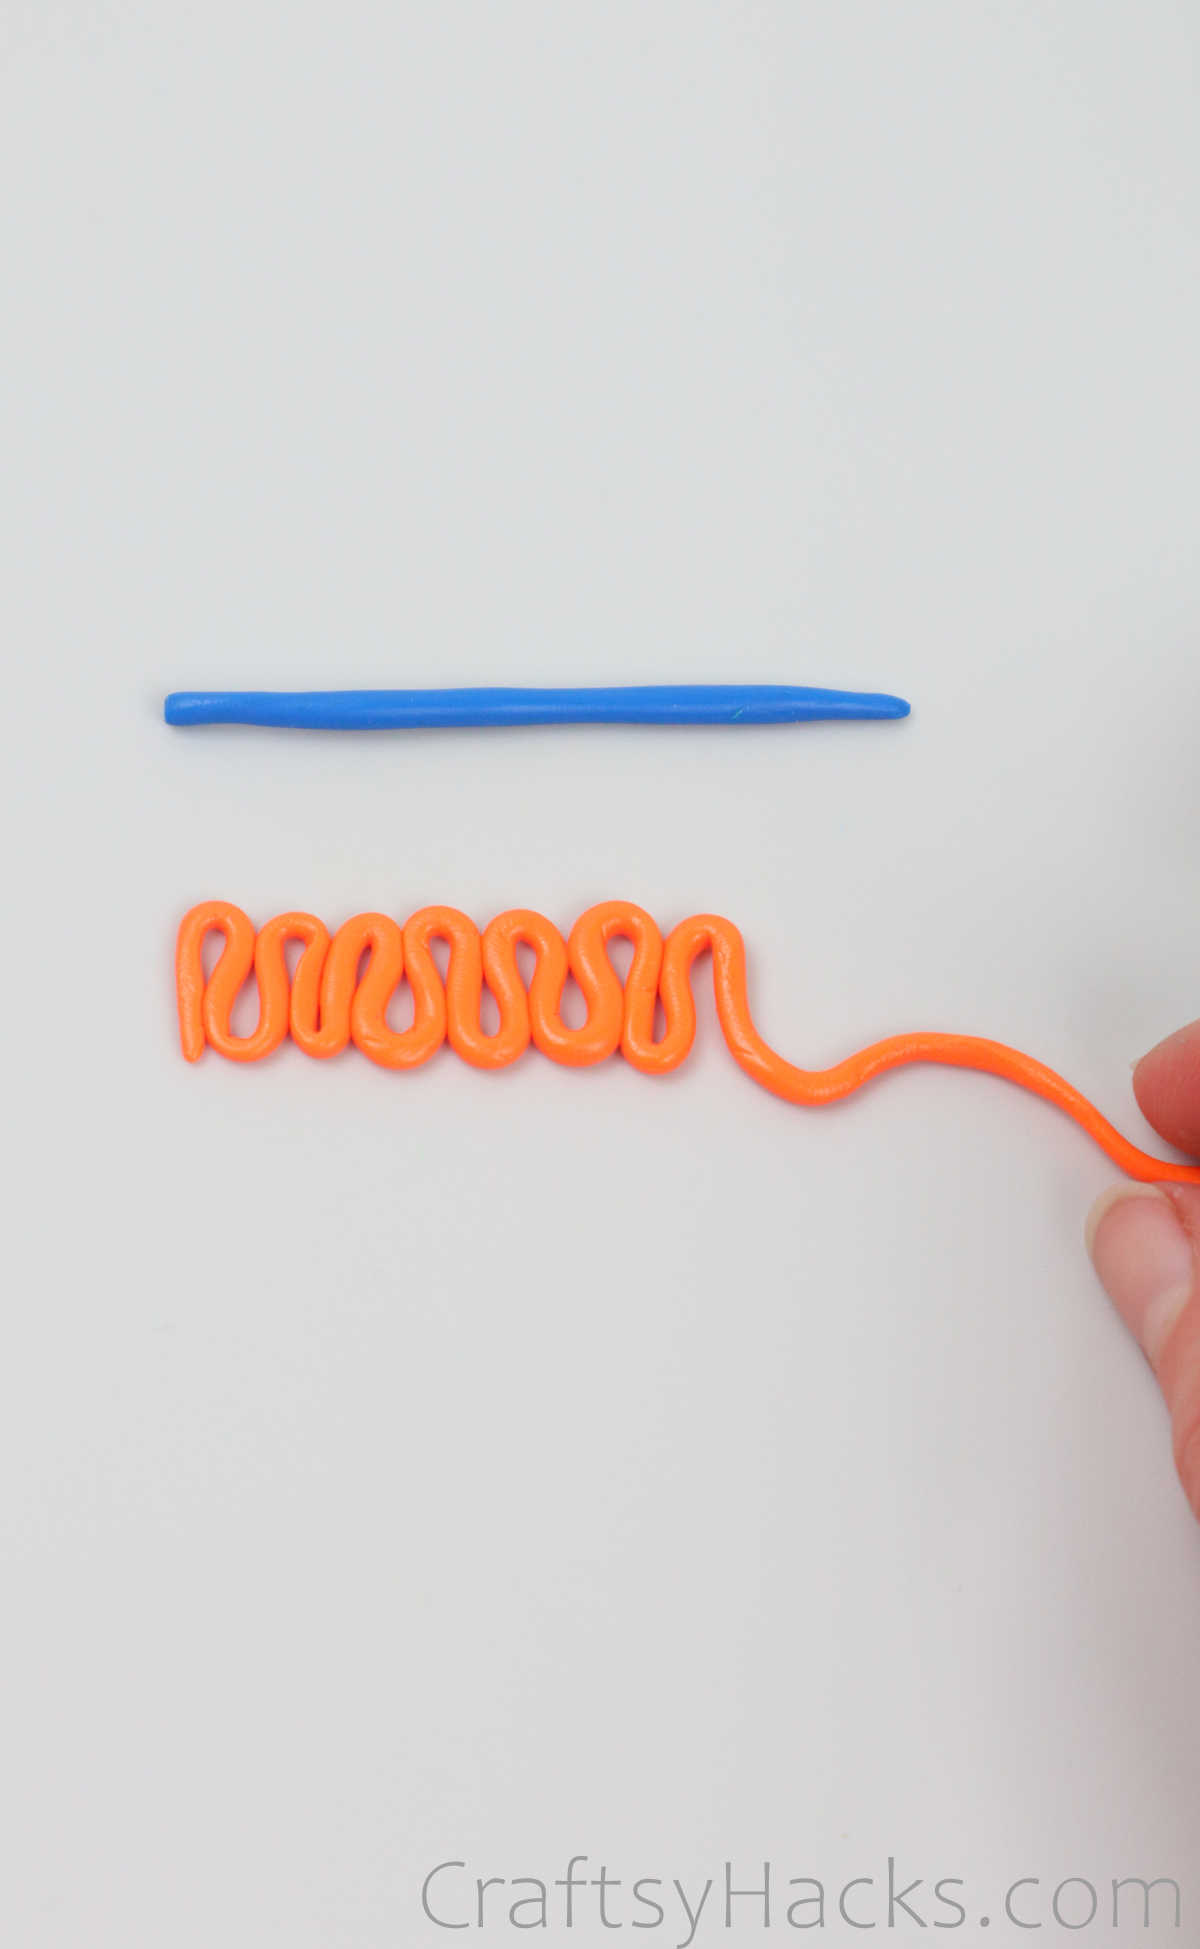
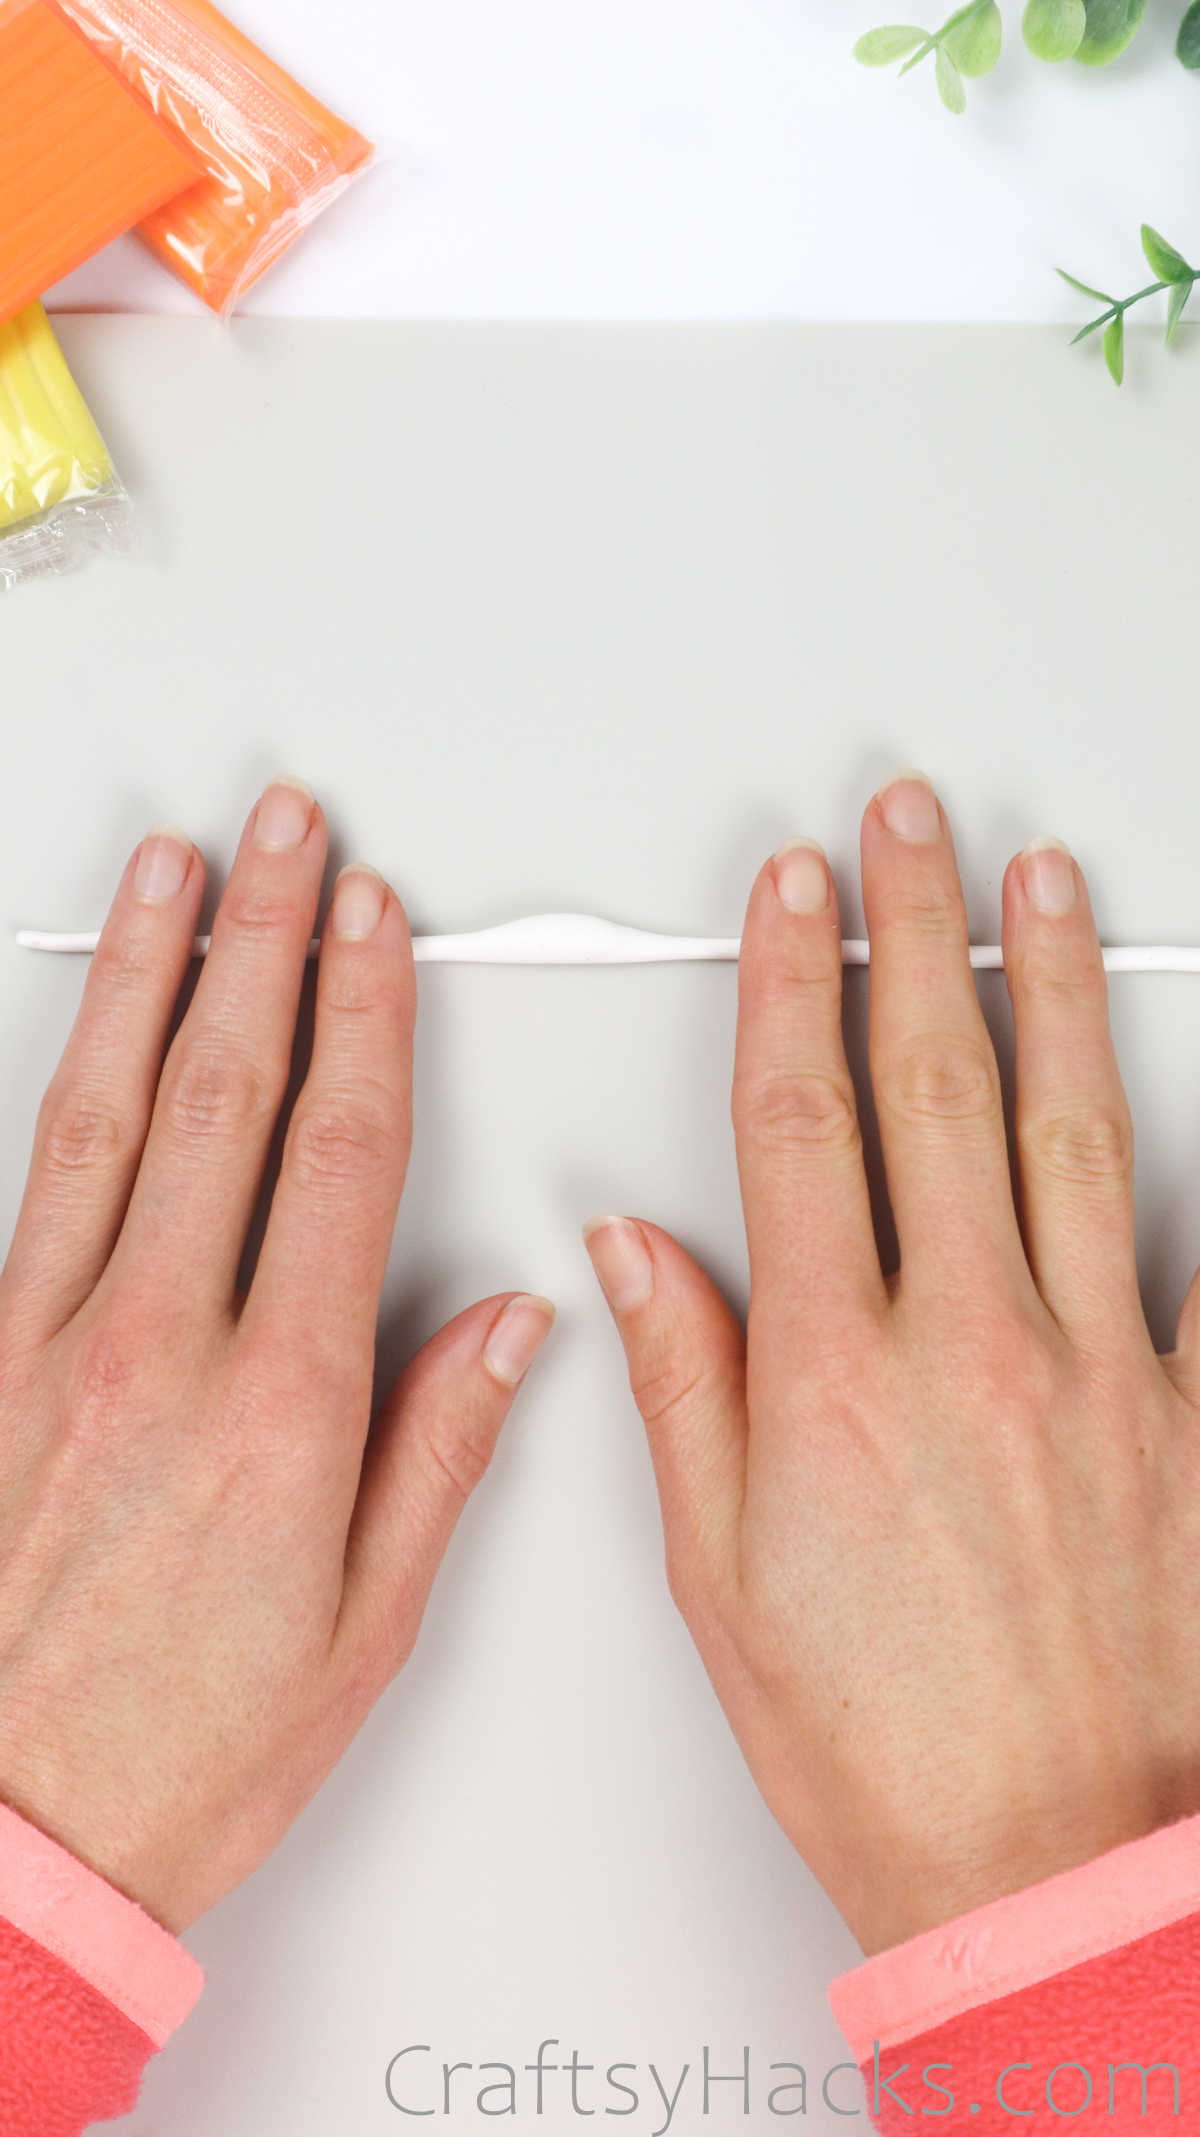
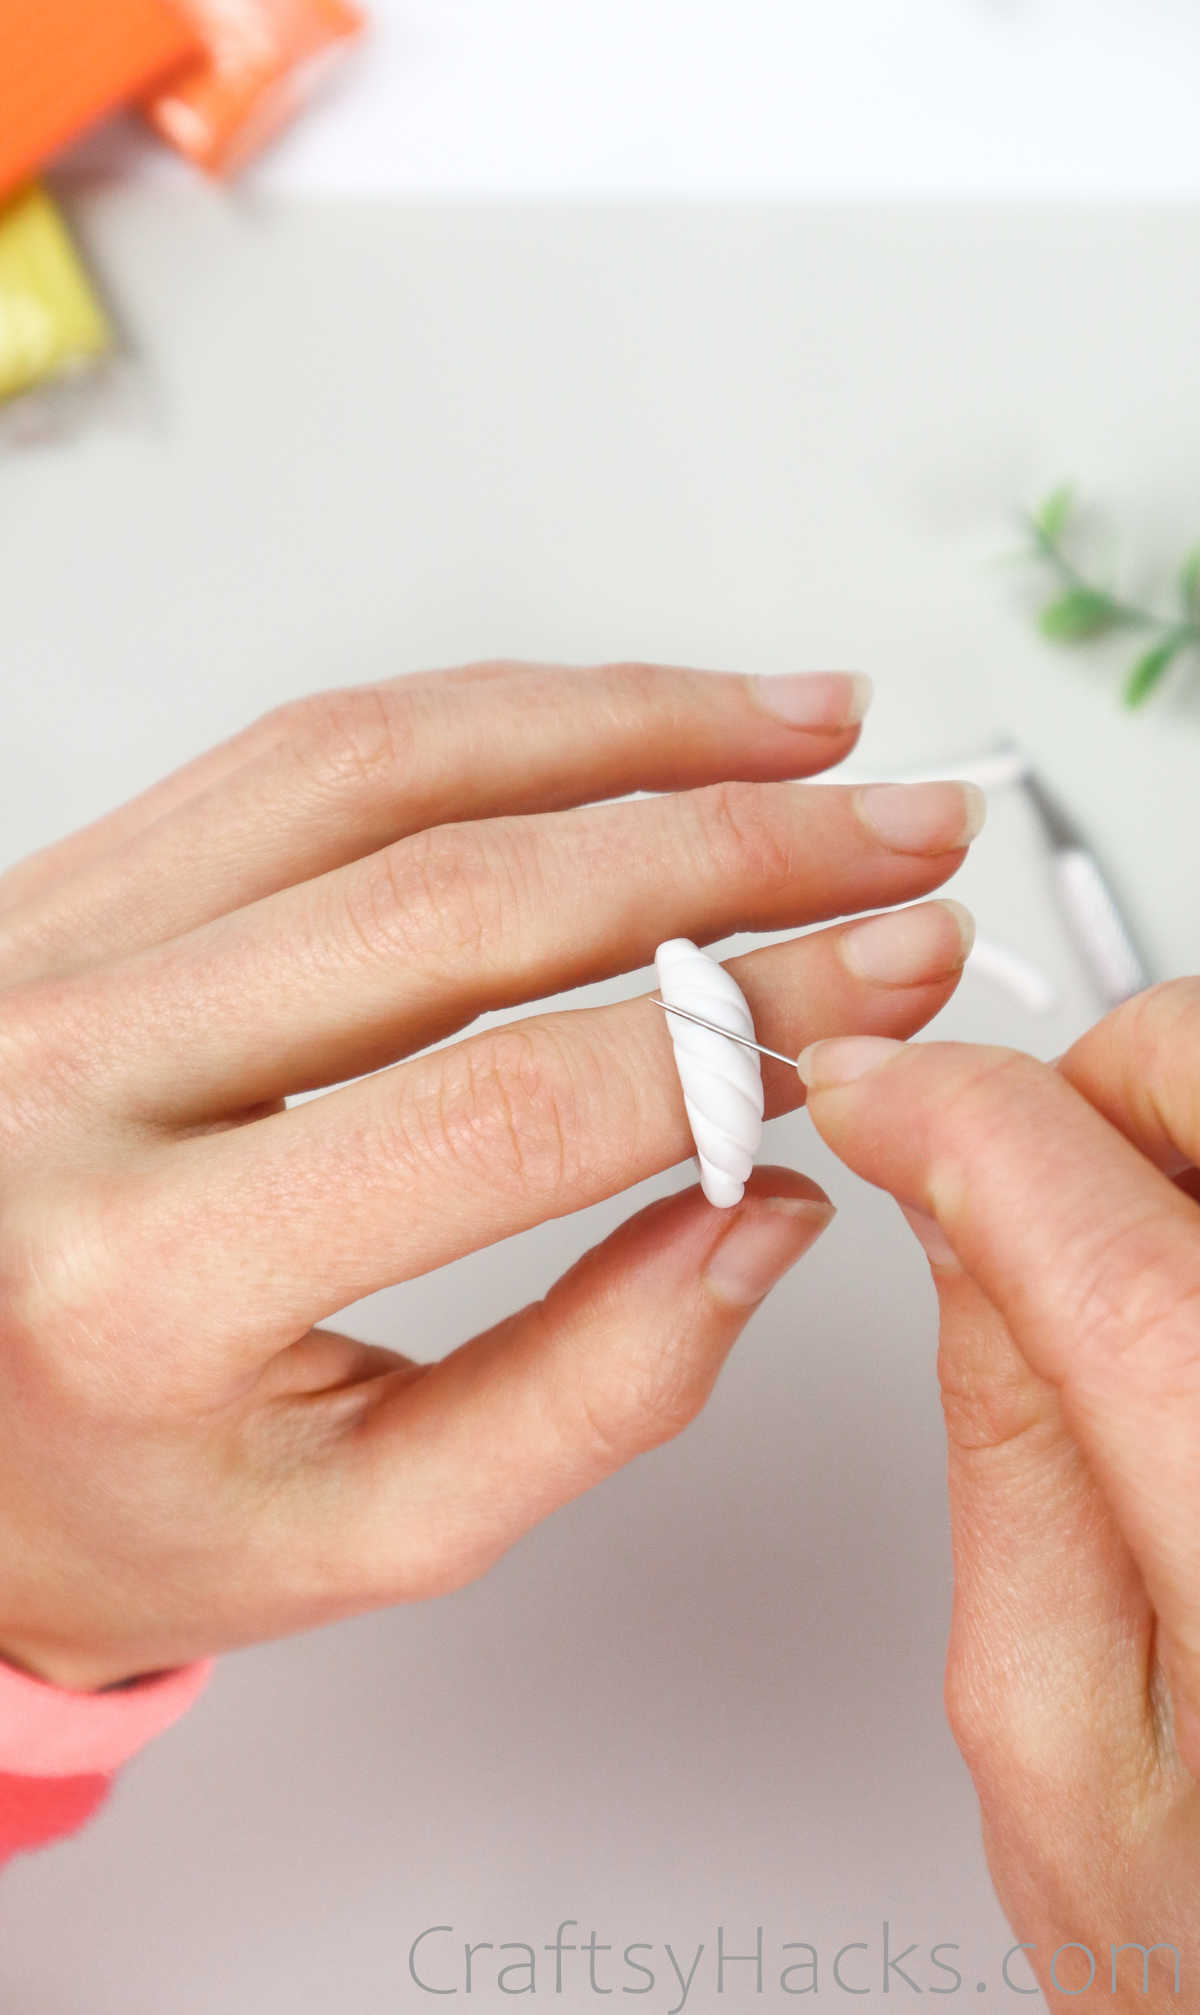
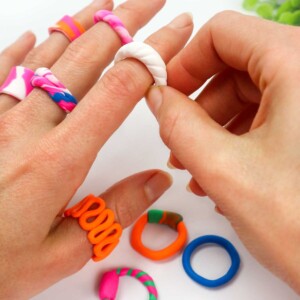
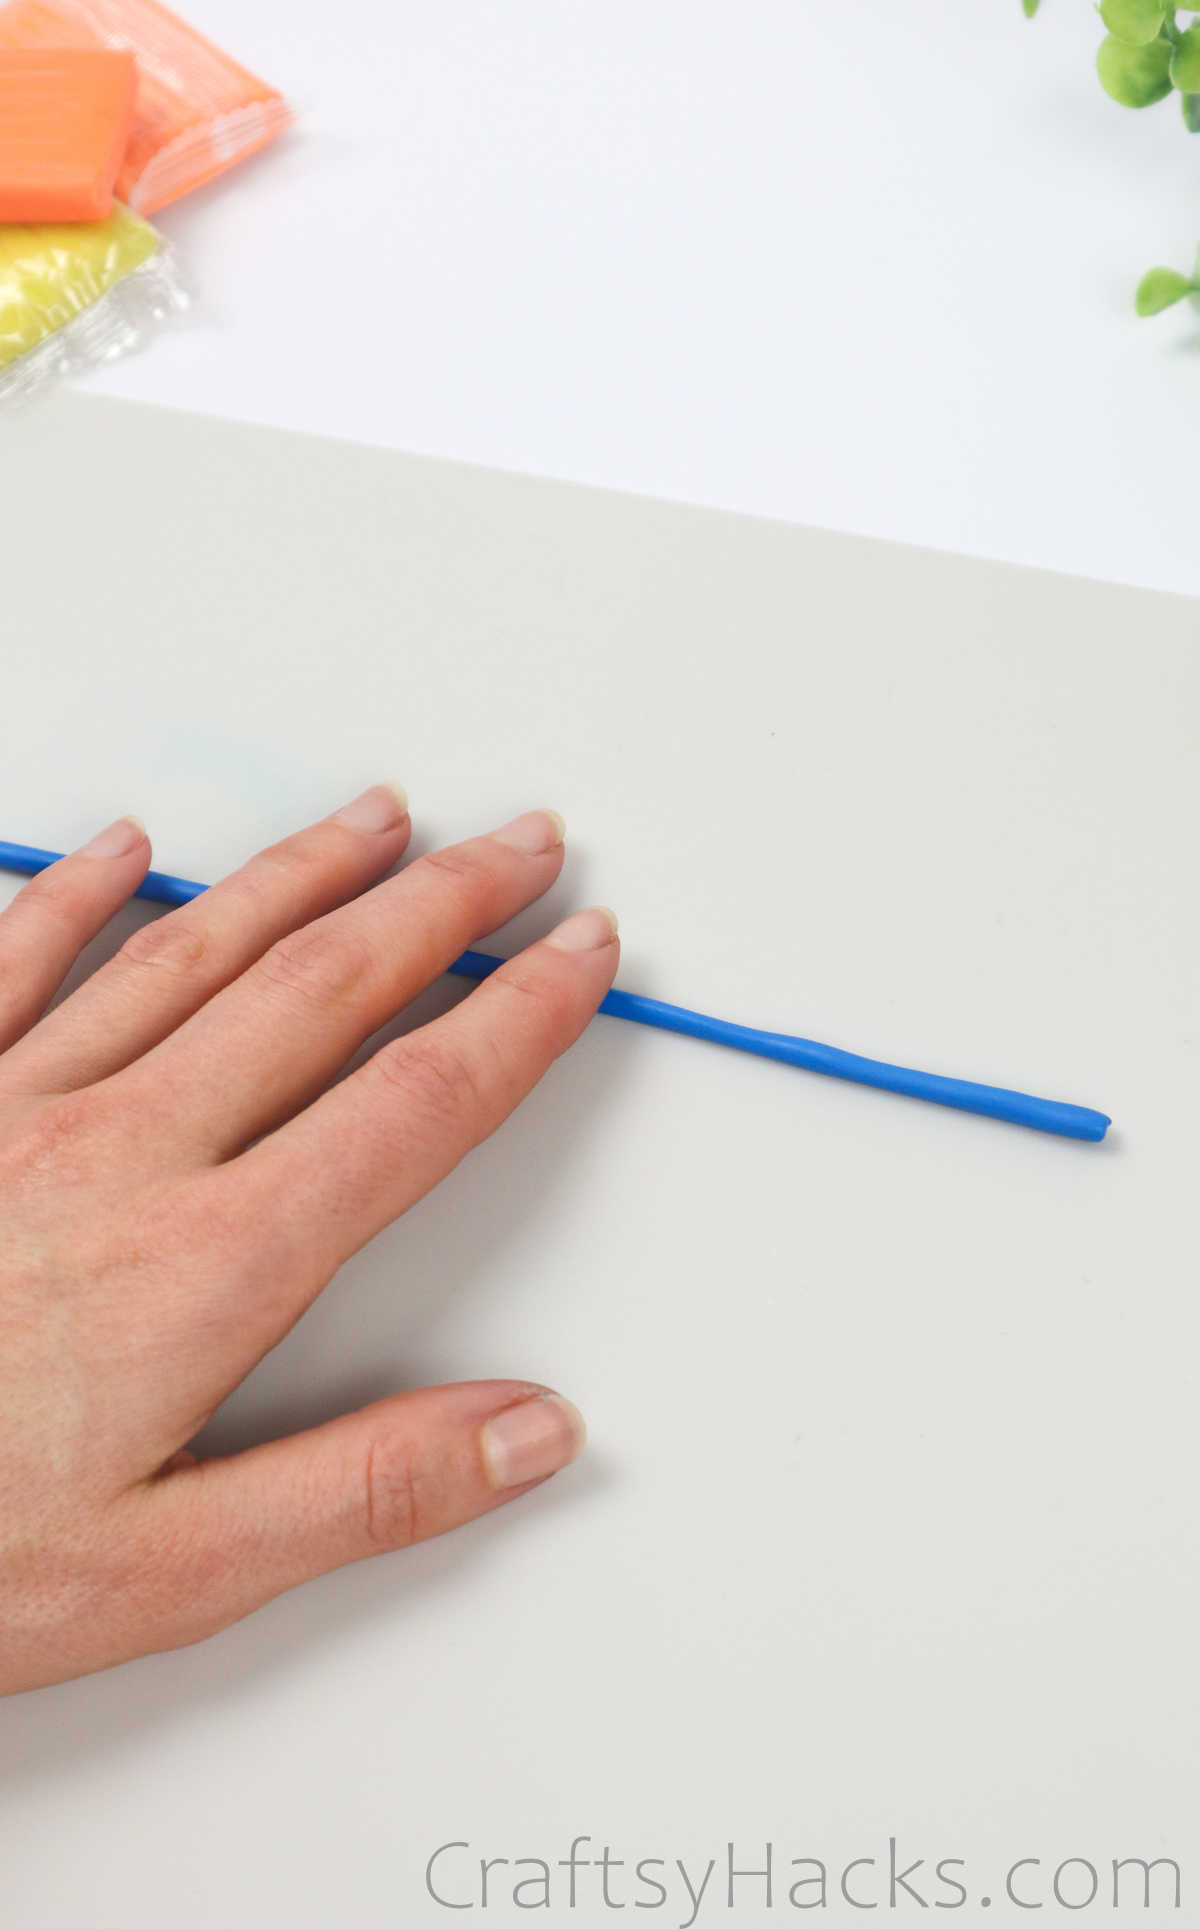
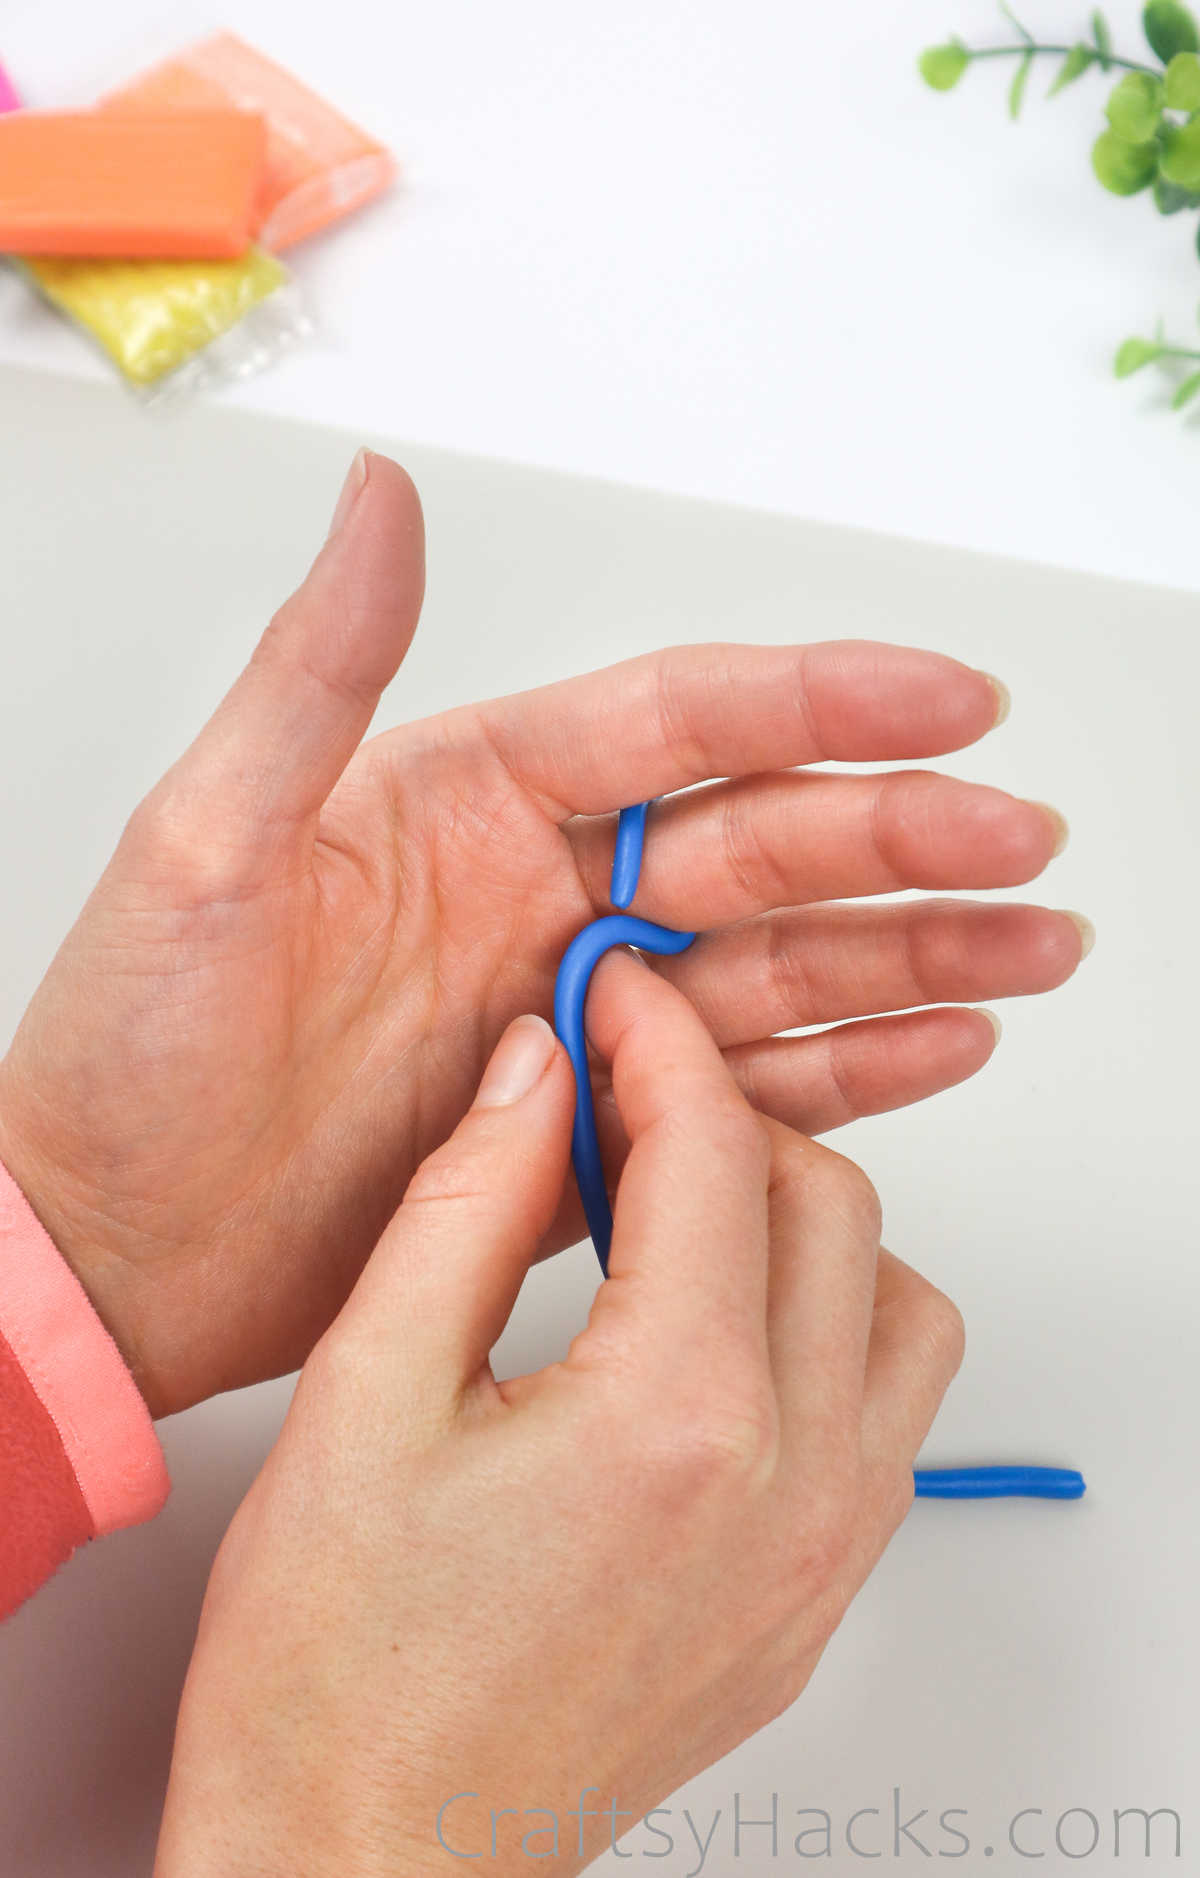
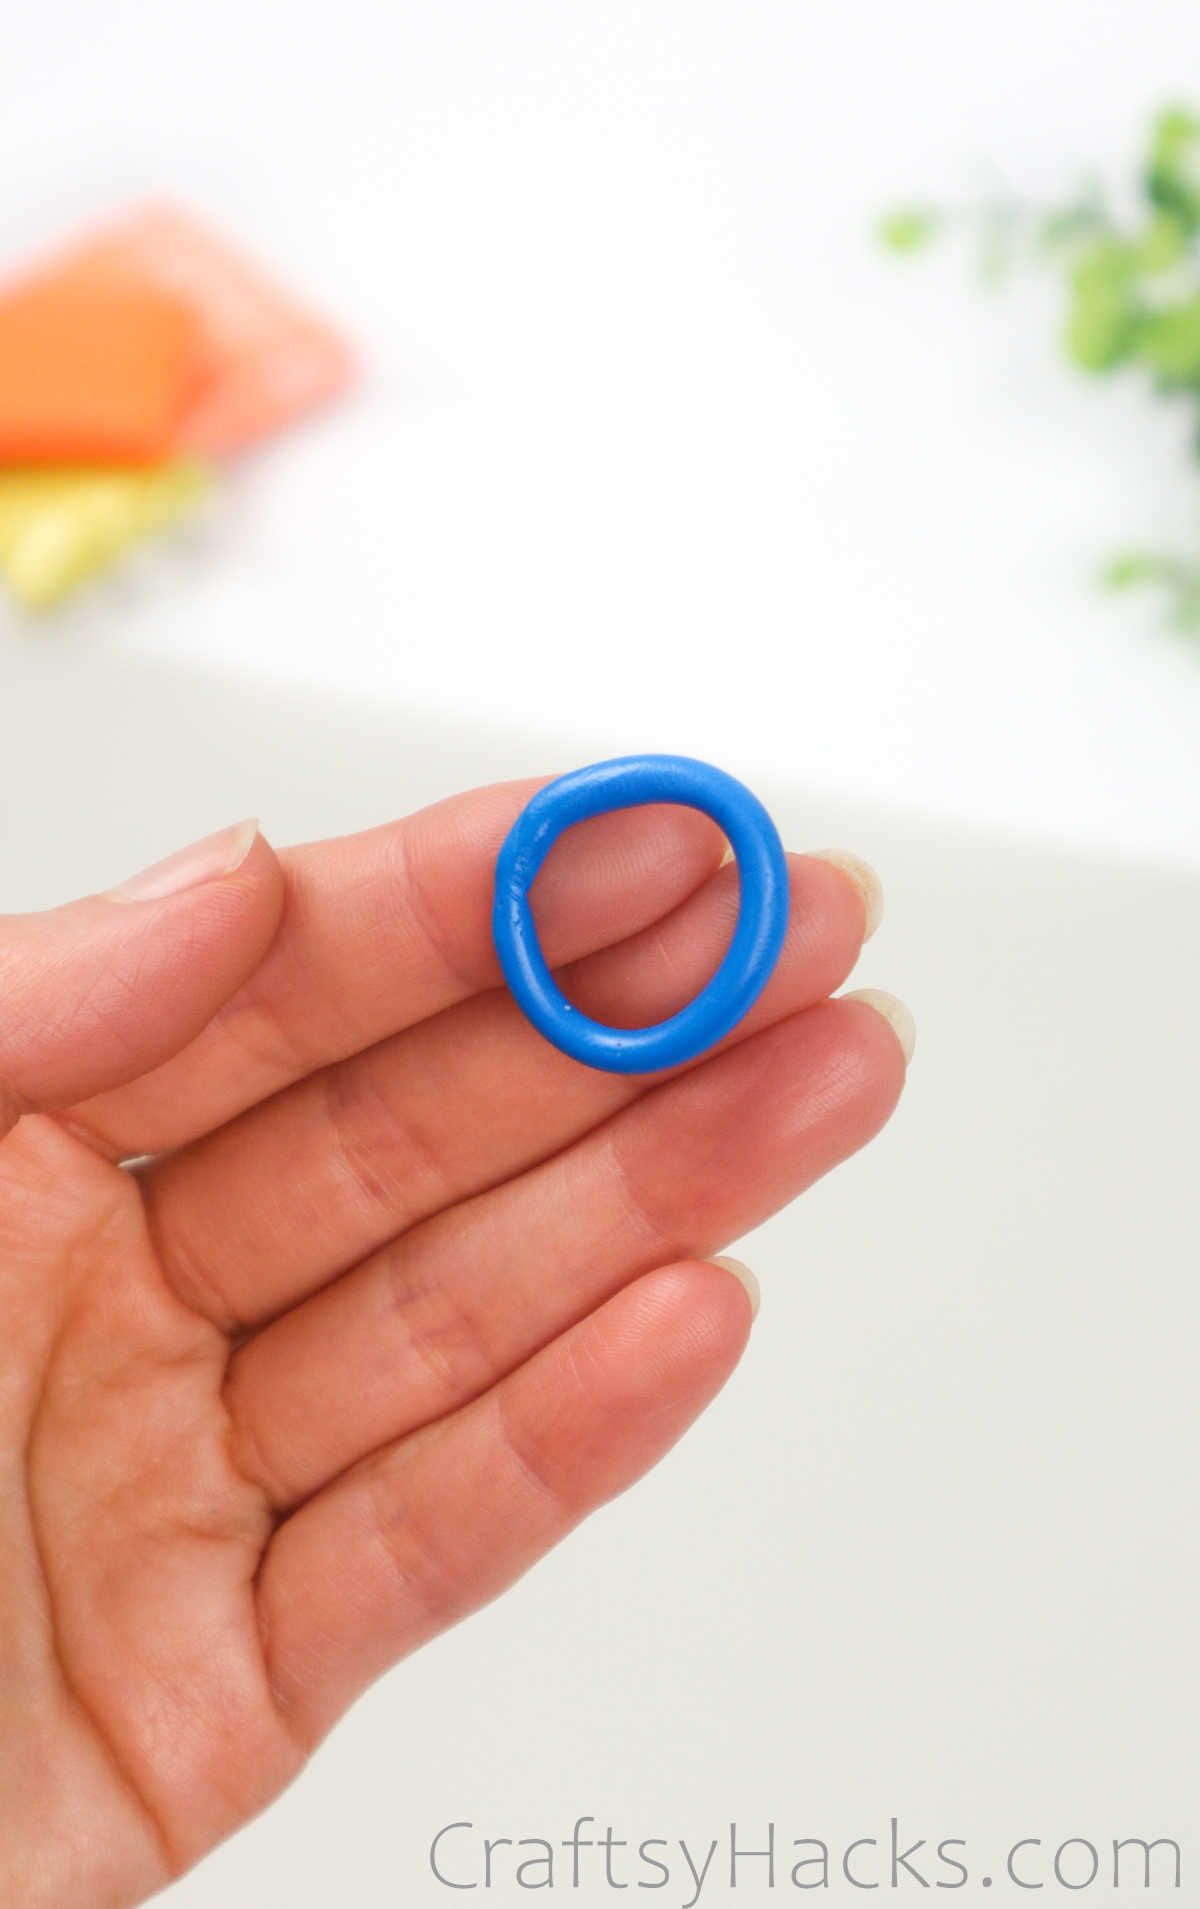
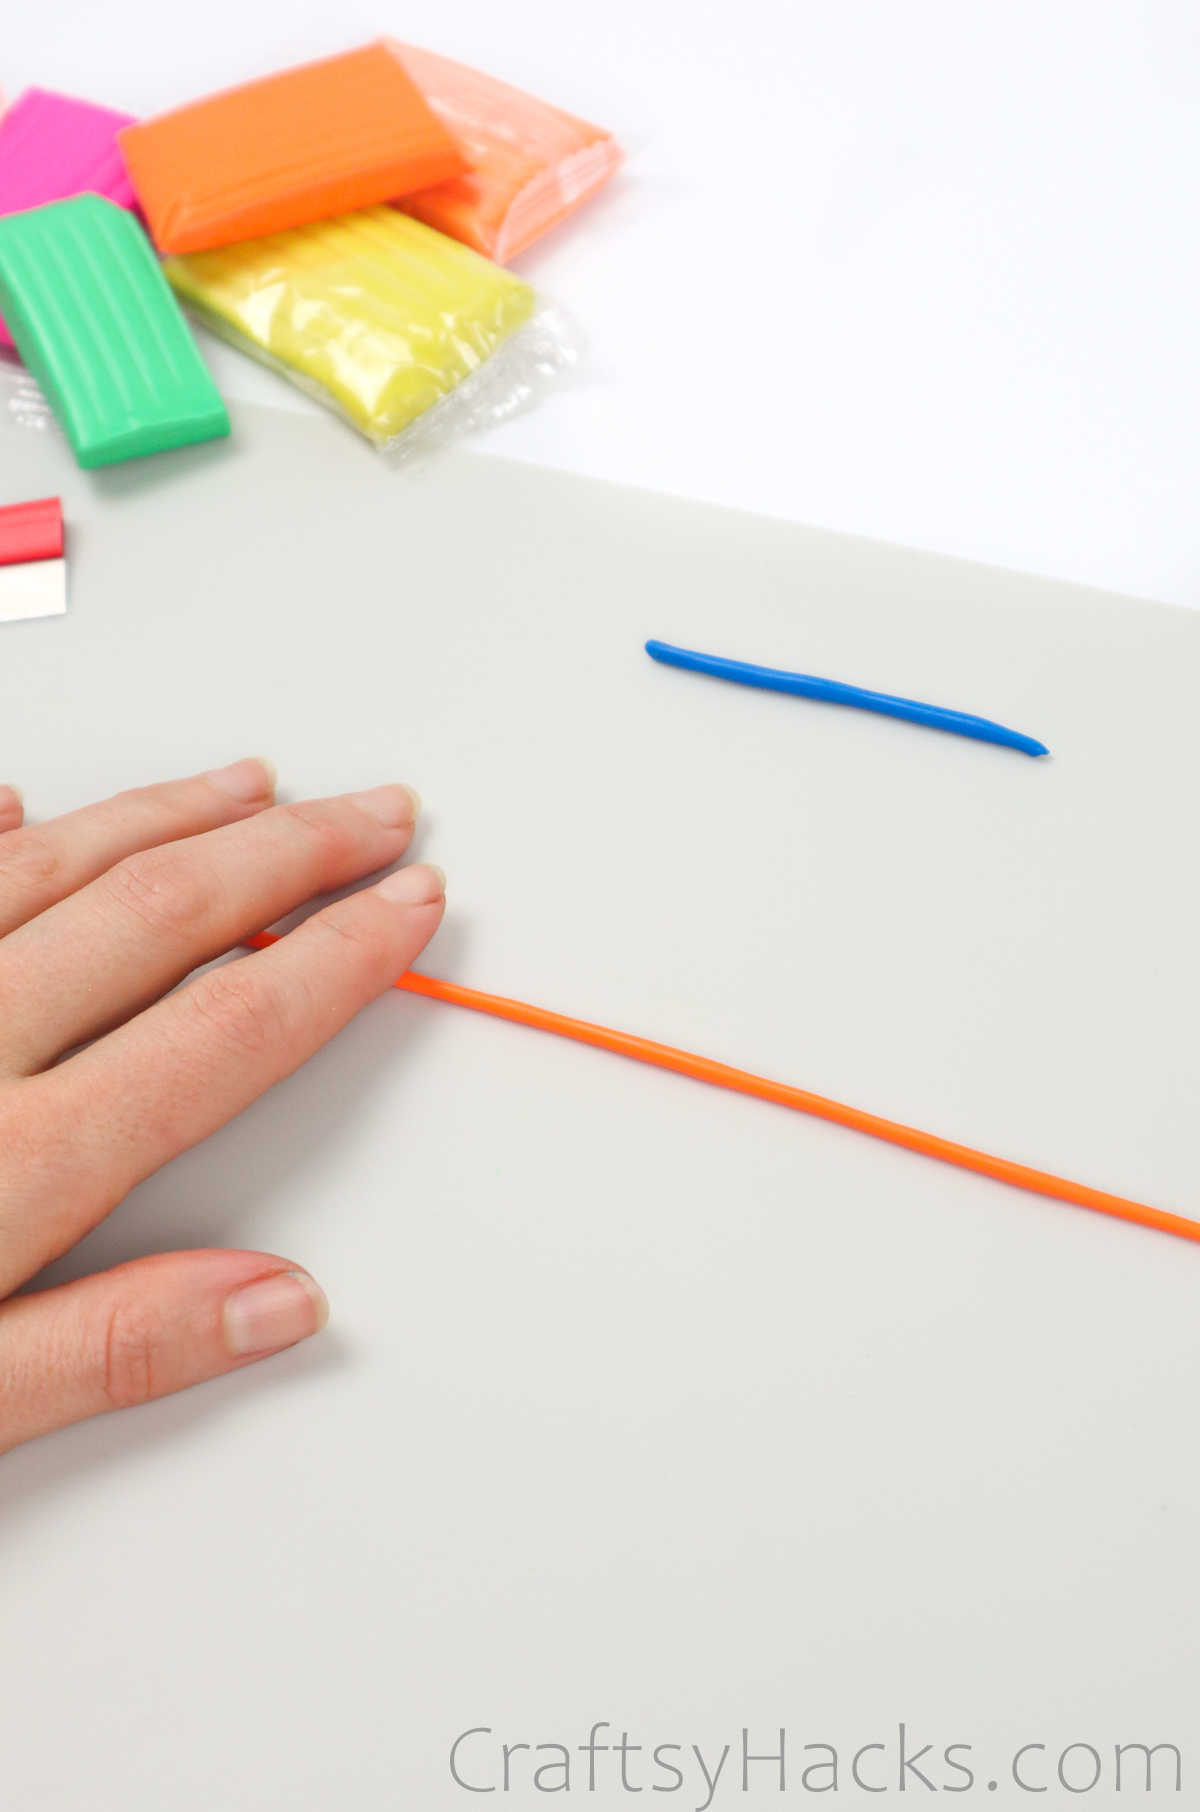
Wrap this thin line of clay around your finger to measure the circumference of the ring.
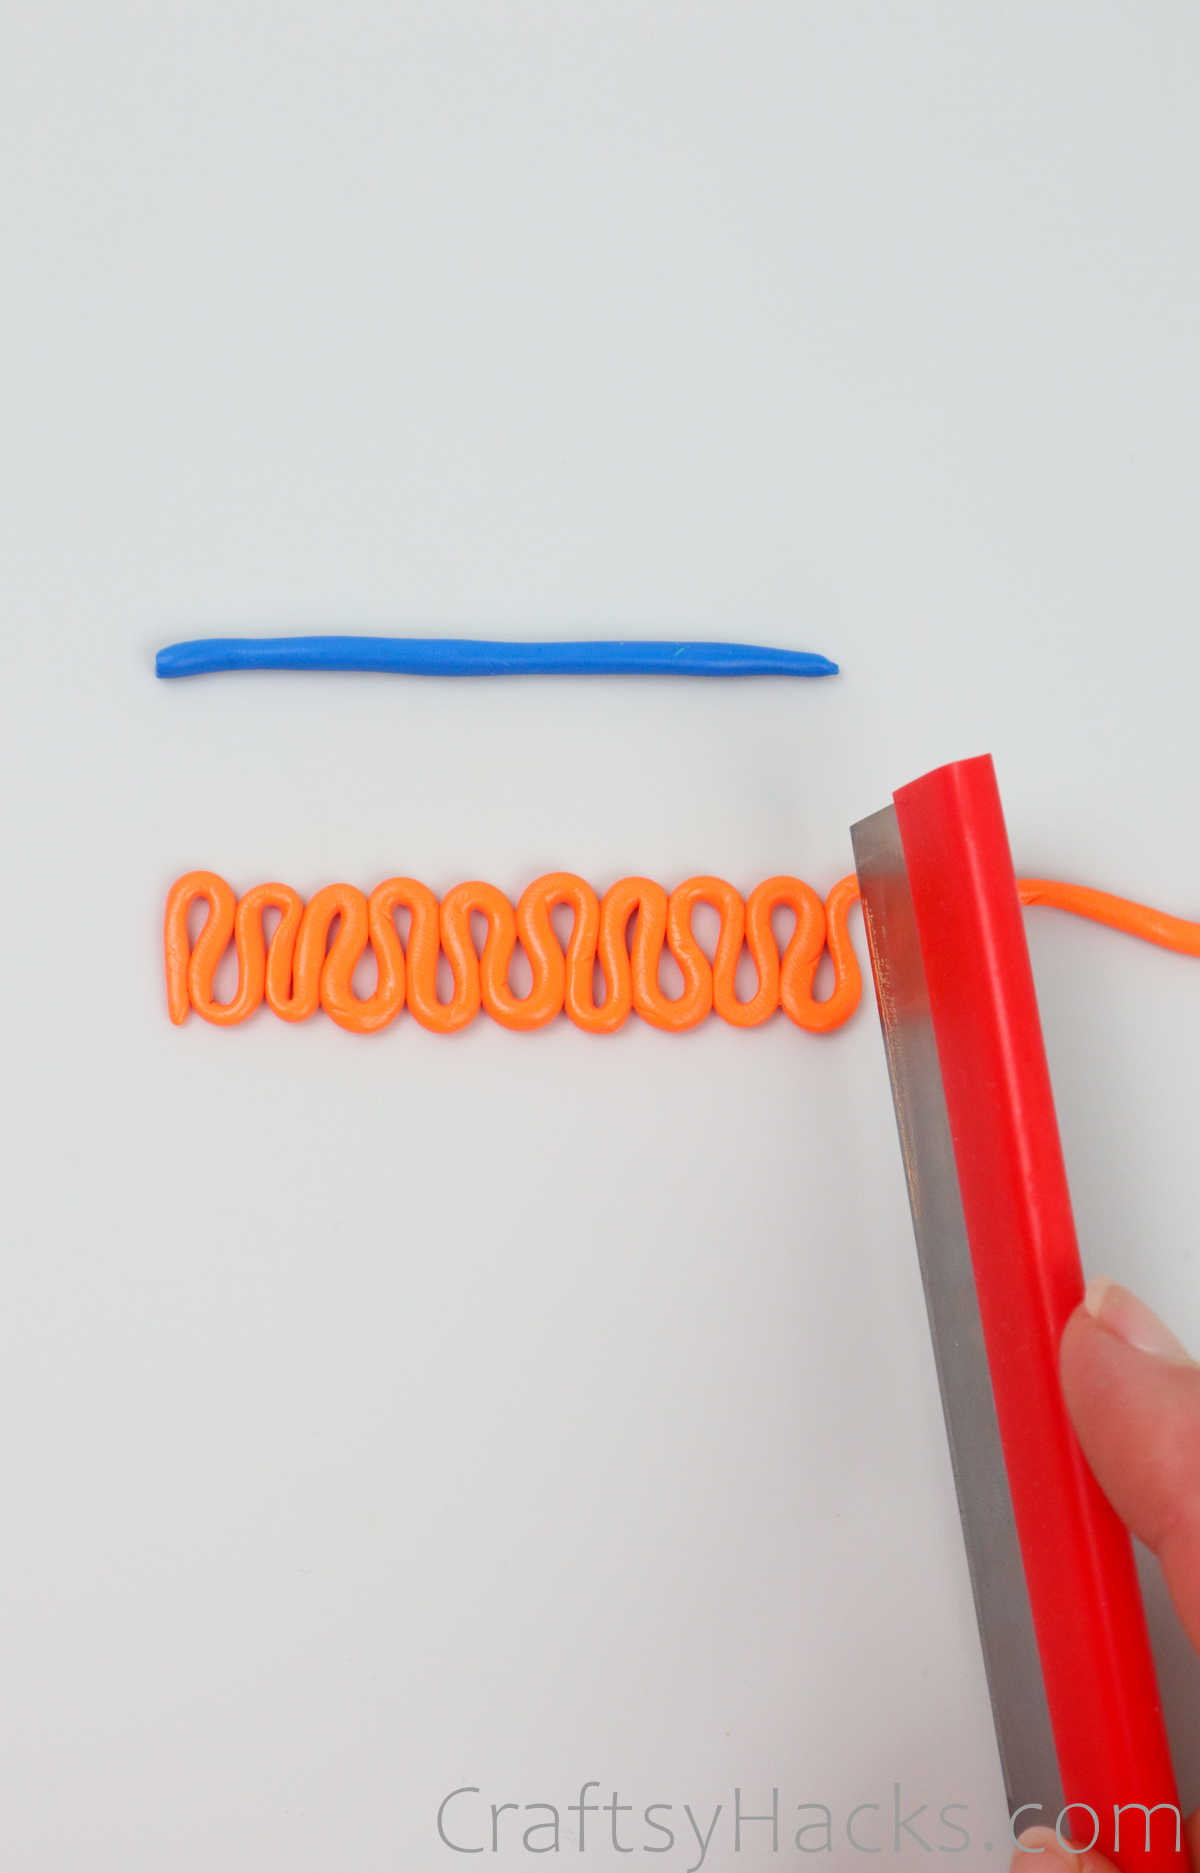
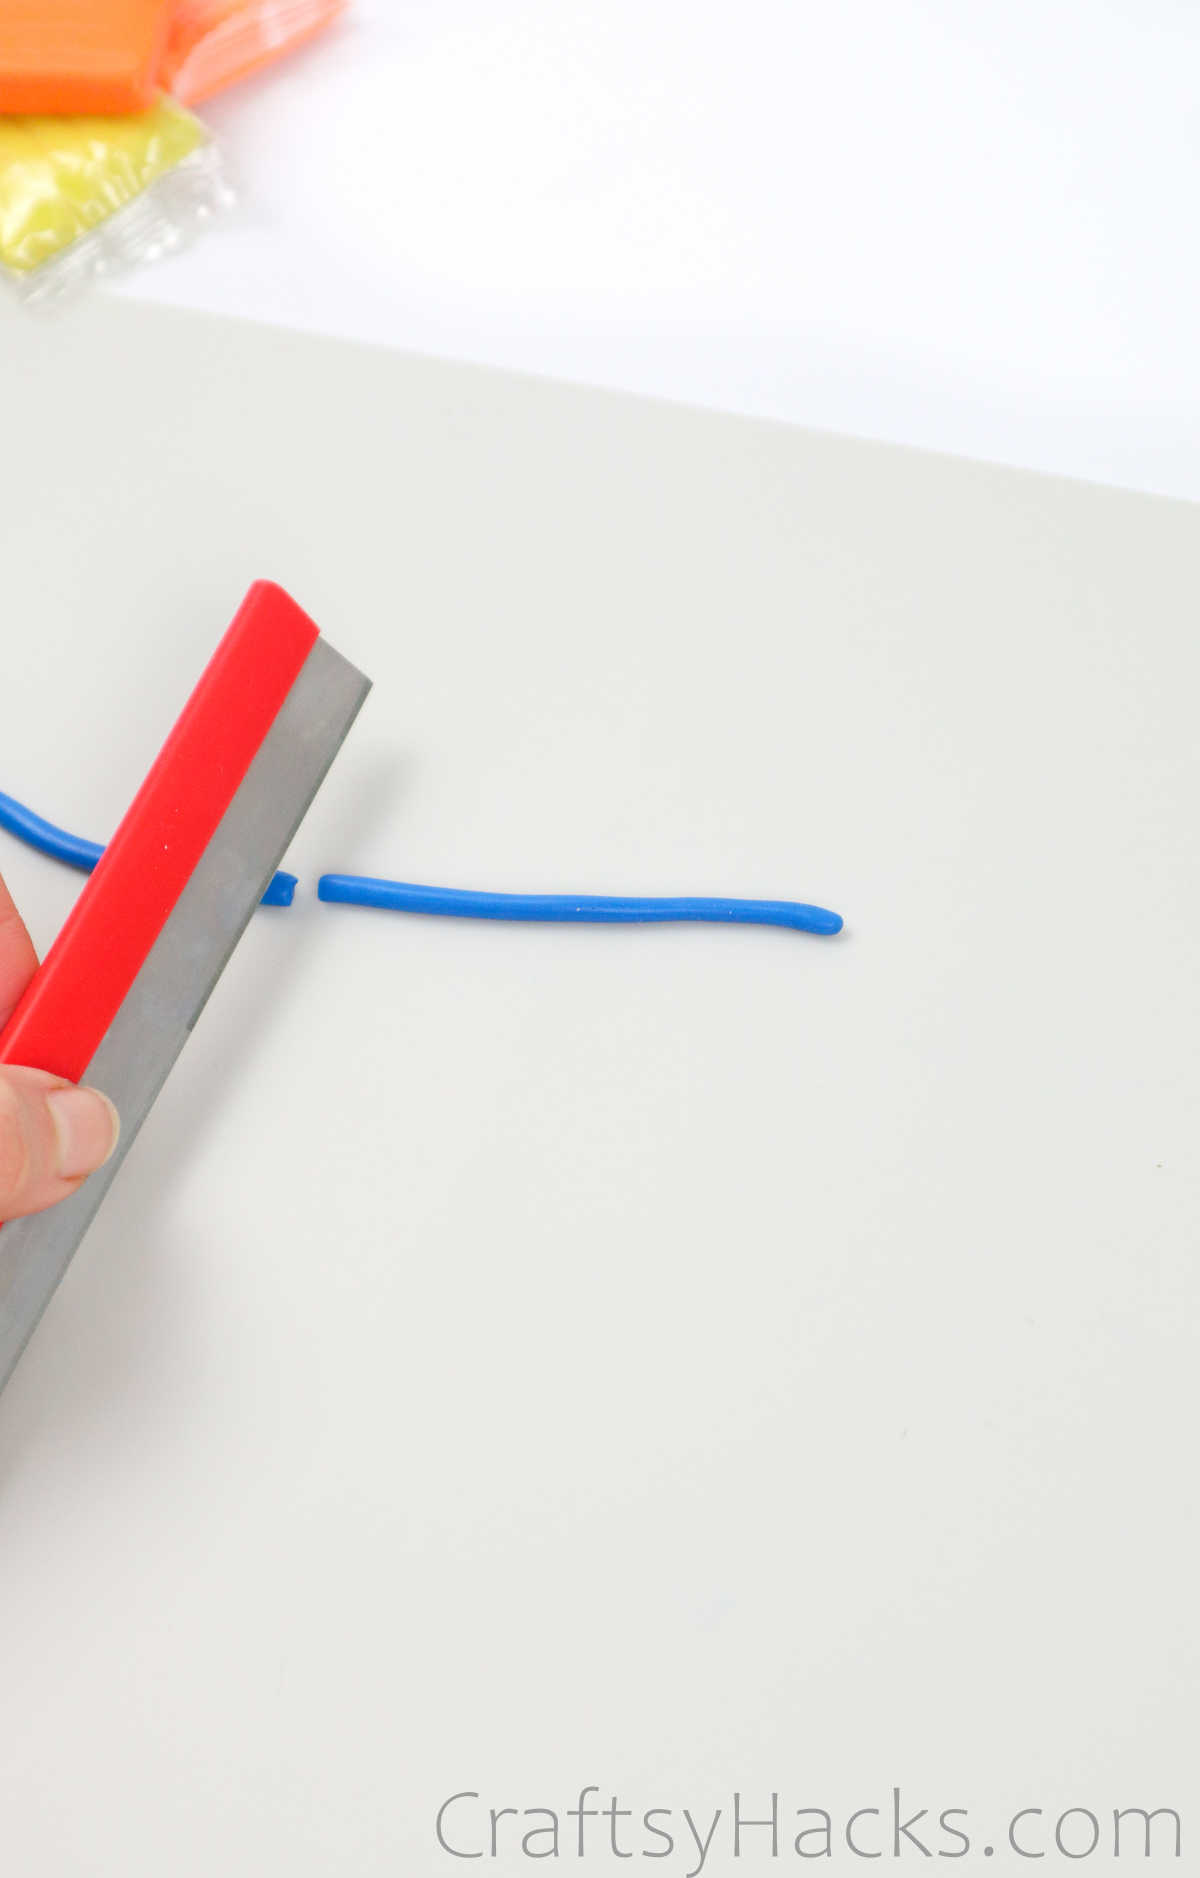
Grab your cutting tool and simply cut away the measured length.
Set aside the rest of the clay.
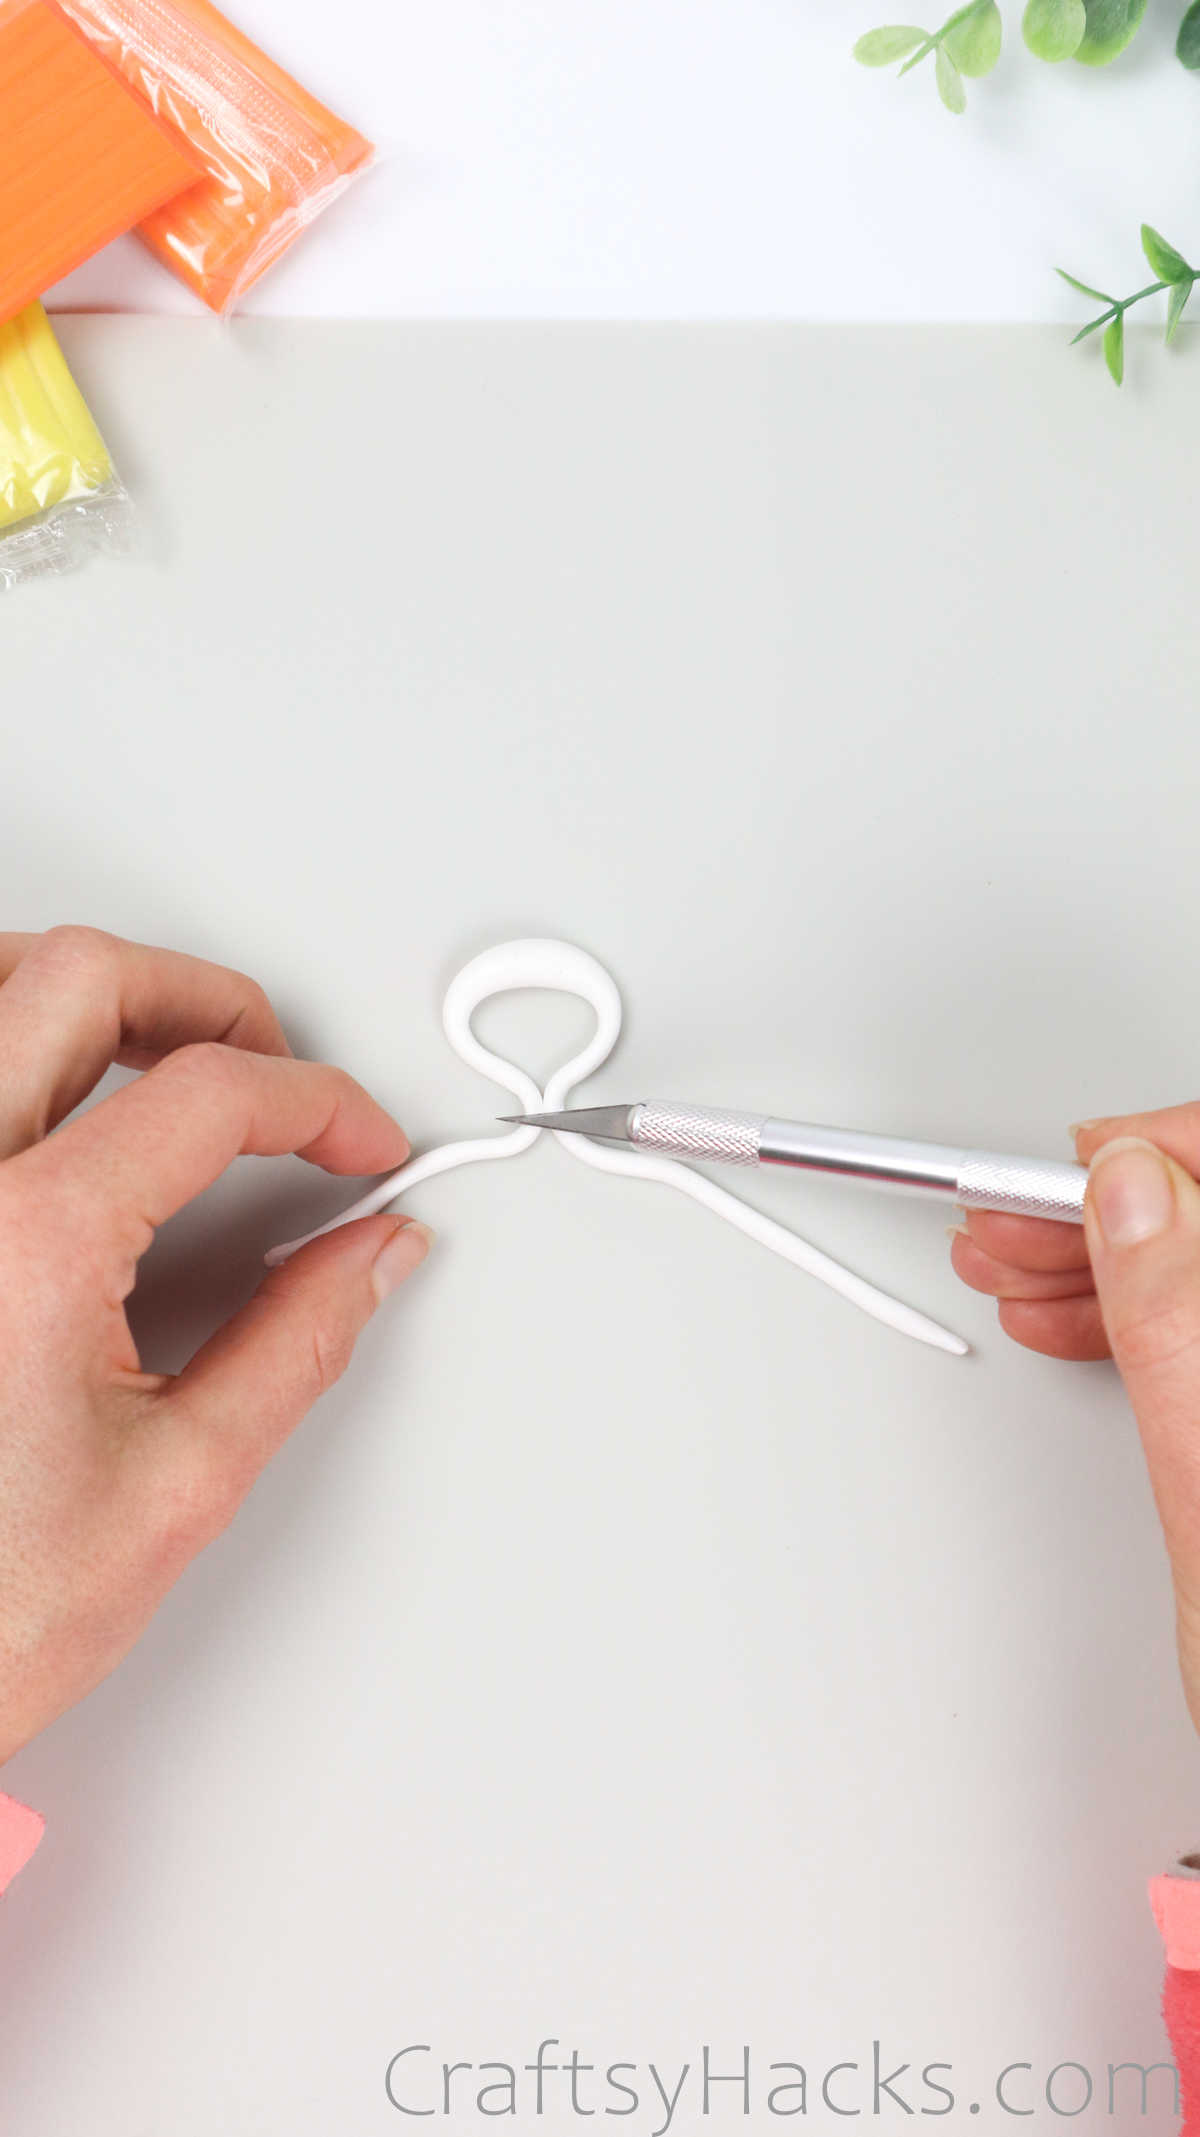
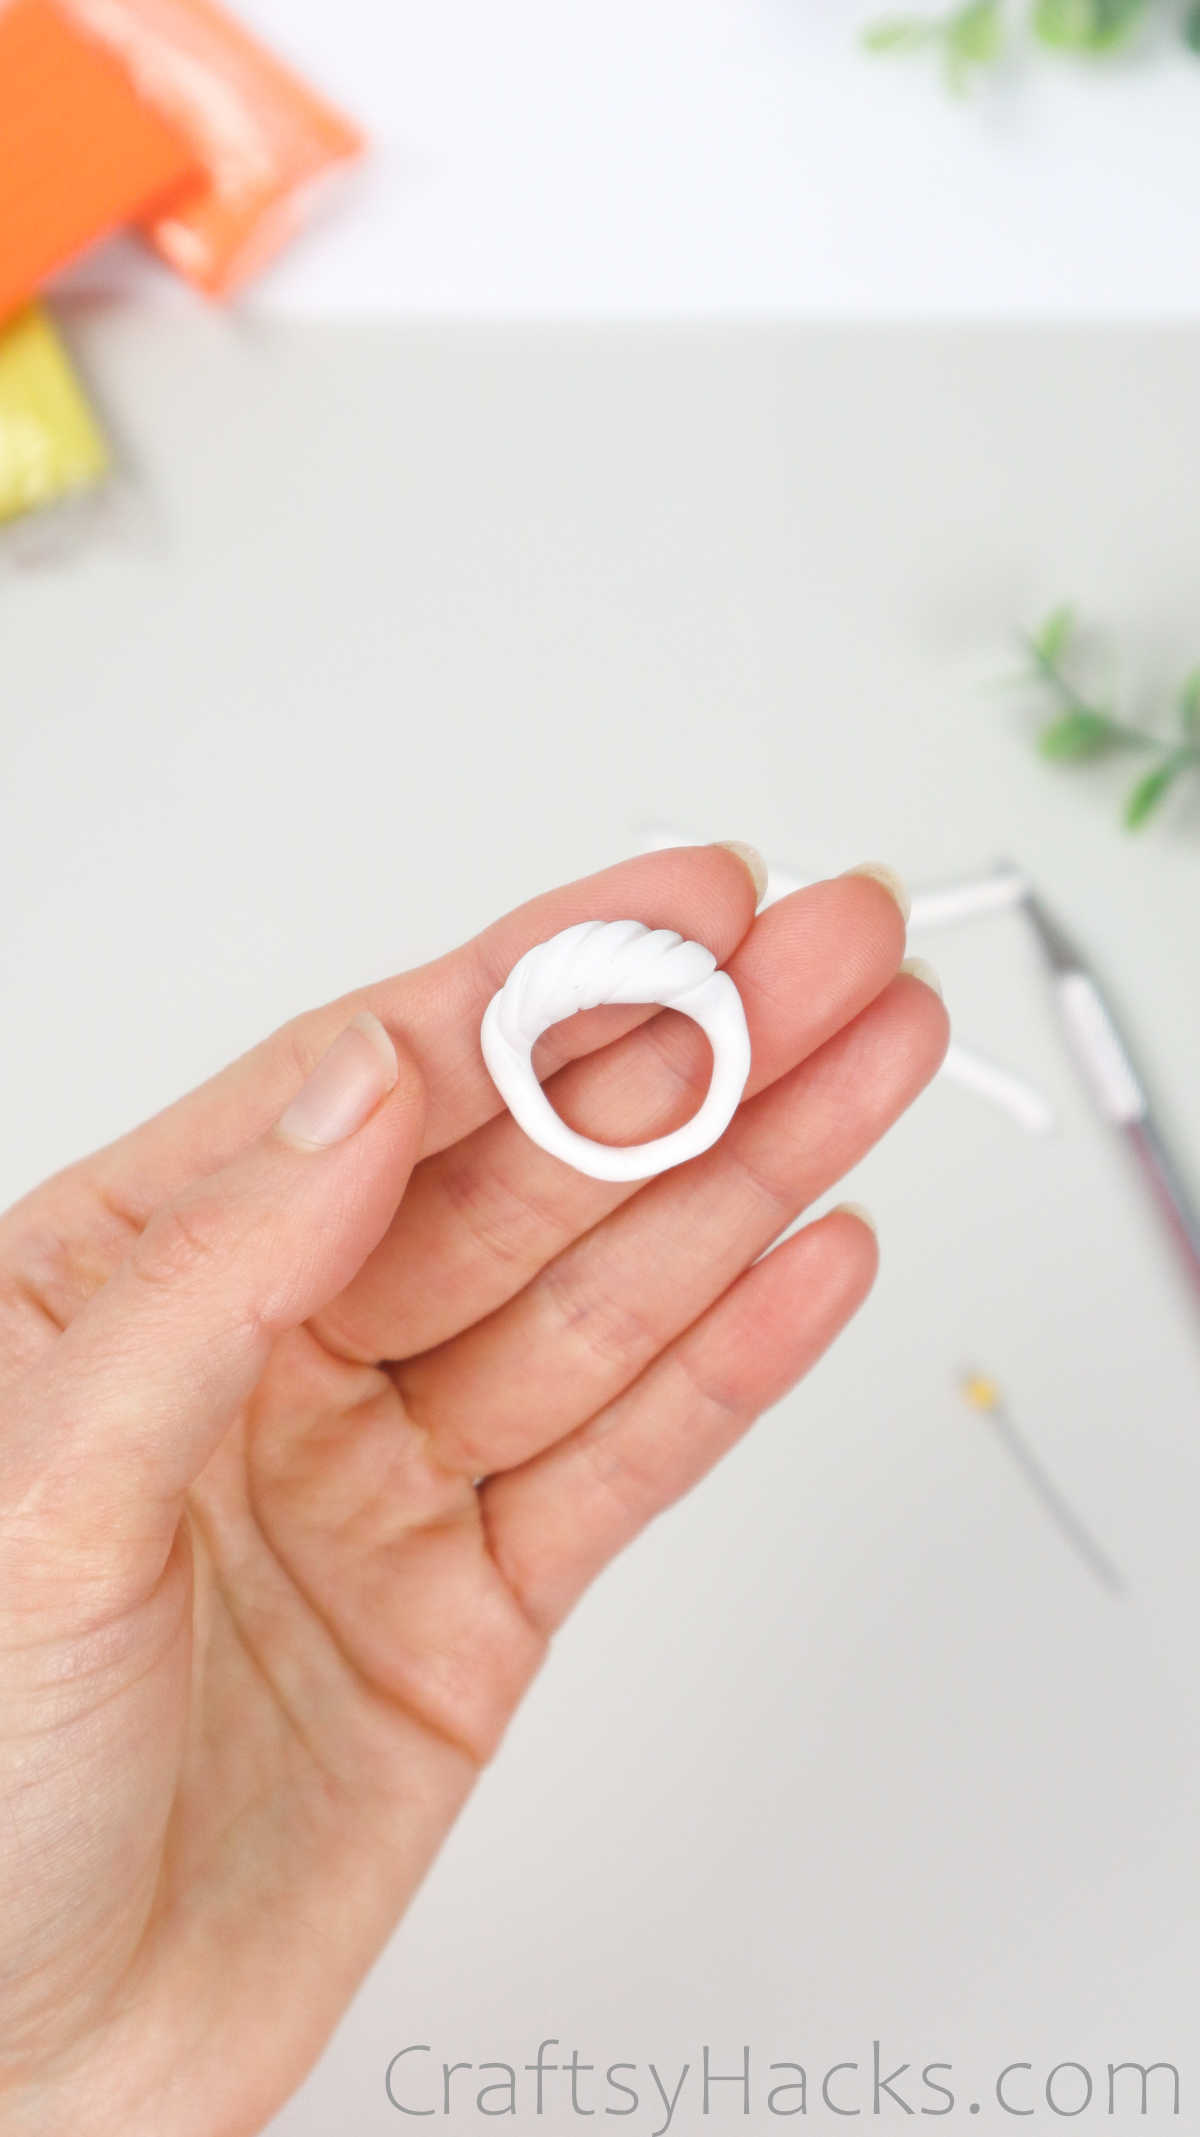
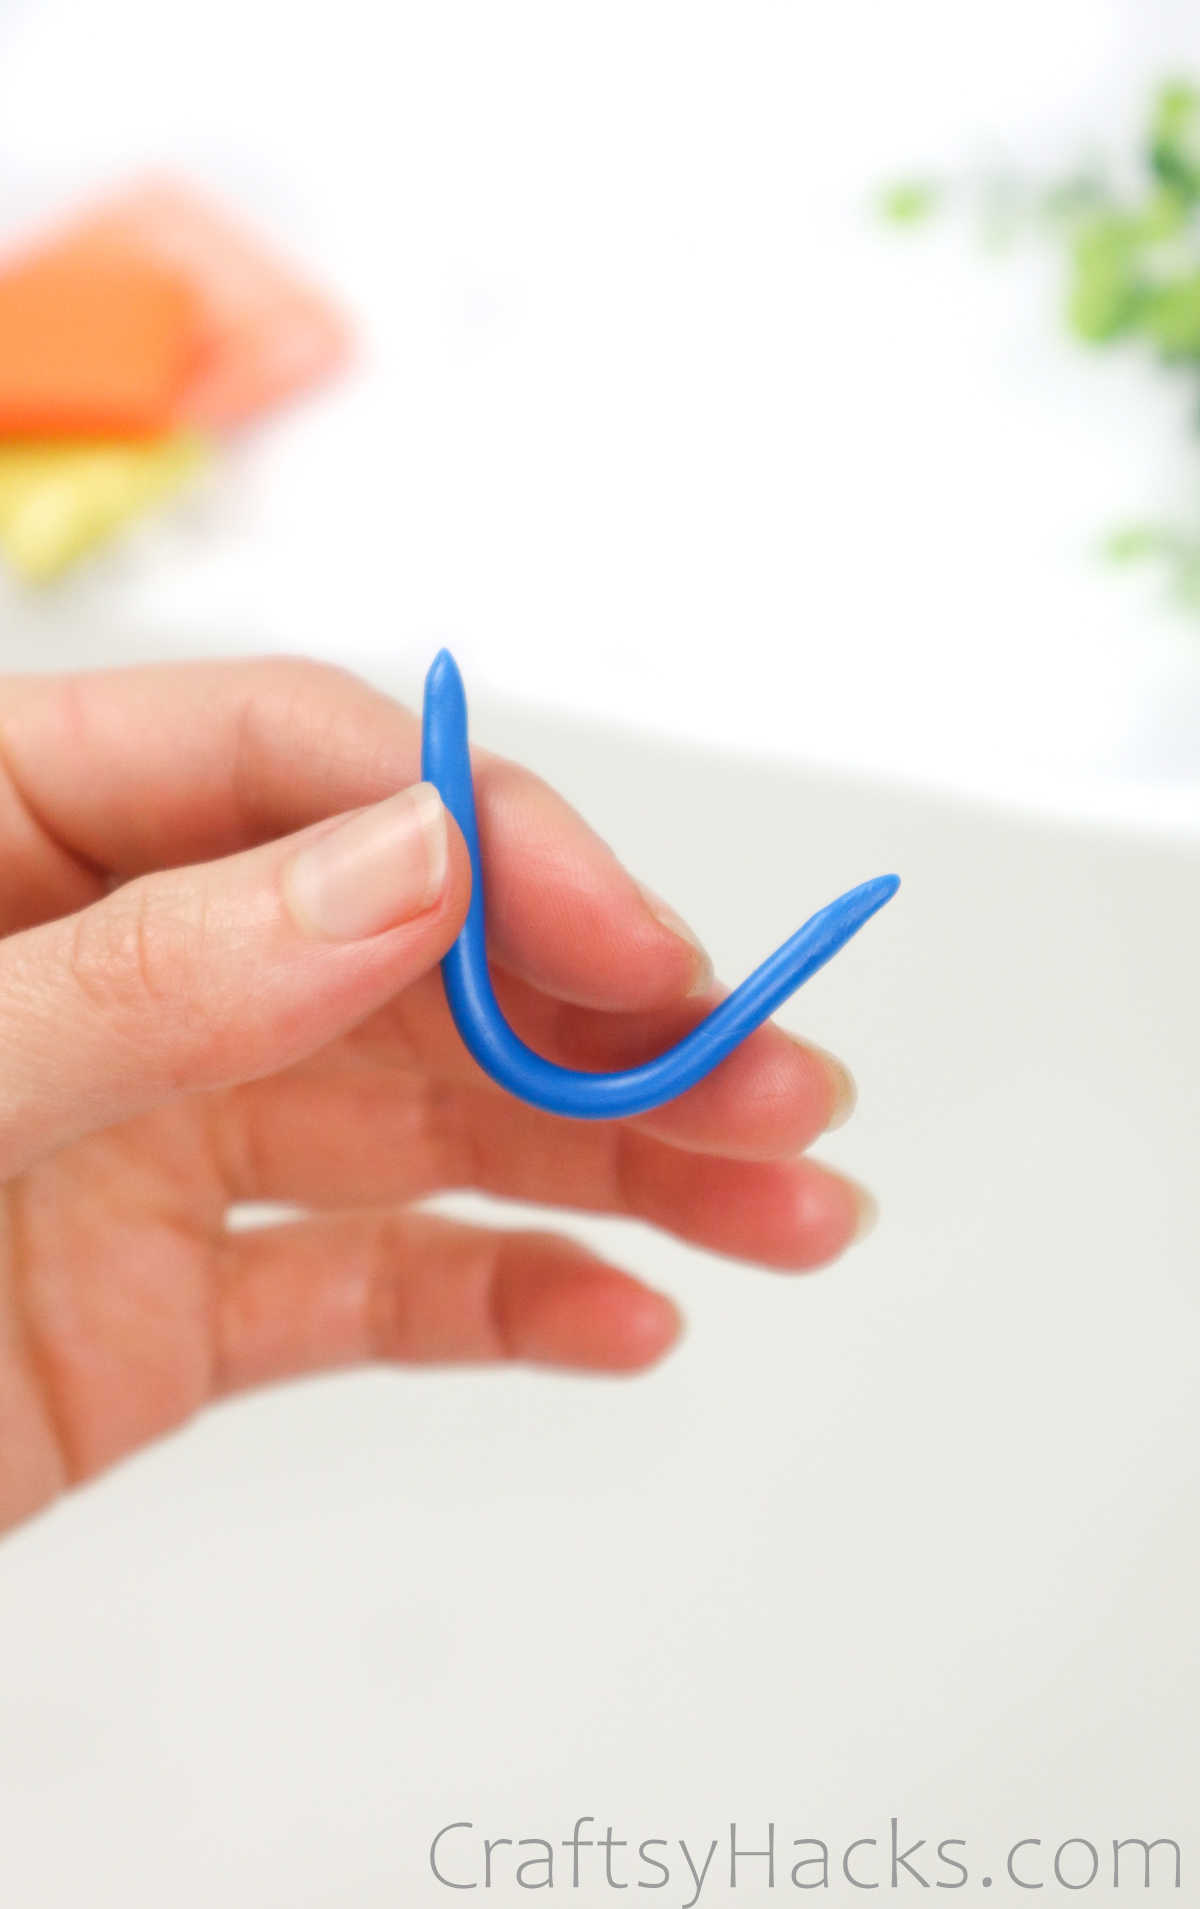
Next, youre going to attach the ends.
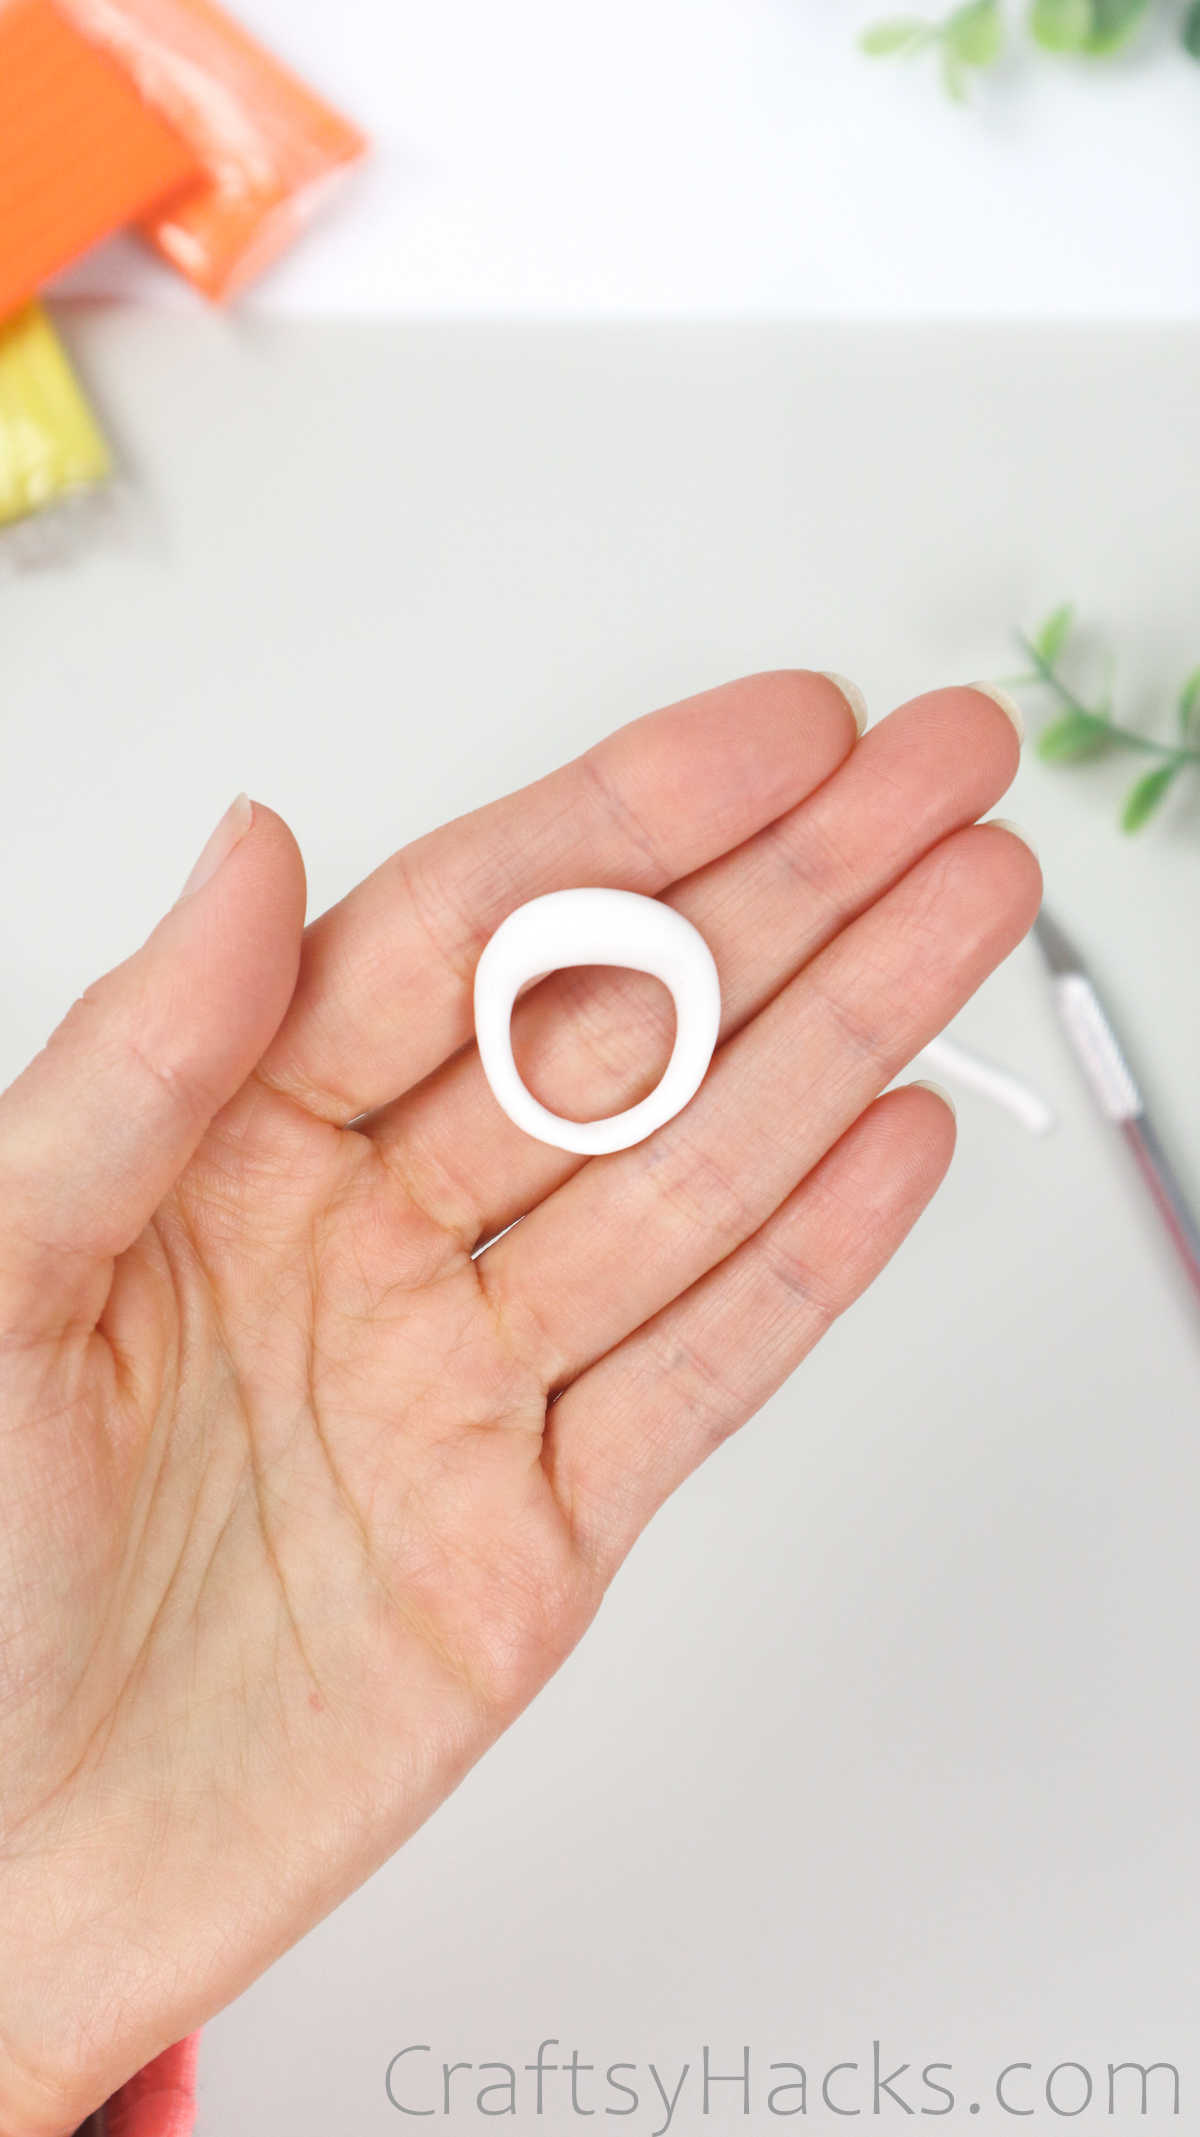
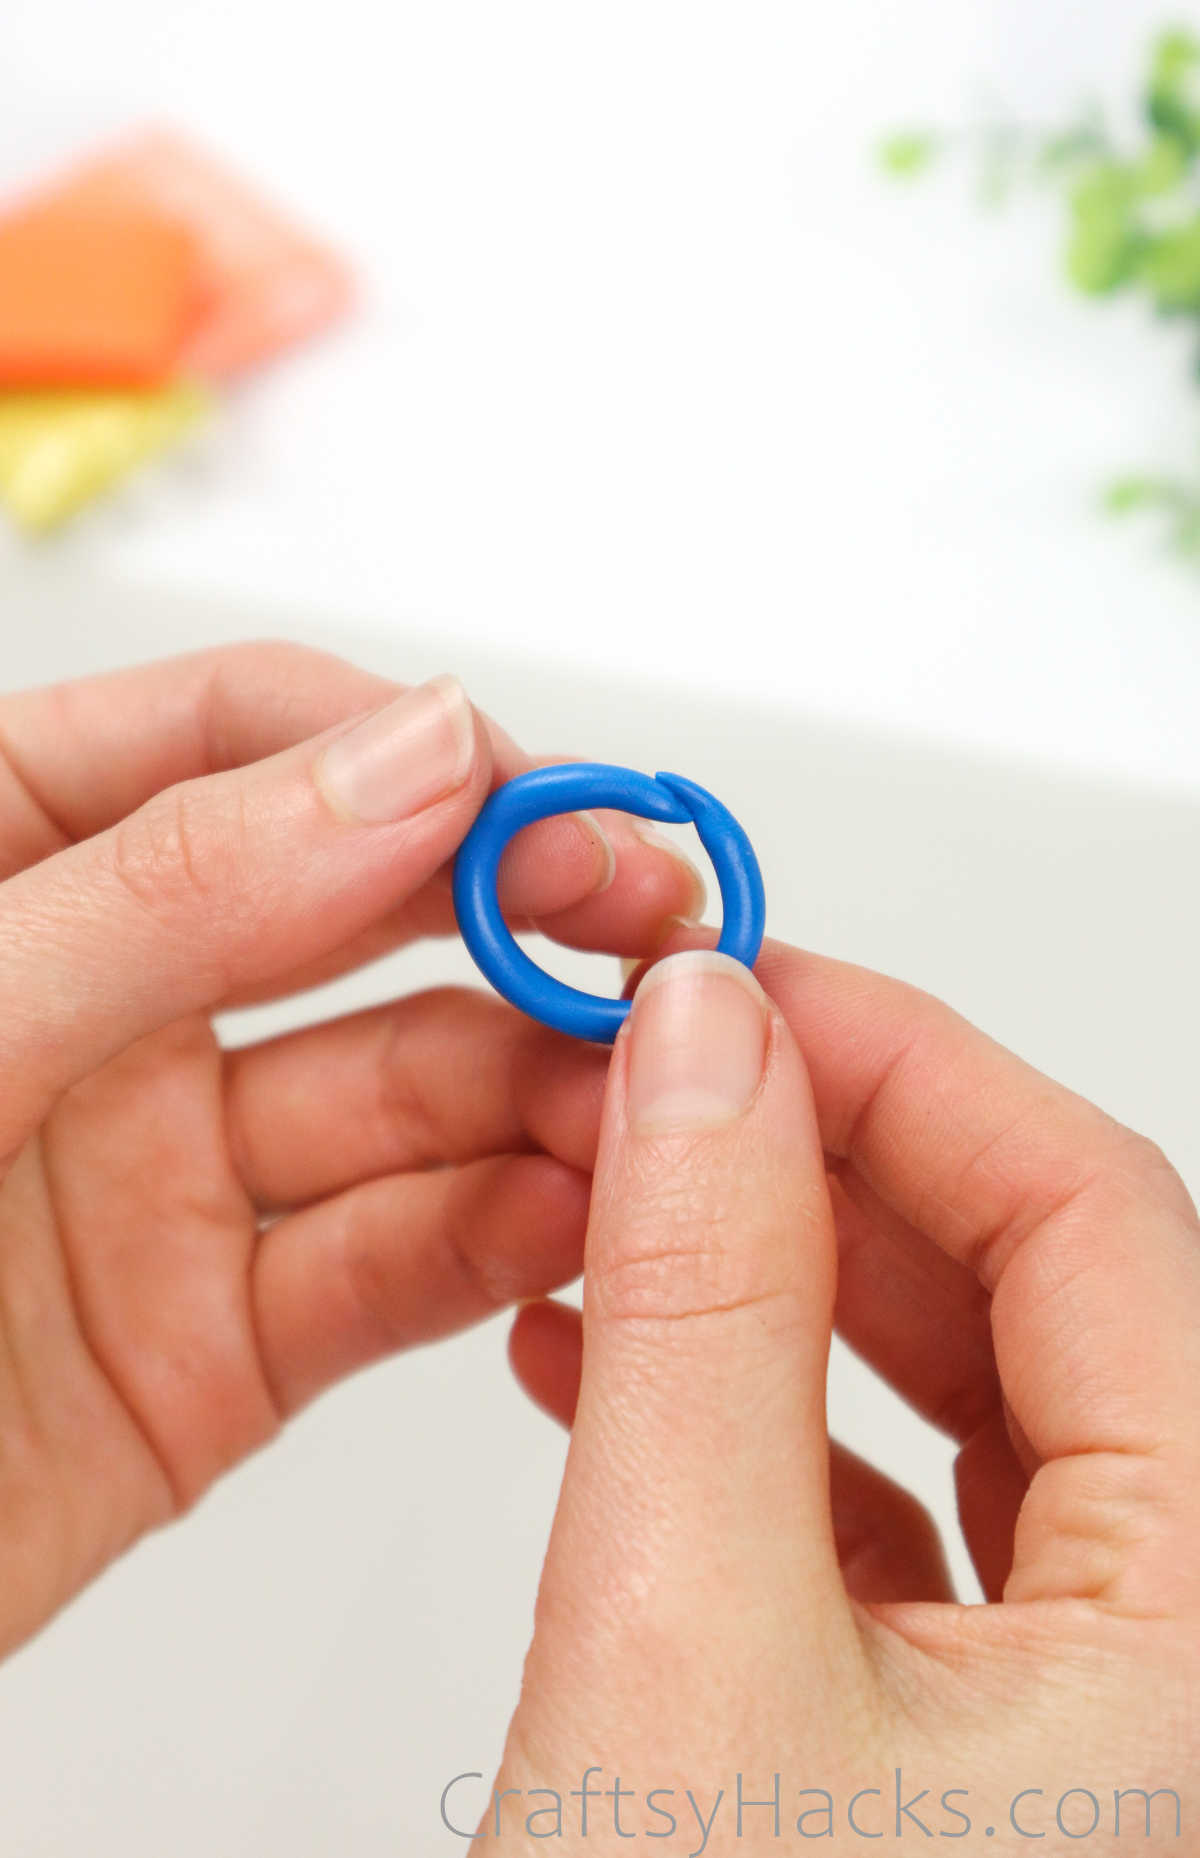
For this, just bring the two ends together and press them to blend the clay.
Set it aside on a baking tray for now.
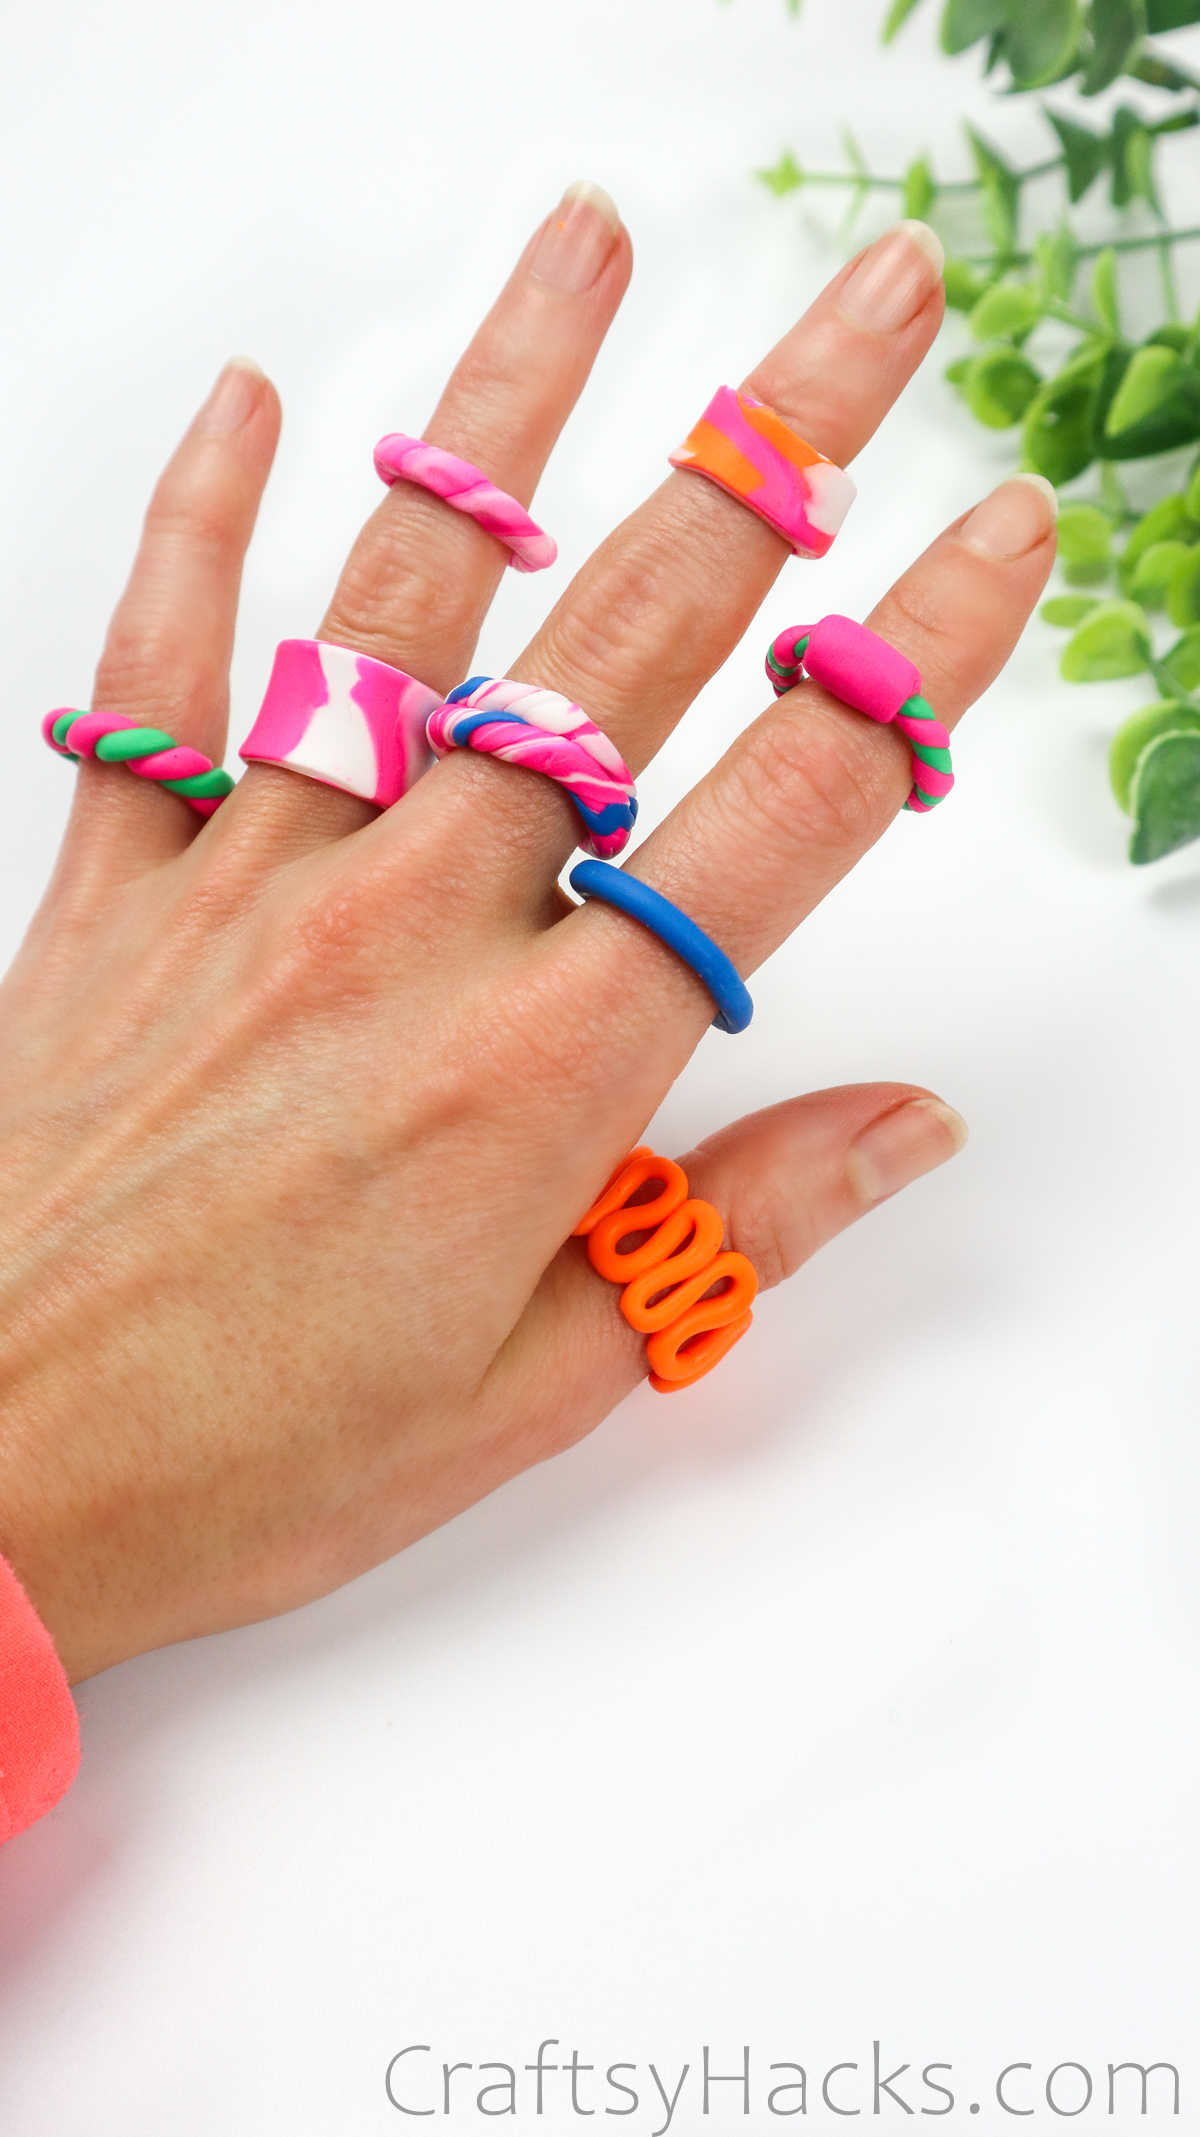
This squiggly ring is such an expression of fun and quirkiness.
Its got a lovely serpentine squiggly design thats bound to be an instant hit.
Go ahead and fashion the ring and cut off the ends when youve reached the required circumference.
Once again, just press the ends together to blend the clay evenly.
Set it on the baking tray, right next to that first ring.
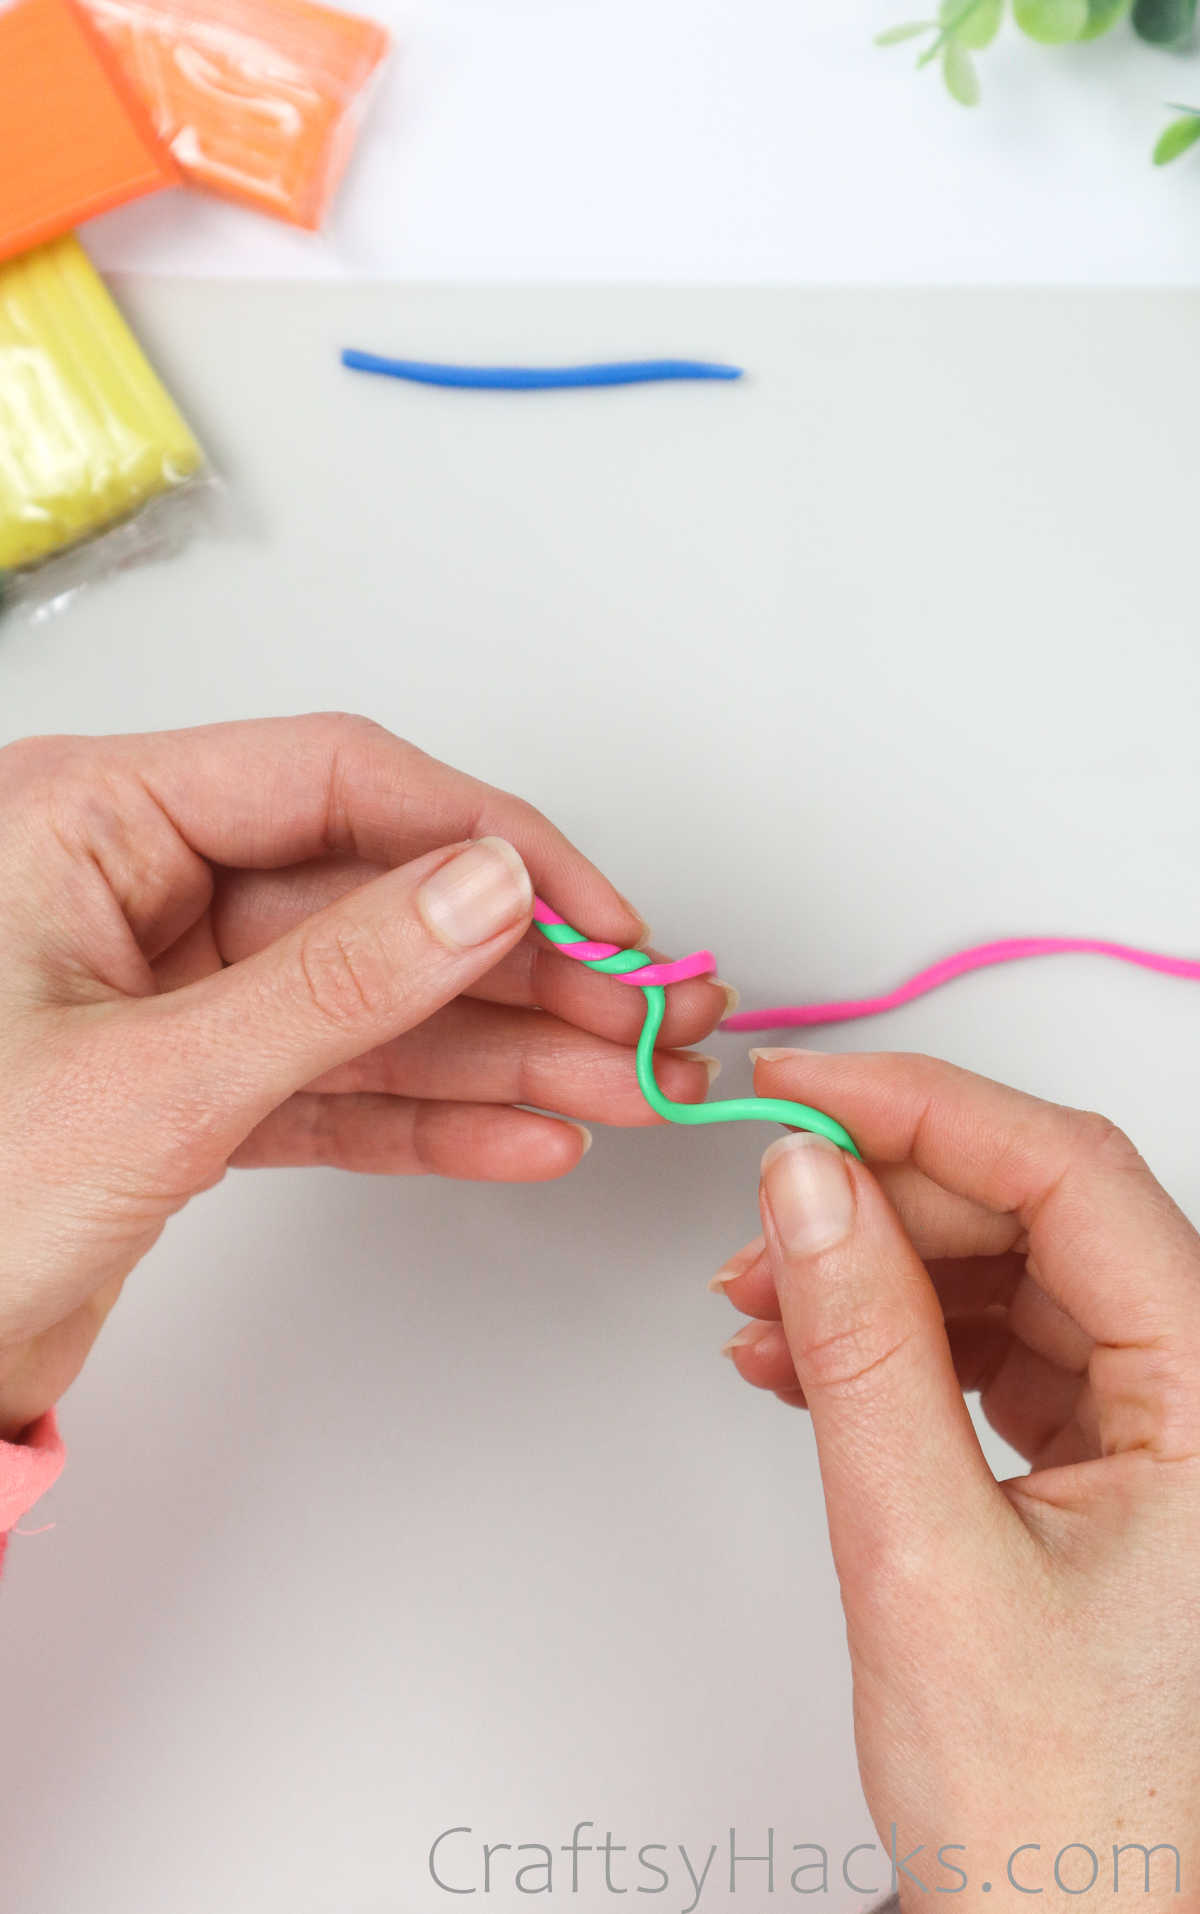
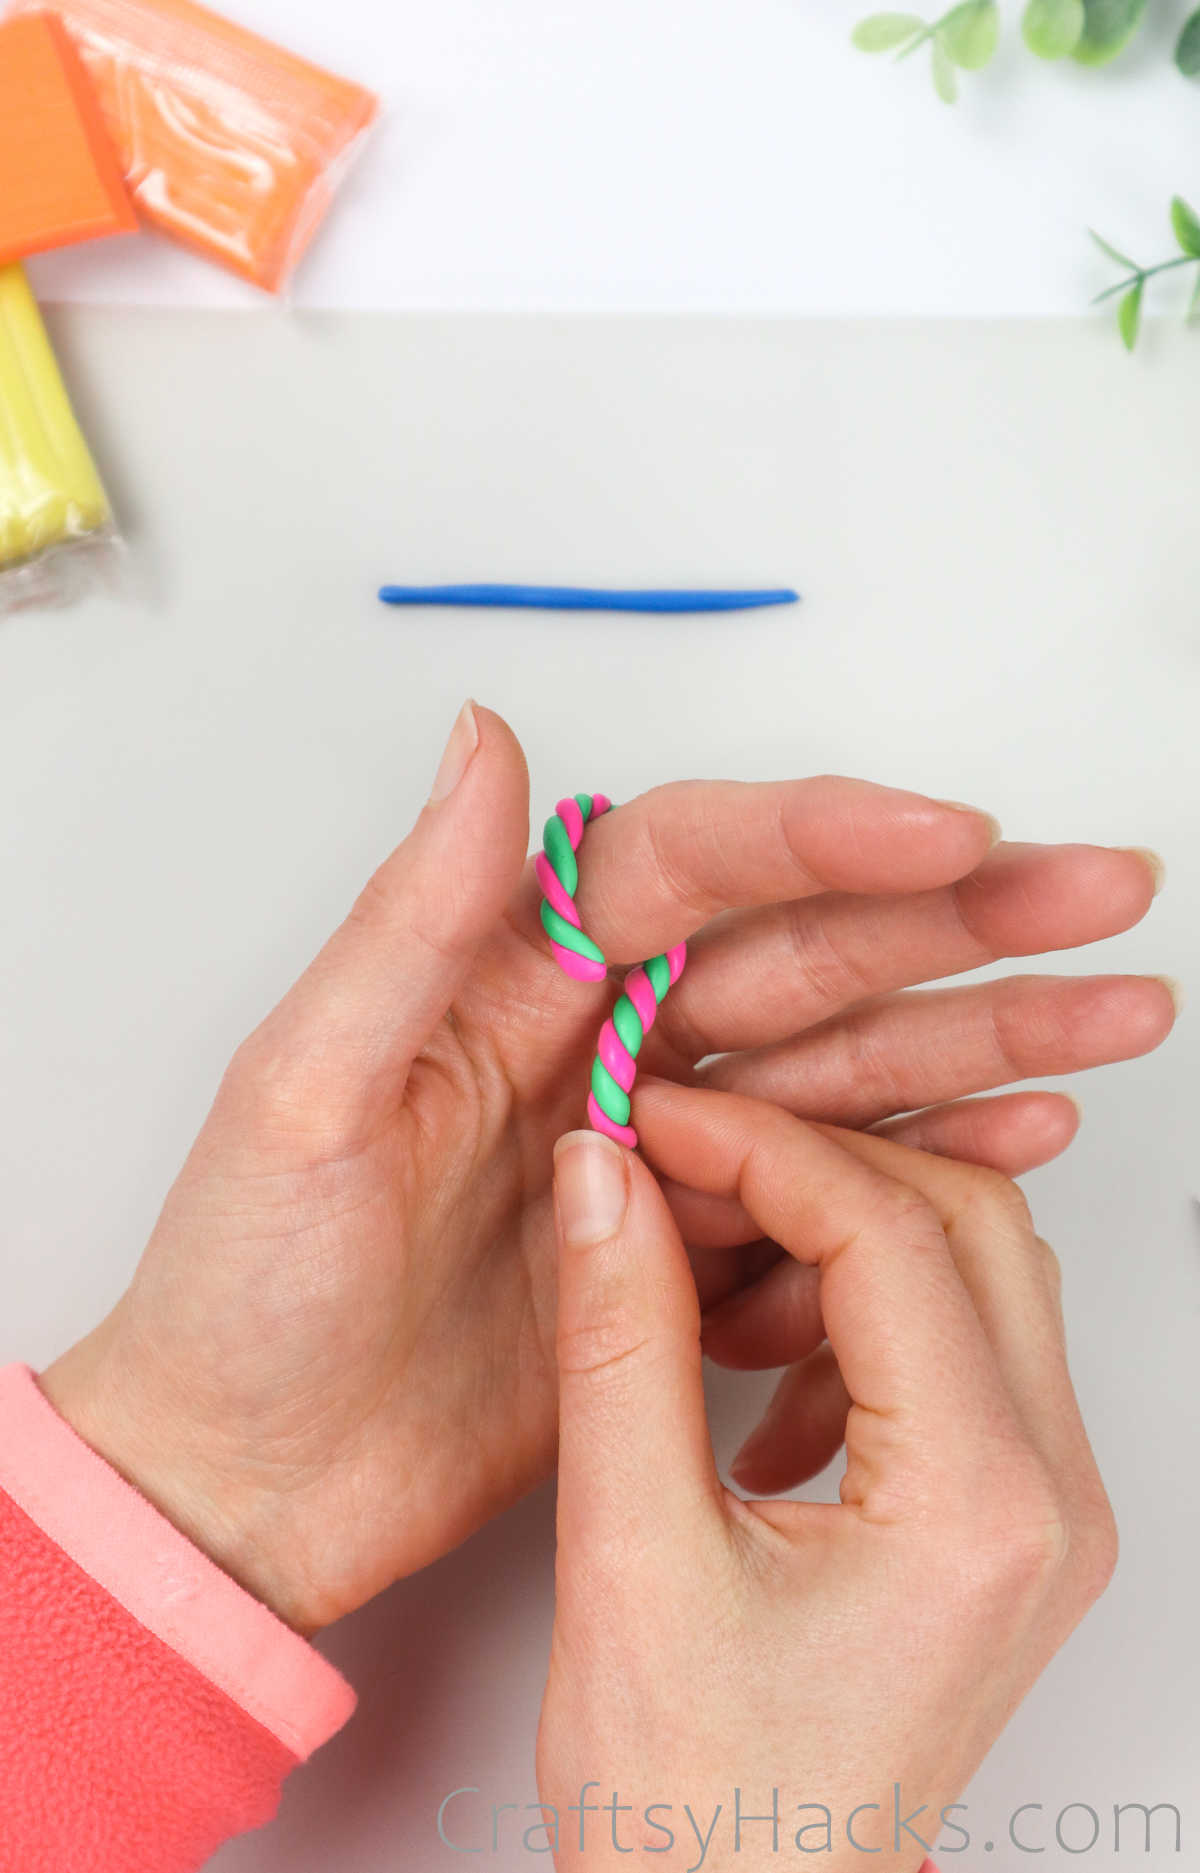
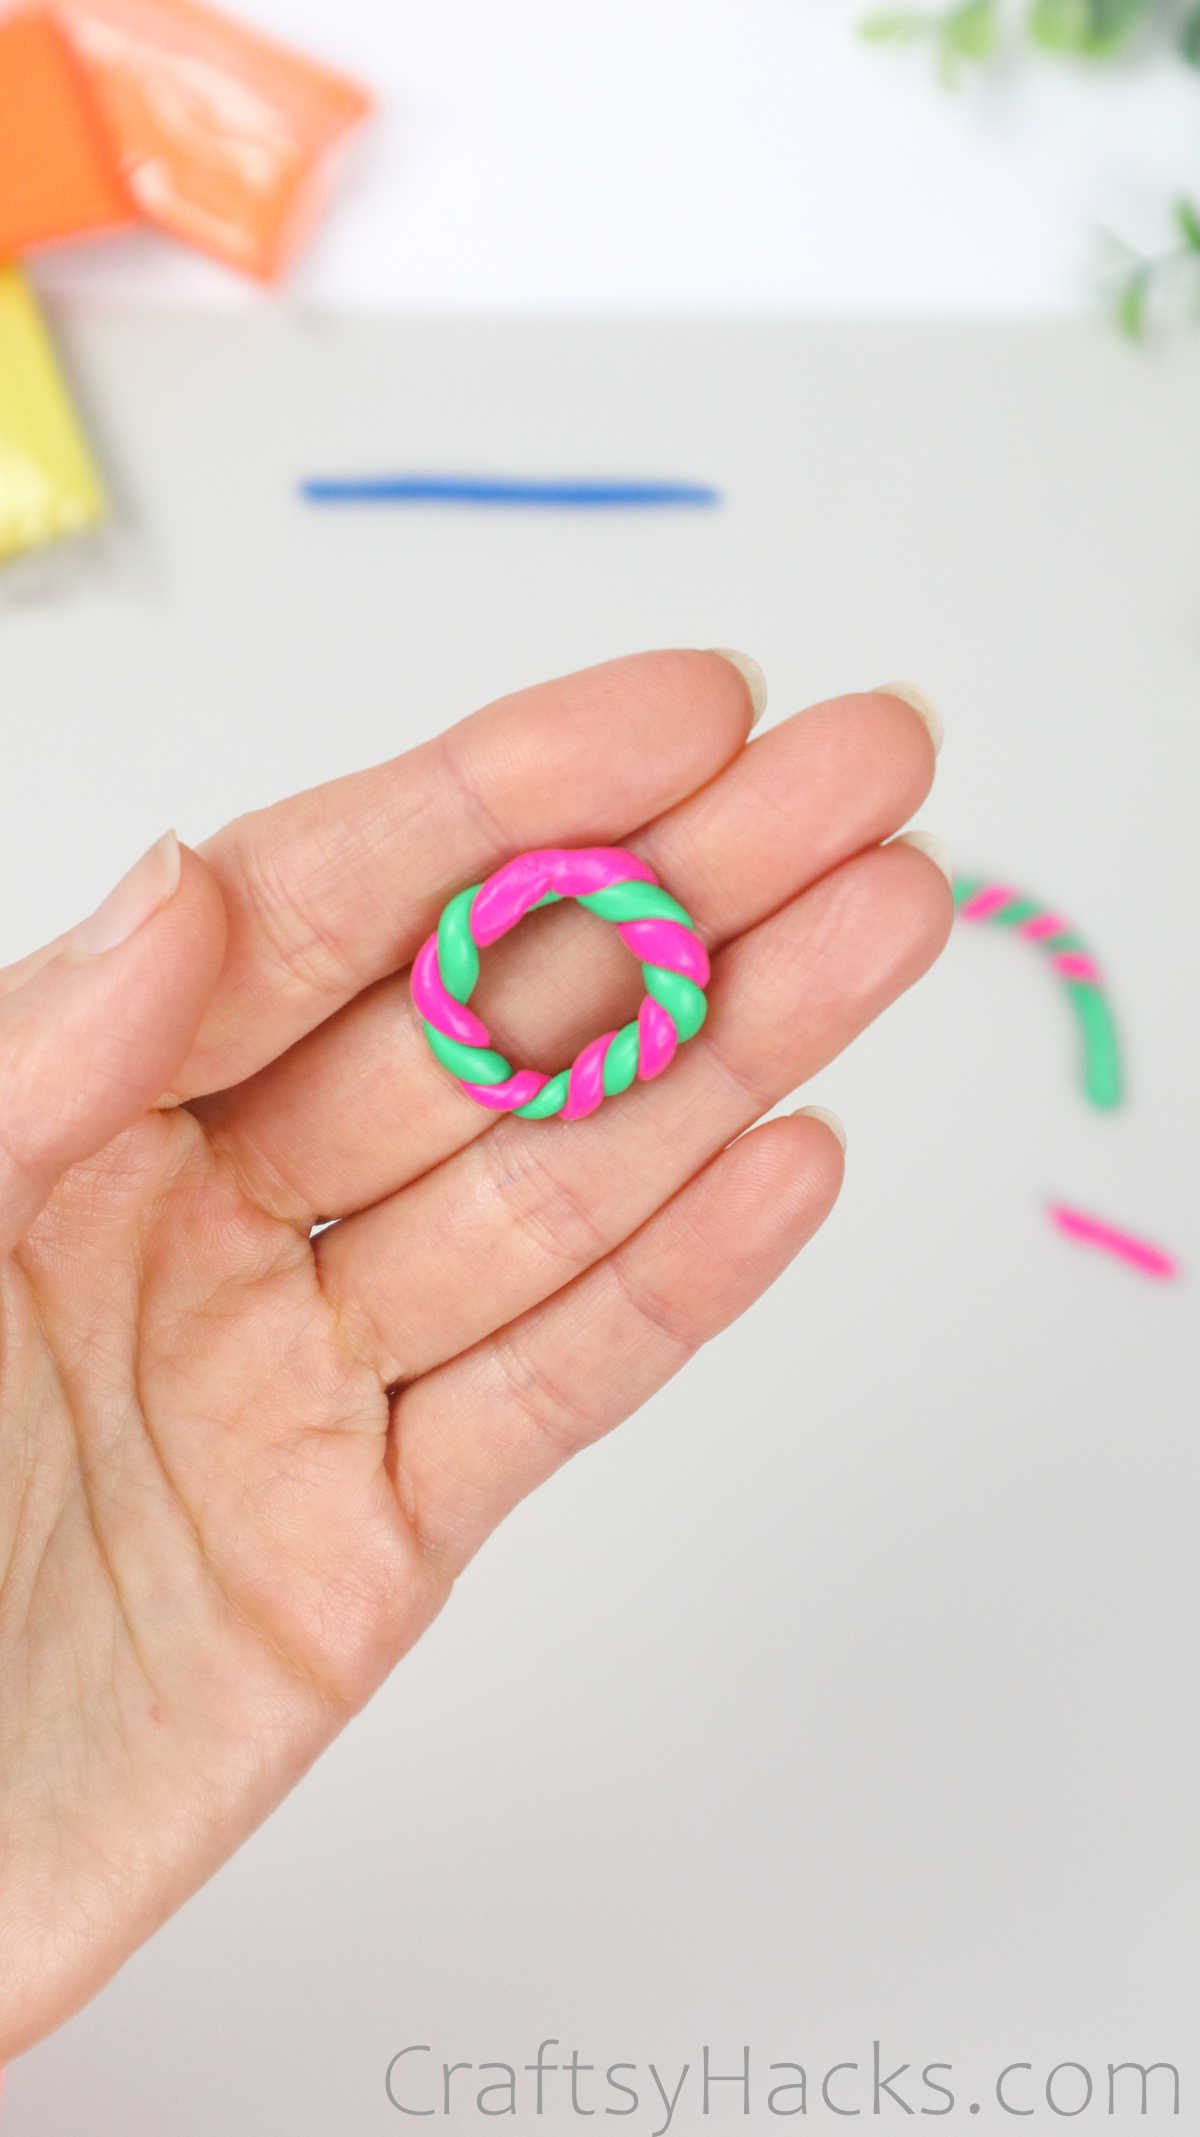
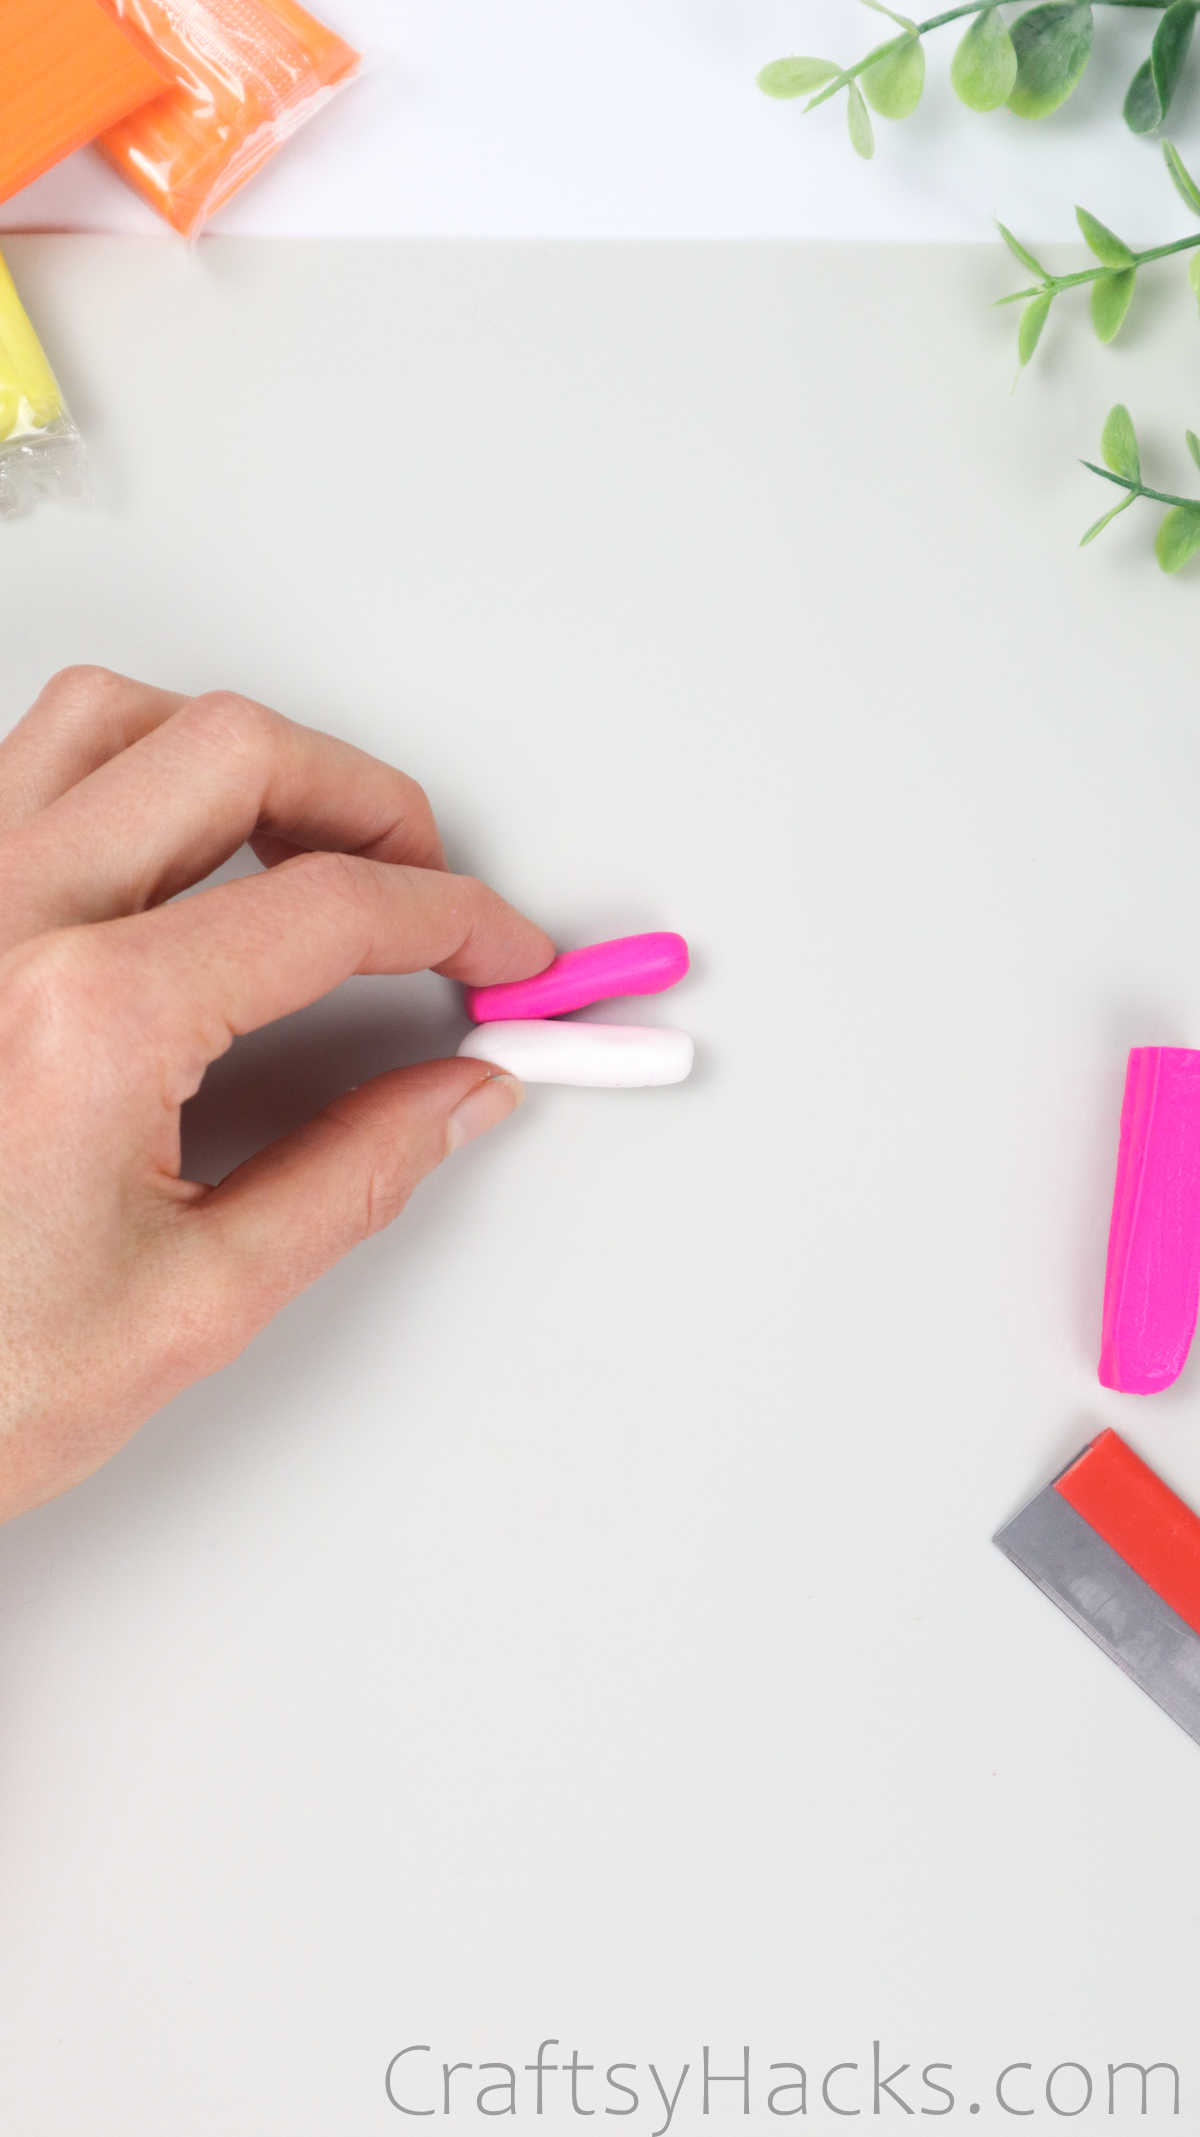
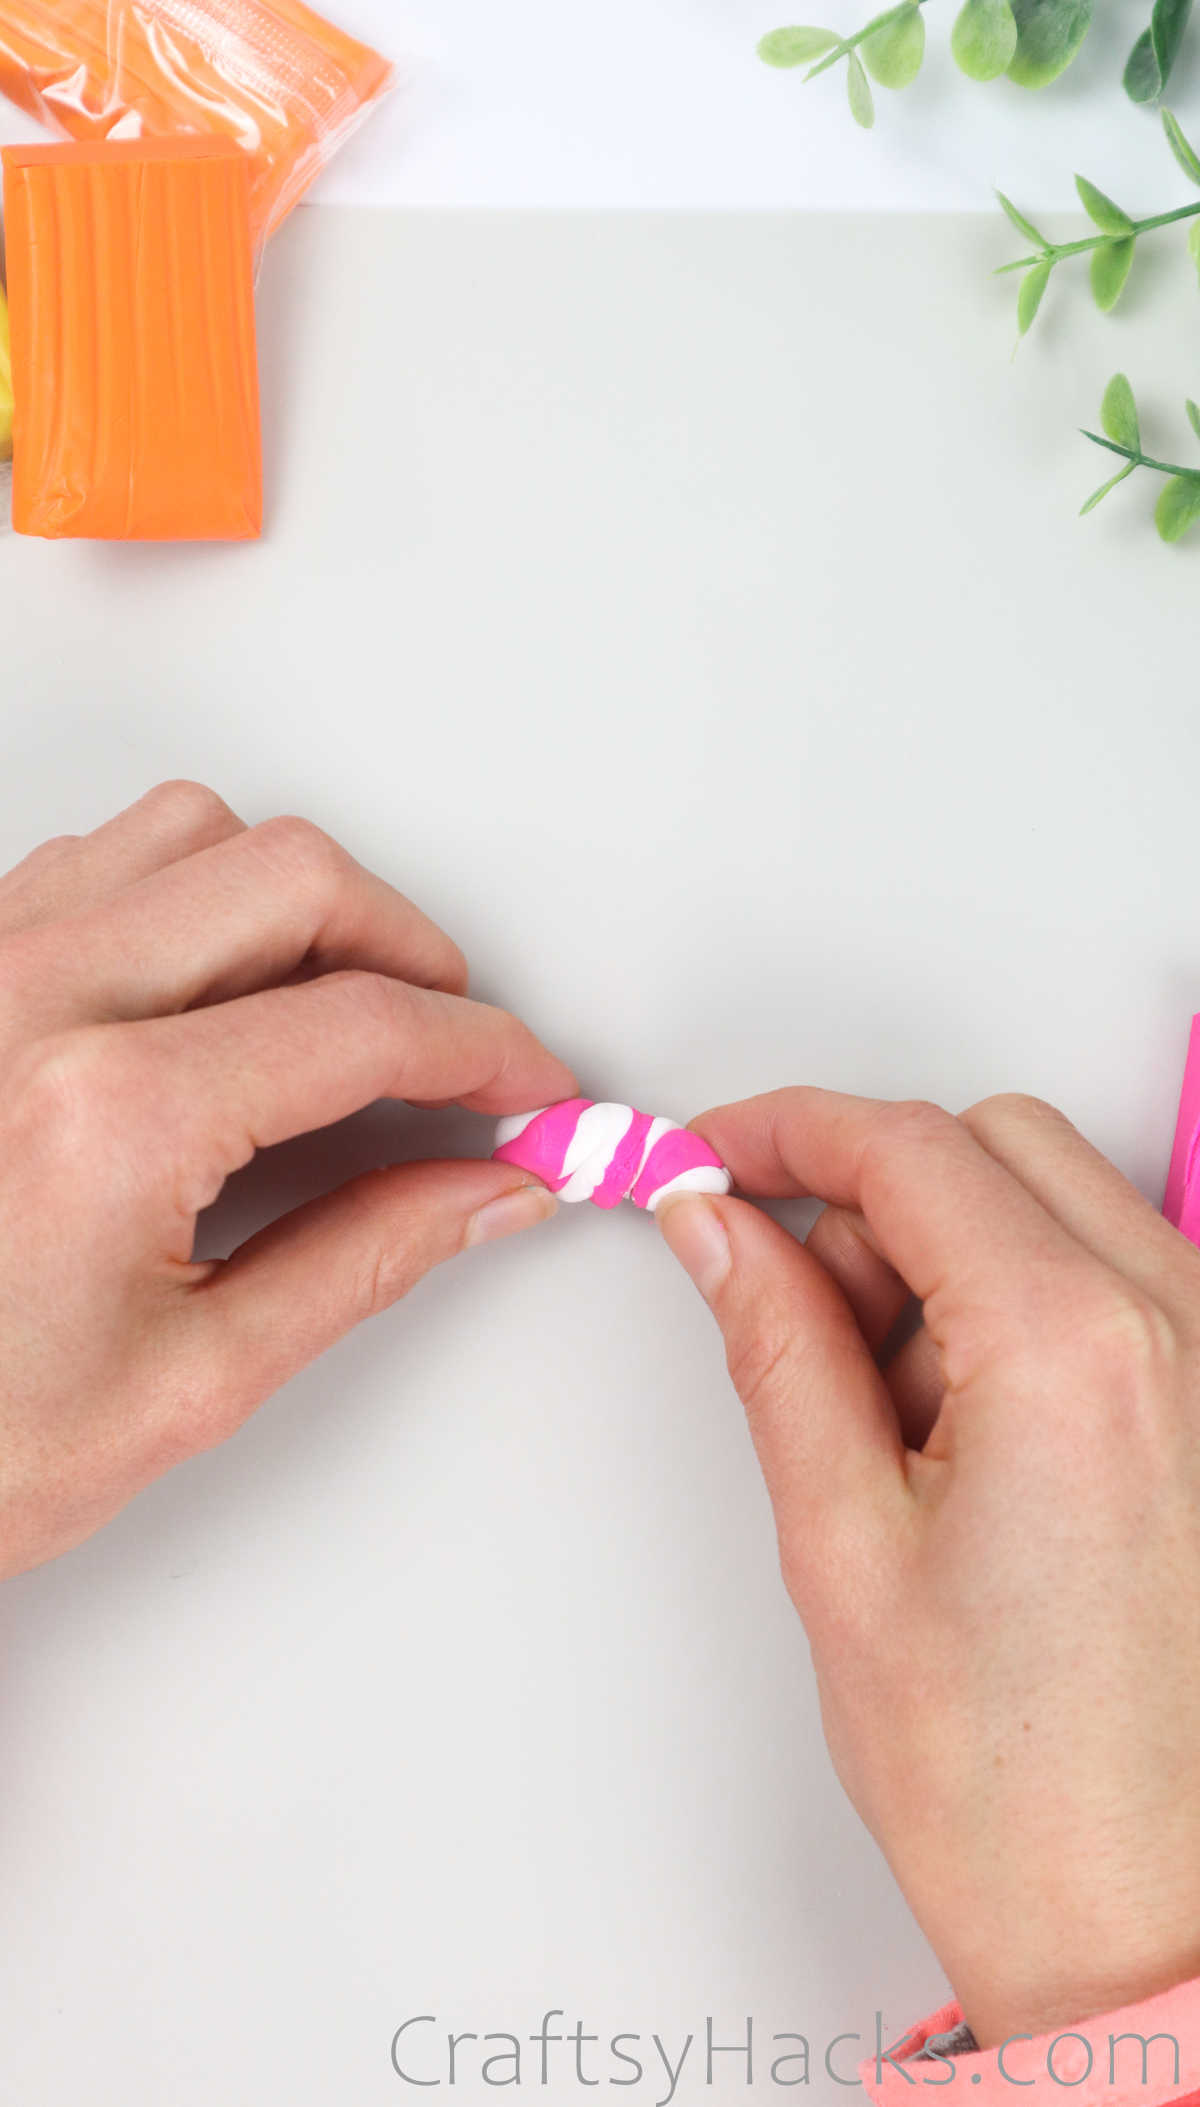
Just roll up two different lines of clay, each in a different color.
you might even go for three colors if thats where the wind takes you.
Just remember not to press the dough together too much or the ring will be flat and smudgy.
Finally, just blend the two ends together to complete the ring.
Theres also a little addition of some texture at the head, where you might see some grooves.
Take a look at how to make this ring!
Now cut the ends off at the desired length and just blend them together to join the two.
Youre not done yet!
Set it aside on the baking tray with the other rings while you work on the last ring!
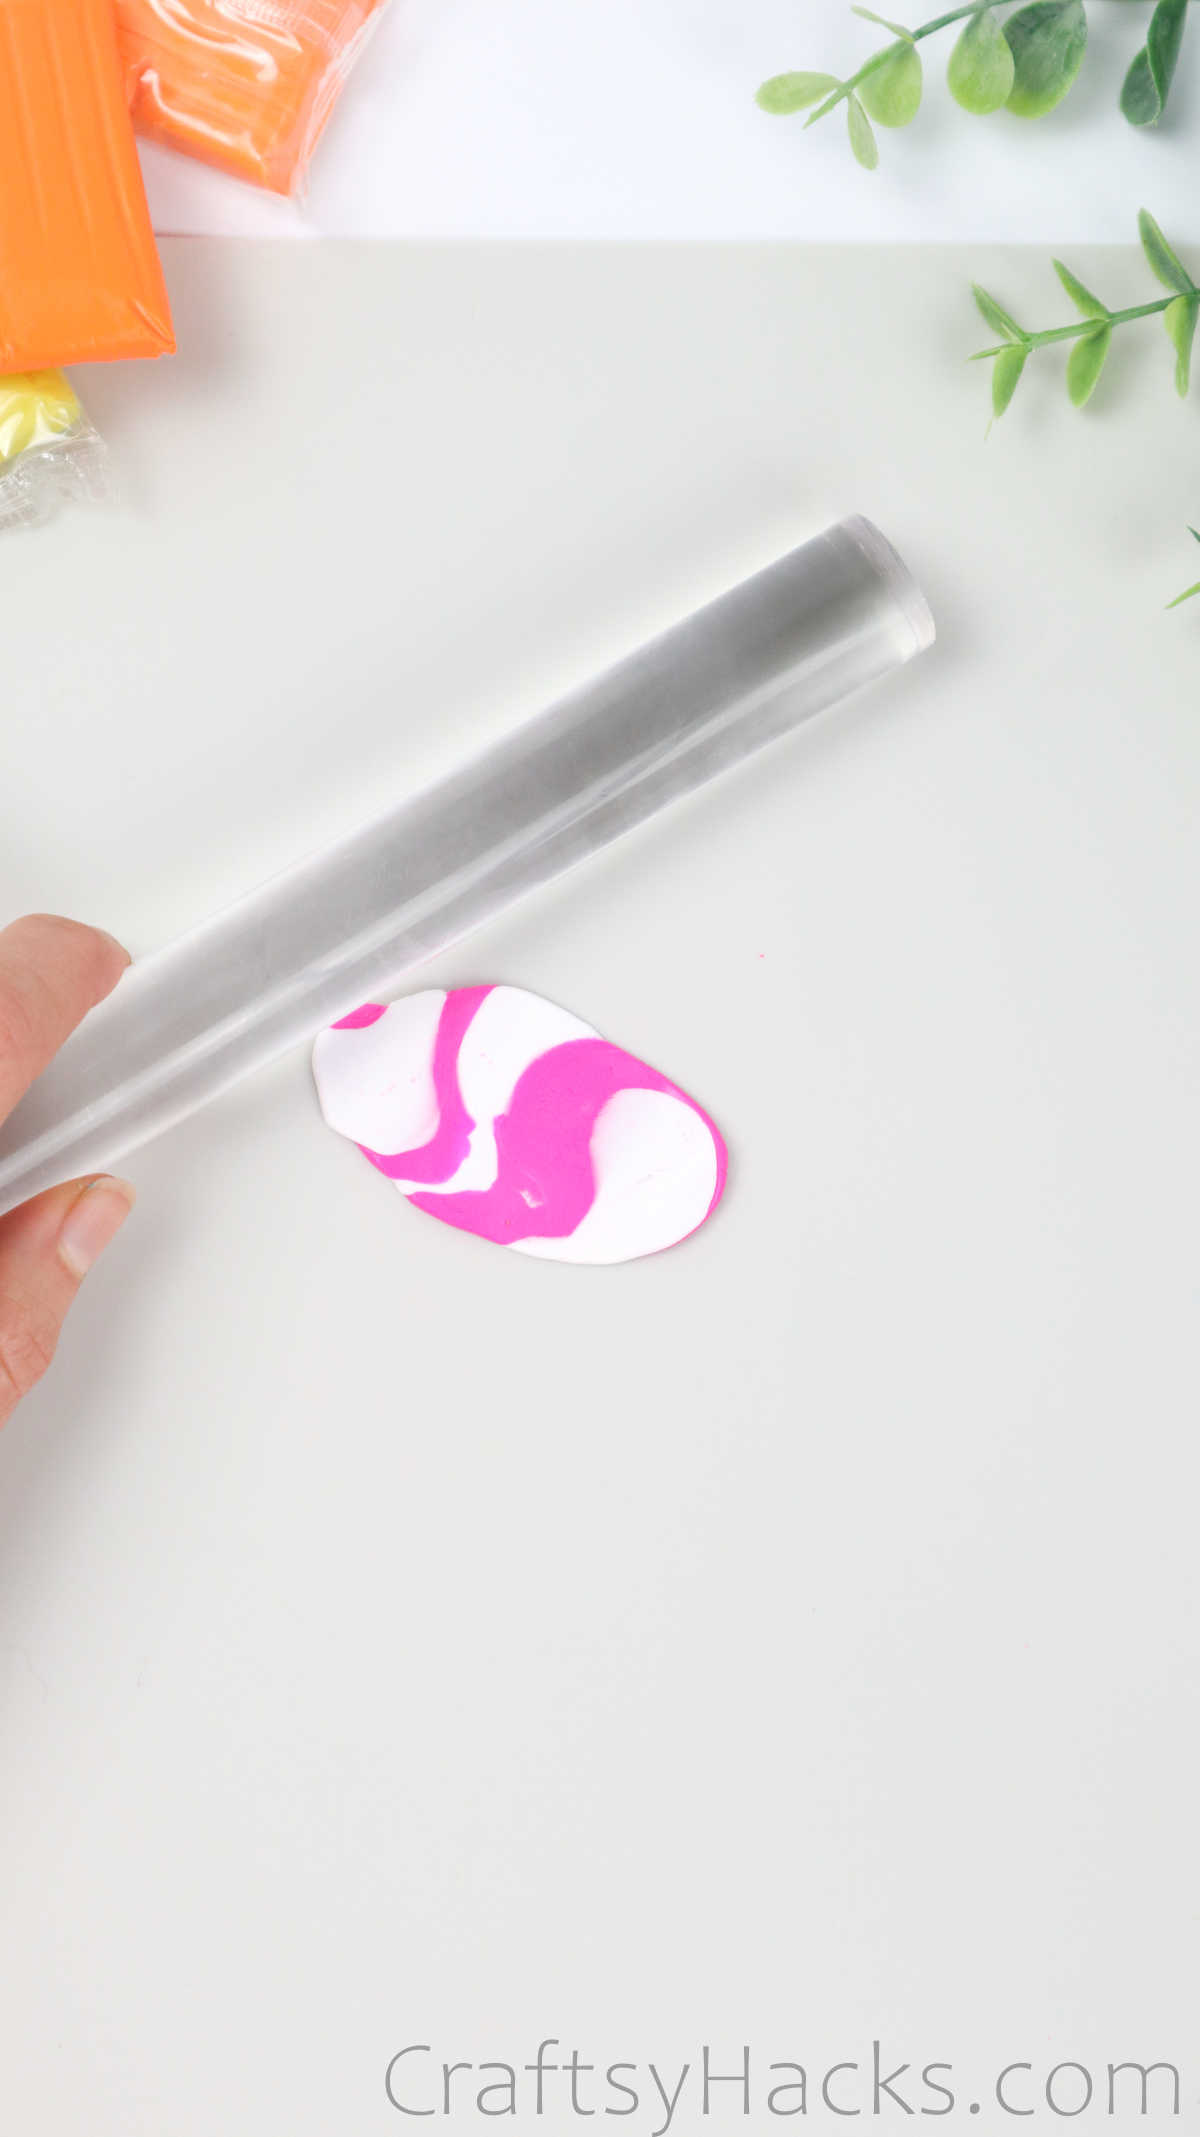
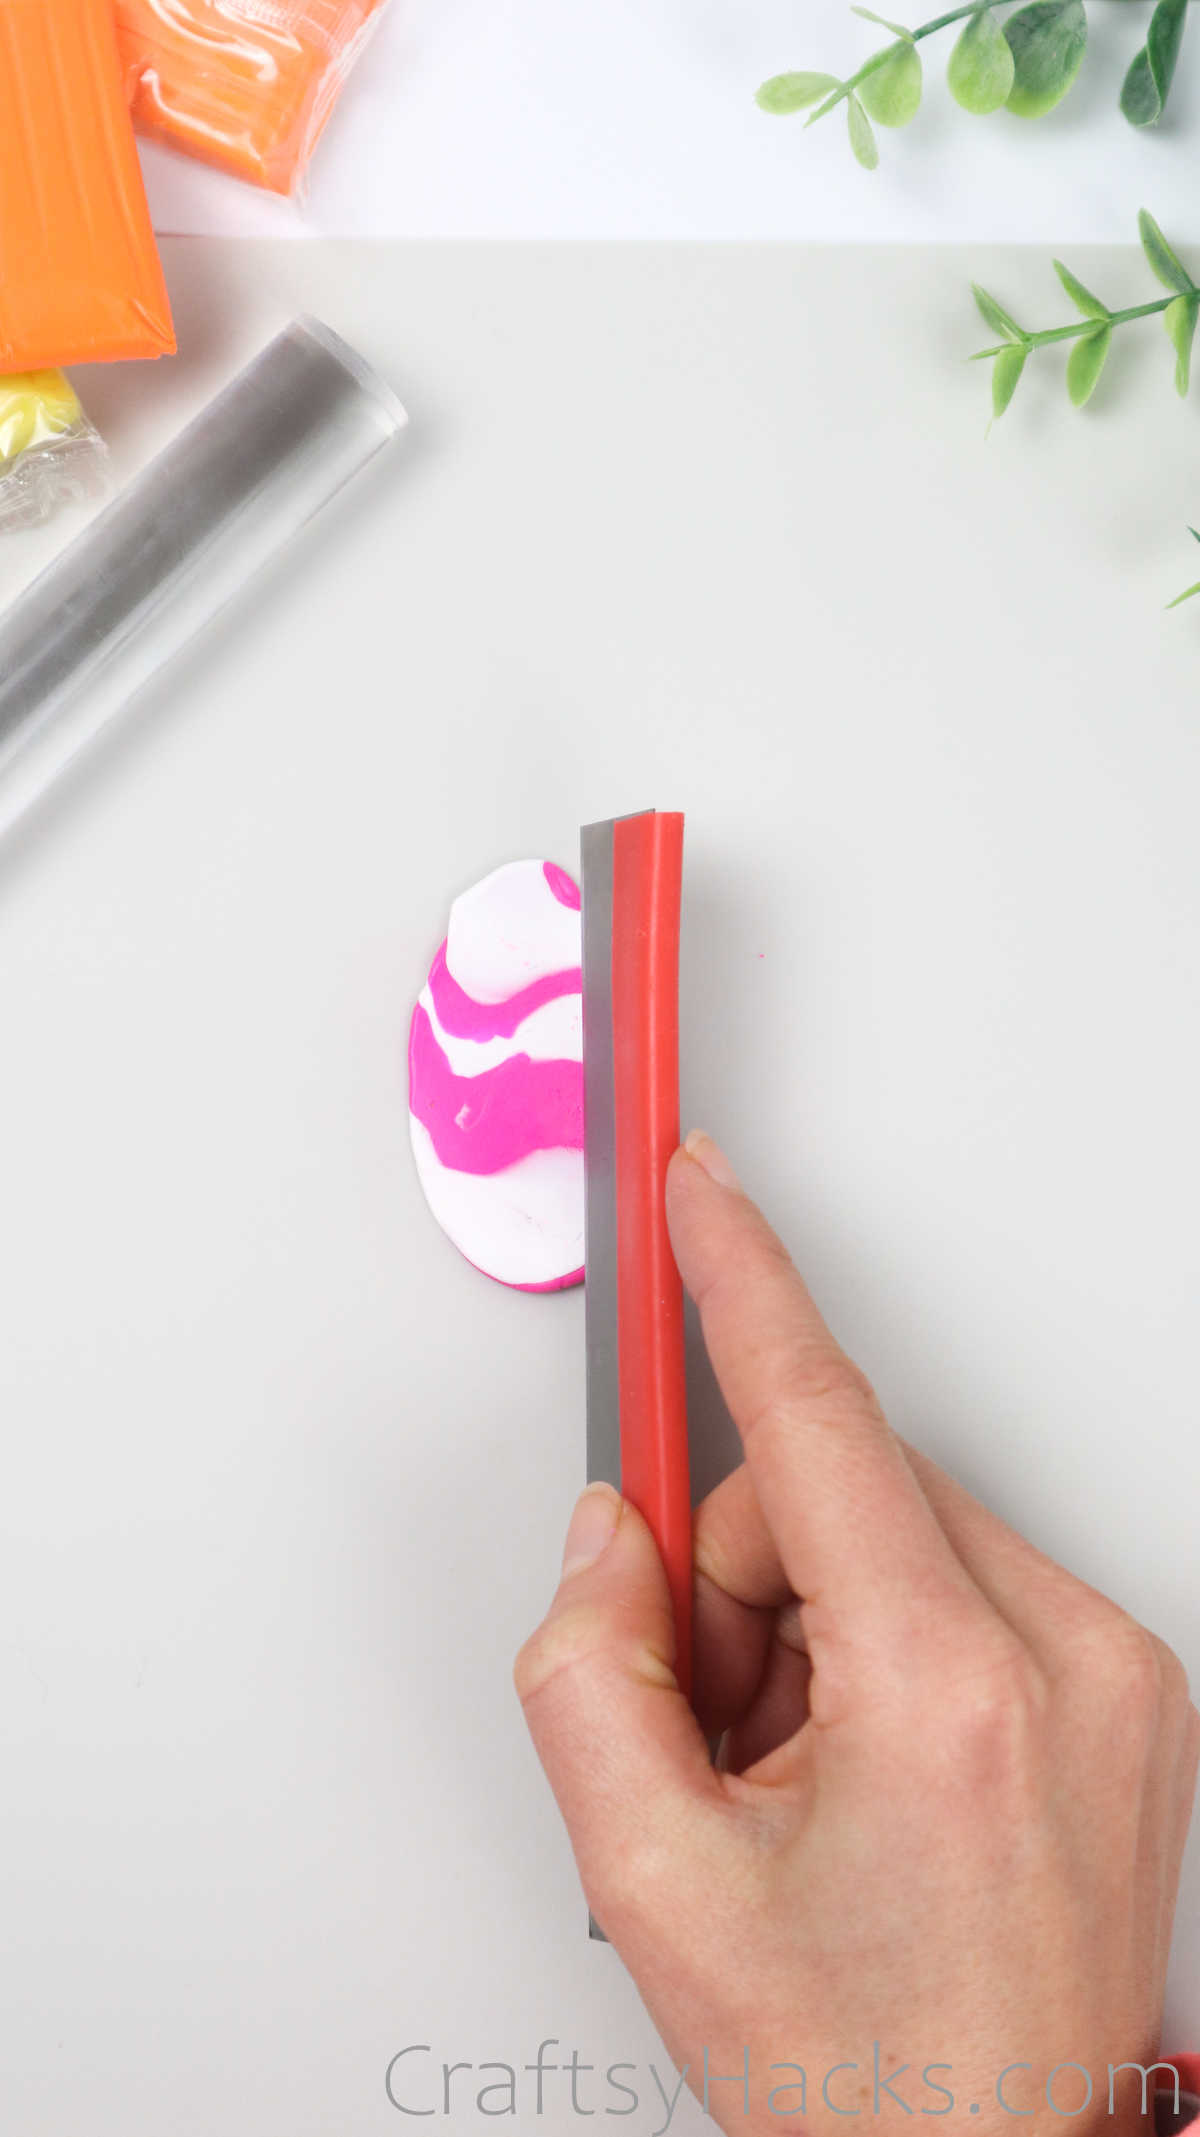
Pattern 5
This next ring is one of my favorites.
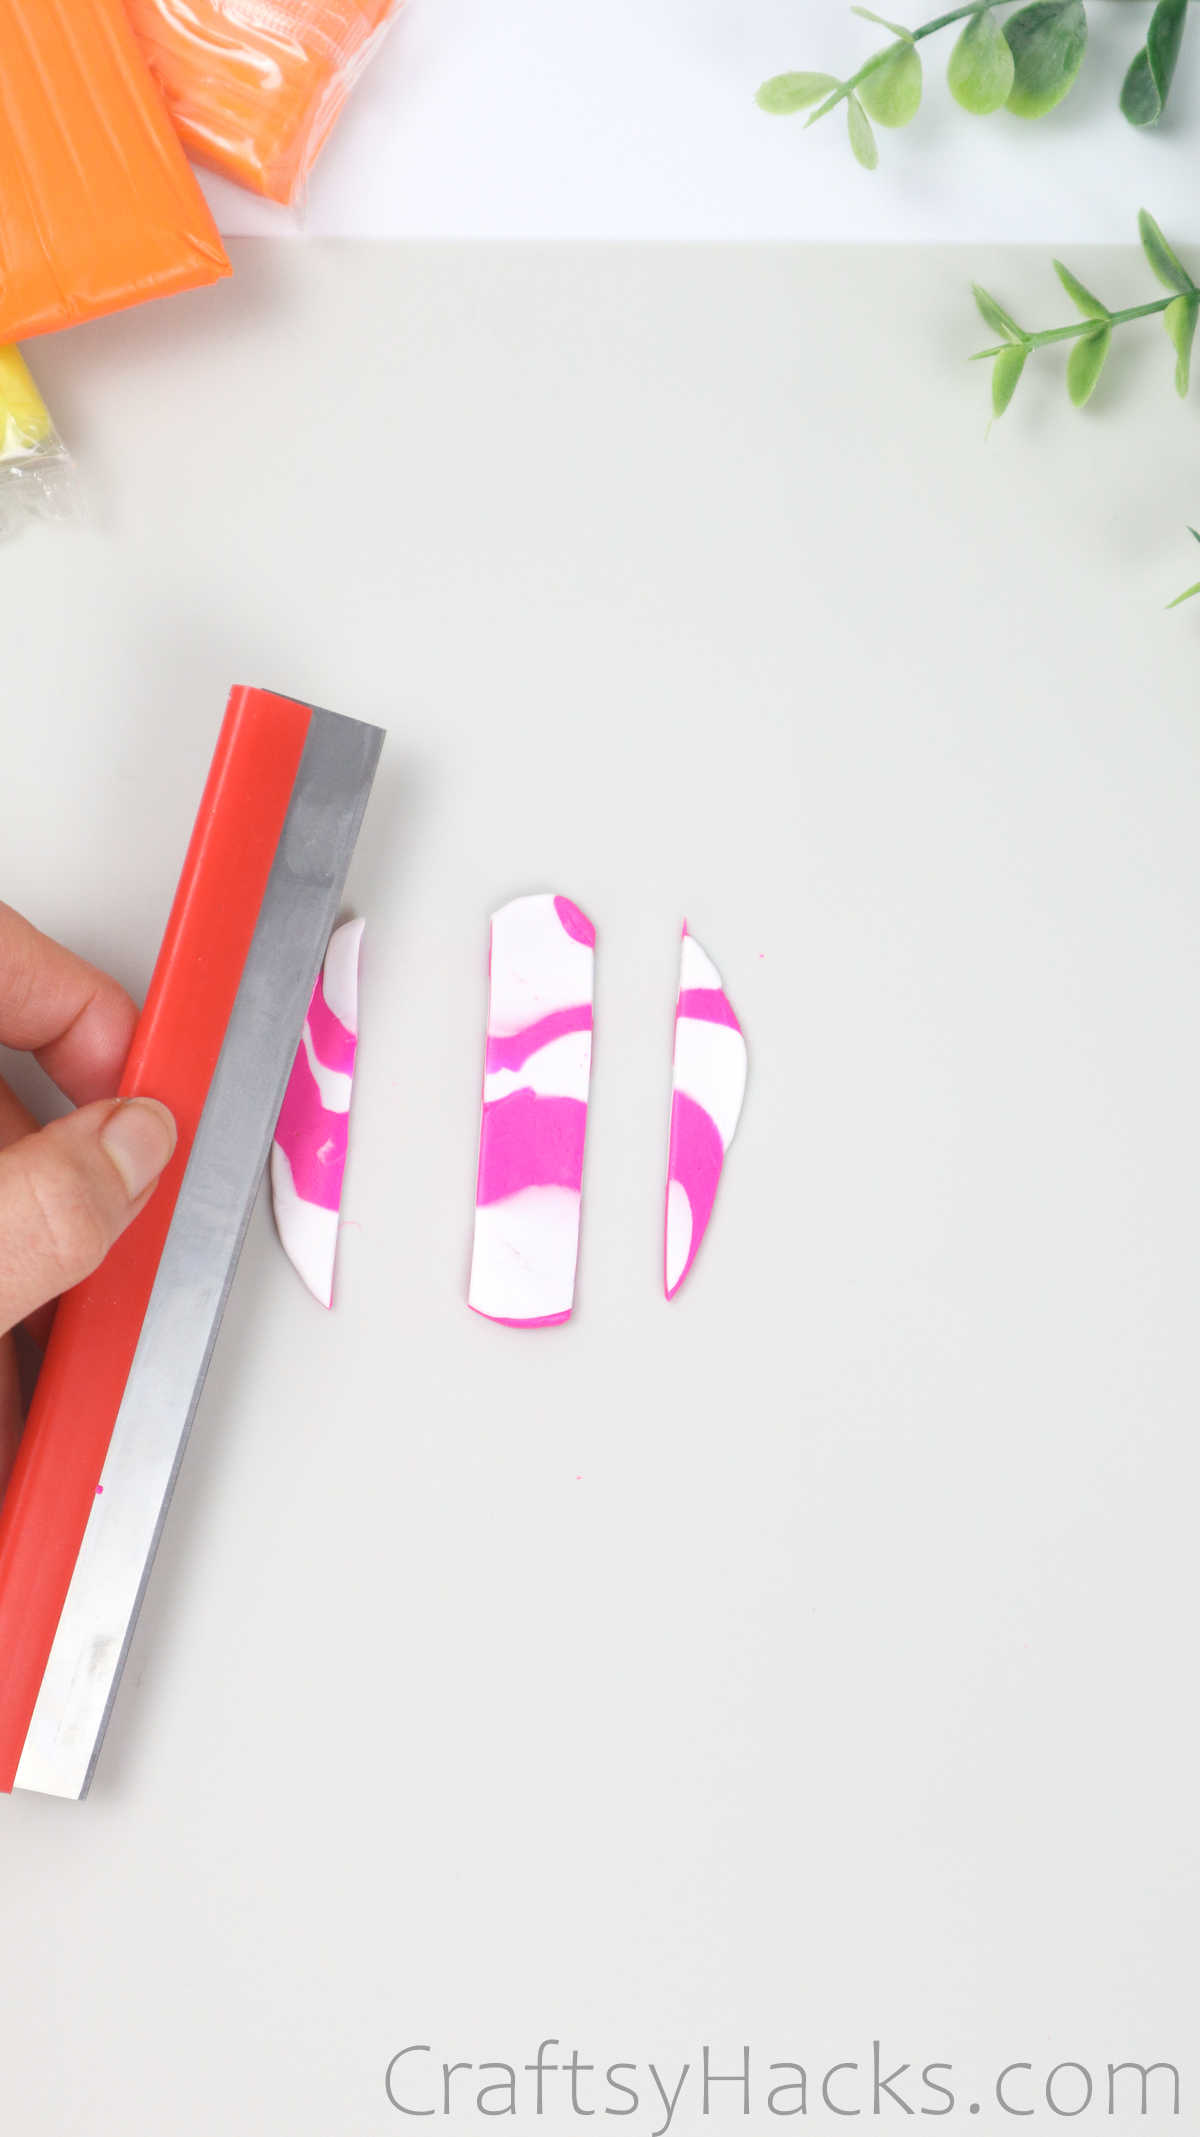
Next, use your cutting tool to cut the clay into three pieces, as seen here.
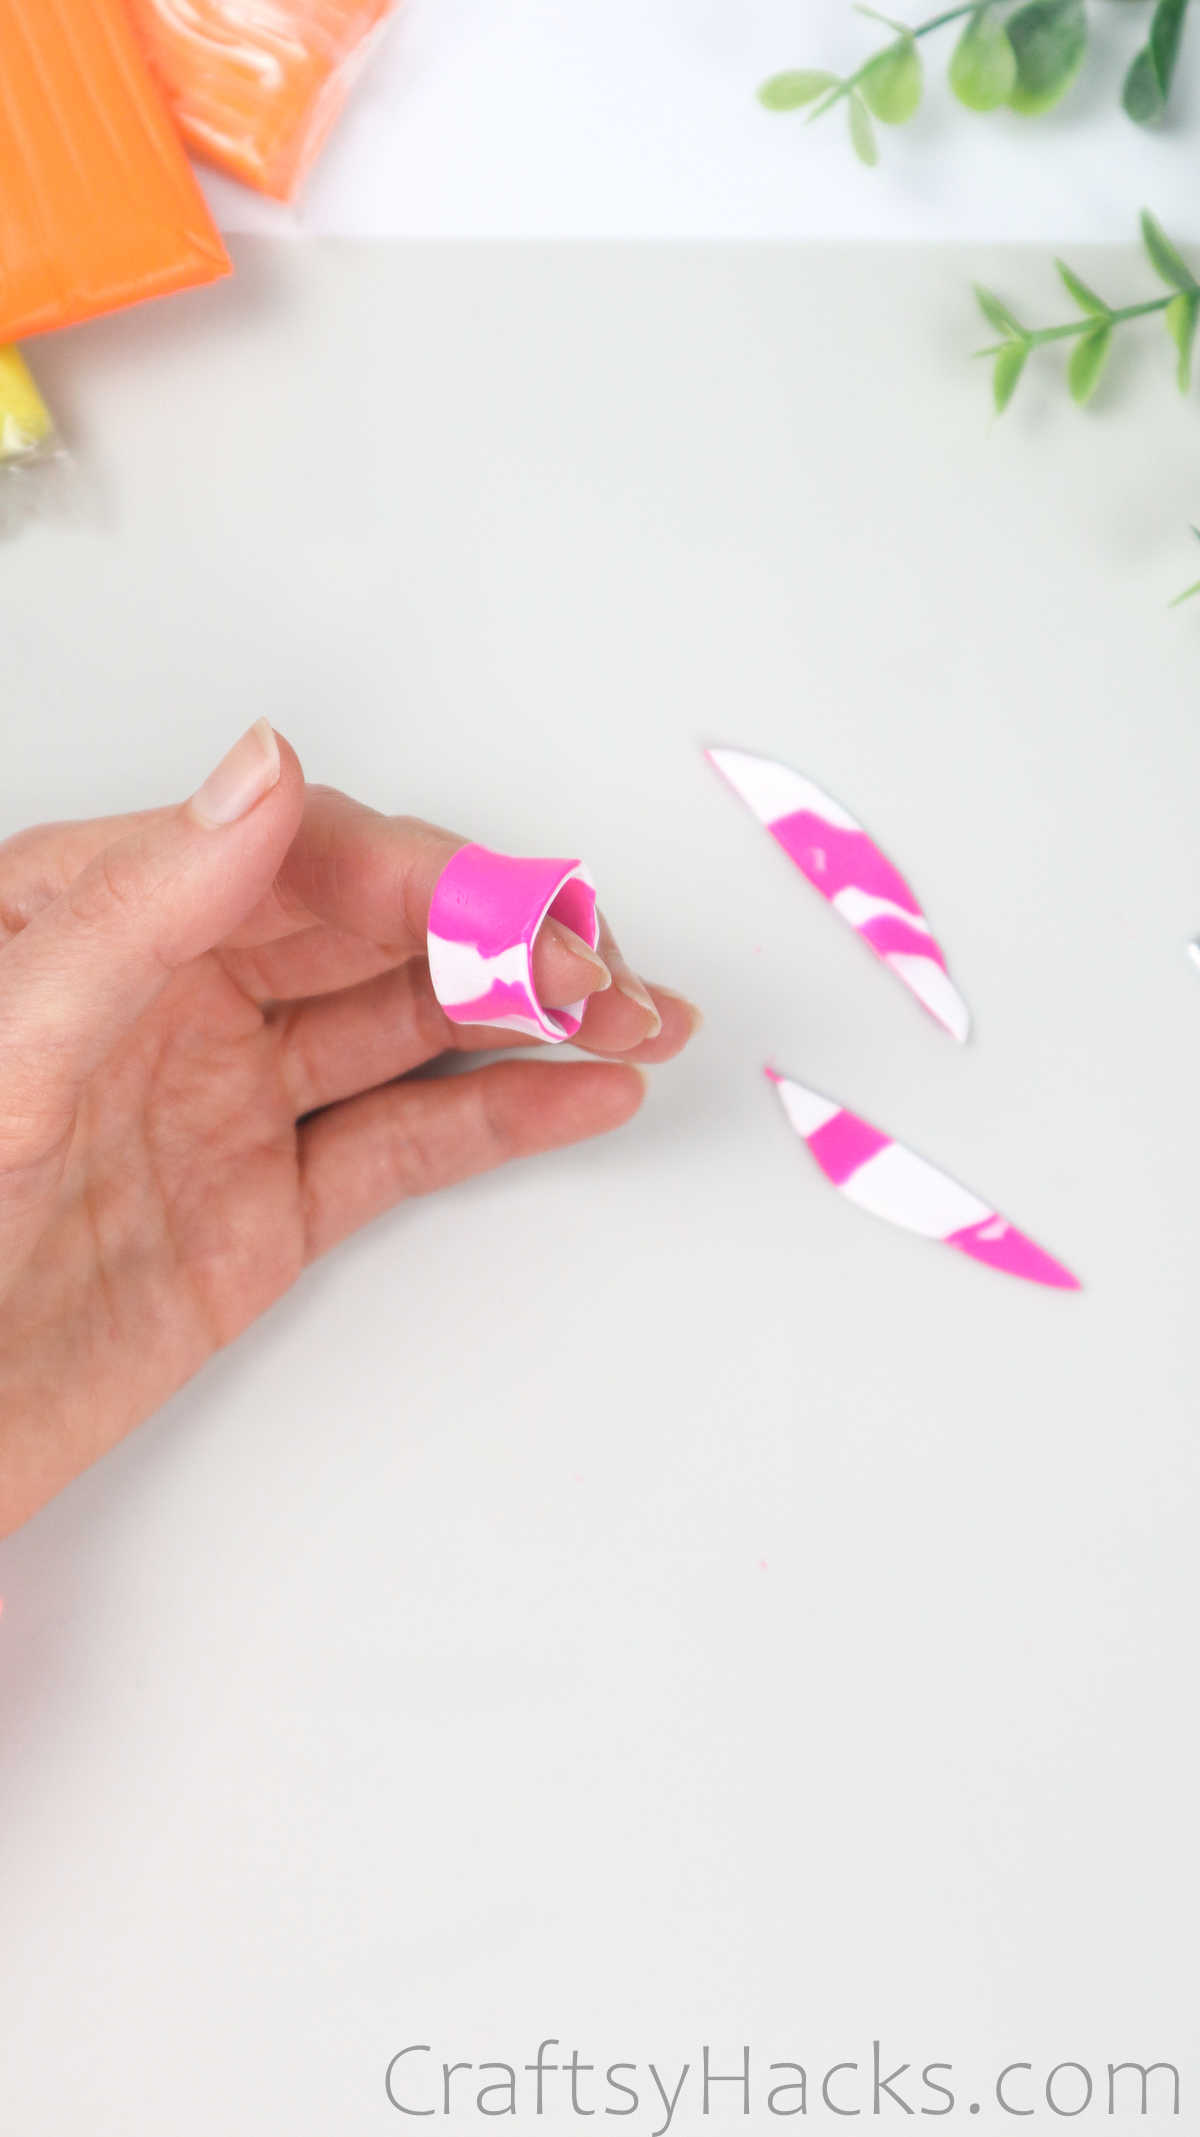
Carefully bring the two ends of the different components together to for an asymmetric ring like this.
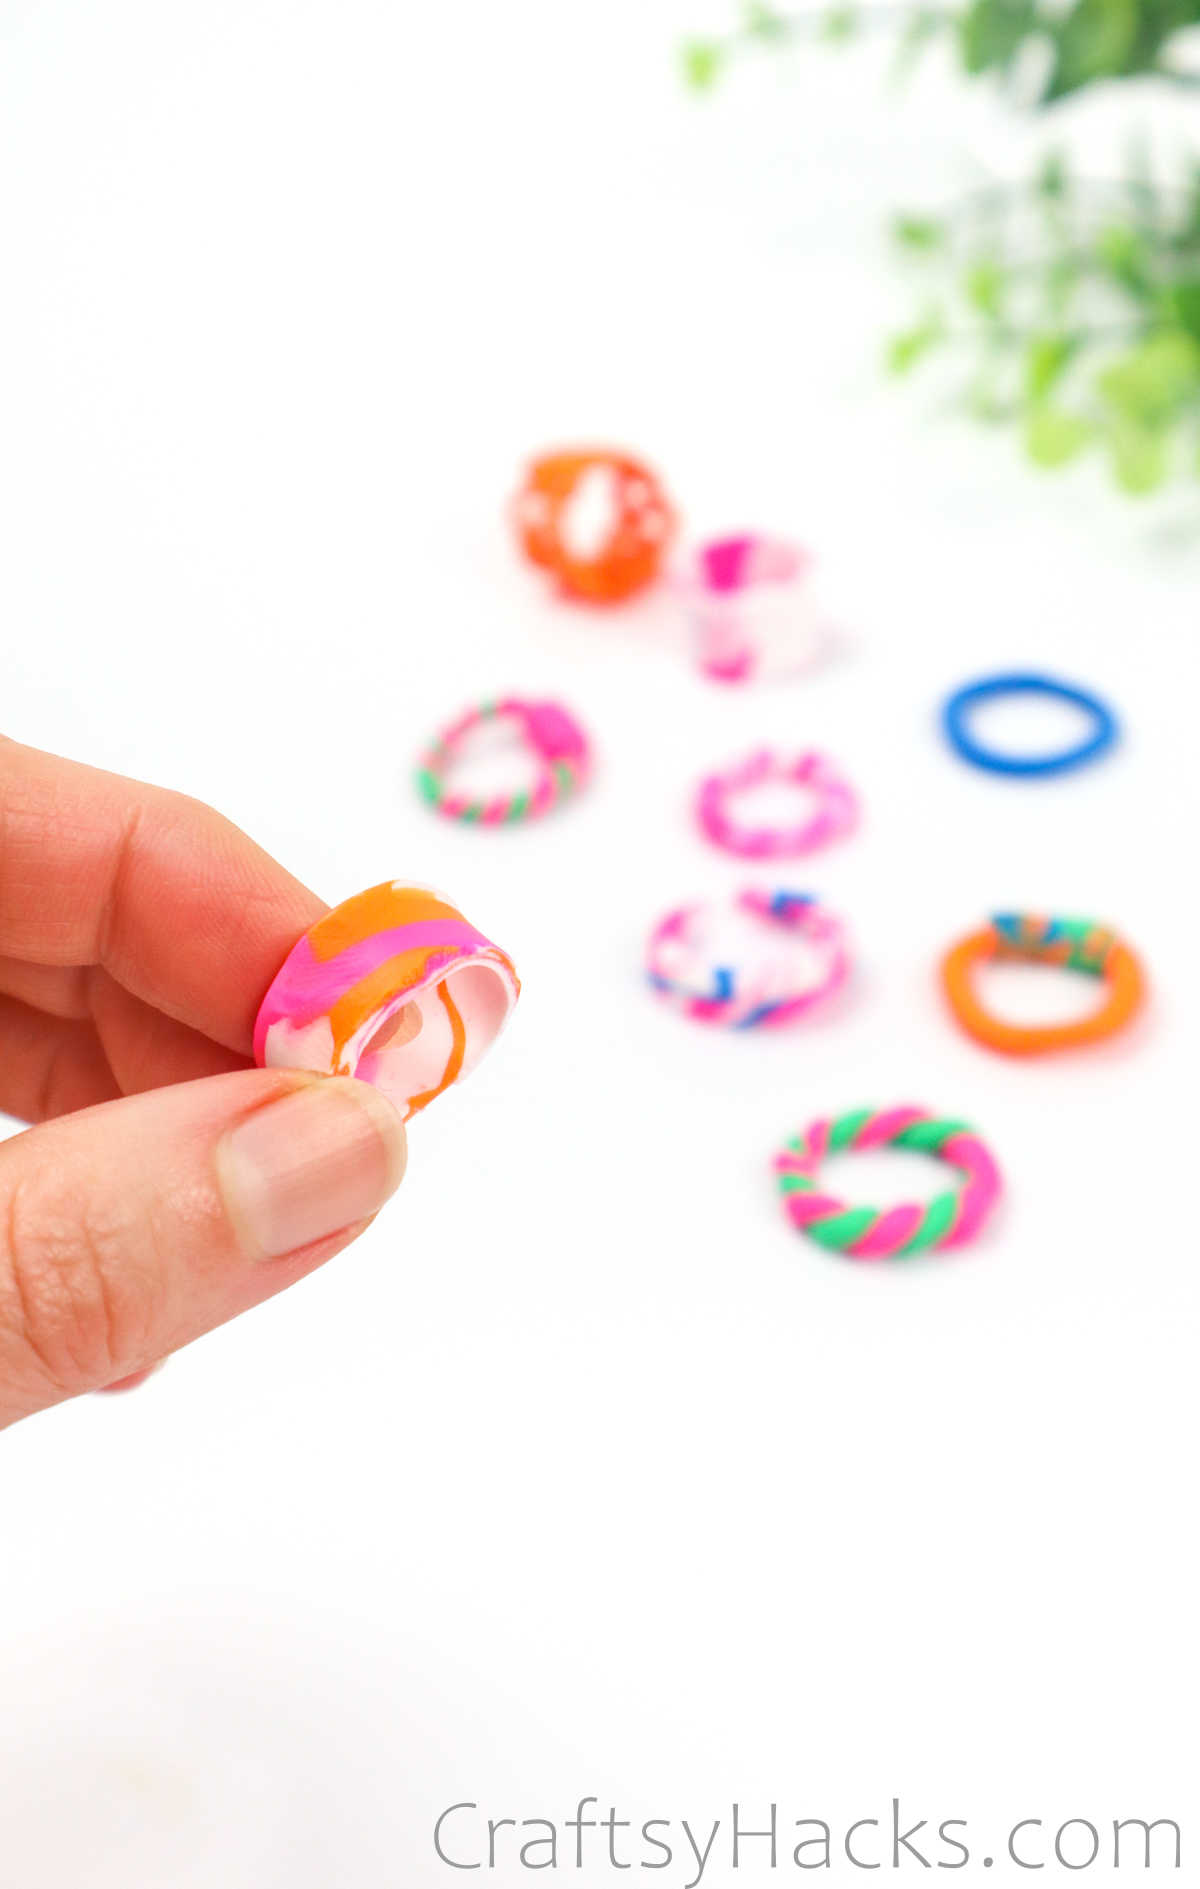
Doesnt it look fabulous?
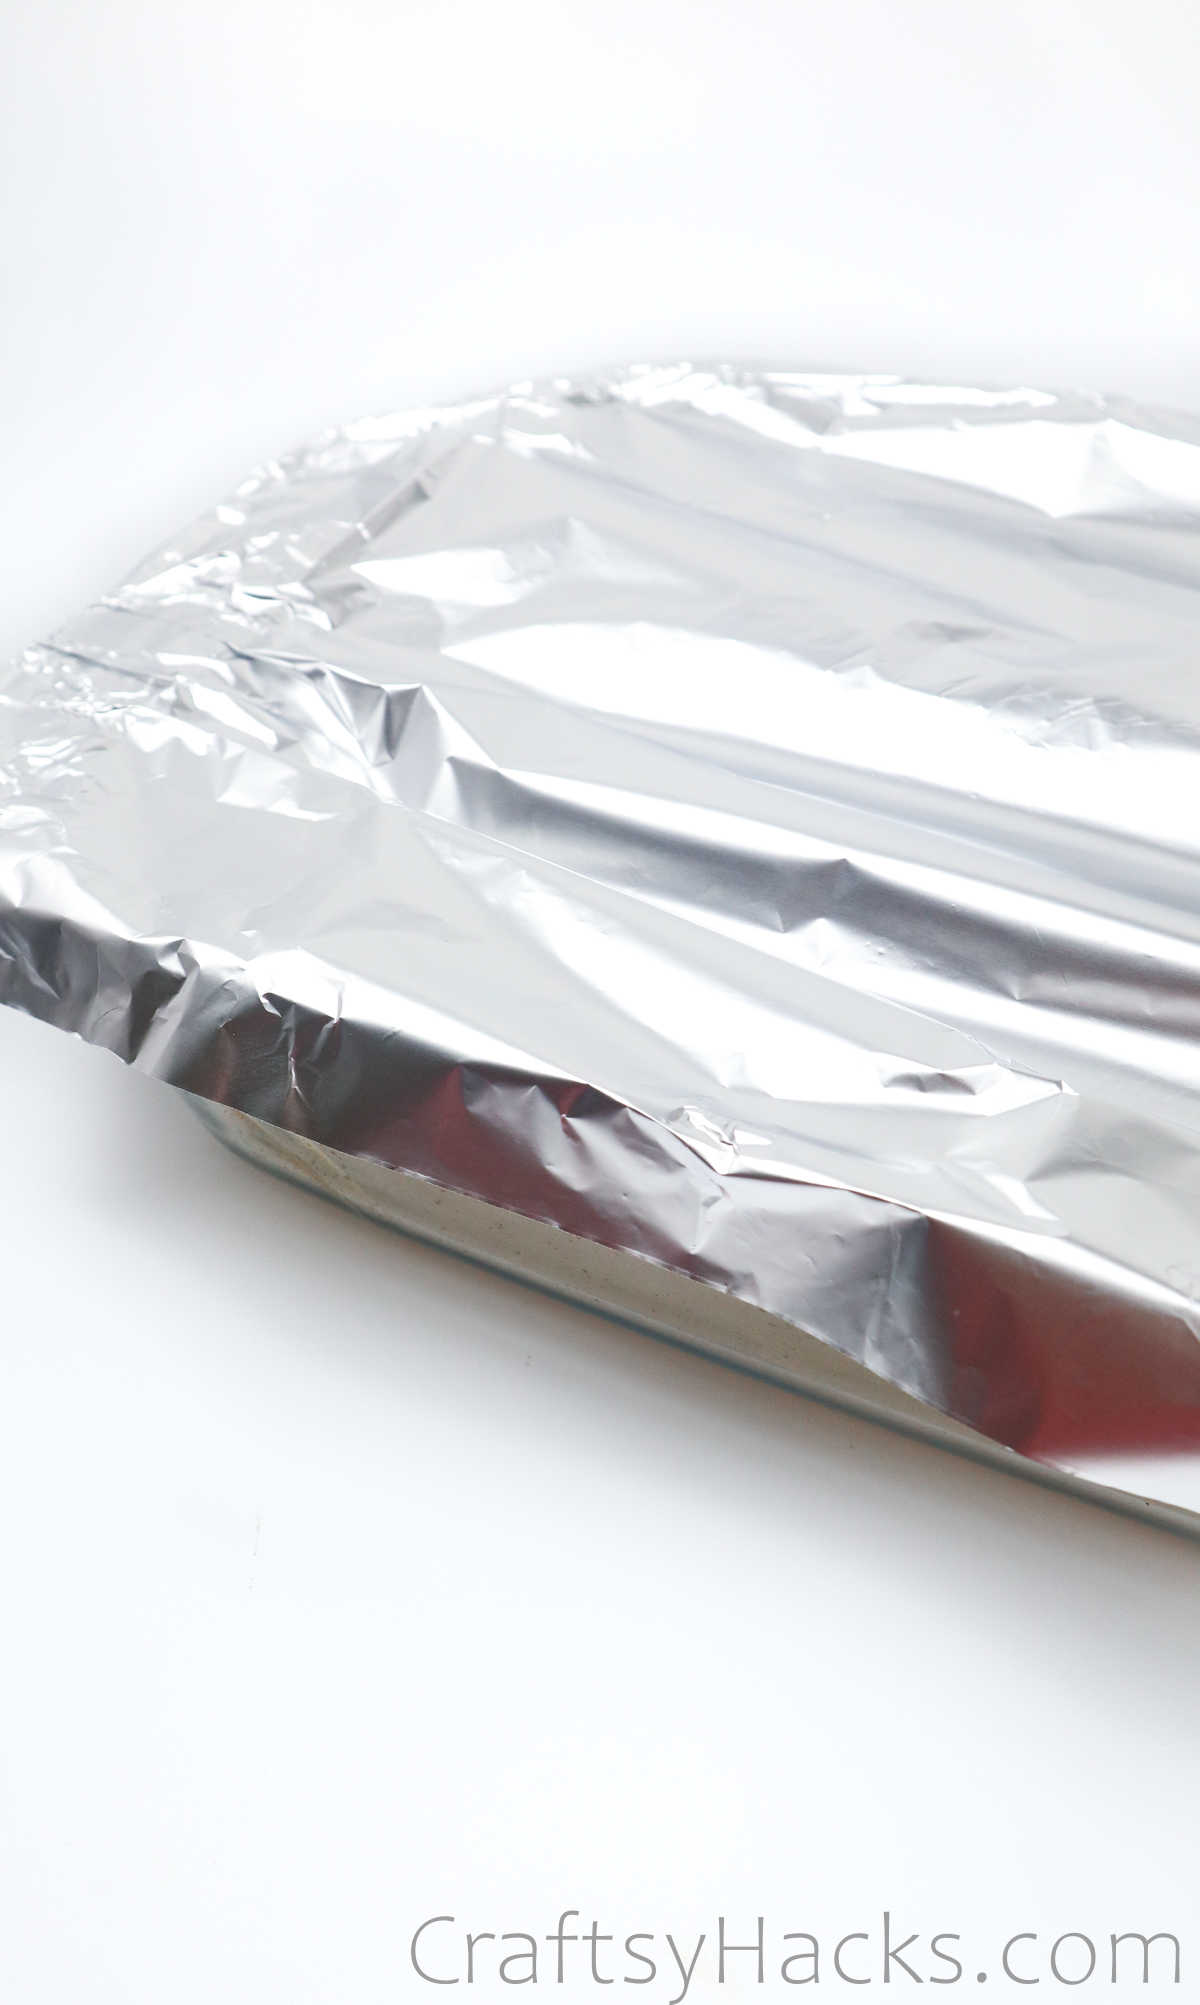
Baking
Its time to bake!
Once youre done making all your different rings, go ahead and place them on the baking tray.
Remember to preheat the oven first.
Grab some aluminum foil and cover the tray before popping it into the oven.
The thing about polymer clay is that it’s crucial that you bake it for just the right time.
Too little or too long and the ring will harden too much, crack, or crumble.
SO just ensure you read the instructions carefully about the baking process and time.
Also, heres a fun tip.