HomeDIY
This post may contain affiliate links:full affiliate disclosure.
Are you someone thats crafty or looking to become craftier this year?
Or someone that loves to give extra special gifts with a personal touch?

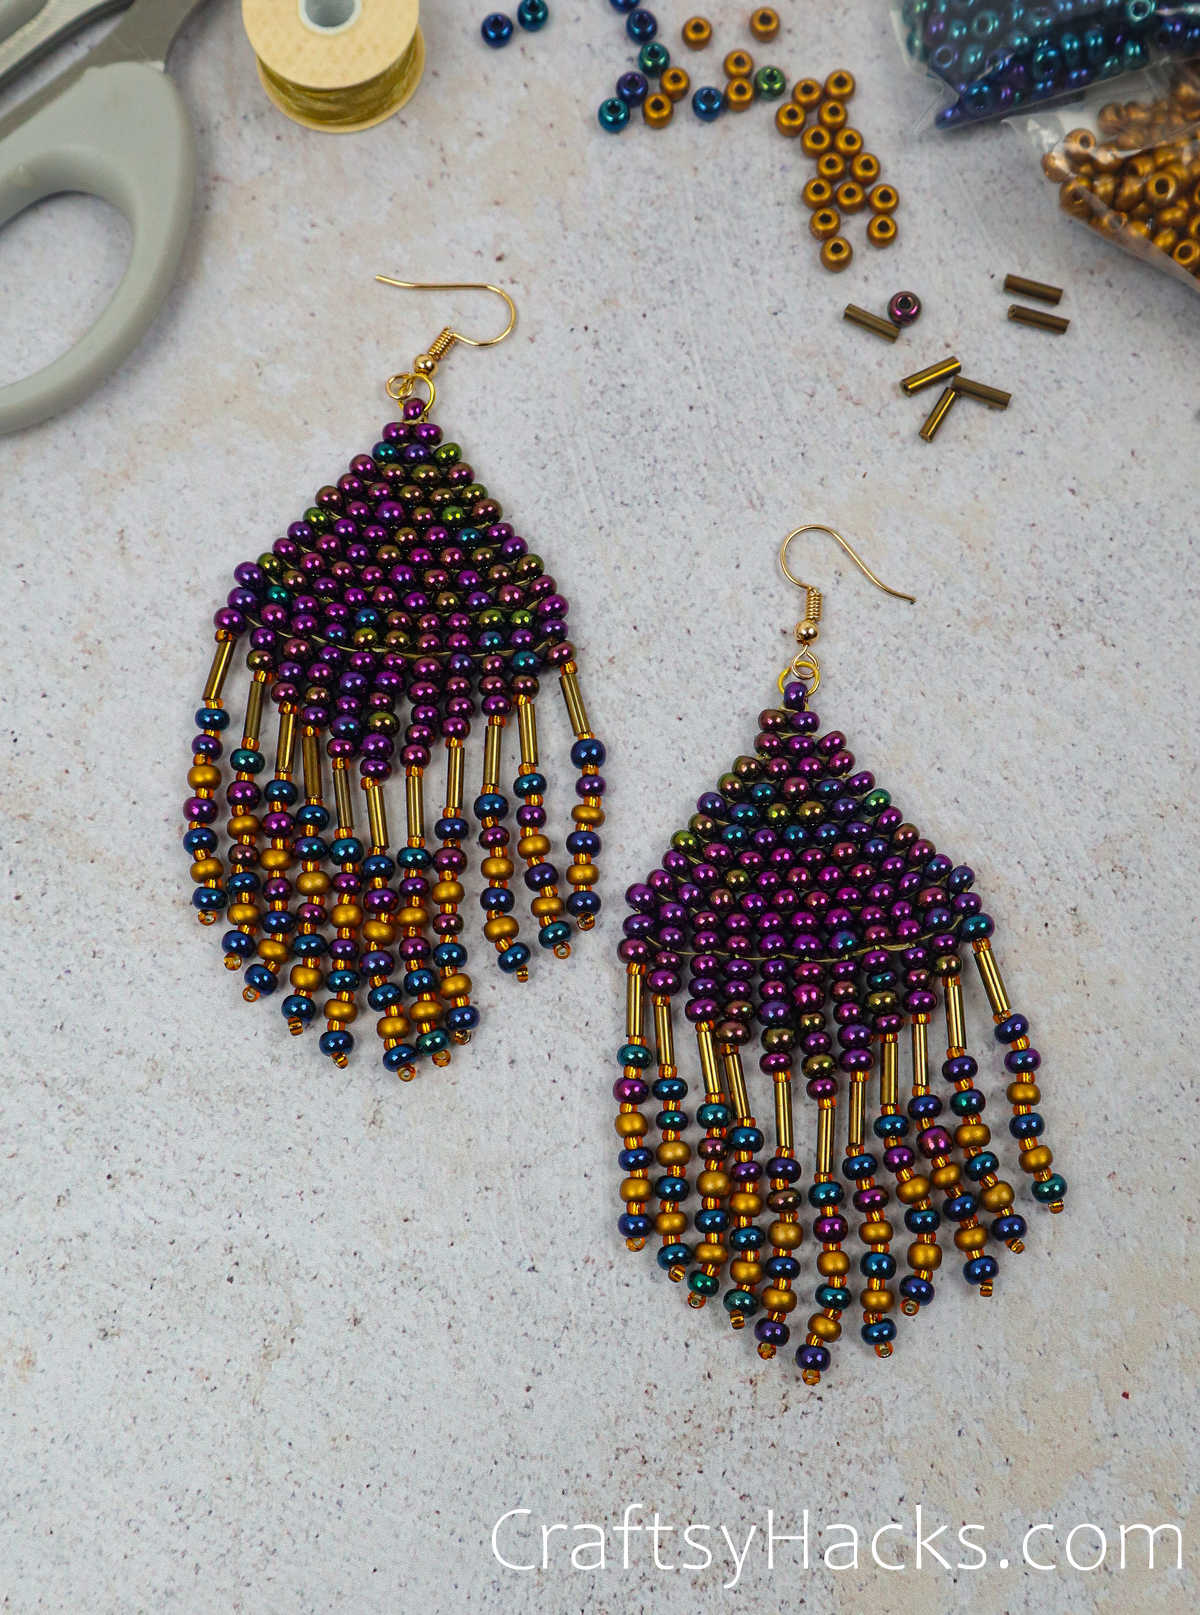
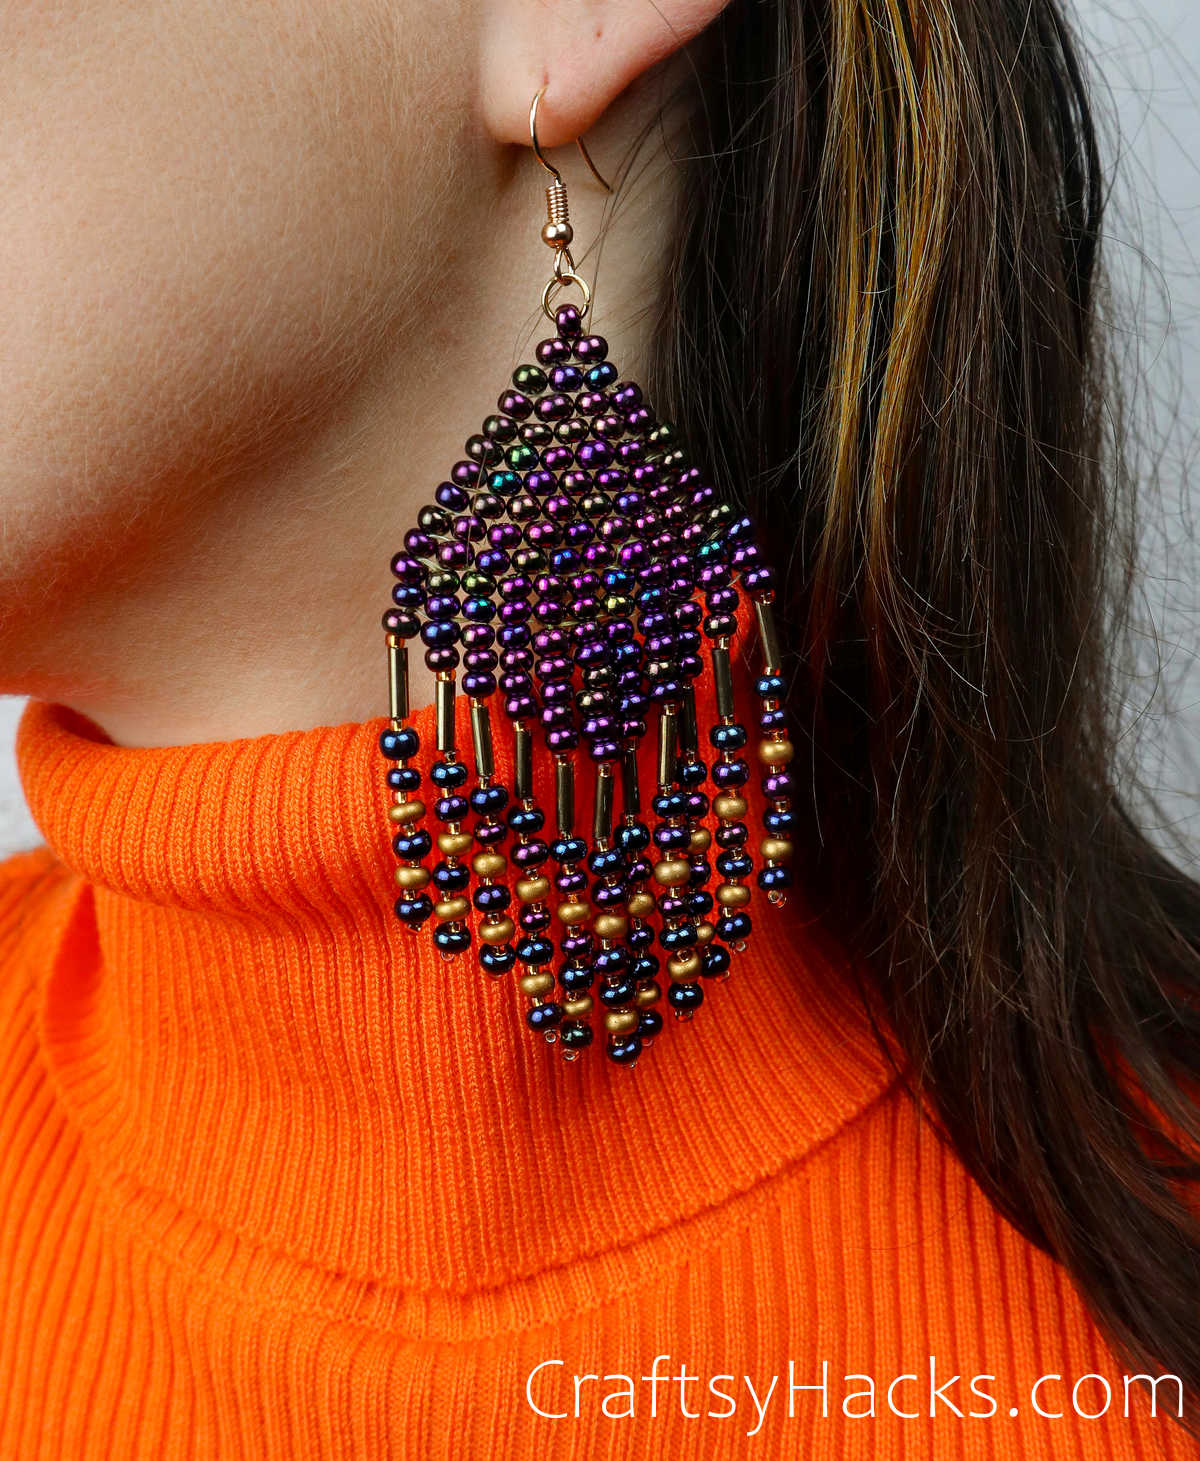
Thesebeaded earringsare for you!
Making your own beaded earrings is surprisingly easy and pretty fun if youve got everything set up well.
Now that Ive shared my tips lets get onto the tutorial!
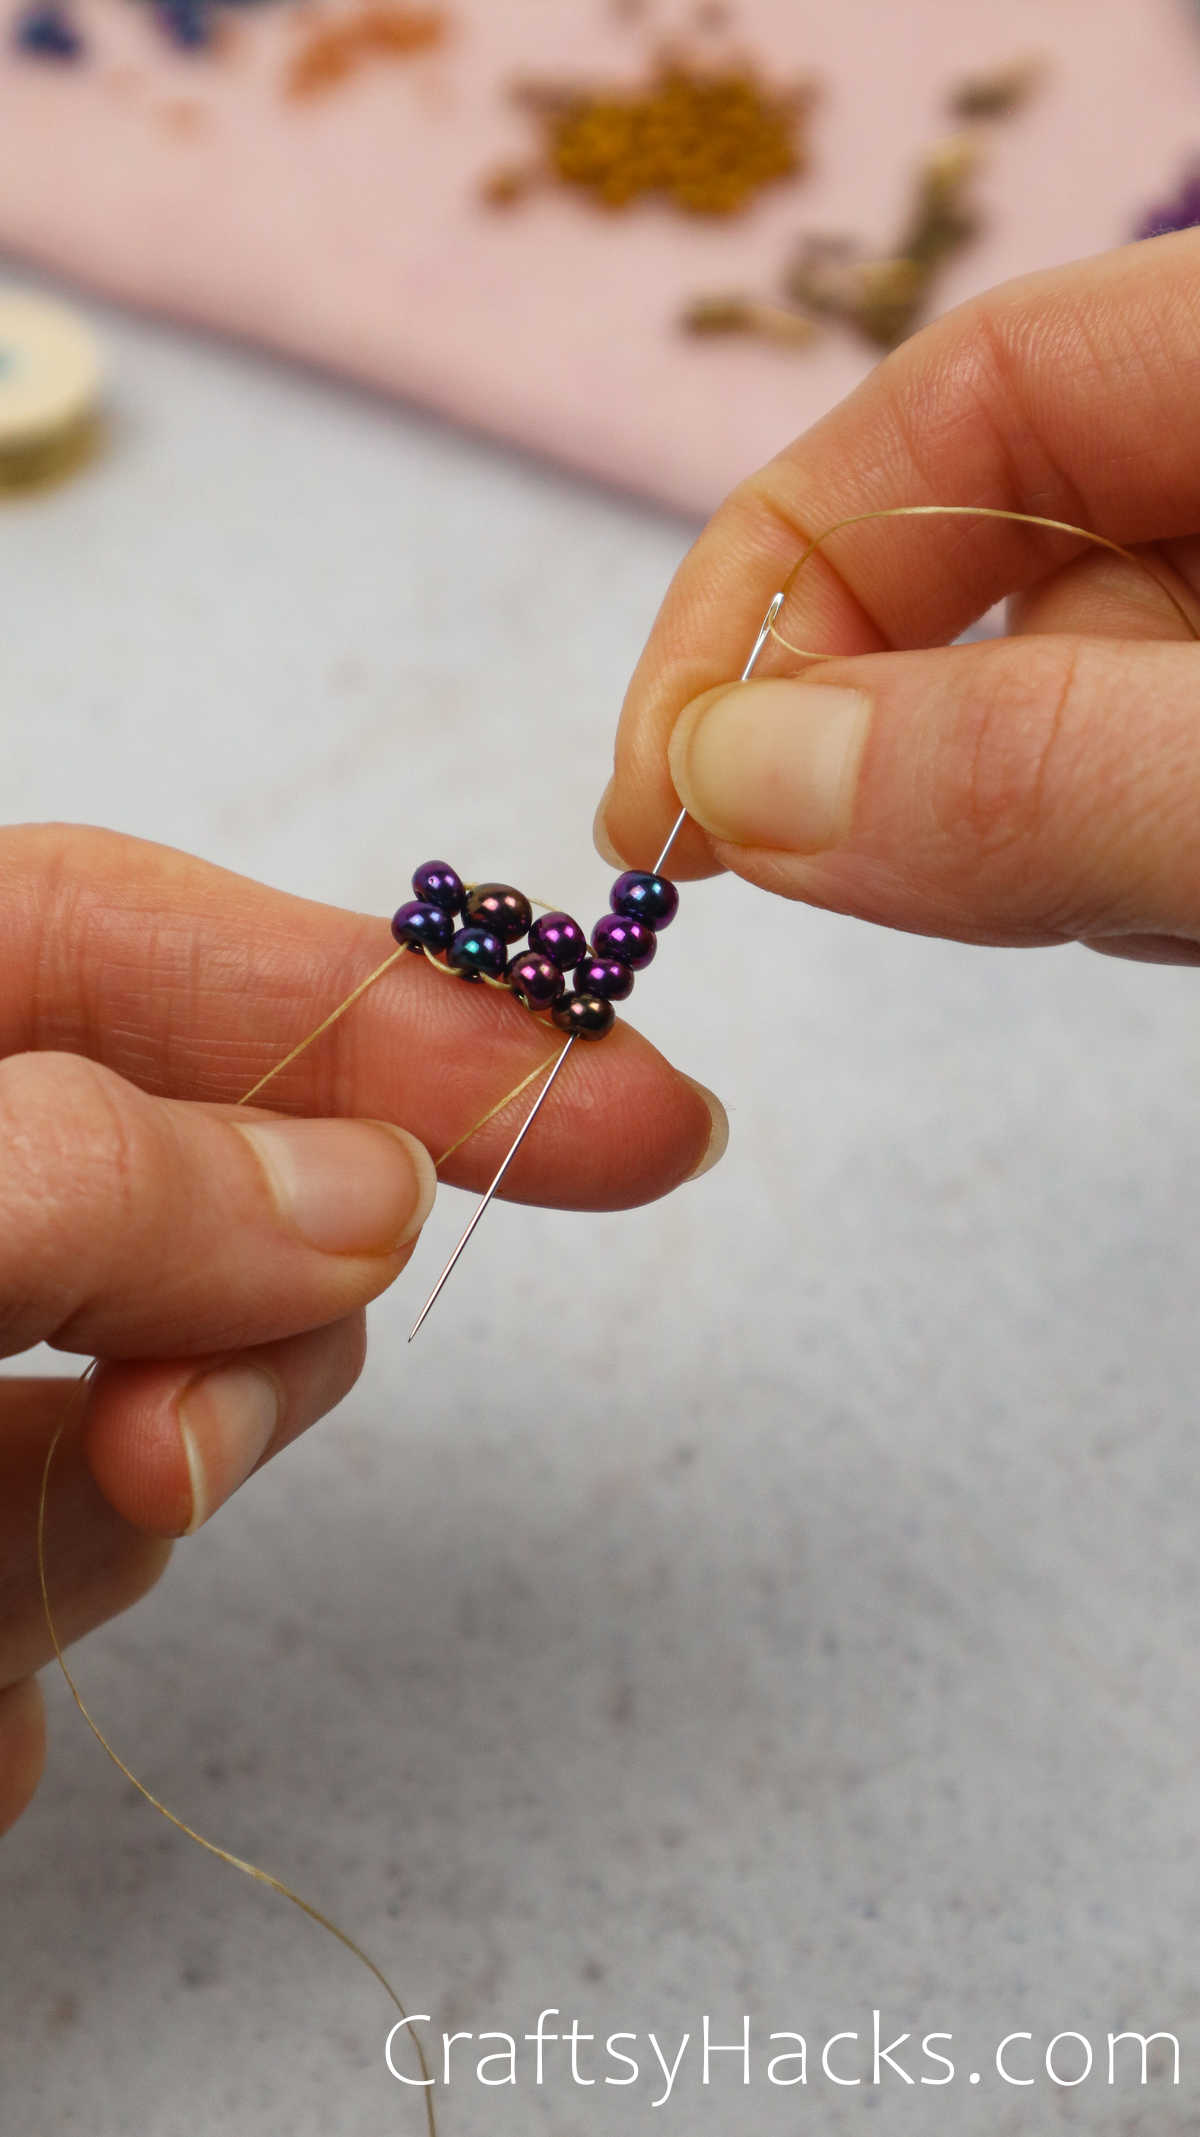
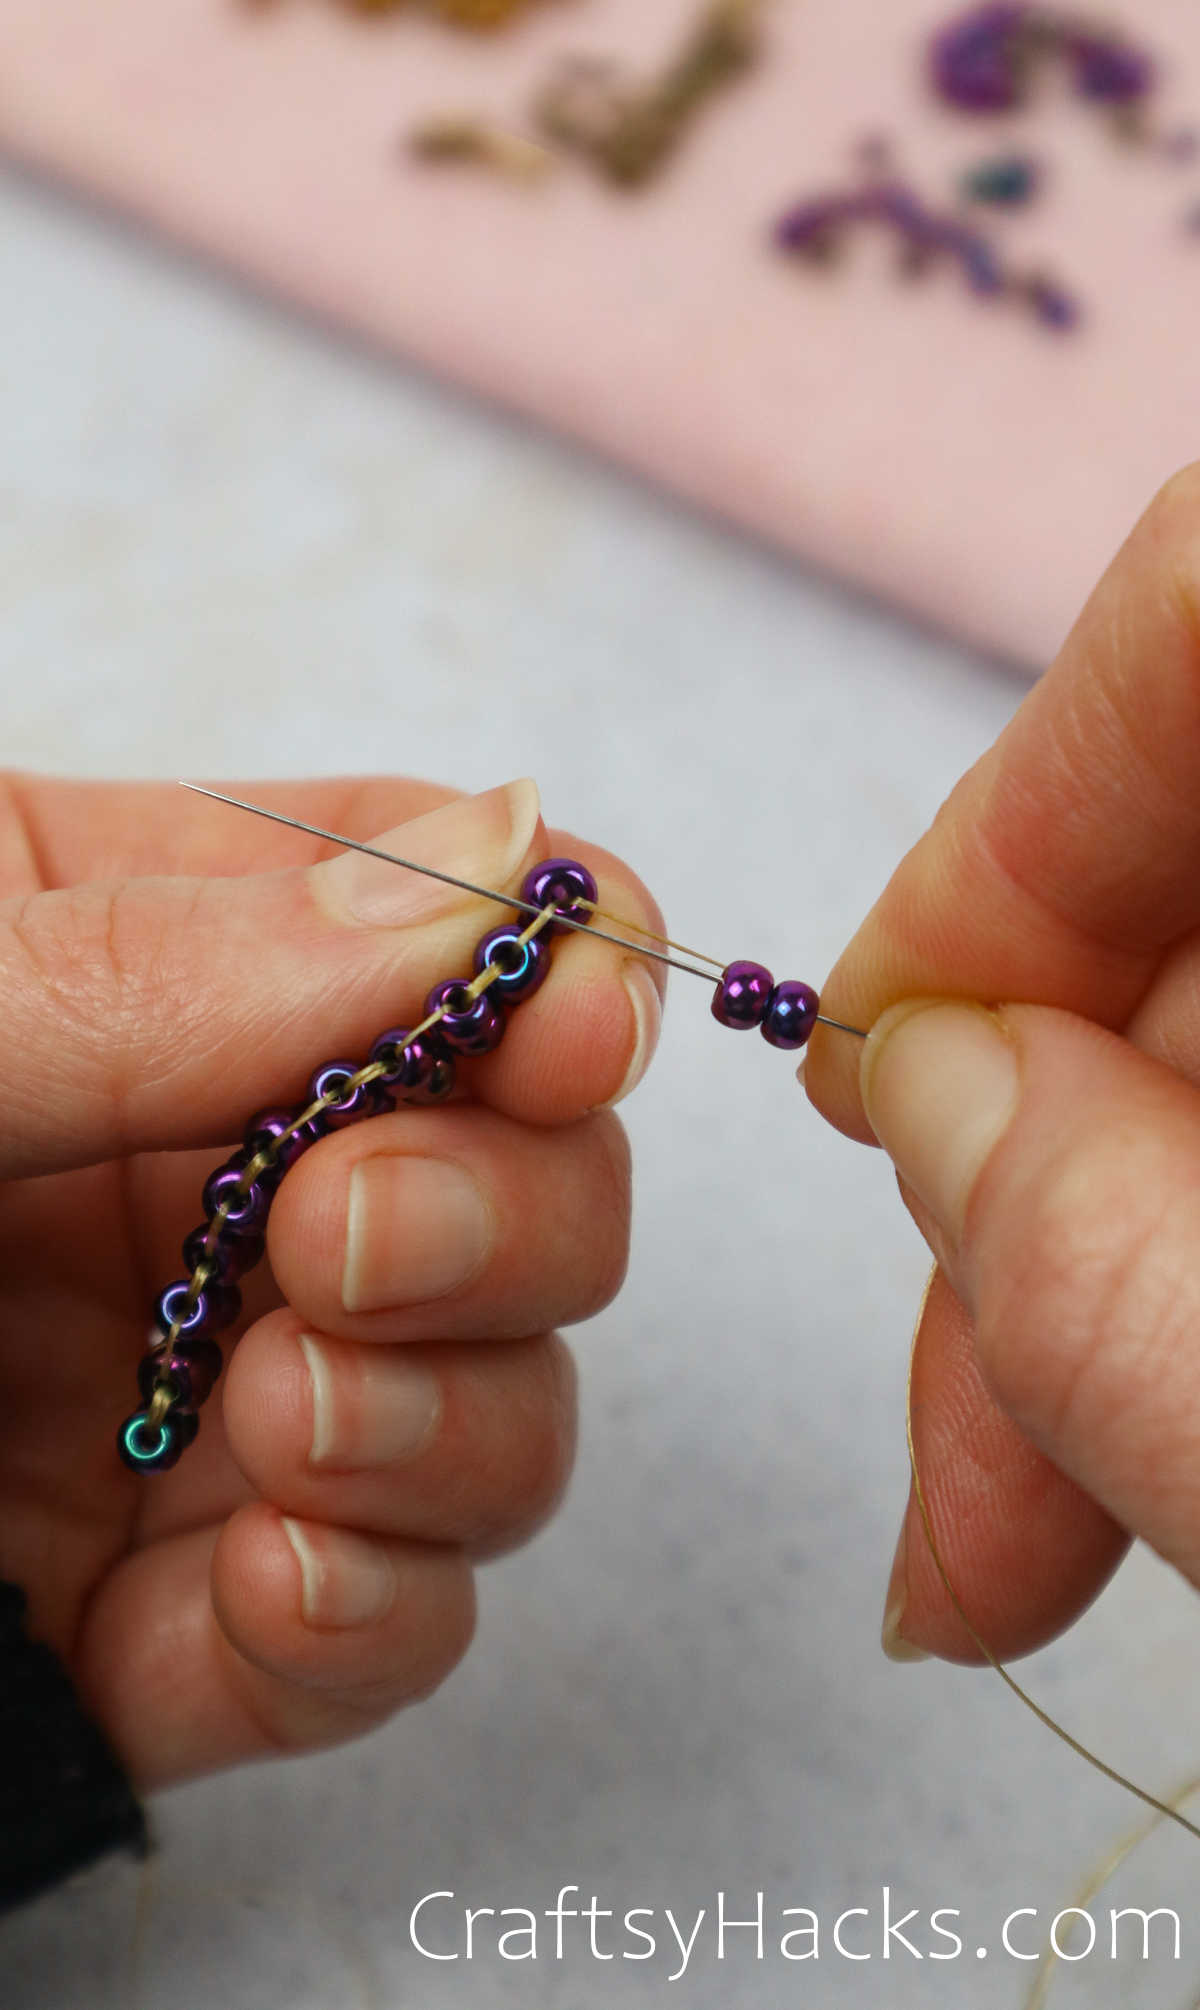
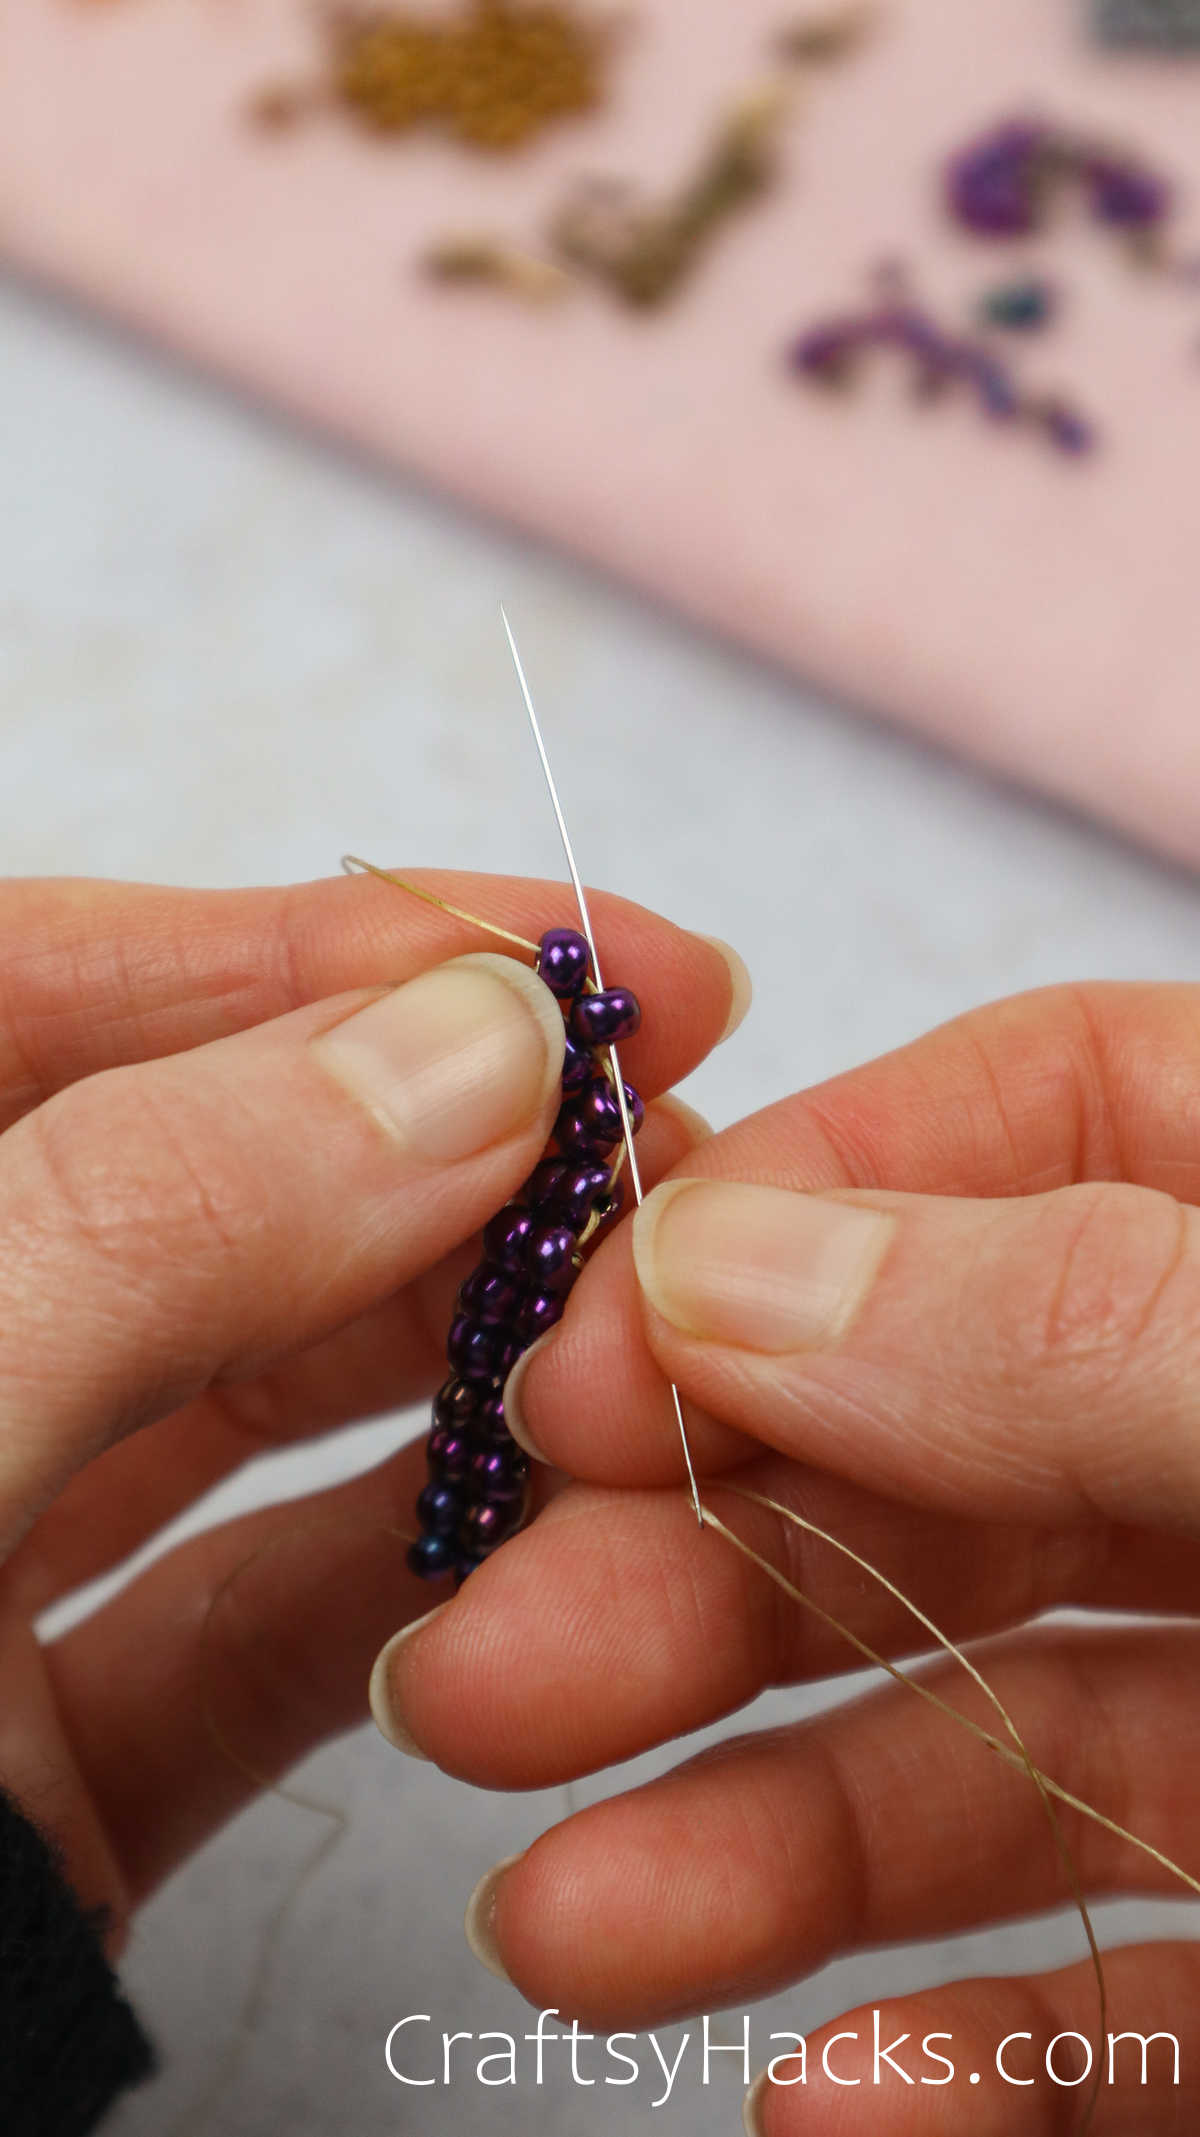
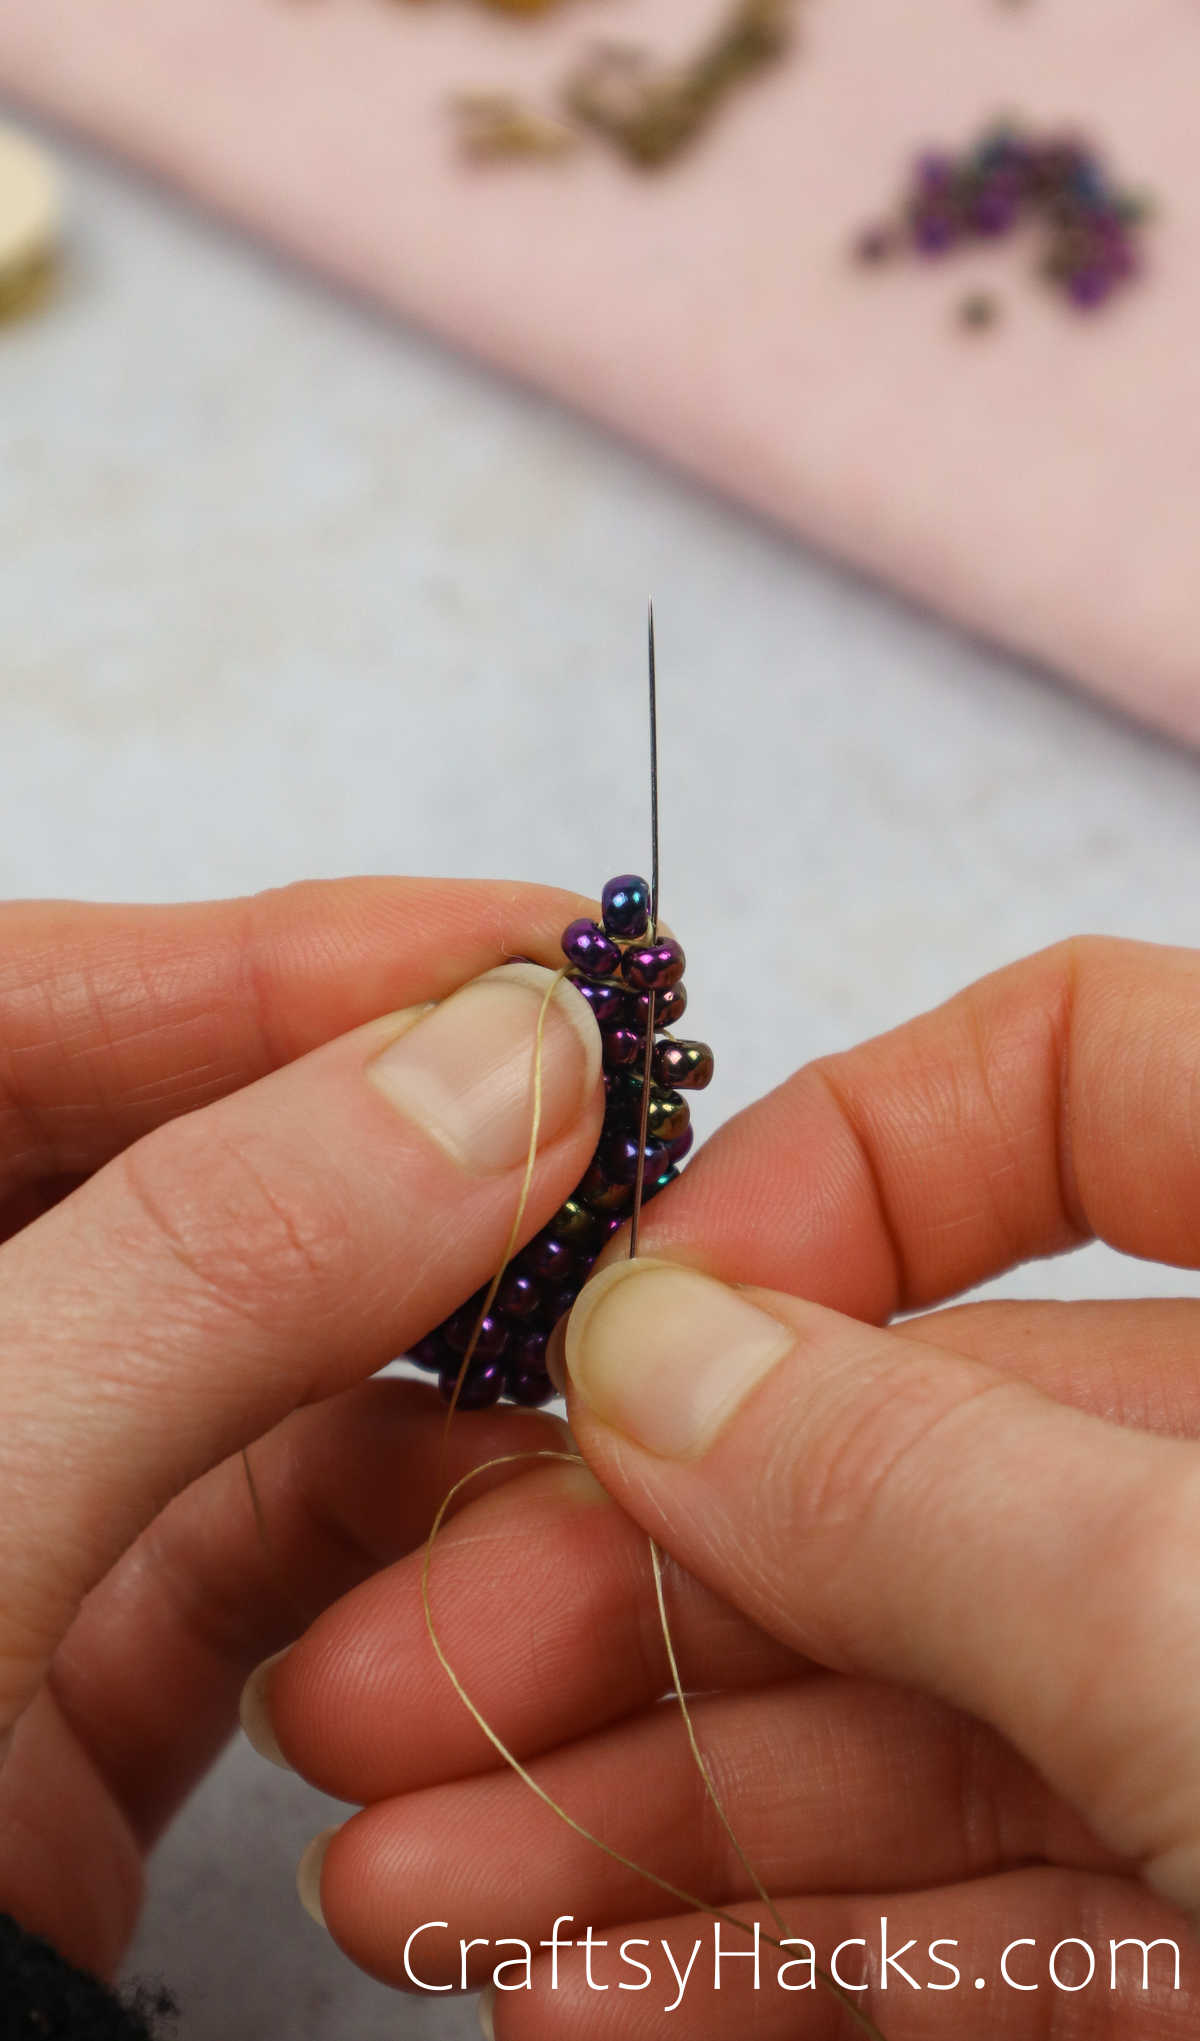
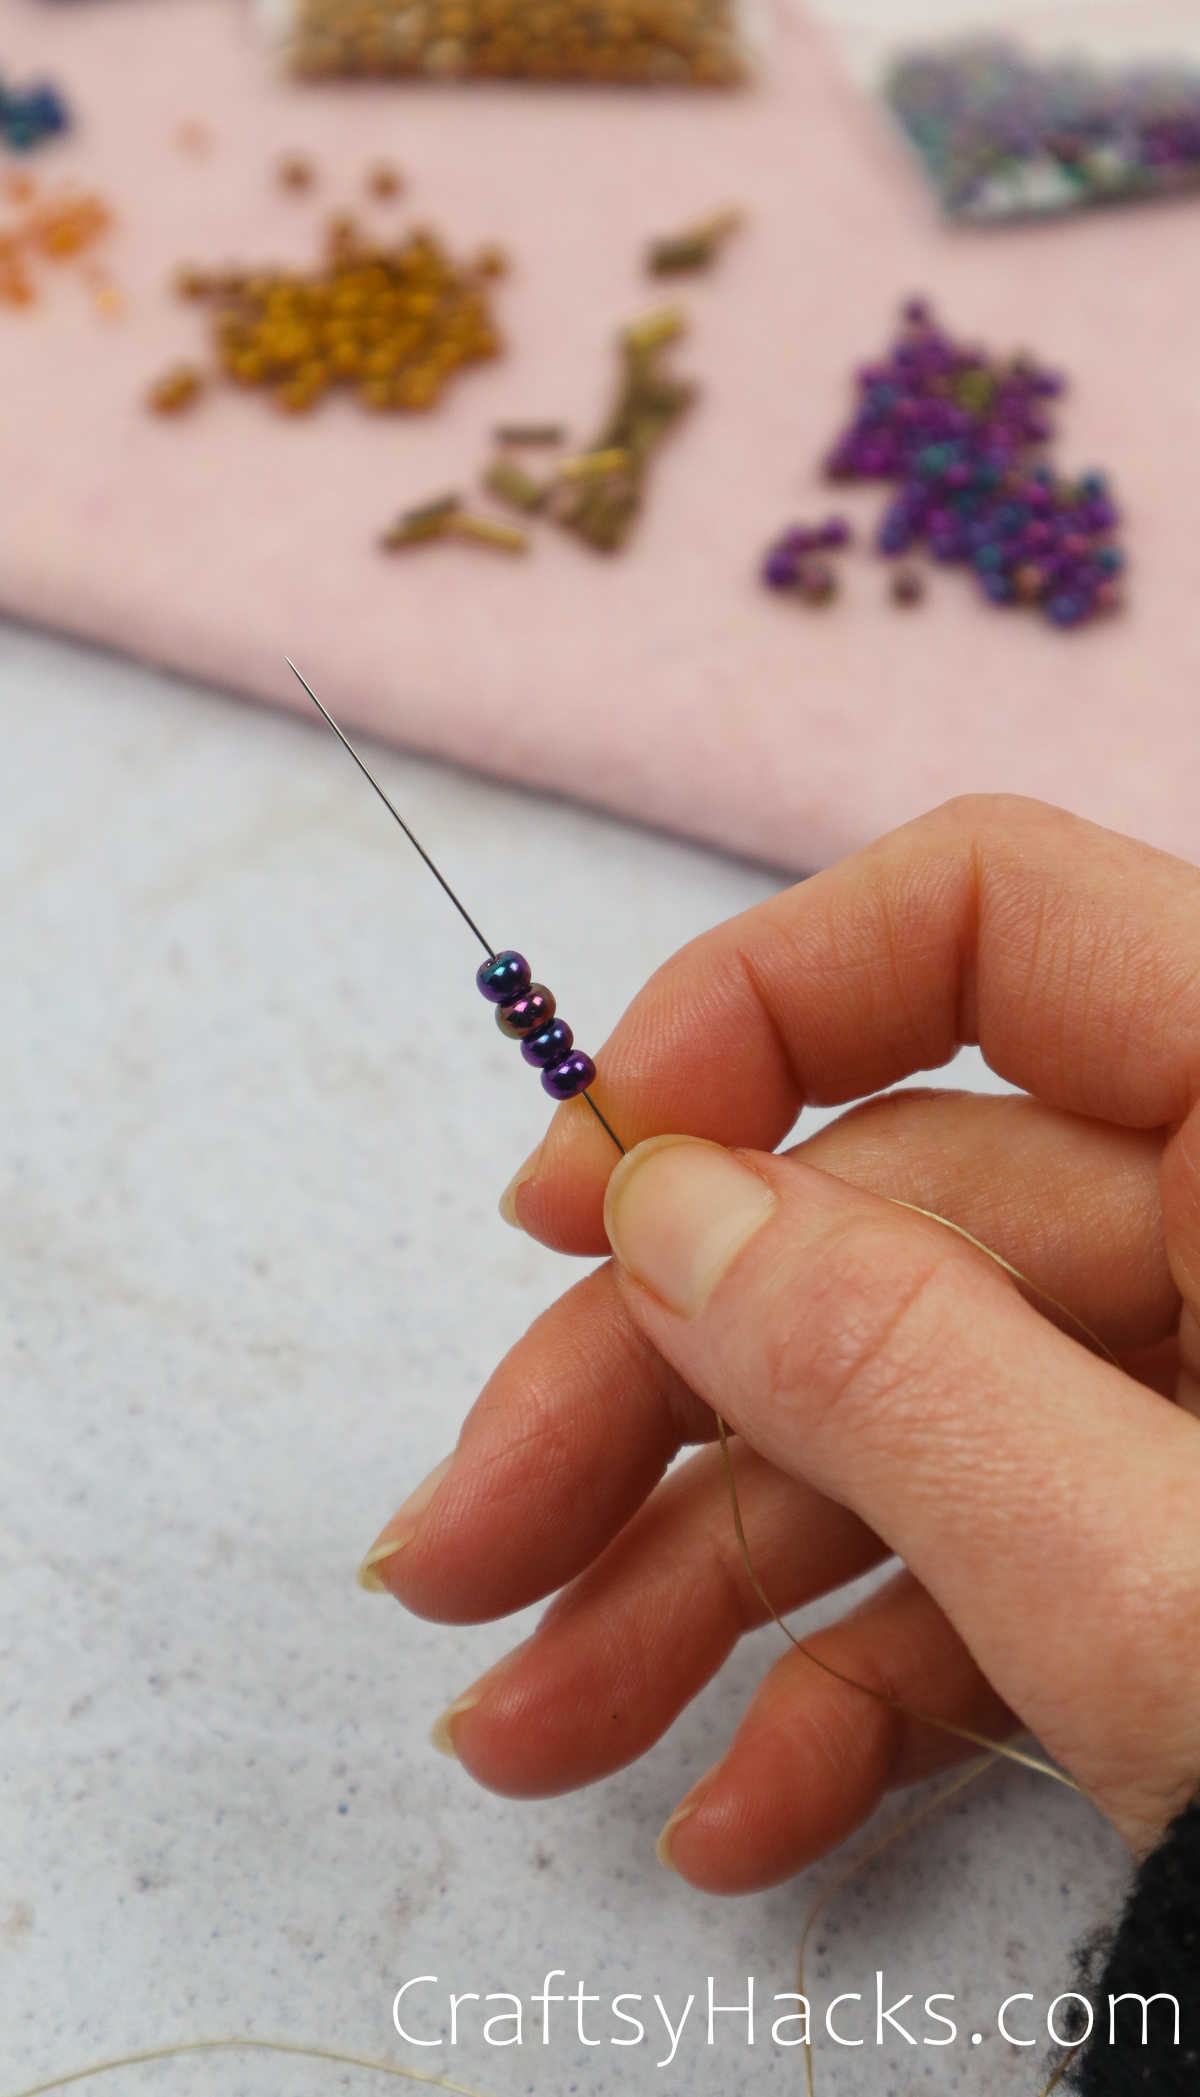
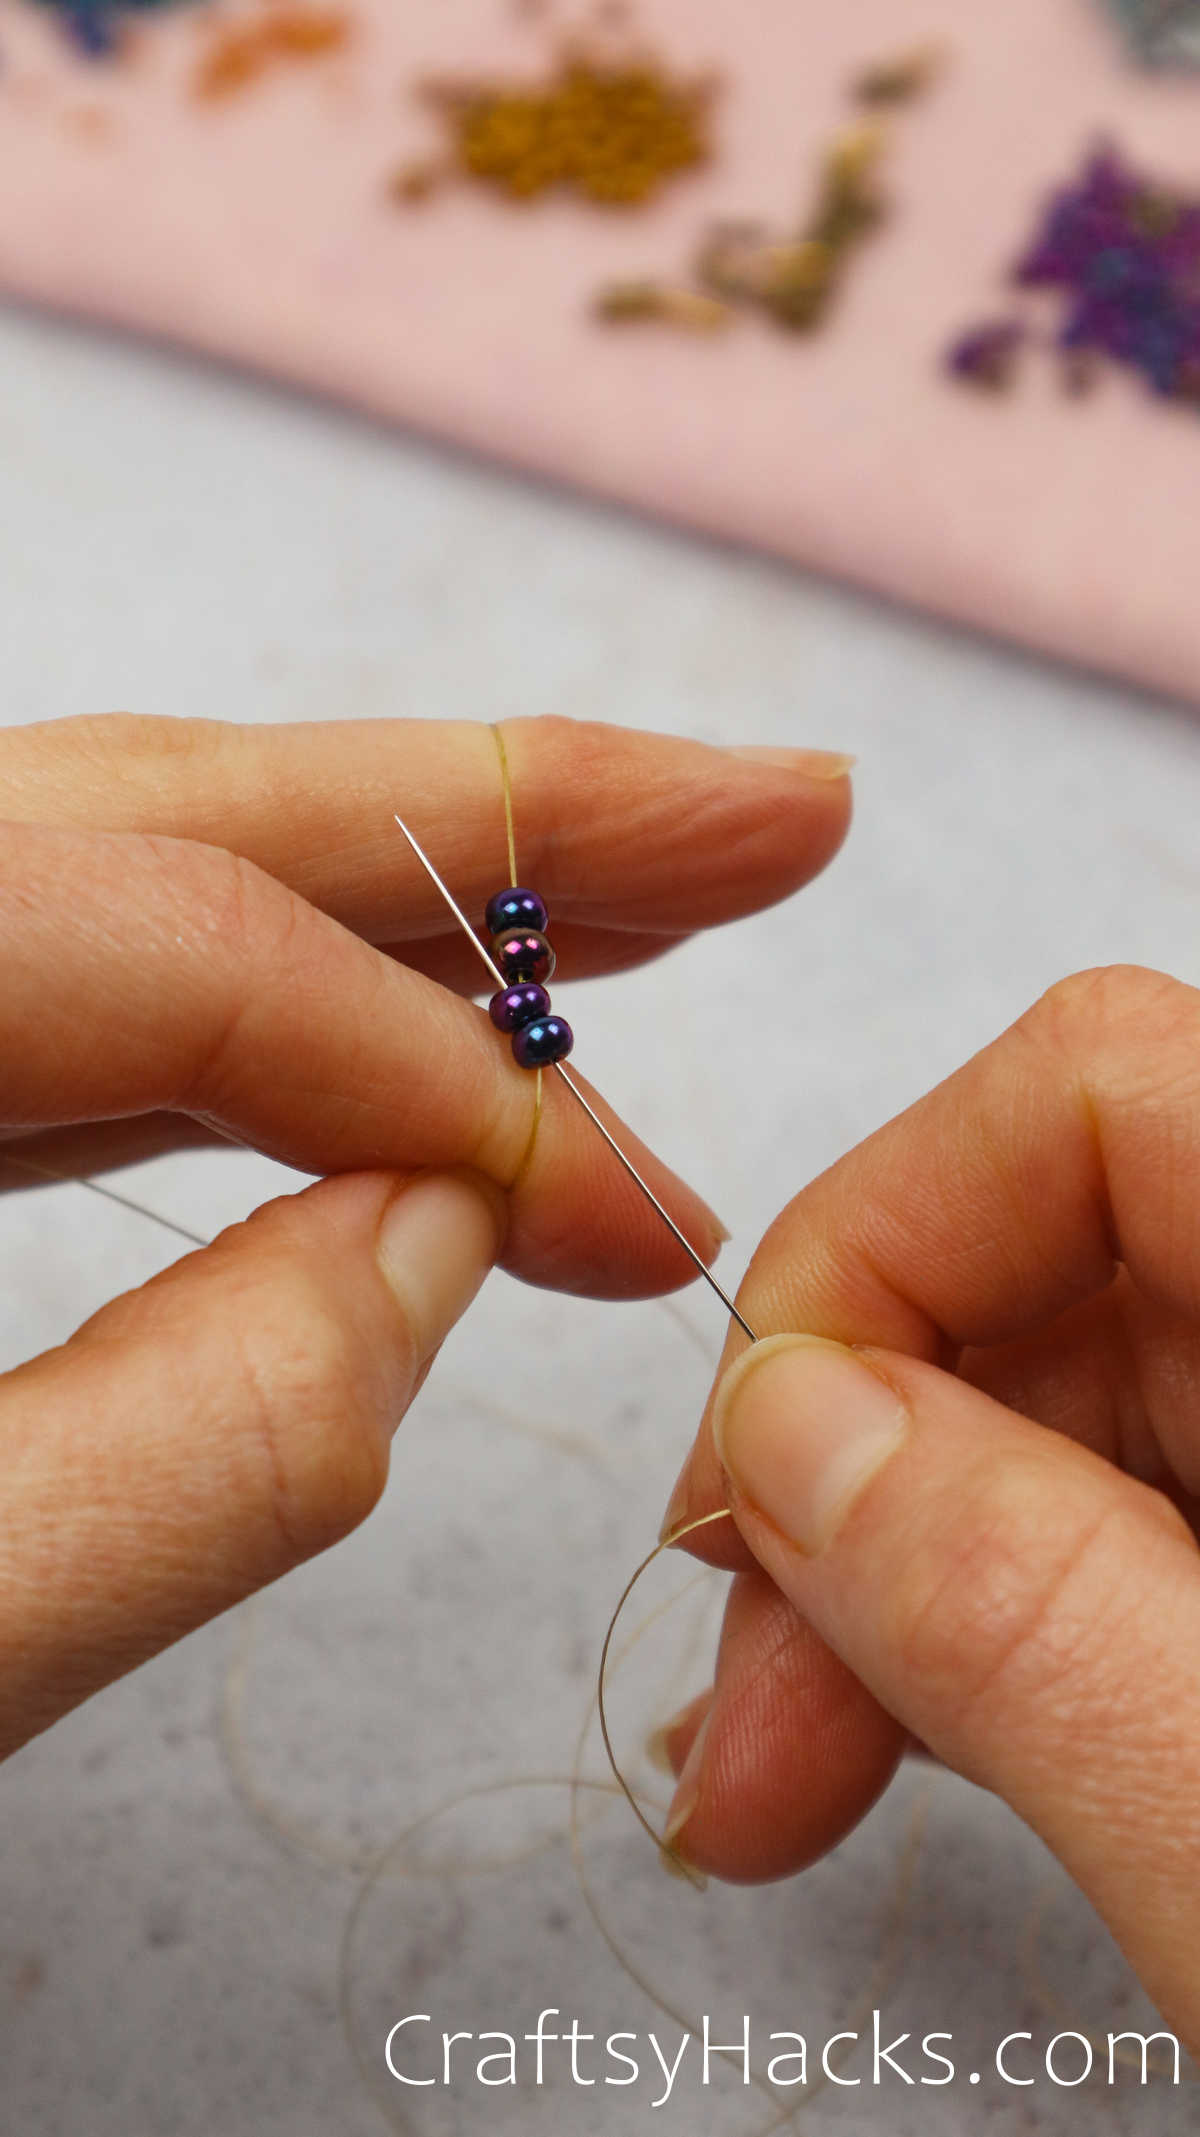
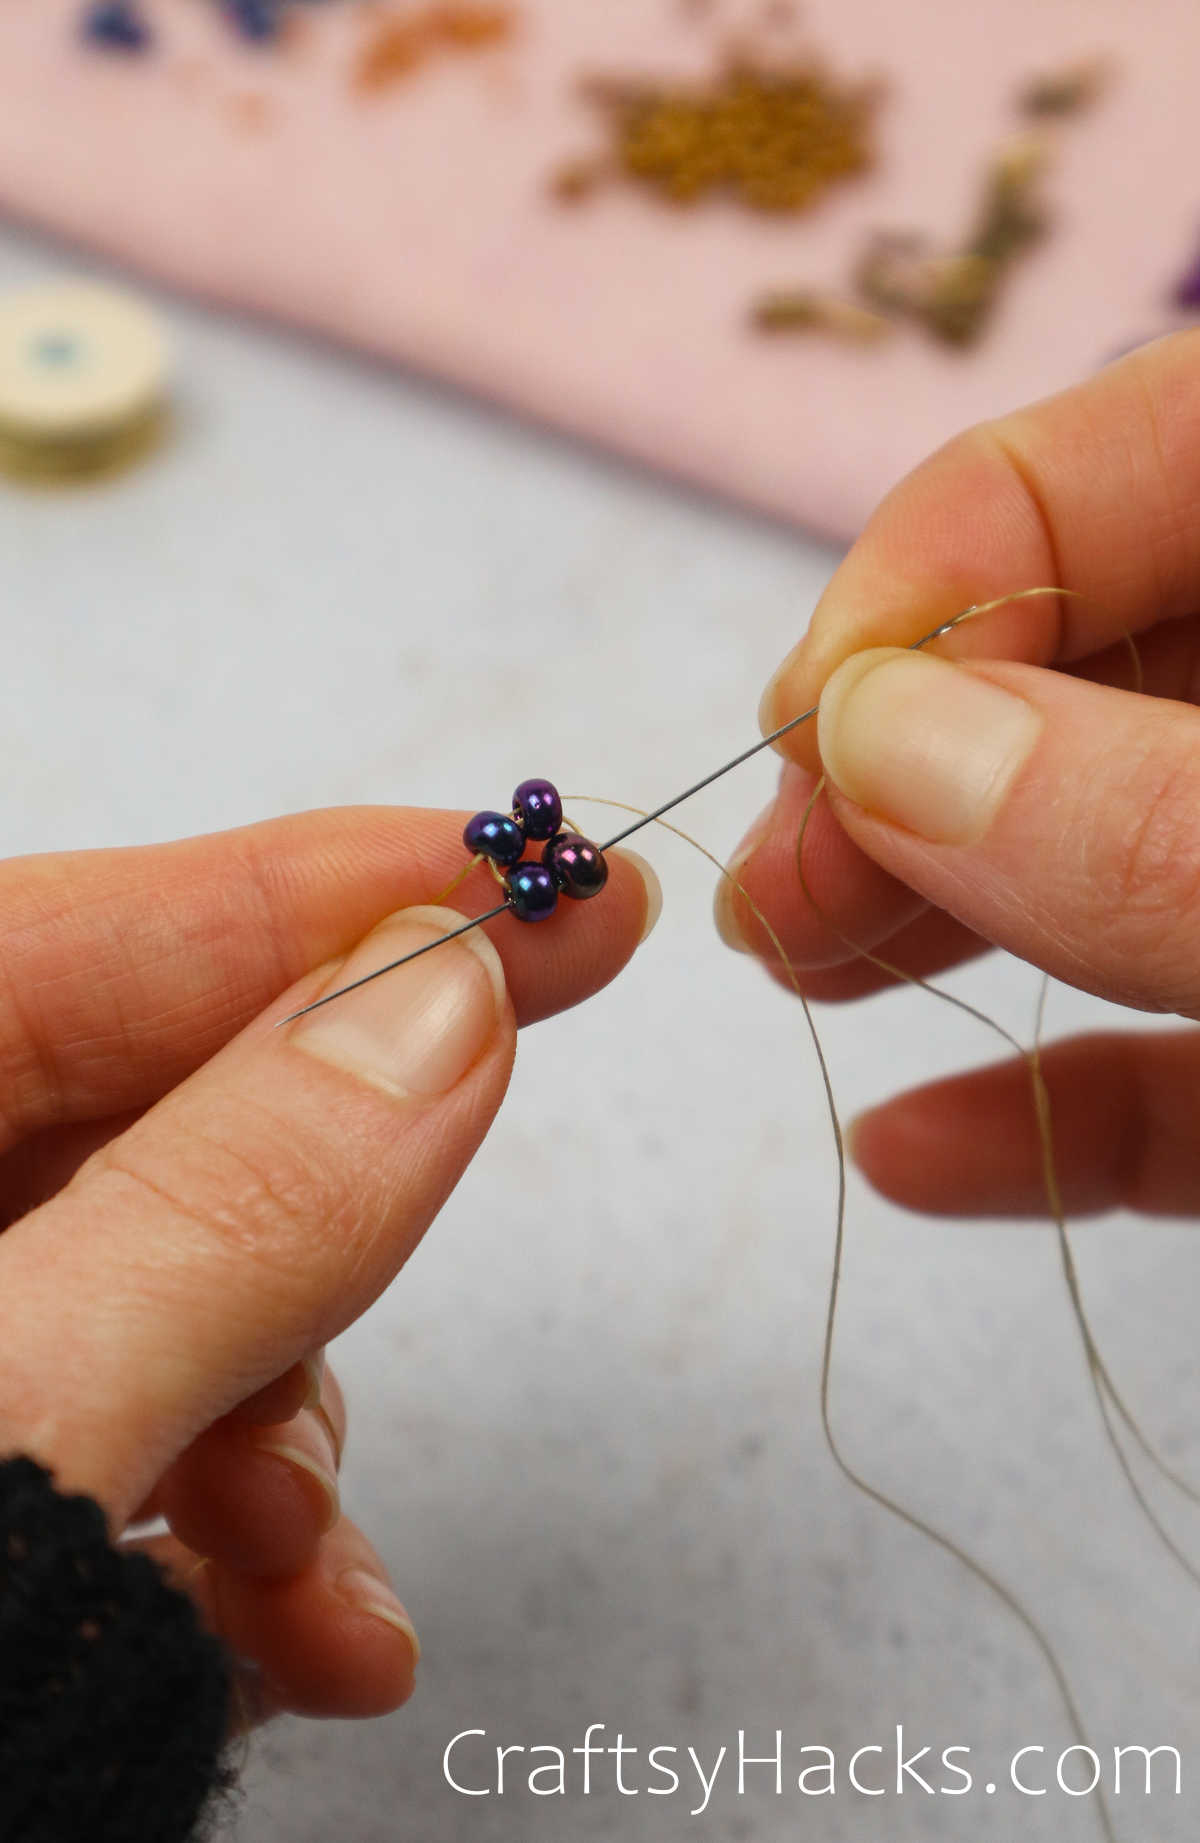
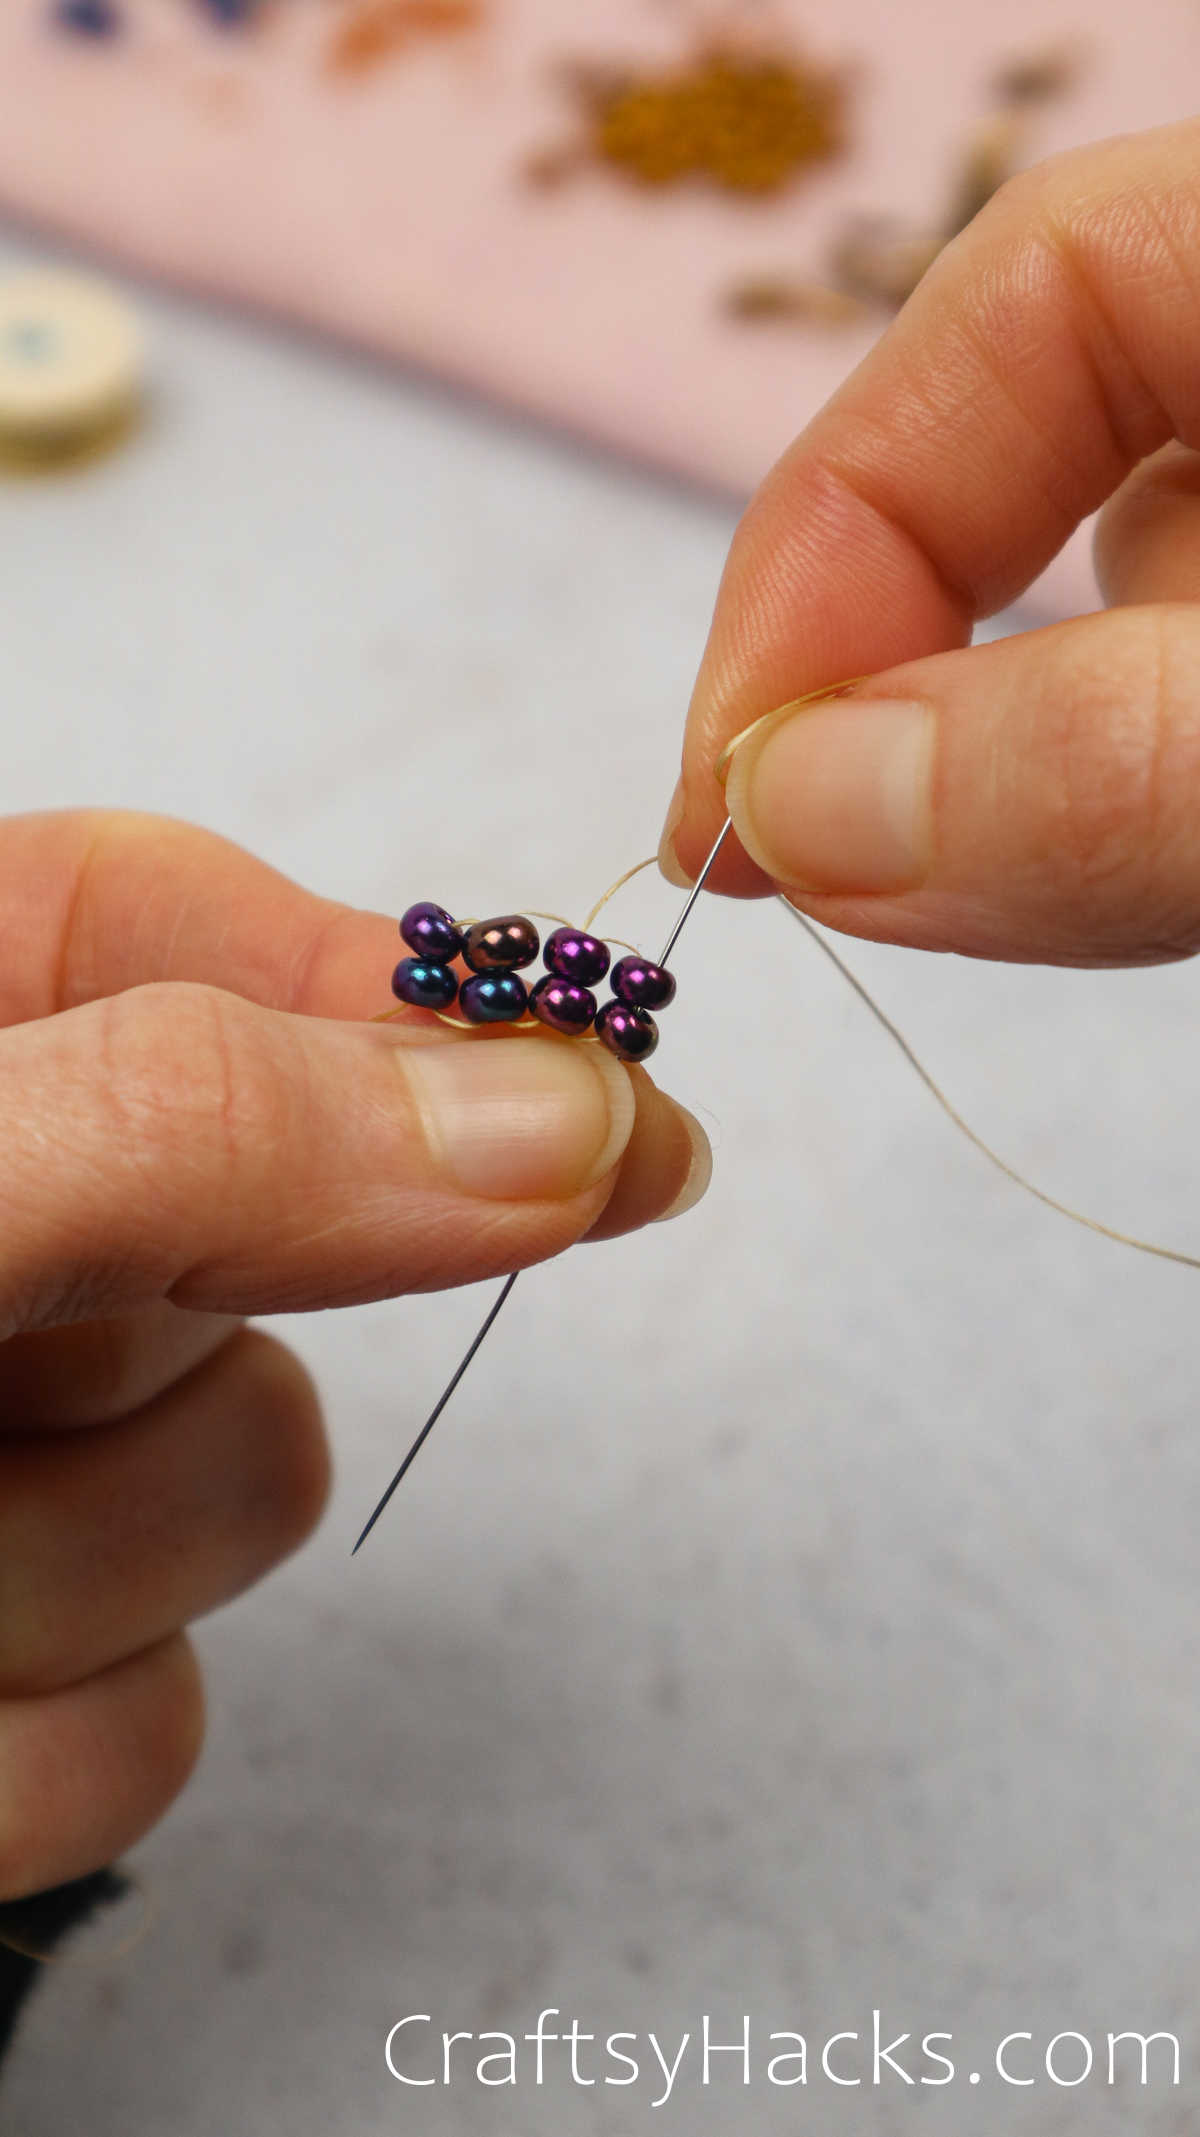
Well prepare to stitch back through the bottom two beads as you get that right.
As you’re able to see below, they form a square shape.
This formation is also known as a ladder.
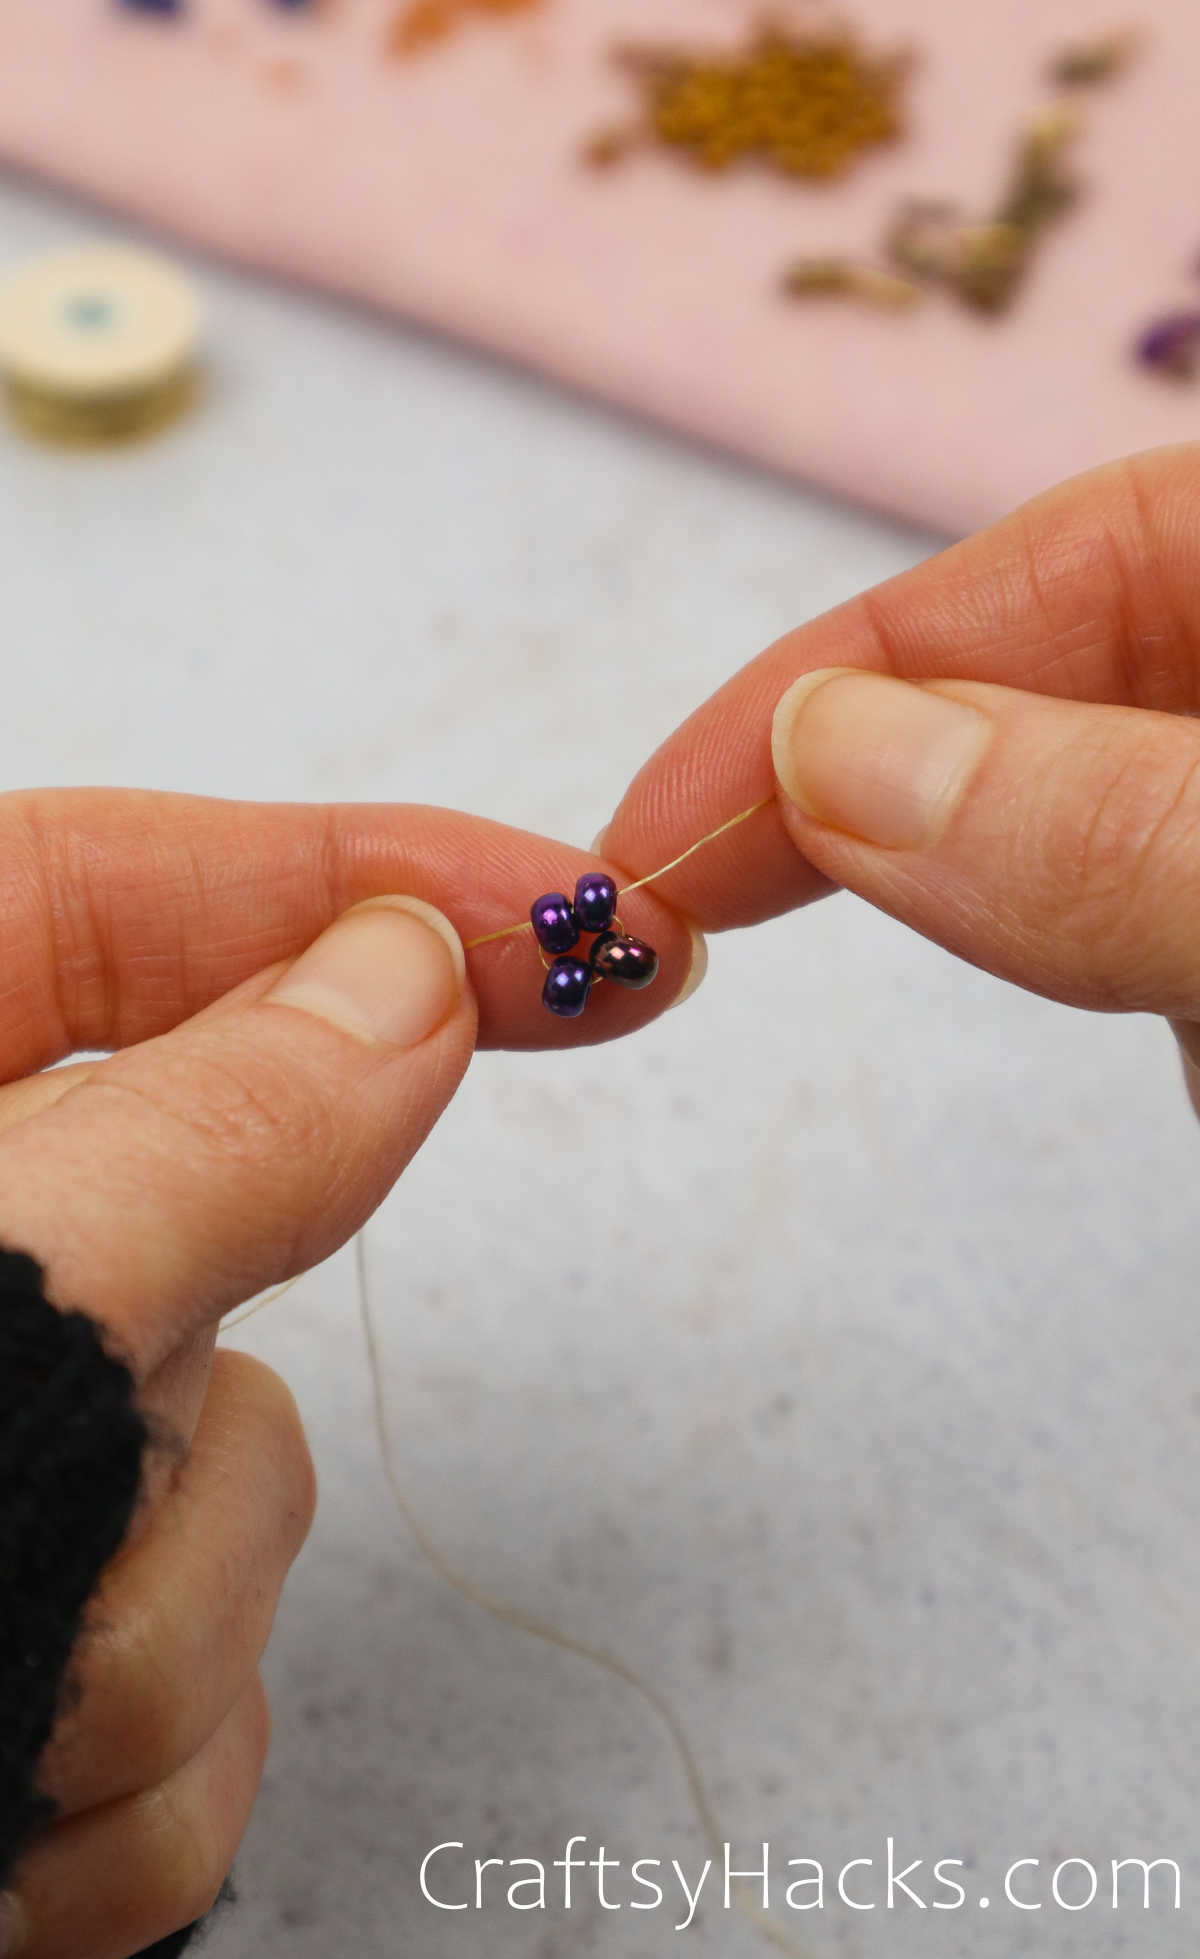
This step is where the initial ladder stitch forms correctly.
So, well take the needle back through the other two beads to reinforce the strength.
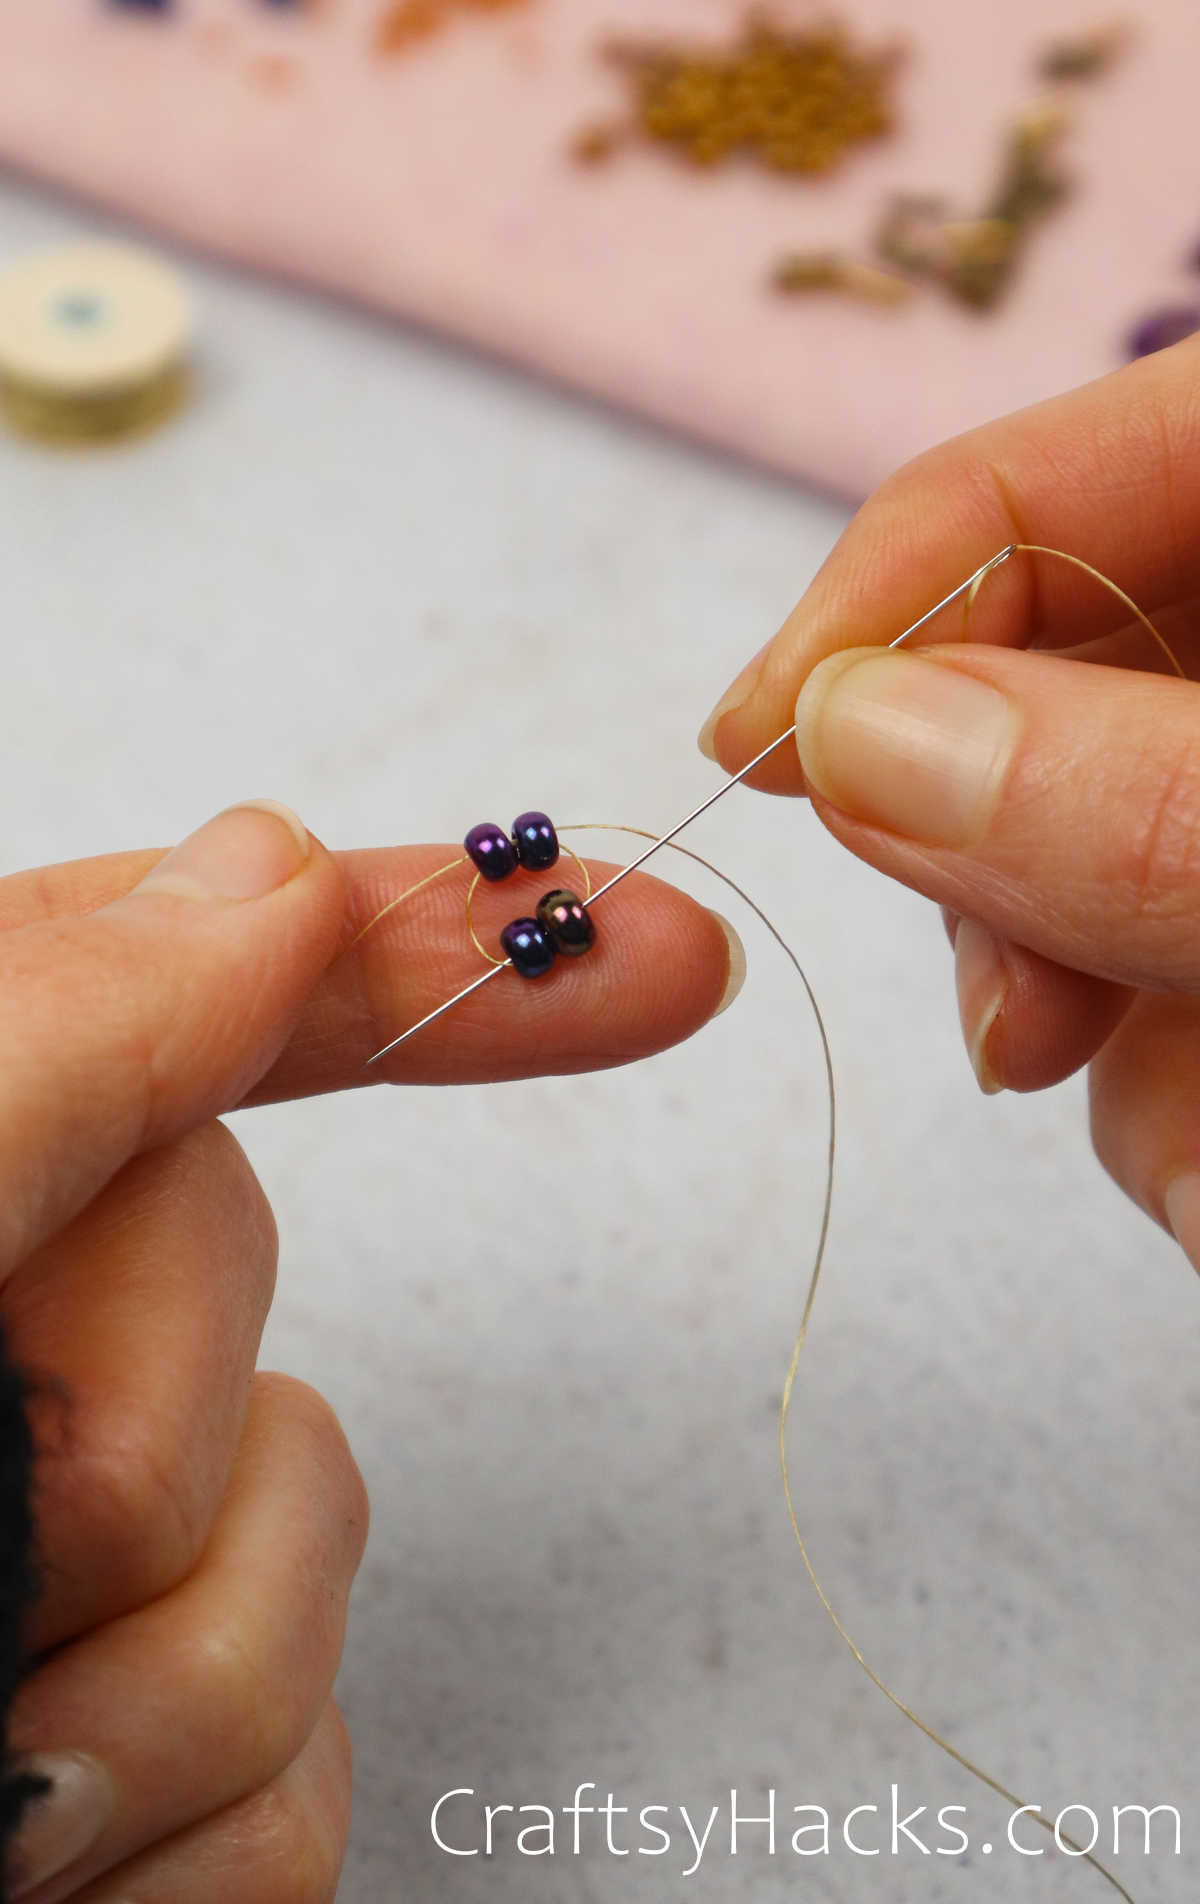
Step 6
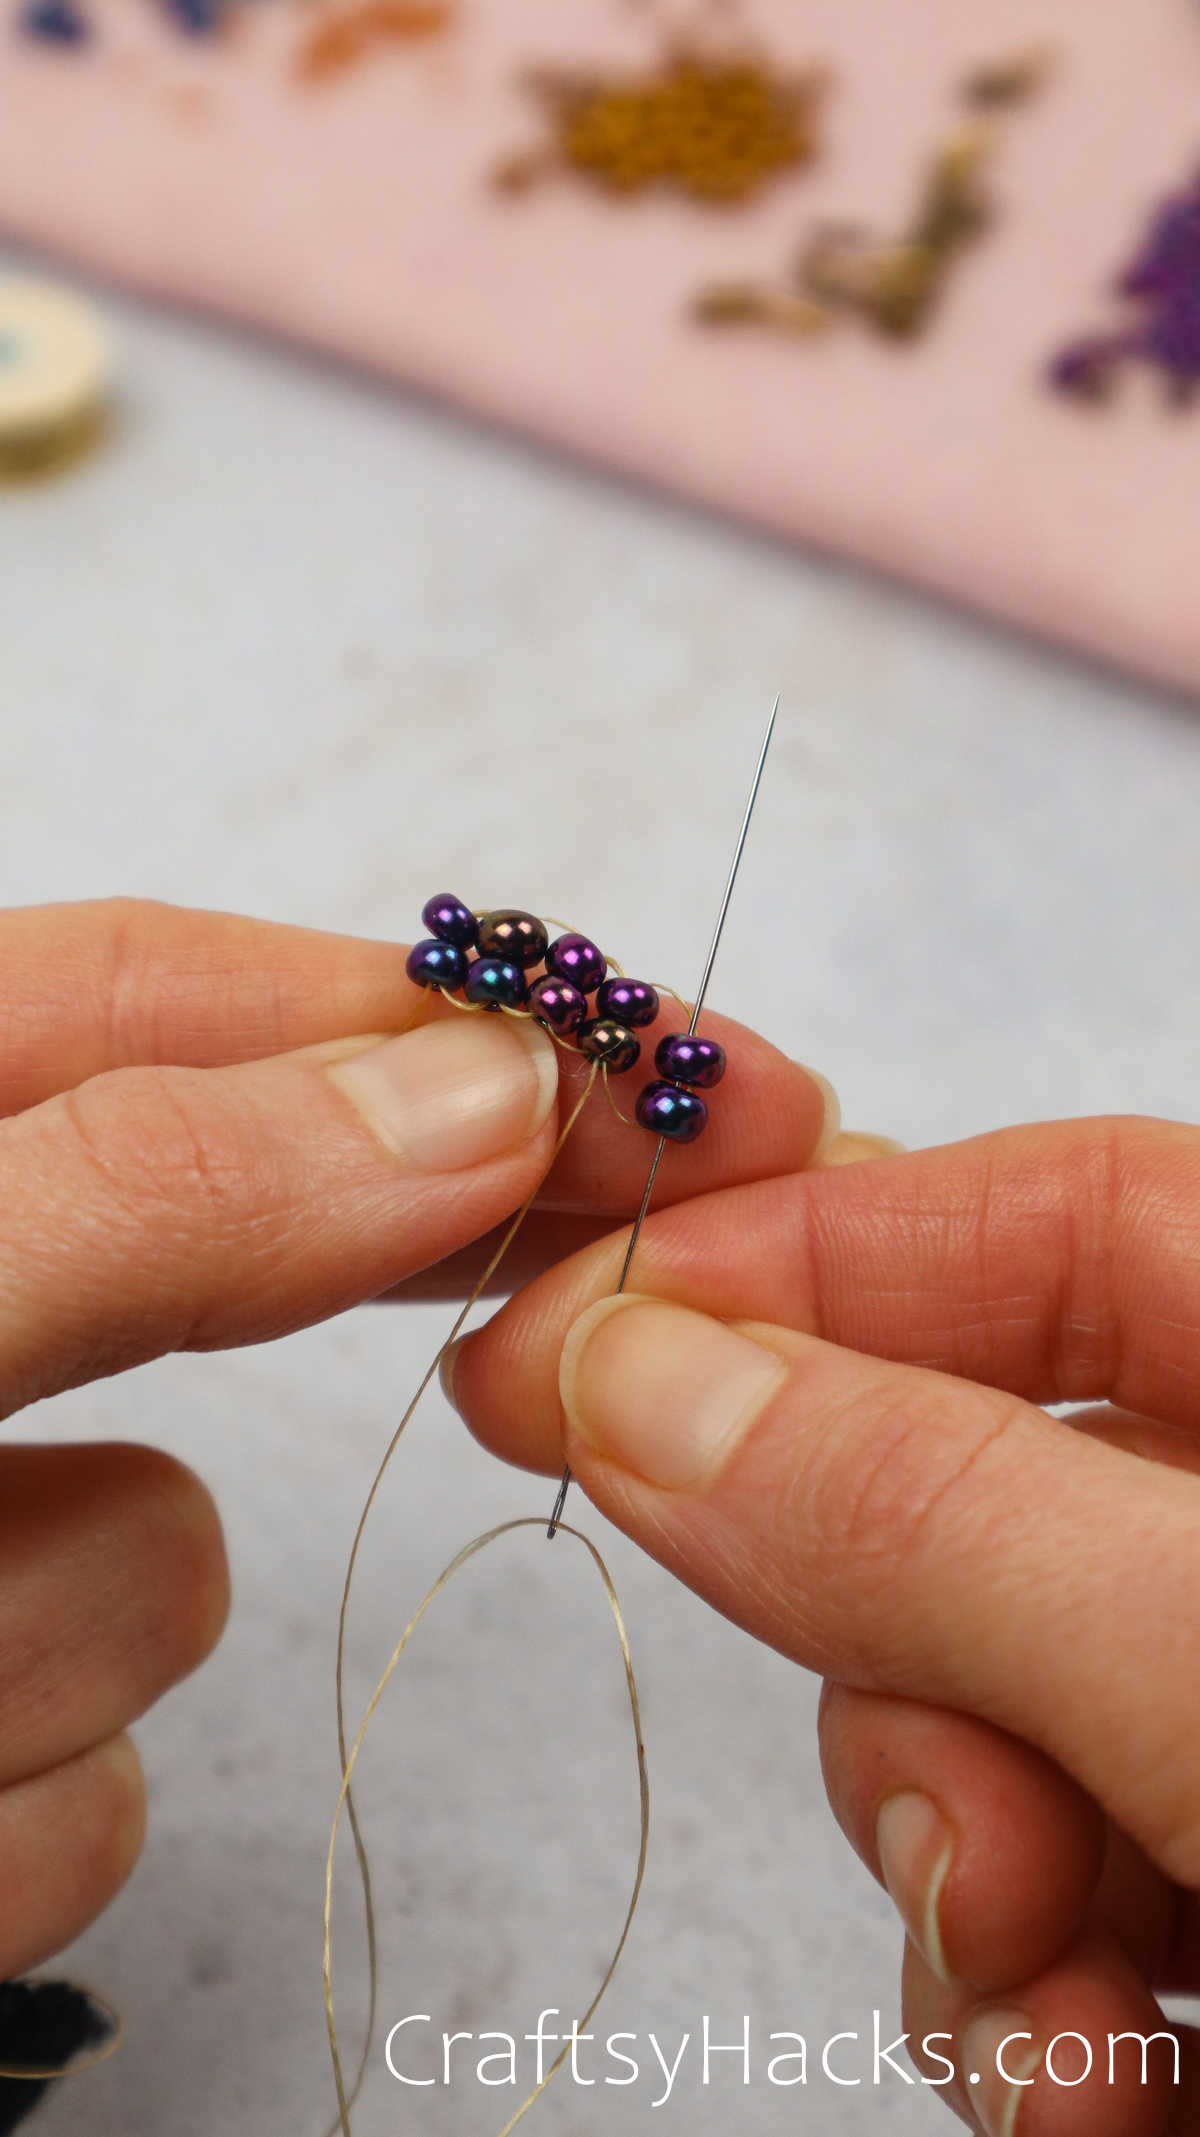
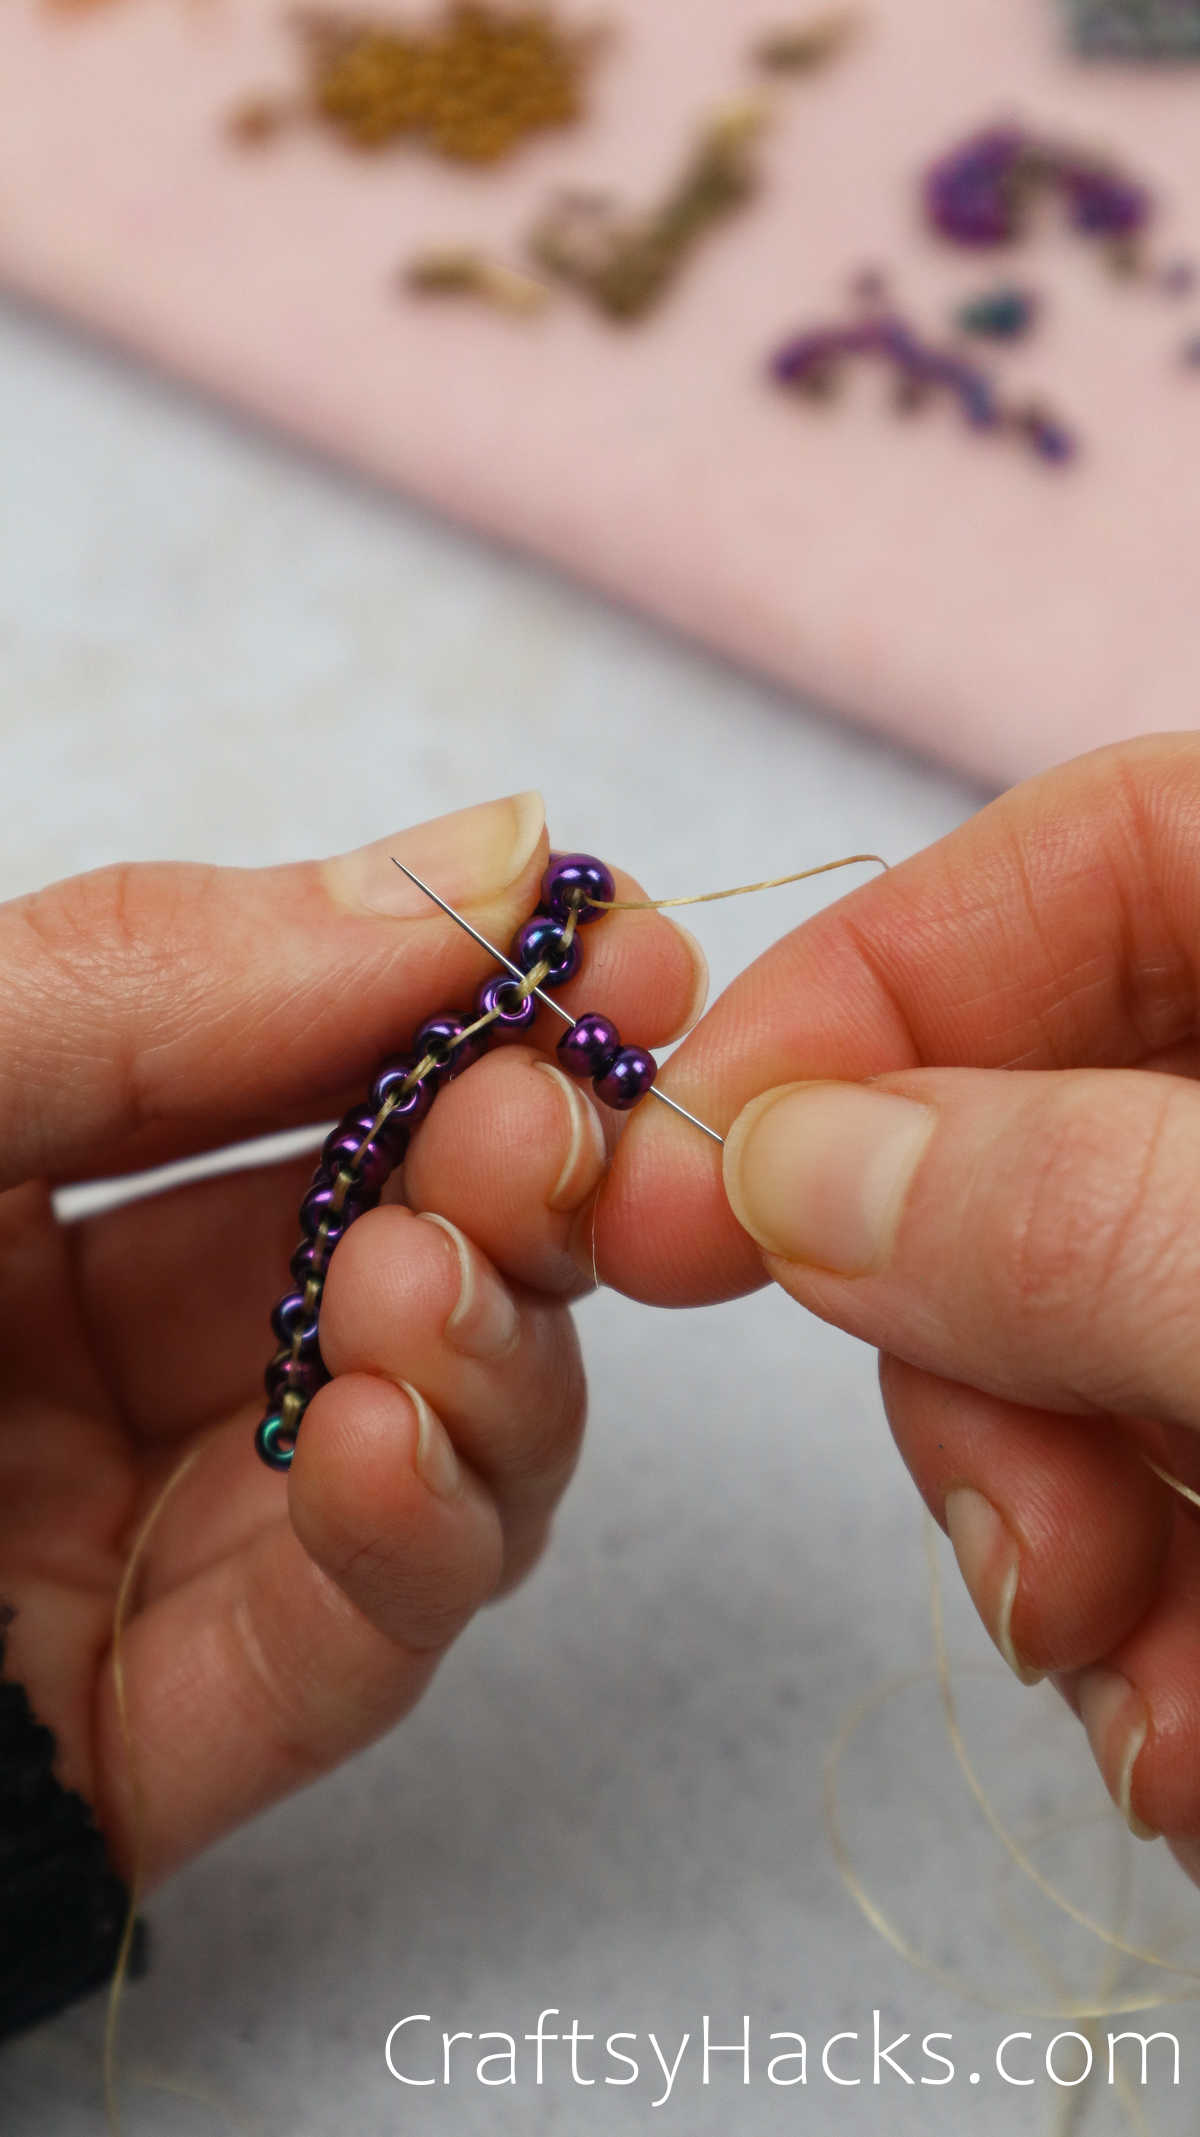
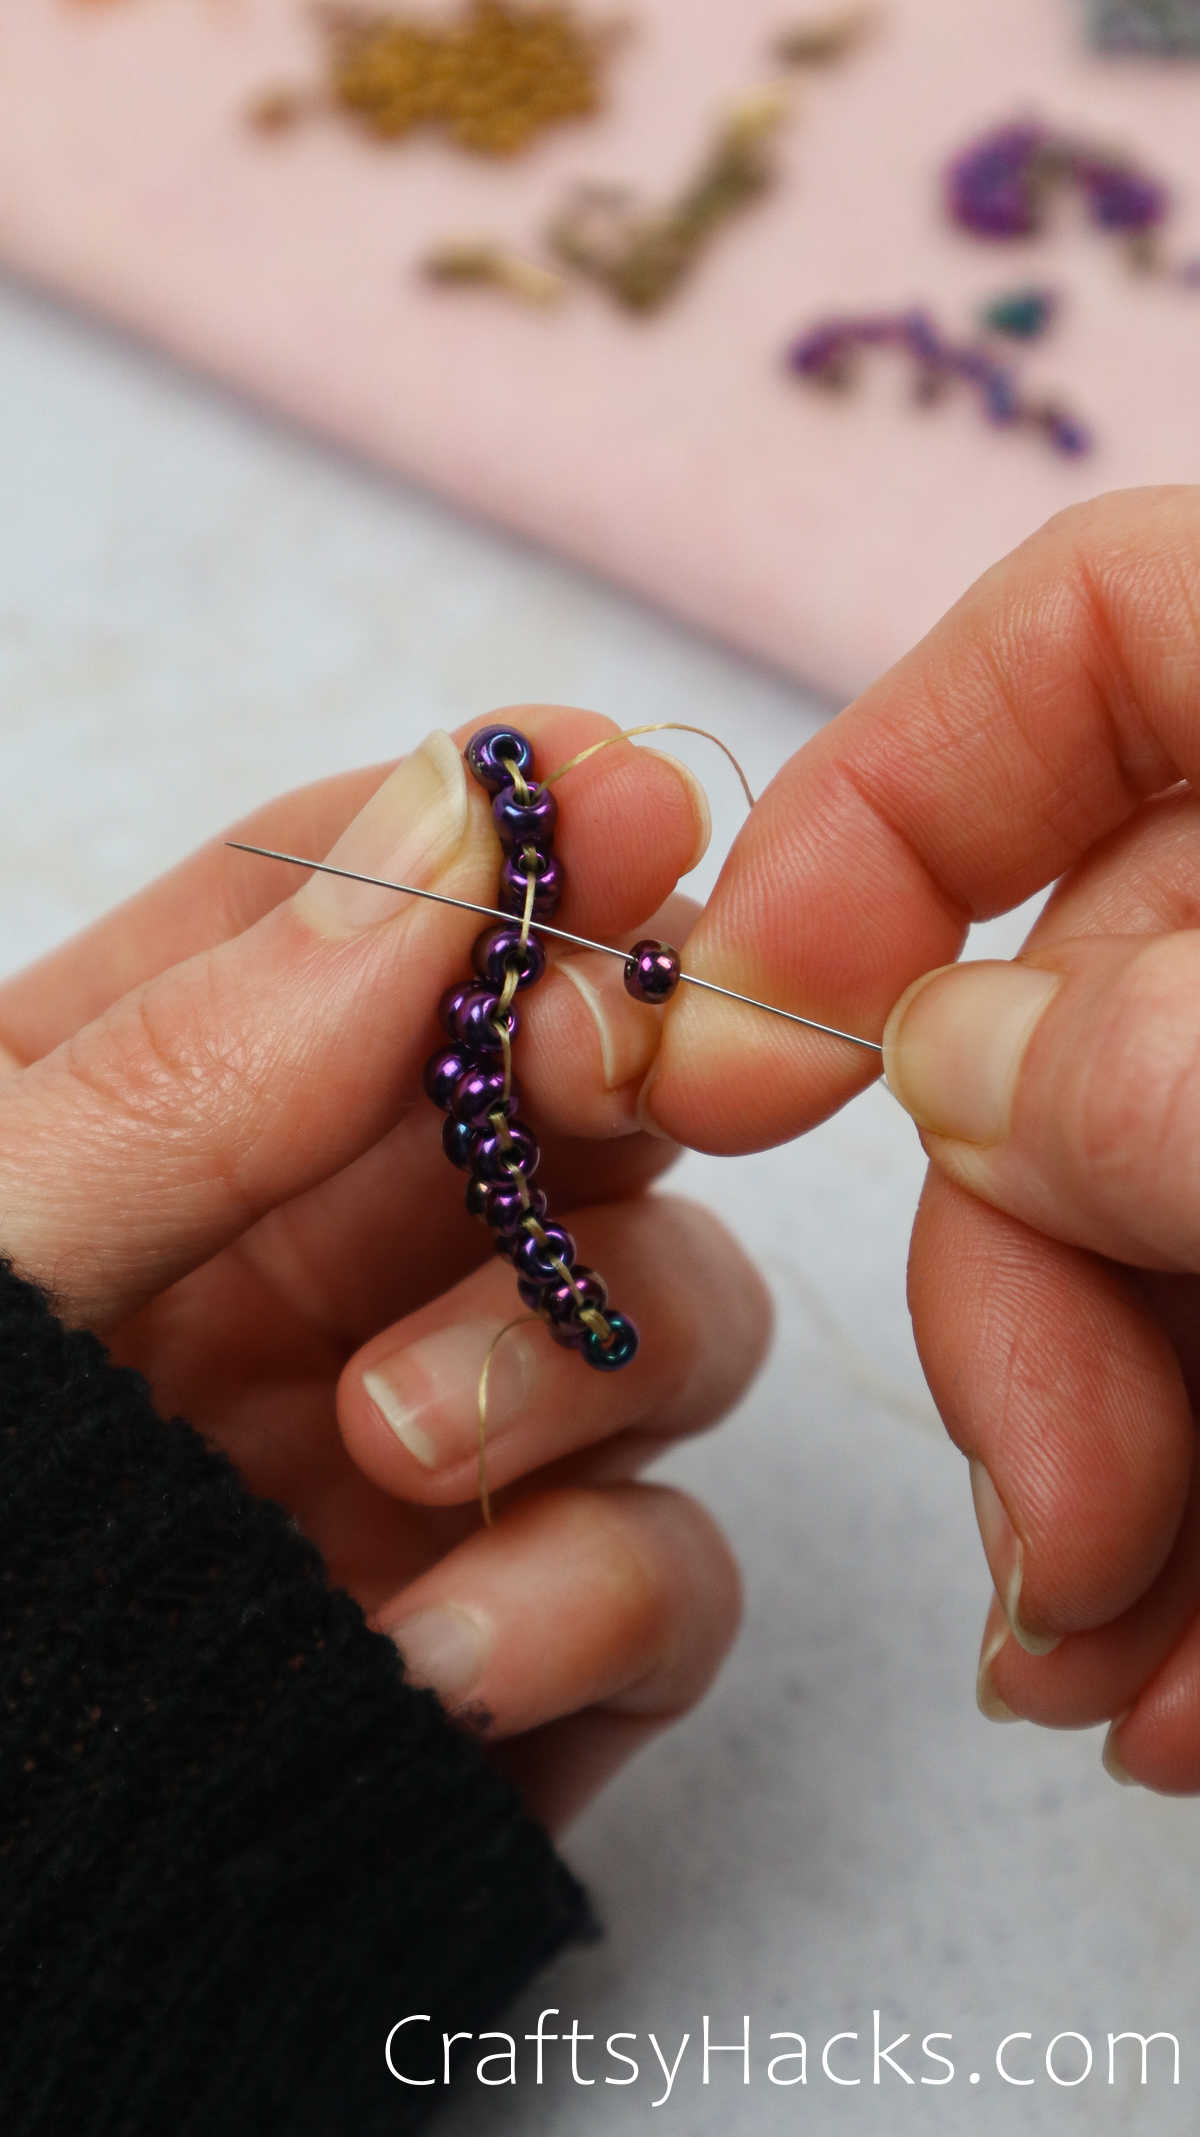
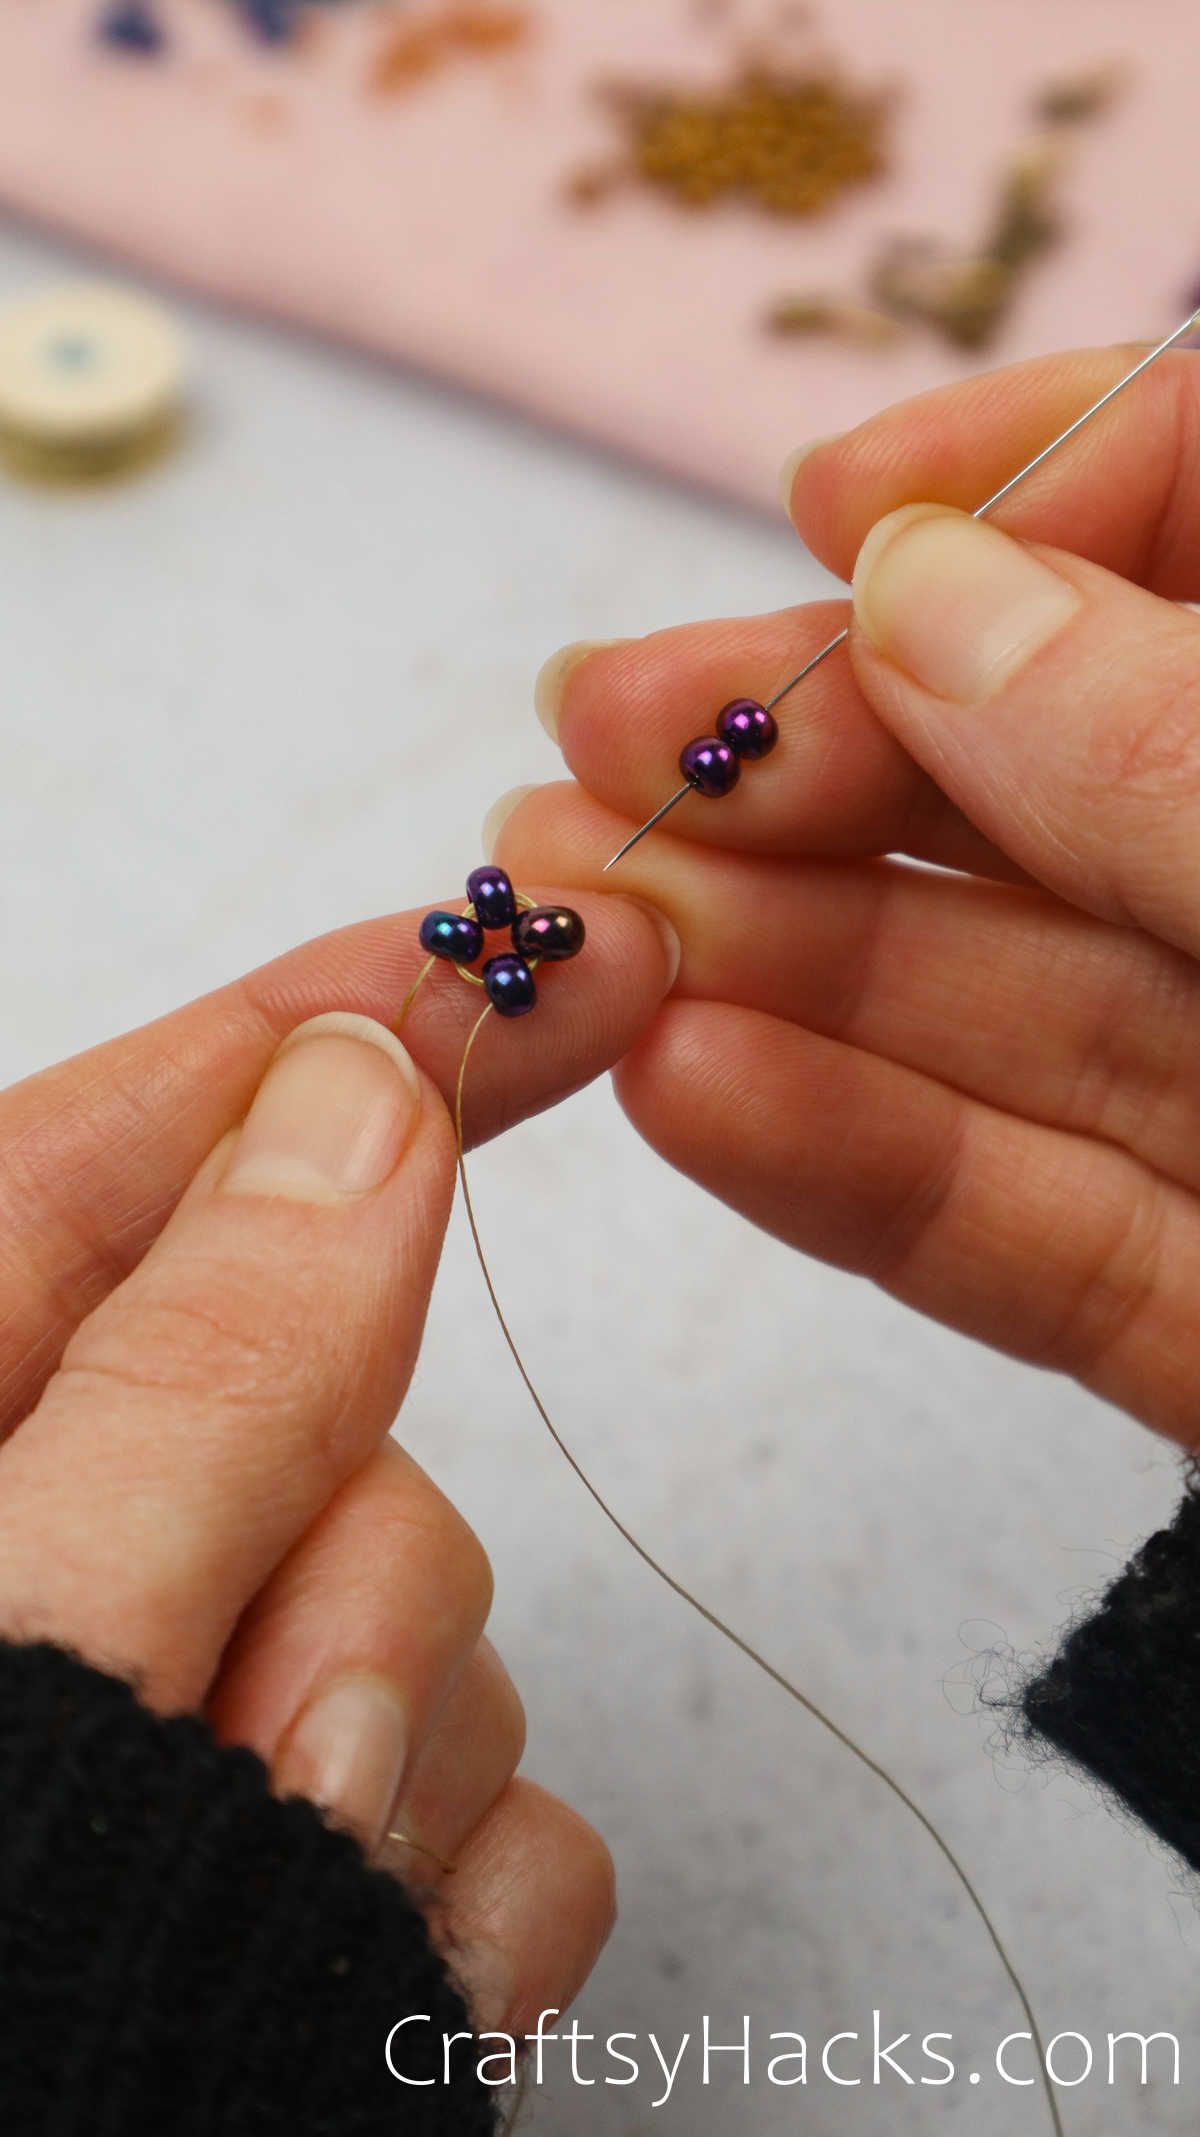
This structure is the formula for the majority of the earring.

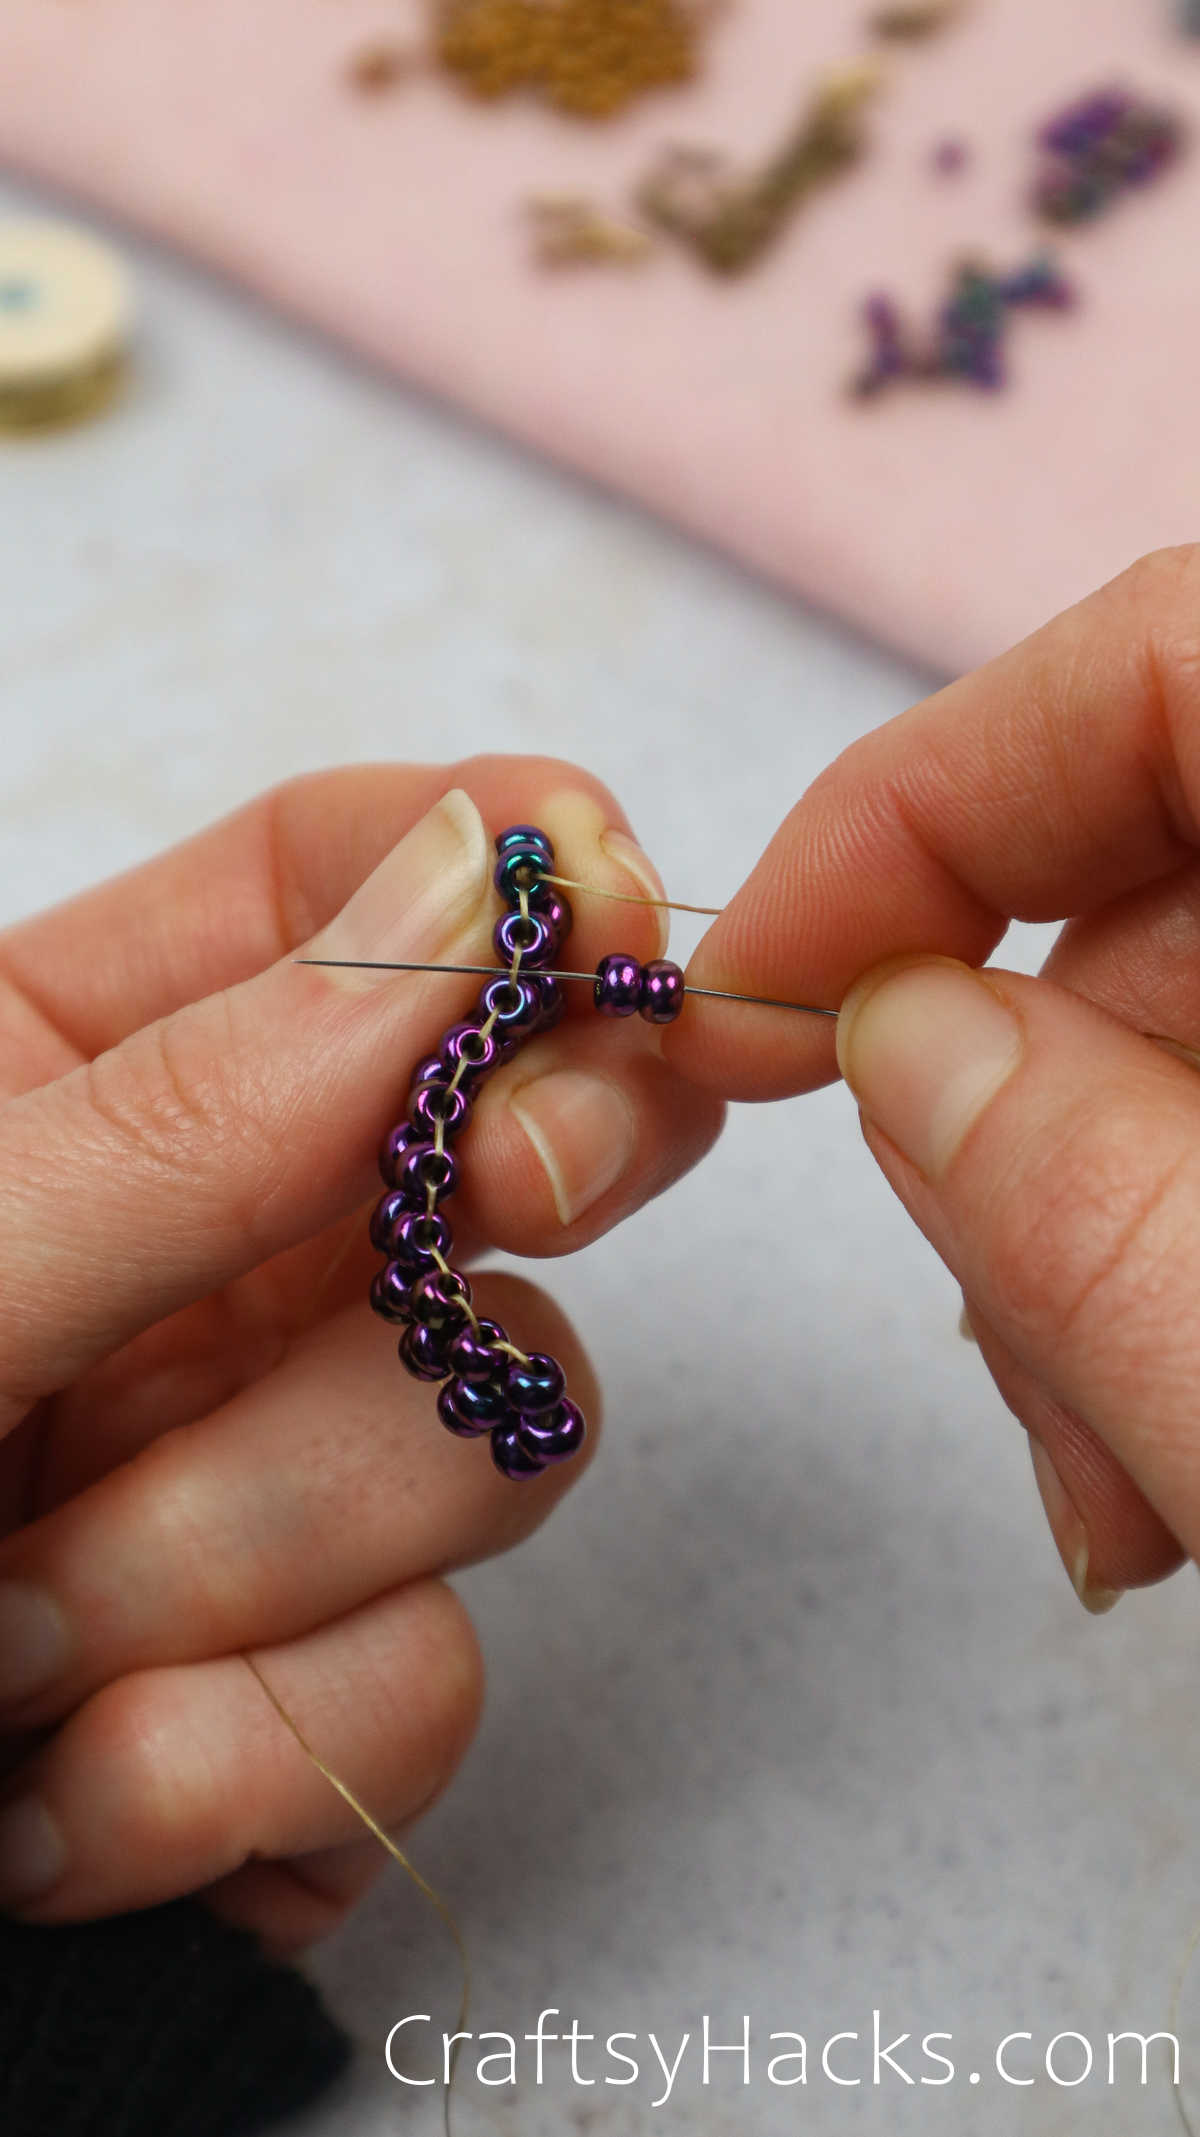
We add two beads to each new round as we continue with the threading pattern.
An essential item to note is the two tails you have going!
The right tail, or the dominant hands tail, is shrinking.

This will create multiple complications.
Our right tail should be coming out of the top opening of a bead at this point.
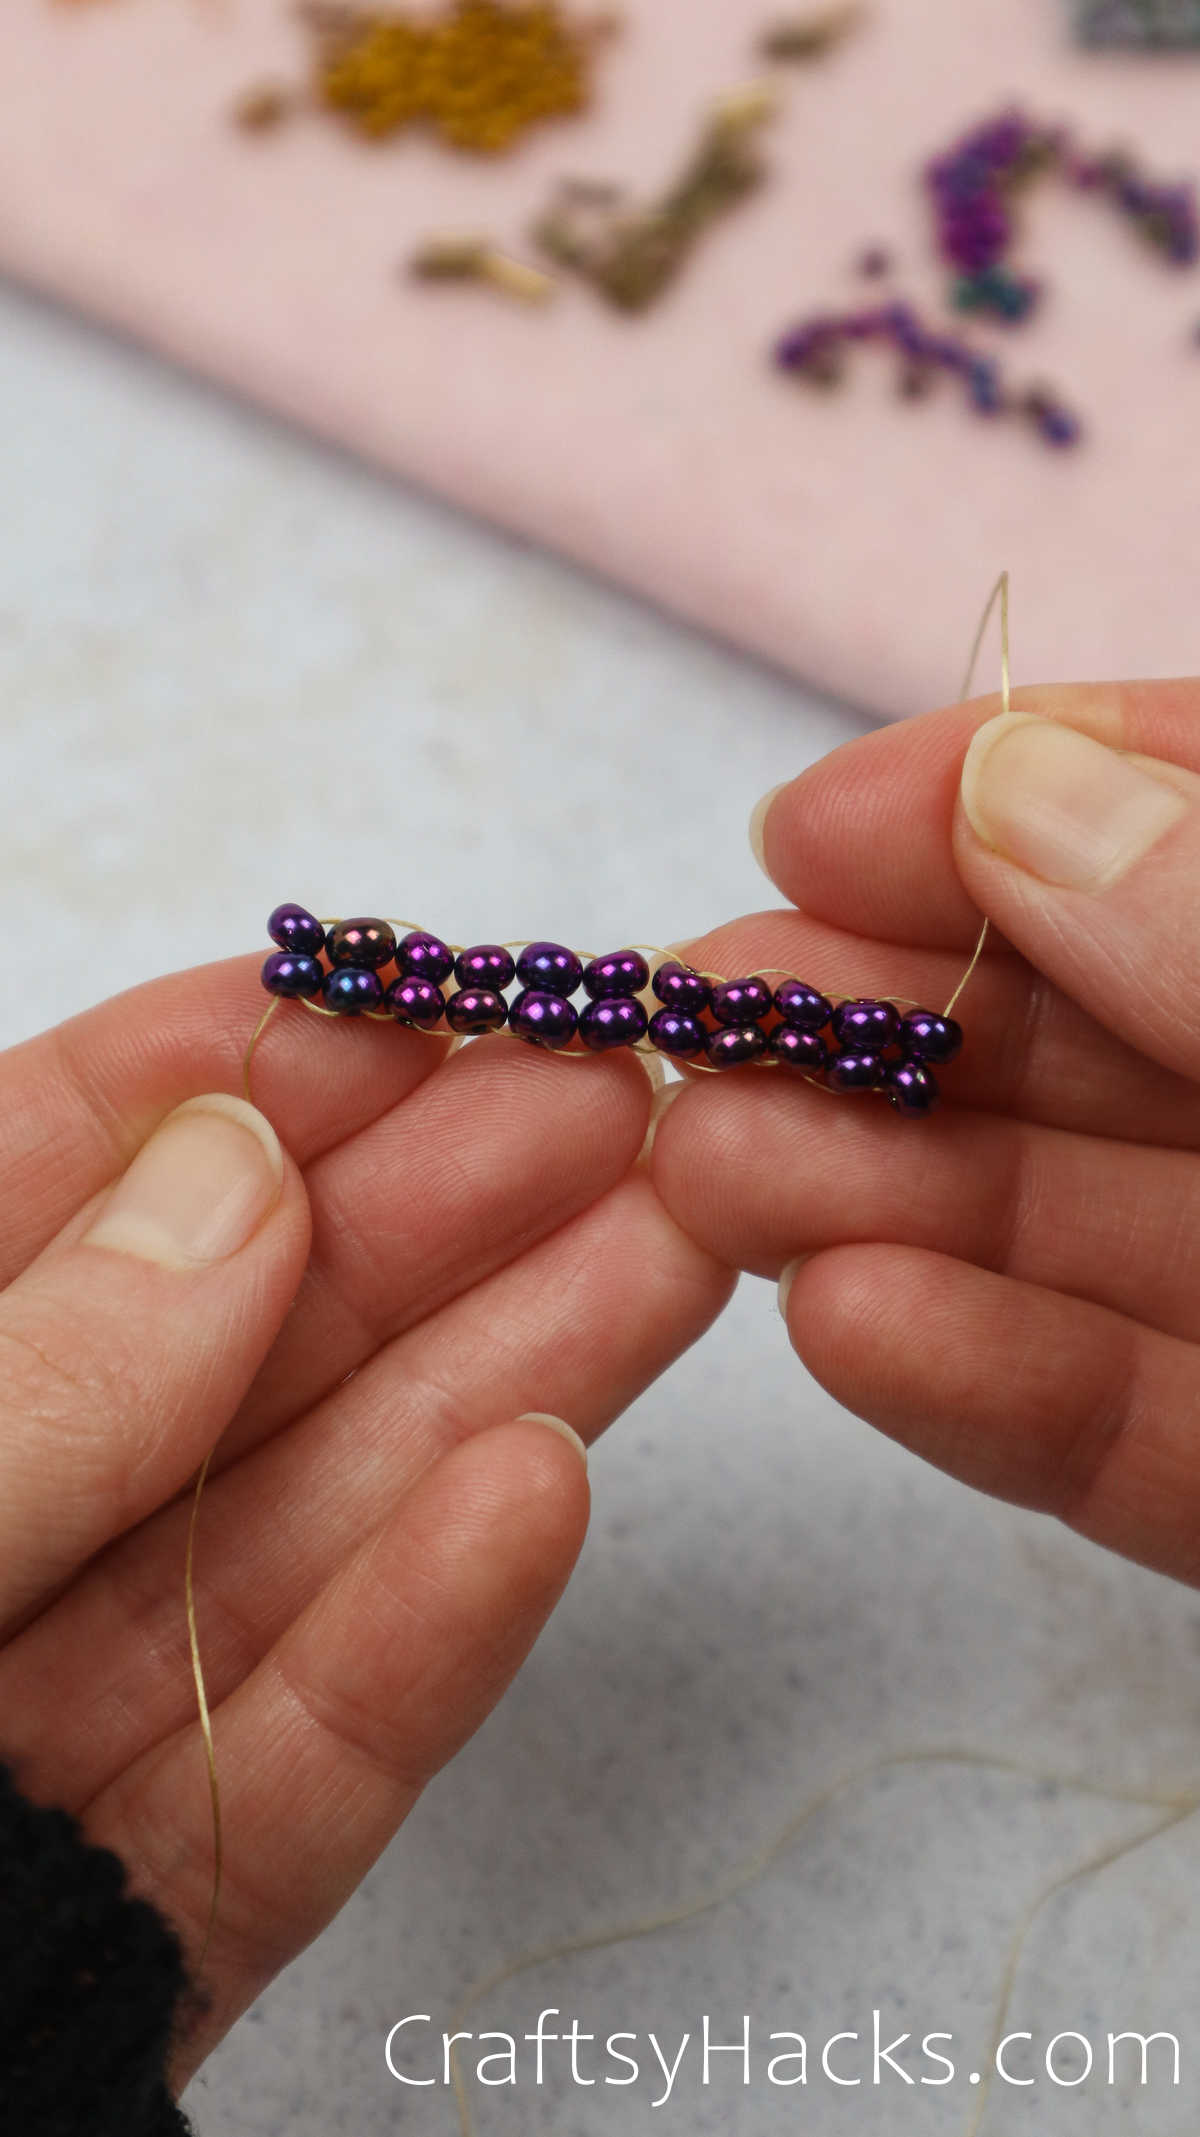
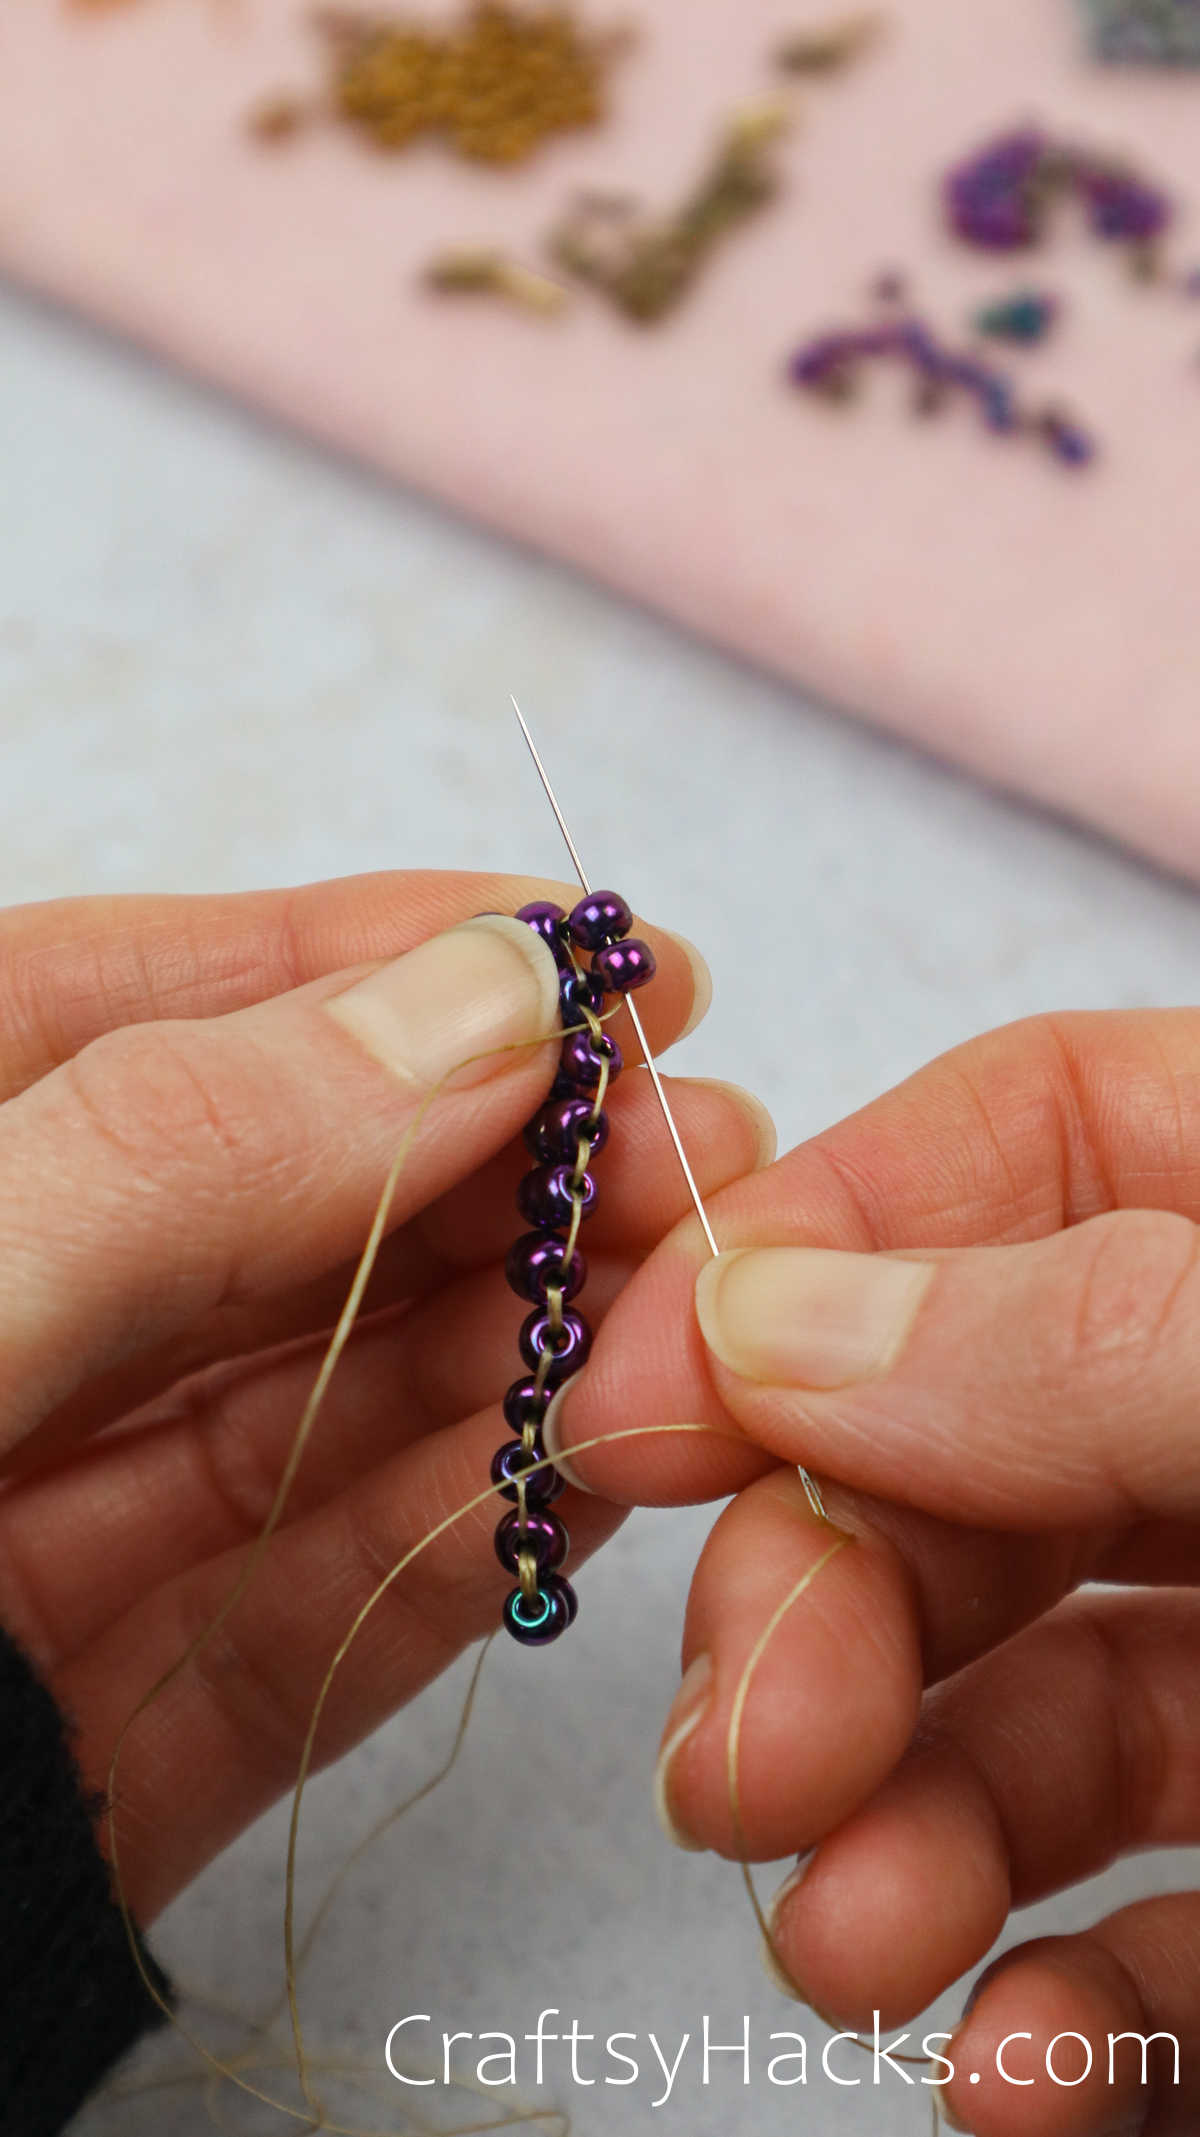
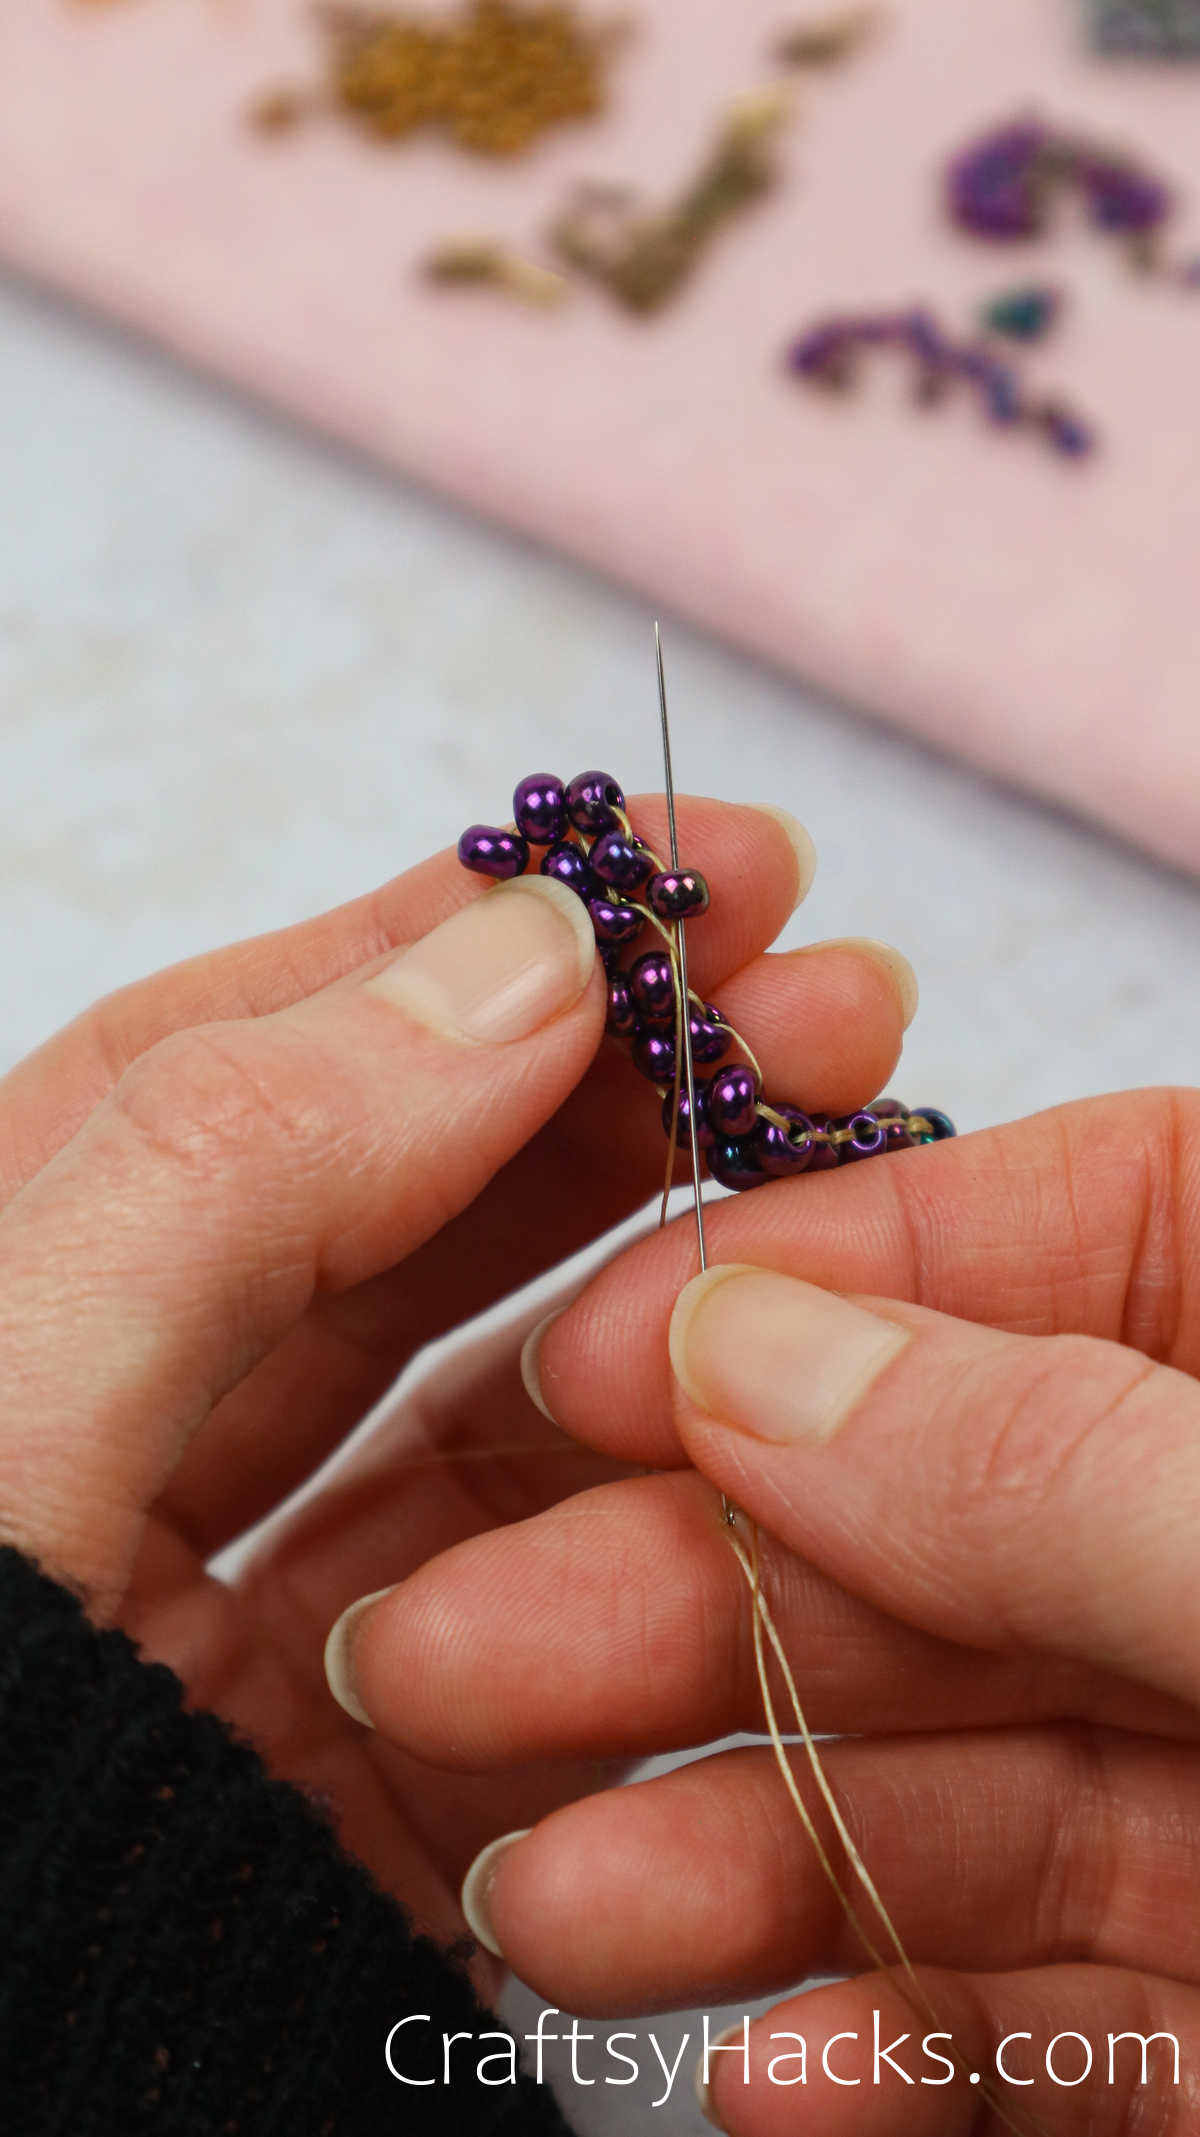
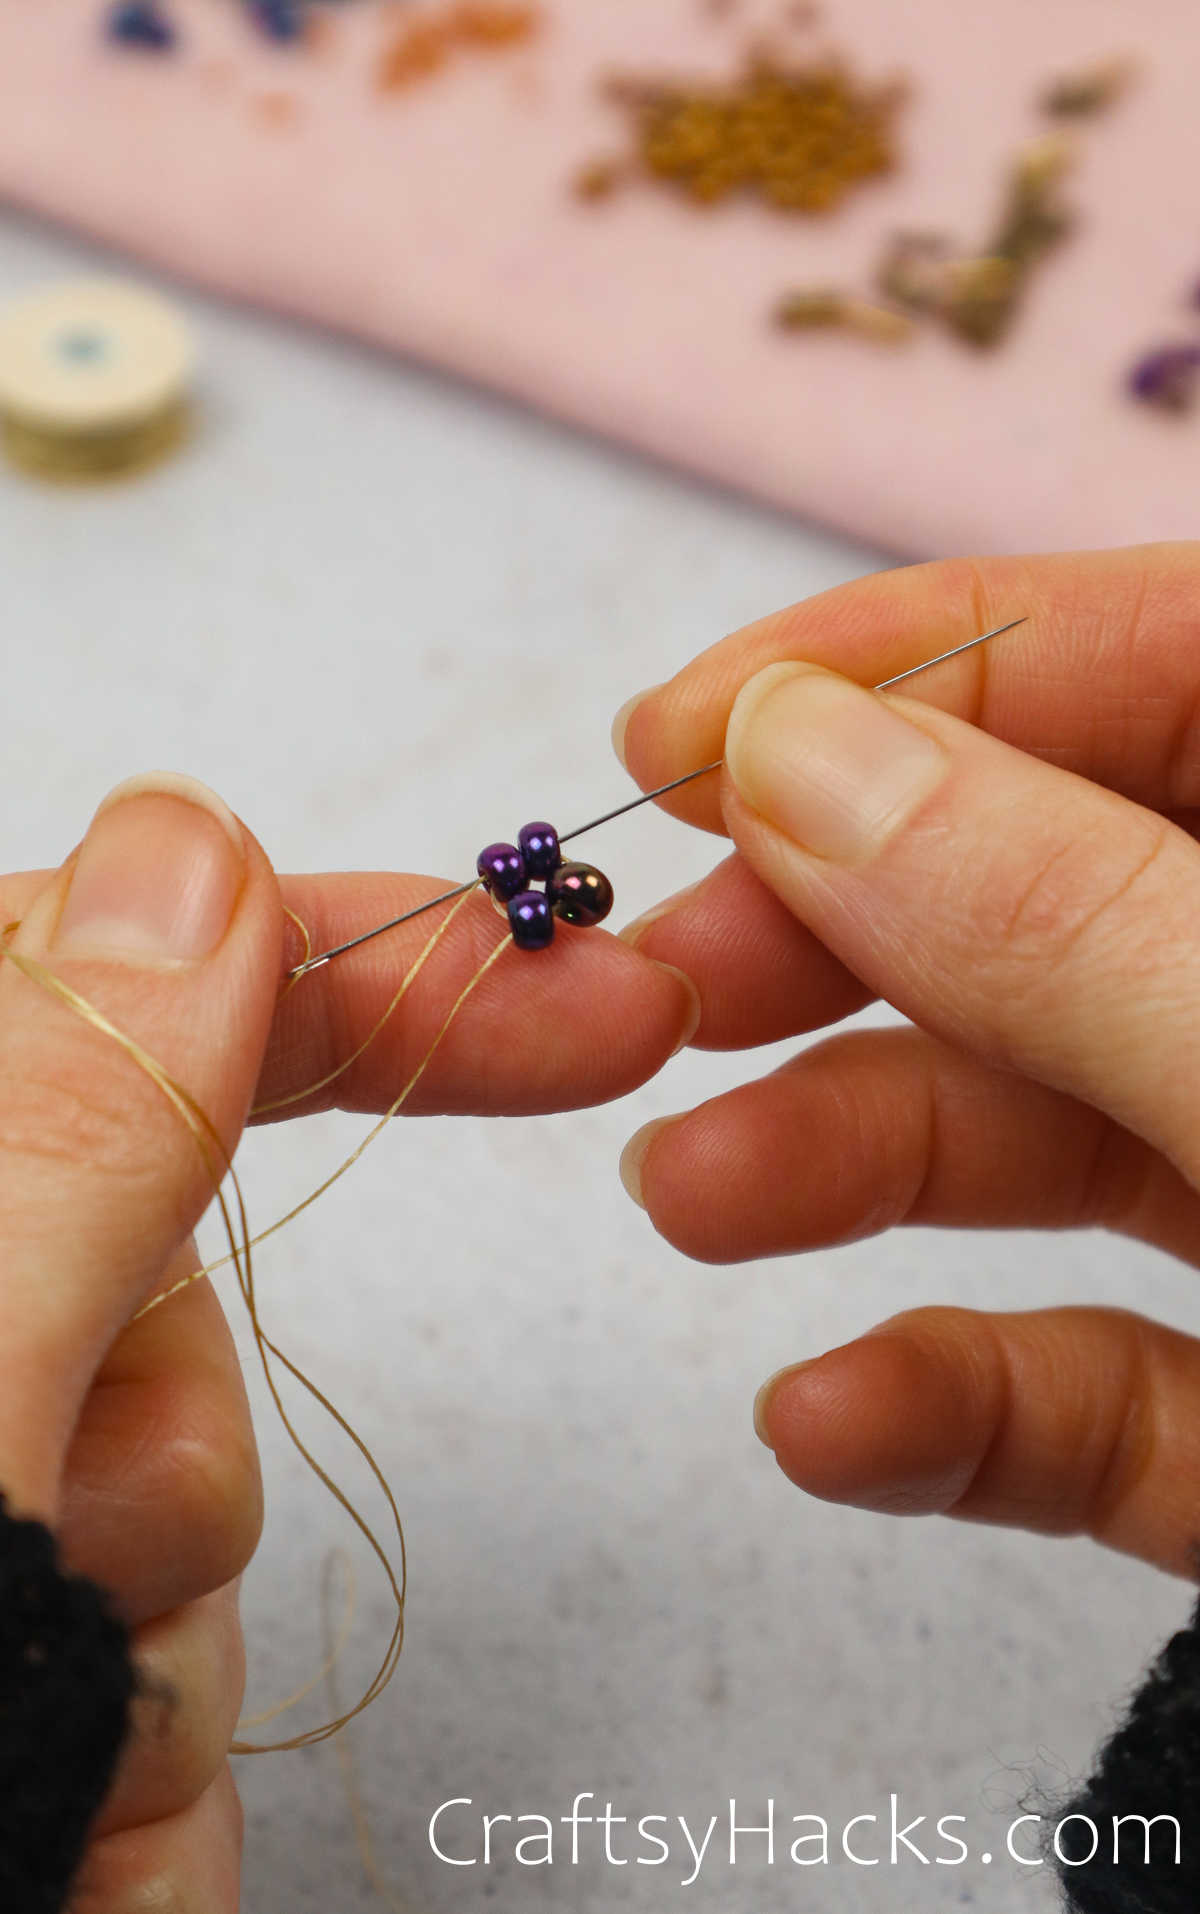
Continuing to secure as we go, well repeat this step until a full ladder has formed.
Repeat this step to build the ladder until an ODD number of rows has been created.
Ive decided to have eleven for this set of earrings.
Continuation of building my ladder.
Continuation of the initial ladder.
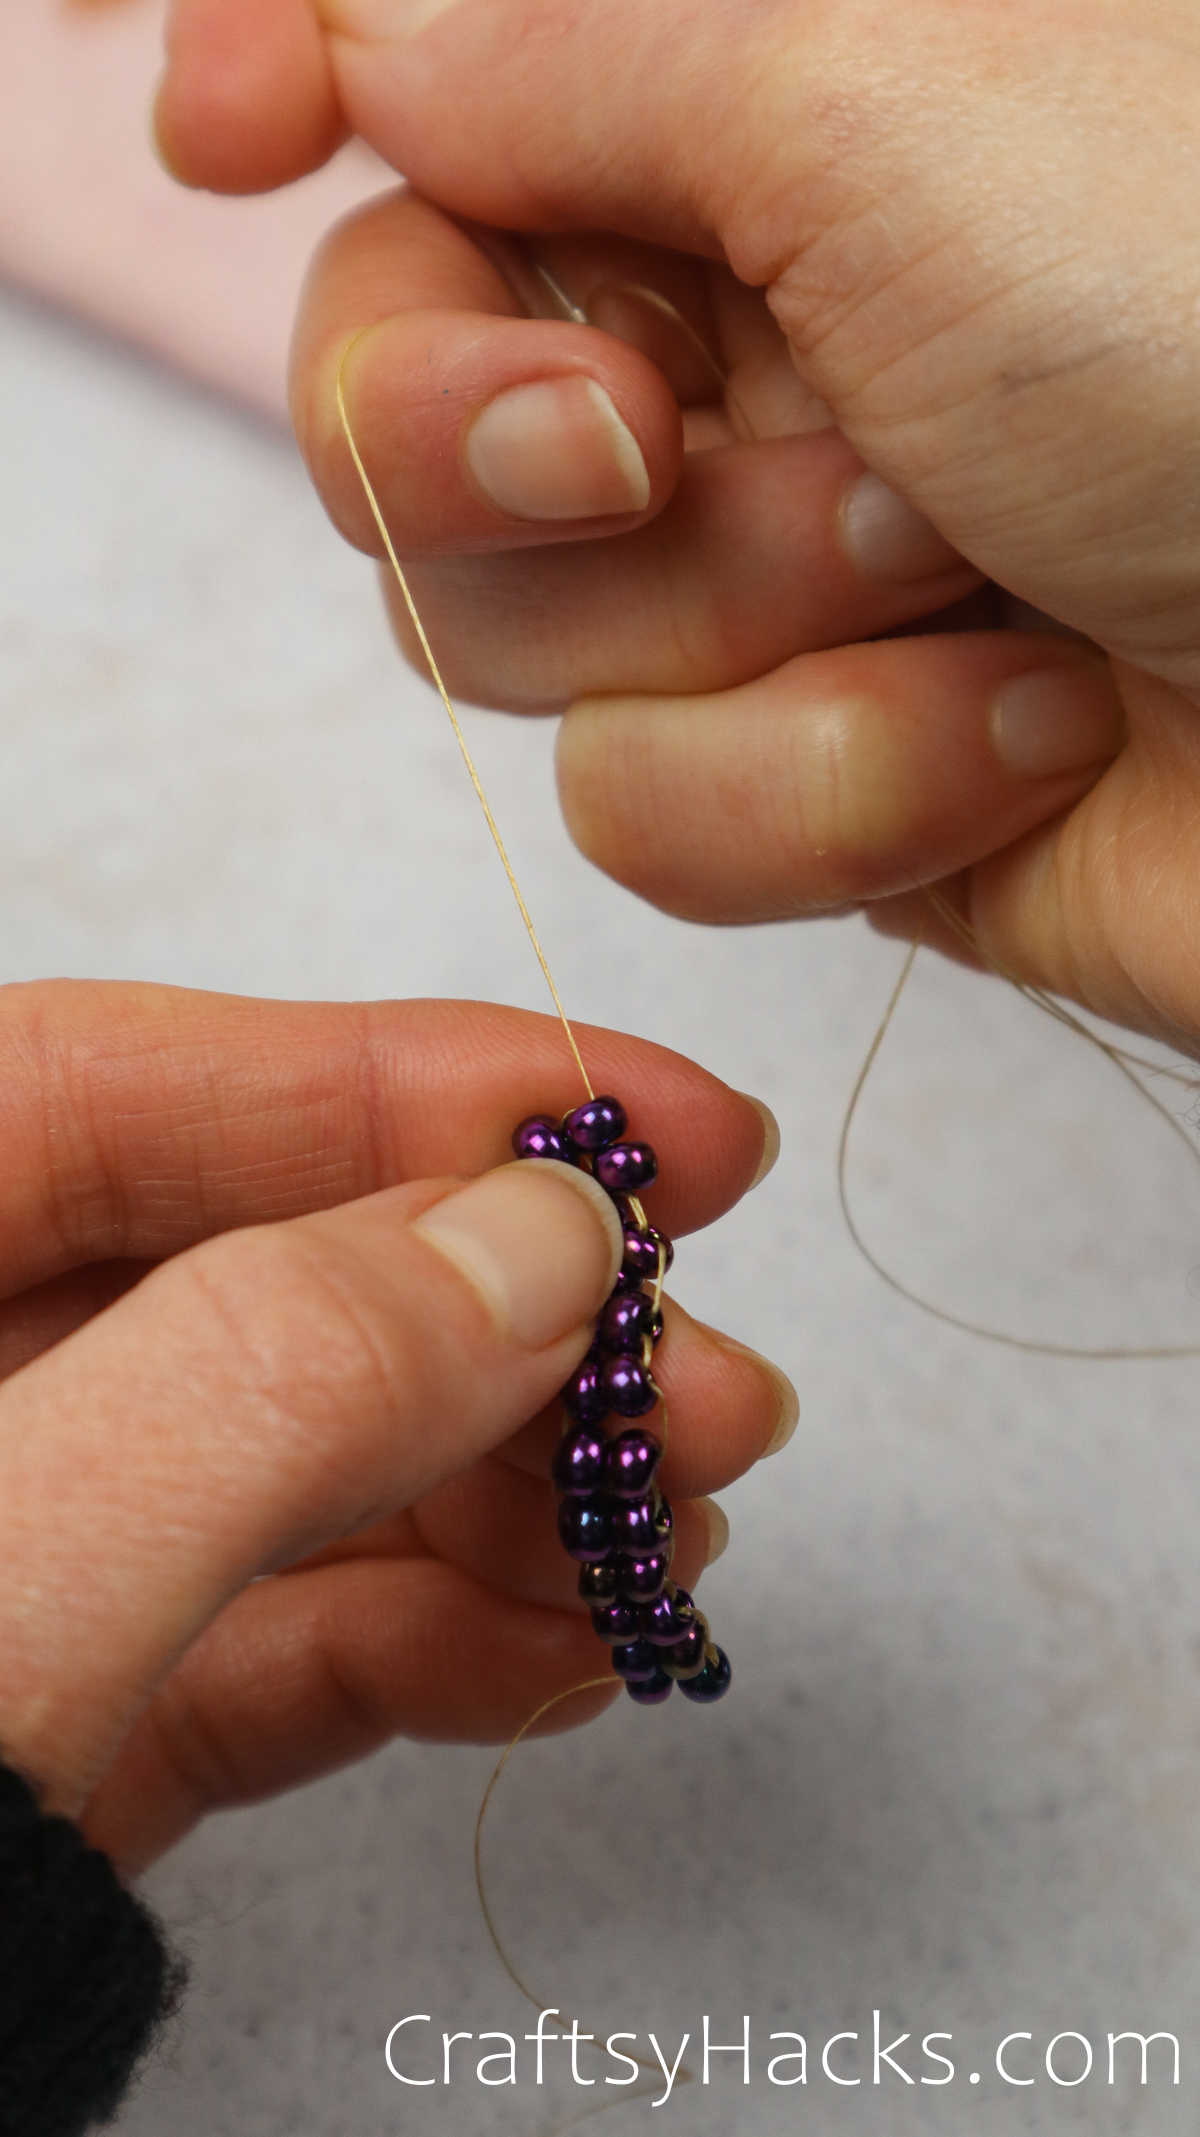
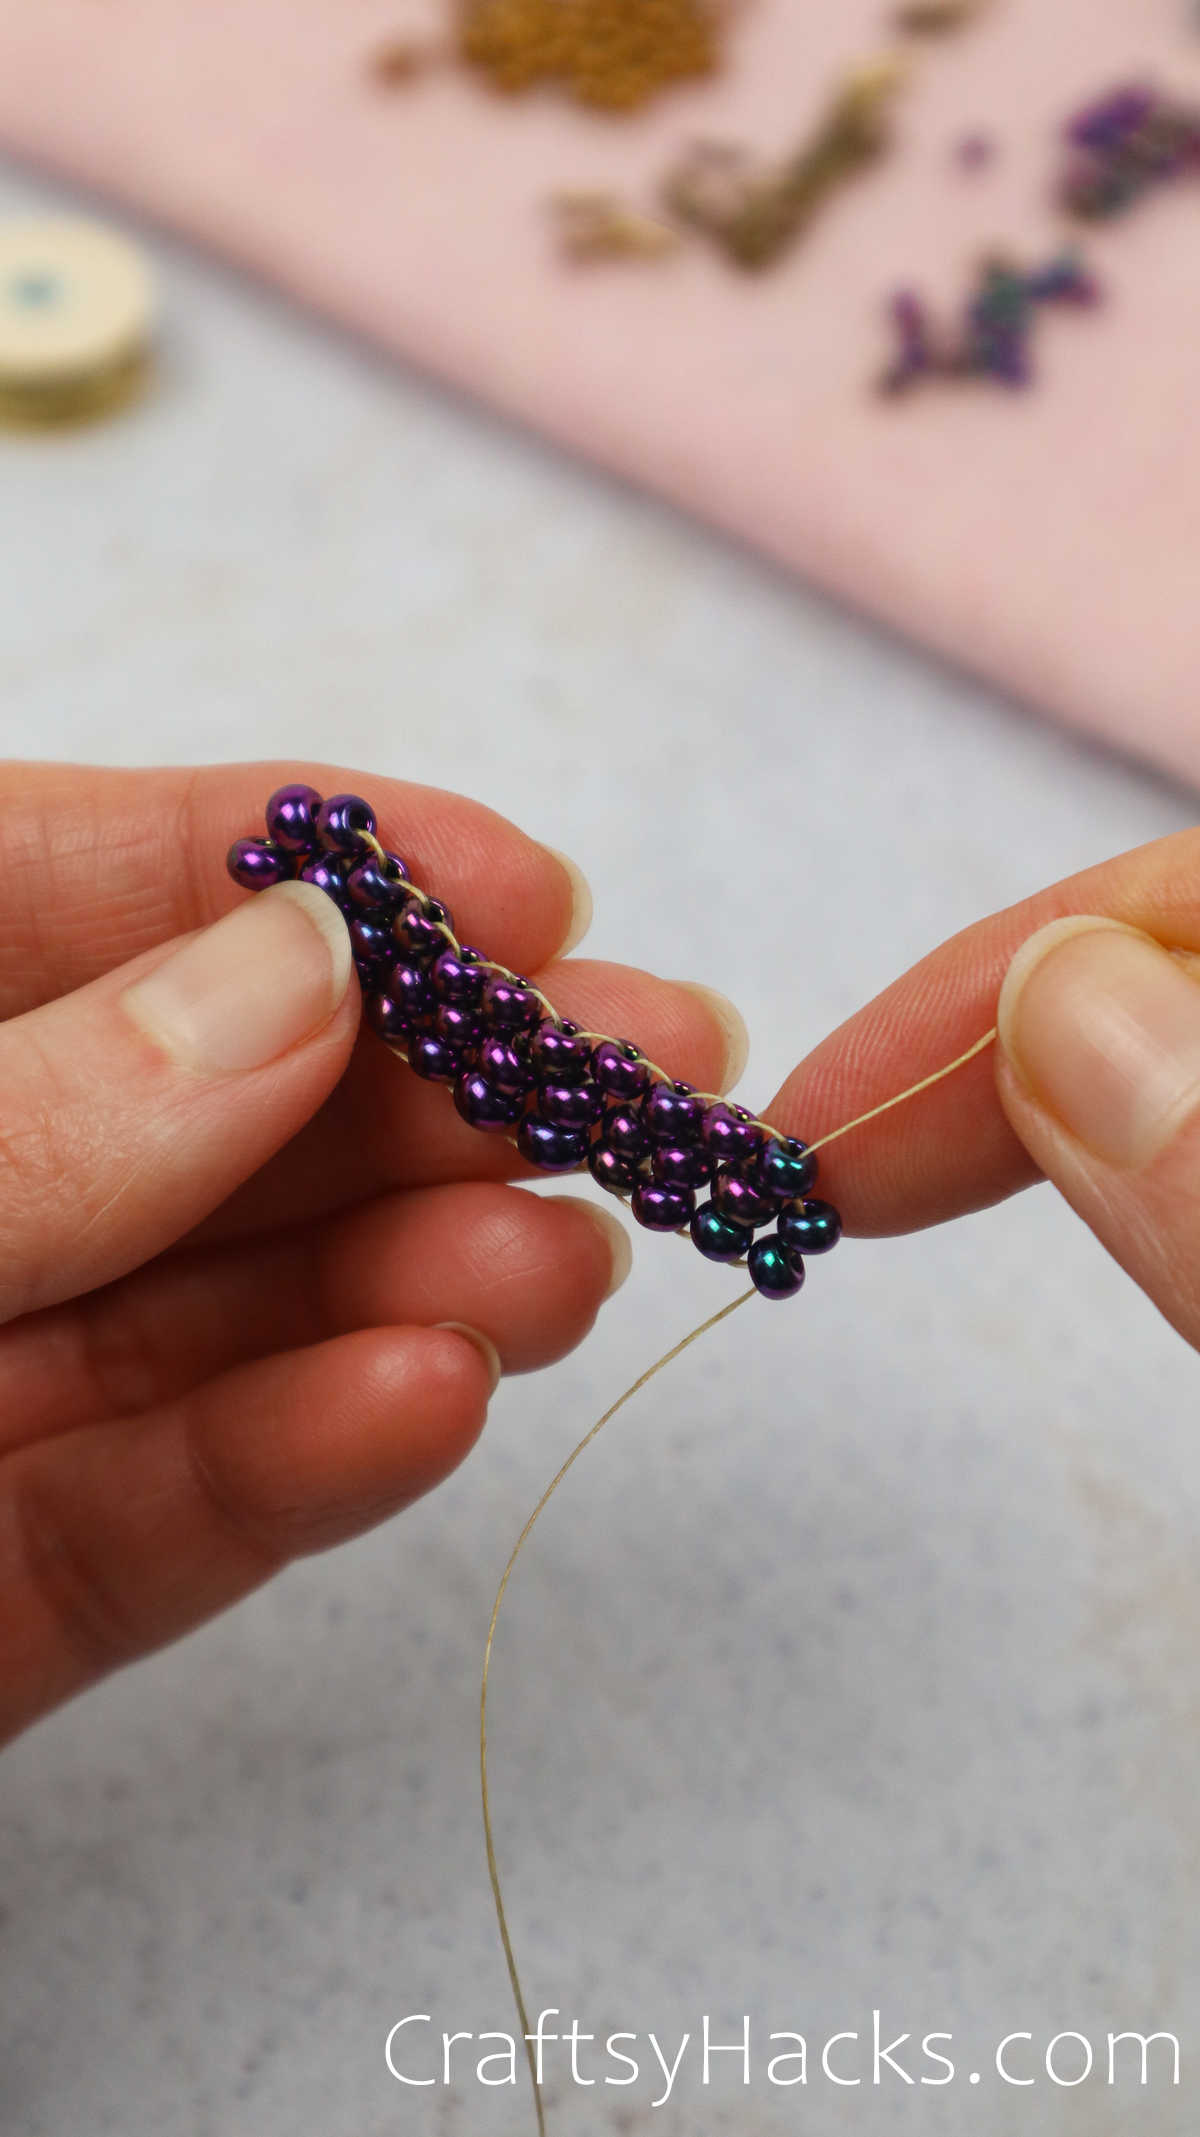
What my full ladder looks like when completed.
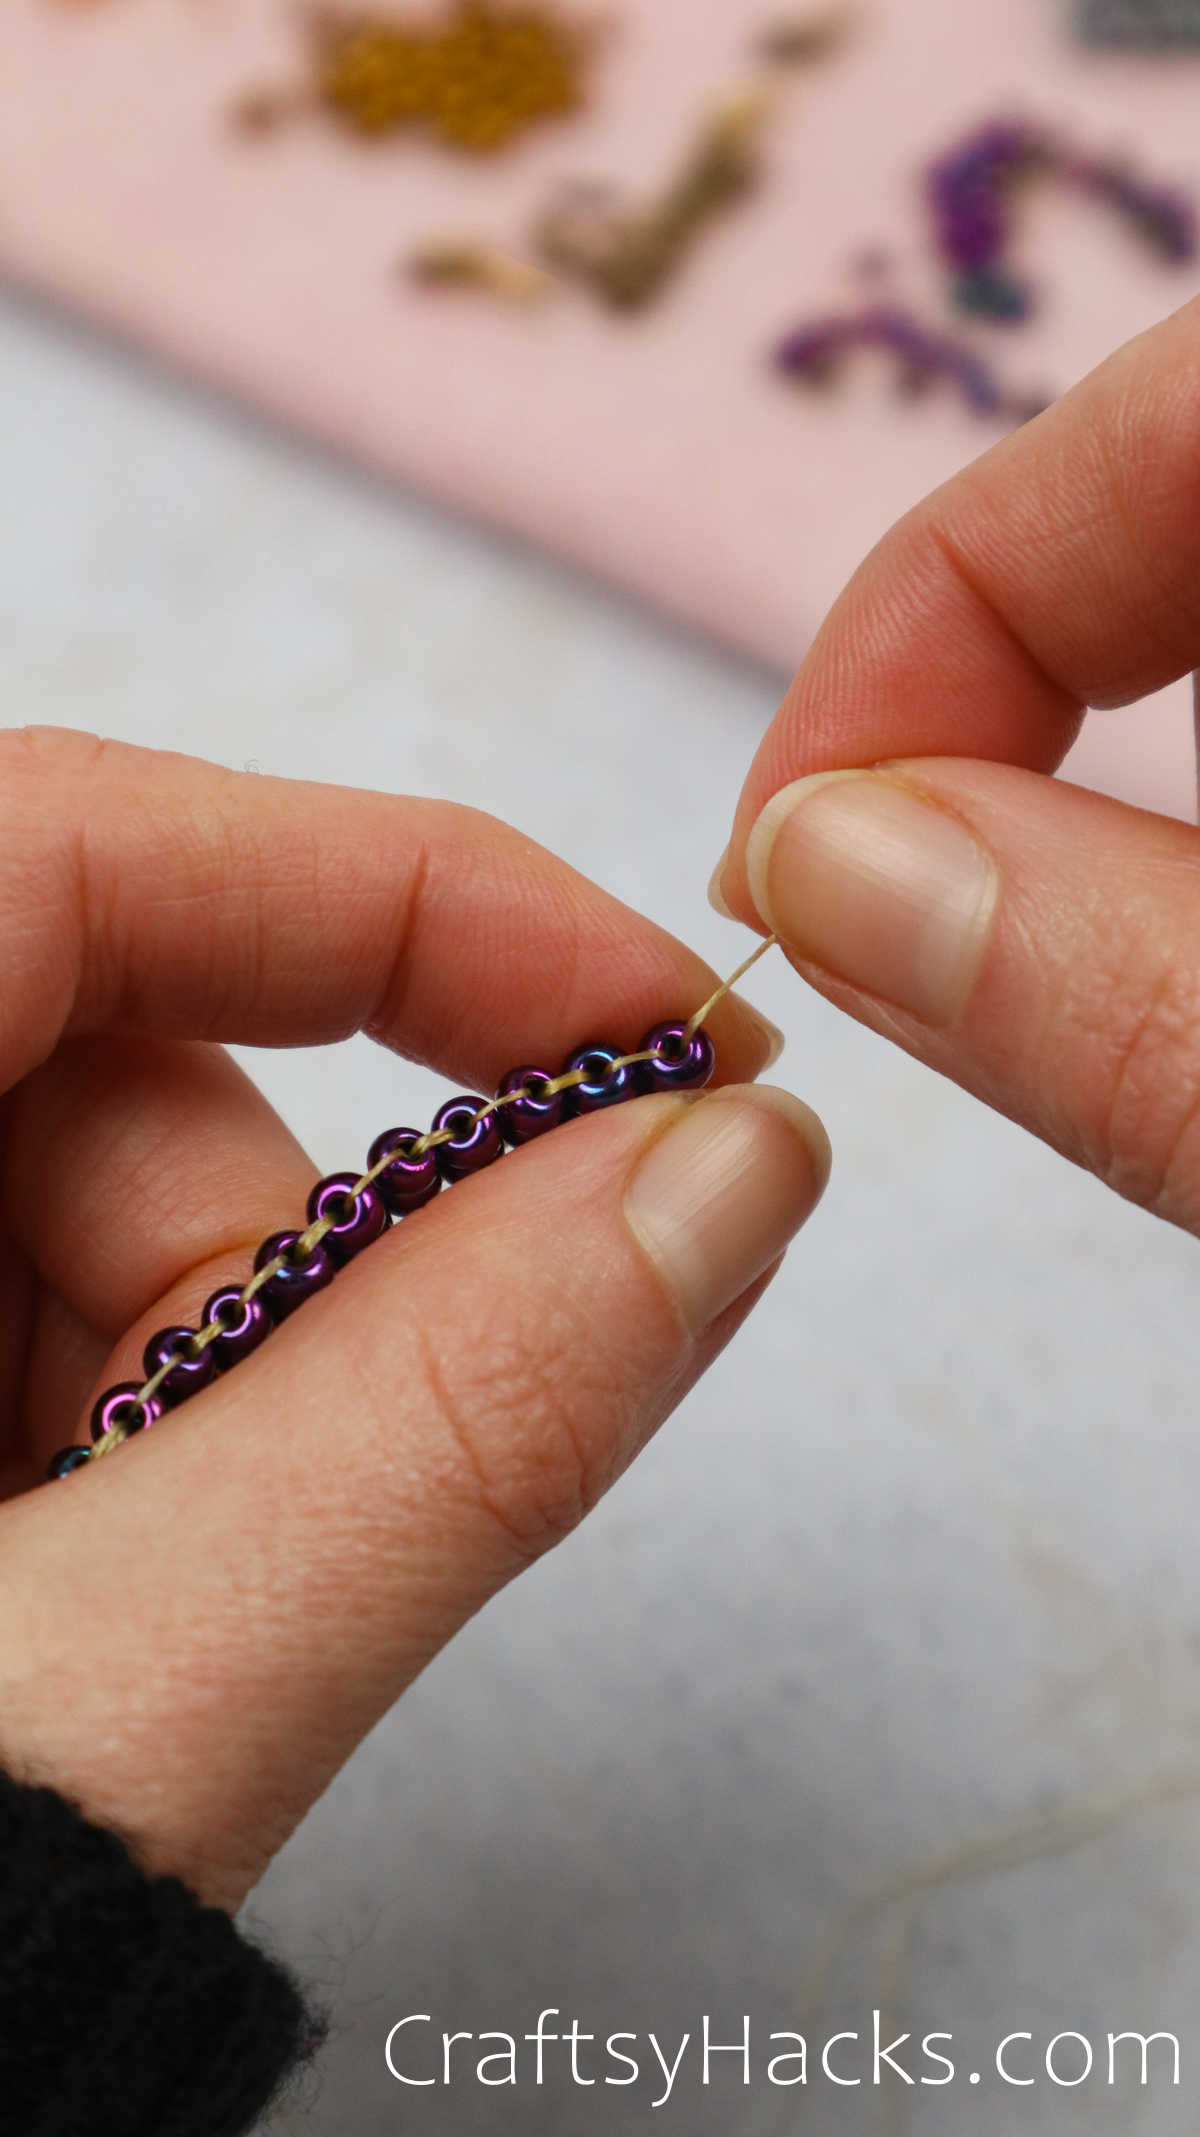
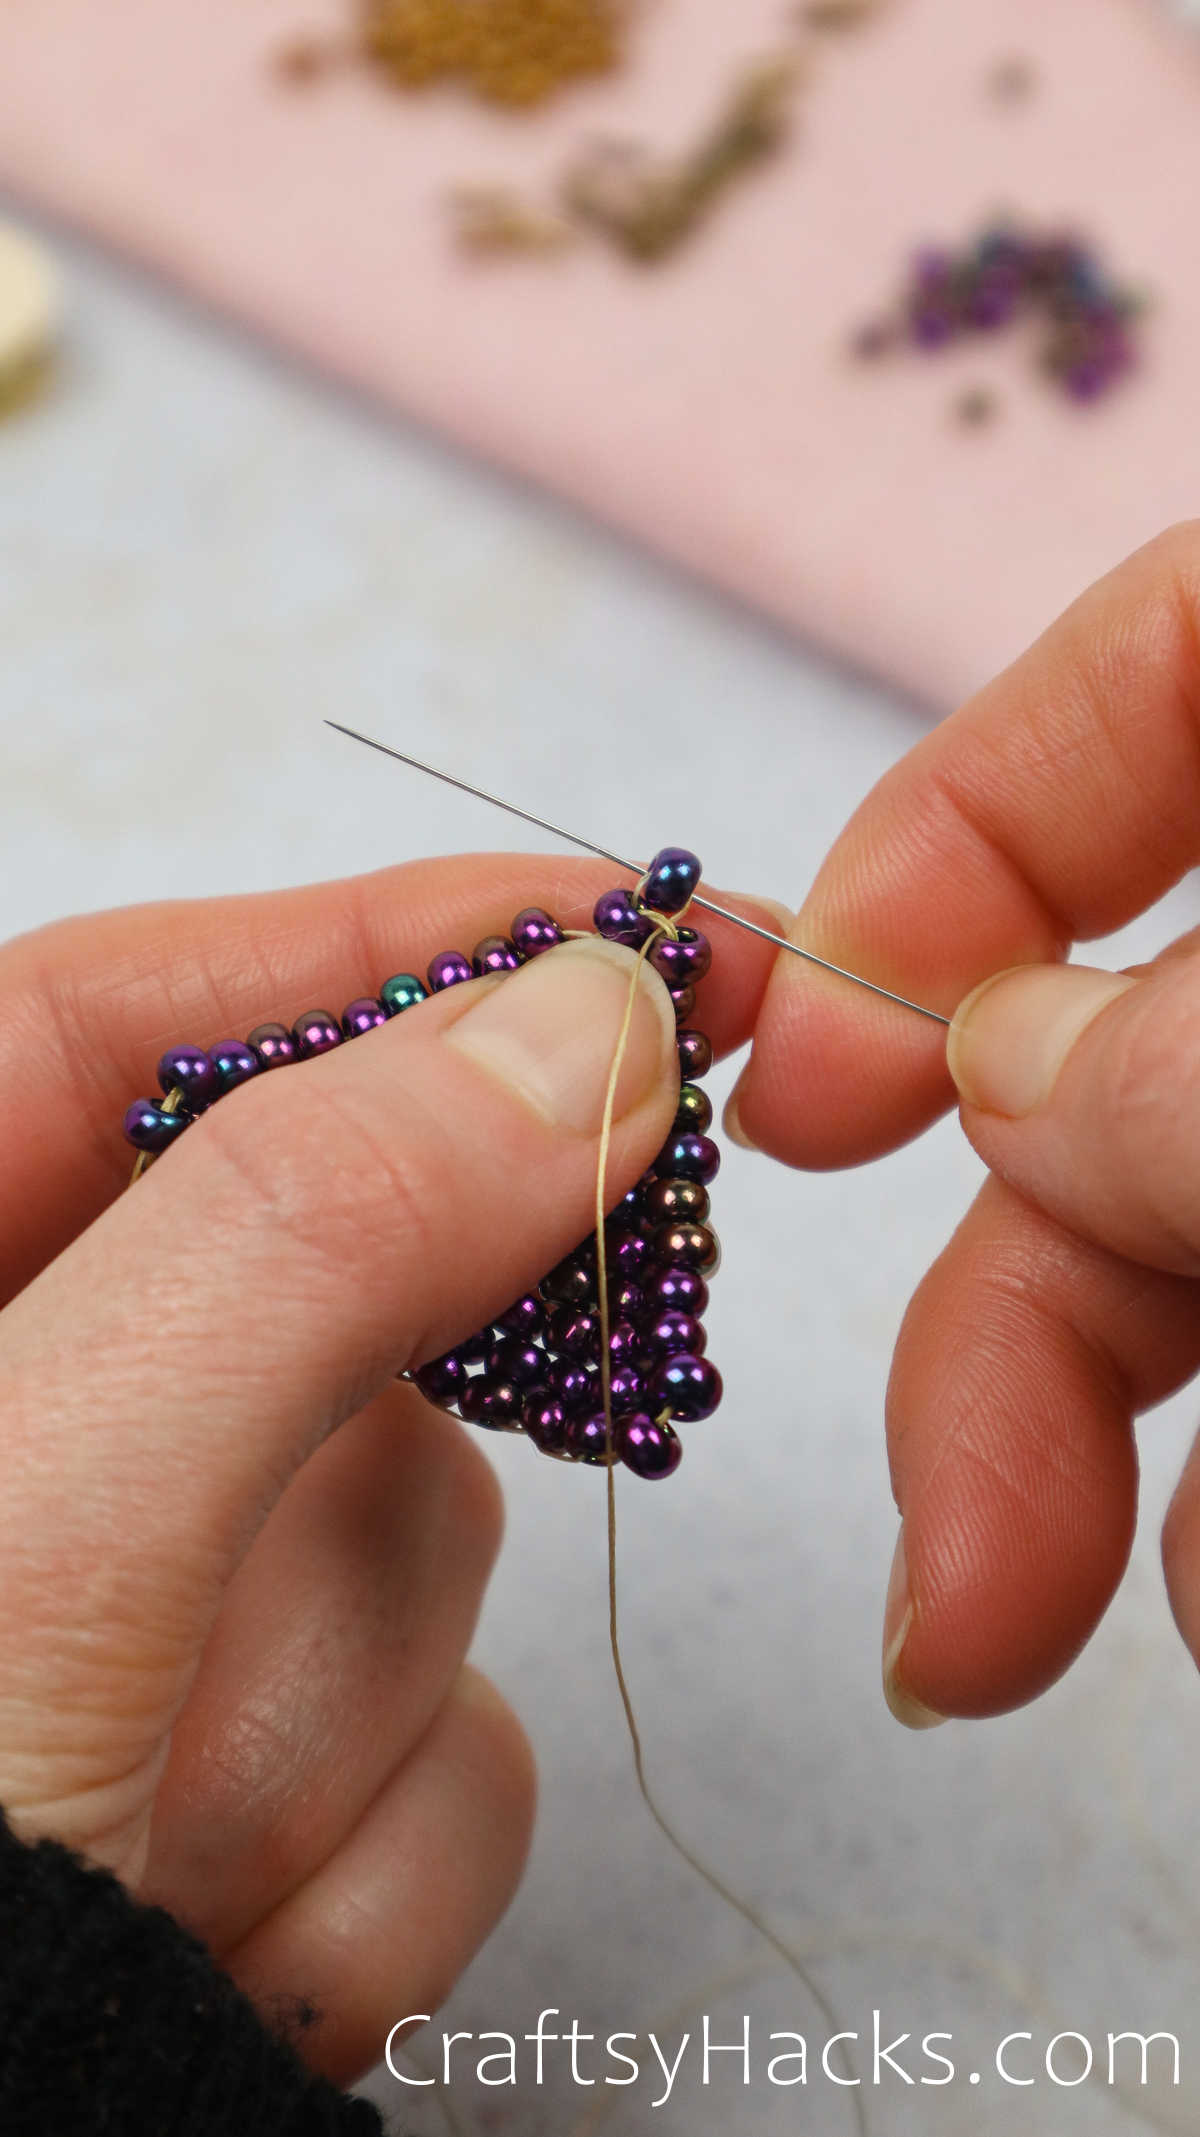
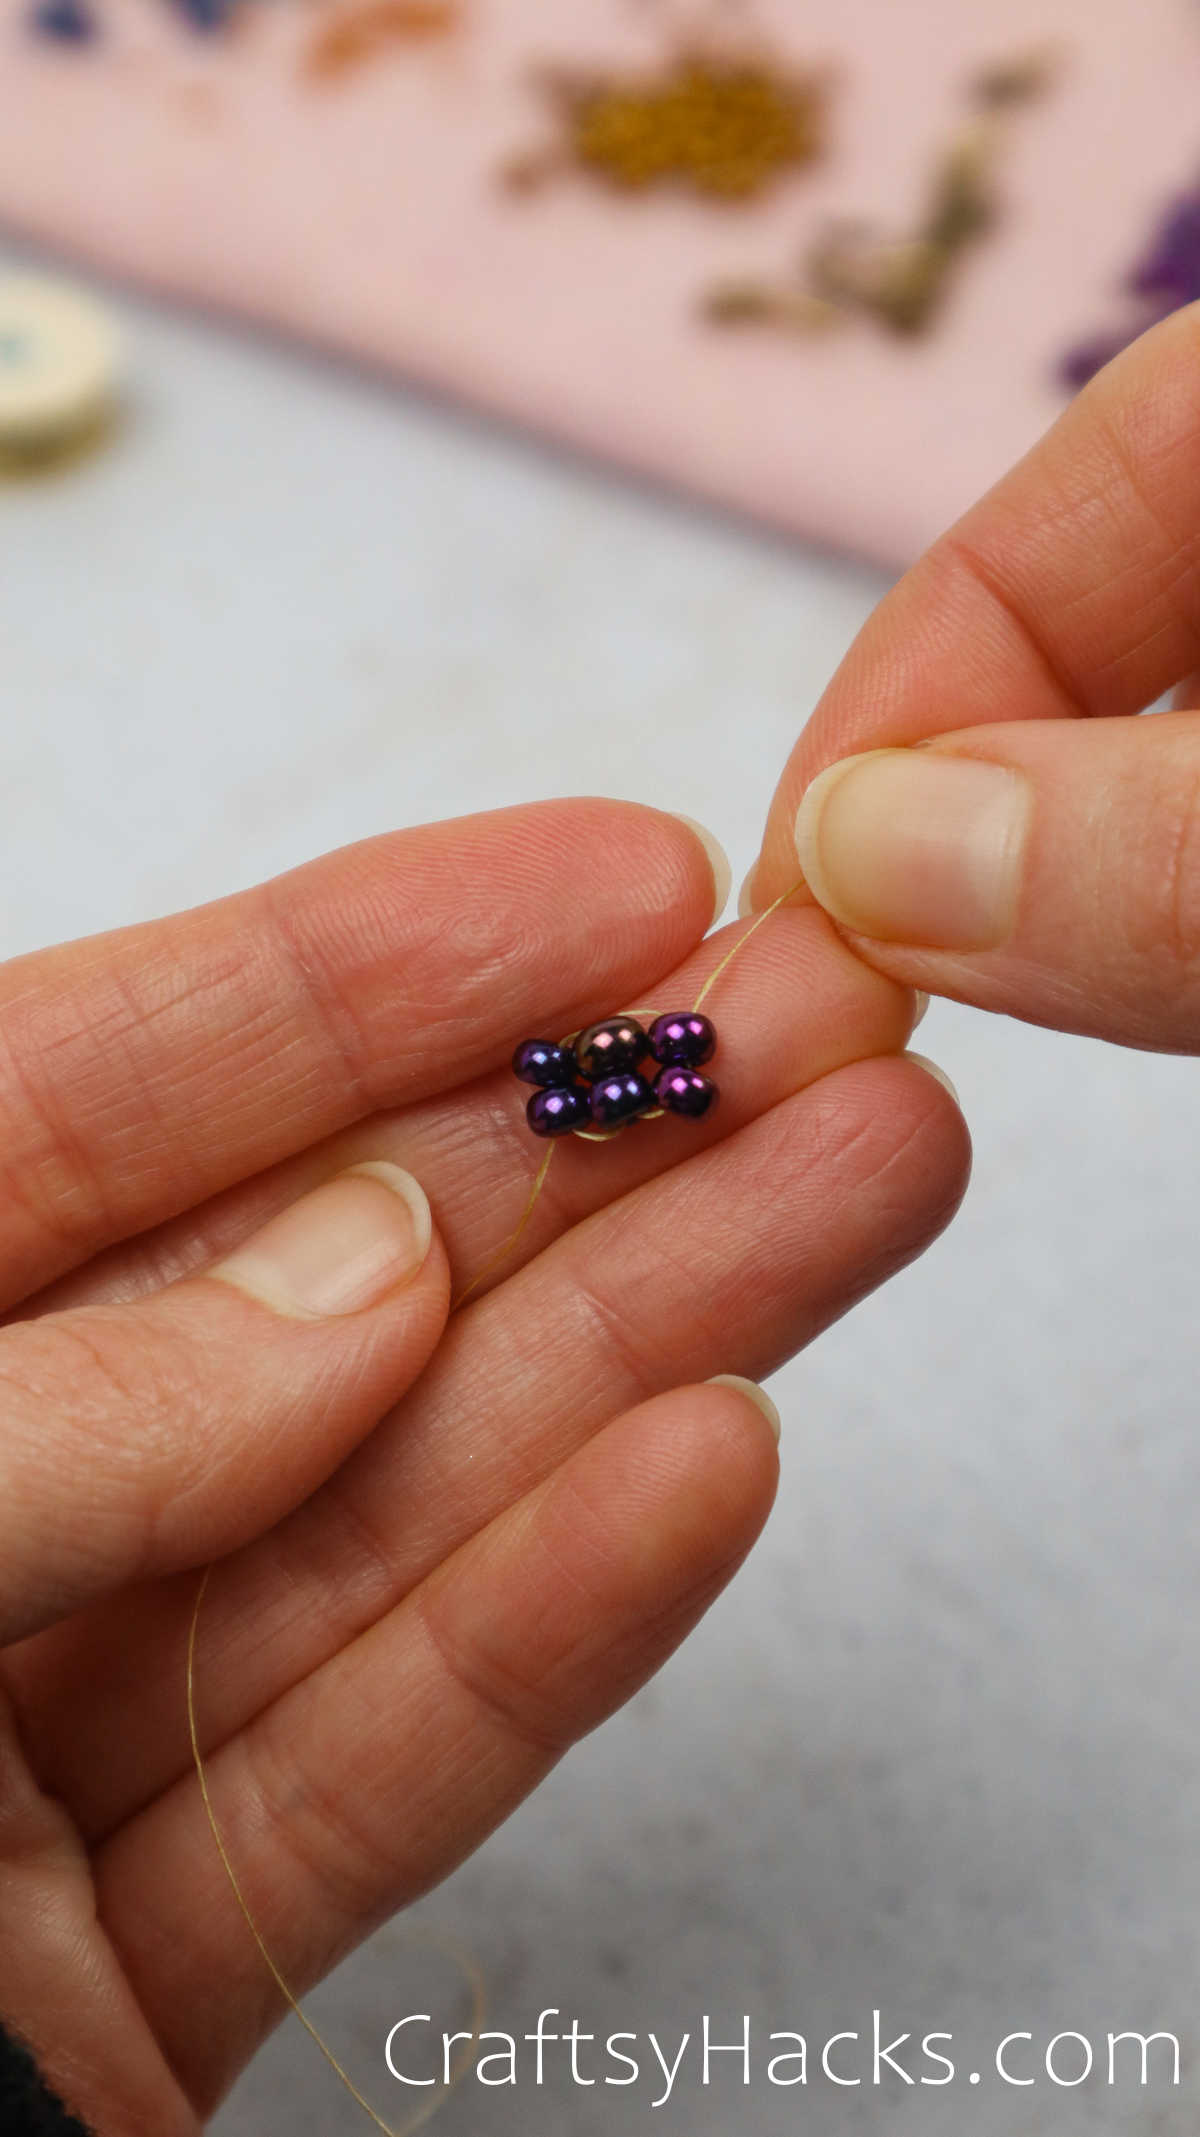
Before we start with two new beads, look to ensure everything looks good before moving forward.

Then, well thread right through the two beads to connect them to the rest of the online grid.
Pull the whole thing tight.
Step 10
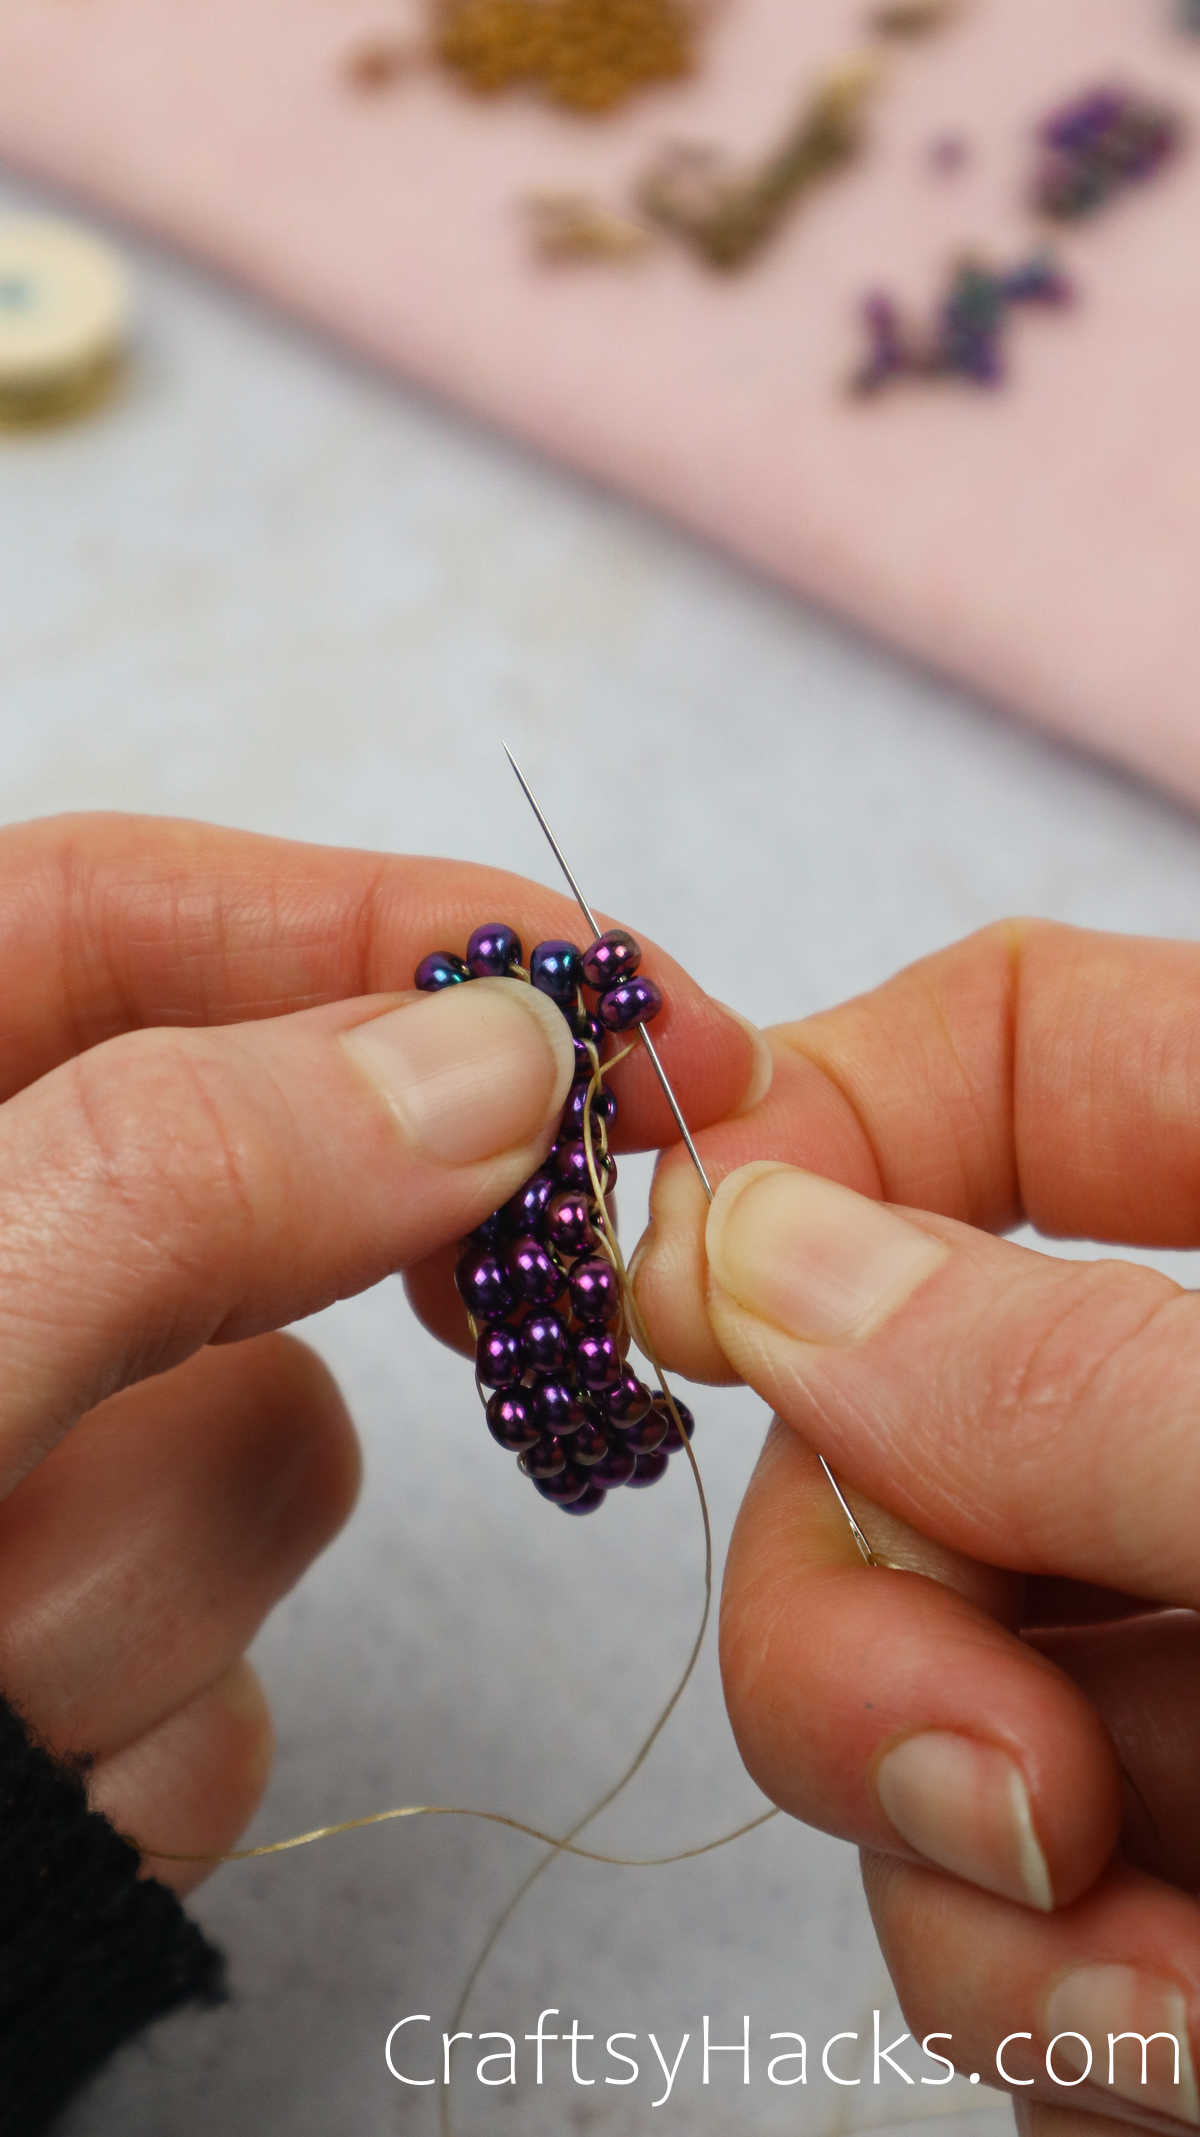
Continue the weaving motion of the needle and practice until youve created a flower-esque-looking shape.
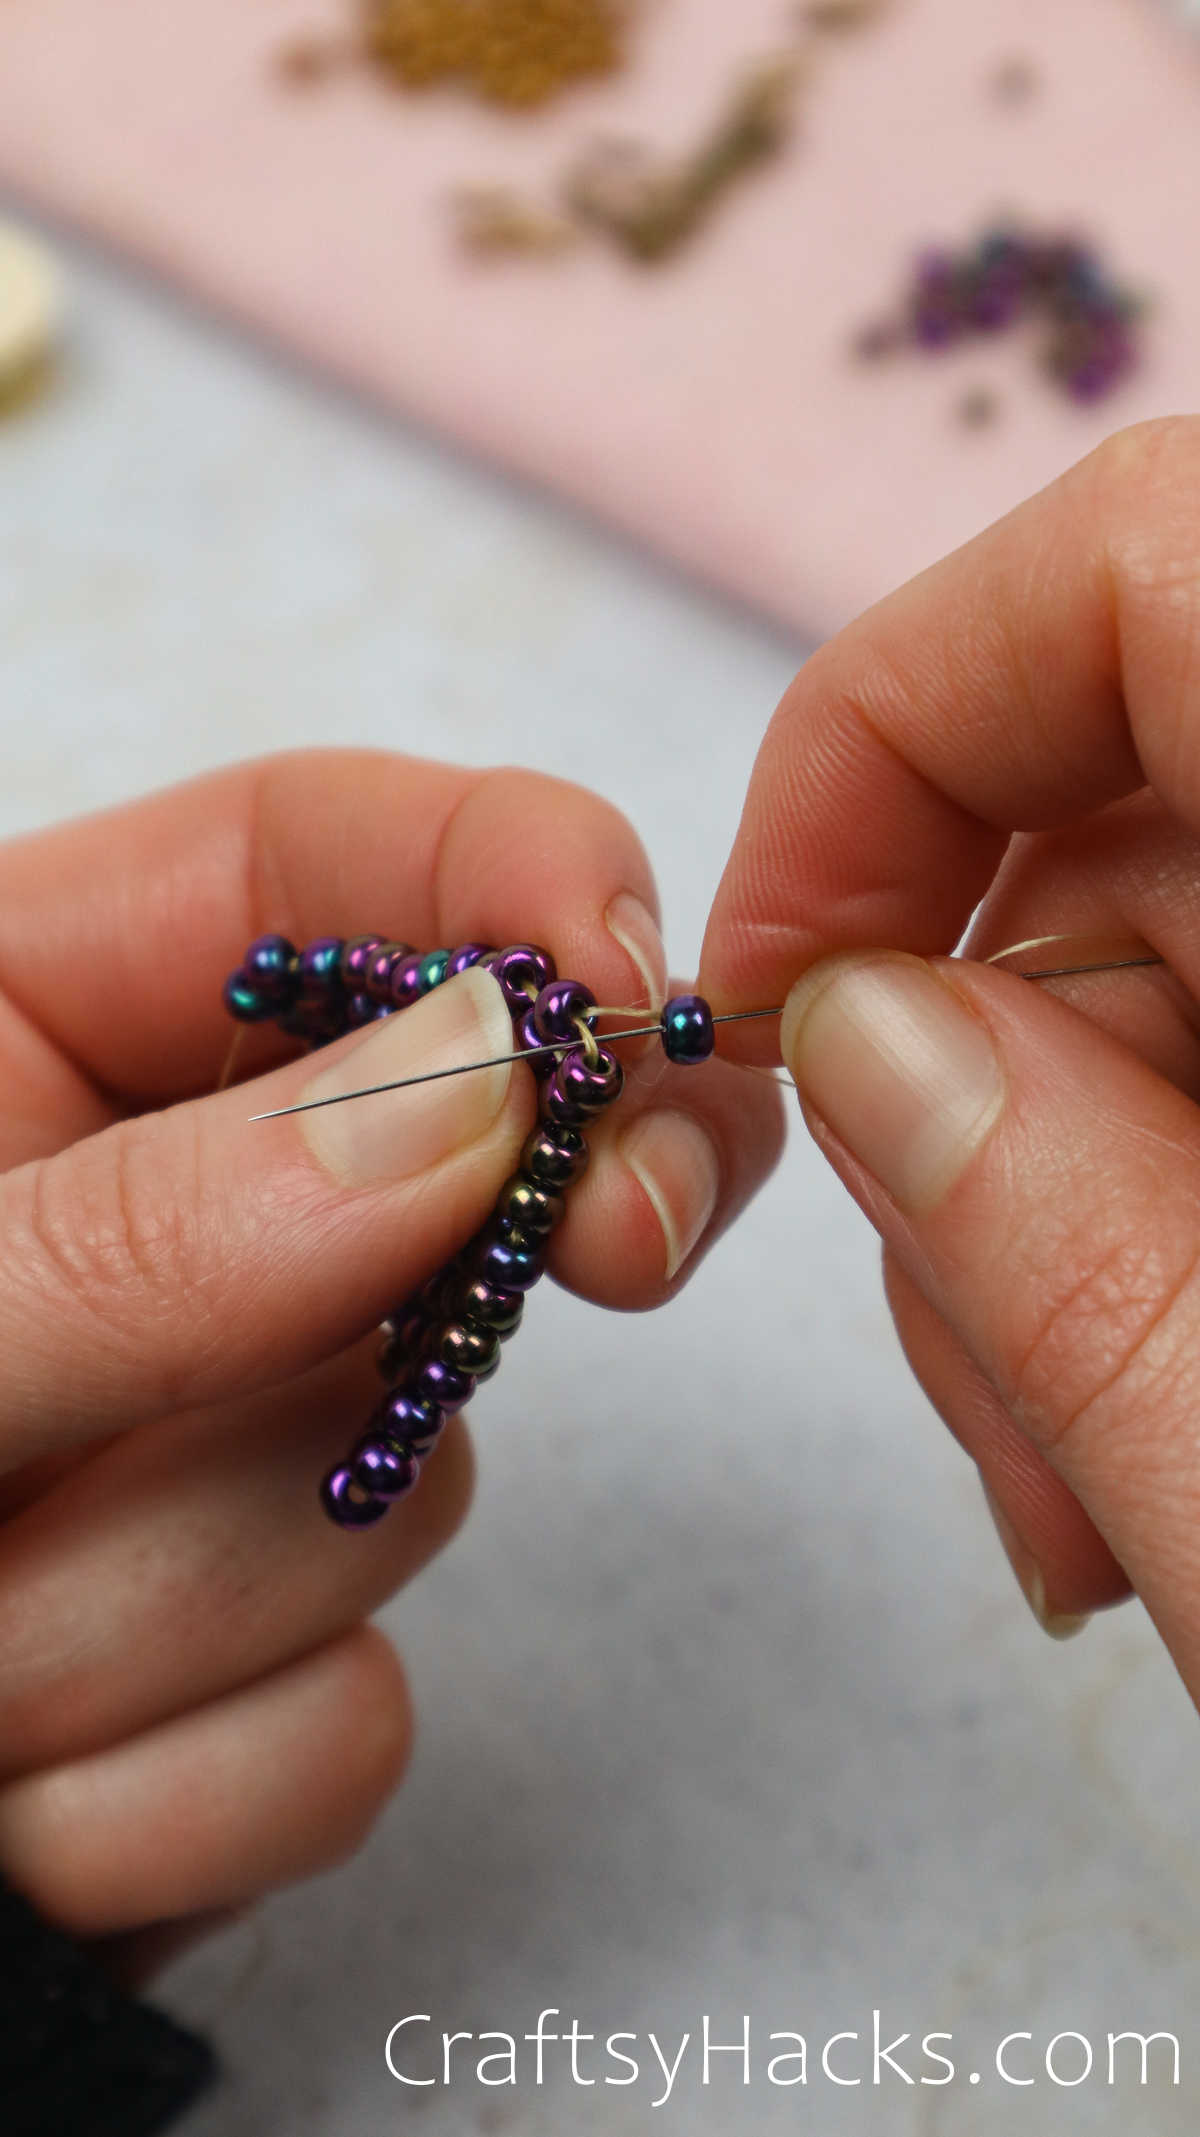
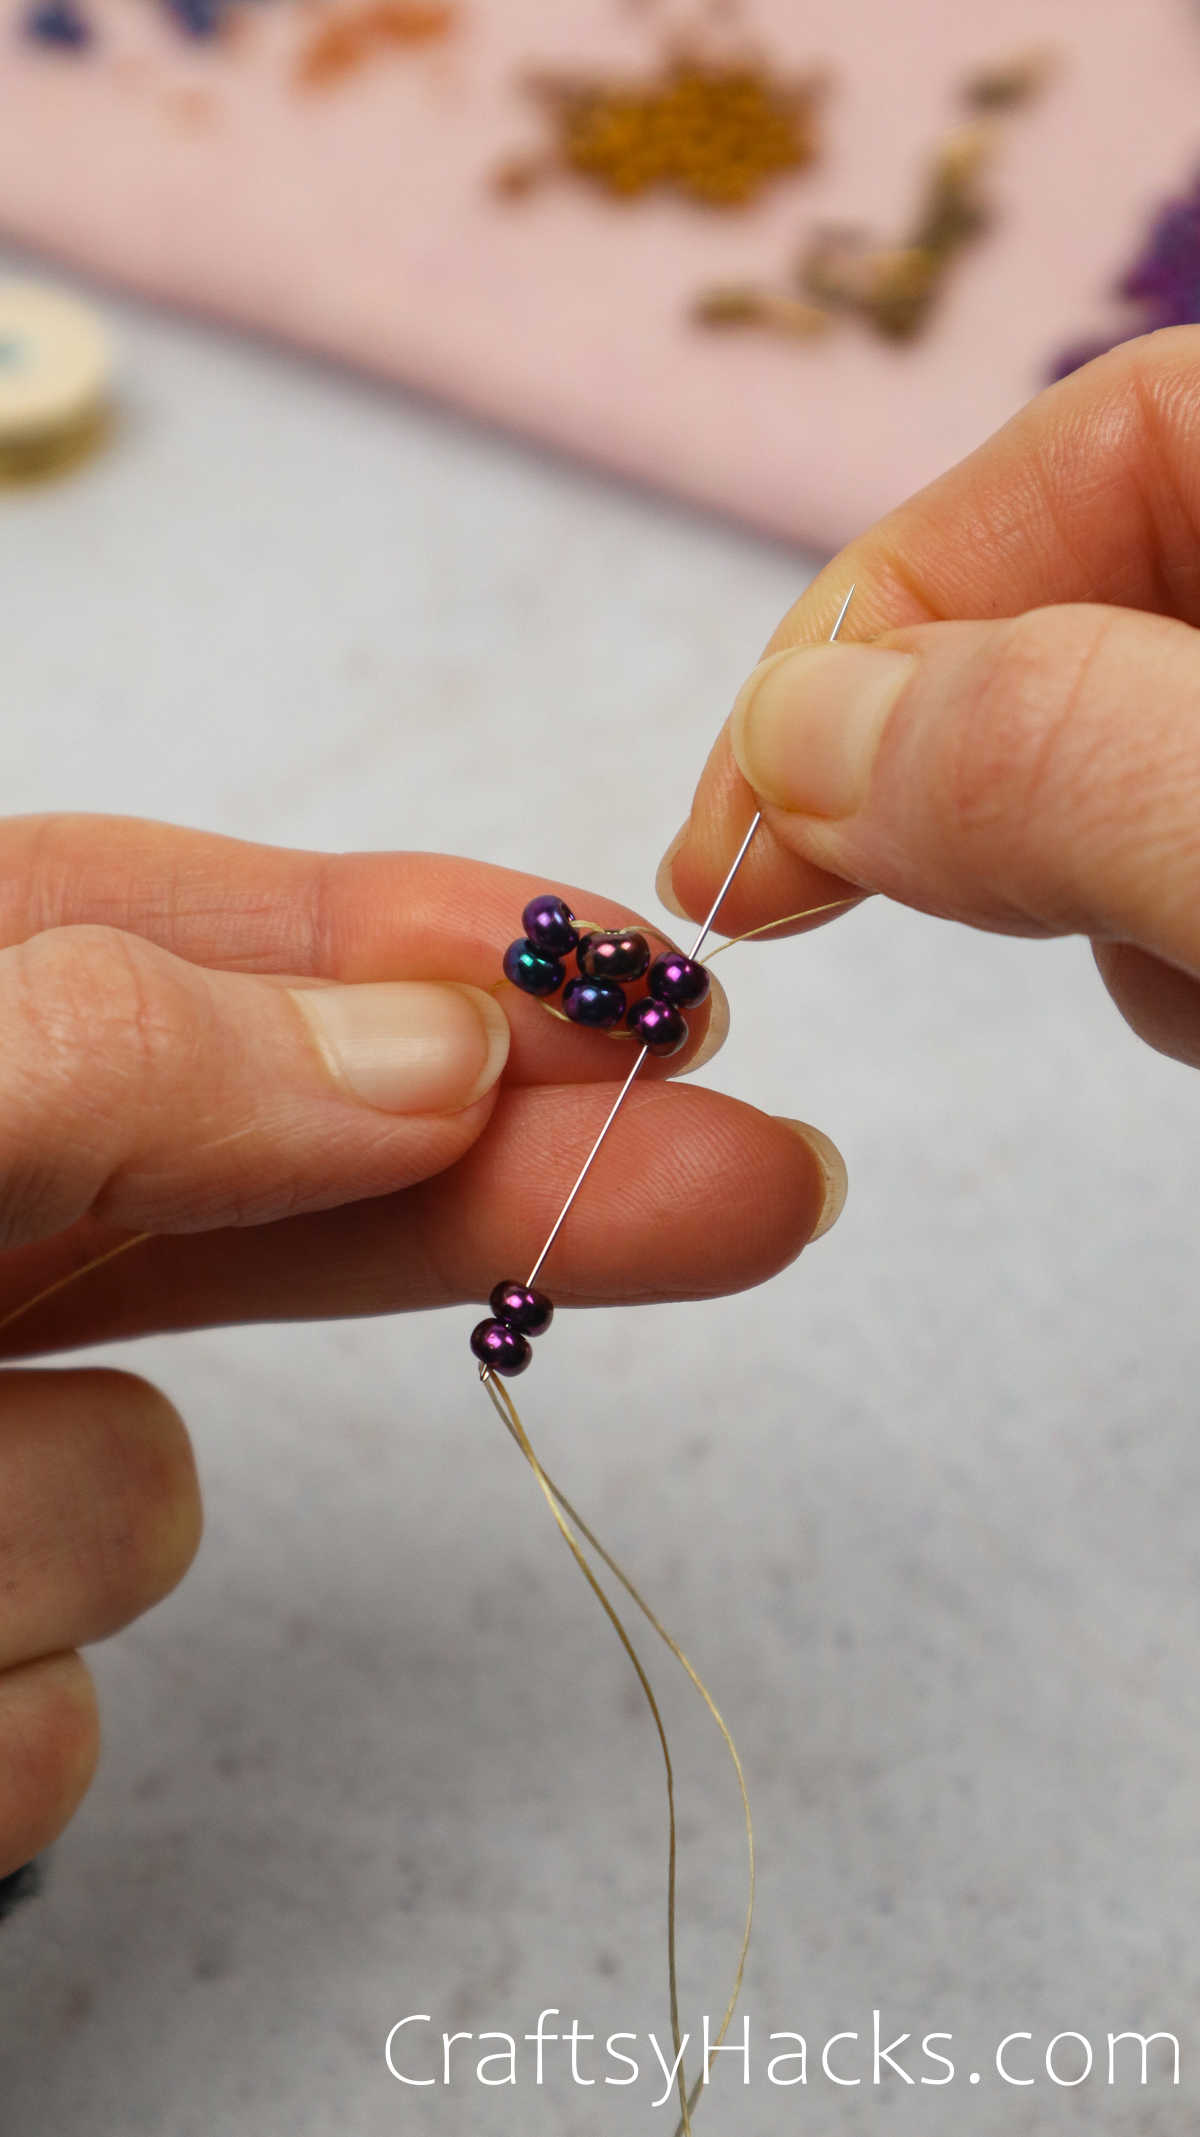
From here on out, well be adding one bead at a time.
This time is also perfect to ensure your earrings look right and work anything out.
Step 12
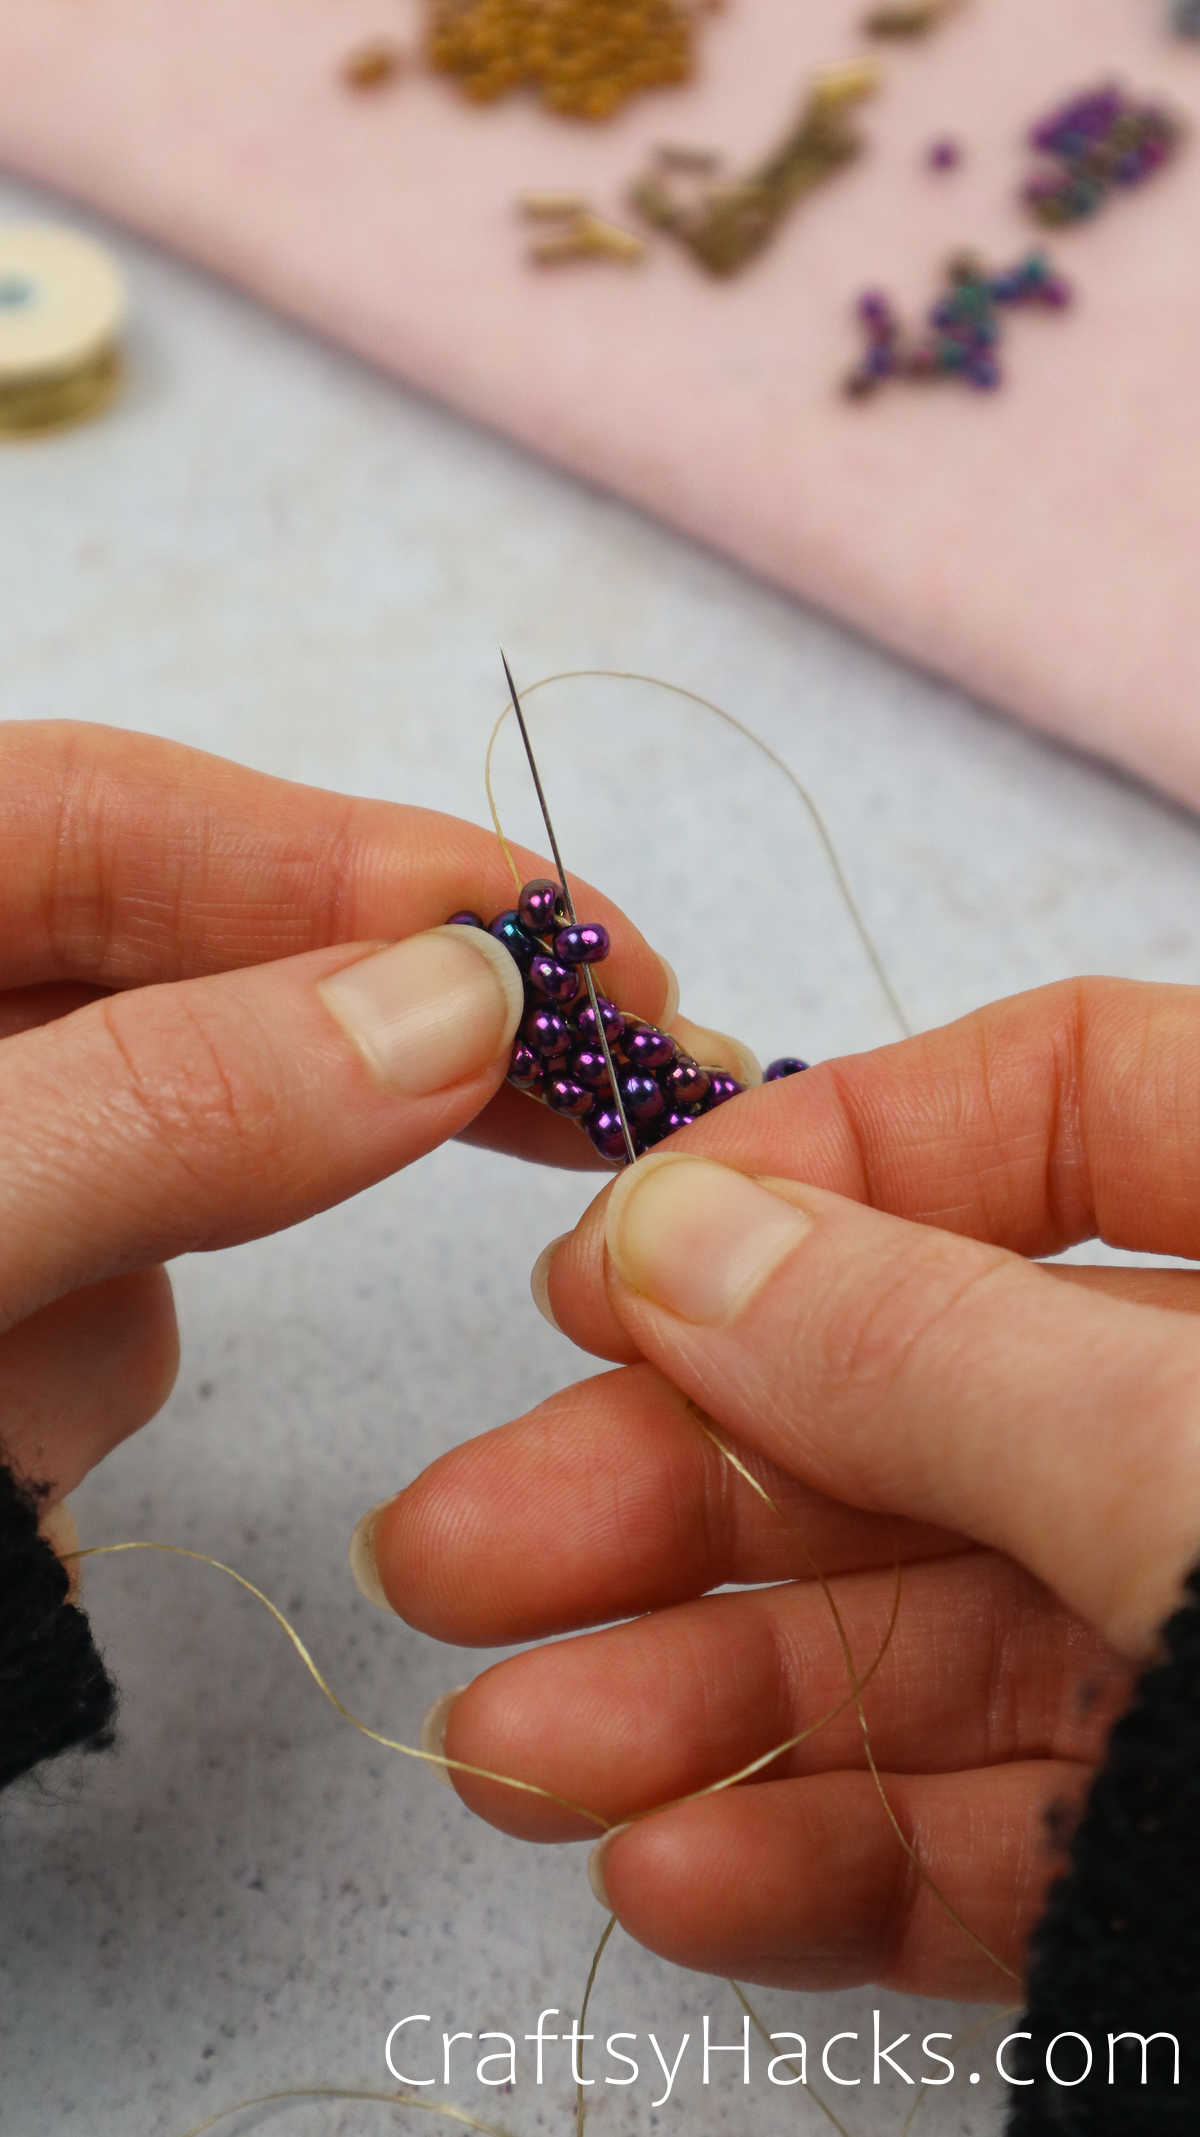
Repeat the threading process with one bead, skipping the first gap between beads.
Step 13
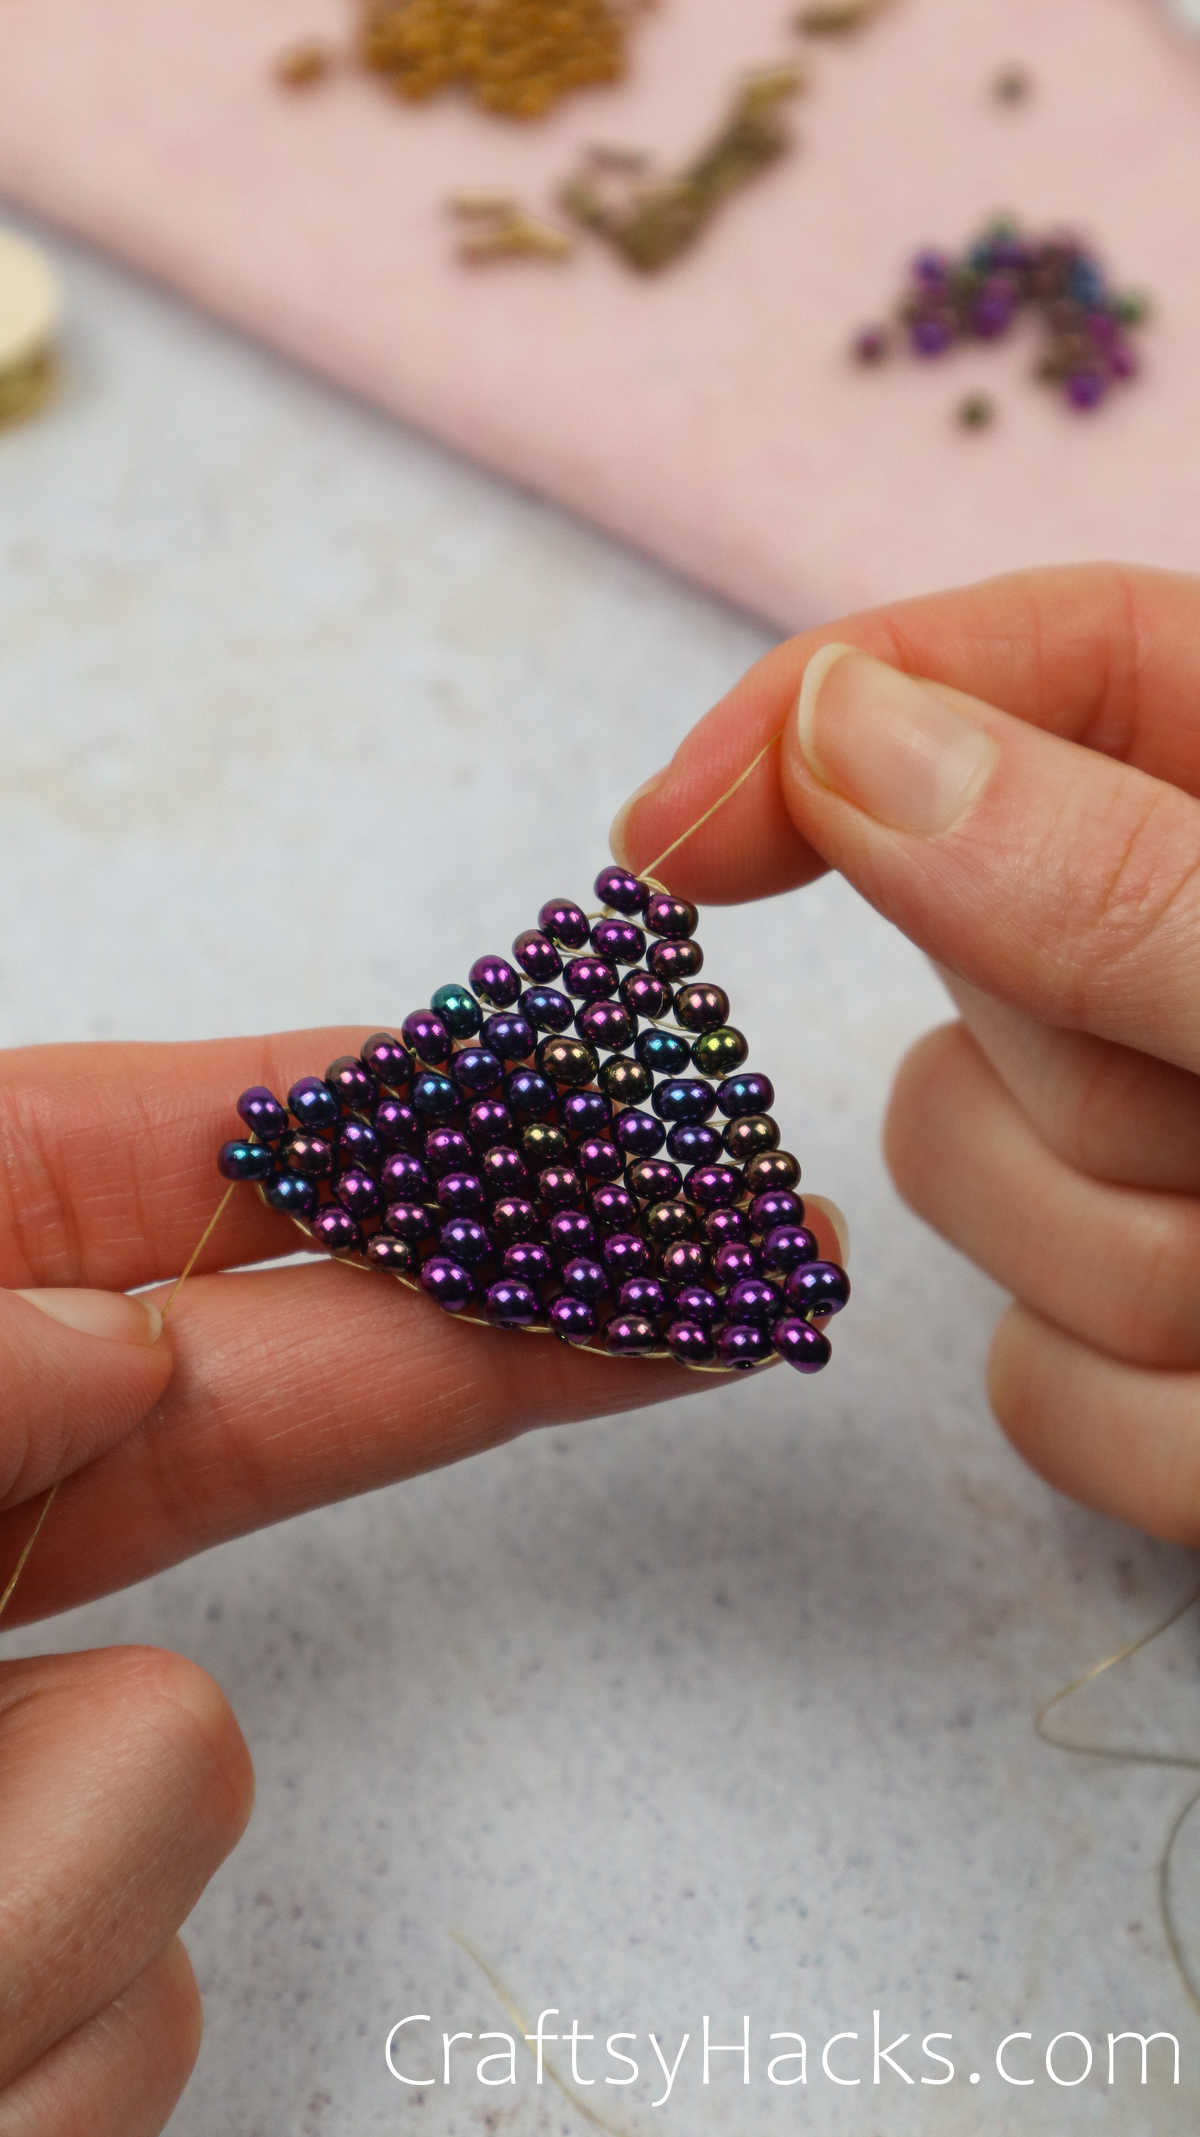
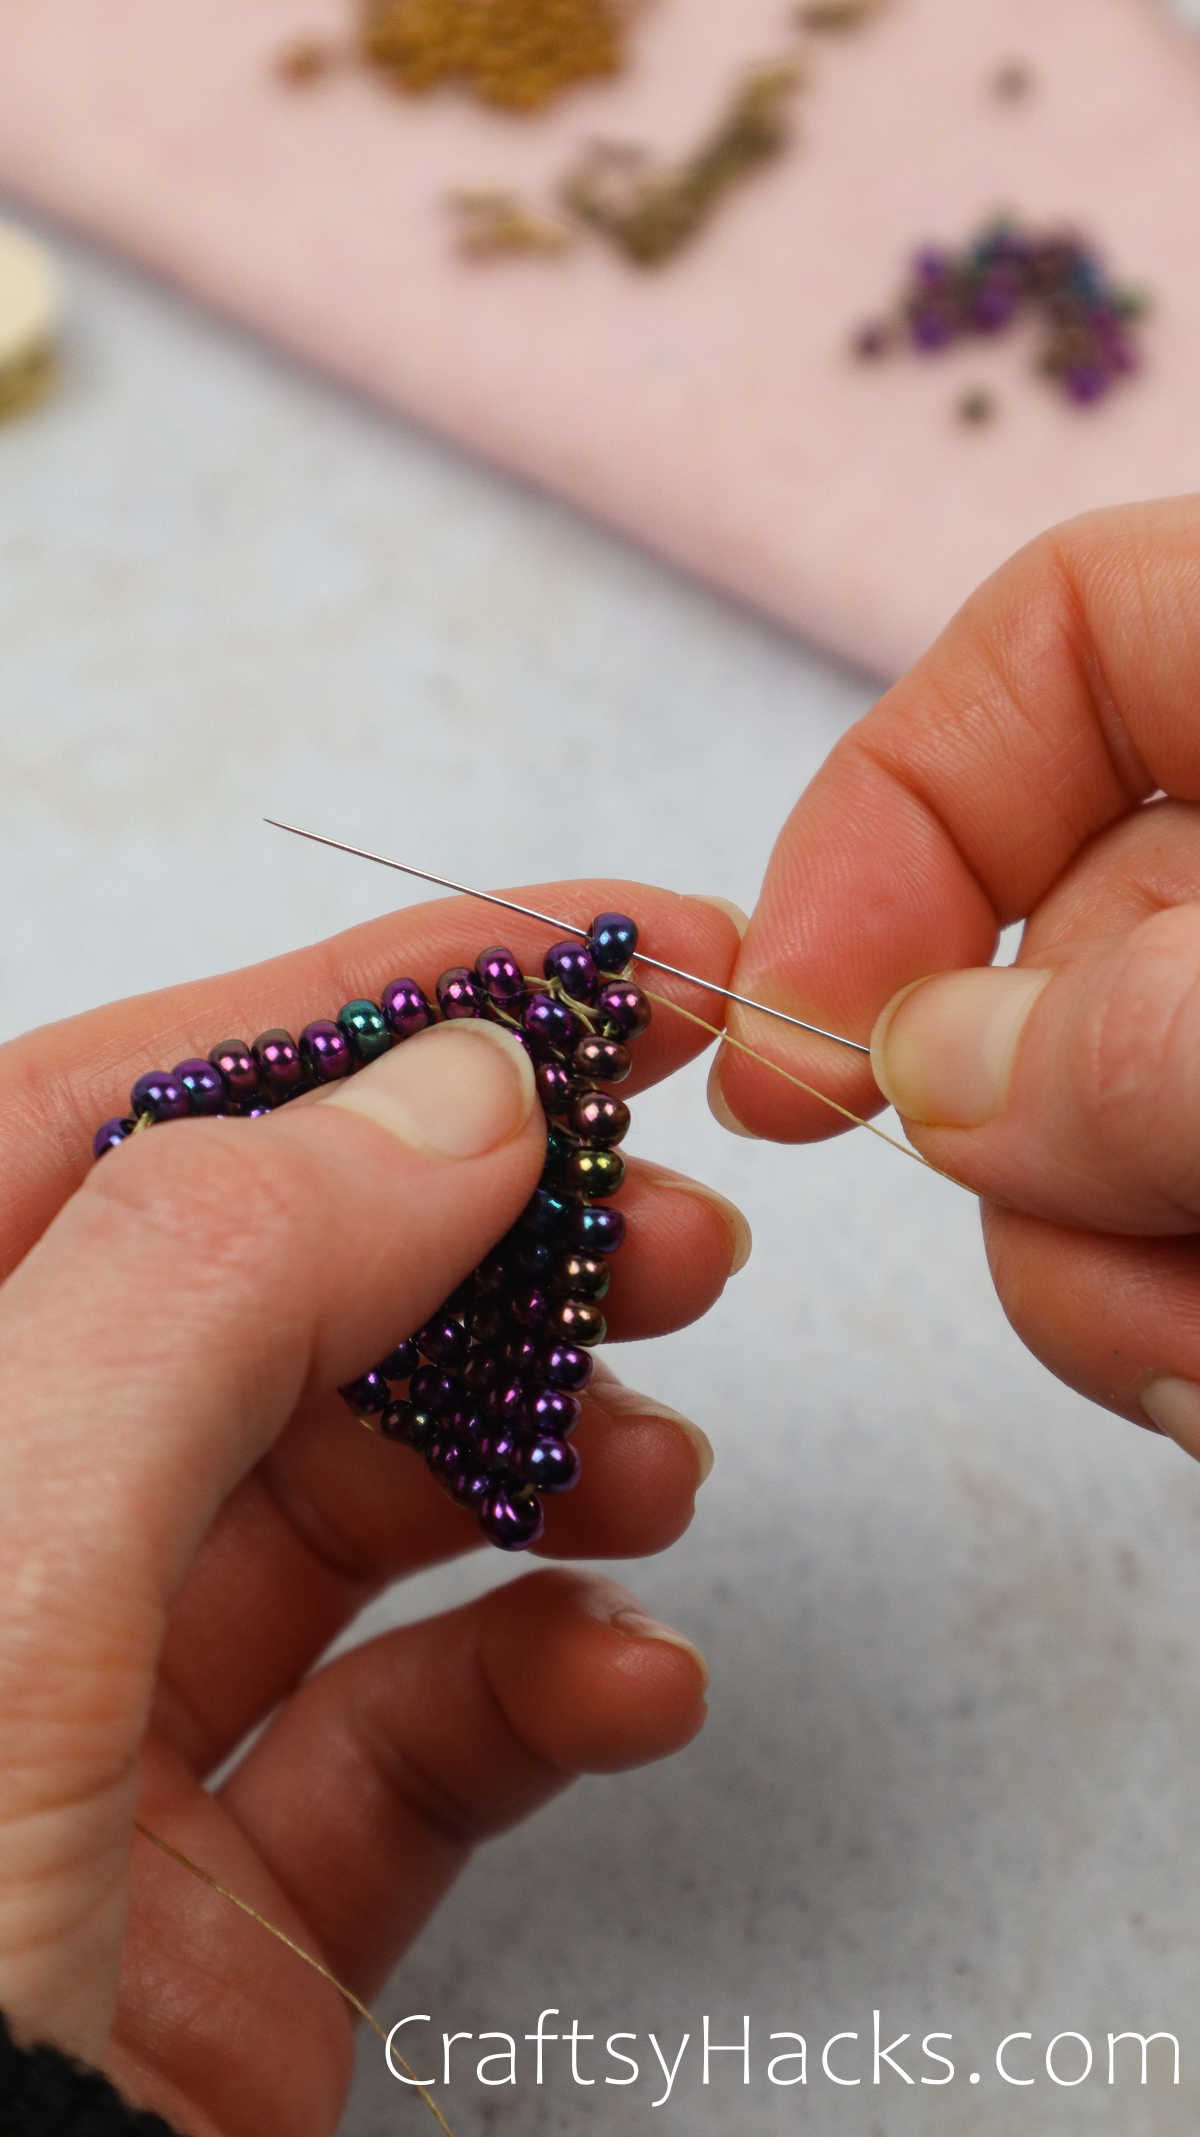
Continue building outward and down with a tapered edge to look like a triangle.
Step 14
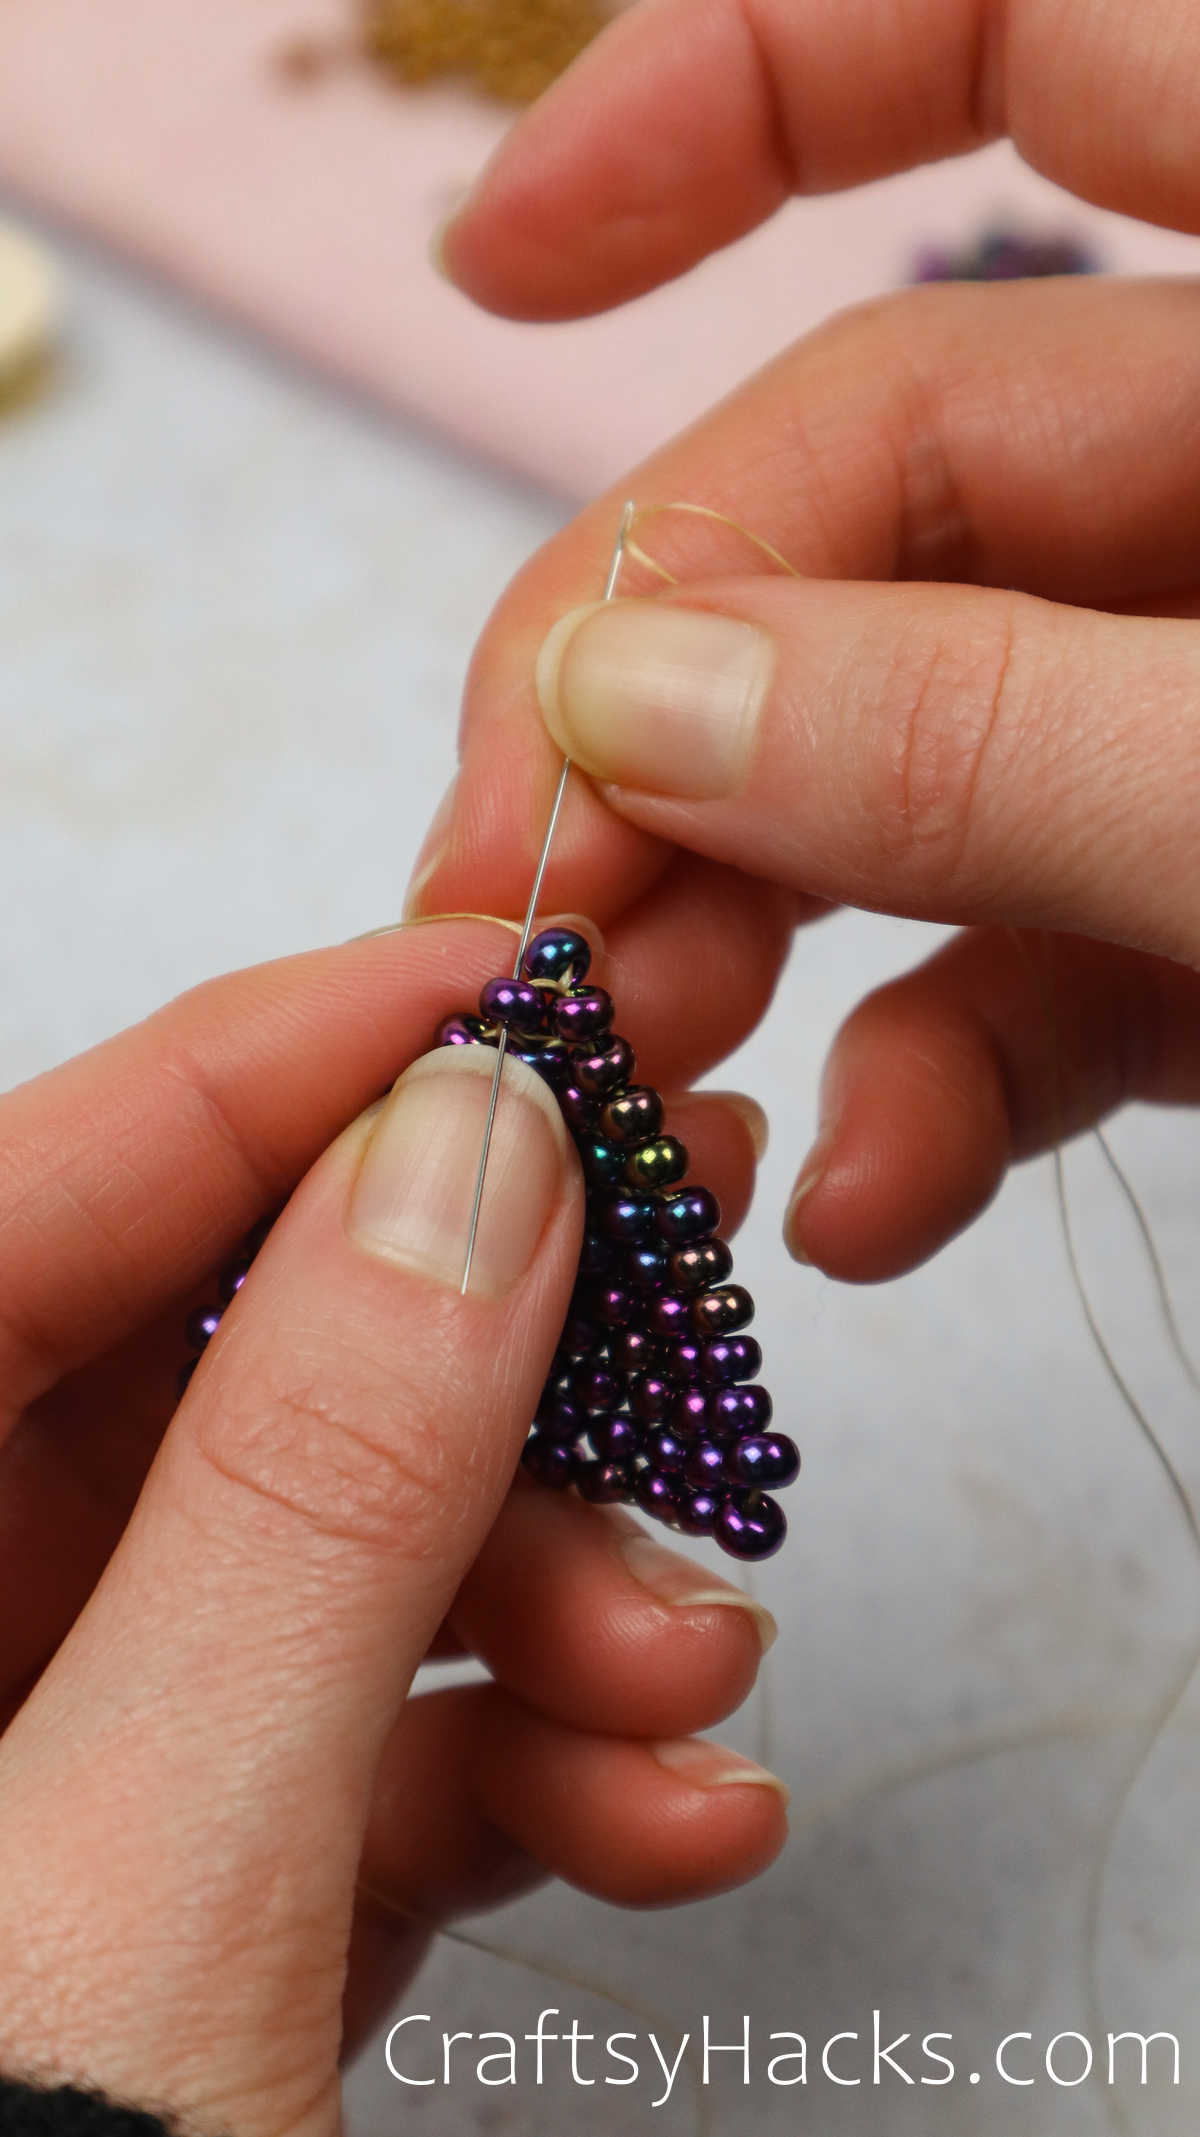
Continue working with one bead as you get things situated until youve reached the peak.
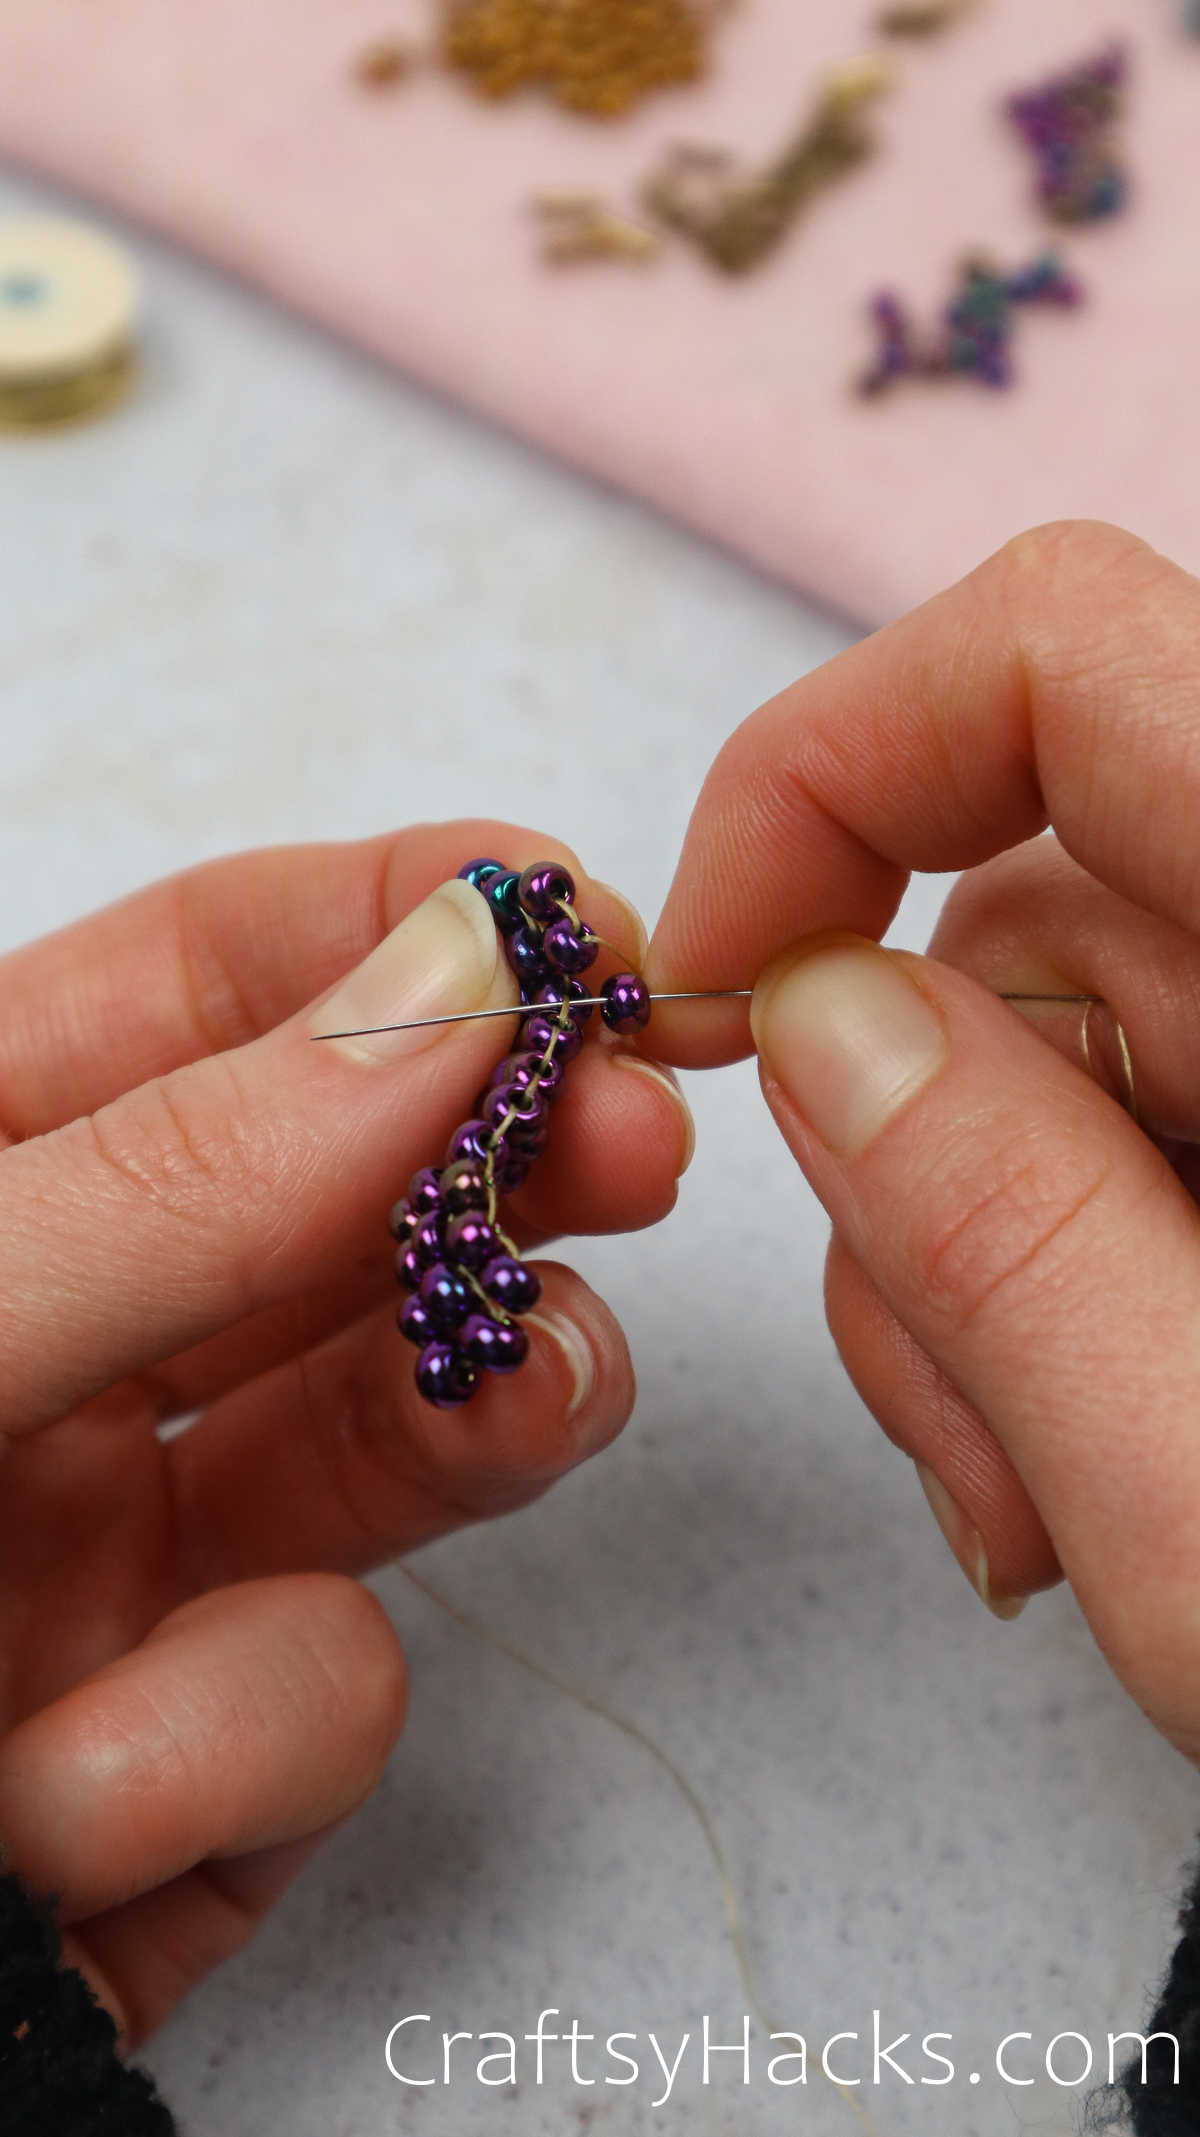
Continuation of the triangles as they taper towards the top.
Continuation and example of the first triangle getting formed.
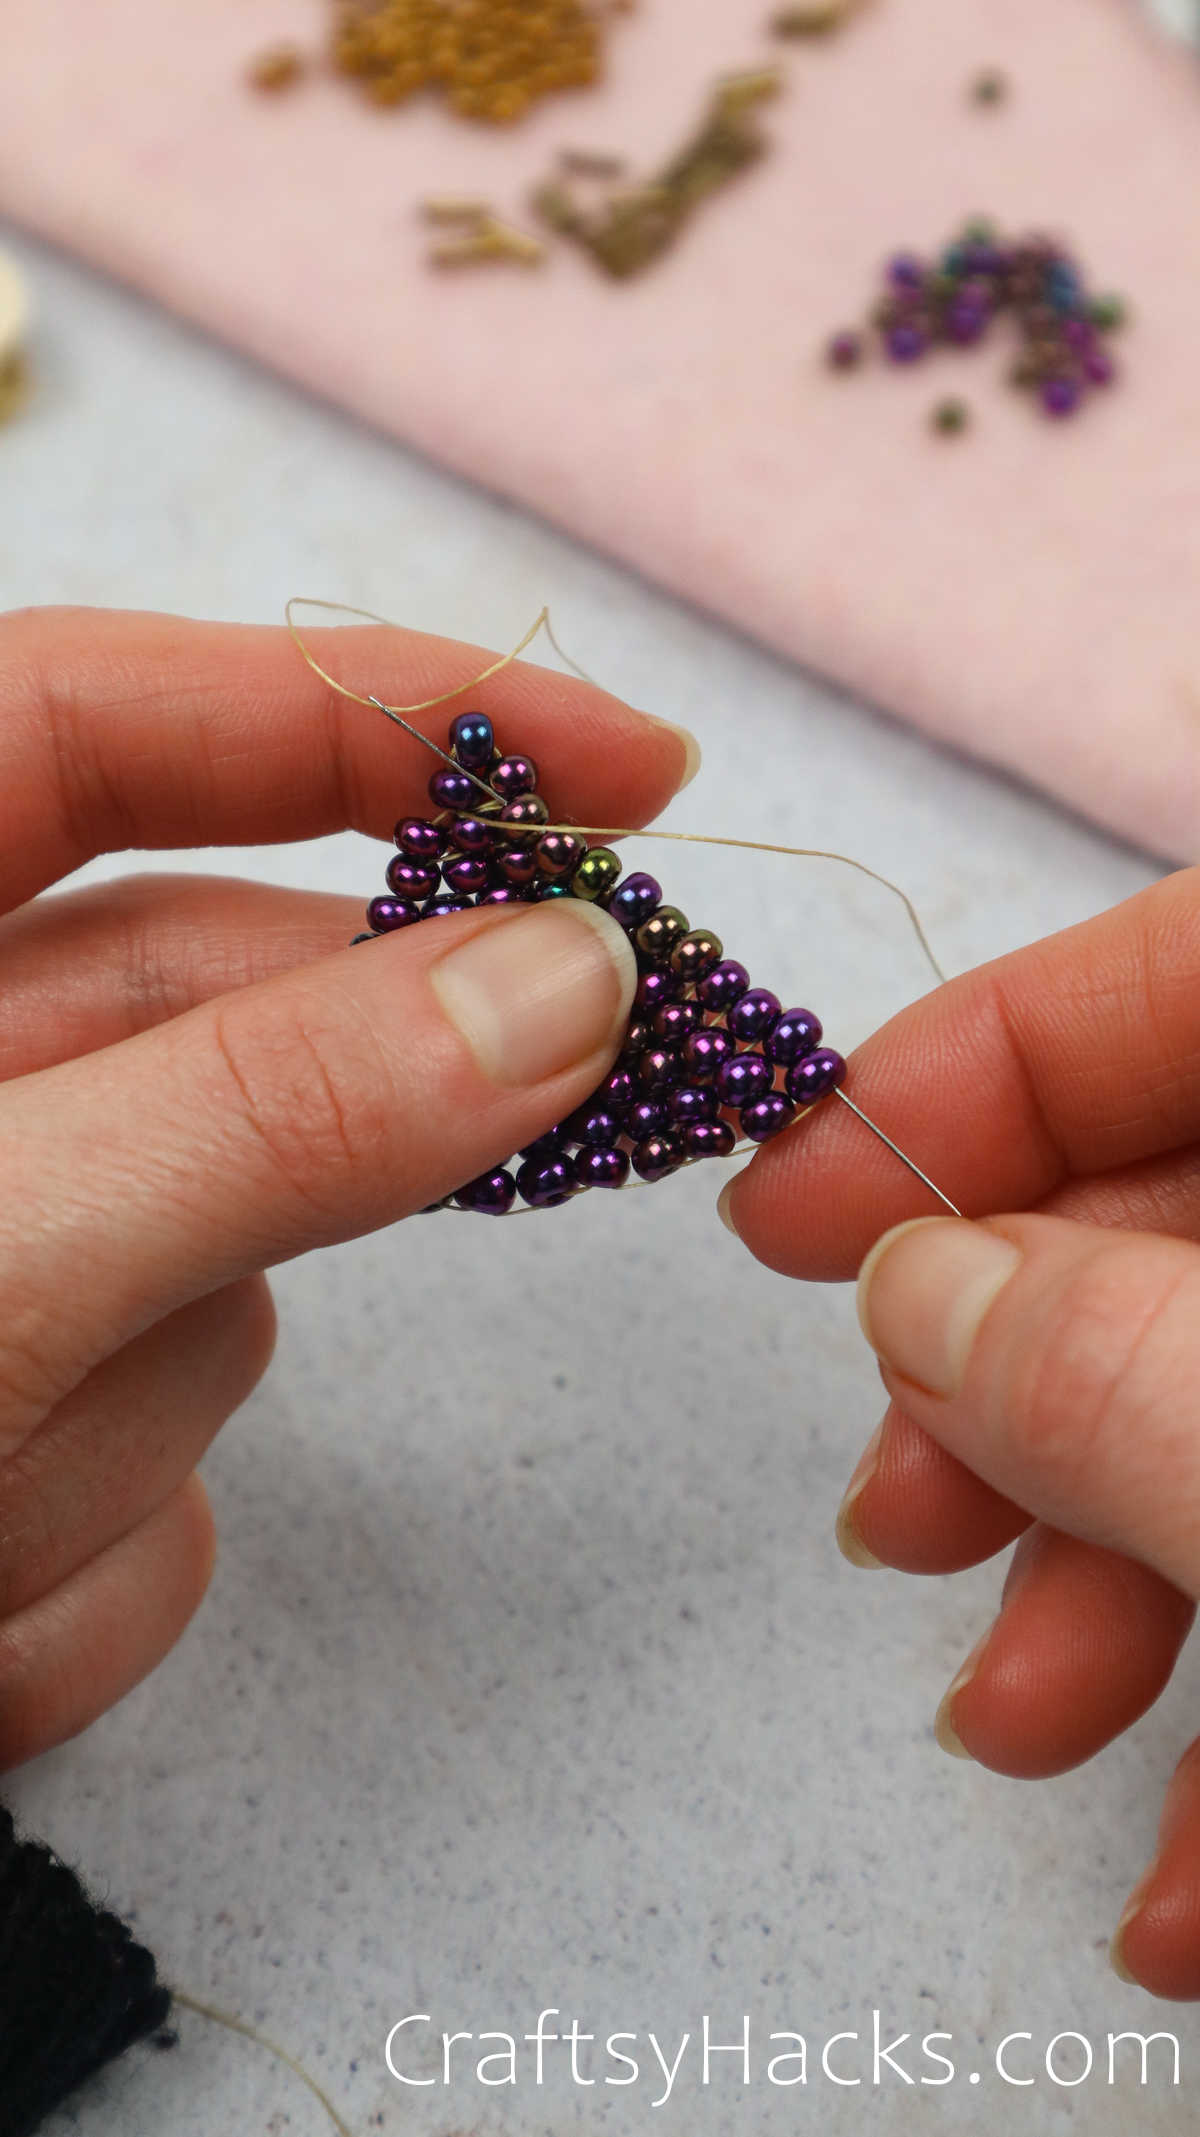
Step 15
Finish your first triangle with the bead on top.
Dont forget to secure your earrings!
Loop the top into other bead parts of the picture.
Step 16
Secure in the top beads below the very top one.
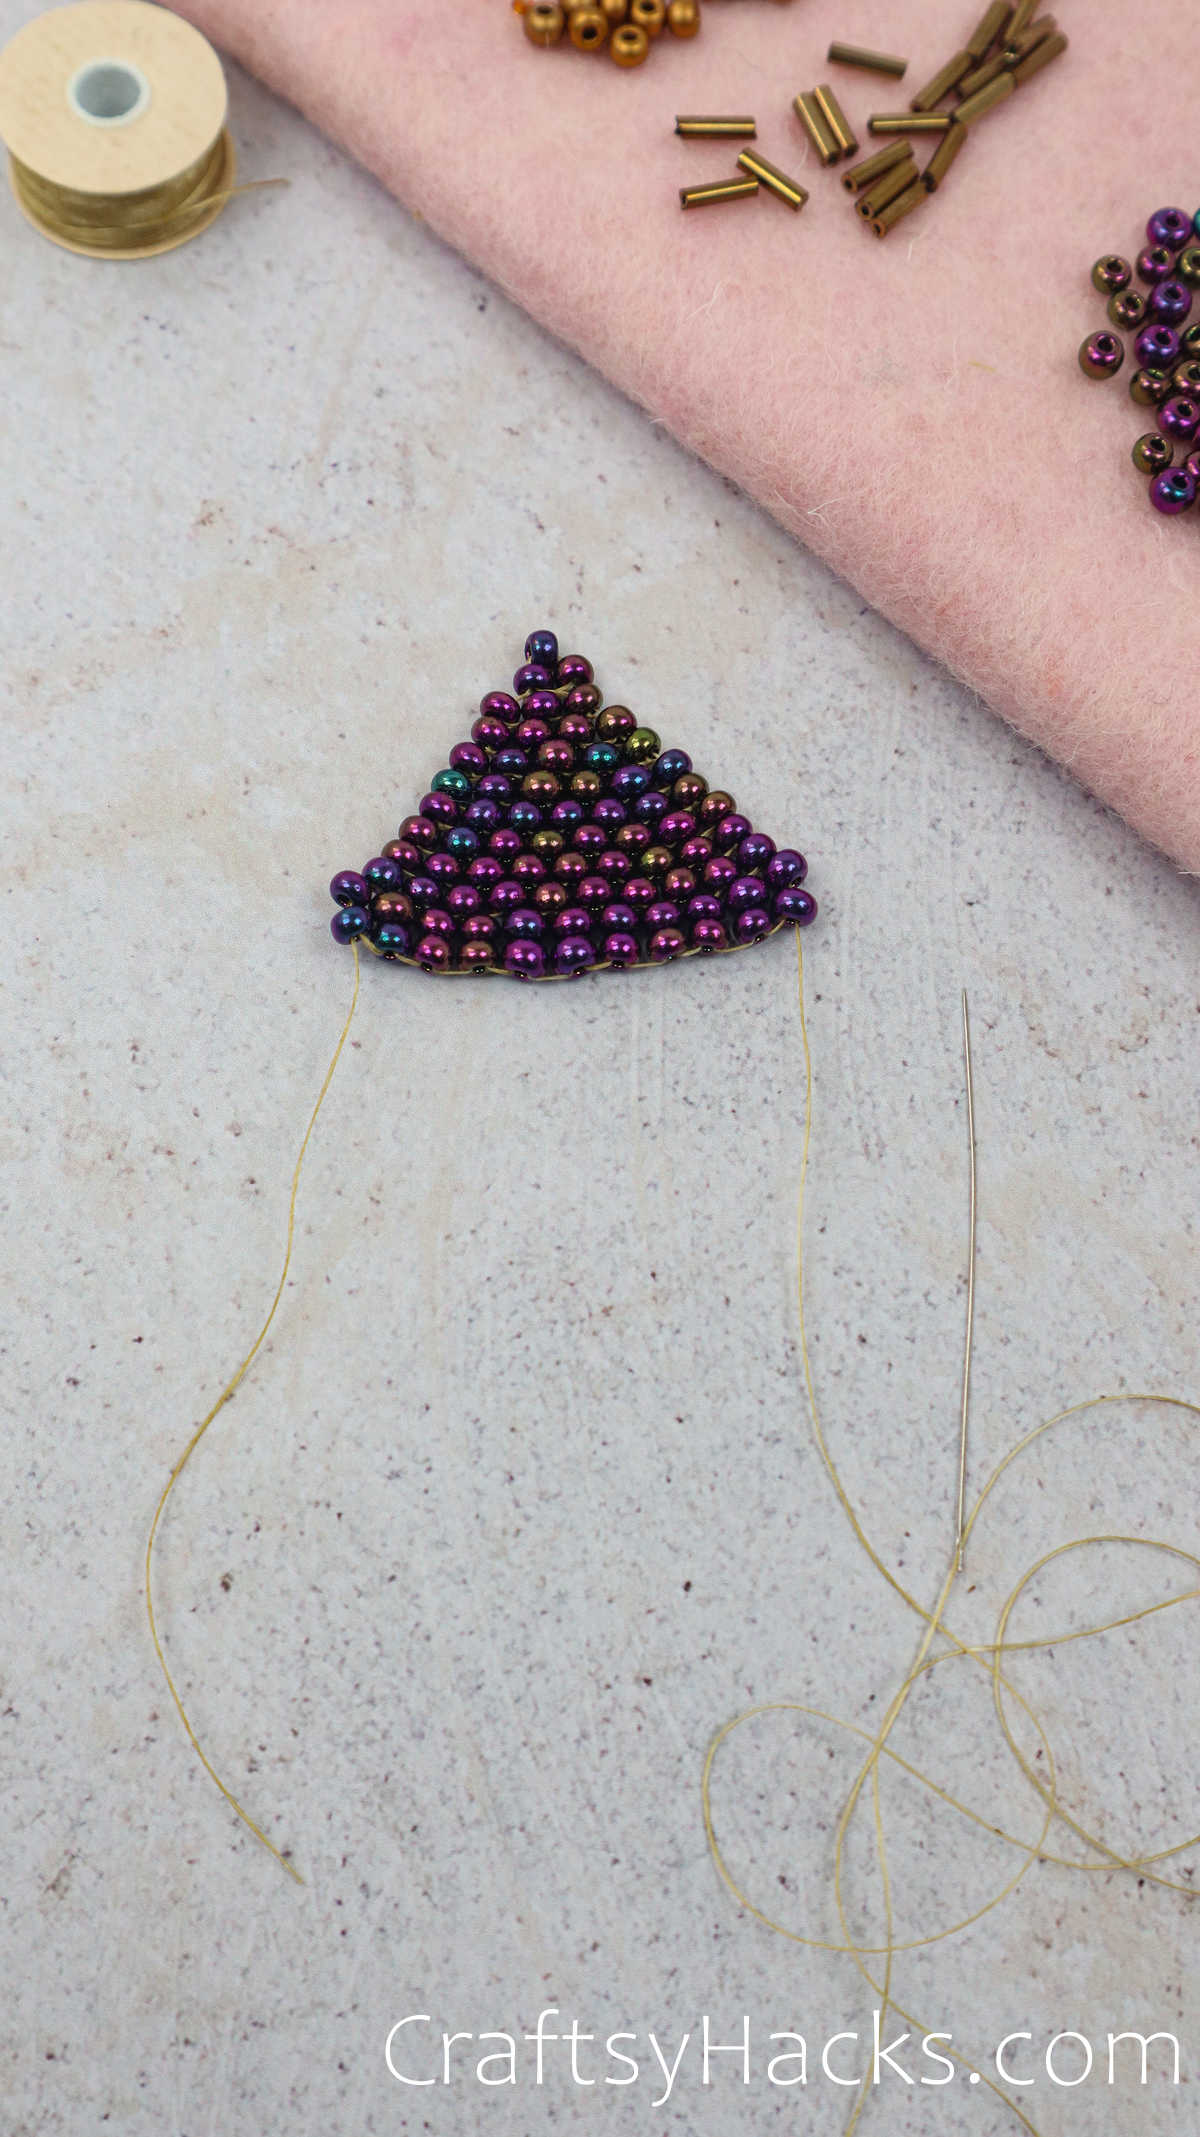
Secure the top and prepare for a jump hook to get fastened into the interior.
Securing the integrity of the triangle.
This reference point is for everyone to take a look at!
Pay attention to the tails and which side is longer.

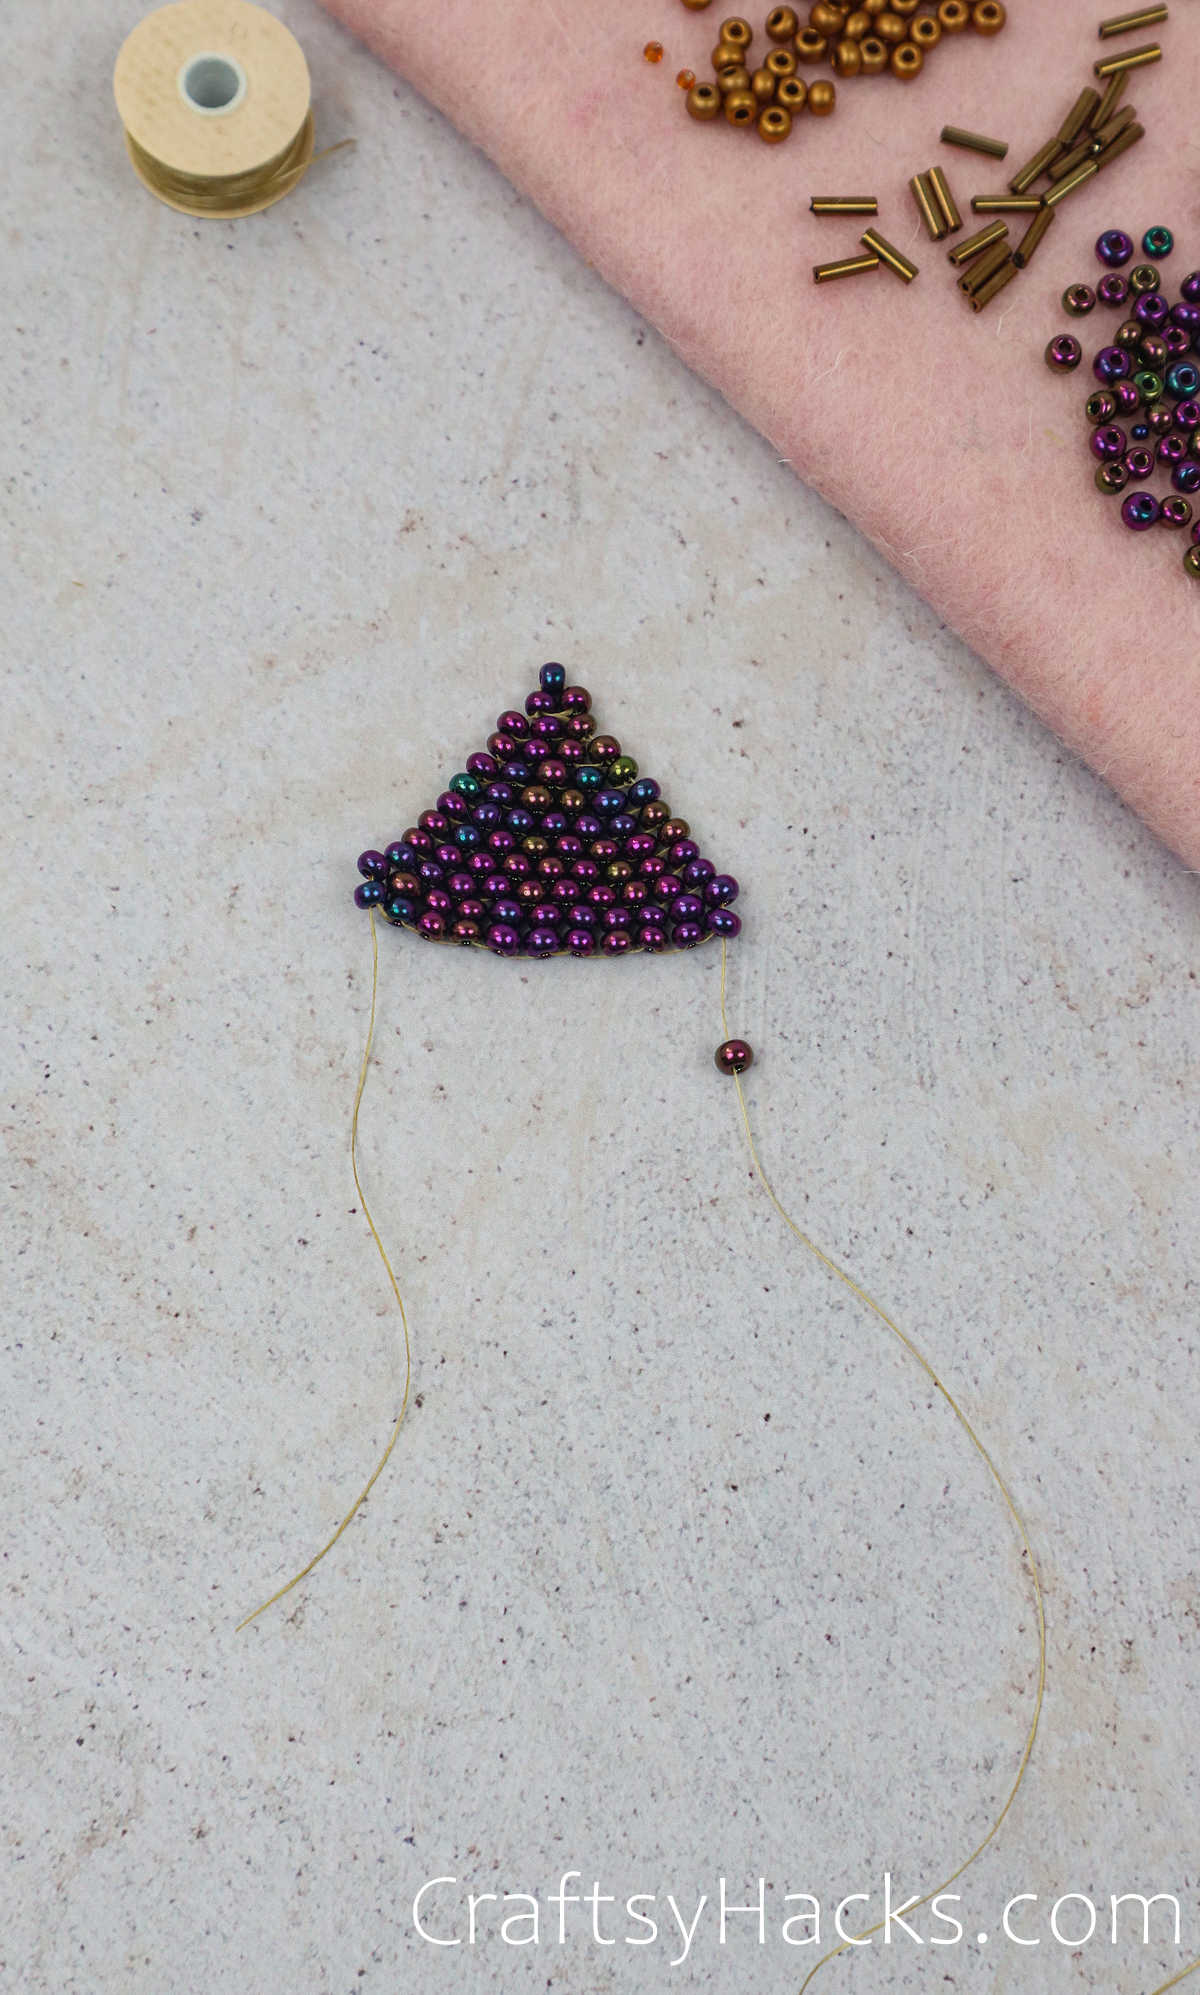
Step 17
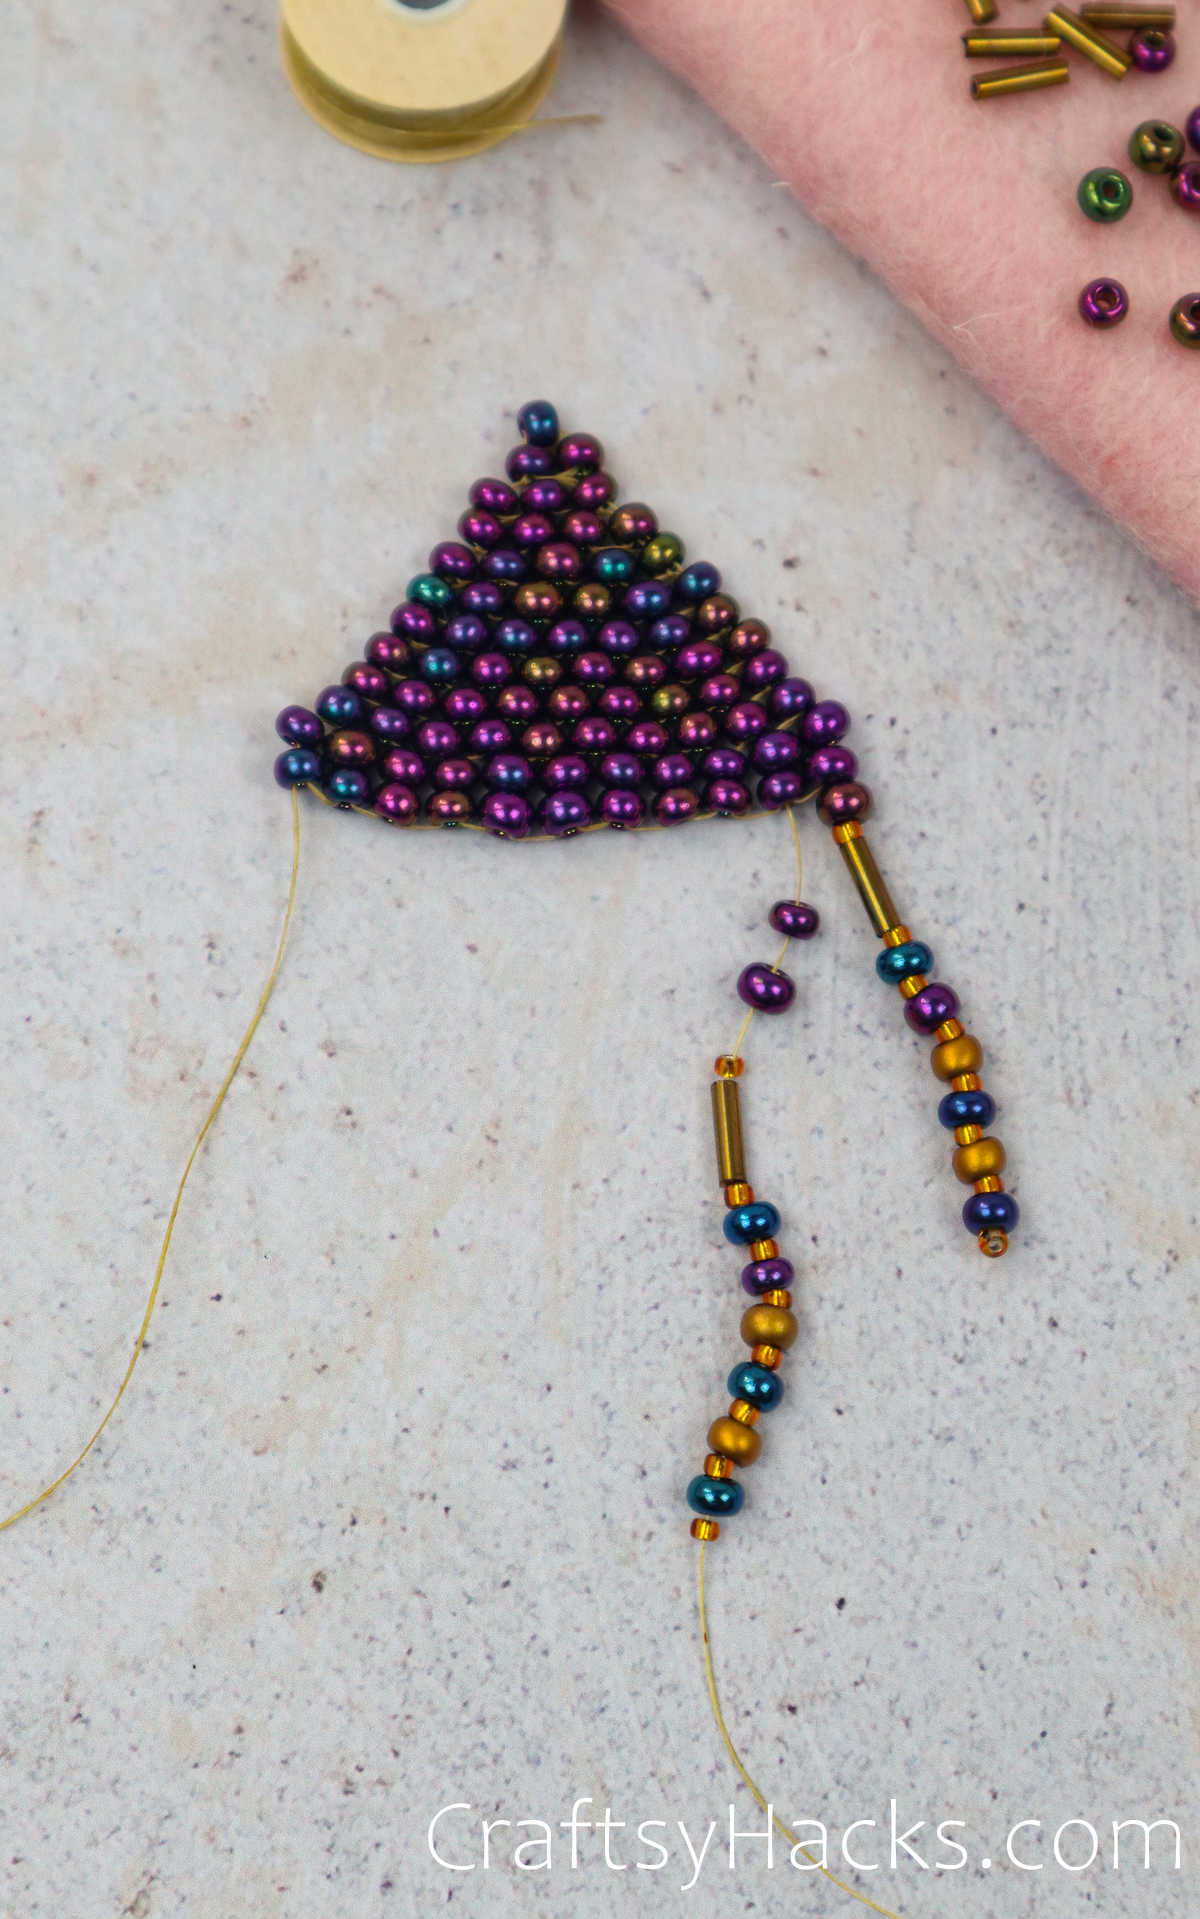
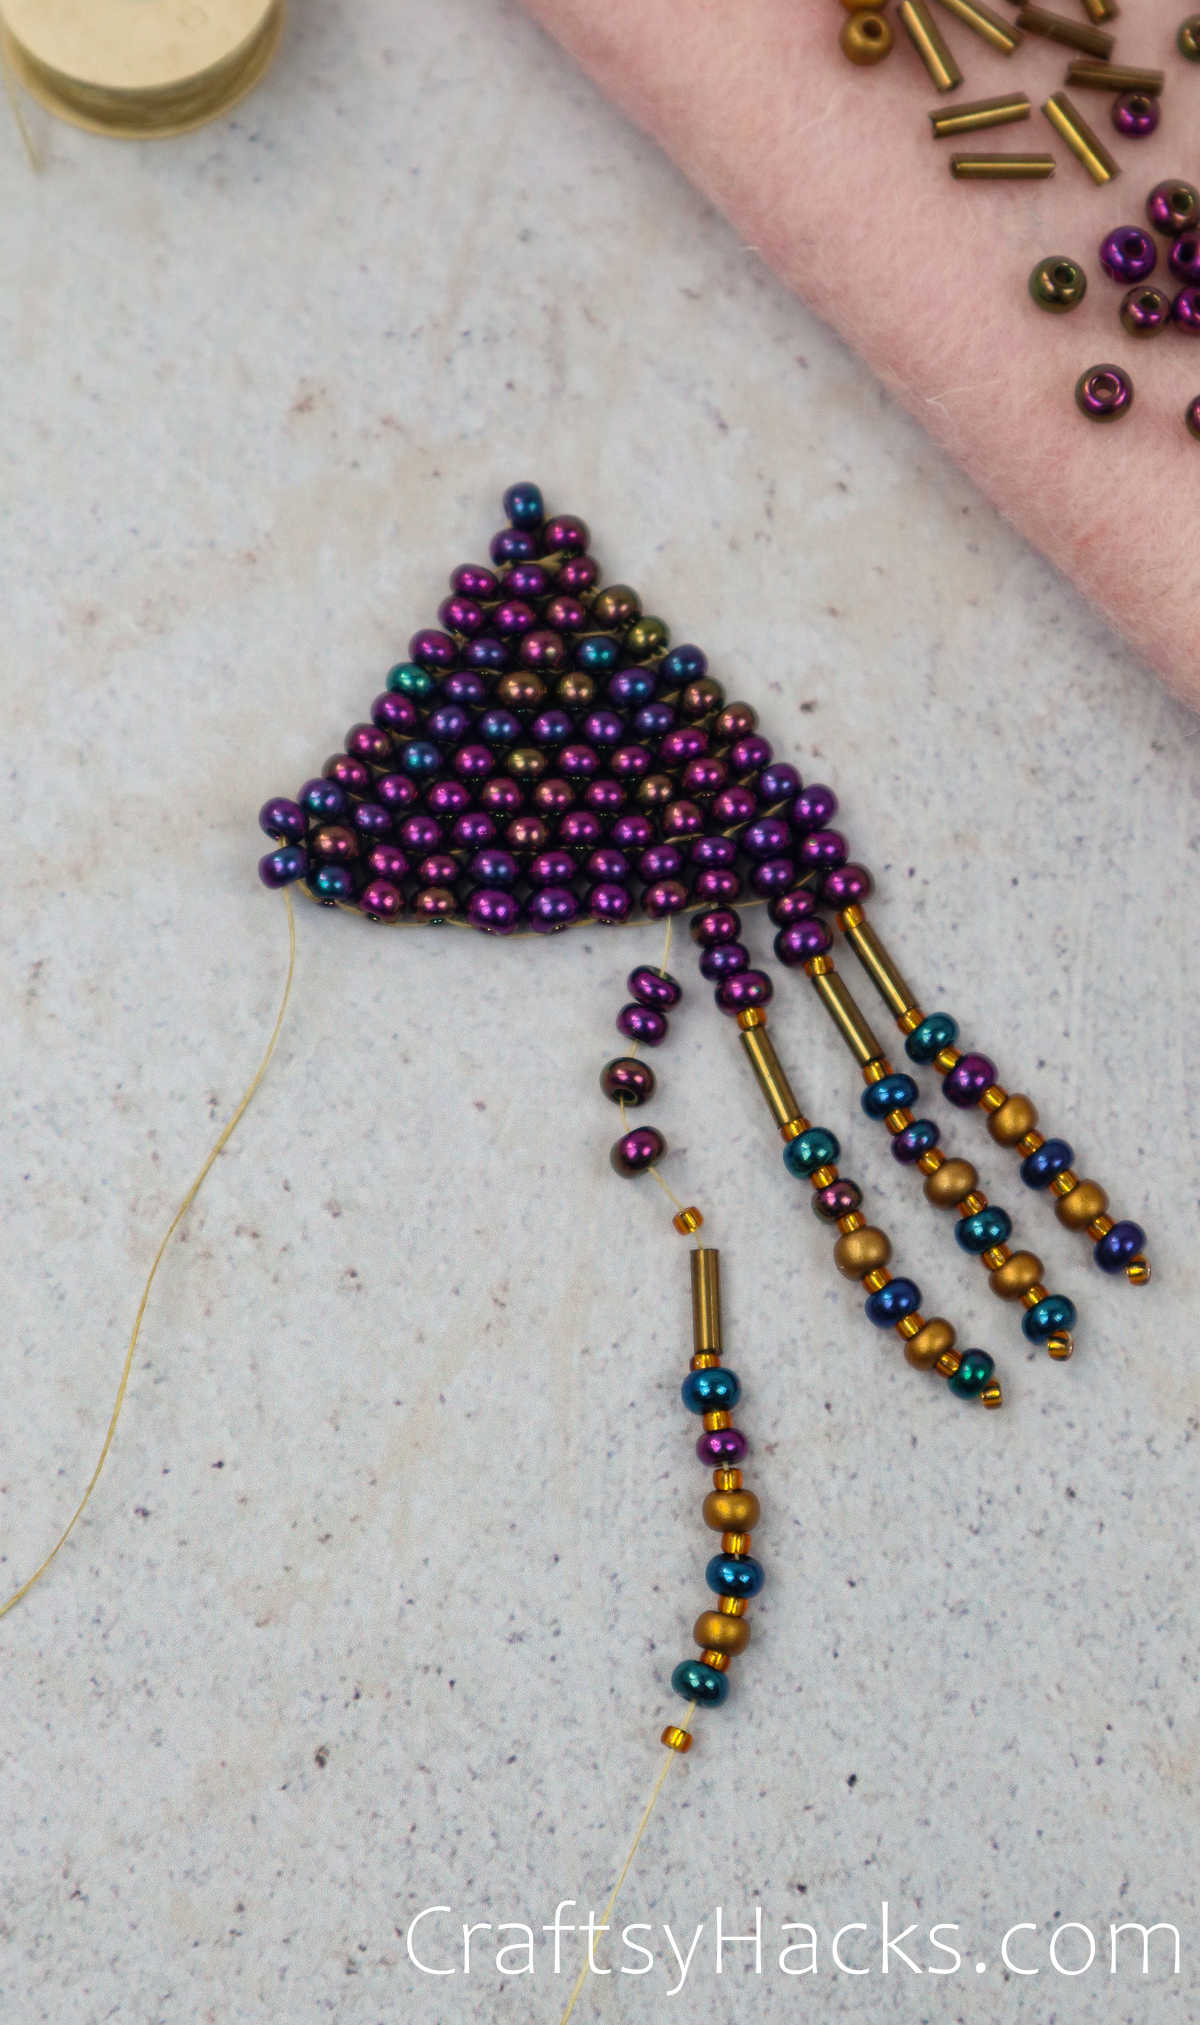
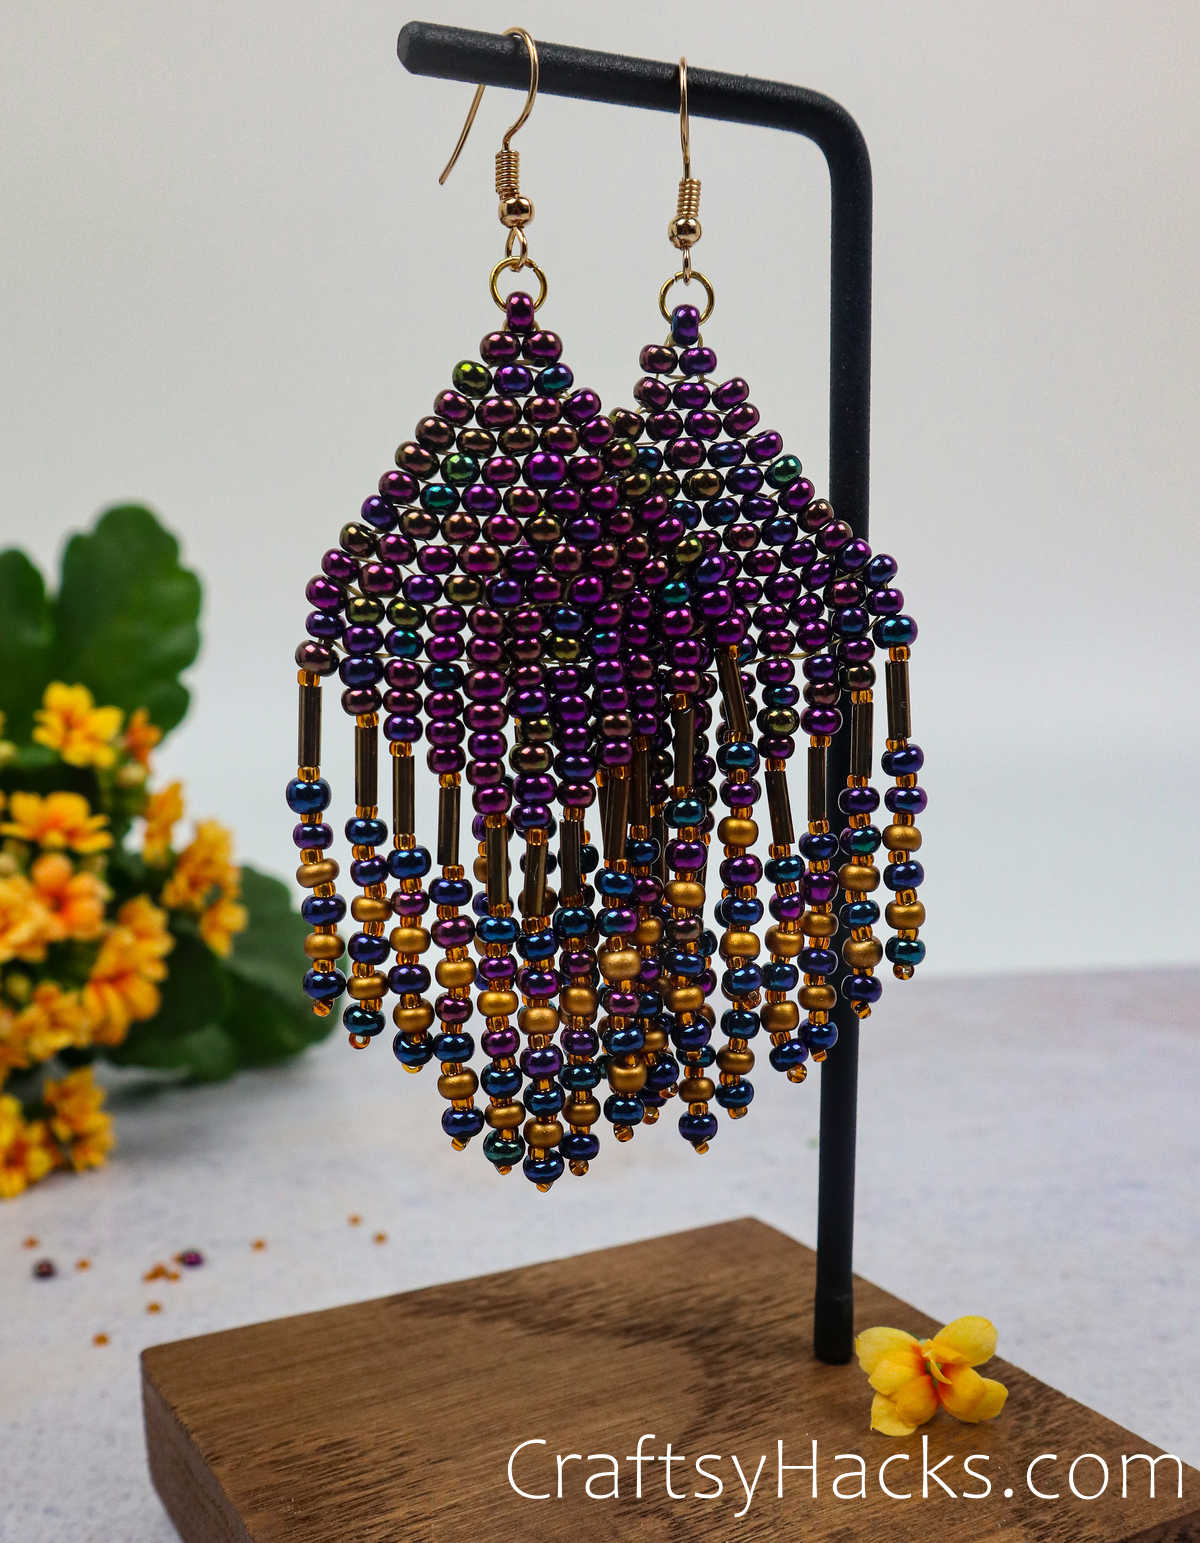
Weve gotten done with the triangular shape and begun the fringe on the earrings.
The fringe is up to you and how much or little youd like on there!
Pick the design, colour scheme, etc.this portion is full of creative reign.
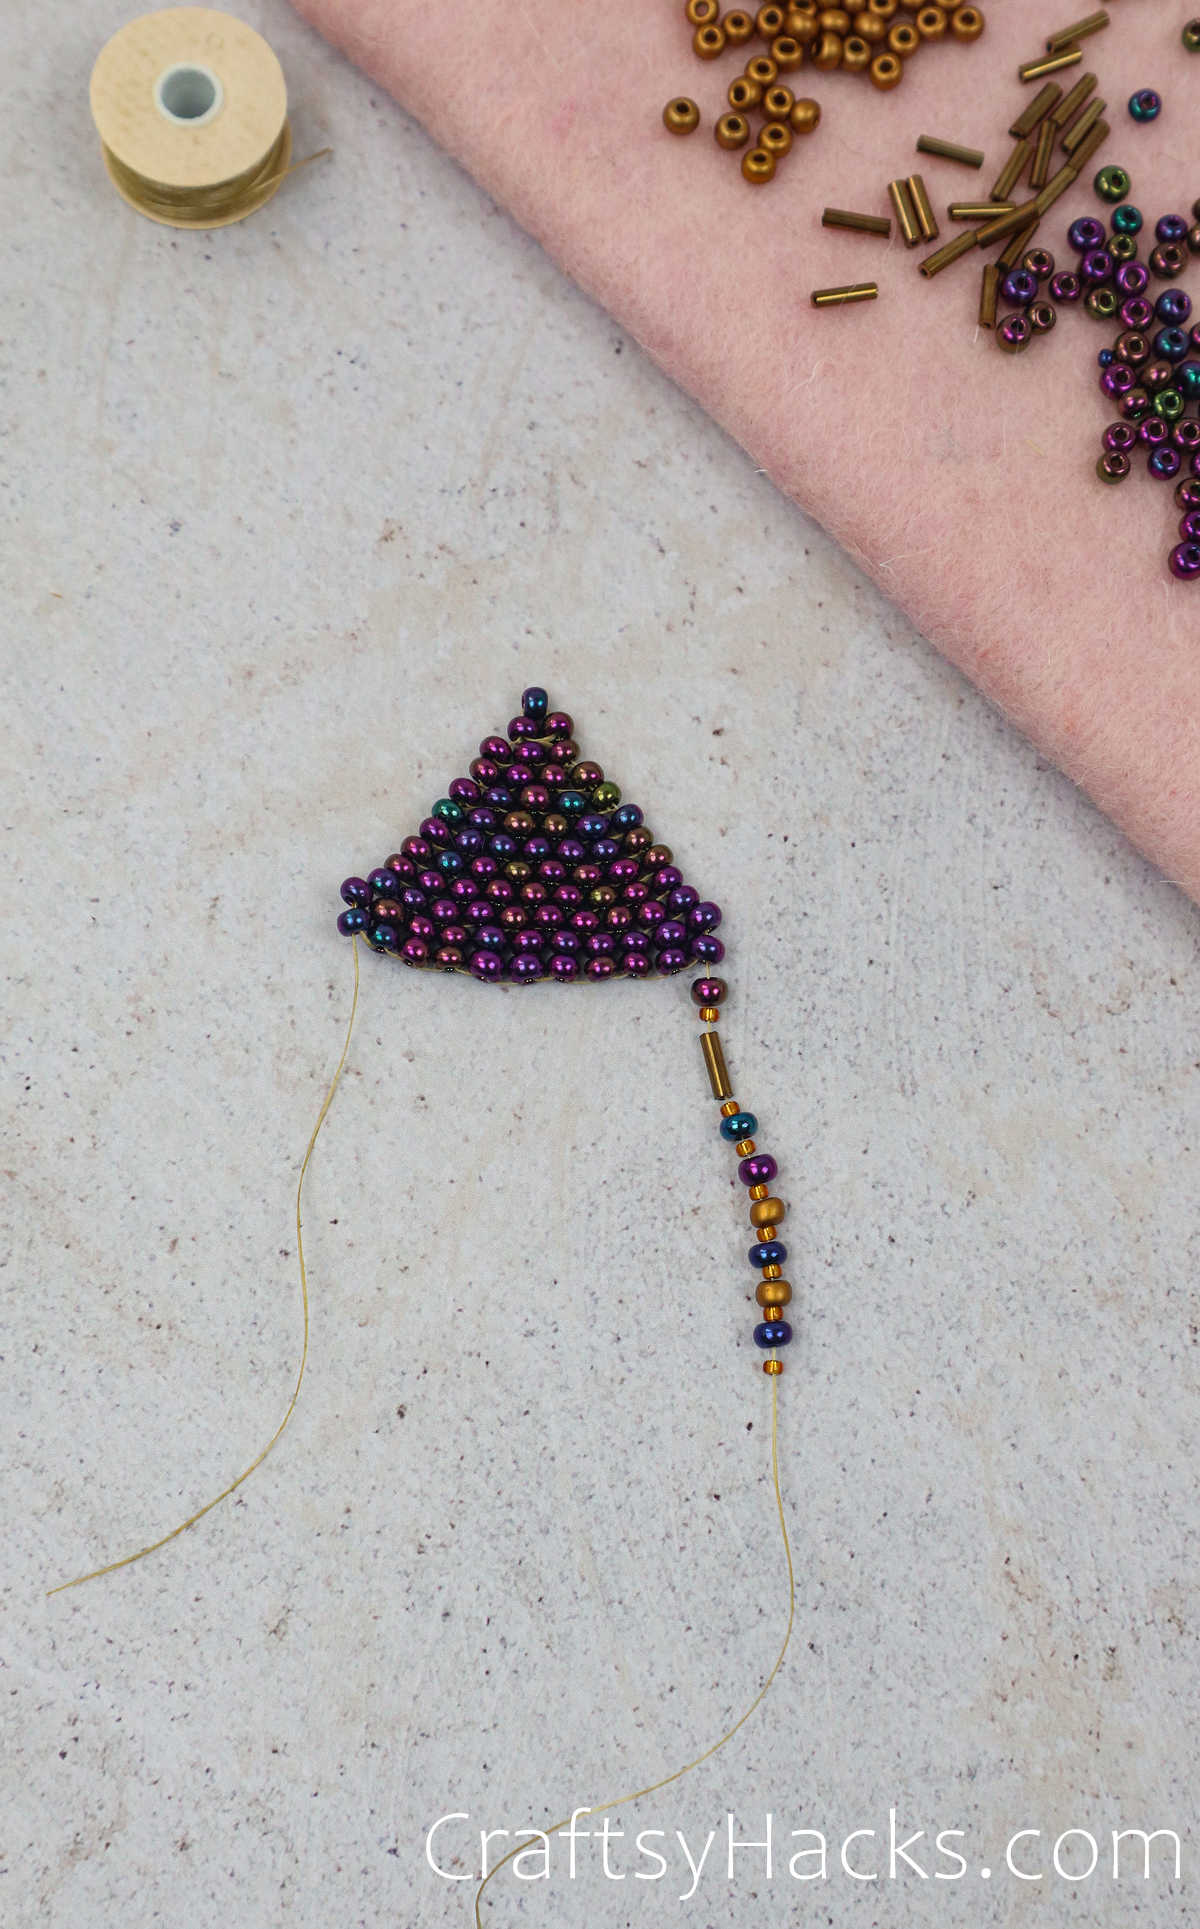
Step 18
Continuation of fringe getting threaded.
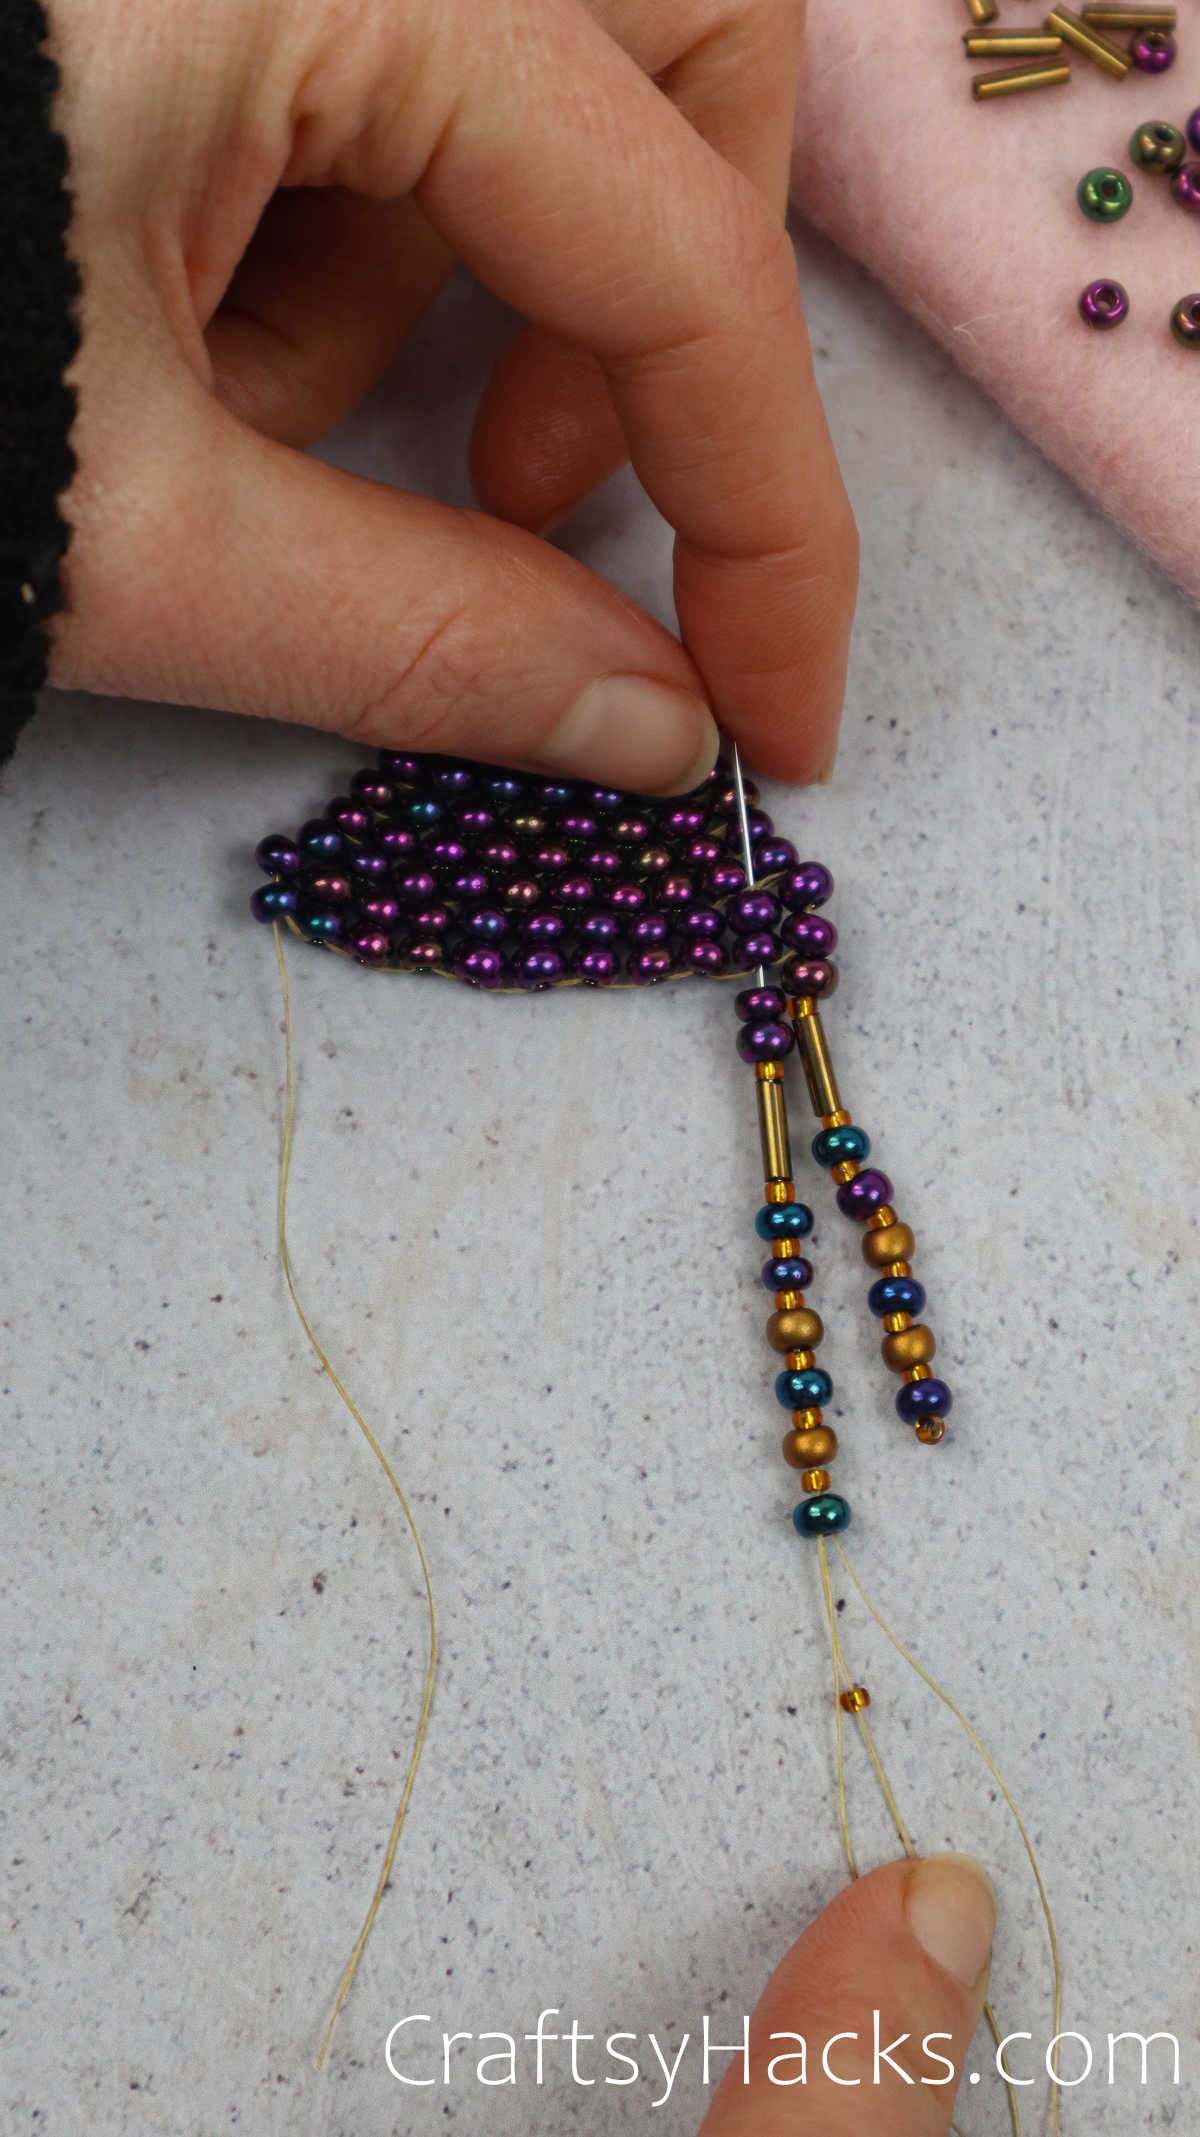
Threading up through the fringe, youll find the two lowest beads and thread through those.
Pull up and out on the strung fringe string.

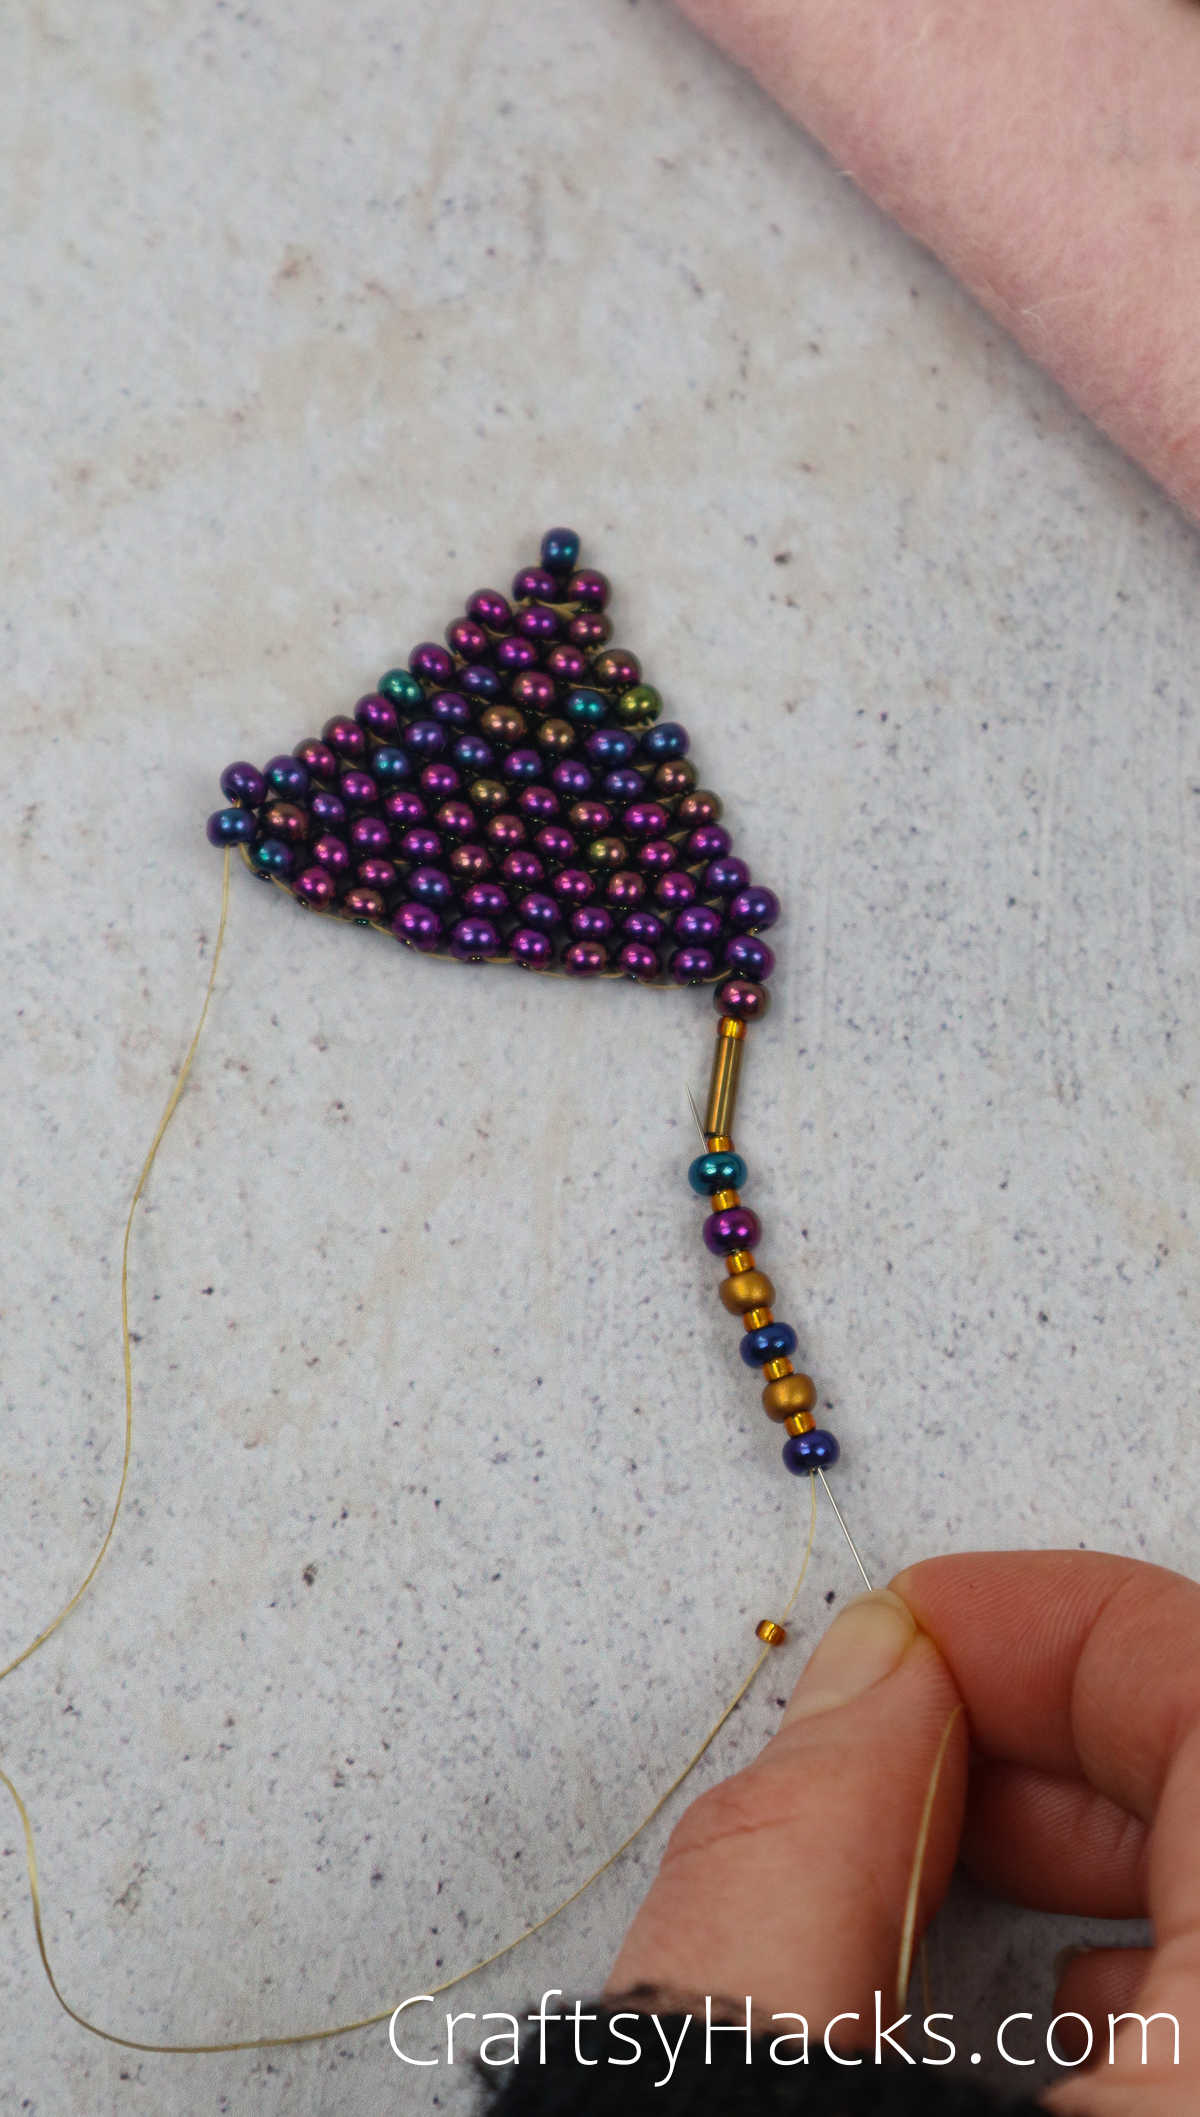
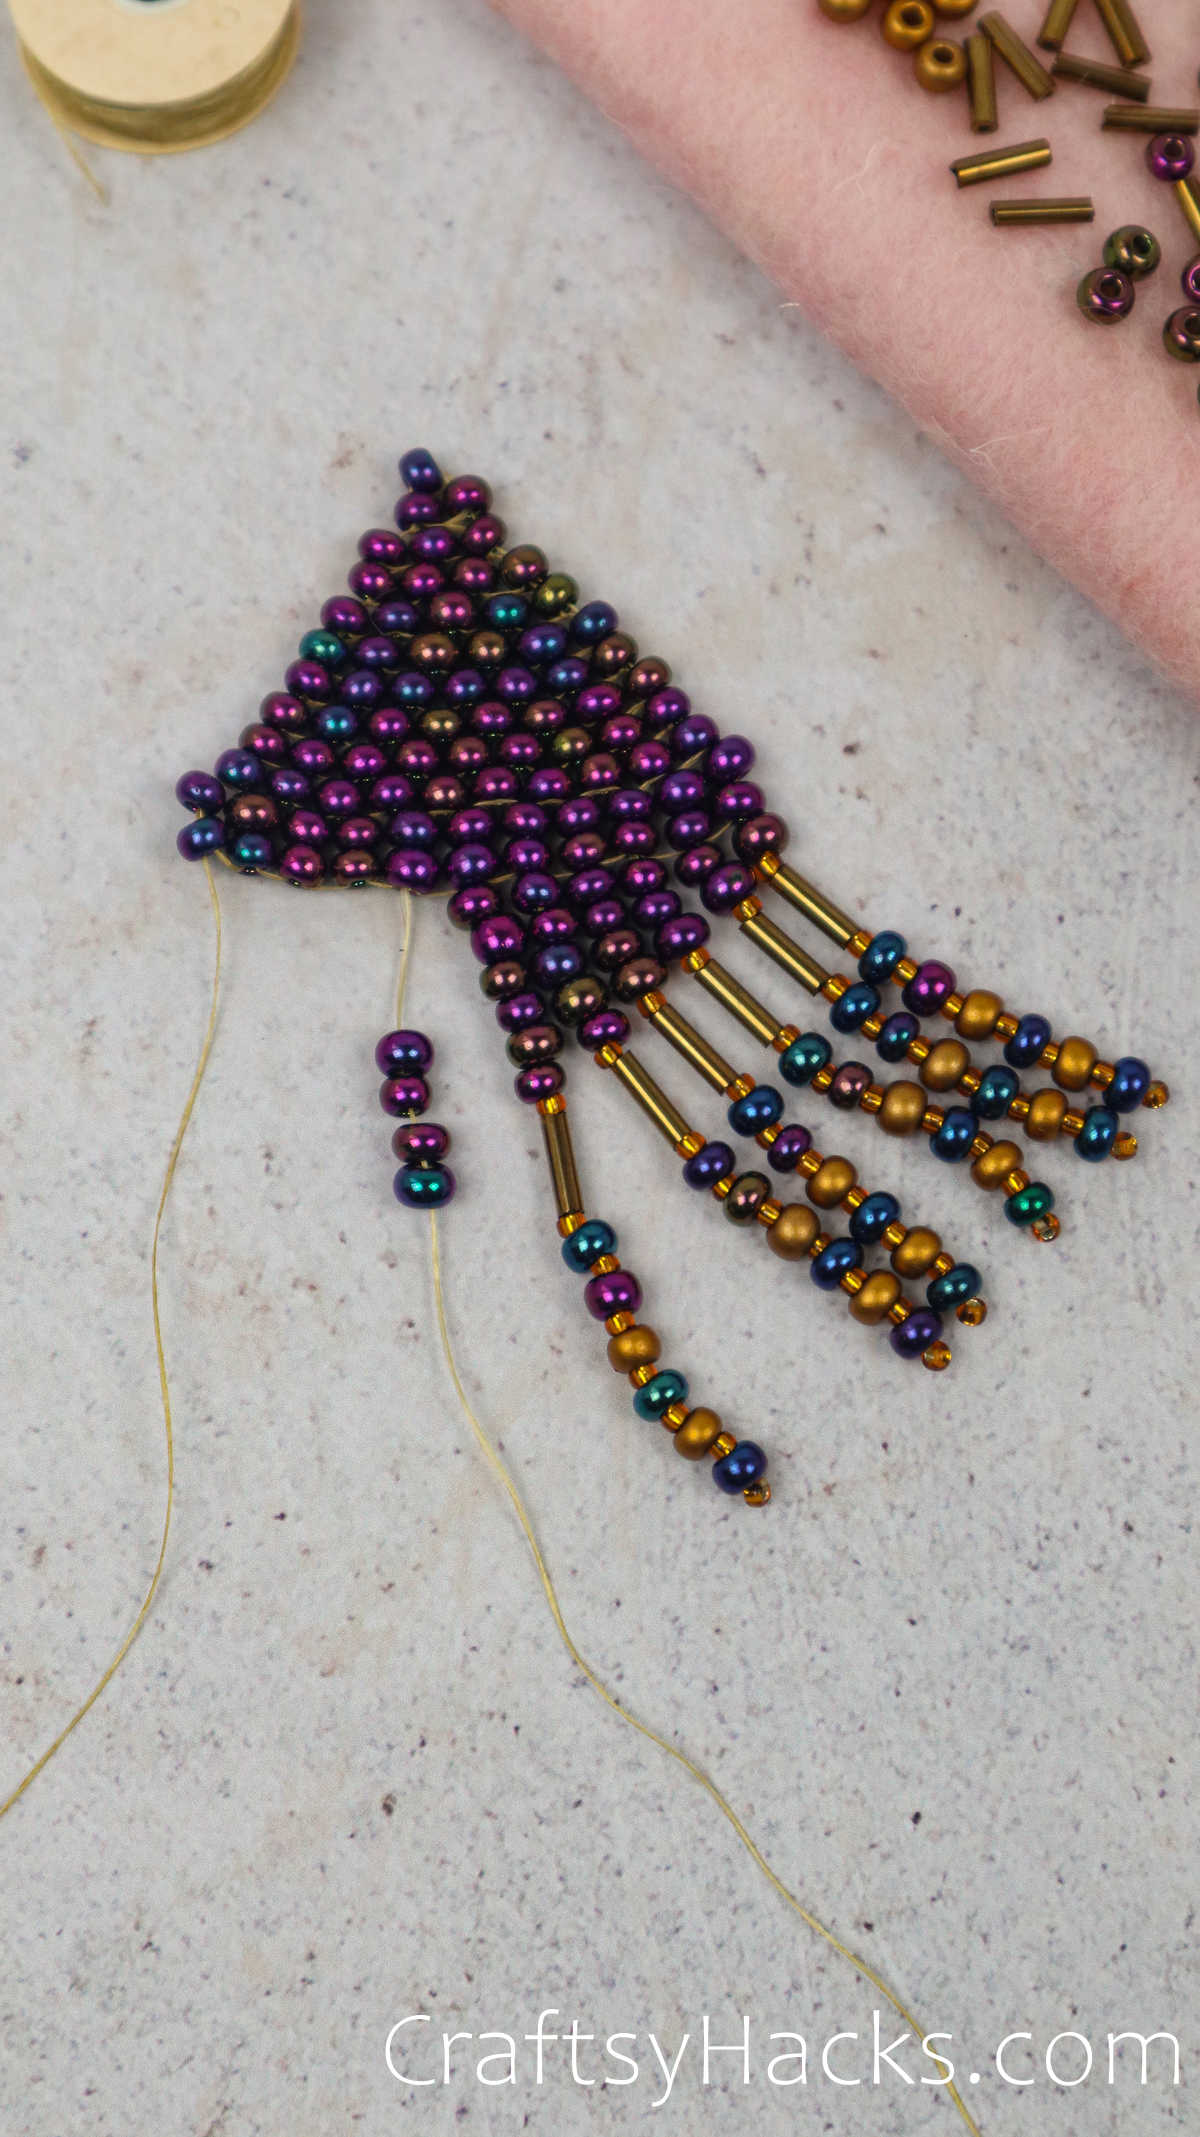
Pulling the thread down through the next bead in the ladder creates your following fringe line.
Step 20
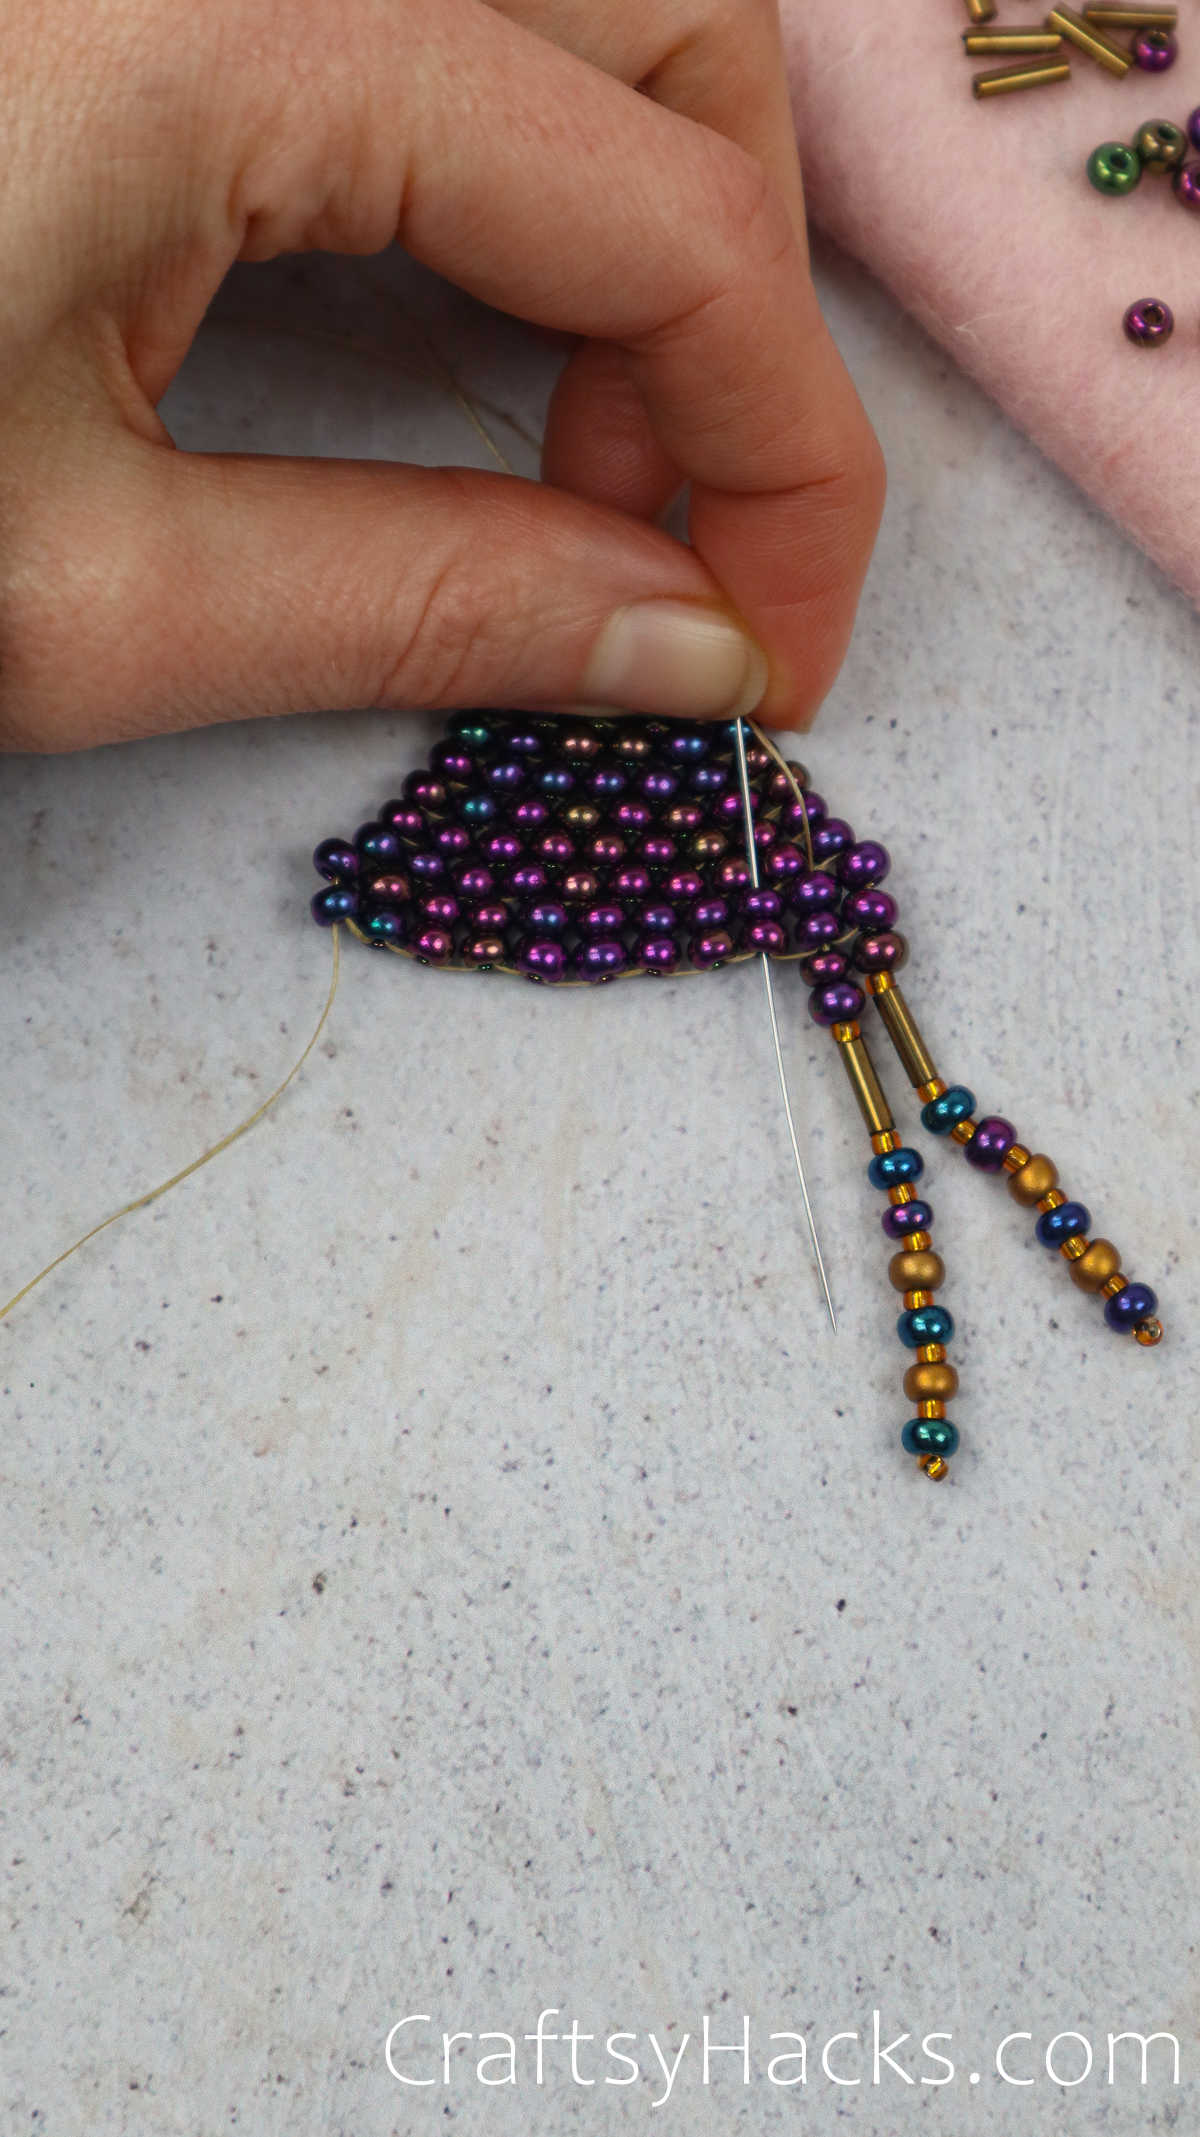
String your second line and repeat the process until you get across.
Avoid your bottom bead, and thread up through the two beads in the ladder.
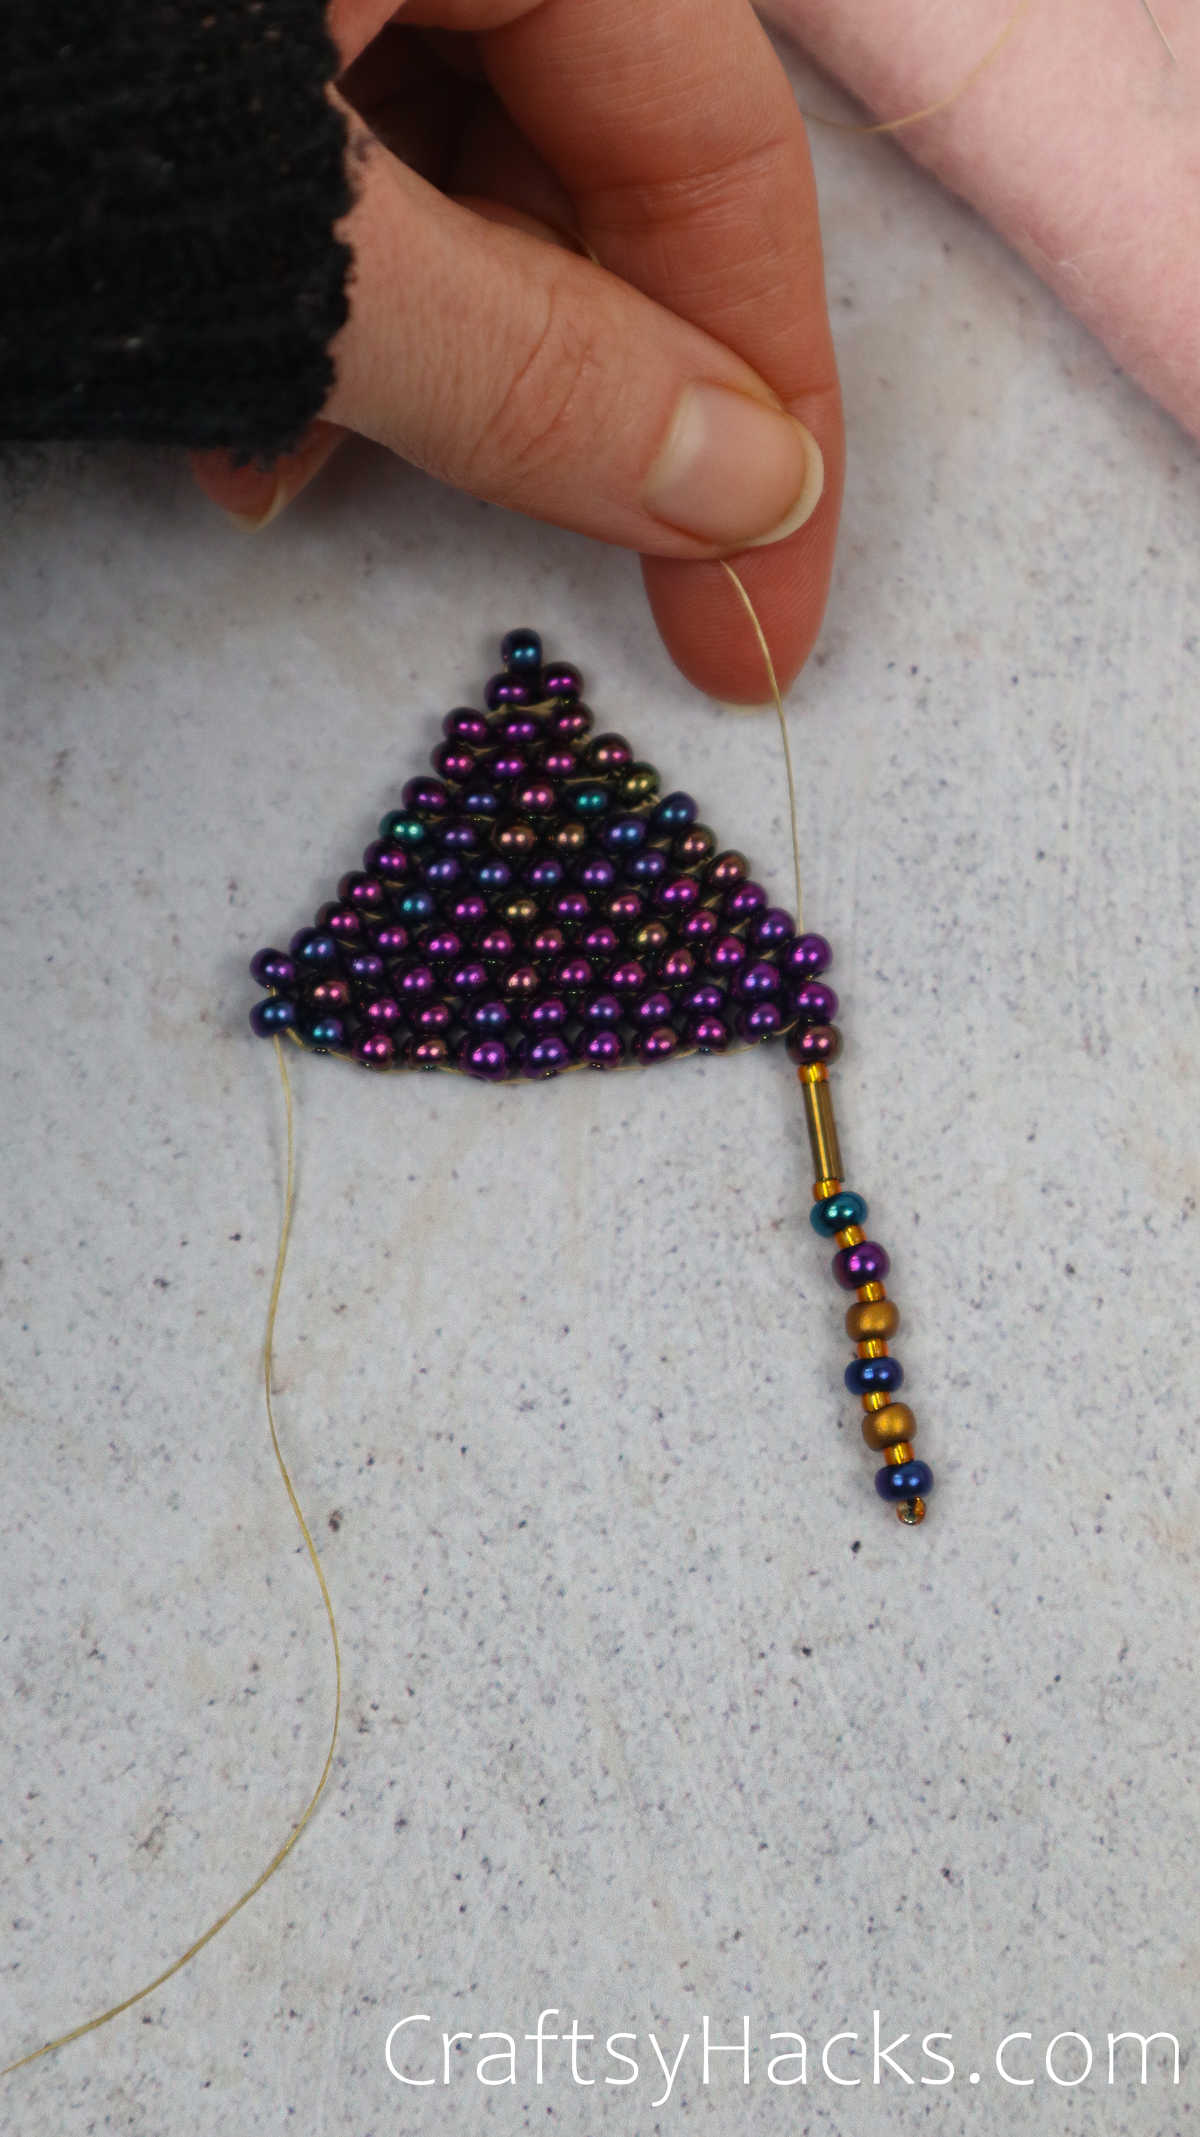
Just like before, thread back down through one bead to create the following line.
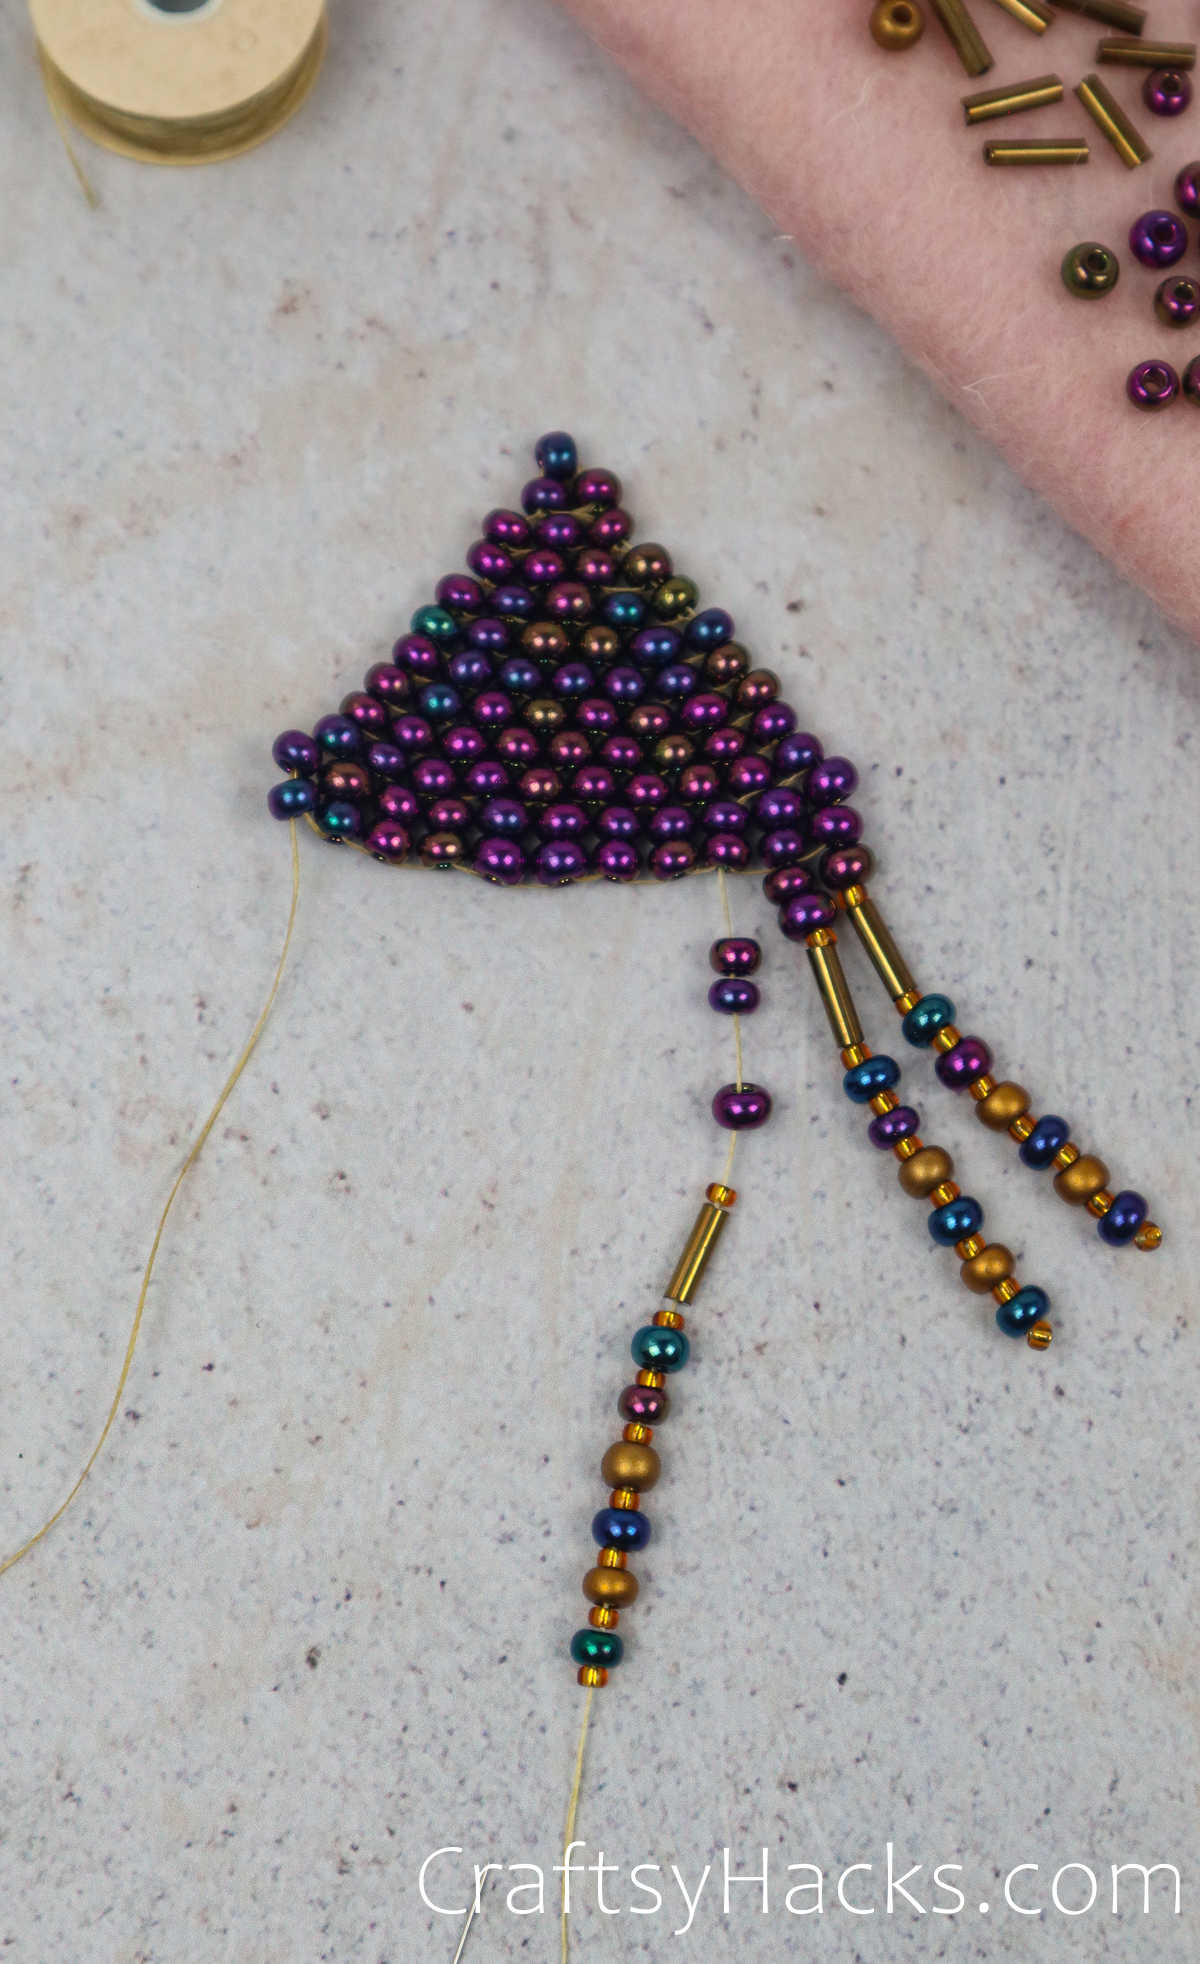
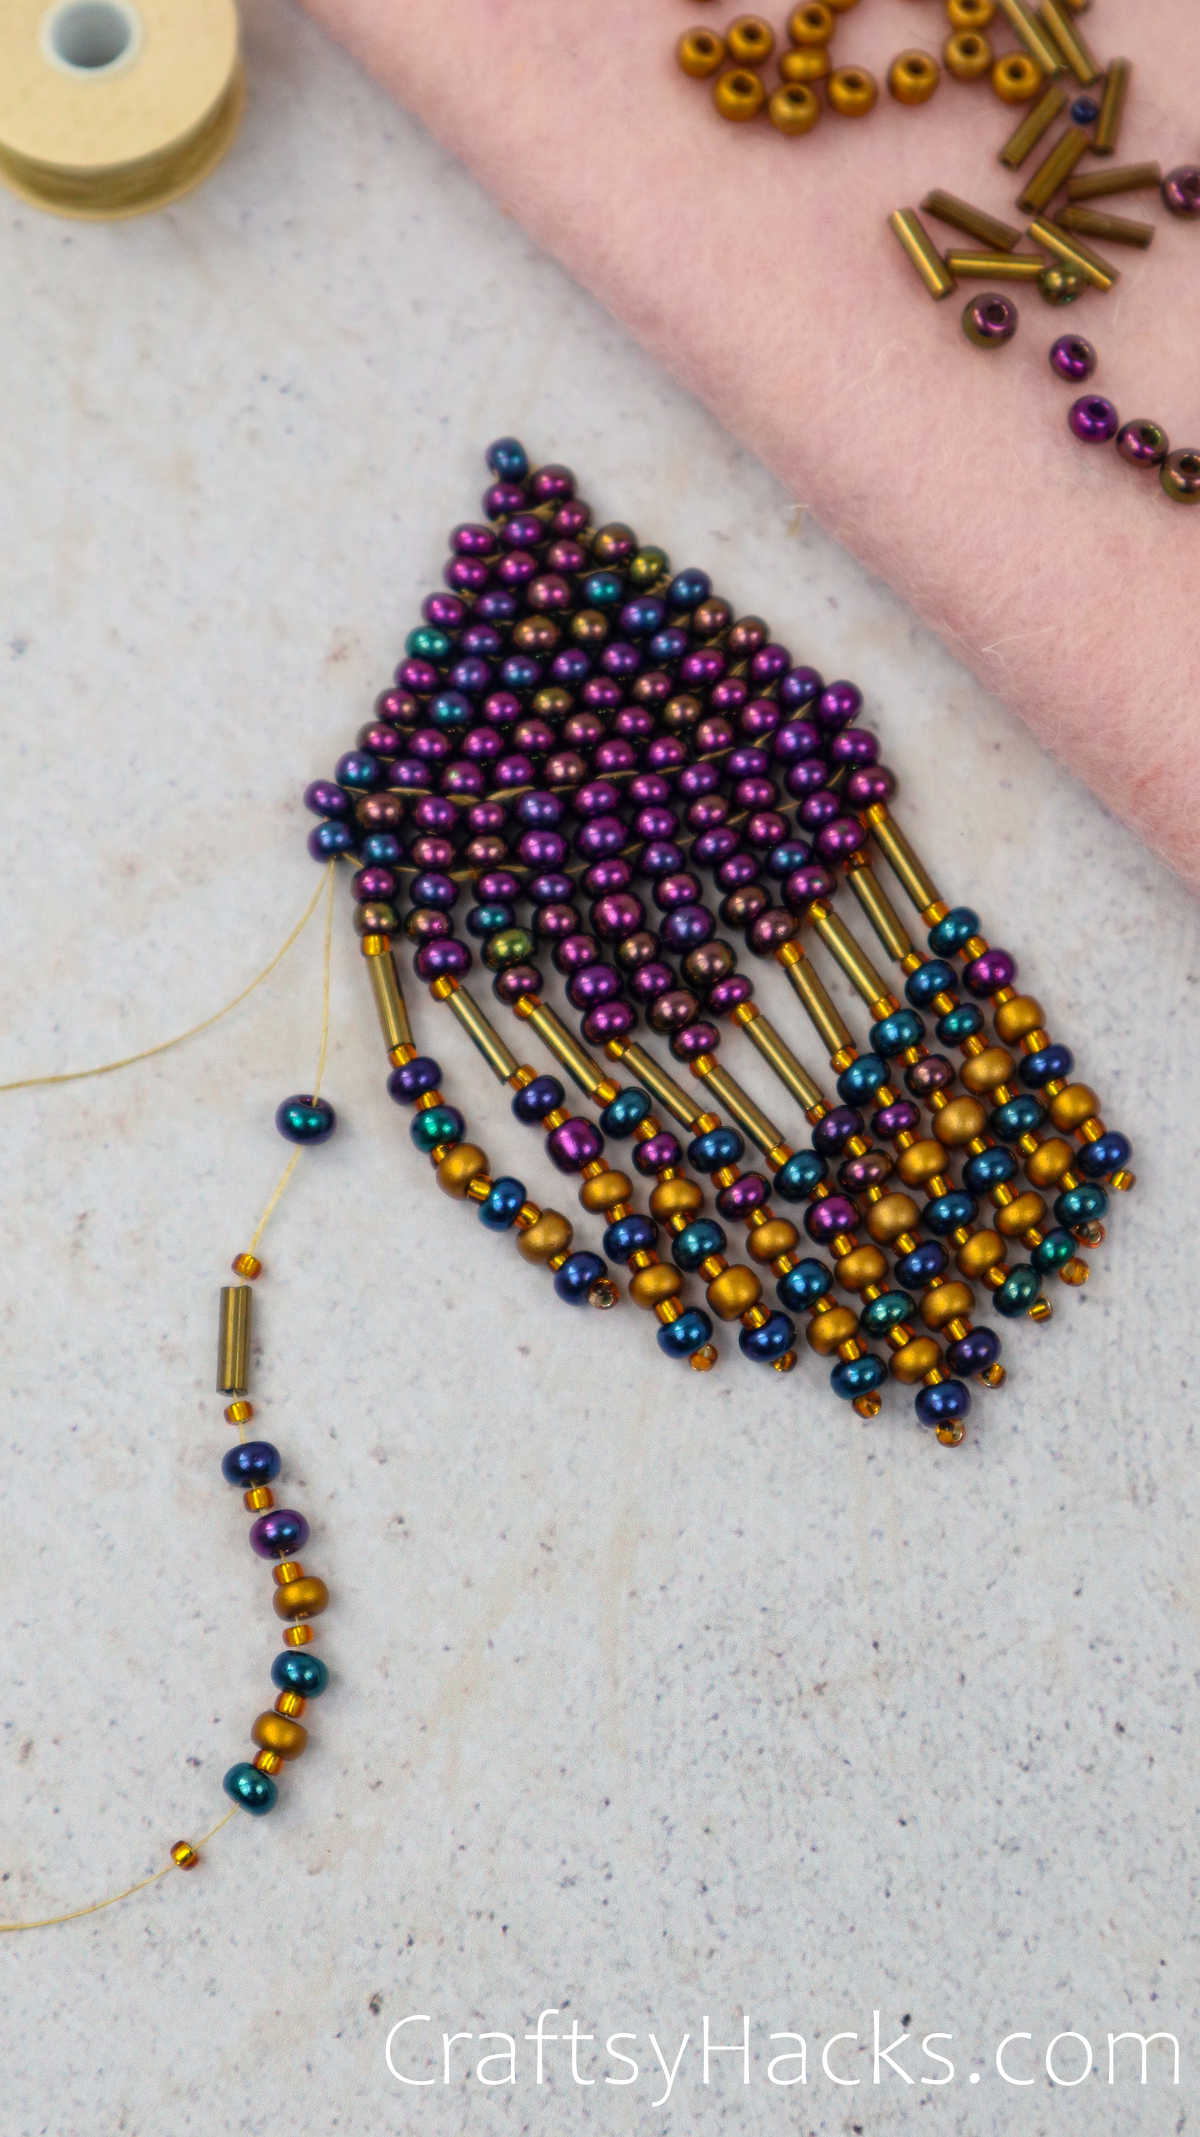
At this point, Ill add 2x purple on the beginning, and the core will stay the same.
I will also increase purple beads on the top of fringe each time until i will be halfway.
Continue threading, but with longer pieces of thread.
Begin to shorten your fringe again as you head left.
Do the same once or twice more, knot the tail, and pull it into the earring.
At this point, follow the directions in the package to attach the hardware to your earrings.
More DIY Accessories for You!