Even this added step took only a few minutes by choosing the project template fromCricuts Design Spacegallery.
Readour full disclosure statement here.
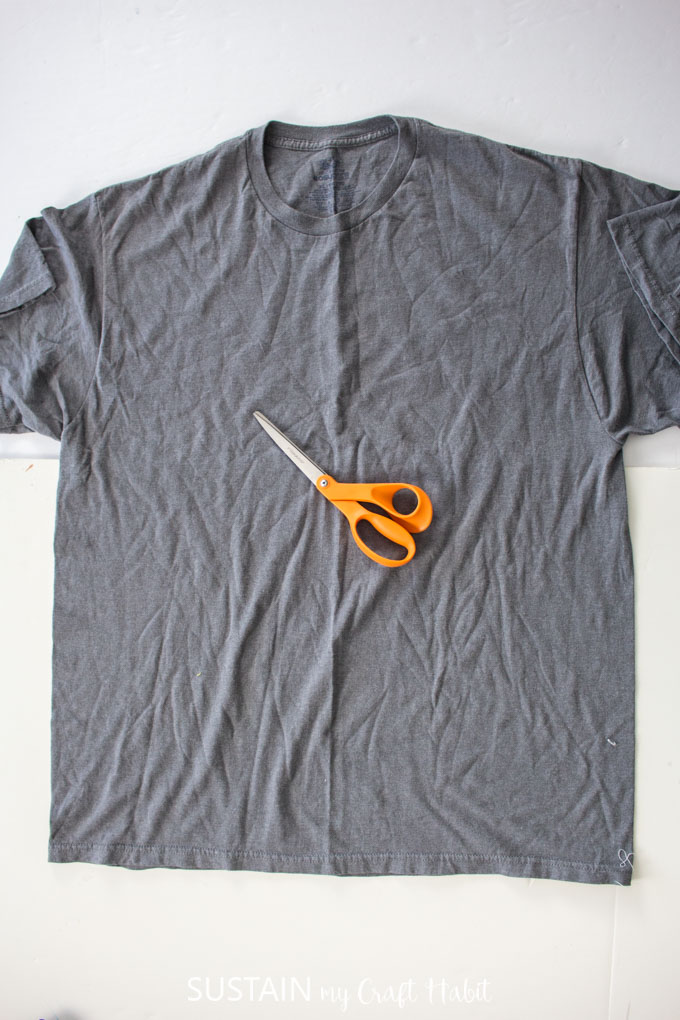
If you dont have, dont worry, the tshirt bag will still turn out great!
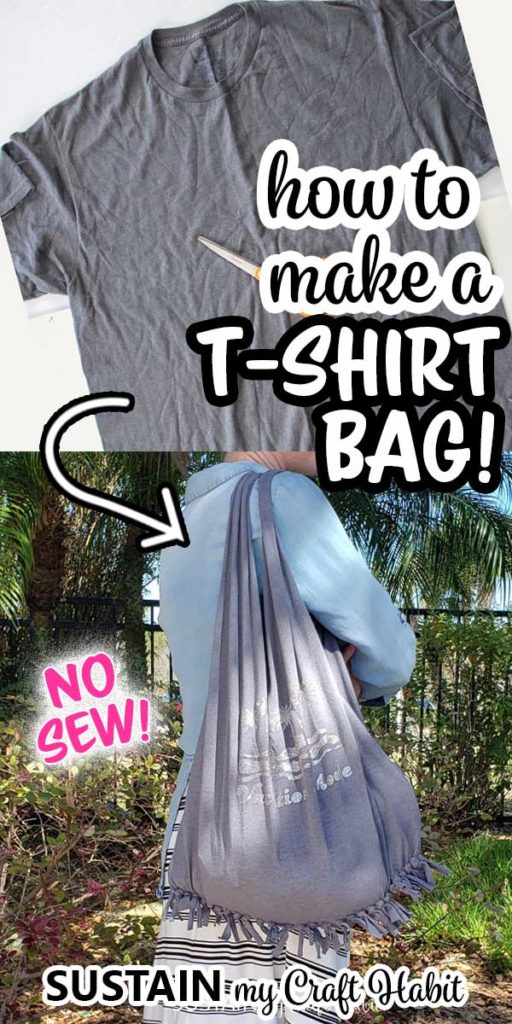
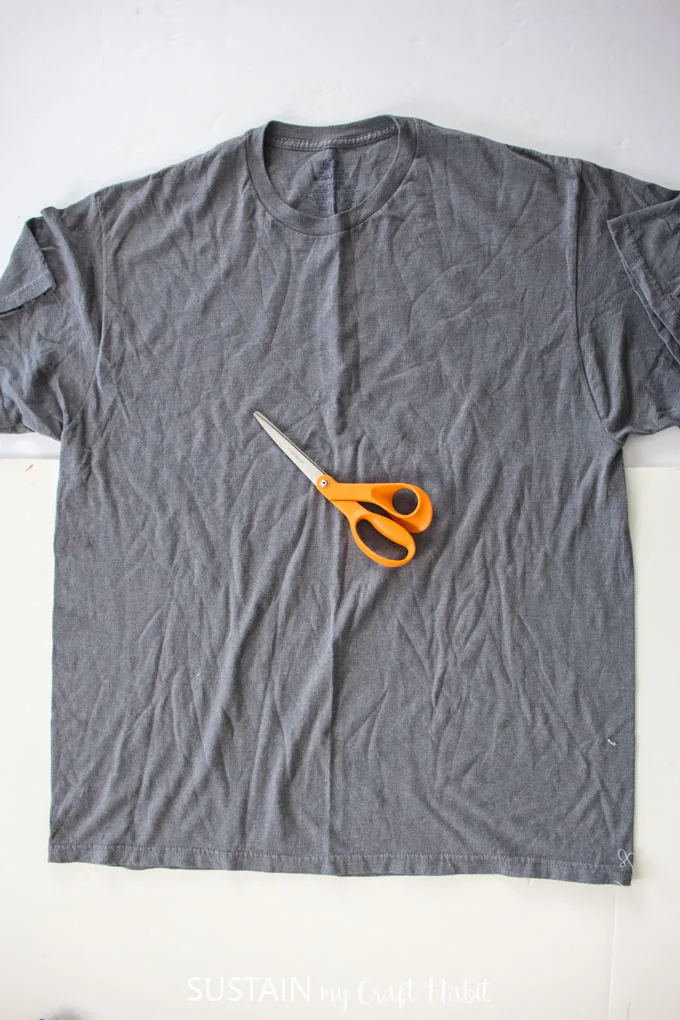
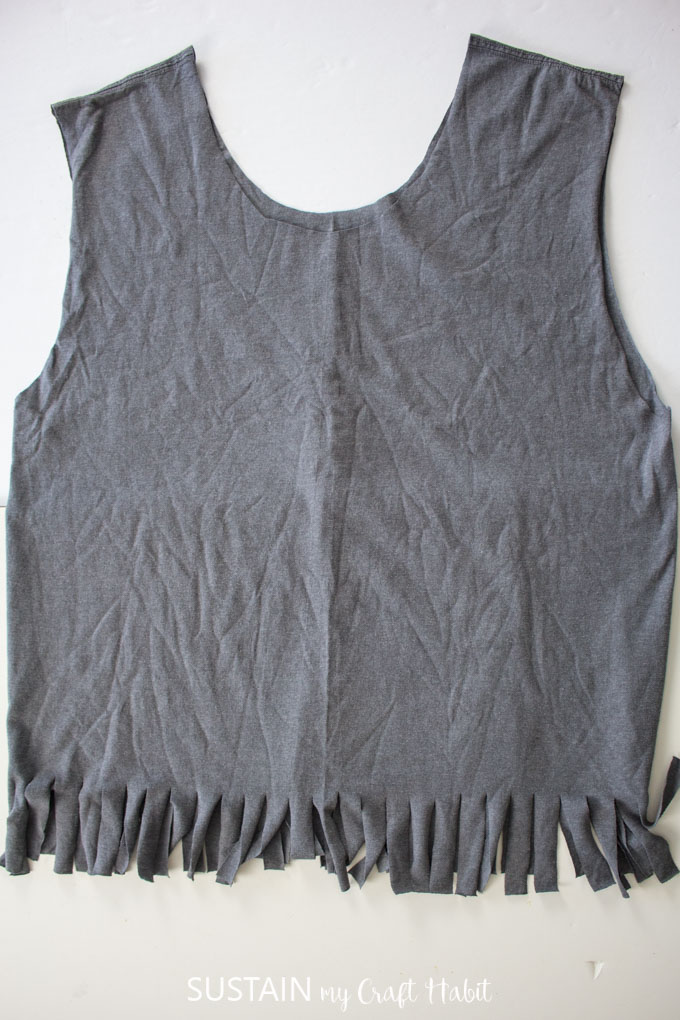
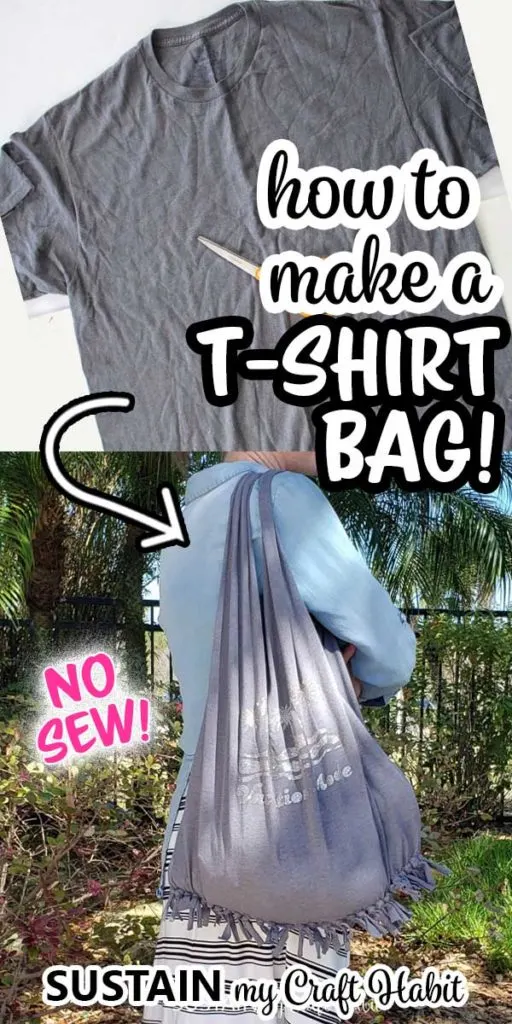
Cut off the bottom hem just above the stitching.
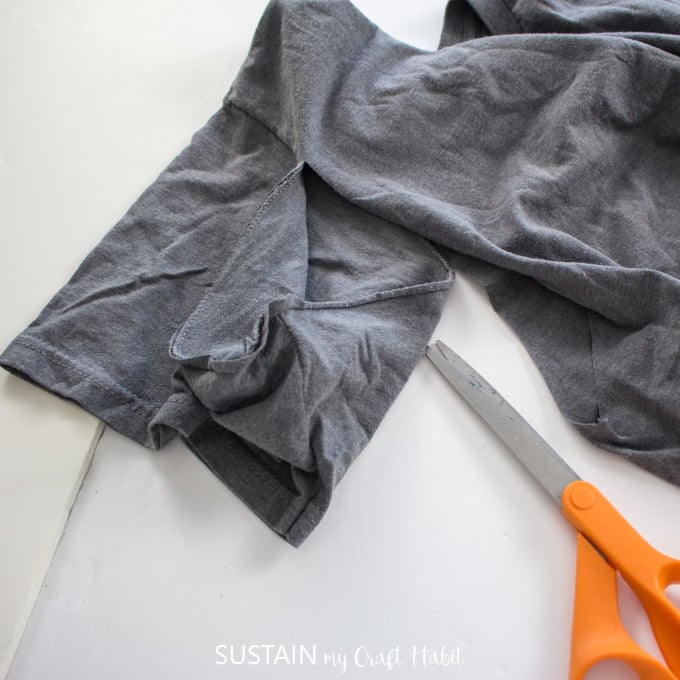
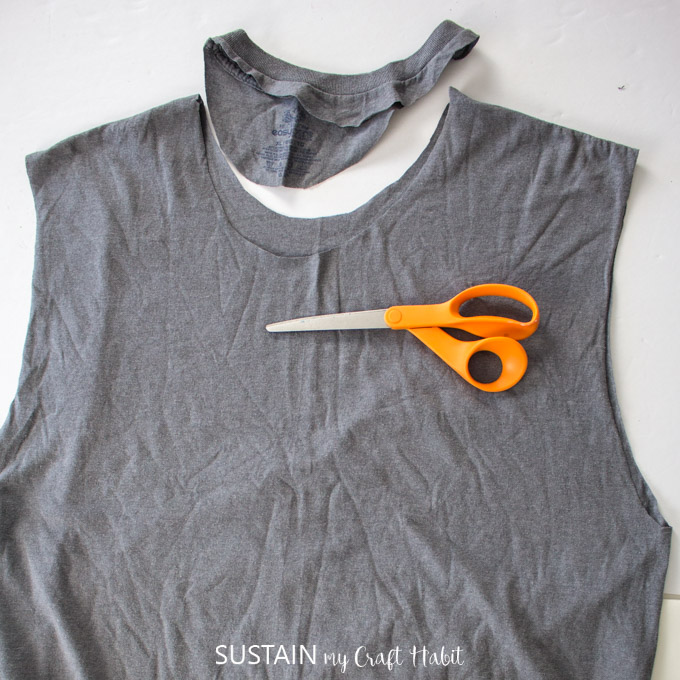
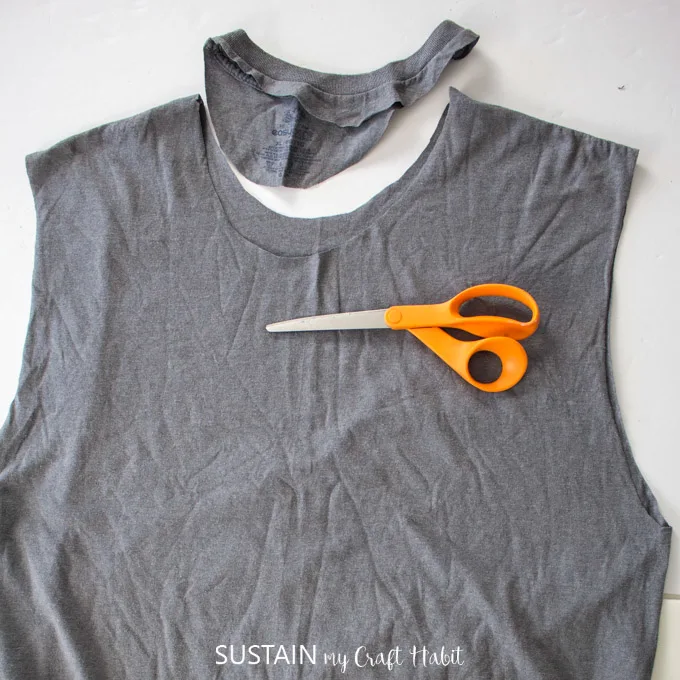
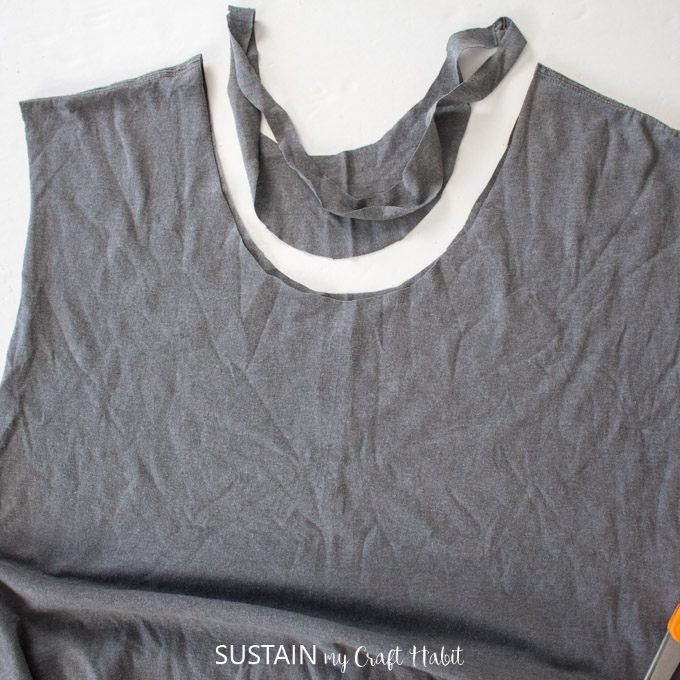
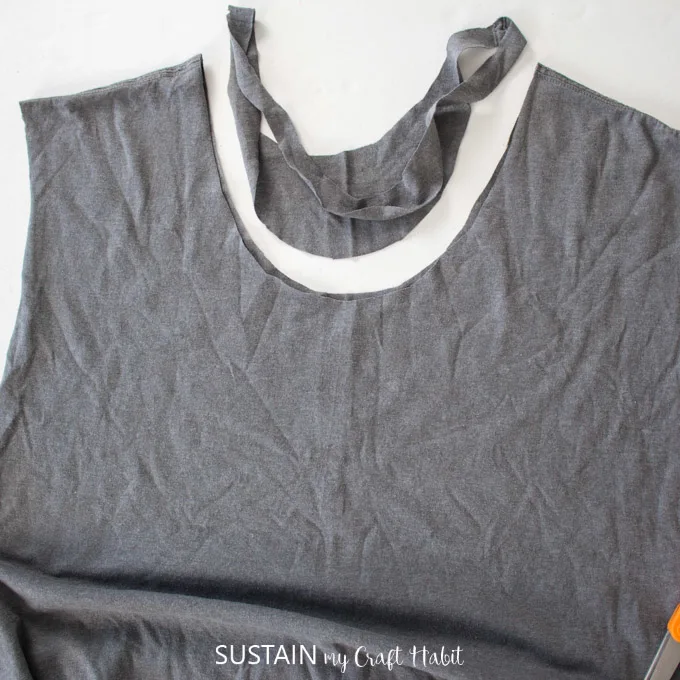
Next, cut out the sleeves along the armhole seams on the side of the body.
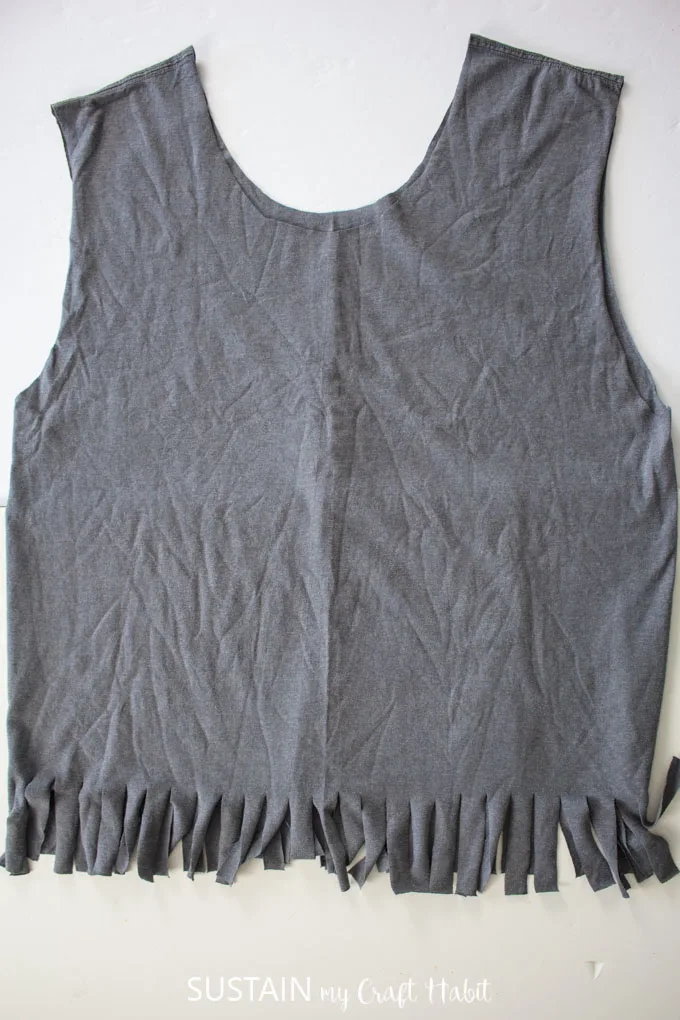
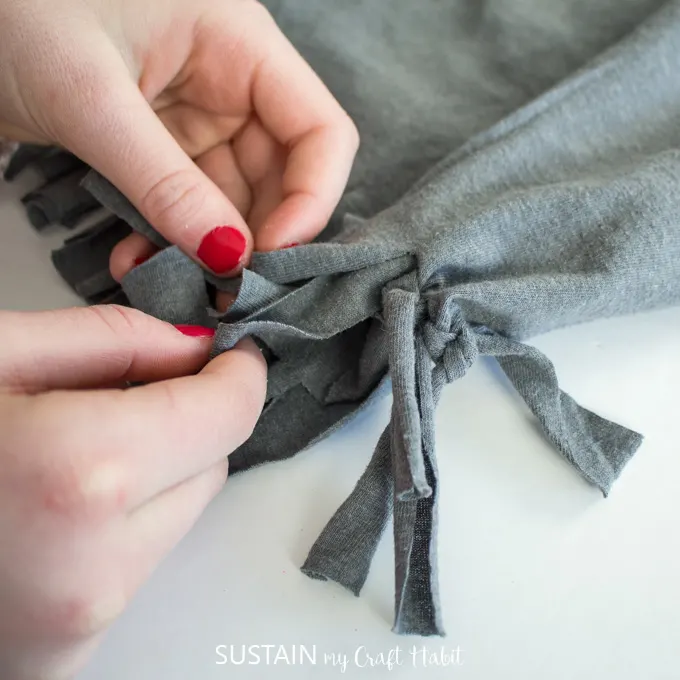
Along the bottom opening, cut evenly sized strips measuring 4 long x 3/4 wide.
Continue along the entire length of the bottom opening.
If you want to add an iron-on decal like I did, then continue with the instructions below.
Otherwise, skip the next part and proceed to the finishing section below.

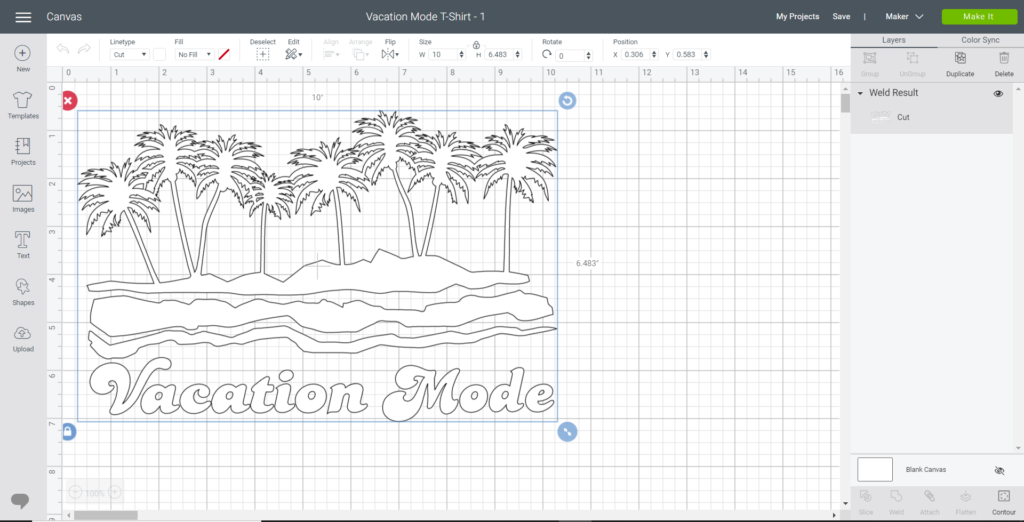
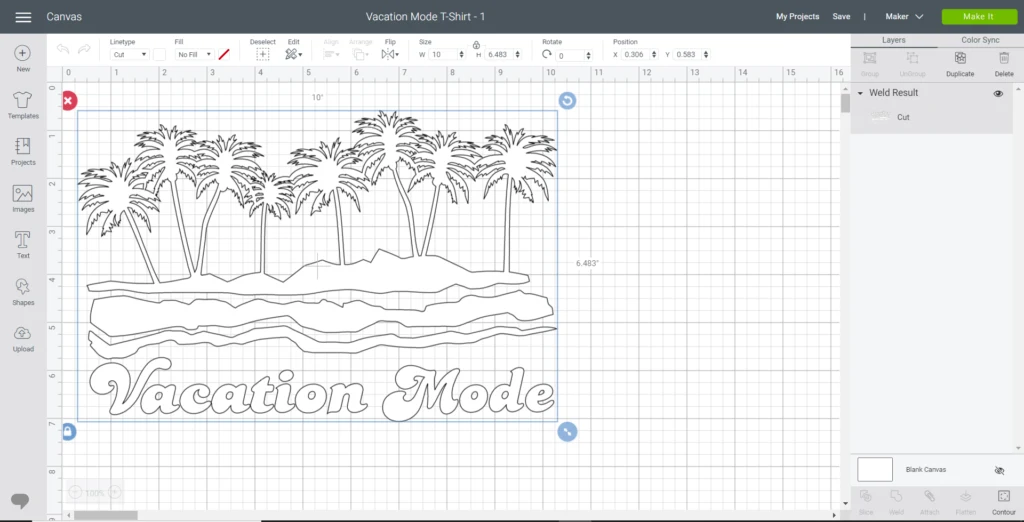
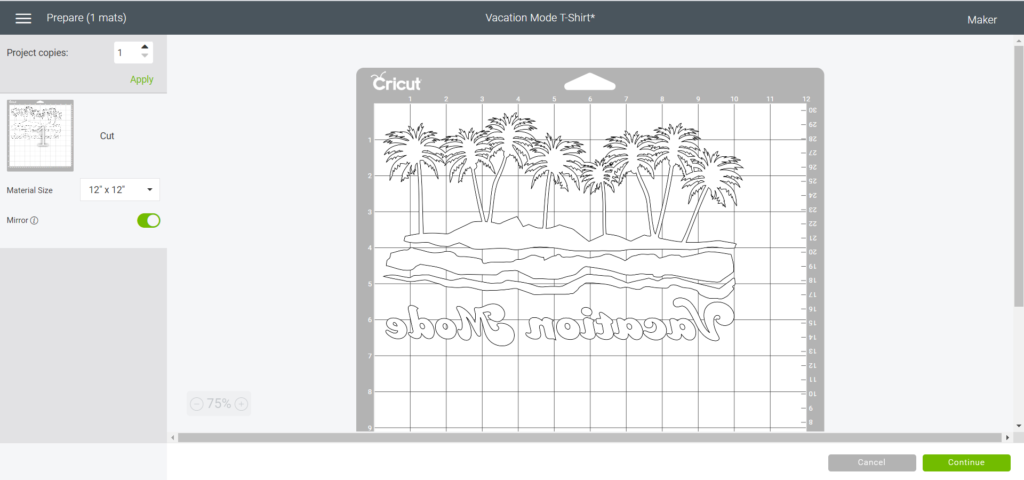
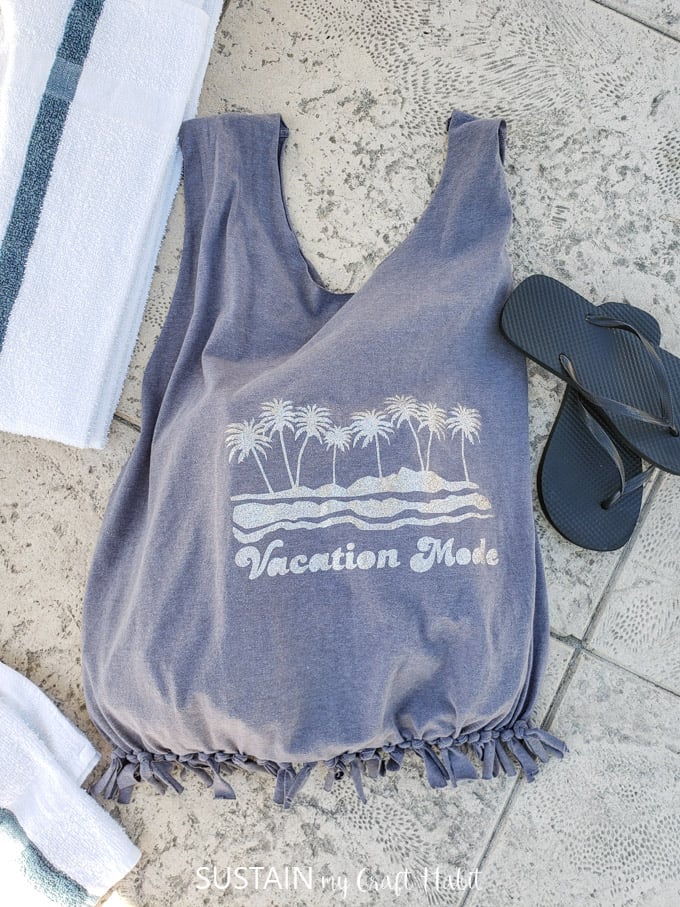
Upload the Vacation Mode Tshirt project template on to a blank canvas.
Resize the design to fit your tshirt bag.
In my case, I sized it to 10 wide by 6.4 high.

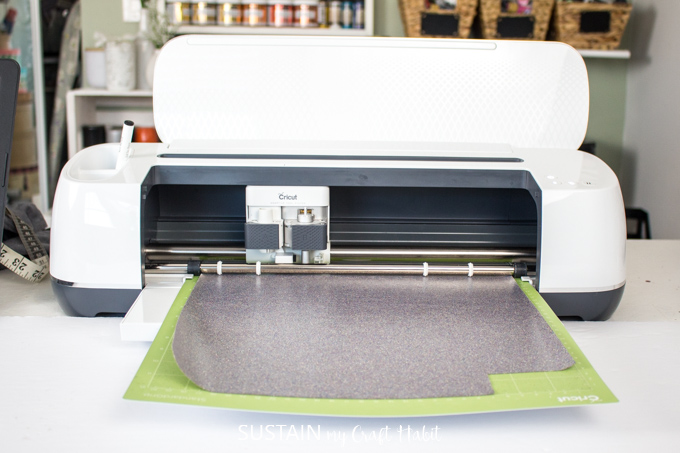
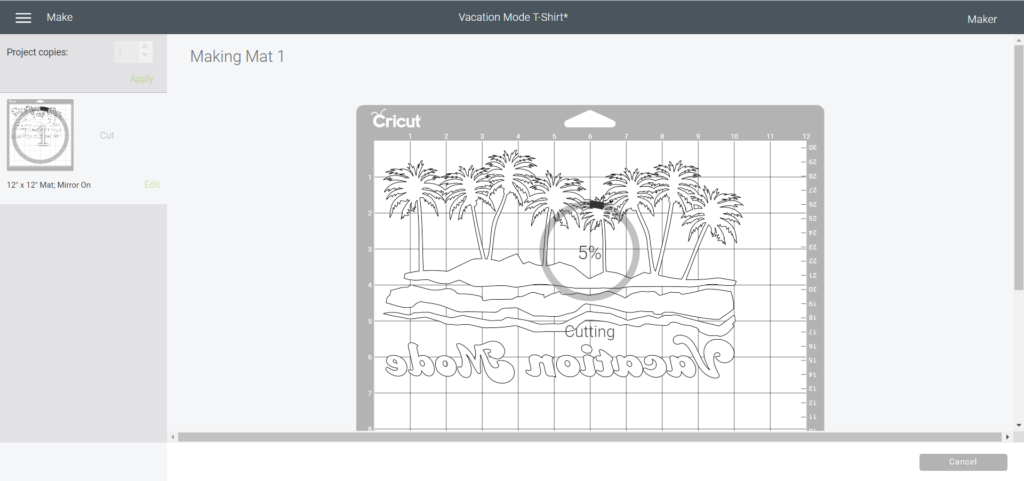
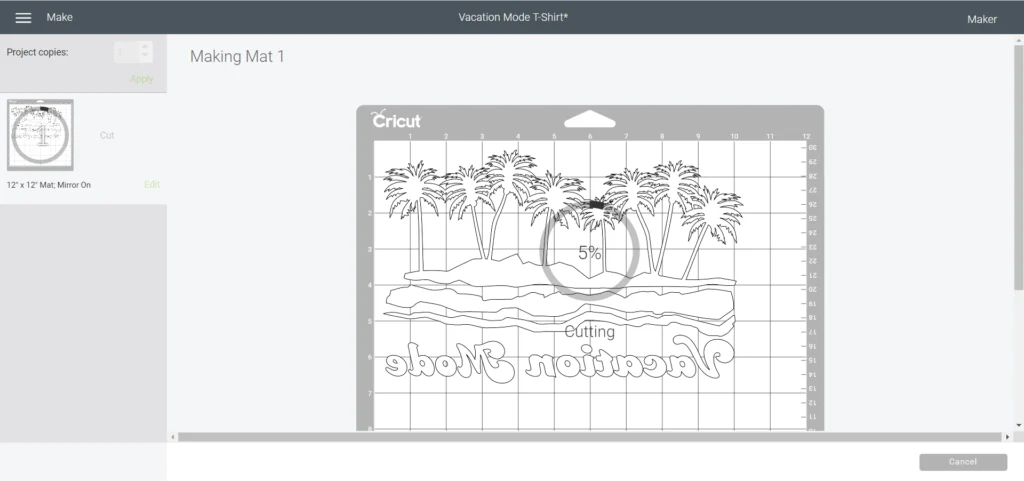
Upload the mat and continue with the cut following the prompts on the screen.
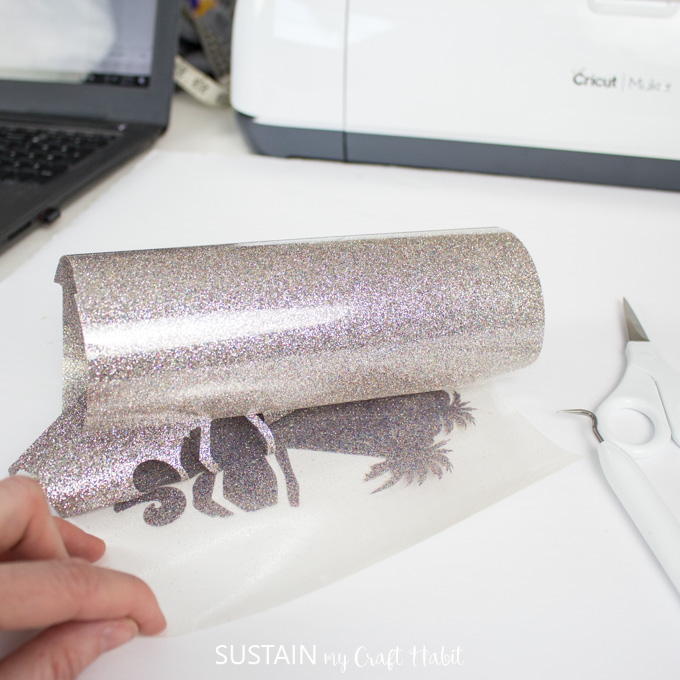
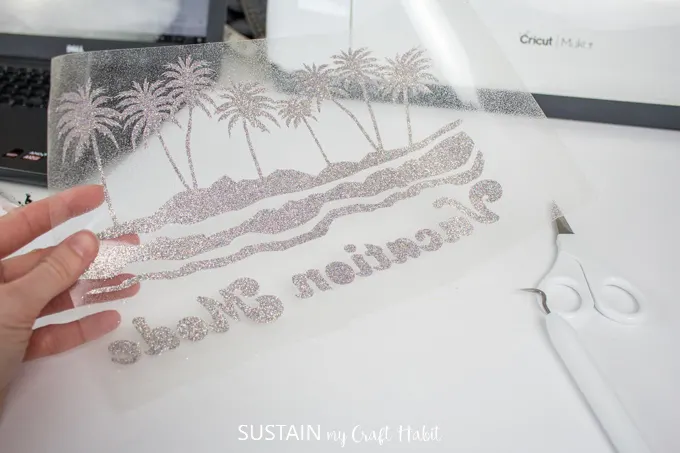
When cut is done, unload and use a weeder to remove the excess vinyl.
In my rush, I forgot to remove some of the vinyl inside the letters but honestly.
it looks great anyways!
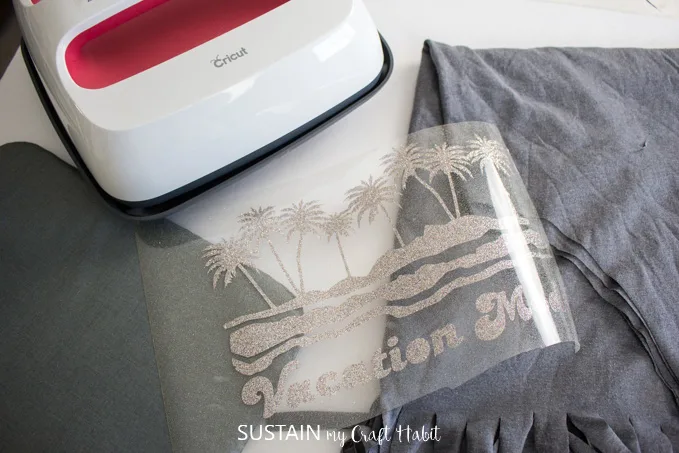
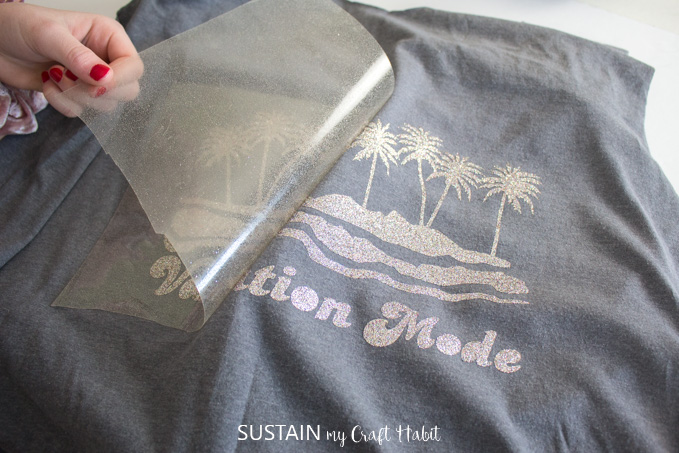
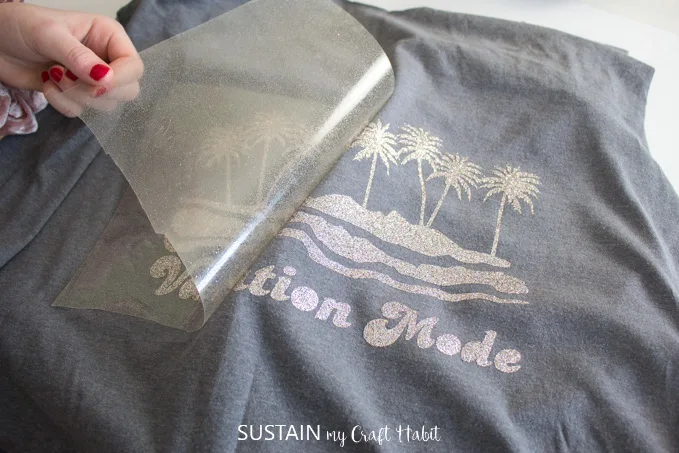
Place the vacation mode glitter iron-on vinyl on the tshirt in the desired location.
And apply the heat to the iron on vinyl following the instructions on the guide.

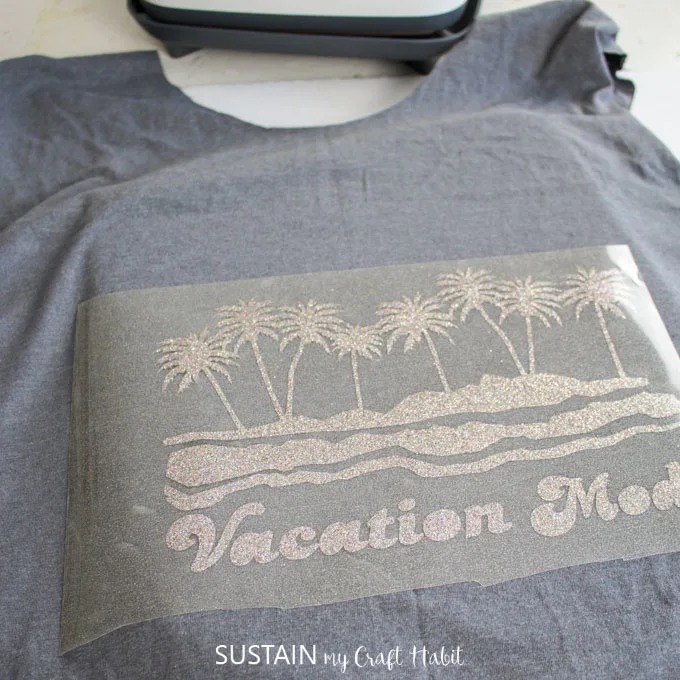
I love this next part….remove the plastic covering to reveal the new fun design!
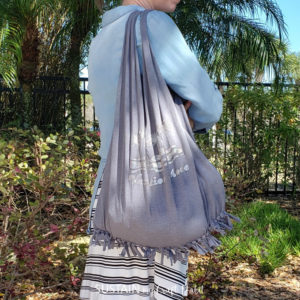
Continue until all the fringe is knotted together and the bottom opening is sealed.
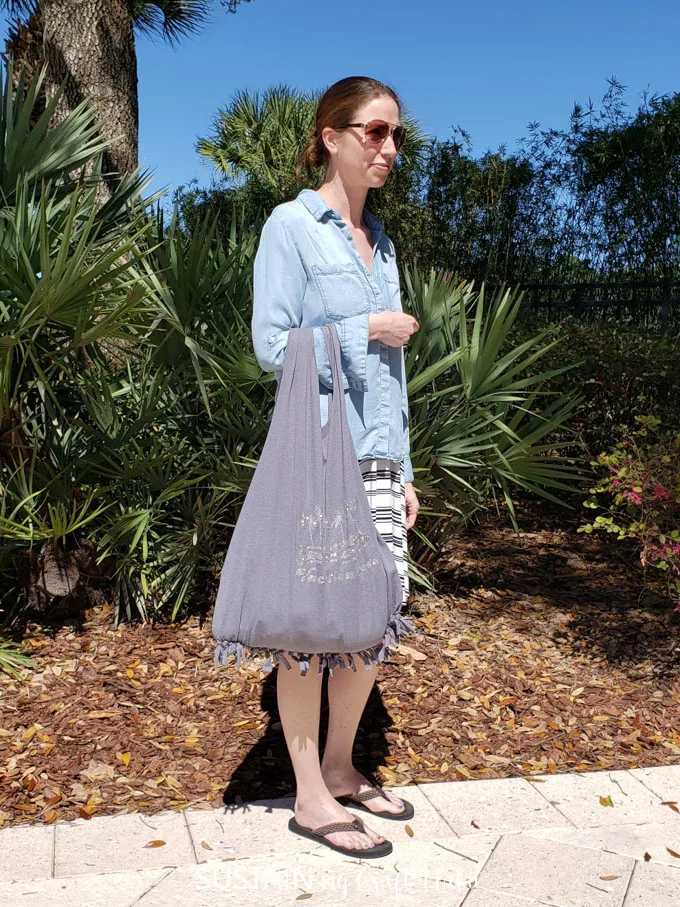
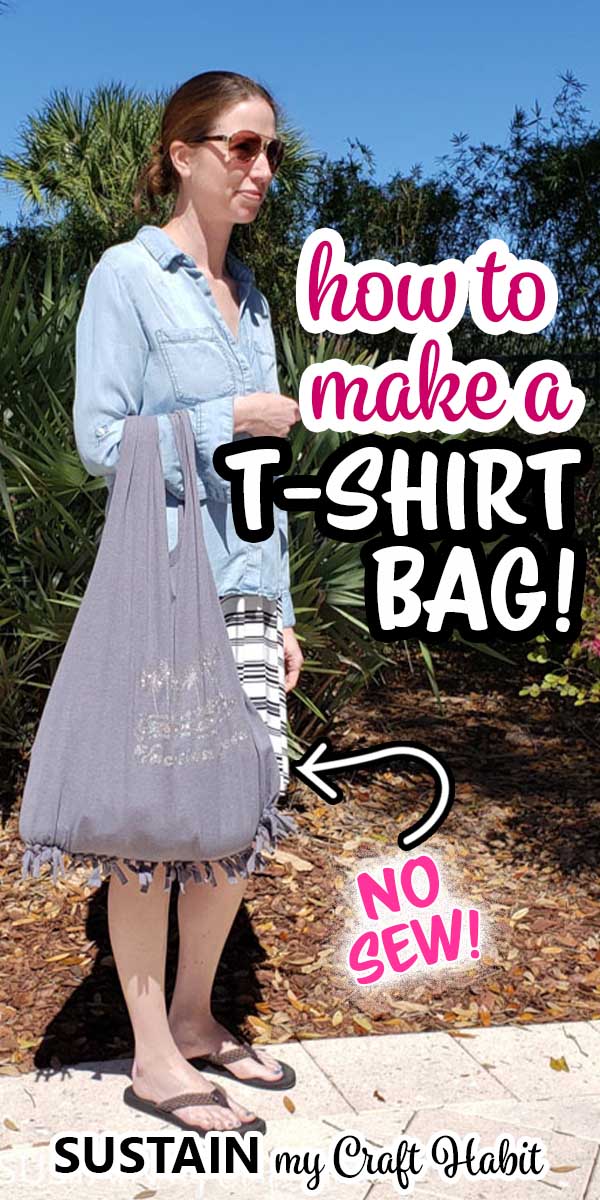
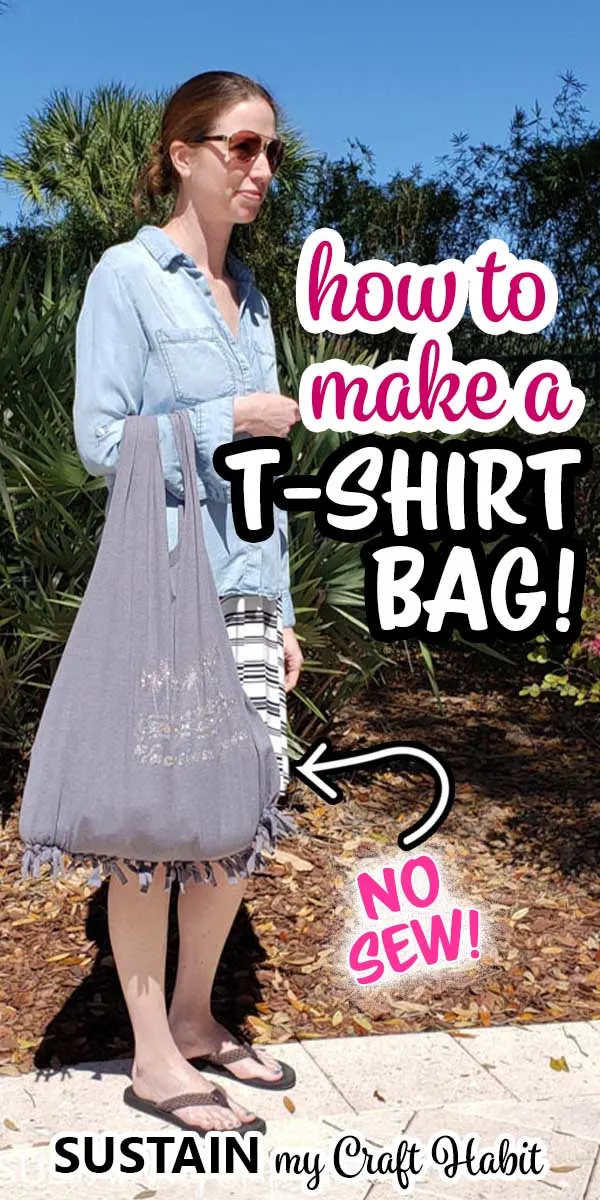
And thats all it takes to turn a tshirt into a bag!
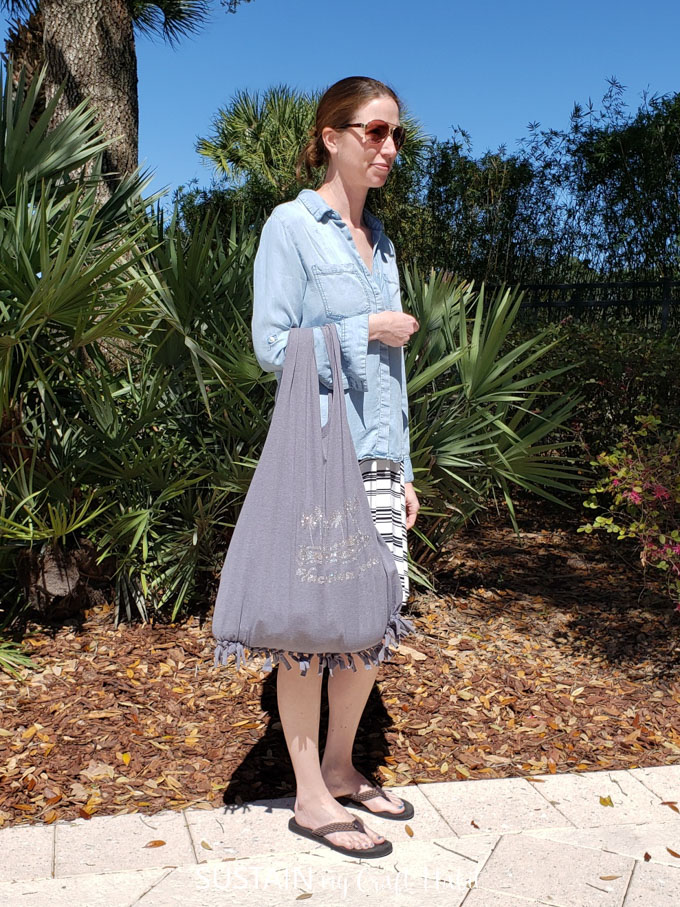
Time to head to the pool!
Pin it for later!
How to Make a Tshirt Bag
Materials
Instructions