I can hardly believe it when I think about it.
Has it really been that long?
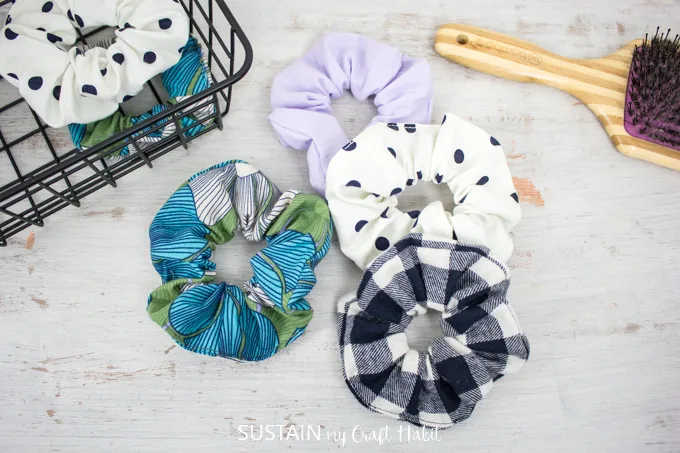
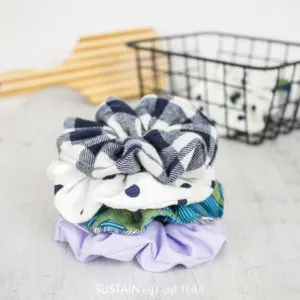
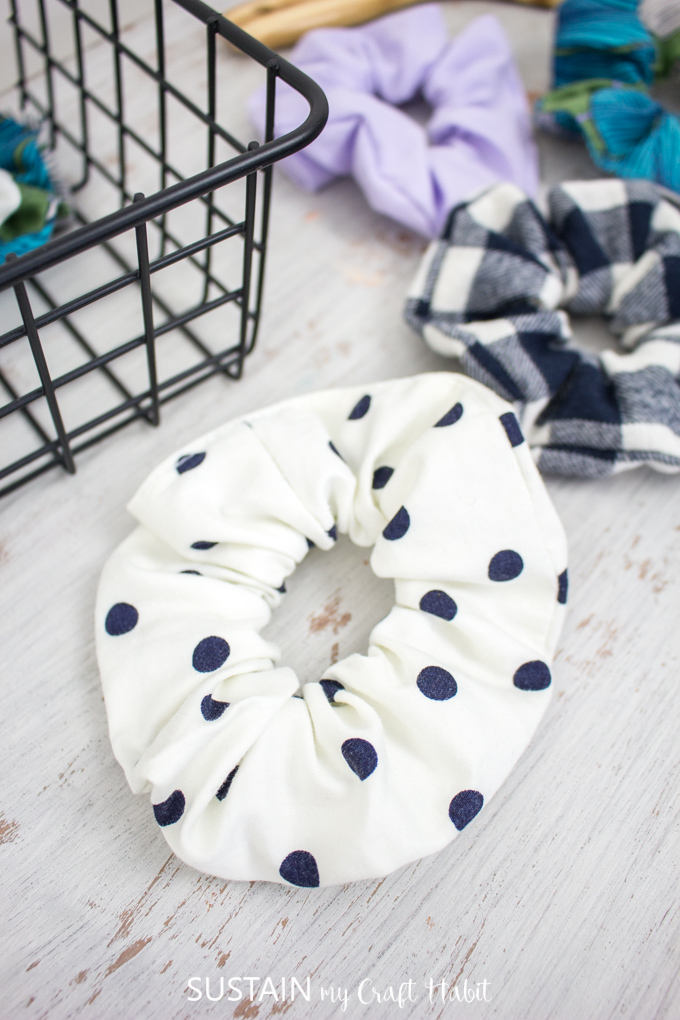
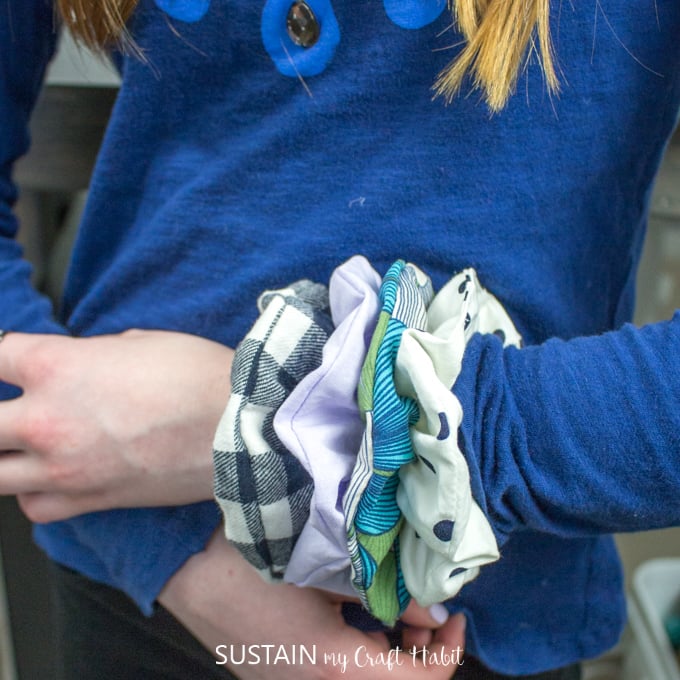
And yet, these days, its my daughter that is obsessed with scrunchies!
Picnic Blanket
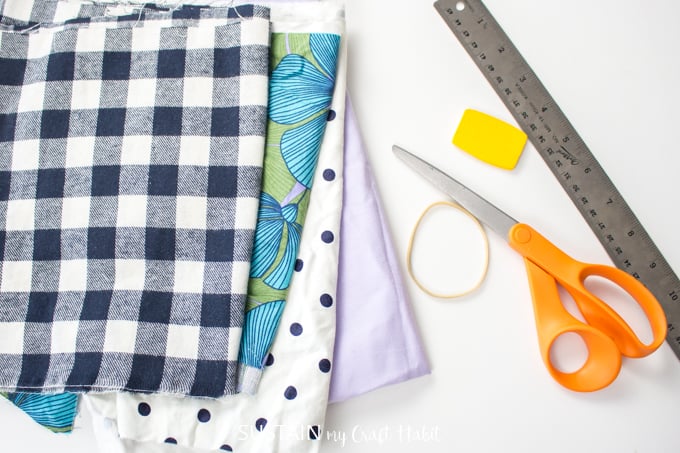
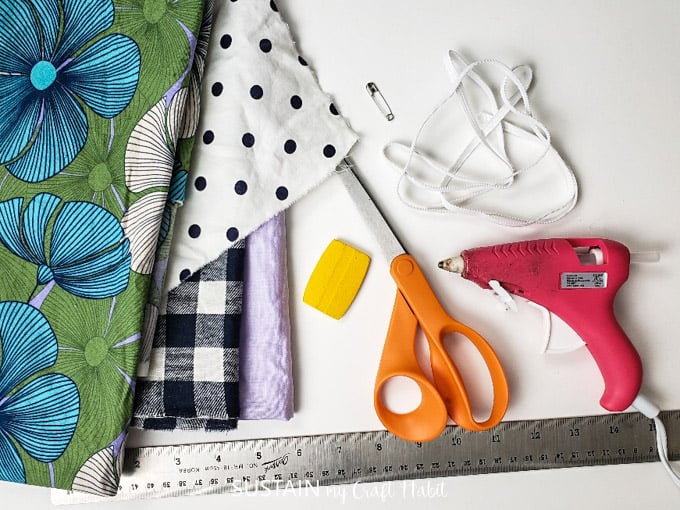
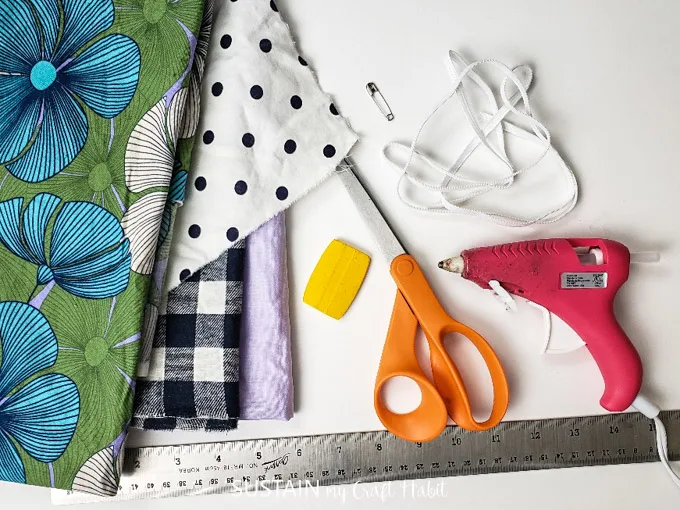
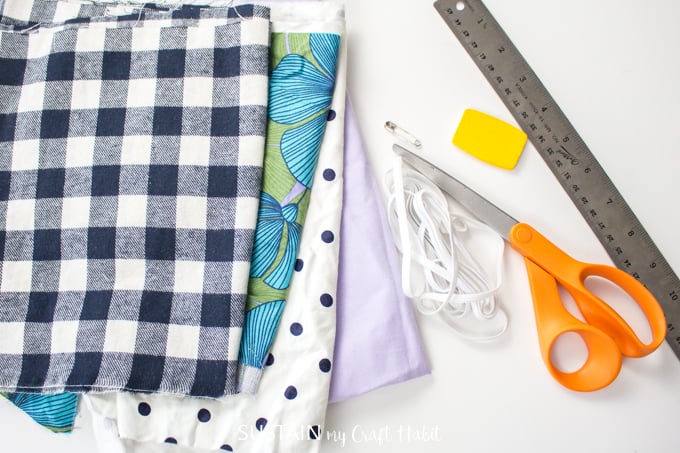
One of the best parts of making scrunchies, is choosing the fabrics to use.
Fabrics like soft velour, thin flannel and light cotton in either a knitted or woven construction.
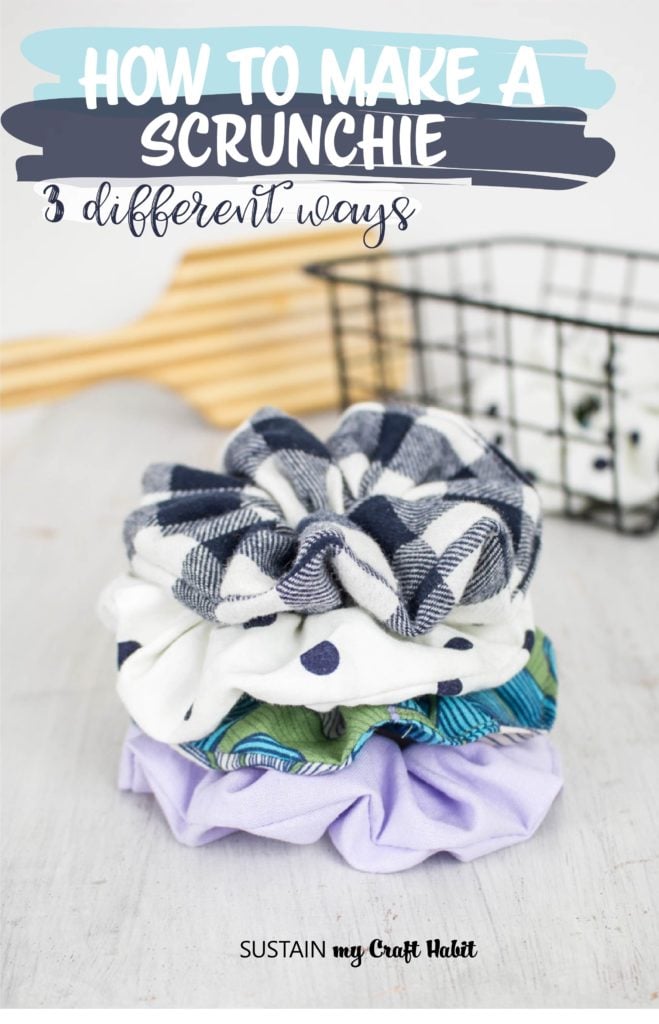
Making a scrunchie with a flat elastic
This is my favourite option for making a scrunchie.
The sewing is simple, quick and straightforward.
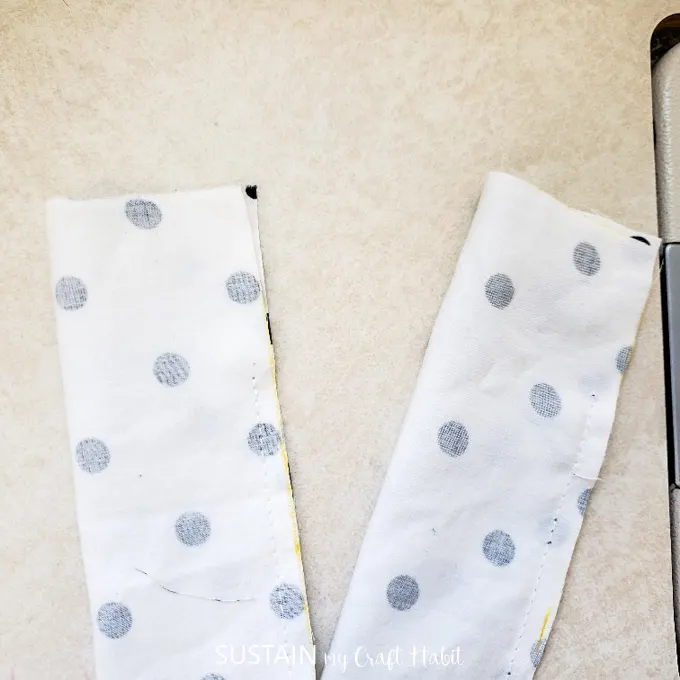
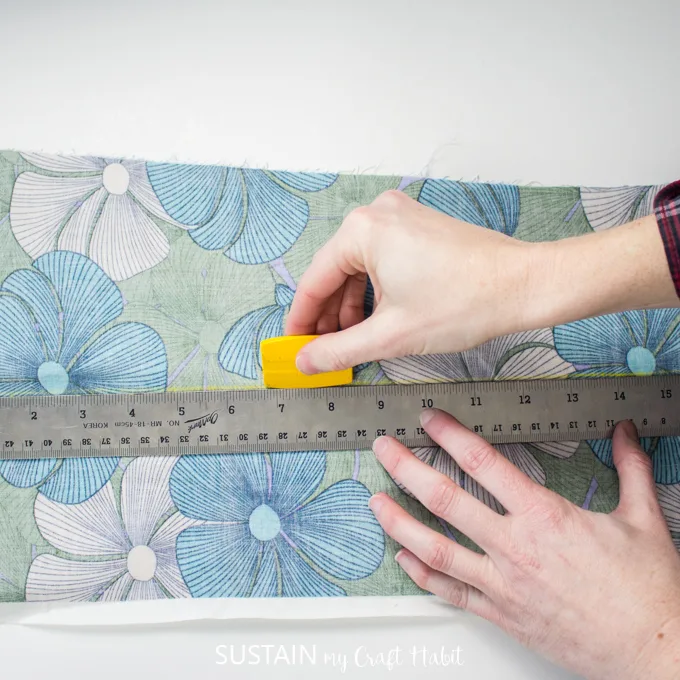
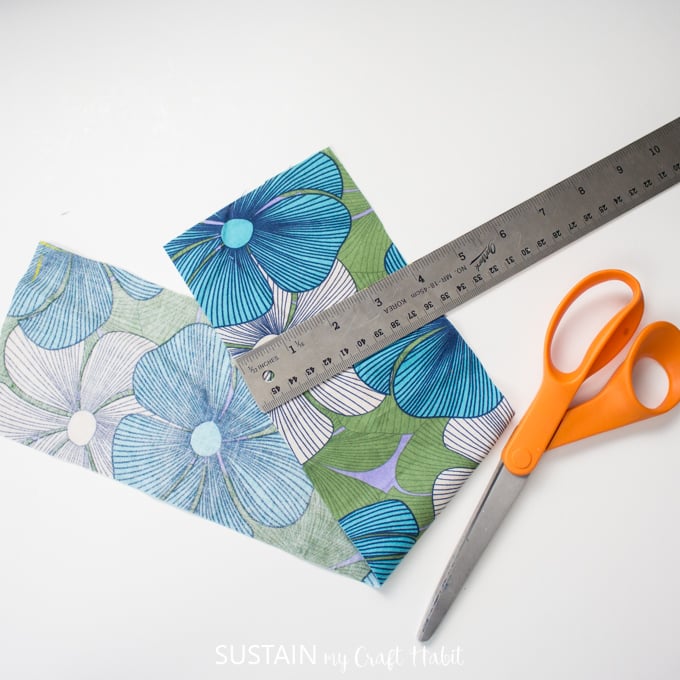
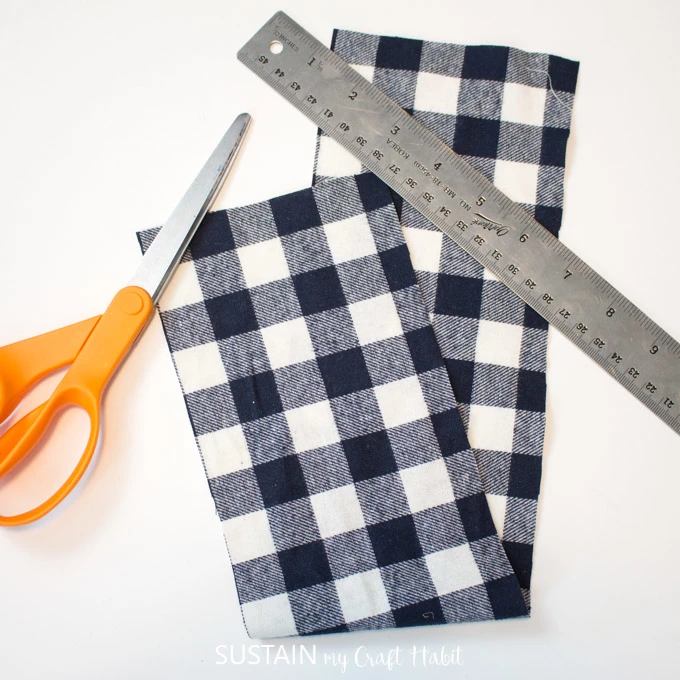
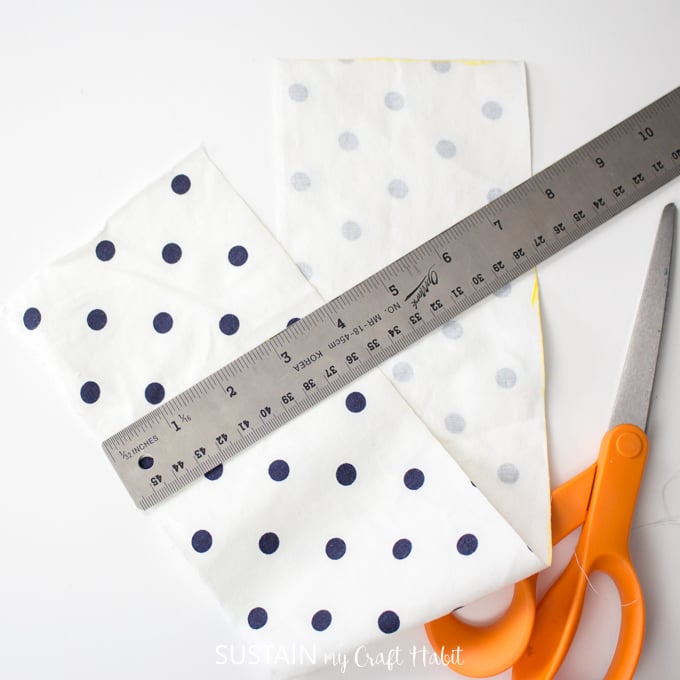
Tip #1:Always cut fabric along the grainline unless otherwise specified in the instructions.
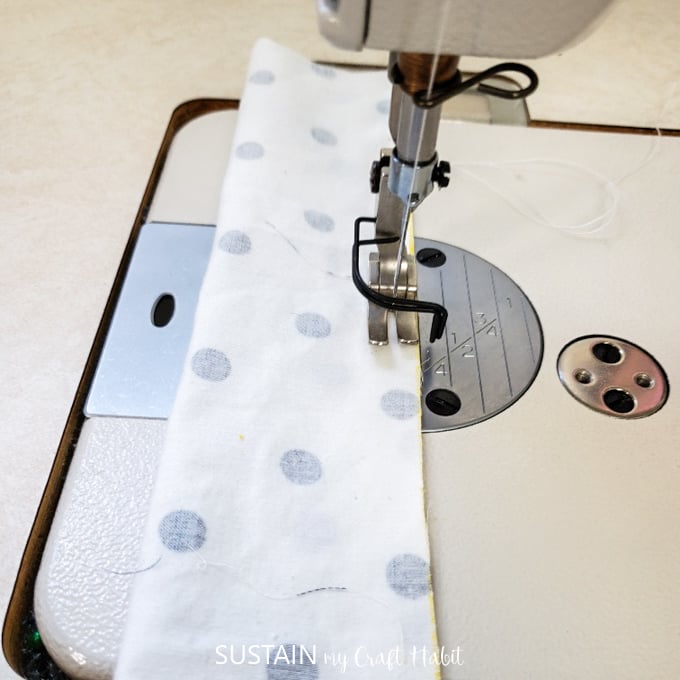
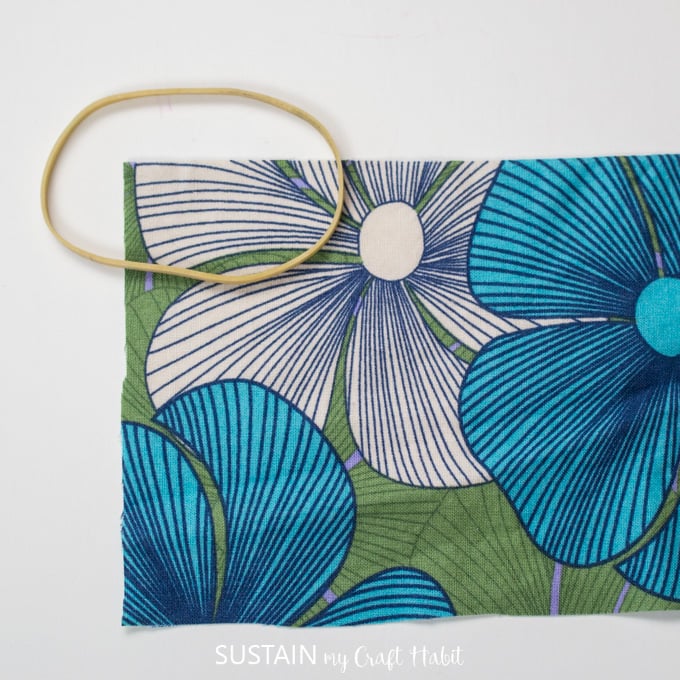
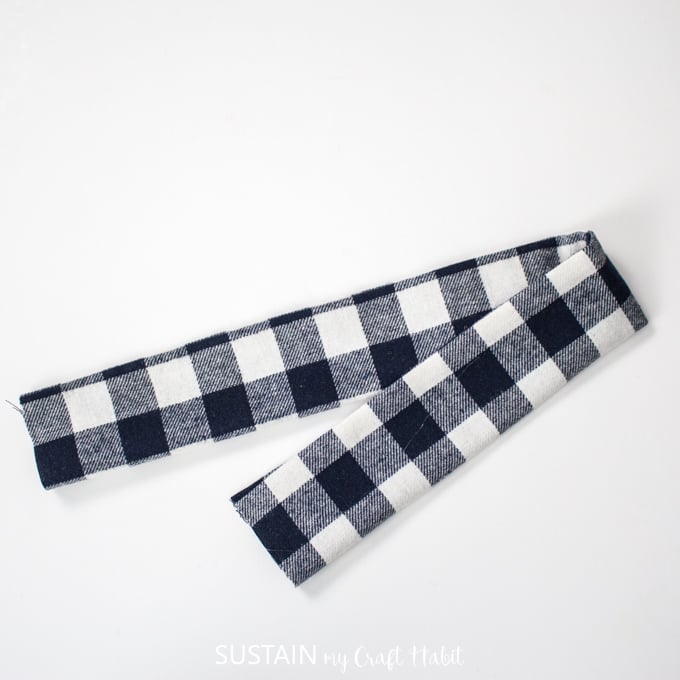
Next, fold the fabric in half widthwise with RIGHT sides together.
Start sewing 1 from the end and continue until youre 1 from the end.
Reinforce your stitches at the start and end with back stitching.
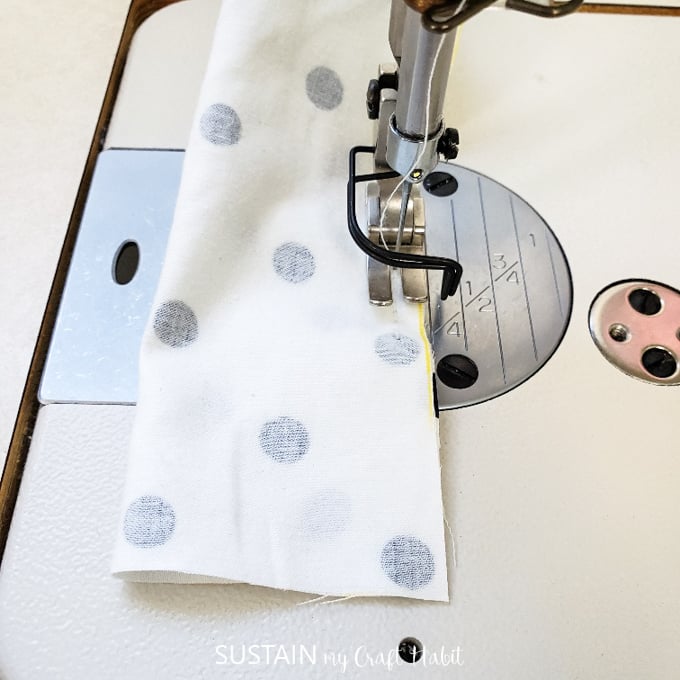
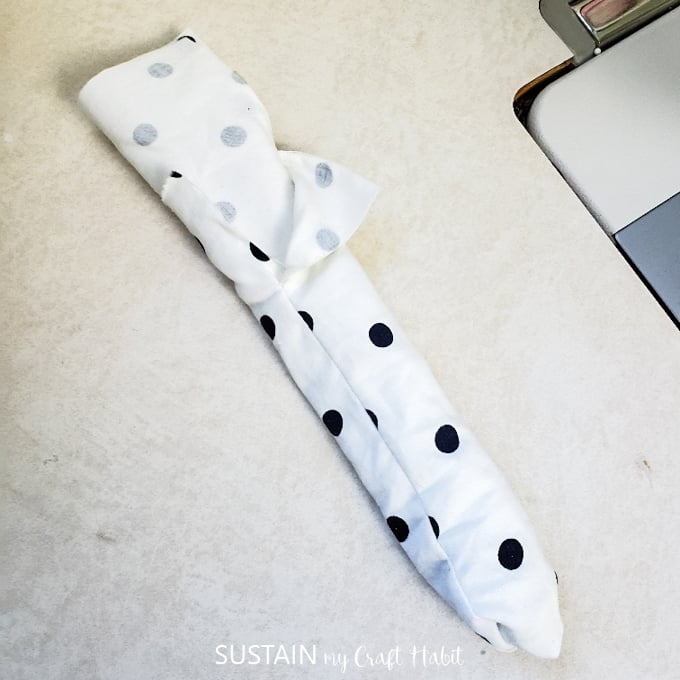
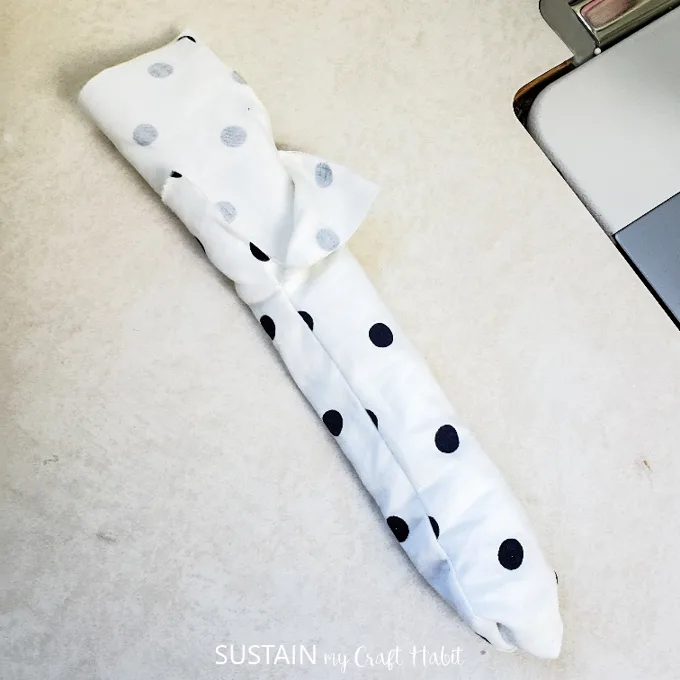
Turn the piece RIGHT side out.

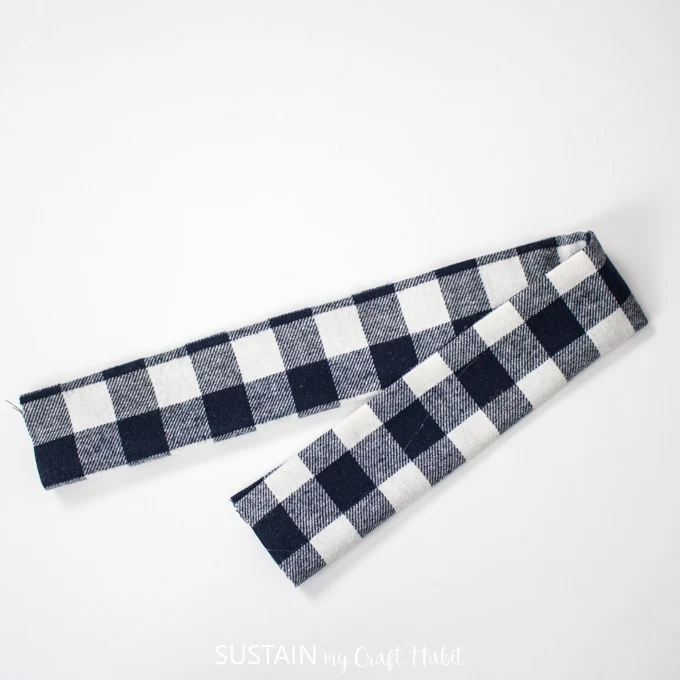
Match the short ends with RIGHT sides of the fabric together.
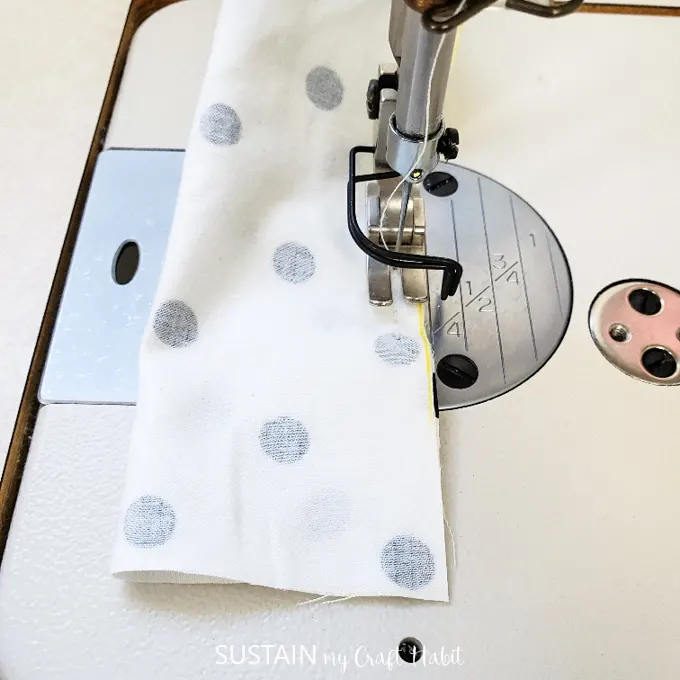
Sew the ends together with a 14 seam allowance.
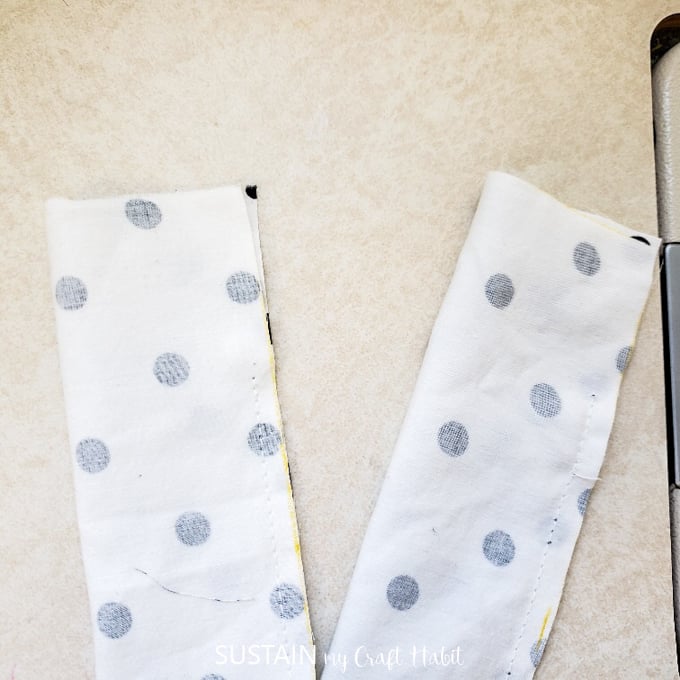
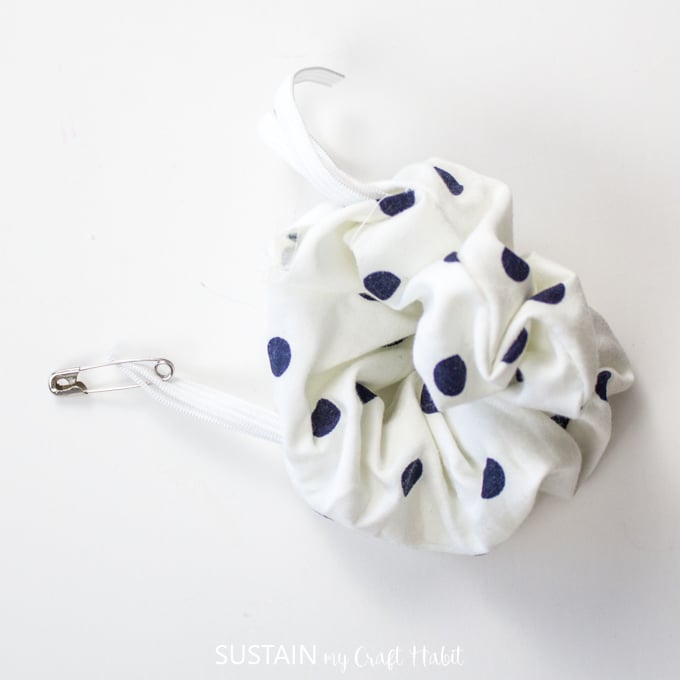
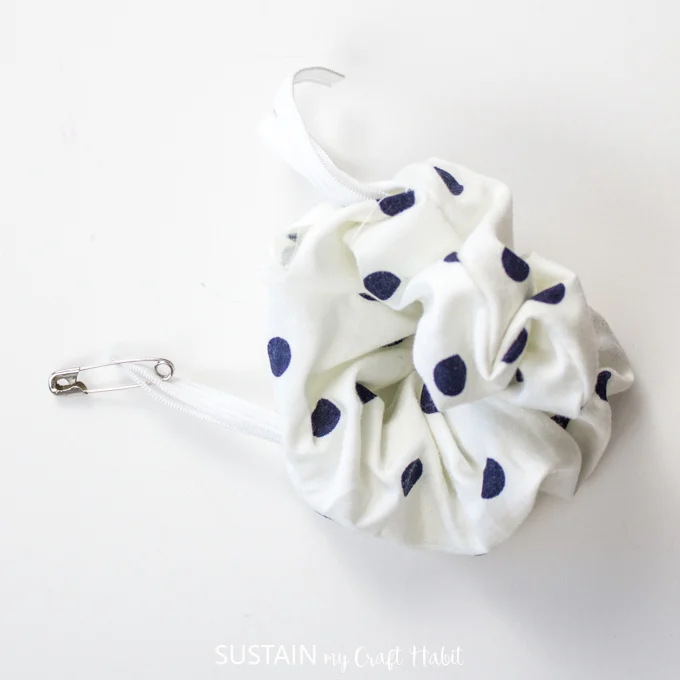
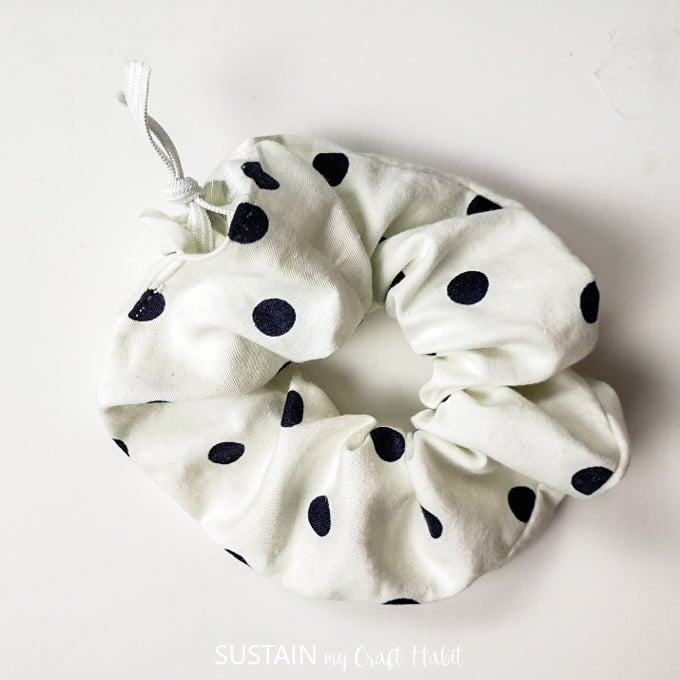
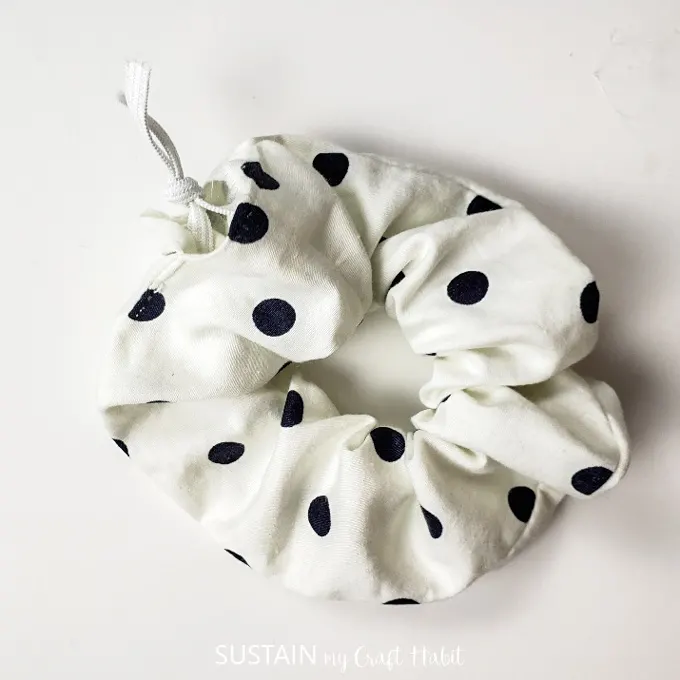
This will complete the scrunchie piece leaving about an 1 1/2 opening for the elastic to be inserted.
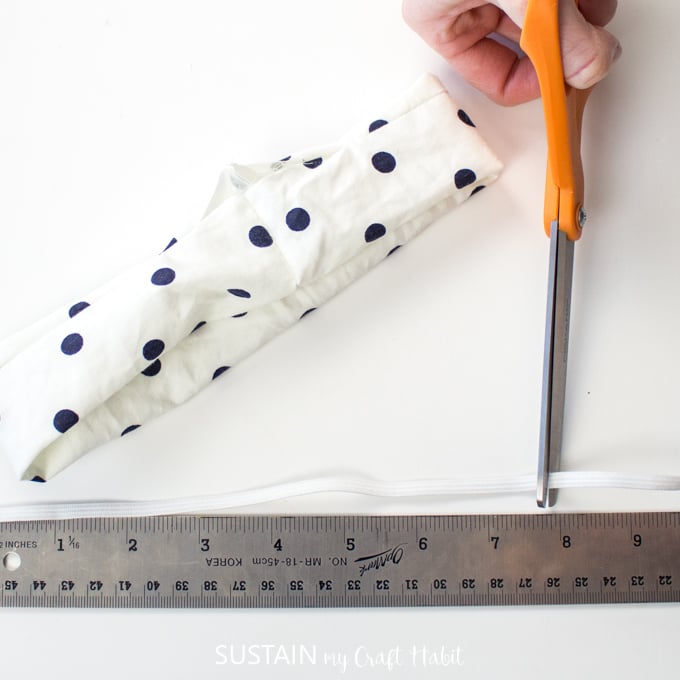
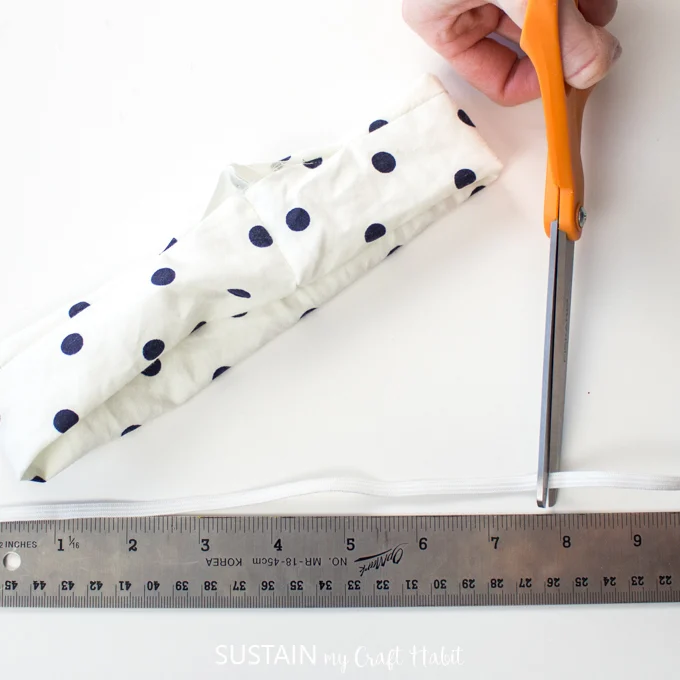
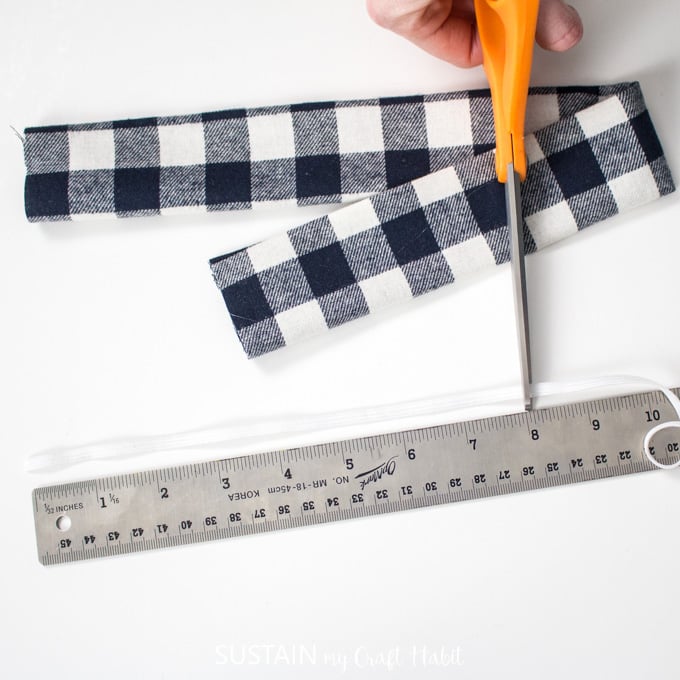
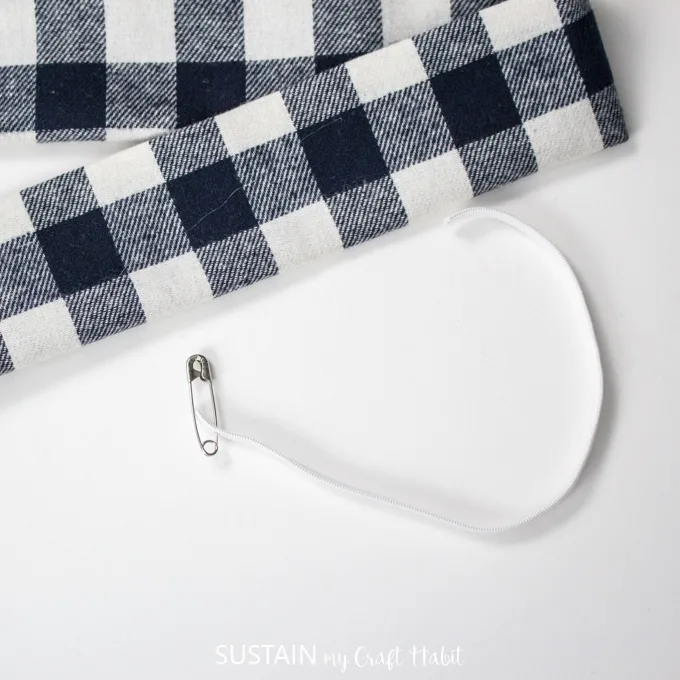
Cut flat elastic to 8 long.
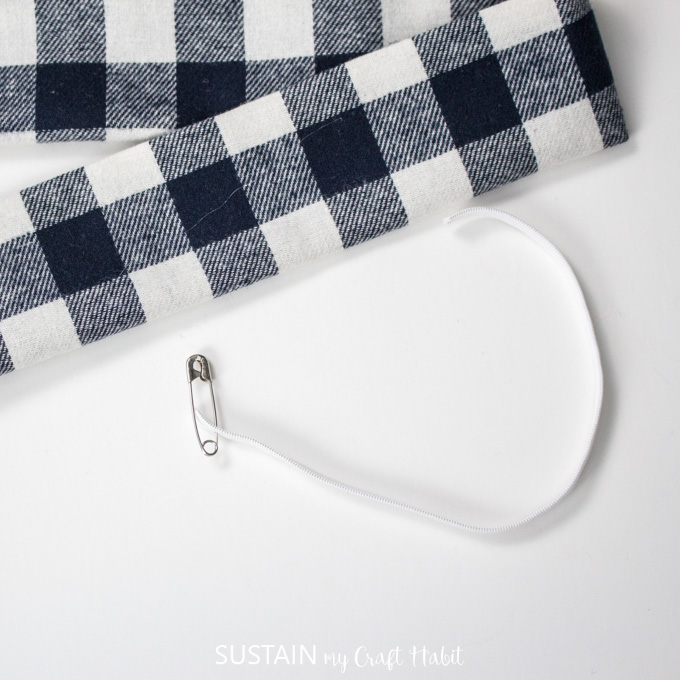
Secure a safety pin to one end of the cut flat elastic.
Guide the safety pin into the unstitching opening and pull it through until the exits out the other end.

Take care to hold on to the other end of the elastic.
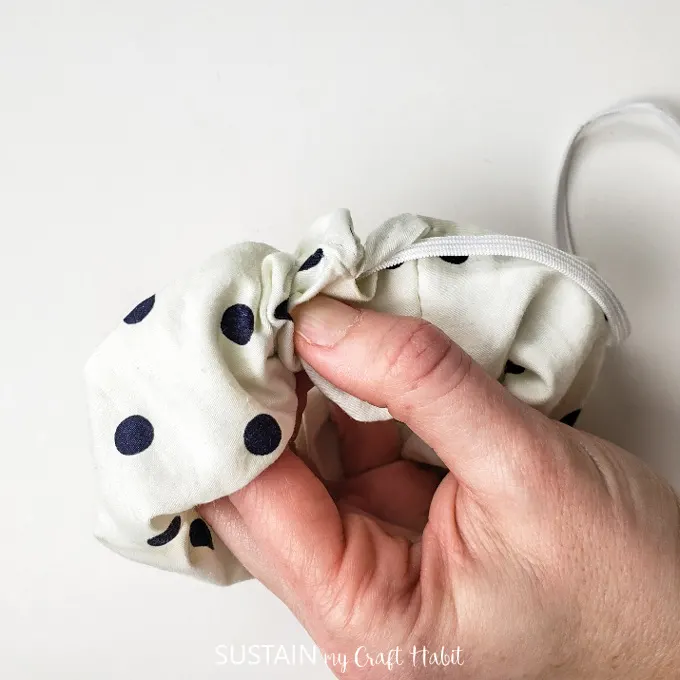
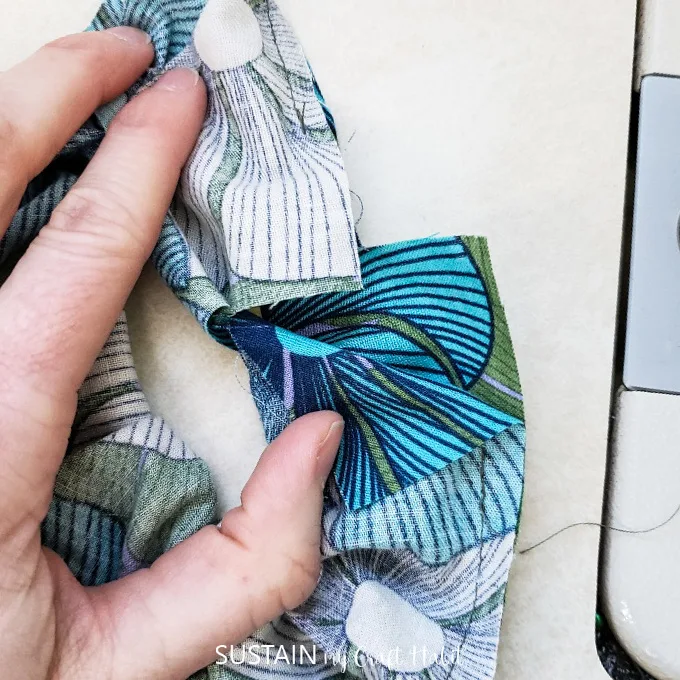
Knot the ends together as shown.
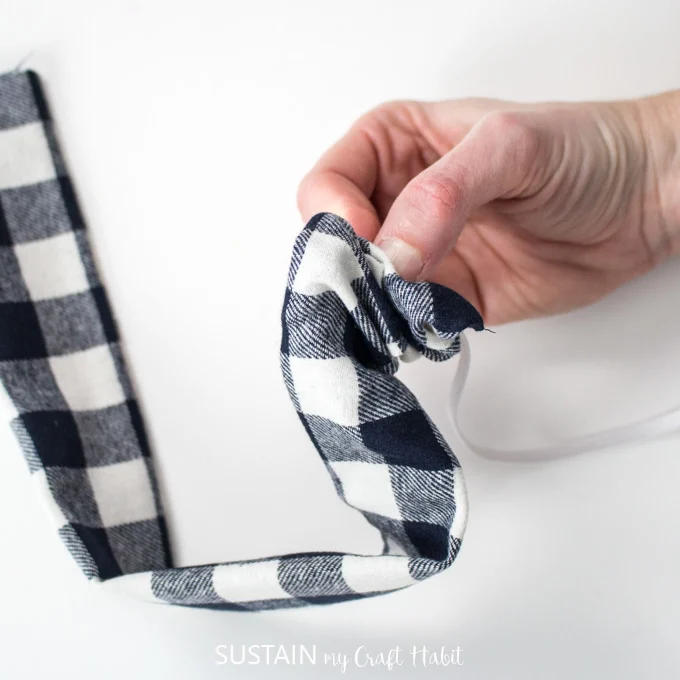
Extend the scrunchie forcing the elastic inside.

Picnic Blanket
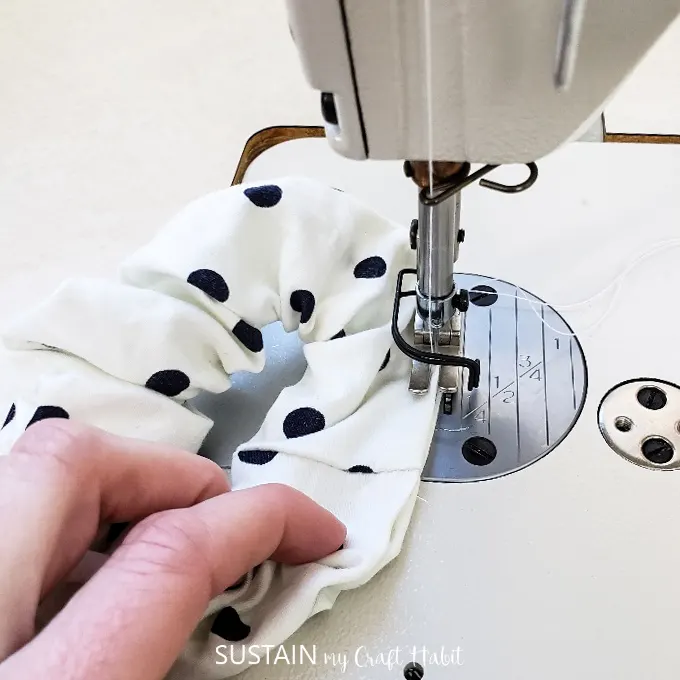
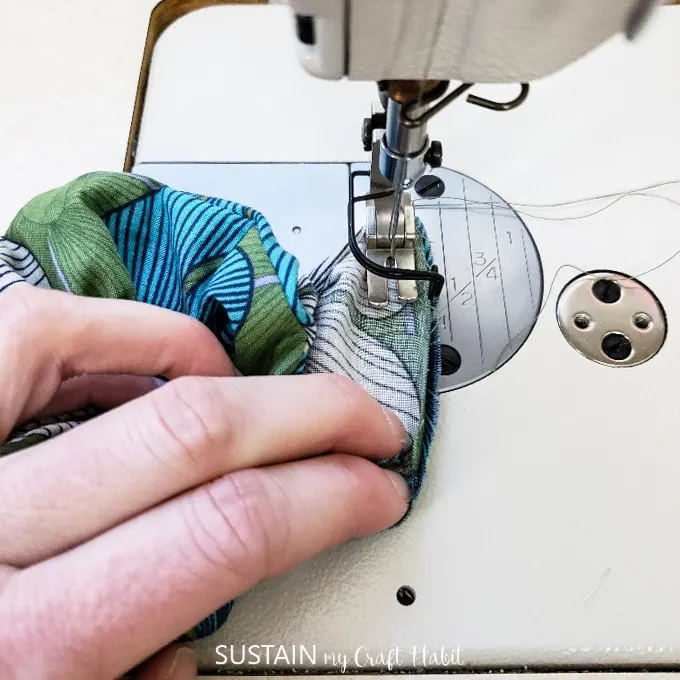
Using a sewing machine, sew the opening closed along the folded edges.
As mentioned above, this is just a guideline, you could adjust the measurements if you like.
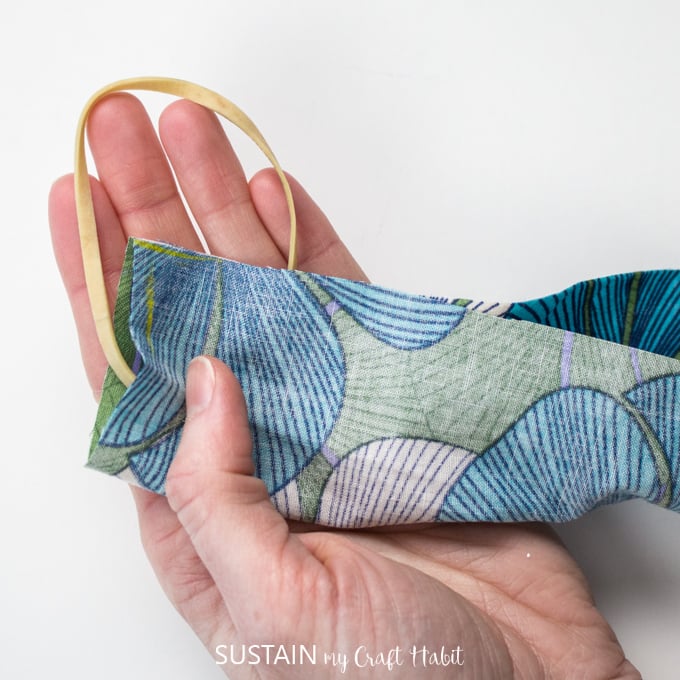
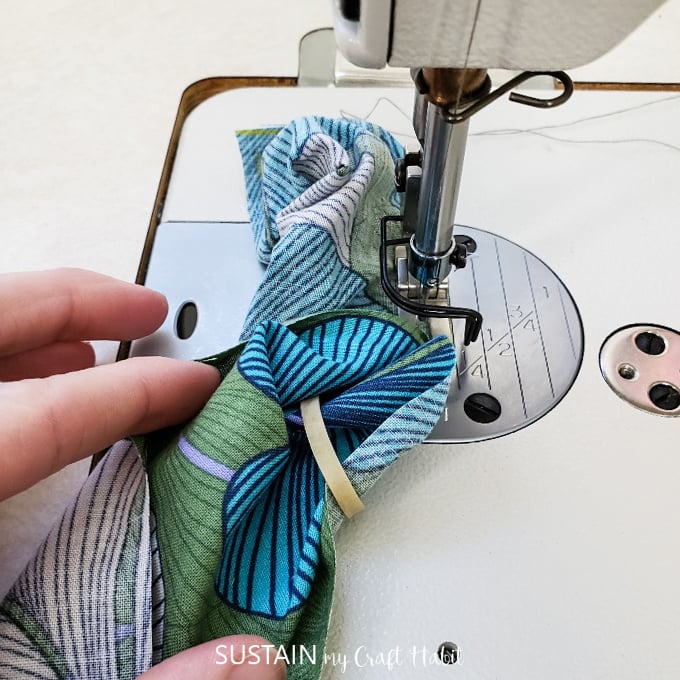
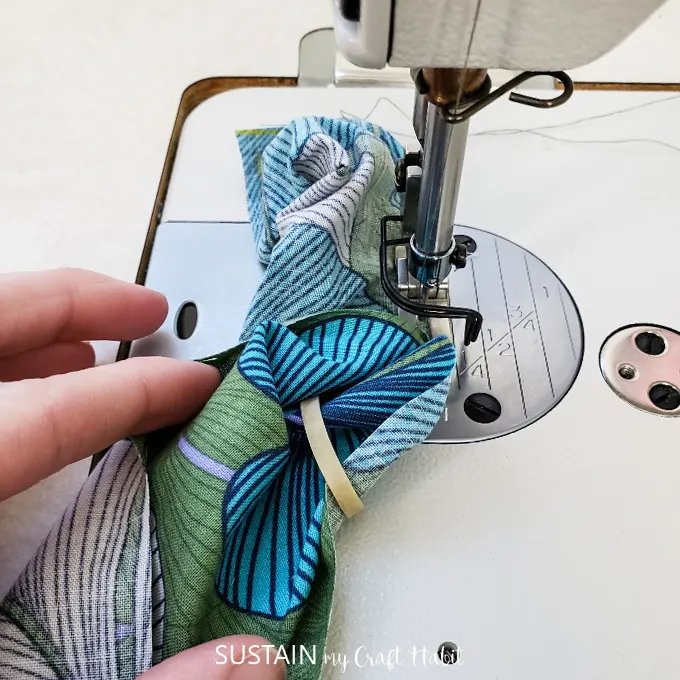
Fold the fabric in half widthwise with RIGHT sides together through the elastic band as shown.
Start sewing 1 from the end and continue until youre 1 from the end.
Remember to do a back stitch at the start and end of your stitch line.
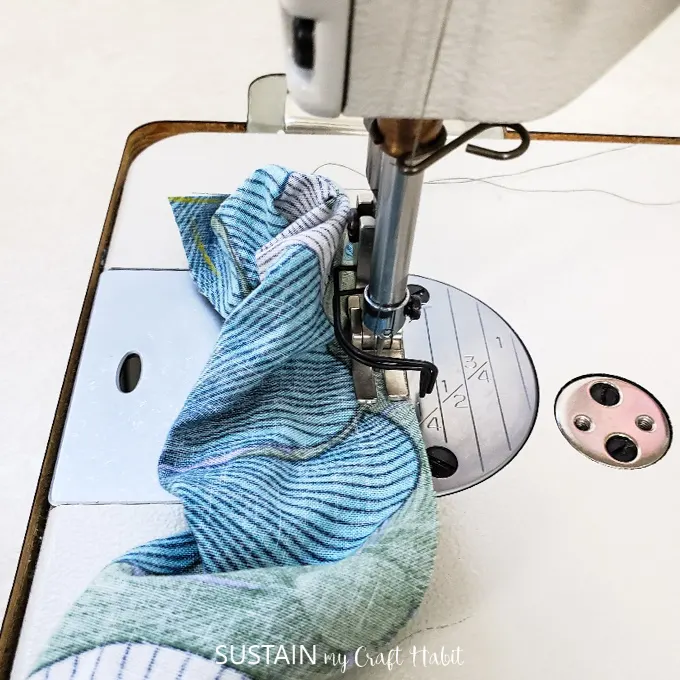
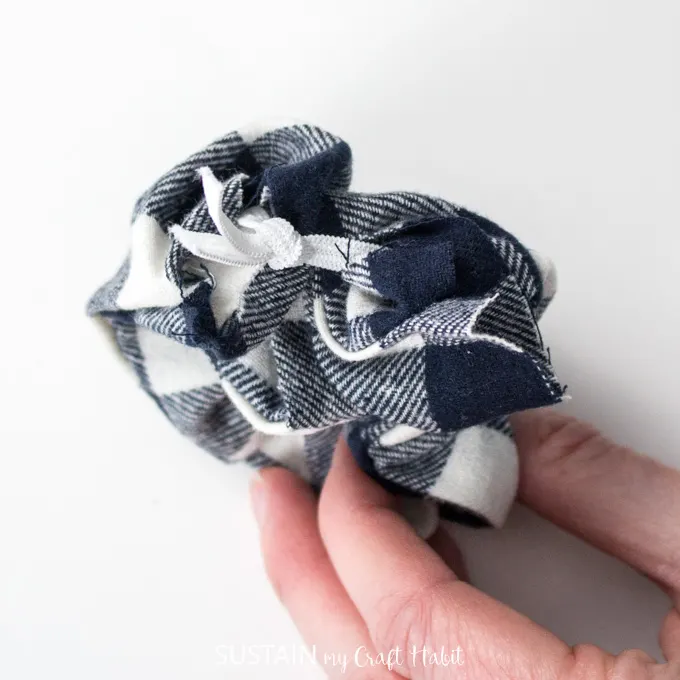
Turn the fabric RIGHT side out, with elastic encased inside.
Match the short ends with RIGHT sides of the fabric together.
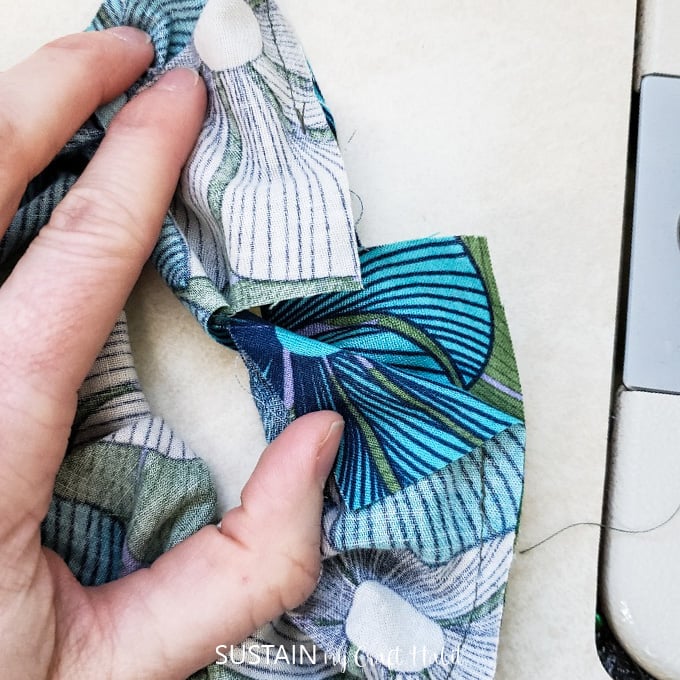
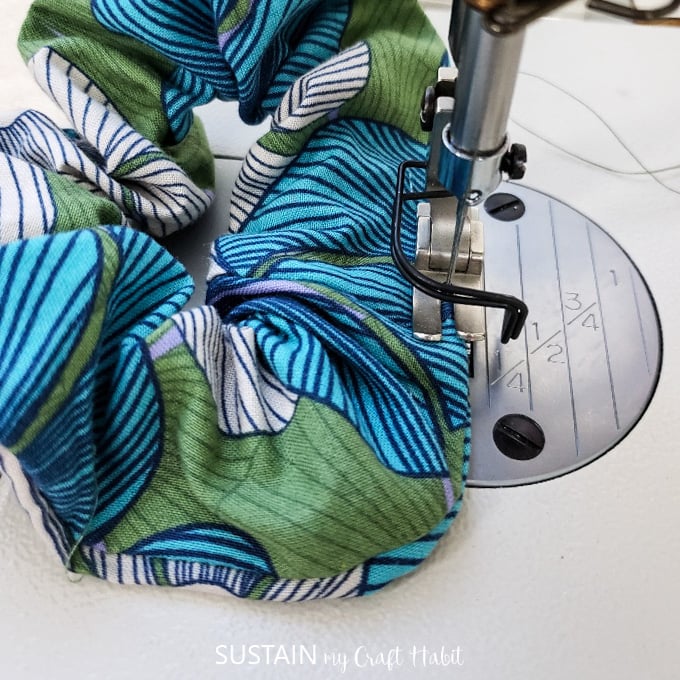
Tuck the seam allowance inside and your hair tie scrunchie will be formed.
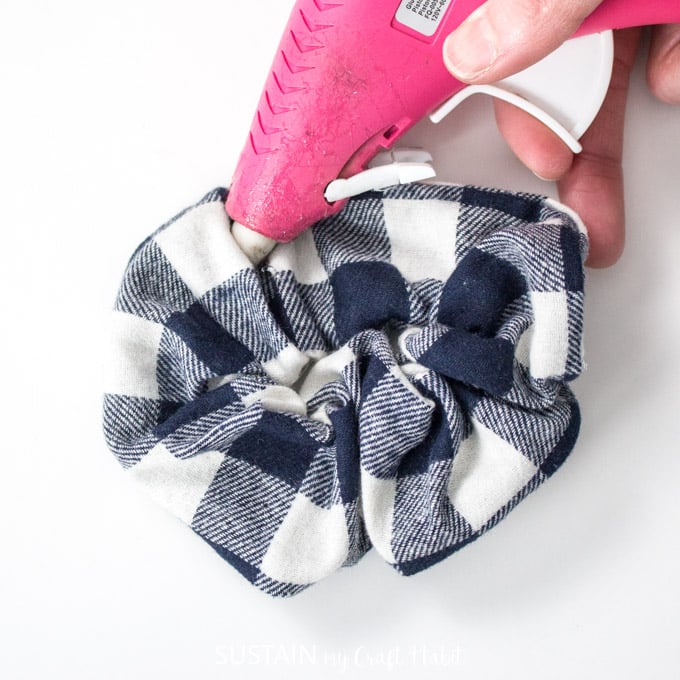
To finish, fold the ends of the 1.5 gap inside and sew the hole closed along the edge.

Making a No Sew Scrunchie
This option is a good one for any non-sewers out there.
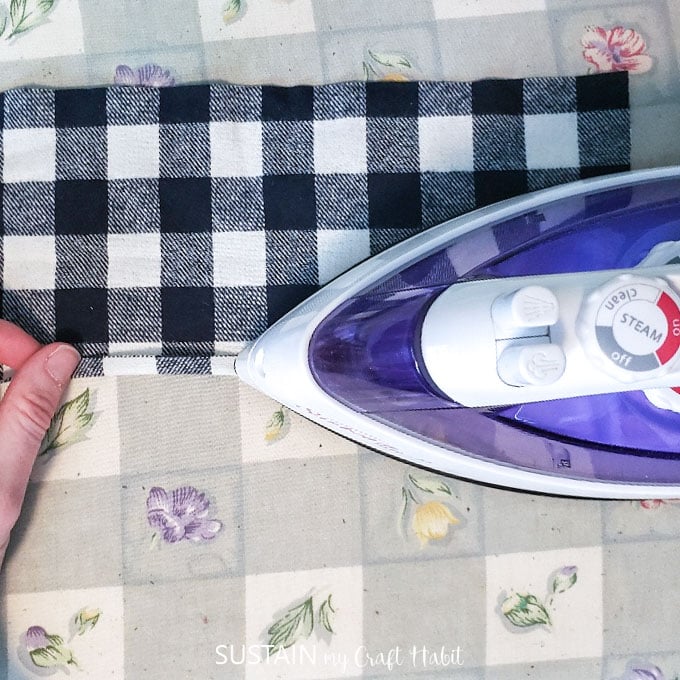
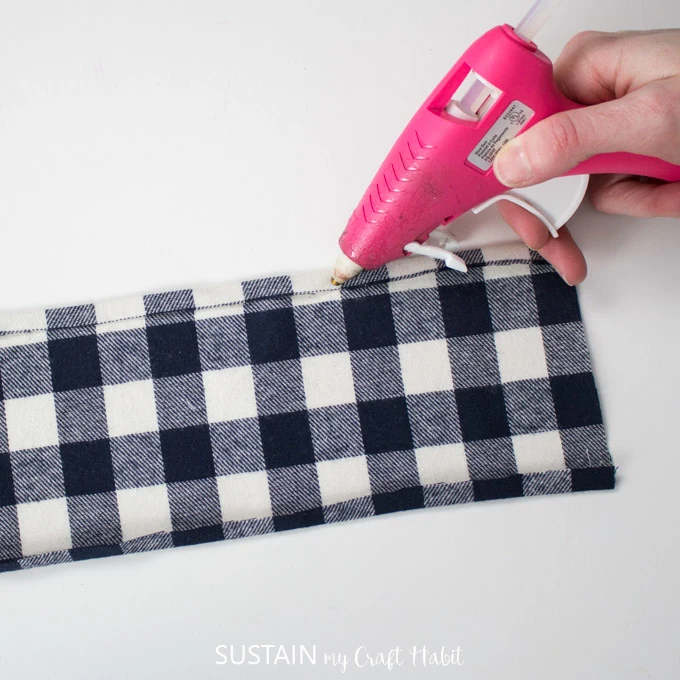
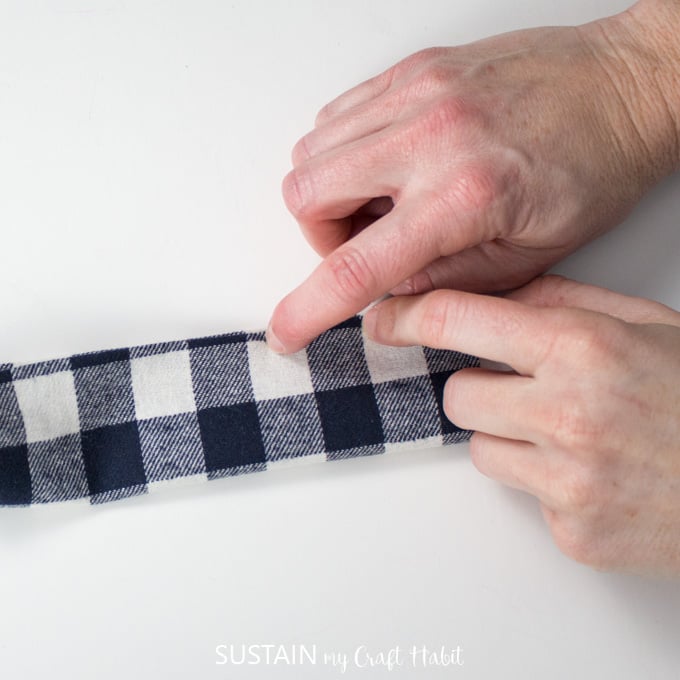
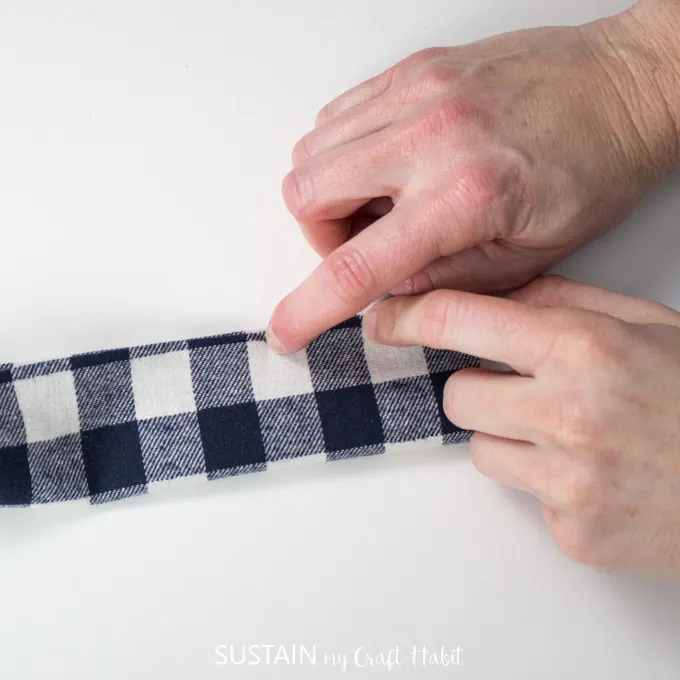
Fold the cut ends along the length by 14 towards the wrong side.
Press in place using a hot iron.
Repeat along both sides.
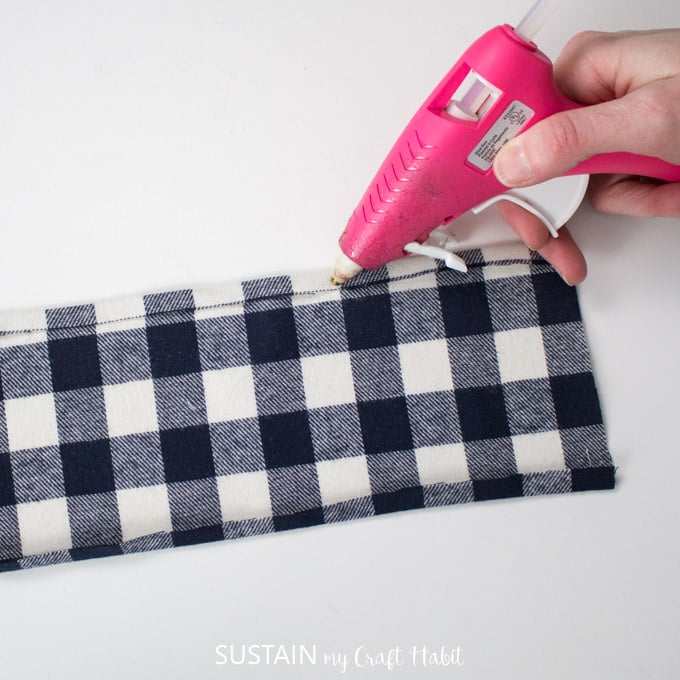
Apply a thin bead of glue along the folded edge, working small sections at a time.
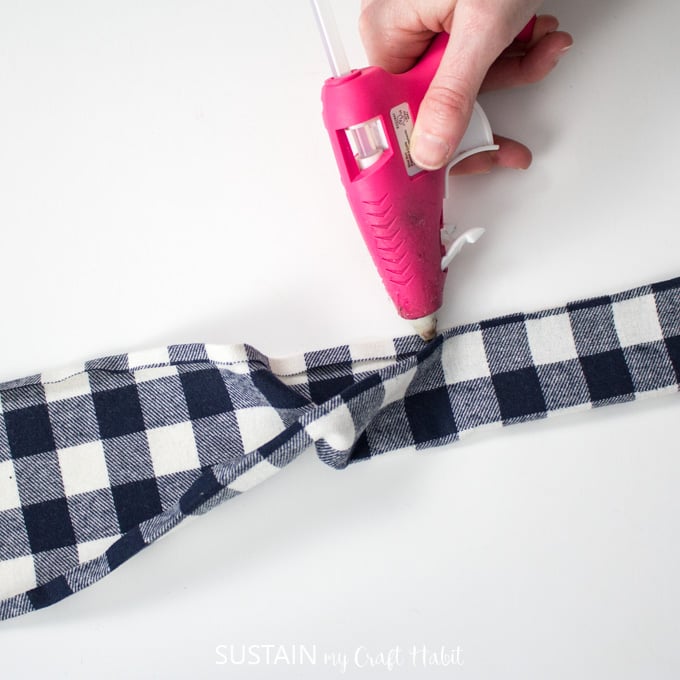
Fold the piece in half widthwise pressing the folded edges together where glued.
Continue along the entire length of the piece.
Allow the glue to cool and set before proceeding.
Cut the flat elastic to 8 long.
Secure a safety pin to one end of the cut flat elastic.
Guide the safety pin into one end and pull it through until the exits out the other end.
Take care to hold on to the other end of the elastic.

Overlap one end with the other end forming a complete circle.
Turn the cut edges under and glue in place.
Allow the glue to cool and set before using.
Pin it for later!