HomeDIY
This post may contain affiliate links:full affiliate disclosure.
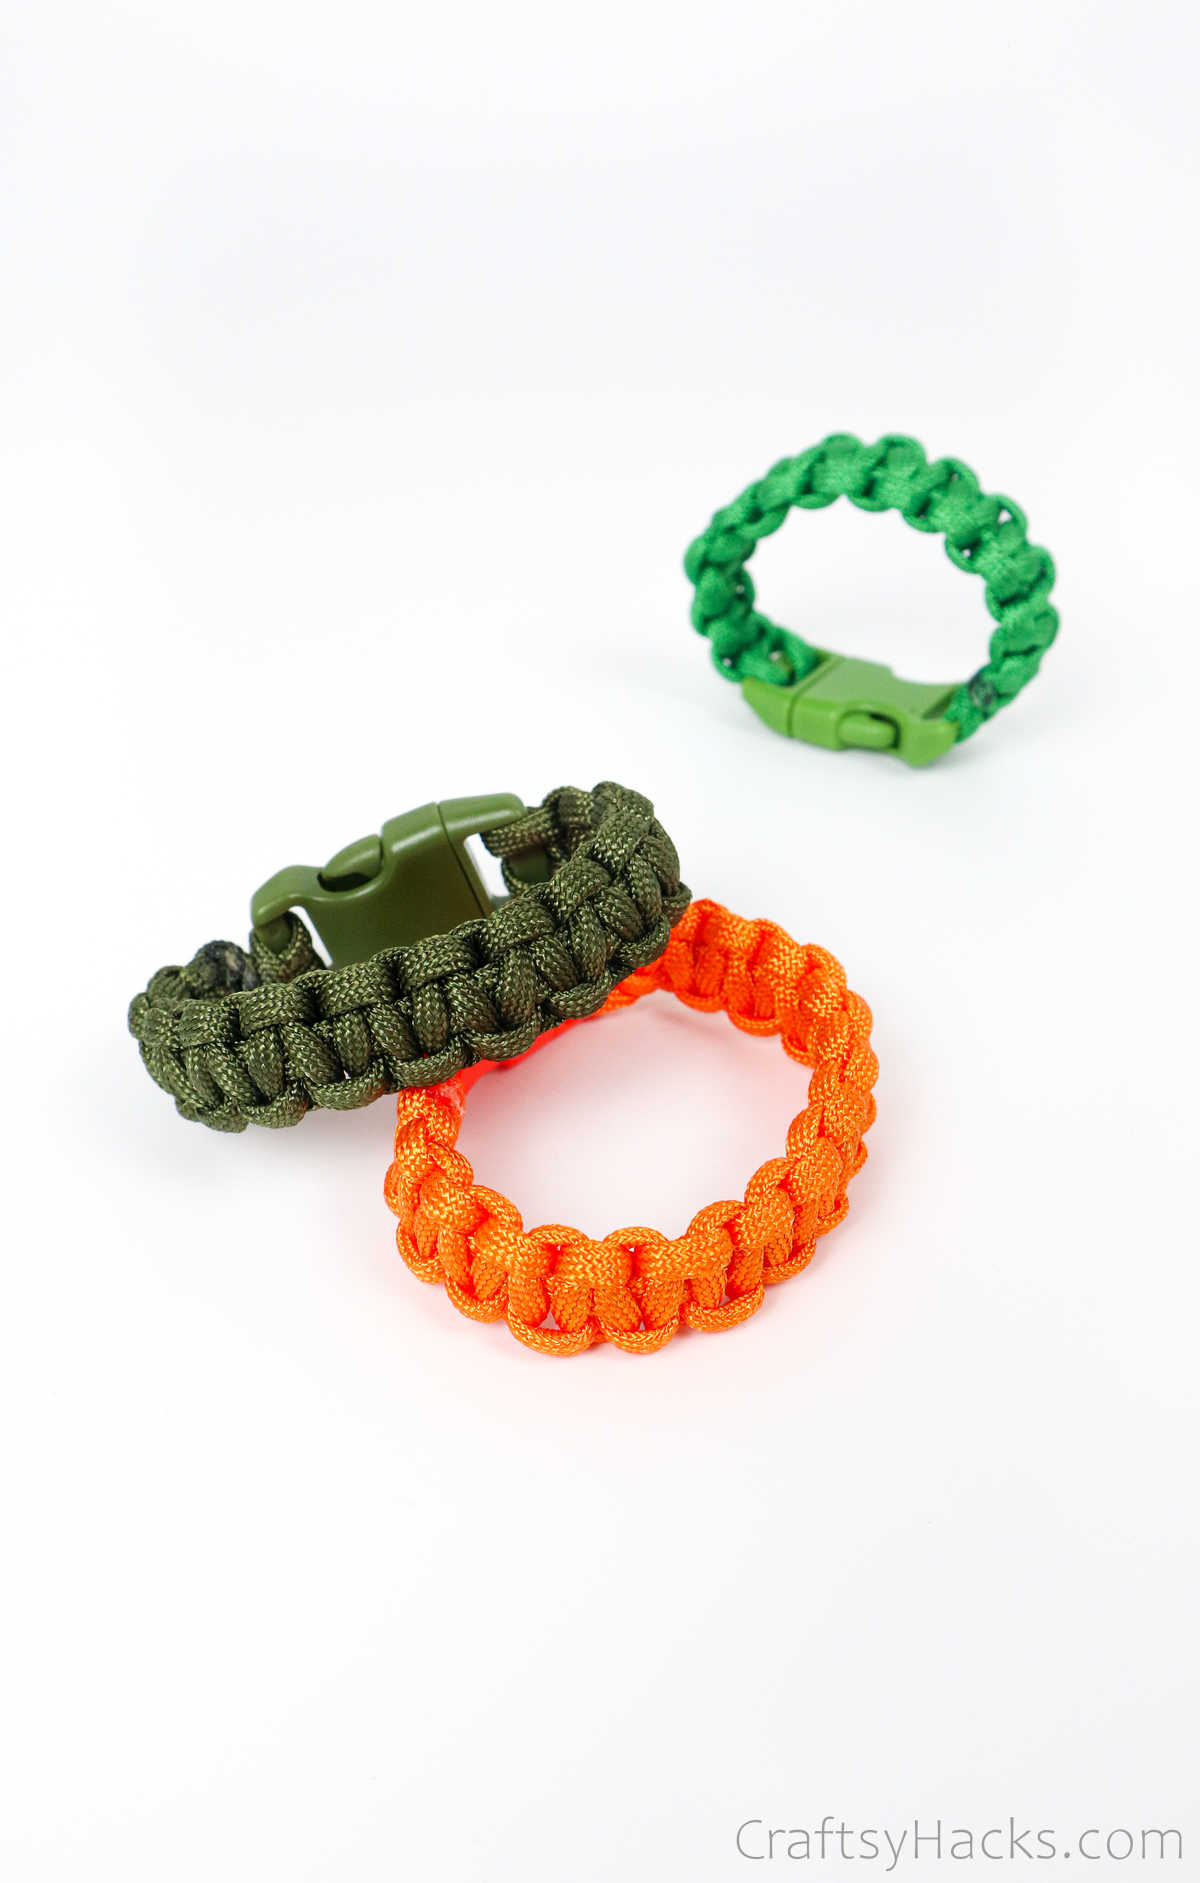
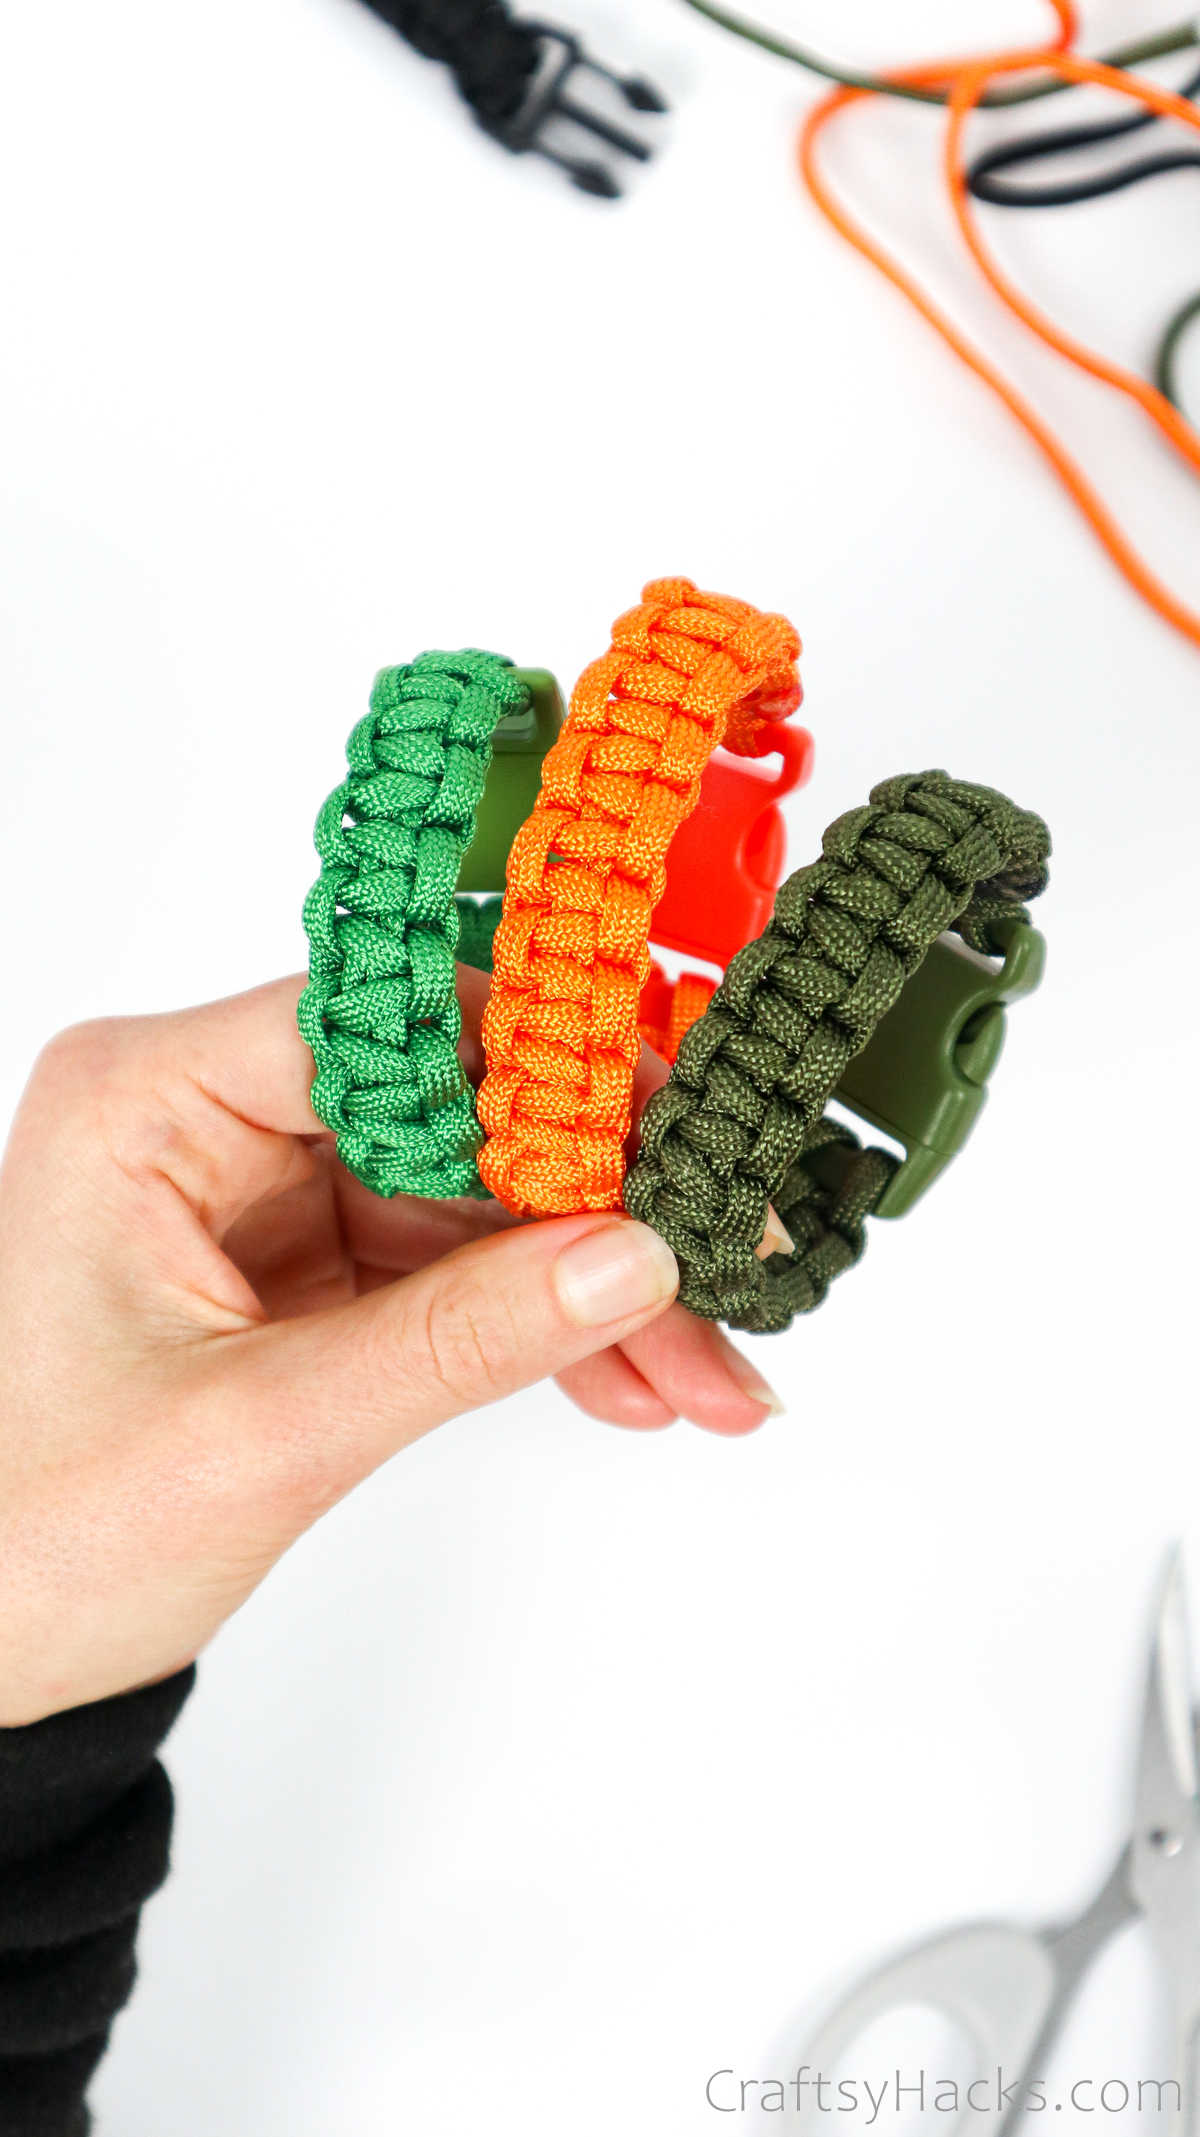
Make your very ownDIY paracord braceletsfrom scratch.
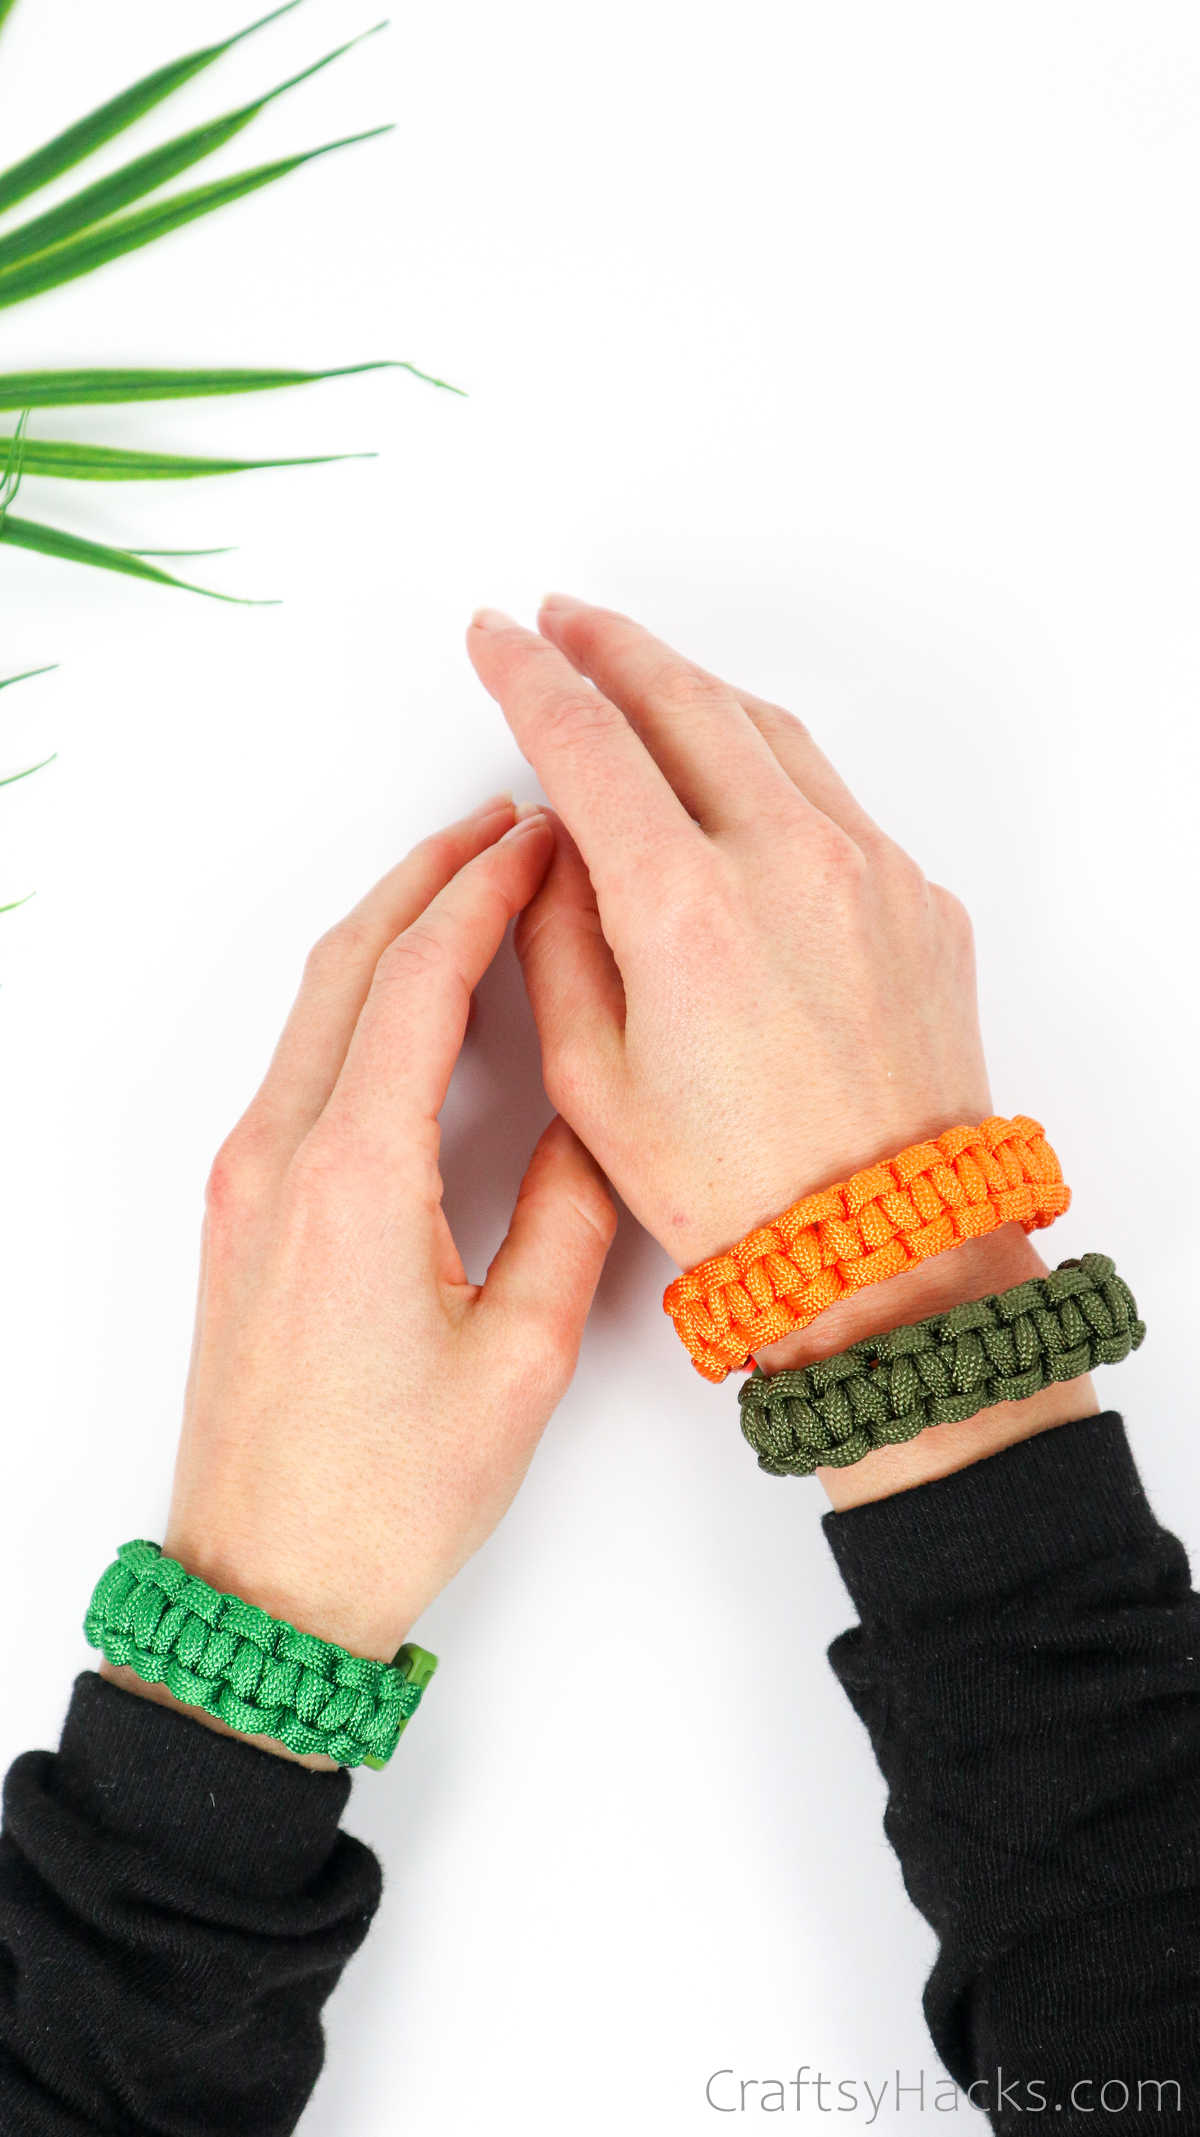
This is an easy DIY project for kids and teens to make that is super enjoyable yet easy.

I bet that we all went through a phase when growing up where we would spend hours making bracelets.
While thread, shoelaces, or Scooby wires were my go-to medium, paracord was also a popular option.
Paracord bracelets are very durable and surprisingly easy to make.
In fact, this paracord bracelet pattern closely resembles square knots made in macrame products.
So this project can be a great segue from macrame for beginners to practice and hone their skills.
Lets take a look at how to begin working on this bracelet.
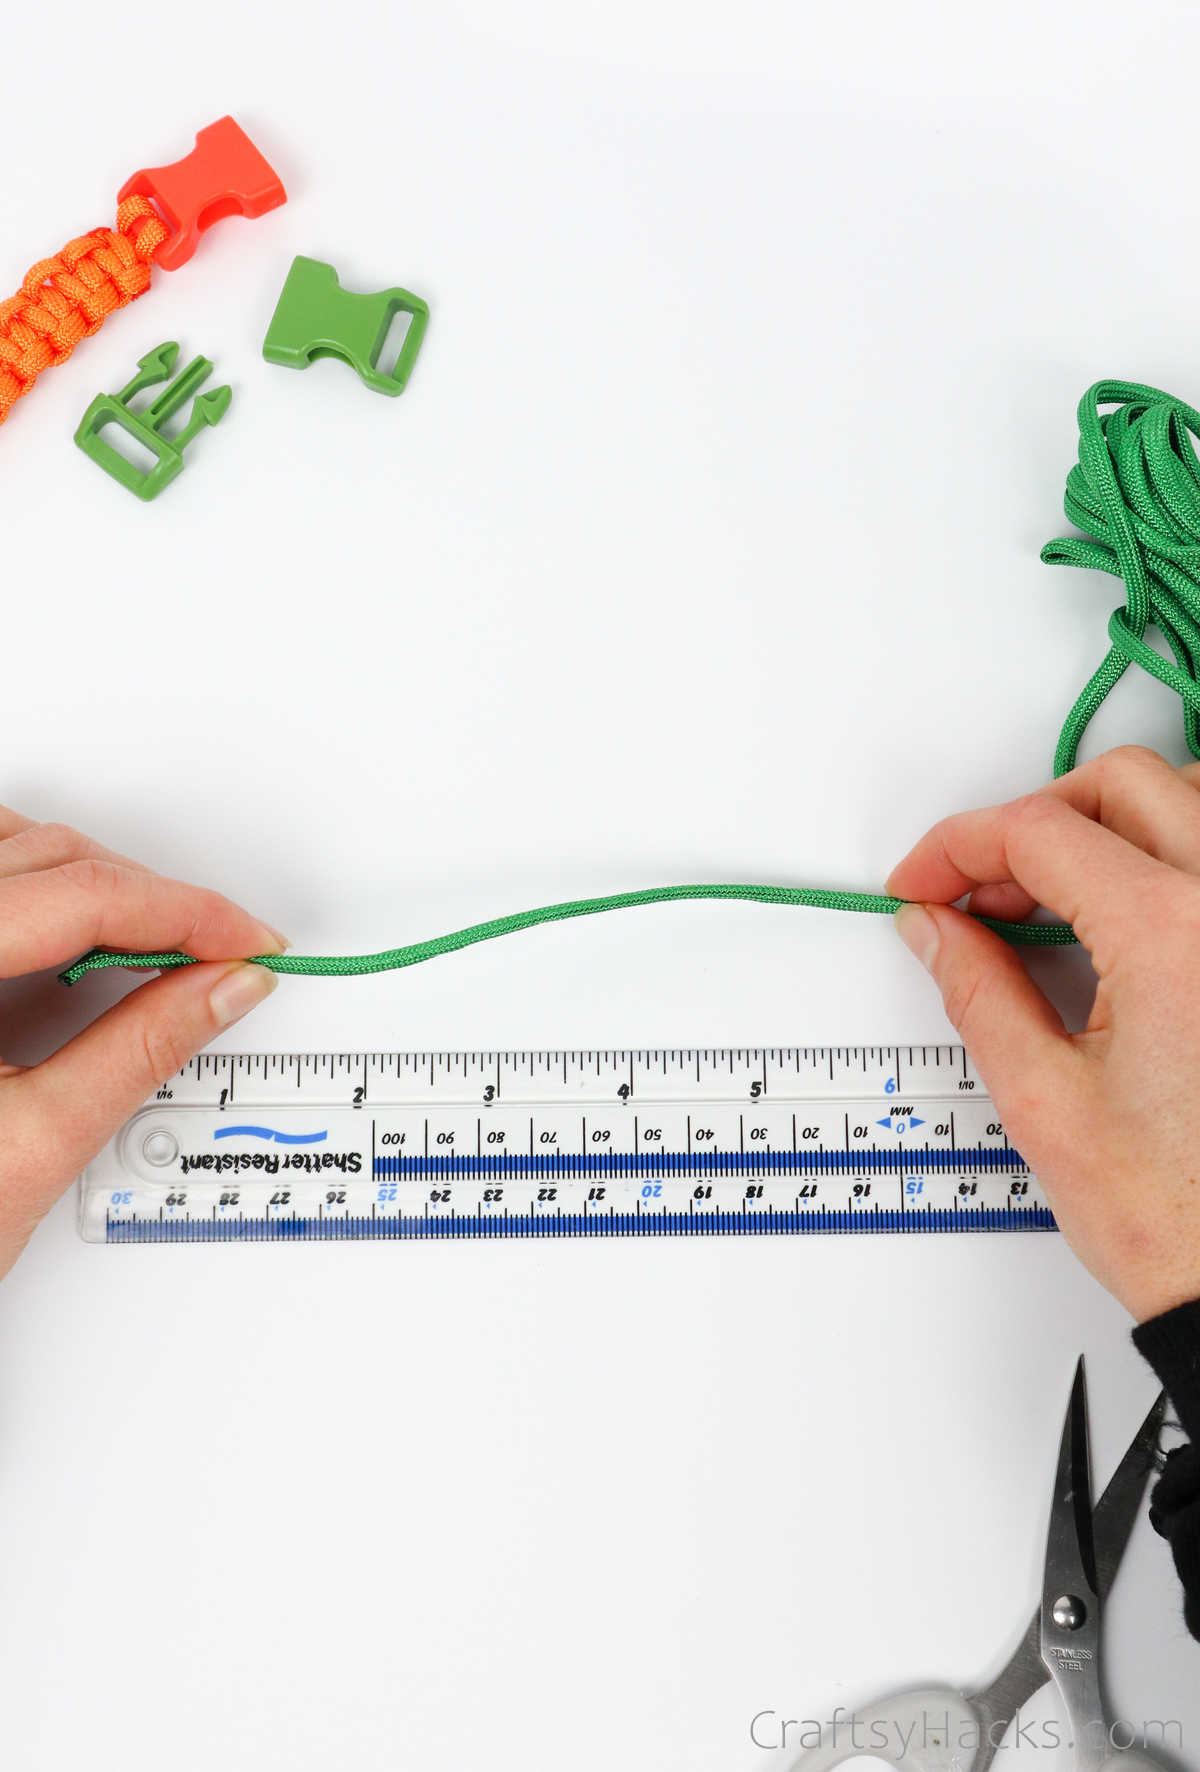
The length will differ according to the size of your wrist.
This project calls for a cord that is 85 inches long or approximately 7 feet.
This has been sized to fit a wrist of width 6 inches.
So, grab a pair of scissors and cut off the desired length.
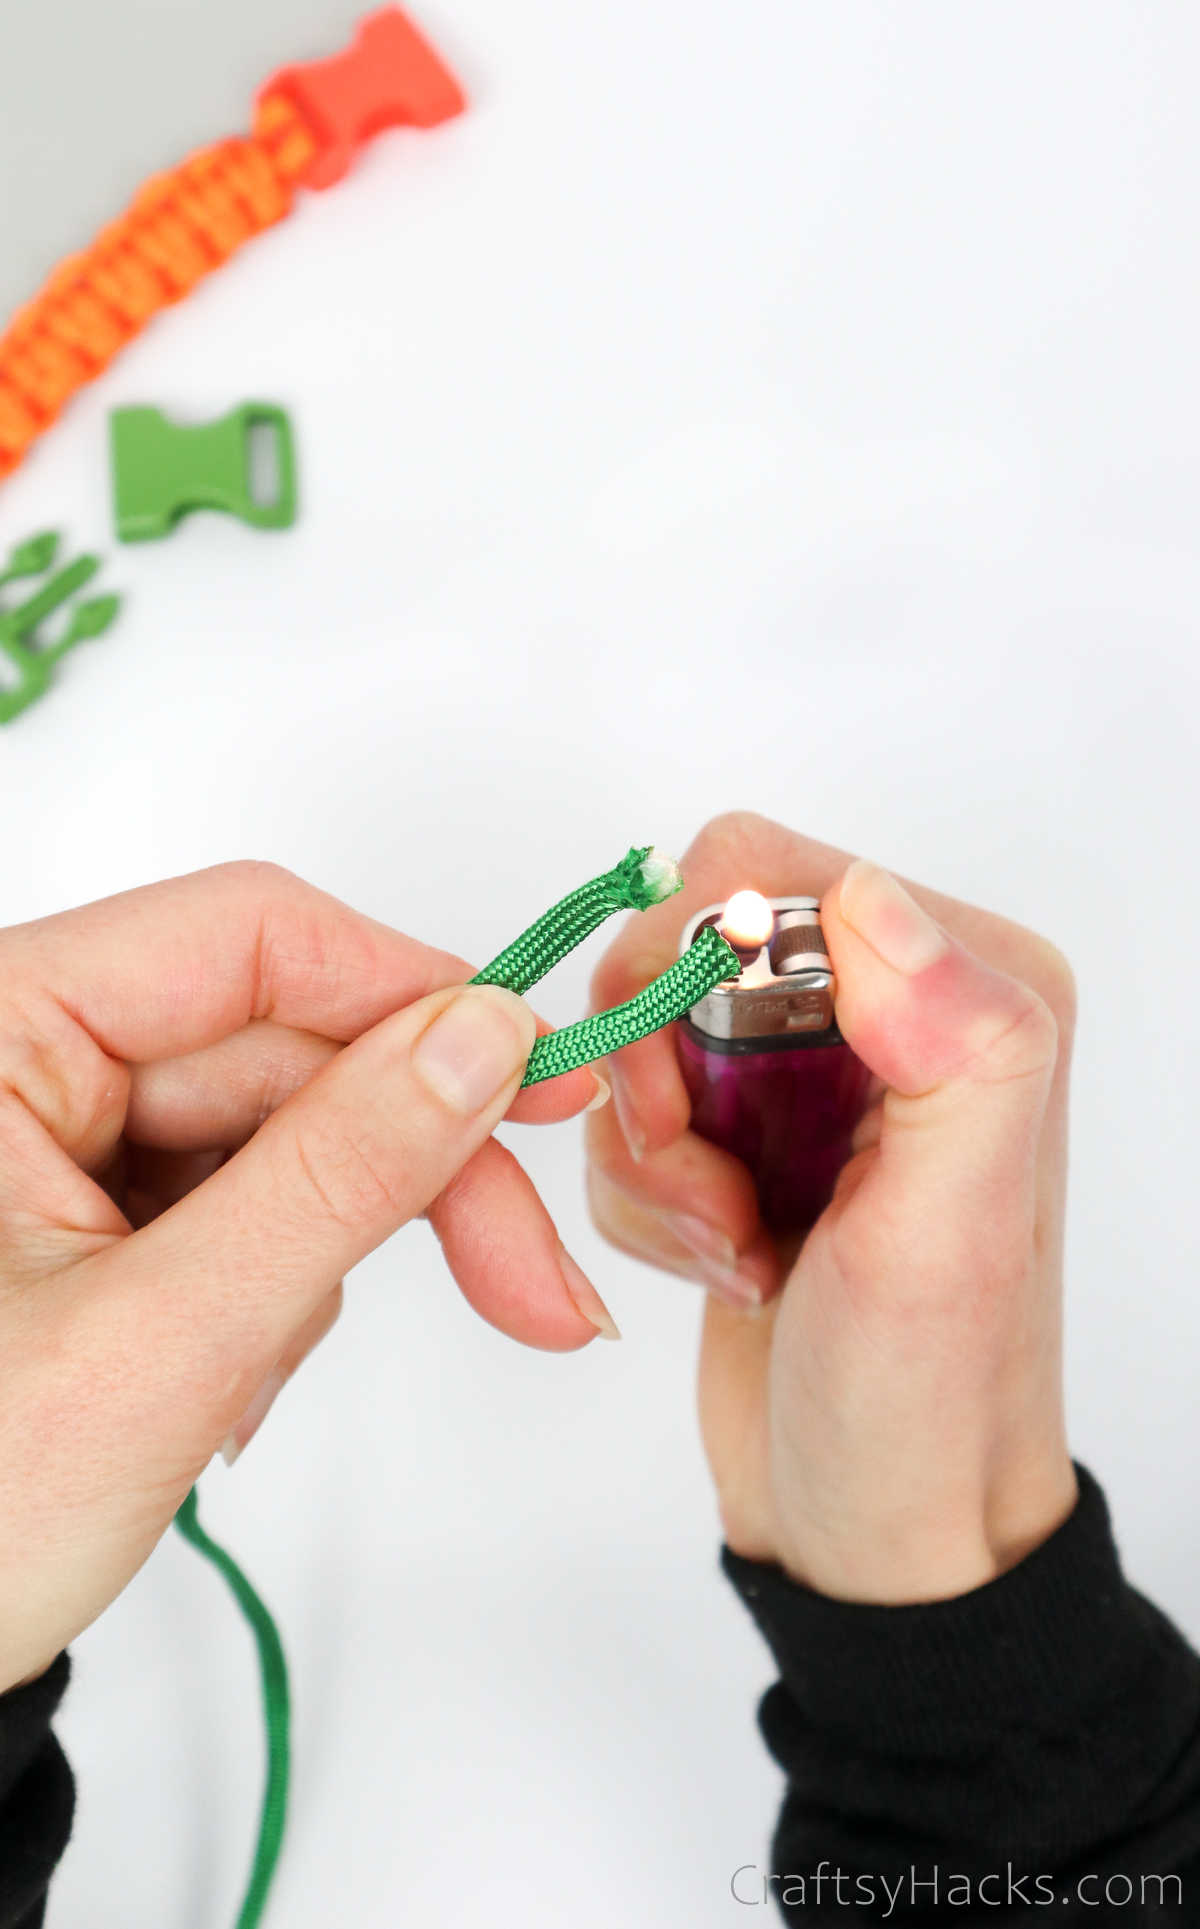
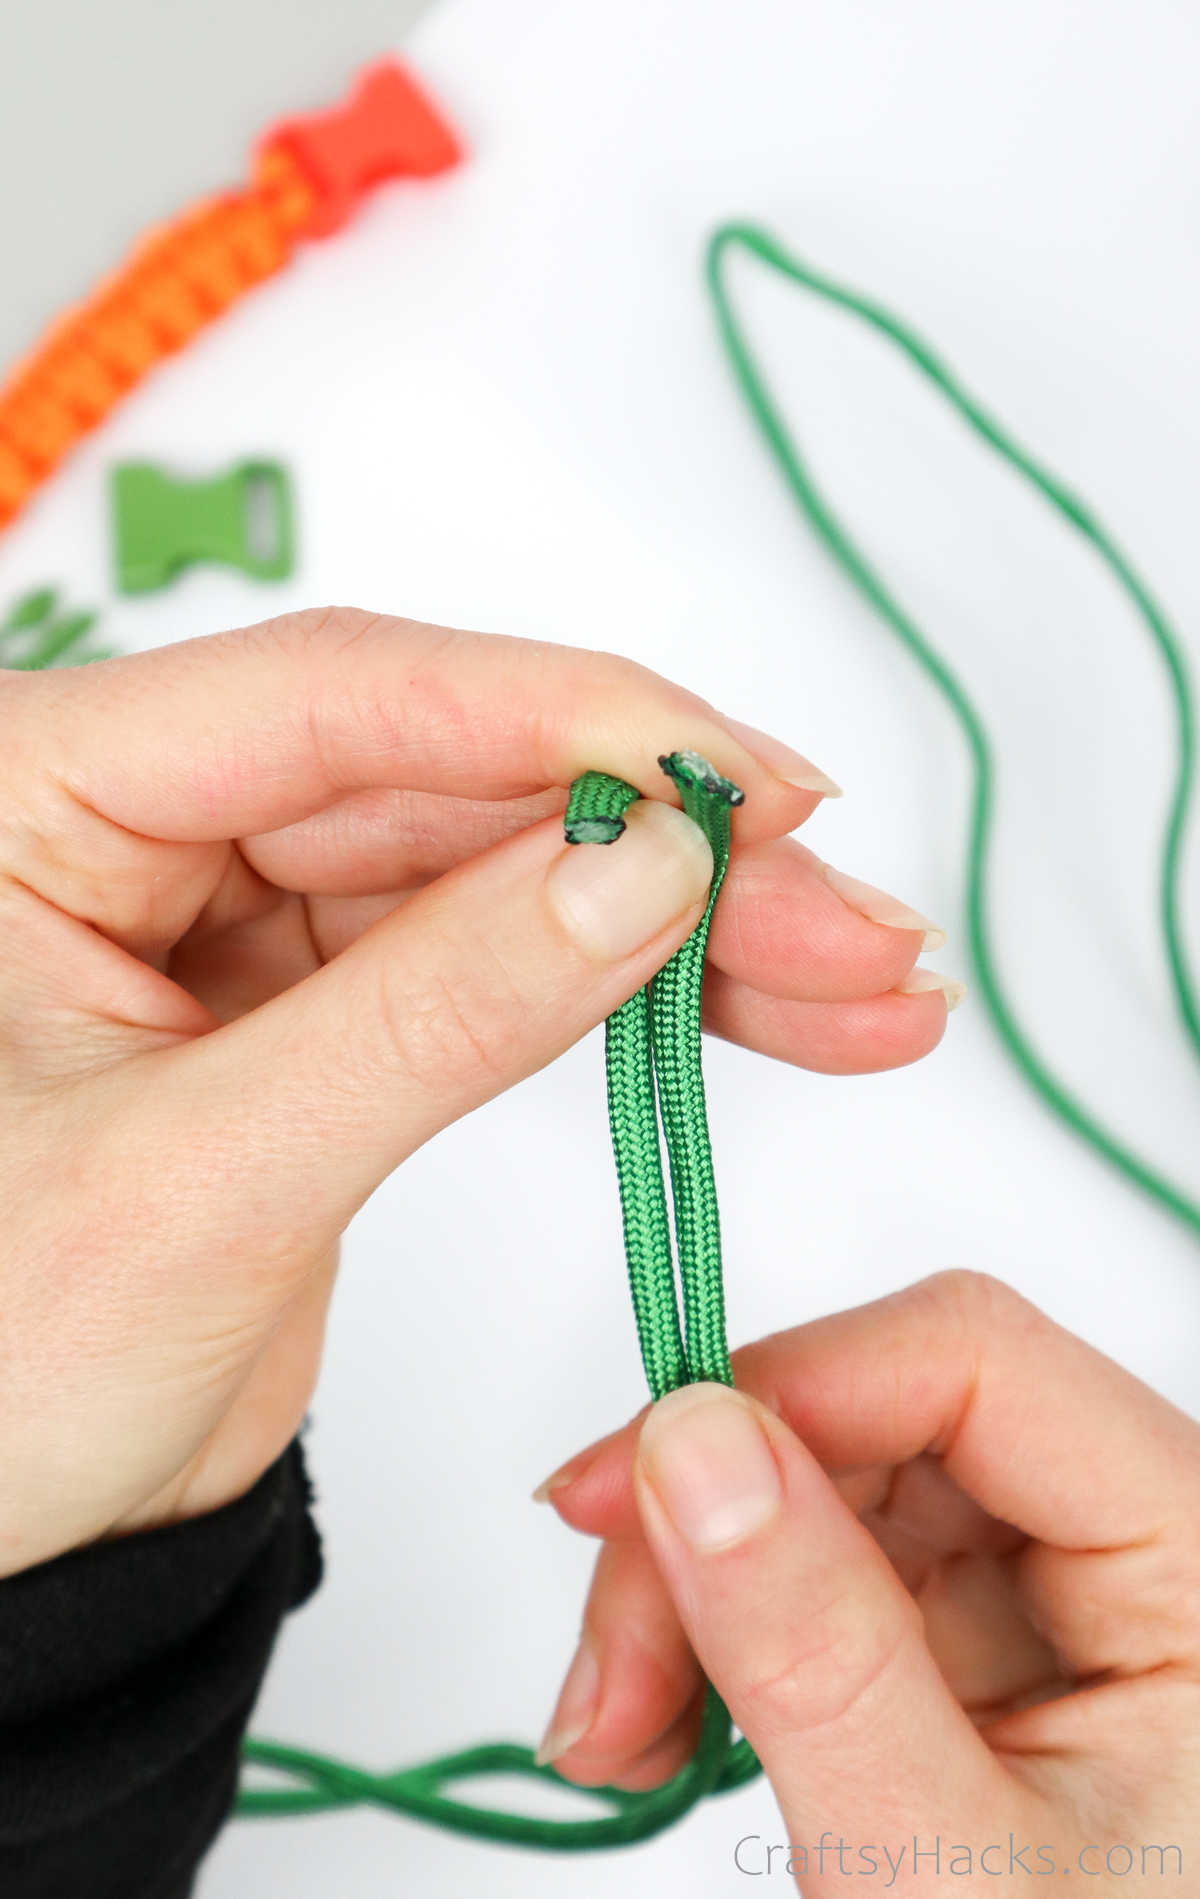
Step 2
Youll notice that the ends of the cords might be frayed.
you’re able to use a lighter or a match to burn or melt the ends.
This will prevent the threads from fraying or unravelling.
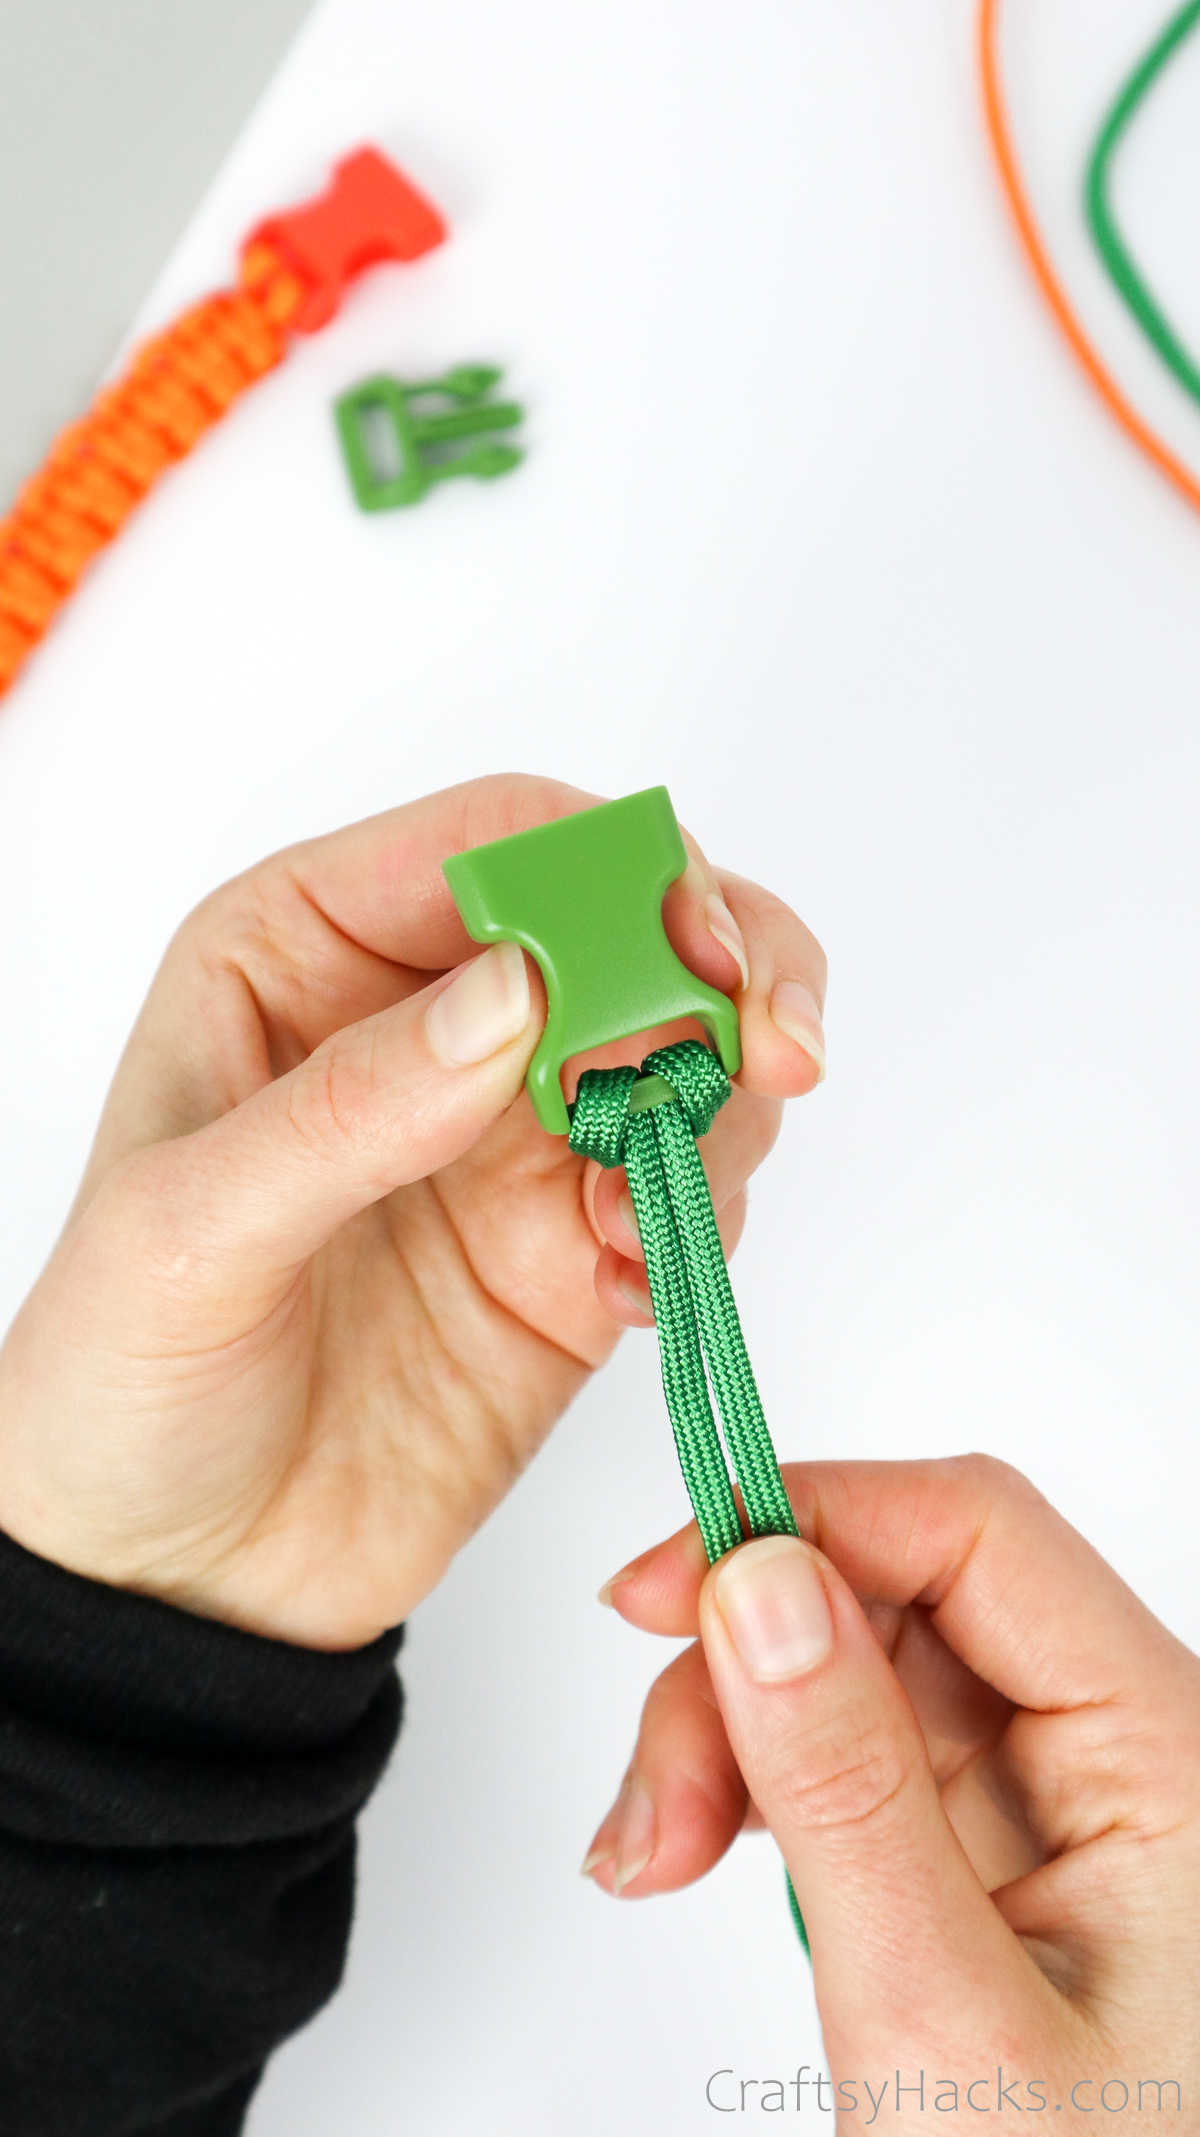
You will need to flatten the melted endscareful though; its bound to be hot.
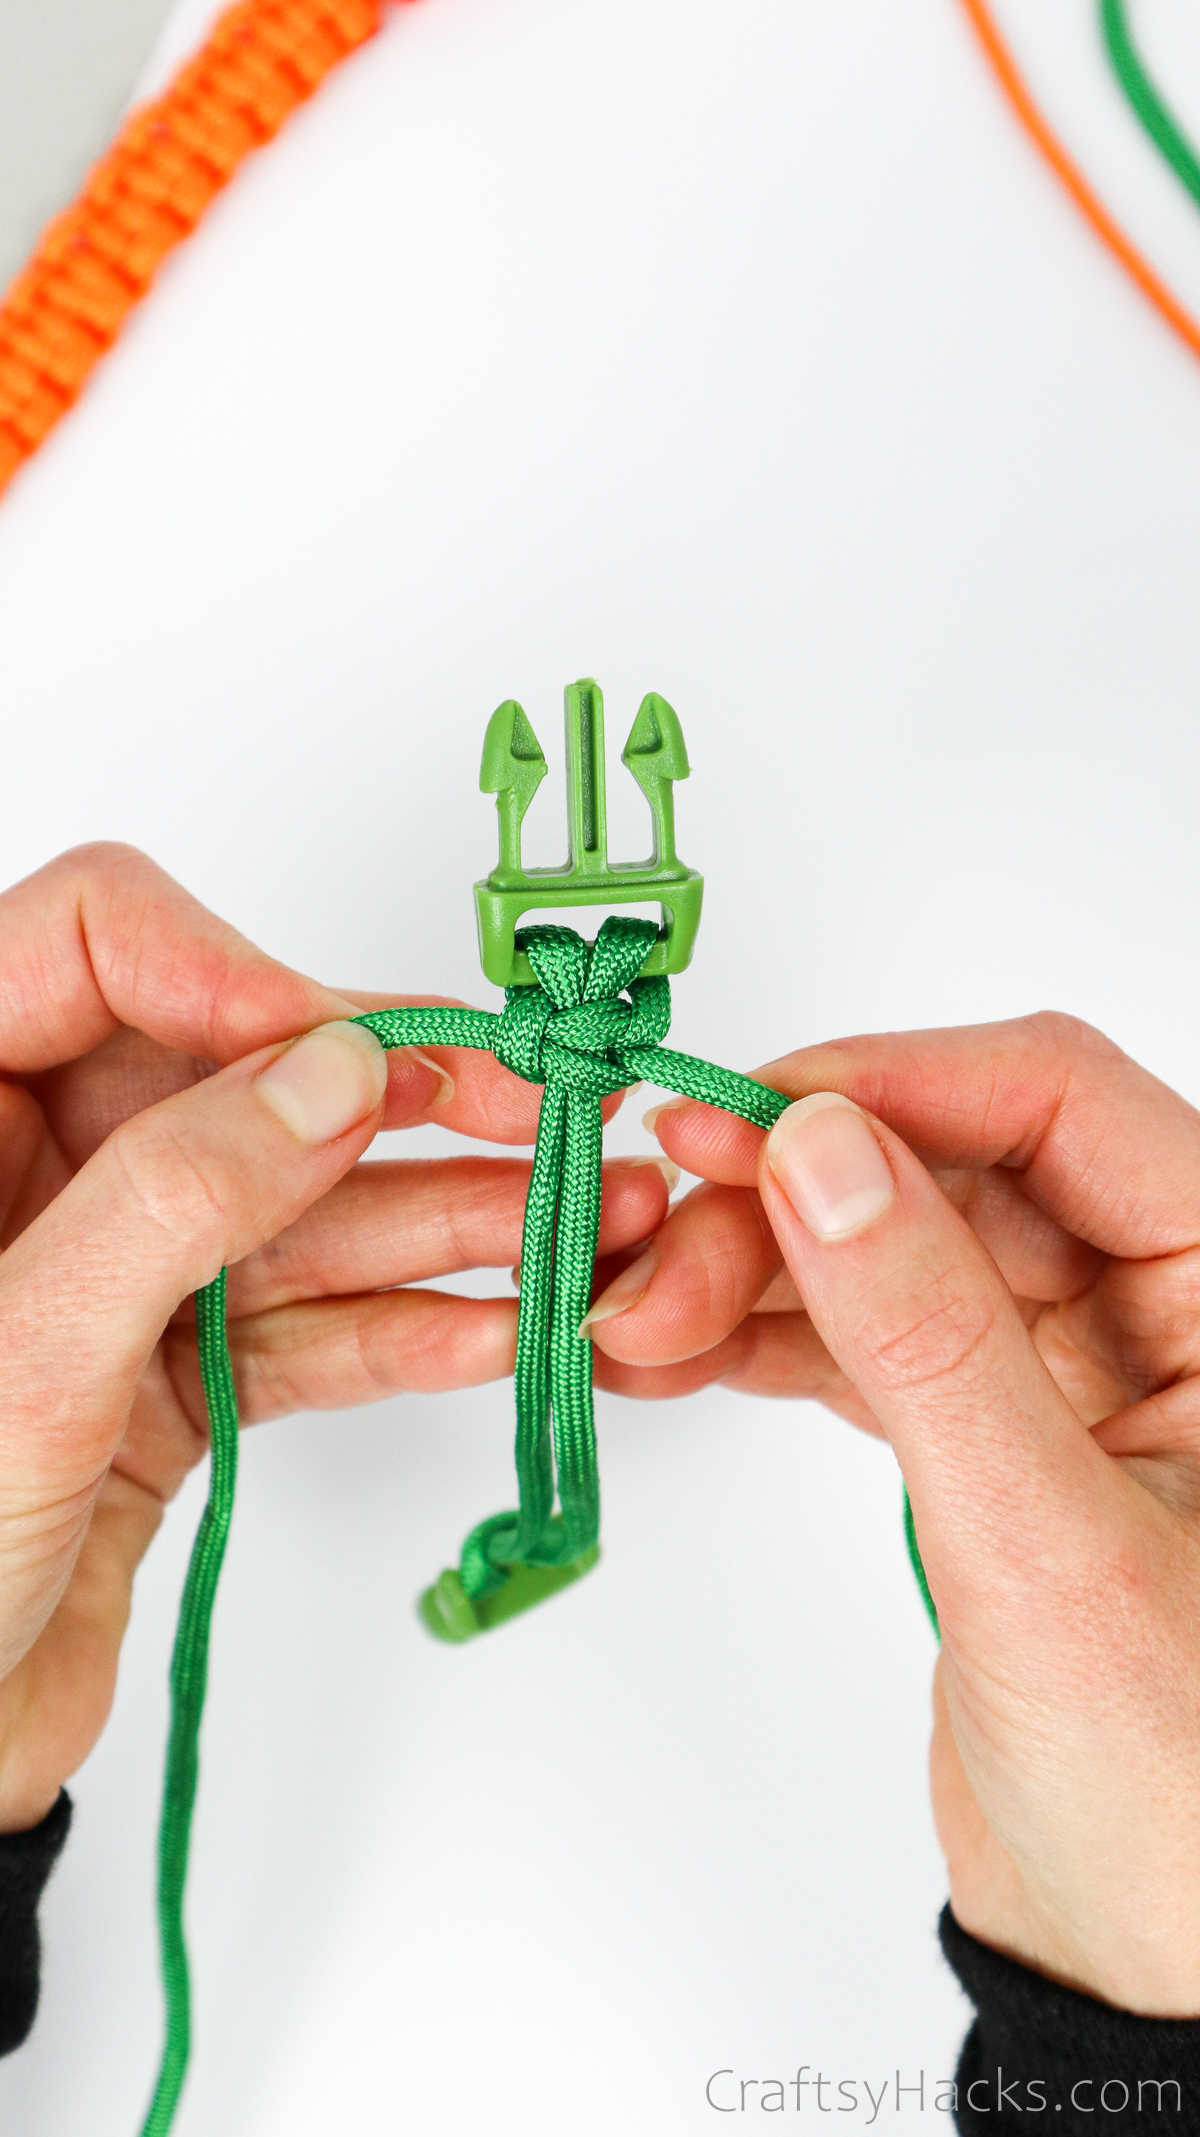
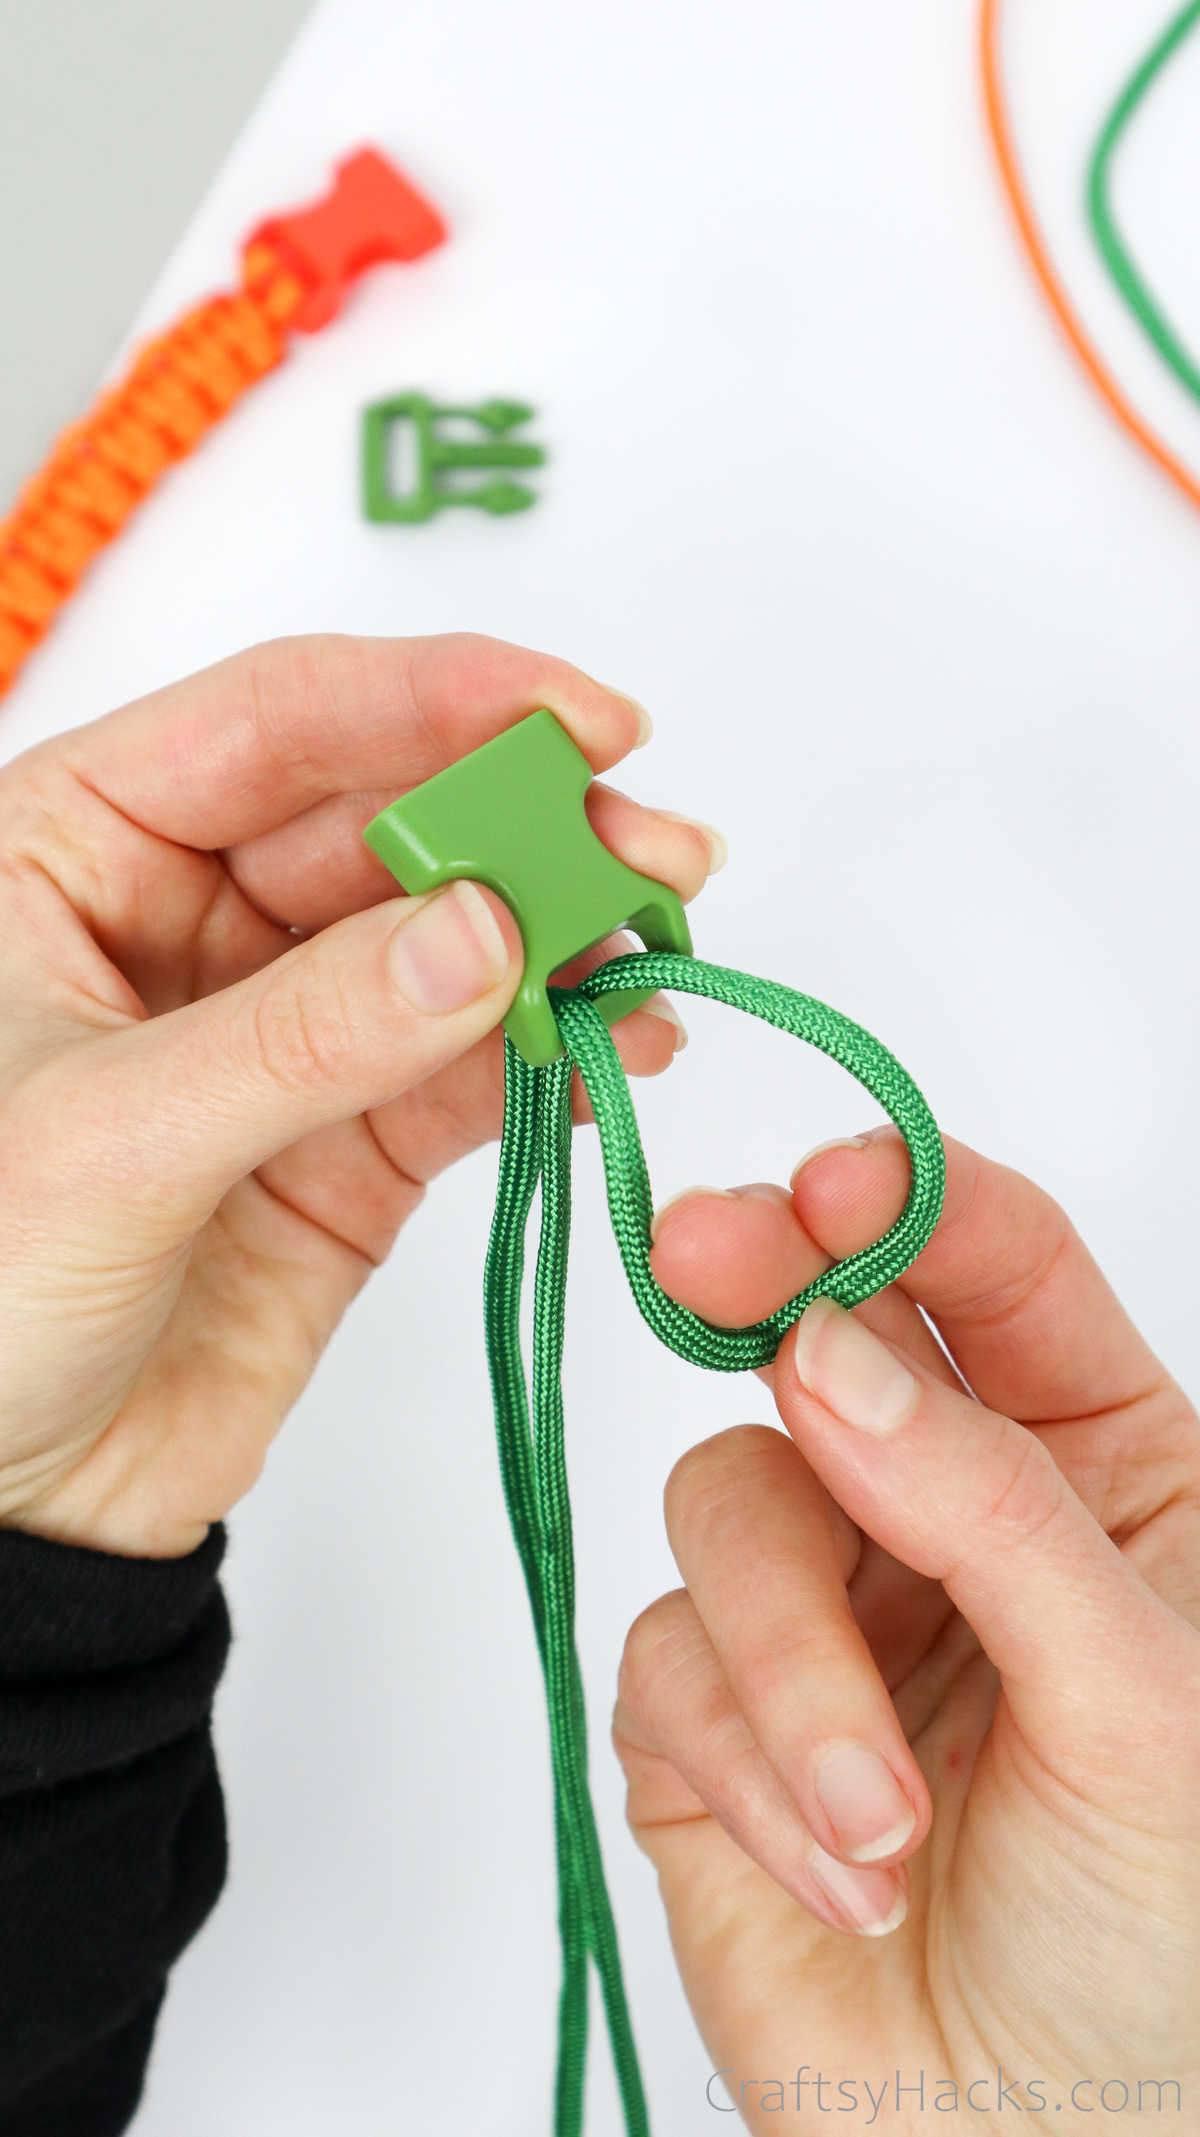
This will secure the cord to the clip.
Just tug at the two ends to tighten the knot.
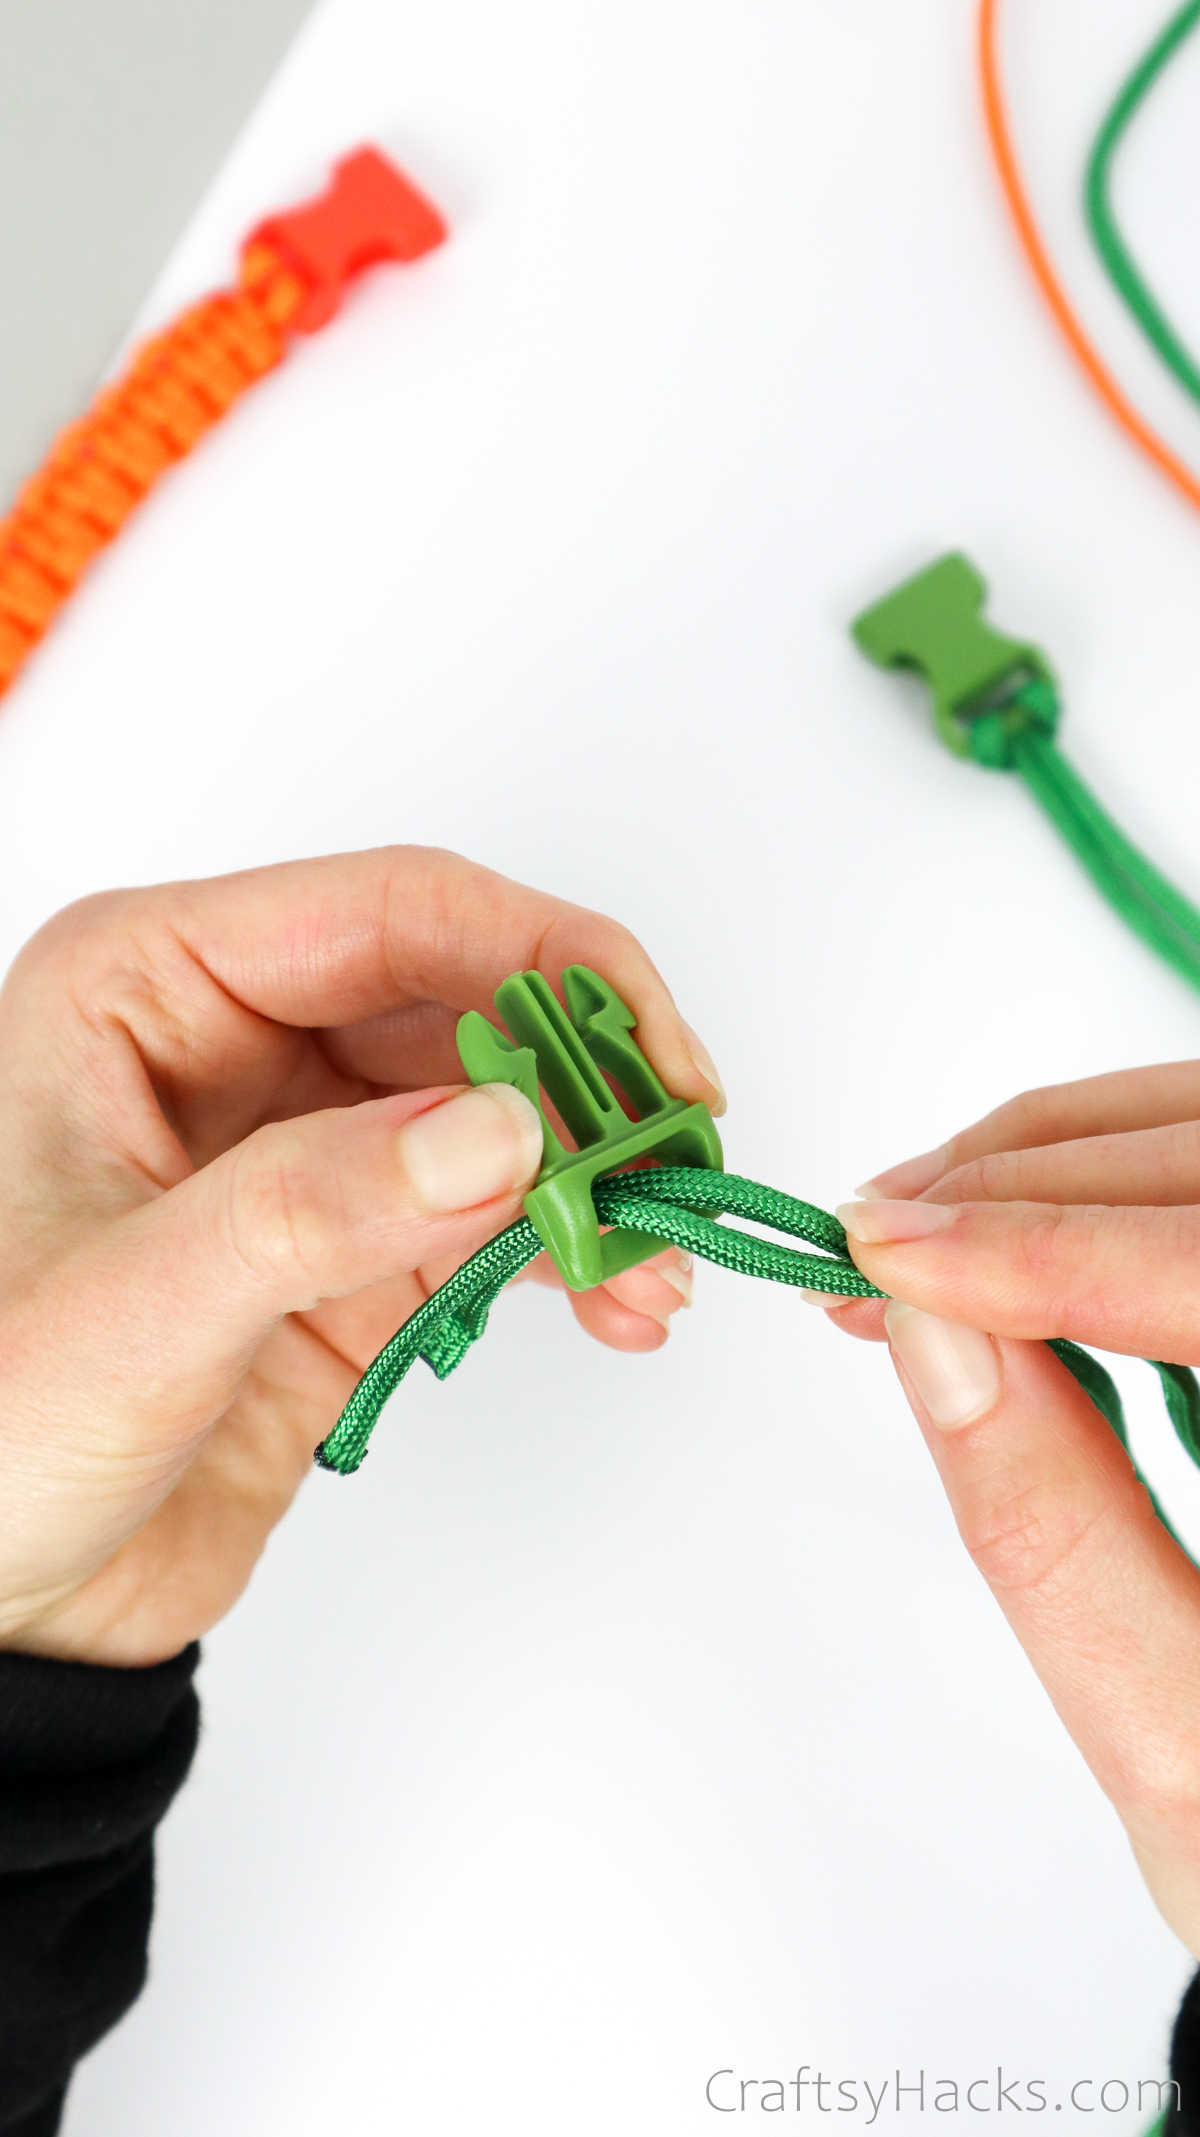
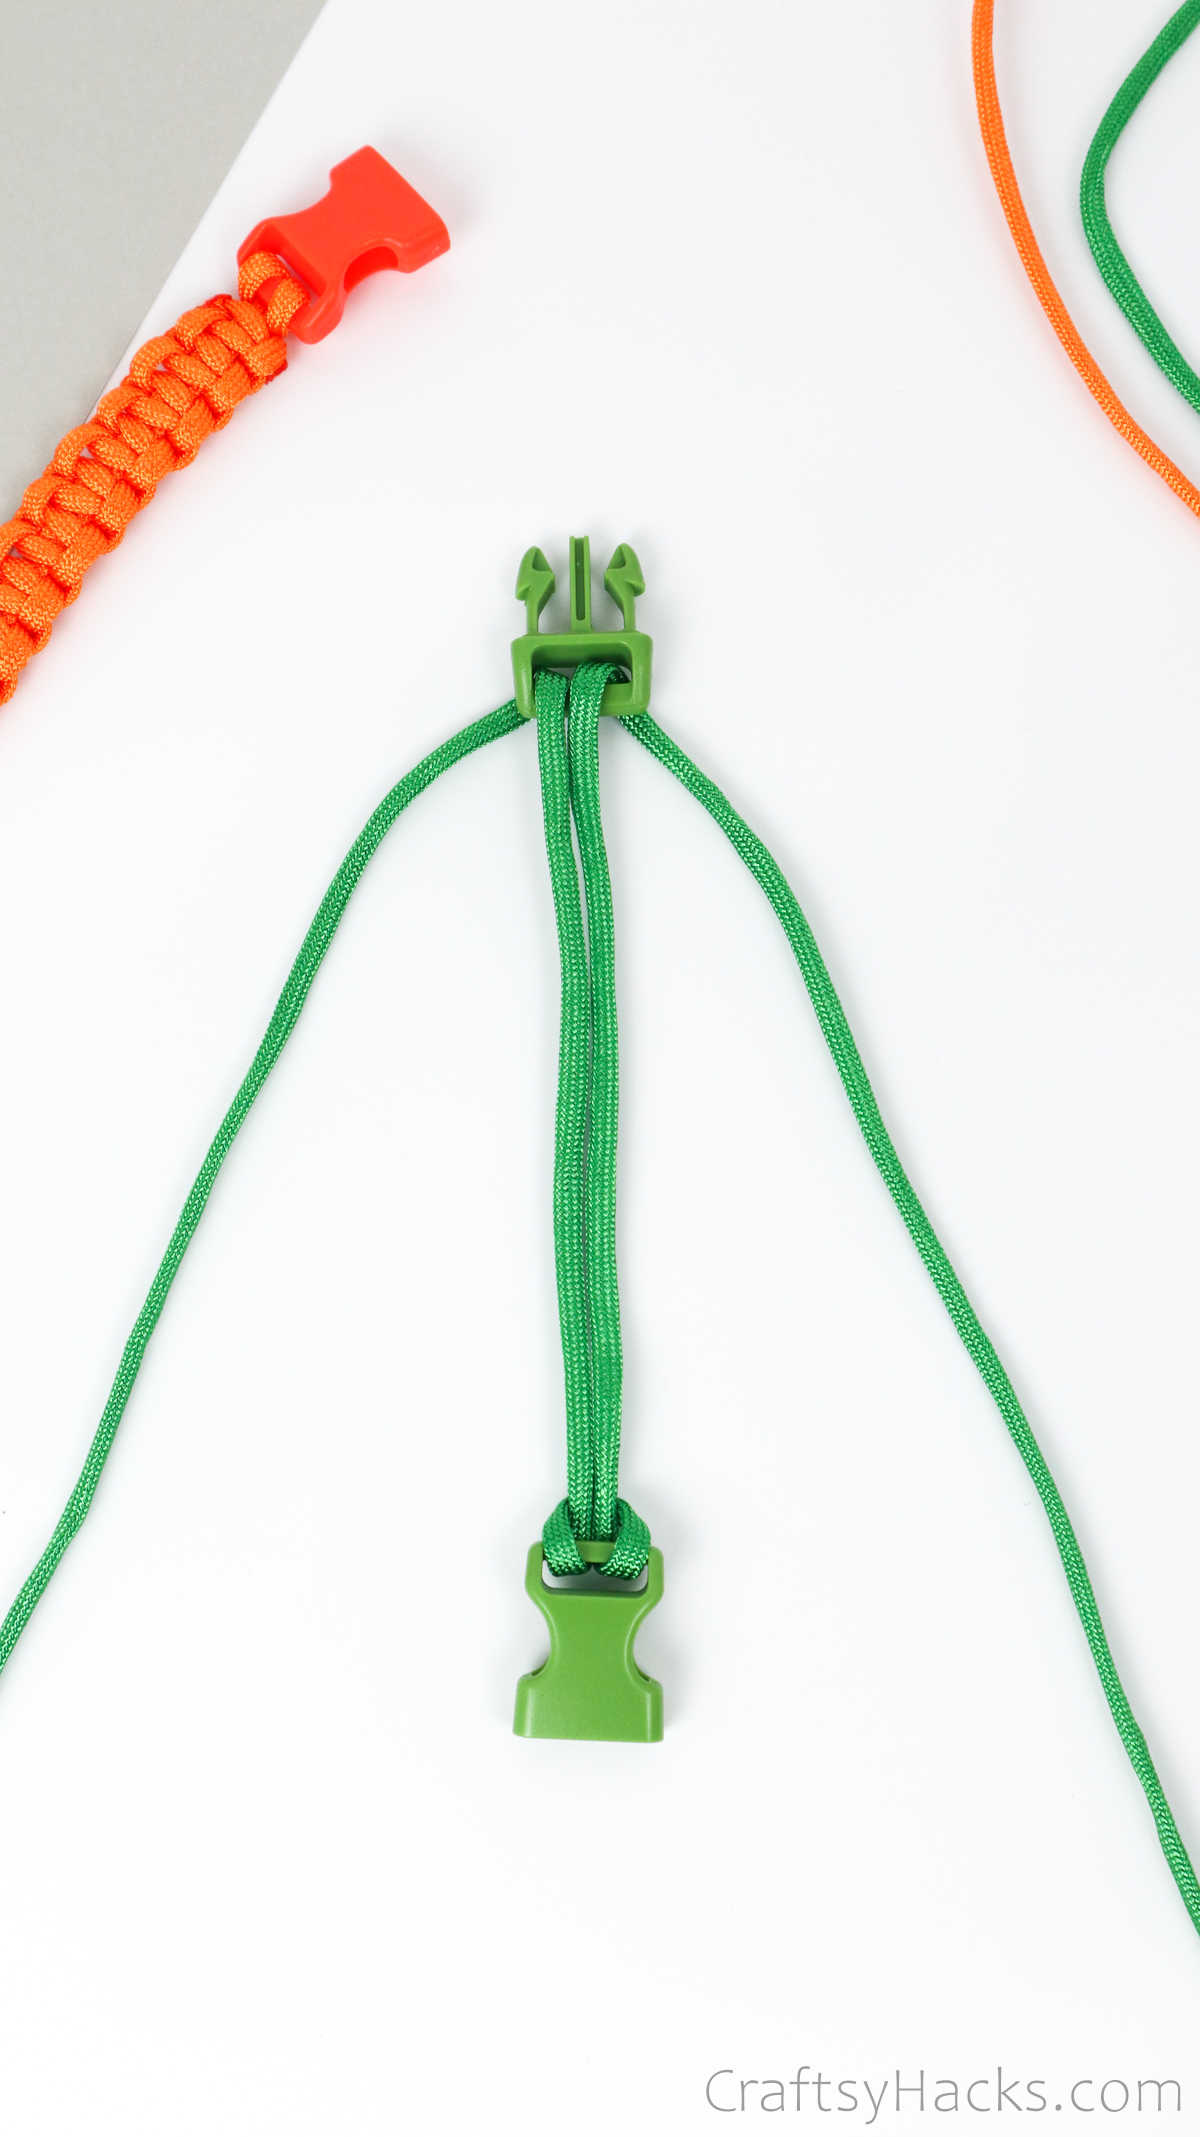
Step 4
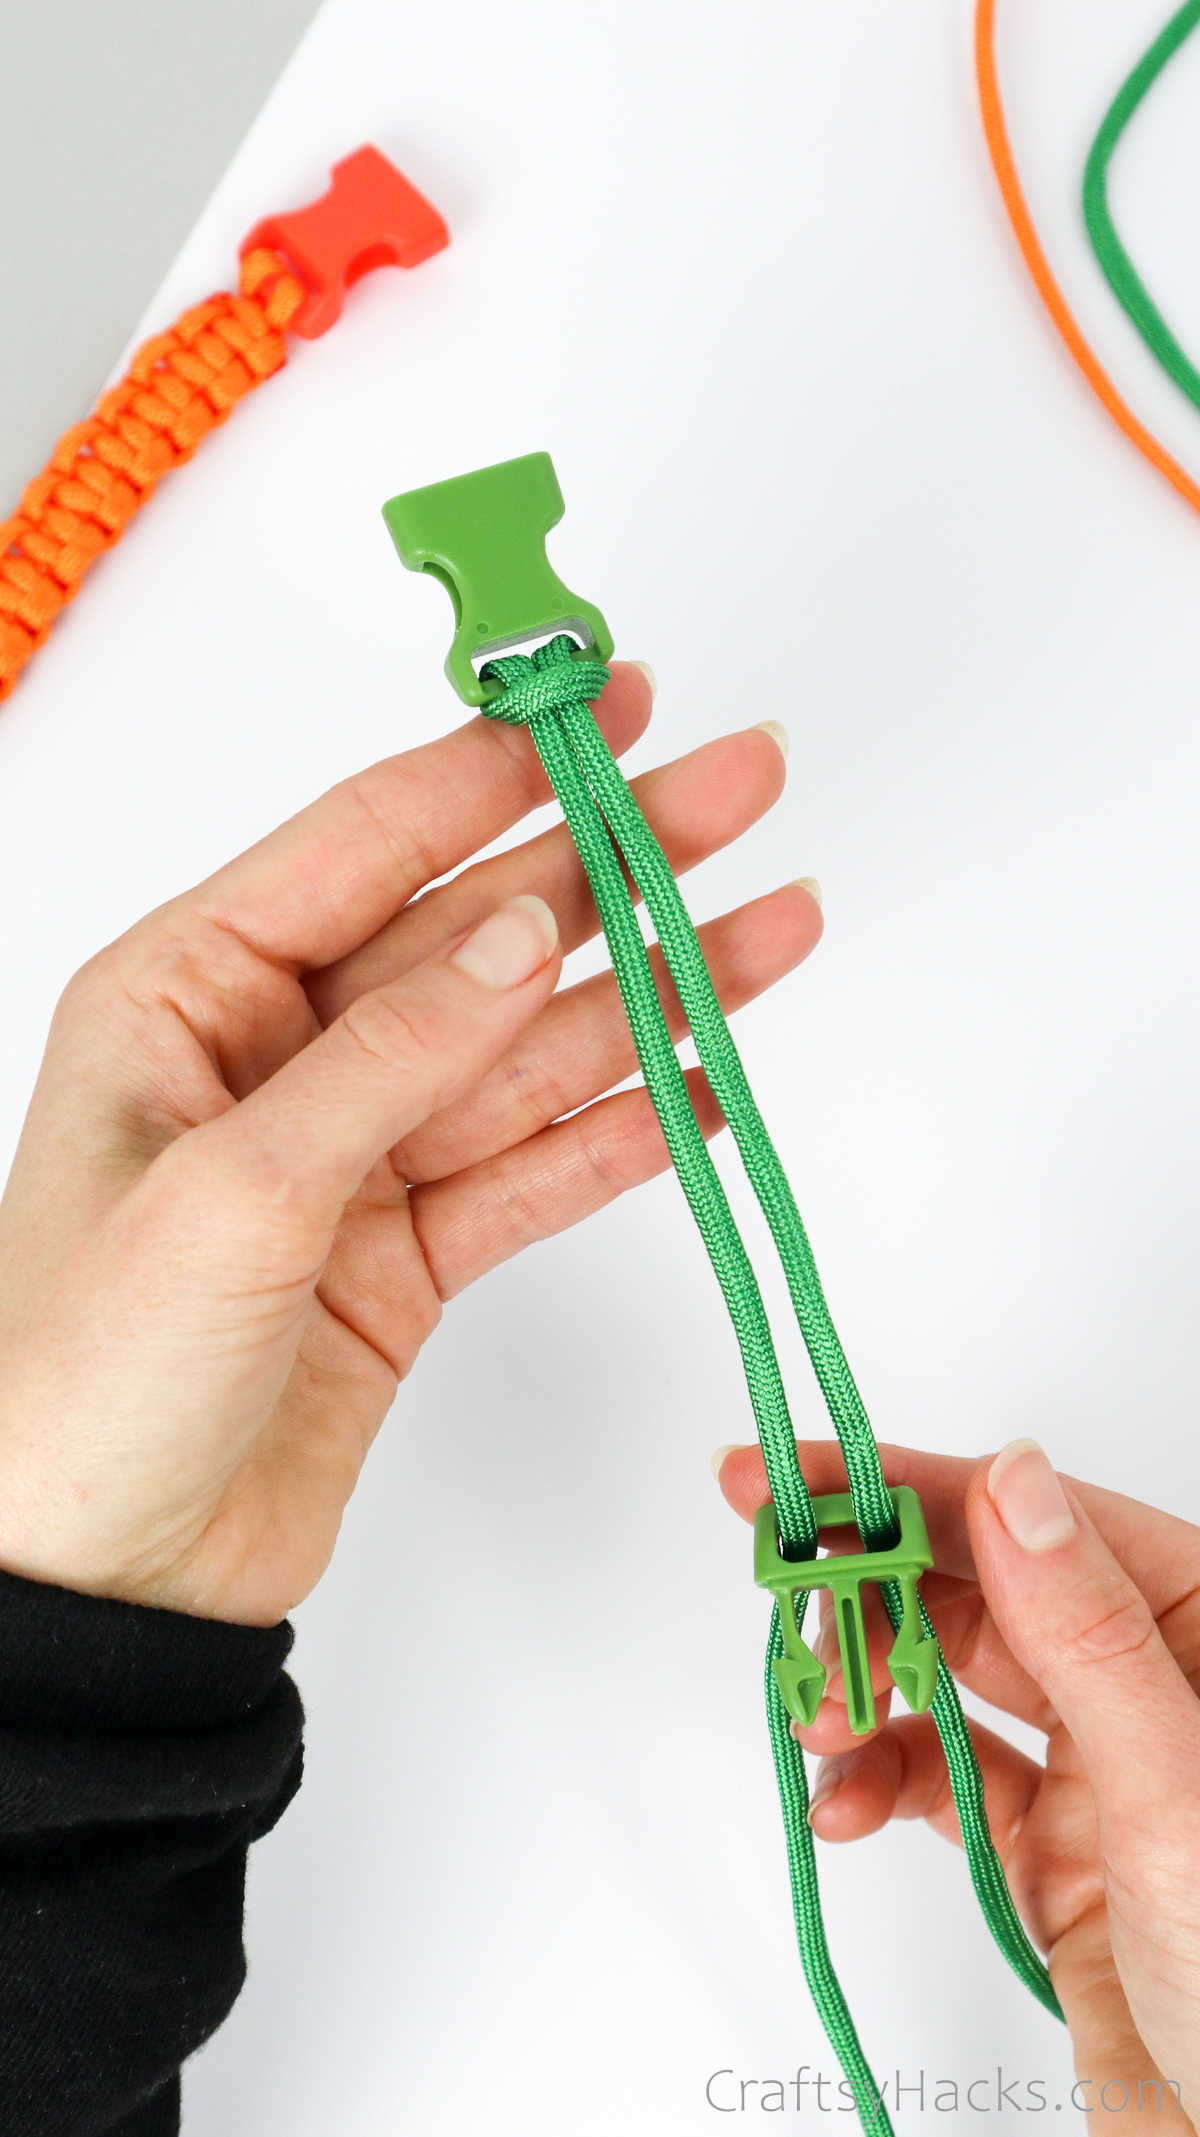
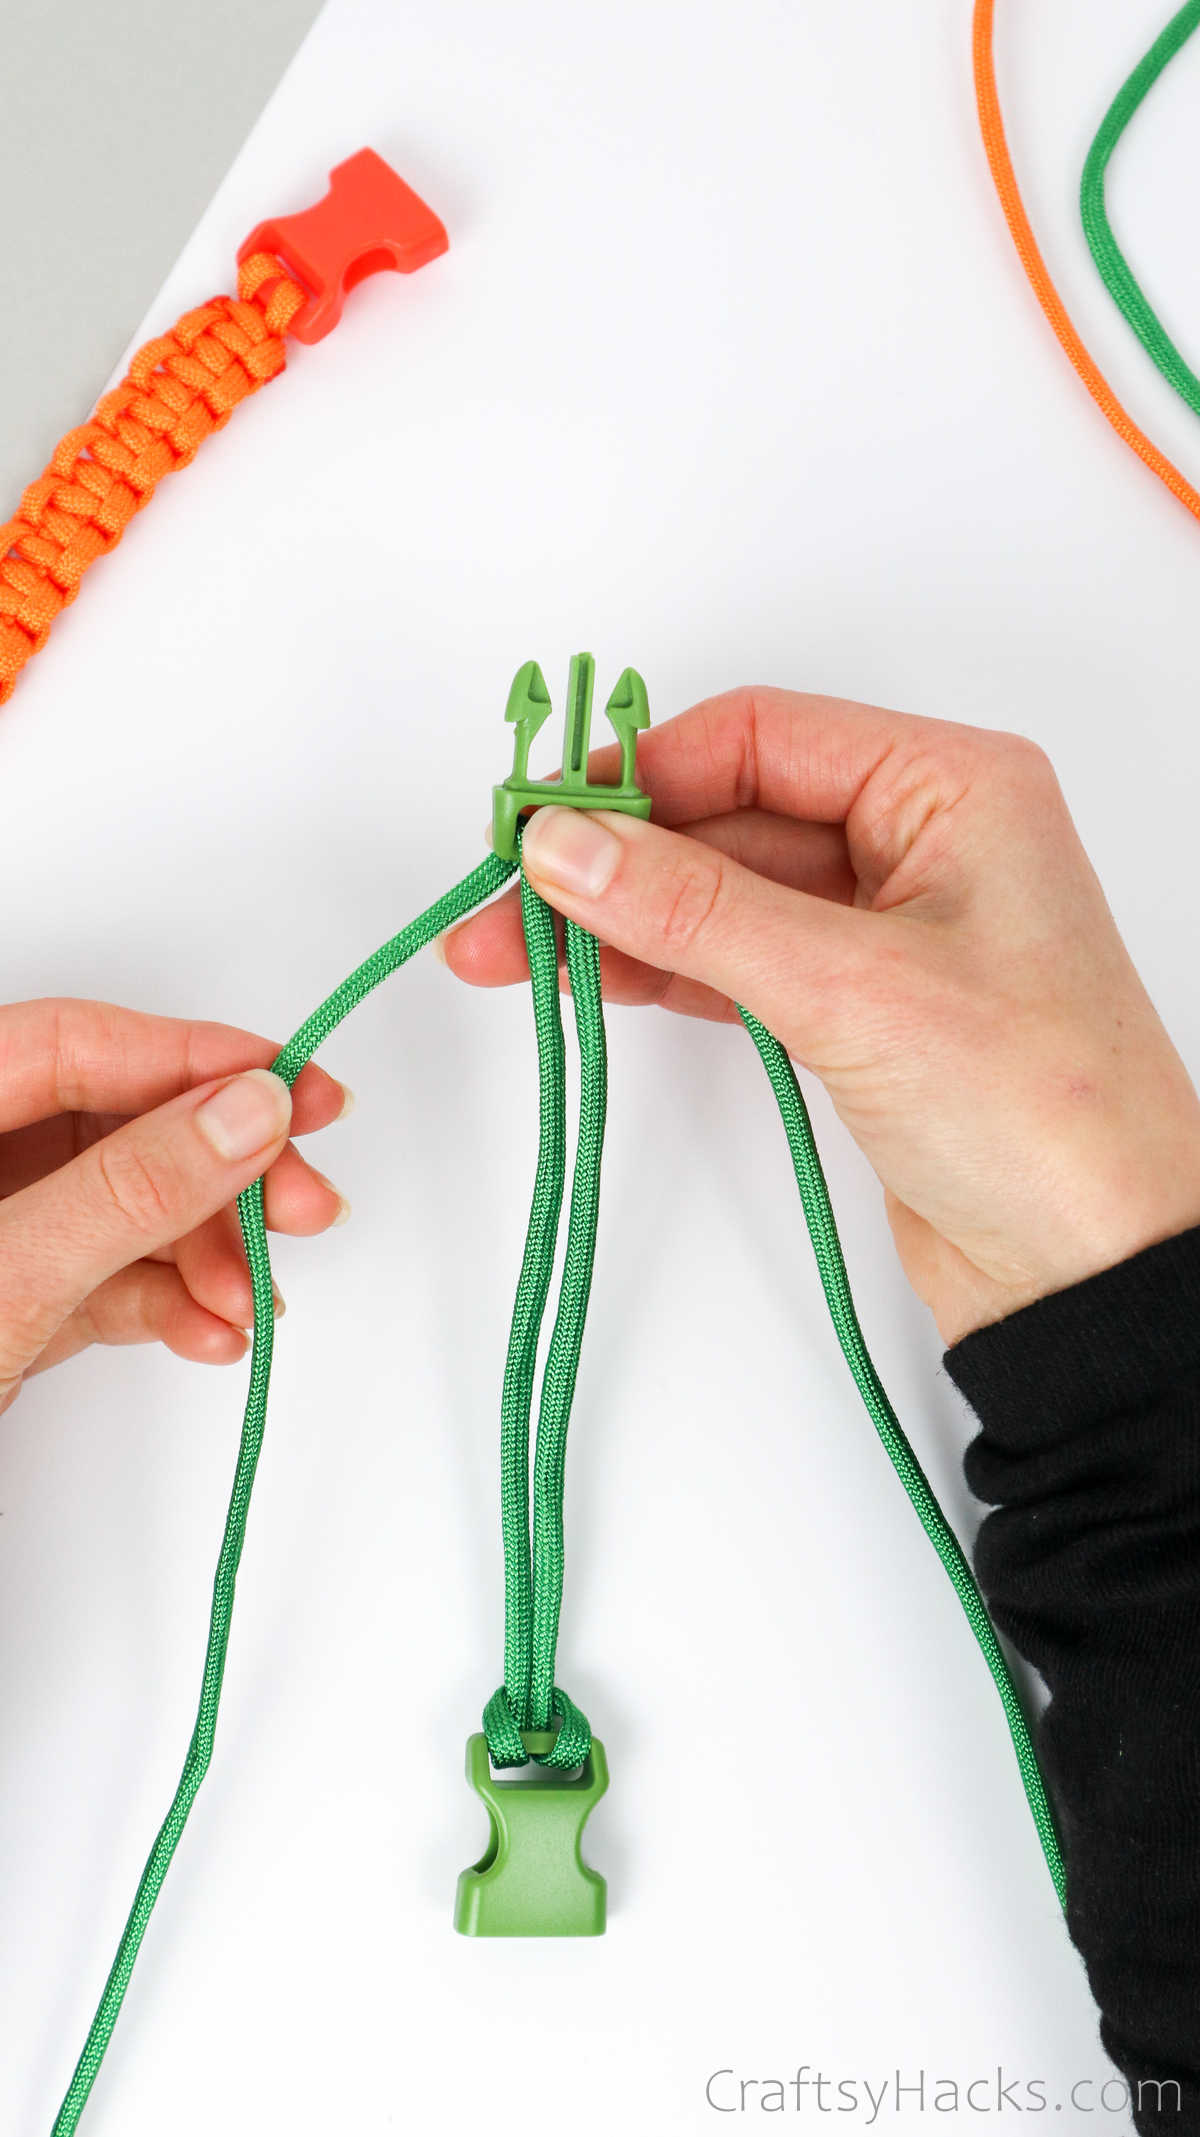
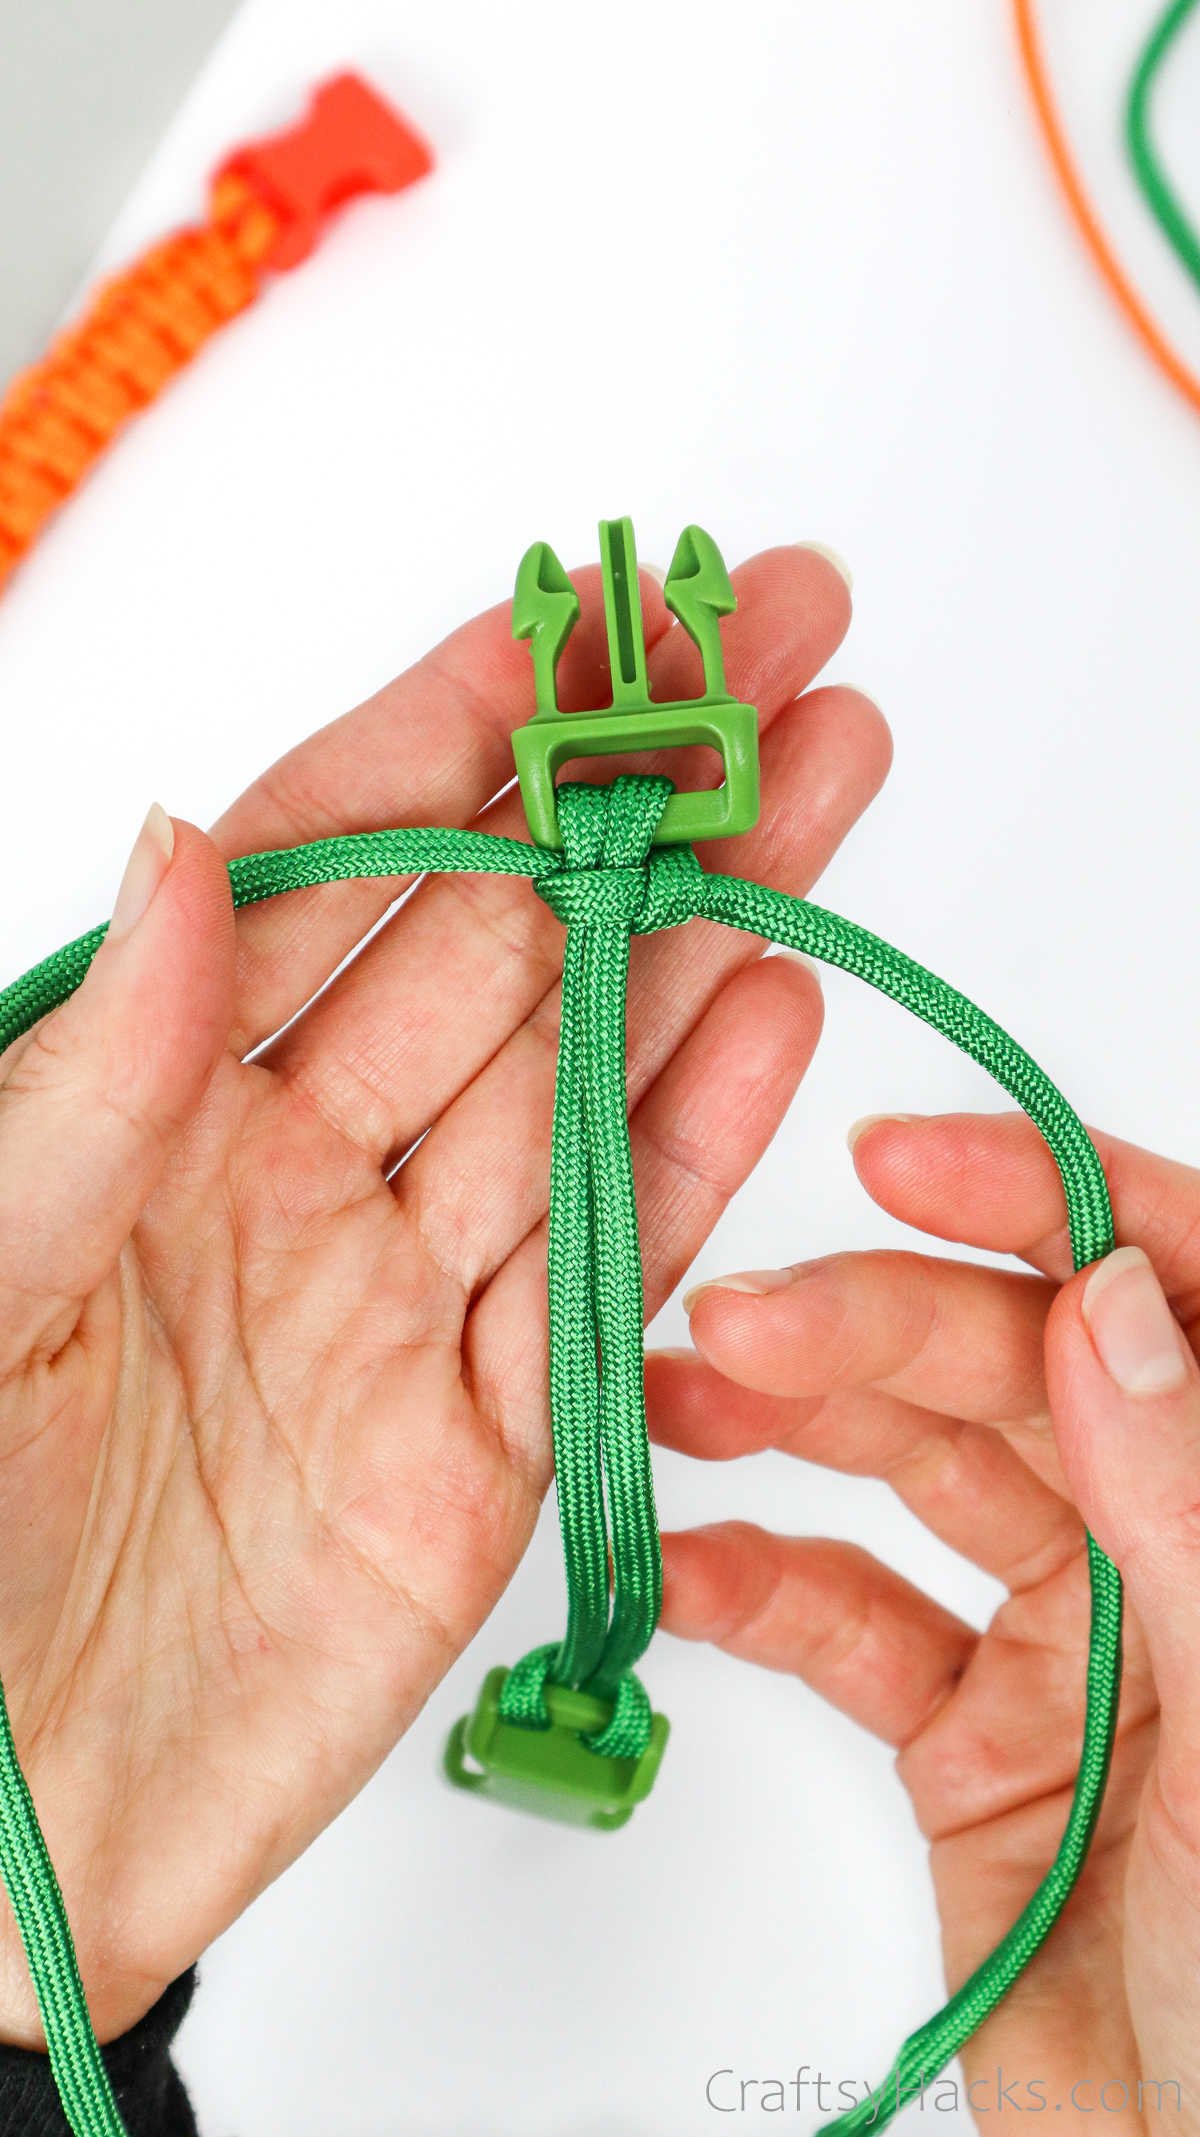
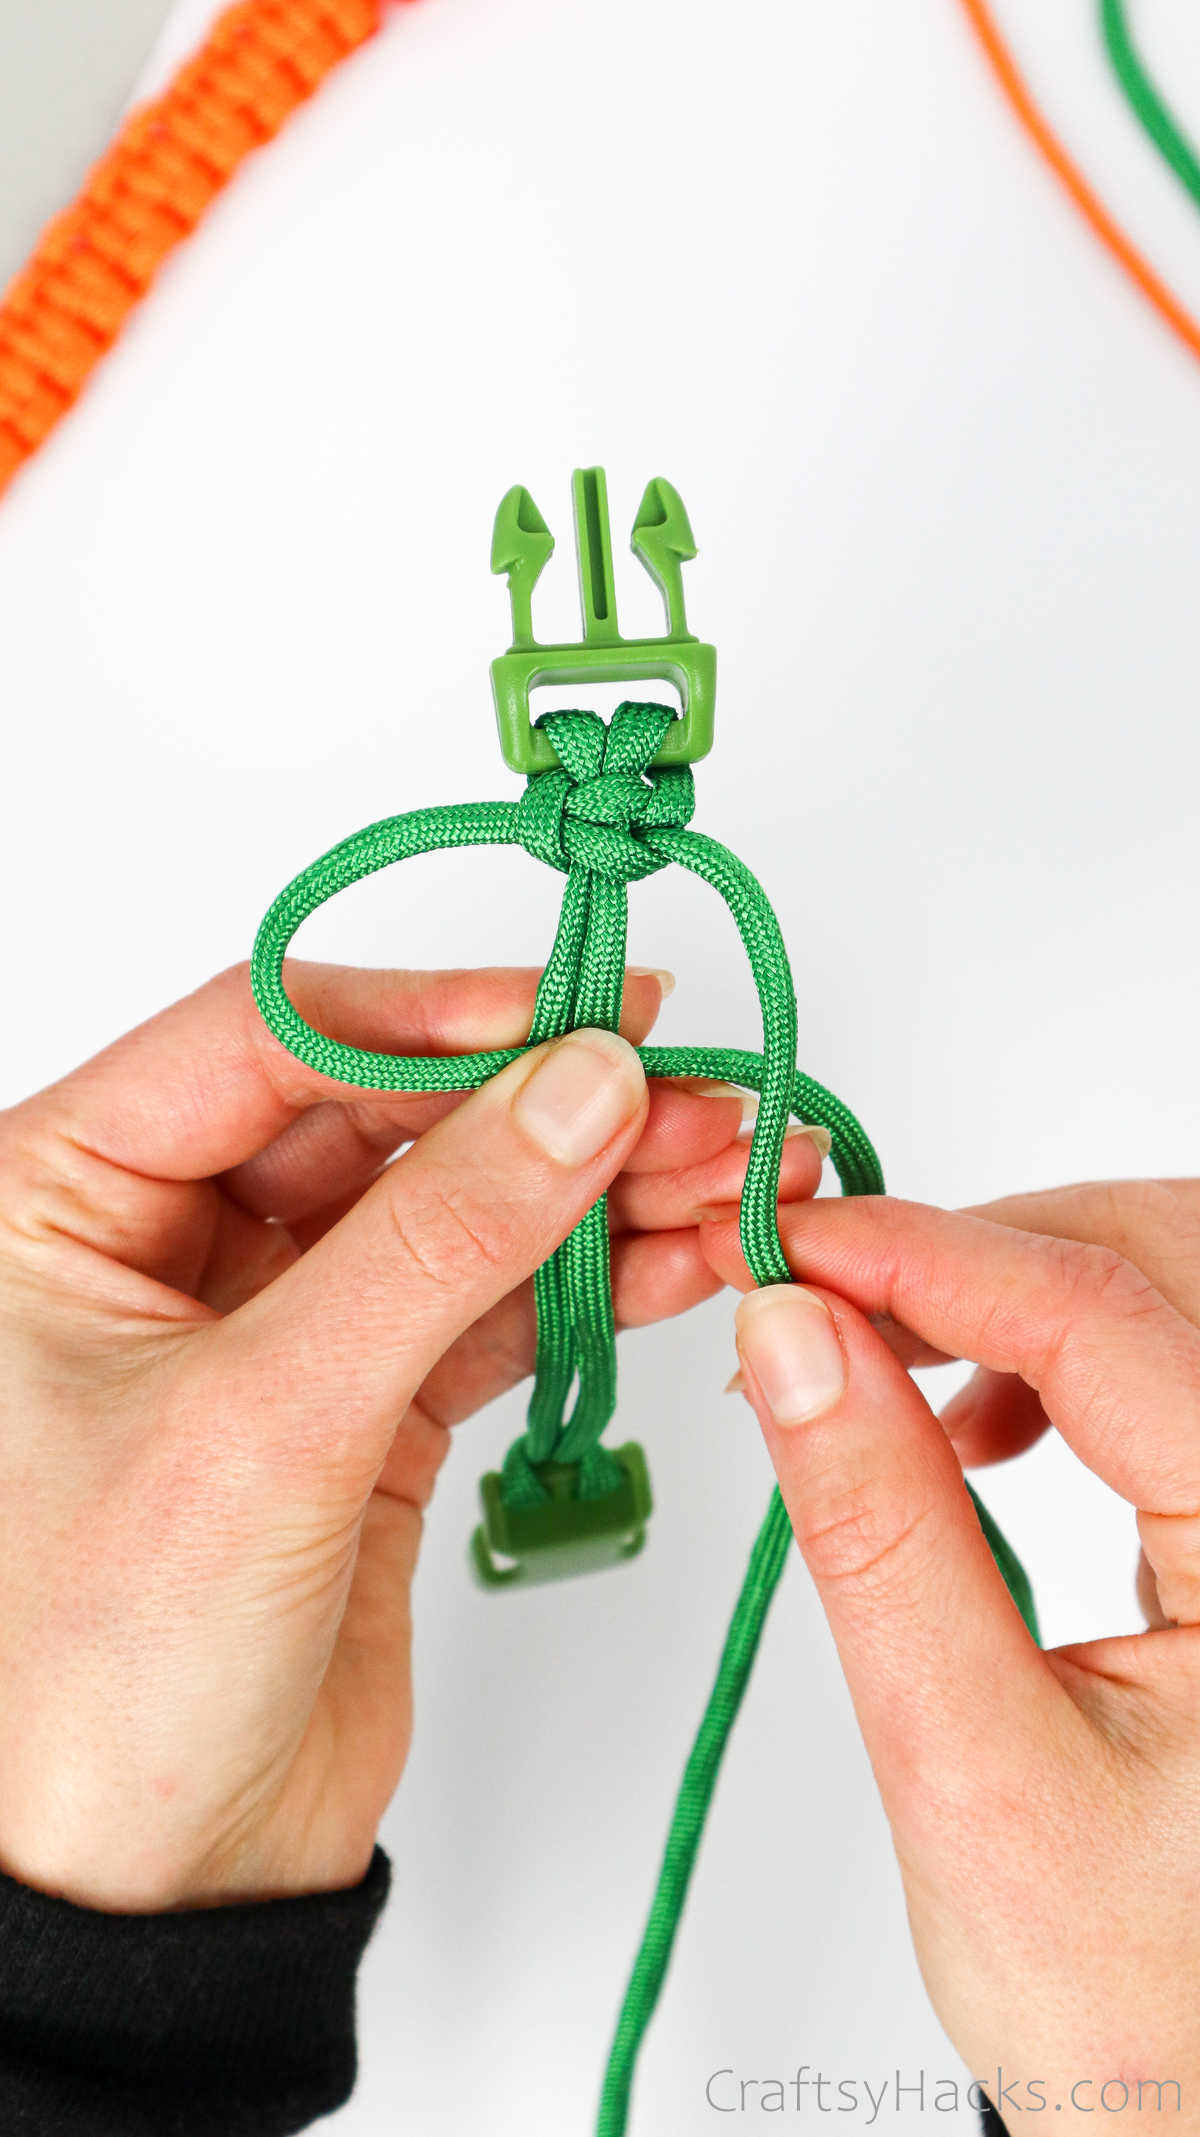
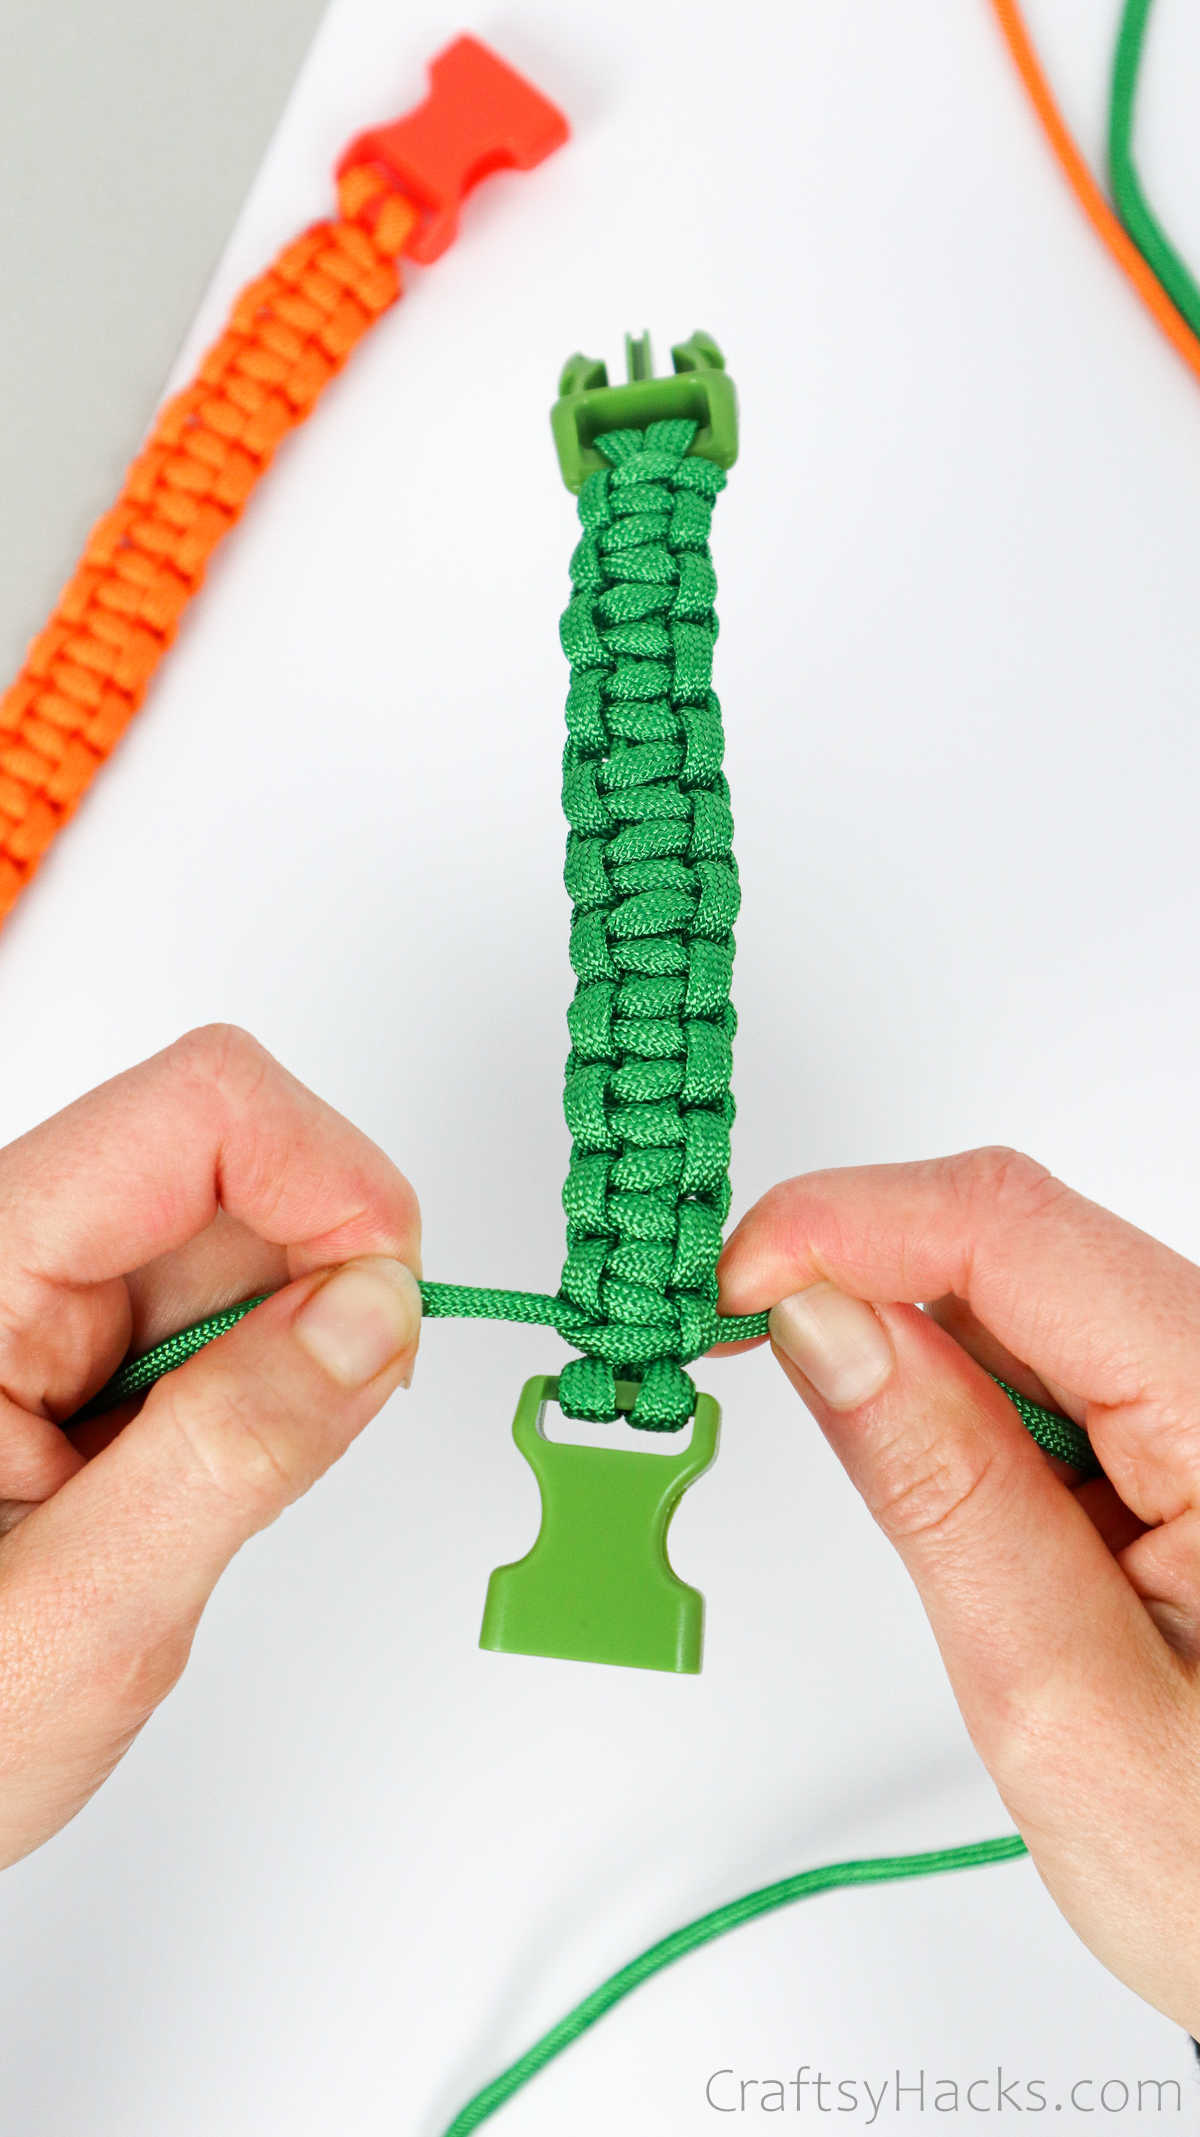
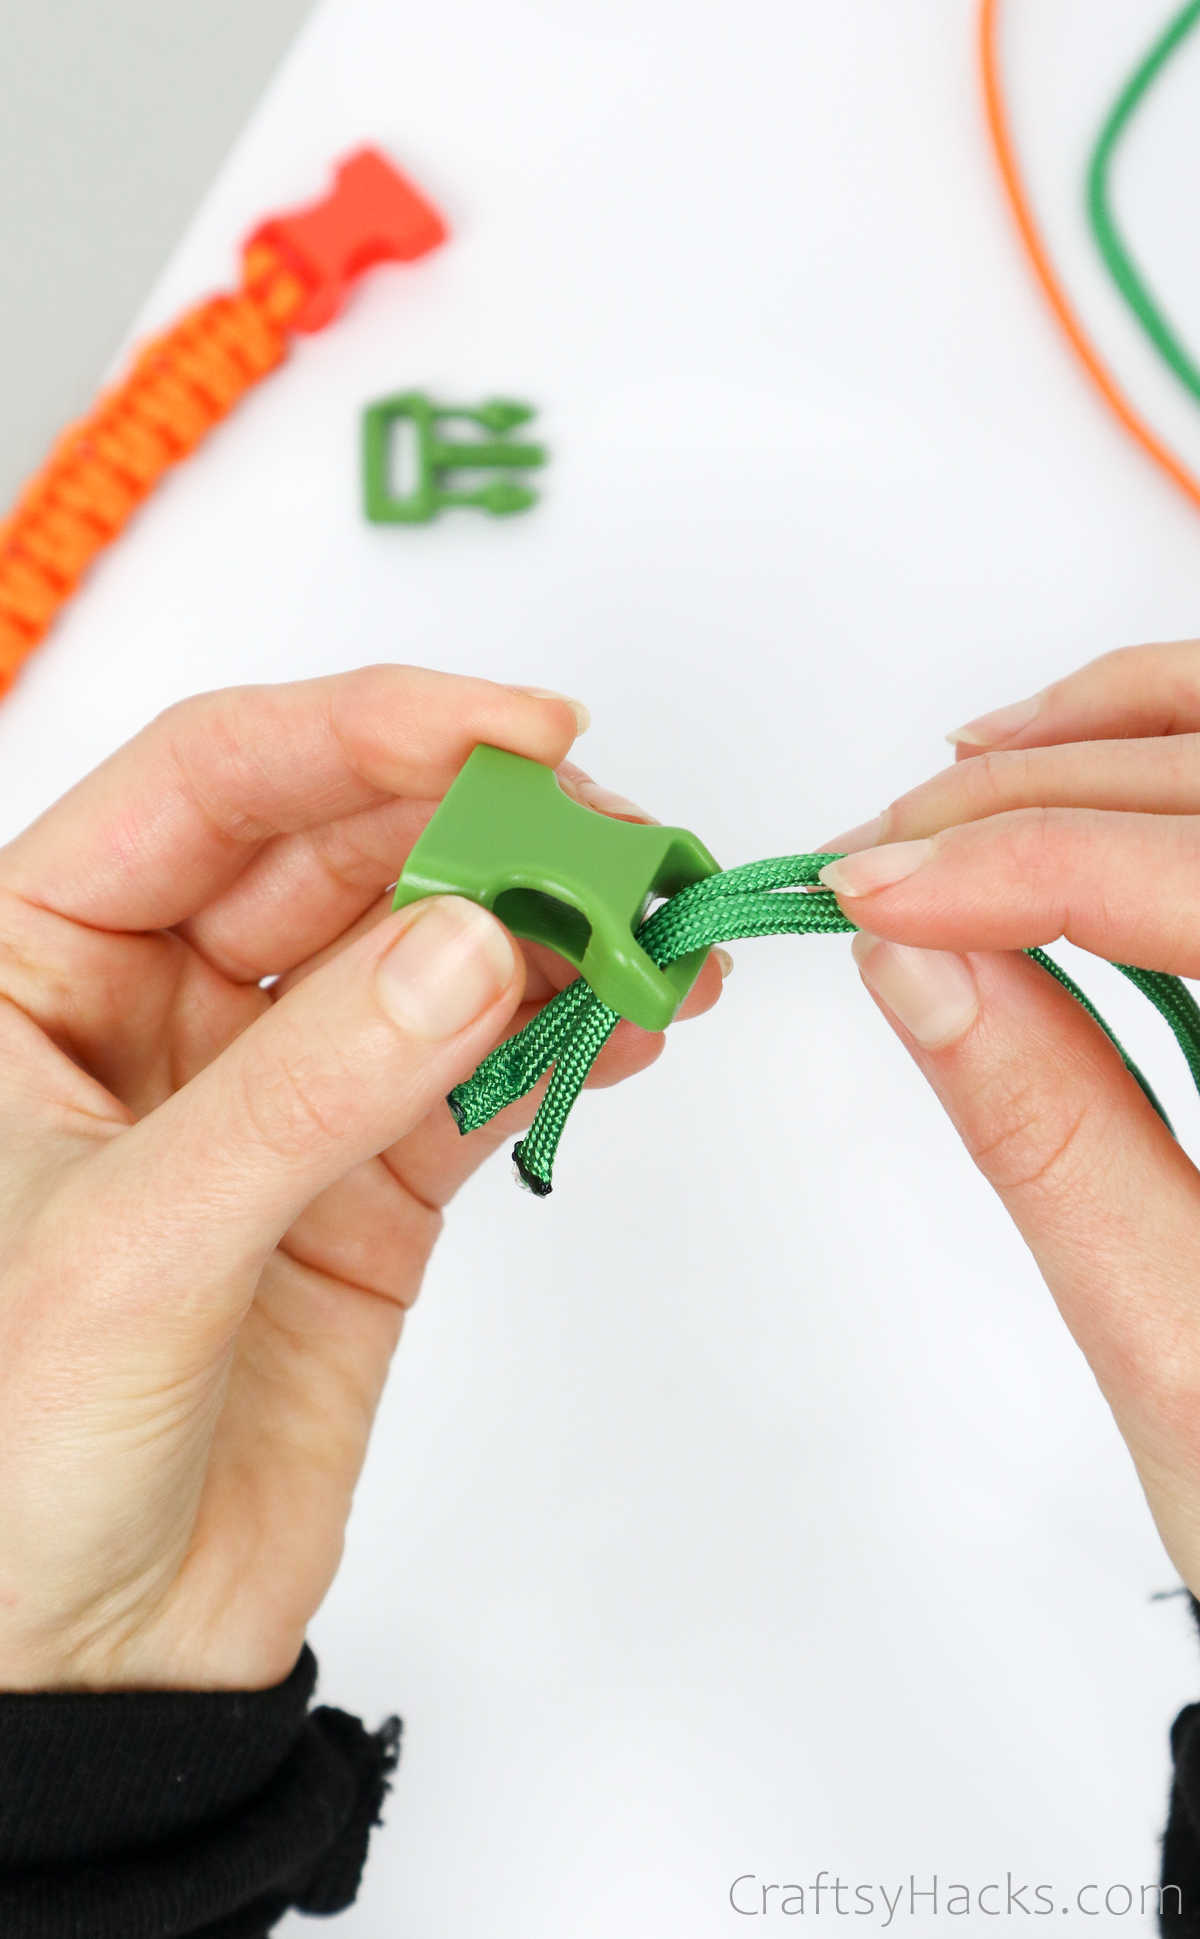
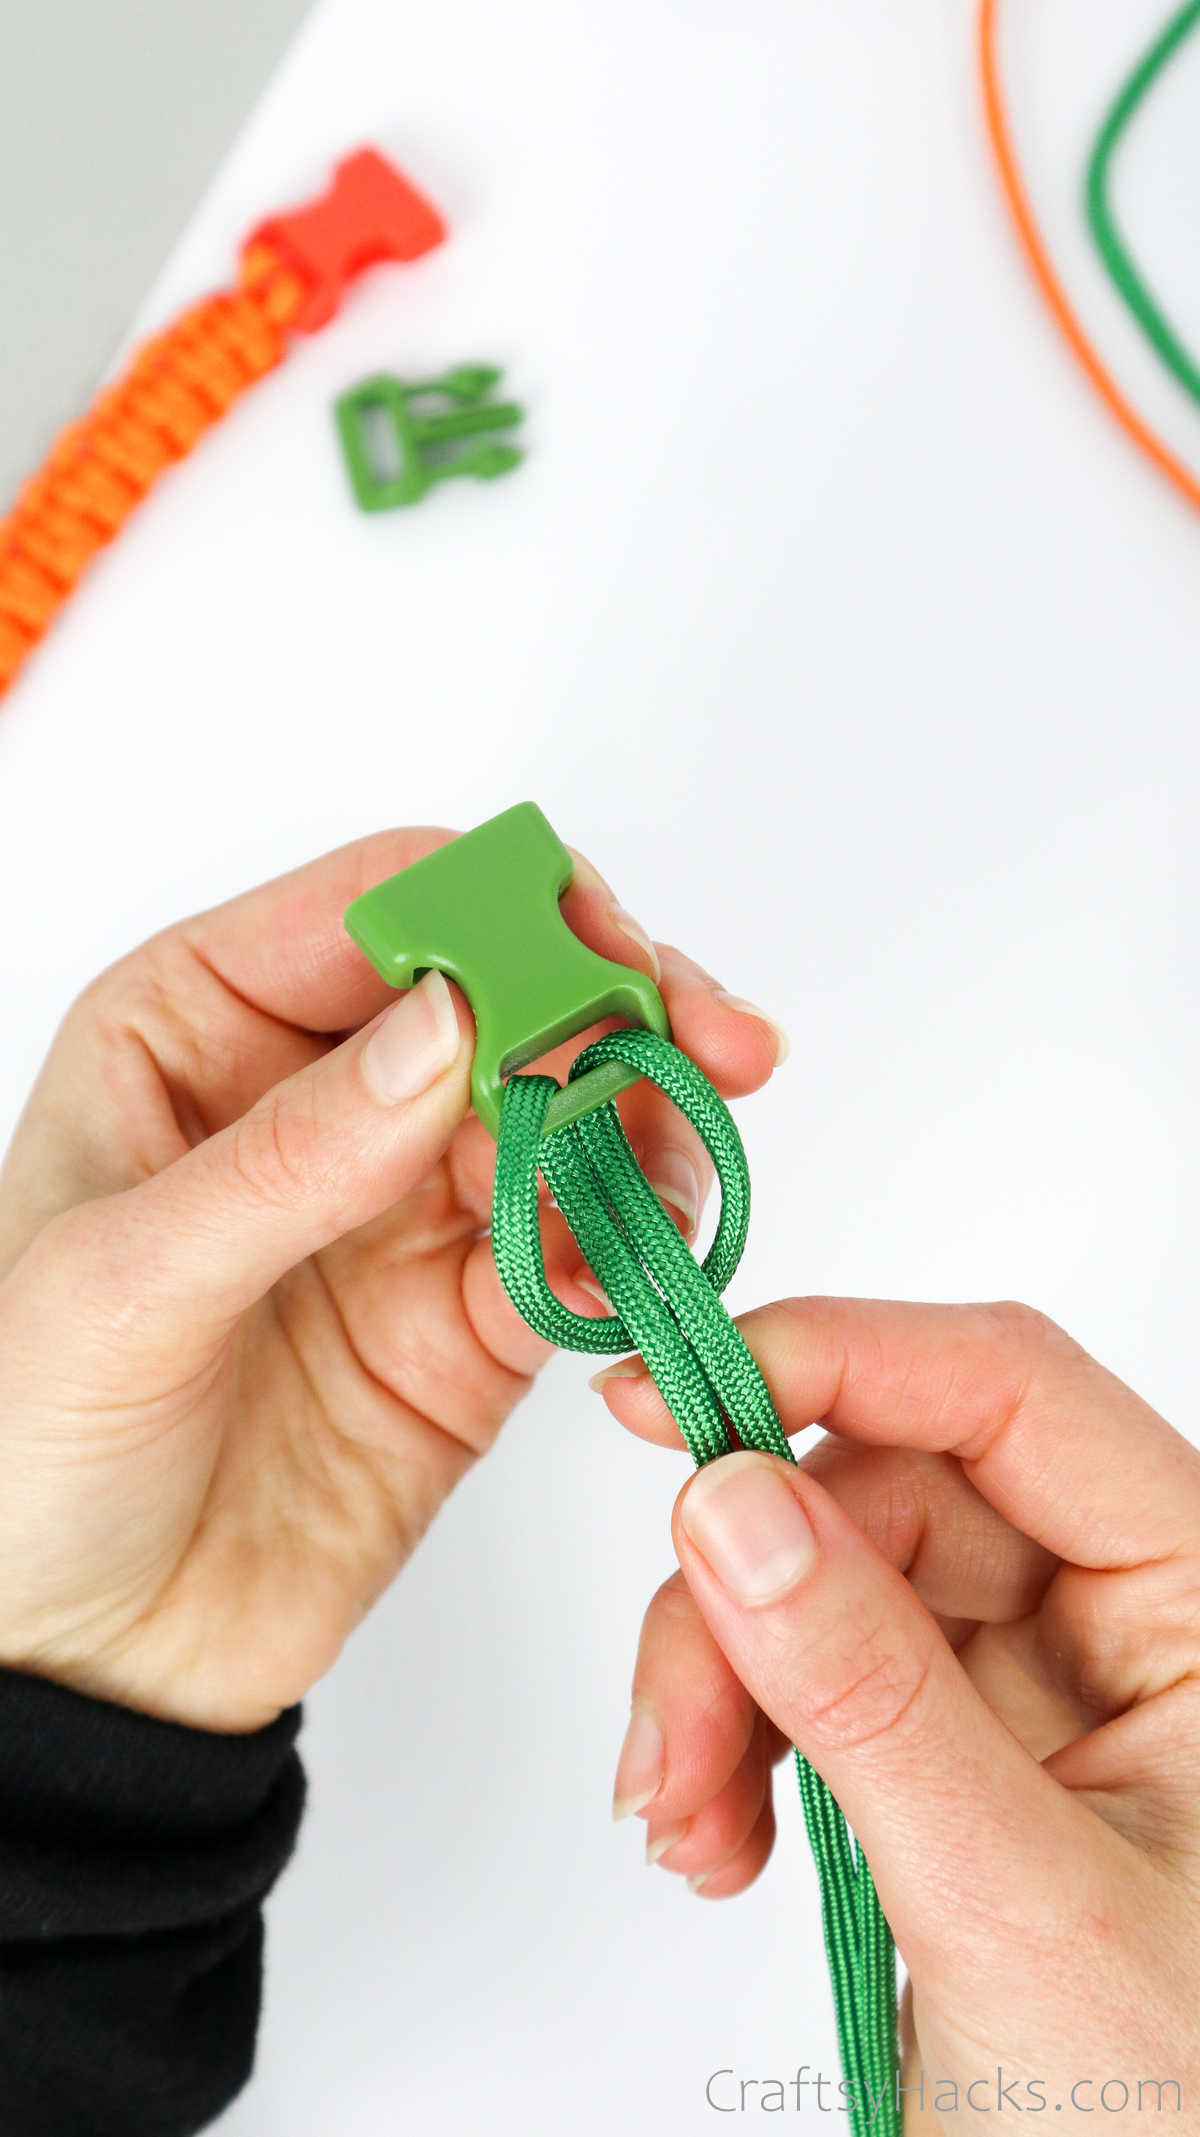
Grab the other part of the clipthe one with the insert mechanism for the buckle.
Youre going to pull the two cords through the insert clip.

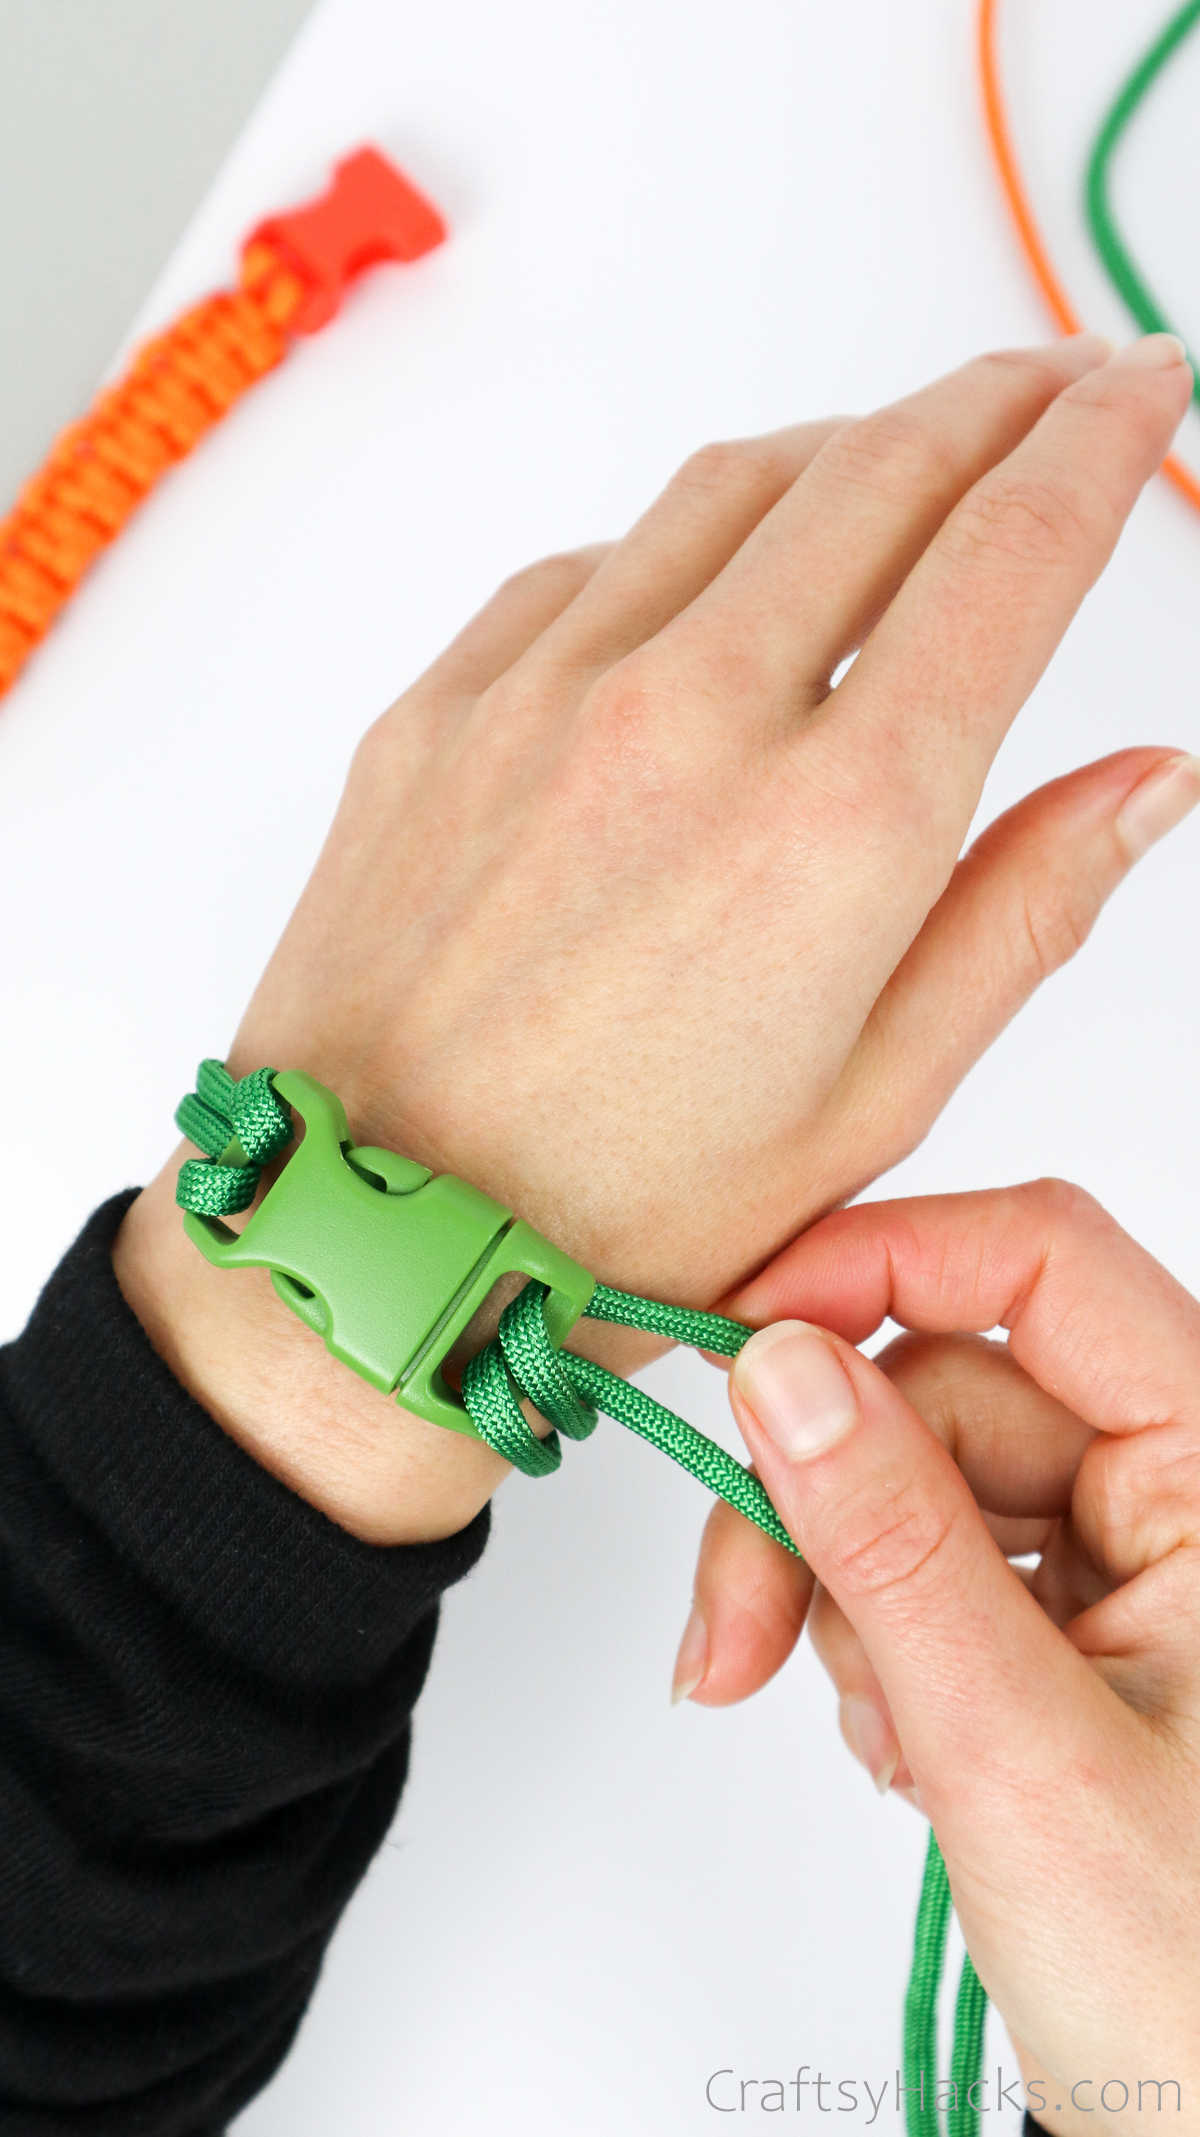
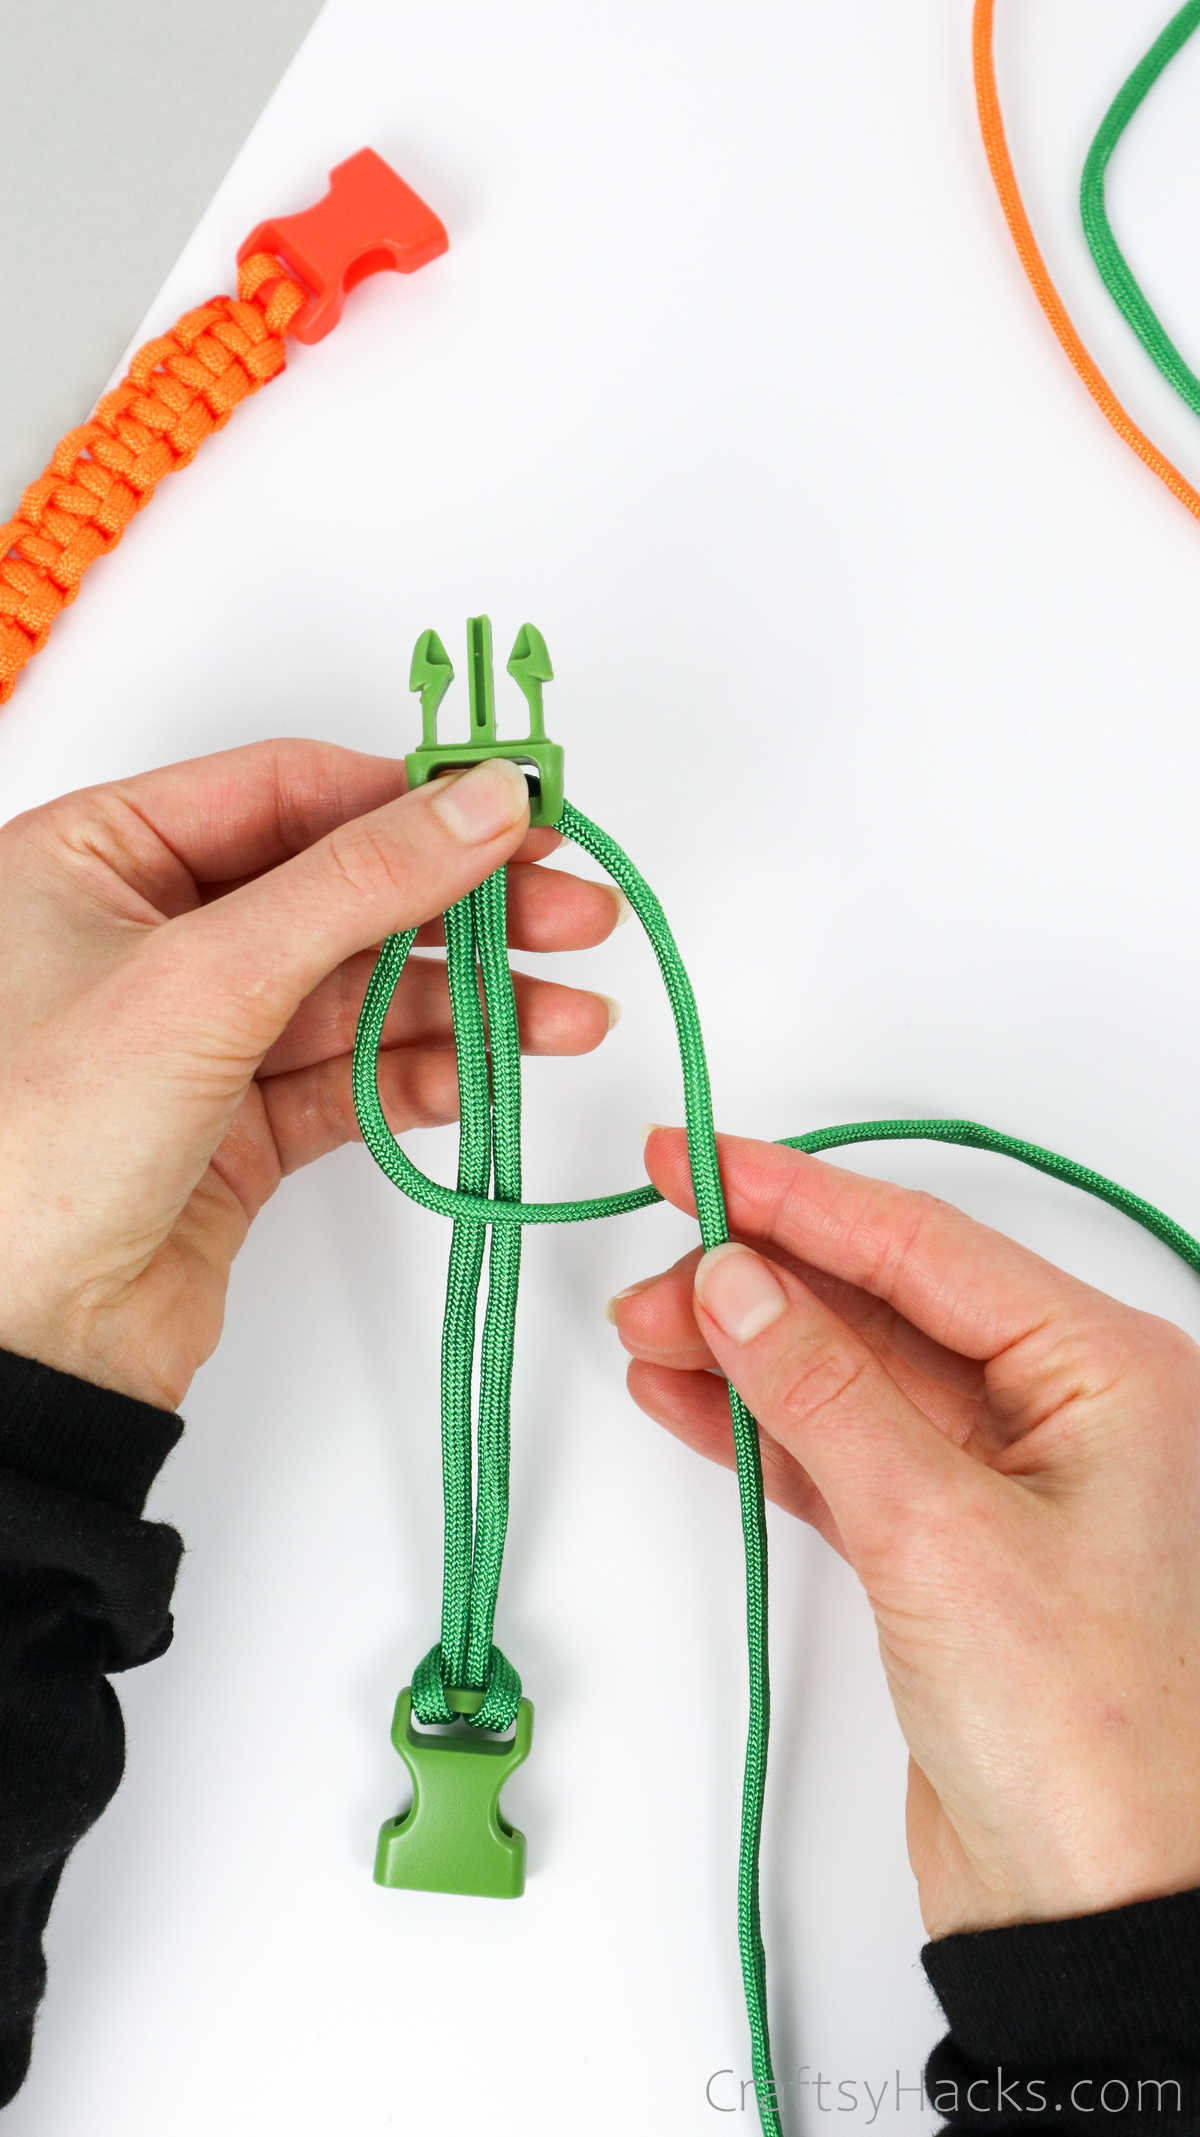
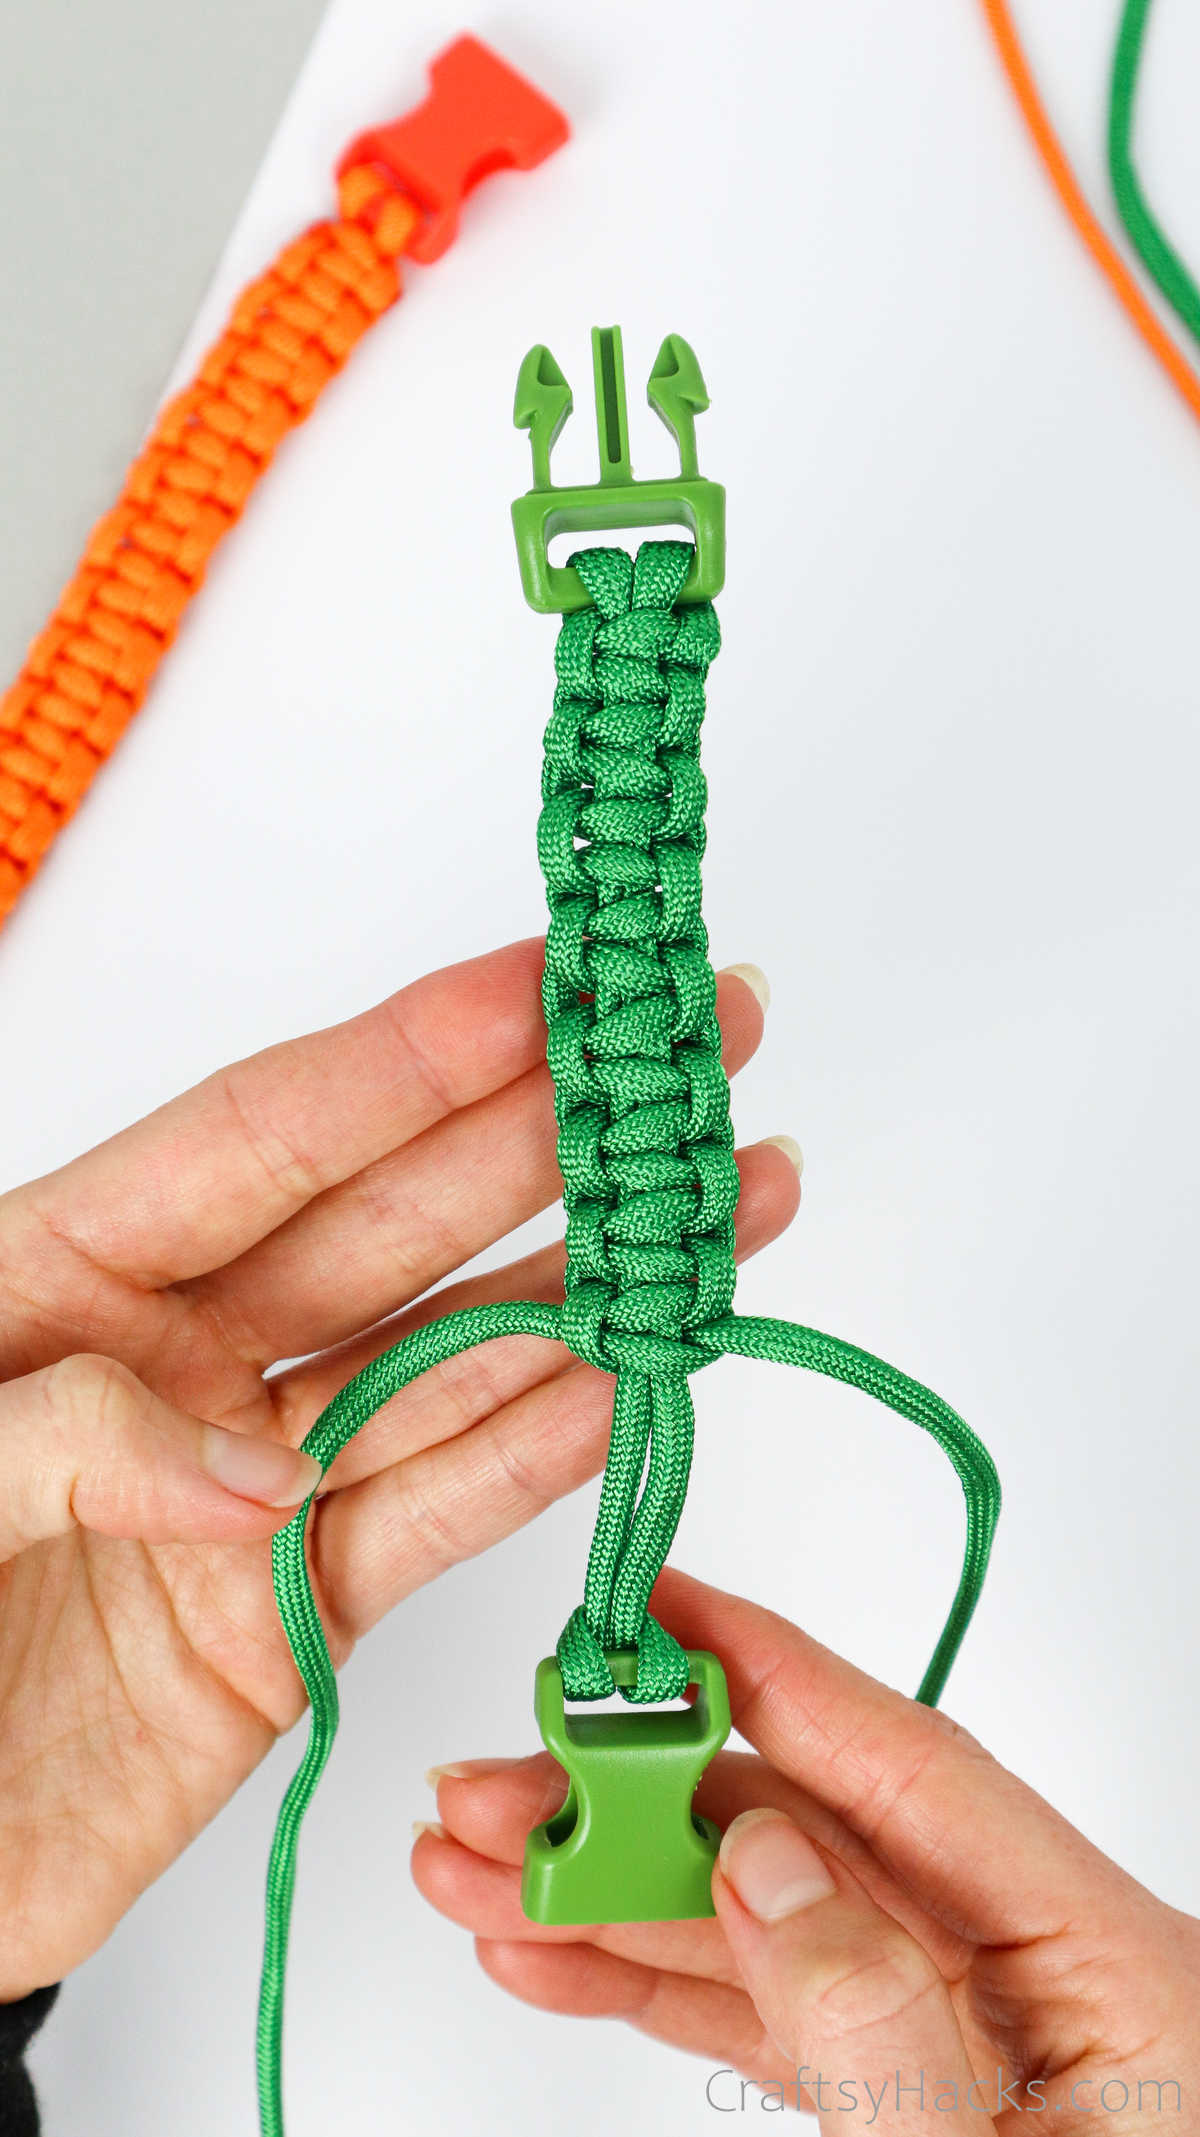
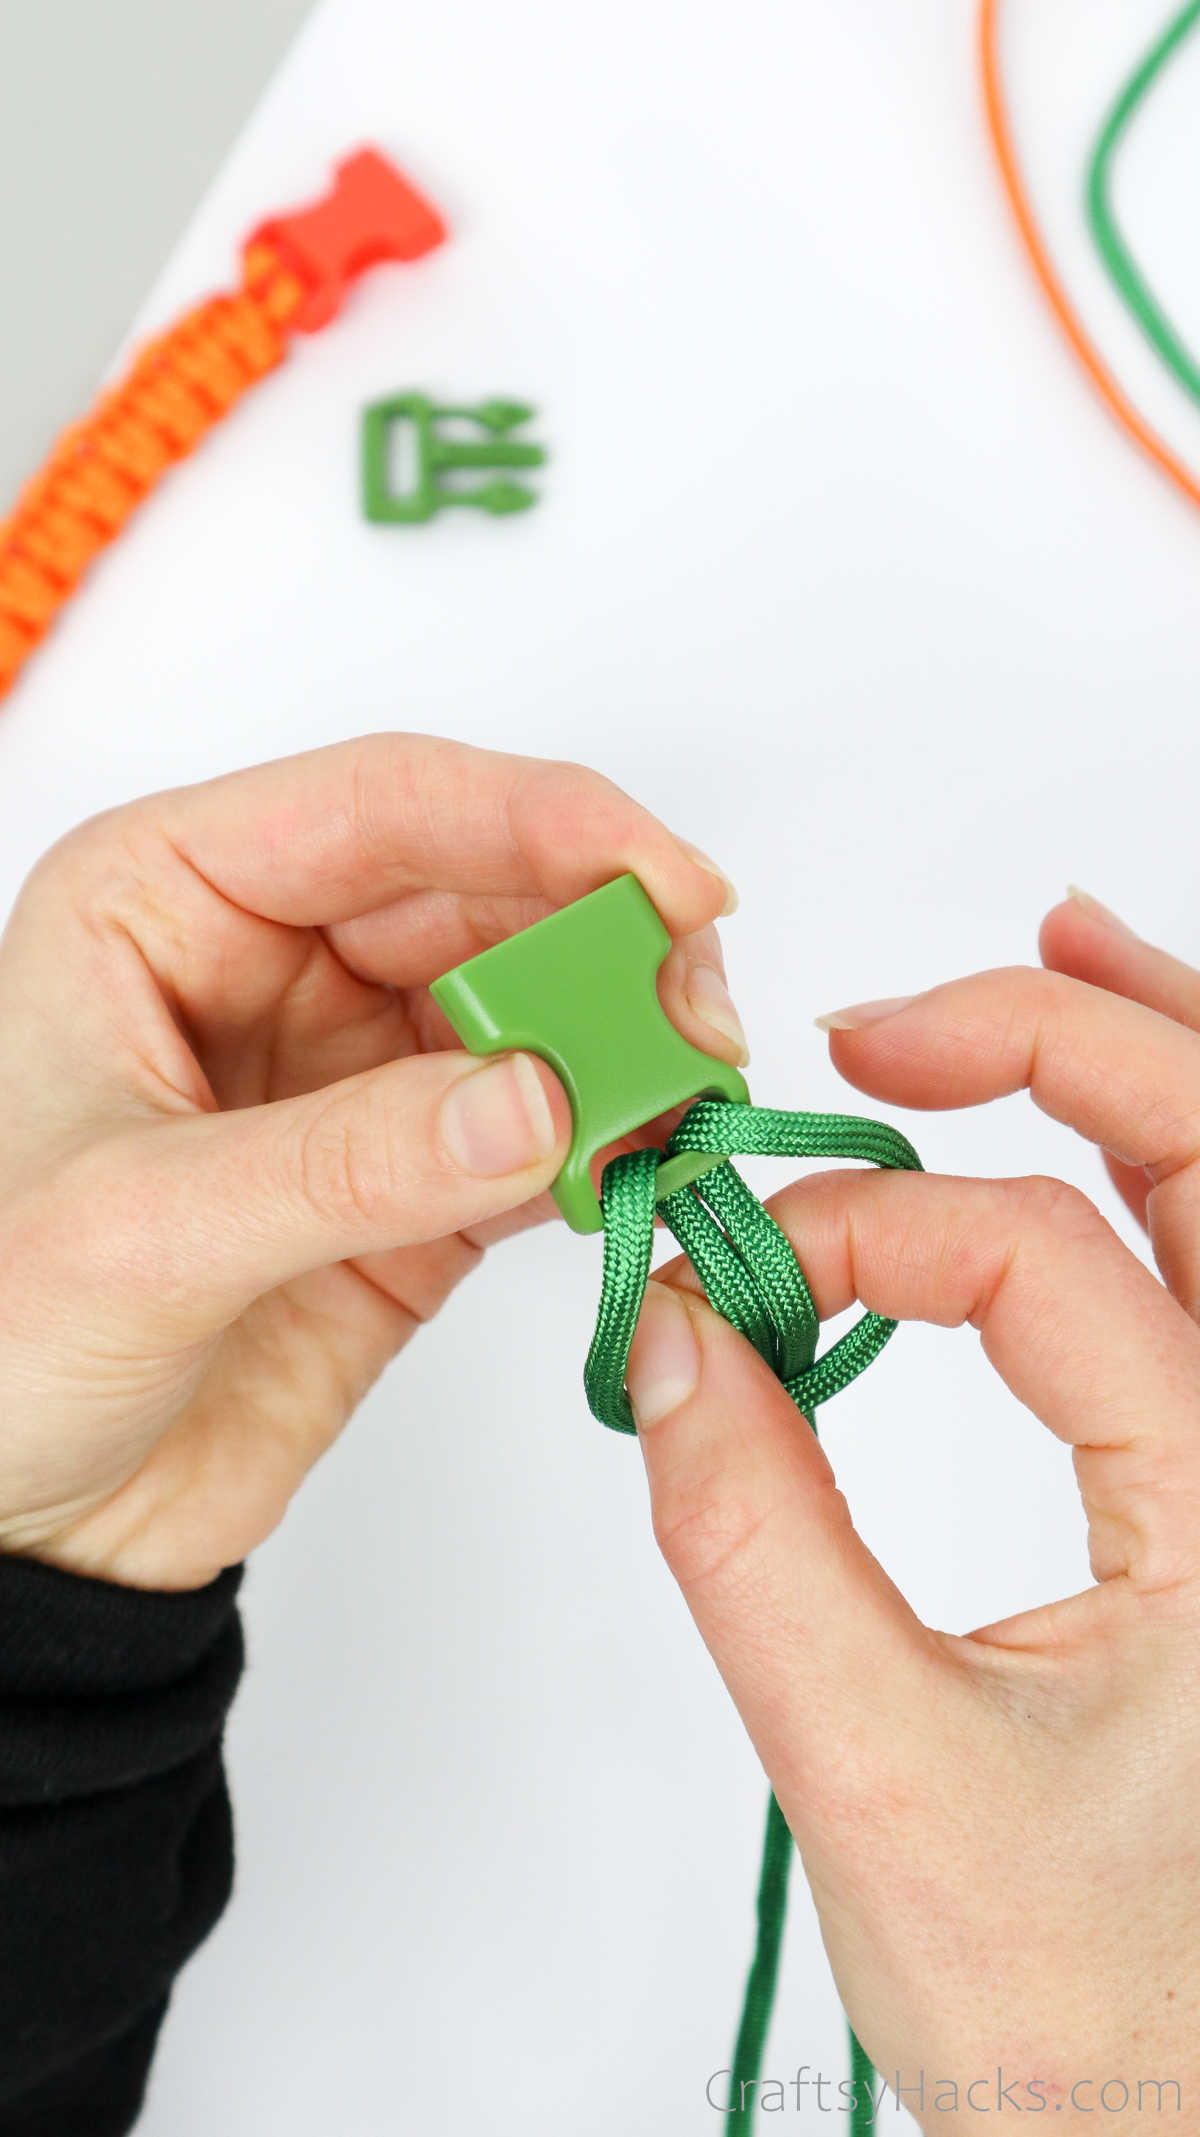
Its time to start working on your design.
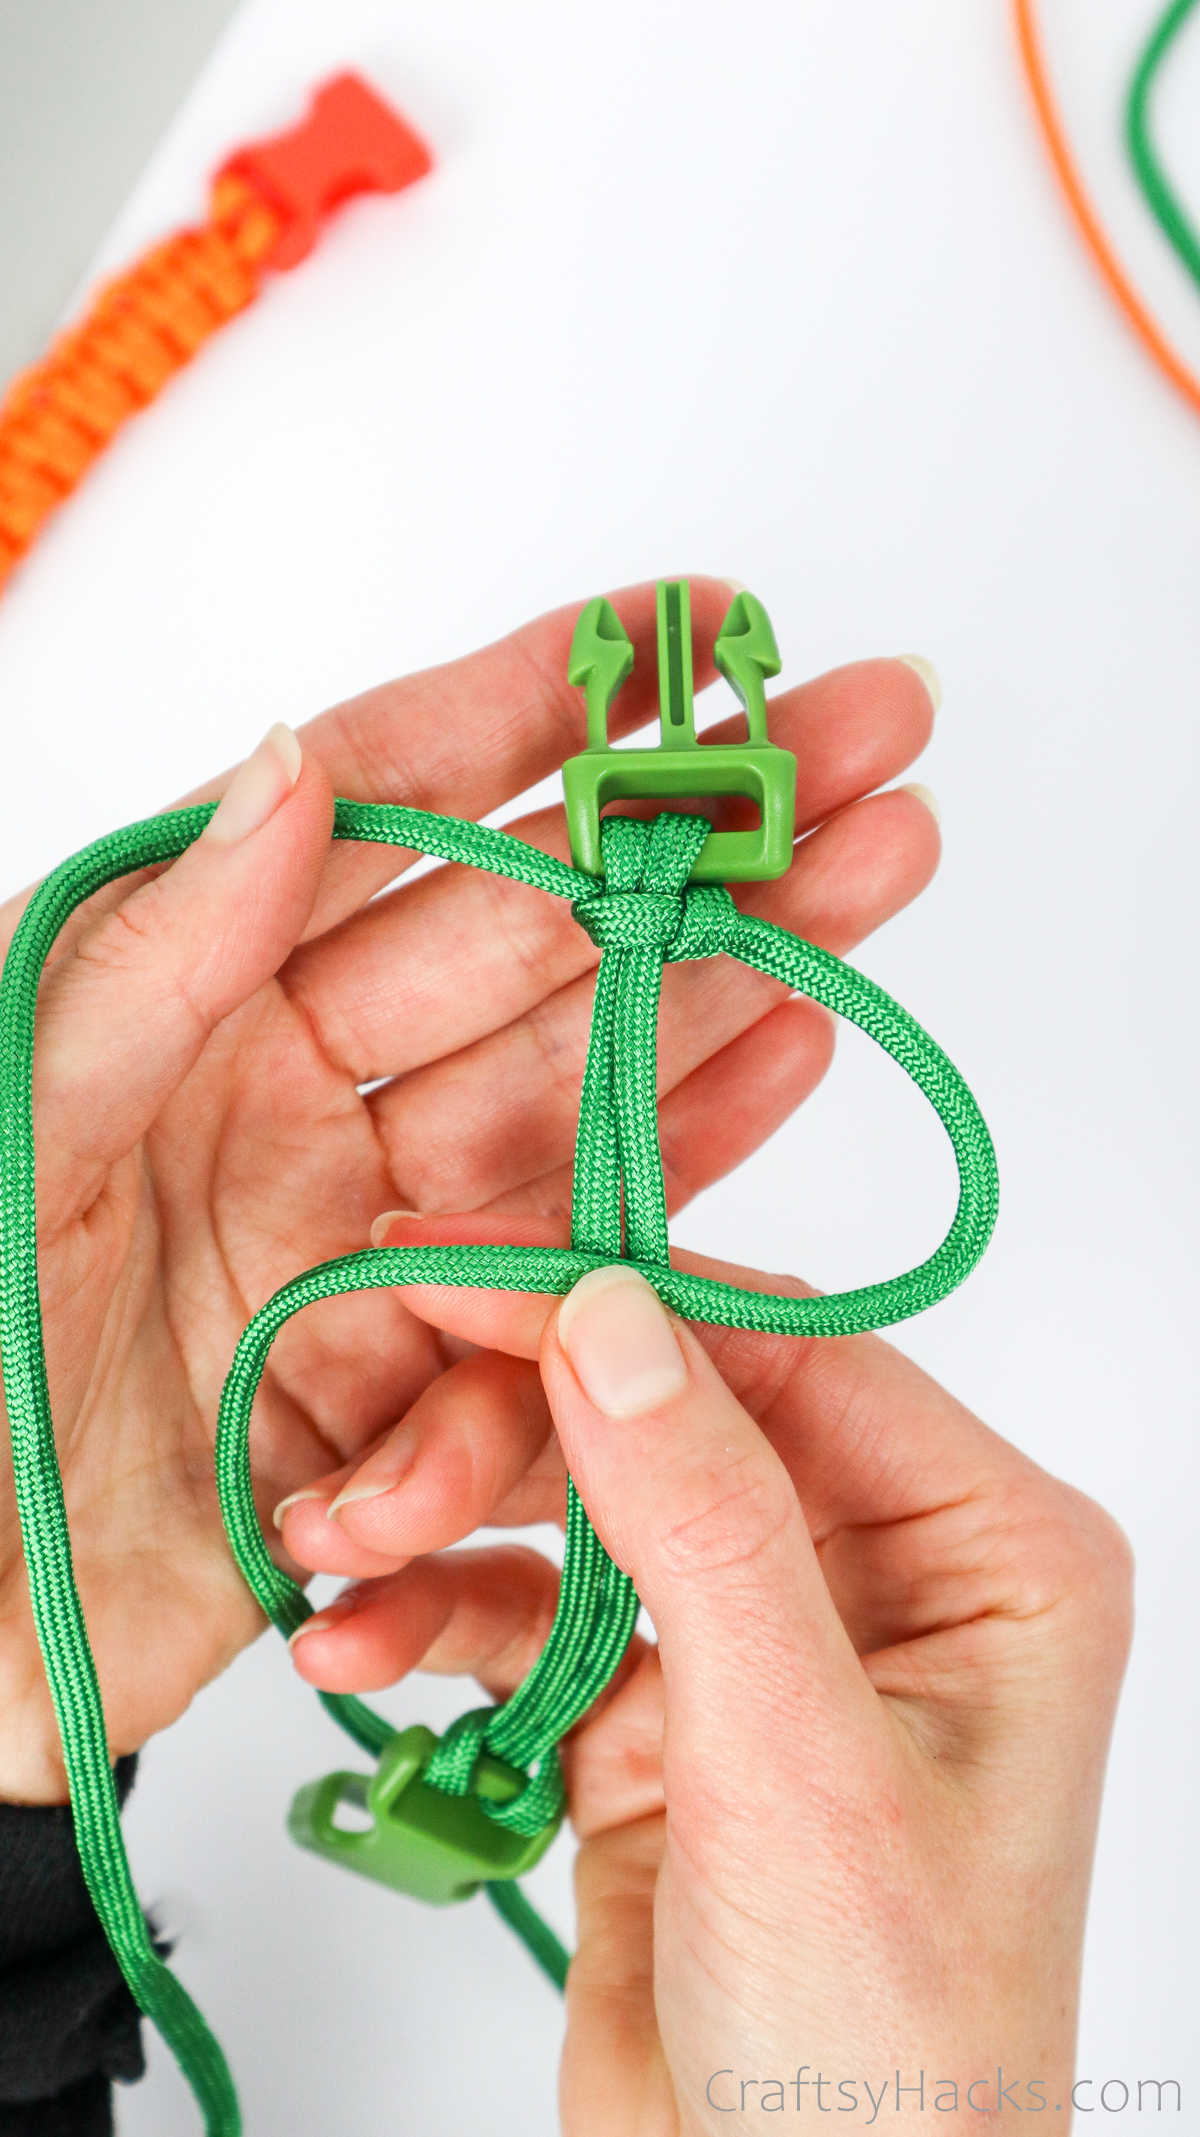
You will be making a series of square knots all the way down to the other end.
Next, pull the right cord over the left, then under both the cord in the middle.
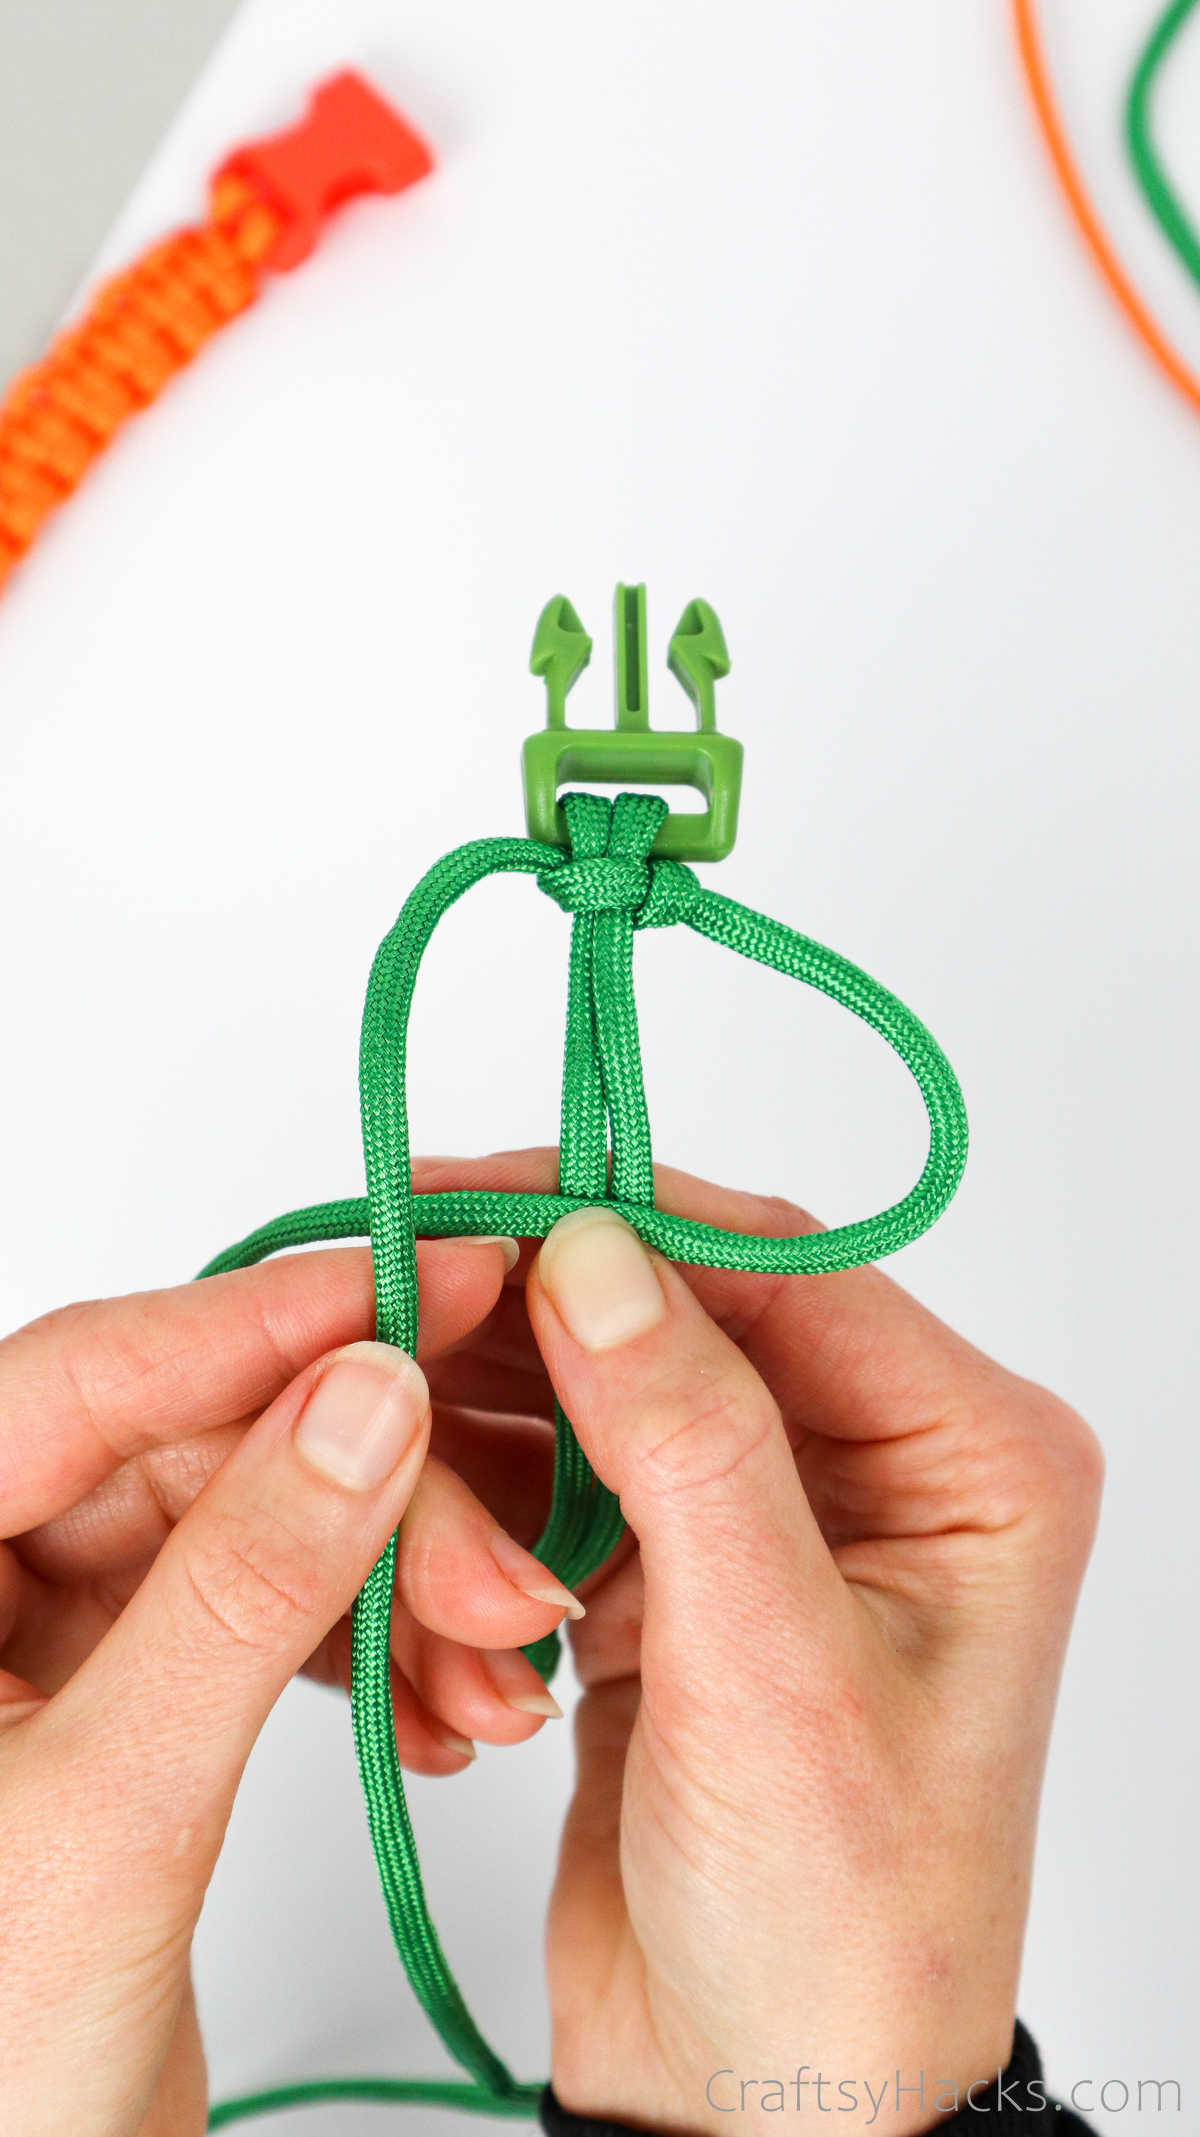
Then, pull the cord through the loop you made.
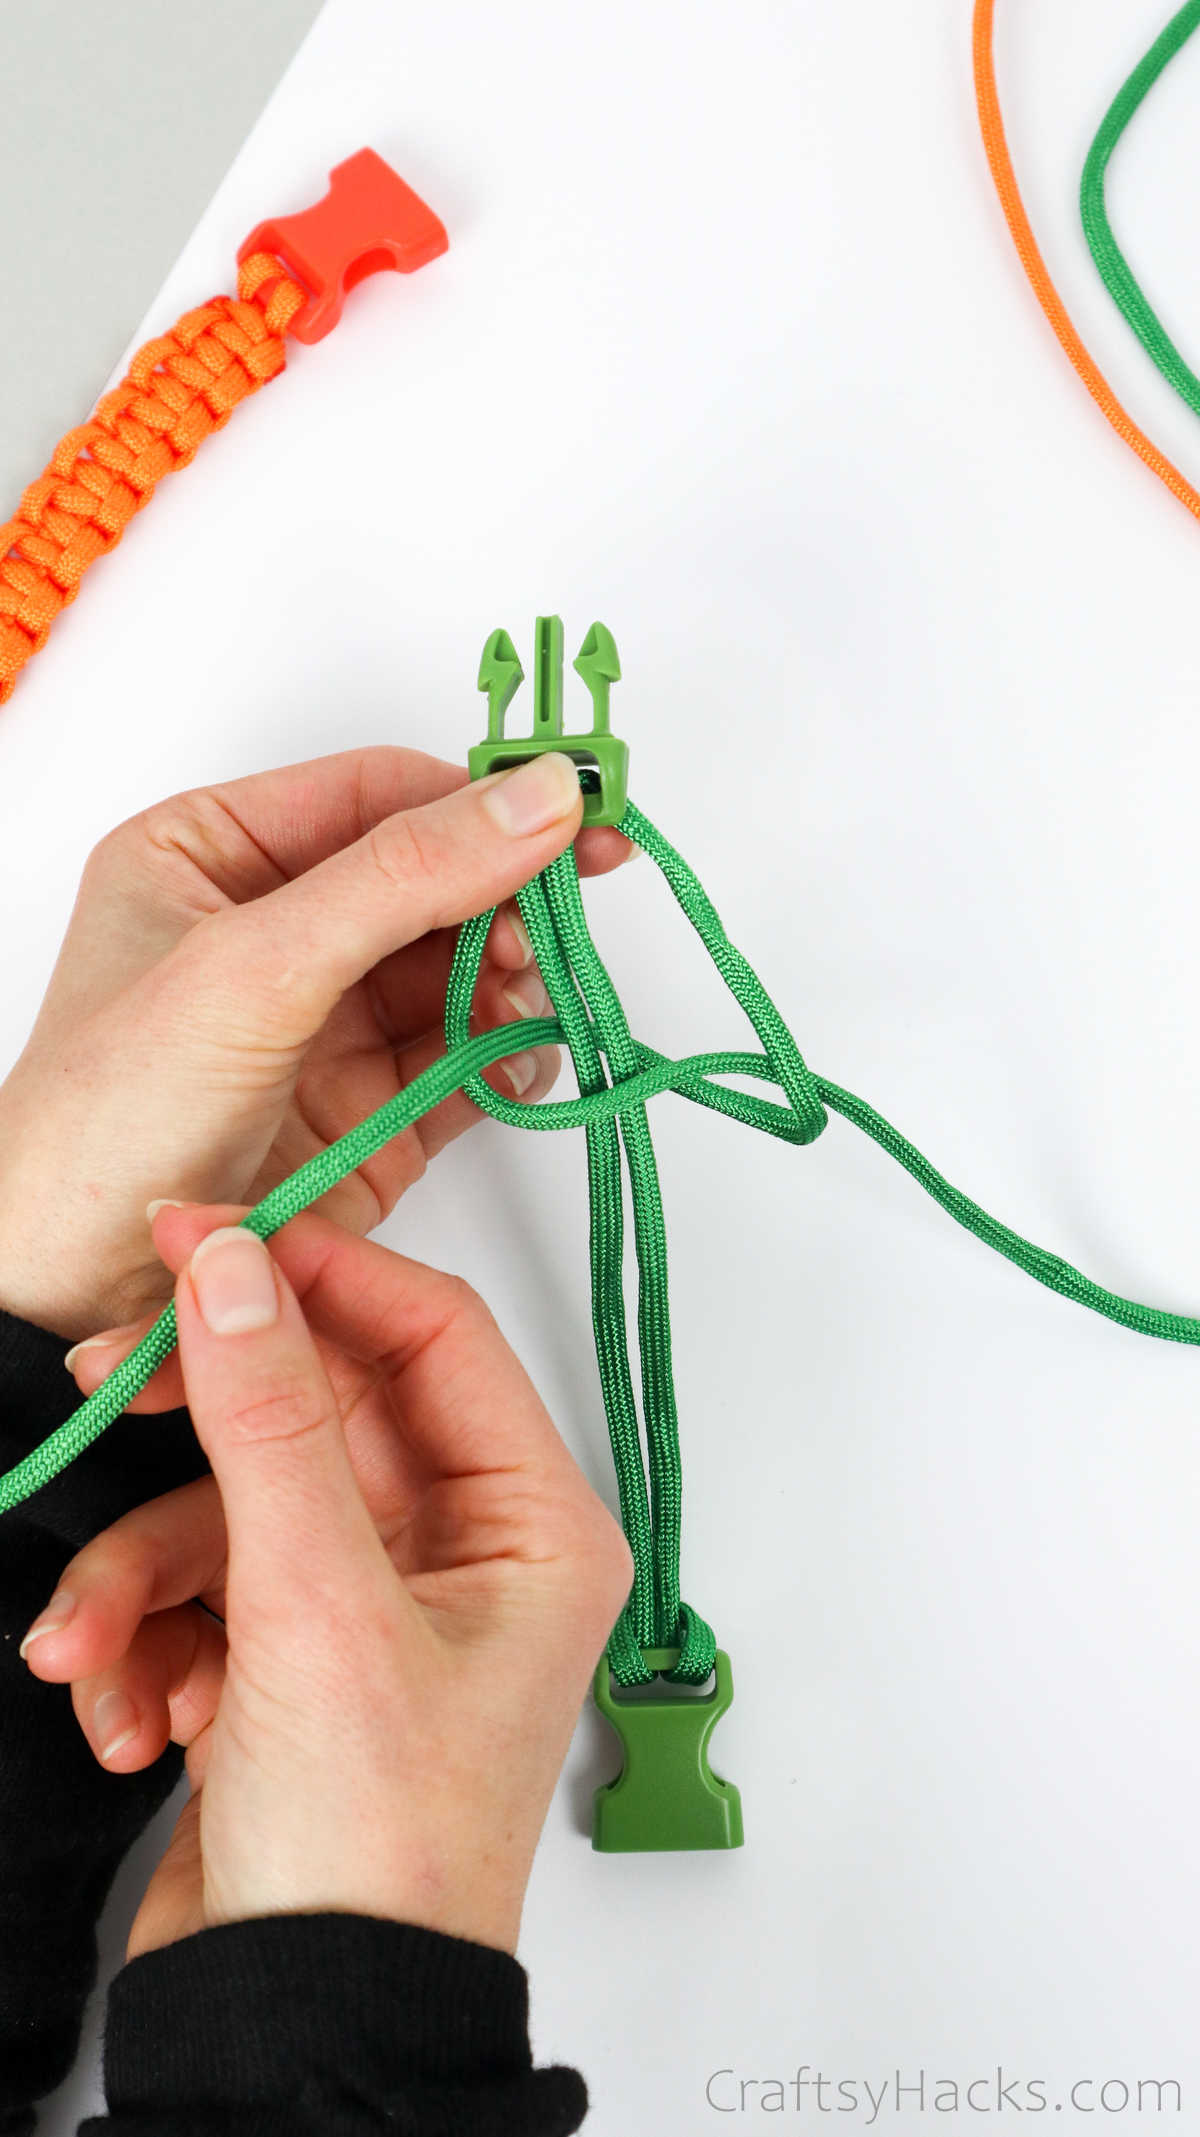
Tug at the end to tighten the first part of your square knot.
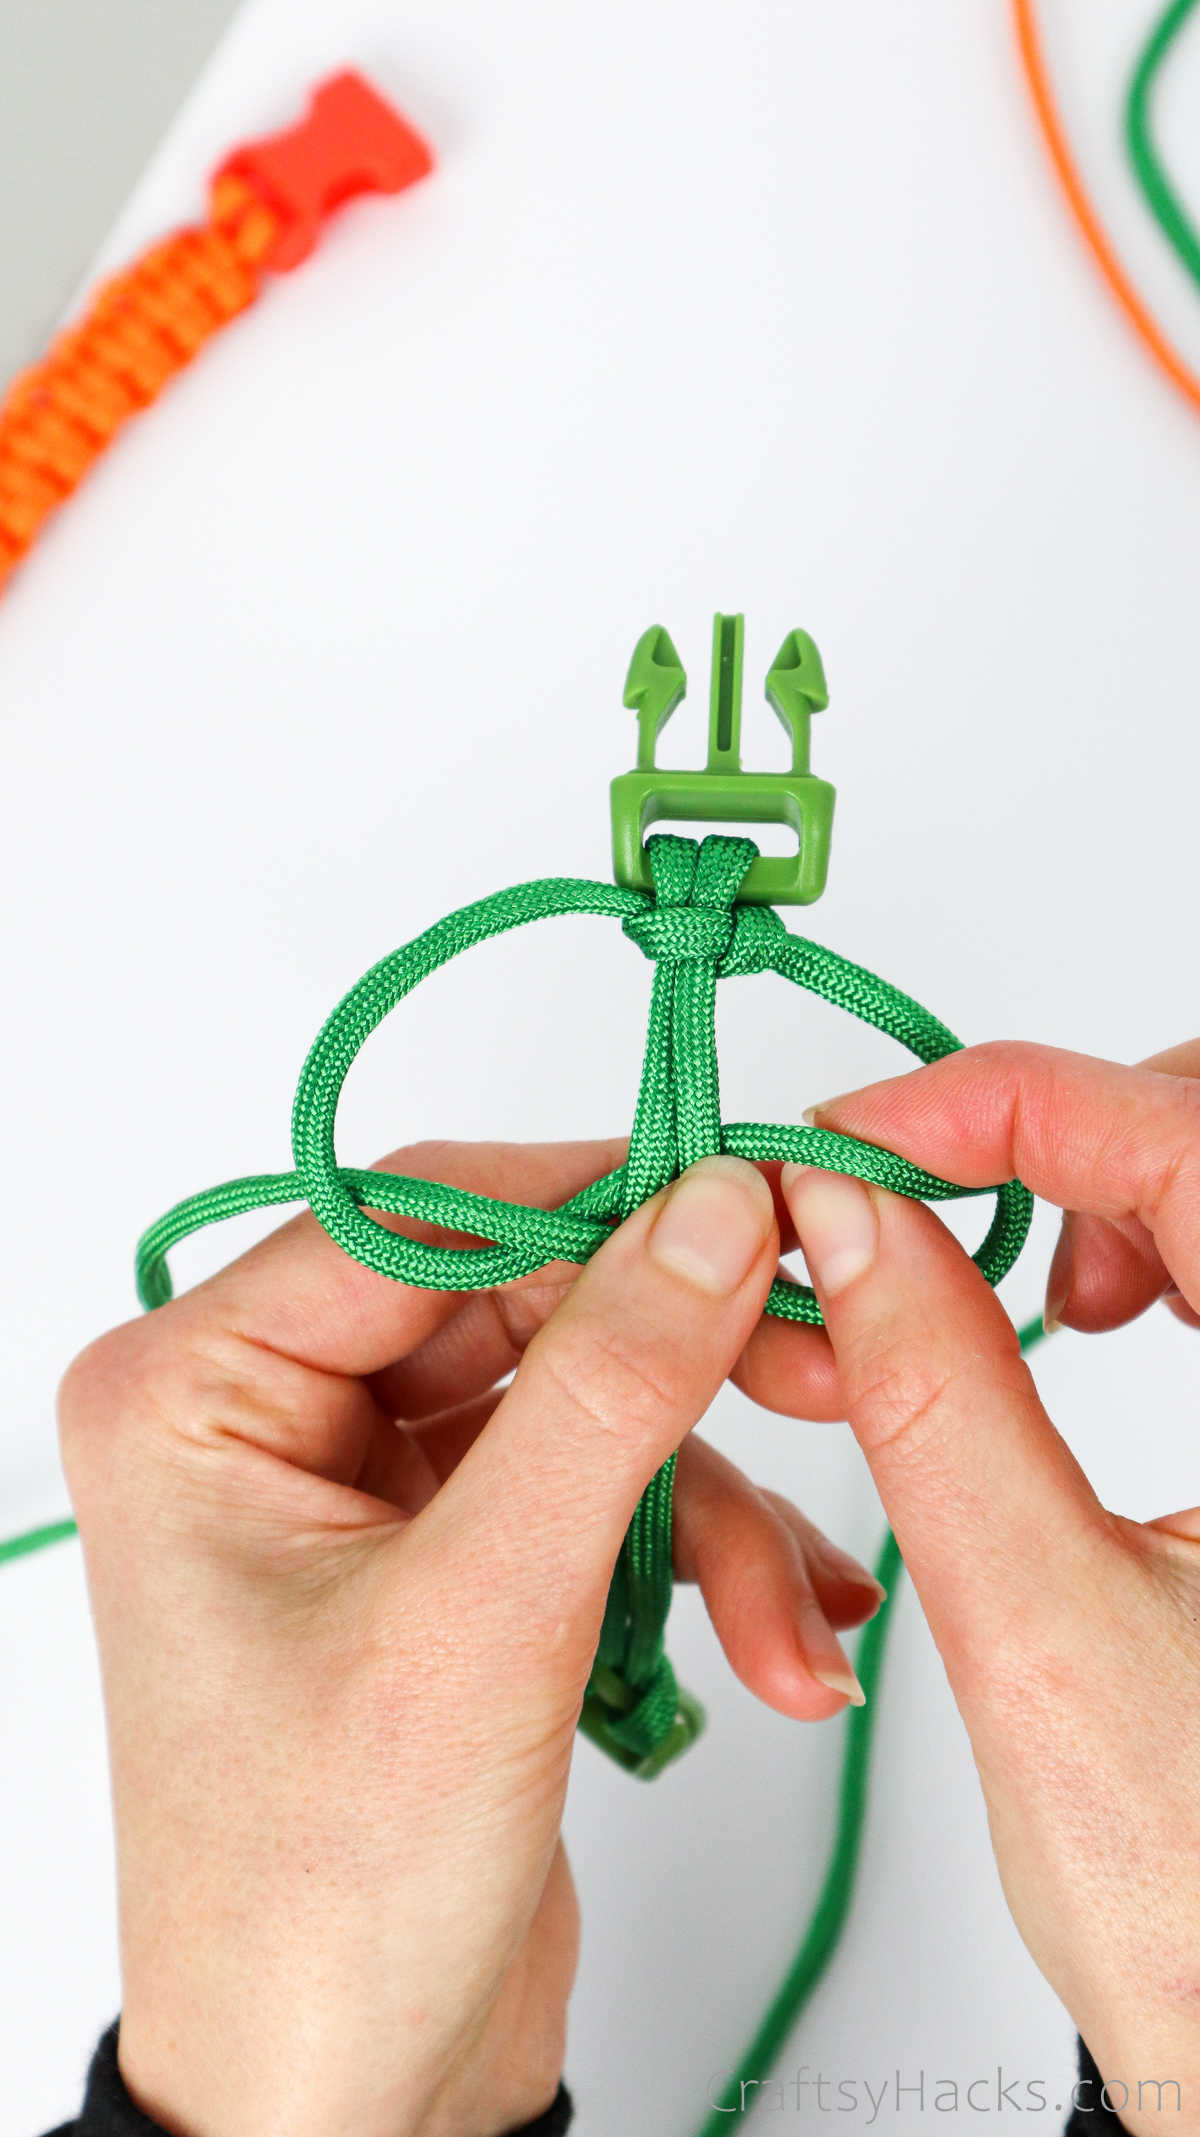
Take the cord on the left and pull it over the right cord, then under the middle cords.
Tug at the ends to tighten the know
This is how your first square knot should look like.
Tug at both ends to secure the knot in place before you proceed.
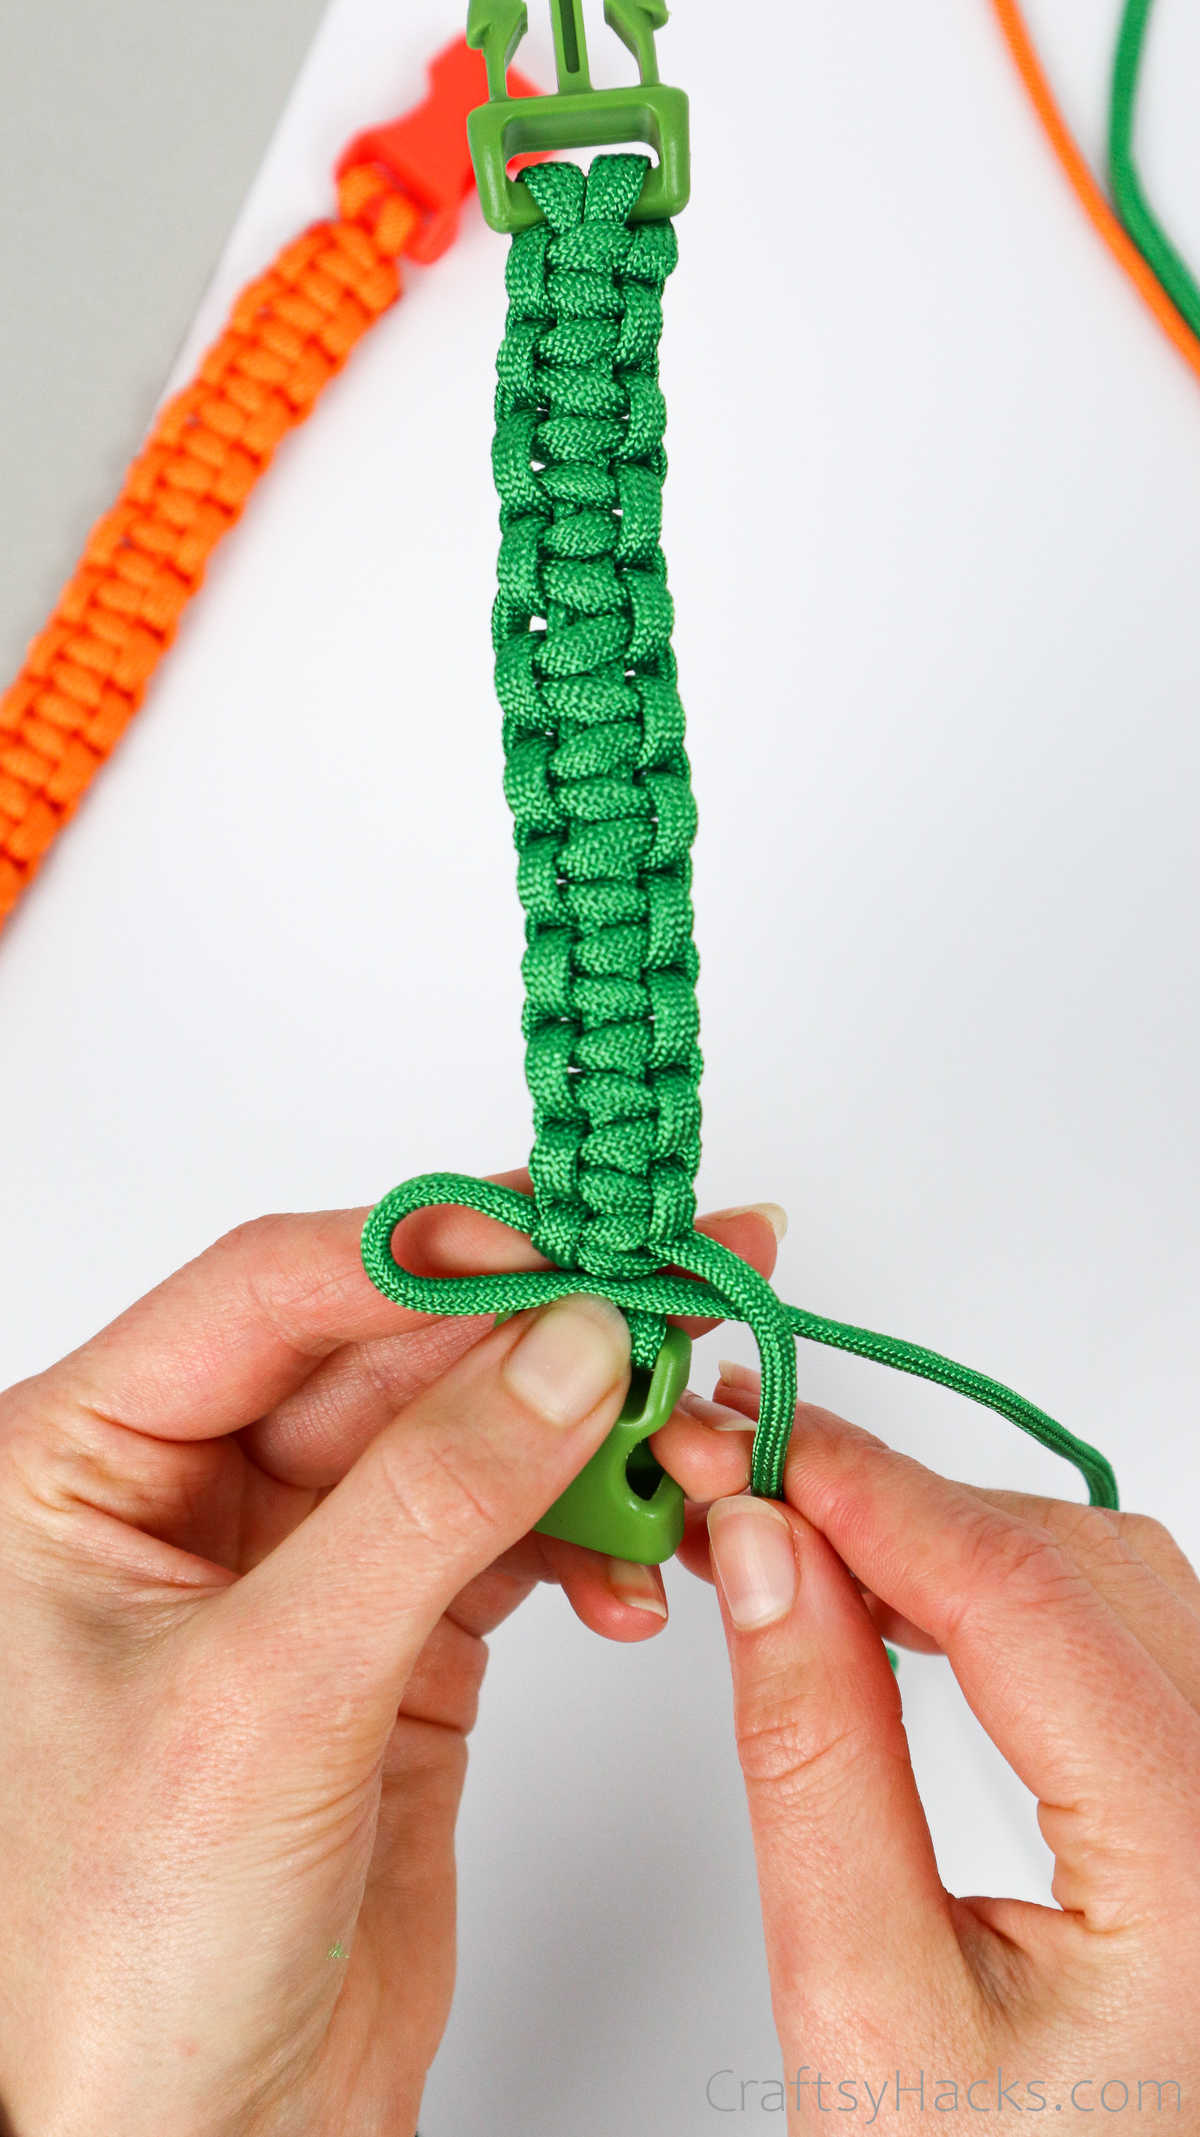
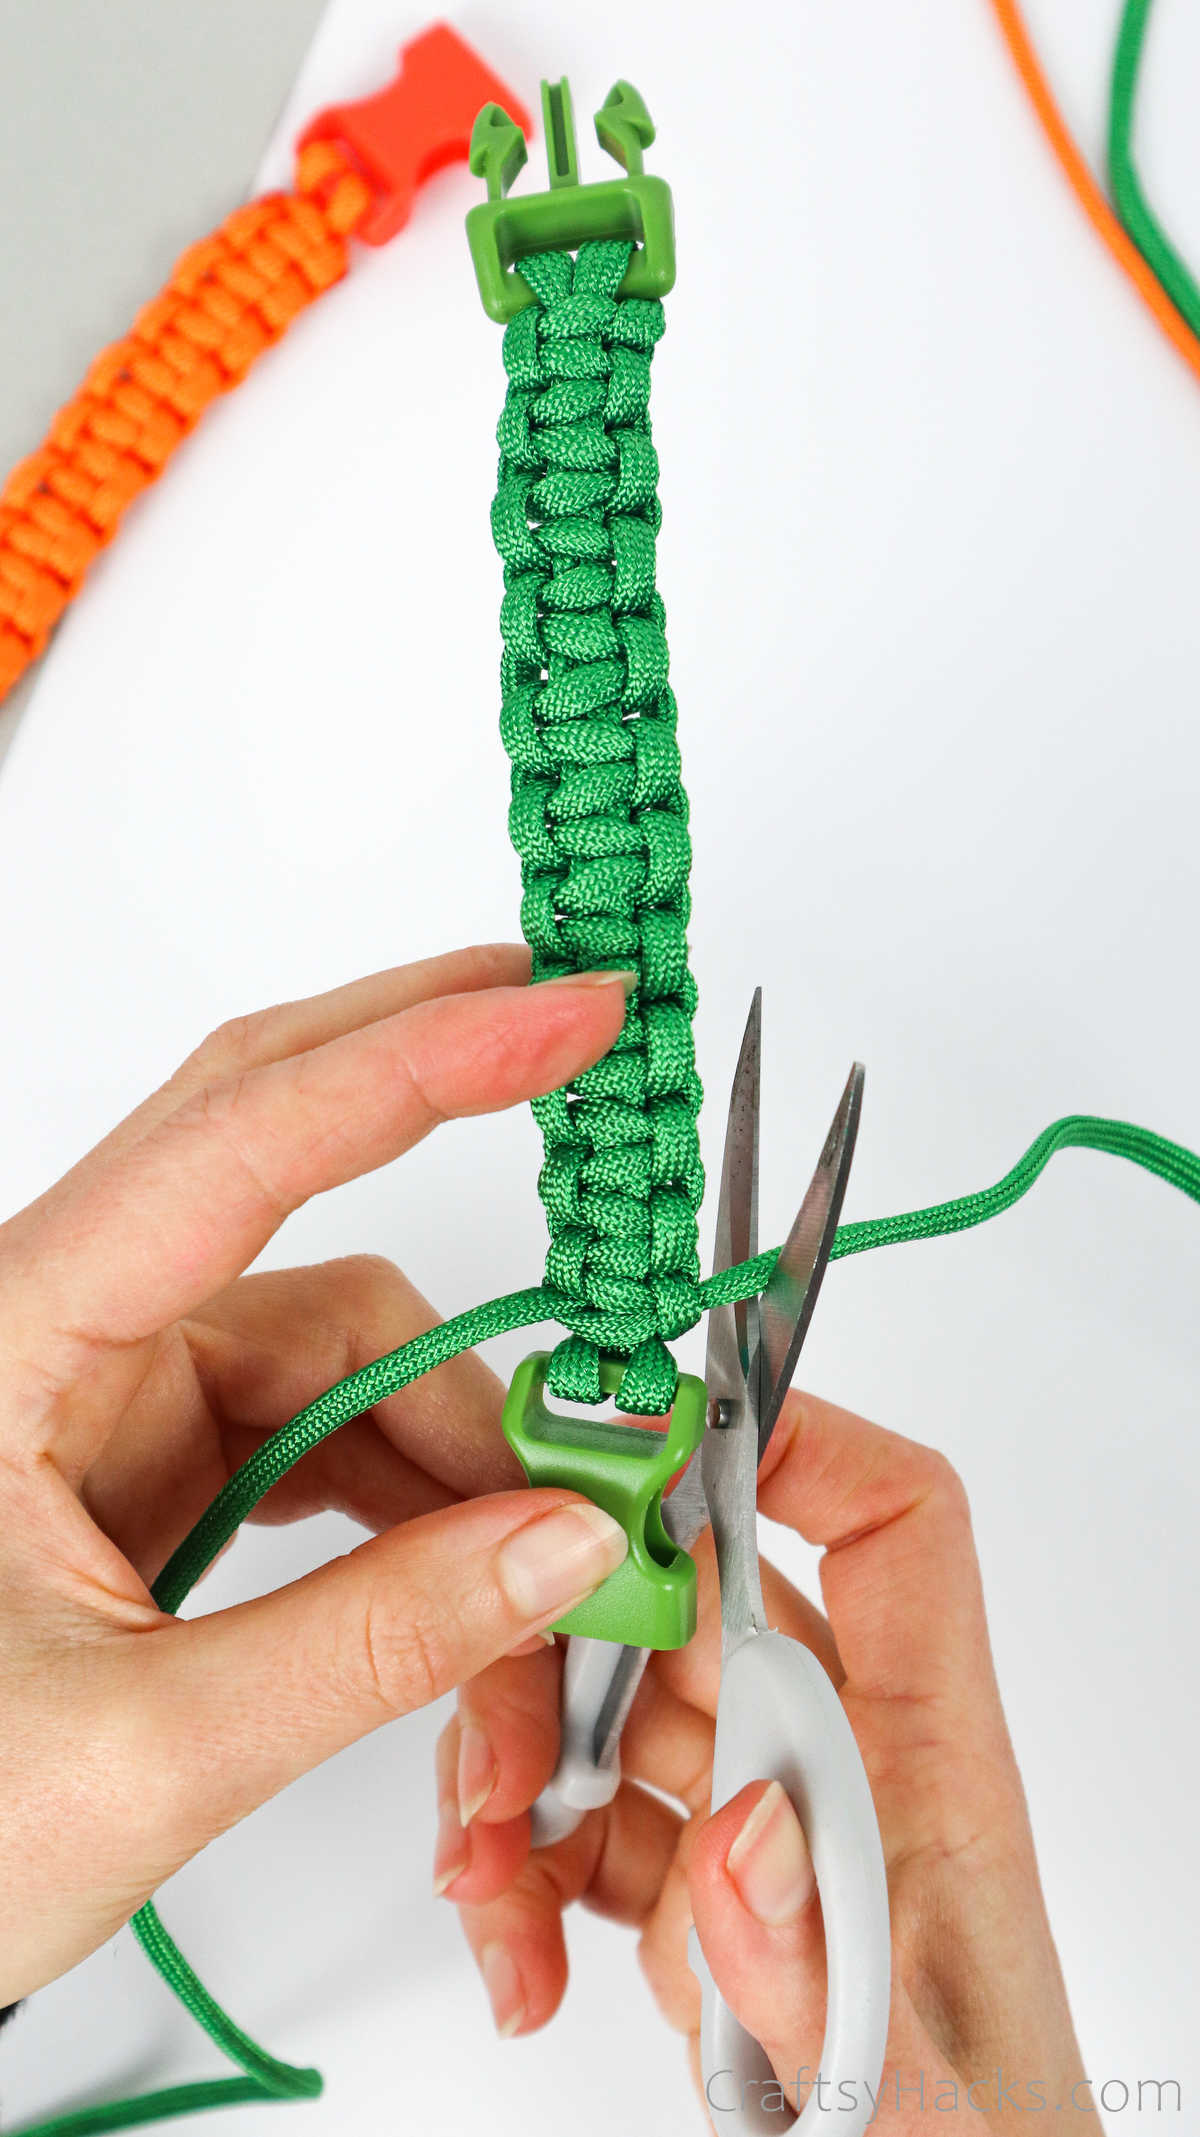
When you make the very last square knot right above the buckle clip, its time to stop!
Simply clip off the extra bits of cord, leaving just a little bit.
Dont worry; youll have a smooth finish, I promise.
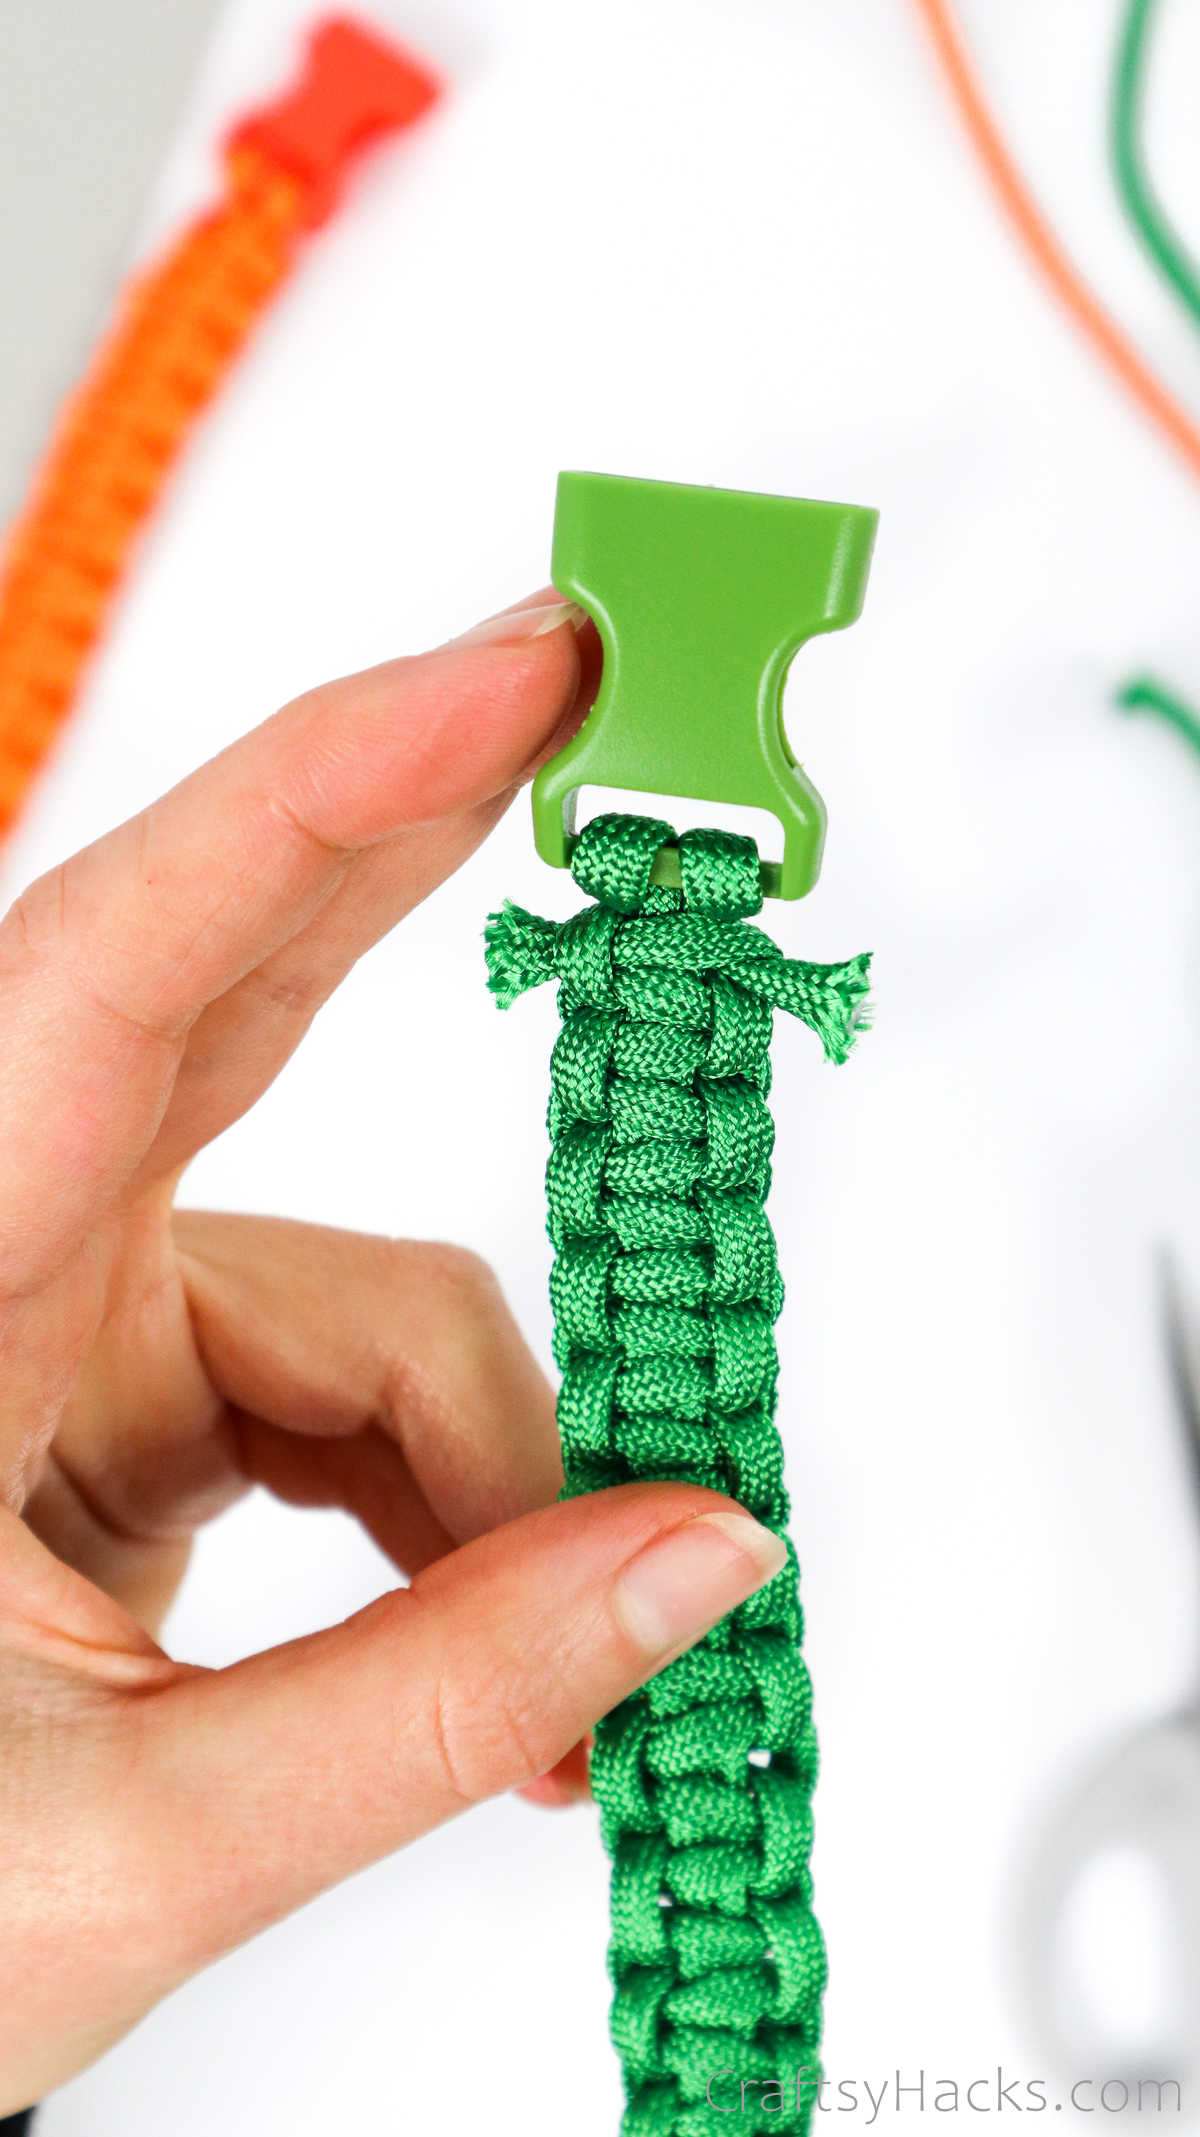
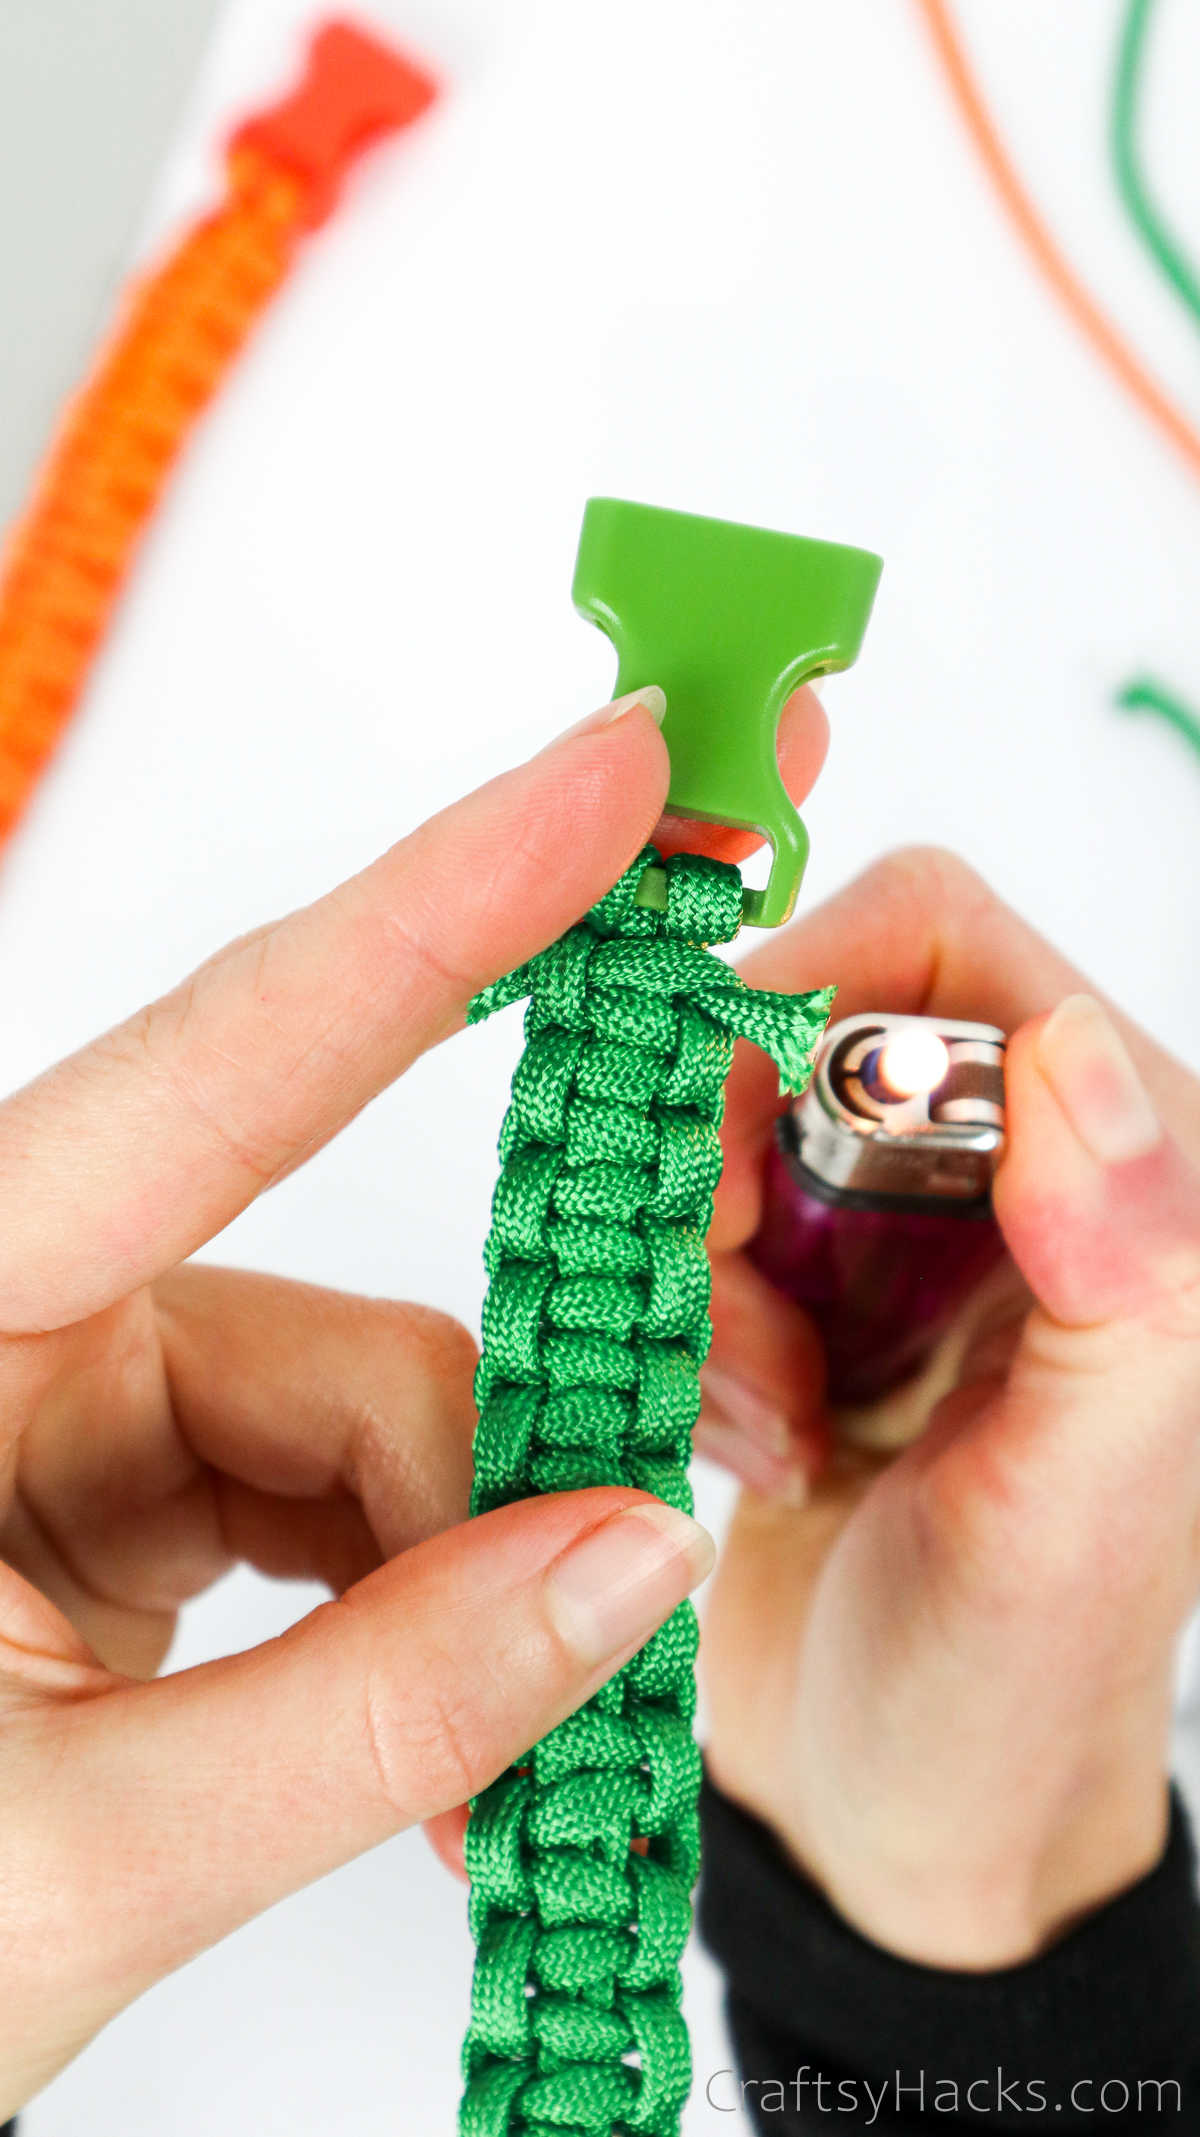
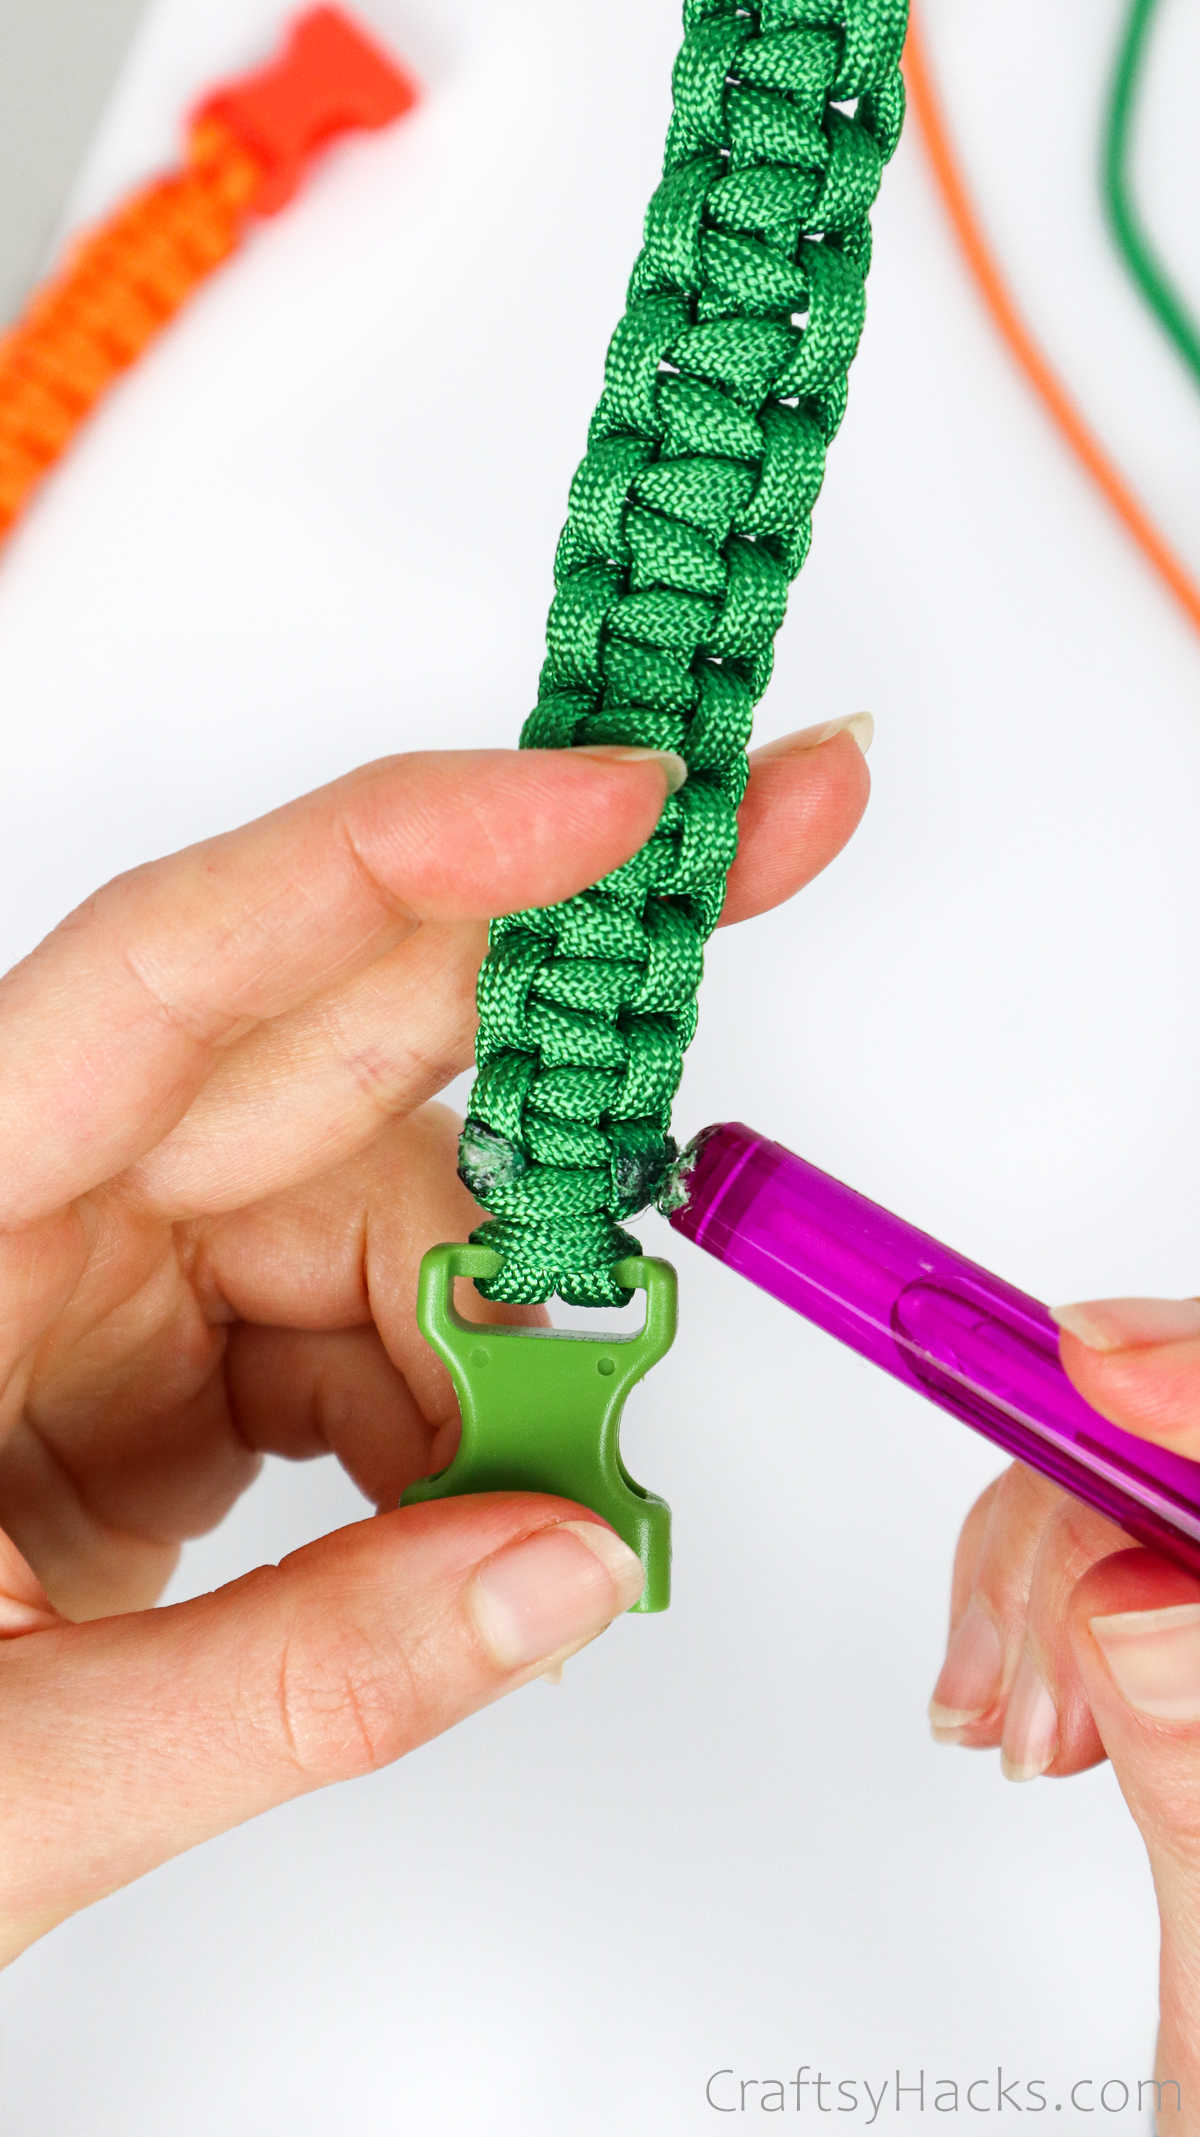
Step 8
Grab your lighter once more and melt the two ends like you did earlier.
Dont melt it all the way down, just the tips.
You want to be super careful not to burn the actual bracelet, just the ends.
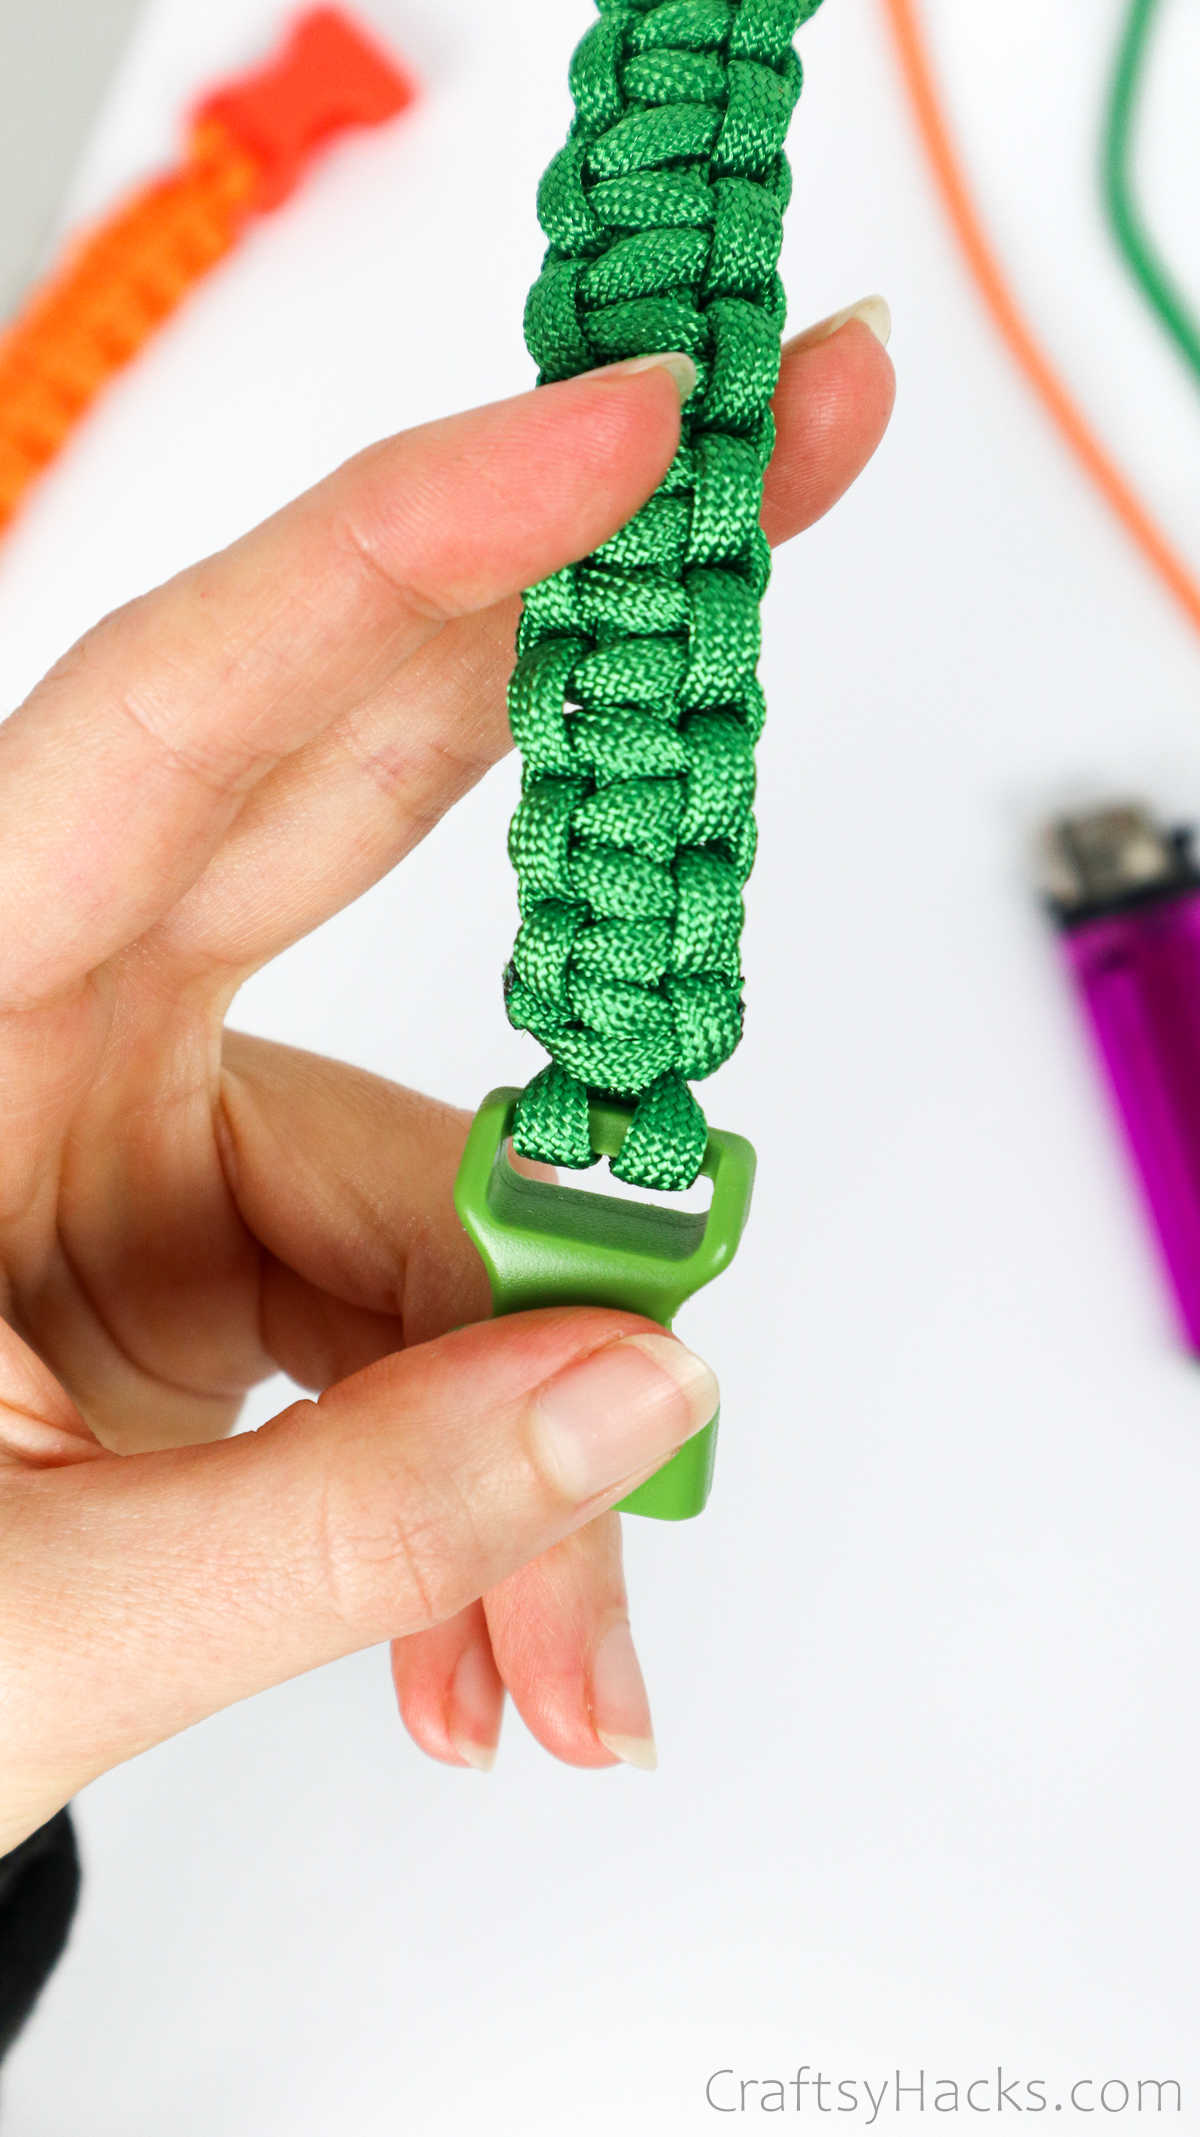
You just have to flatten the ends and smoothen them into the back of the cord.
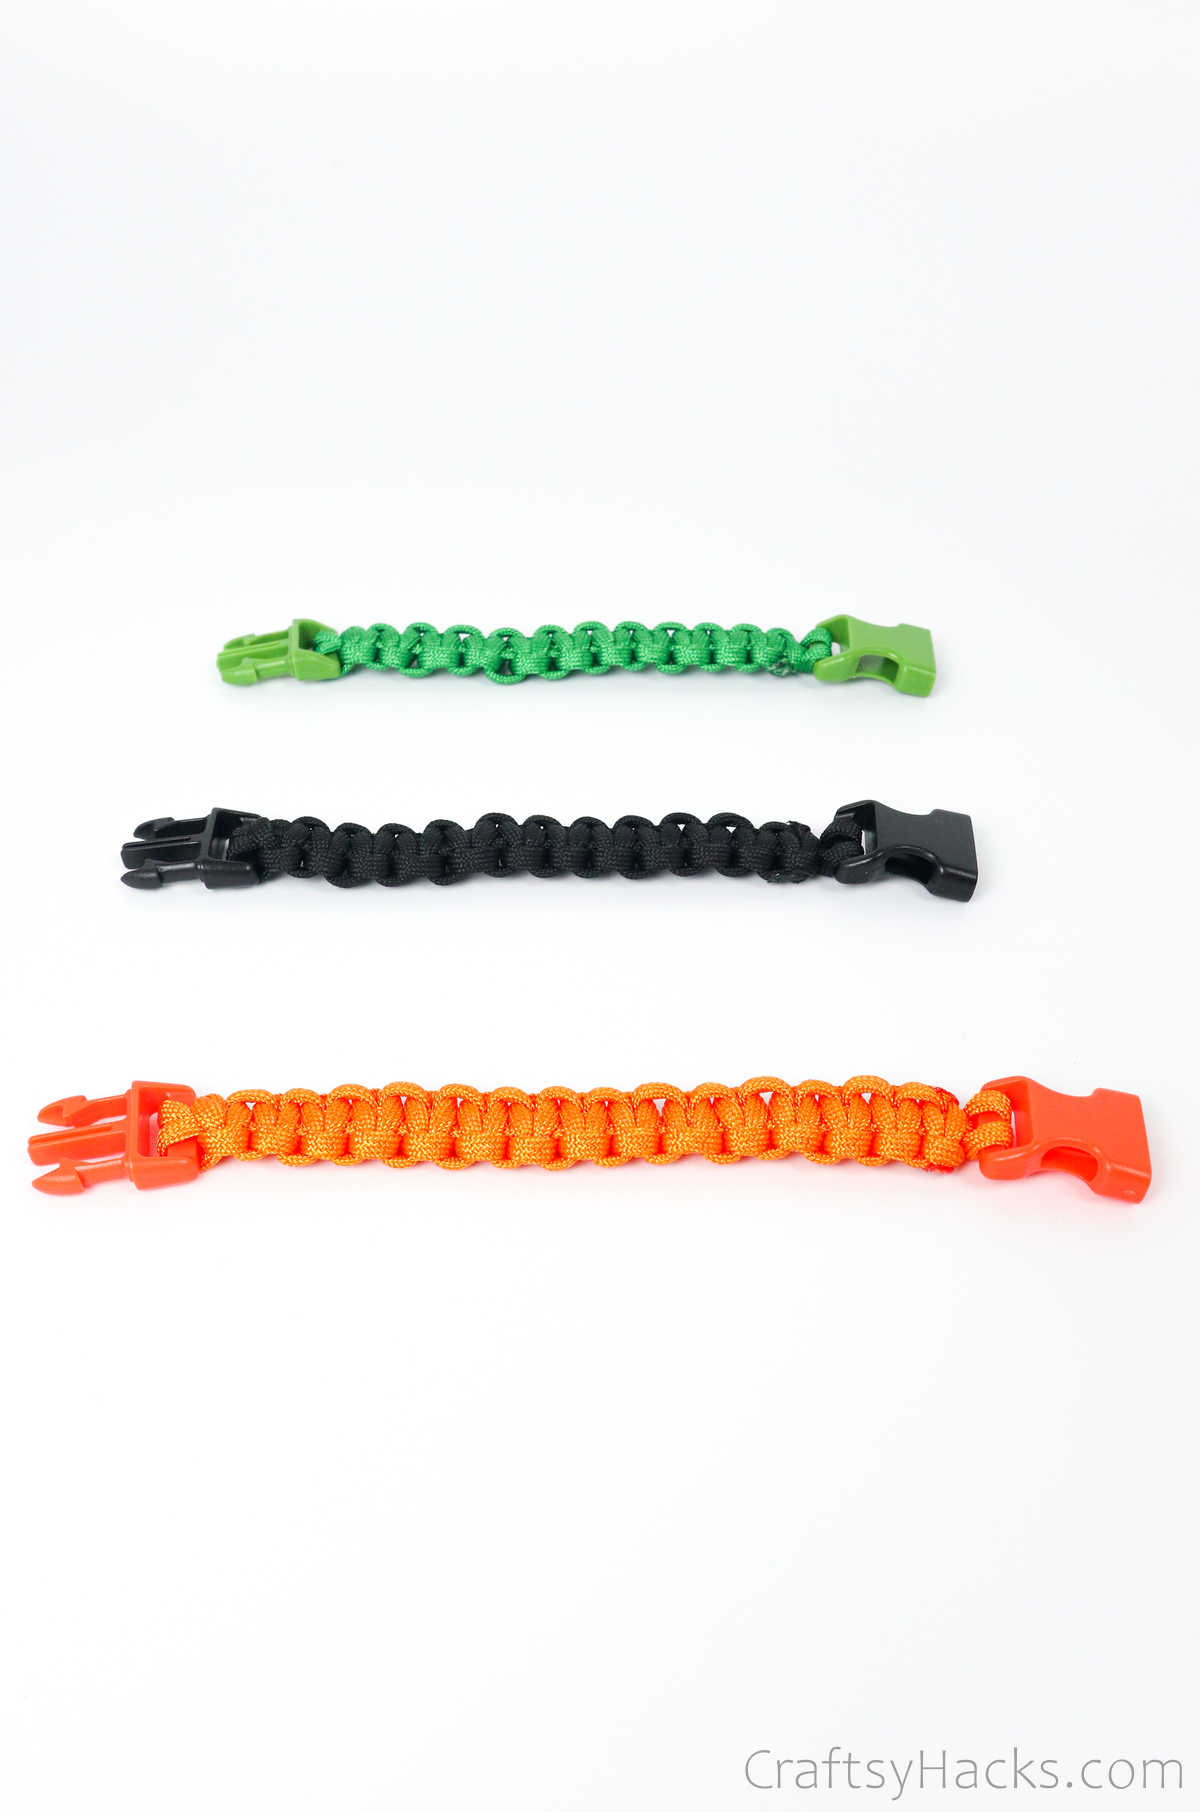
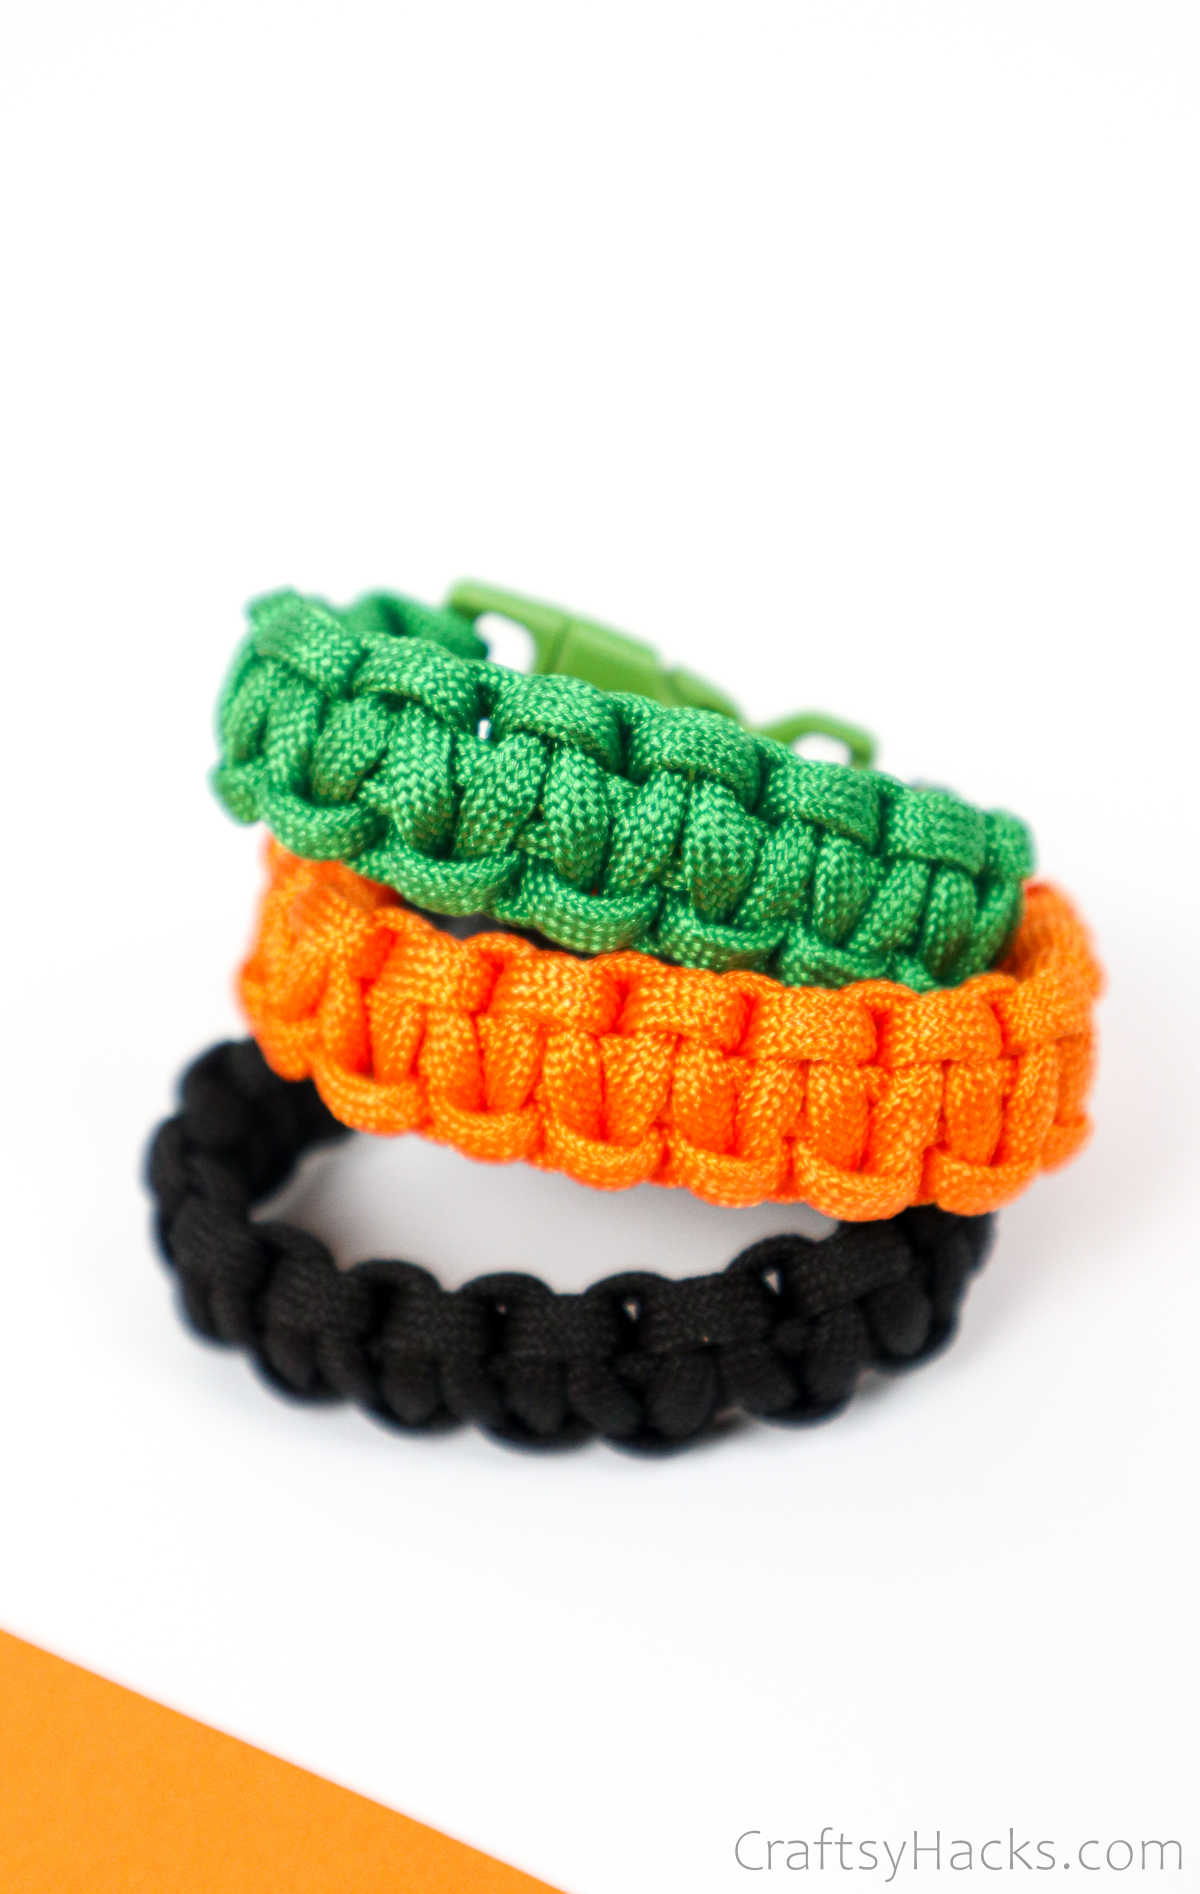
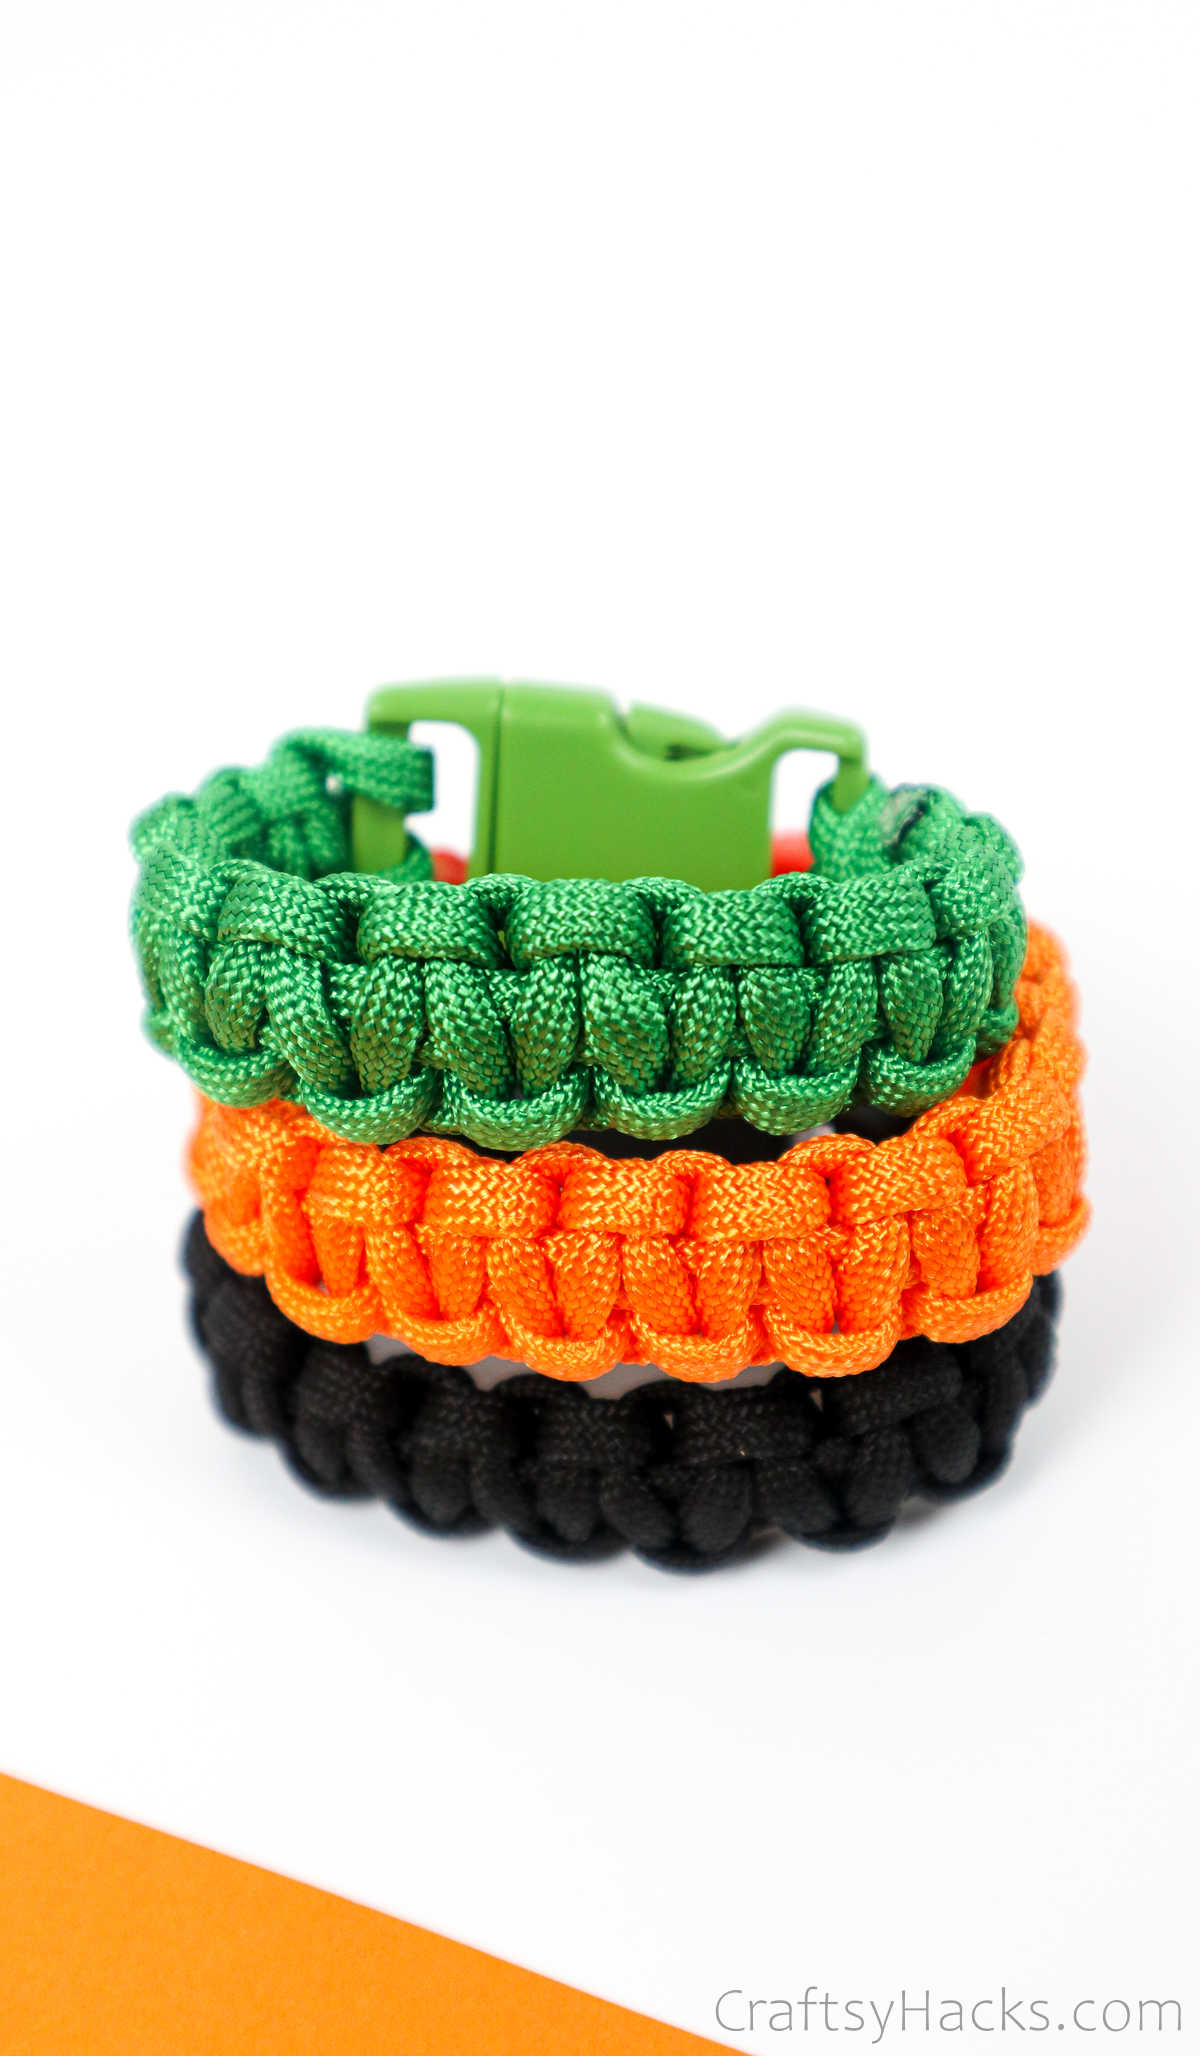
Thats pretty much it; your paracord bracelets are all done.
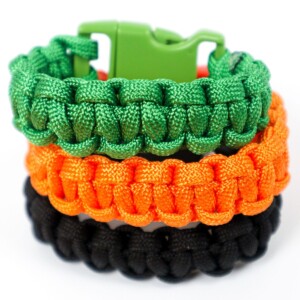
Feel free to experiment with size, colors, and even patterns to make plenty more bracelets.
Who Can Make This DIY Bracelet?
Other DIY Projects You Might Like
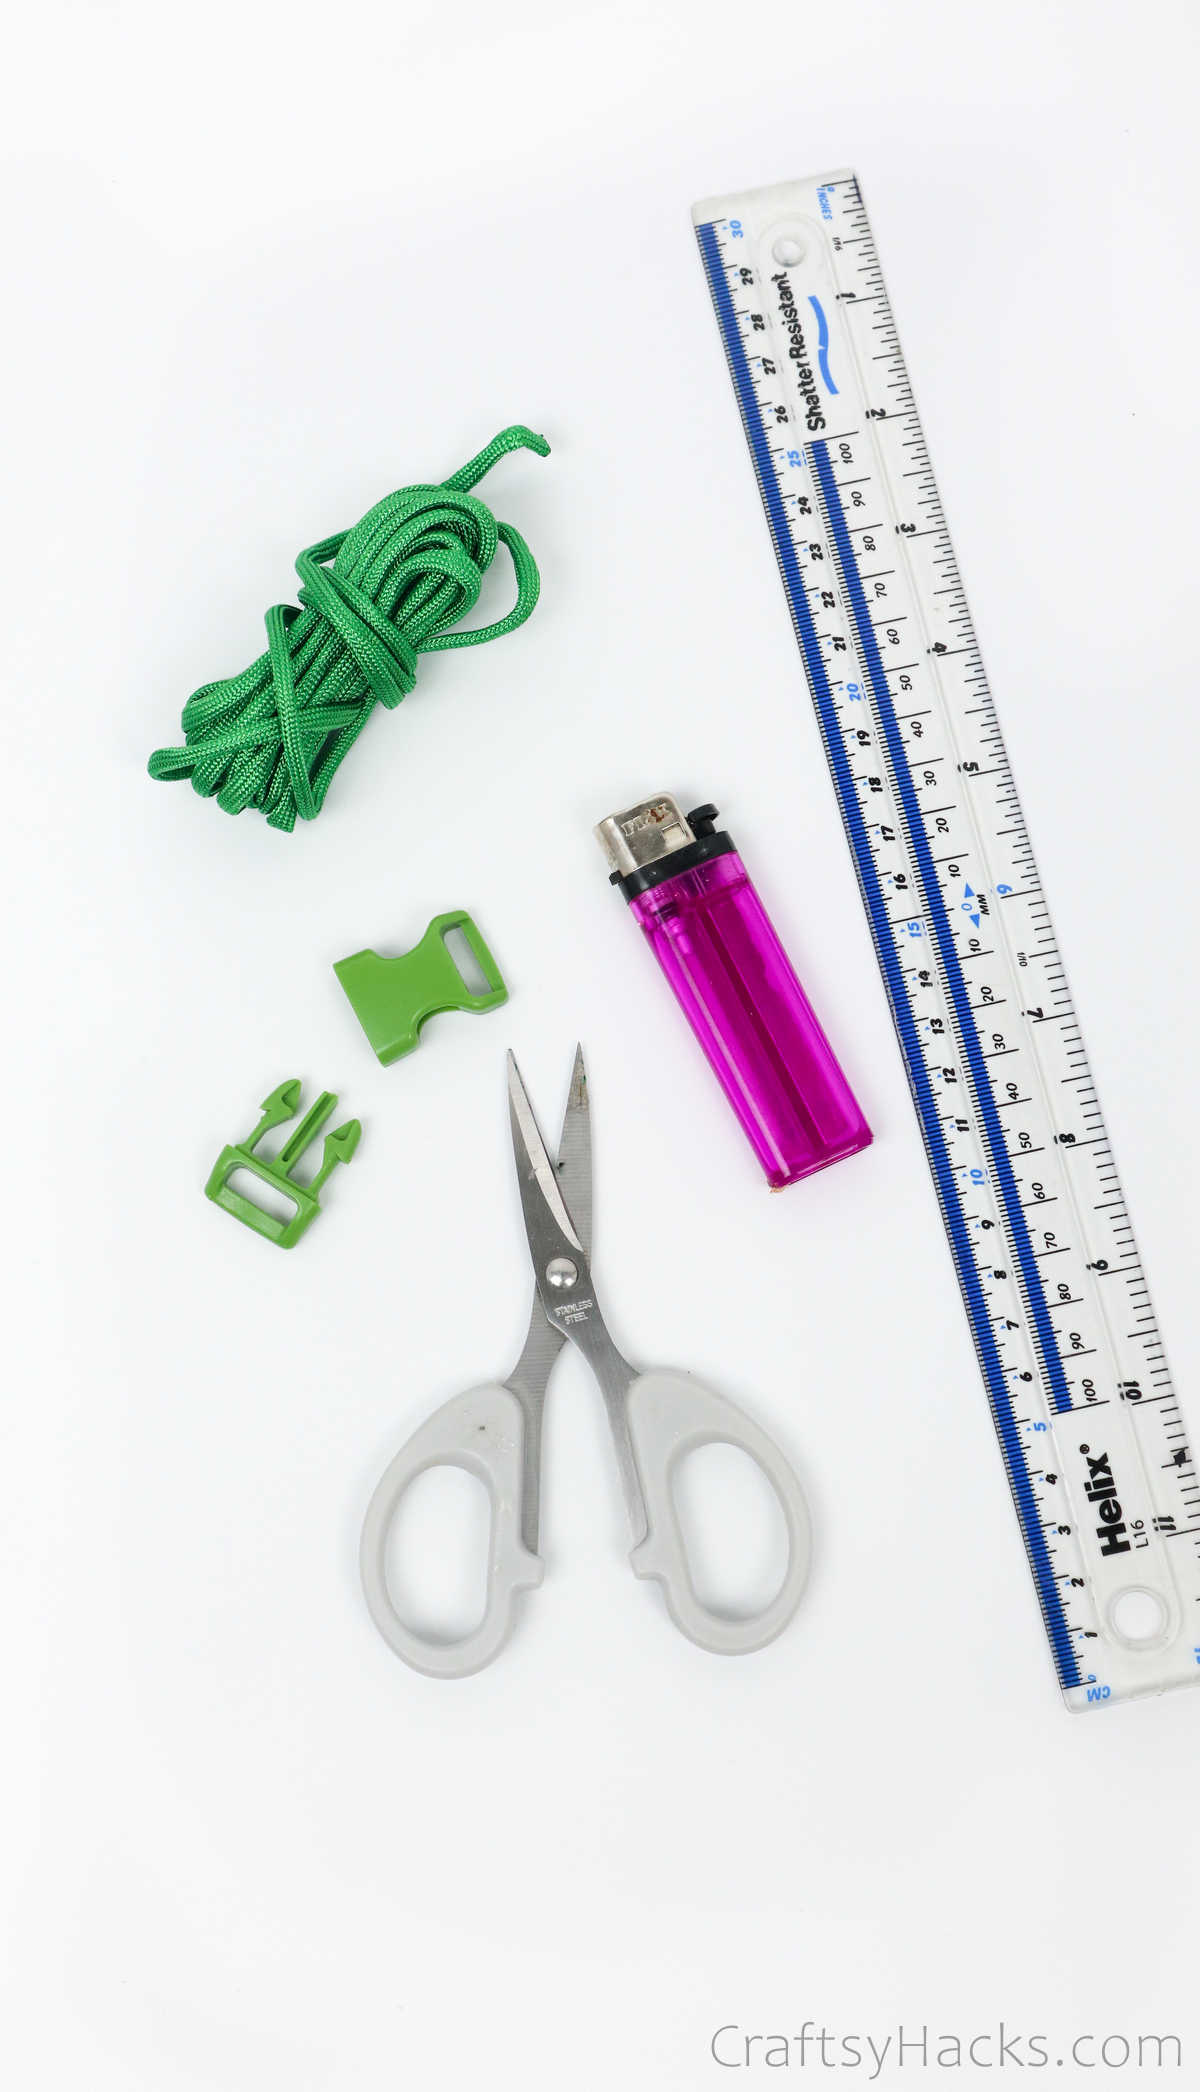
Equipment
Materials
Instructions
Video