HomeDIY
This post may contain affiliate links:full affiliate disclosure.
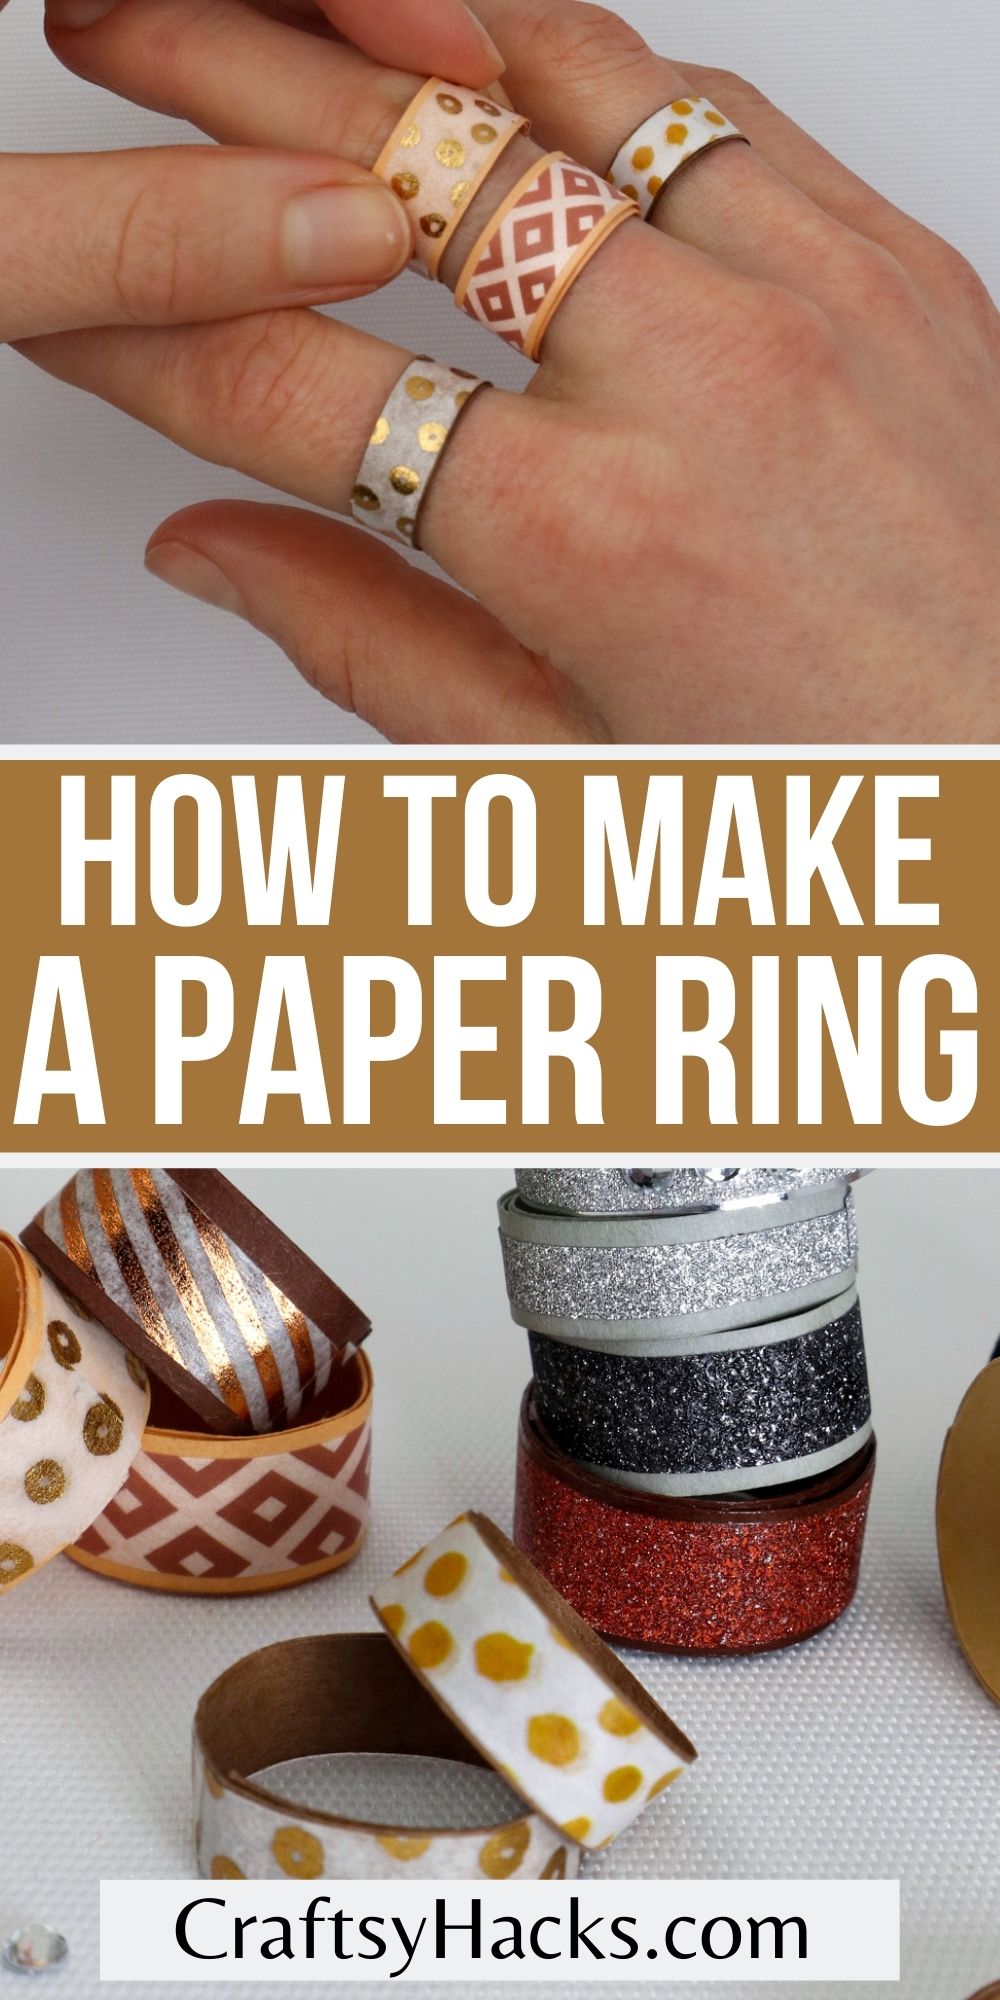
Make these DIY paper rings with the kids for a fun weekend activity.
Here is a full tutorial on how to make the rings.
I know what youre thinking: paper jewelry?
It probably sounds like the paper tiaras that you get with a Happy Meal.
But, hear me because paper jewelry can be quite a creative way to show off your crafting skills.

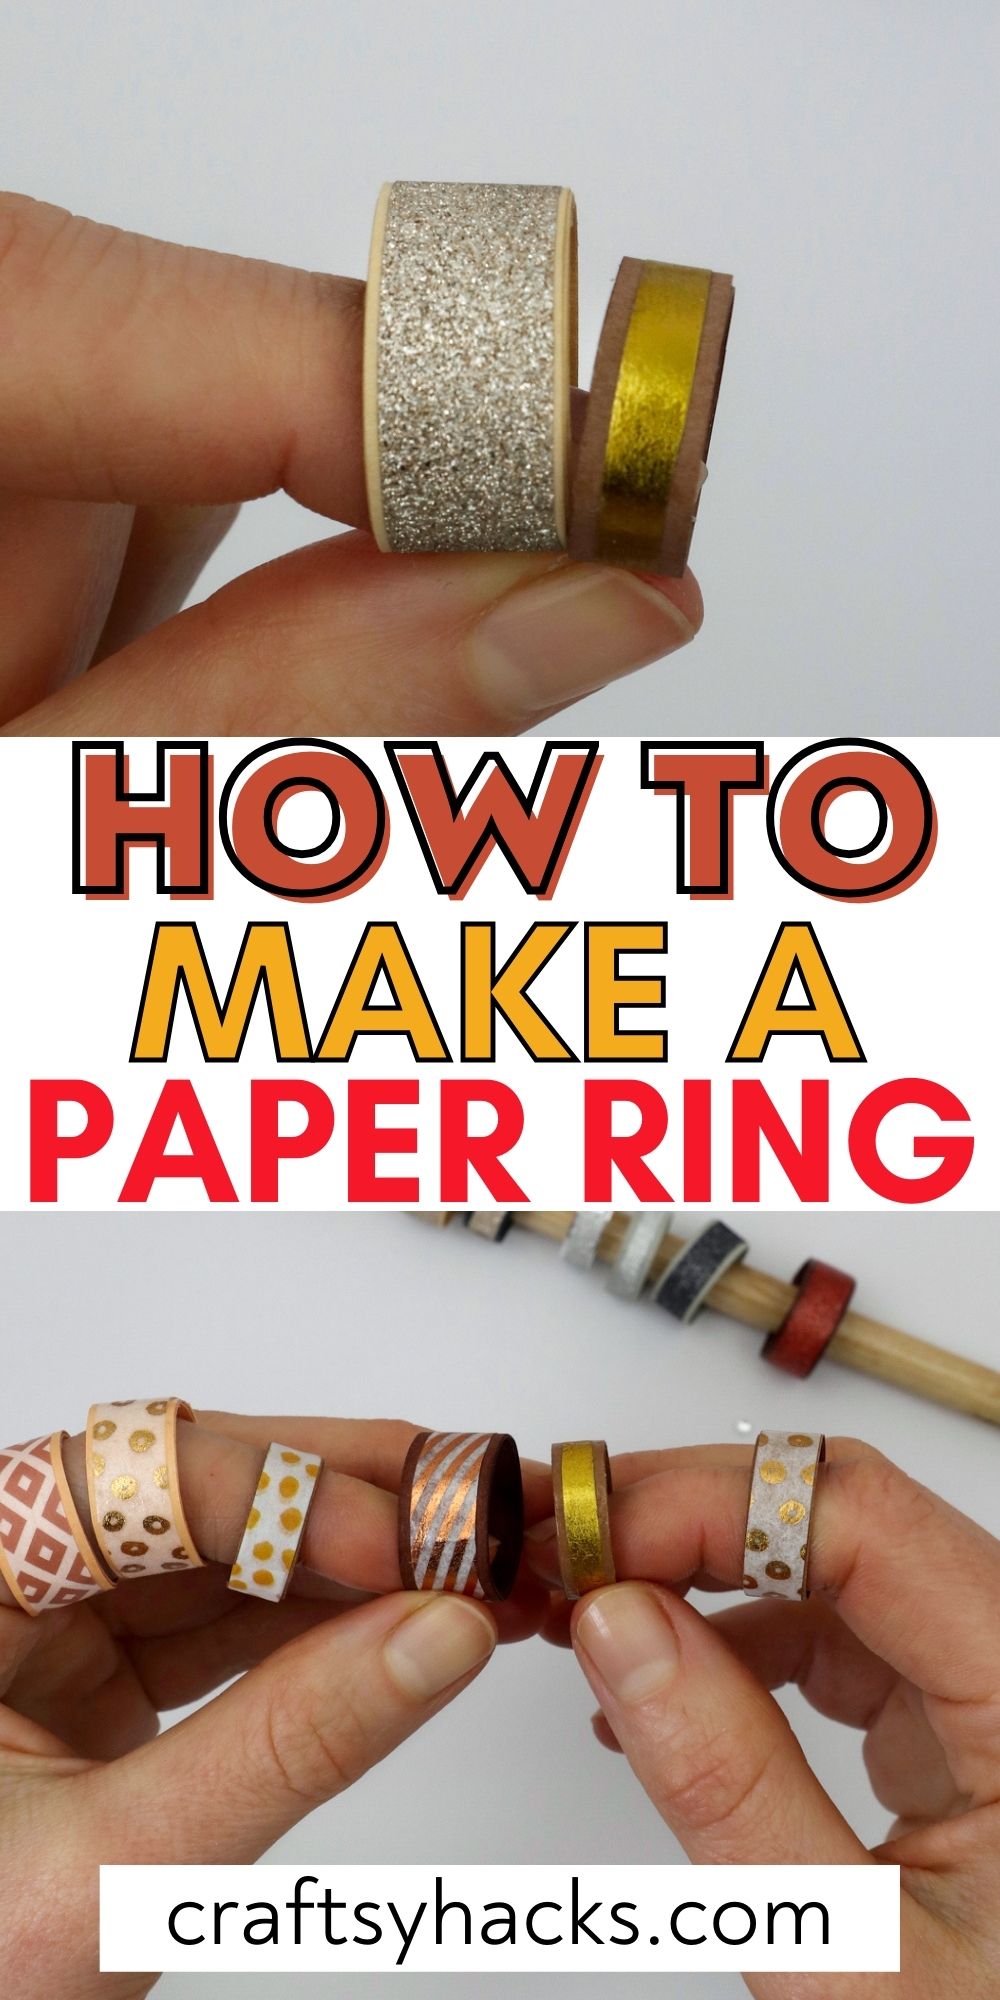
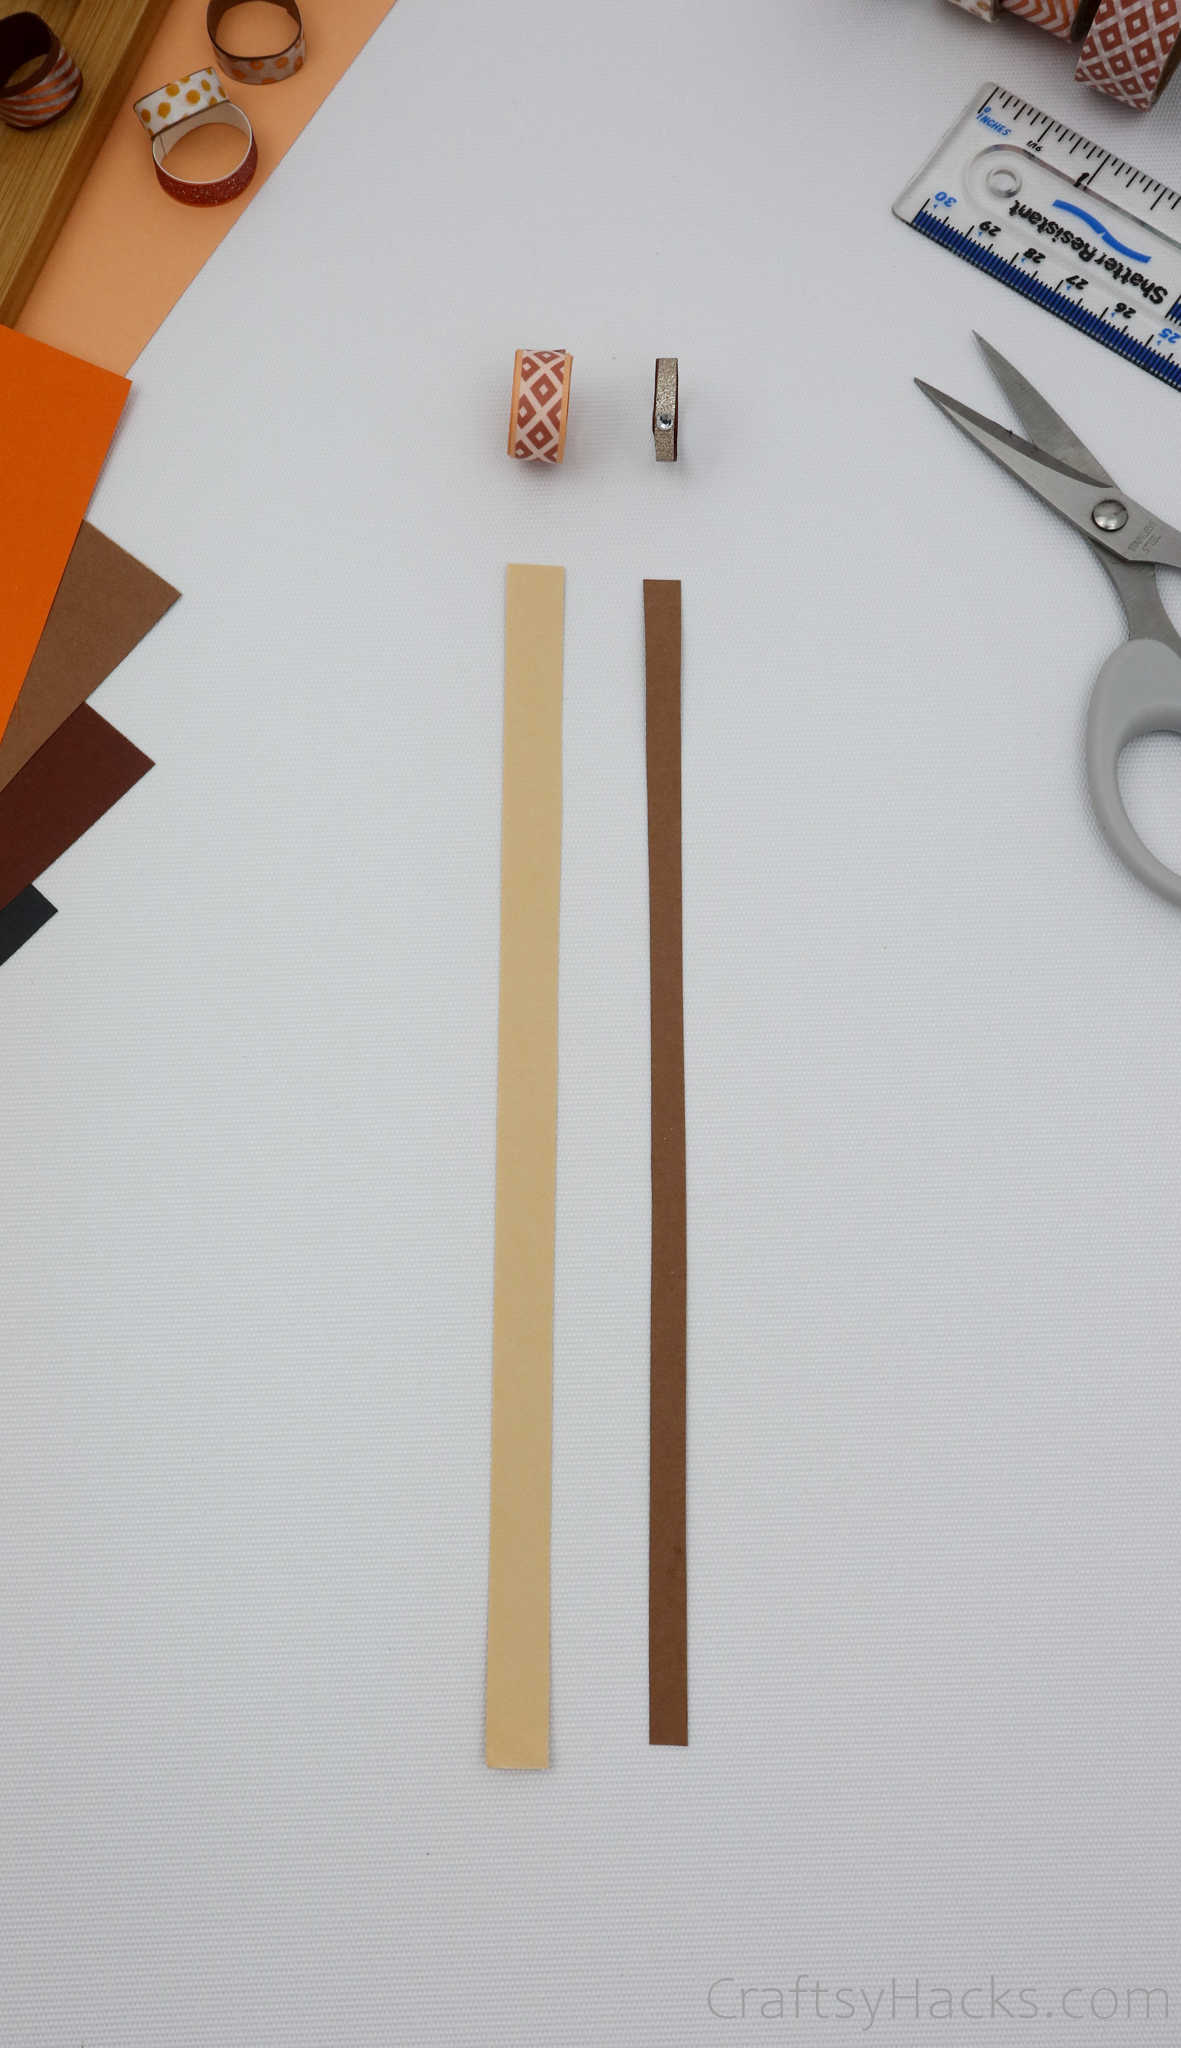
A paper ring is easy to make, and you dont need anything but the most basic craft supplies.
But the finished product?
That can turn out to be really eclectic and edgy!
It all comes down to the kind of paper you decide to use.
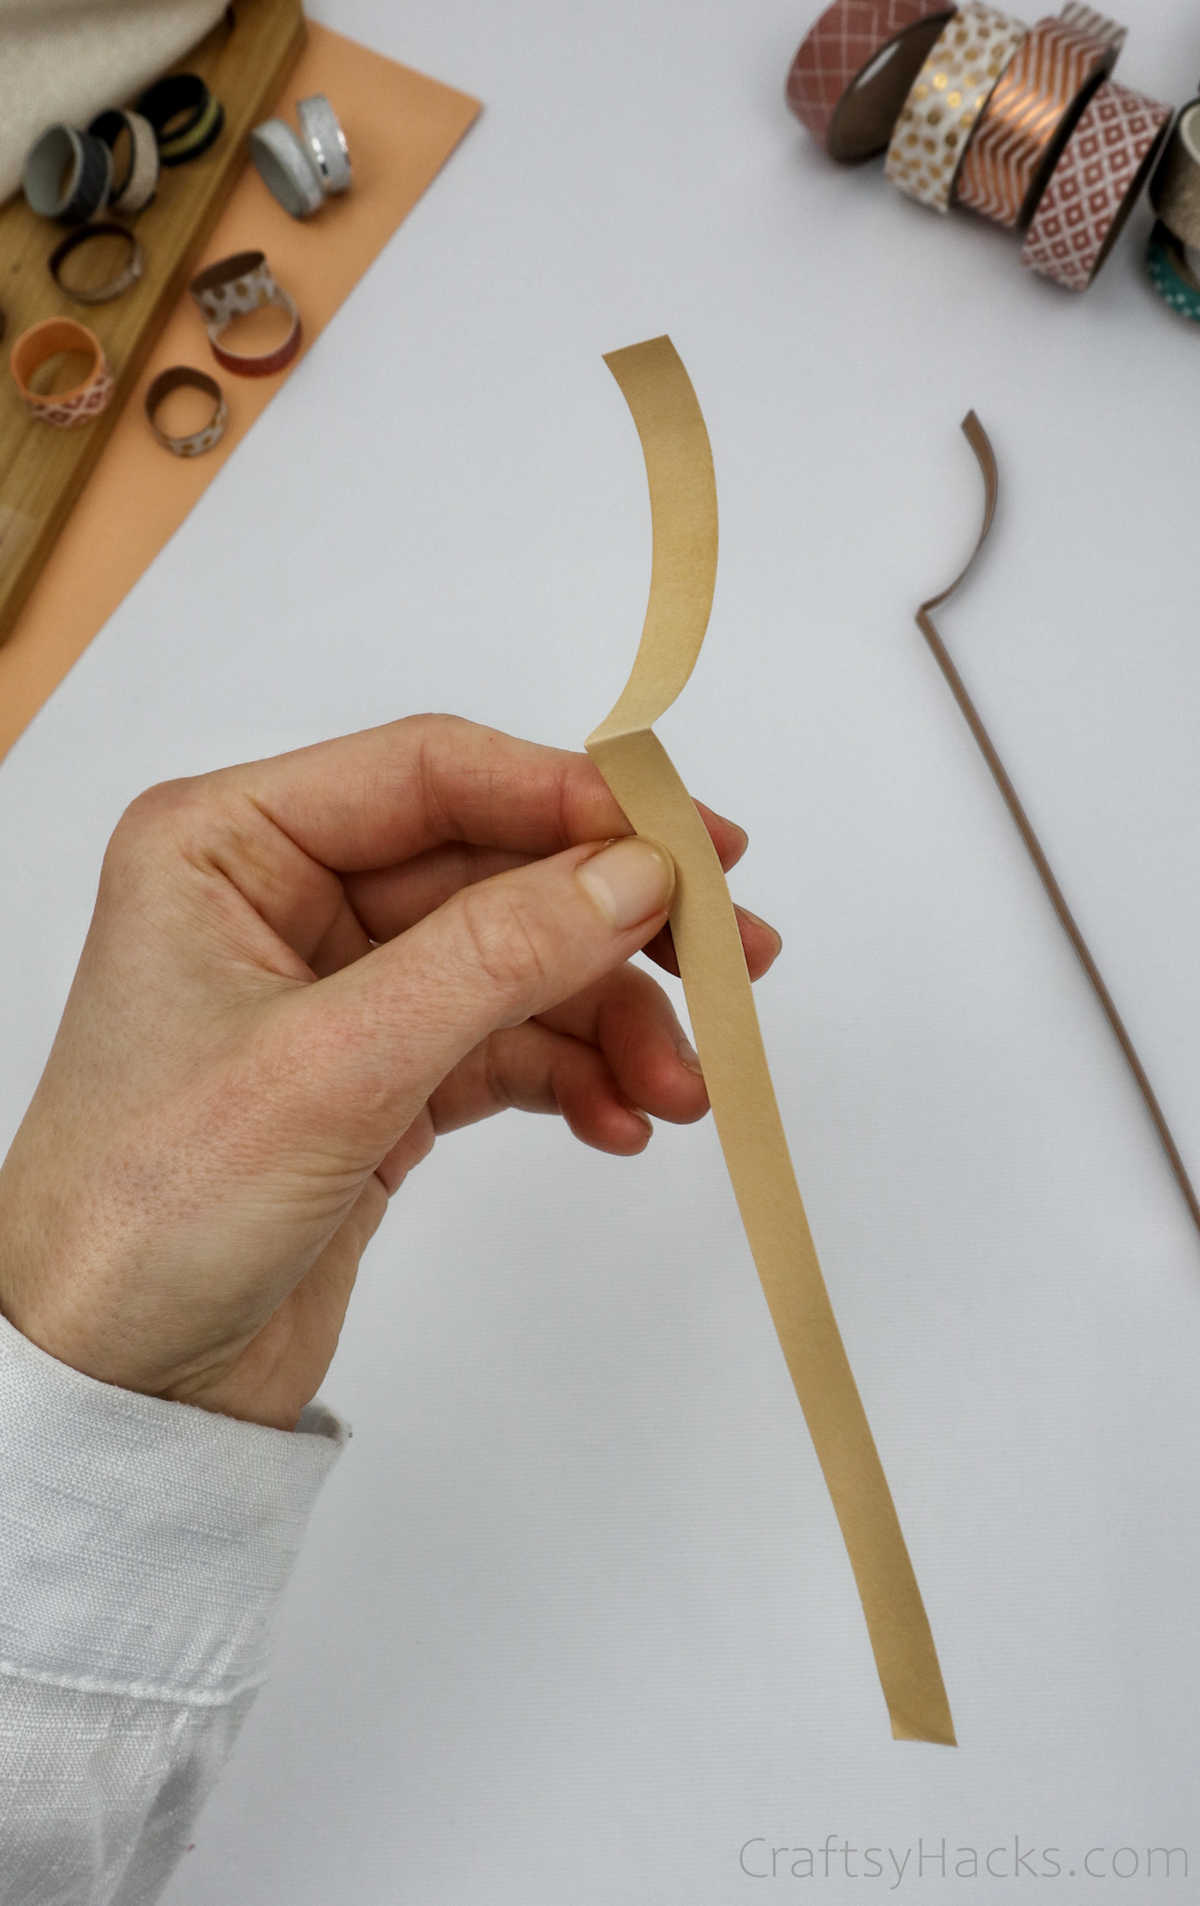
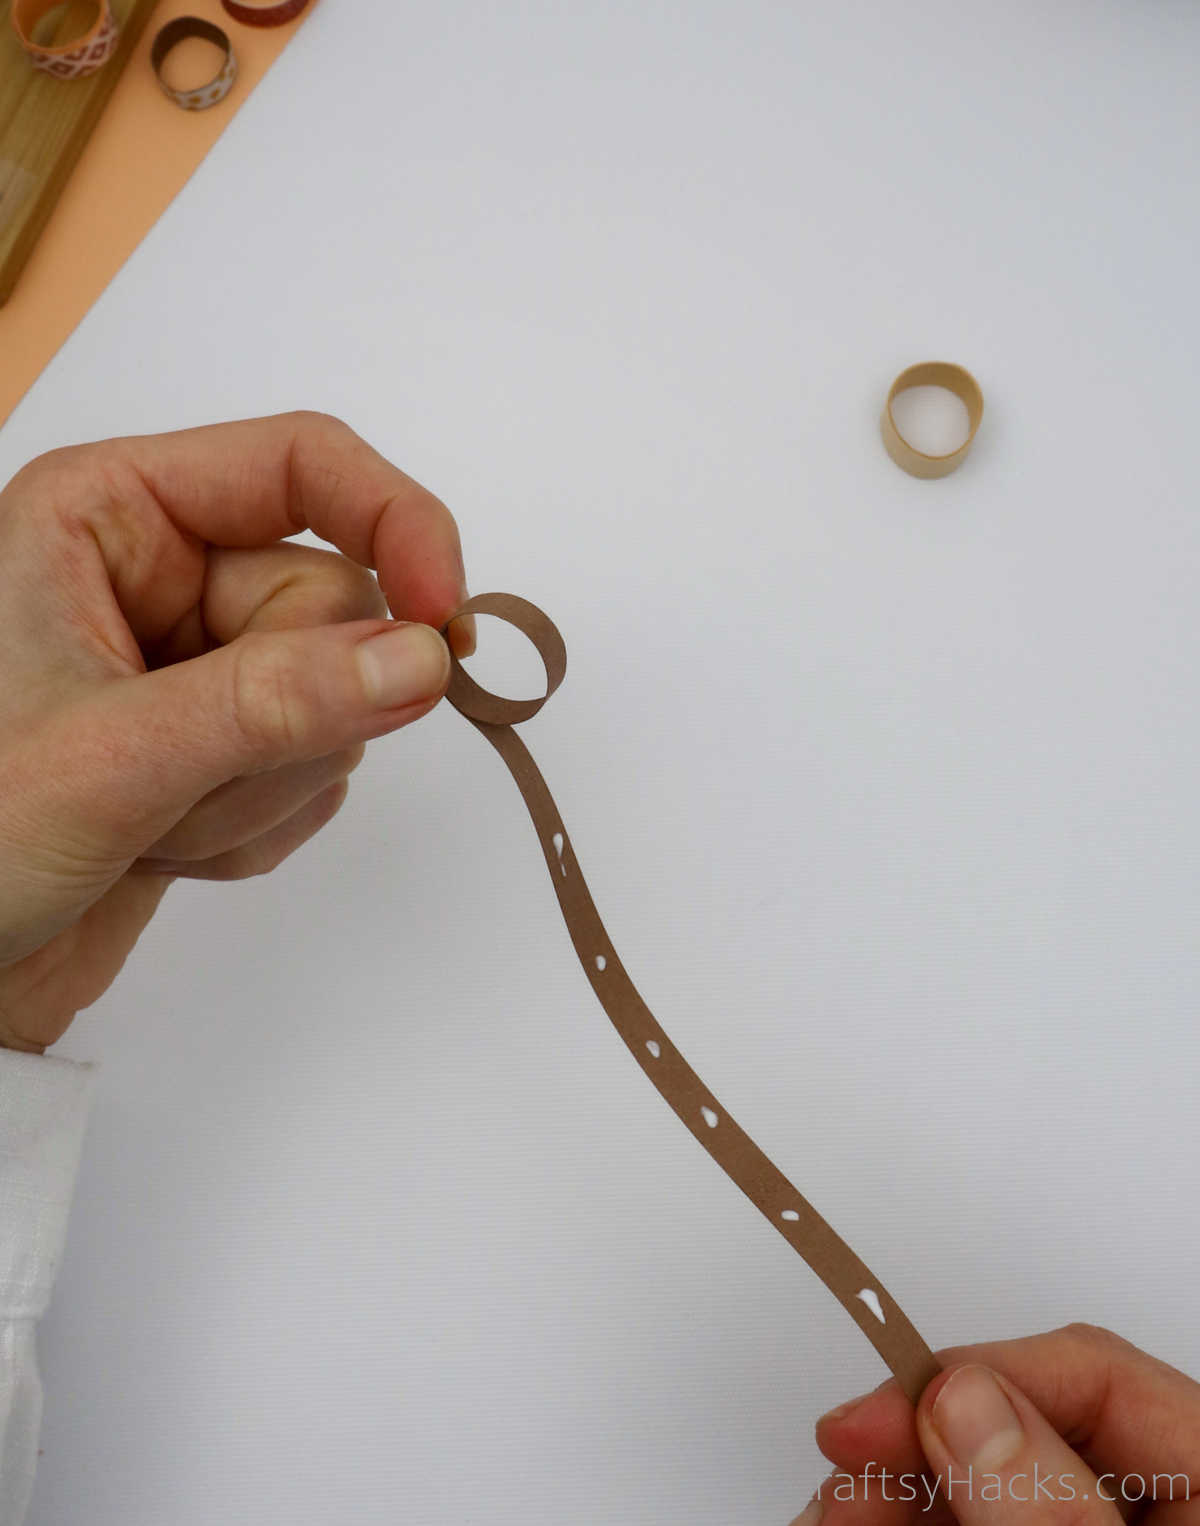
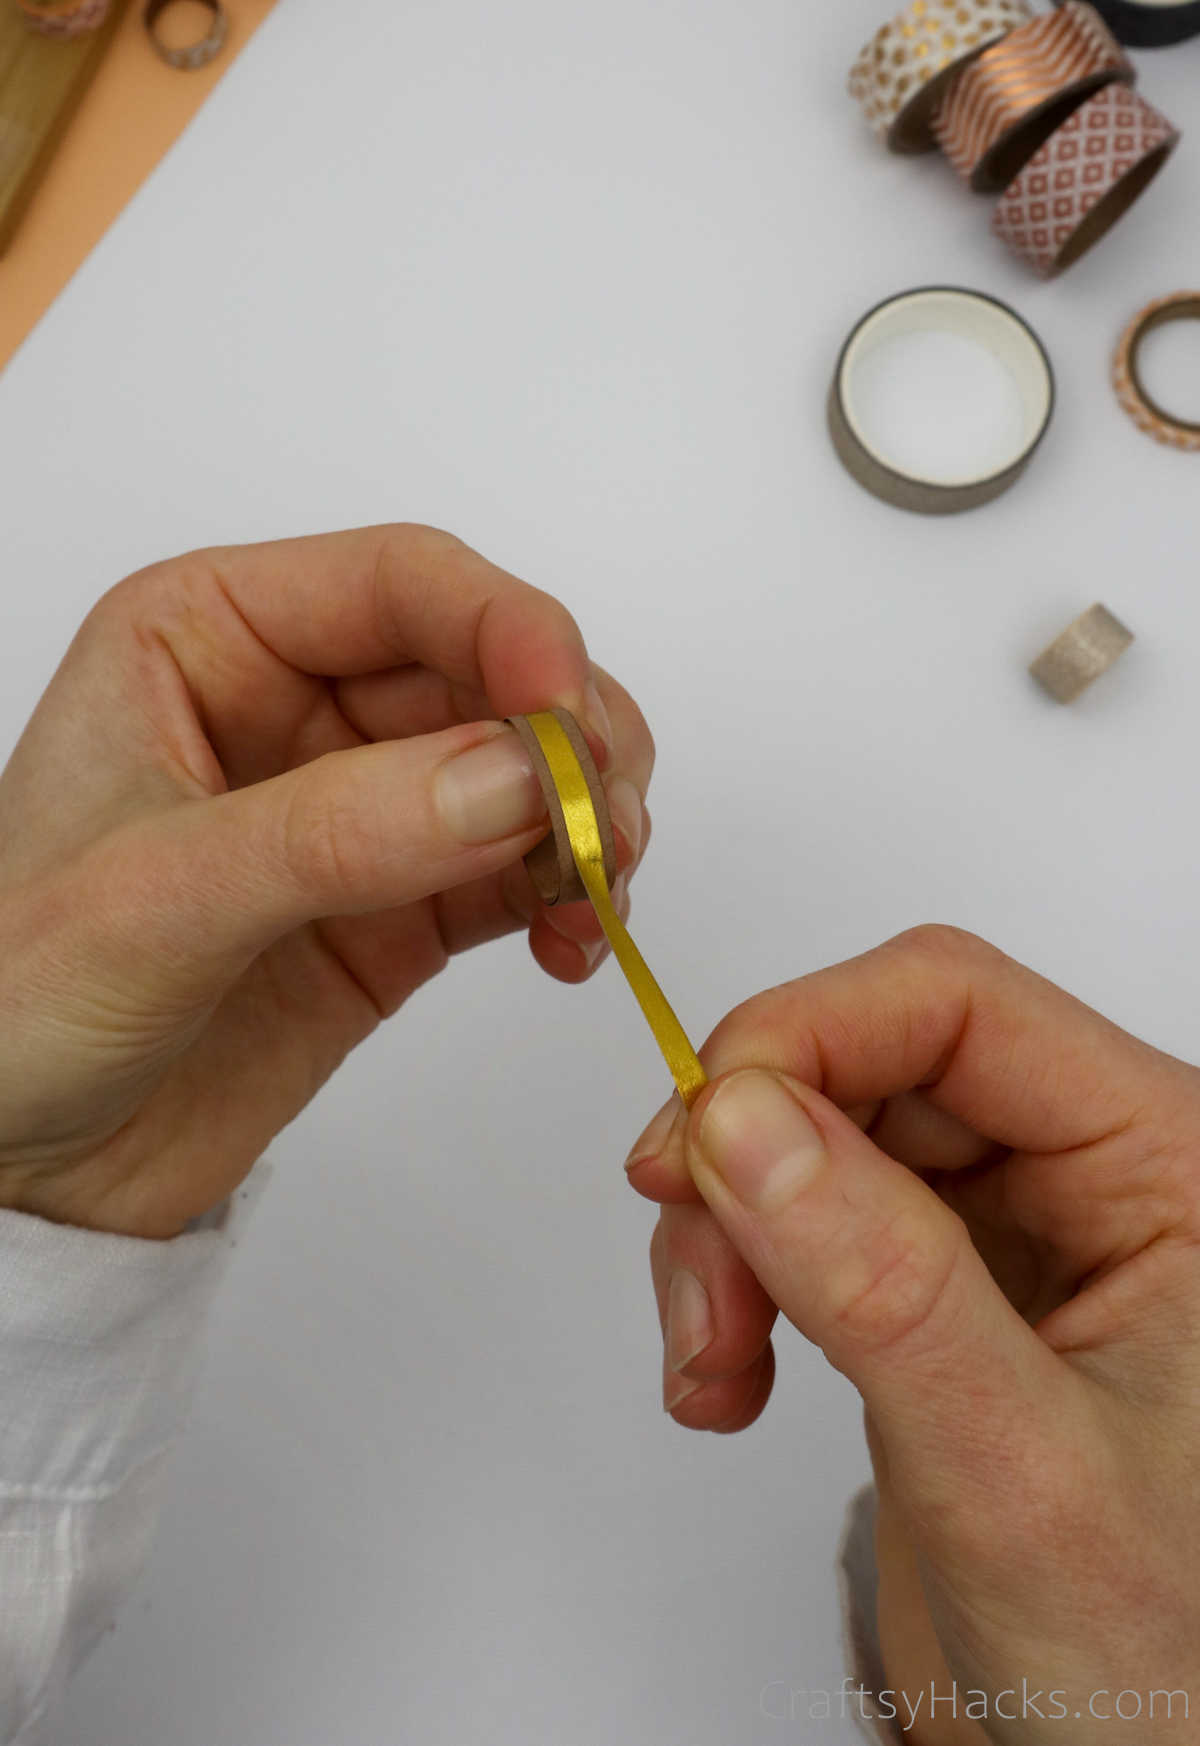
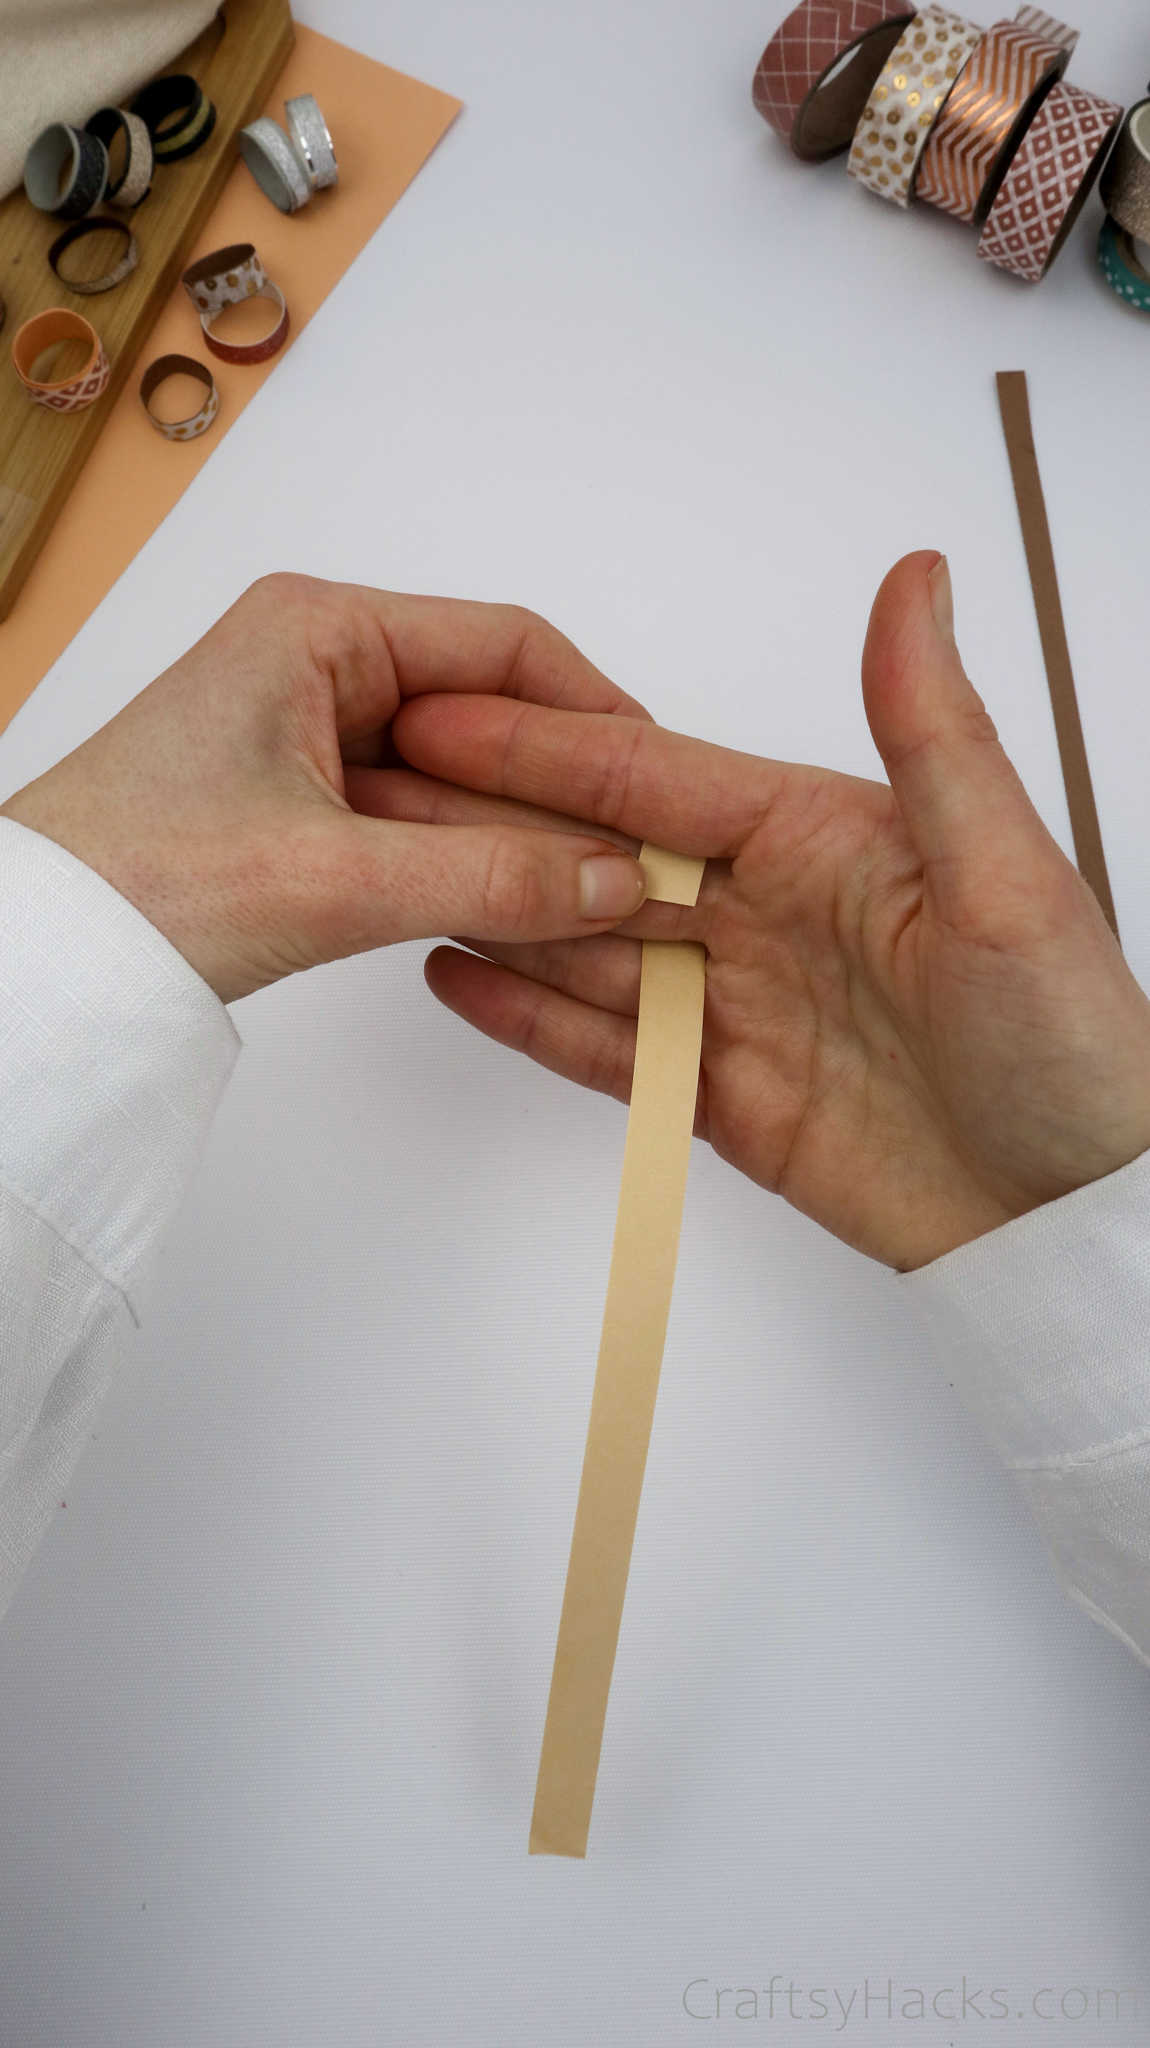
When you have wrapped it around your finger and the paper meets the starting edge, gently fold it.
This will help you determine the circumference of your finger and will be the size of your ring.
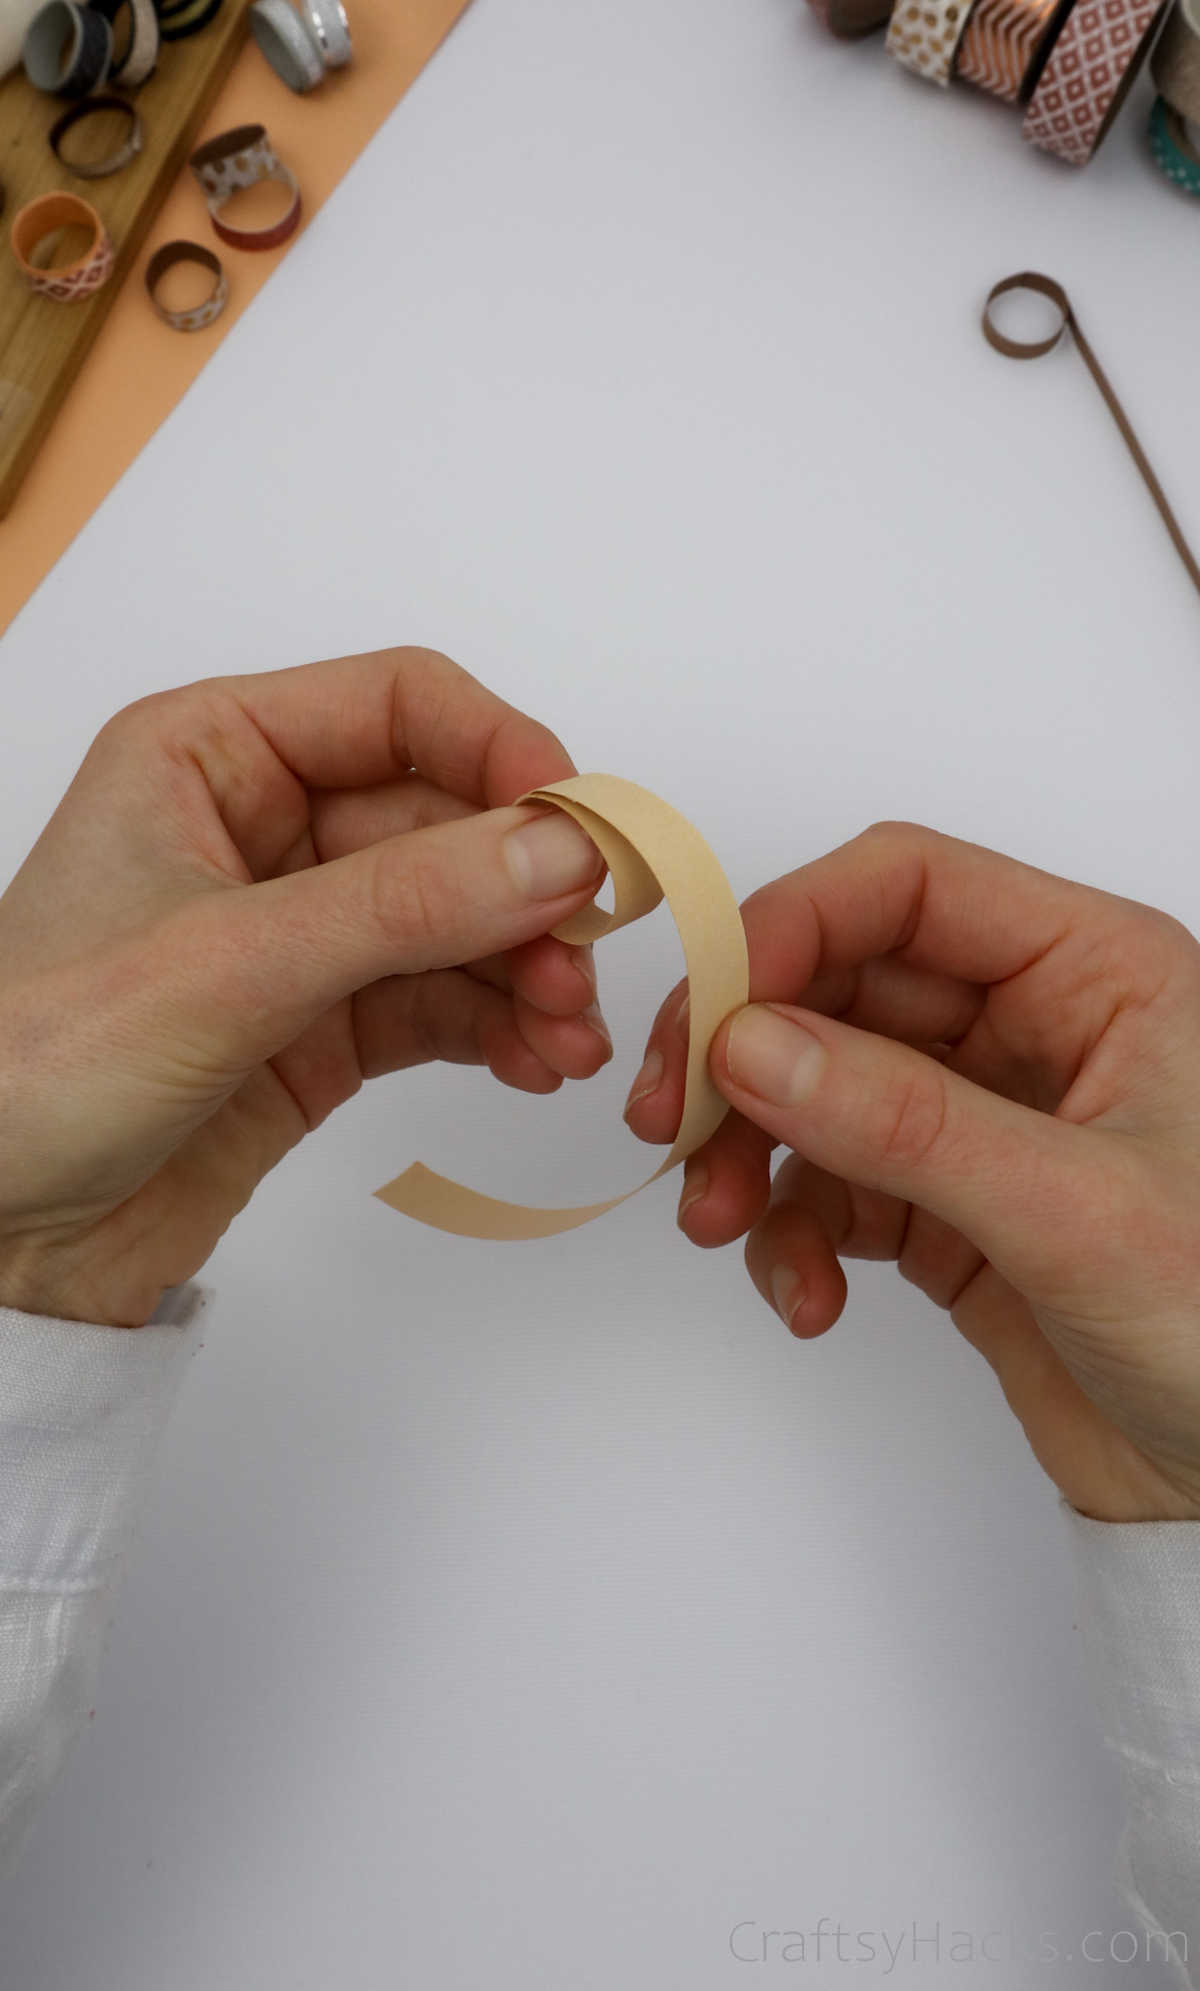
Step 4
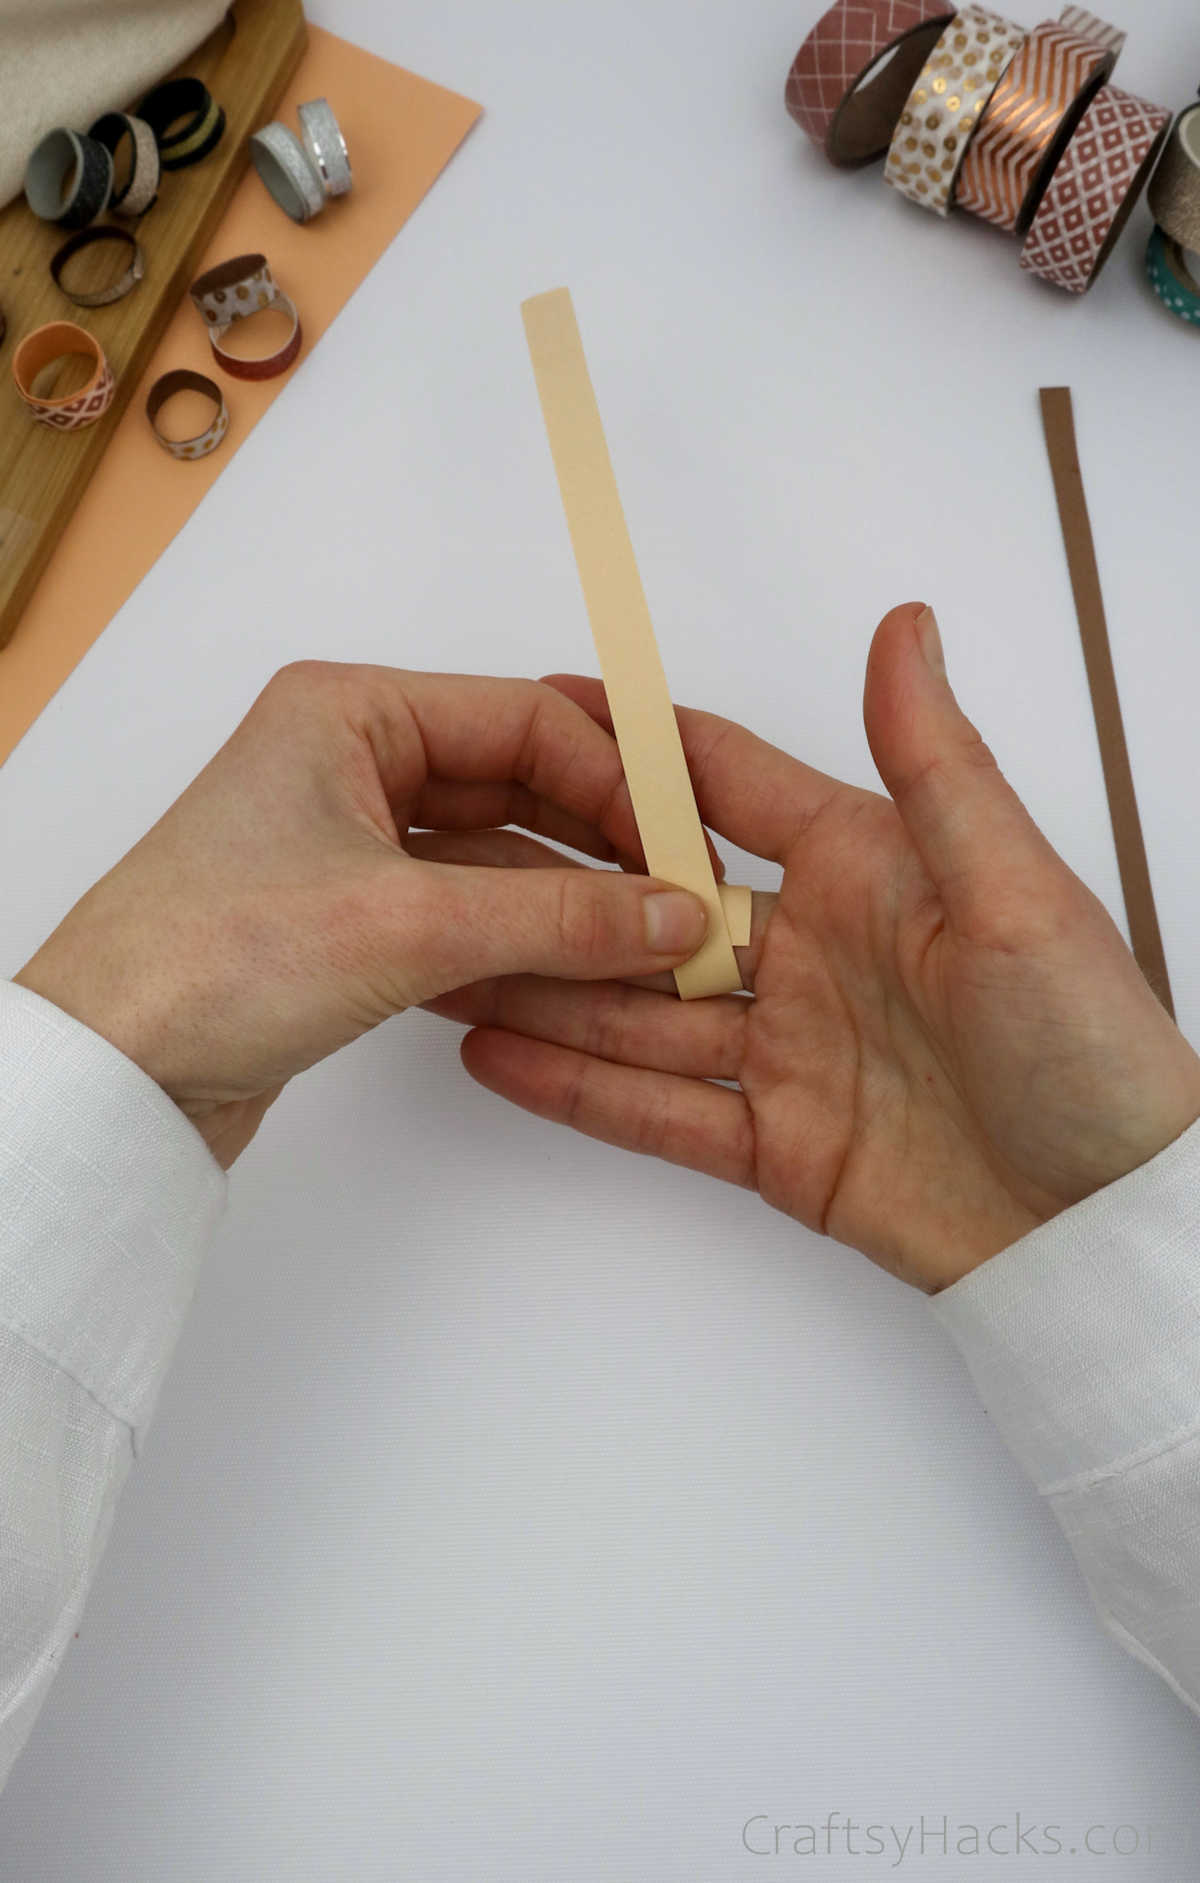
Next, bring the curved end of the paper you wrapped around your hand inwards.
Finally, press it down to secure the end to the rolled paper.
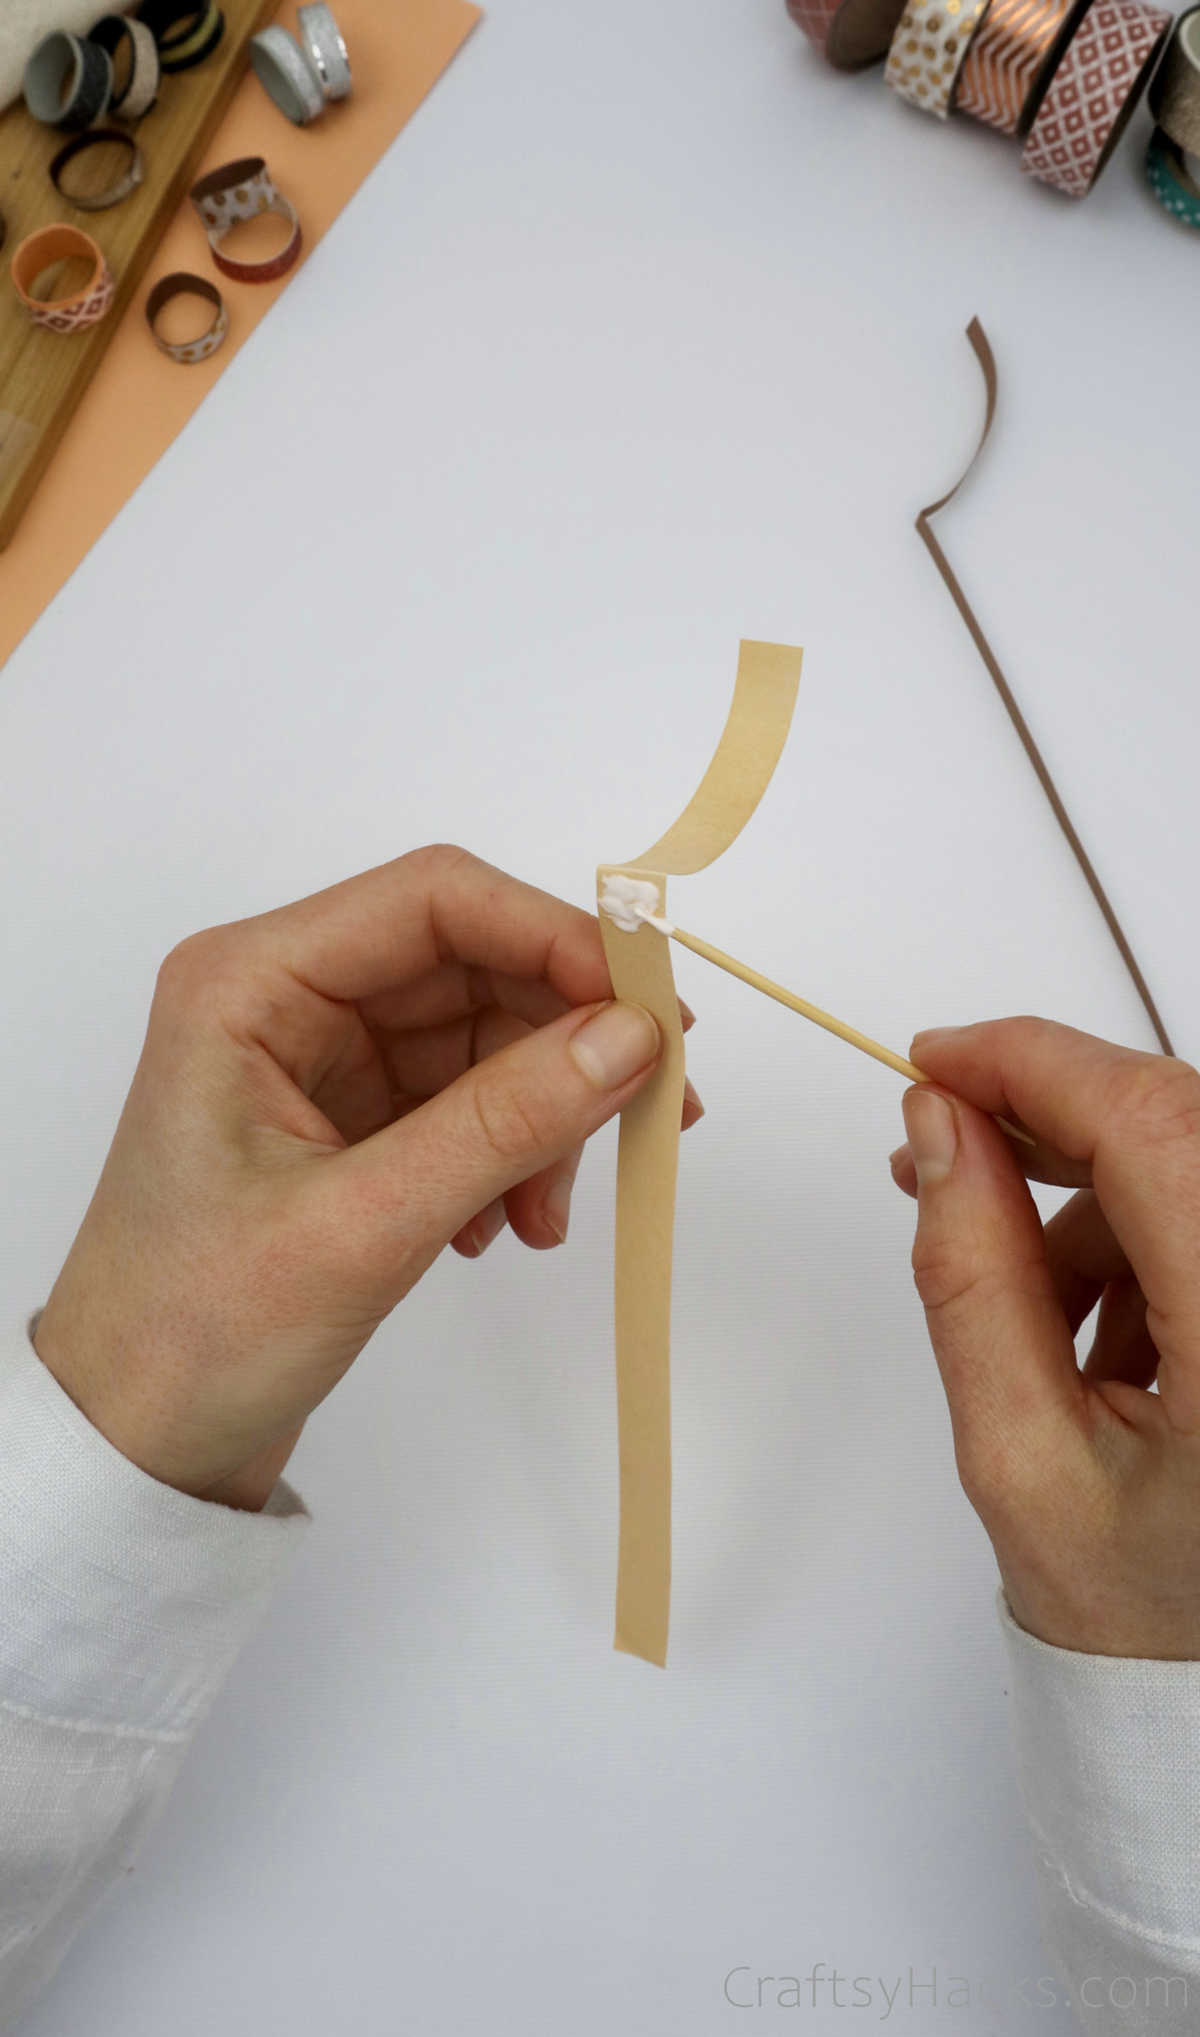
Step 6
Theres also an alternative method of rolling your ring.
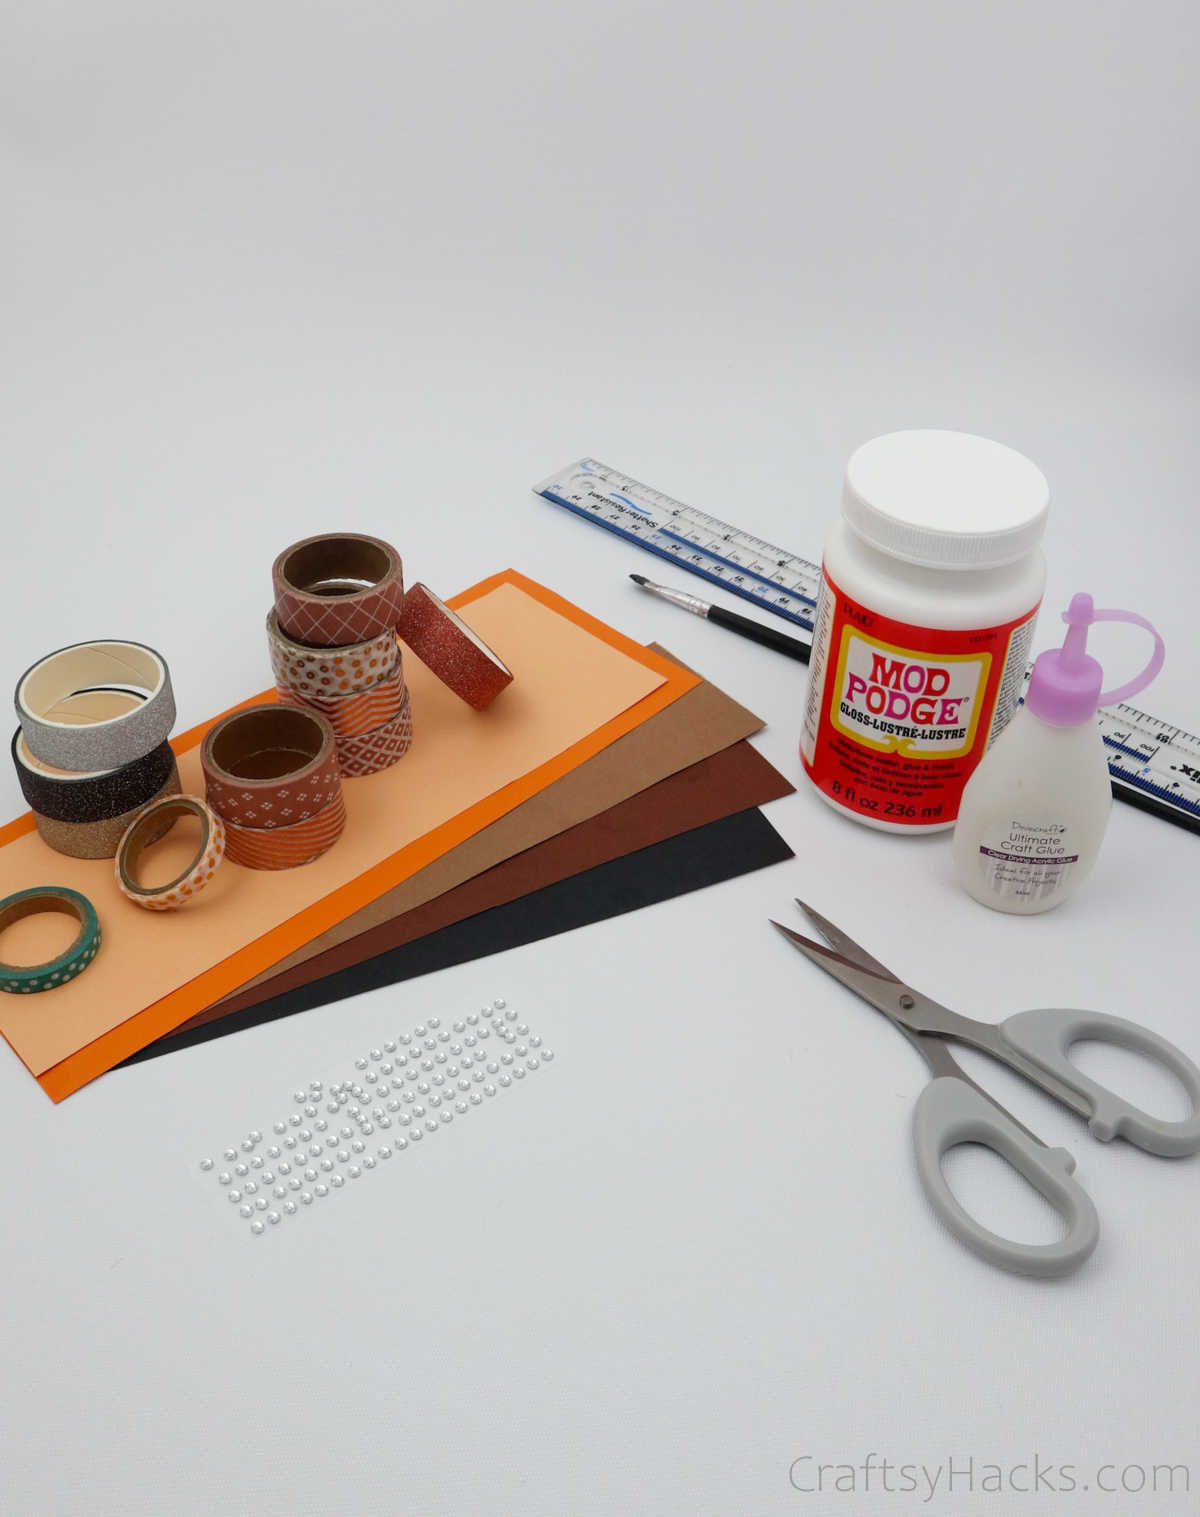
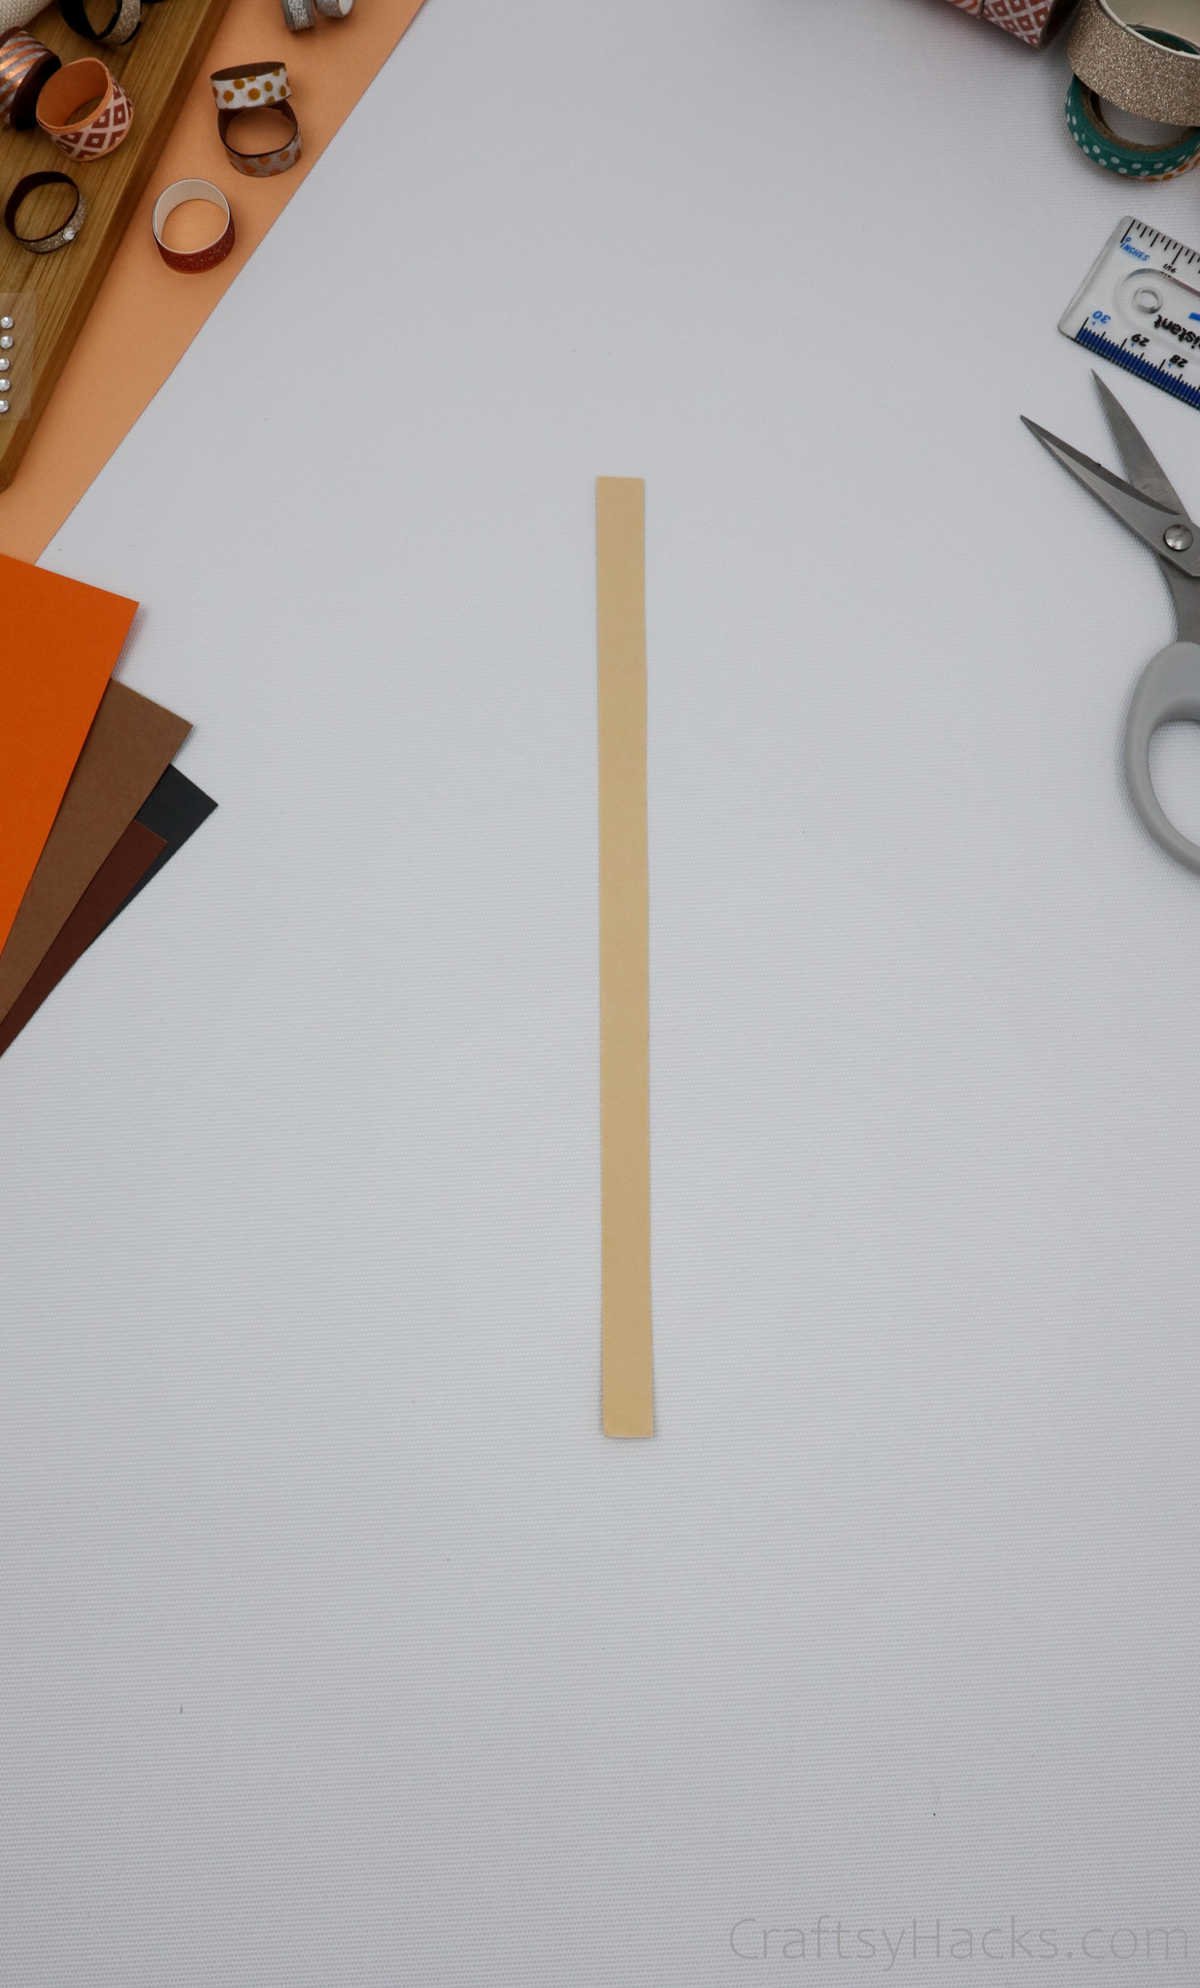
Lay your strip of paper flat on the work surface and grab your glue stick.
Apply tiny spots of adhesive periodically along the length of the paper.
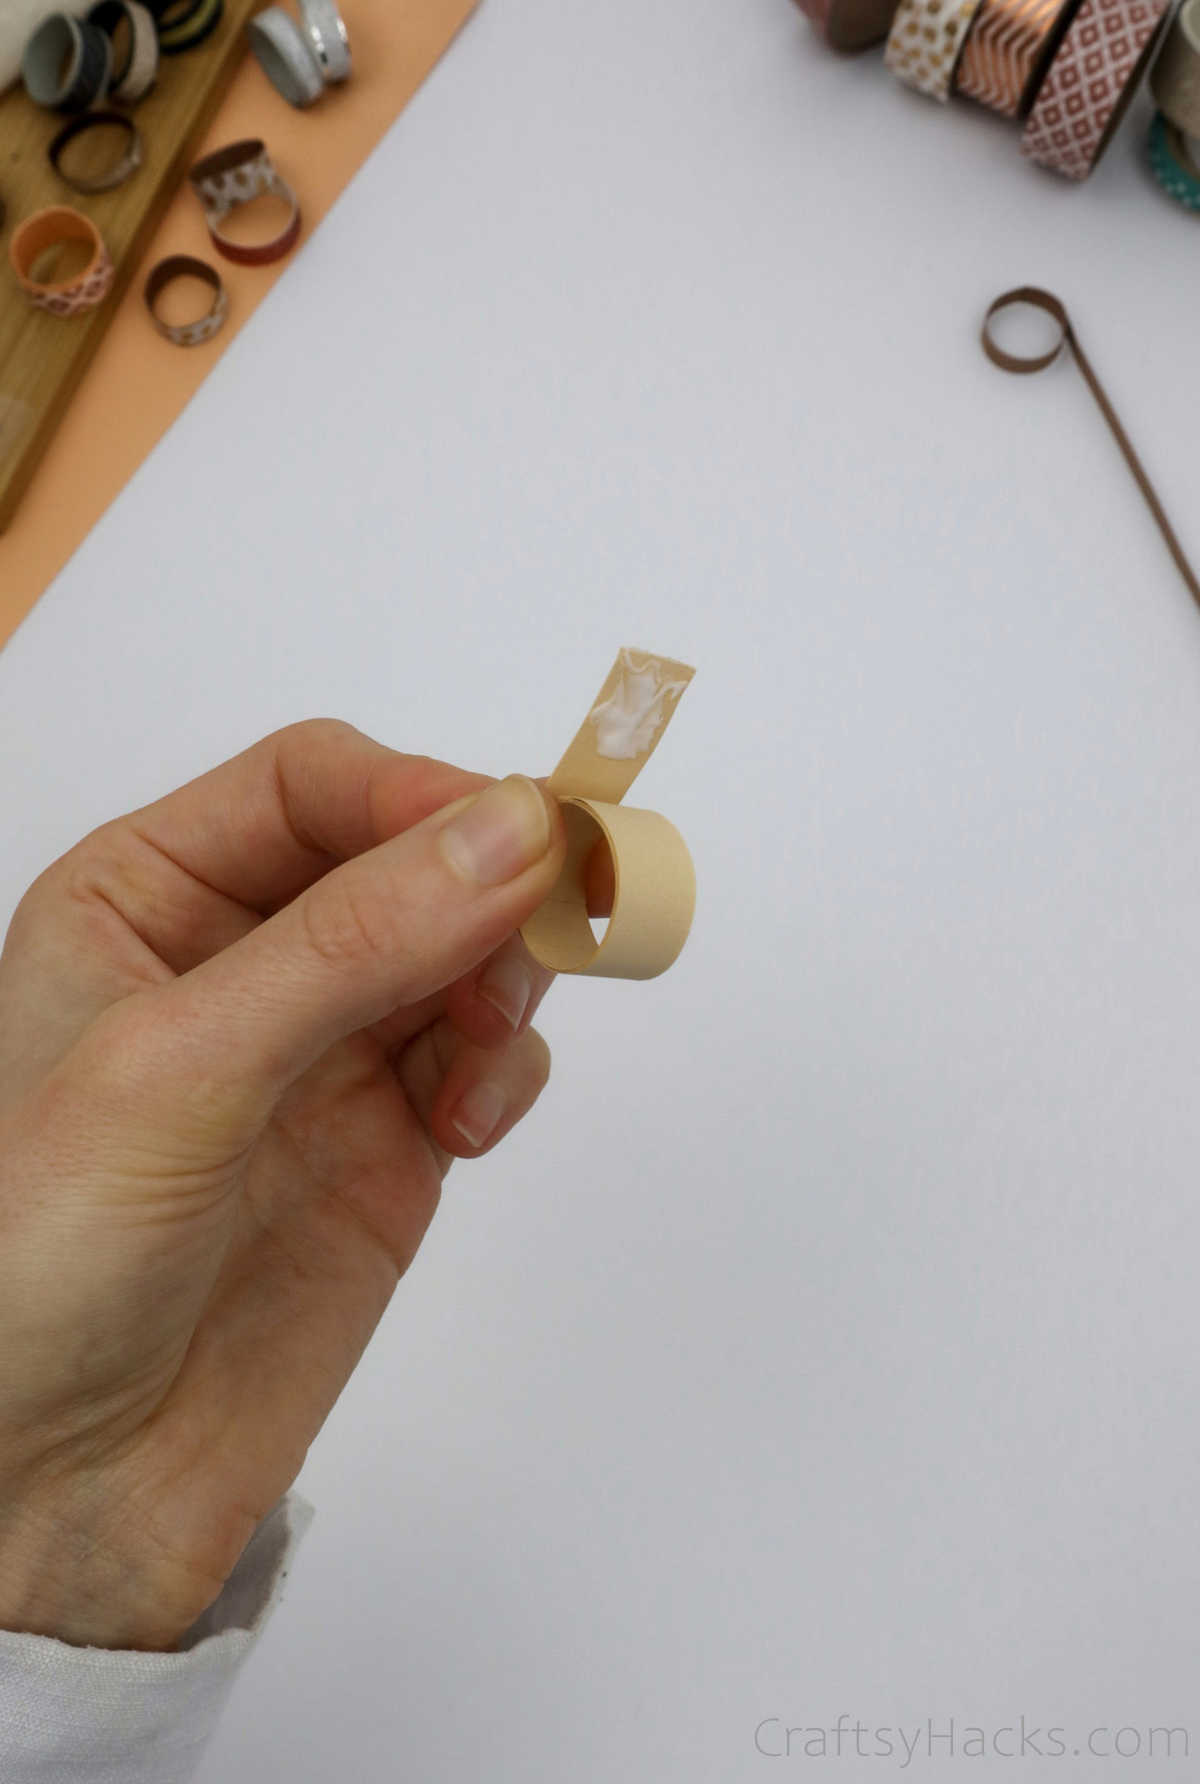
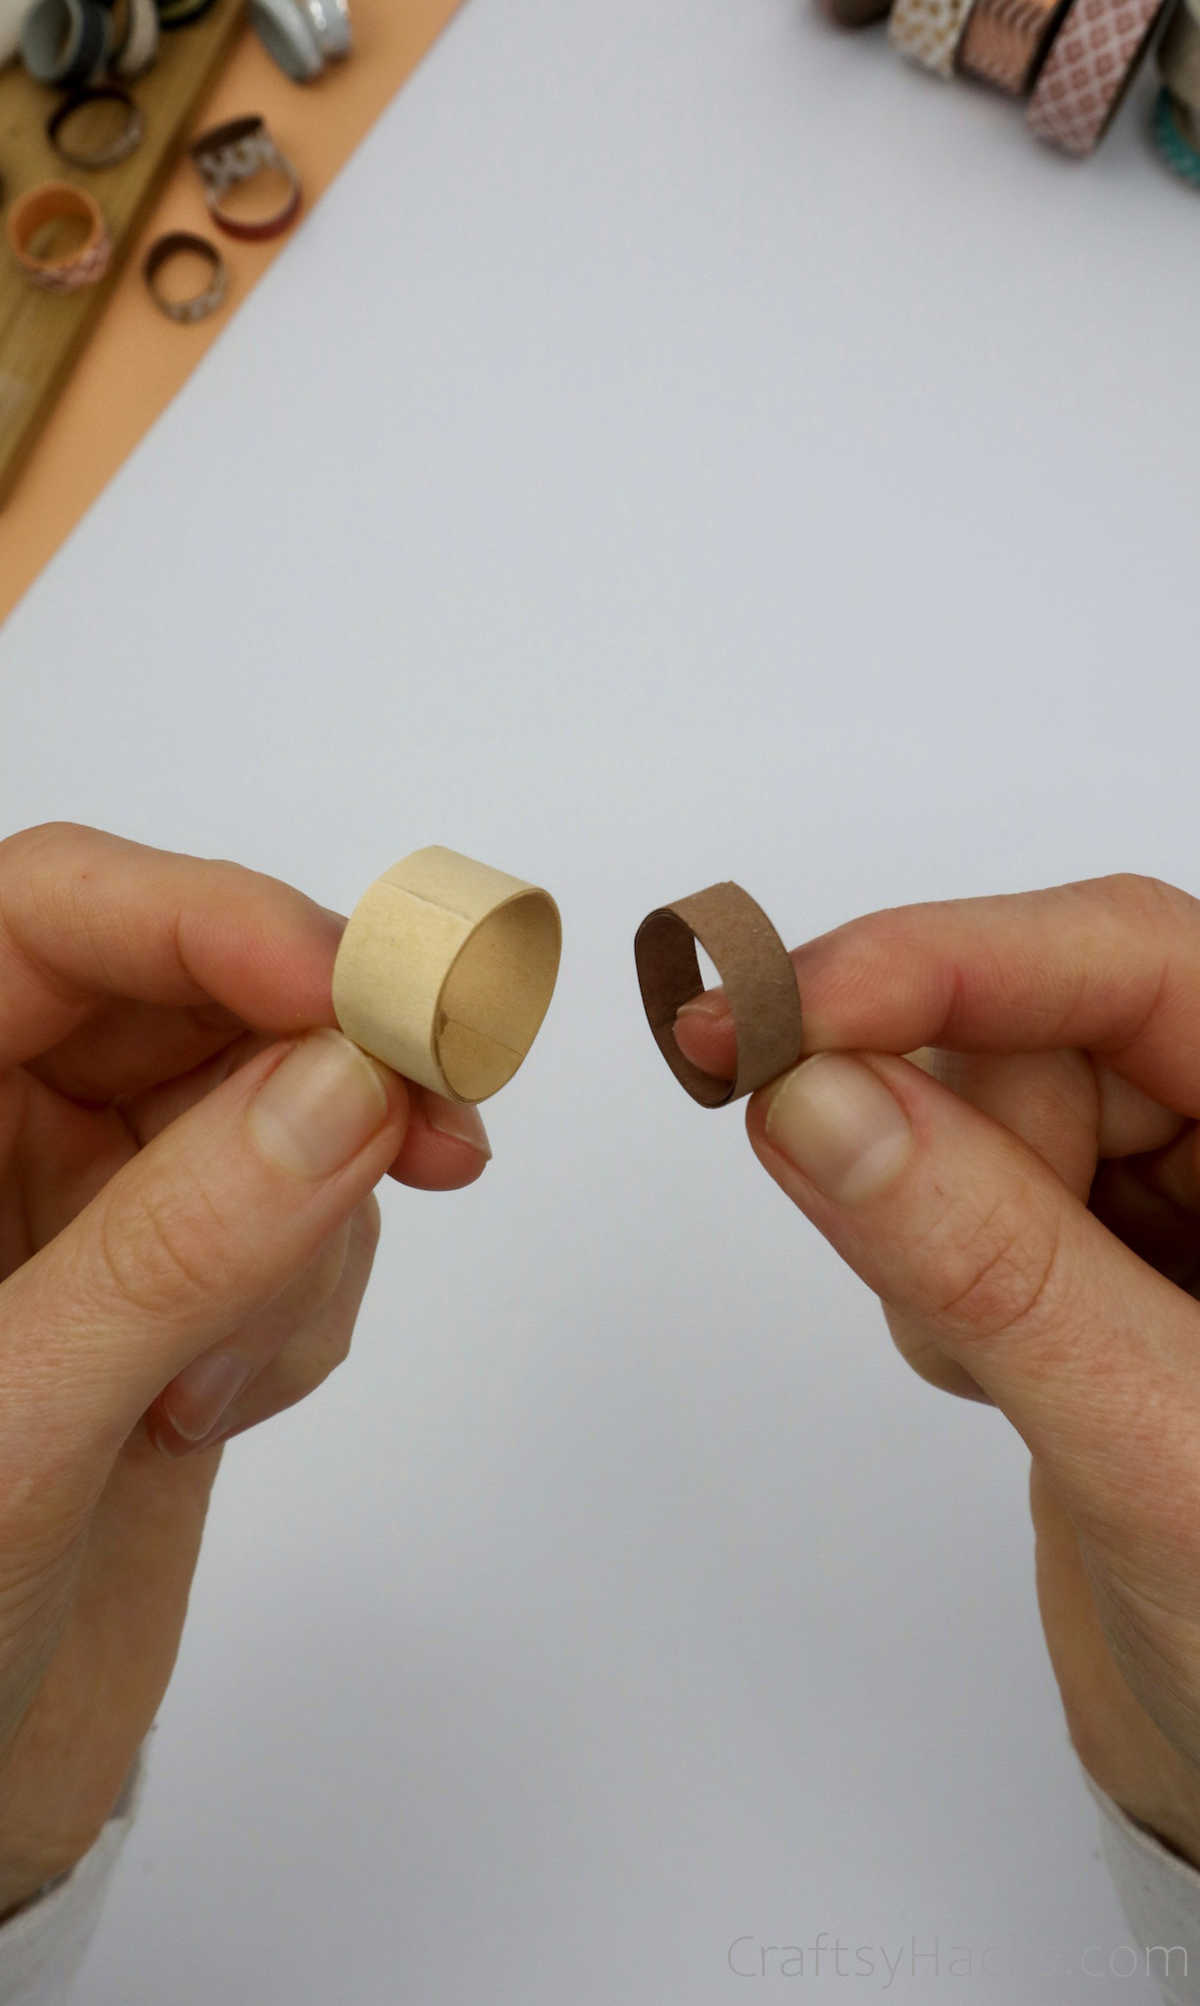
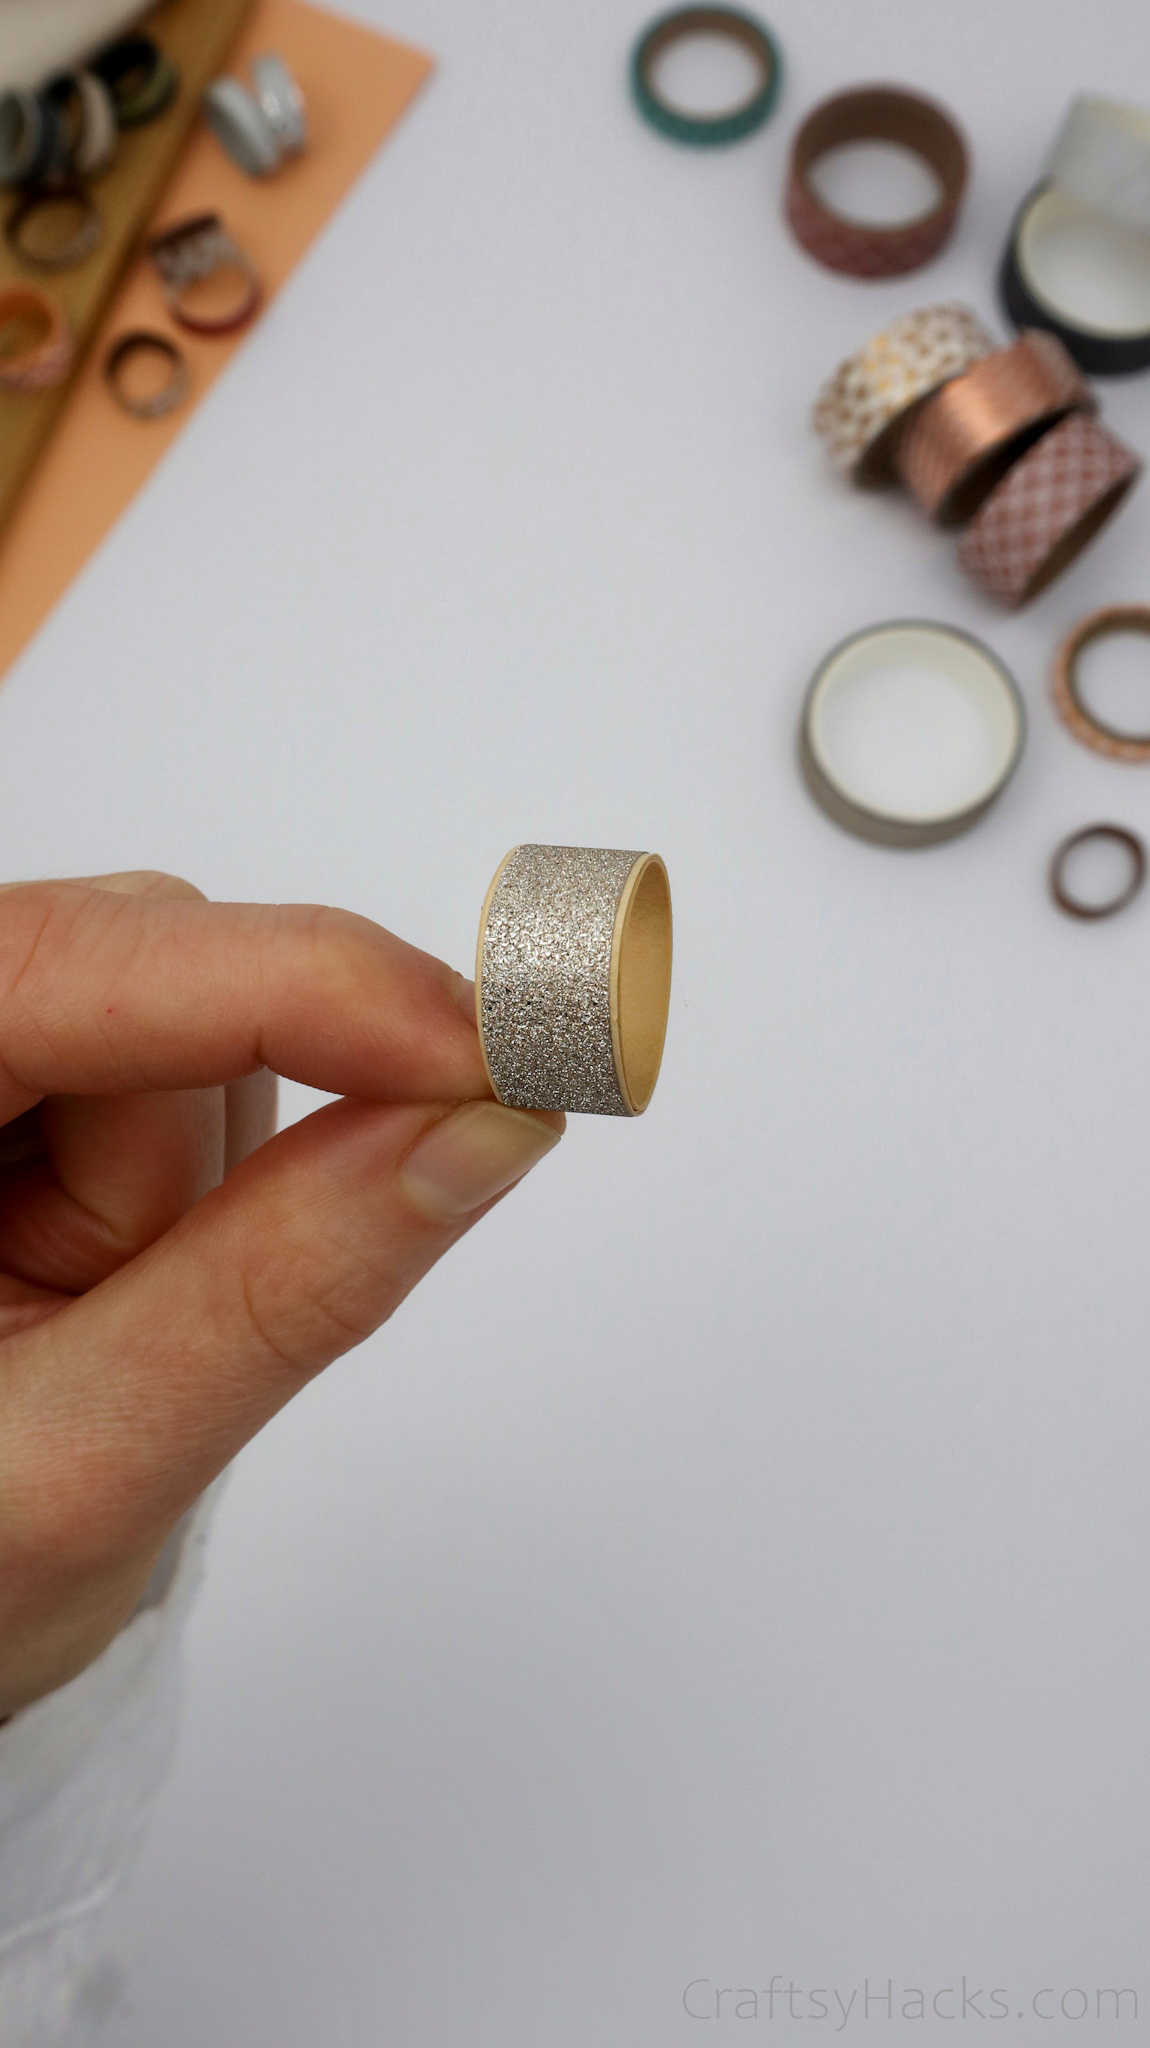
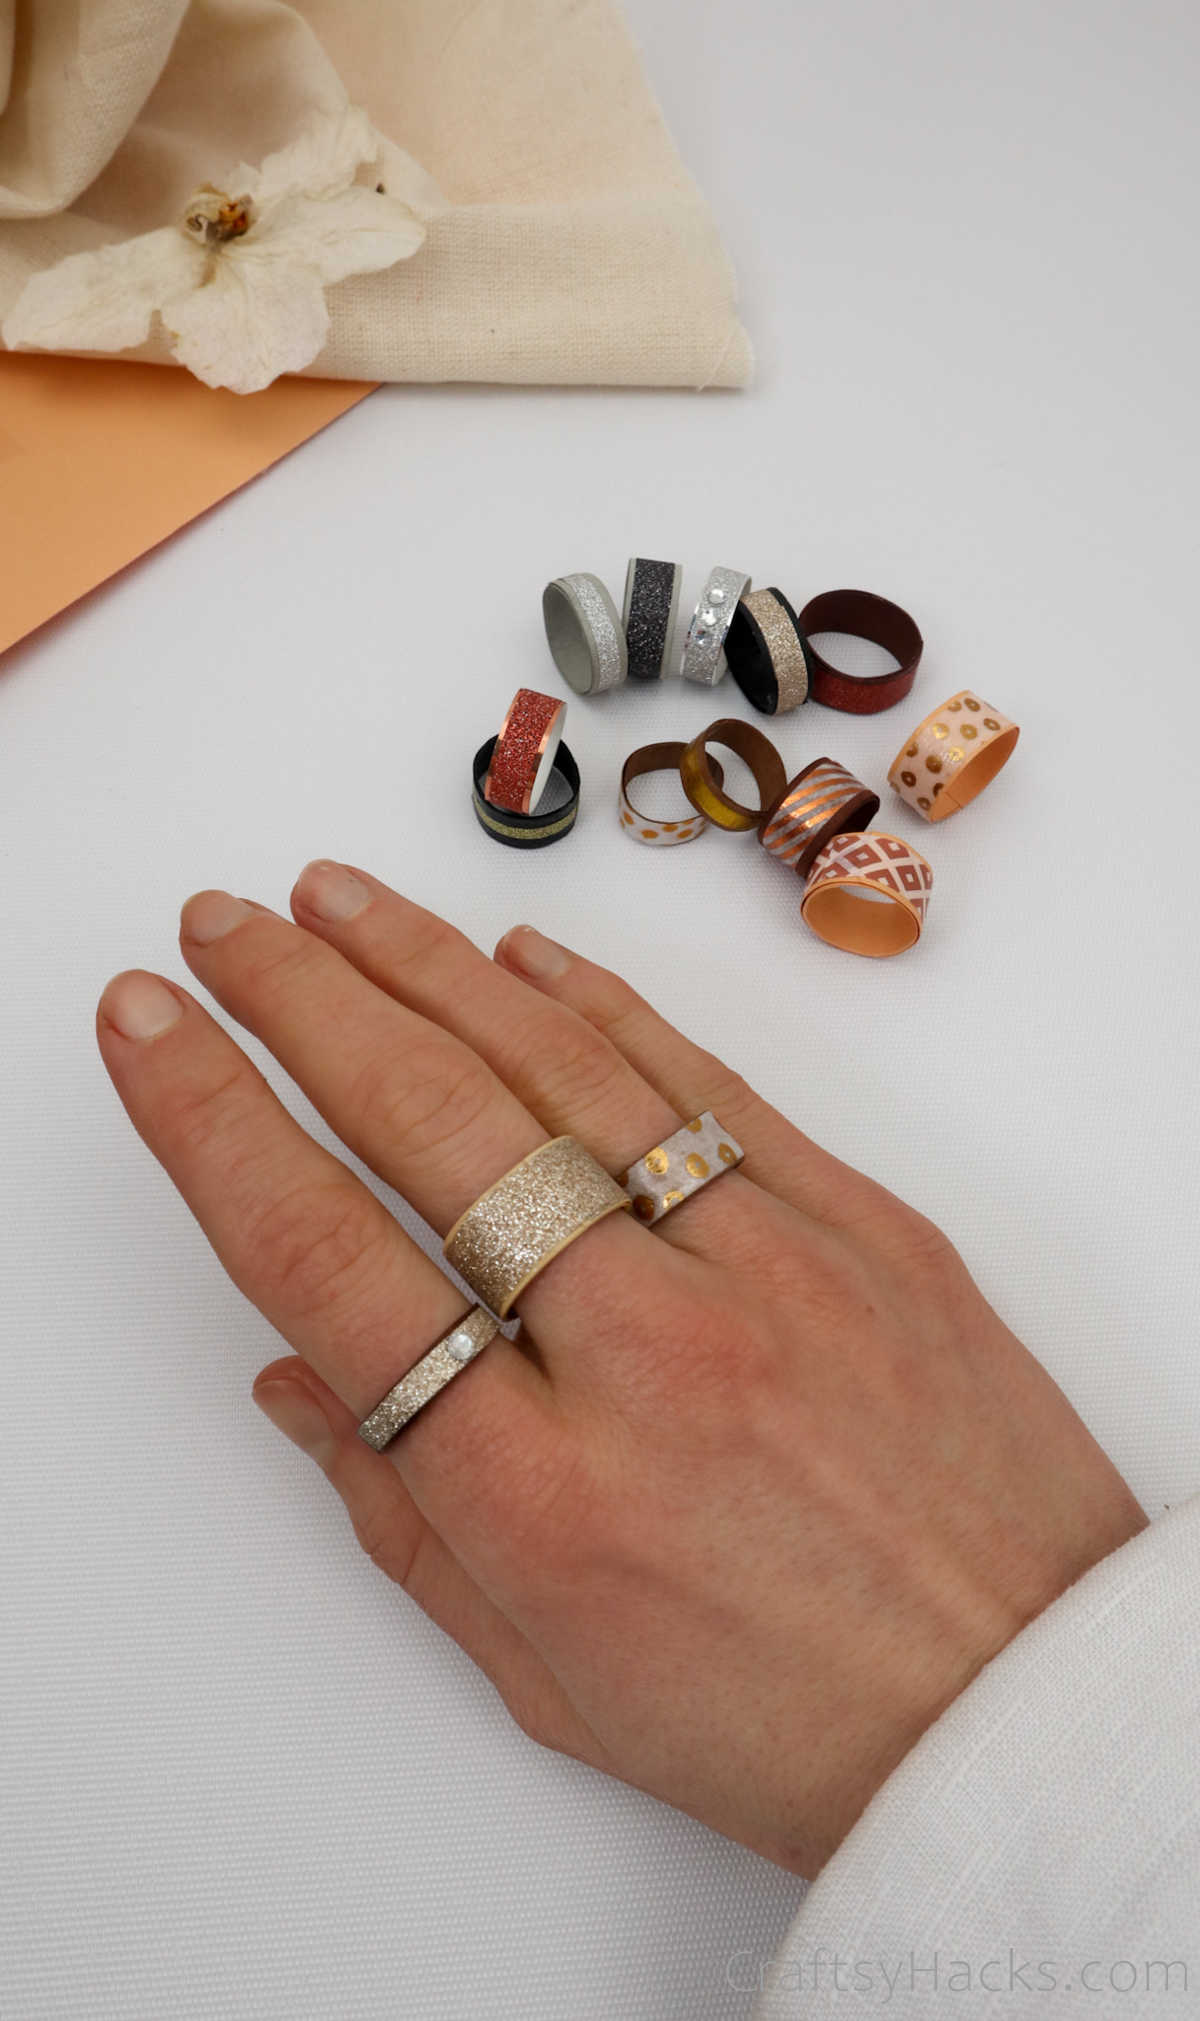
And there you have it your paper ring is ready.
Or at least the base of the ring is.
The best partthe decoratingis yet to come!
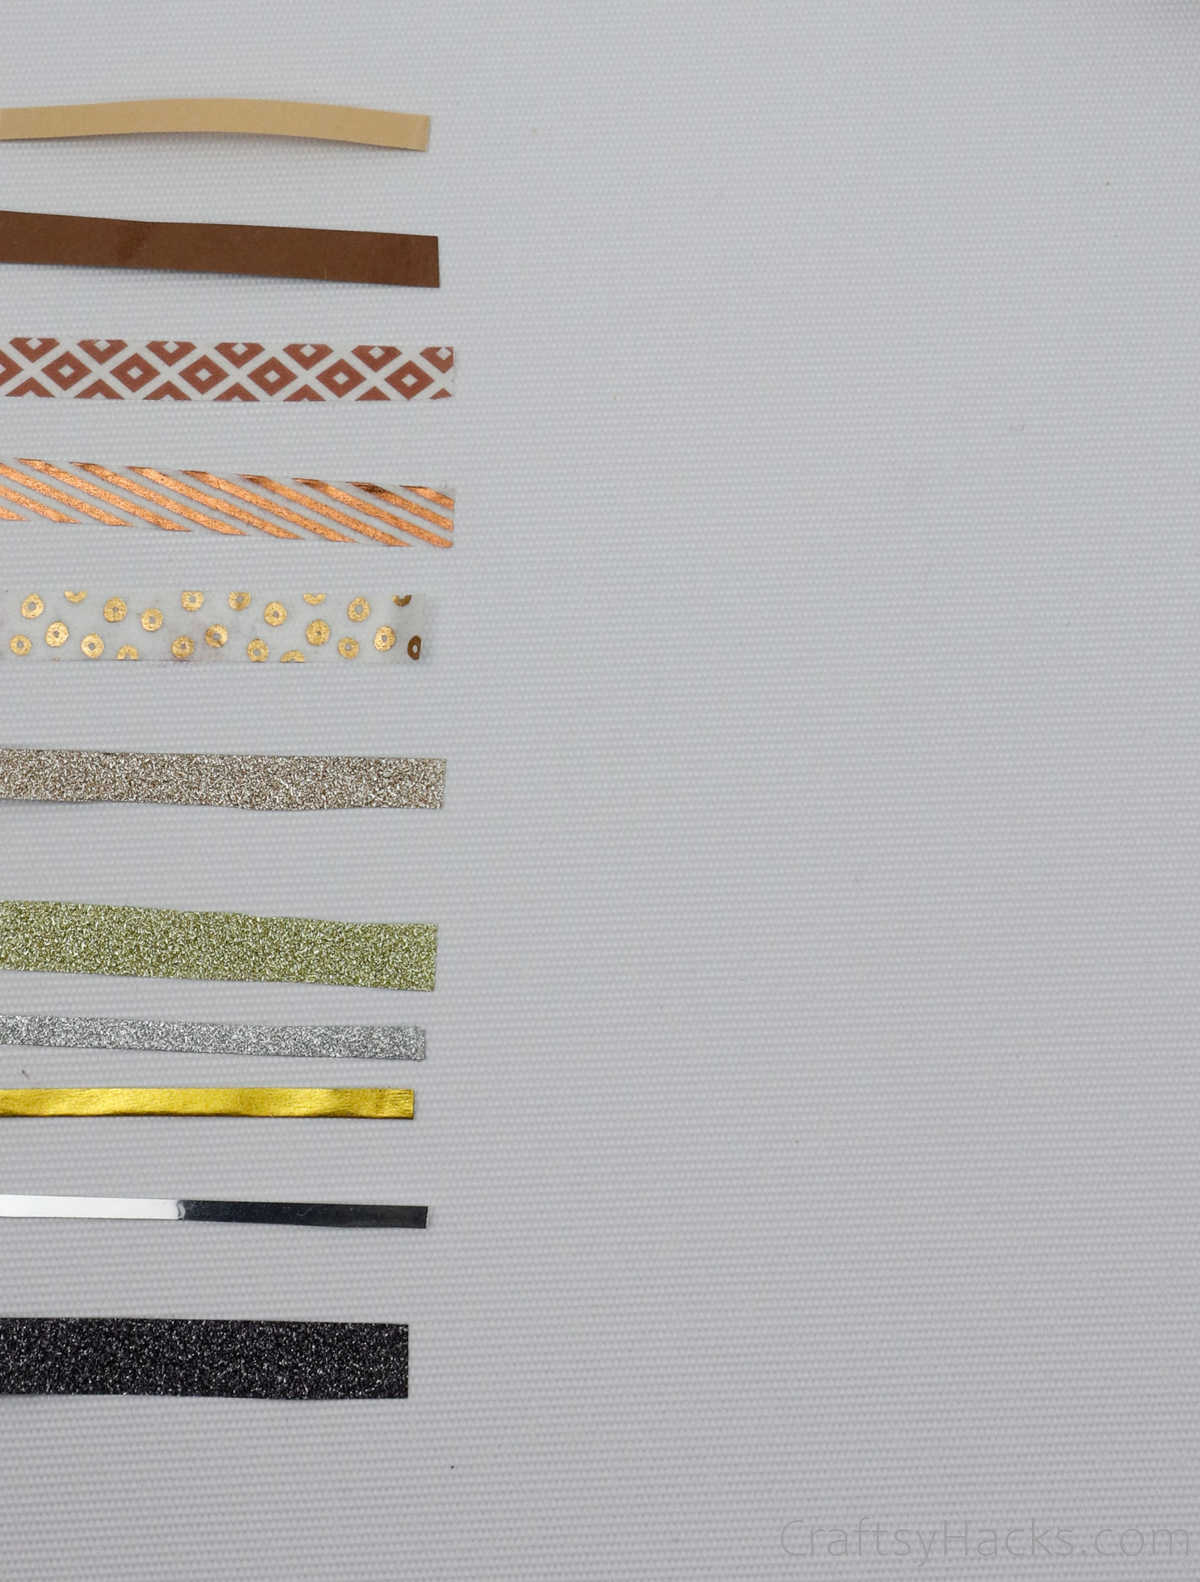
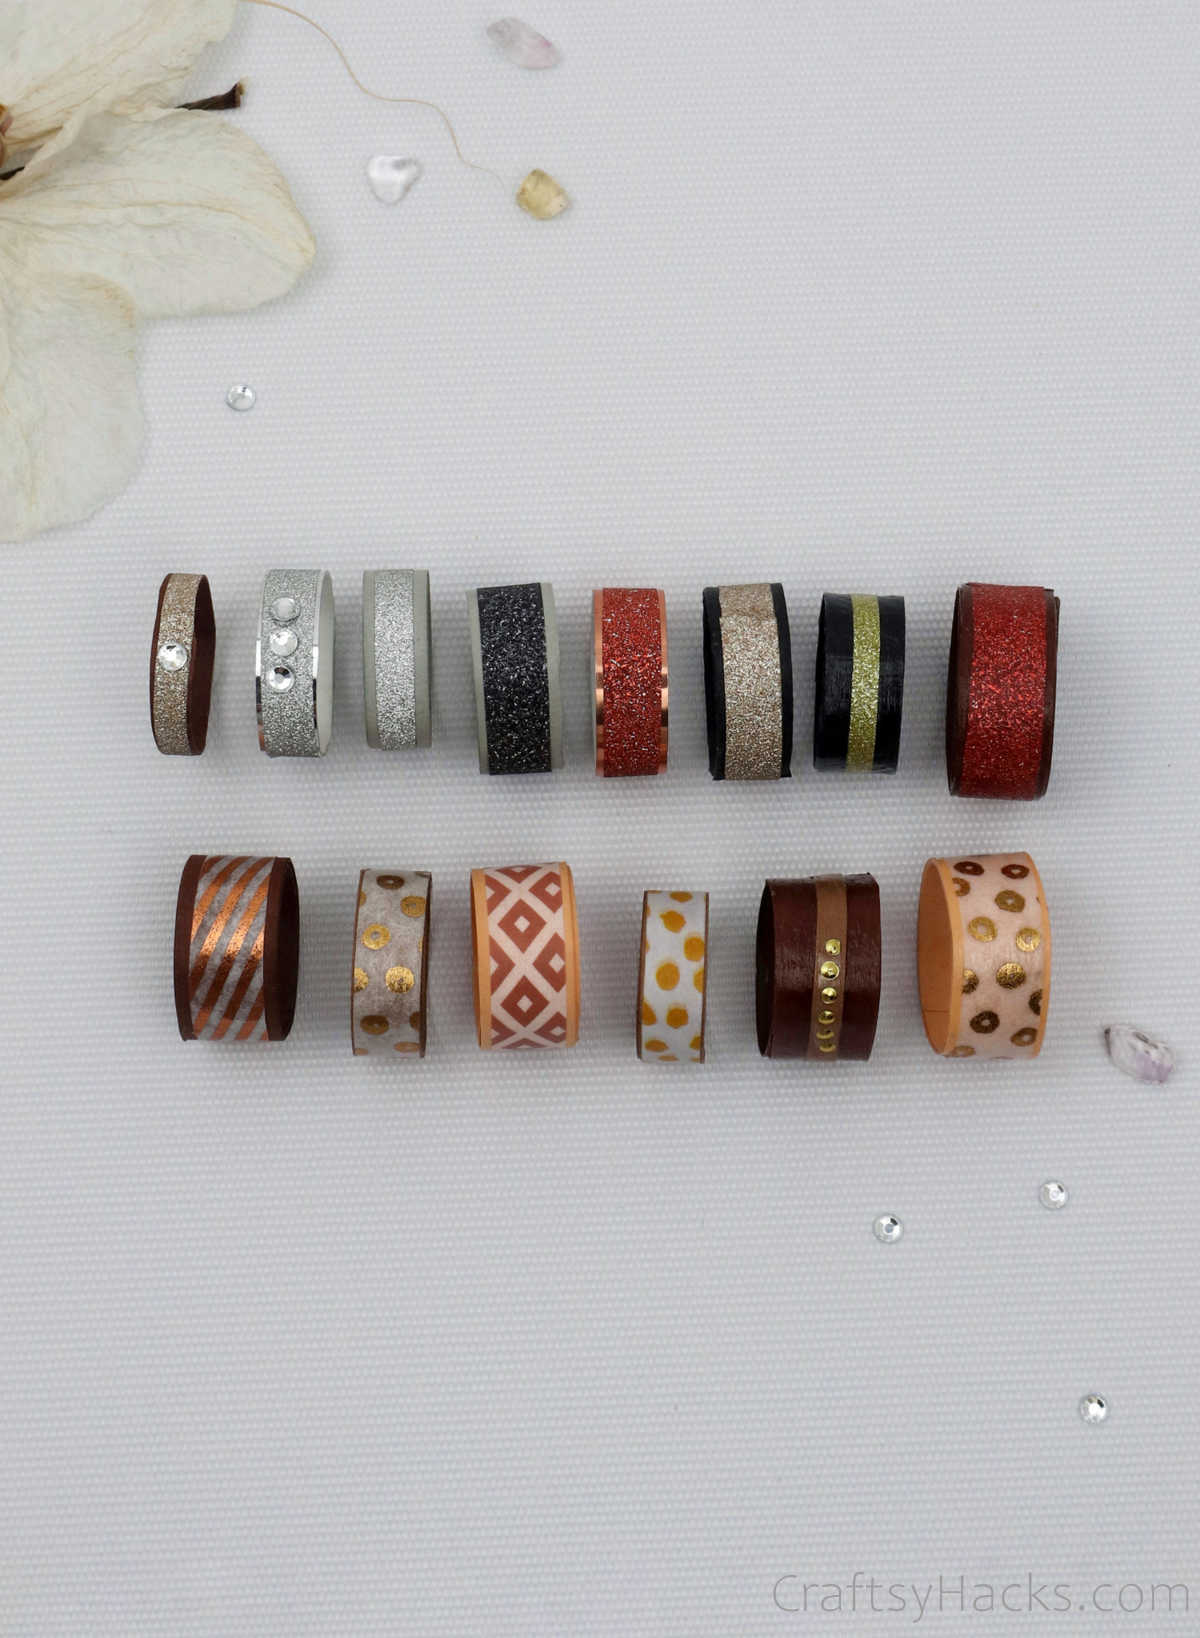
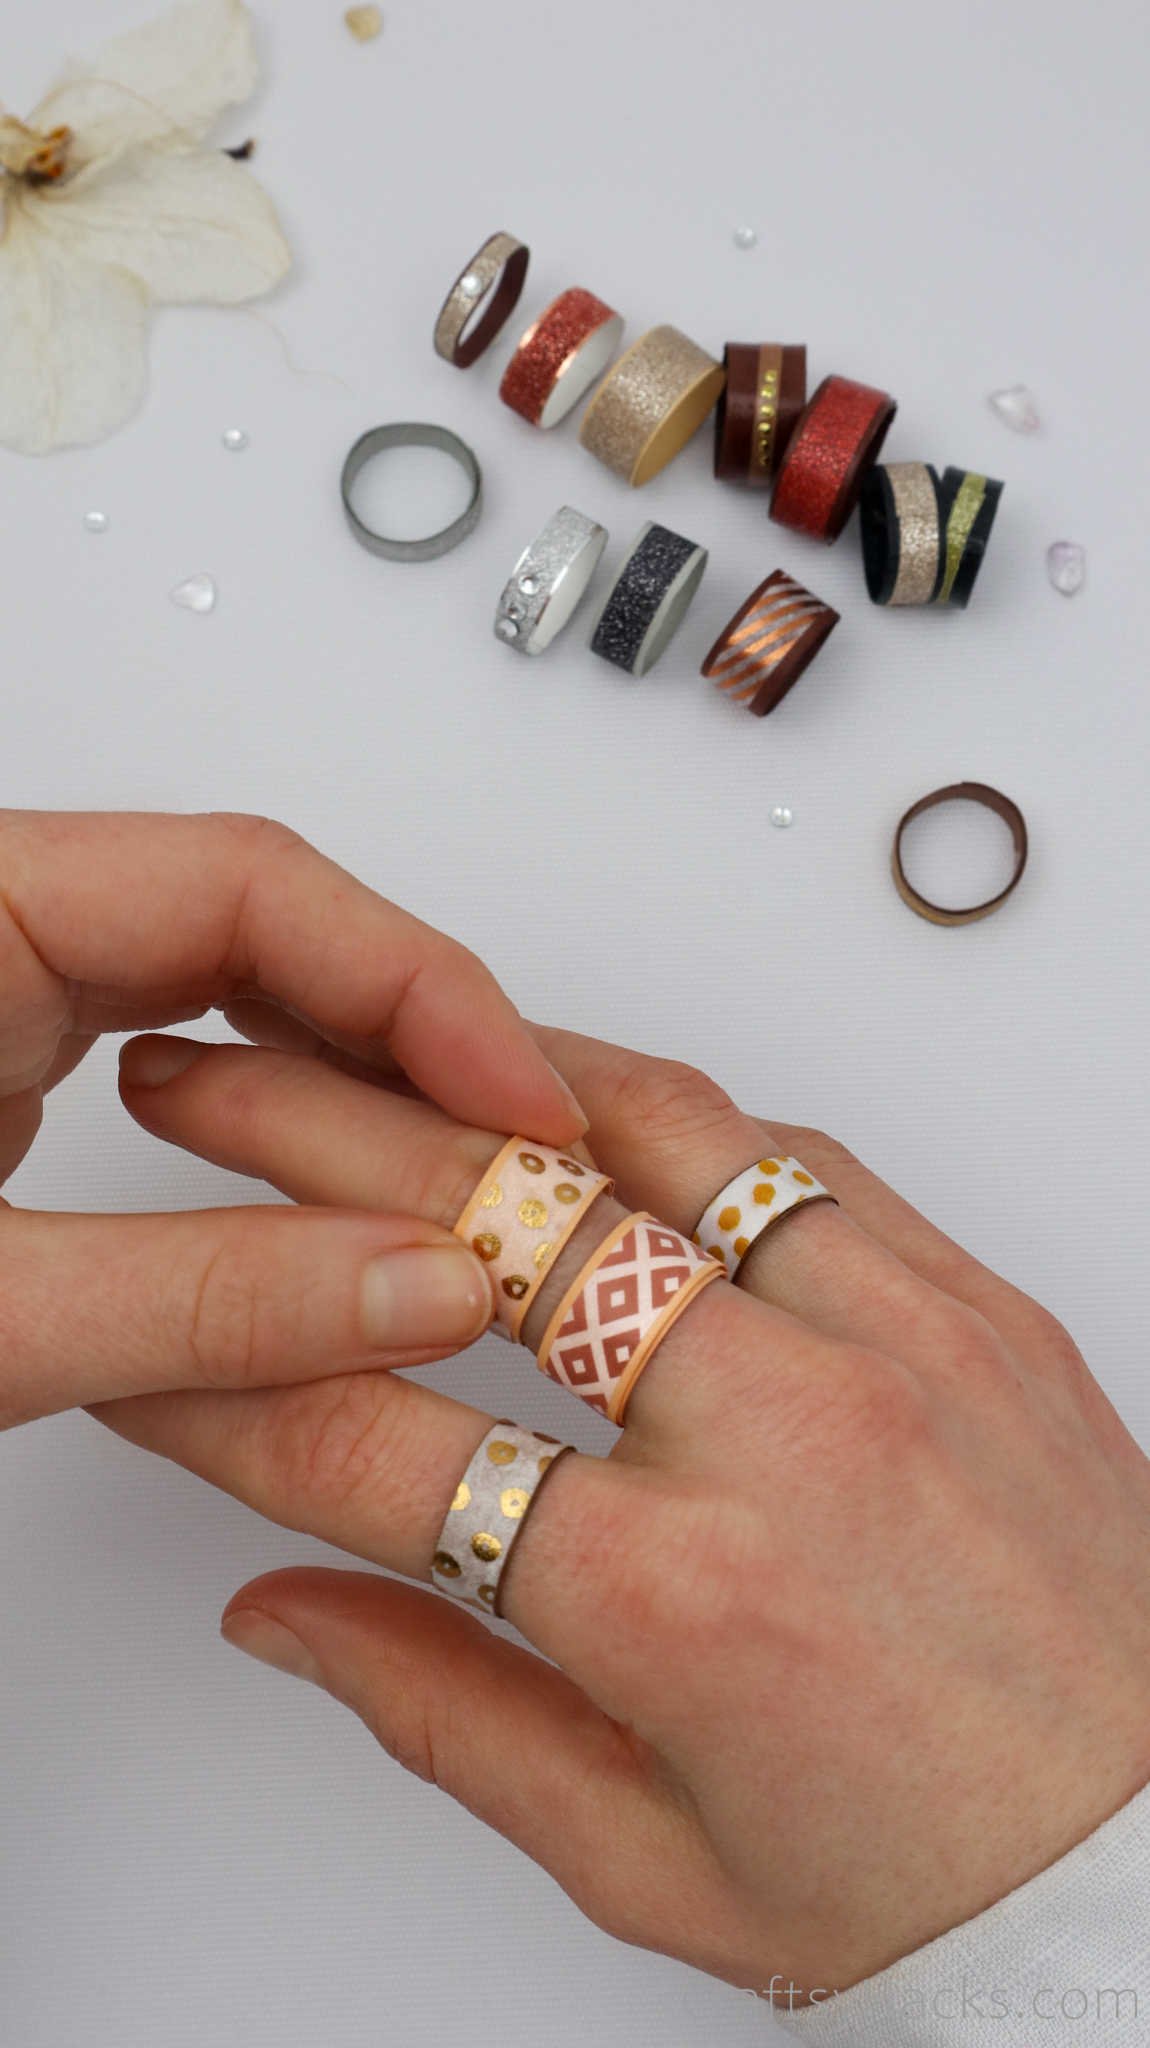
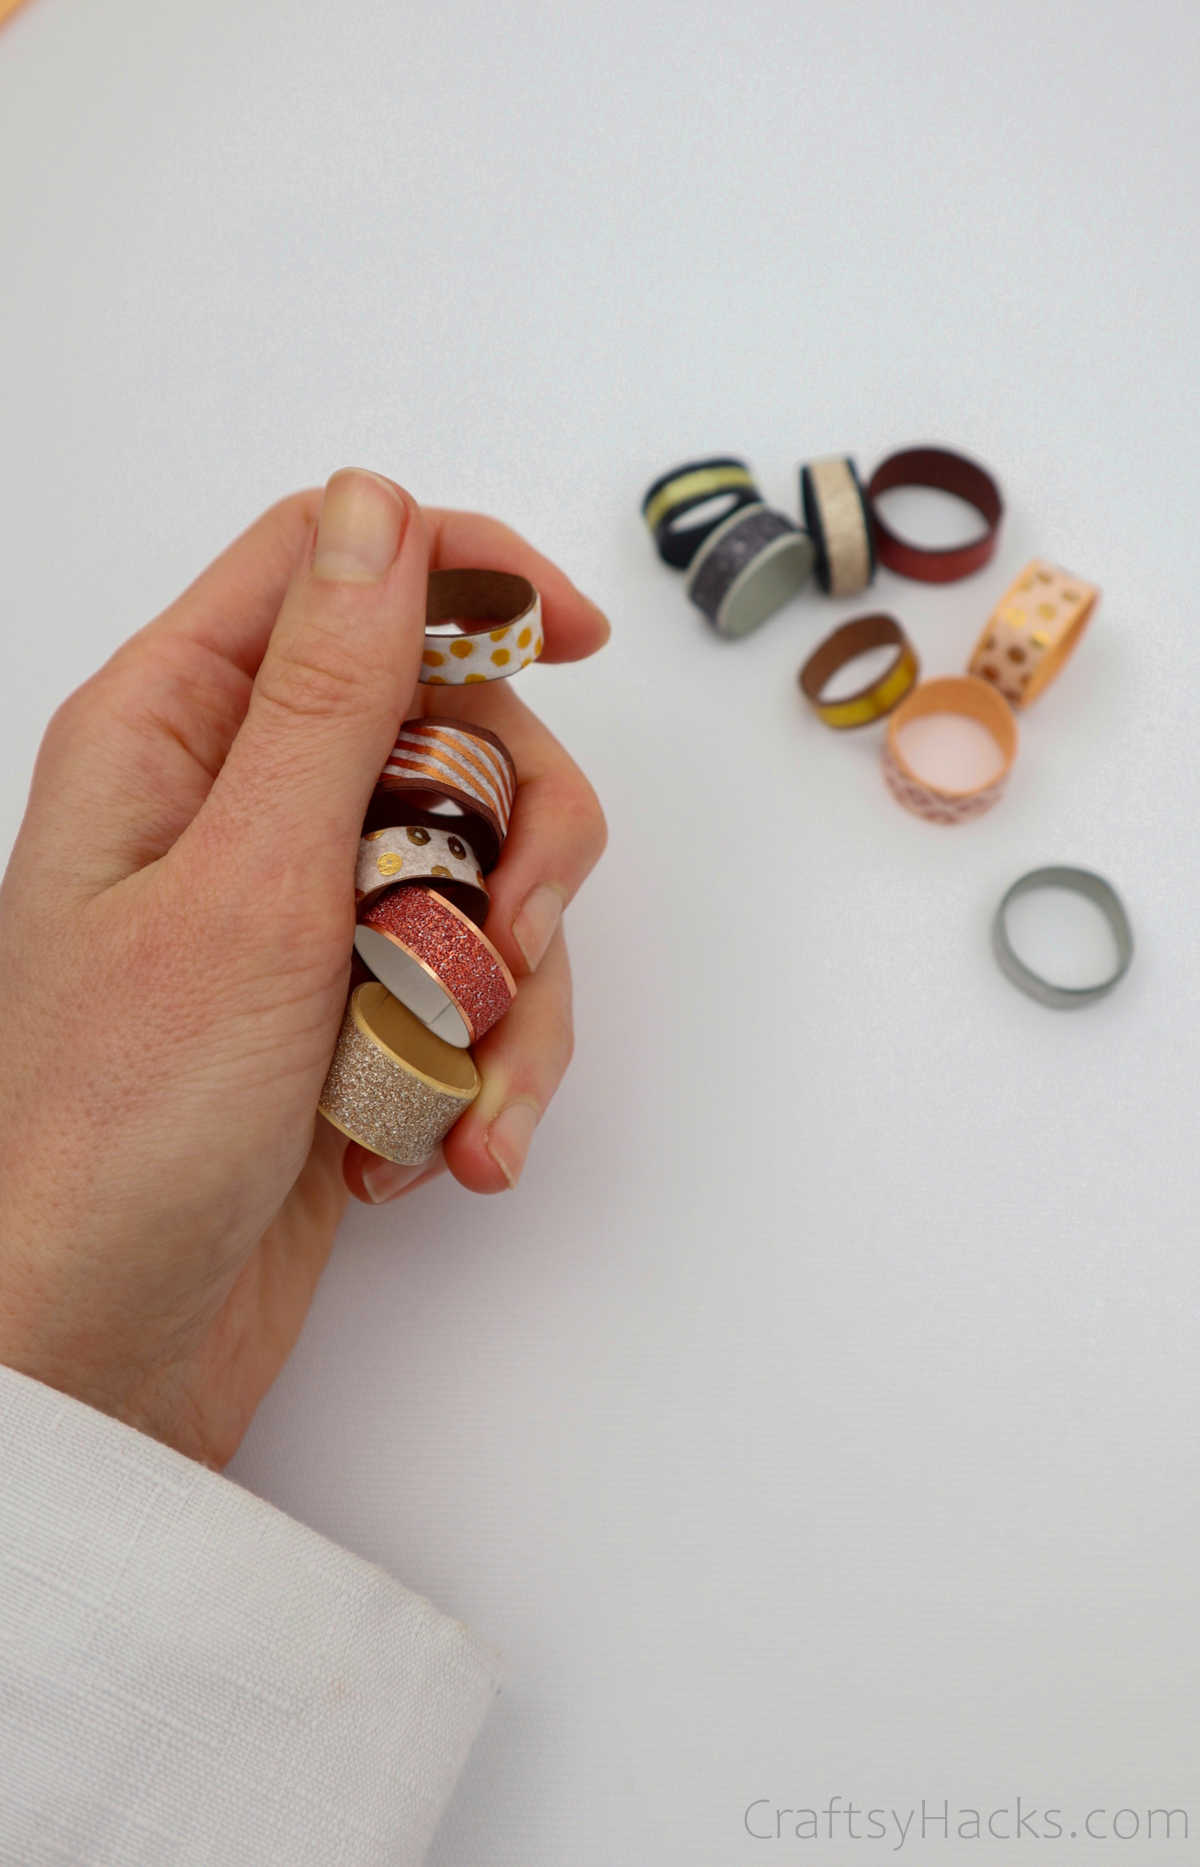
Go ahead and dig through your stash and pick out your favorite of the lot.
Lay them down on your work surface and figure out which would look best on your ring.
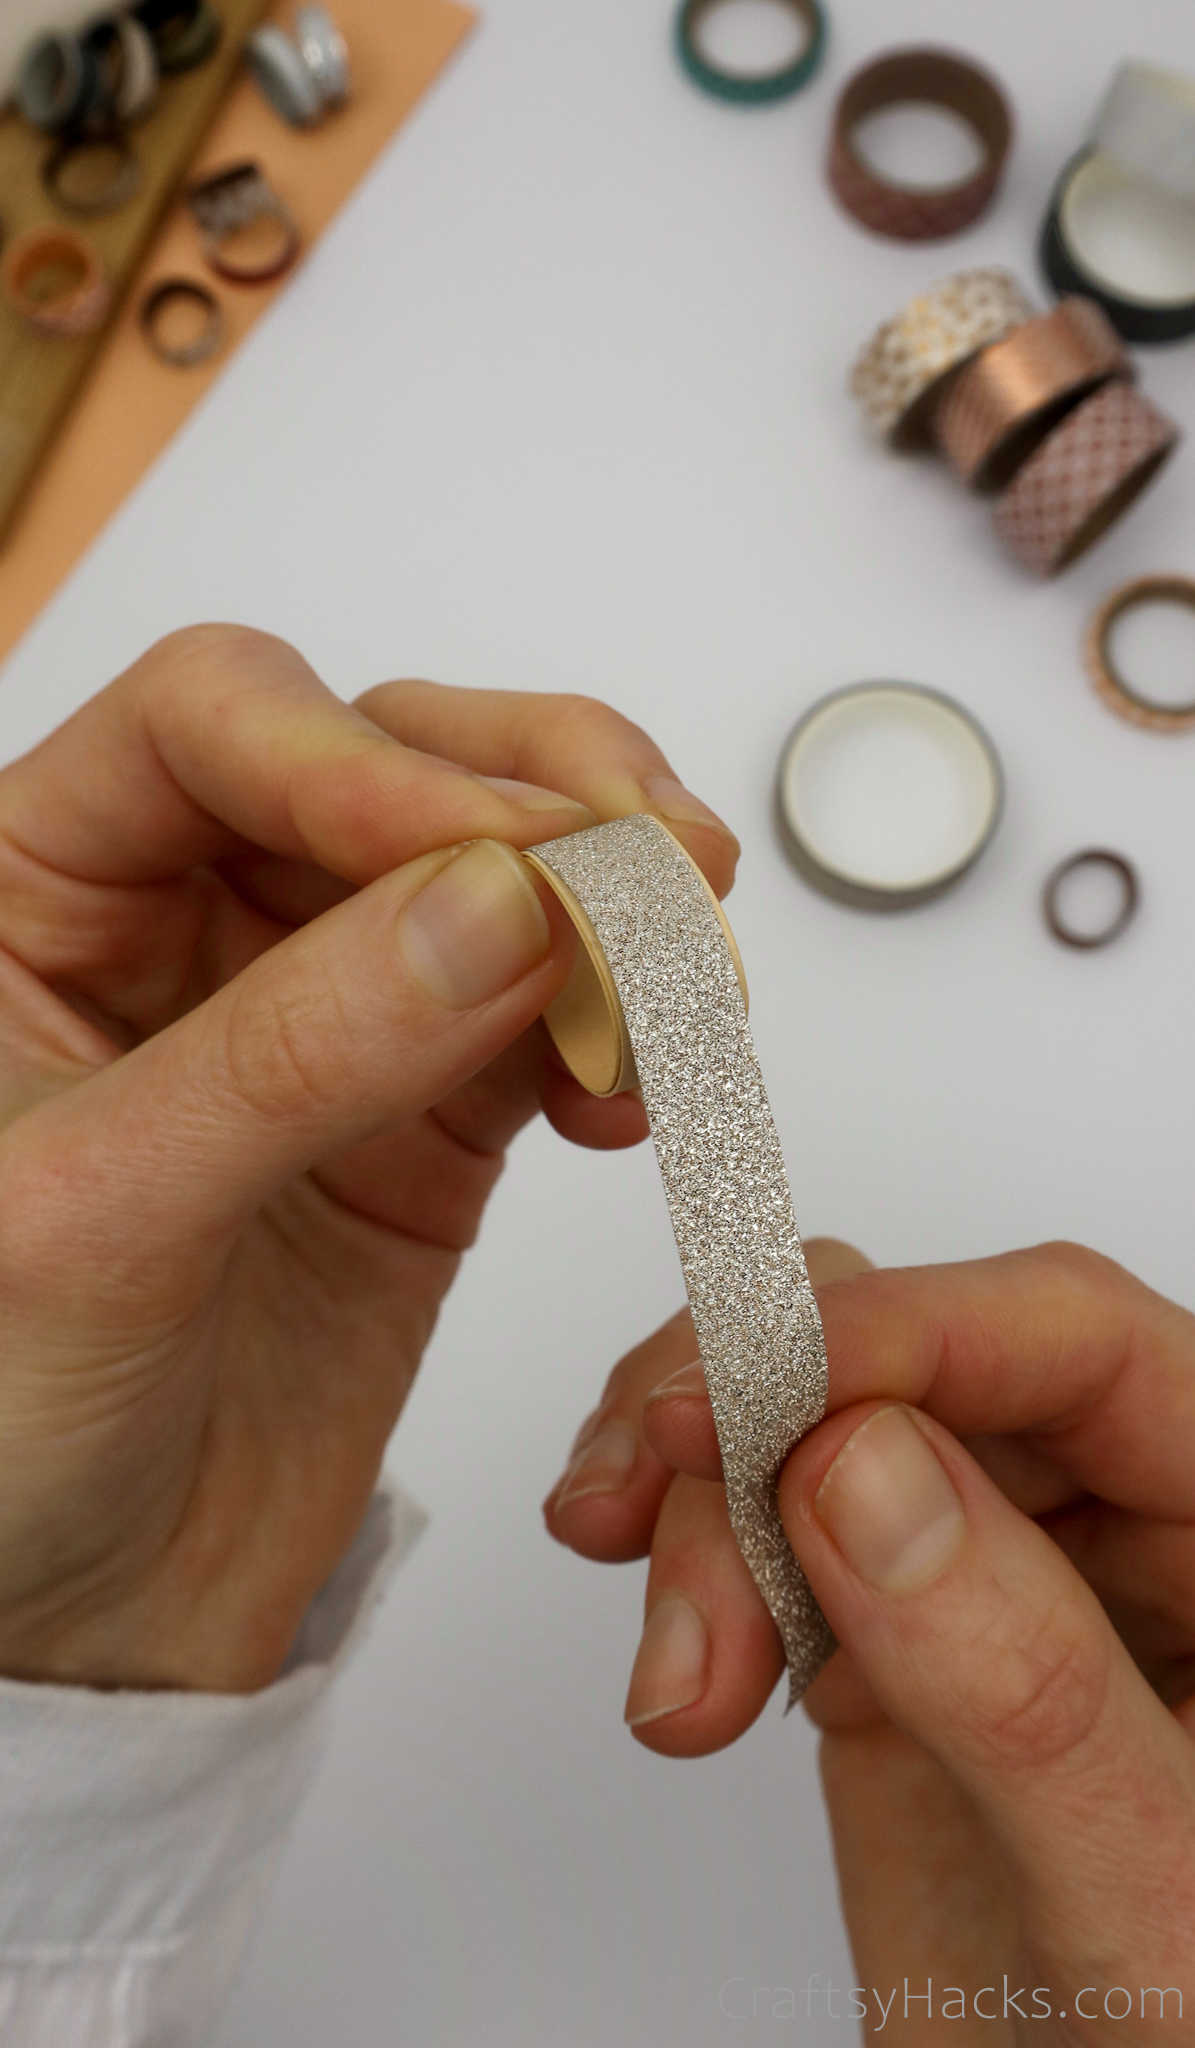
Simply wrap it around your ring to check whether the dimensions are in tandem with each other.
Then you’re free to go ahead and stick them over the base of the ring!
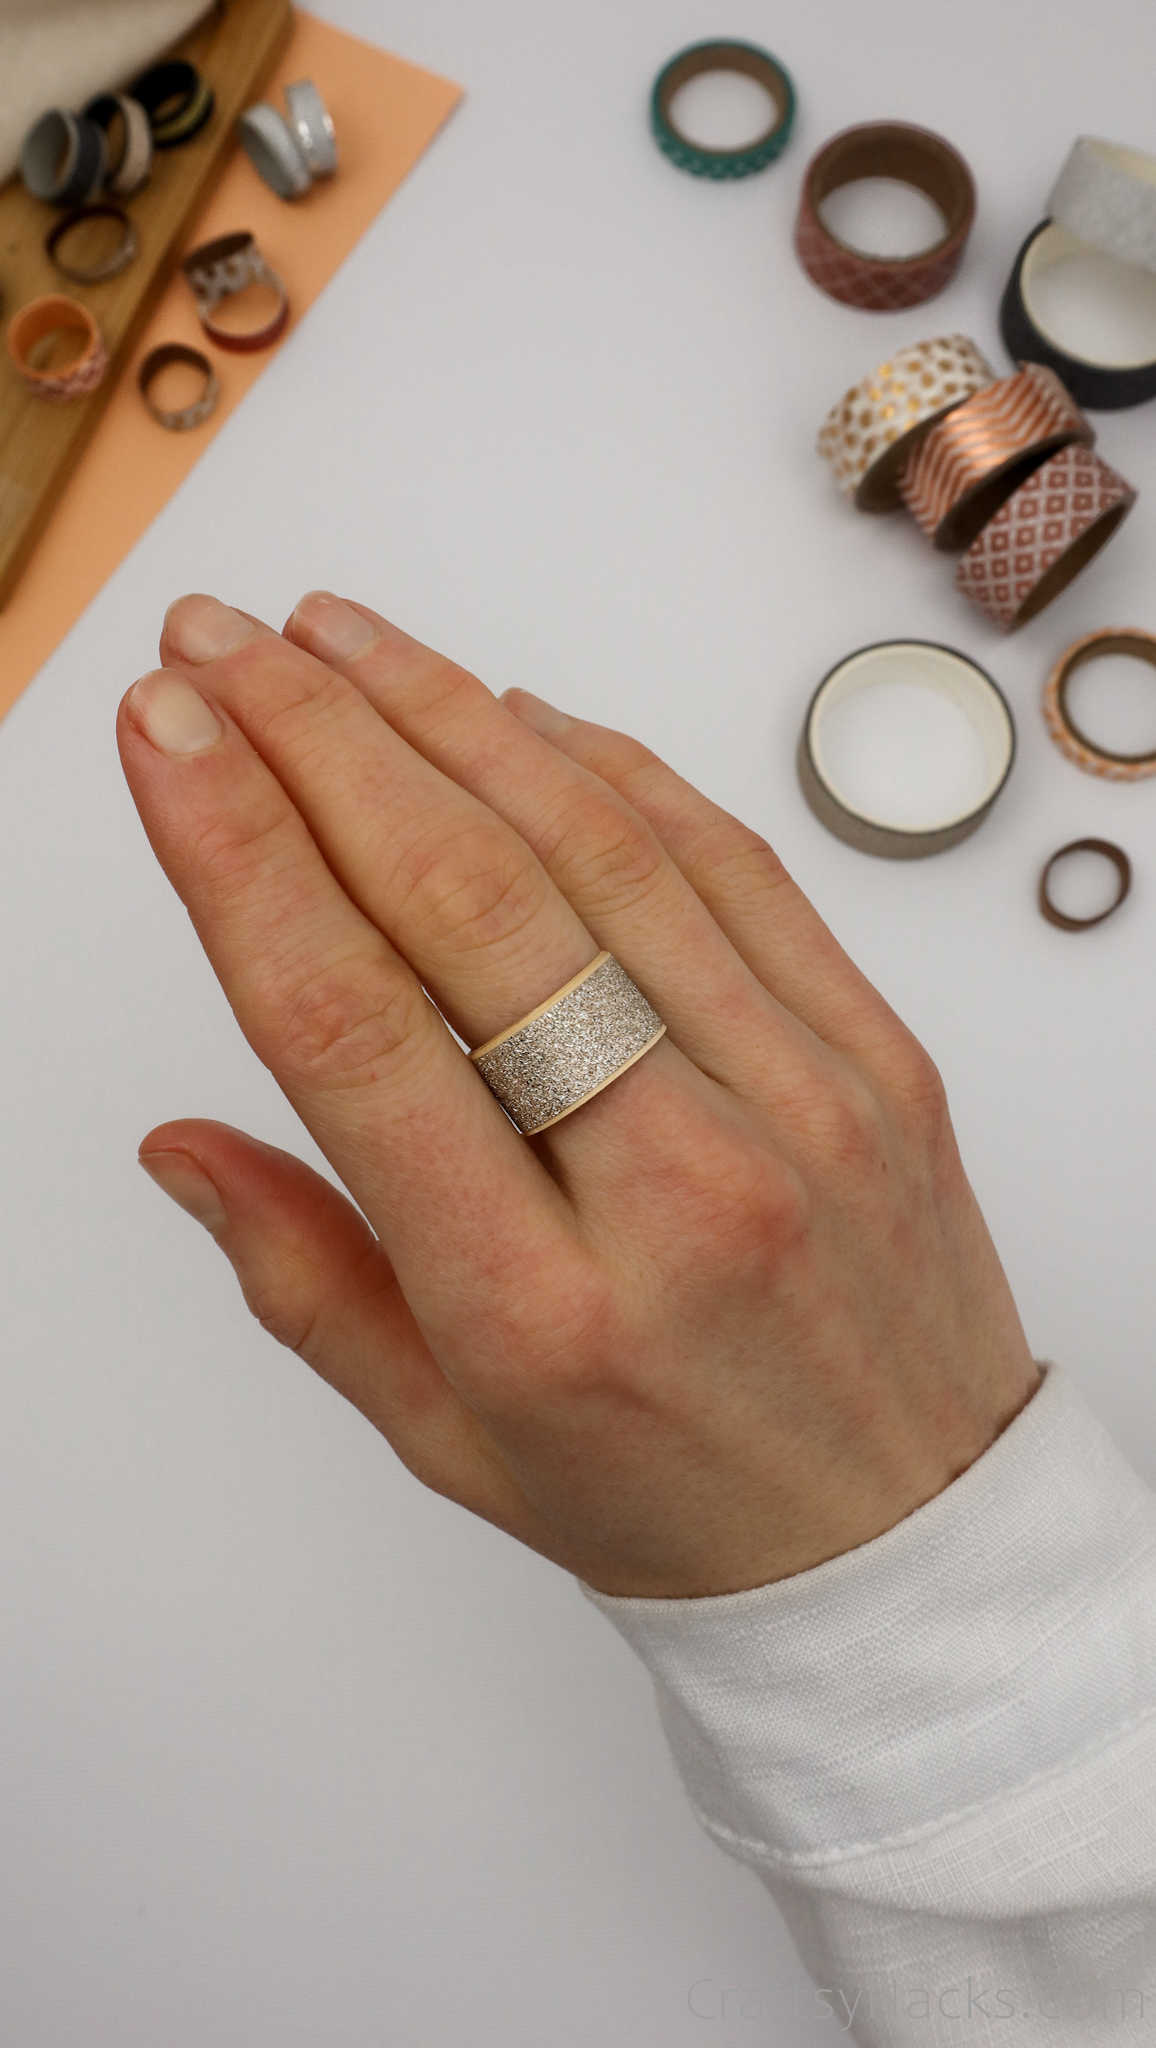
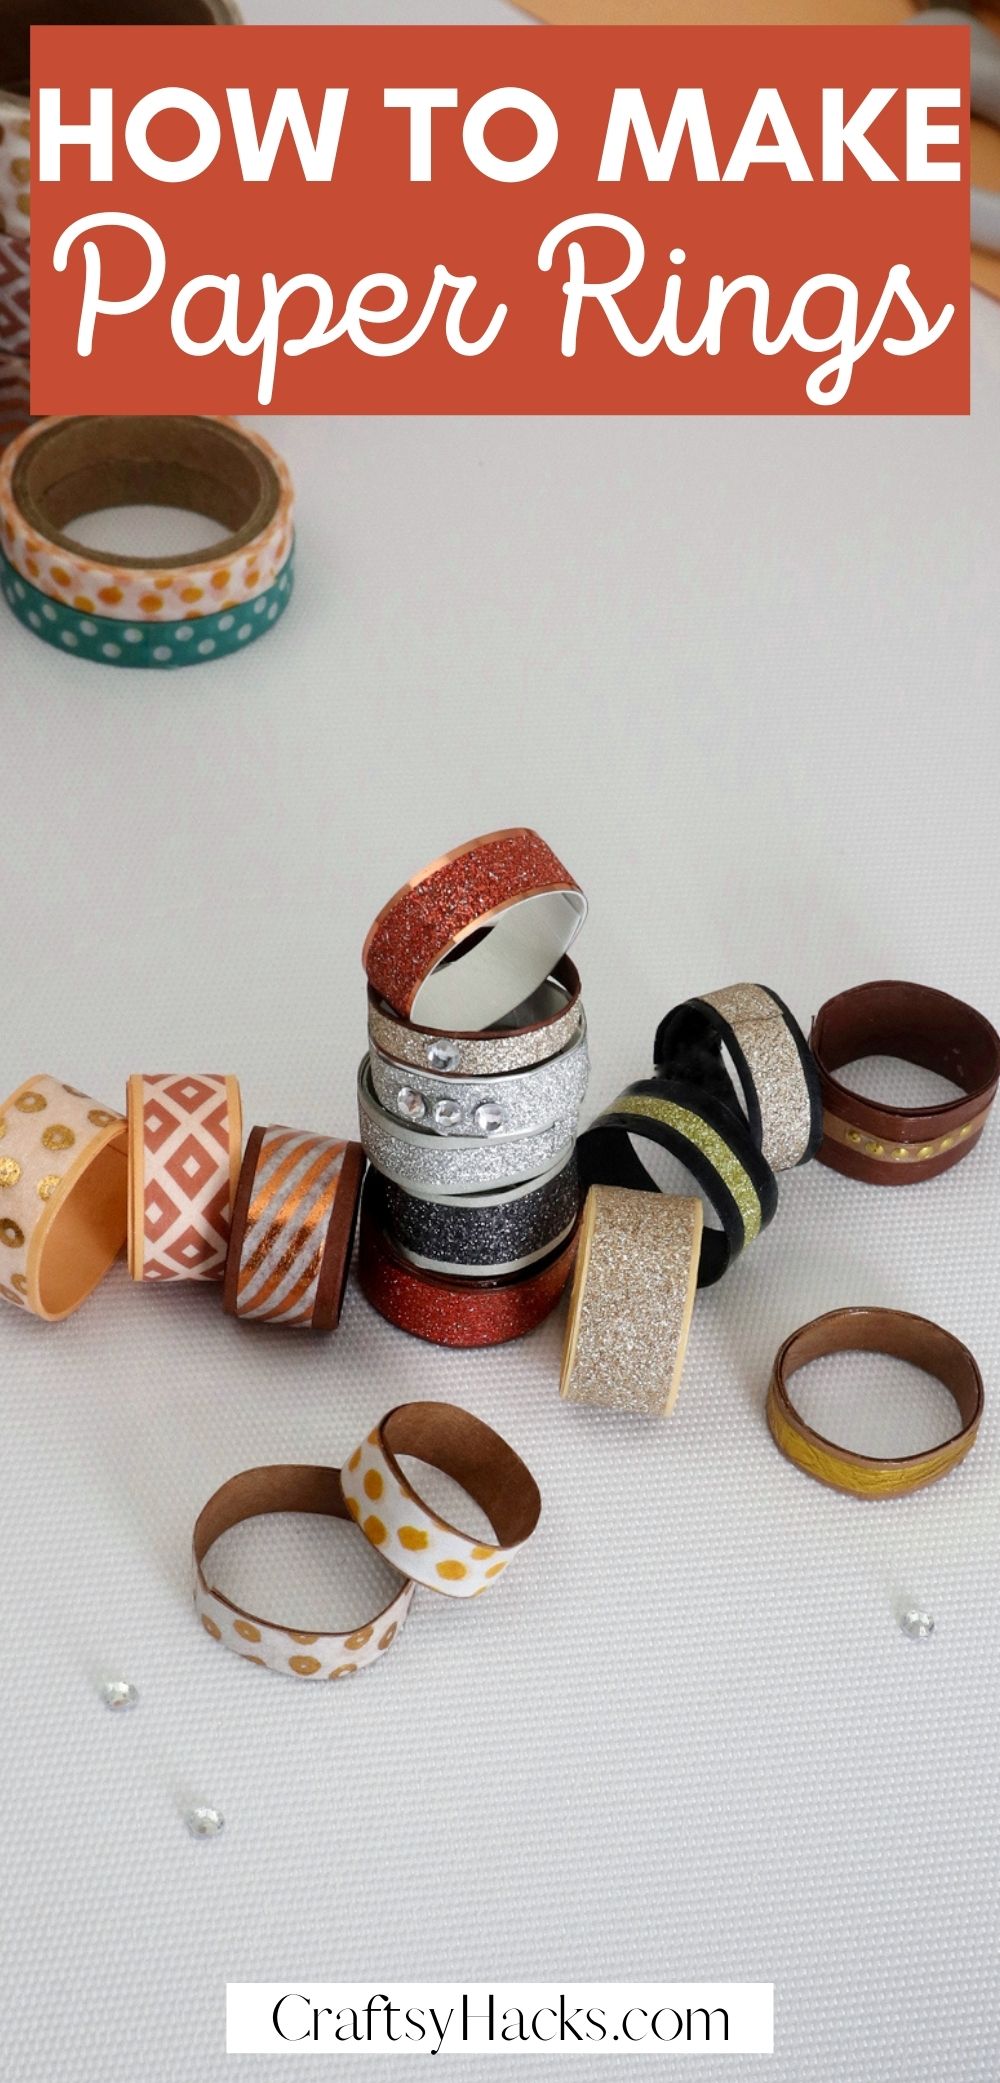
Dont you just love how elegant and understated these look?
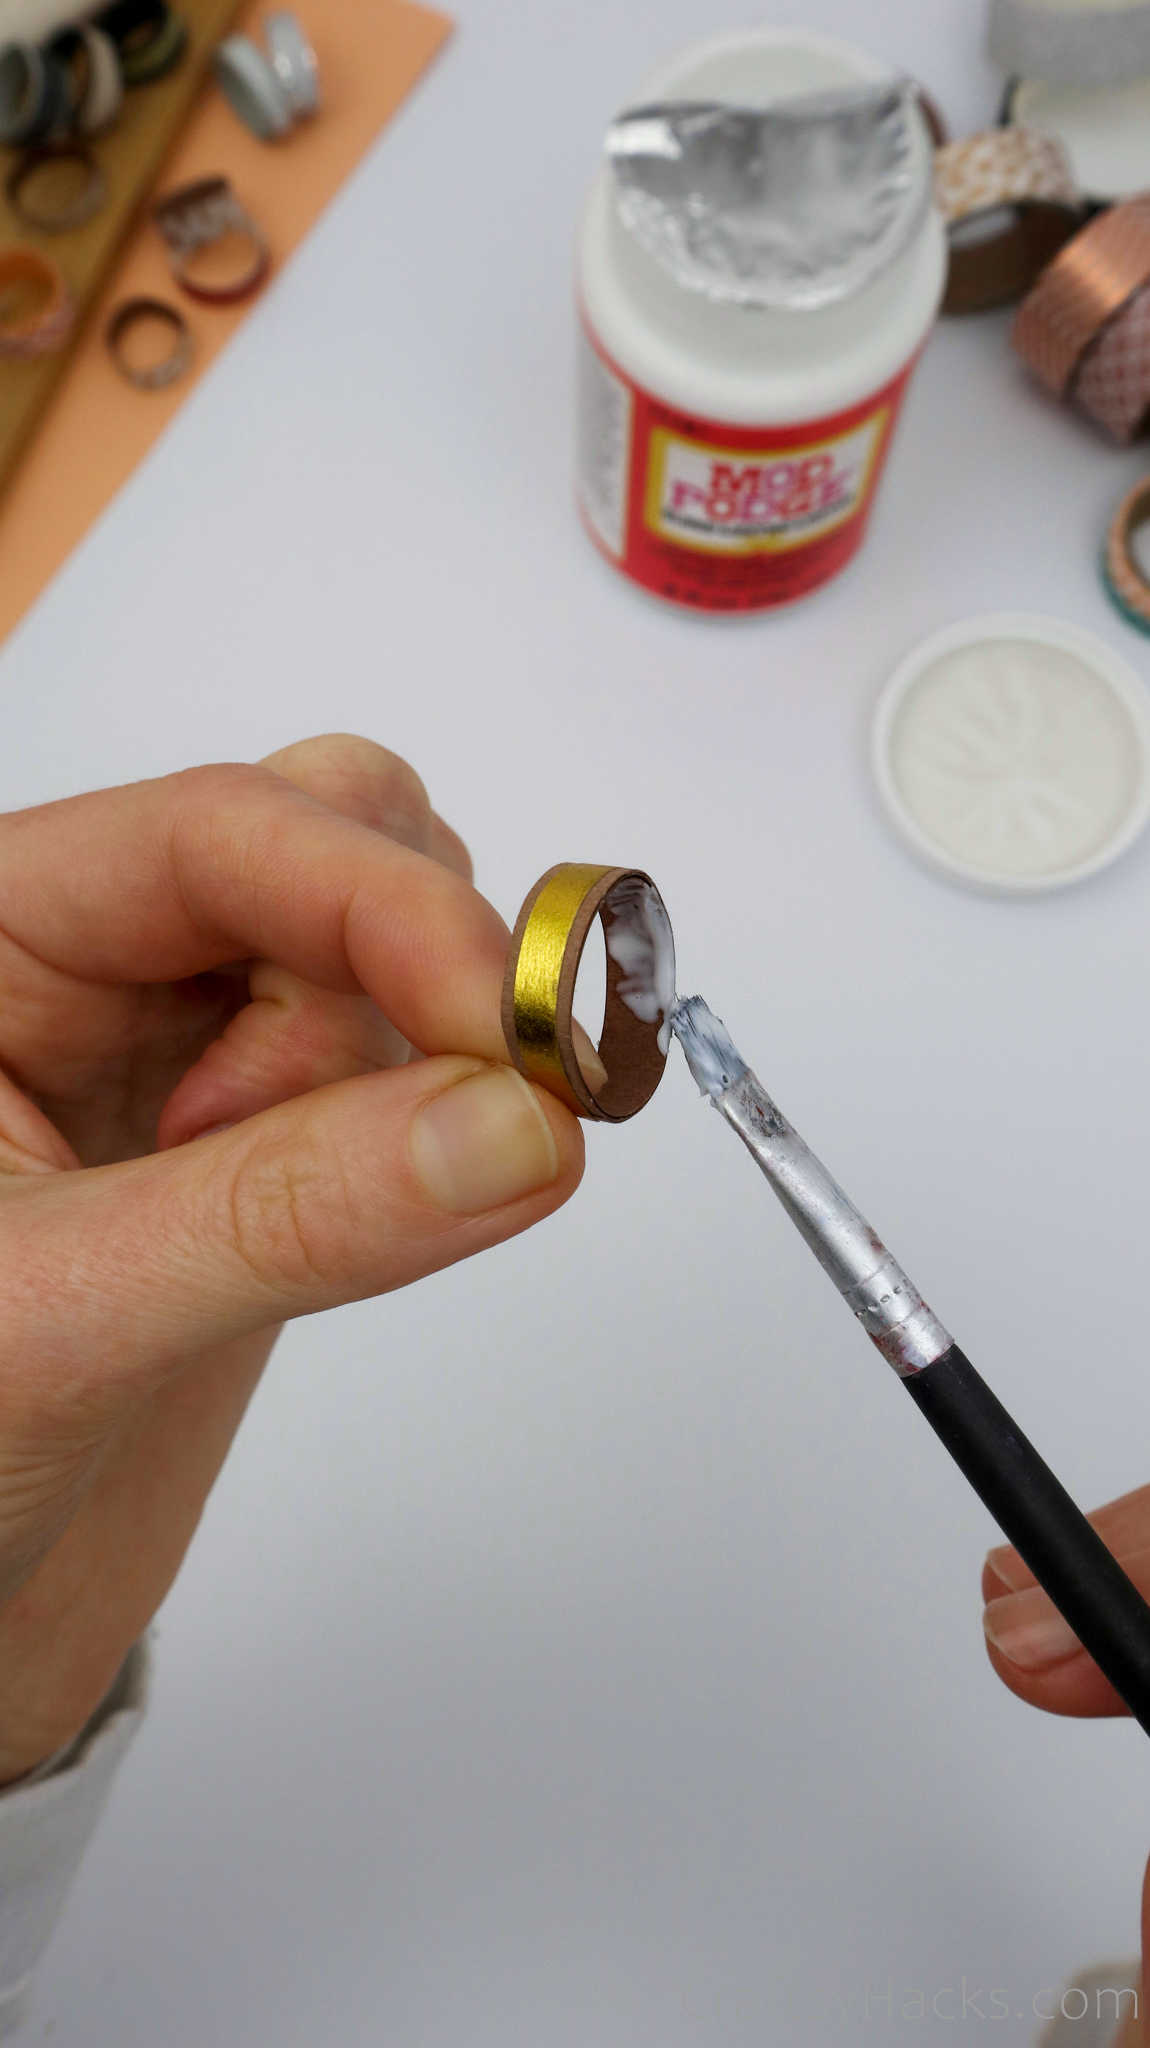
You could never tell that they are made from paper, could you?
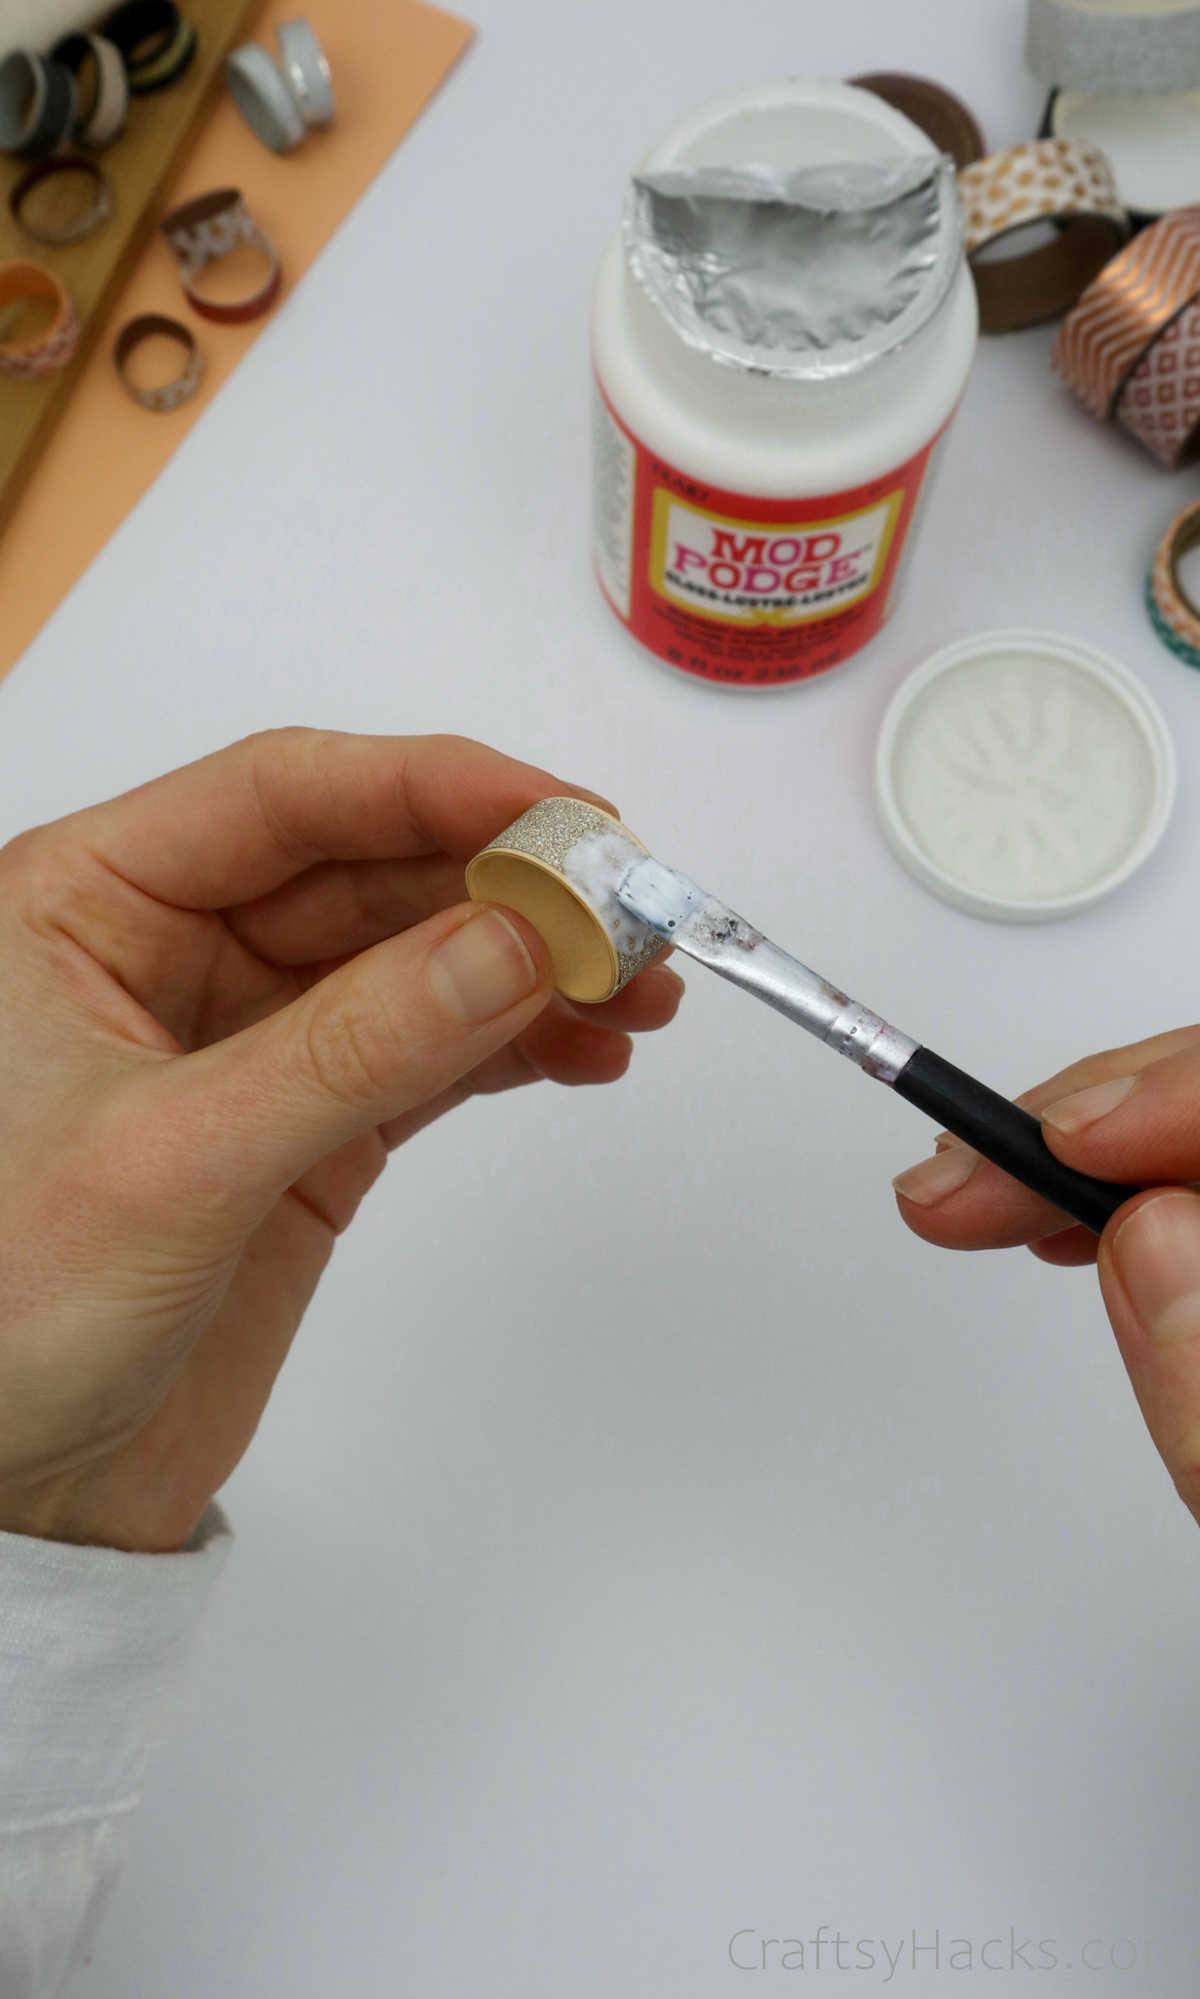
This coating will harden the ring and make it more durable.
Step 10
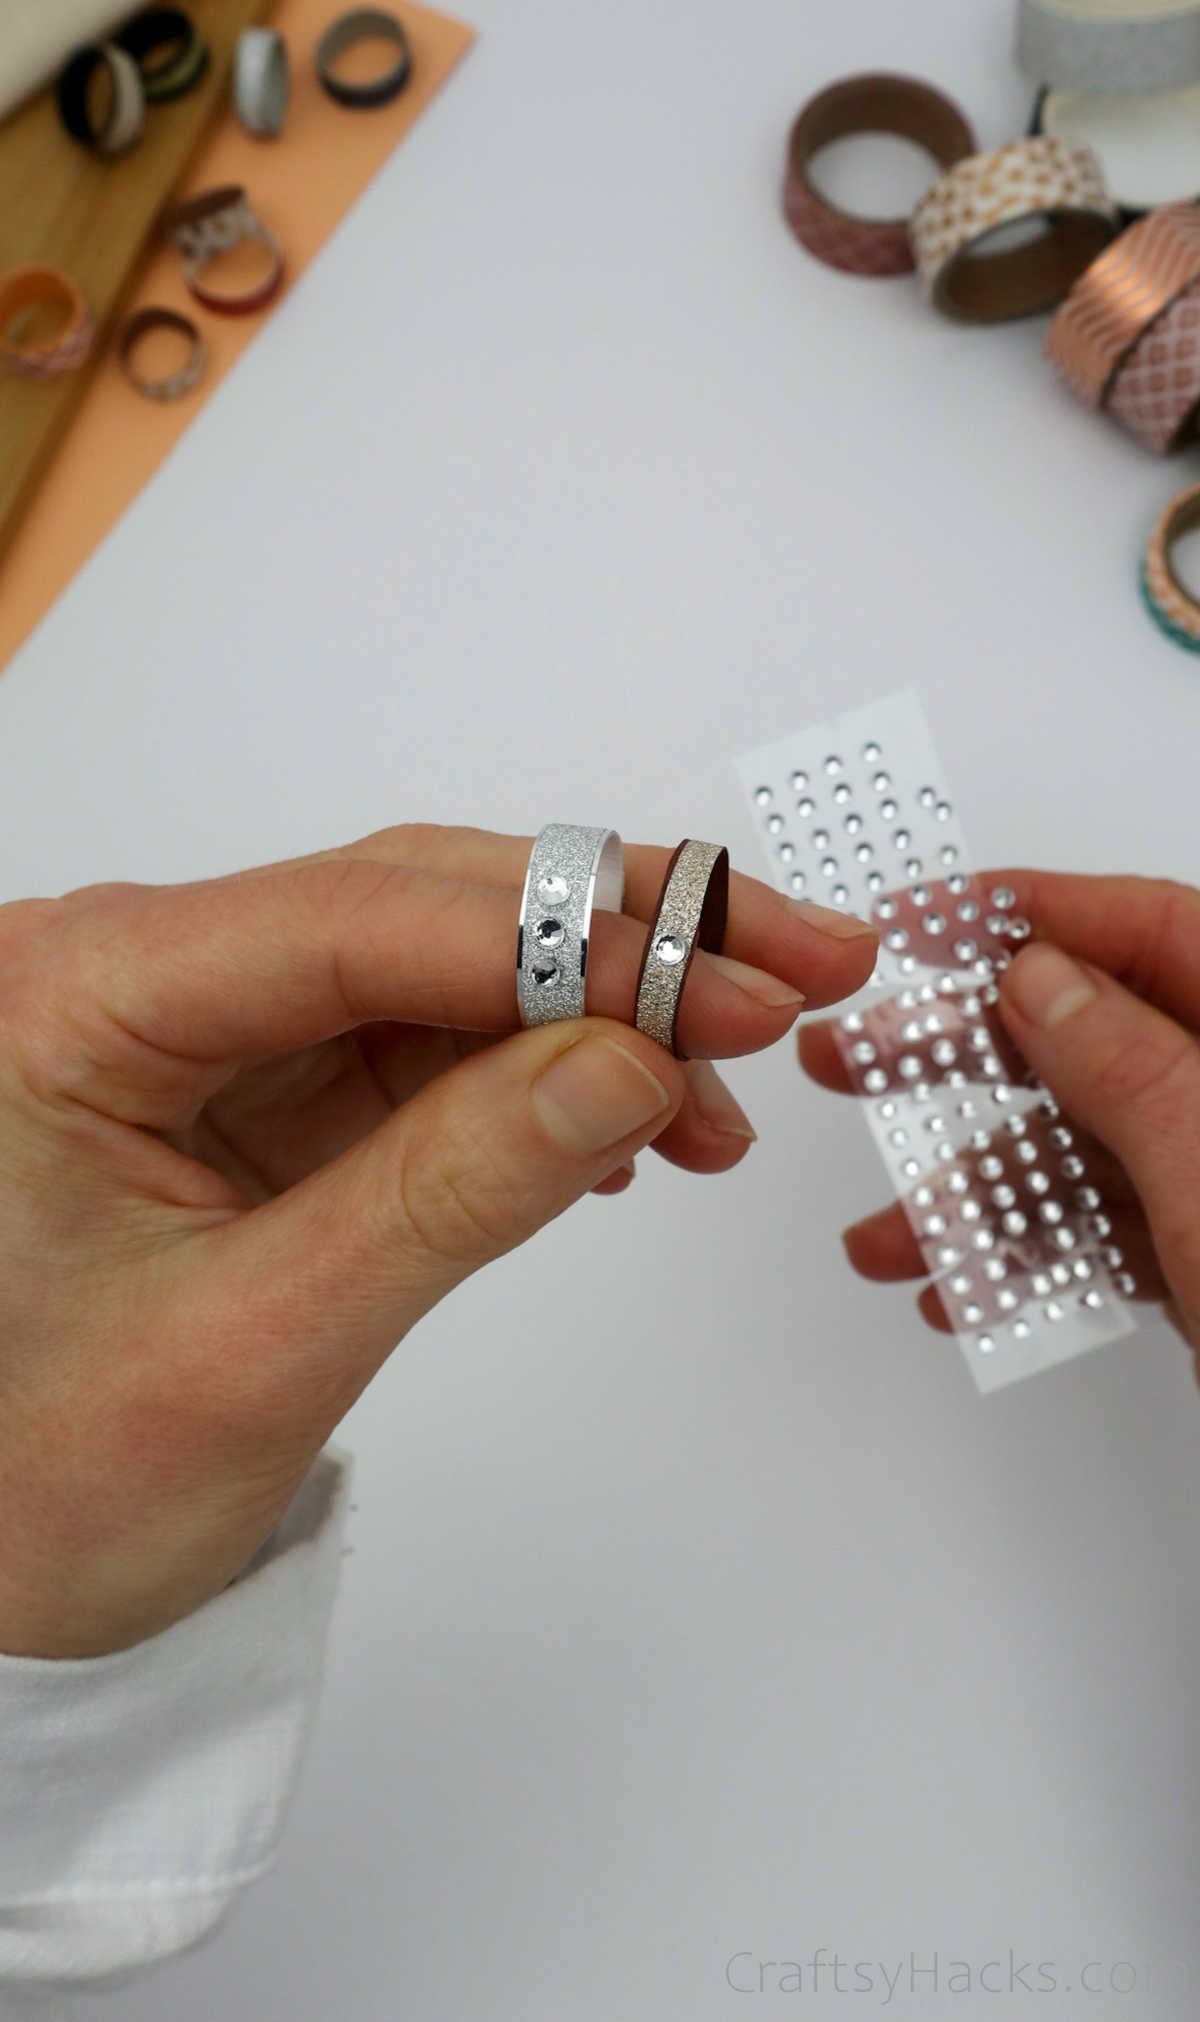
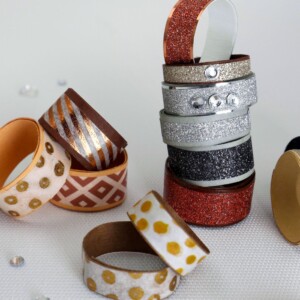
Its time to sparkle!
As shown below, if youve got little gem embellishments, go ahead and stick them onto your ring.
It might not be a diamond, but it sure does sparkle!