HomeDIY
This post may contain affiliate links:full affiliate disclosure.
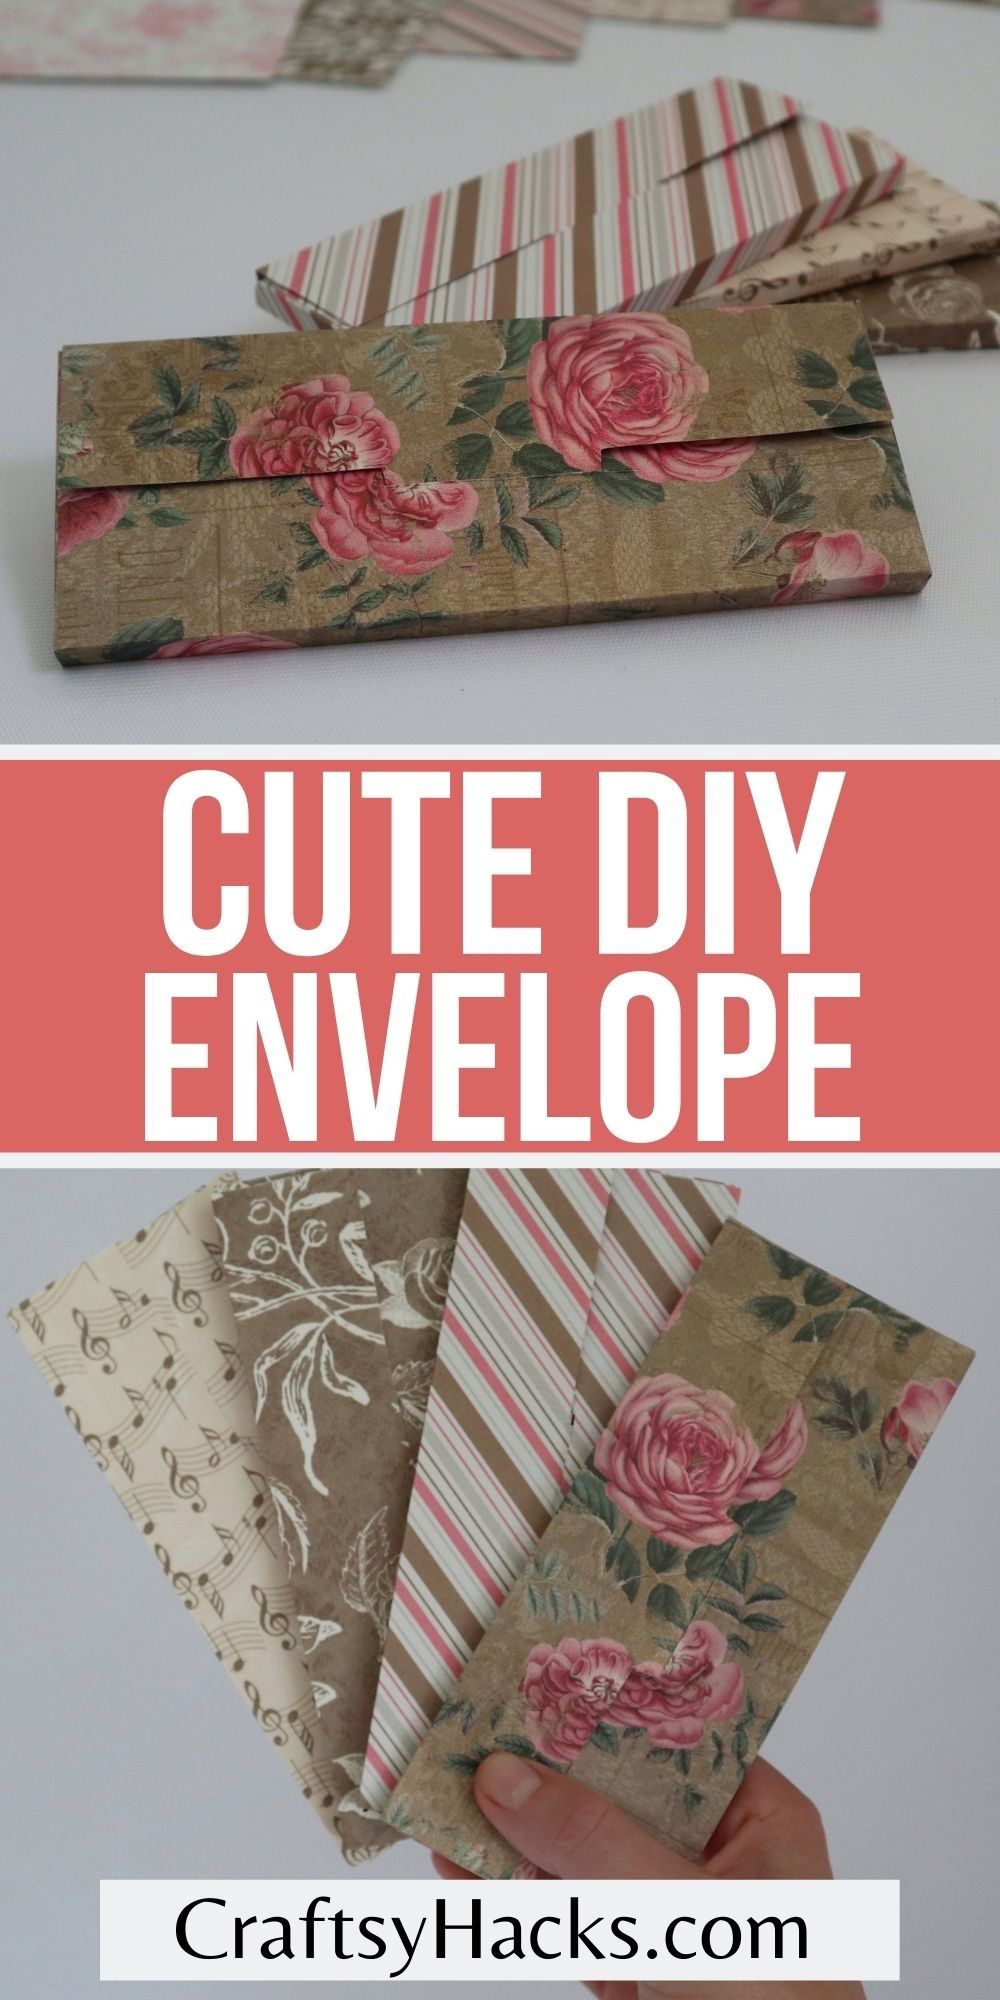
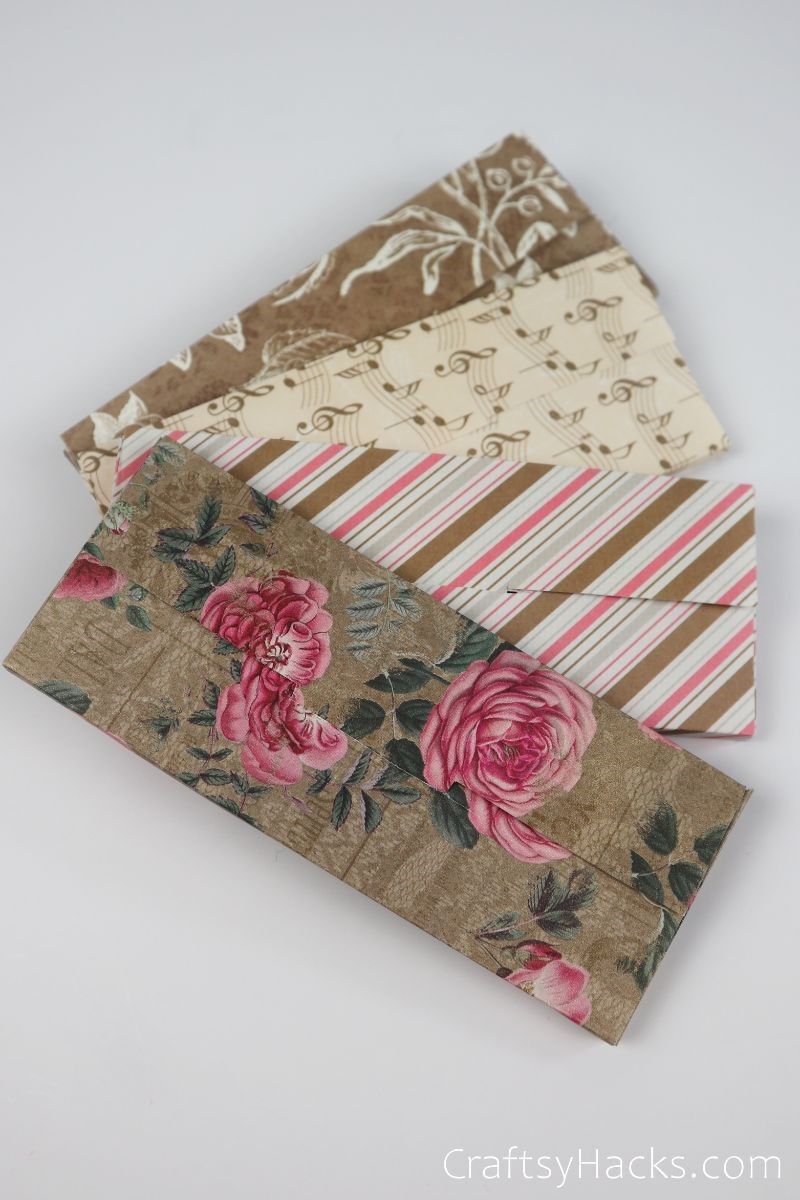
Need a beautiful DIY envelope for a nice gift?
These are just the paper envelopes you could make!
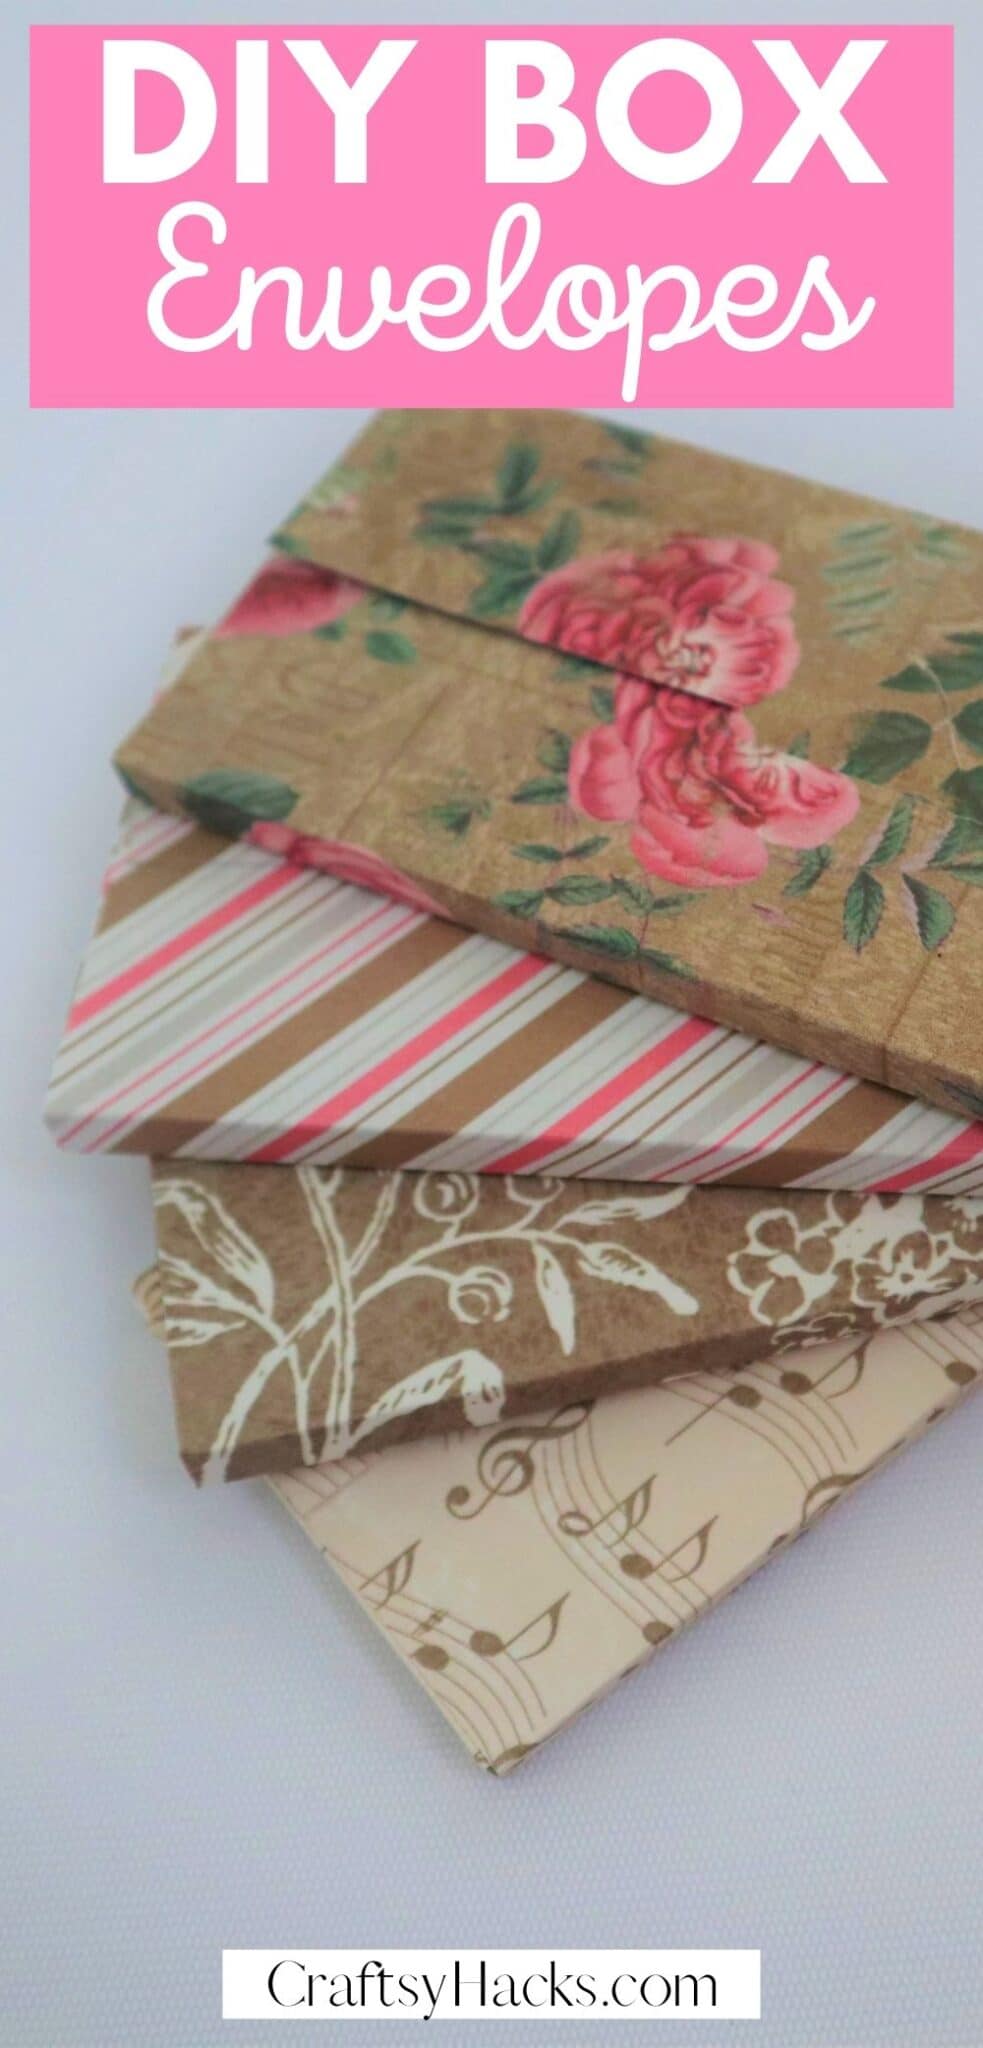
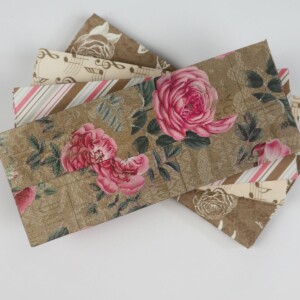
These DIY box envelopes go a step even further, making the envelopes a gift of their own!
Im in love with these because they make whatever you keep in them anevent.
Step 1
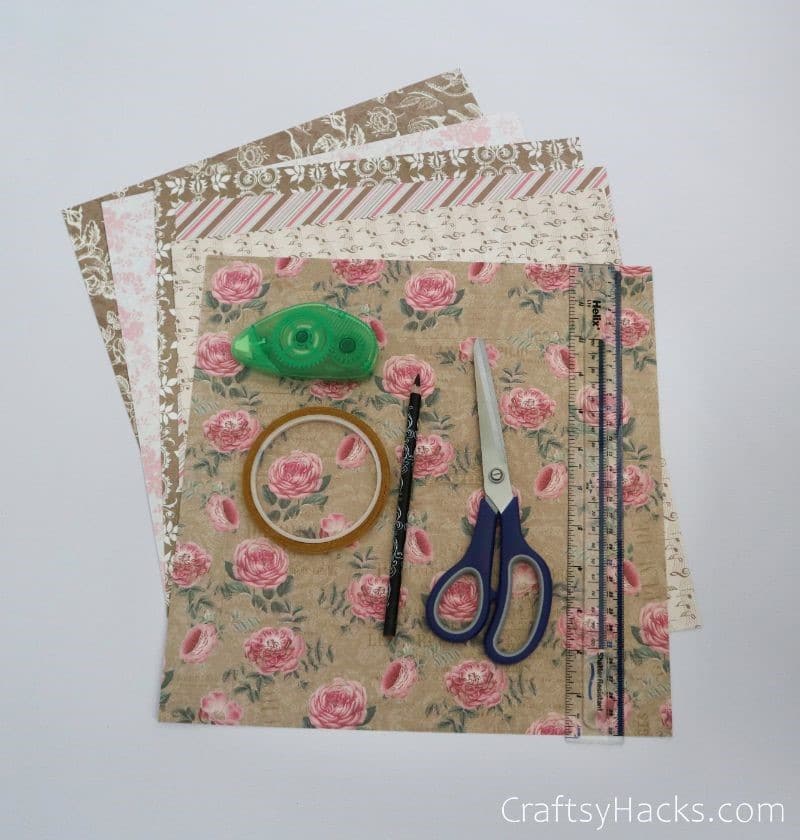
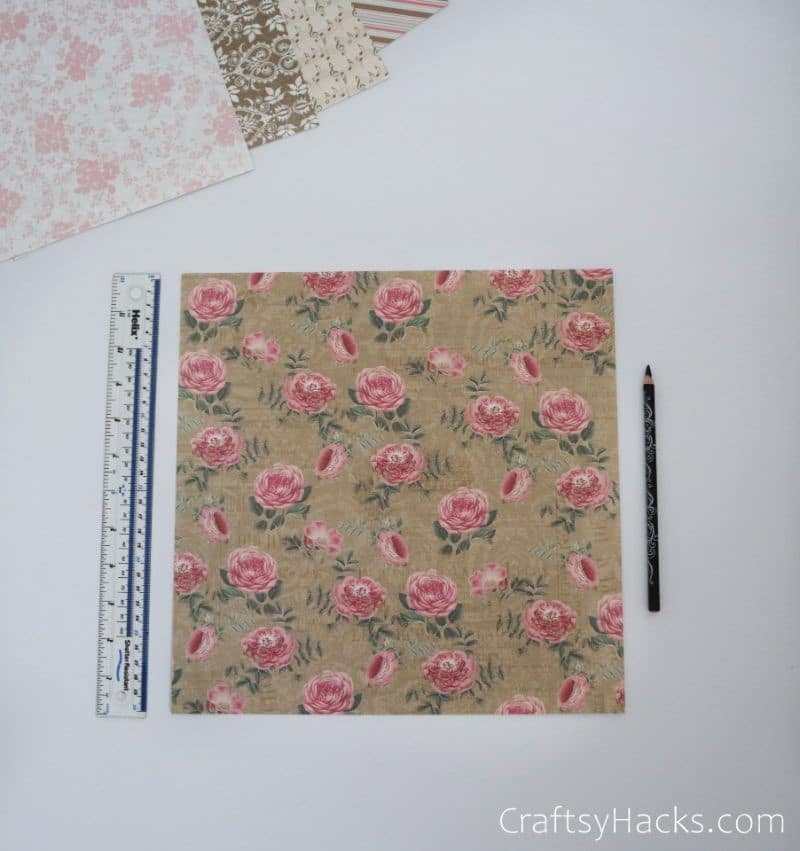
Start off by gathering all your supplies.

Thick scrapbooking paper is ideal here, as it needs to hold a firm shape once folded.
Also, ensure you have some double-sided tape handy (it makes it so easy).
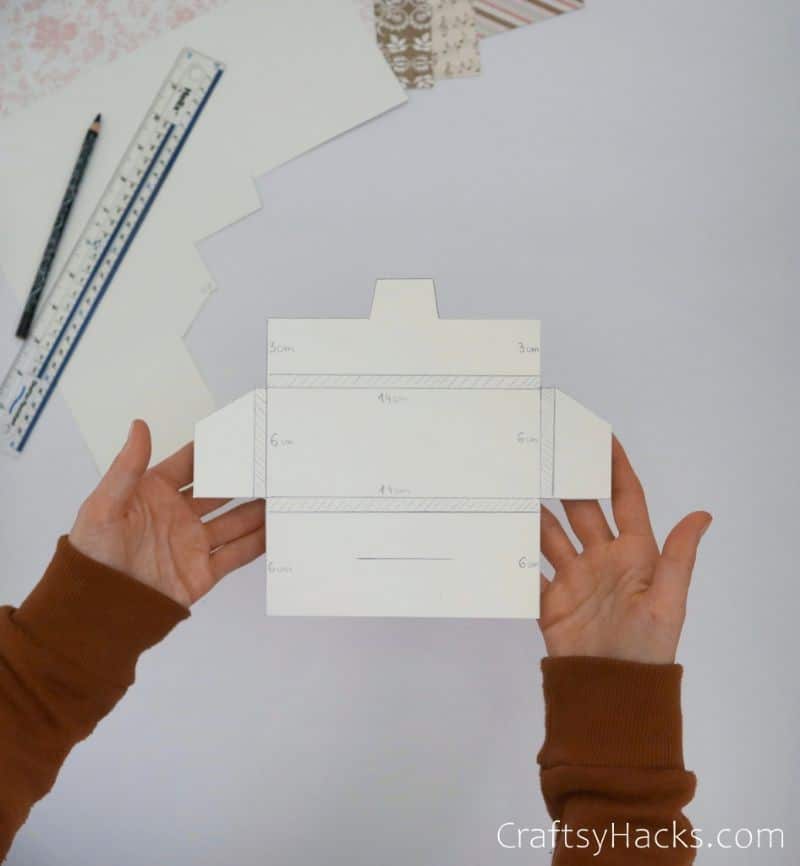
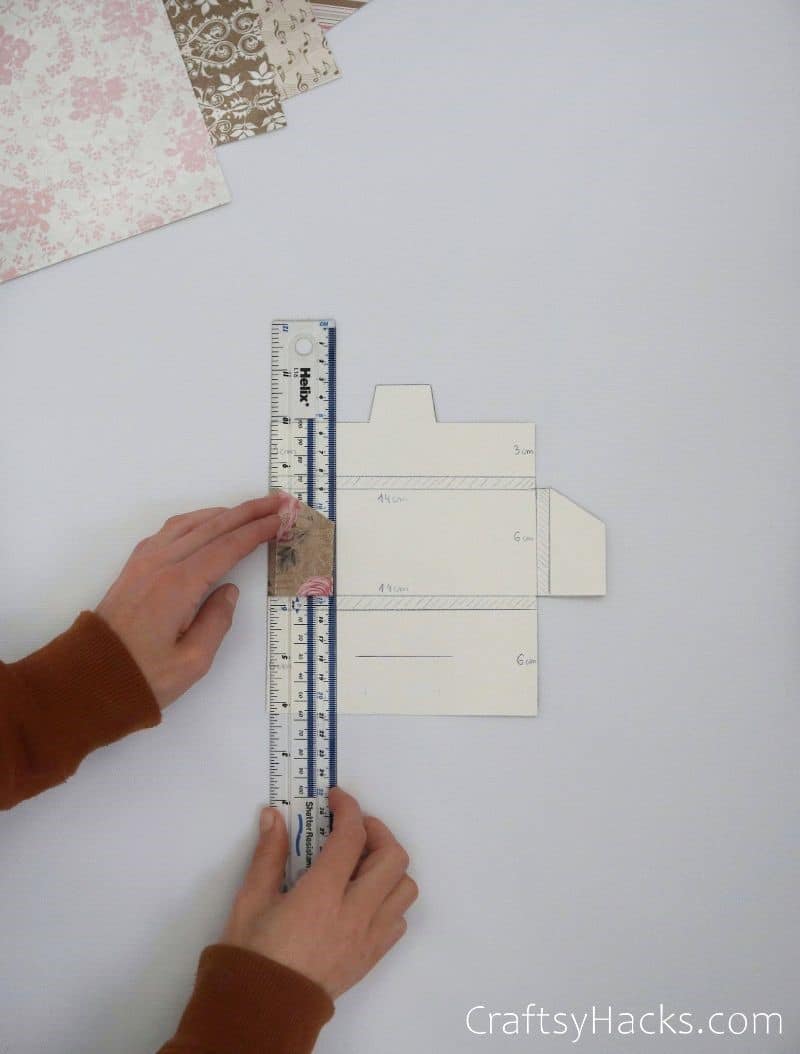
Start out with a pencil, your chosen box paper, and a ruler.
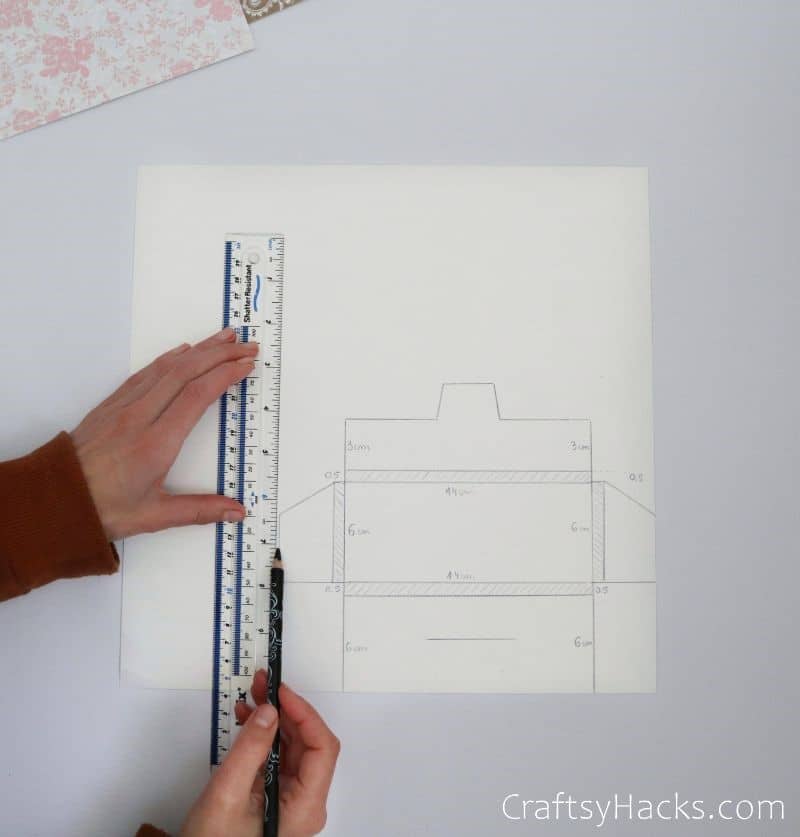
I made my own!
One is the back wall, and one is the front.
The same goes for the wings.

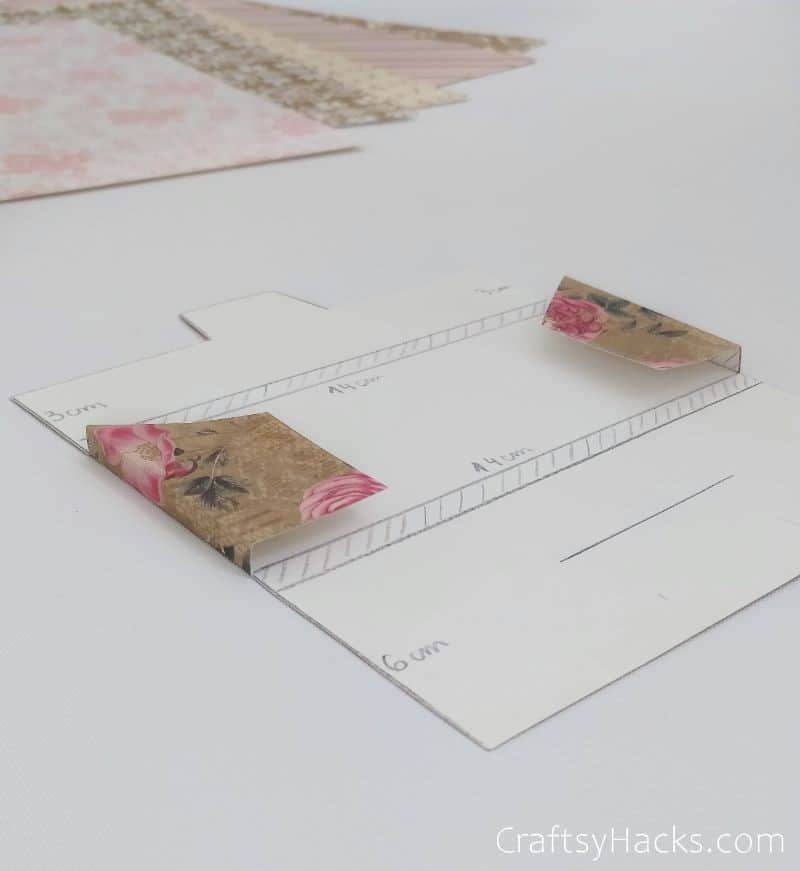
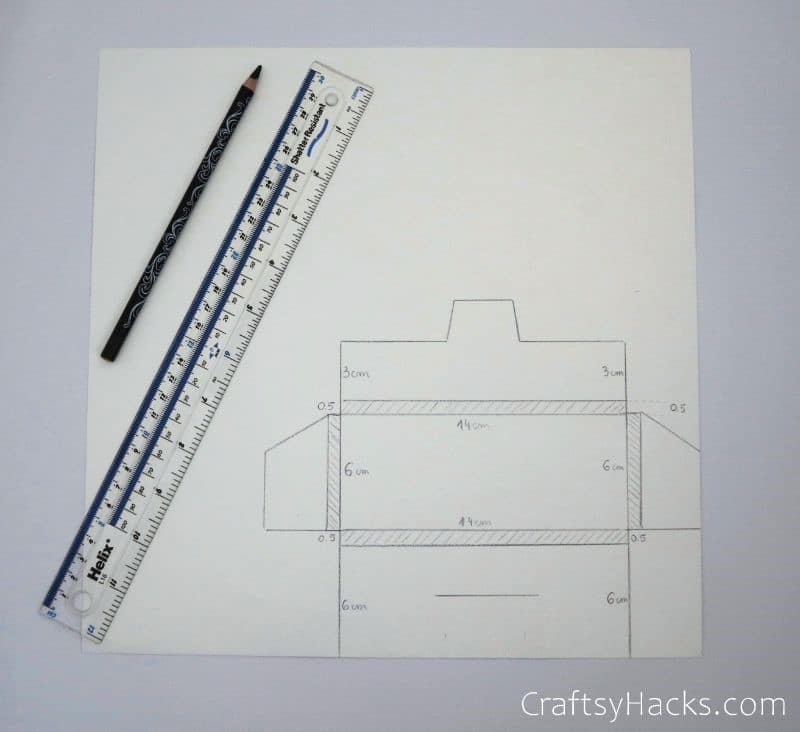
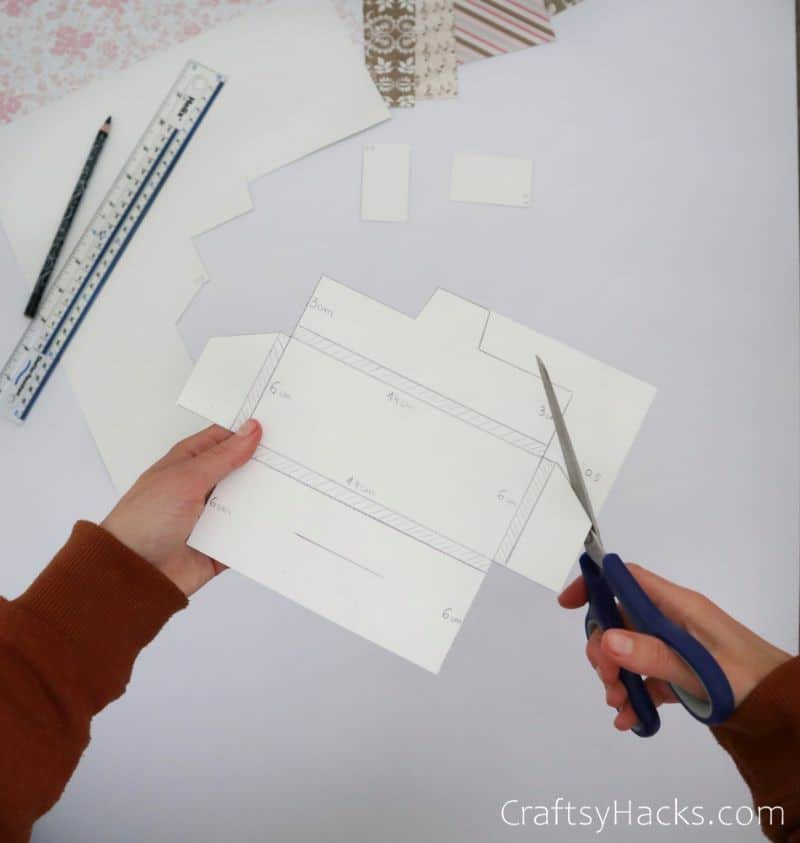
Rounded corners wont hook well, so verify to get precise, square edges as you cut.
These cross-hatched sections will create internal space once the box is folded.
Step 4
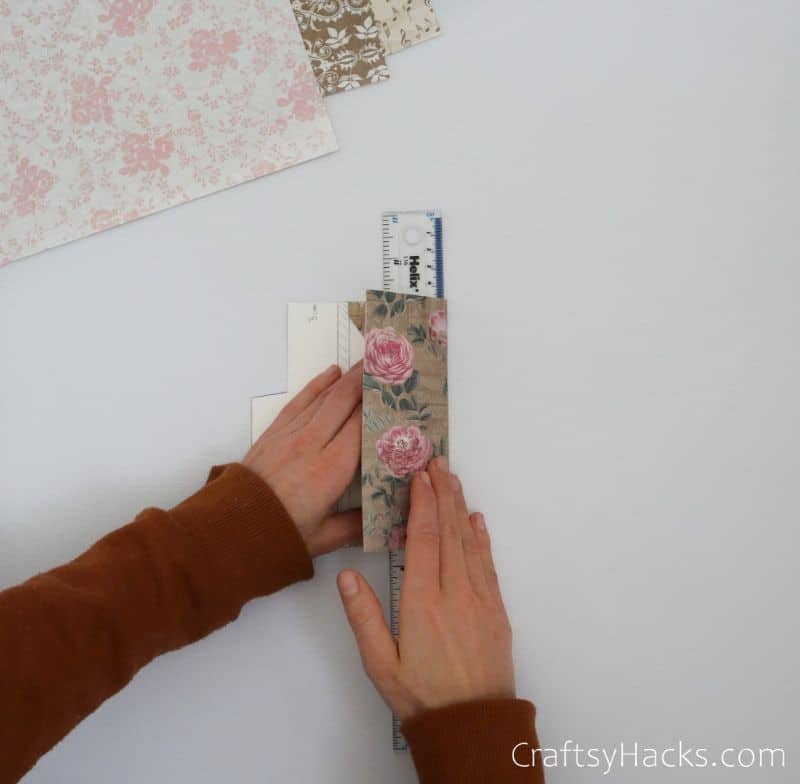
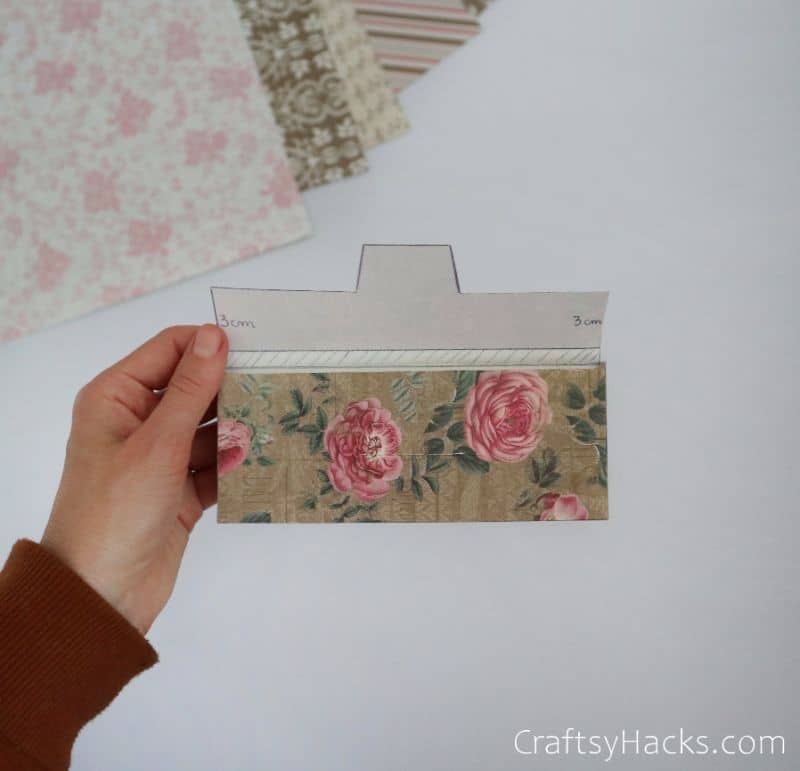
Next up, its time to start folding.
Do the same on the other side to create two flaps folded inward (as above).
Notice the straight edges on this fold… thats what gives us the box shape!
confirm to align those edges carefully, so the final product isnt wonky.
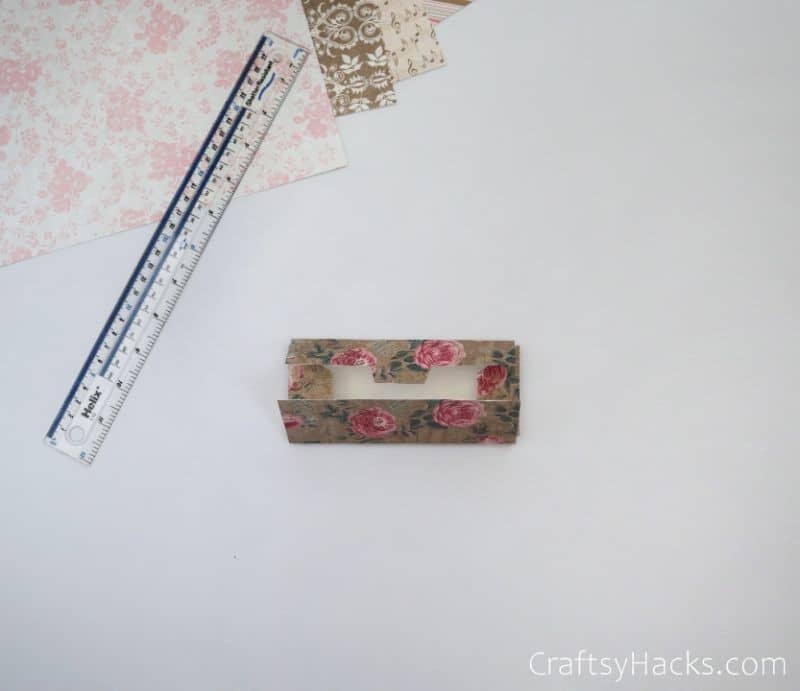
Step 6
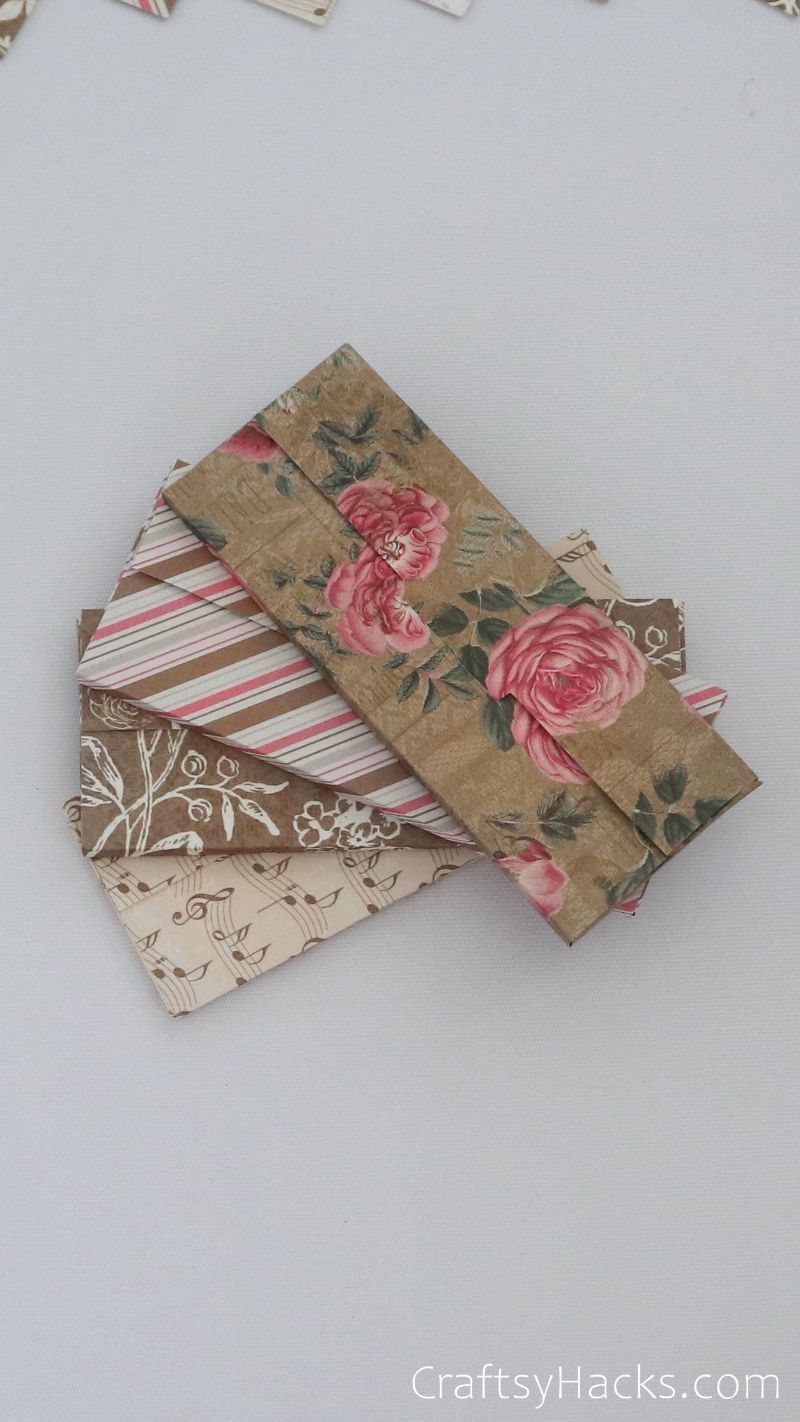
Once youre done, you should have a piece that looks like this.
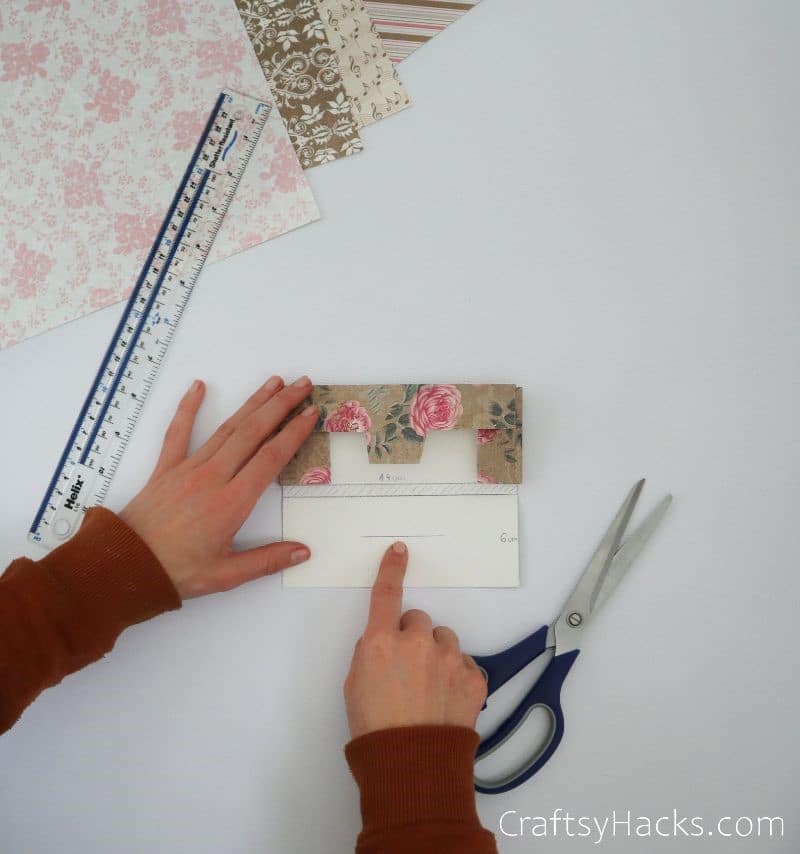
Step 7
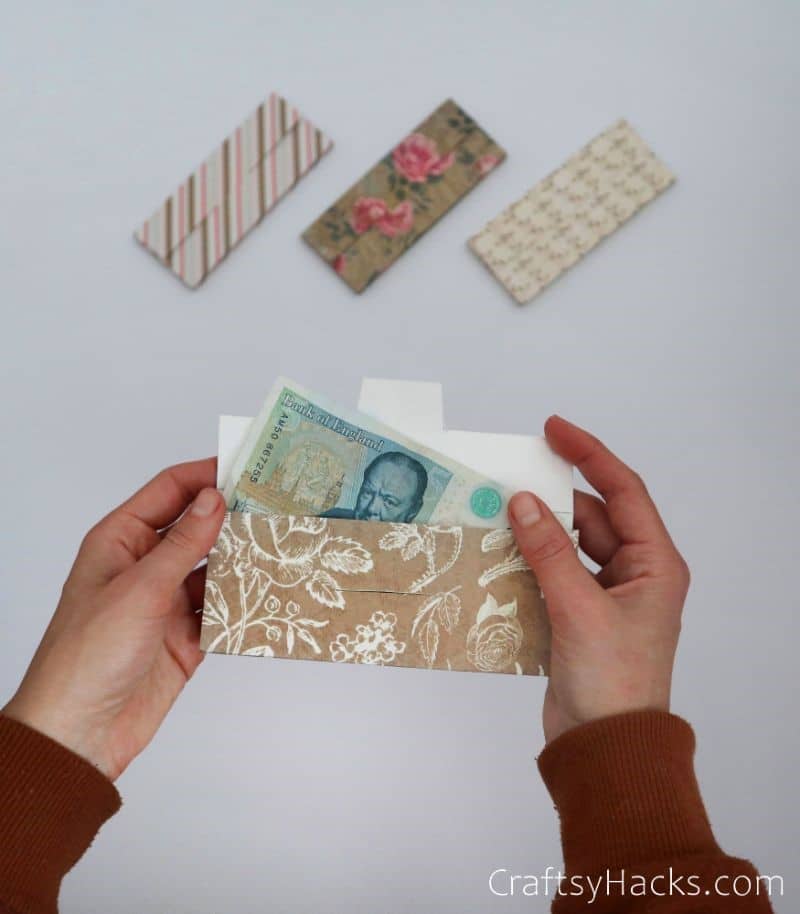
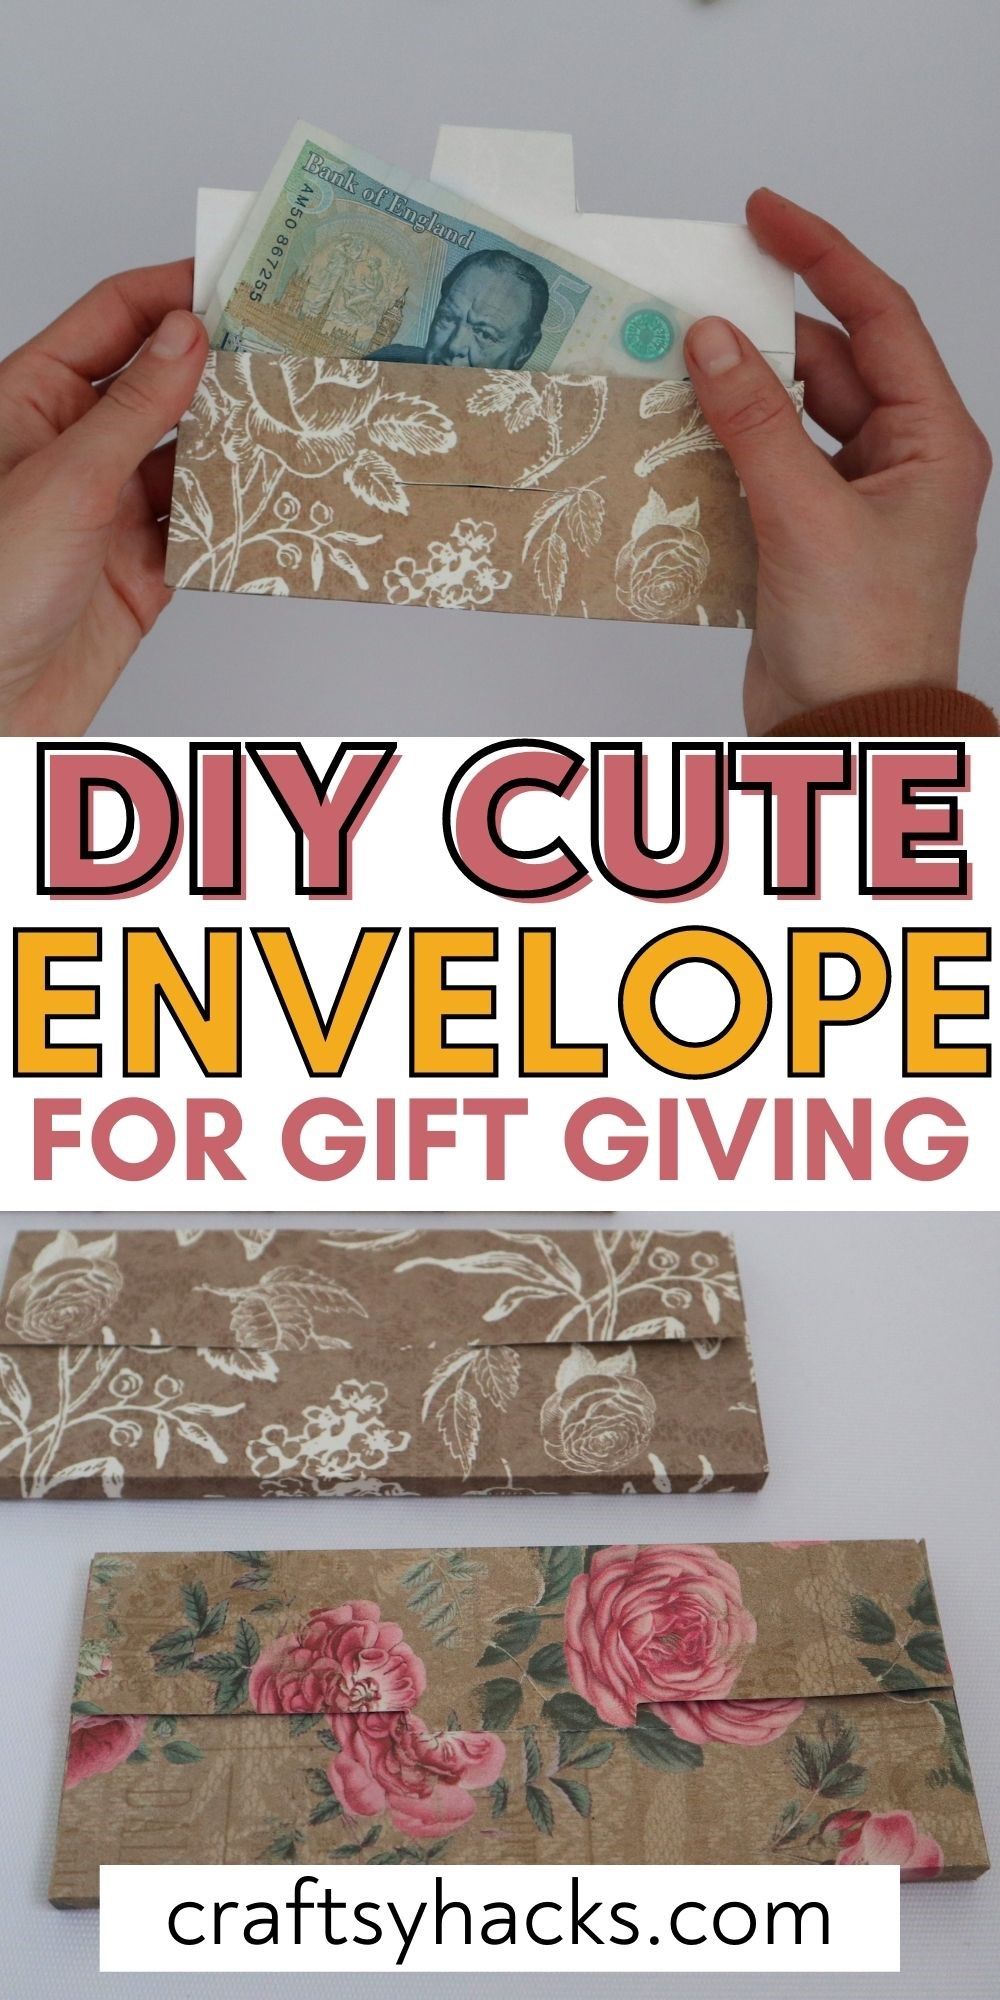
Next on the agenda, we have to create a slot to exit the box.
This is simple enough!
Just draw a line in the top flaps center.
Then, cut through it to form the slot.
If you have a craft knife, this job will be a lot easier.
However, you could also use a single blade of your scissors to get that clean cut.
check that the notch is wide enough to fit the top flaps protrusion.
Step 8
Finally, its time to assemble your creation!
I tested both double-sided tape and glue for assembly.
Using the tape is definitely more straightforward as theres no drying time.
This will leave your top flap free to open and close.
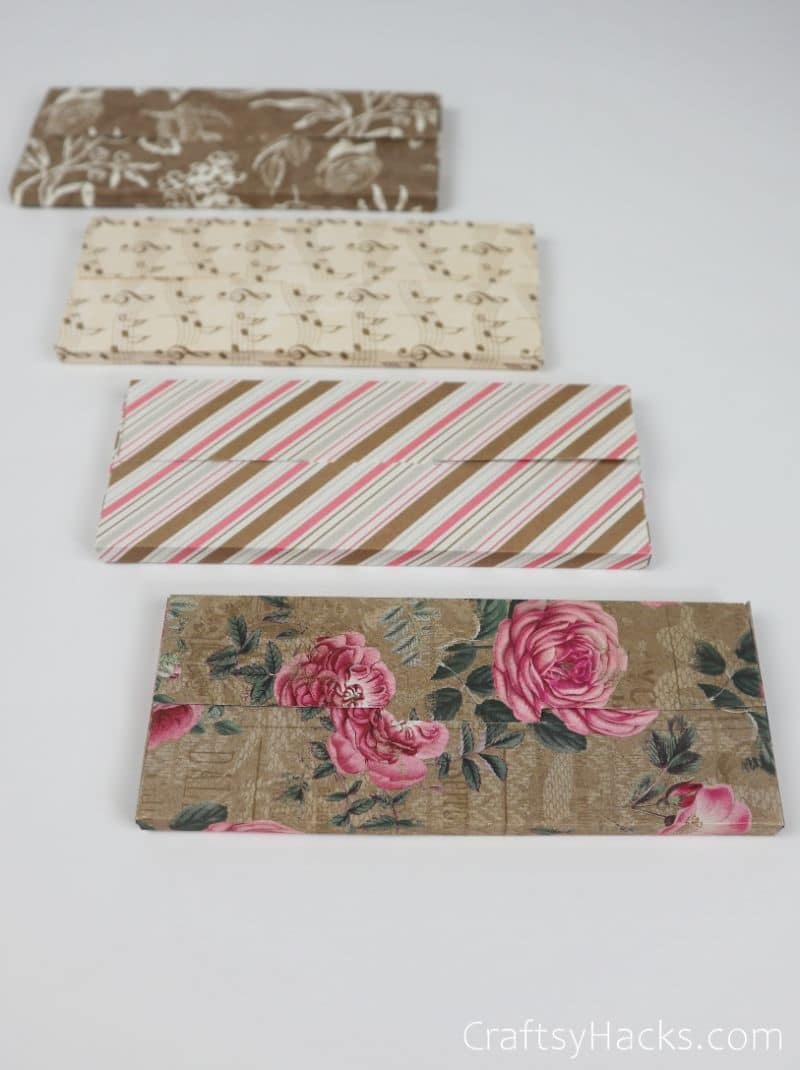
There you have it!
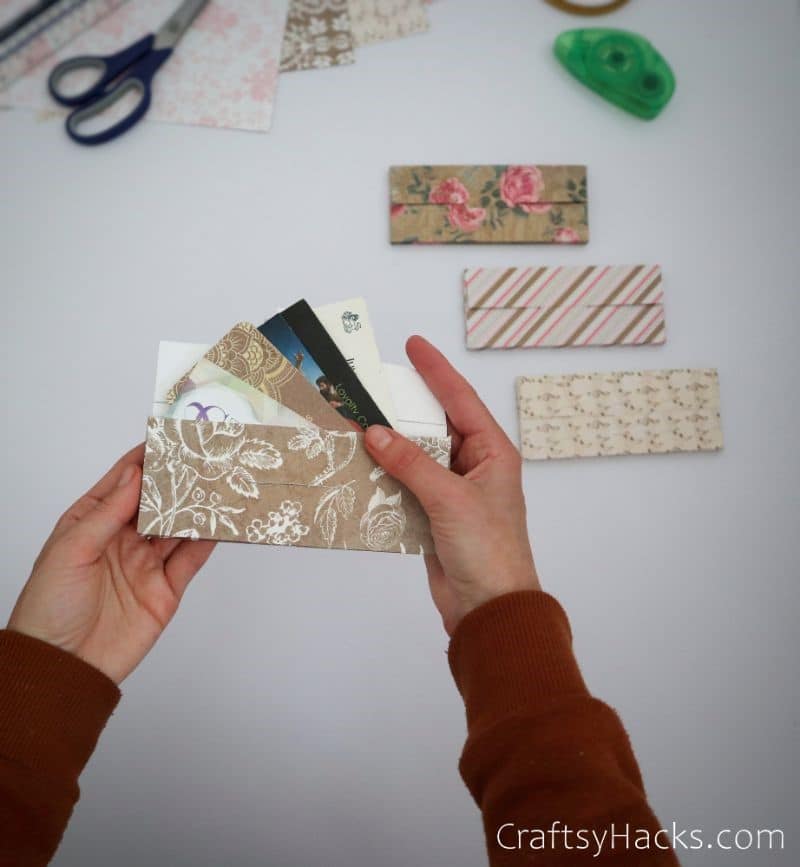
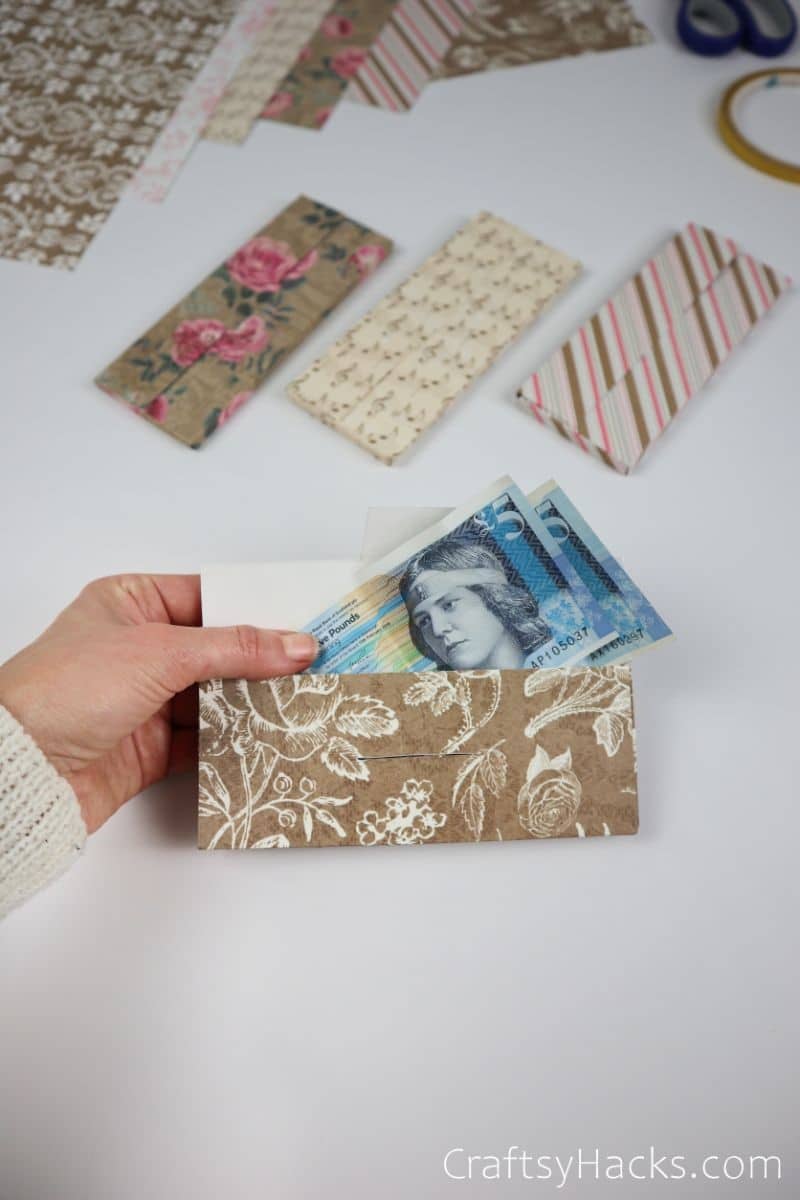
What Can You Use These Envelopes For?
Im telling you, these boxes are so versatile!
No matter what you put in them, they dress it up enough to elevate it to gift status.
Thats why I love these box envelopes so much!