HomeGifts
This post may contain affiliate links:full affiliate disclosure.
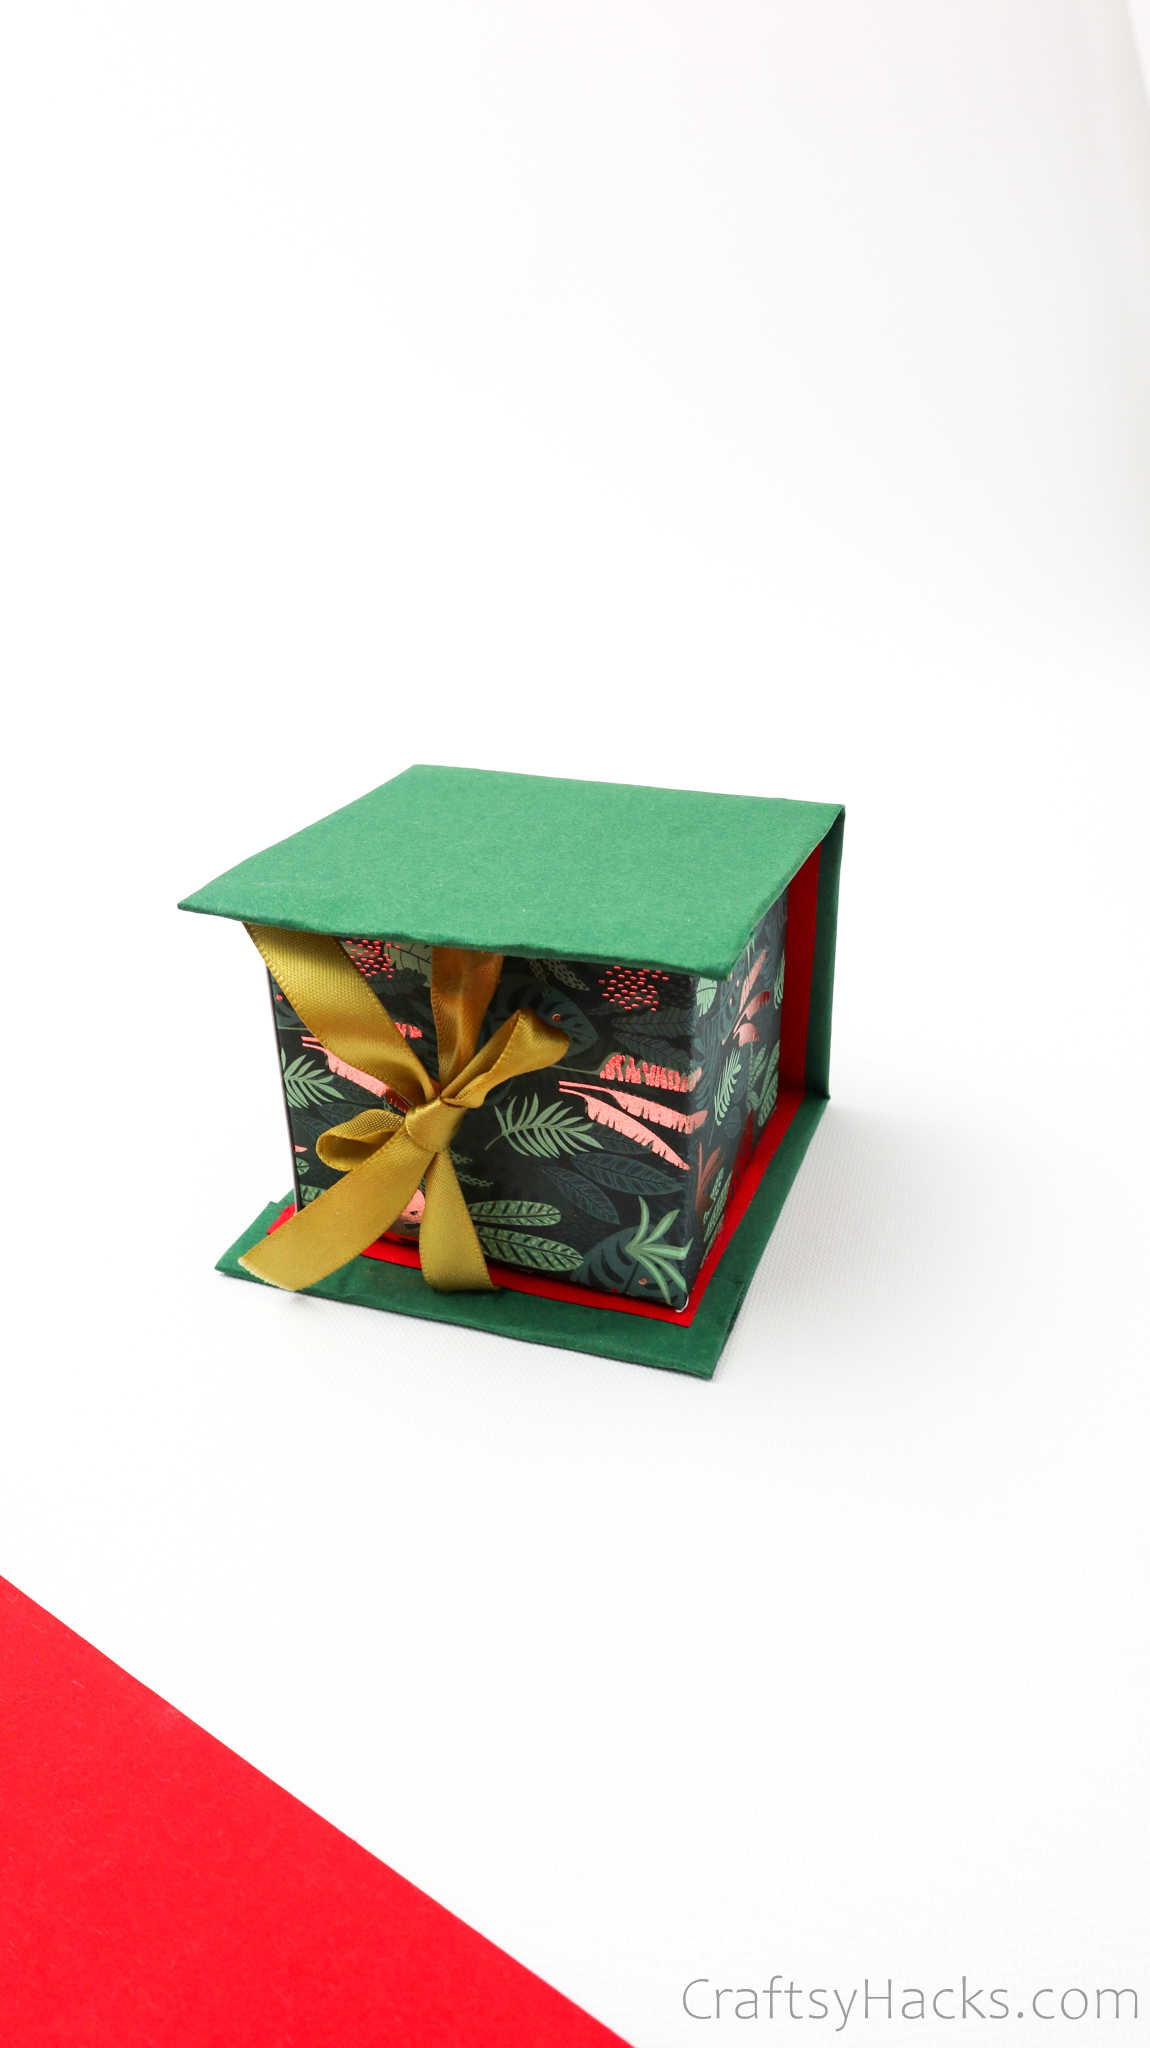
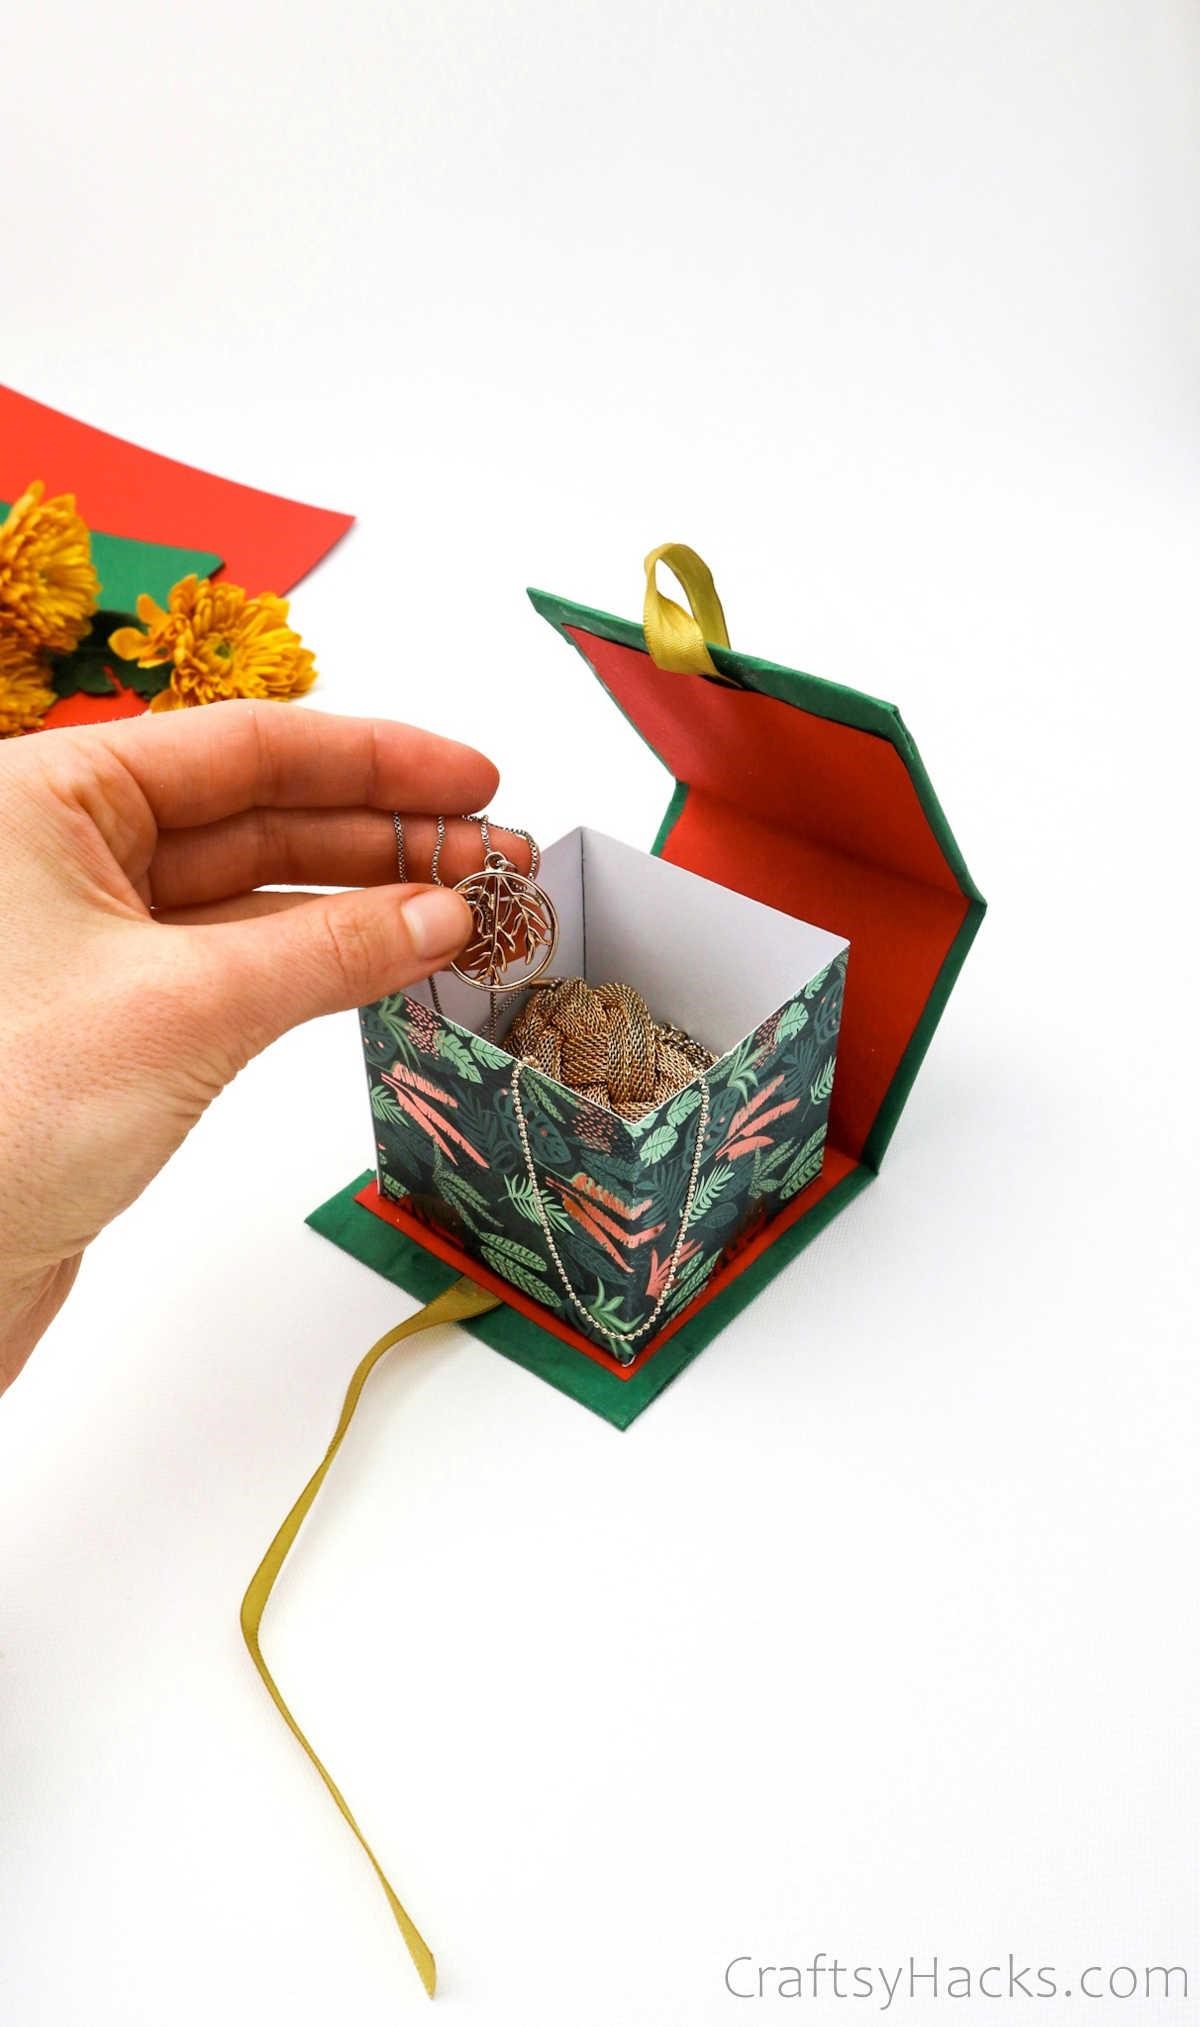
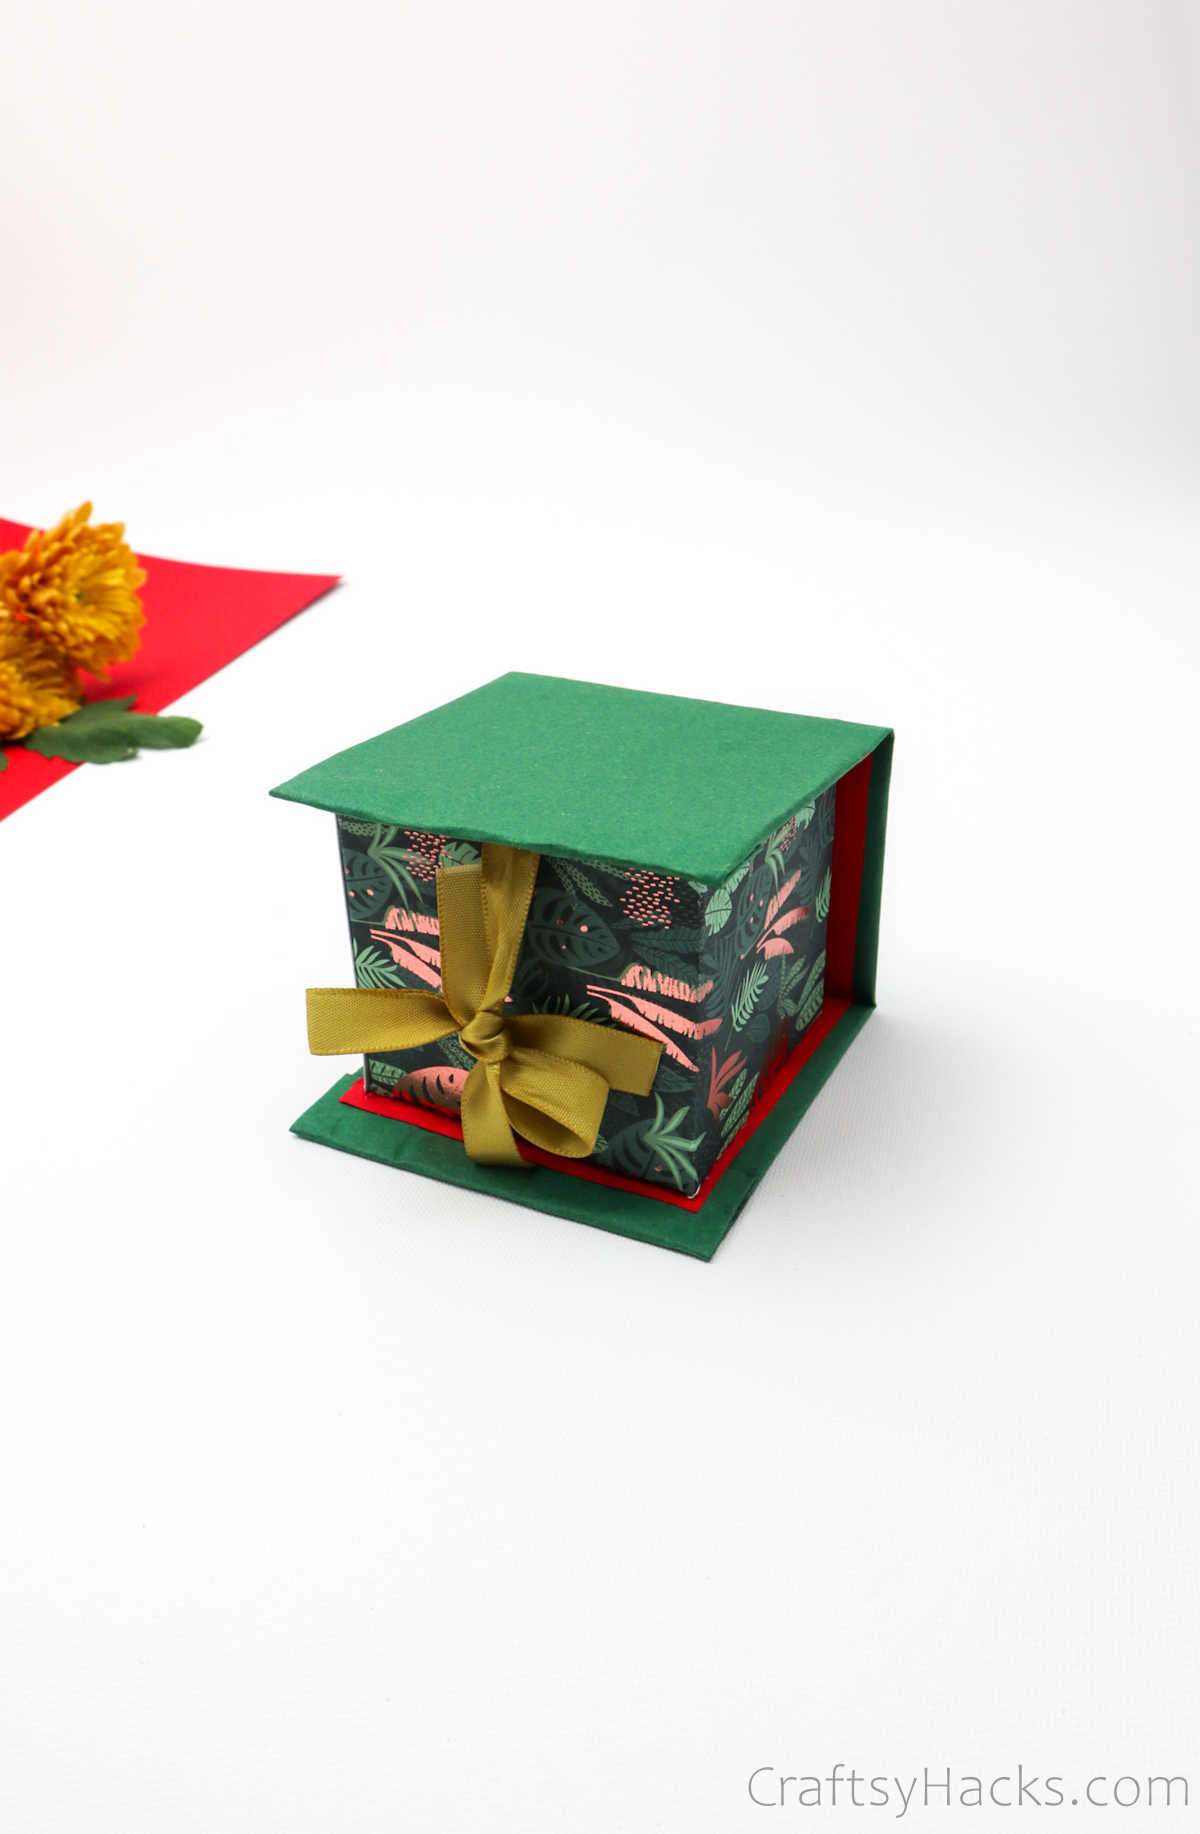
This fun little DIY gift box is a cute craft for teens and adults.
Make your gift to your loved ones a little bit more special.

I hate to be the one to say it, but gift boxes are way too expensive.
It shouldnt be this hard or expensive to find a pretty gift box.
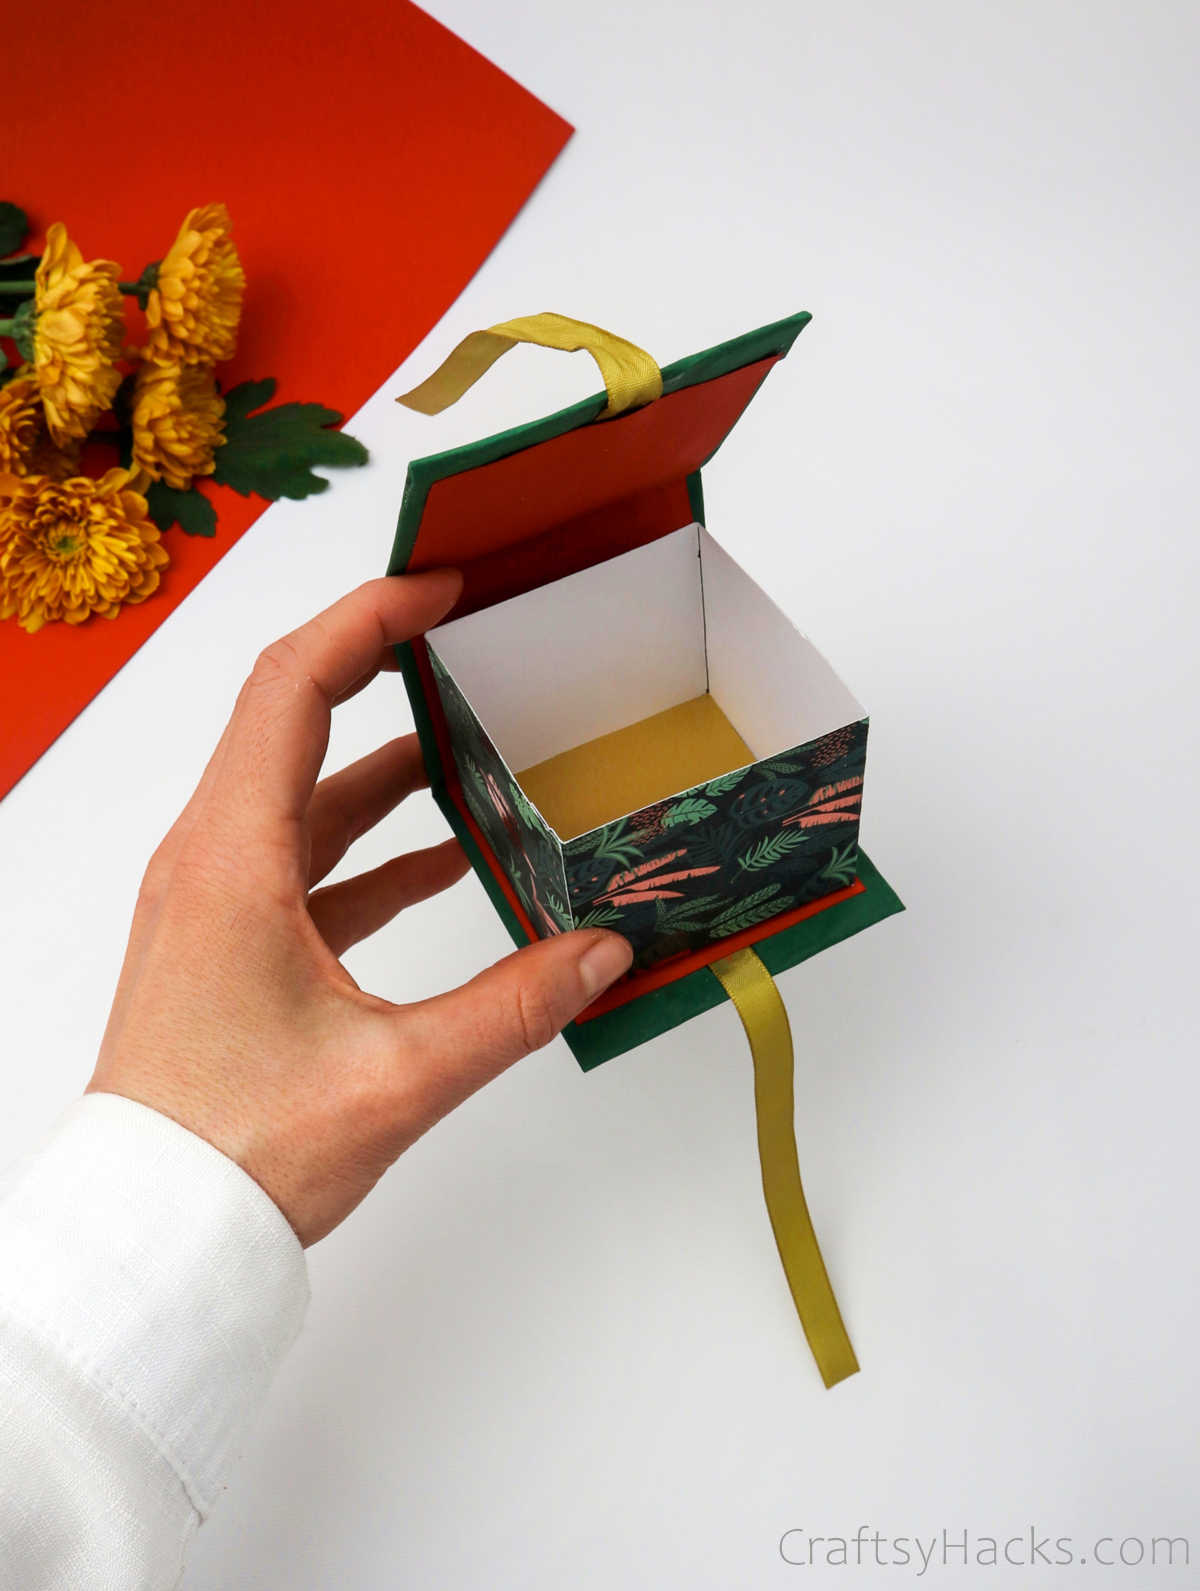
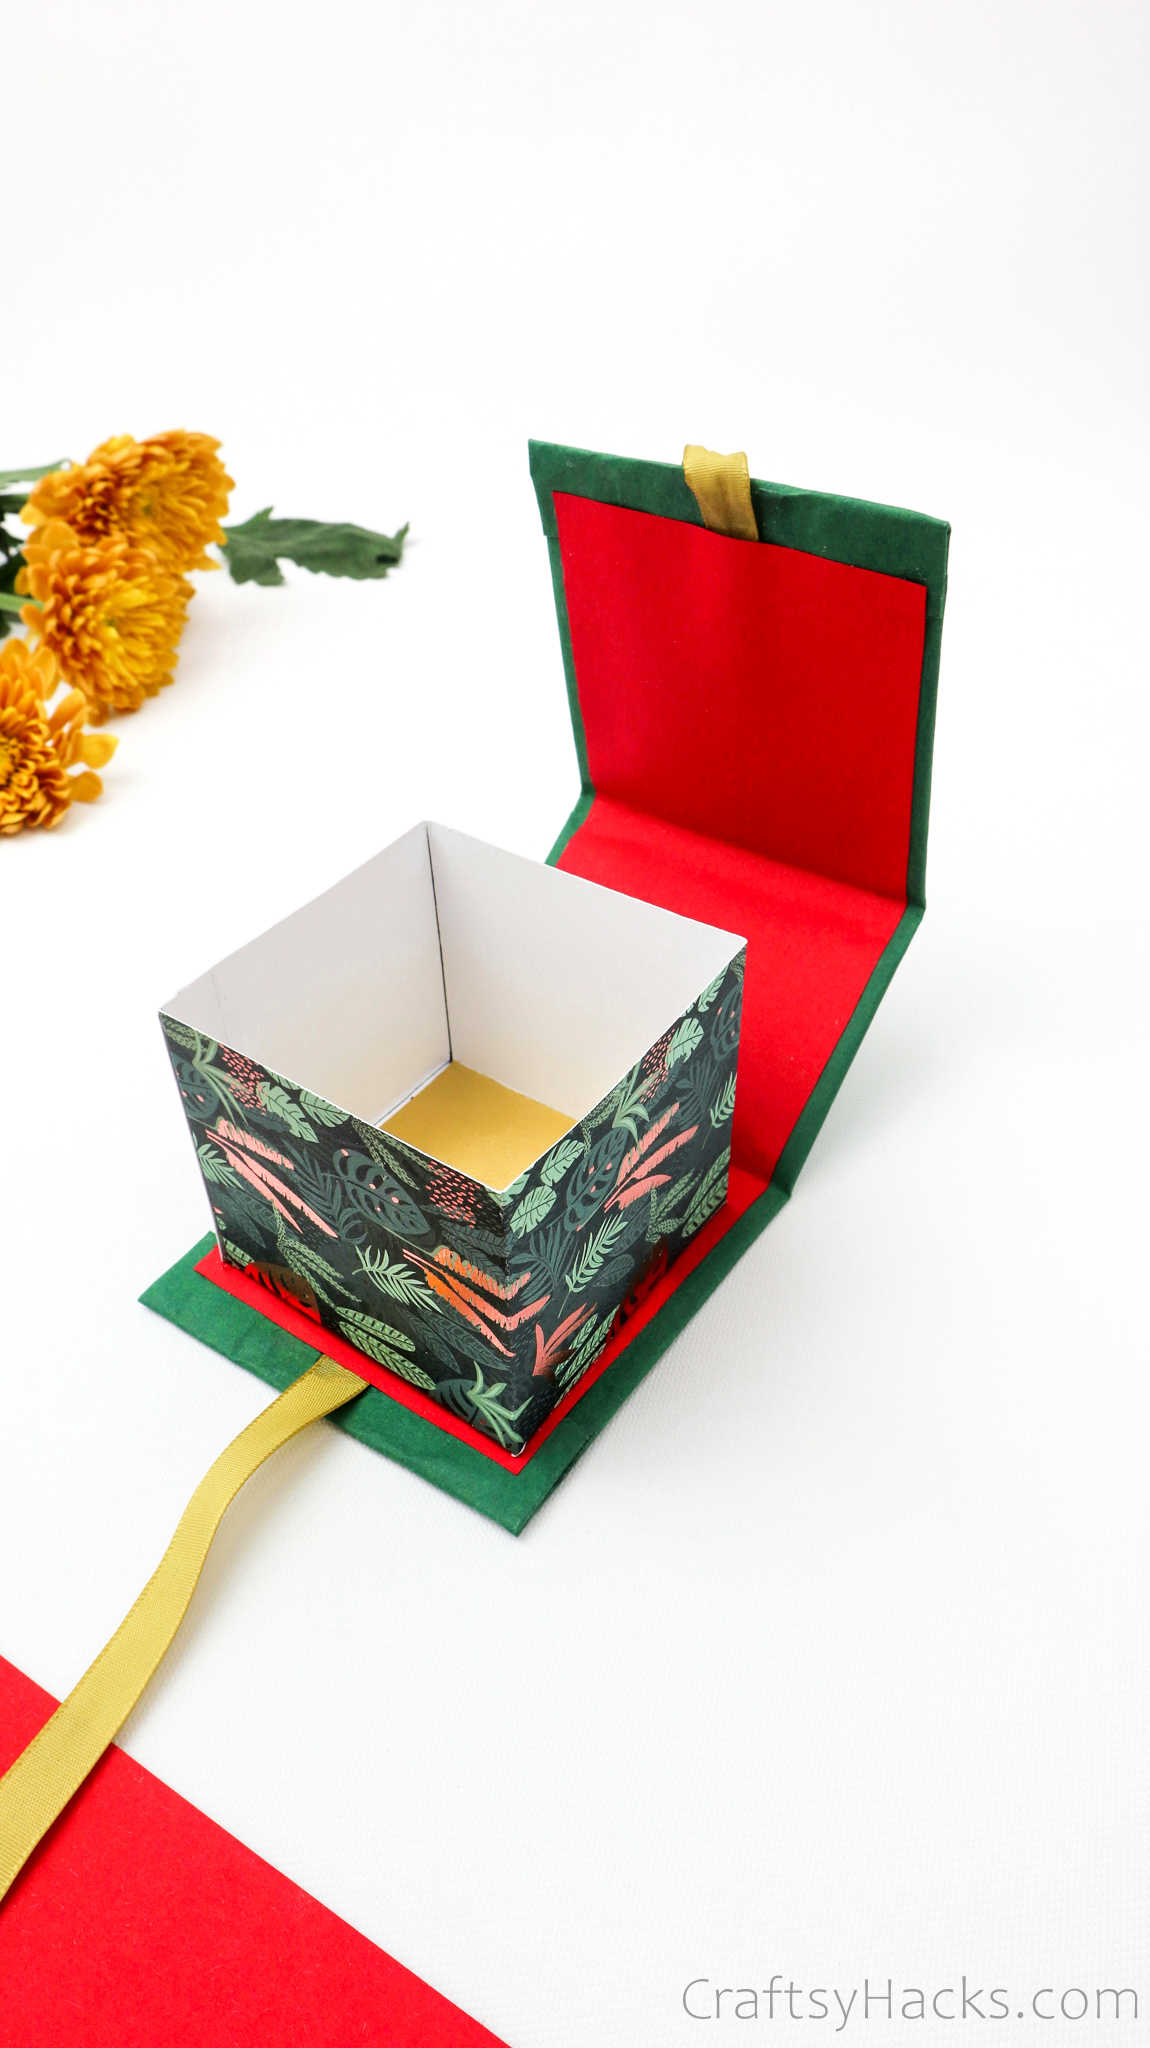
Dont you think it looks gorgeous?
Lets get right to it, shall we?
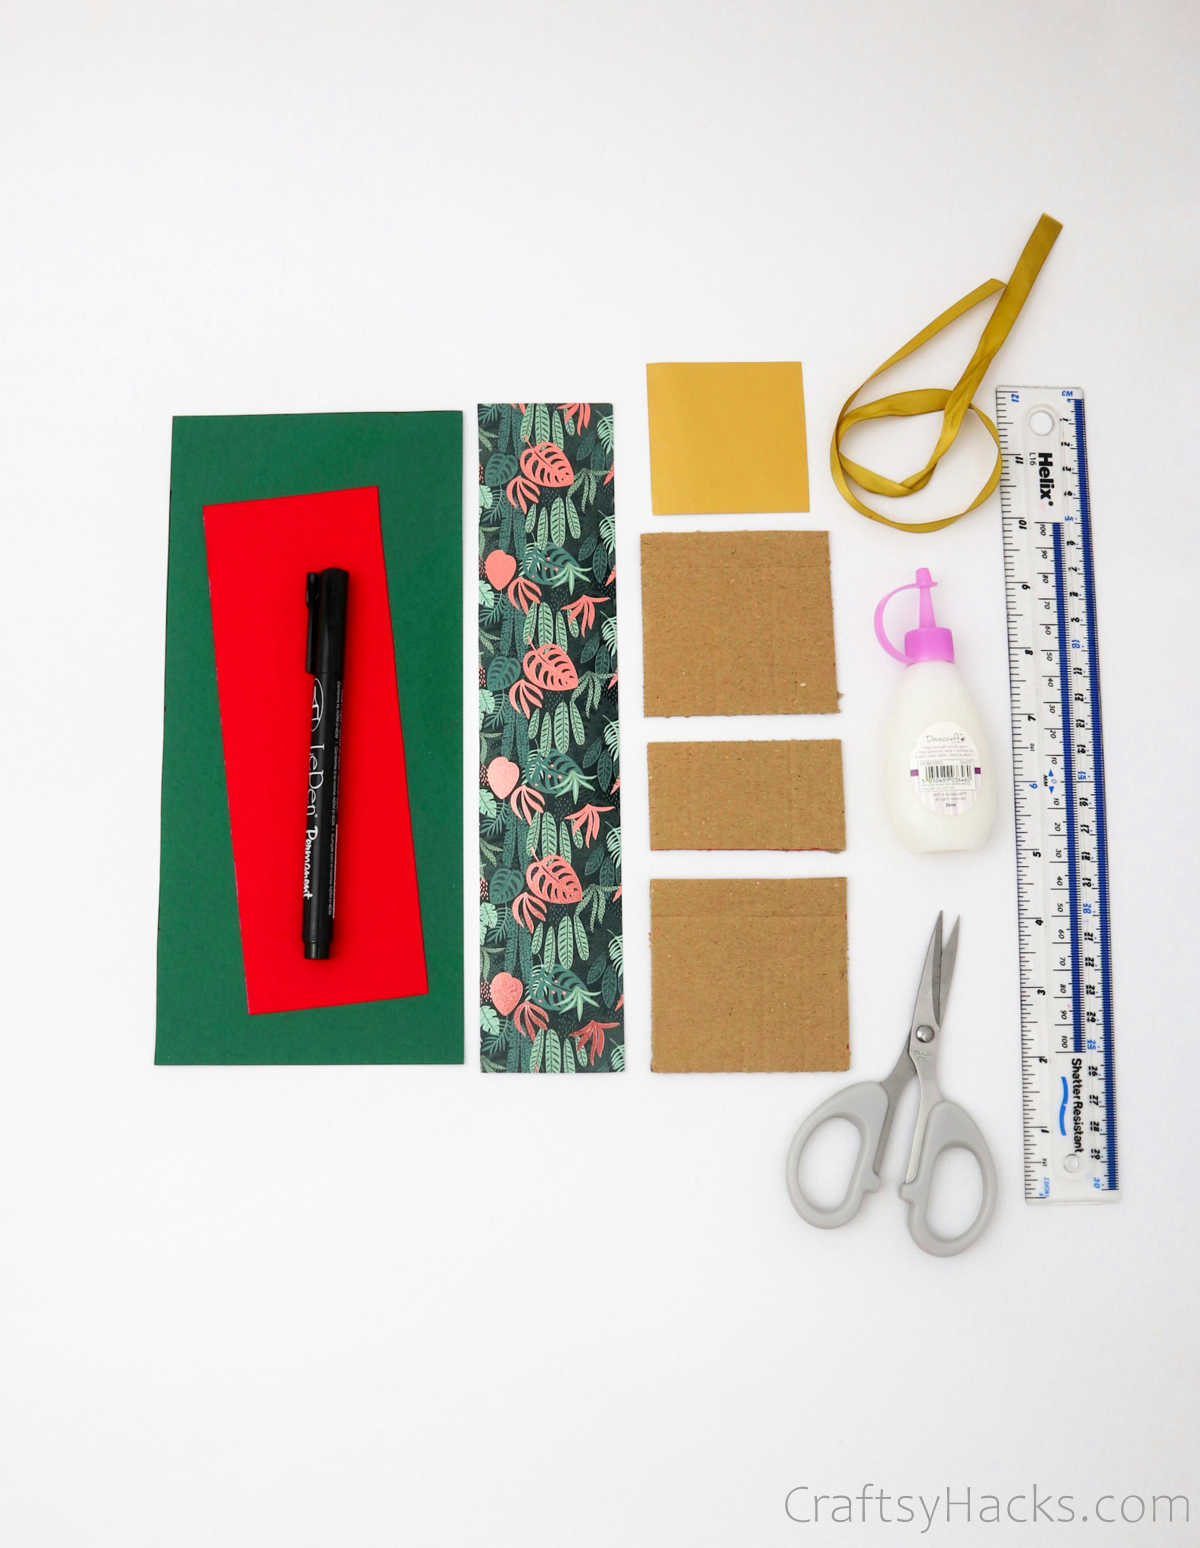
Go ahead and gather your supplies to begin.
First, youll need to figure out how big you want your gift box to be.
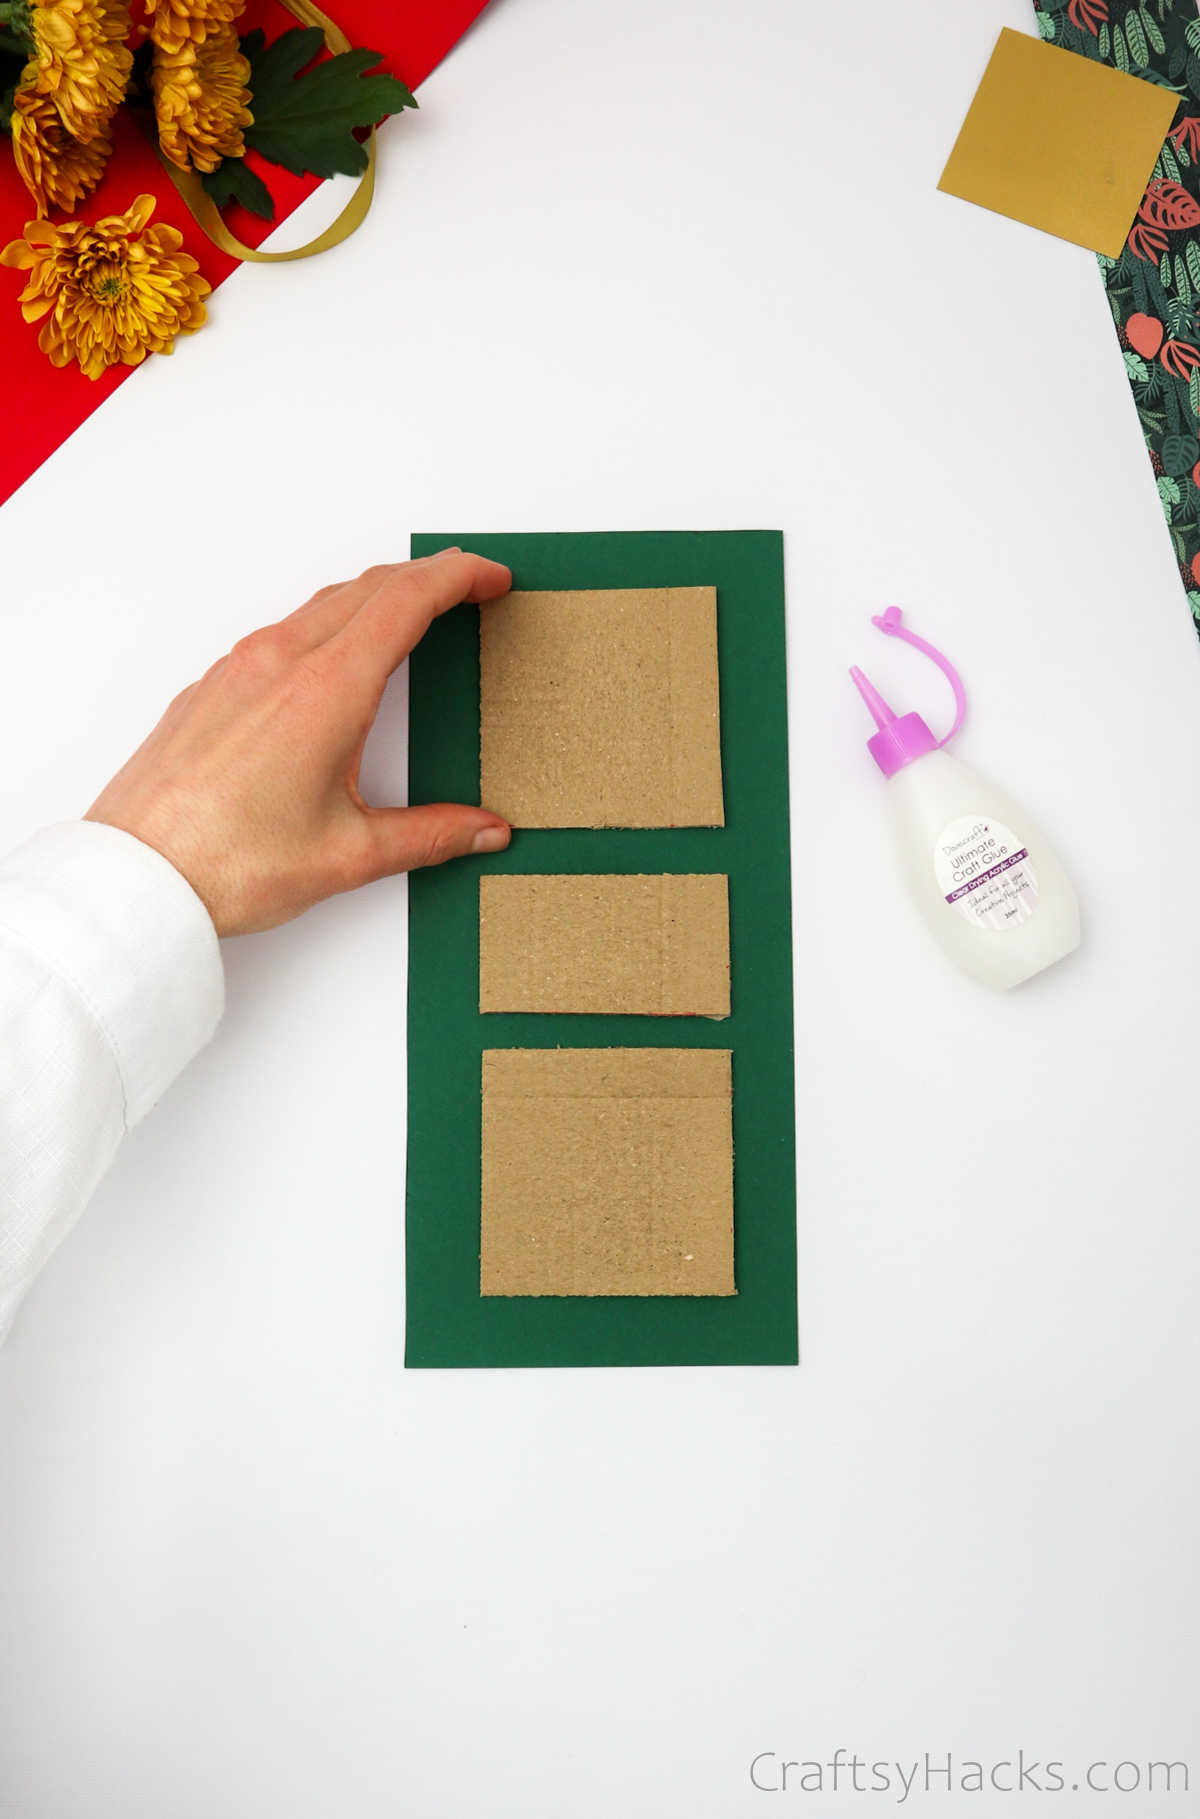
Step 1
Lay your cardboard pieces one by one over the green craft paper.
The two larger pieces need to encompass the small piece.
Ensure that there is at least 2 cm gap around the edges.
Also, verify that theres an equal gap between the cardboard pieces as well.
Step 2
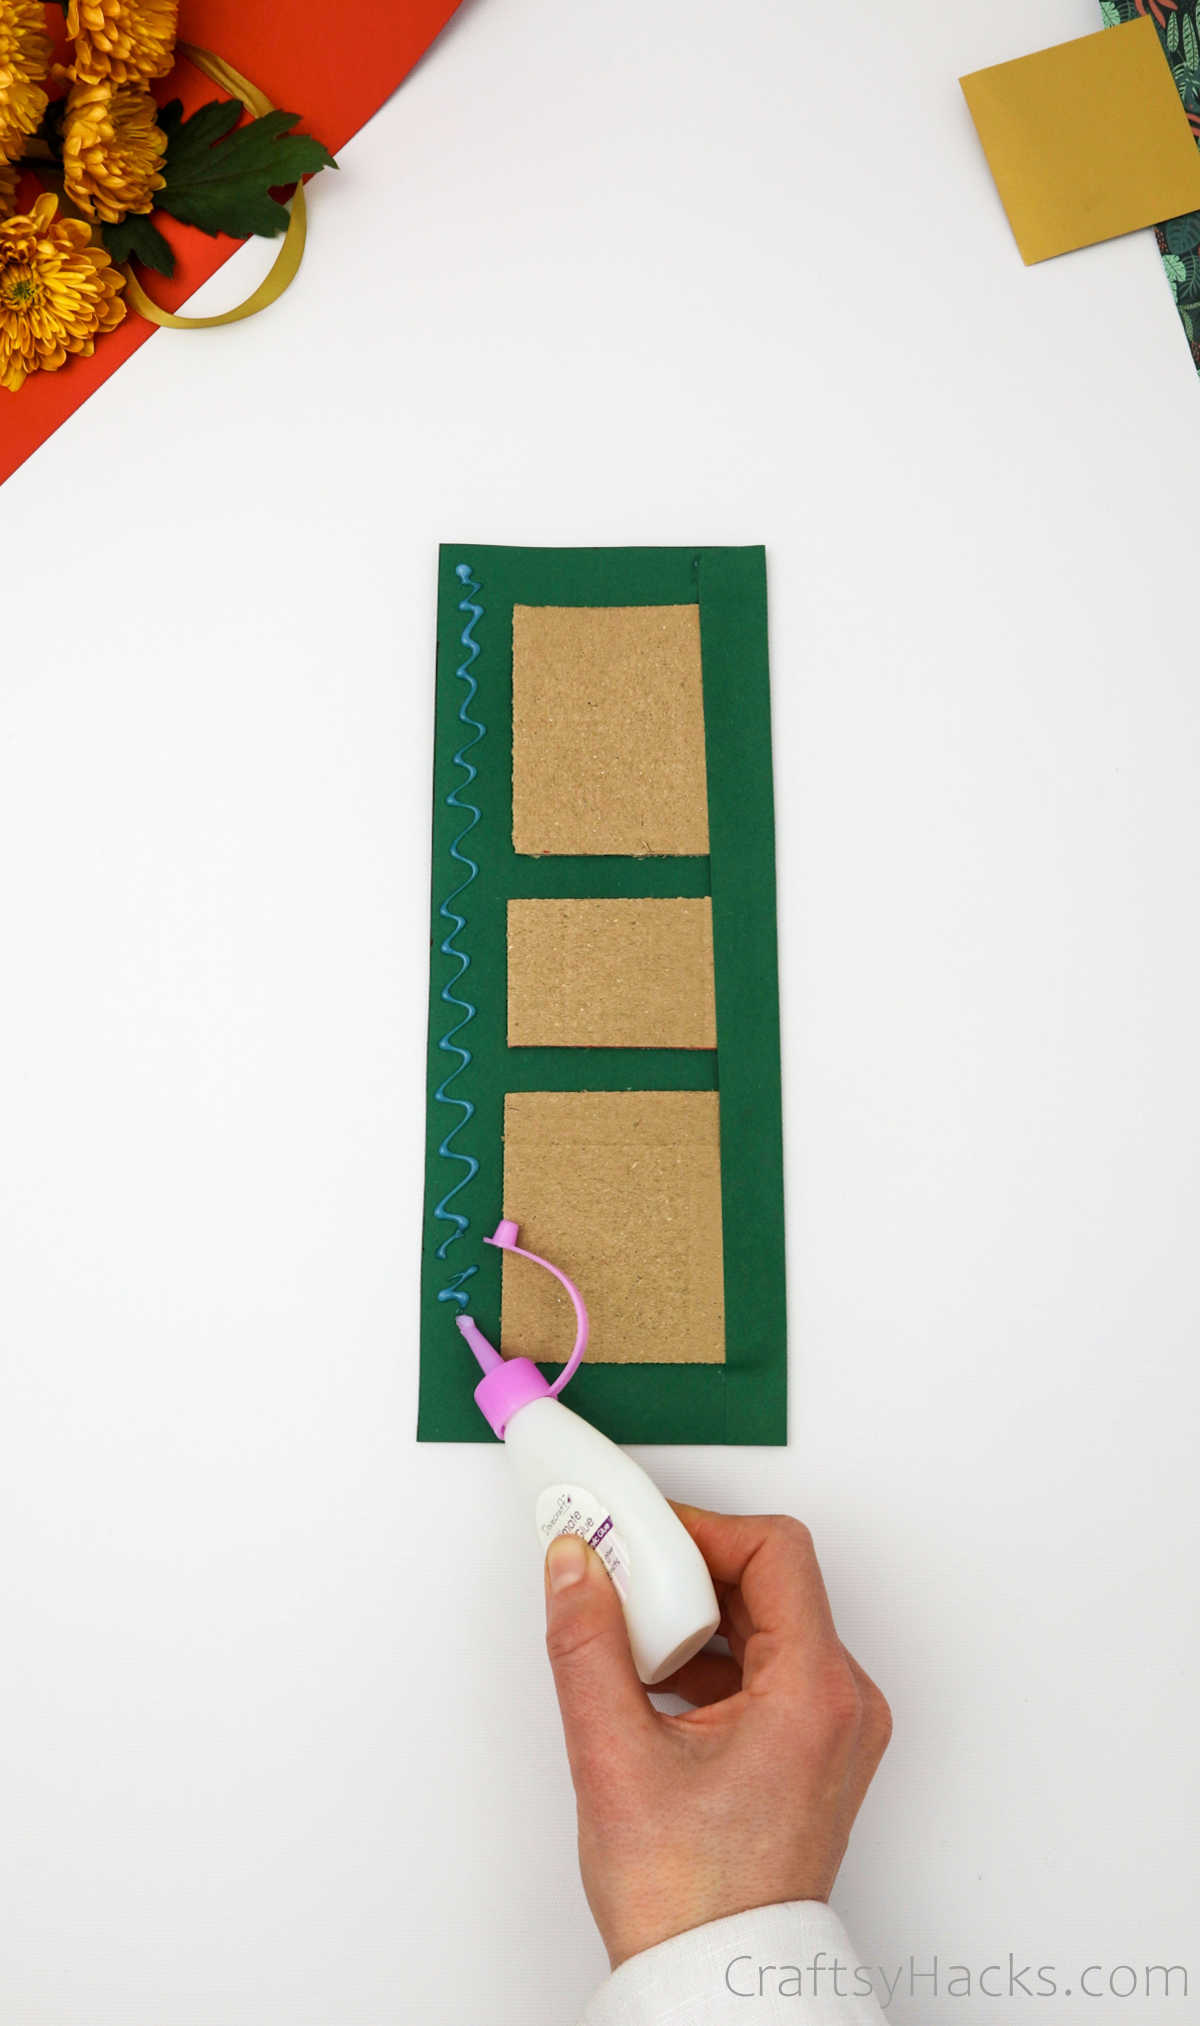
Grab your craft glue and apply it all the way around the edges.
Continue to apply glue and subsequently fold the edges inward over the cardboard.
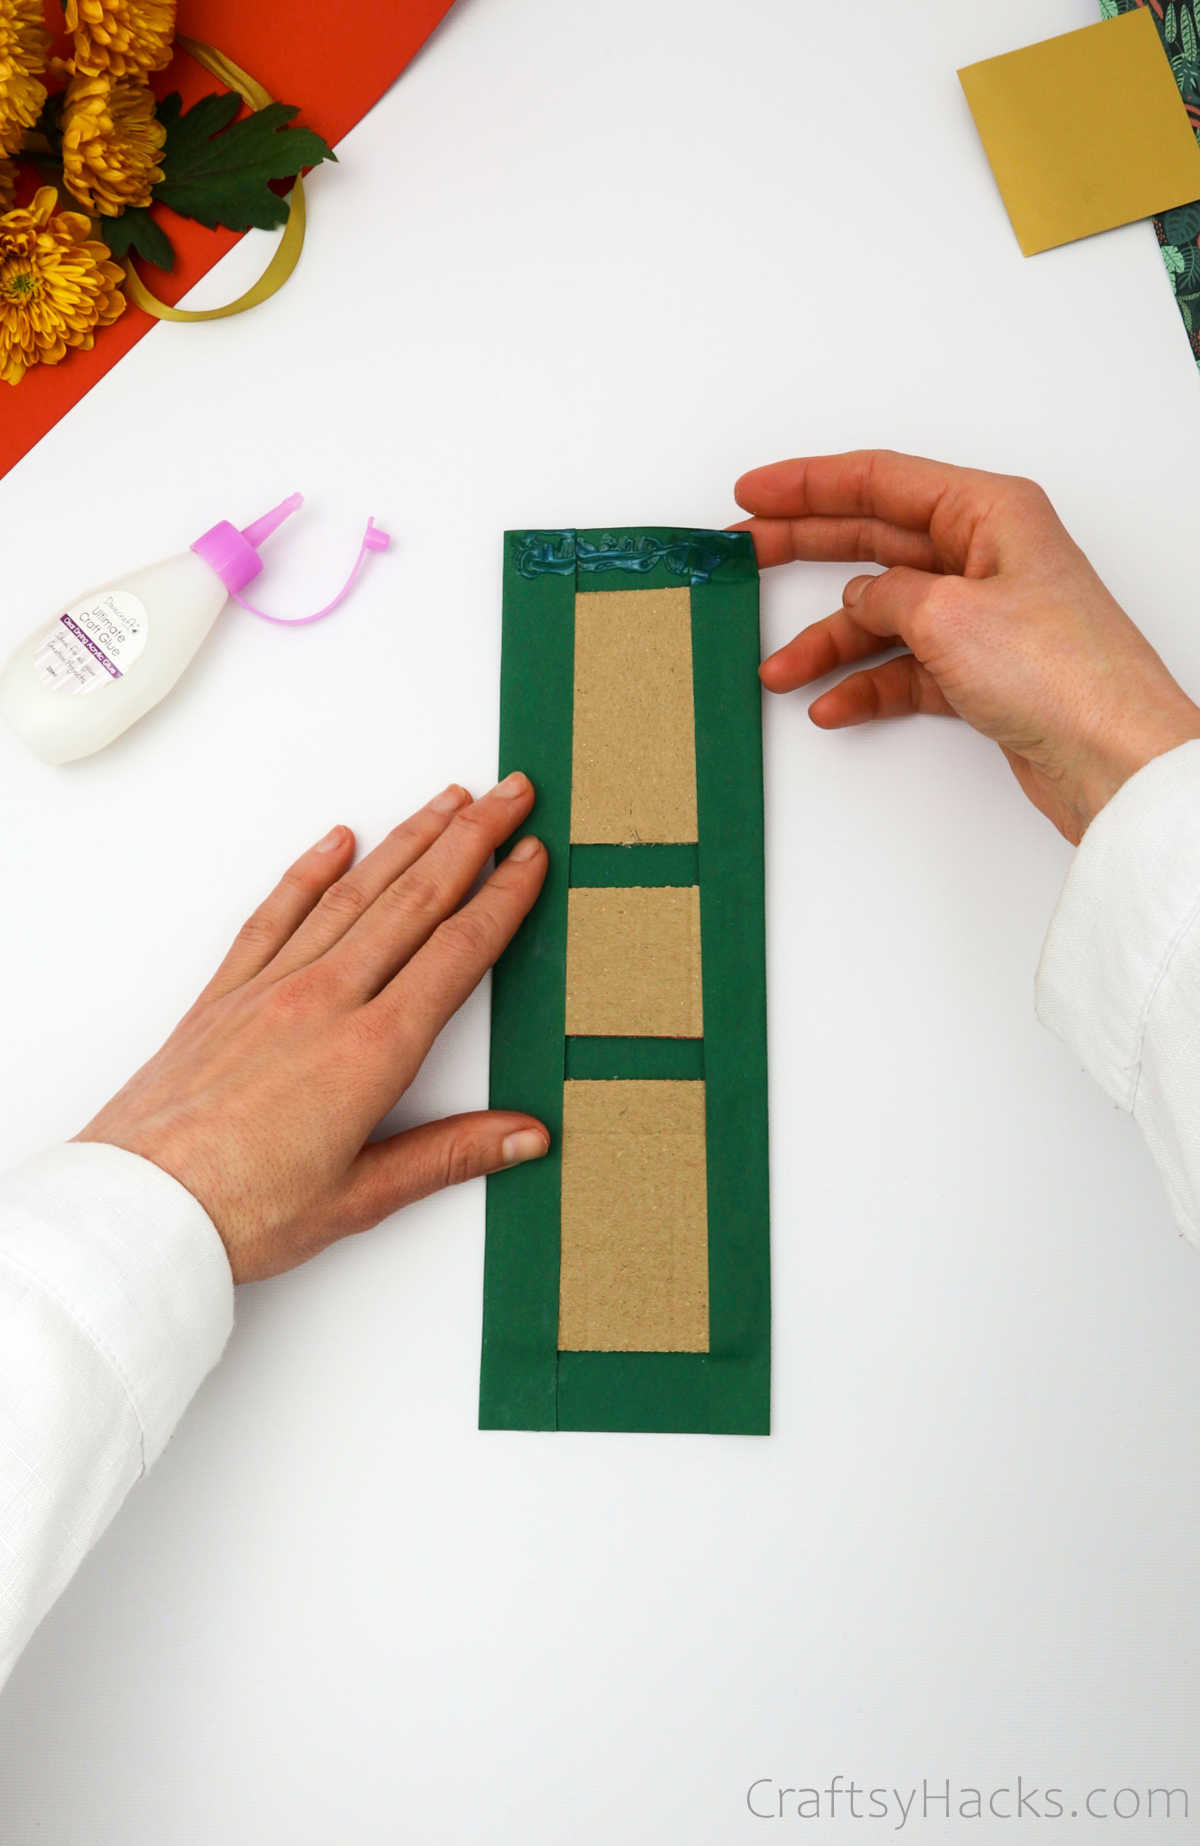
This is how your cardboard should look when youre done folding all the edges and sticking them in place.
Glue it in place with the ends left free over the sides.
It all comes down to figuring out where the cardboard bits are placed.
Use your fingers to find the ridges and then fold them, as seen below.
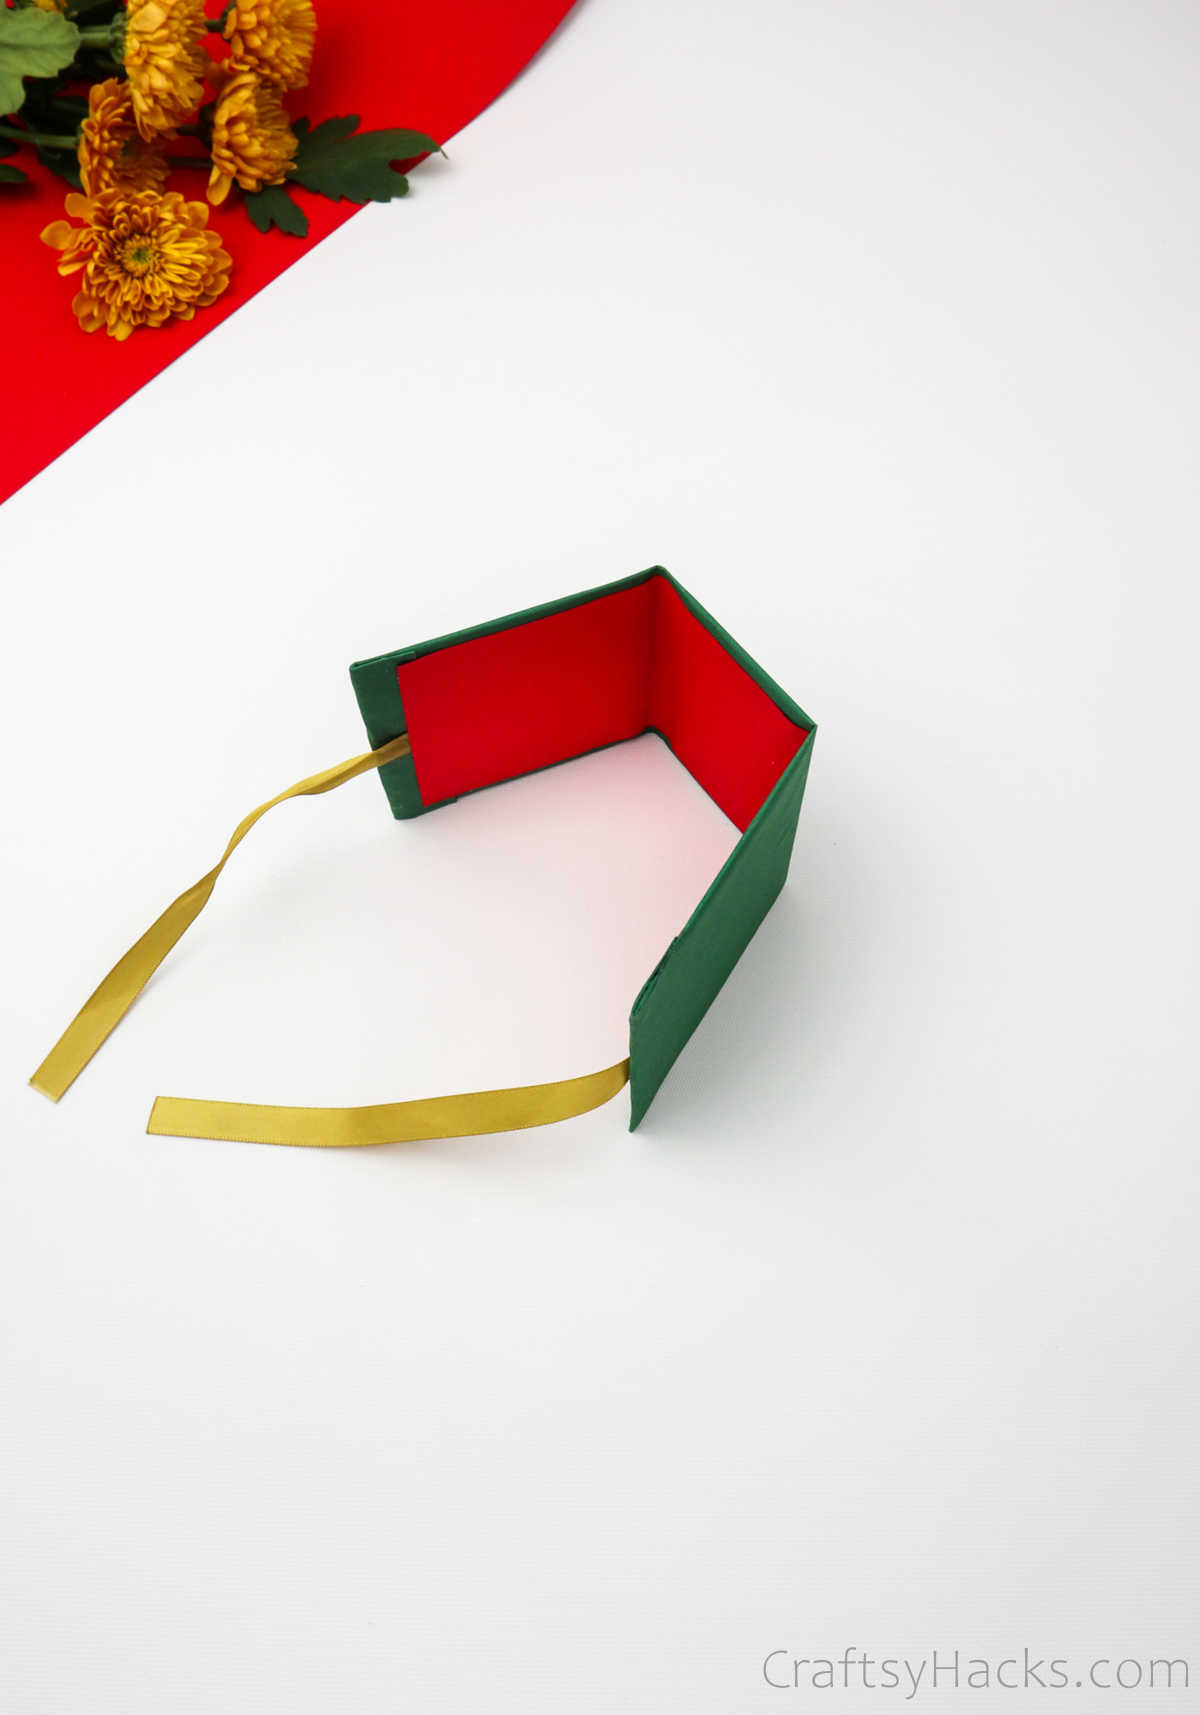
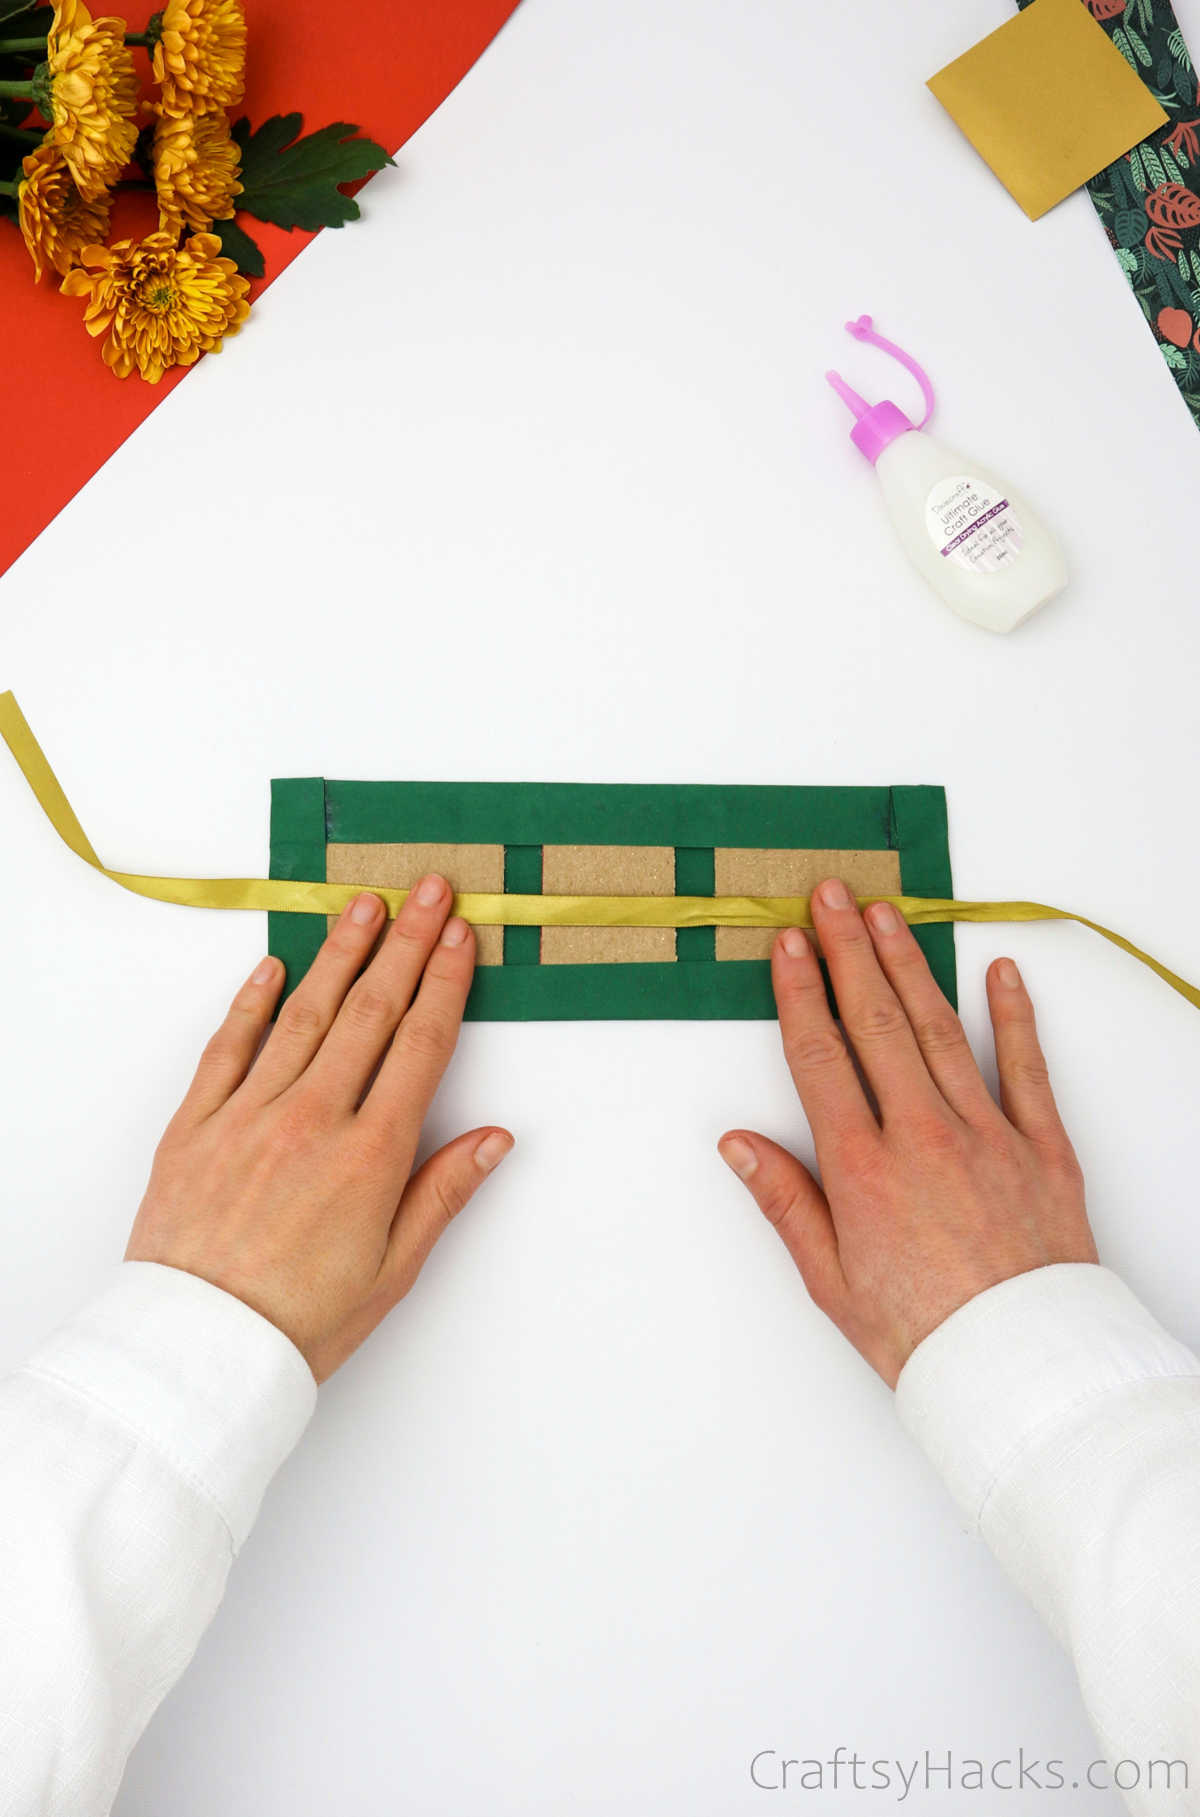
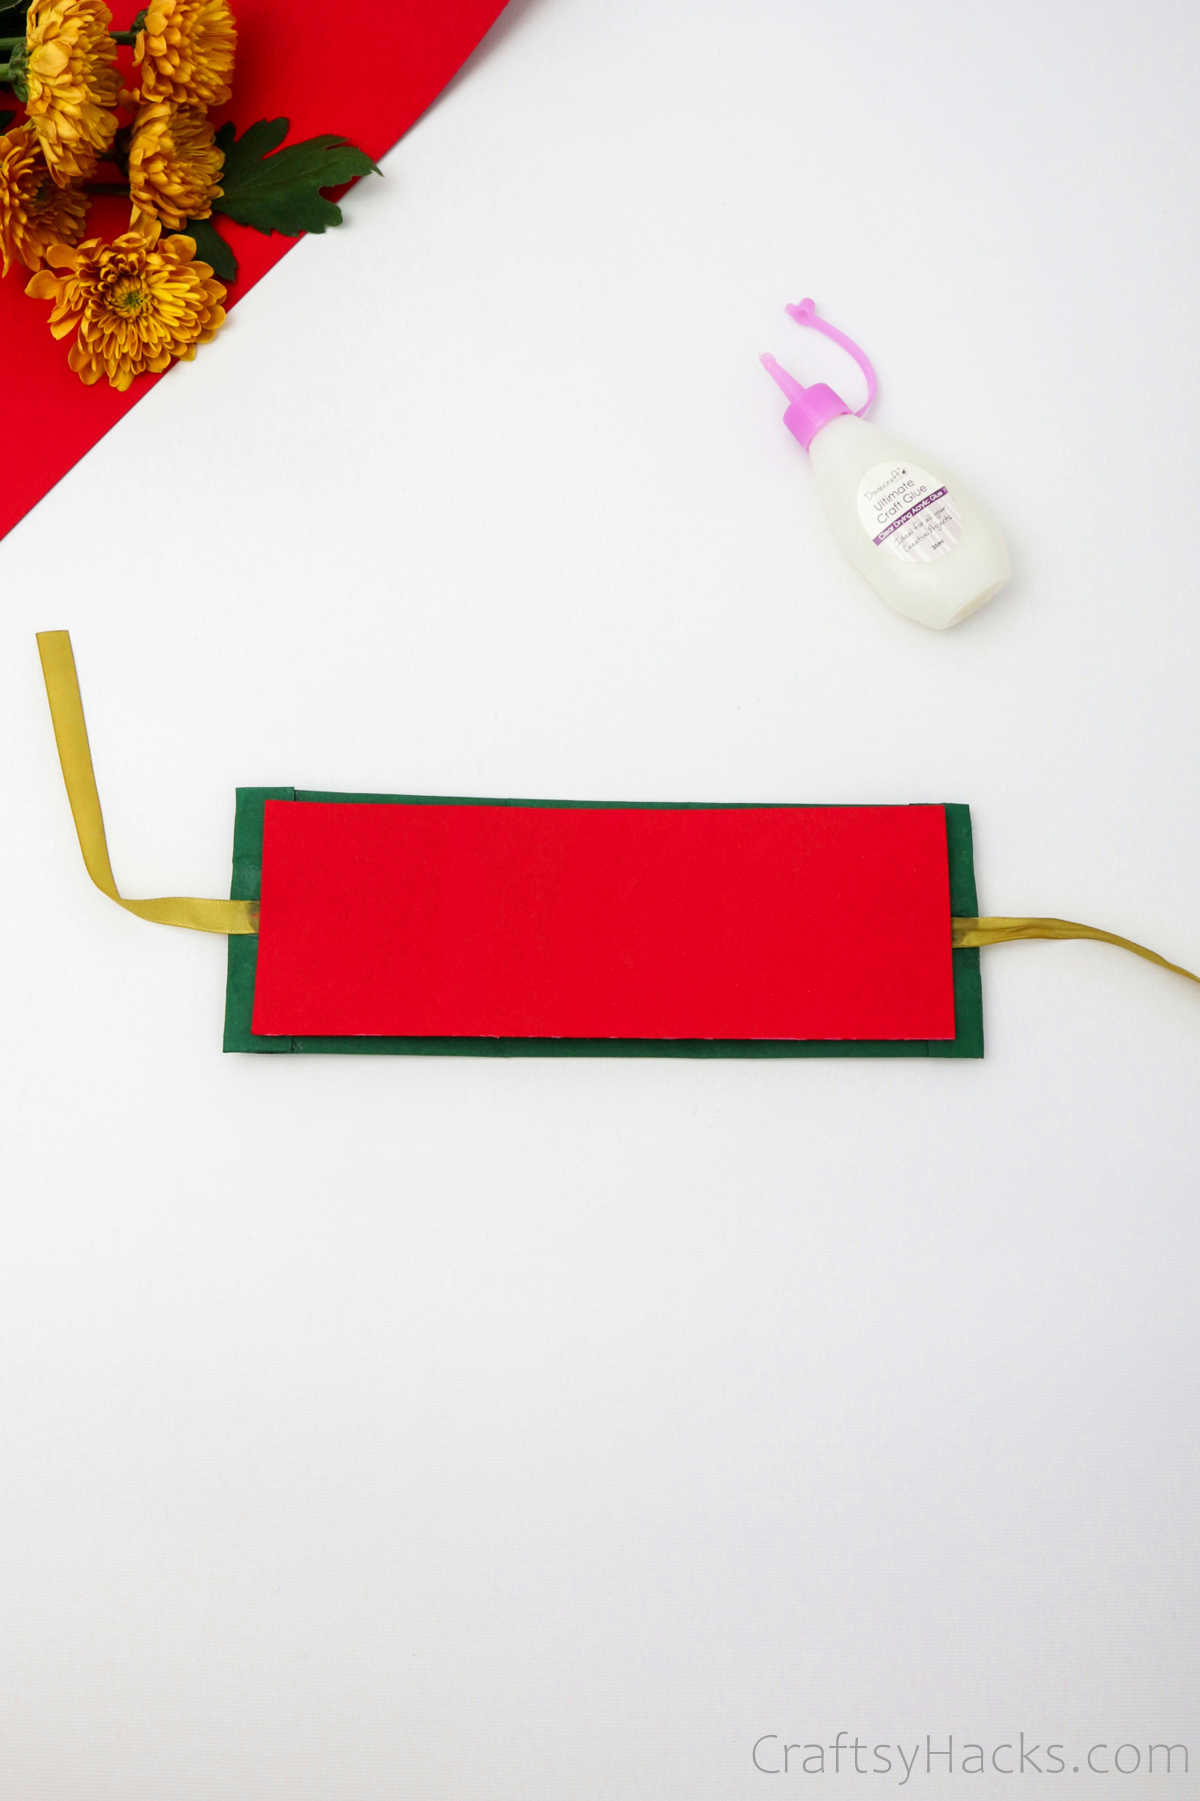
You will have a three-walled structure like this when youre done.
Set it aside for later.
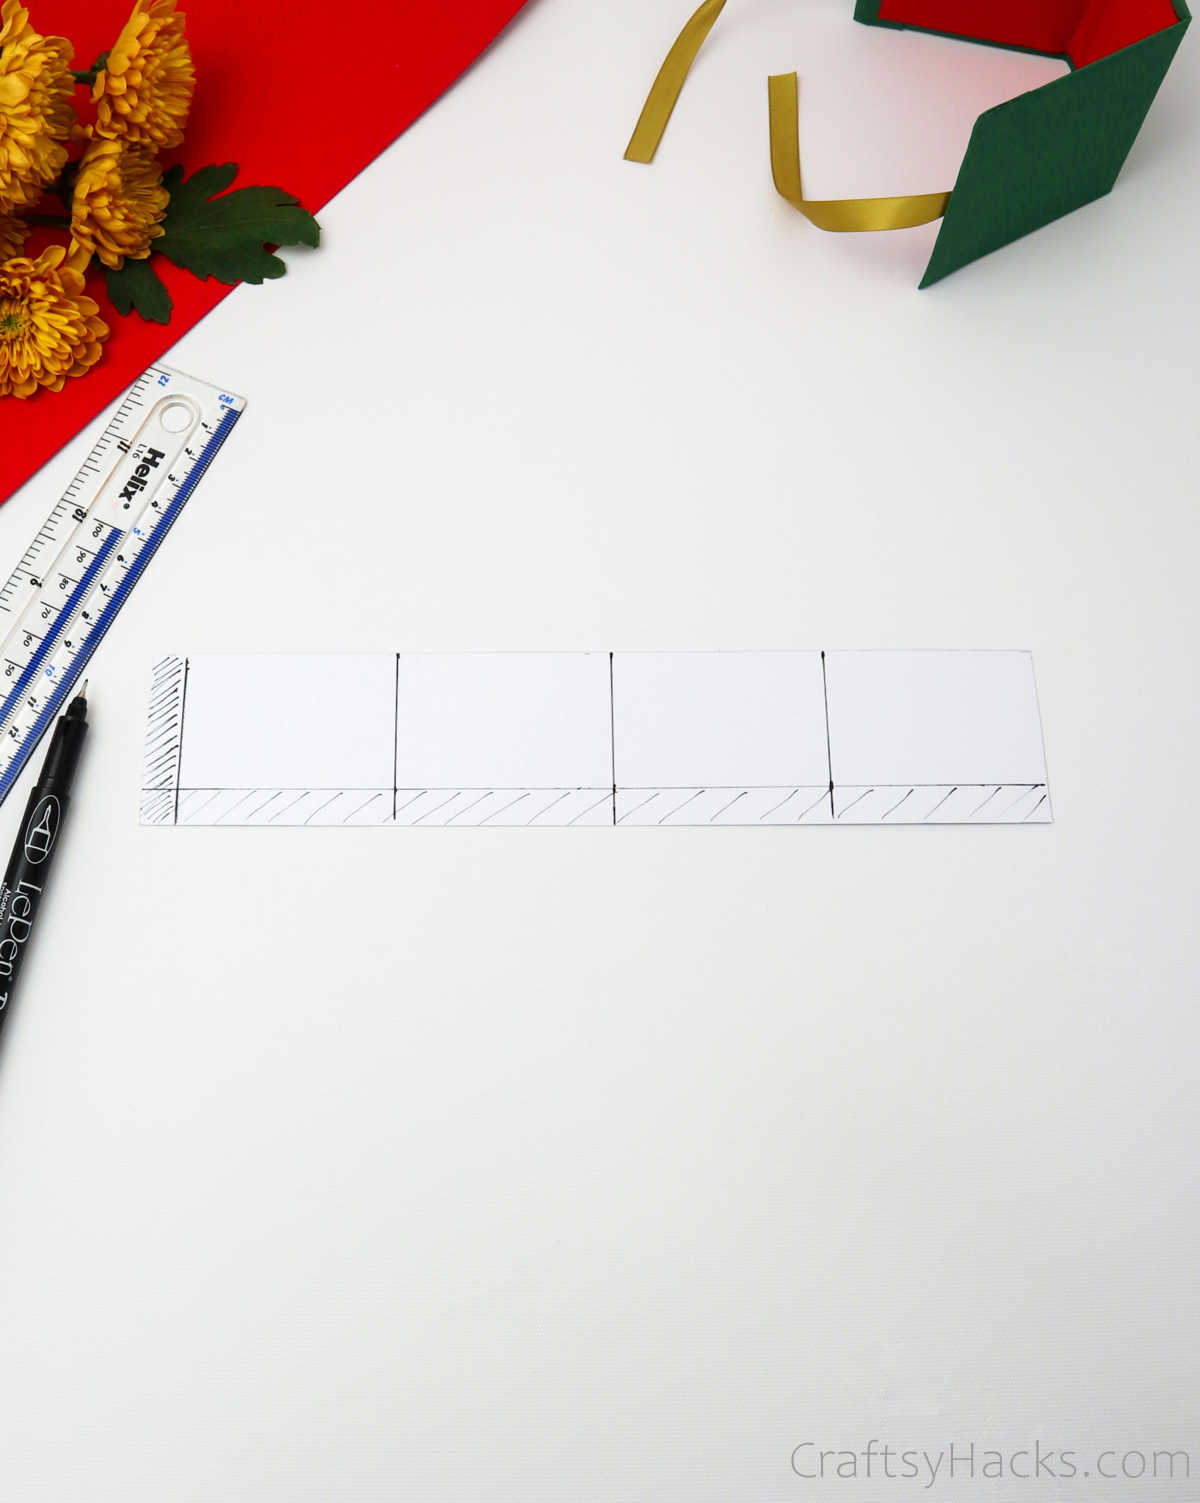
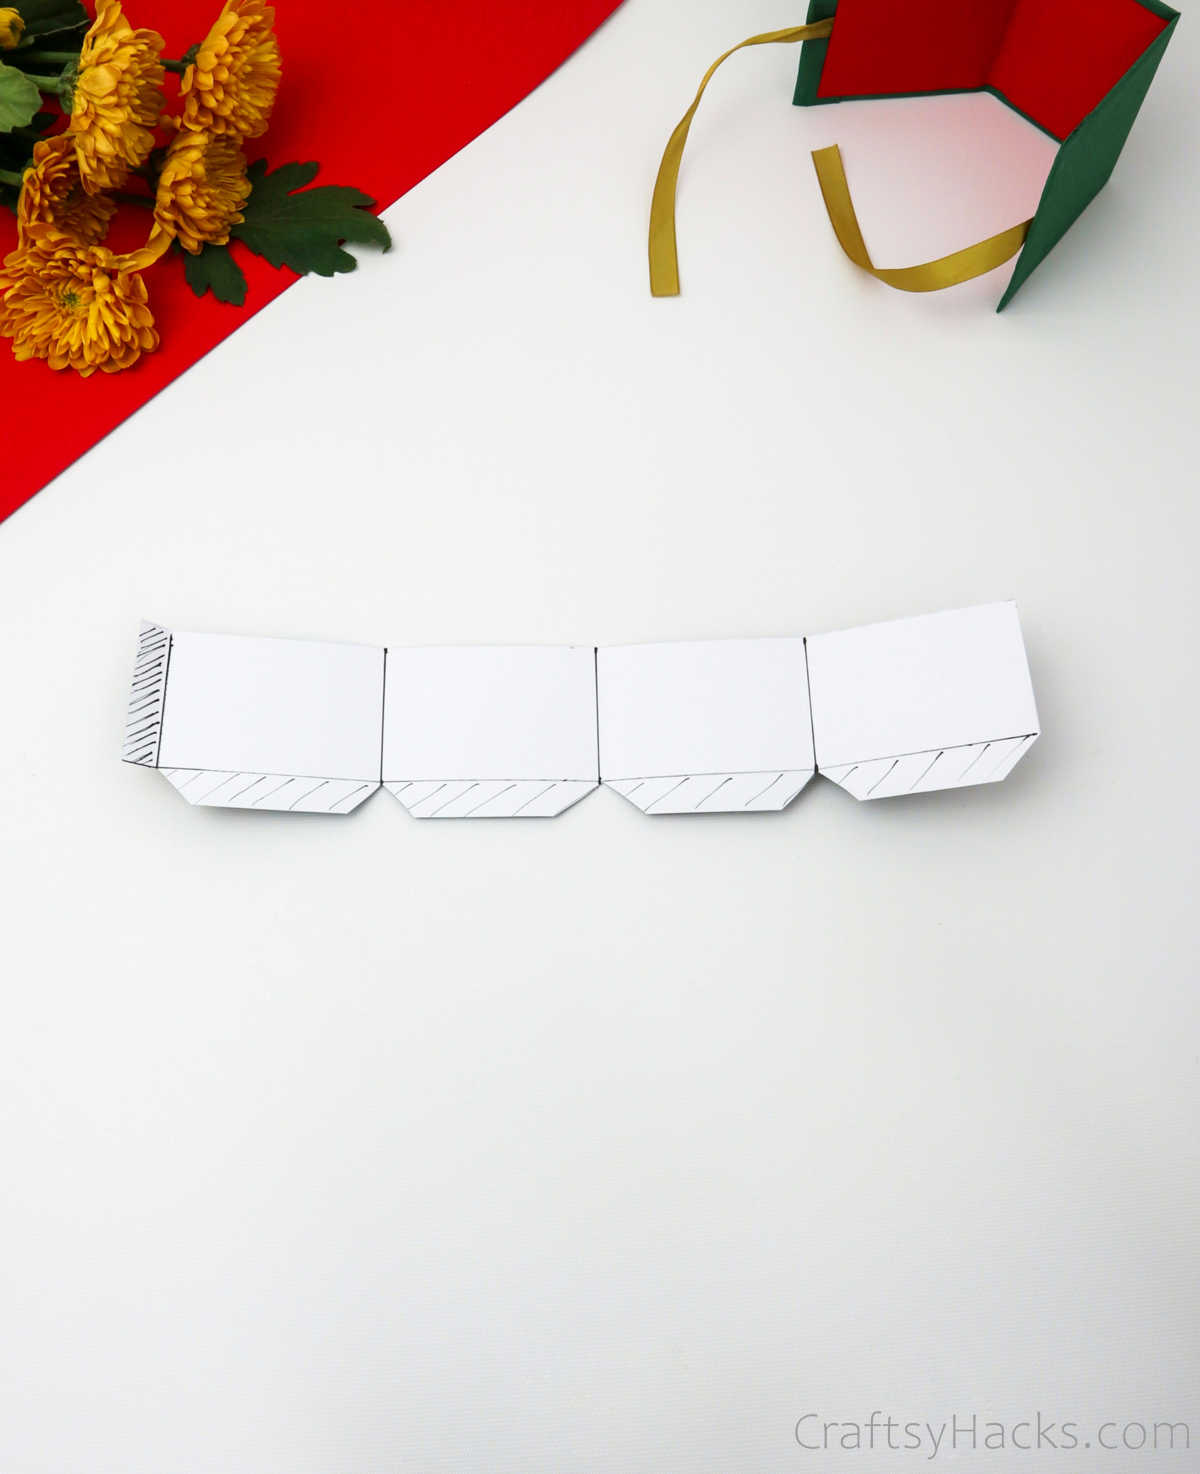
Step 7
Take another piece of paper and draw an outline to make an overlap.
The horizontal and vertical flaps should measure 1cm each.
Check out this image to help you with this step.

Your outline should look something like the picture you see below.
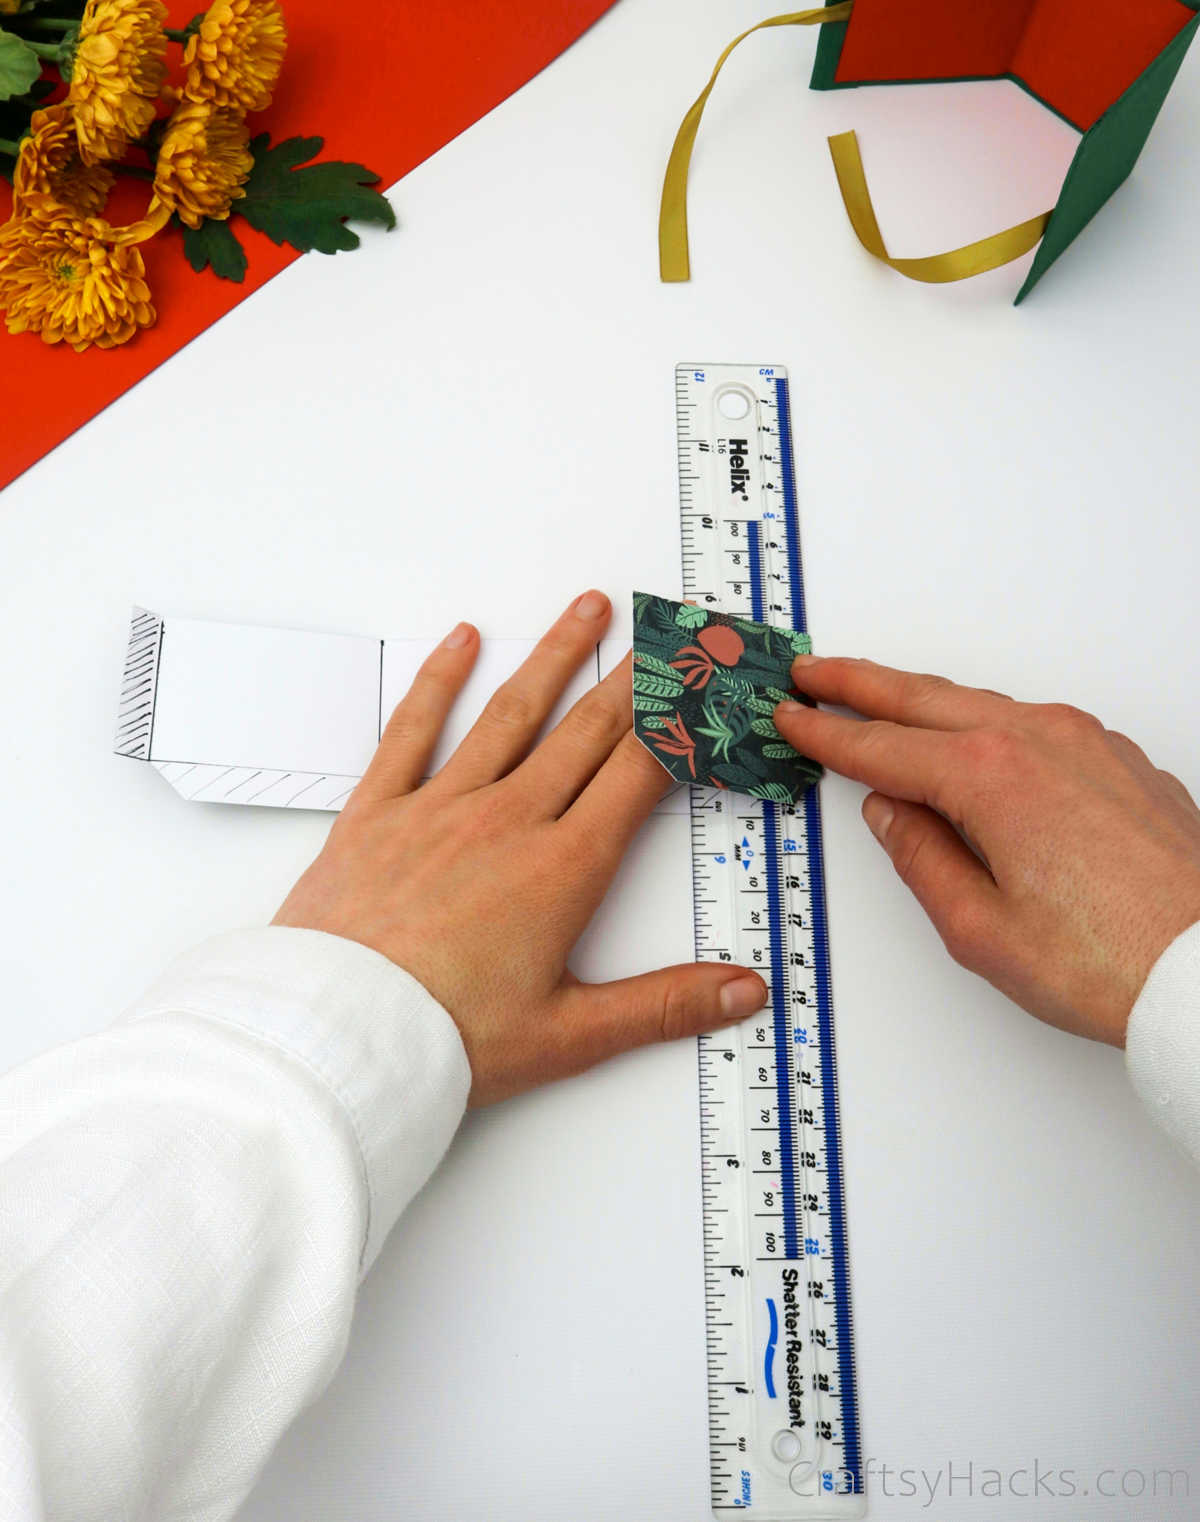
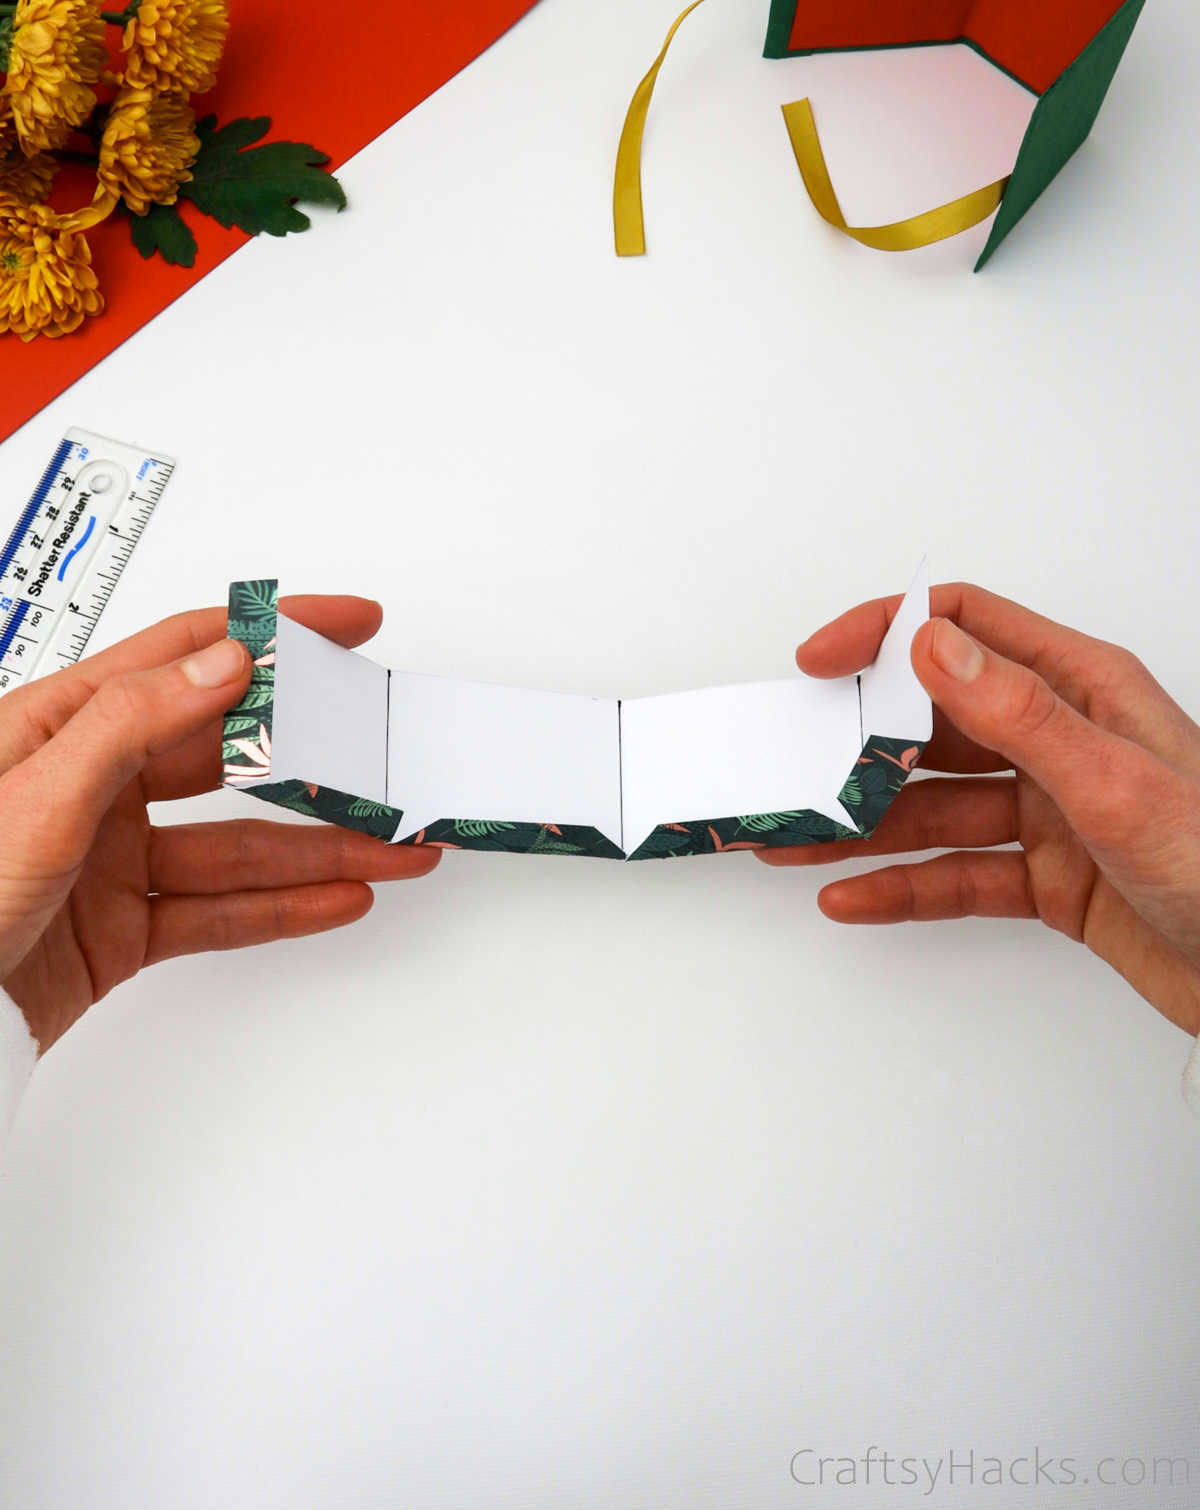
Step 10
Use a ruler to bend the overlaps along each vertical line.
Remember to also fold the overhang flaps, as seen below.
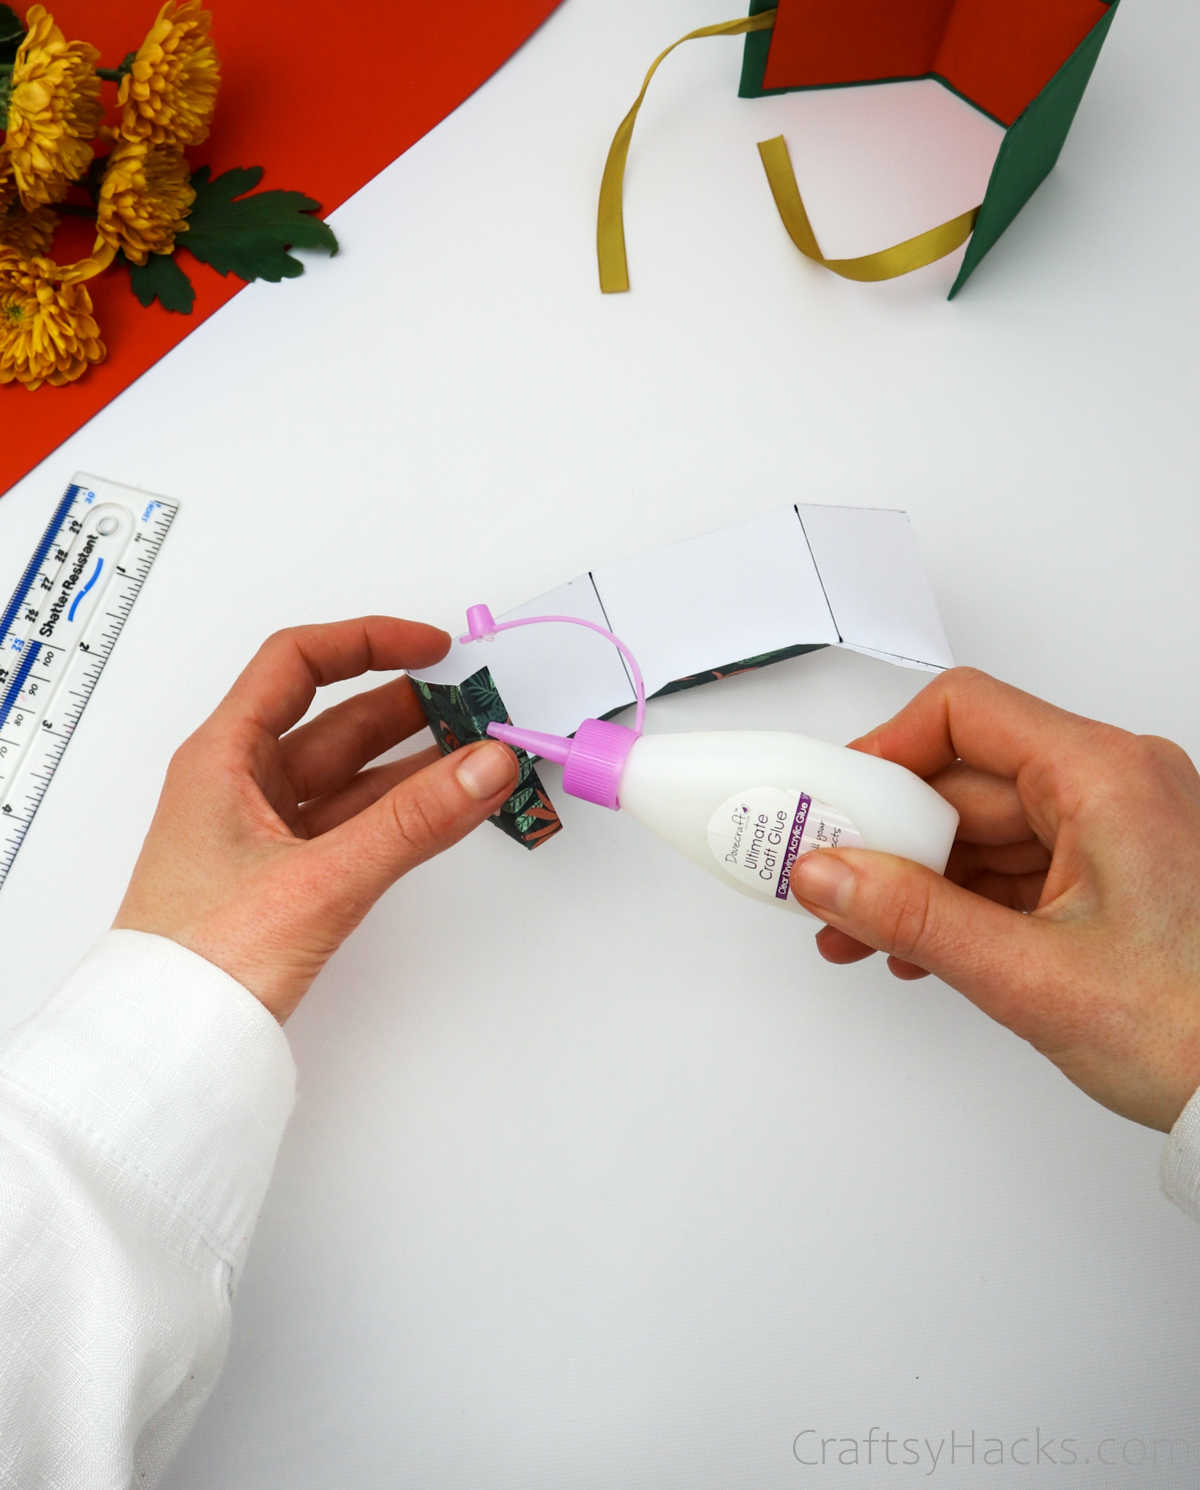
Step 11
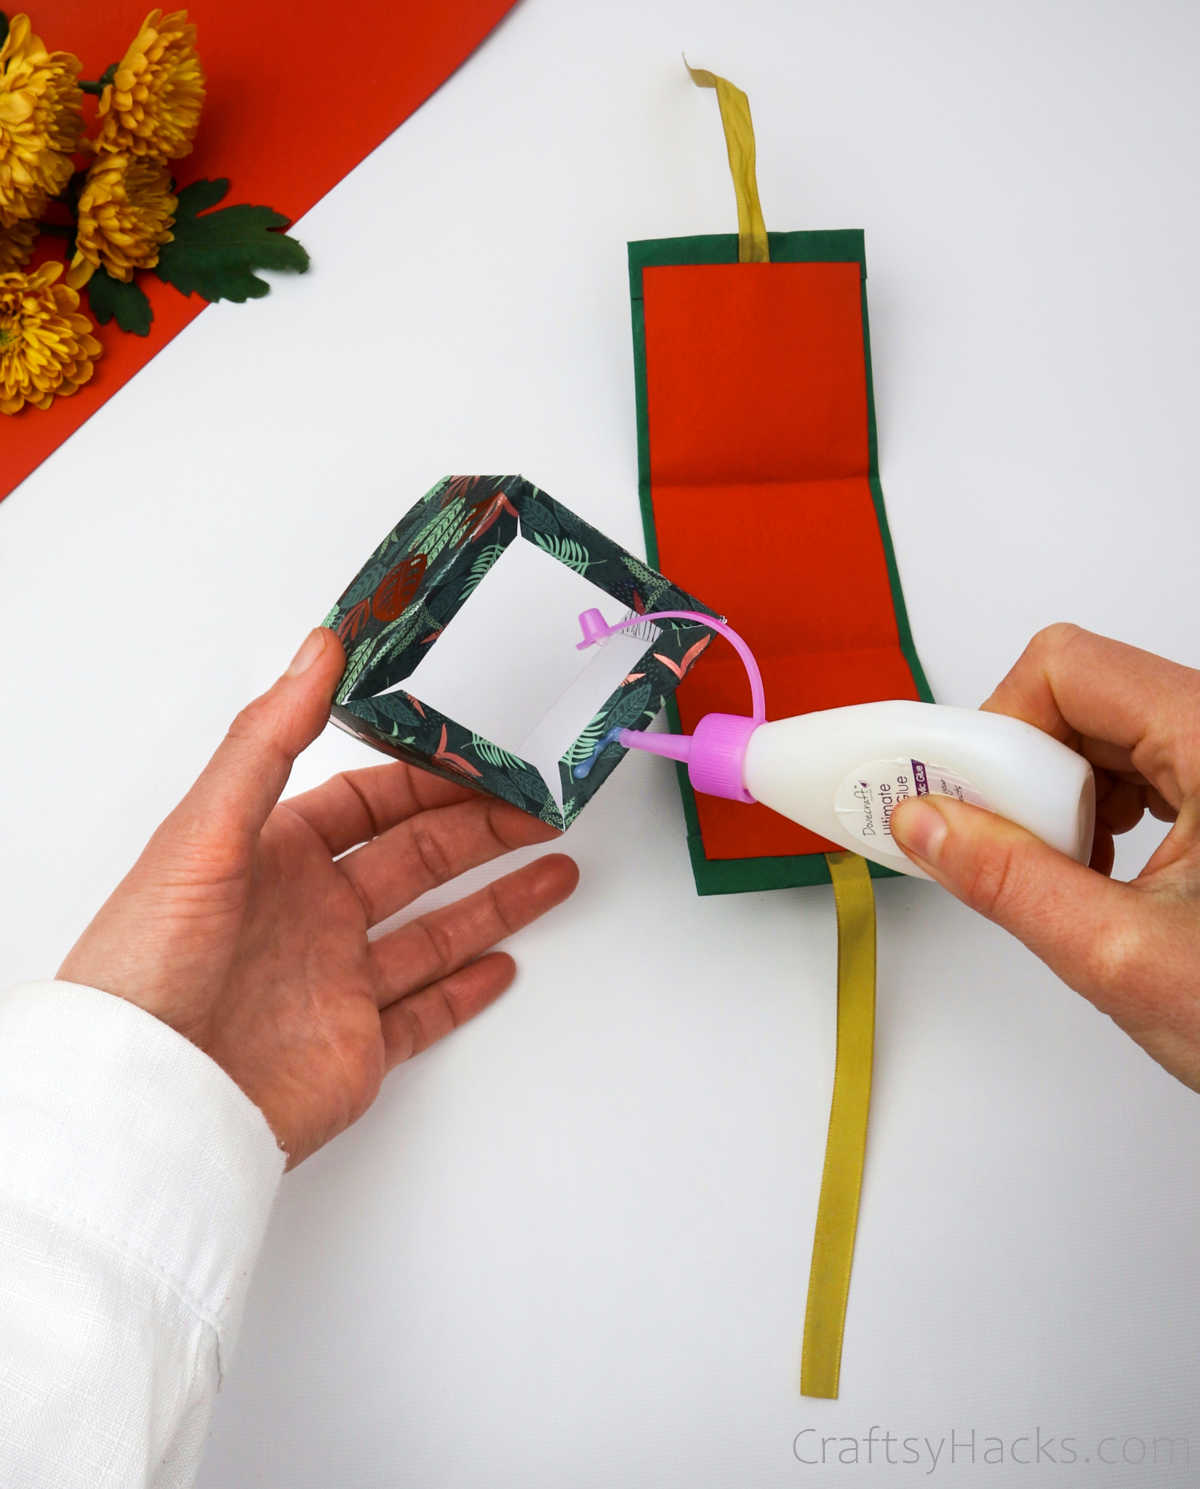
Next, apply a layer of glue around the edges.
Be careful to only use a smidgen of glue, or youll end up with soggy craft paper.
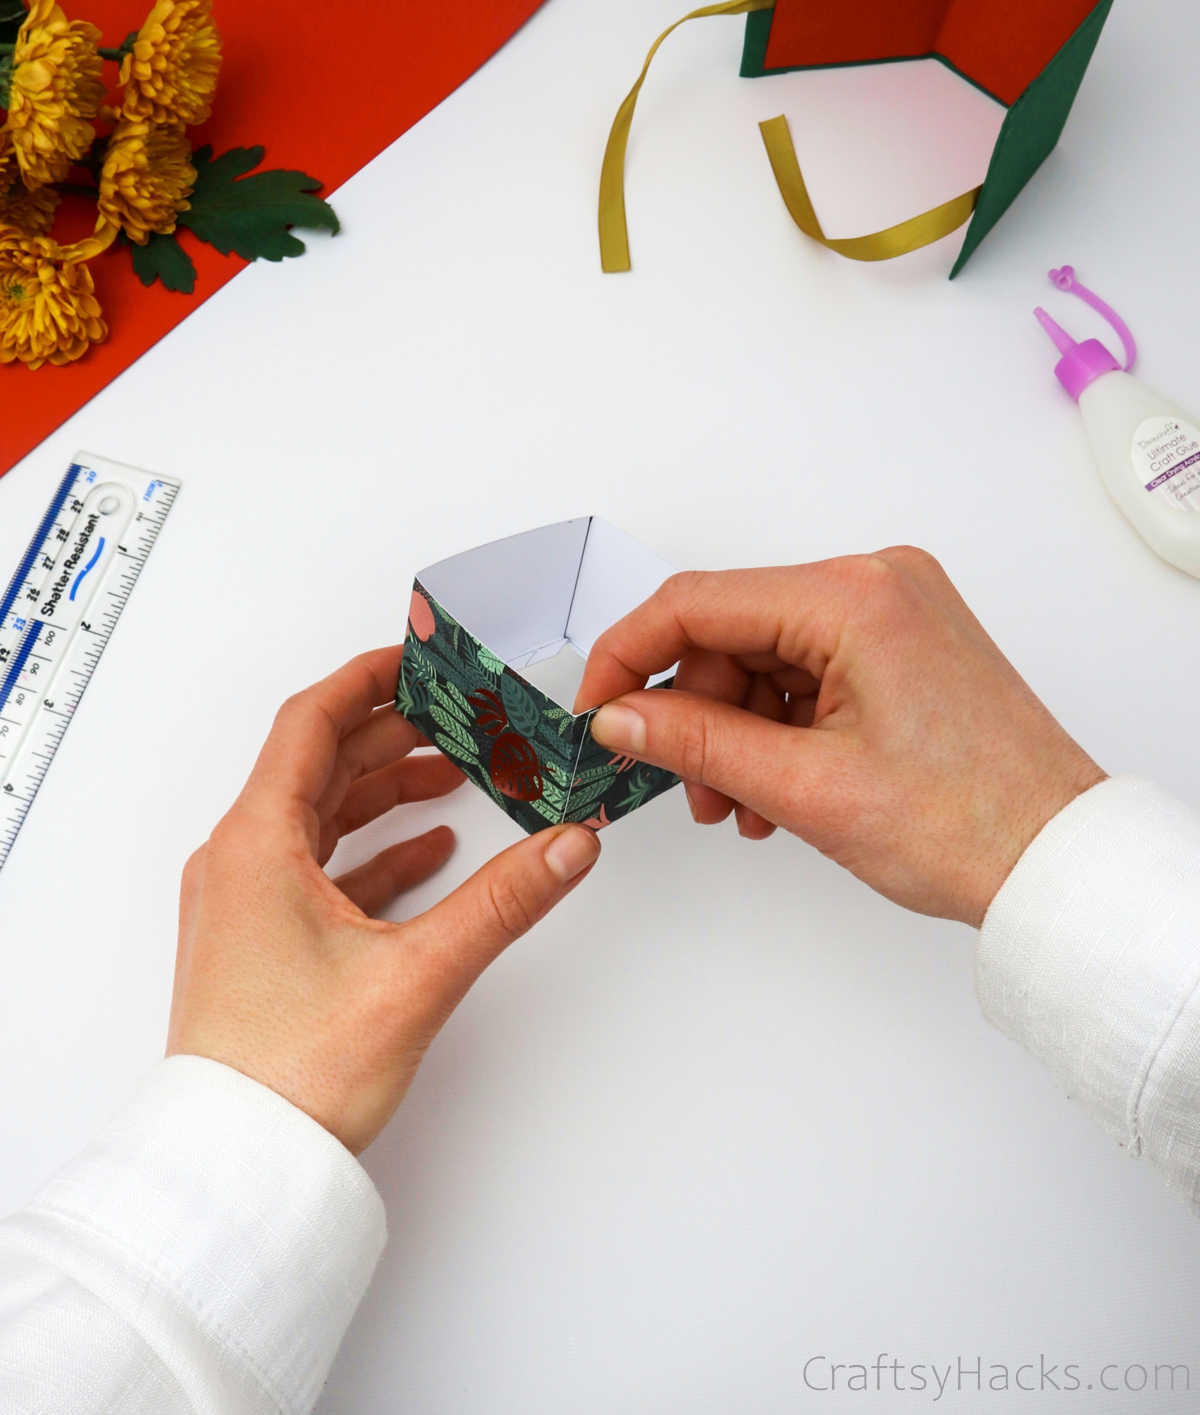
Step 12
Carefully fold the paper inwards to create a 3D four-walled square structure.

Allow it to completely dry before moving on to the next step in this project.
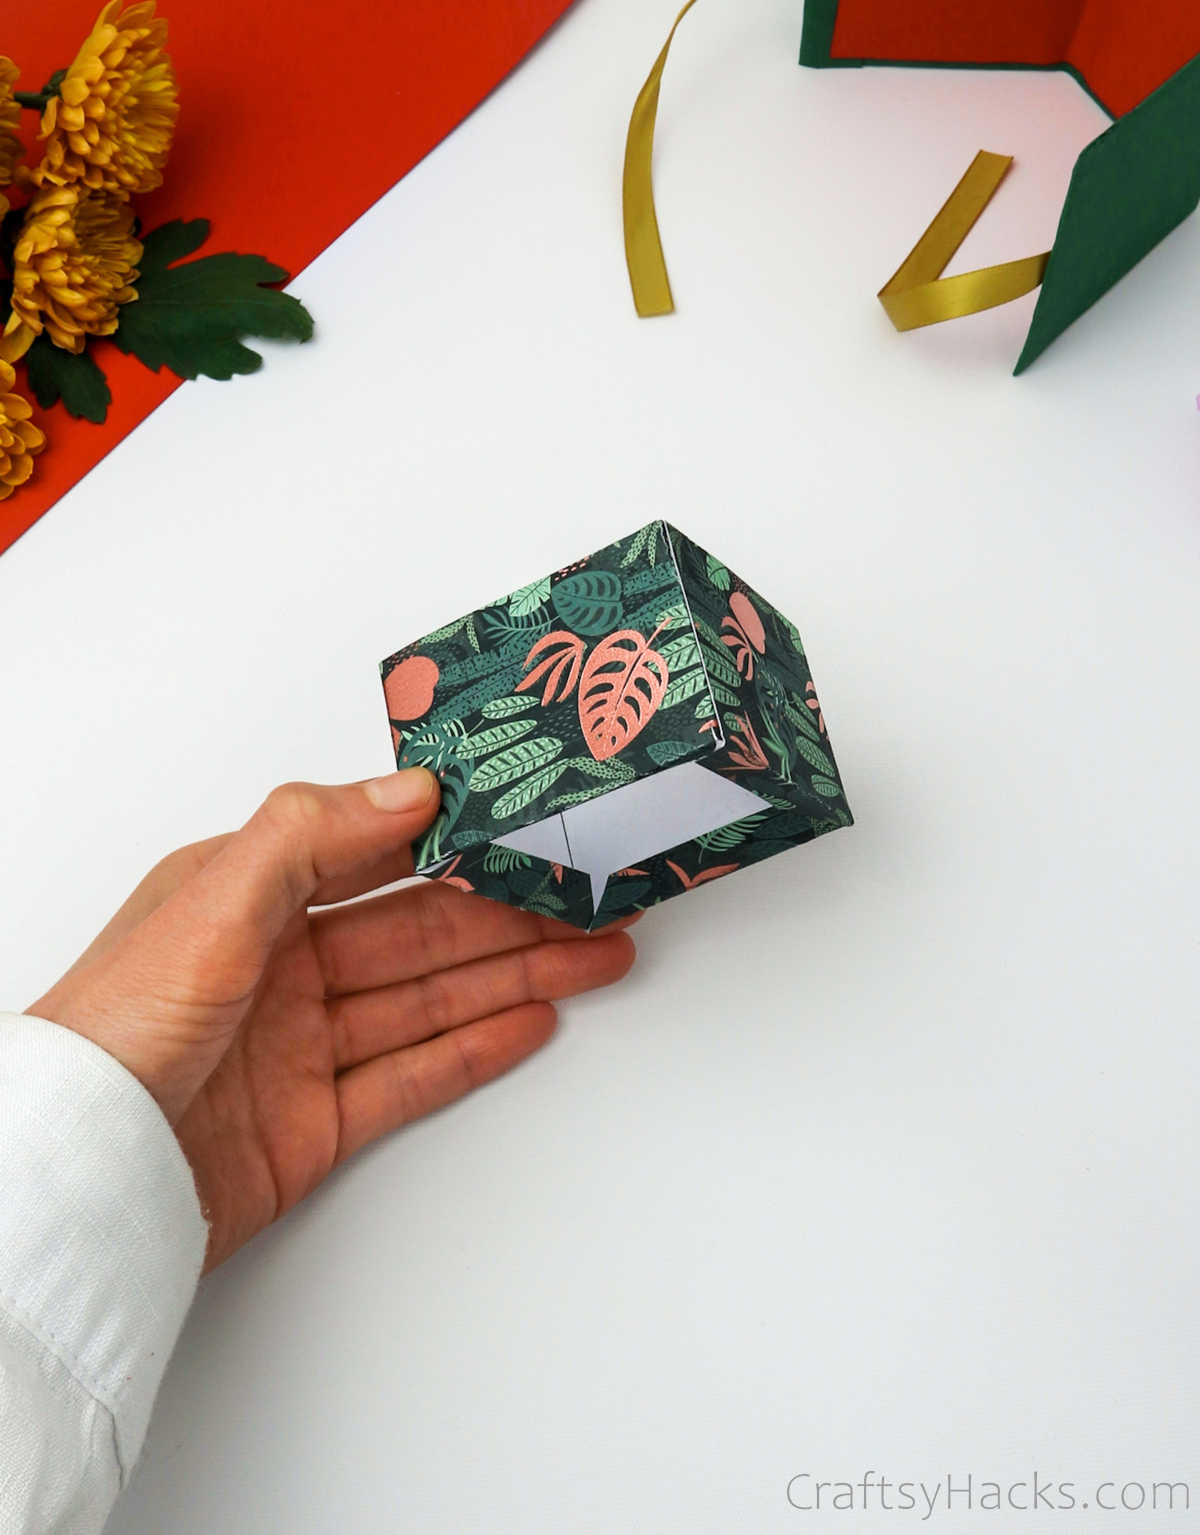
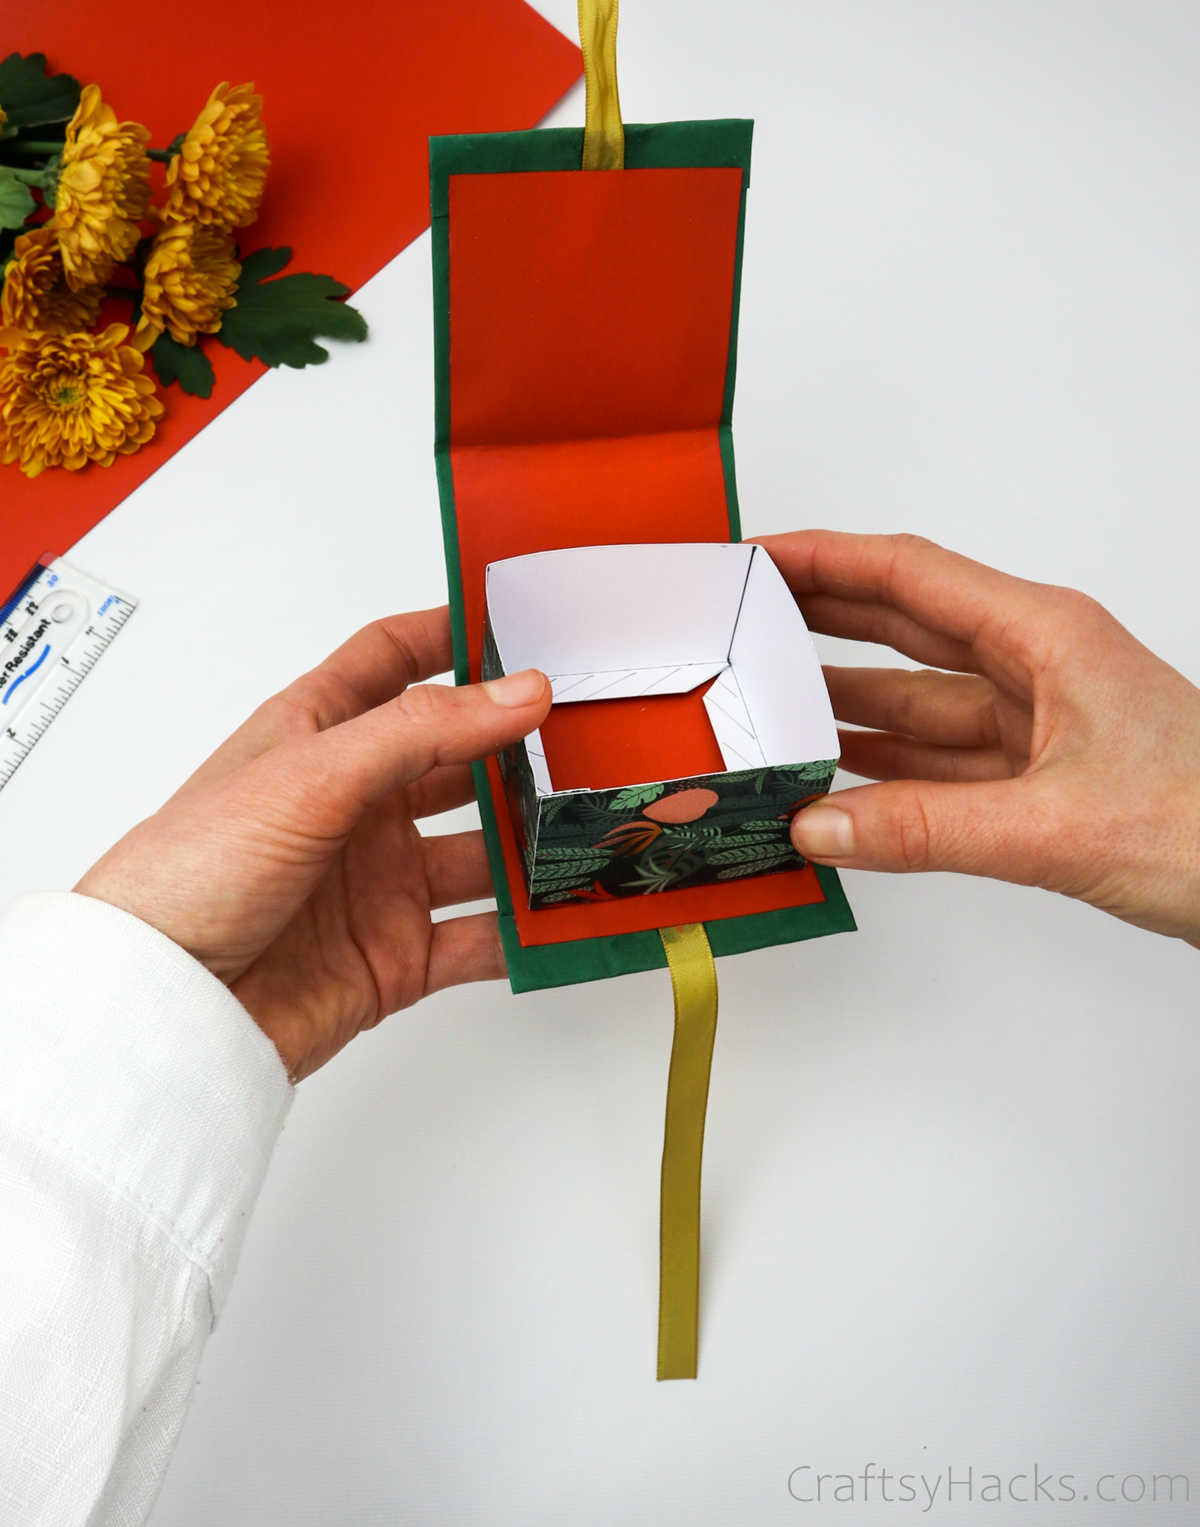
Stick the cube onto the surface of the first component of the project that you set aside earlier.
Step 14
If you remember, you had initially divided this cube structure into four equal parts.
So go ahead and make oneno, a dozen!on your own.
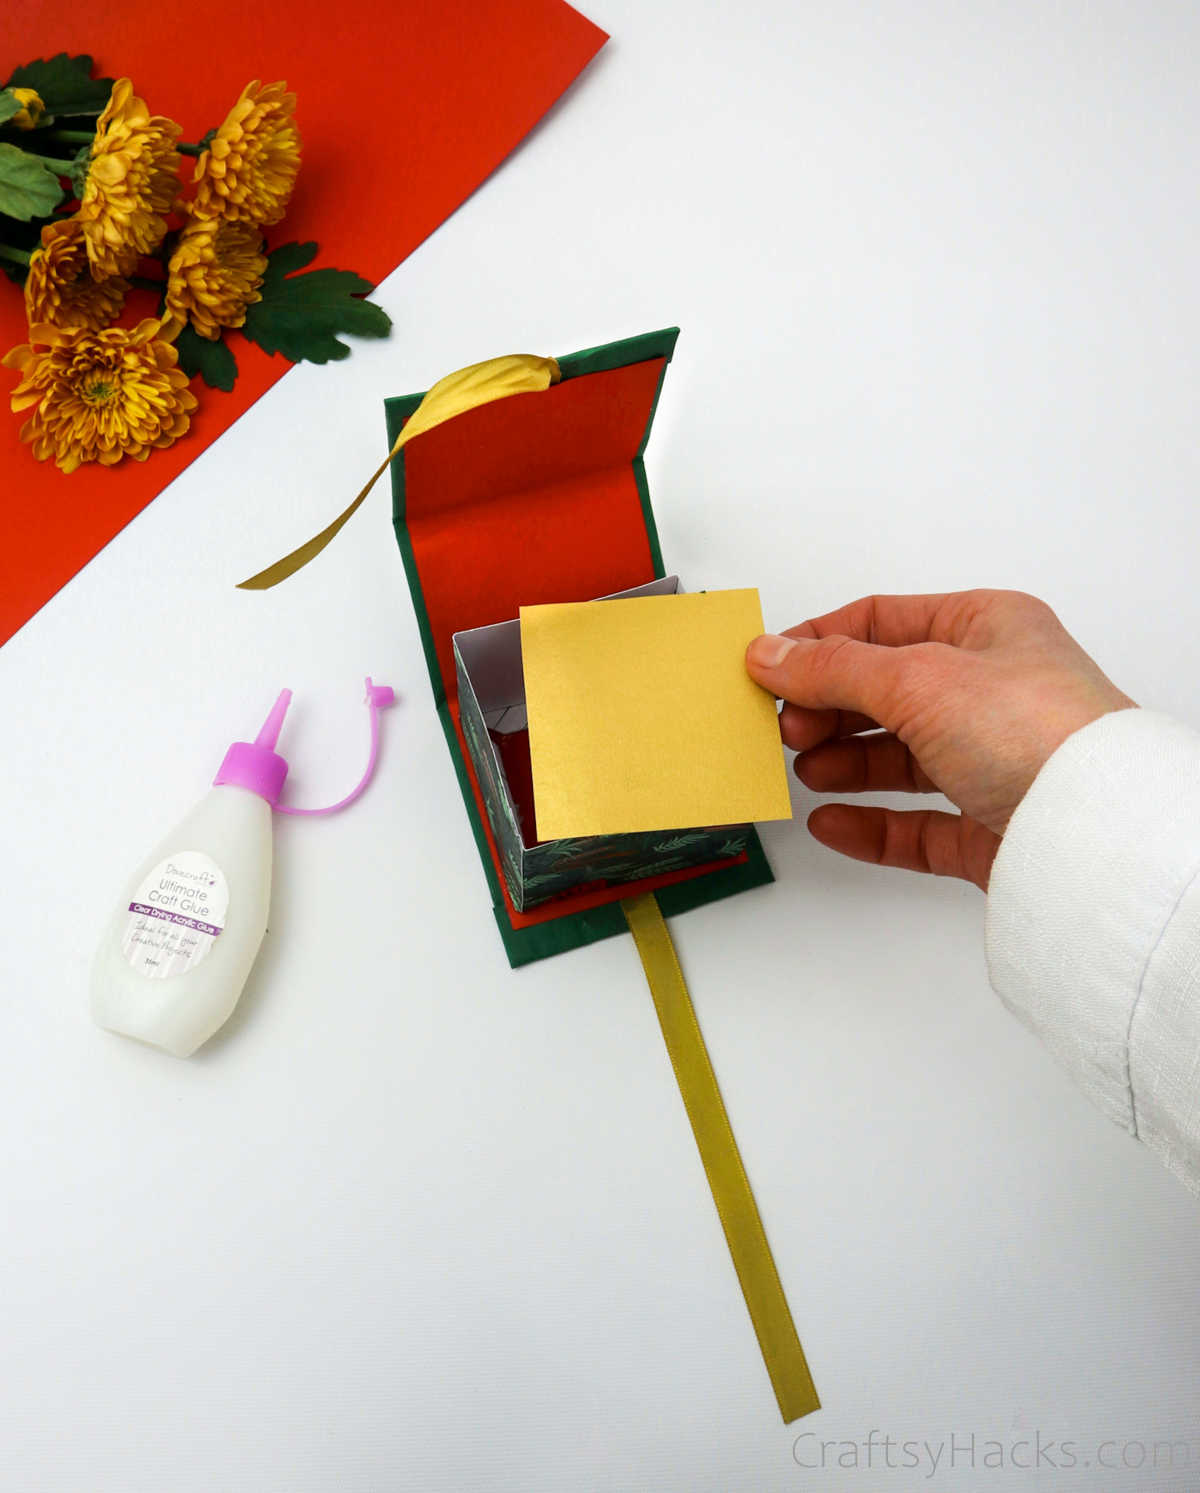
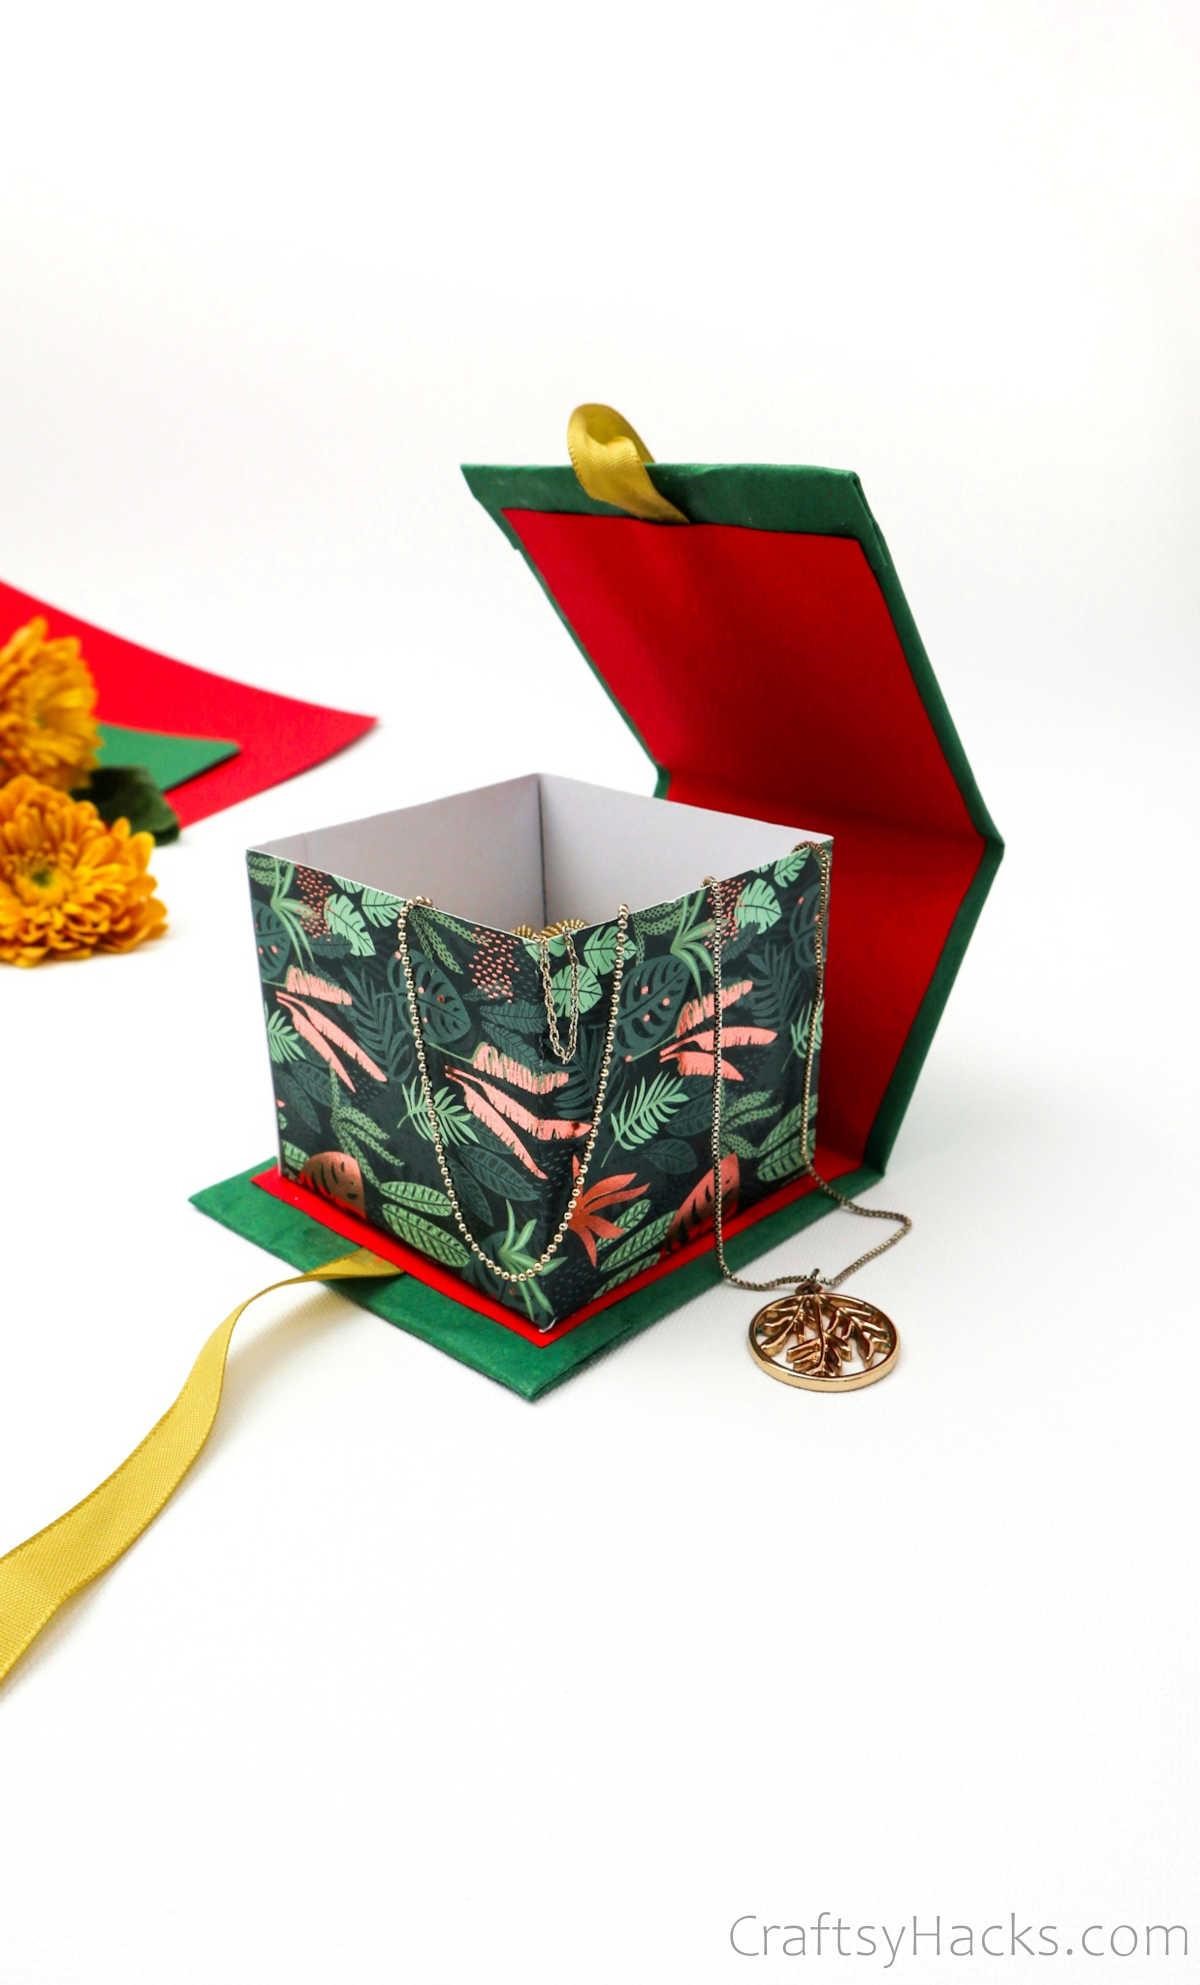
What Can You Use This Gift Box For?
Theres absolutely no end to the number of ways to use this gift box.
Theyre the perfect gifts for friends, your mom or sisters!
Speaking of gifts for mom, check out these20 christmas gift ideasthat your mom would adore!