HomeDIY
This post may contain affiliate links:full affiliate disclosure.
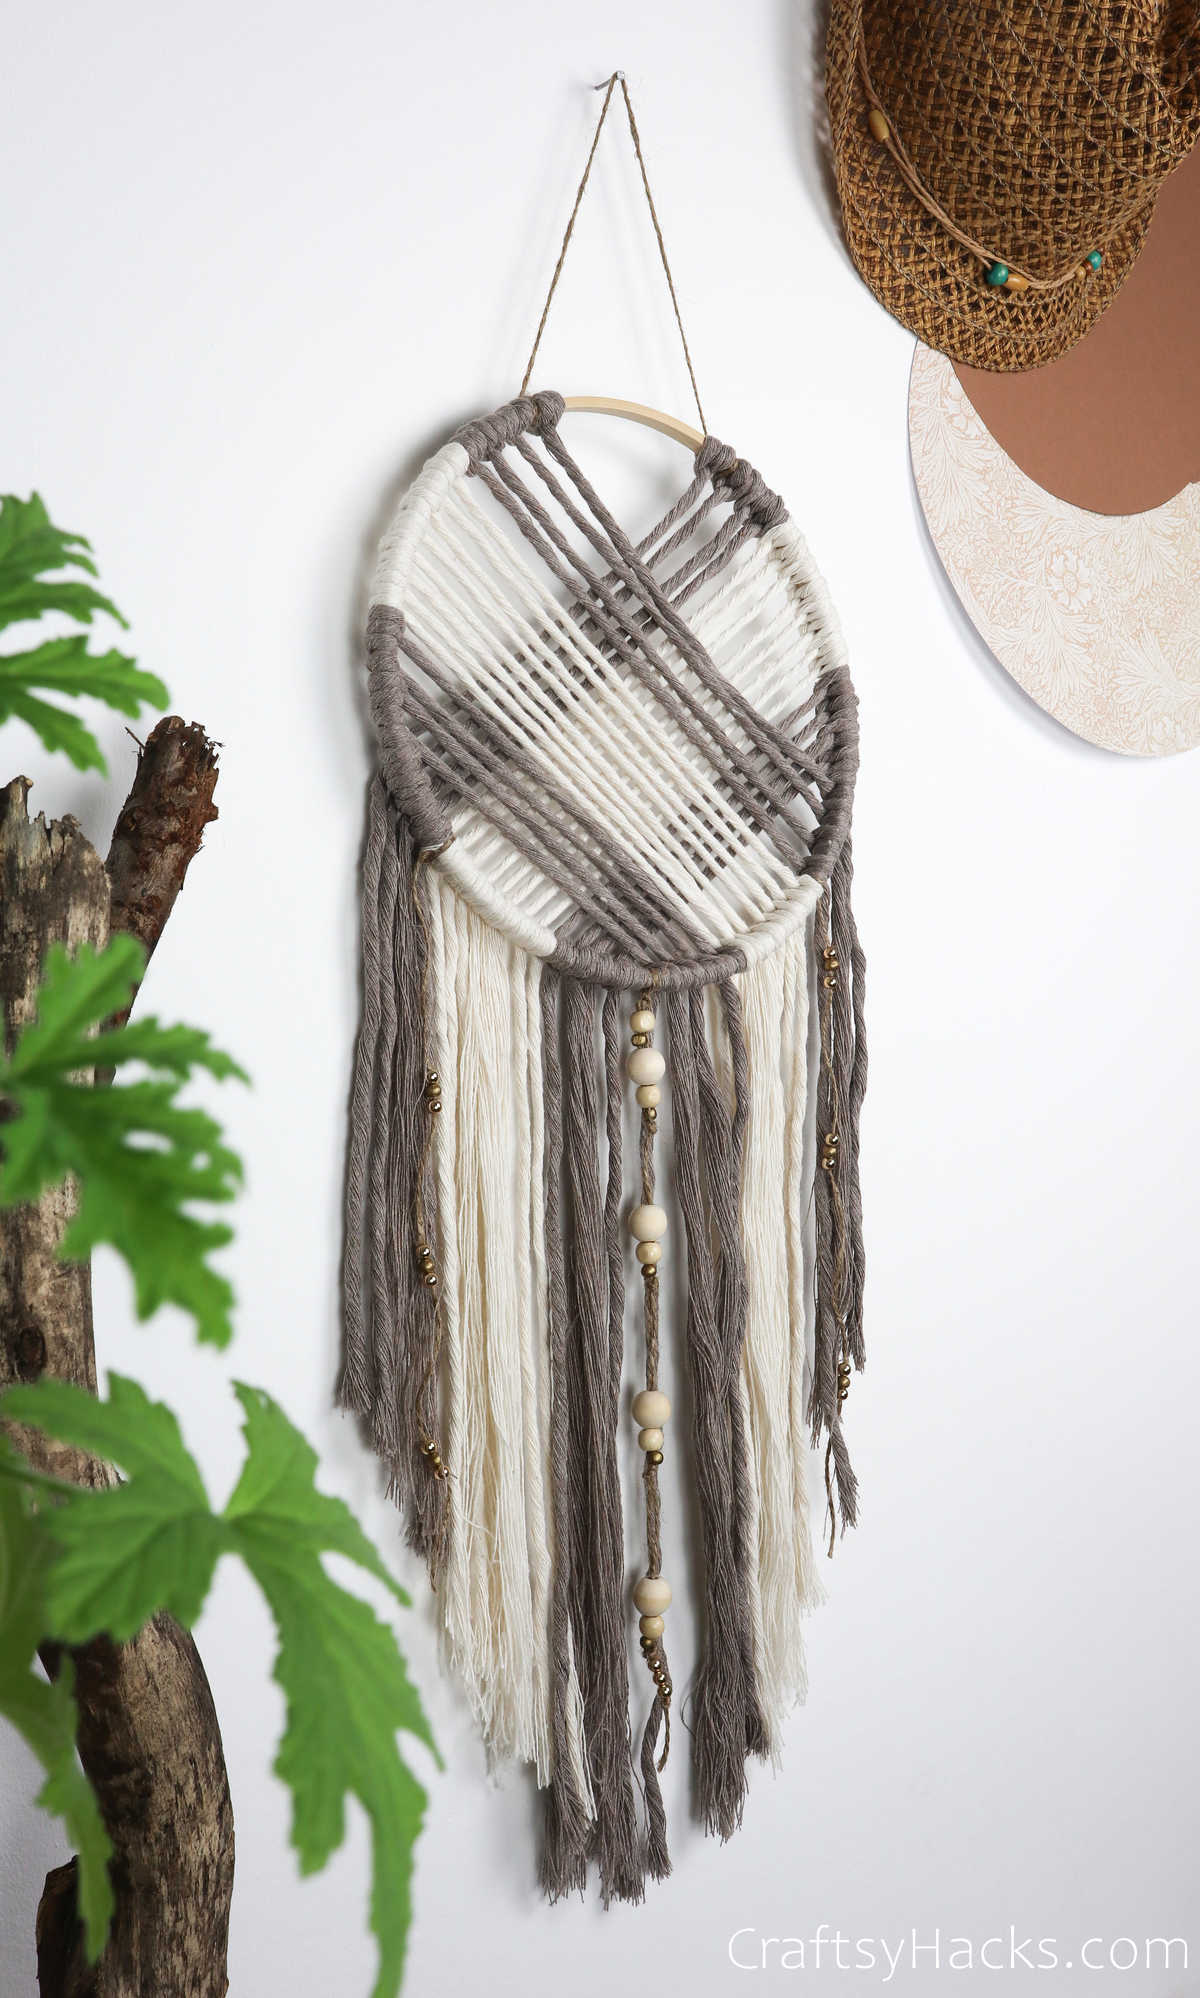
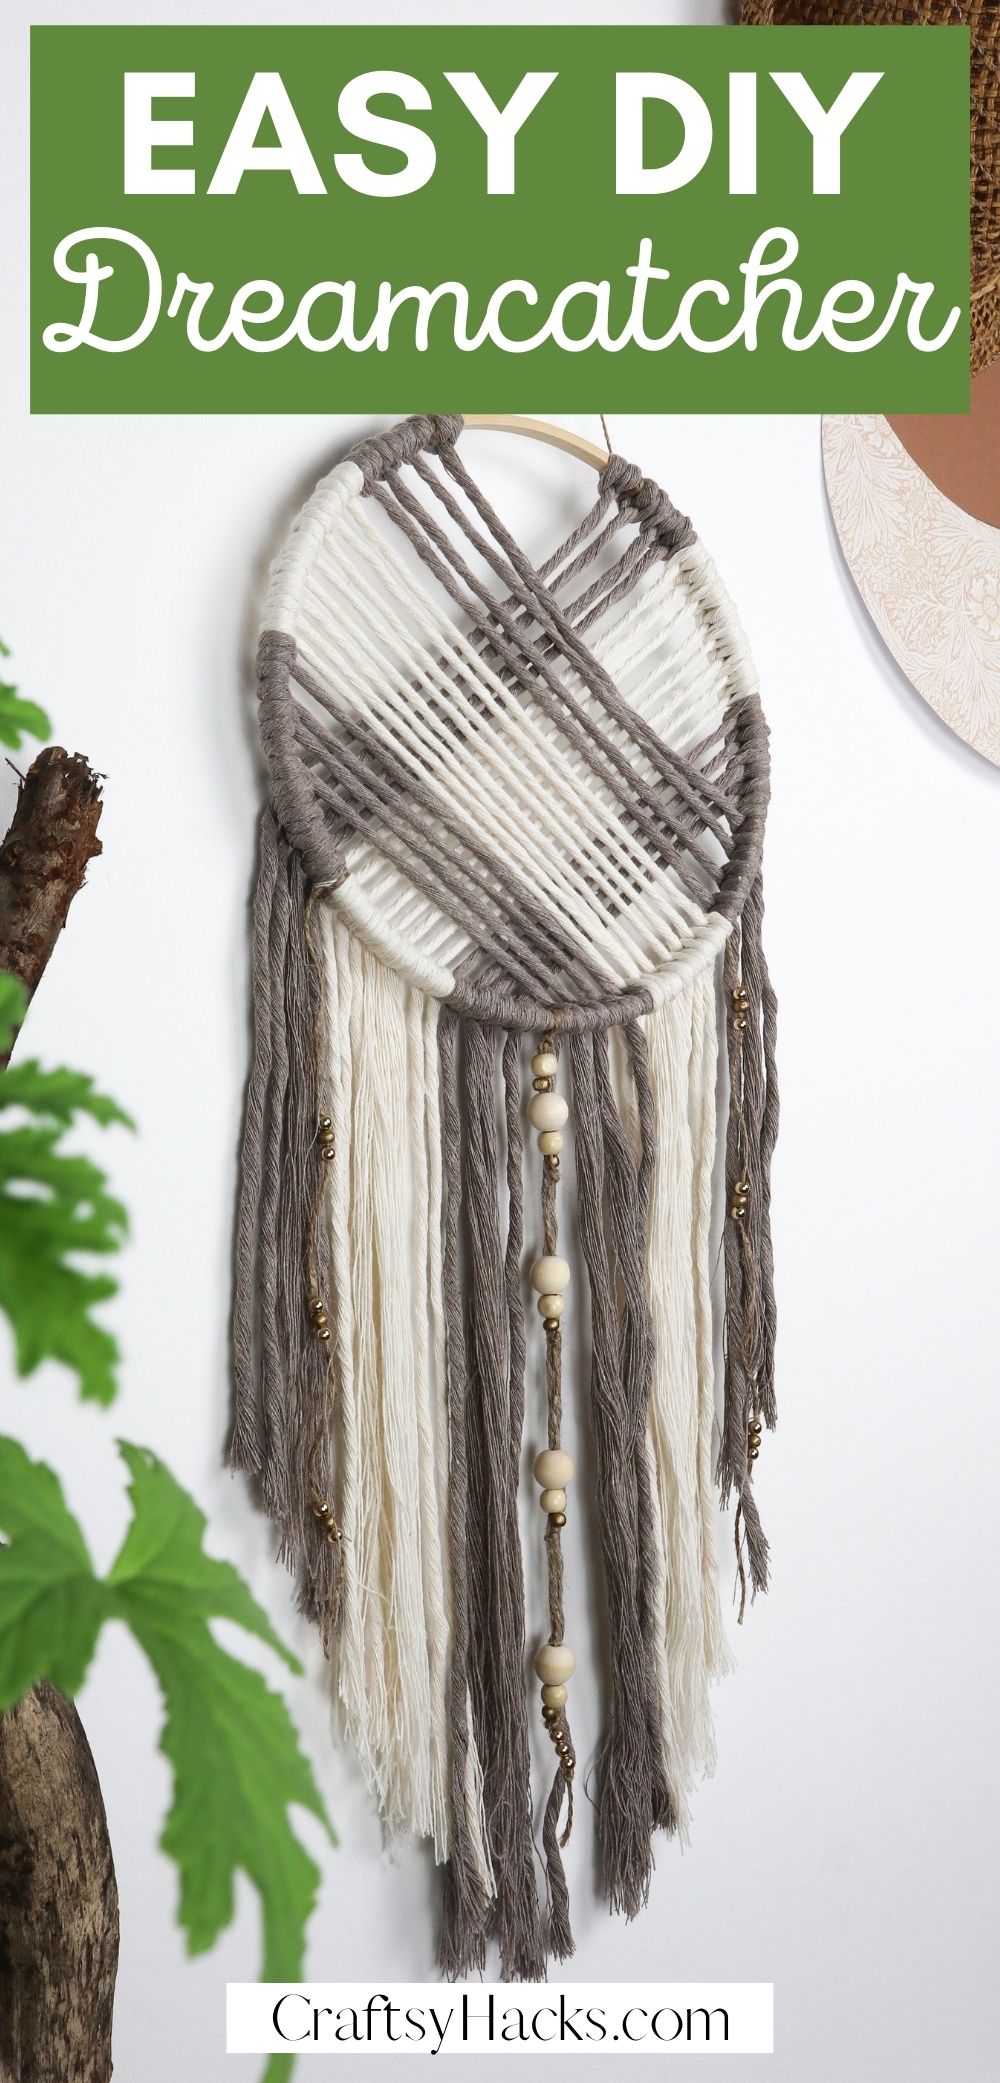
Have you been wanting to make a dreamcatcher of your own?
This beautiful decoration will make your room look cozier and catch those nightmares.
Think back to a couple of years ago when dream catchers were all in rage.
You would find a dozen of these colorful dream catchers dangling down by every kid and teenagers bedpost.
But what do you really know about the symbolism and meaning behind them?
Theyre not just decorative accessories, you know.
Its actually one of the most long-standing symbols associated with Native American Literature.
Theyd catch the bad dreams and let the good ones through, ergo the name.
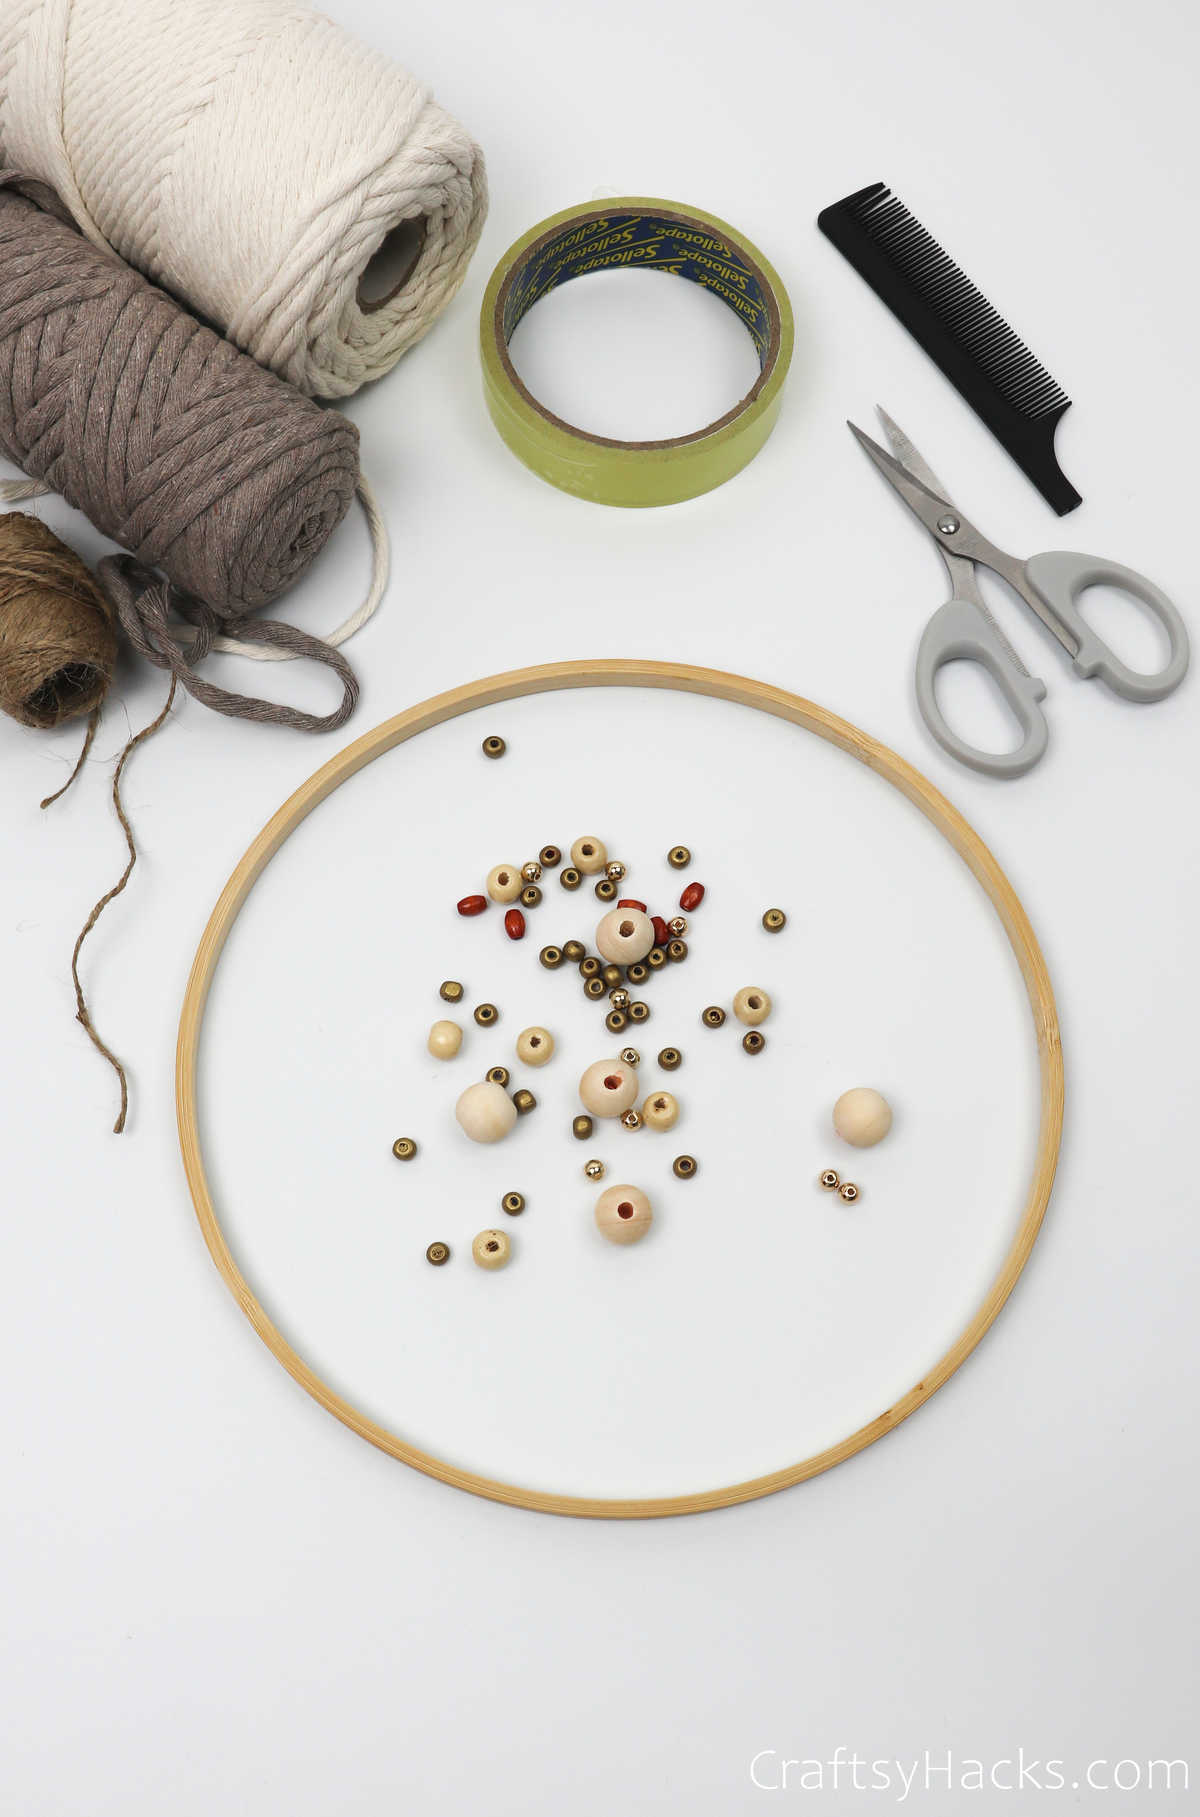
Here is a step-by-step tutorial on how to make the dreamcatcher from scratch.
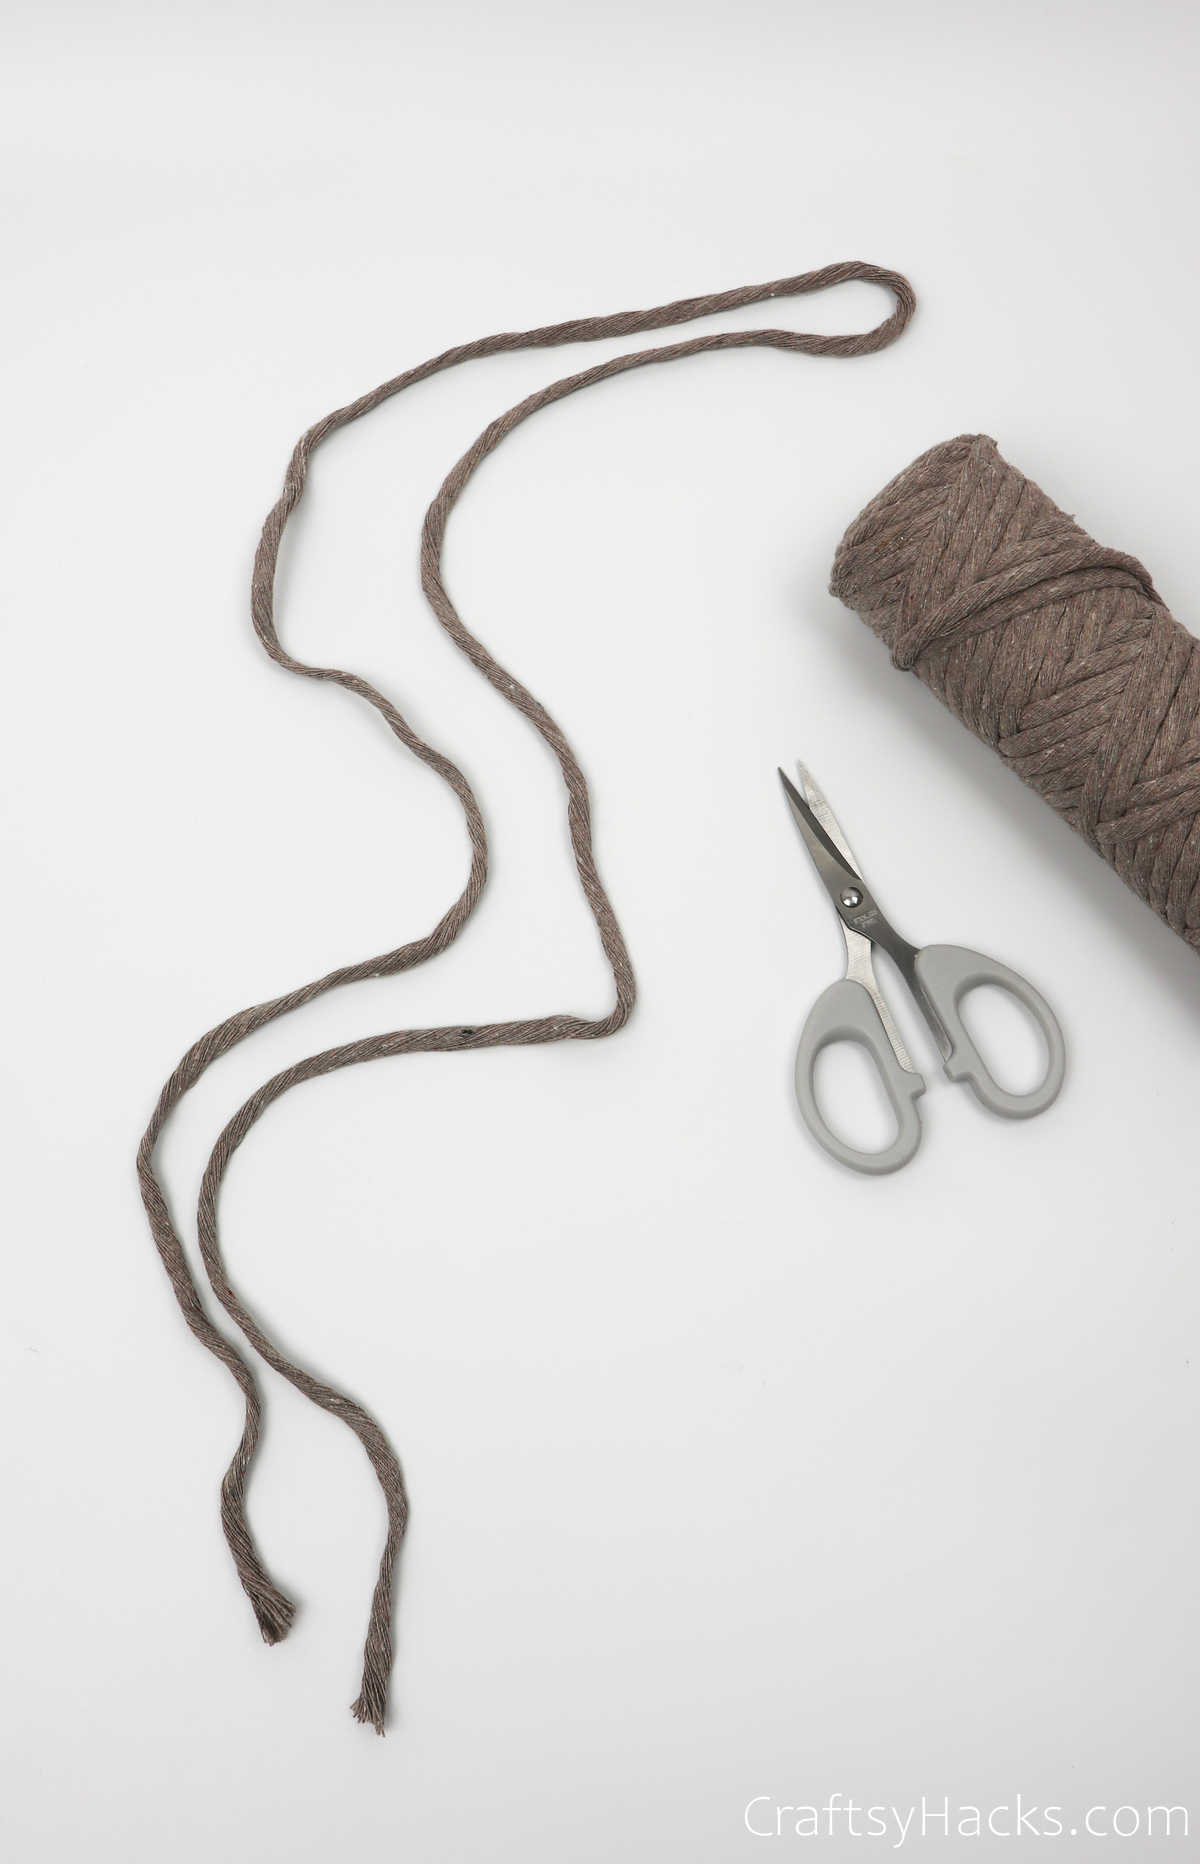
Step 1
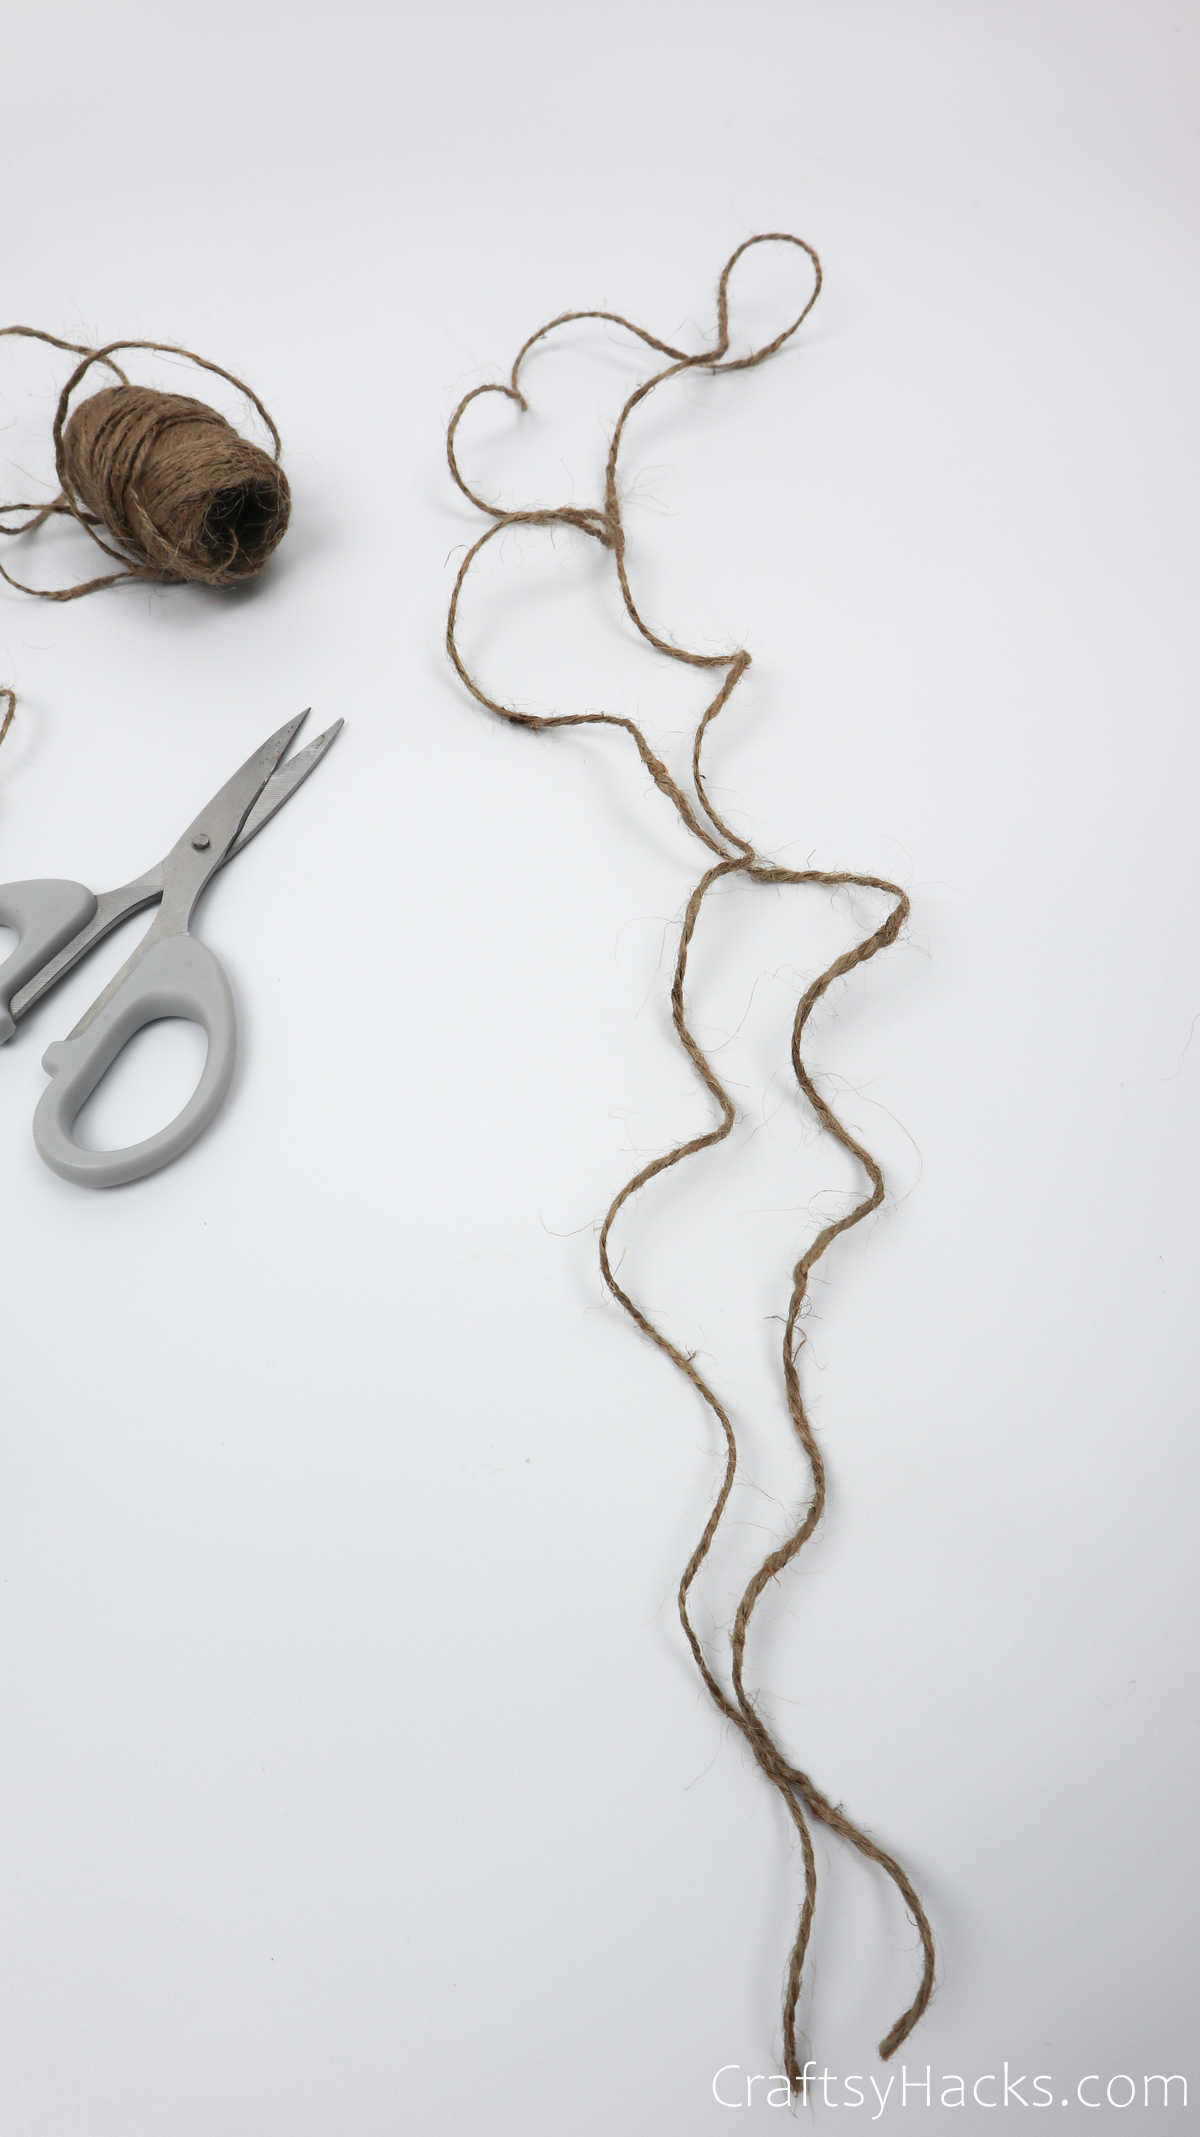
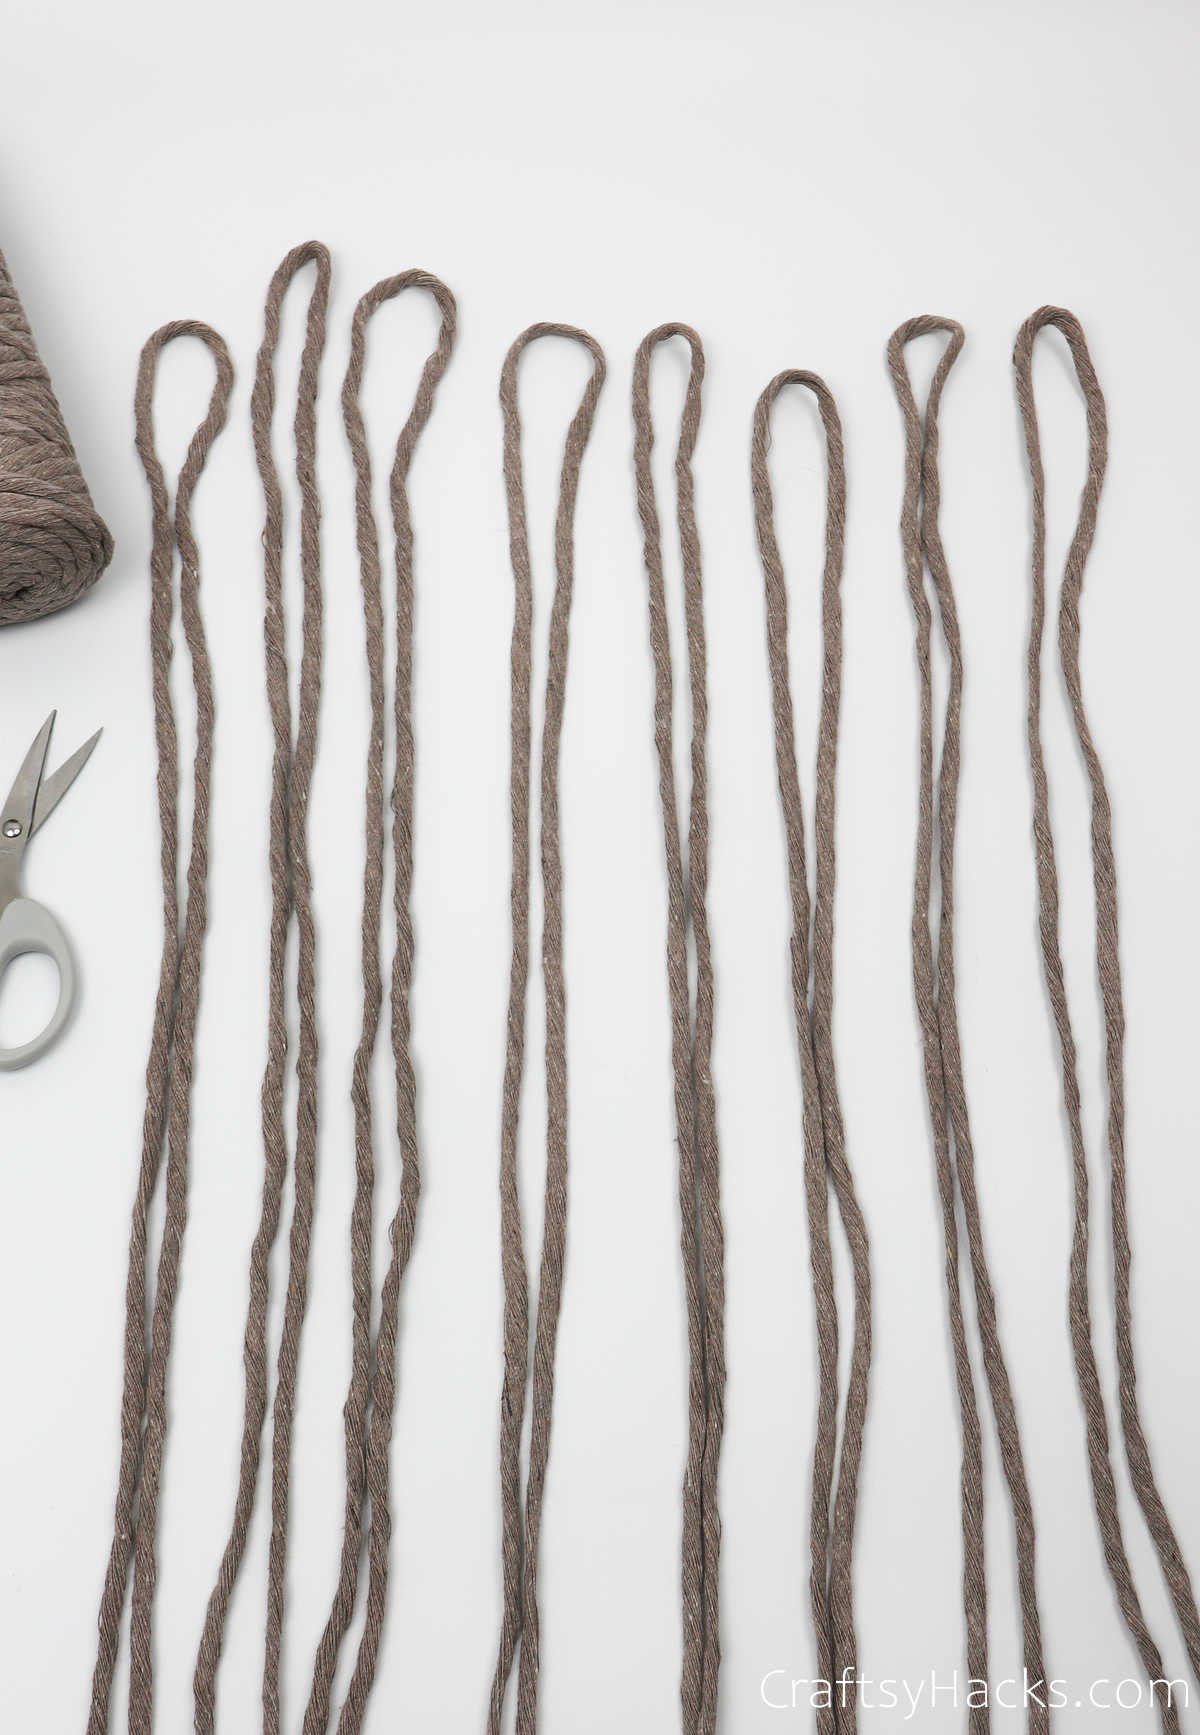
The first step would be to unravel your cord.
Then, measure out about sixty inches before you cut it with your scissors.
This will be your first string.
You will need eight of them, each measuring sixty inches.
Lay them down, as indicated.
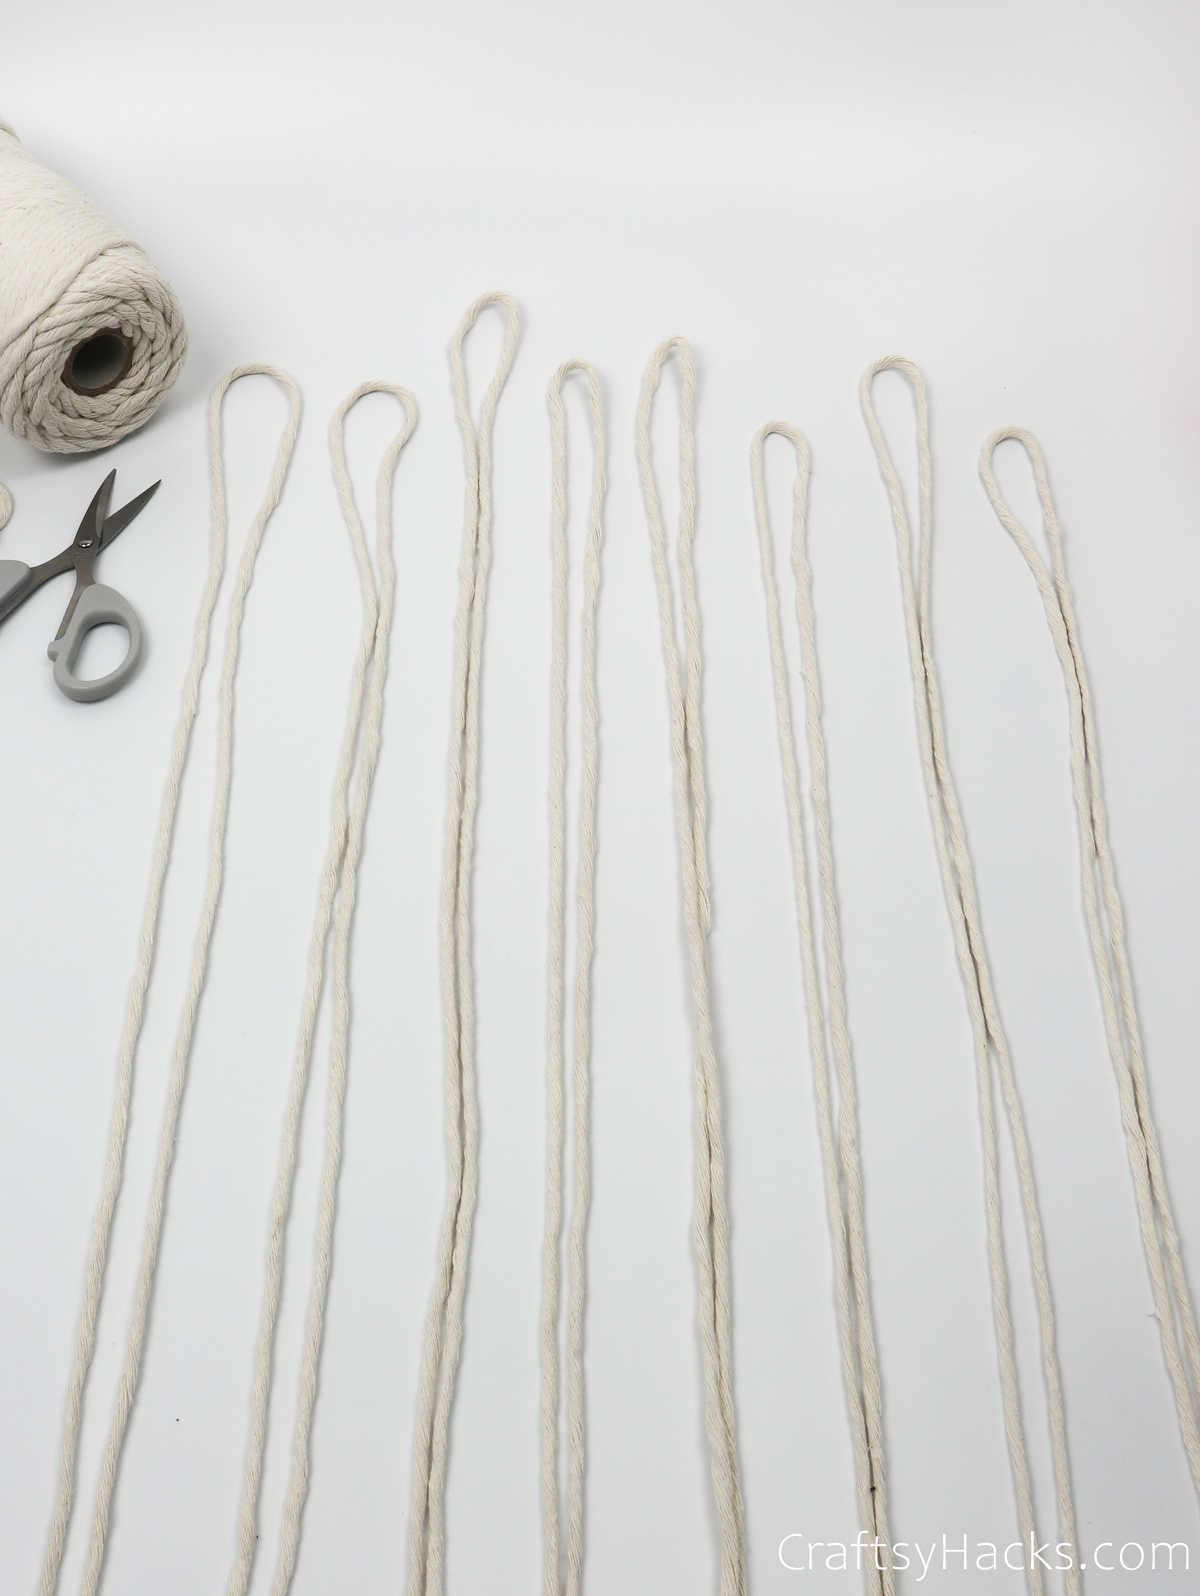
Step 2
Youll need to repeat step 1 with each color of cord youre using.
That means that for this project, youll have eight cappuccino-colored cords and eight cream ones.
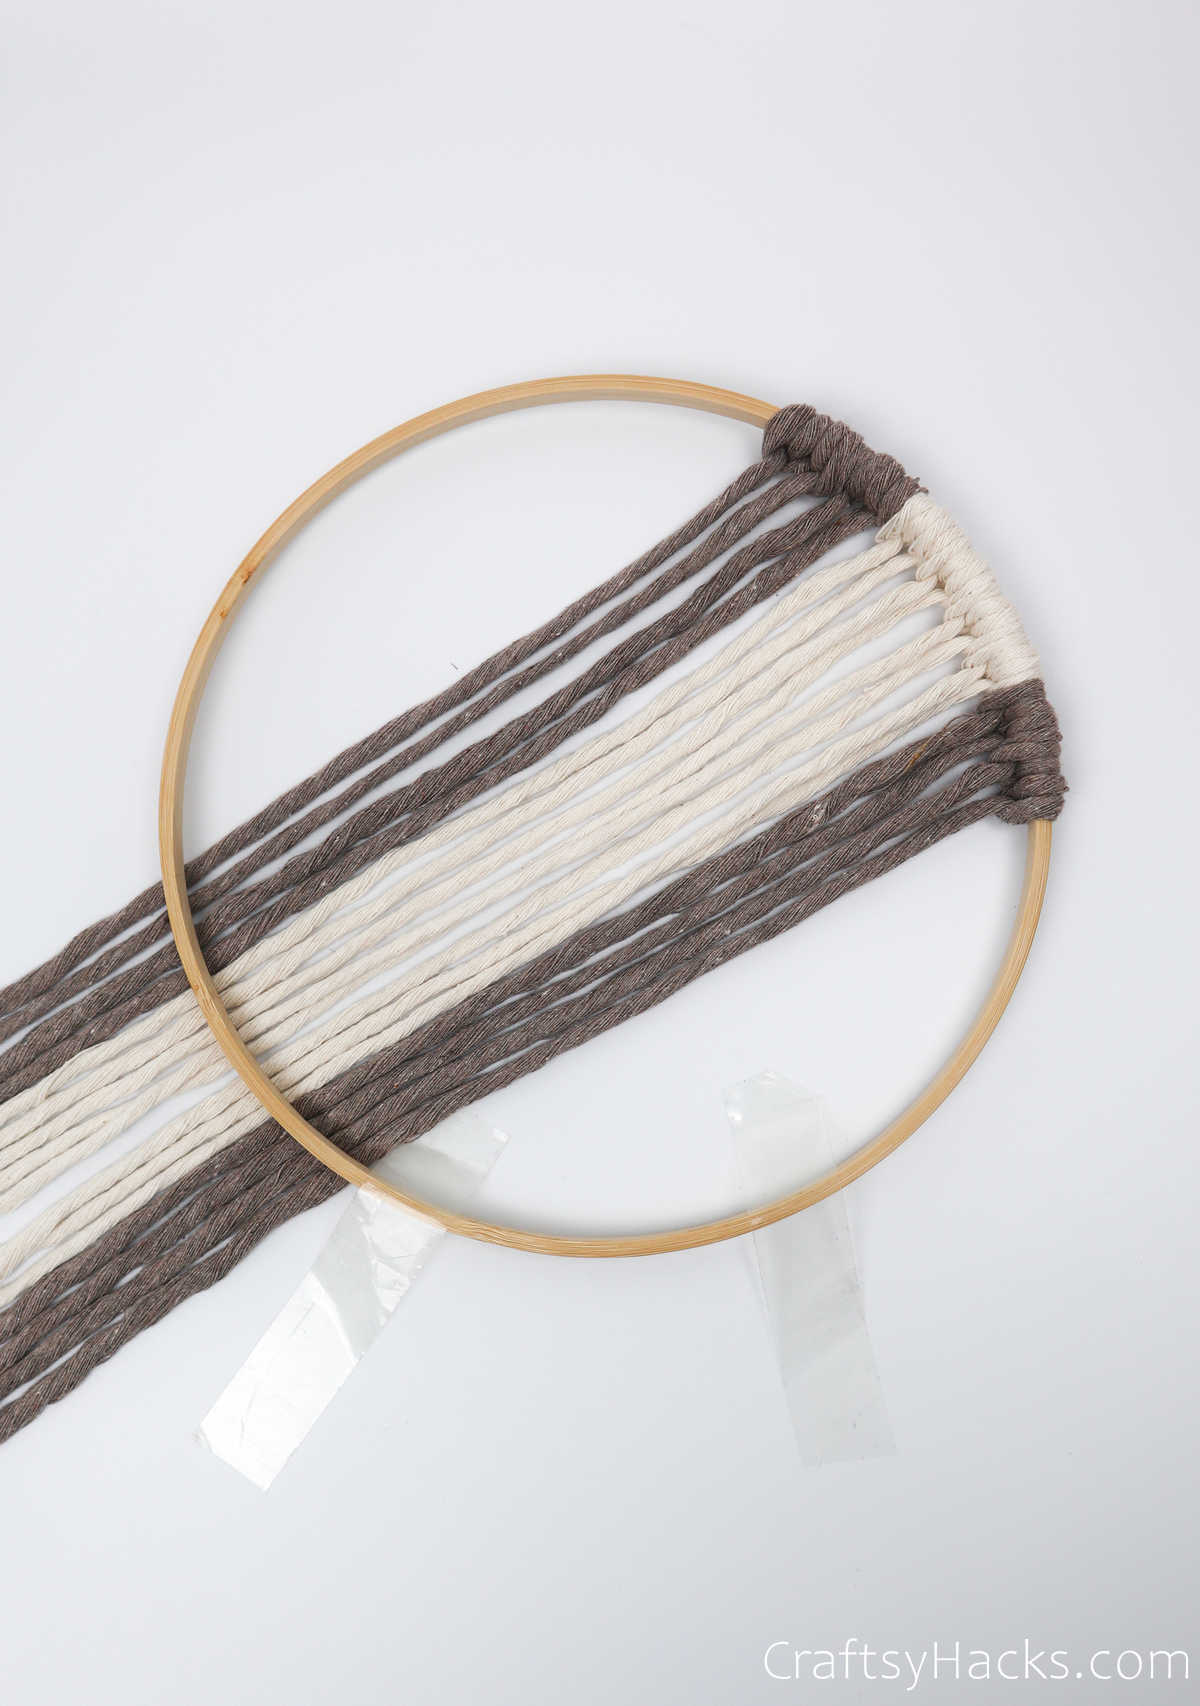
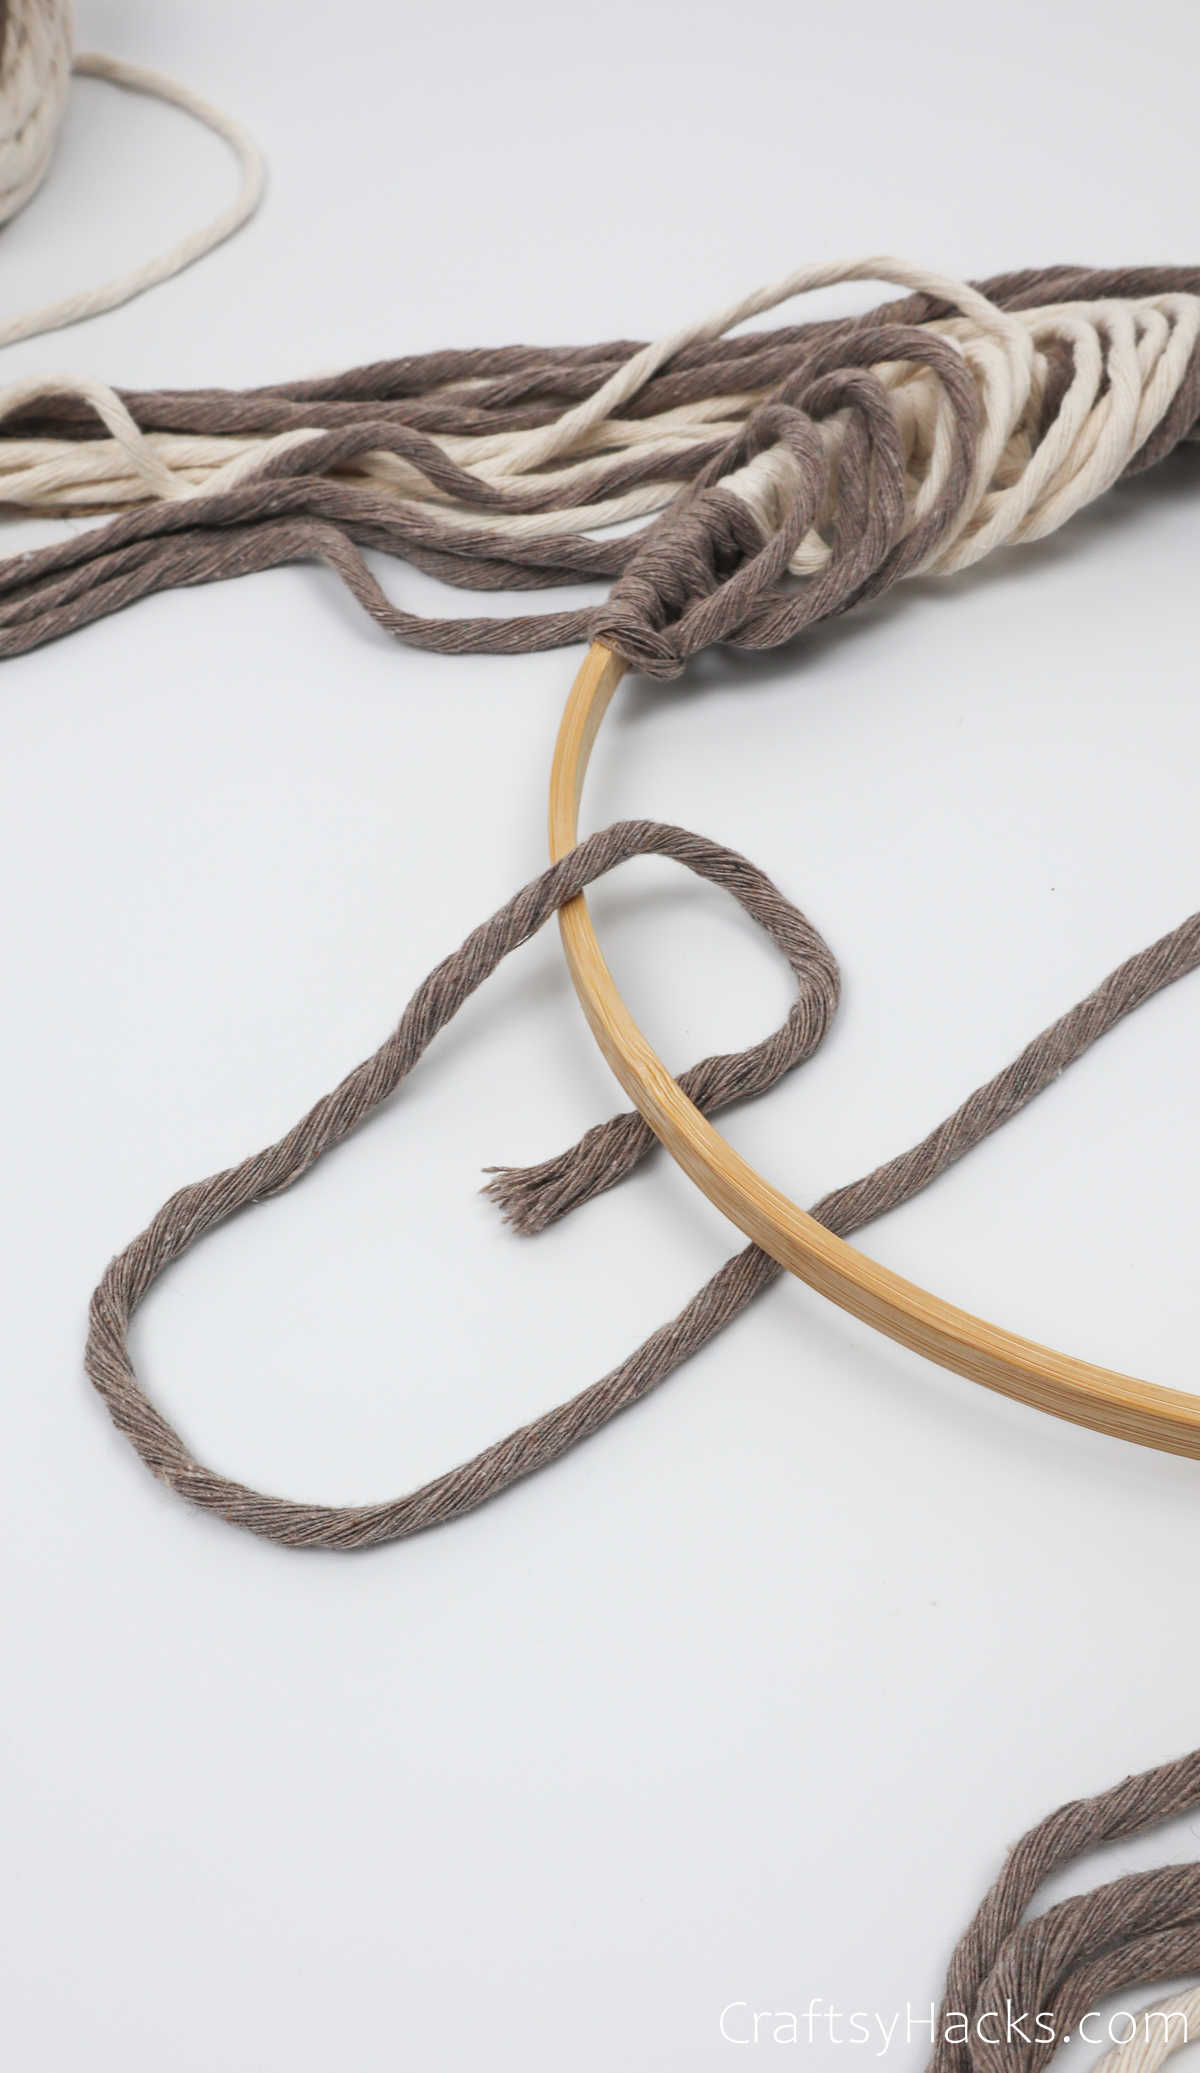
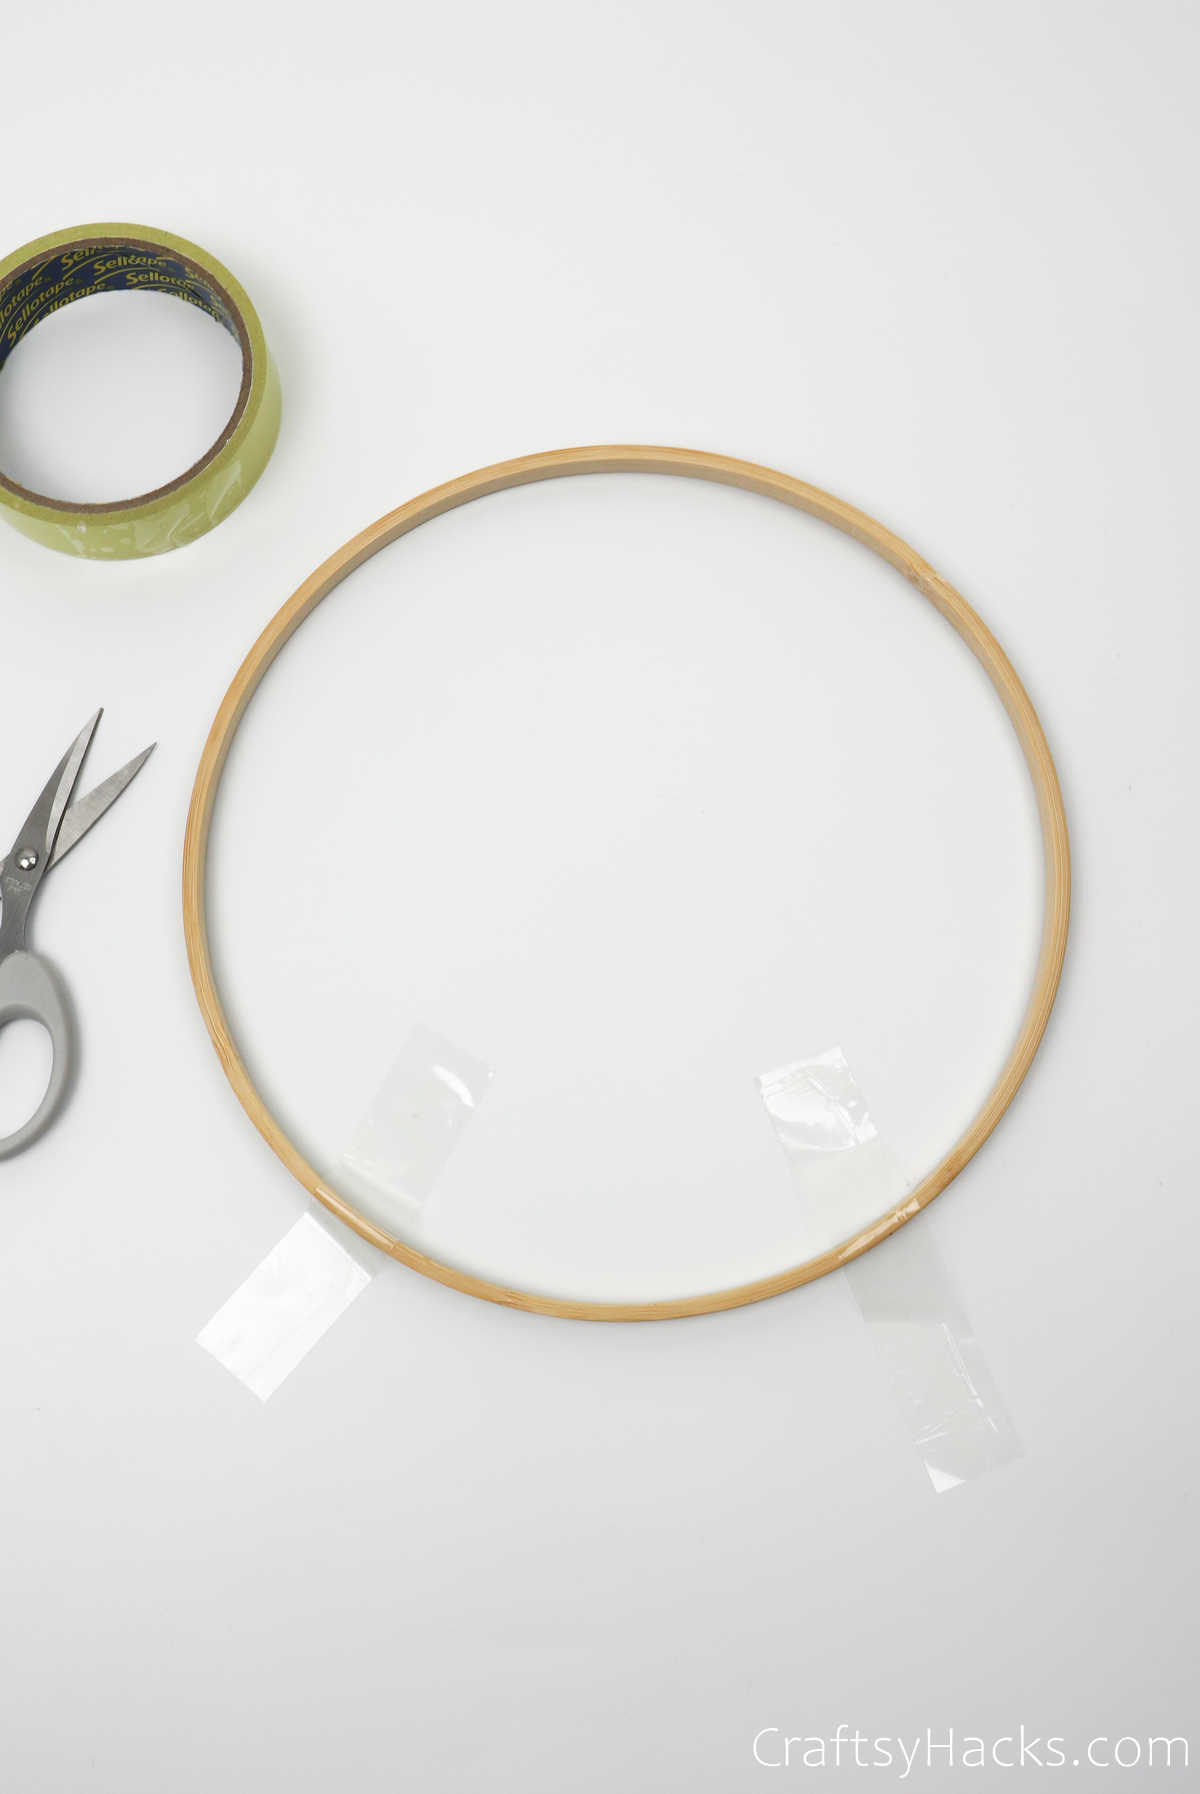
This will ensure that the ring doesnt move around when youre working.
Trust me; youll be glad for this step!
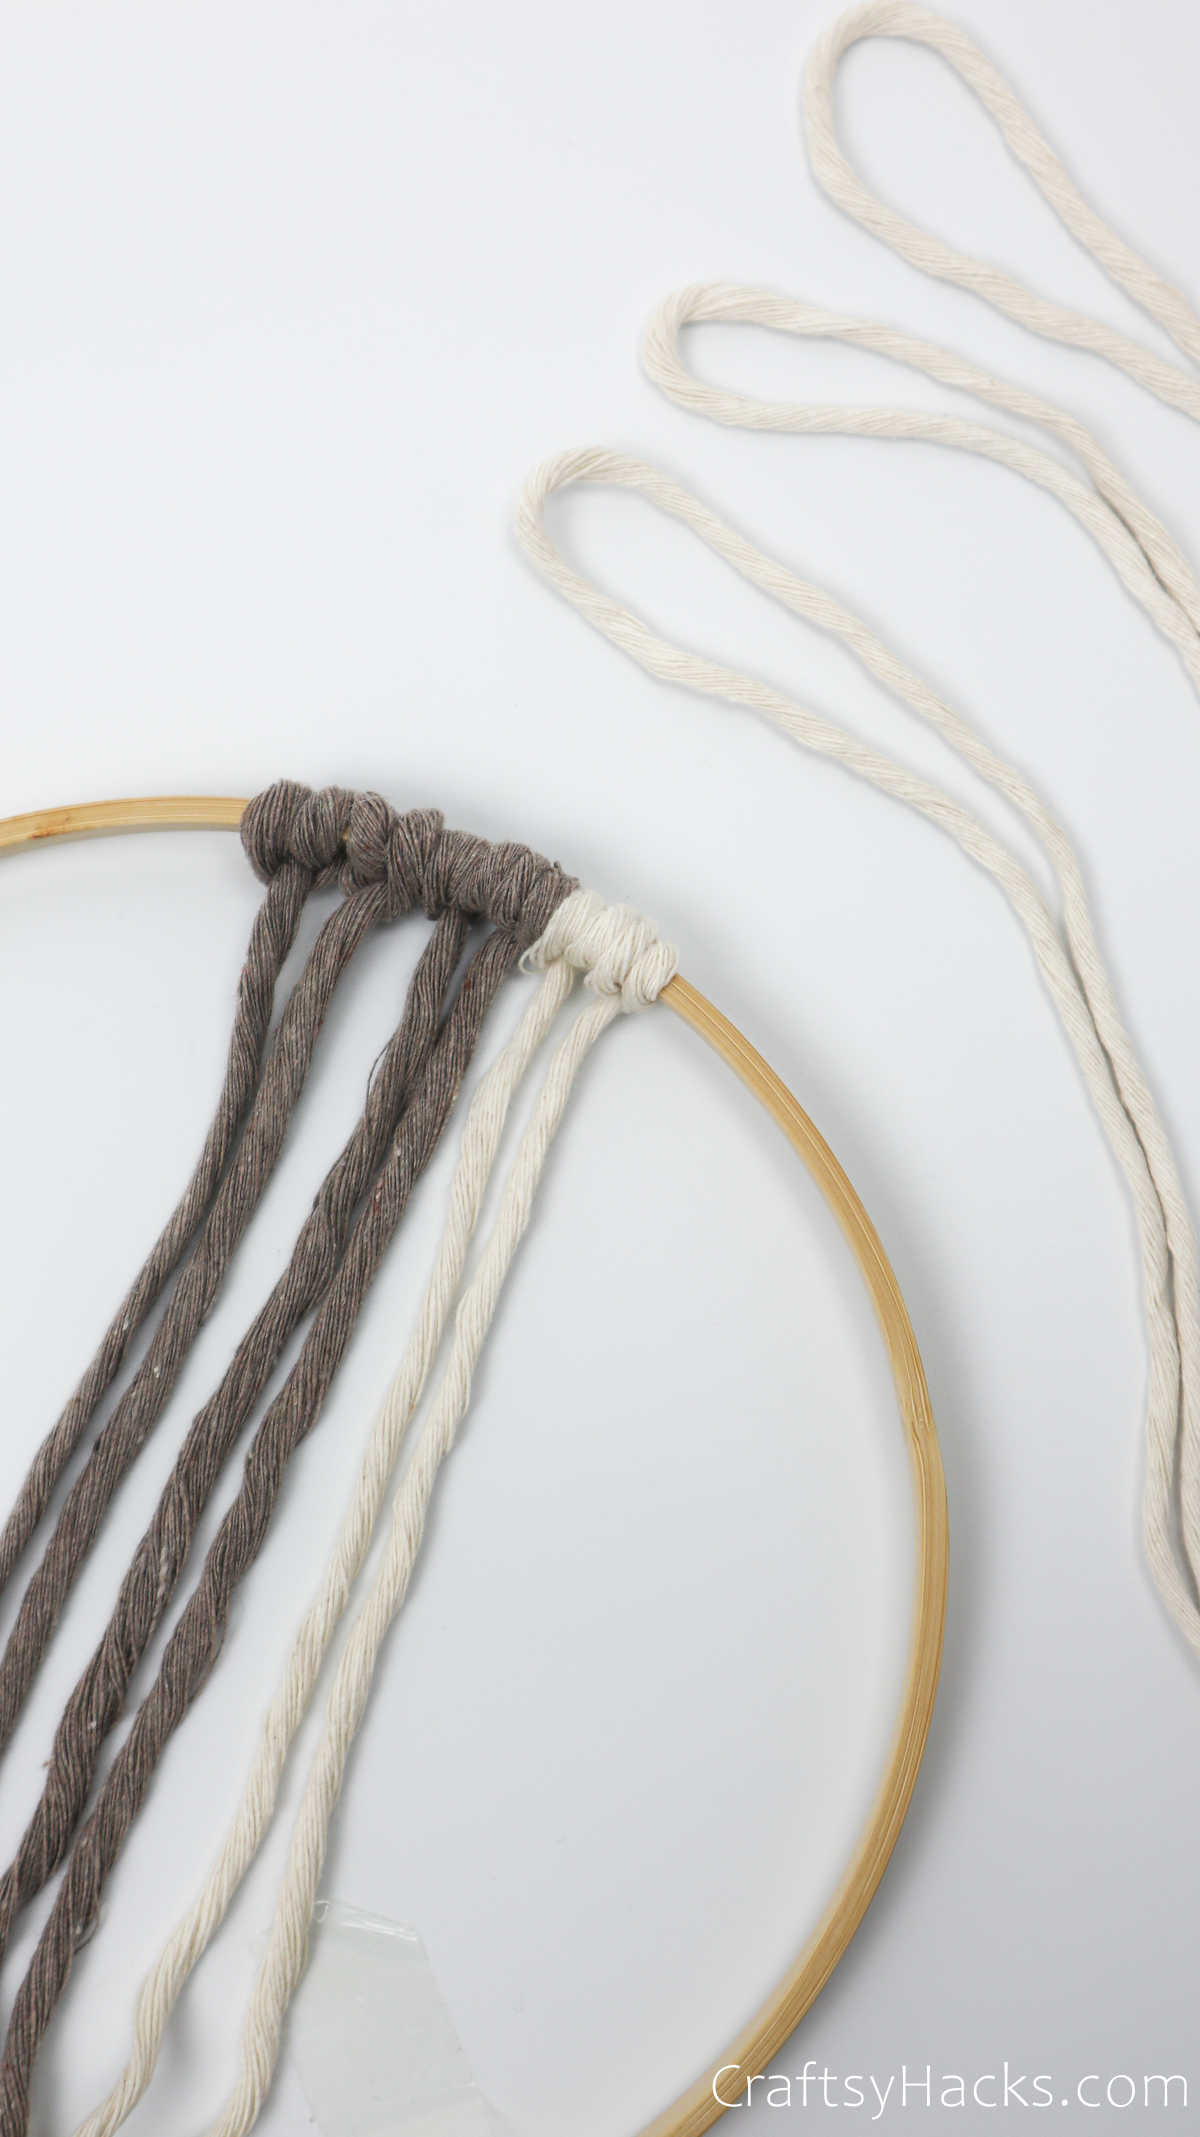
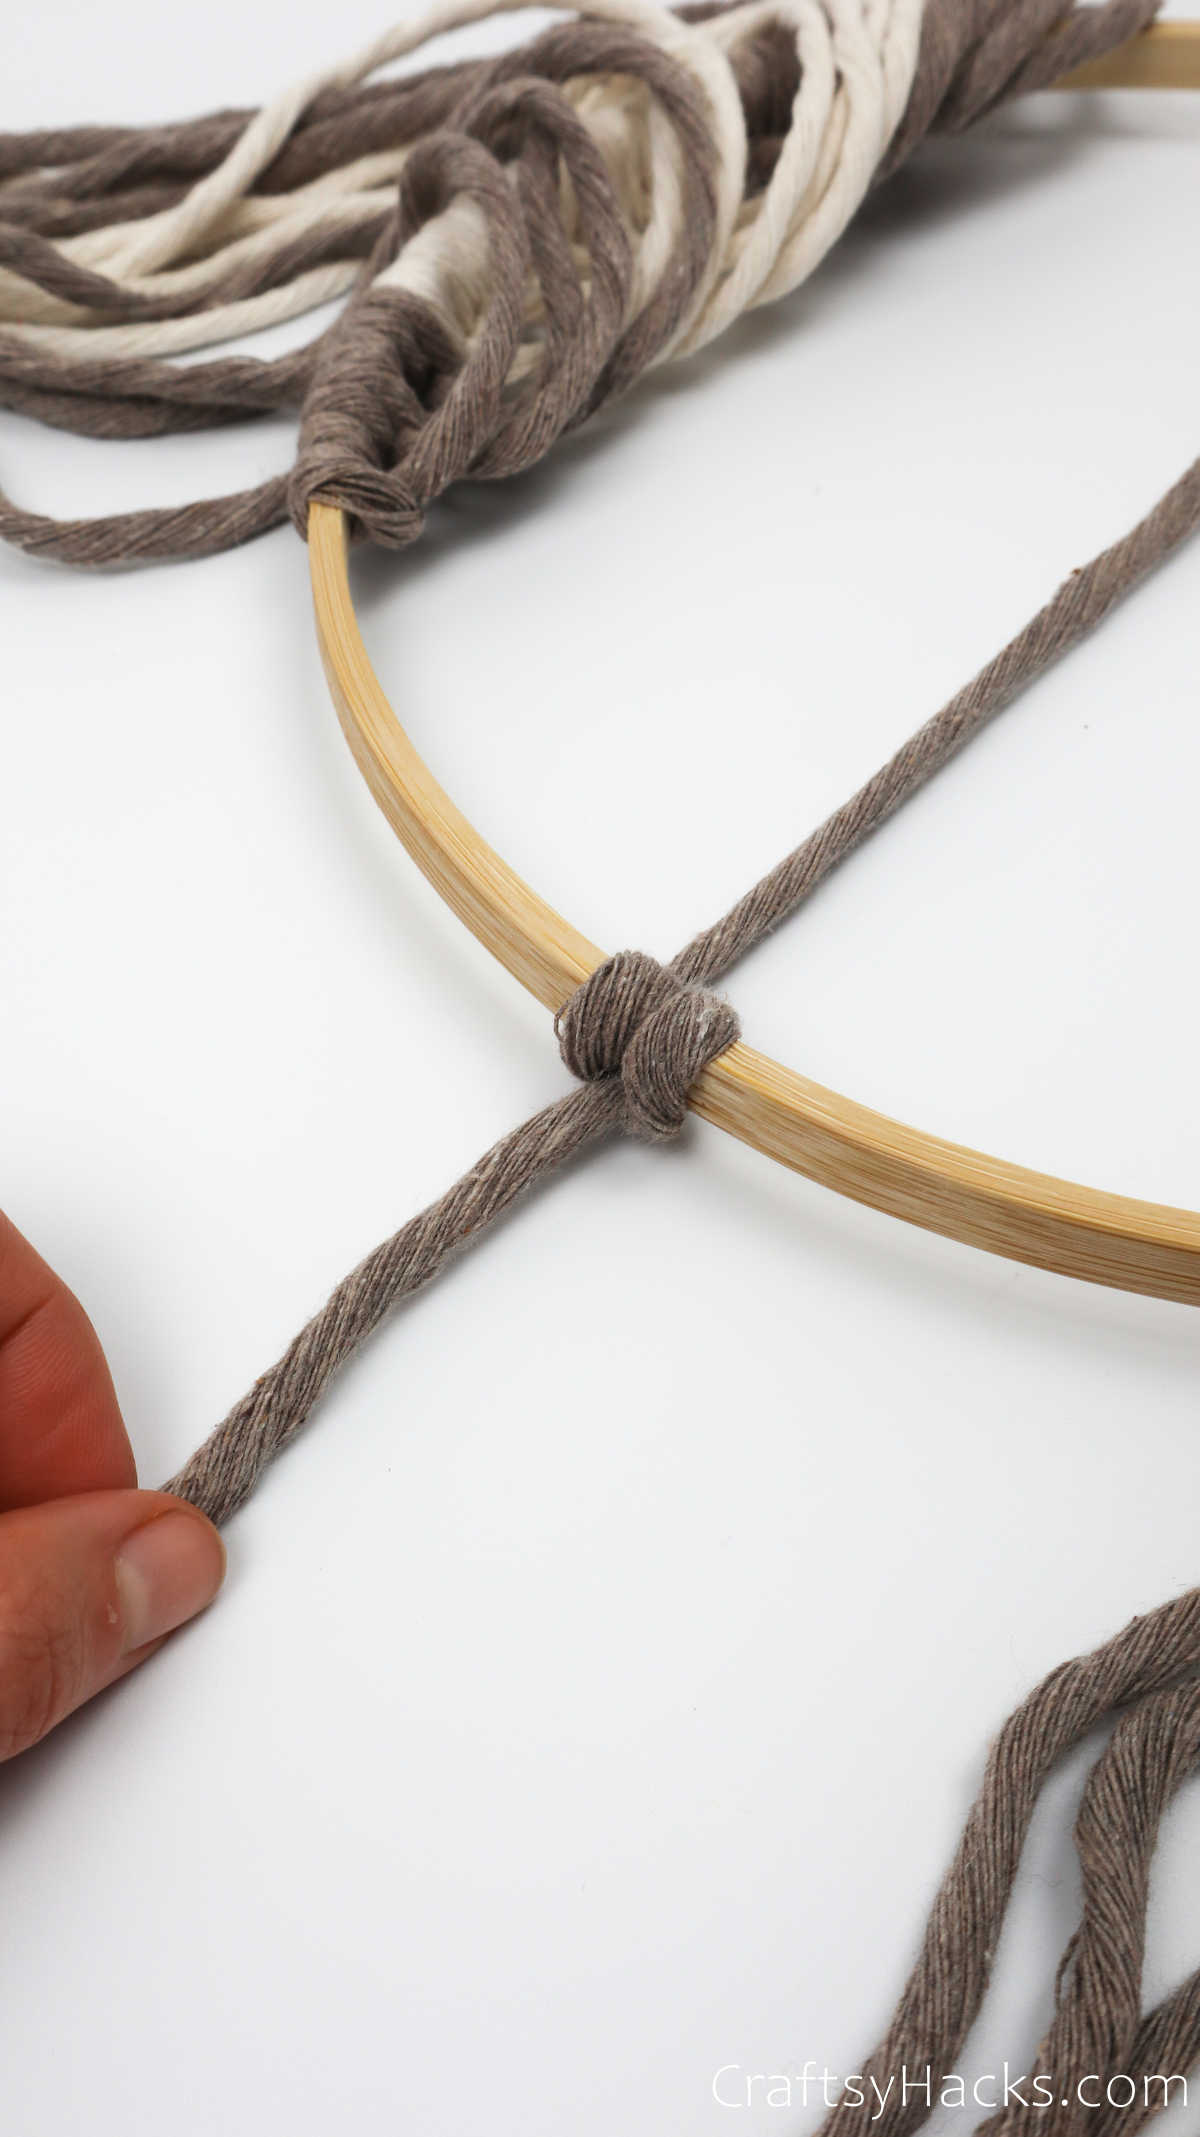
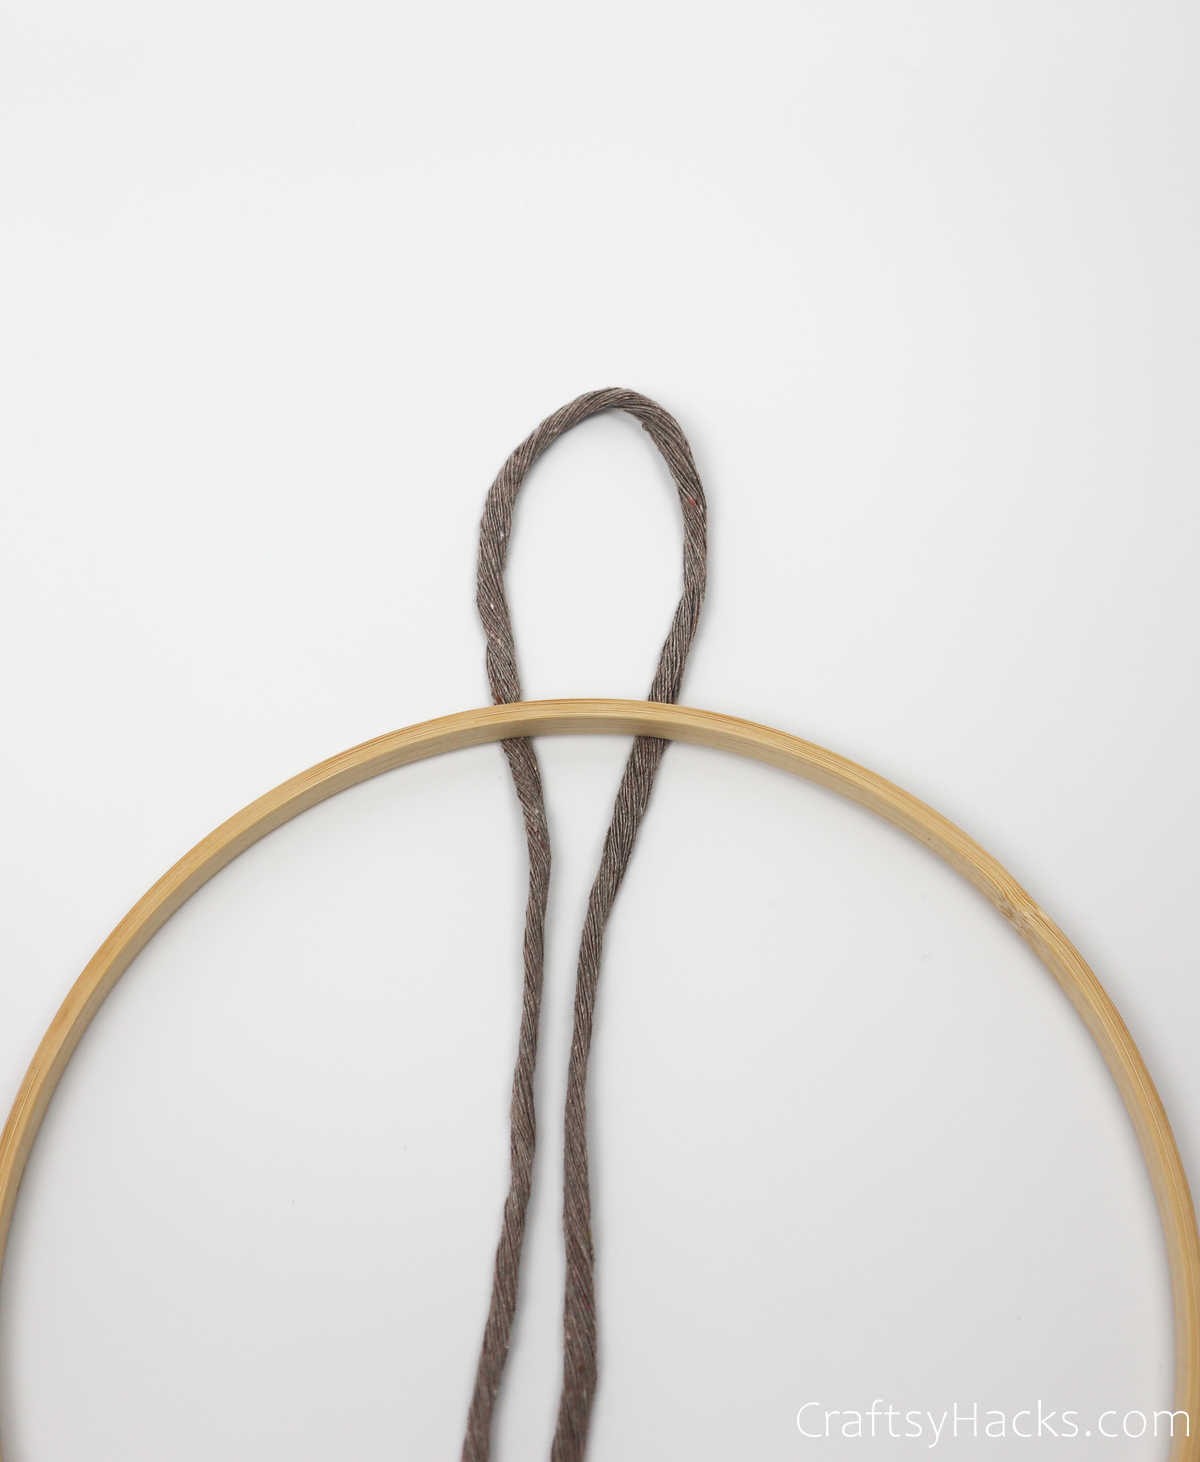
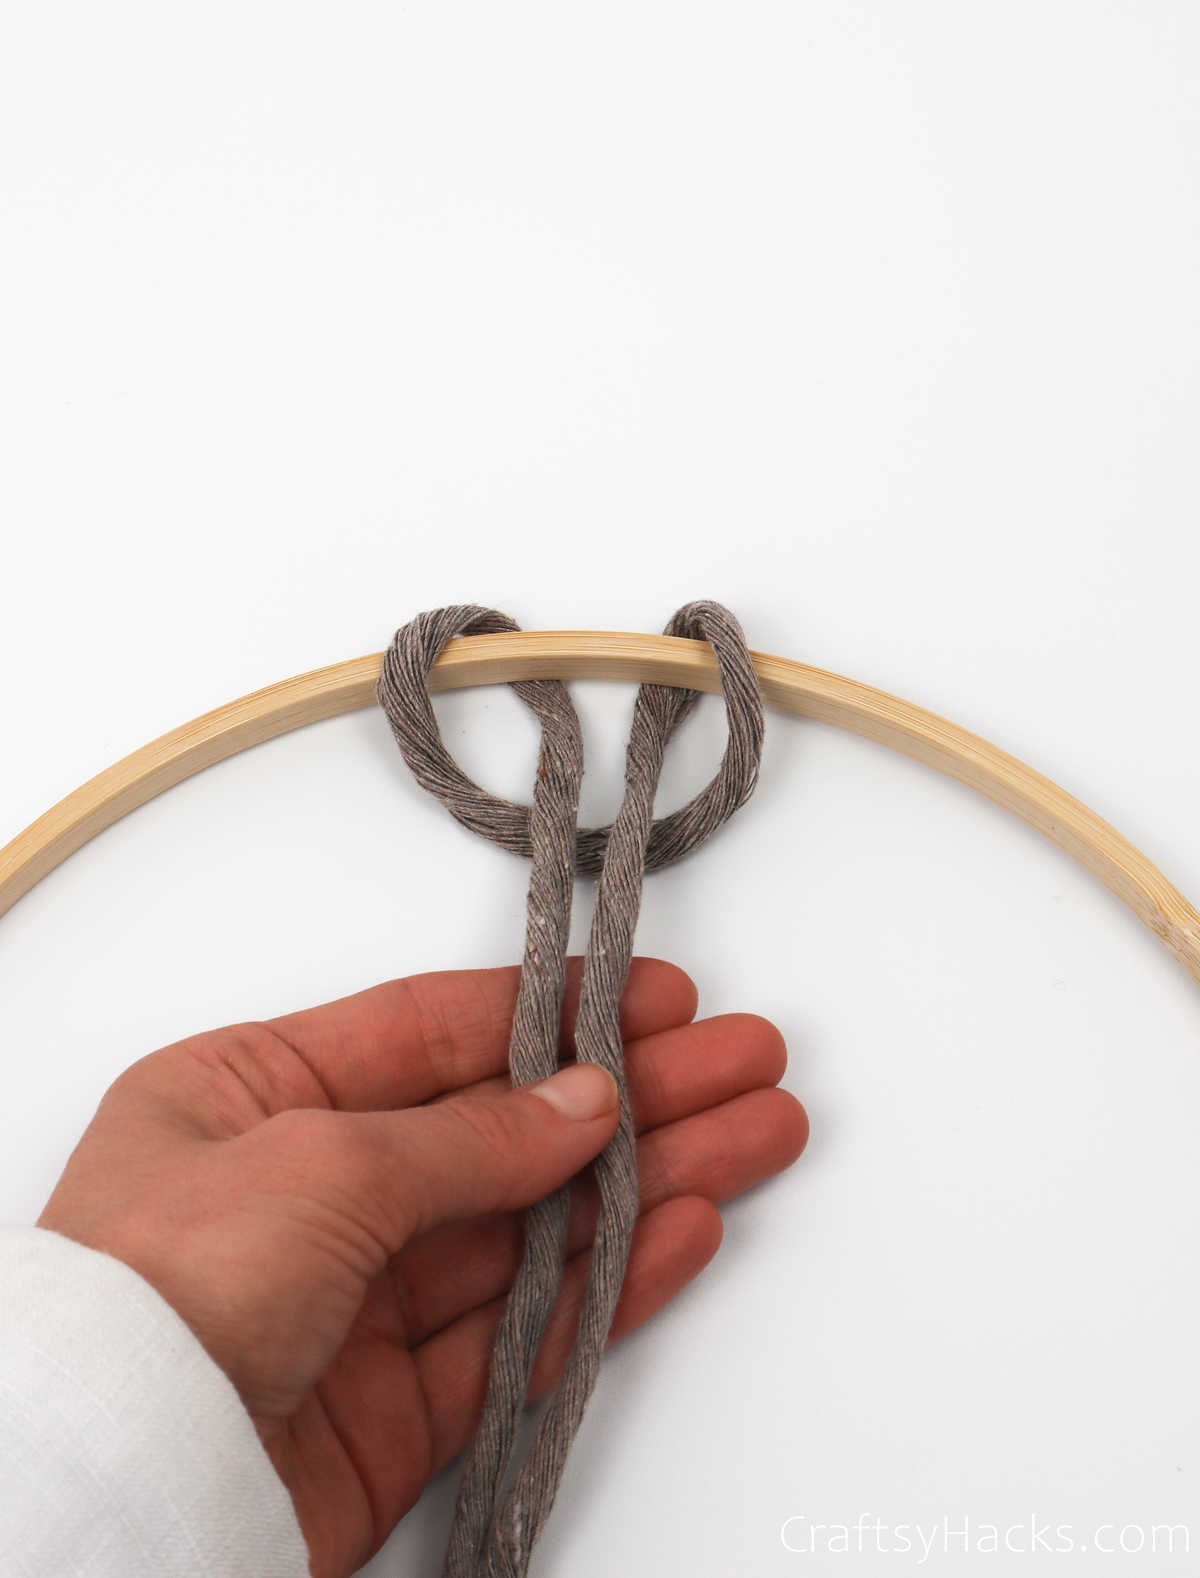
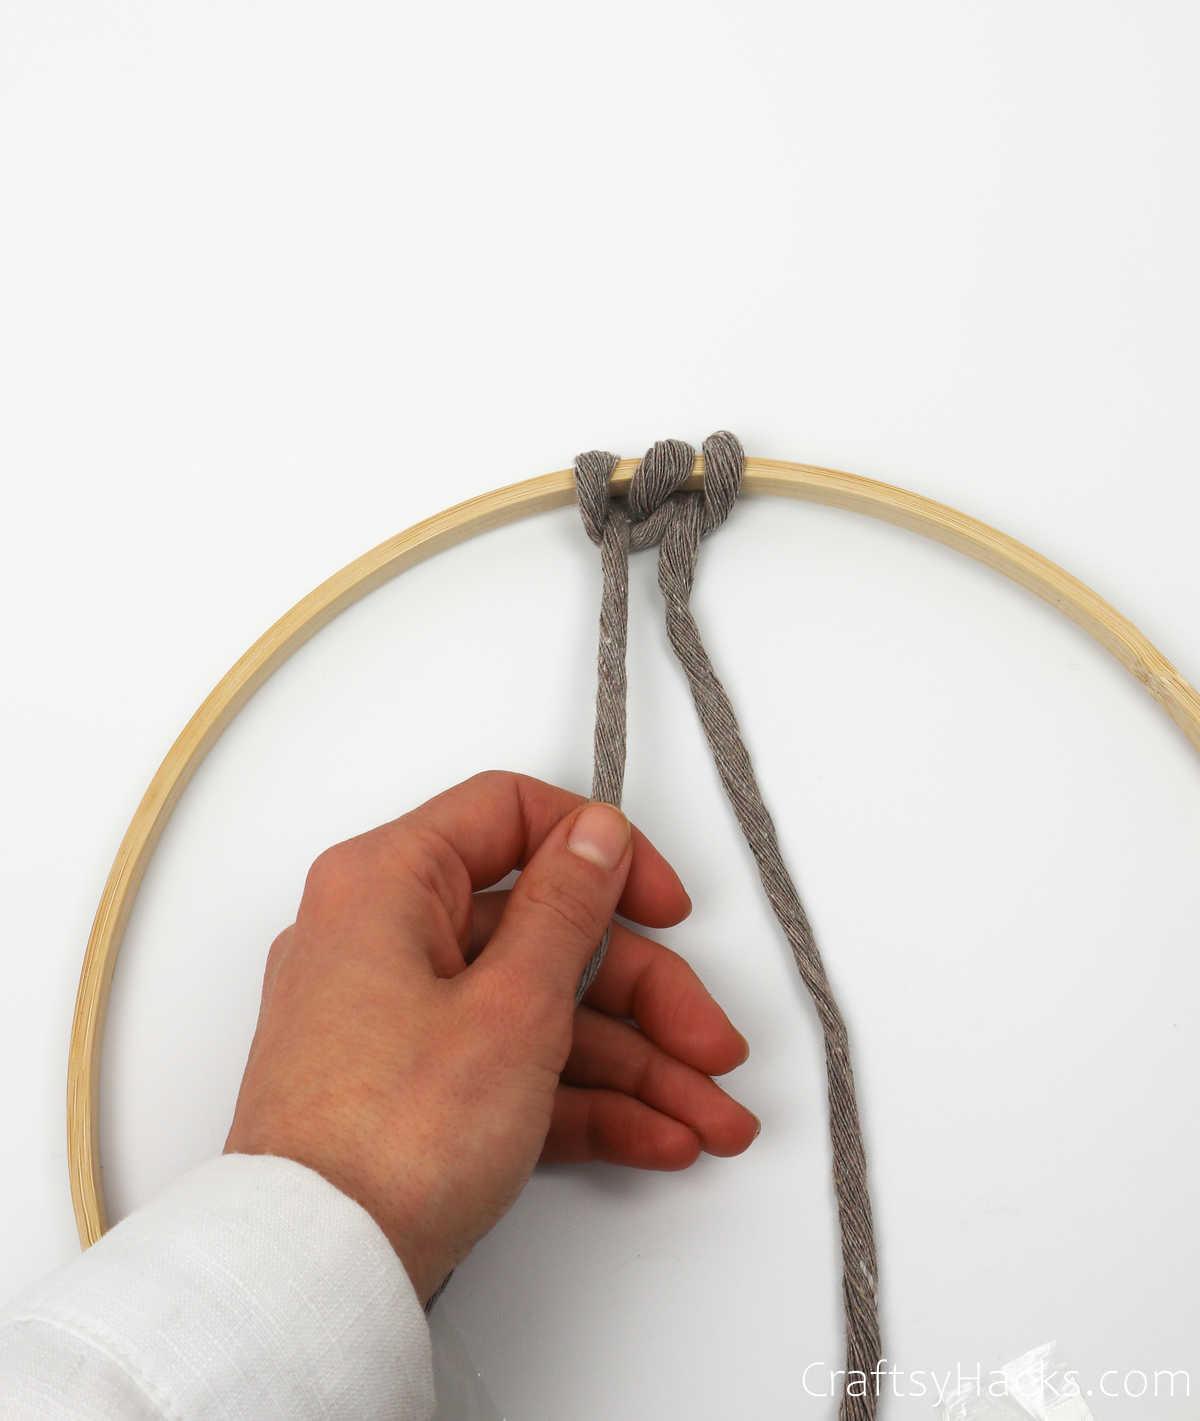
Then, take that loop and bring it over the hoop, so it overlaps the two loose-end bits.
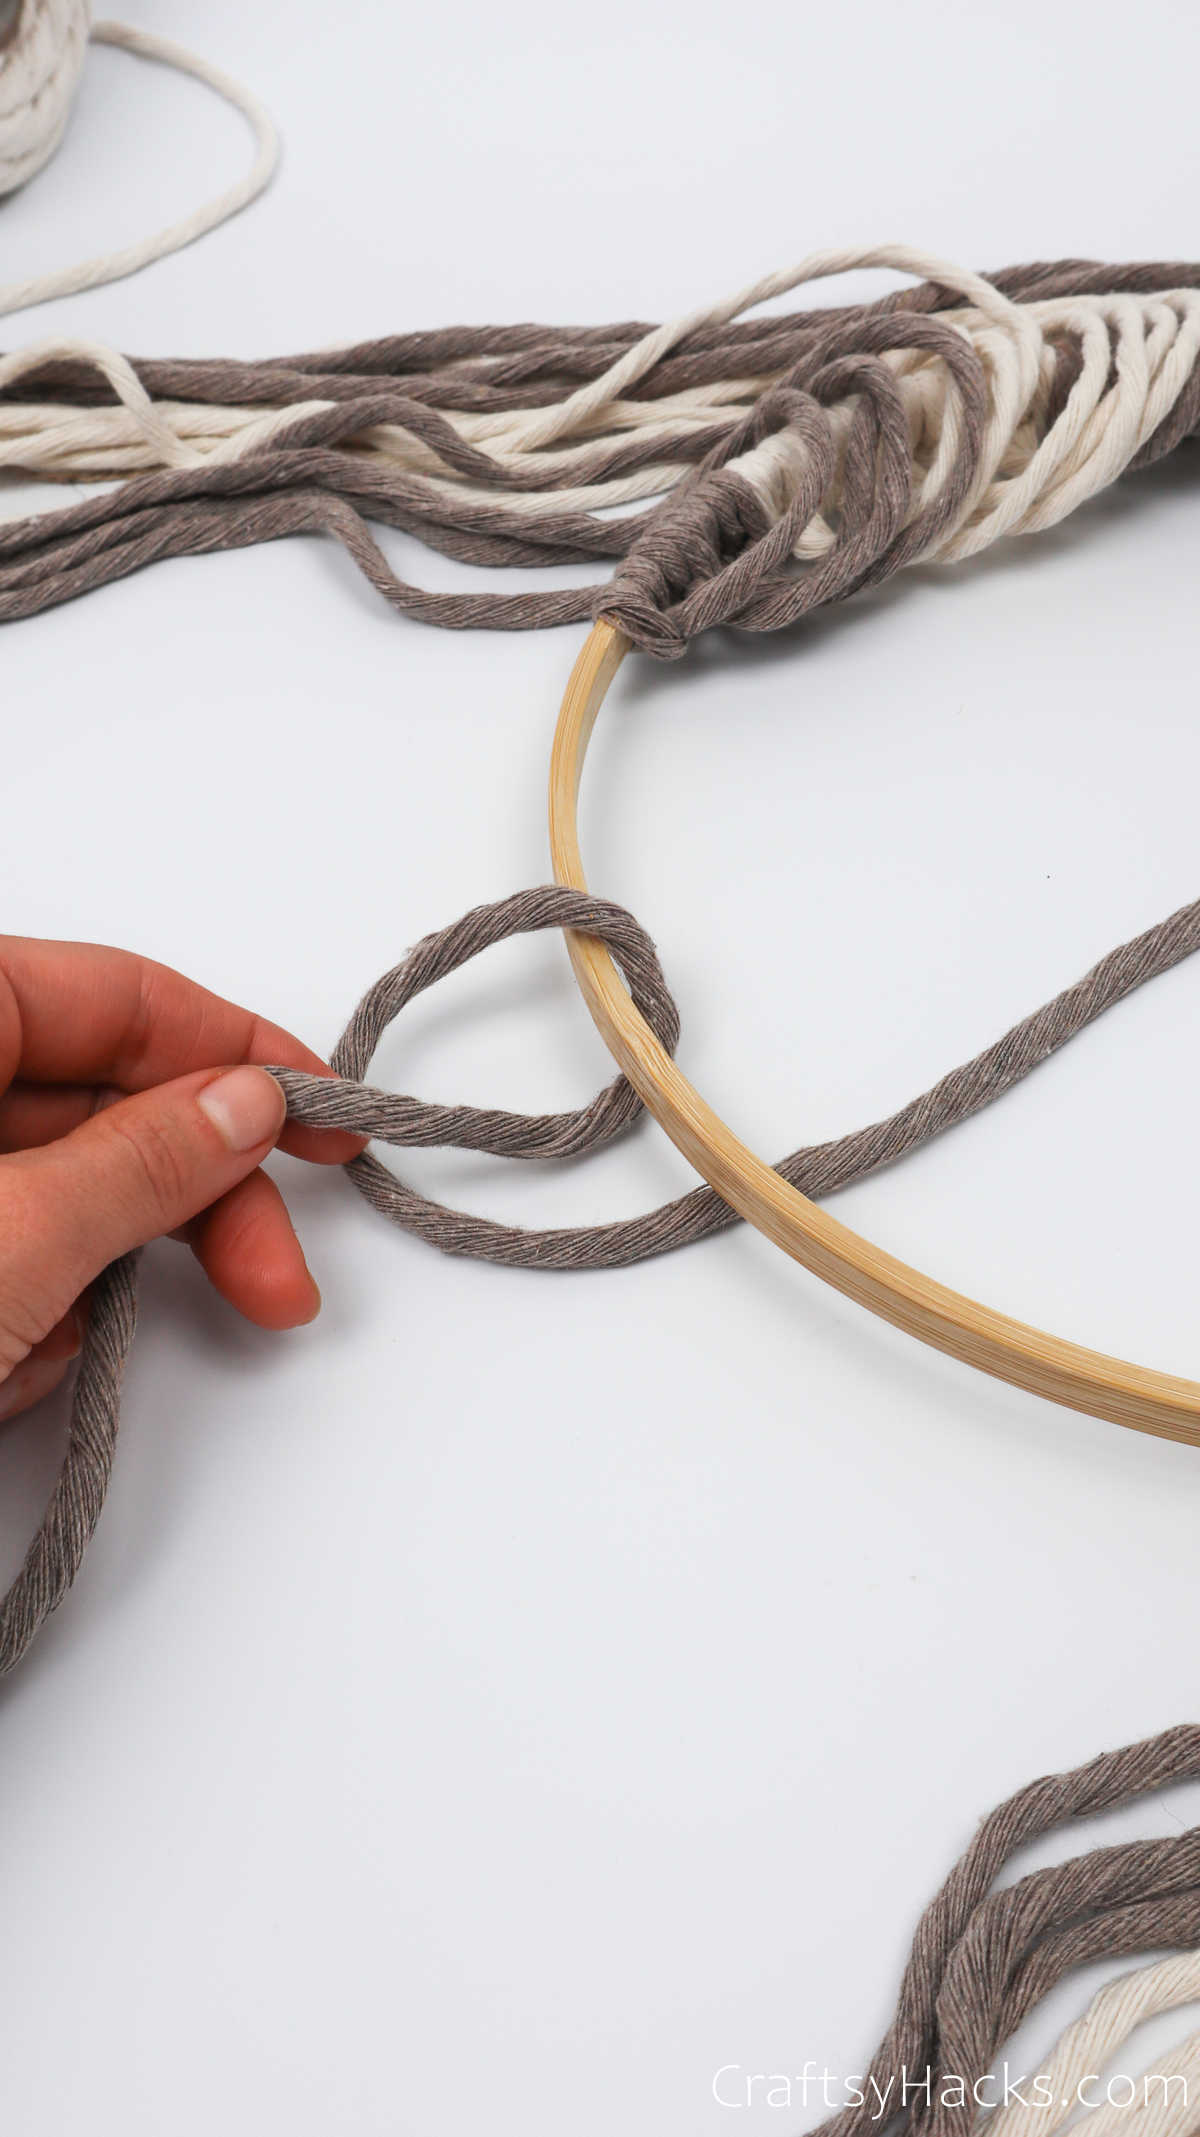
Finally, take hold of the two loose ends of your cord and bring them through the loop.
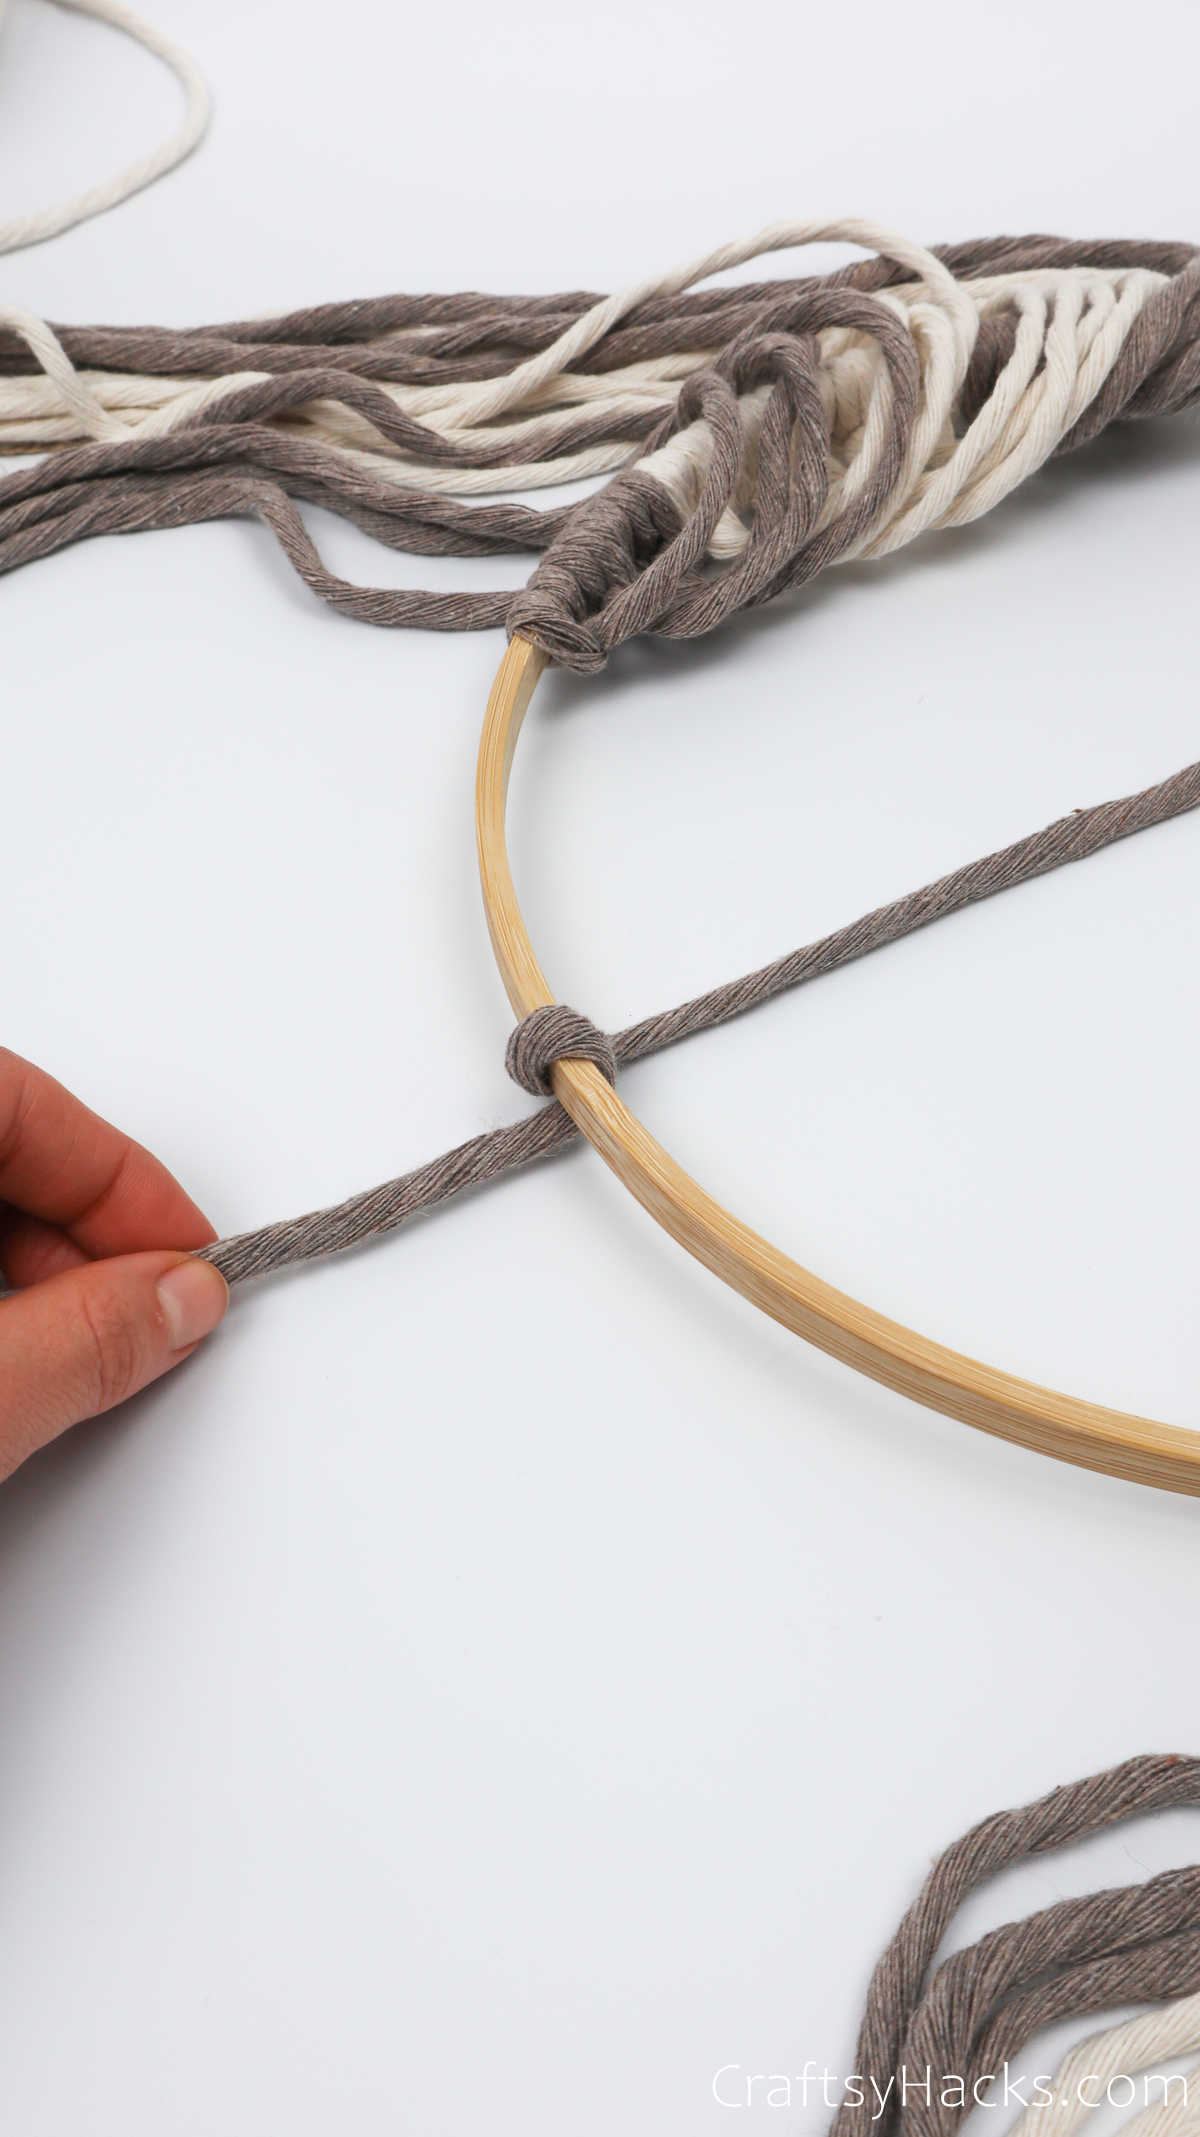
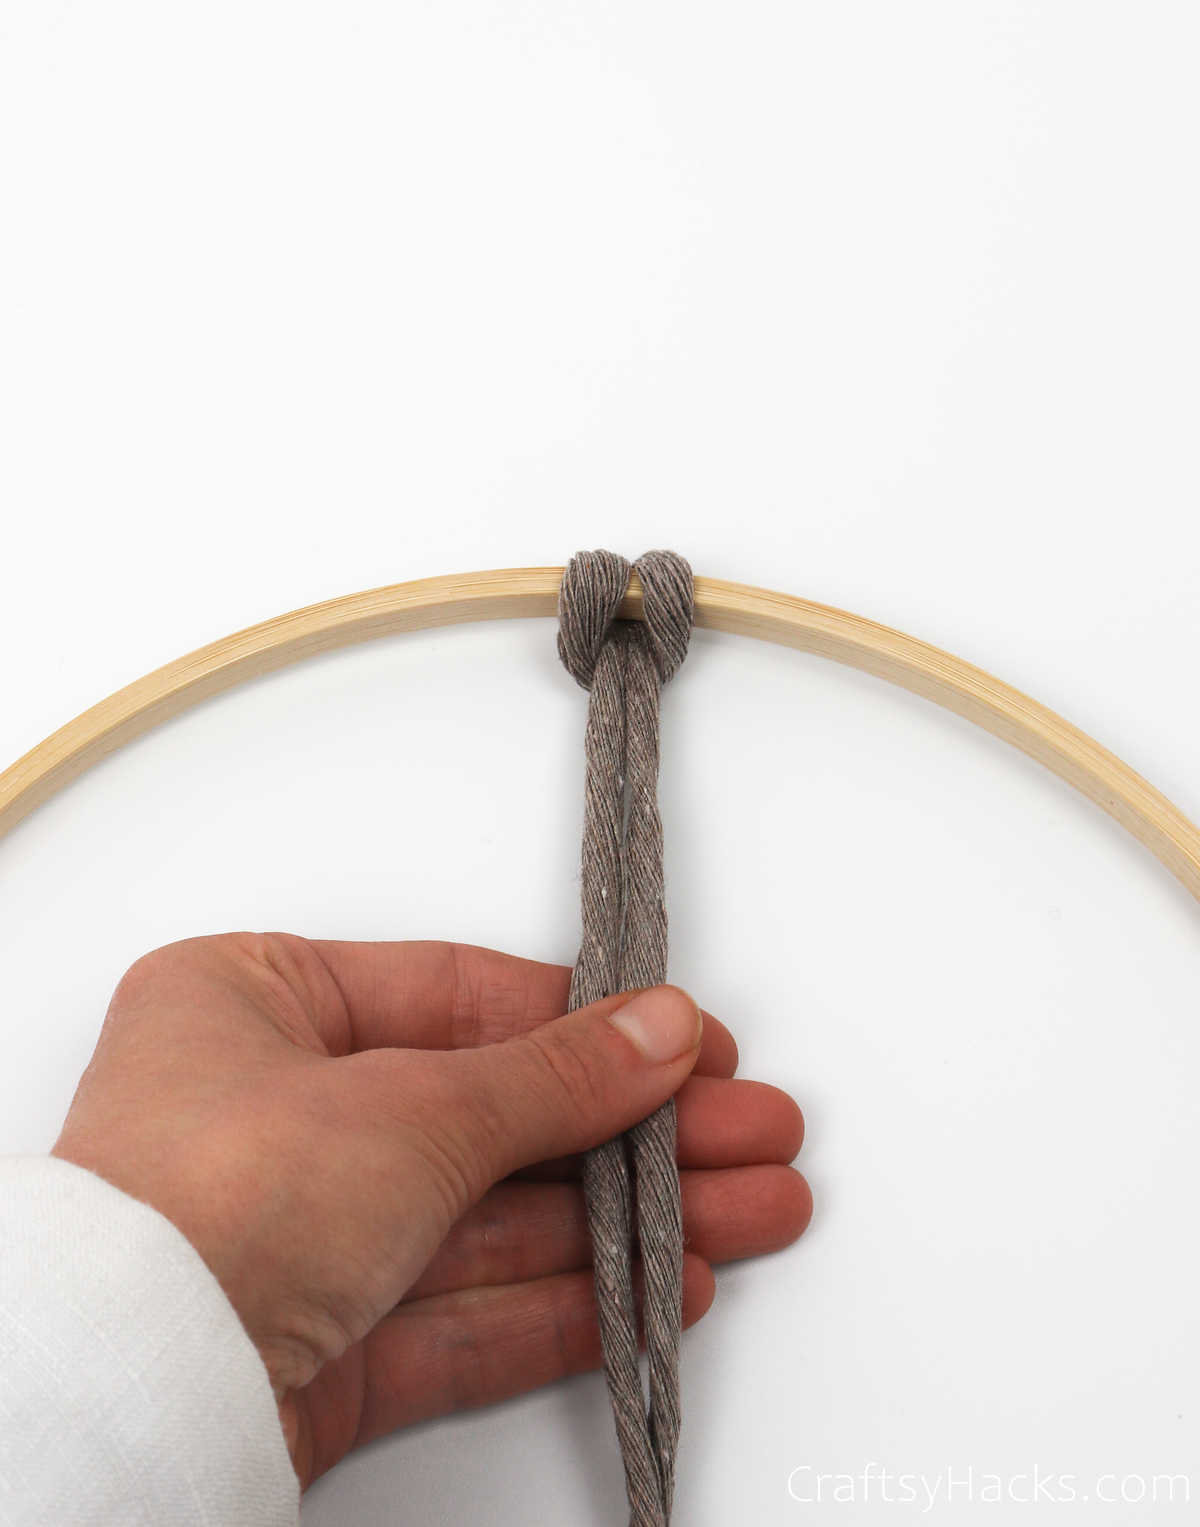
Tug the ends firmly to tighten the knot and create a knothead, as shown here.
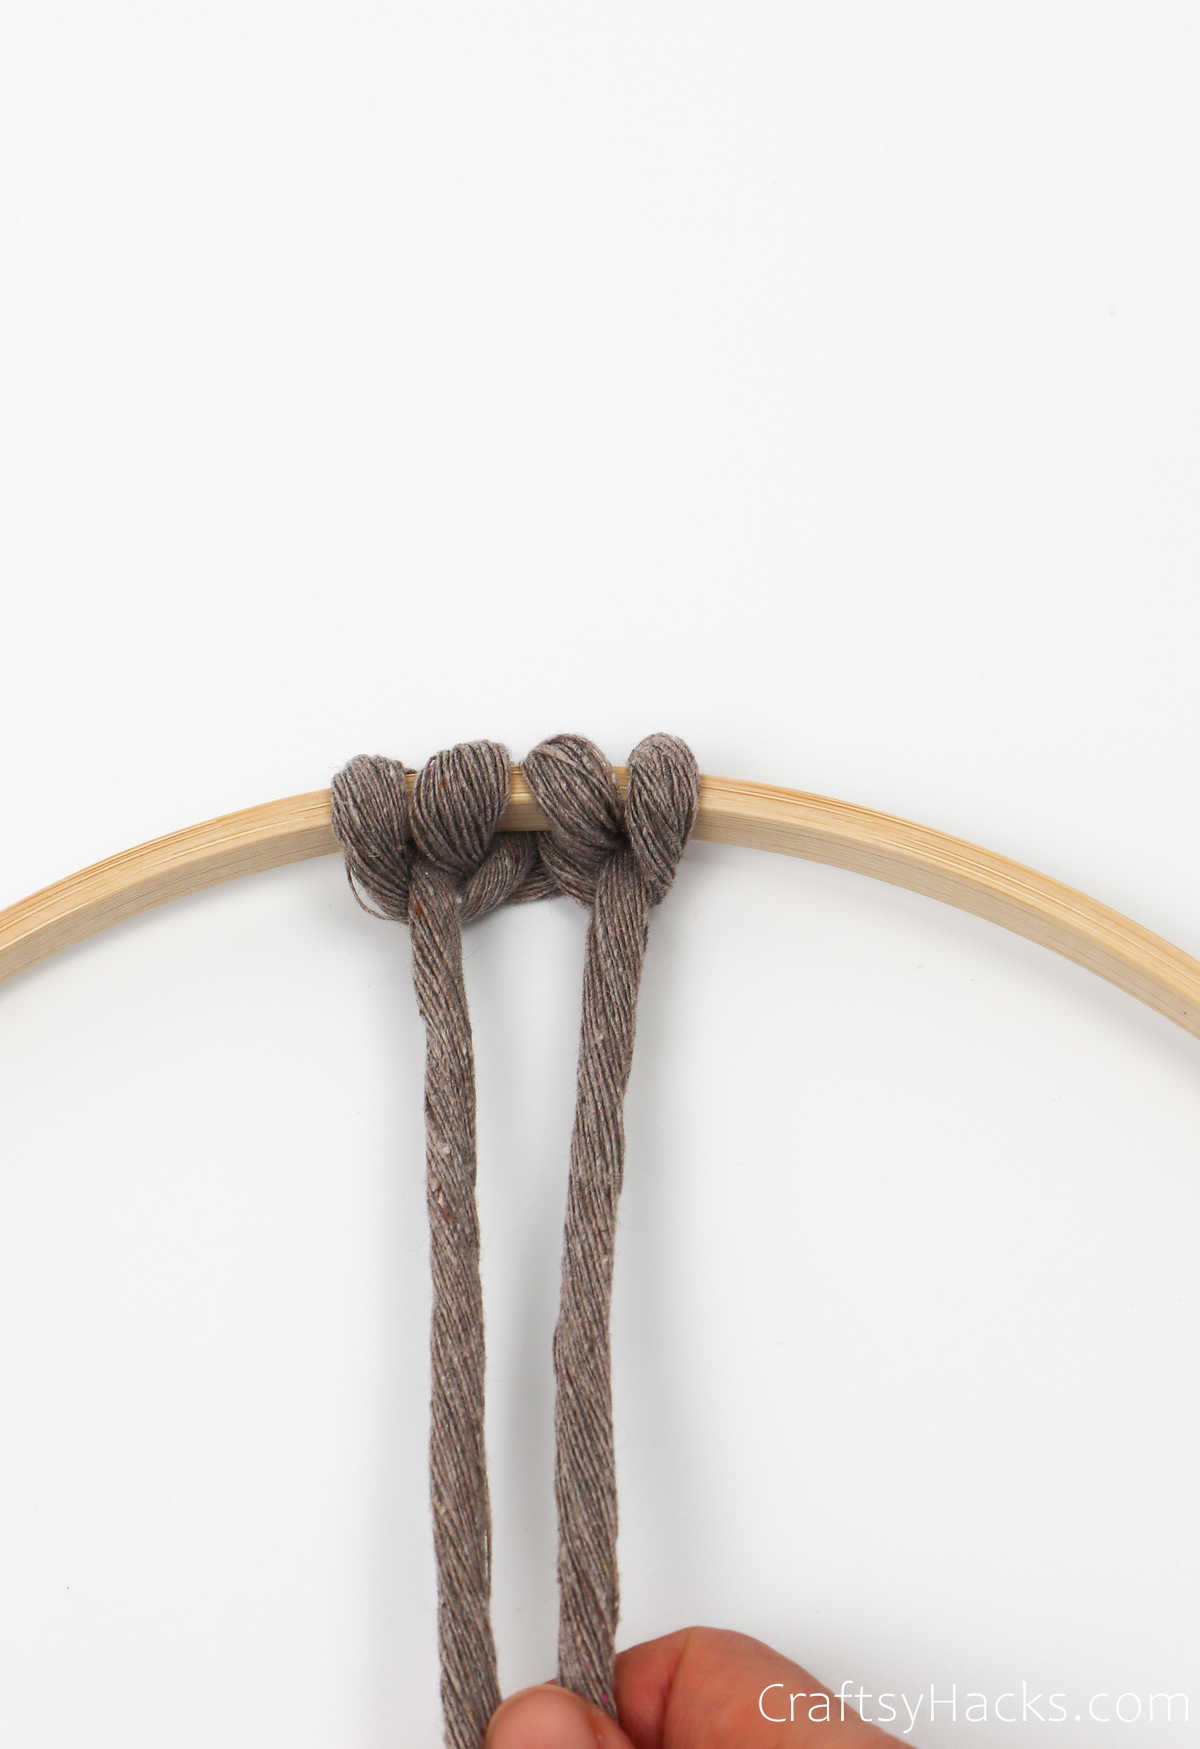
Youve got your first knot on the ring.
Remember this process as youll be repeating it around the ring.

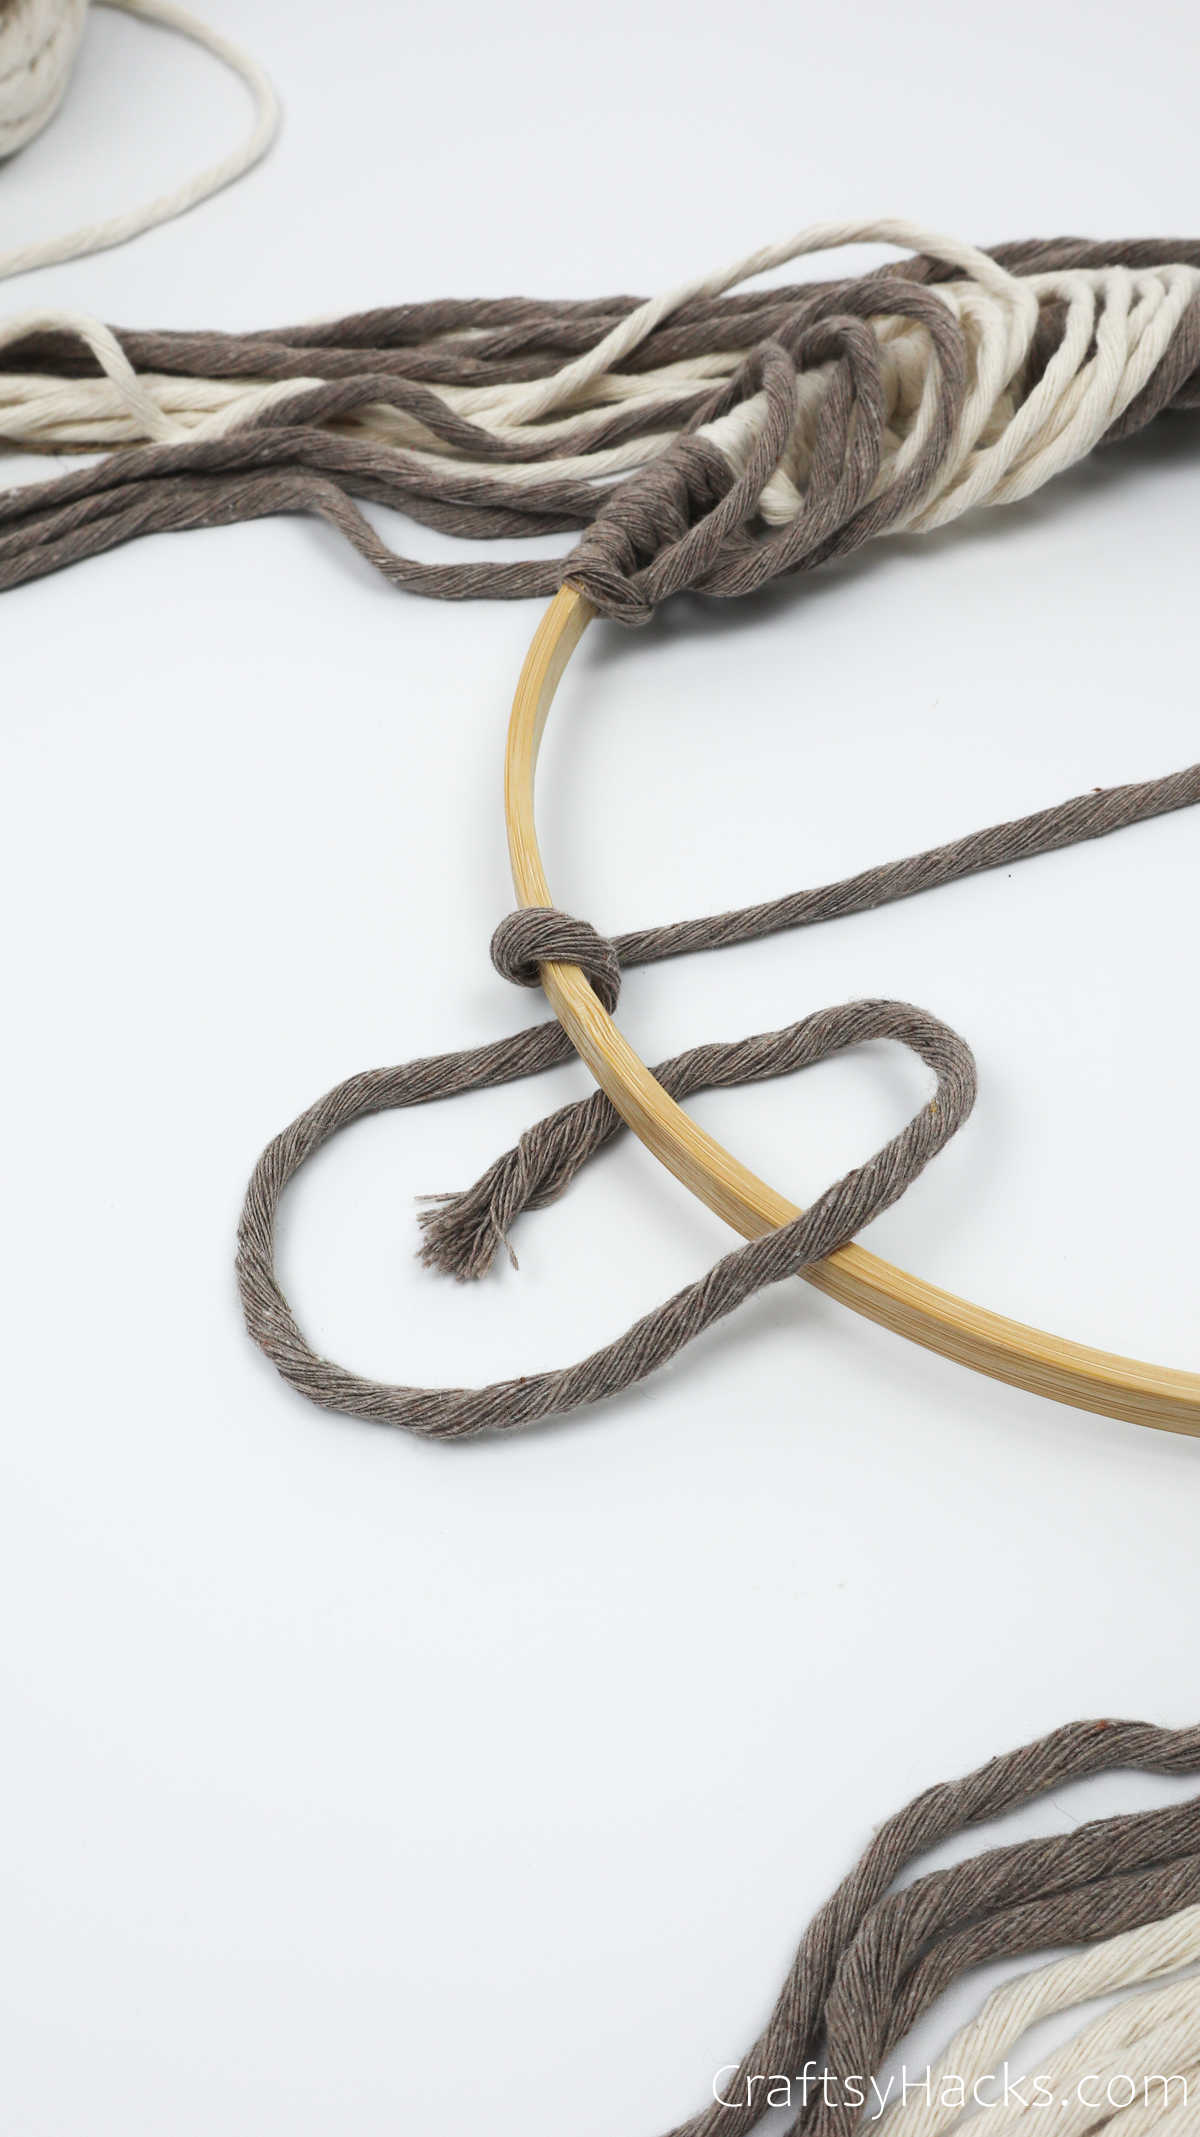
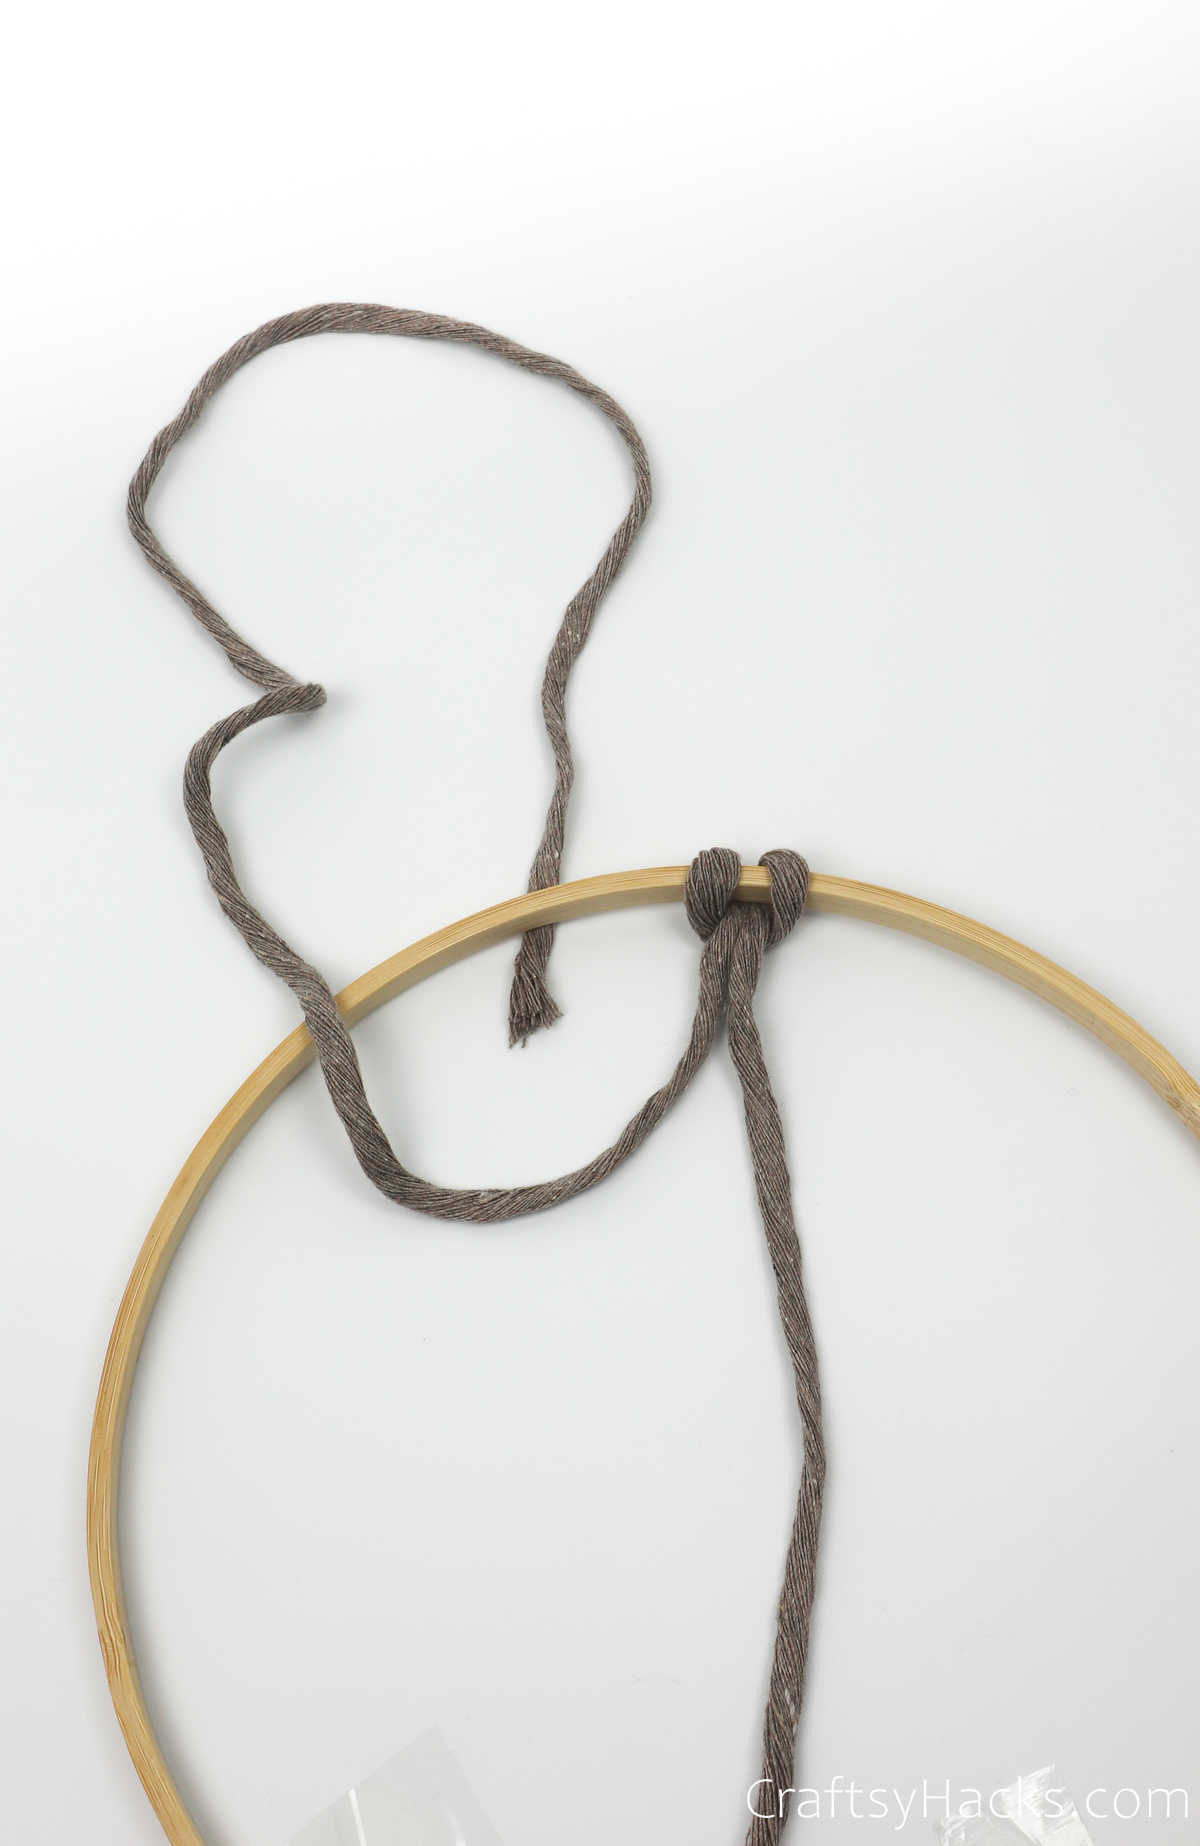
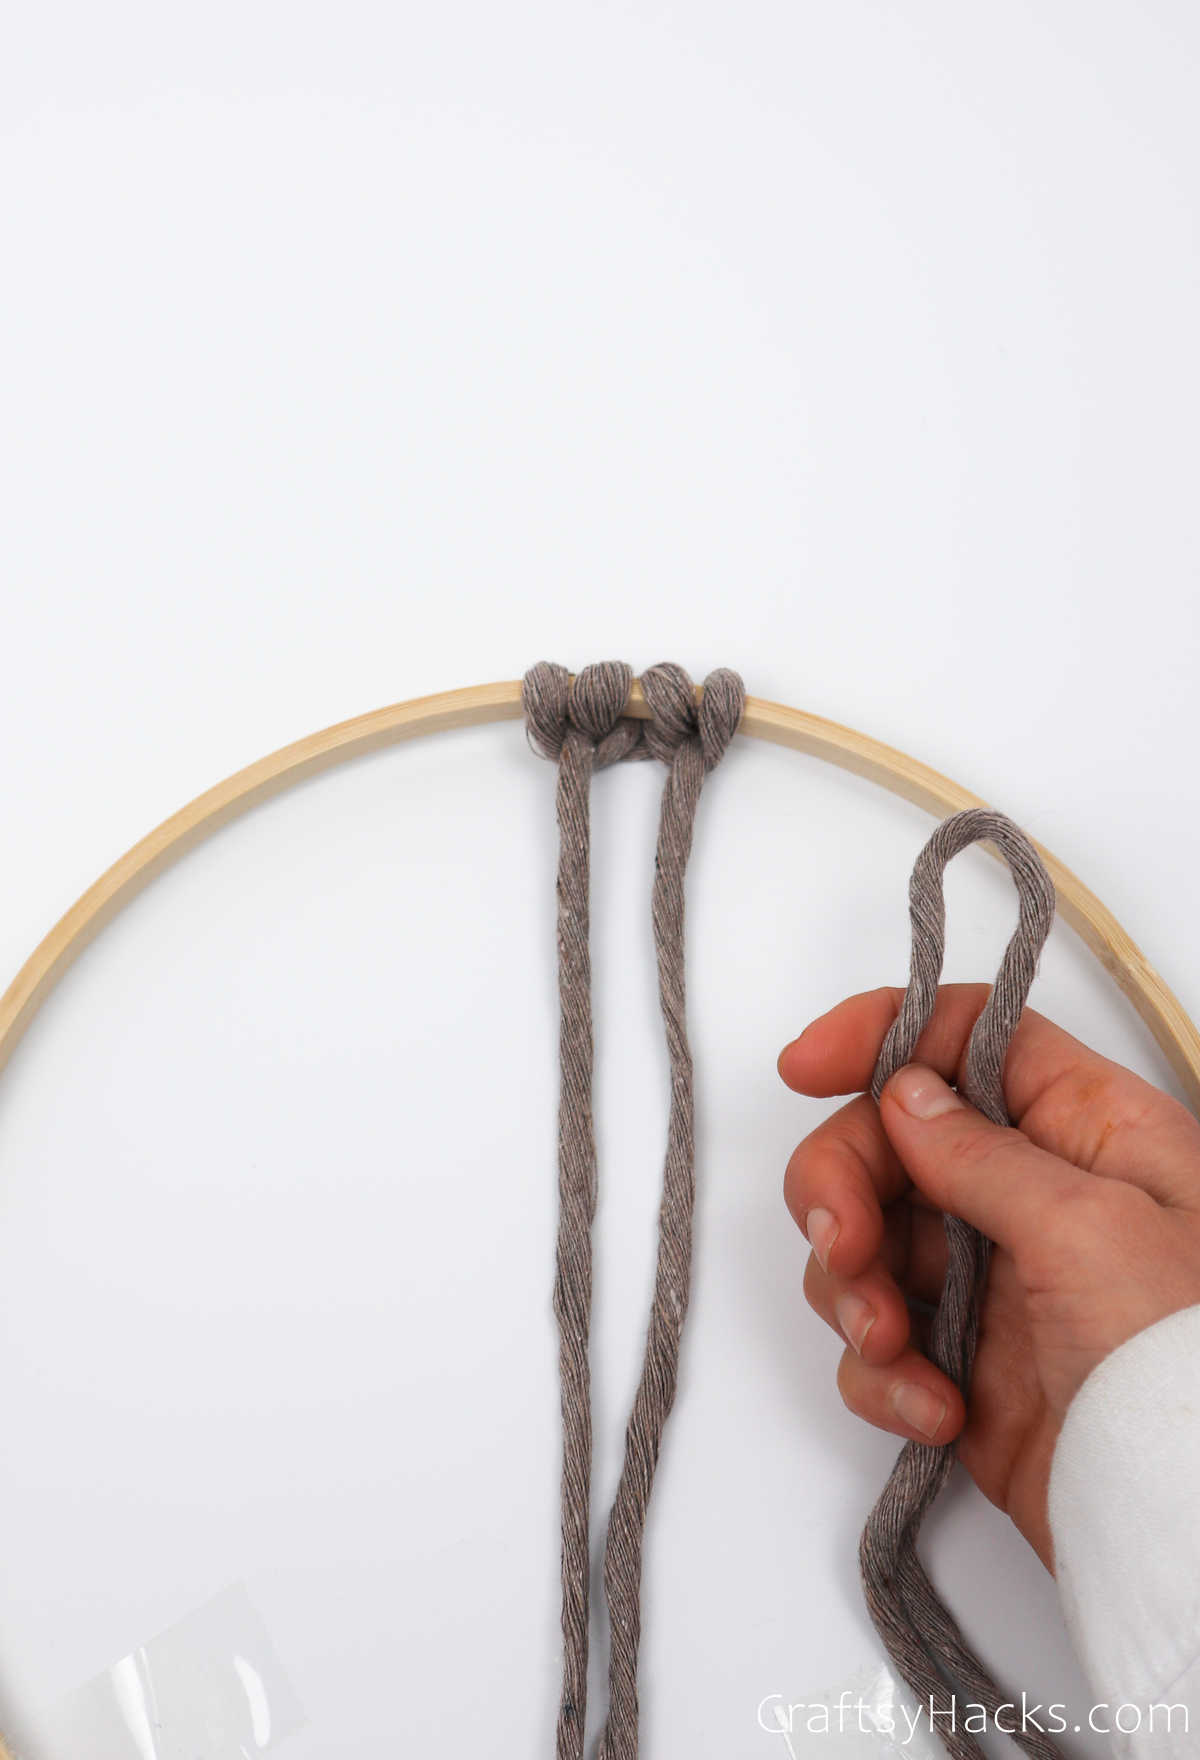
Take one stringthe left, as seen belowand bring it over and then under the hoop.
Bring the end of the string through the loop.
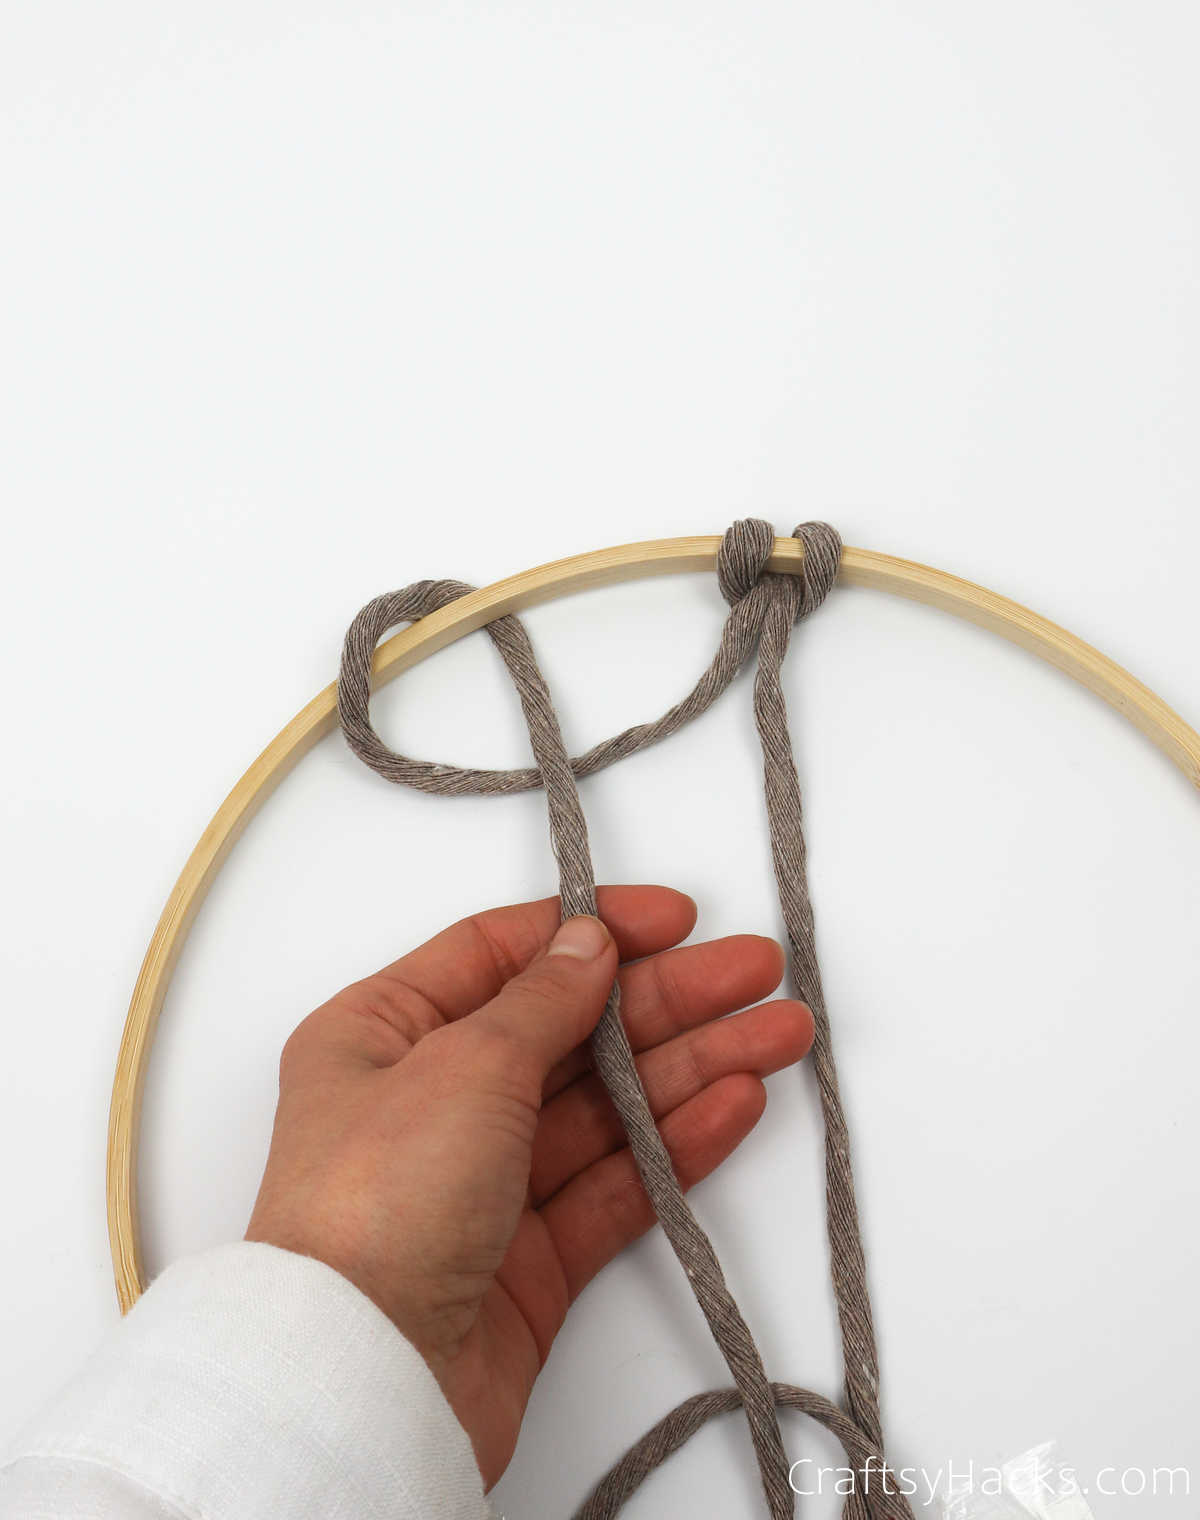
It must pass through the hoop and over the string, as indicated.
Then, pull it firmly to tighten the knot.
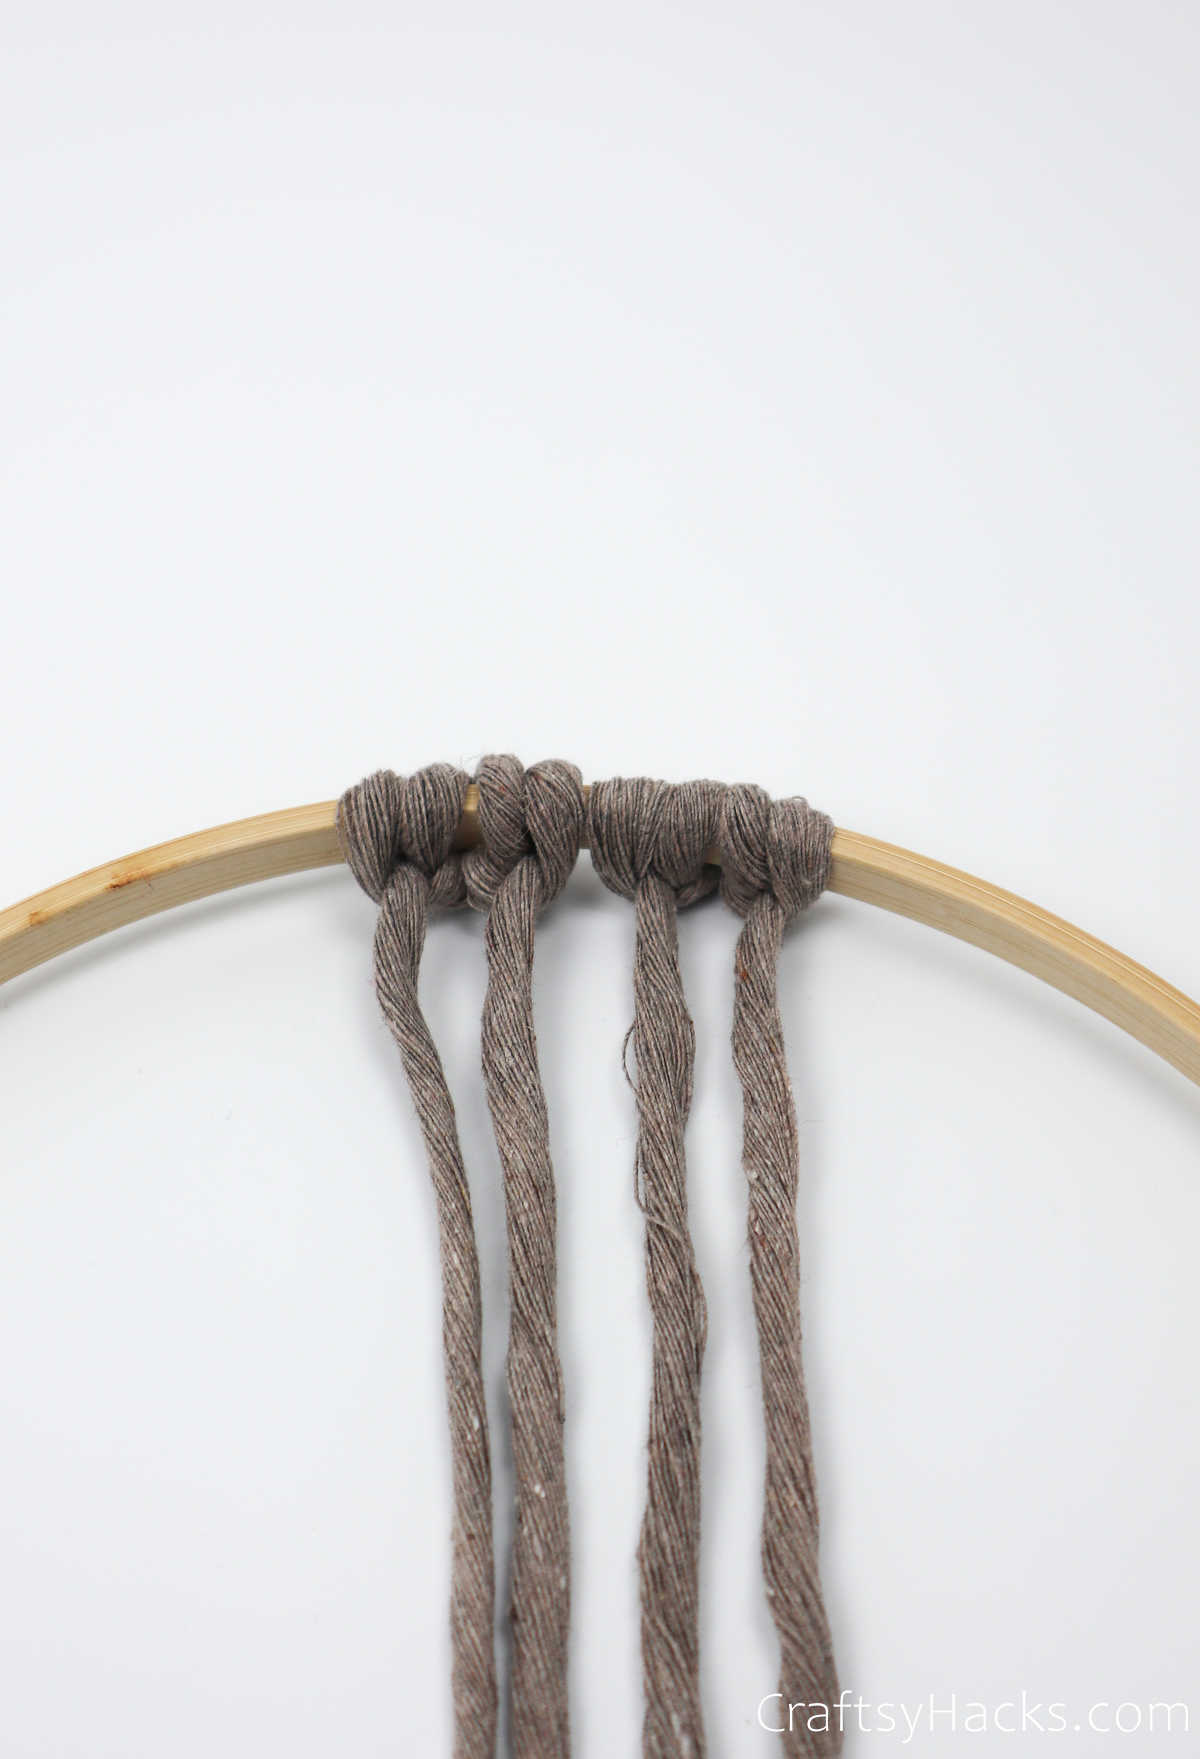
Youll have another knot head in place to the left of the original one you made.
Step 6
Now, repeat step 4 with the right string.
When youve pulled the end through, ensure you tug firmly to secure the knot head in place.
So, there you have it!
This is what it’s possible for you to call a set of knots with one single cord.
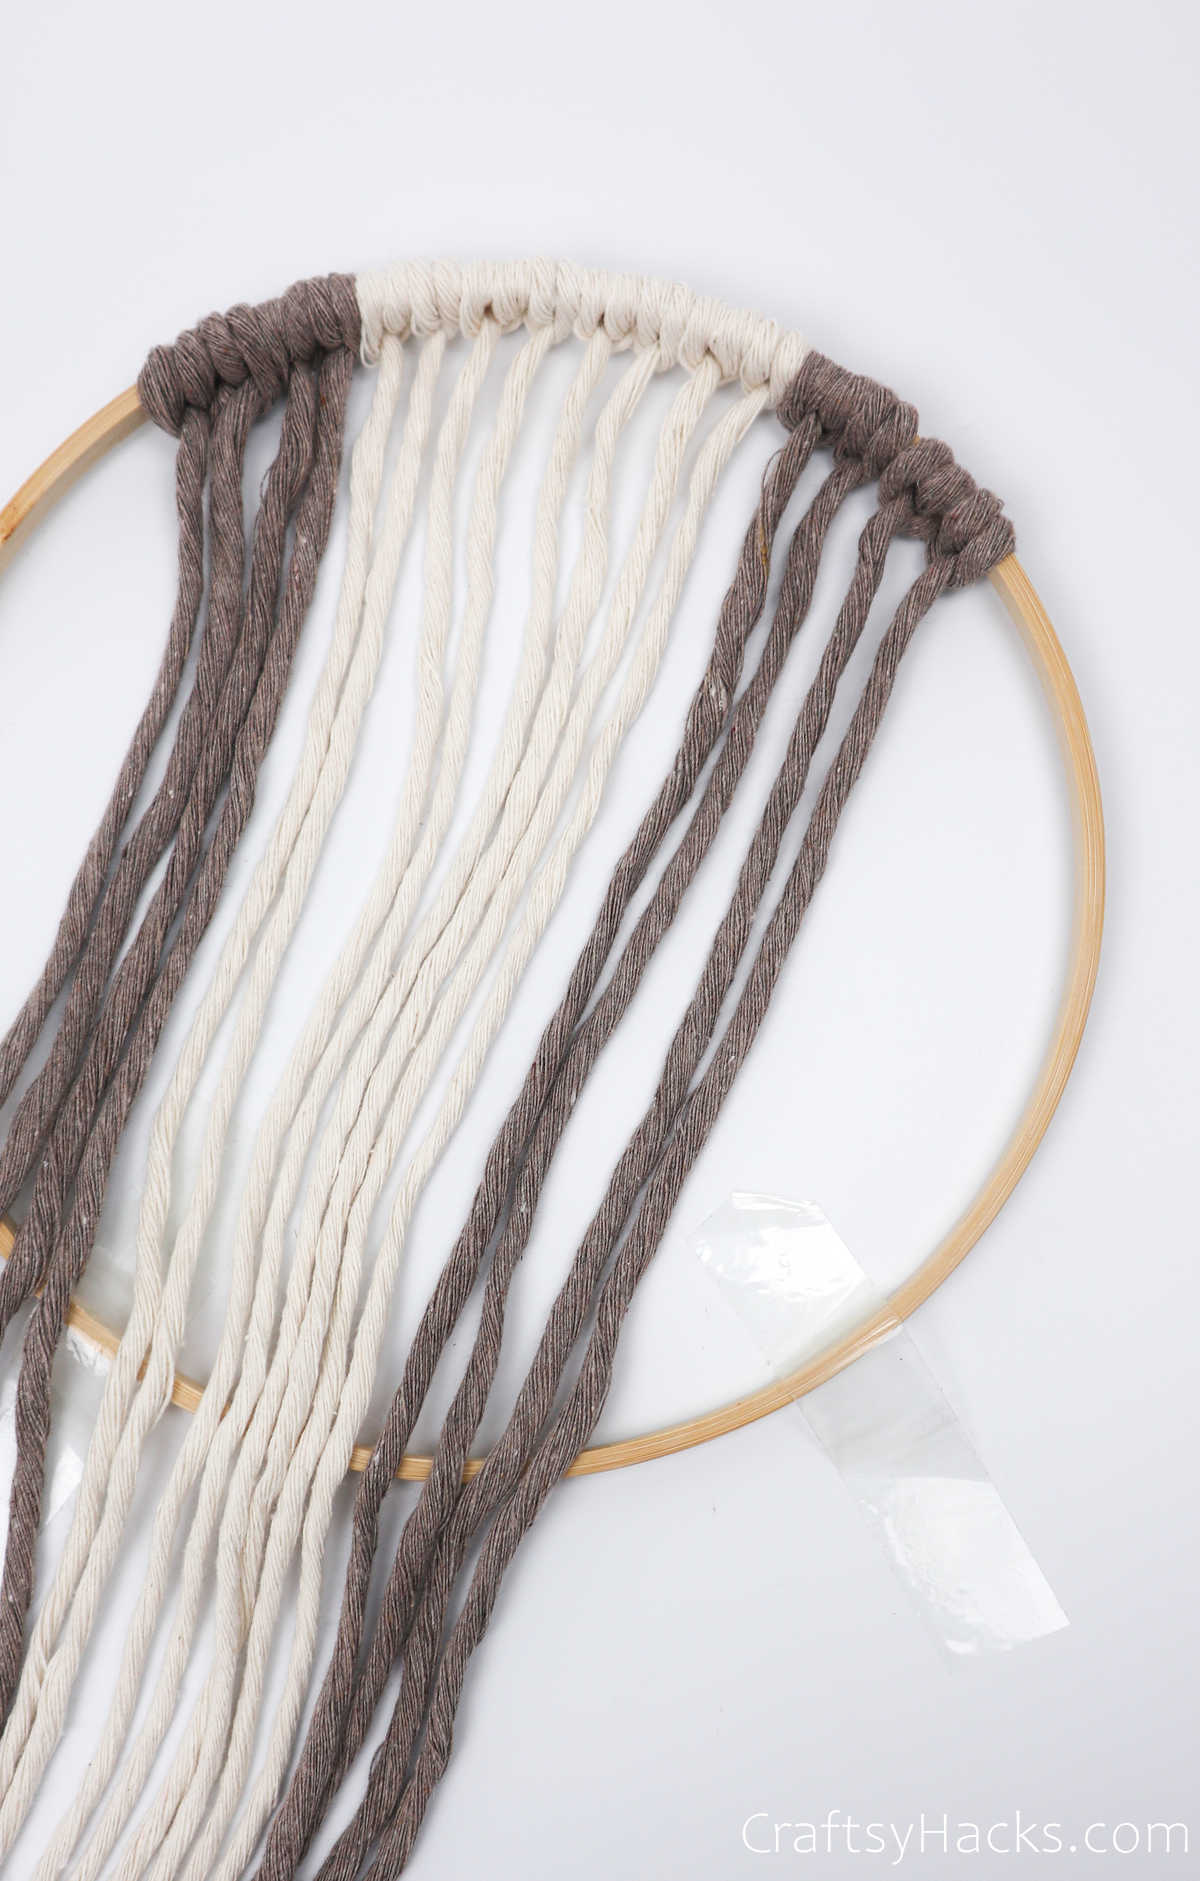
Youll be repeating steps 4 through 6 with all 15 of the cords you have left.
Dont worry; youll be using the cream-colored one next!
Go ahead and repeat steps 4-6, and youll have another set of knotheads.

Step 8
Yes!
Its time to start working in your cream-colored cords.
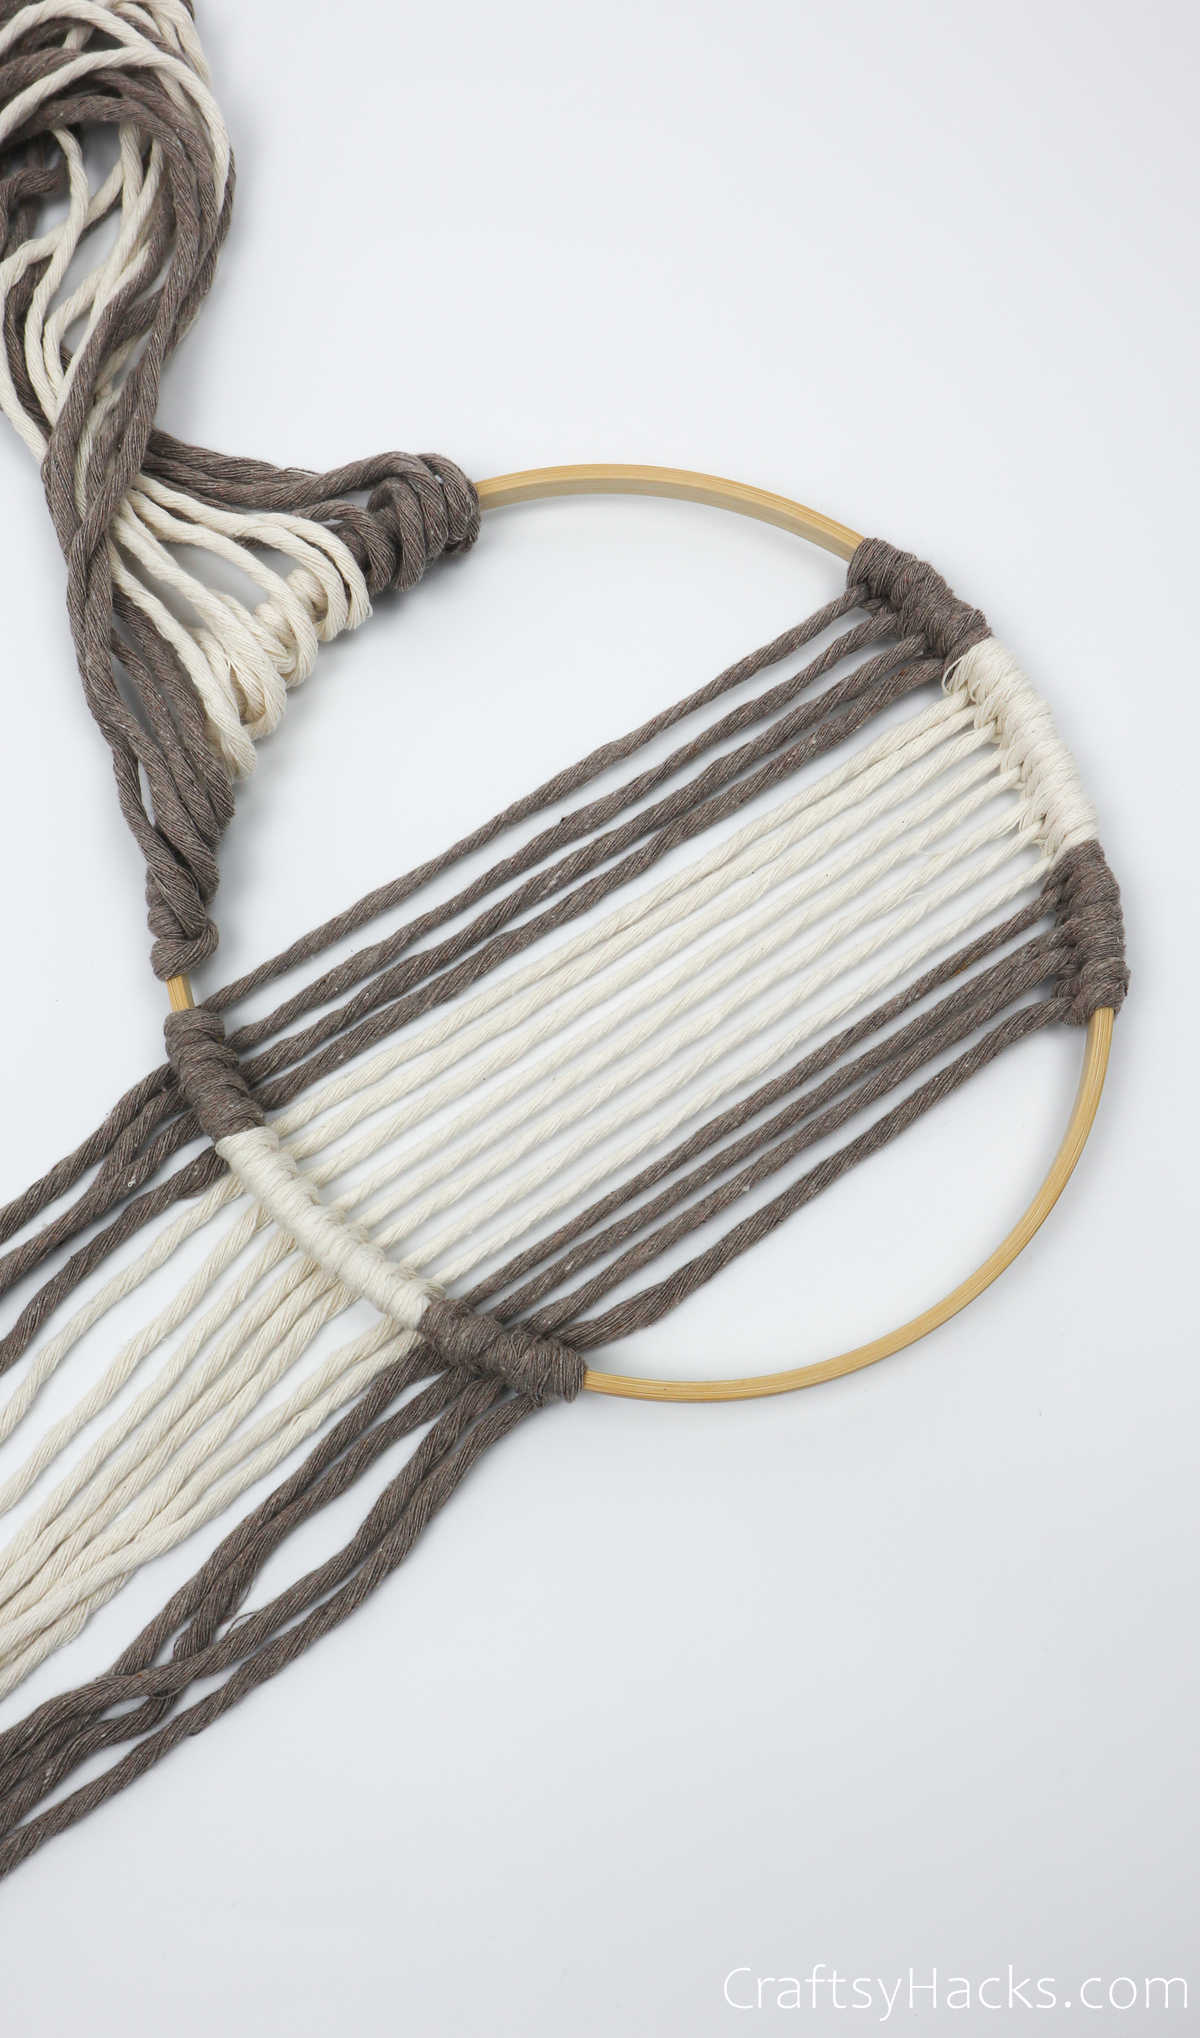
So grab them and start knotting them around the hoopto the right of the cappuccino cords.
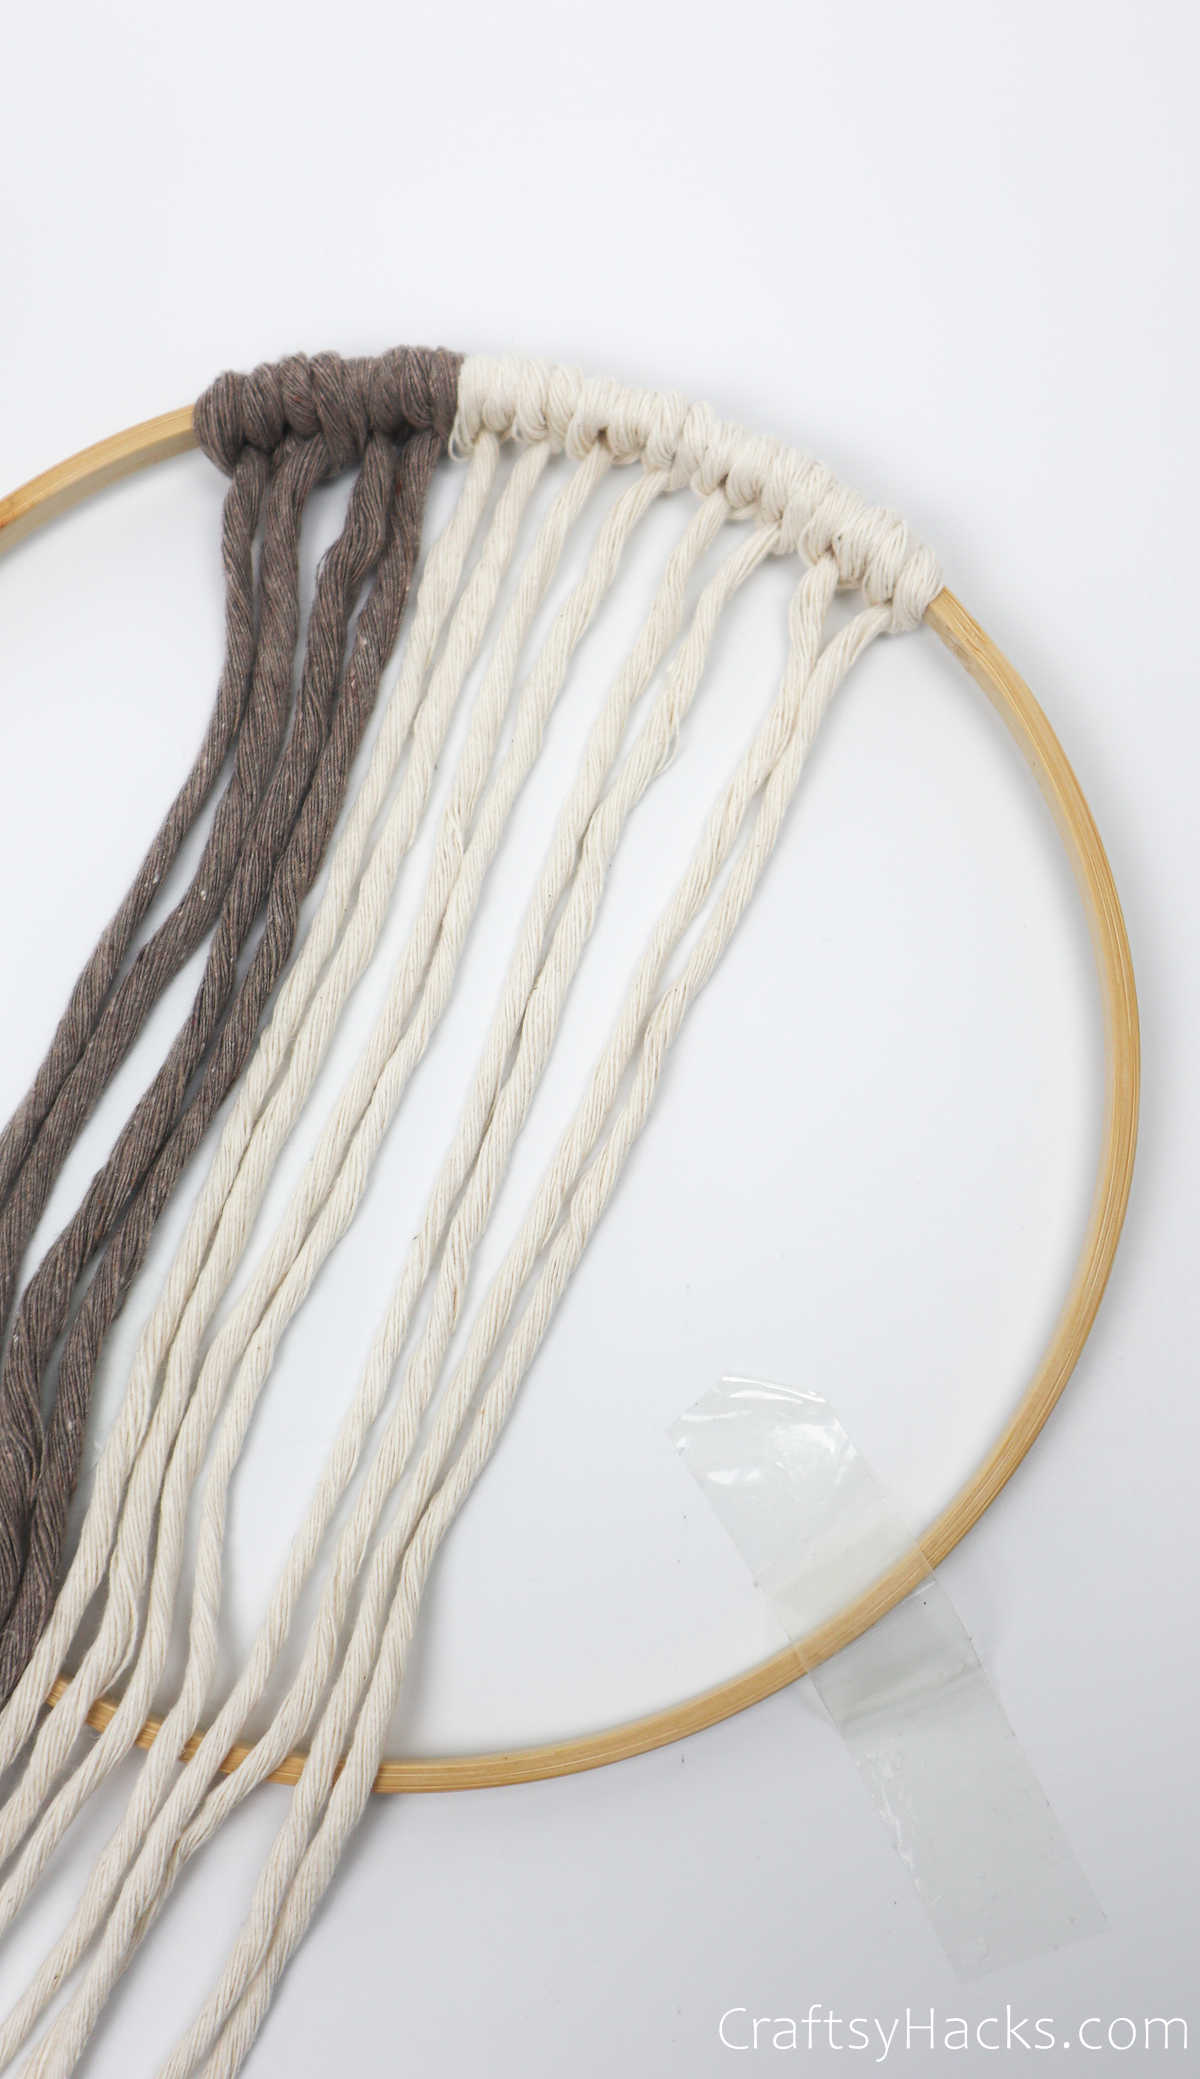
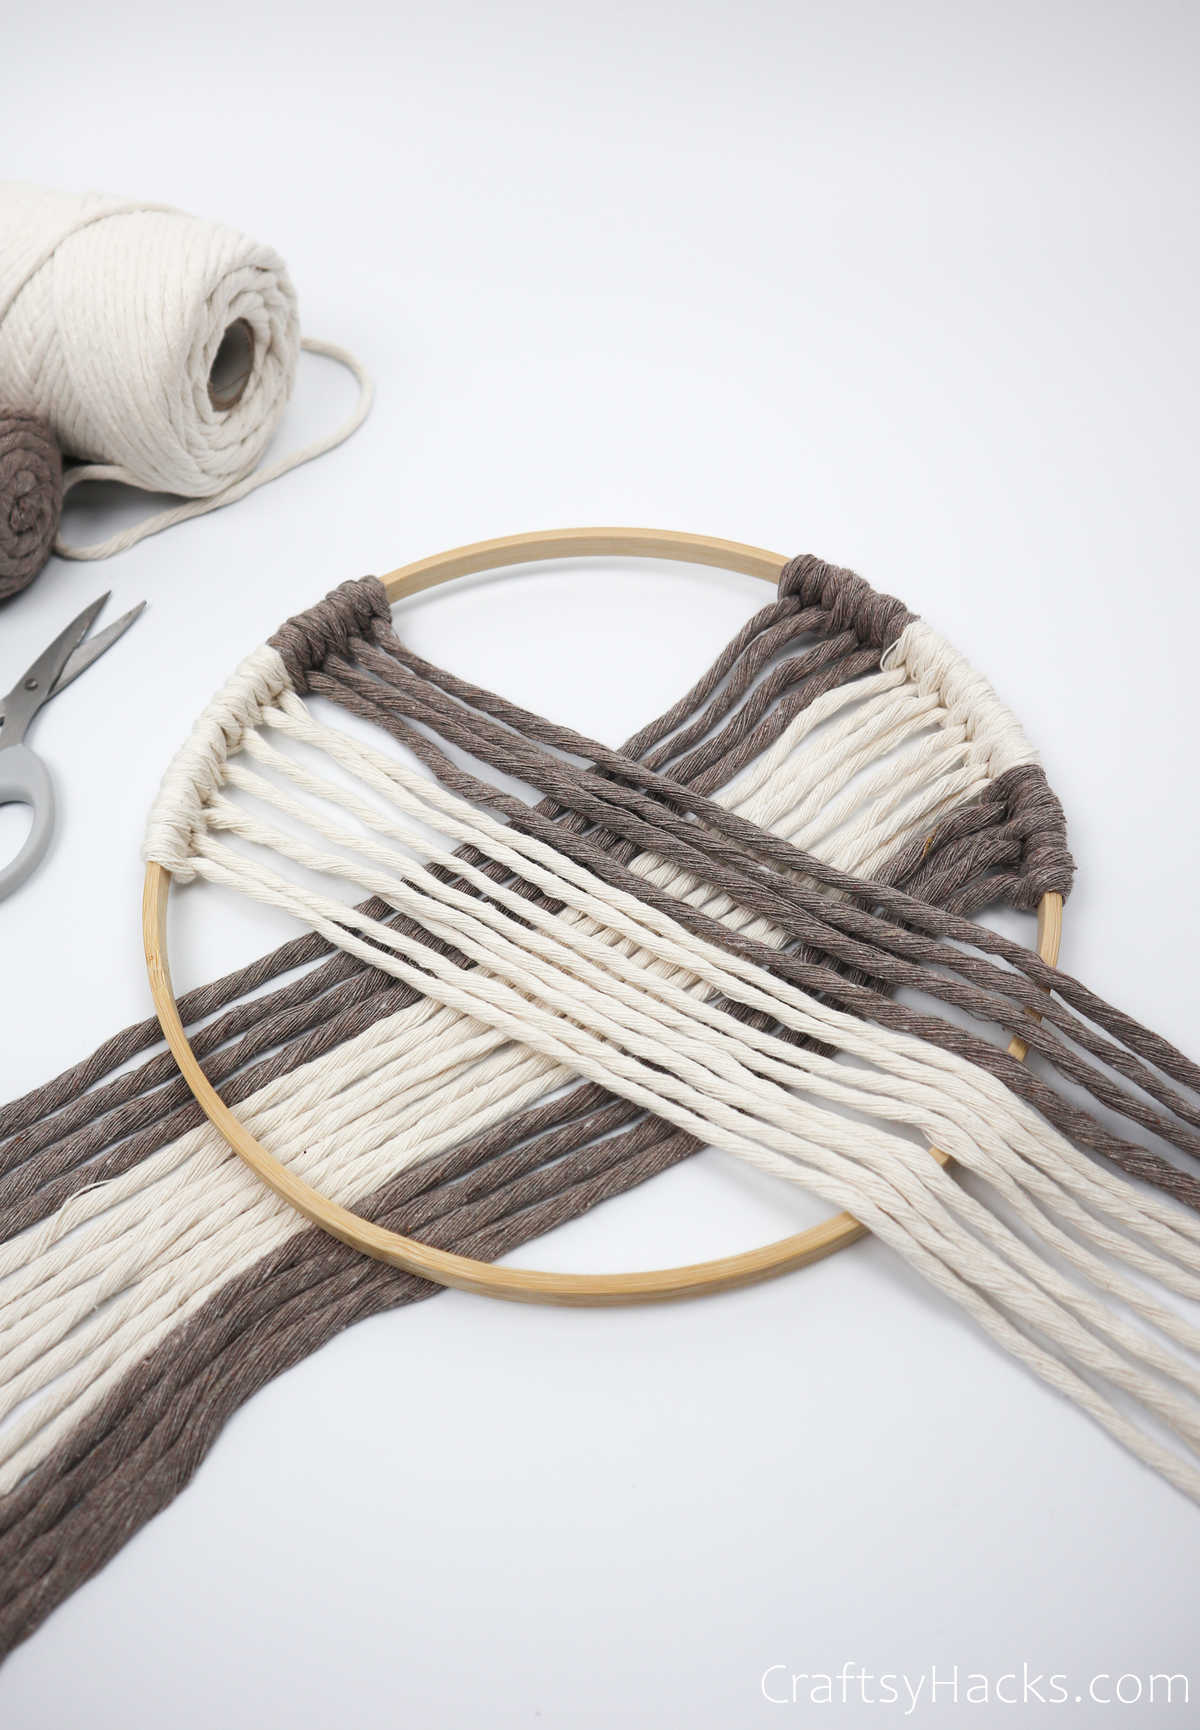
You should have the following pattern:
2x cappuccino cords, 4x cream cords, 2x cappuccino cords.
You should have something like the picture below when youre done.
Youve successfully worked through one batch on knot heads to the right side of the hoop.
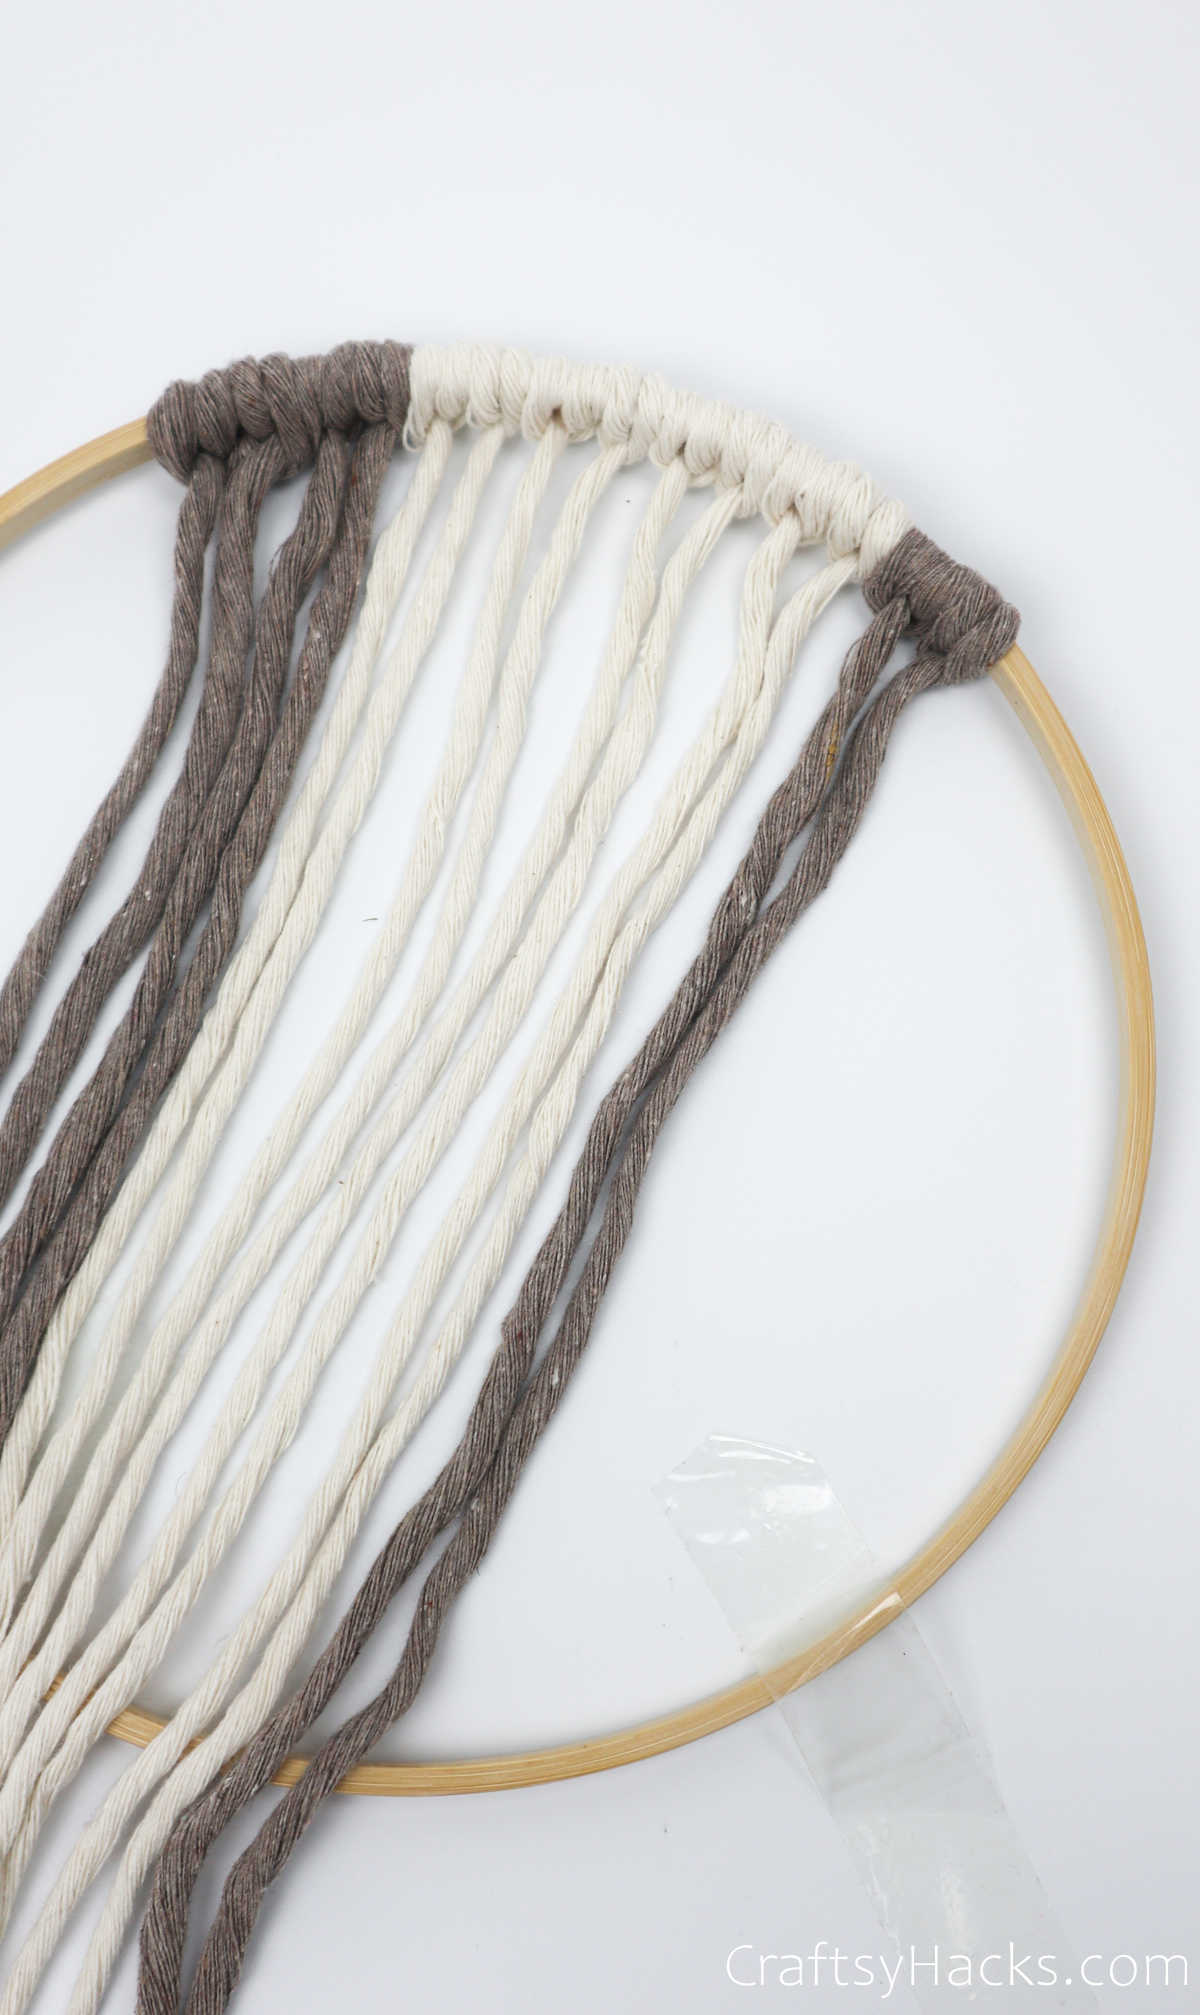
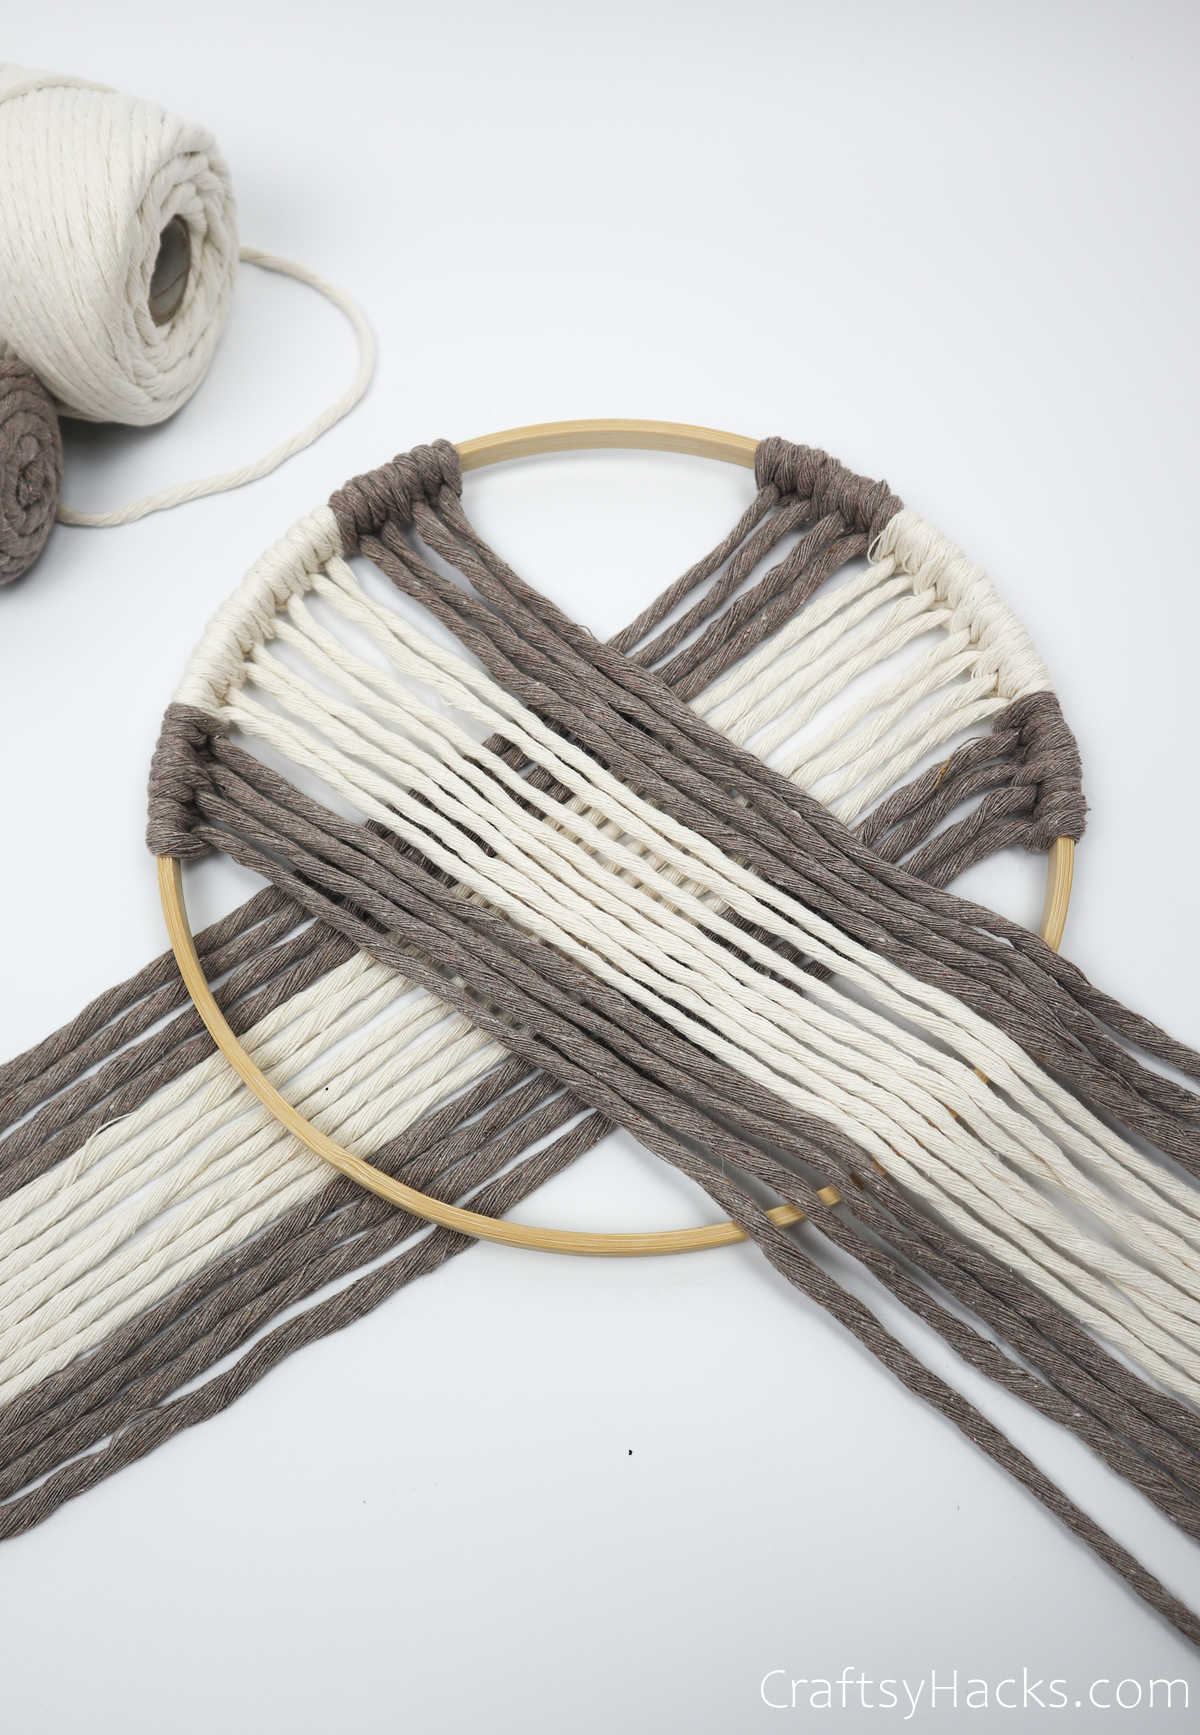
Now, its time we move over to the left.
Youll see why in just a bit!
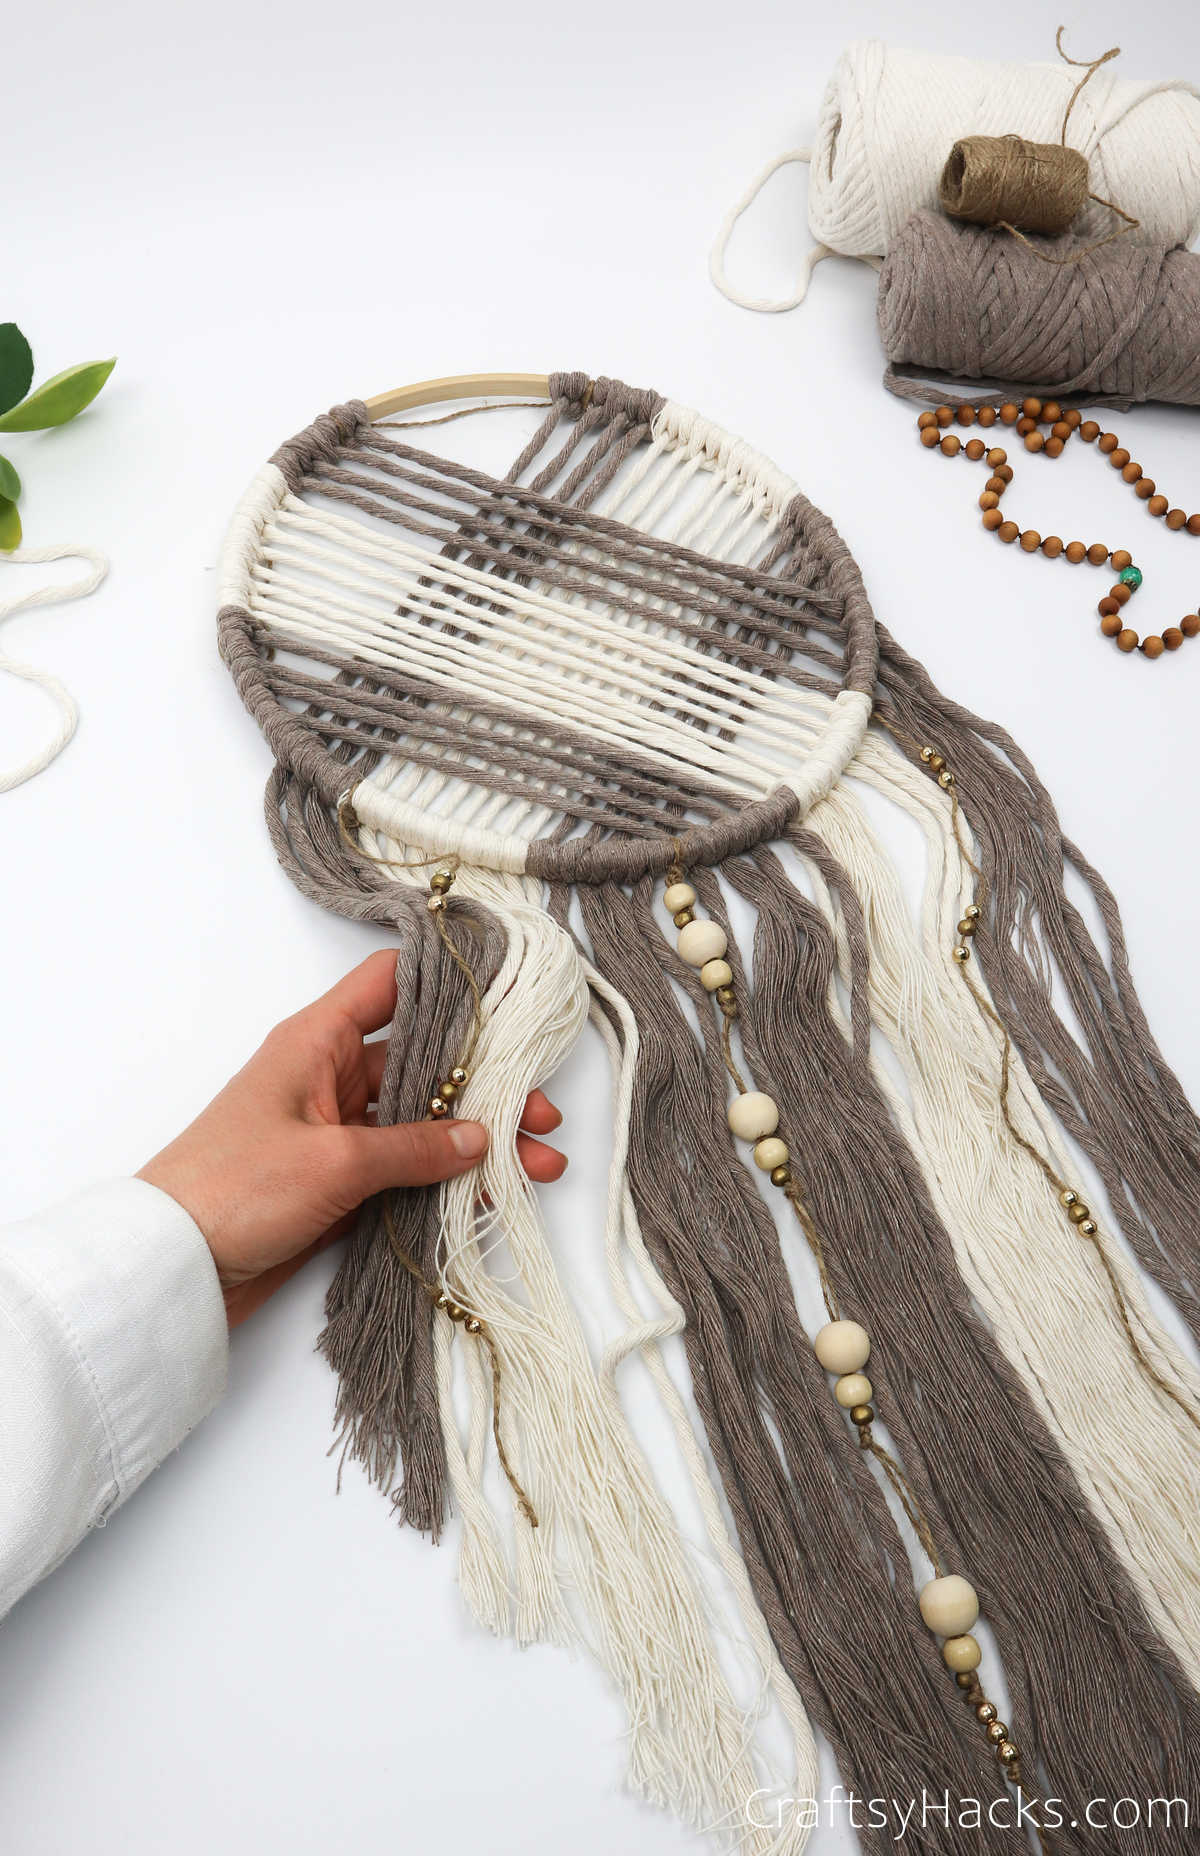
Step 12
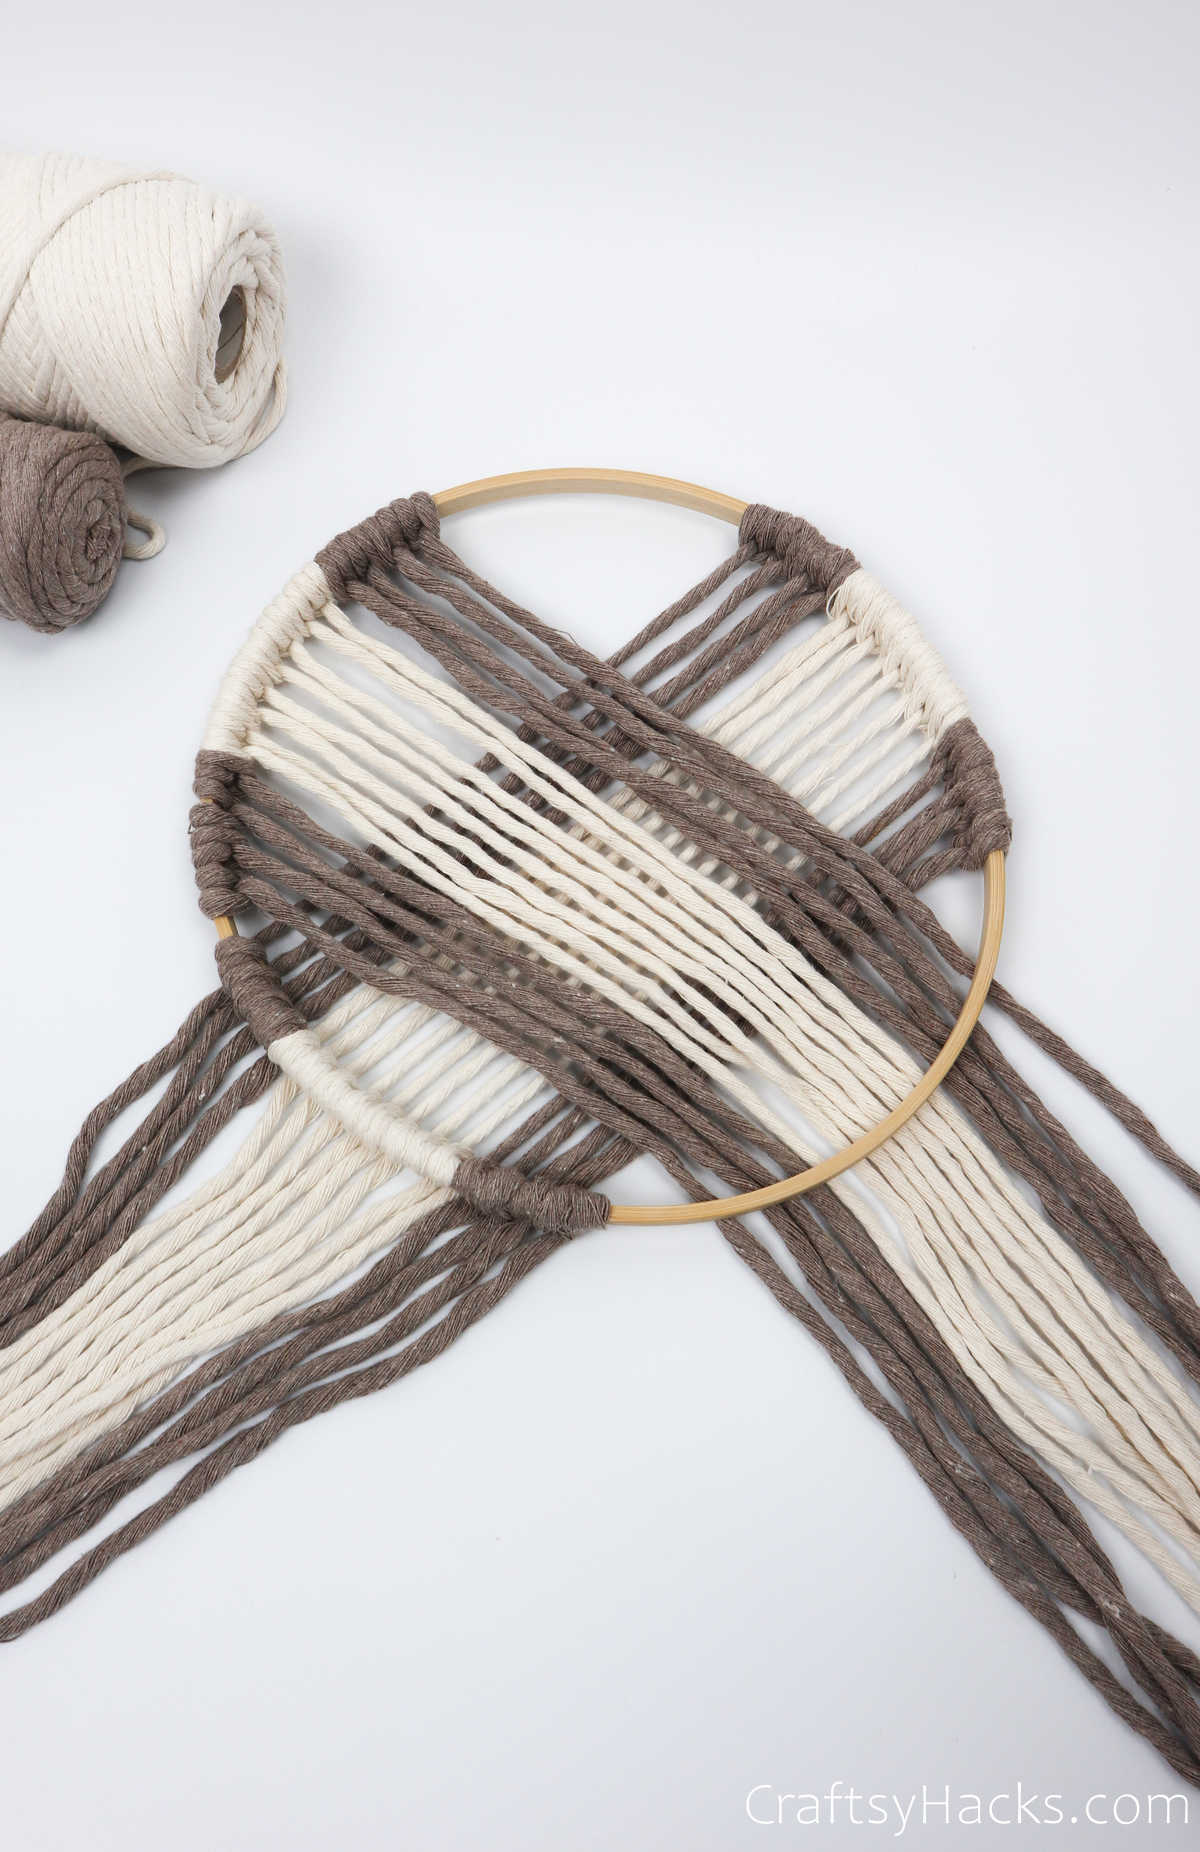
Next, were going to tie all the cords to the bottom of the hoop.
The end must be under the hoop, as seen here.
Then, take the end and pull it through the loop you just made.
Youll have a half knot.
Now, youll have one complete knot, as you’ve got the option to see.
Repeat these two steps all the way through with all the cords.
The hoop should sit over the strings.
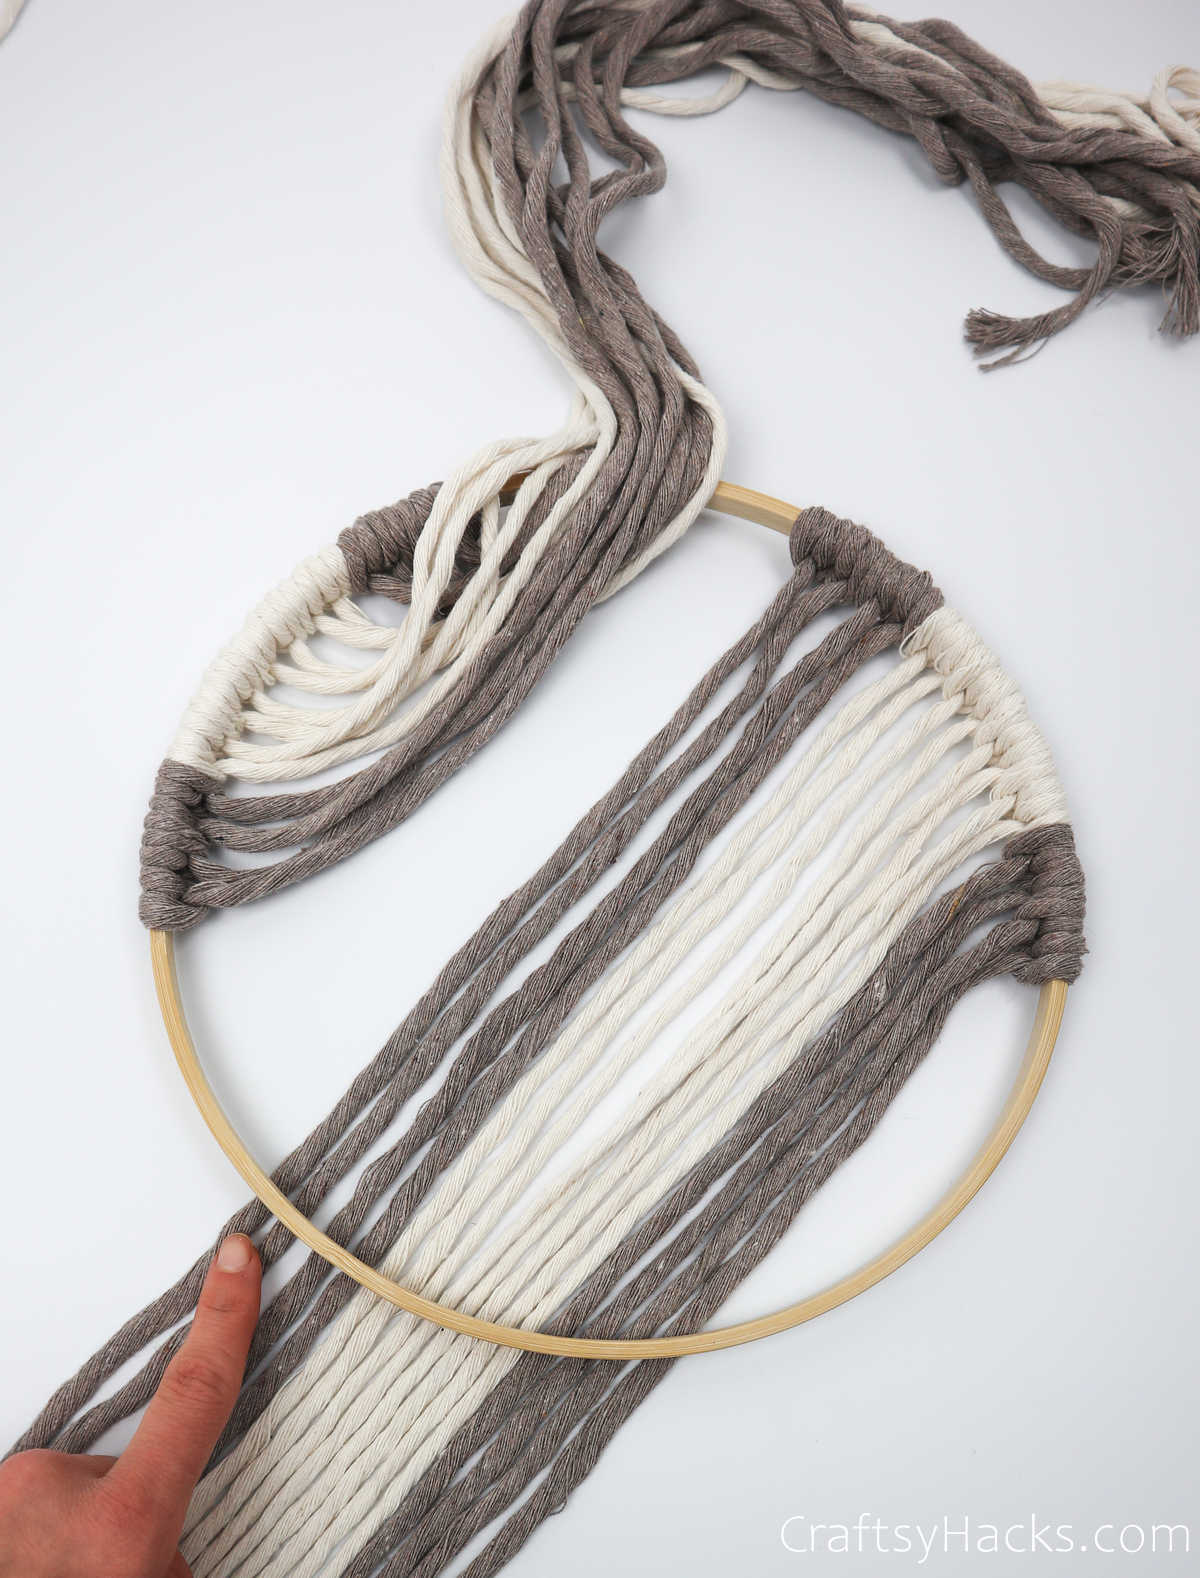
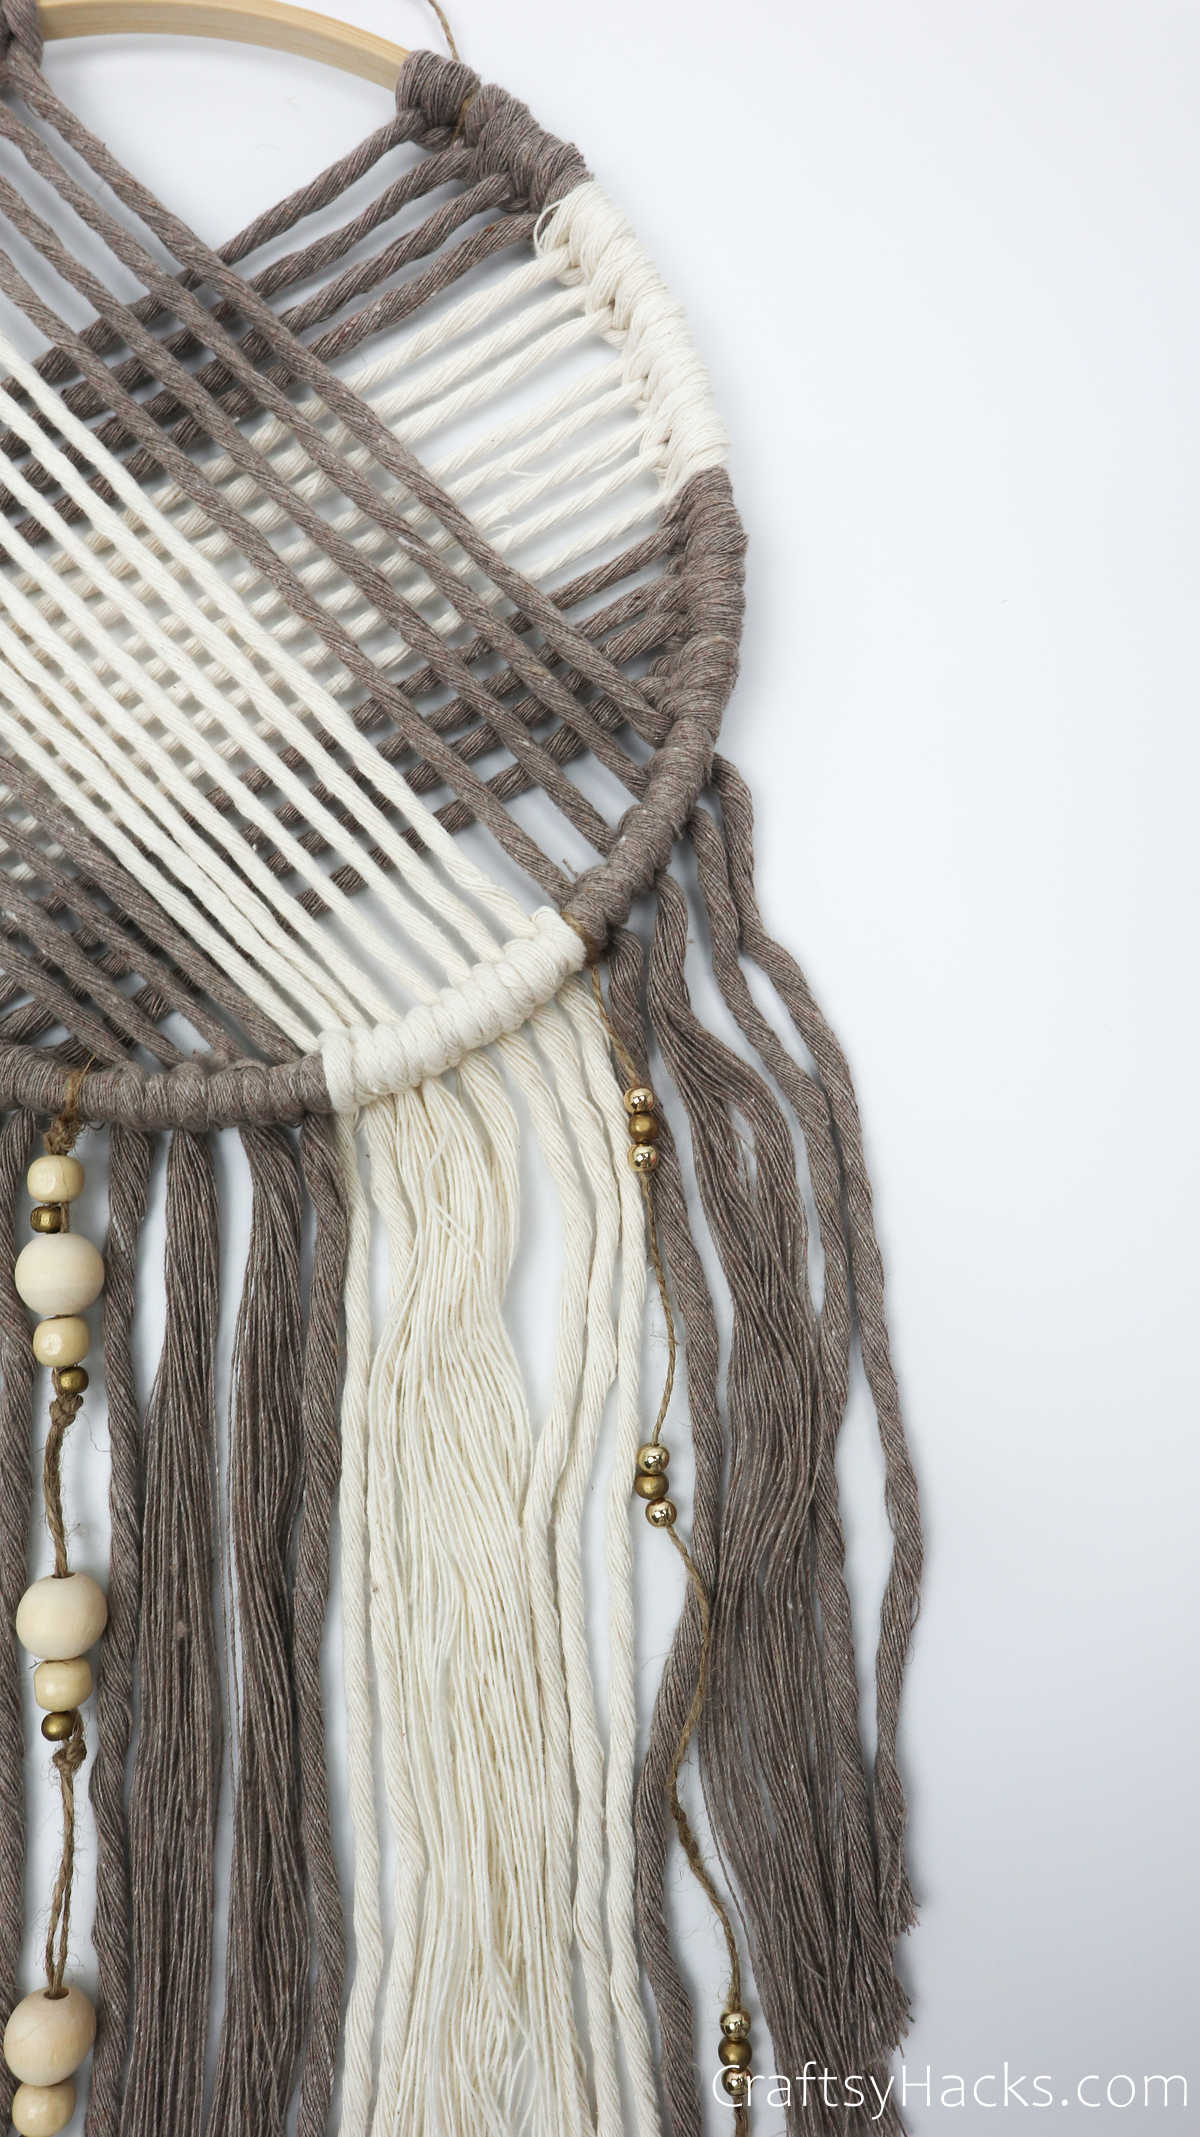
Step 16
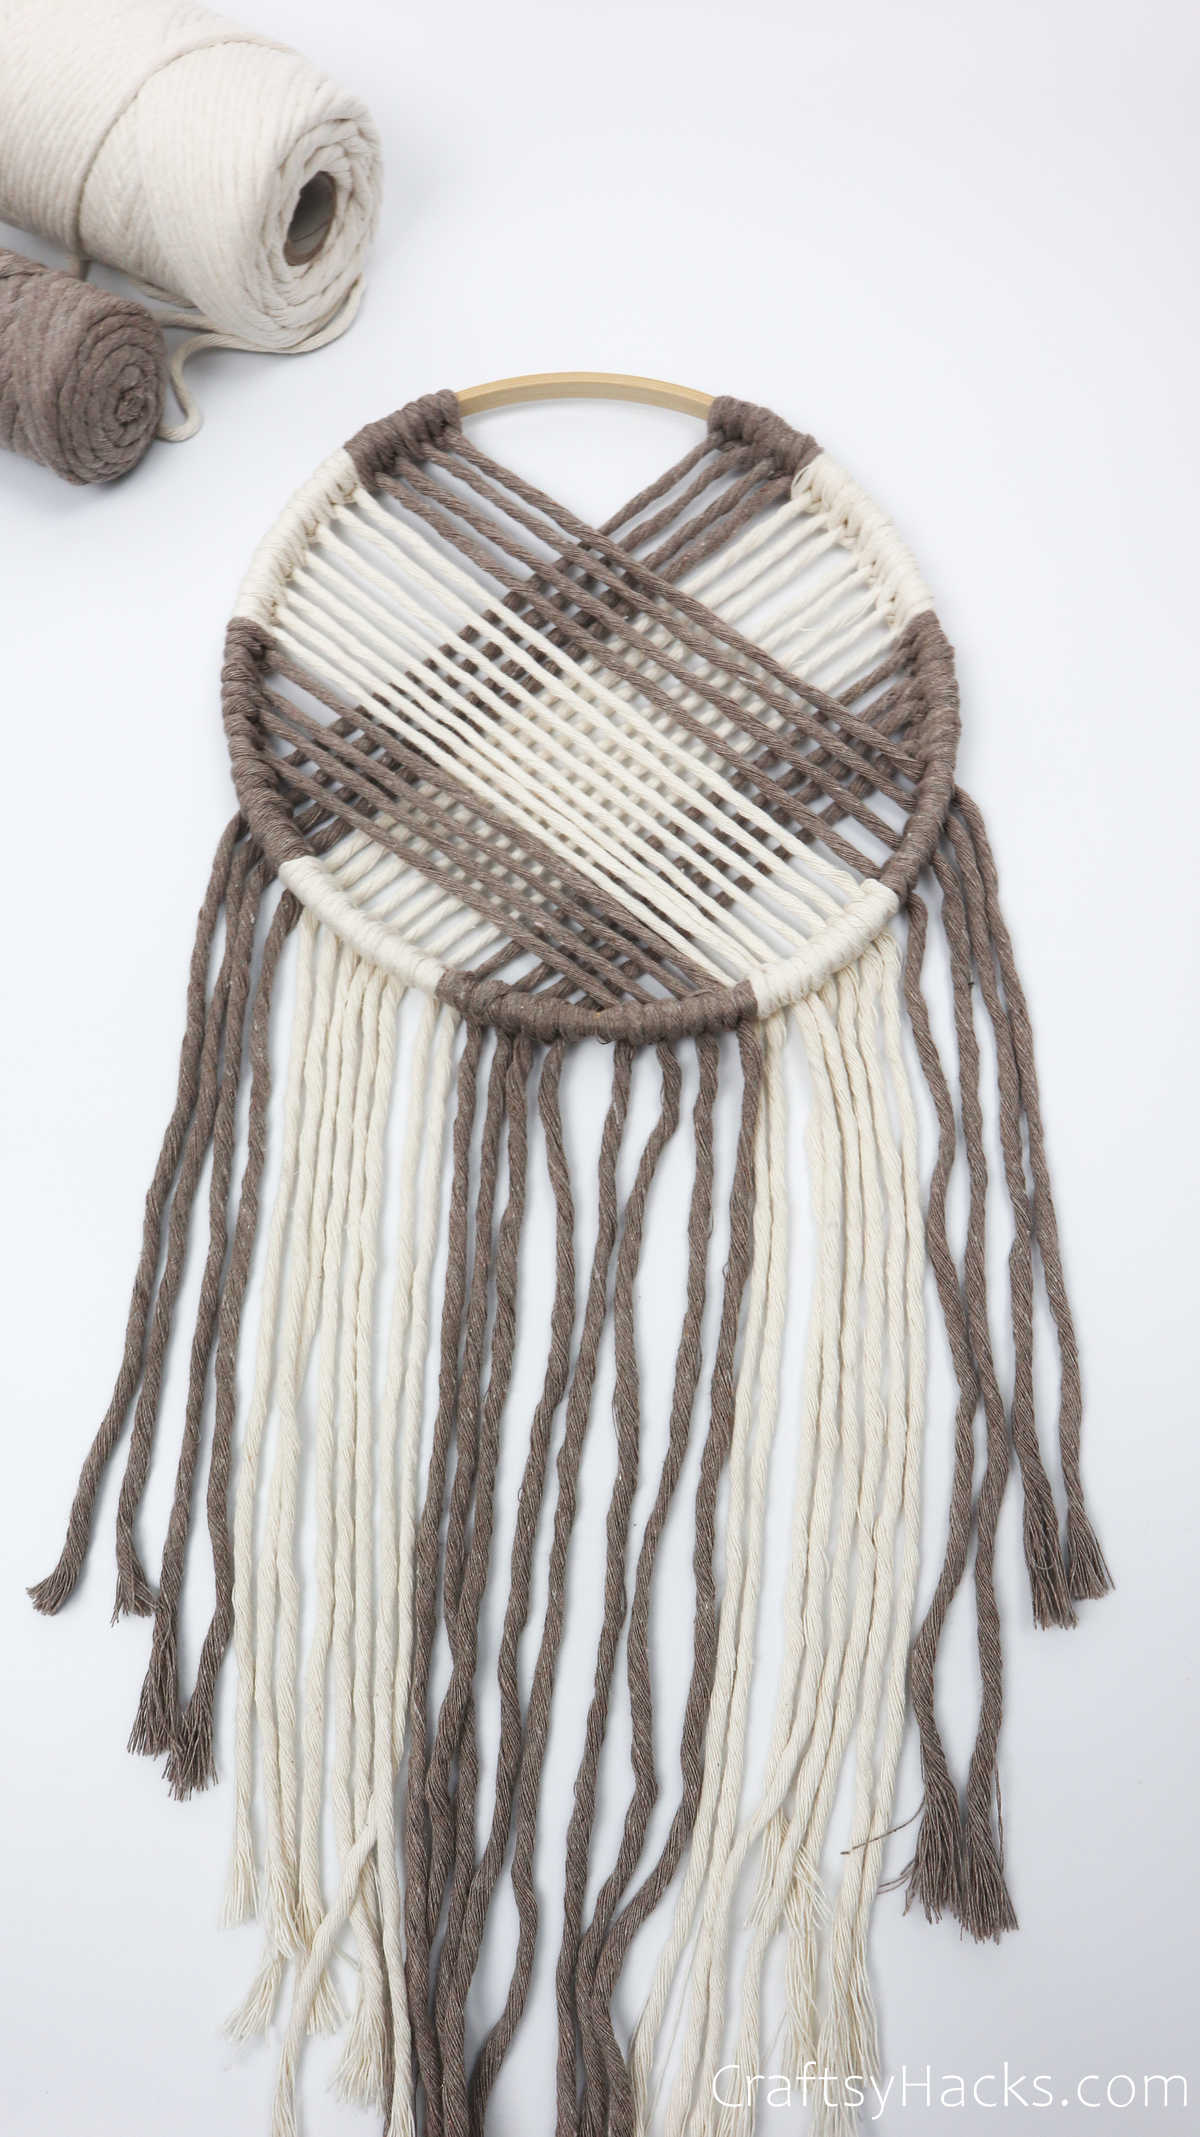
Repeat steps 12 and 13 and work your cords into knots on the bottom right.
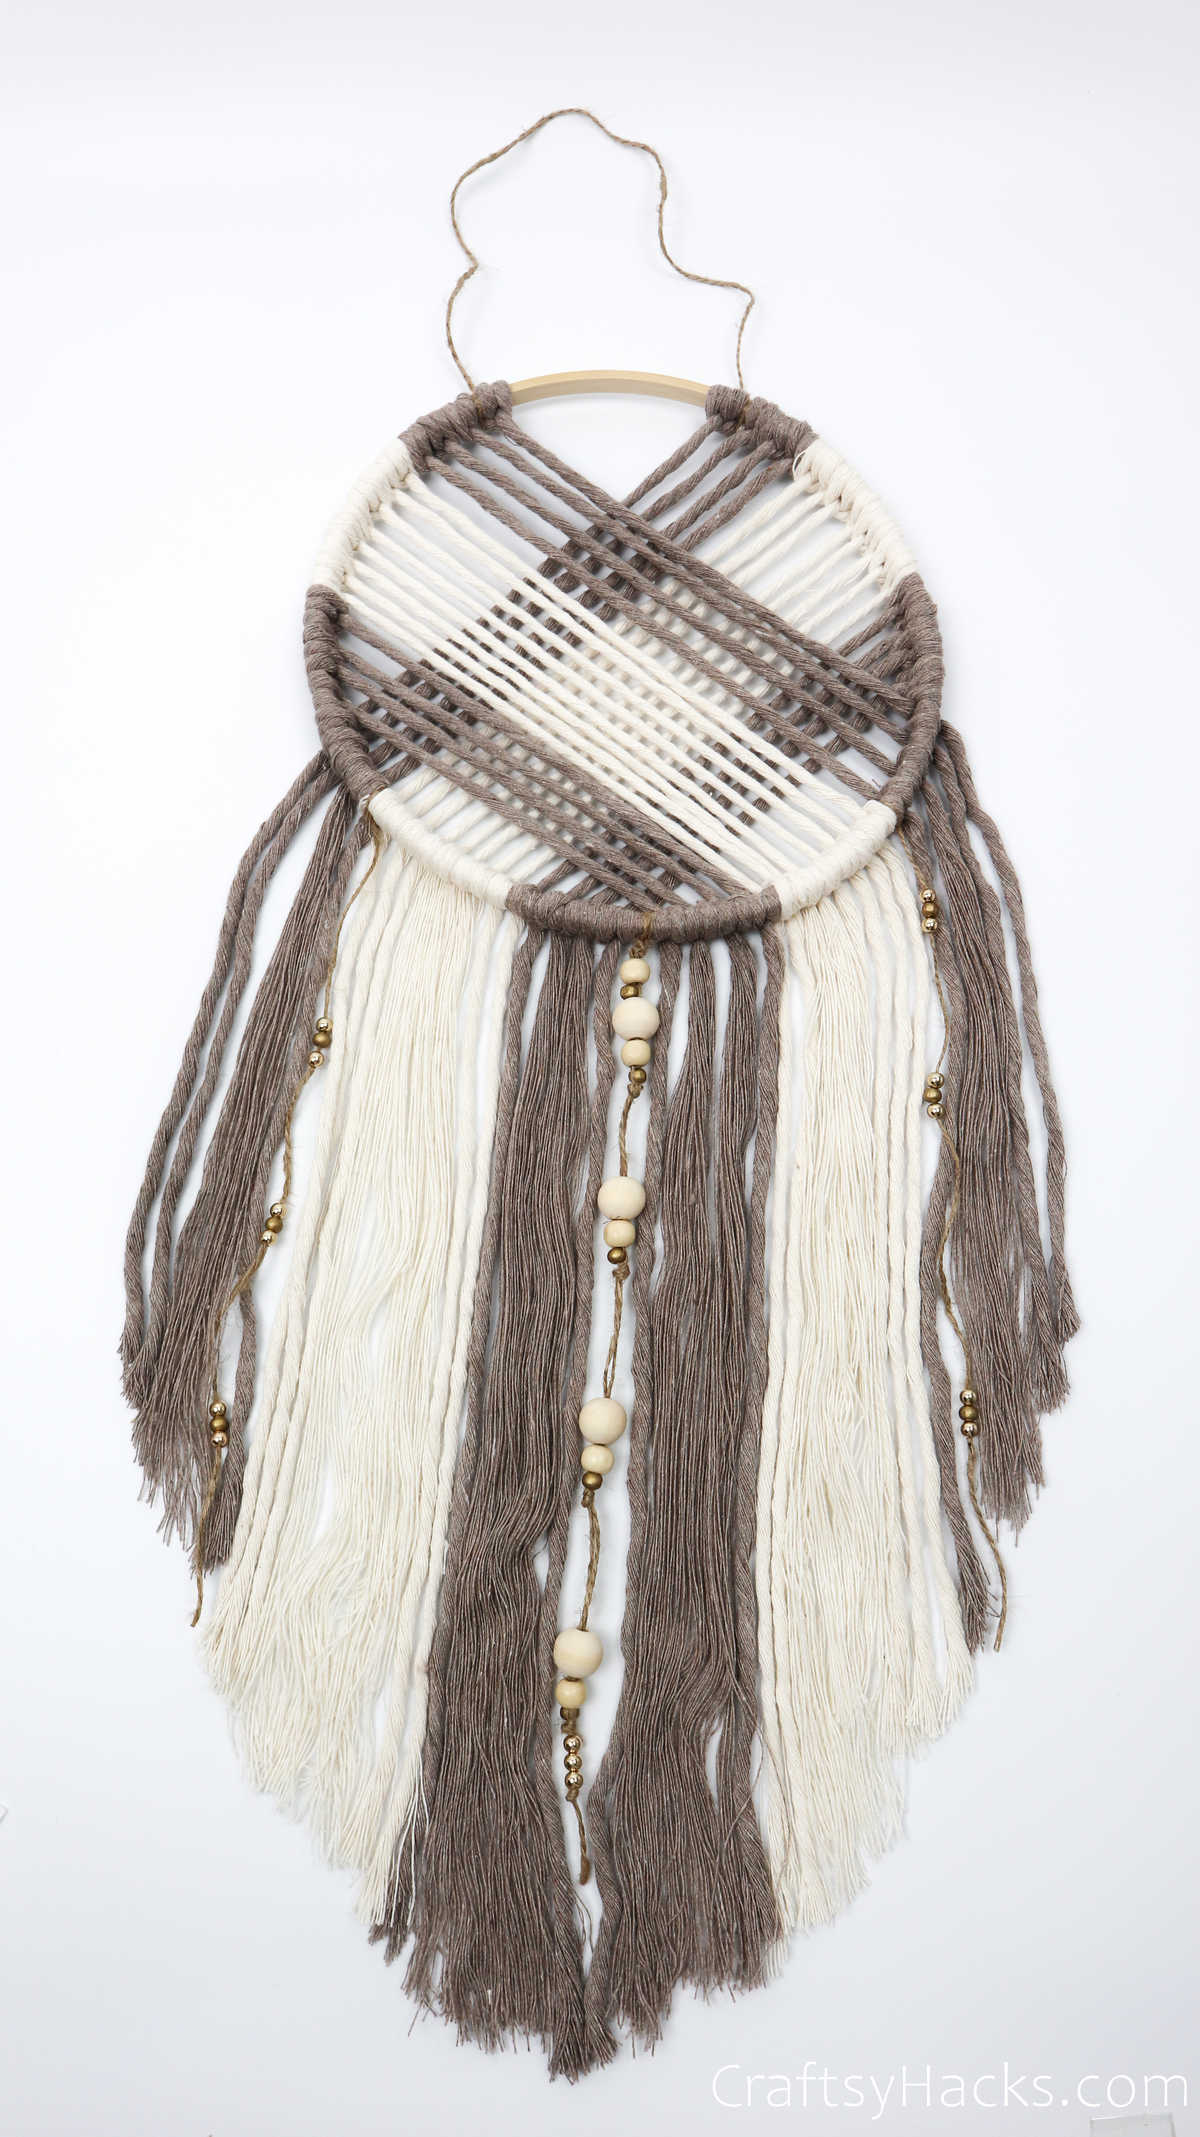
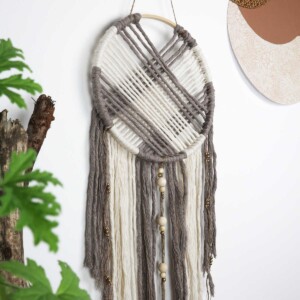
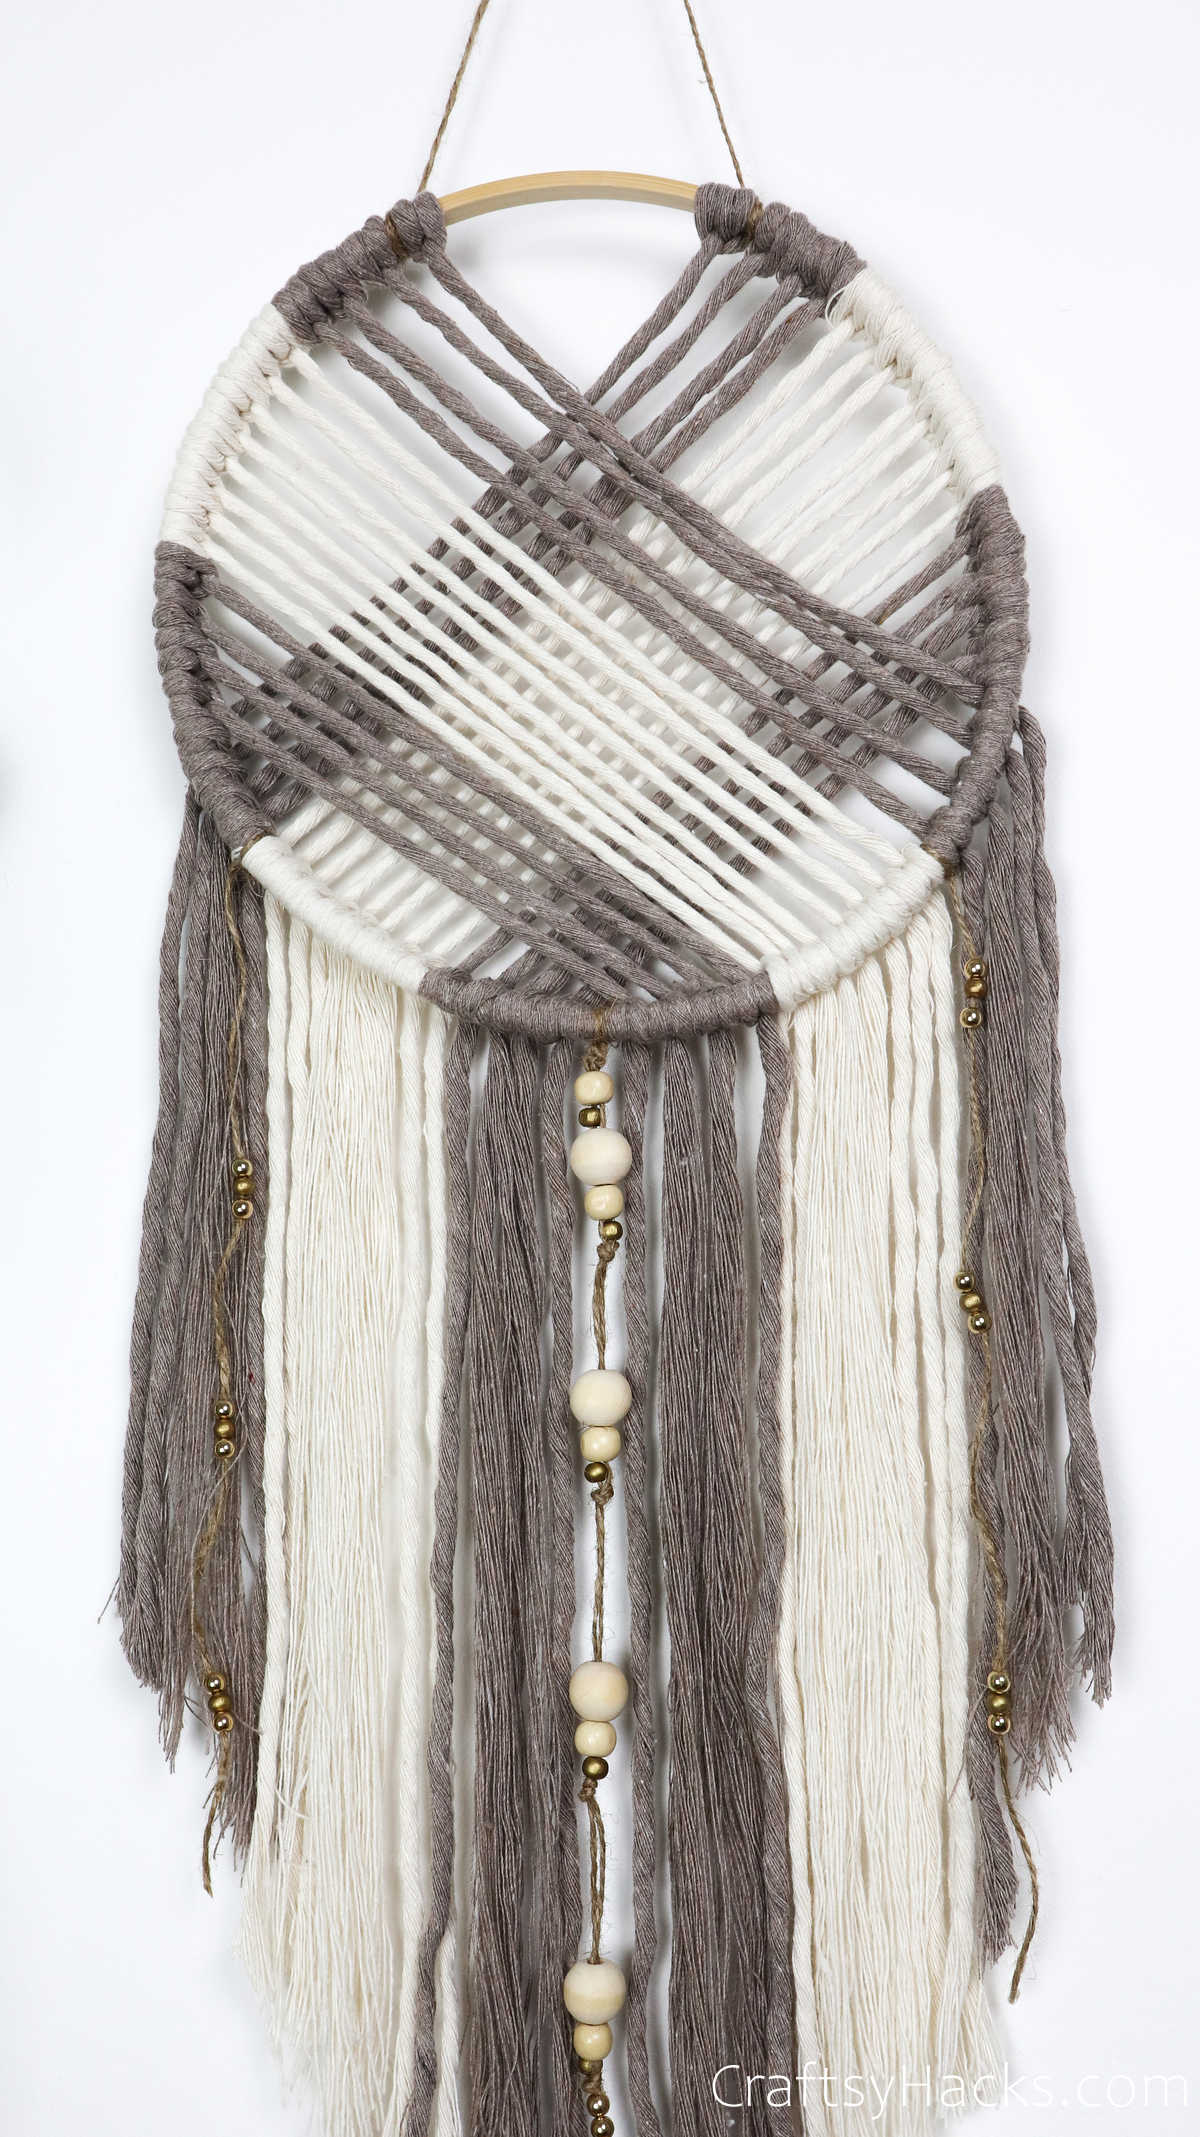
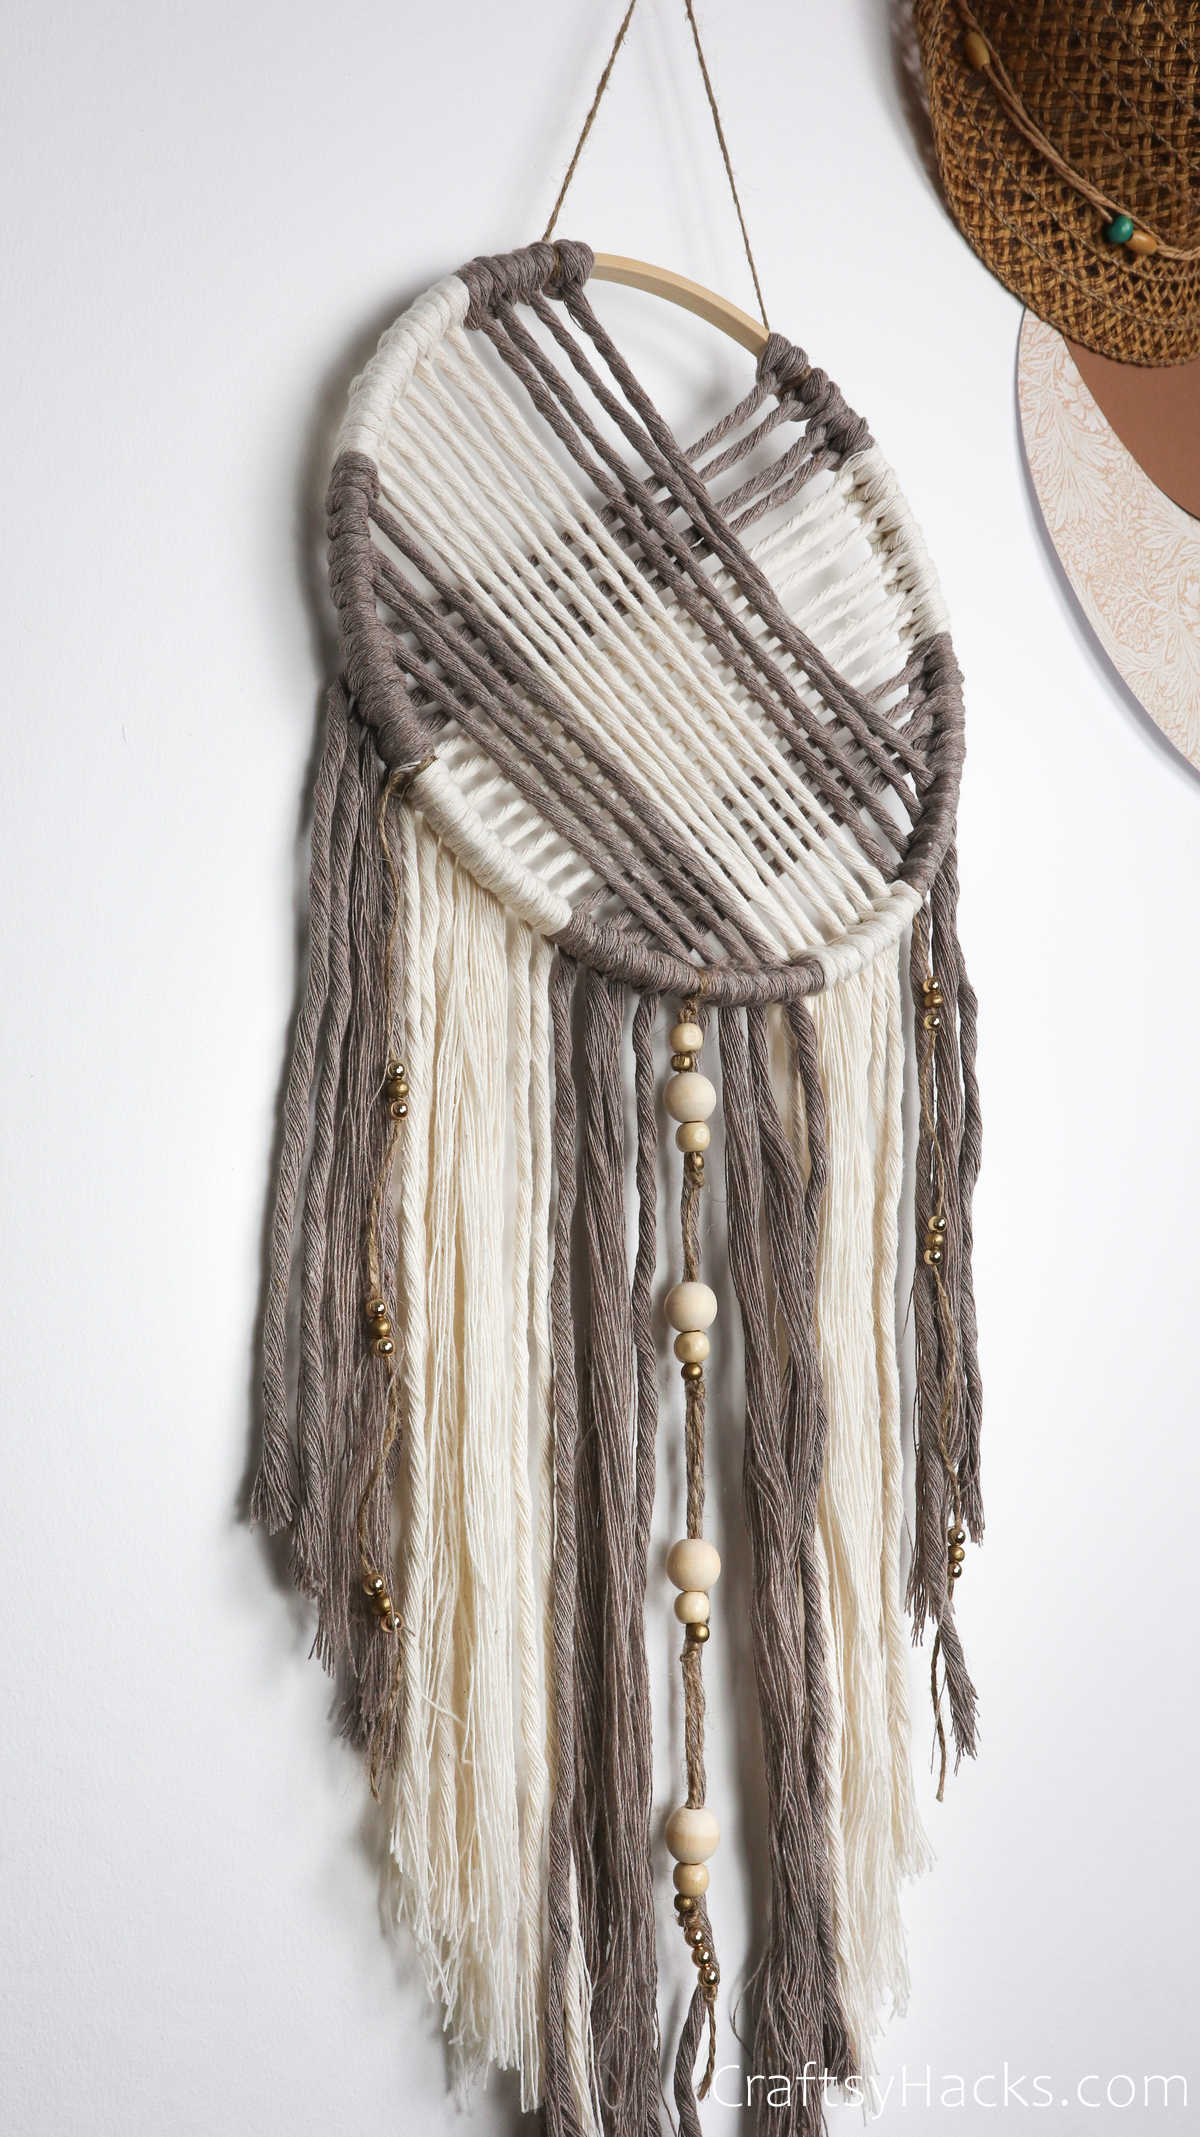
Your dream catcher should look like this when youre done.
Doesnt it look dreamy?

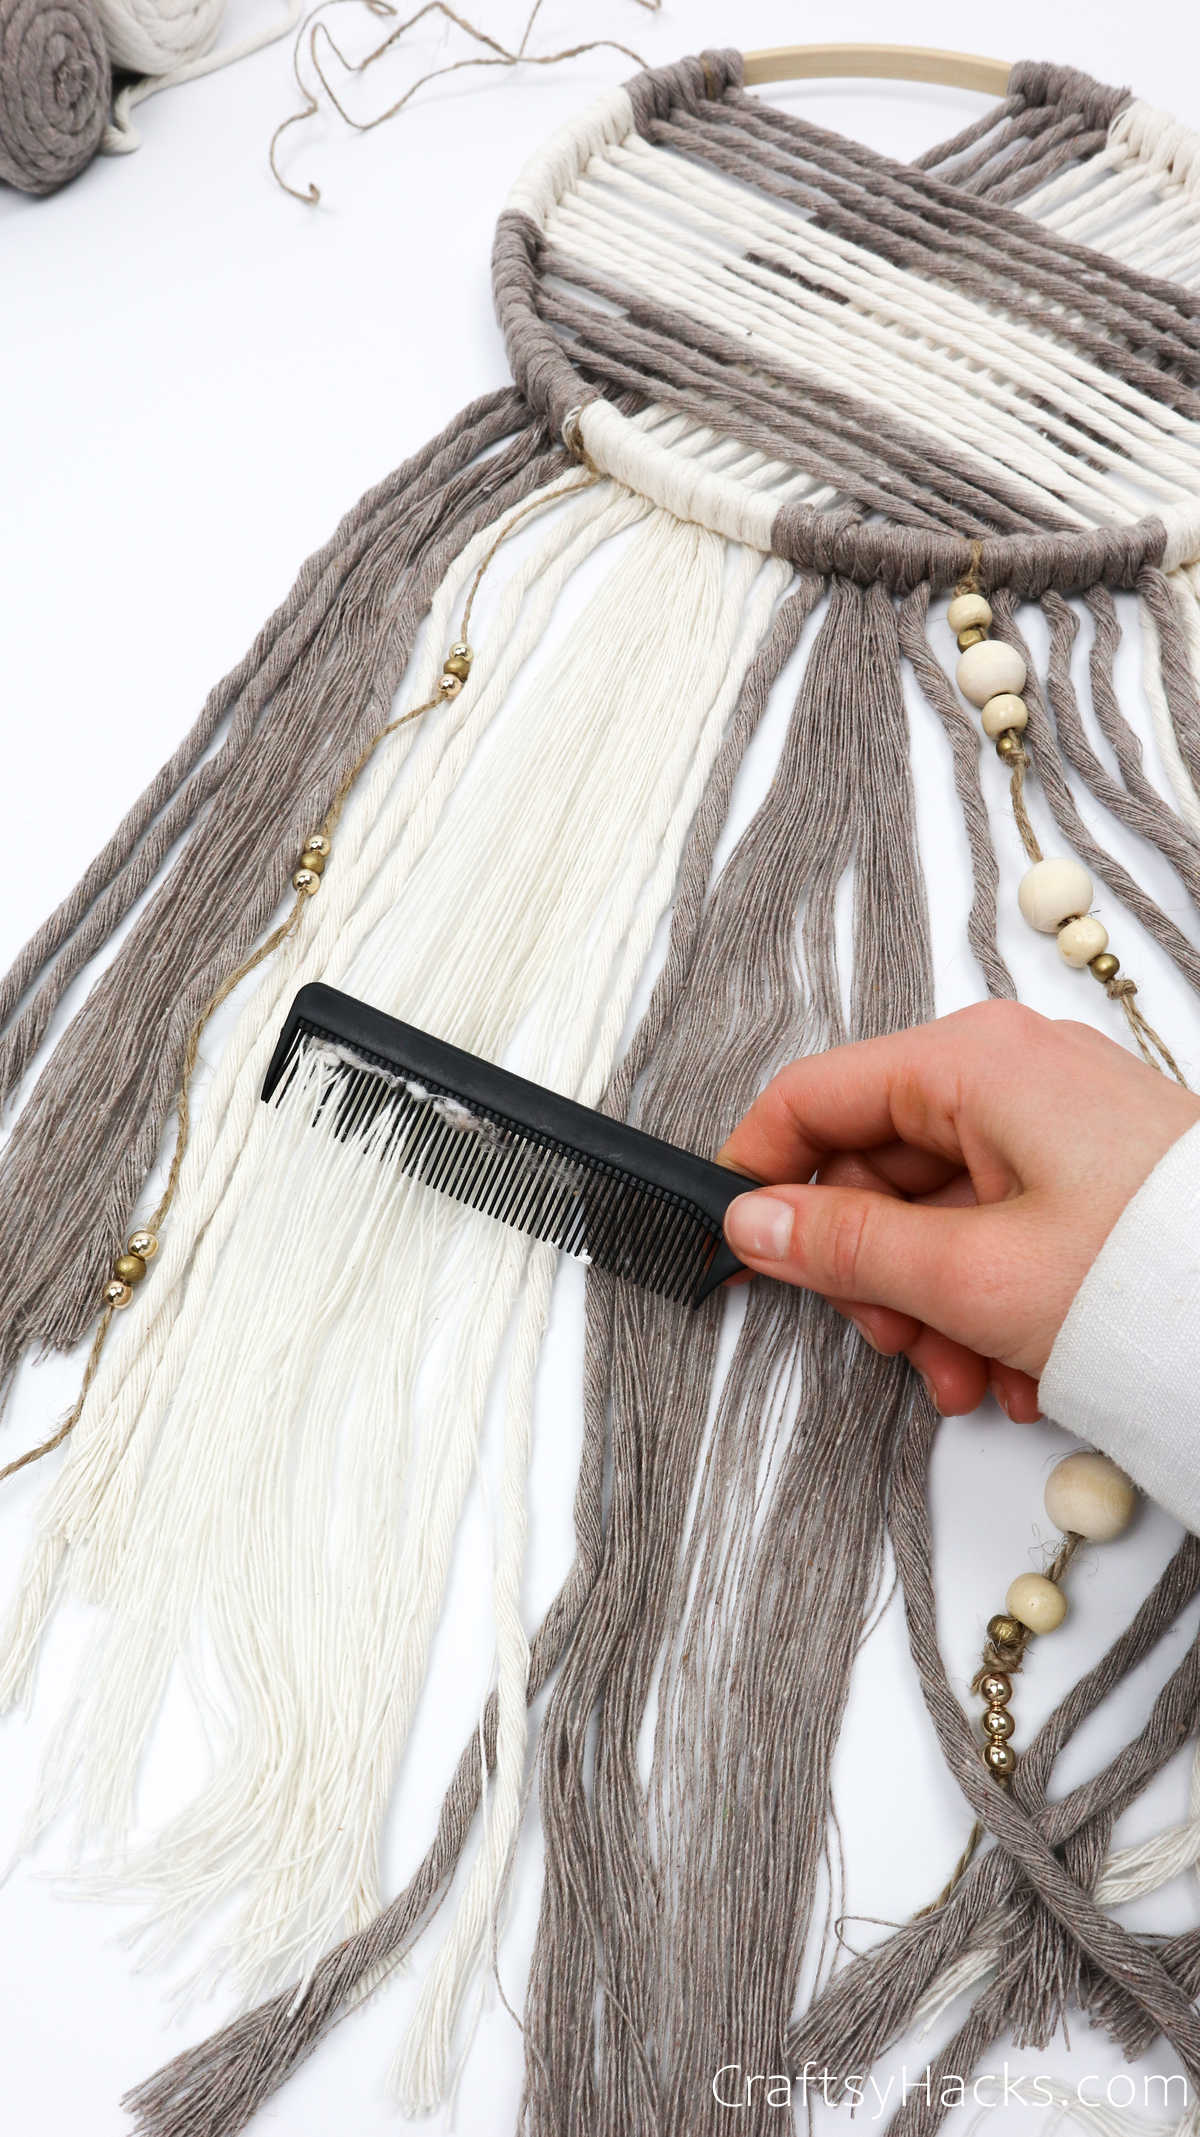
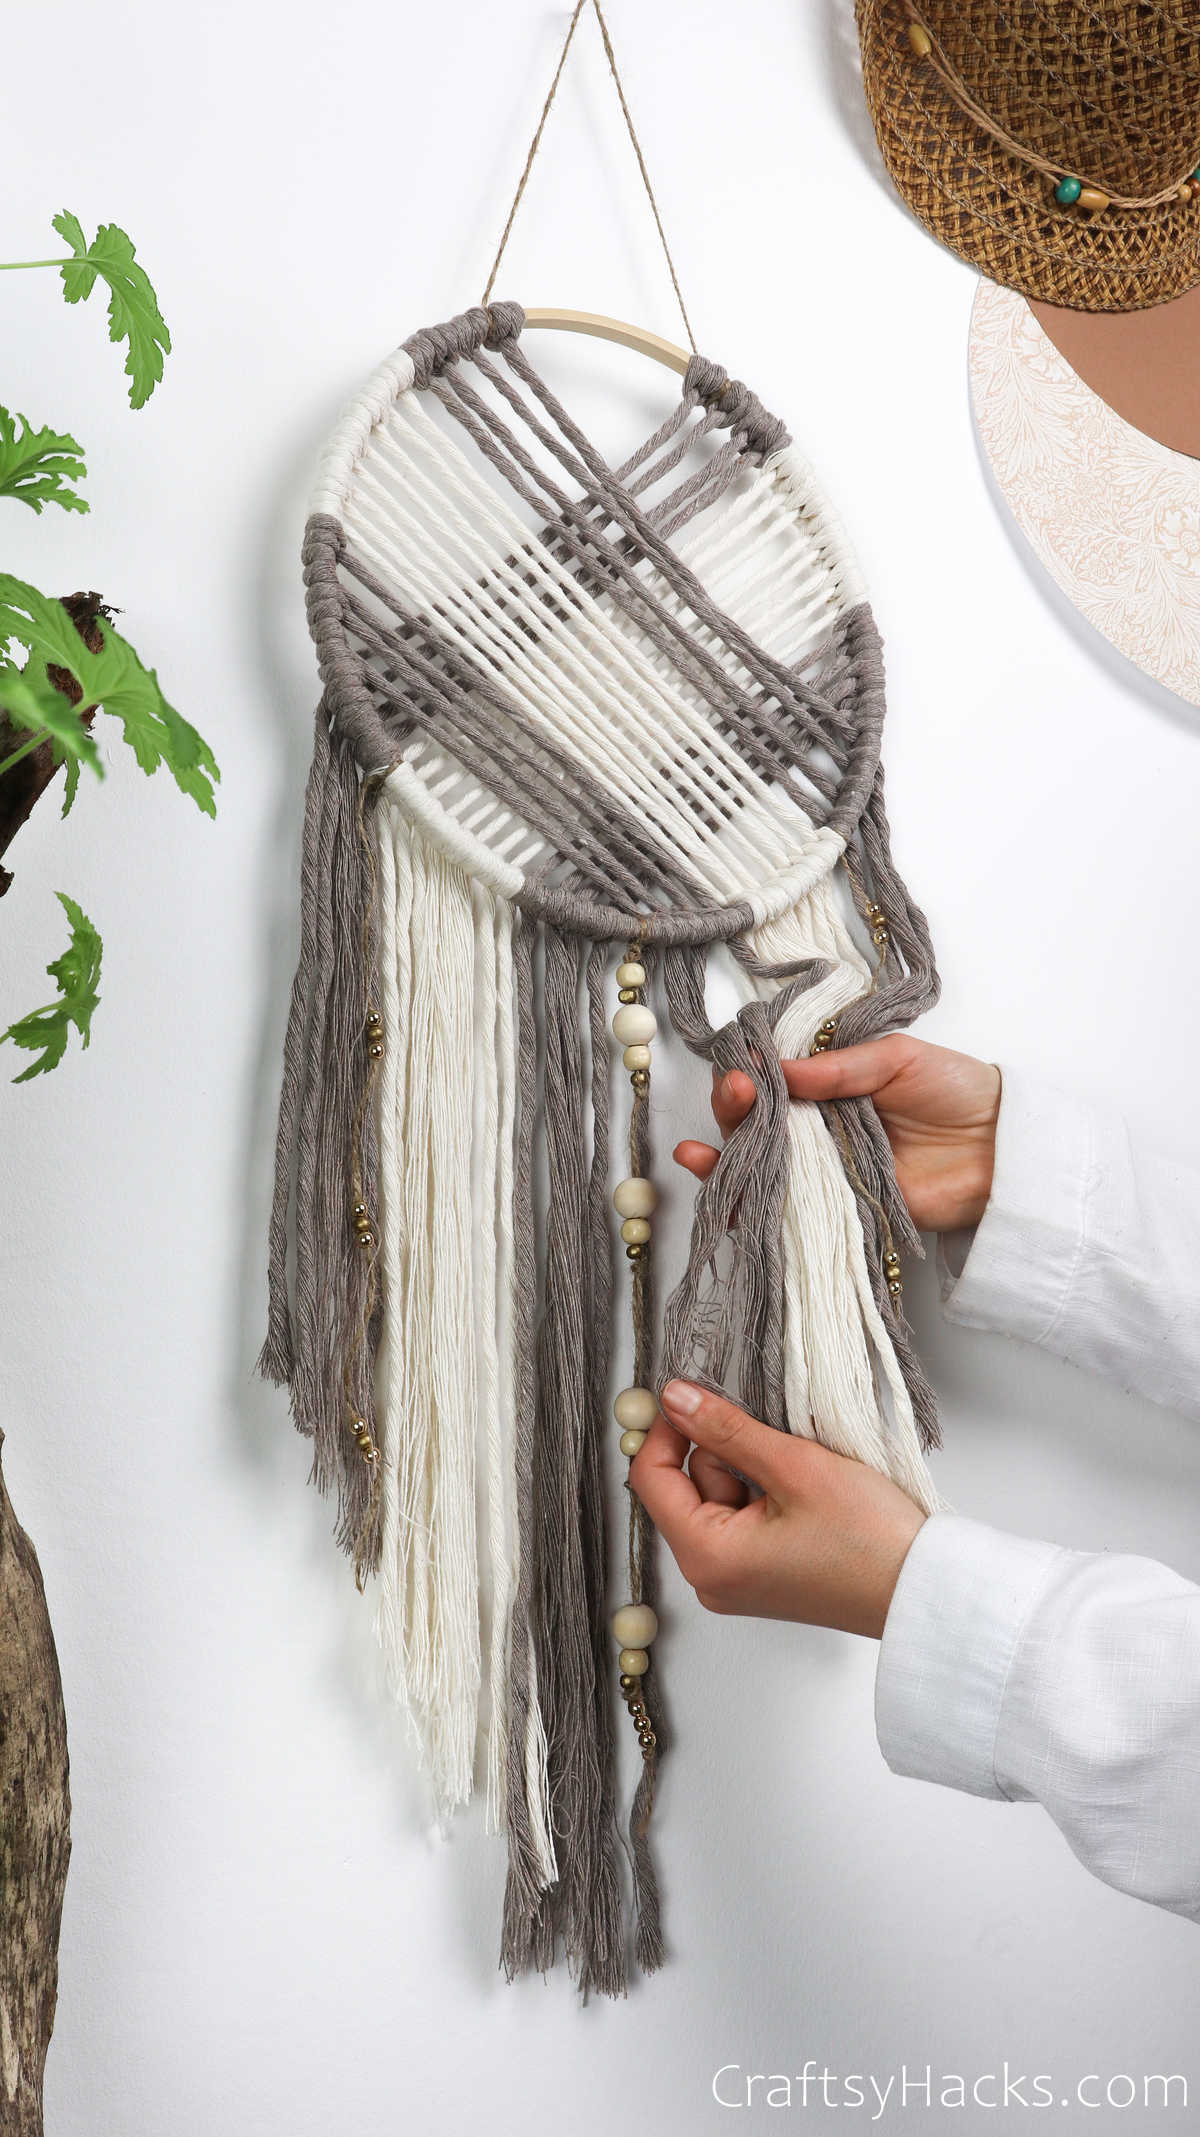
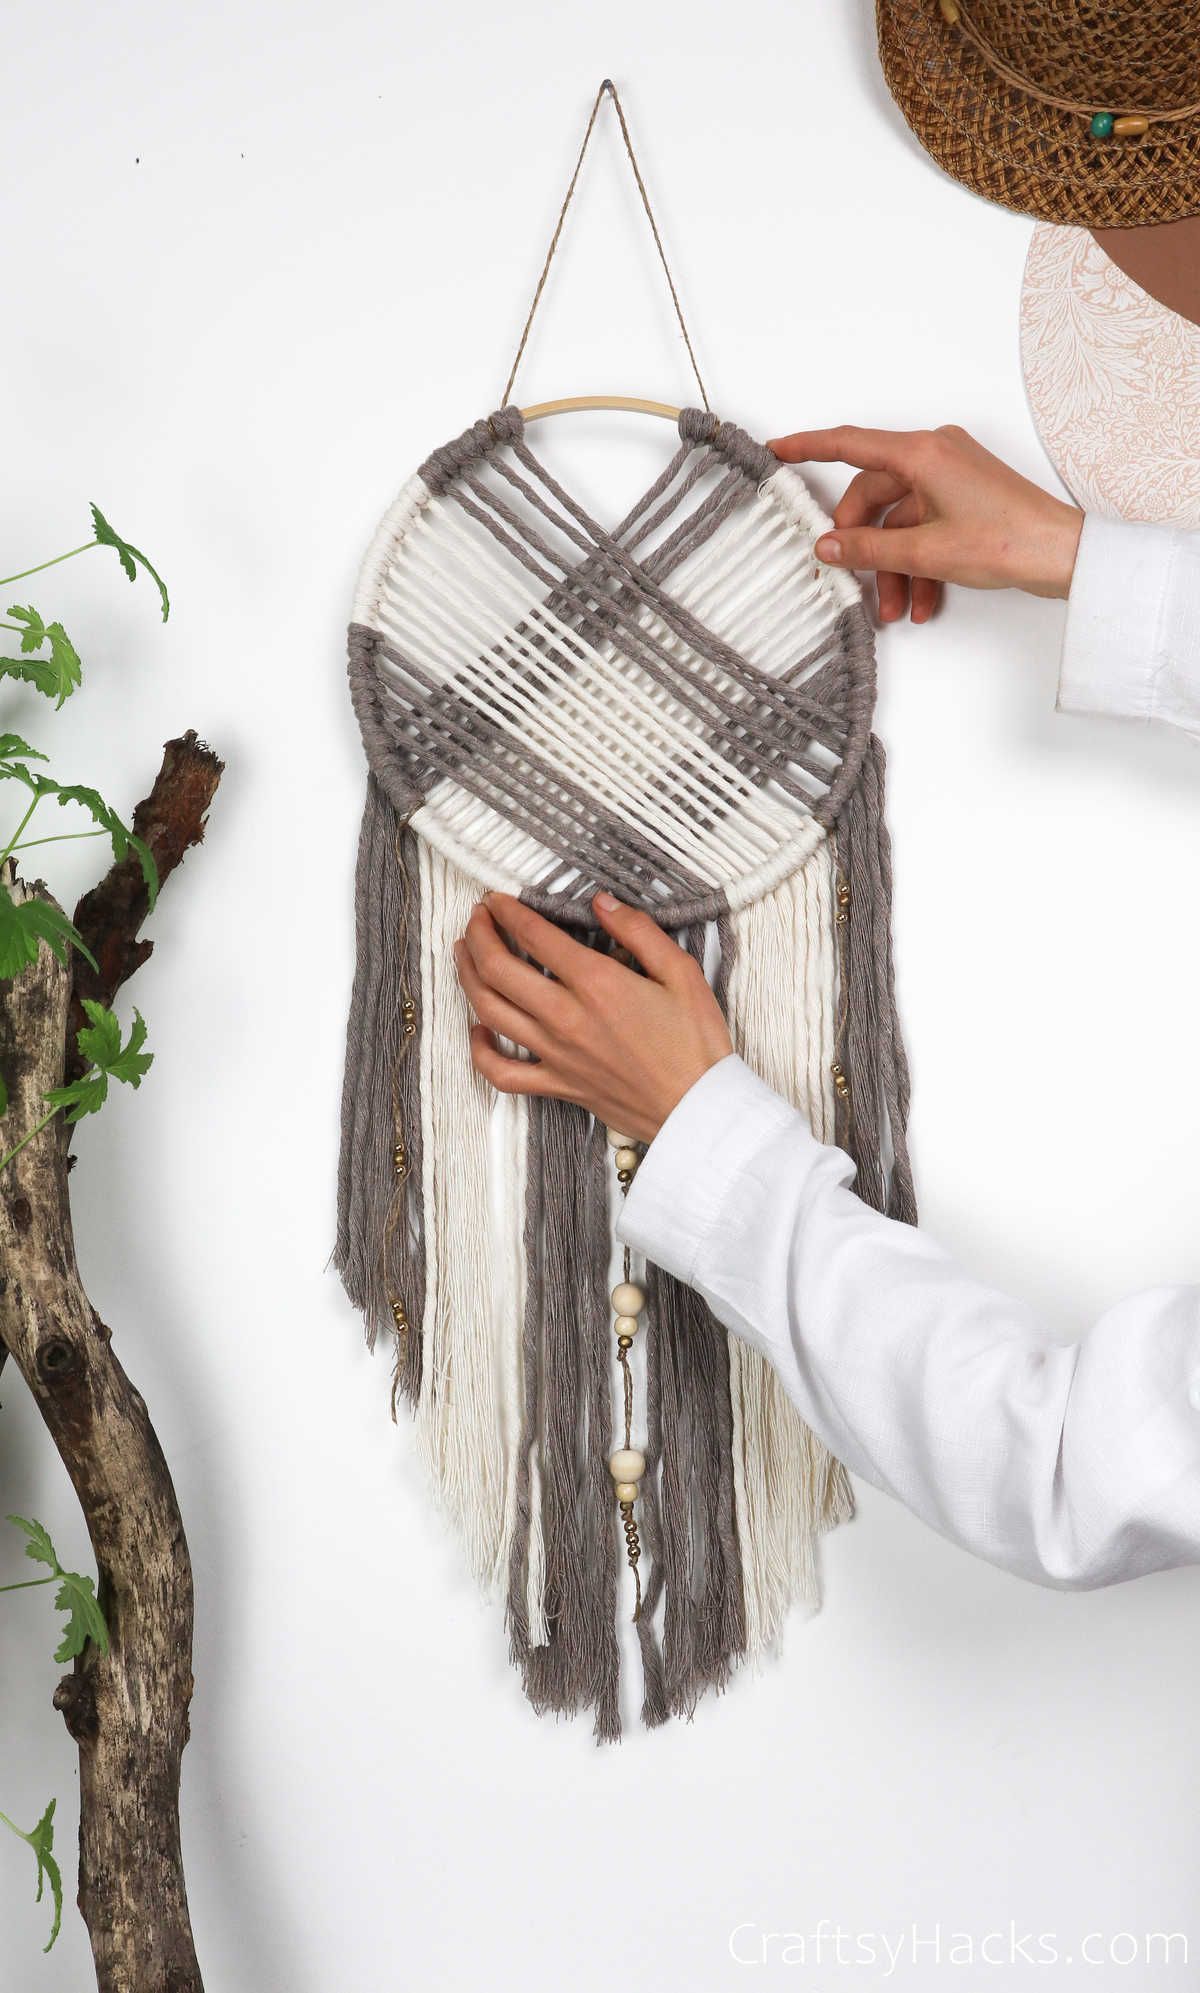
Just tie the beaded jute twine between the cords and let the beads hang down, as seen here.
Again, this is completely optional.
If you prefer the chunky look that the cotton cords naturally have, just let them be.
Or, you could comb them out for a smooth finish.
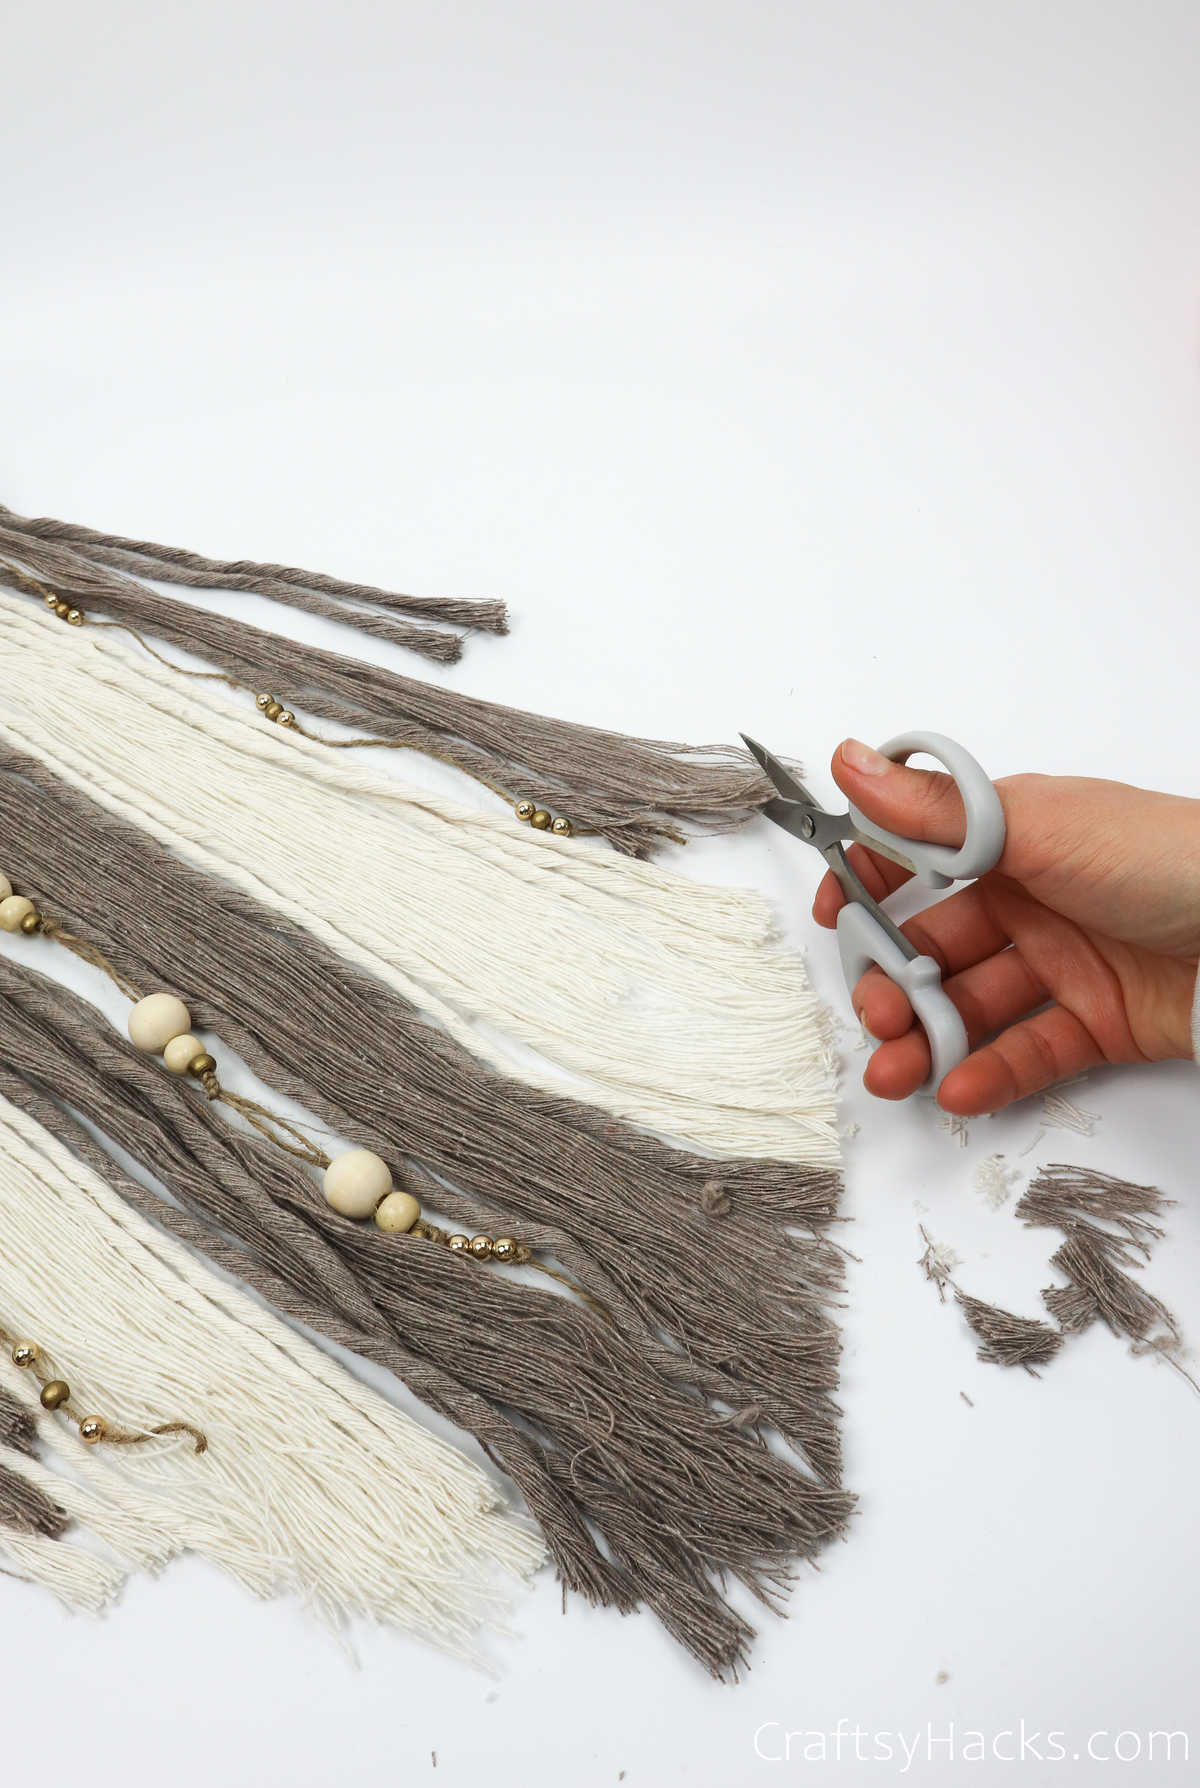
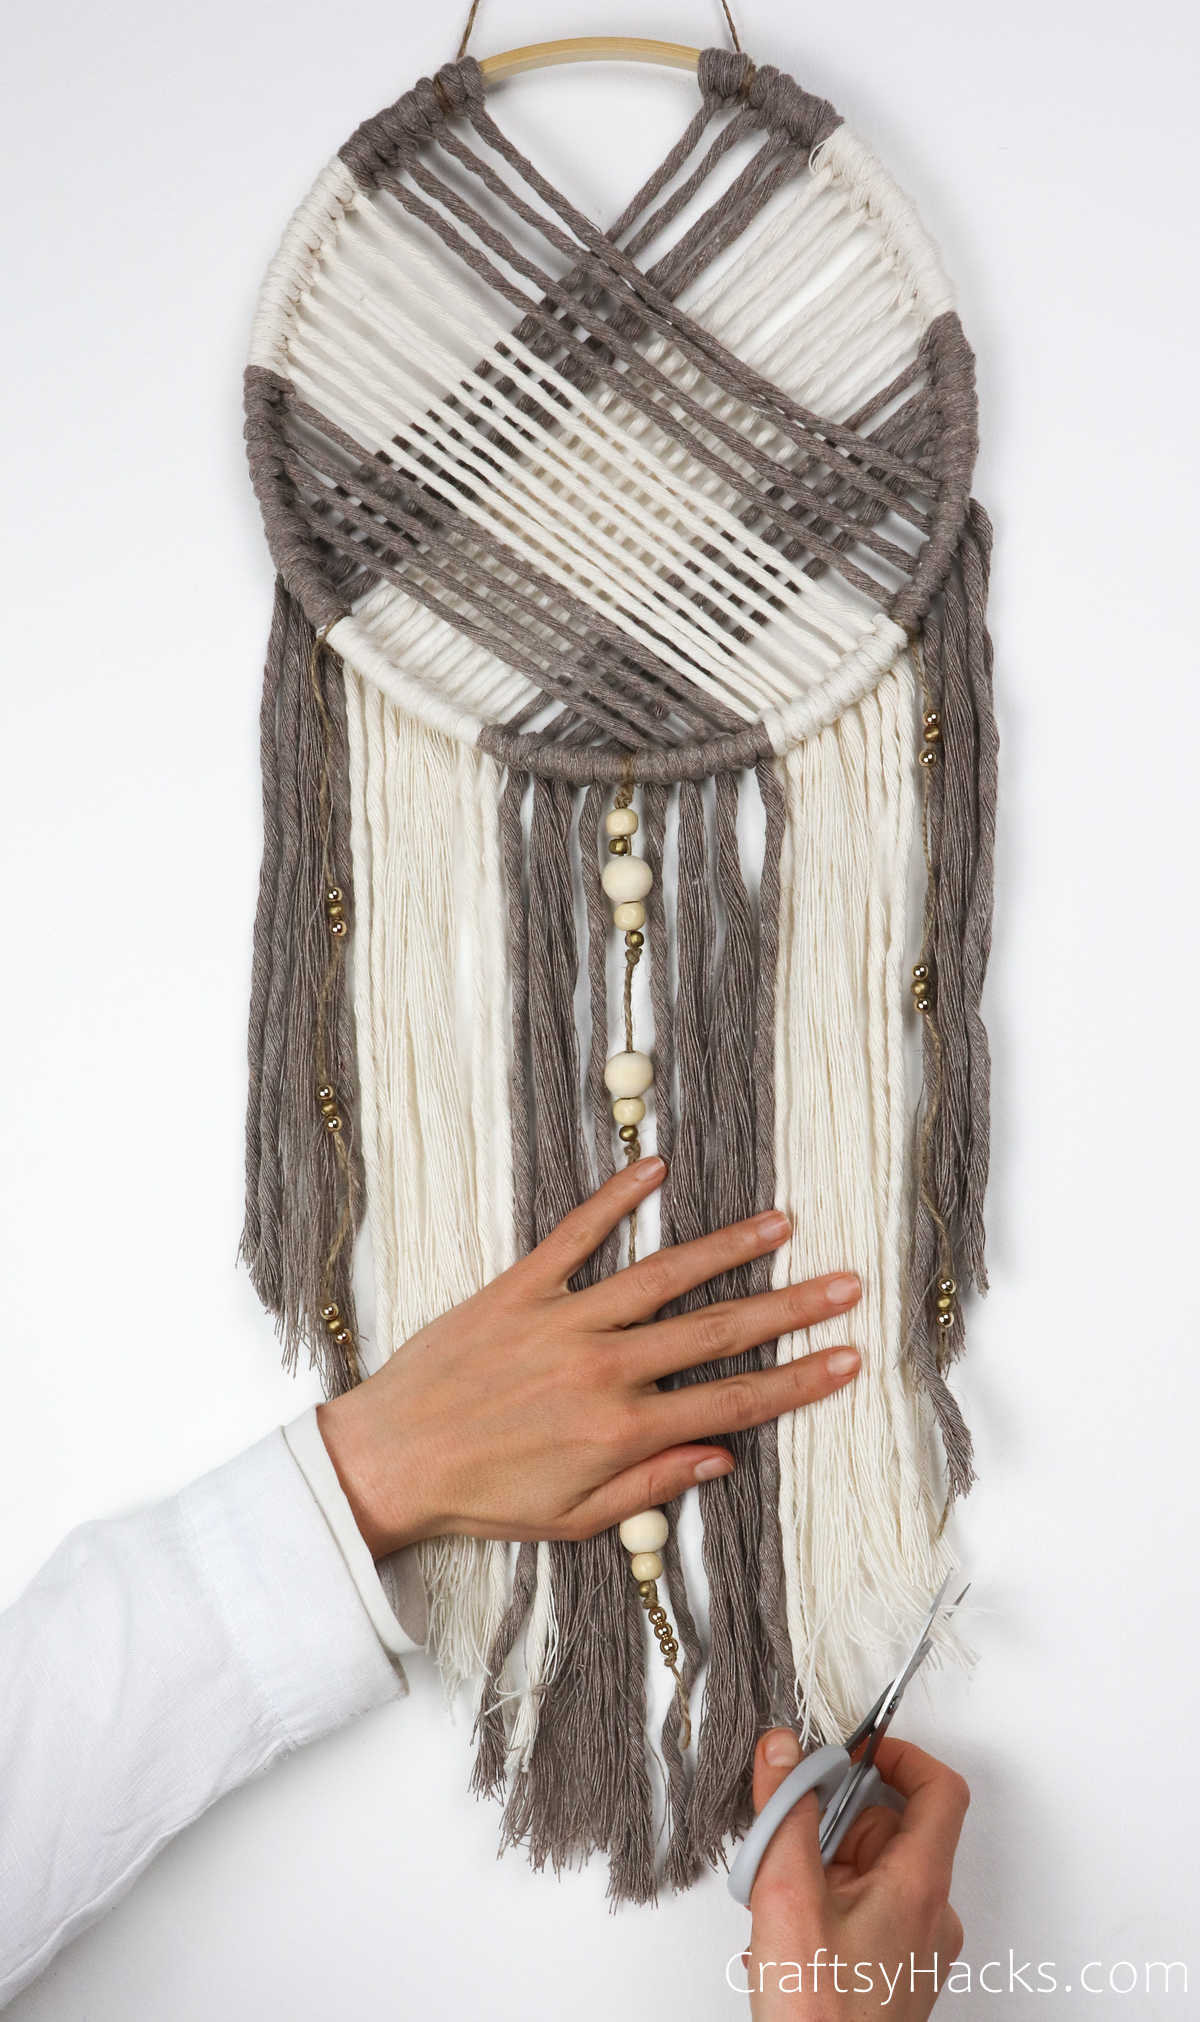
Step 19
Grab a pair of scissors and carefully trim the ends.
Heres a tip: smoothen out all the cords prior to beginning trimming them so your ends are even.
Do Dreamcatchers Really Work?
Now thats the question, isnt it?
Do you believe they work?
If you do believe that, then yes, dream catchers really do work.
Where Do You Hang a Dreamcatcher?
Do you want to use them as accessories?