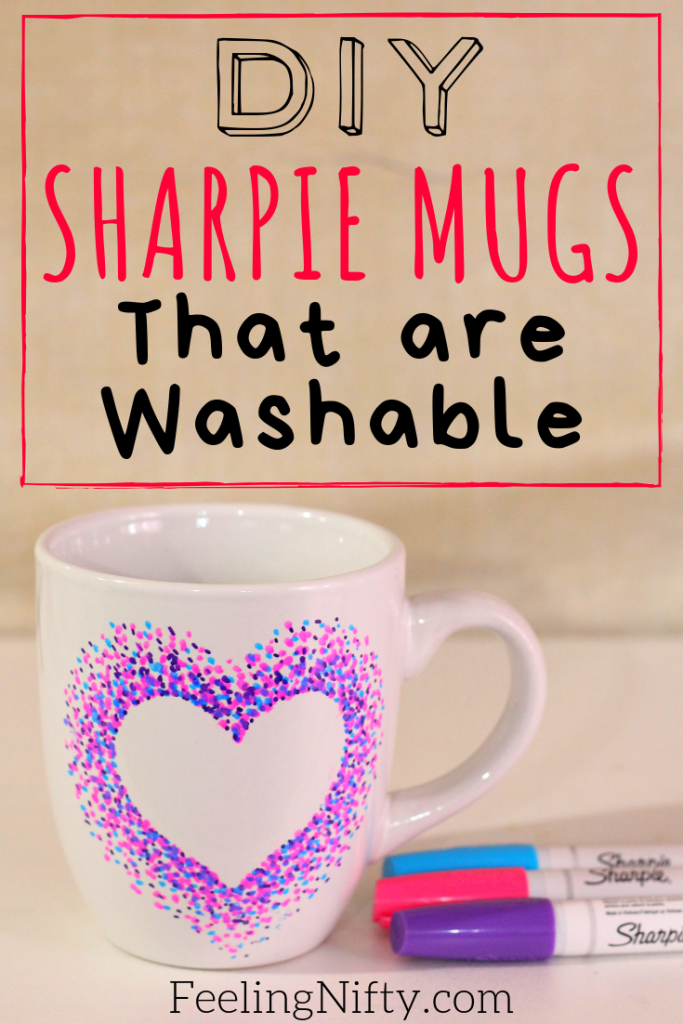
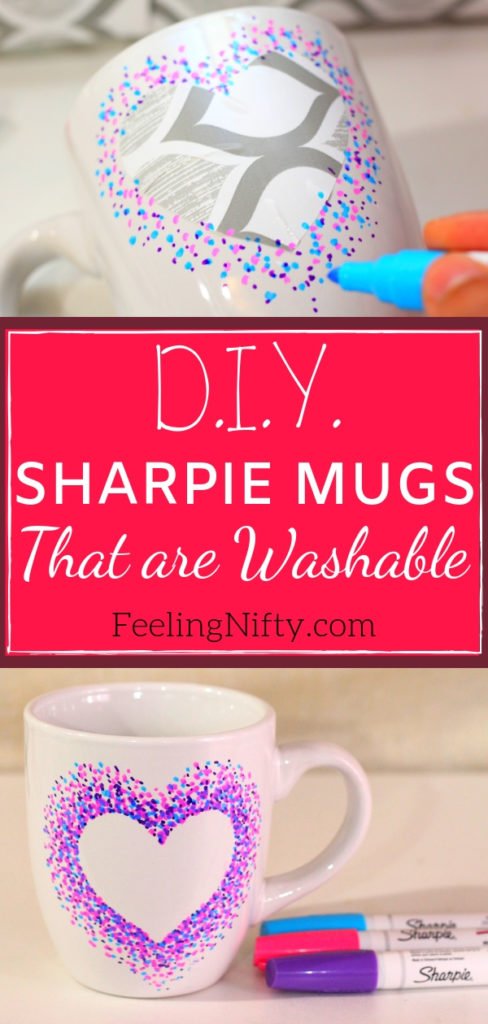
Create this beautiful, gift-worthy Sharpie mug with some simple markers and a mug.
And youll learn what to do so your beautiful designs dont wash off!
After seeing how gorgeous they are, you might even want to make one for yourself!
I ended up making 3 of them, because they were so fun to make.
Check out my moustacheSharpie mugthat I gave to my husband on fathers day!
If youre looking for design inspirations to put on your mugs, then check out this51 Pottery Painting Ideaspost.
Or if youre looking for more easy crafts to make check out this71+ crafts for adultspost for inspiration.
What is a DIY Sharpie Mug?
If youre not familiar with what Sharpie mugs are, then your in for a treat!
When I first discovered them, I was super amazed and couldnt wait to try it myself.
Basically you use Sharpie markers to draw designs on a plain mug.
Once youre happy with it, you bake it in the oven to set the marker design in.

And you’ve got the option to wash it too!
you might buy them in the store in the same section you get the regular Sharpies from.
They will say Oil-based on them.
If you use the regular Sharpies, they will wash away when you clean them.
This is because regular Sharpies are water-based.
Anytime water touches paints that are water-based, it tends to wash away.
Since oil and water dont mix, the oil-based paints shouldnt be affected by water touching it.
Baking it in the oven seals it even more.
I will talk about this in more detail a little later on.
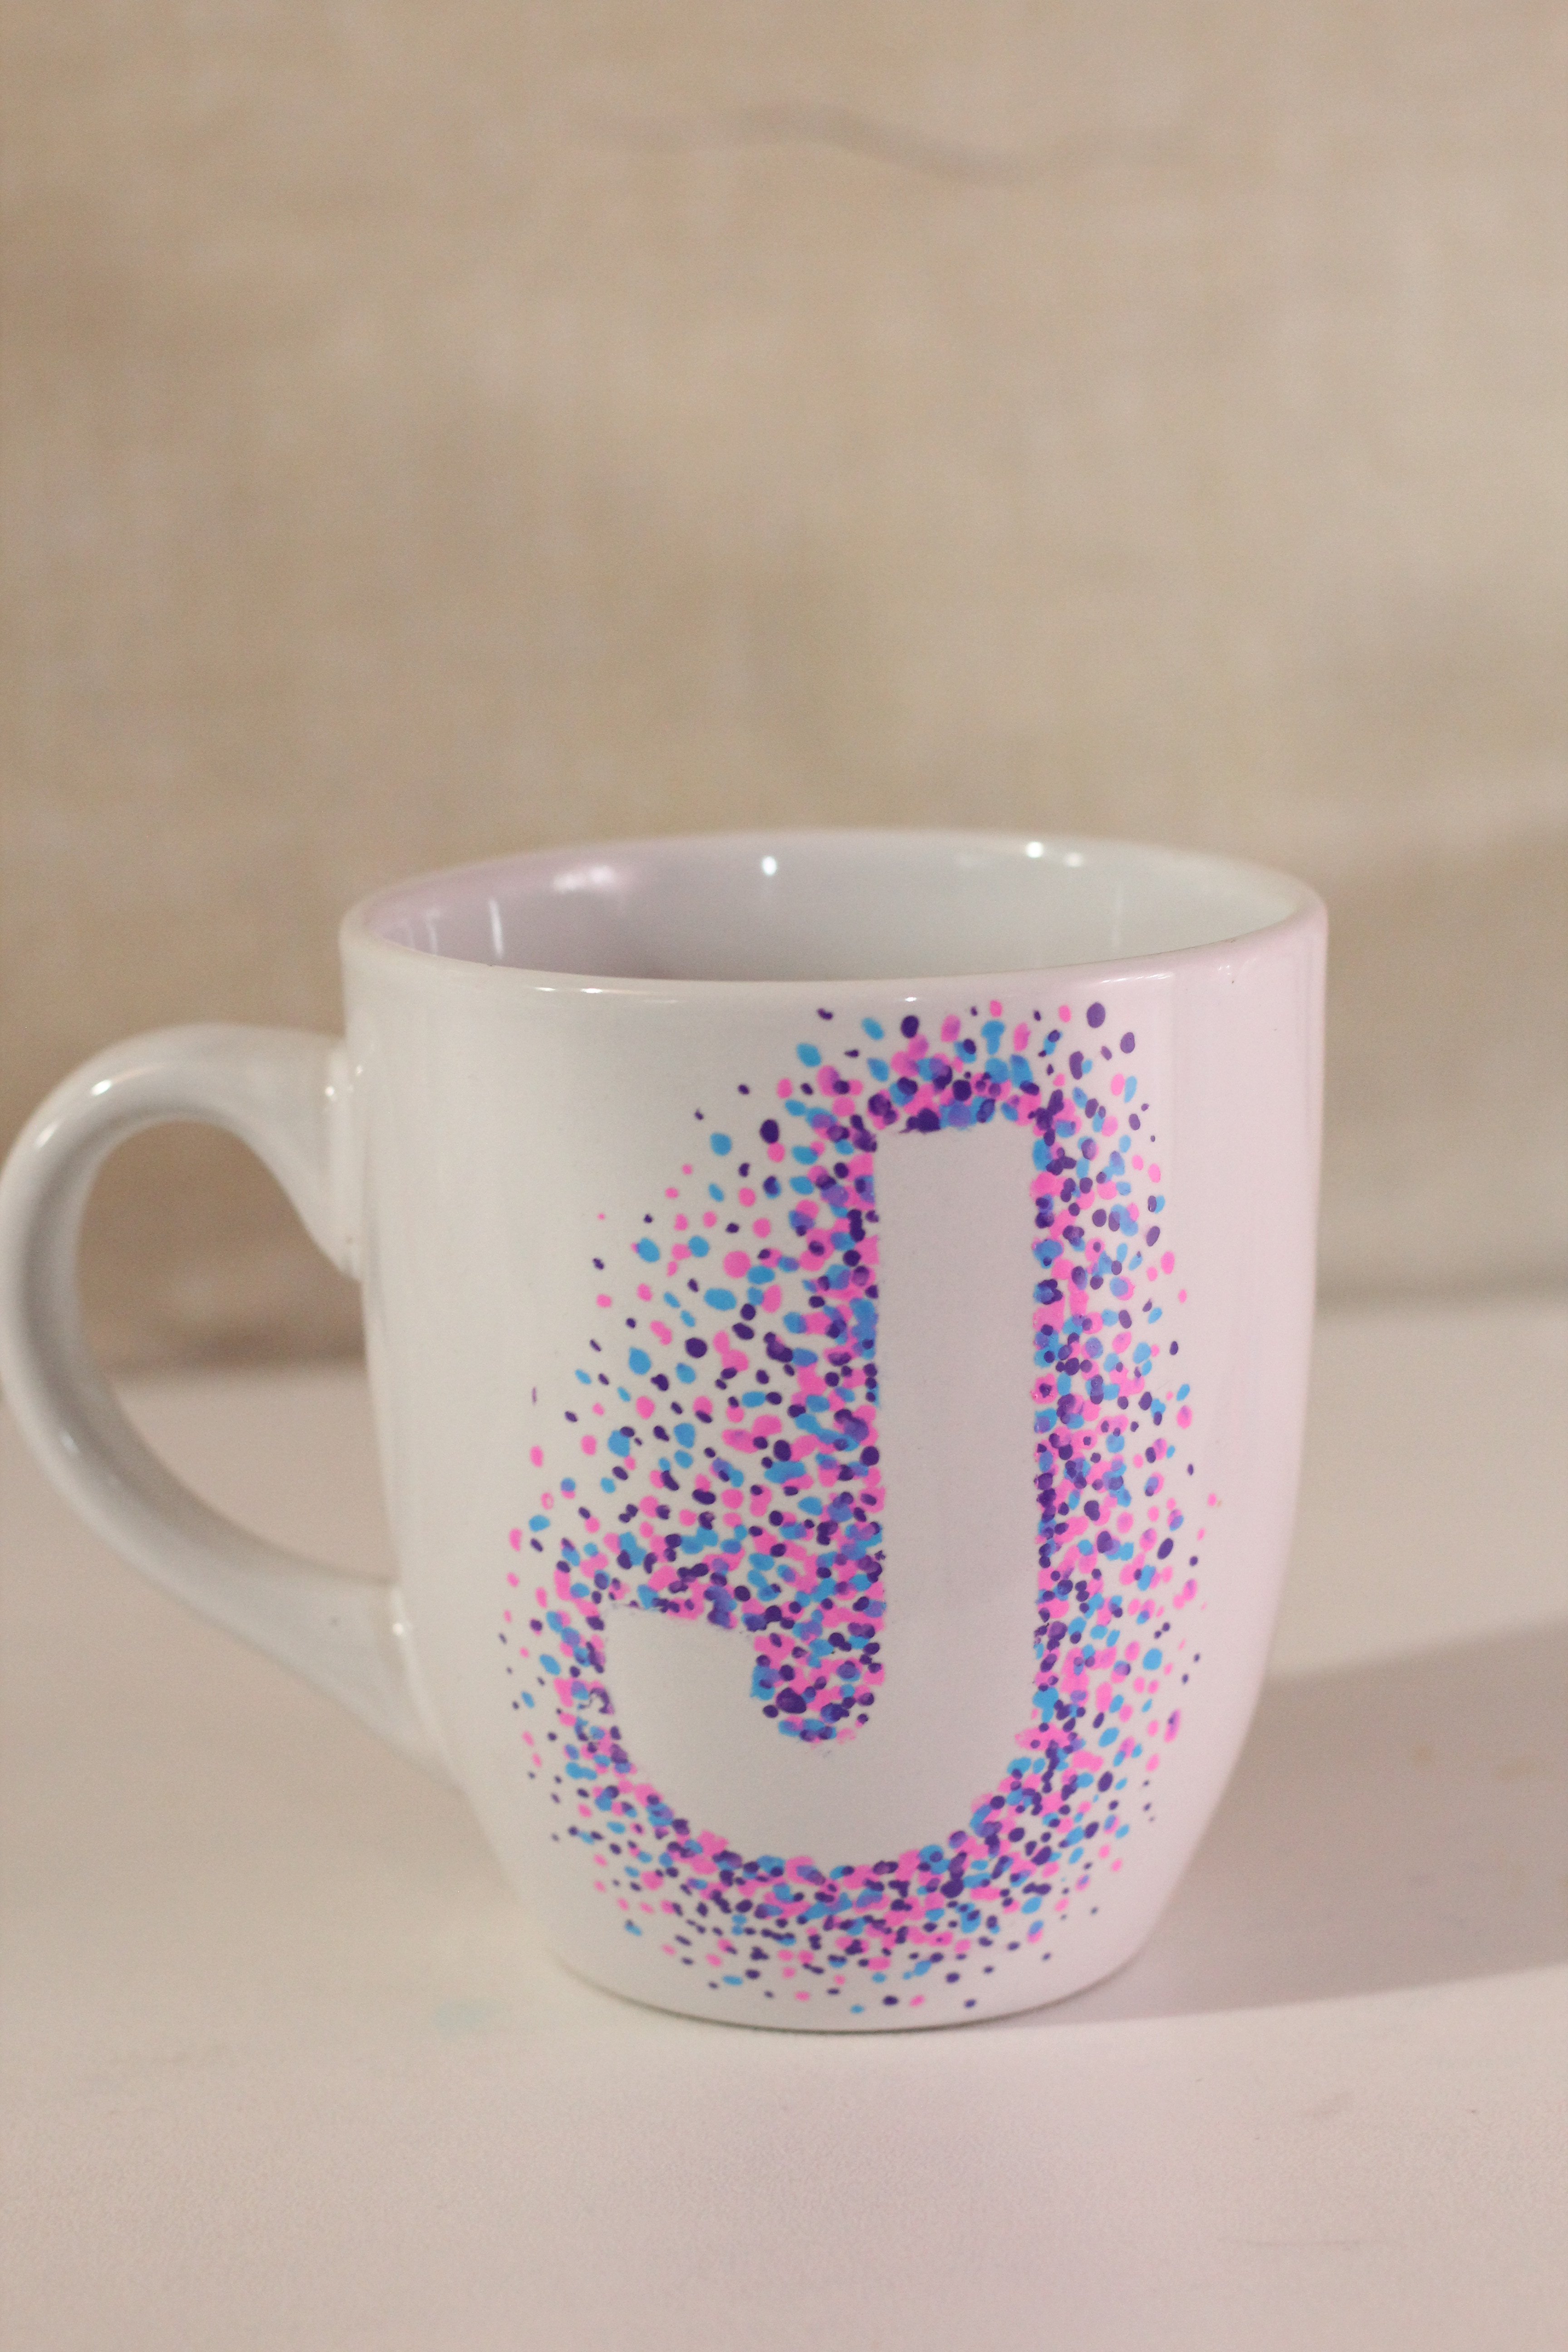
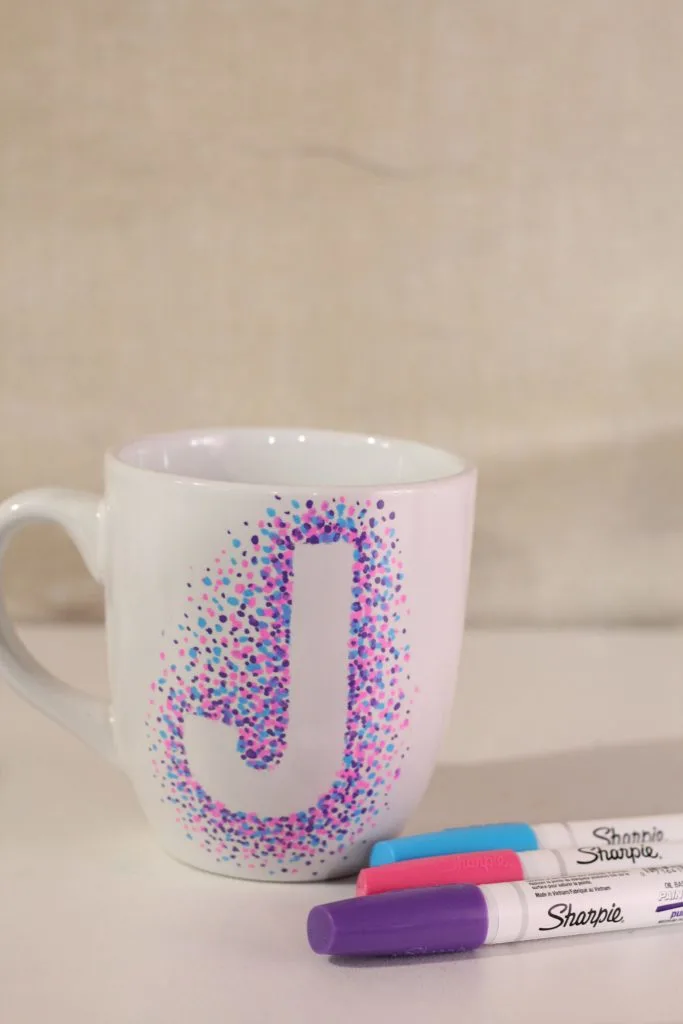
If youre looking for some nifty ideas, a popular trend is to create letter initials.
These also make nice gifts.
Like the J I created below.

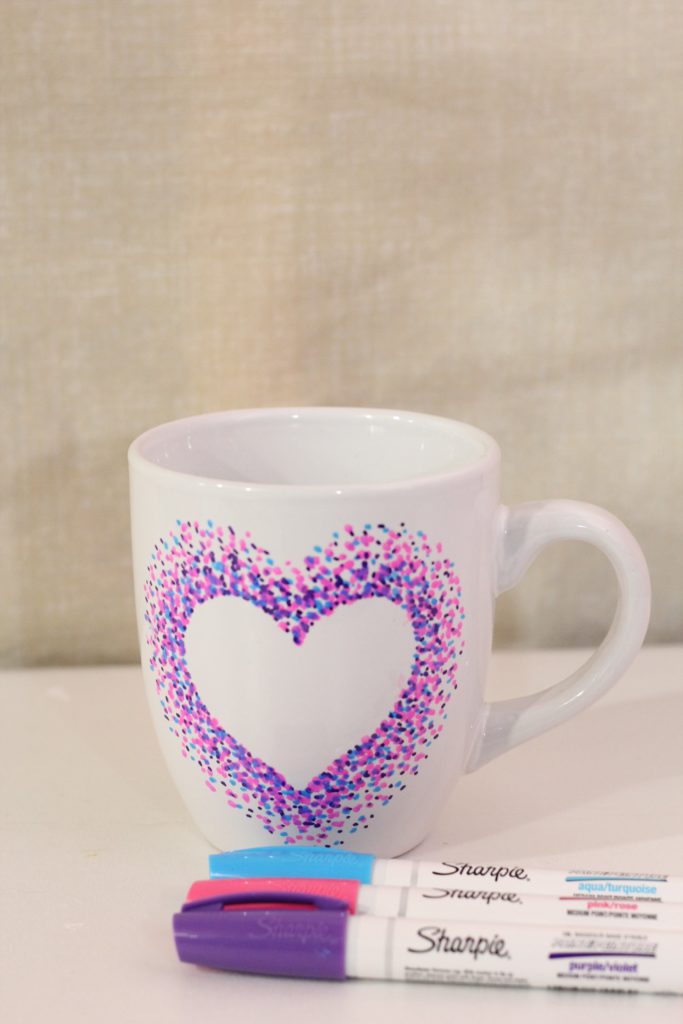
After I lifted the sticker, I was left with the following design.
This post contains affiliate links.
I also used this method on some Dollarstore Canvases and paints, in this super easyDIY heart painting tutorial.
After your done your design work, you peel the sticker or contact paper away.
Youre left with a perfect shape or letter with your colorful artwork around it!
This also makes a great craft for kids.
If you want more inspiration, check out Cool Crafts list of50 DIYSharpie Mug ideas.
Or you could check out Pinterest and Google.
This sets the paint even more and cures it.
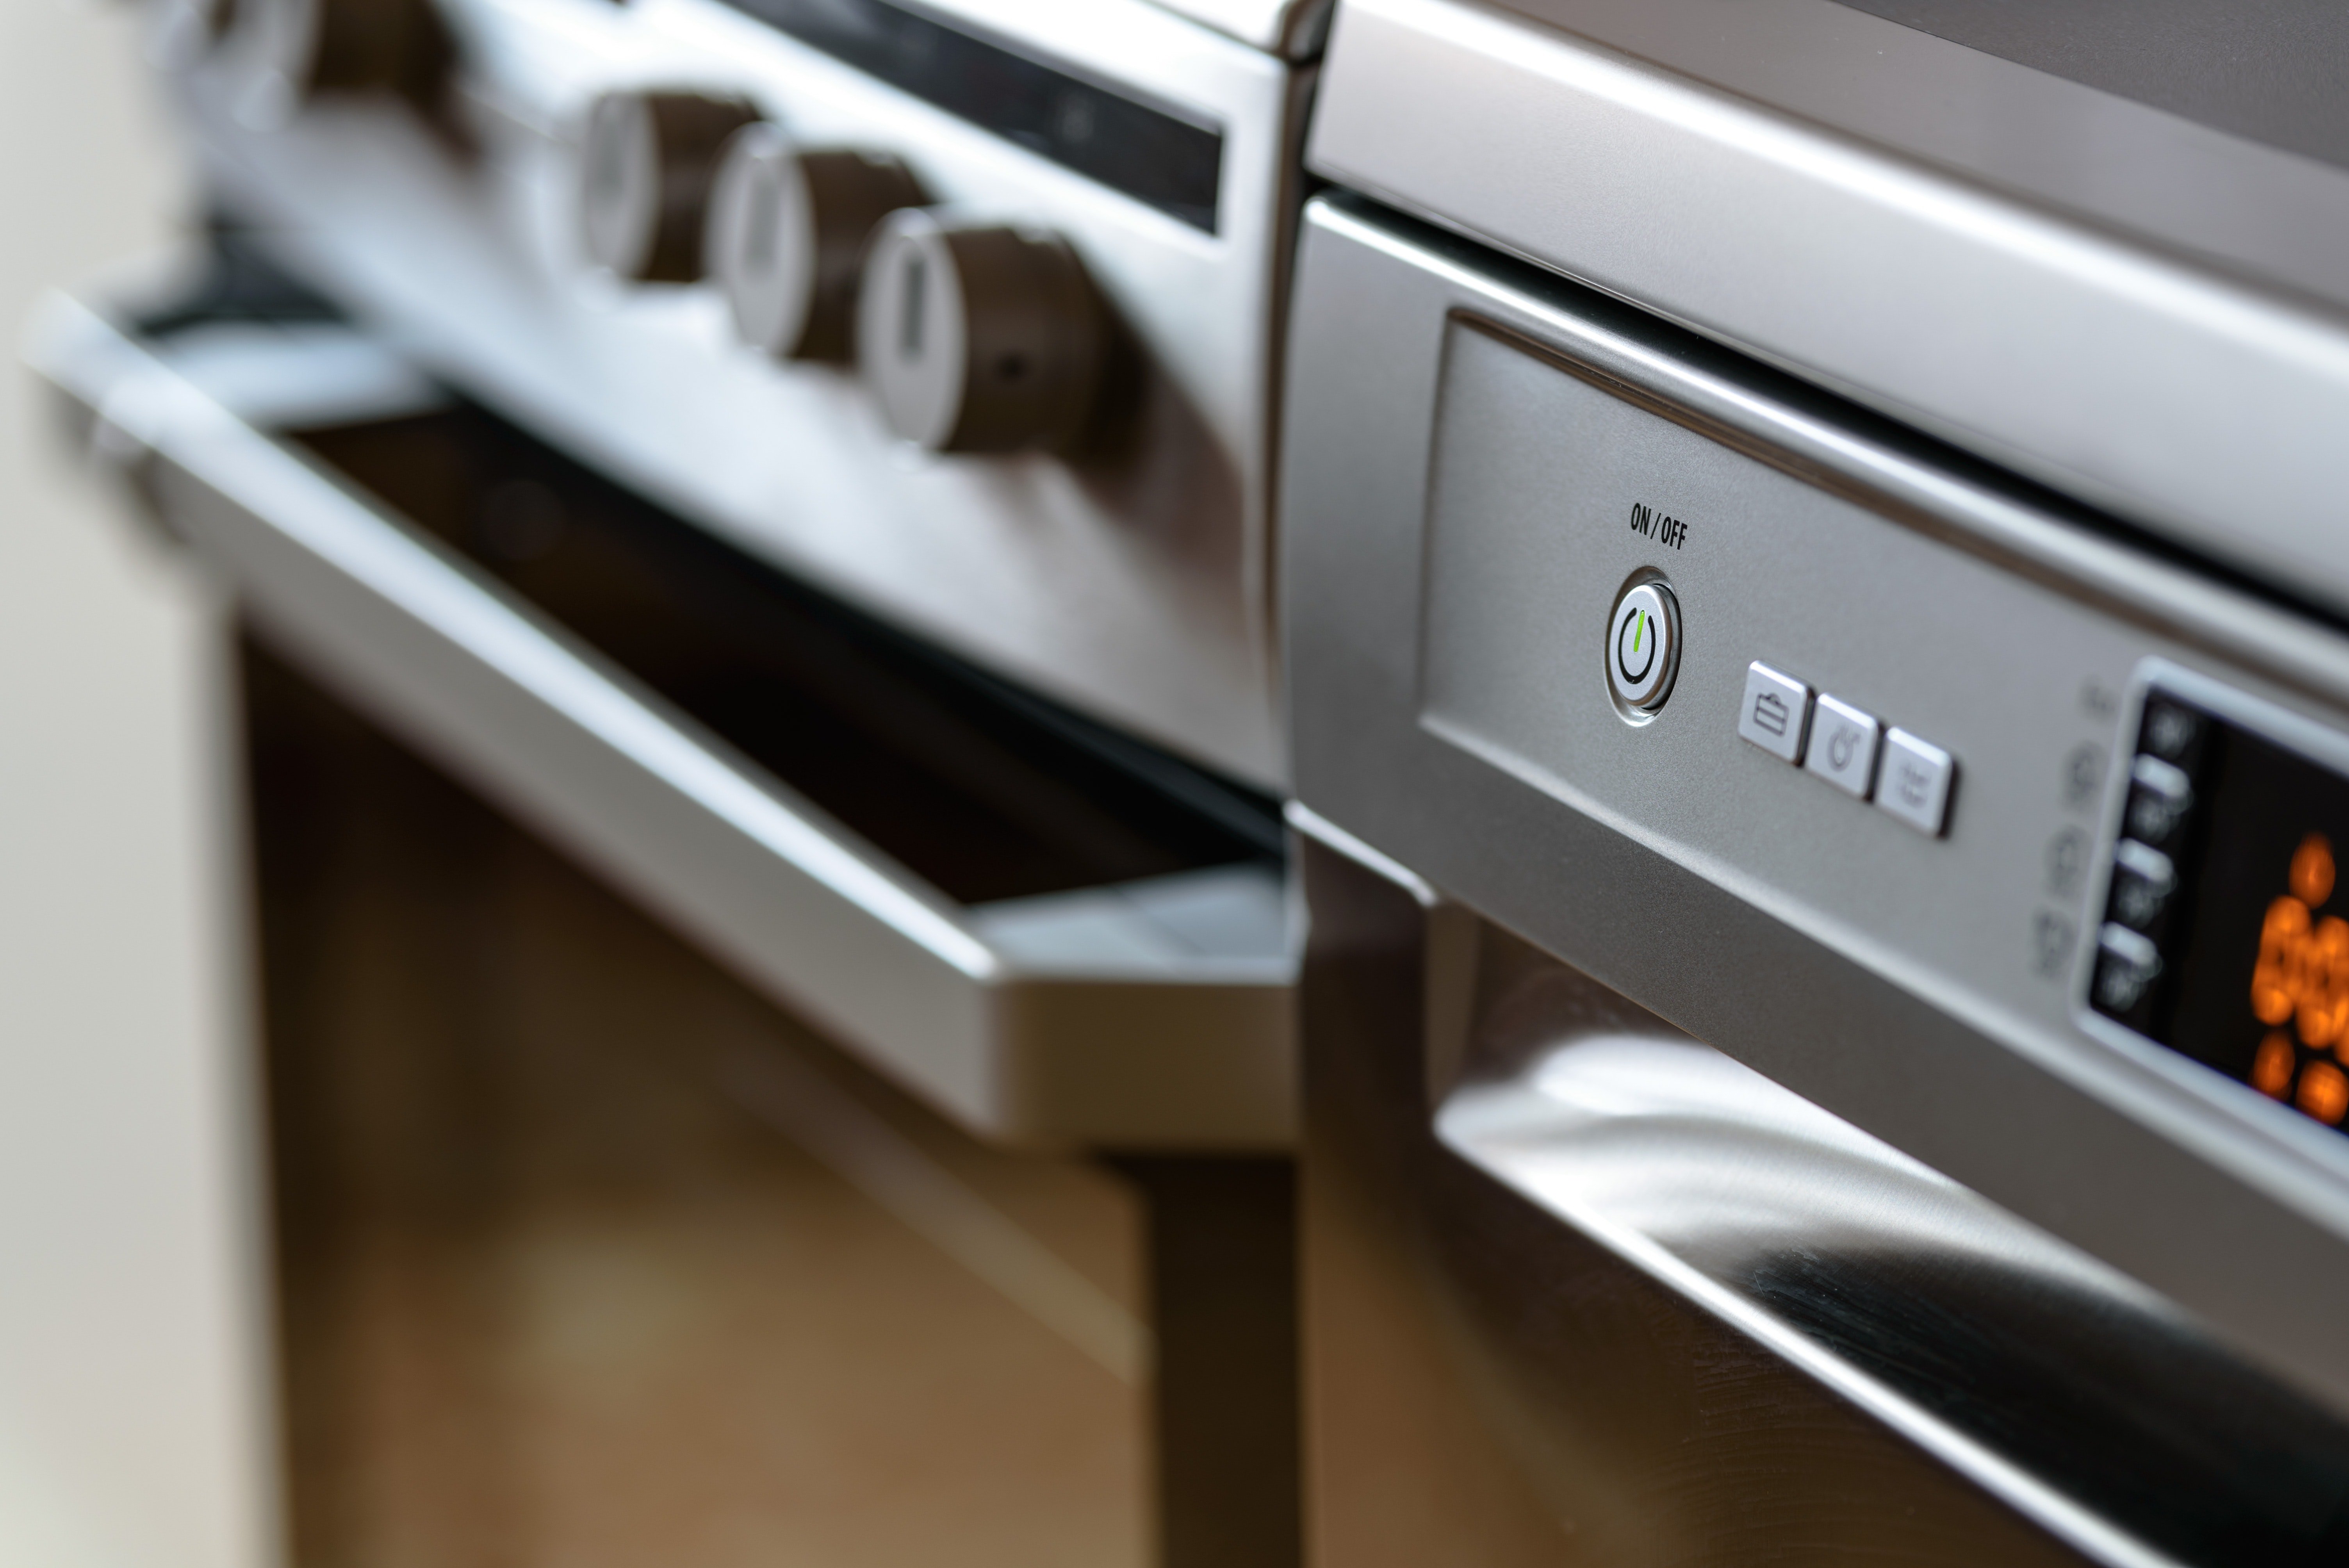
An important thing to remember is toput your mug into a cold oven, then turn it on.
This prevents any cracks in the mug from a sudden temperature change.
In terms of the temperature and timing,bake your Sharpie mug at 250 F for 2 hours.
Since color preservation is important, I have adjusted the baking instructions to account for this factor.
This will result in NO color change, plus your mug will be wash-proof!
Some colors are more prone to color change.

Blues, reds and greens are more prone to changing color when exposed to high temperatures.
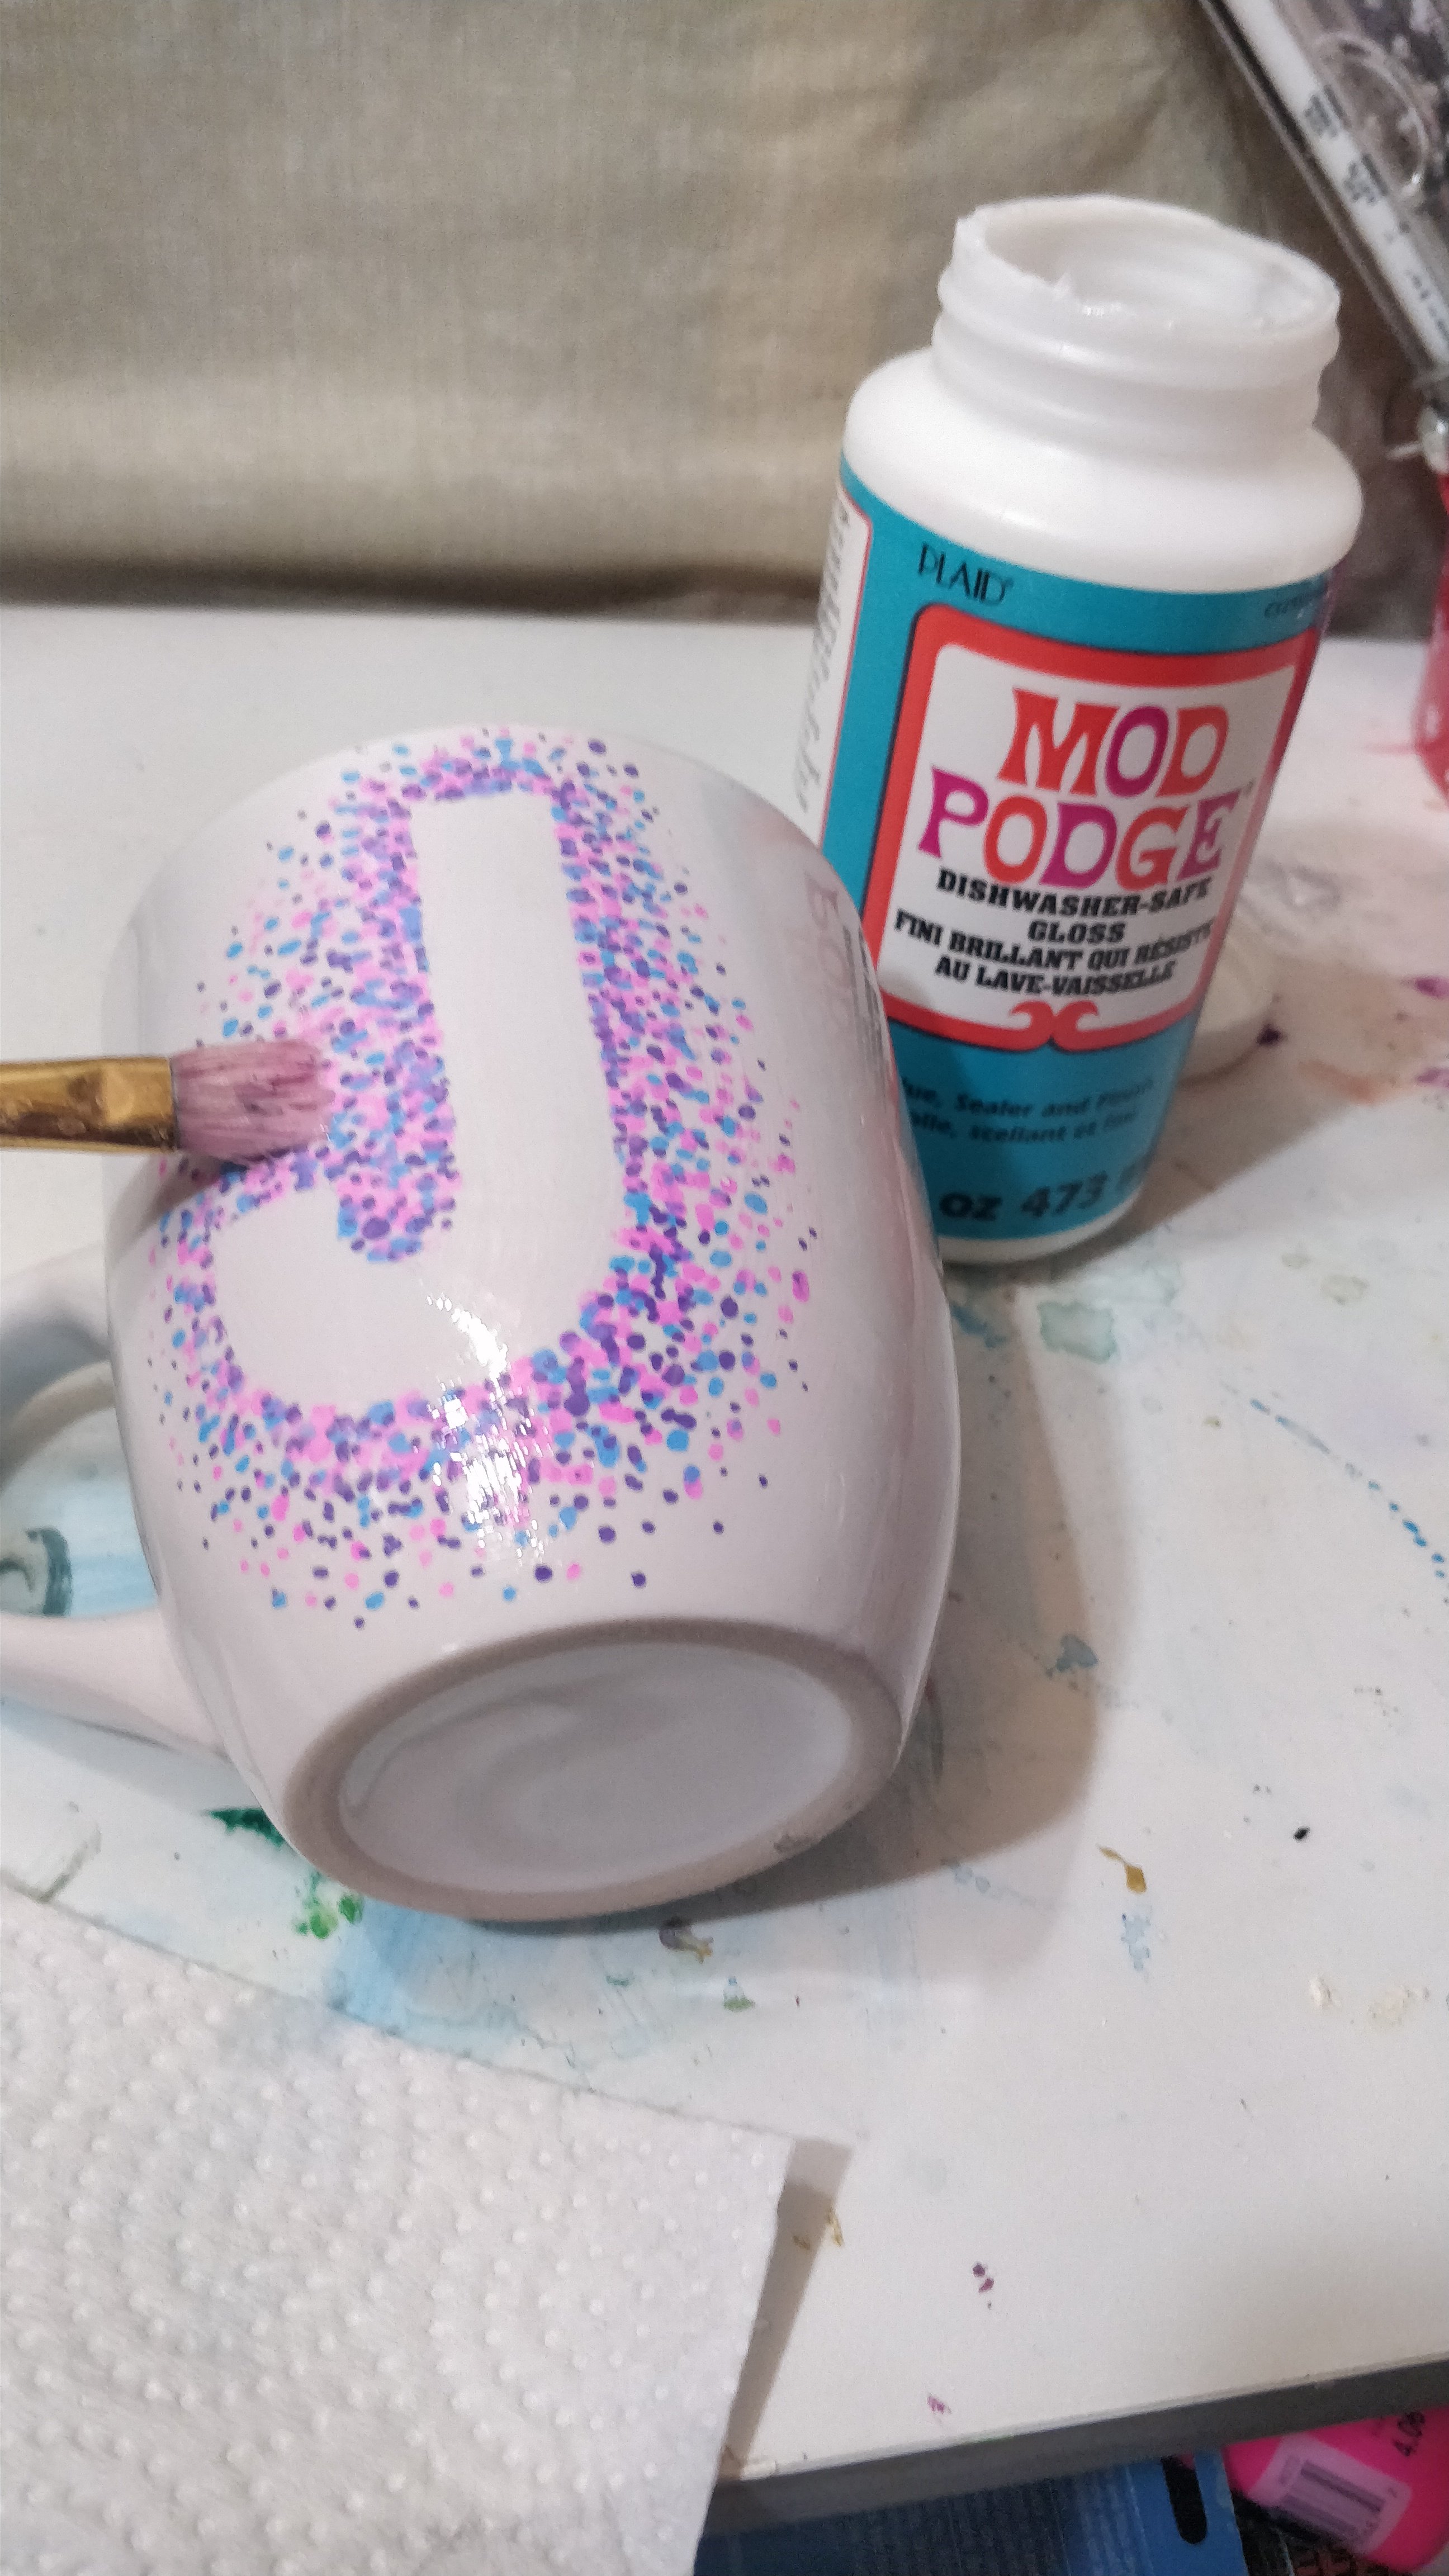
you might even skip baking your Sharpie in the oven and just seal it with Modge Podge directly.
I kept the instructions for baking it, for those who dont have access to this Mod Podge.
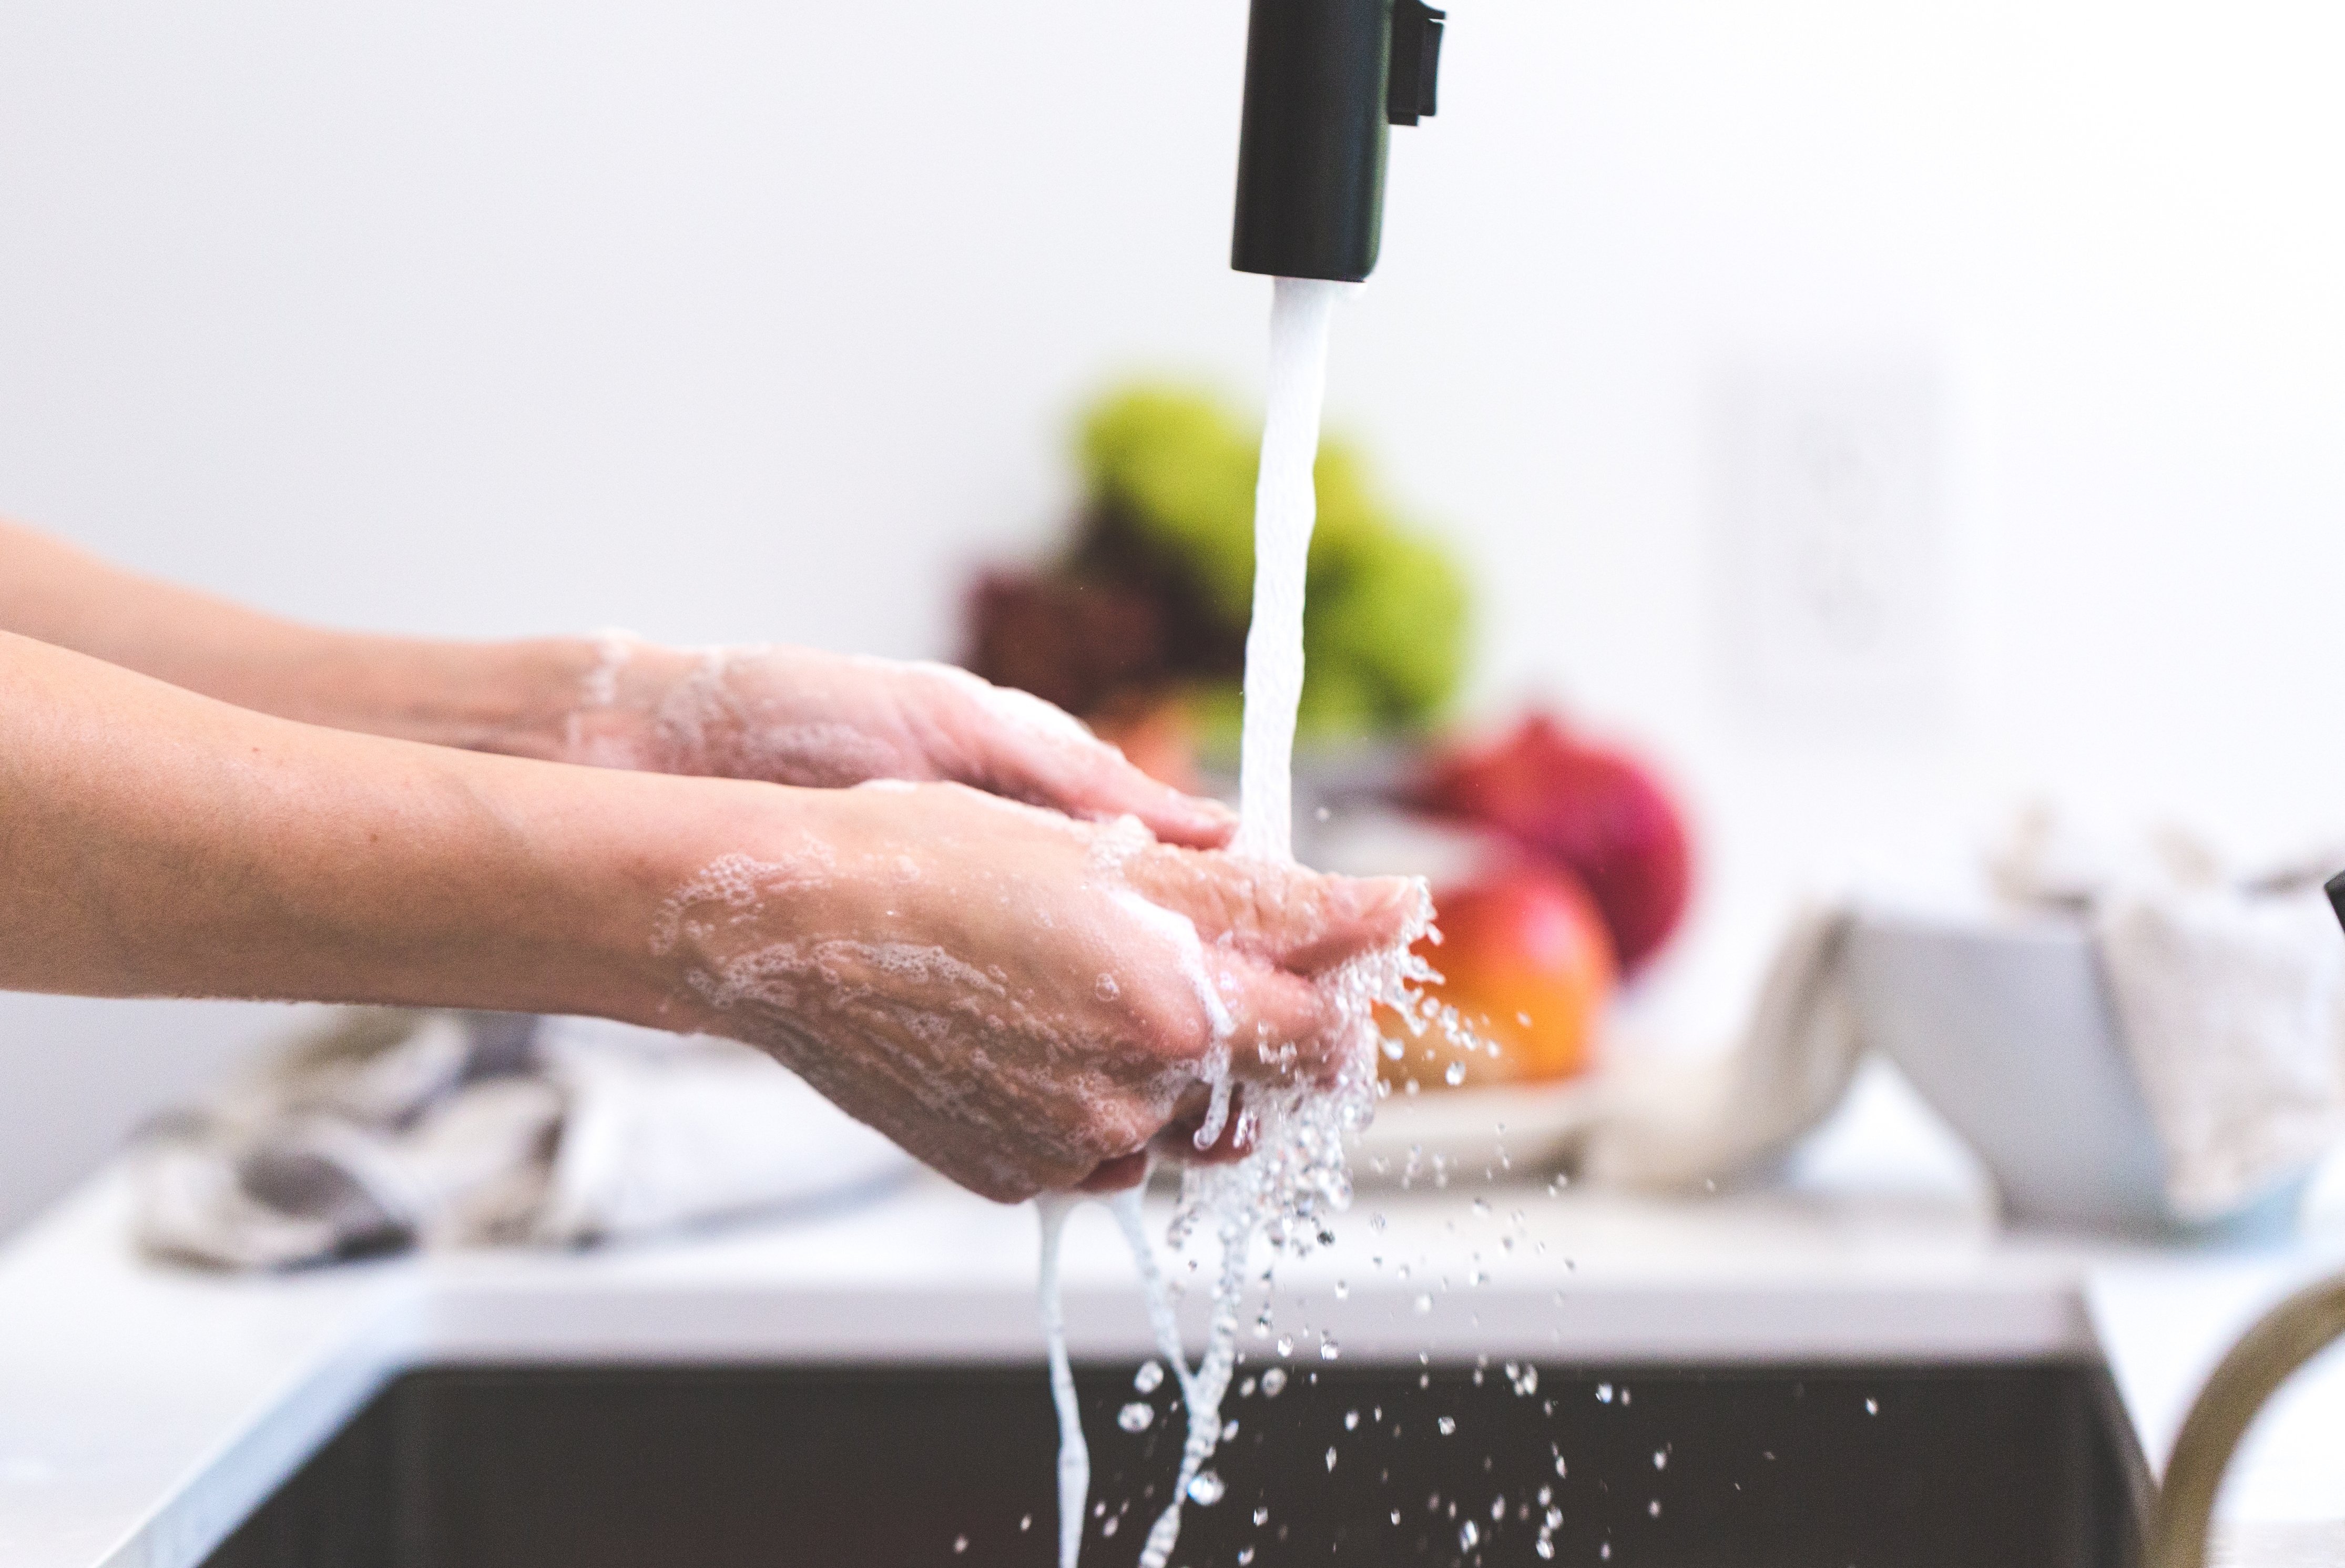
you could use regular dish soap and warm water to clean.
DO NOTput in the dishwasher unless you seal them.
Instructions in the tutorial below.

How to Make a DIY Sharpie Mug
1.
This step is important: Take rubbing alcohol or nail polish remover and wipe your mug before you begin.
it’s possible for you to wear non-latex gloves as added protection if youre really worried.
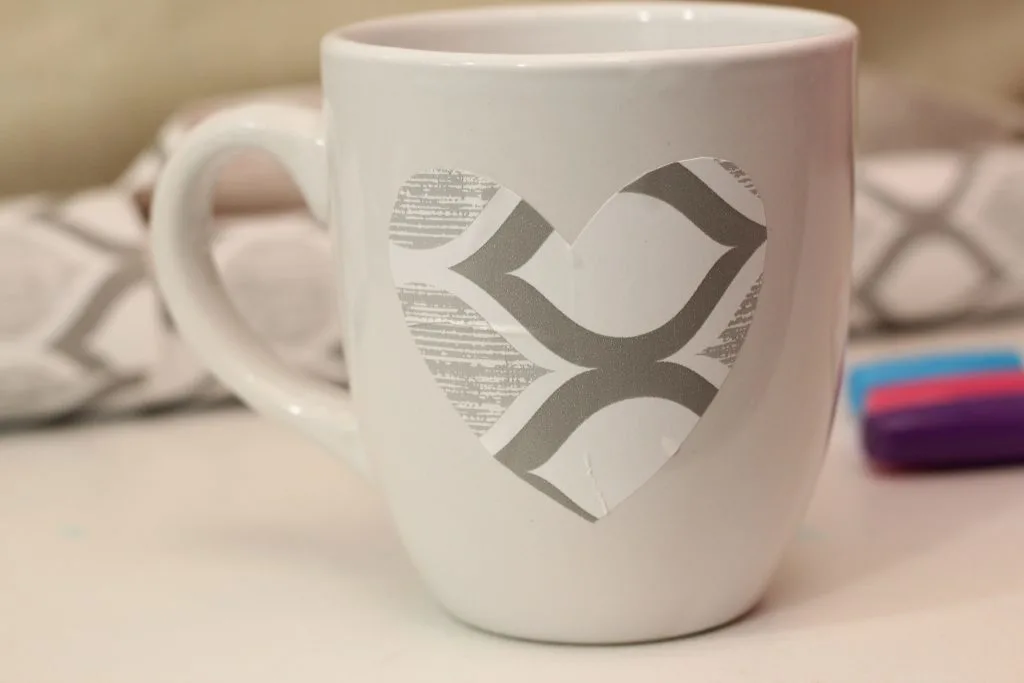
Place your sticker on your mug.
you’re able to grab some from the Dollarstore.
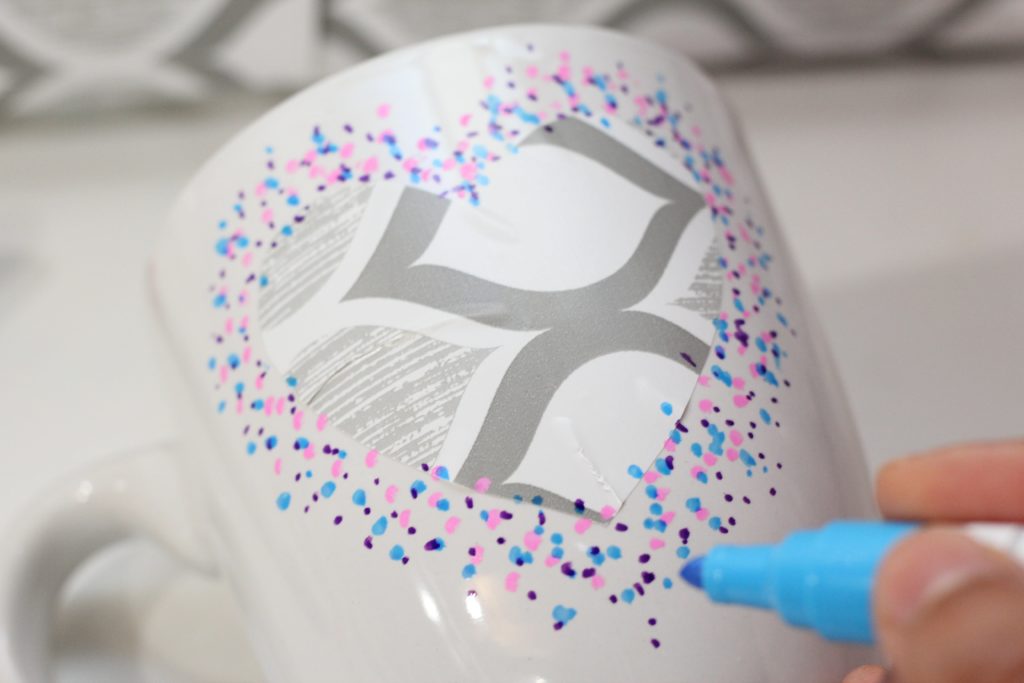
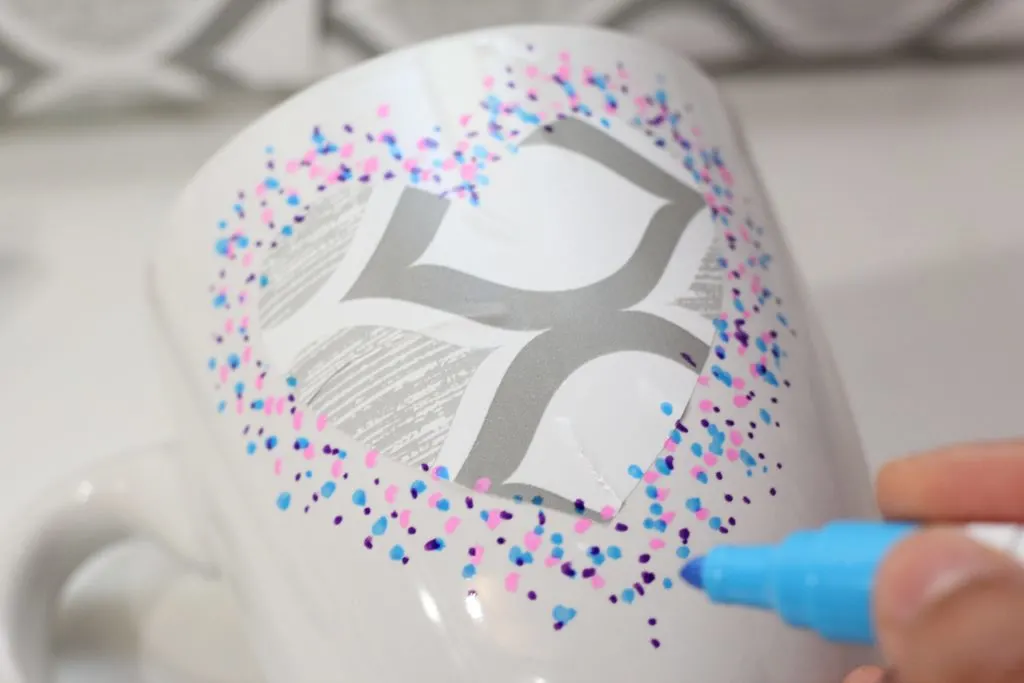
Now take your Sharpies and put dots all around your sticker.
I chose pink, purple and blue colors.
This will give a starburst like effect.
Once youre happy with the design, peel away the sticker.

Leave your mug to dry for 48 hours.
It takes this long for the paint to fully dry.
This will let the paint adhere to the mug properly.
After 48 hours has passed, its time to bake your mug.
Put your mug in a cold oven then turn it to 250 F. Let it cook for 2 hours.
Once 2 hours are passed turn the oven OFF.
Let the mug cool completely, IN THE OVEN.
Once cooled take it out.
Your Sharpie Mug is now done!
This will also make your mug design dishwasher safe (top rack).
I waited closer to 28 days before putting it in dishwasher.
DO NOT USEthe regular Mod Podge.
Use the one in the link above, it is made specifically formulated to withstand dishwashing.
You now everything about making your very own DIY Sharpie mug.
Until next time…stay Nifty!
If you liked this post, Pin it!
