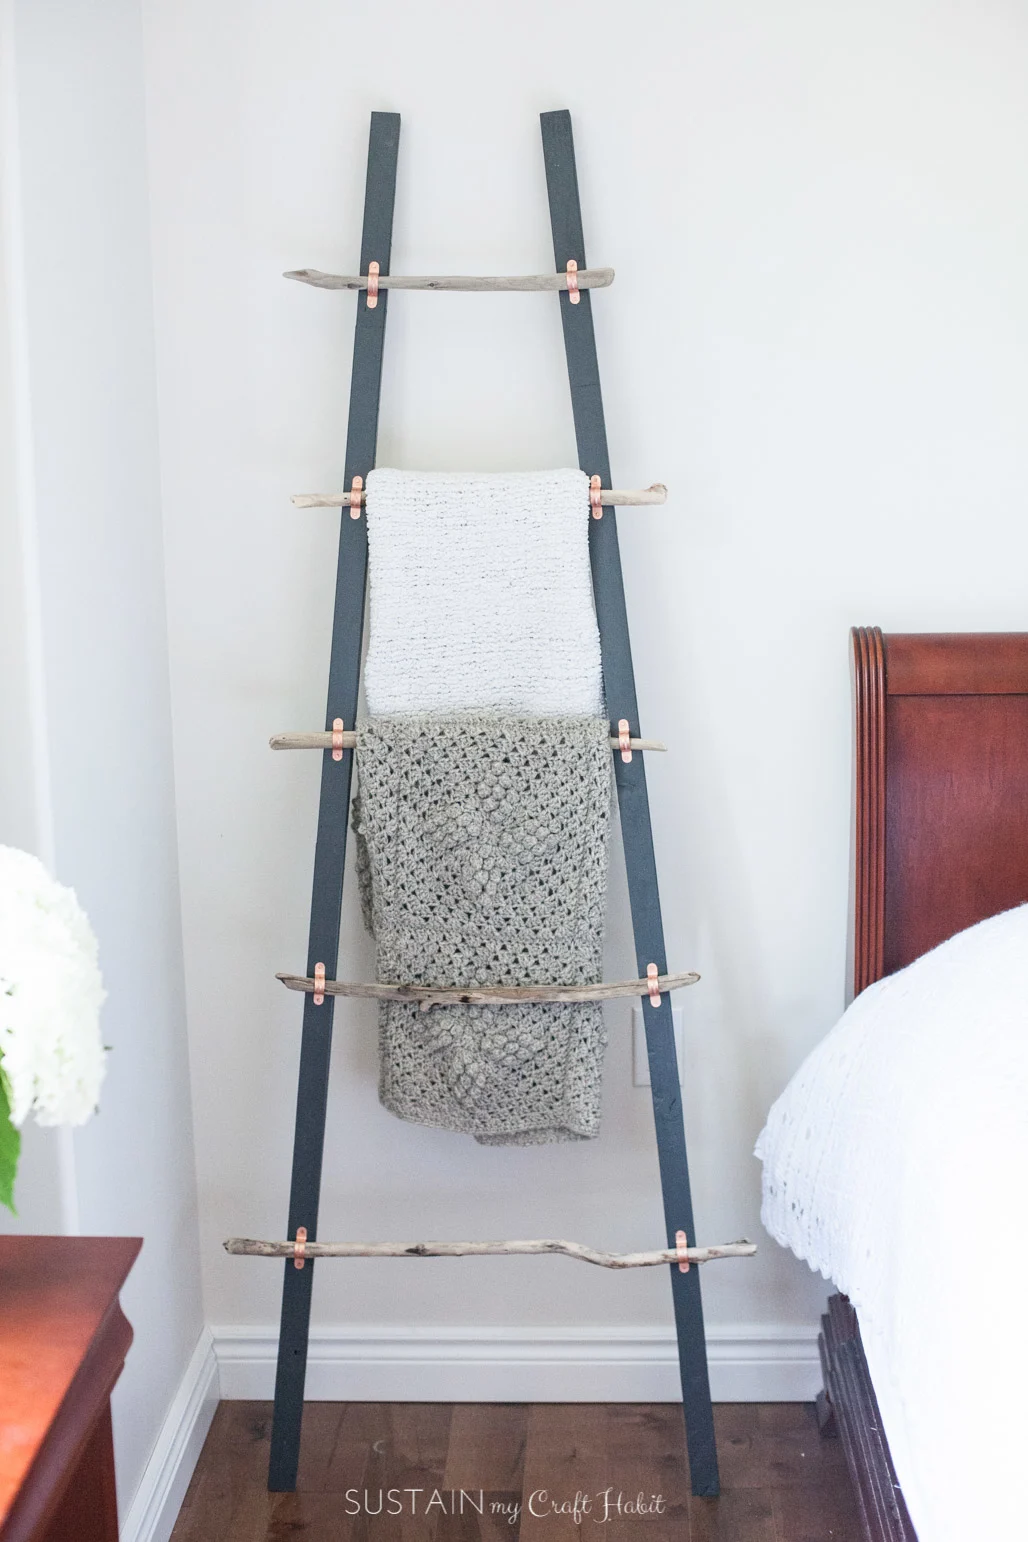
These nature-made supplies get used in all of thedriftwood craftswe love to make!
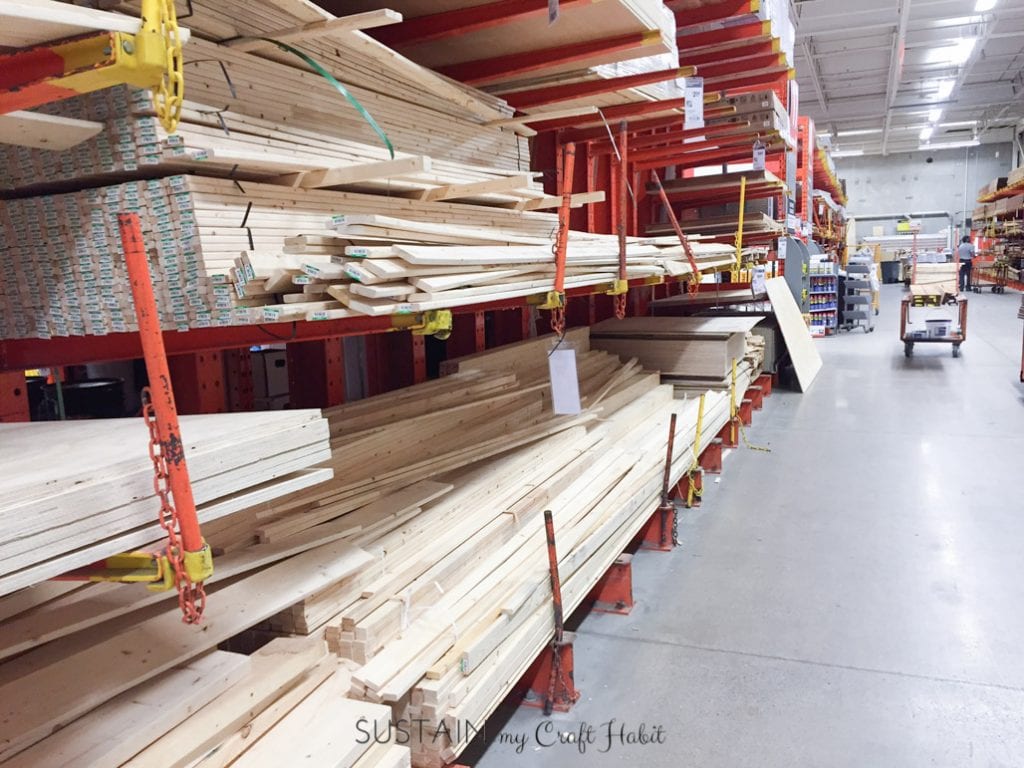
This wood can be found in the lumber section and is typically sold in 8 lengths.
While there I also picked up some copper tube clamps for the project.

Each piece should be about 34 diameter to fit snuggly under the copper clamps.
Finally, try and collect pieces of driftwood with nicely rounded ends rather than sharp, broken ones.
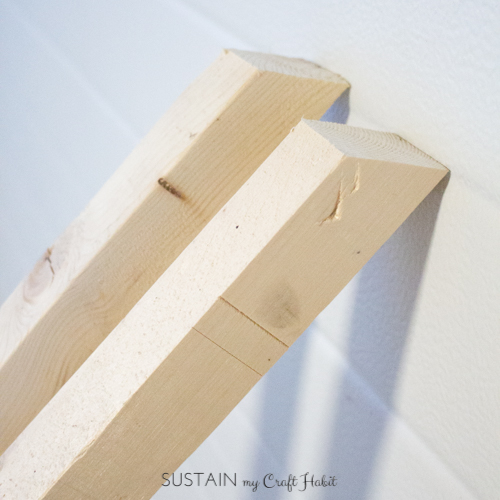
Cut the ends (one or both) on a 15 degree angle with a Mitre saw.

These ends will rest against the floor.
Wipe off any dust from the wood with a damp cloth before moving on to painting.
With a small roller, apply the paint evenly to all sides of the wood.
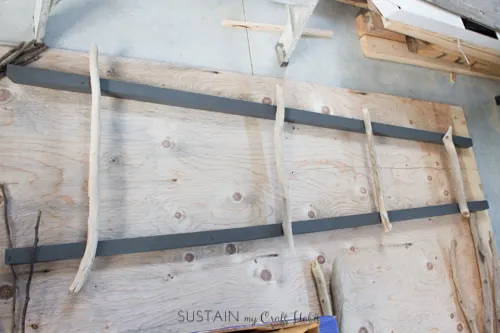
double-check to lay the sides of the rails with the longest length facing up.
The ends with the angled cut will be at the bottom of your ladder.
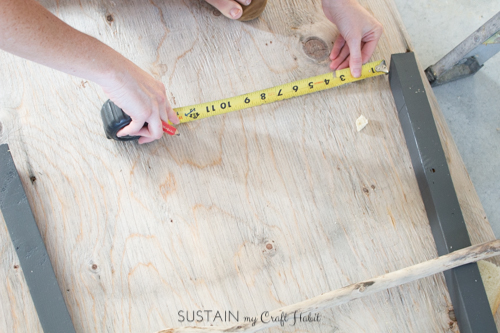
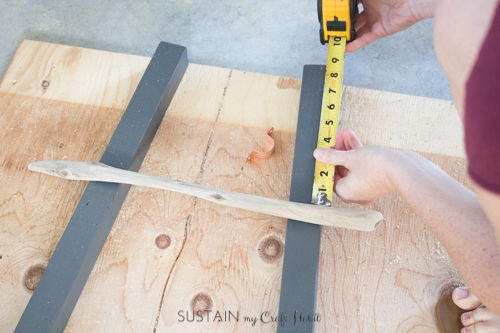
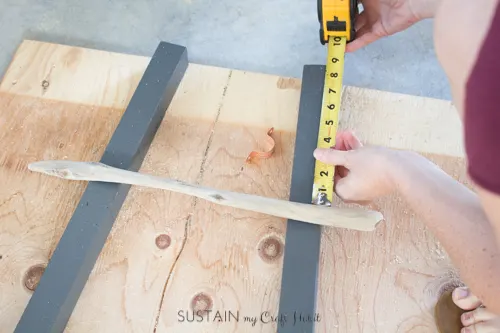
Mark the placement of the driftwood rungs.
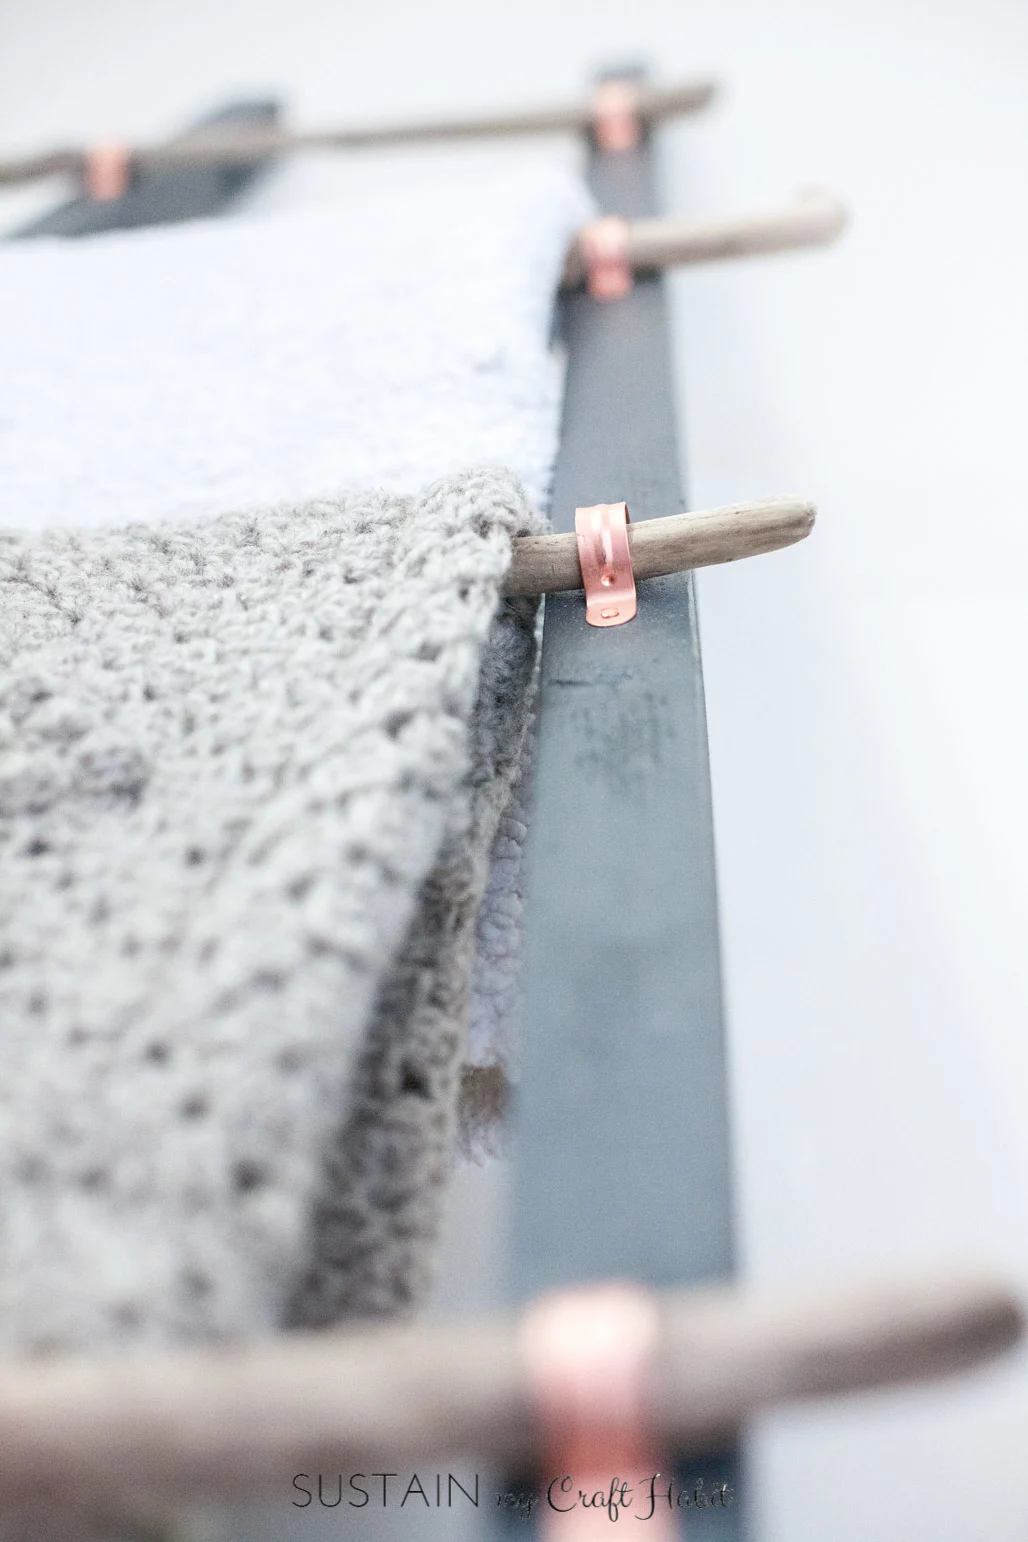
The driftwood pieces will lay over top of the rails.
Position each other rung (from shortest to longest if making an A-frame ladder) about 12 apart.
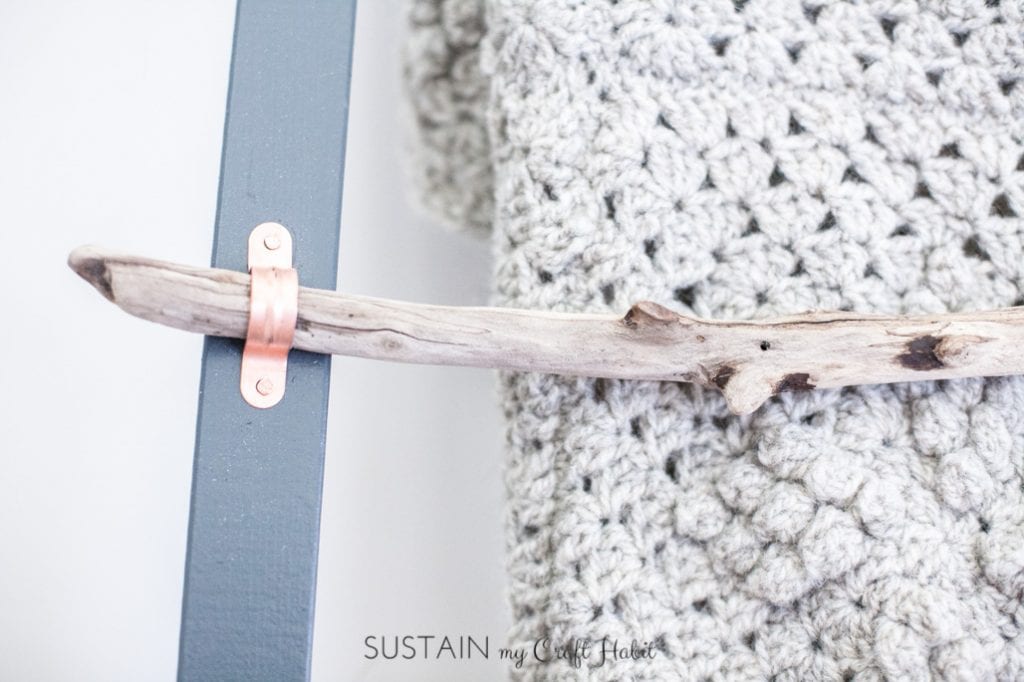
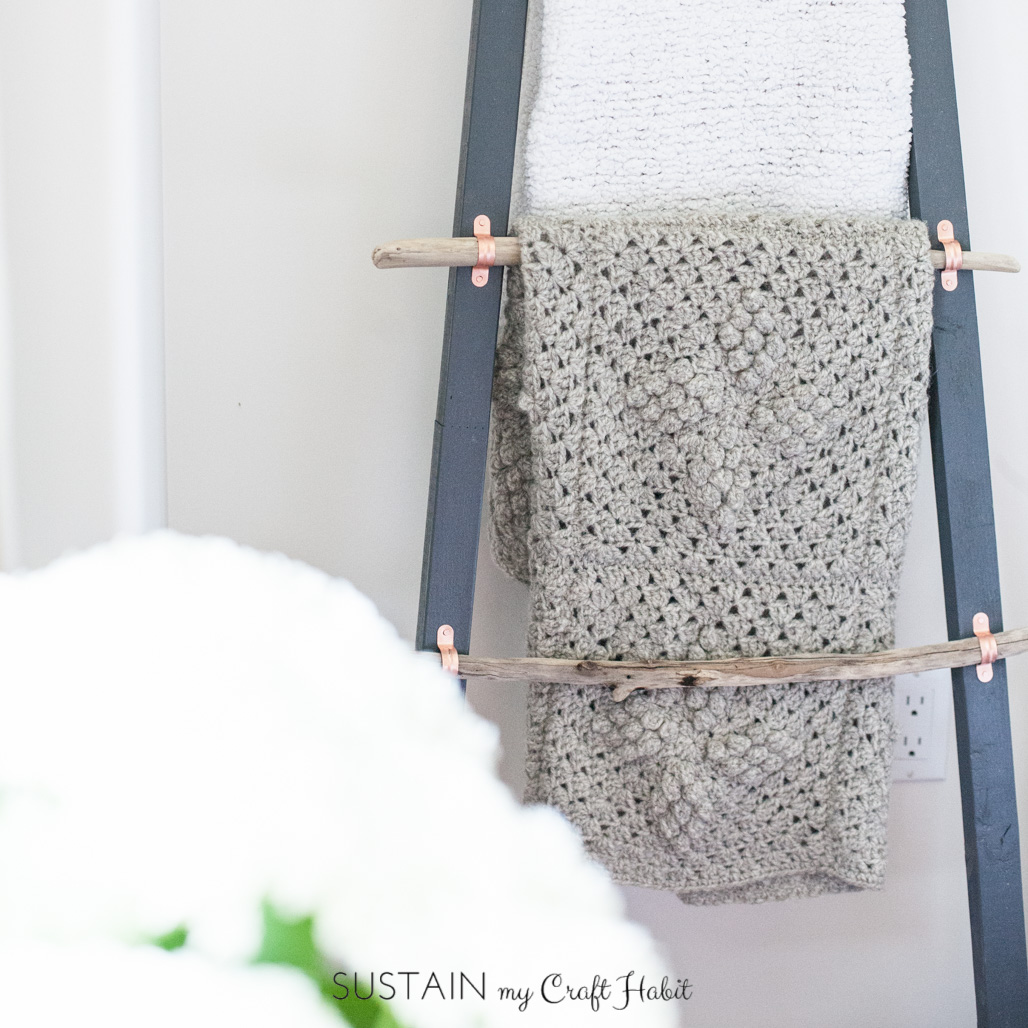
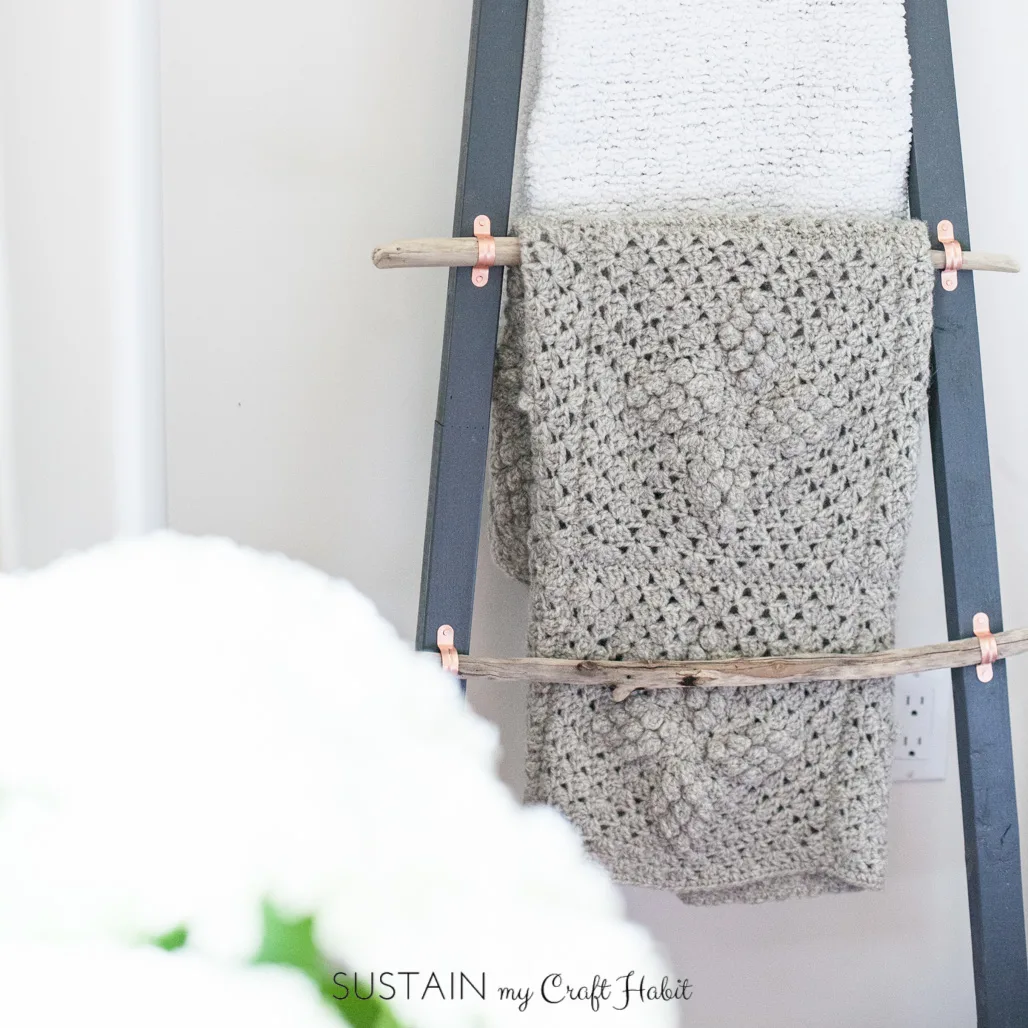
Attaching the blanket ladder rungs with copper tube clamps:
Start with top rung.
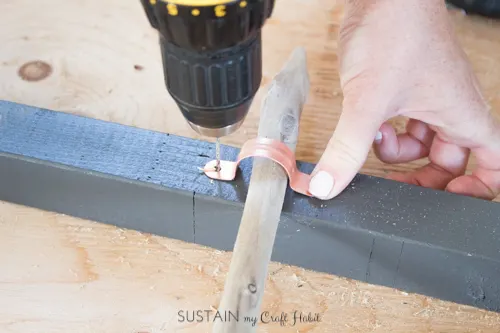
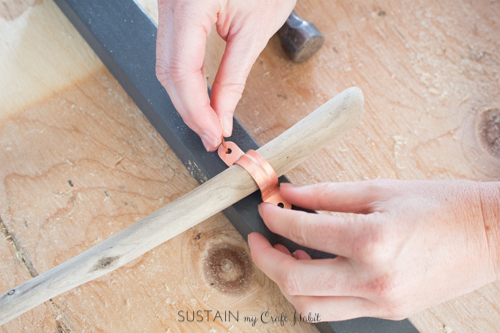
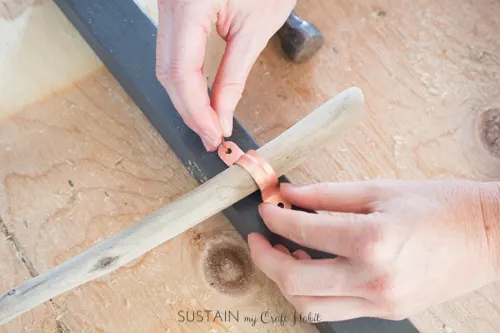
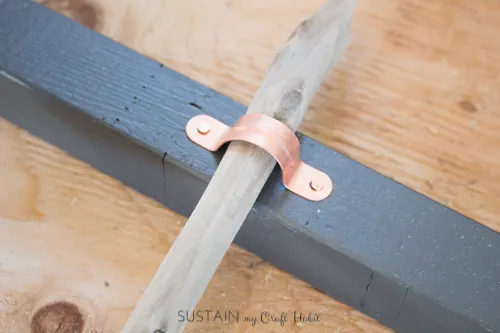
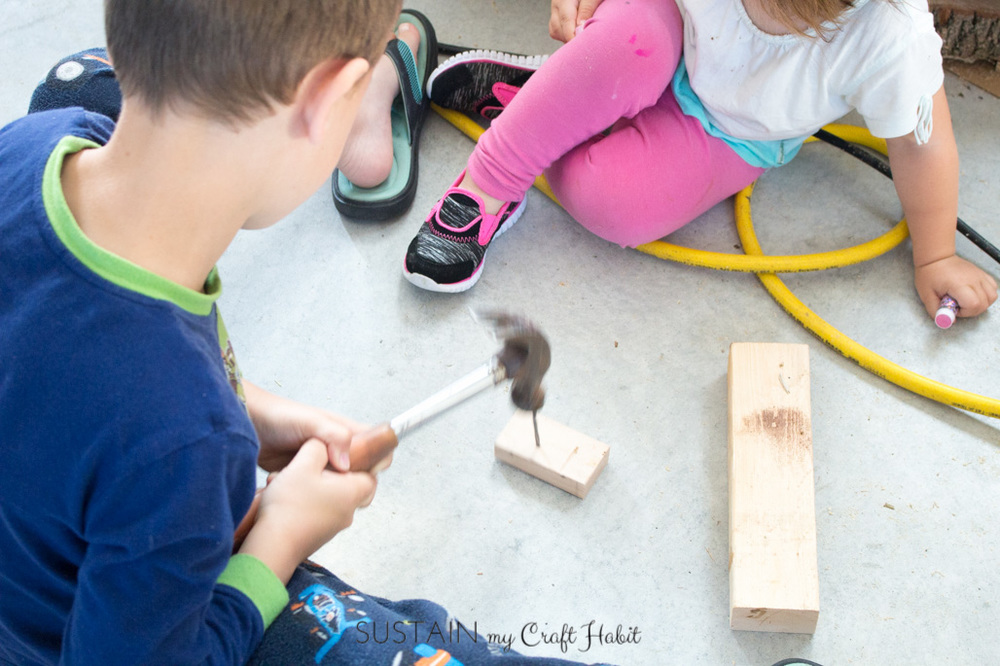
Holding it down, place a copper tube clamp over the driftwood piece and drill a small pilot hole.
This is not completely necessary but will make nailing the clamp in place much, much easier!
Continue this process until all four holes of the two clamps for your first rung are drilled.

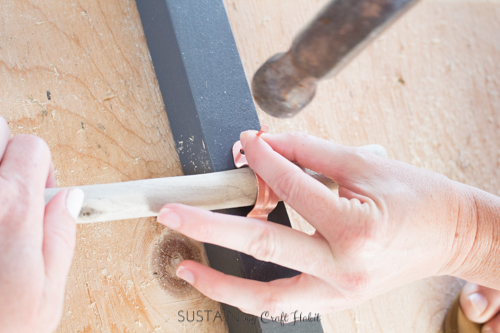
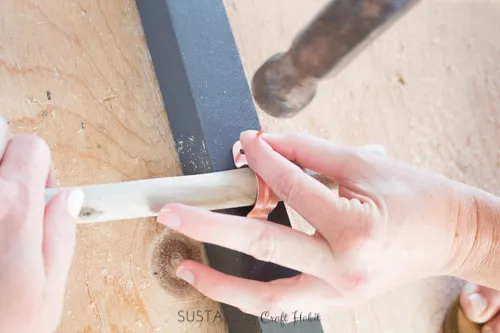
Hammer the nails through the clamp holes and into the pilot holes with the driftwood rungs in place.
Repeat this process next with the bottom blanket ladder rung and then continue until all the rungs are added.
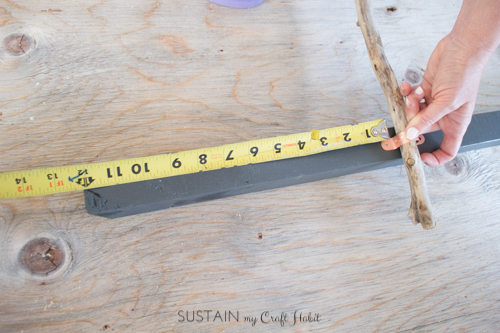
Be sure to re-measure as you go along as the pieces will have moved with the drilling and hammering.
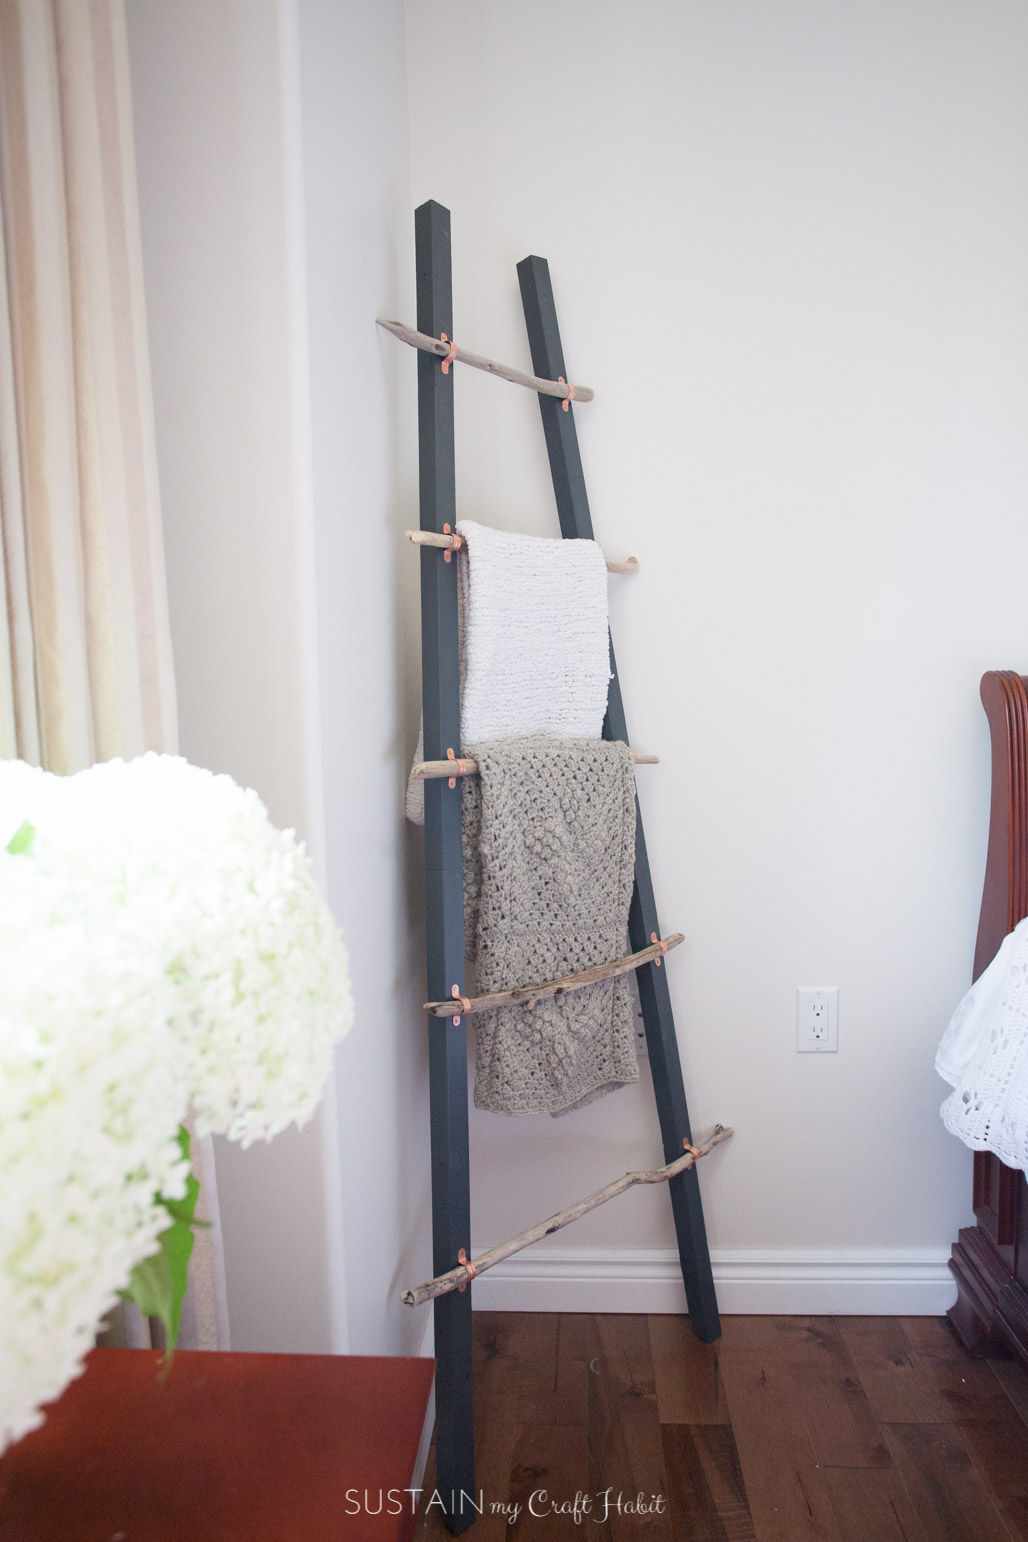
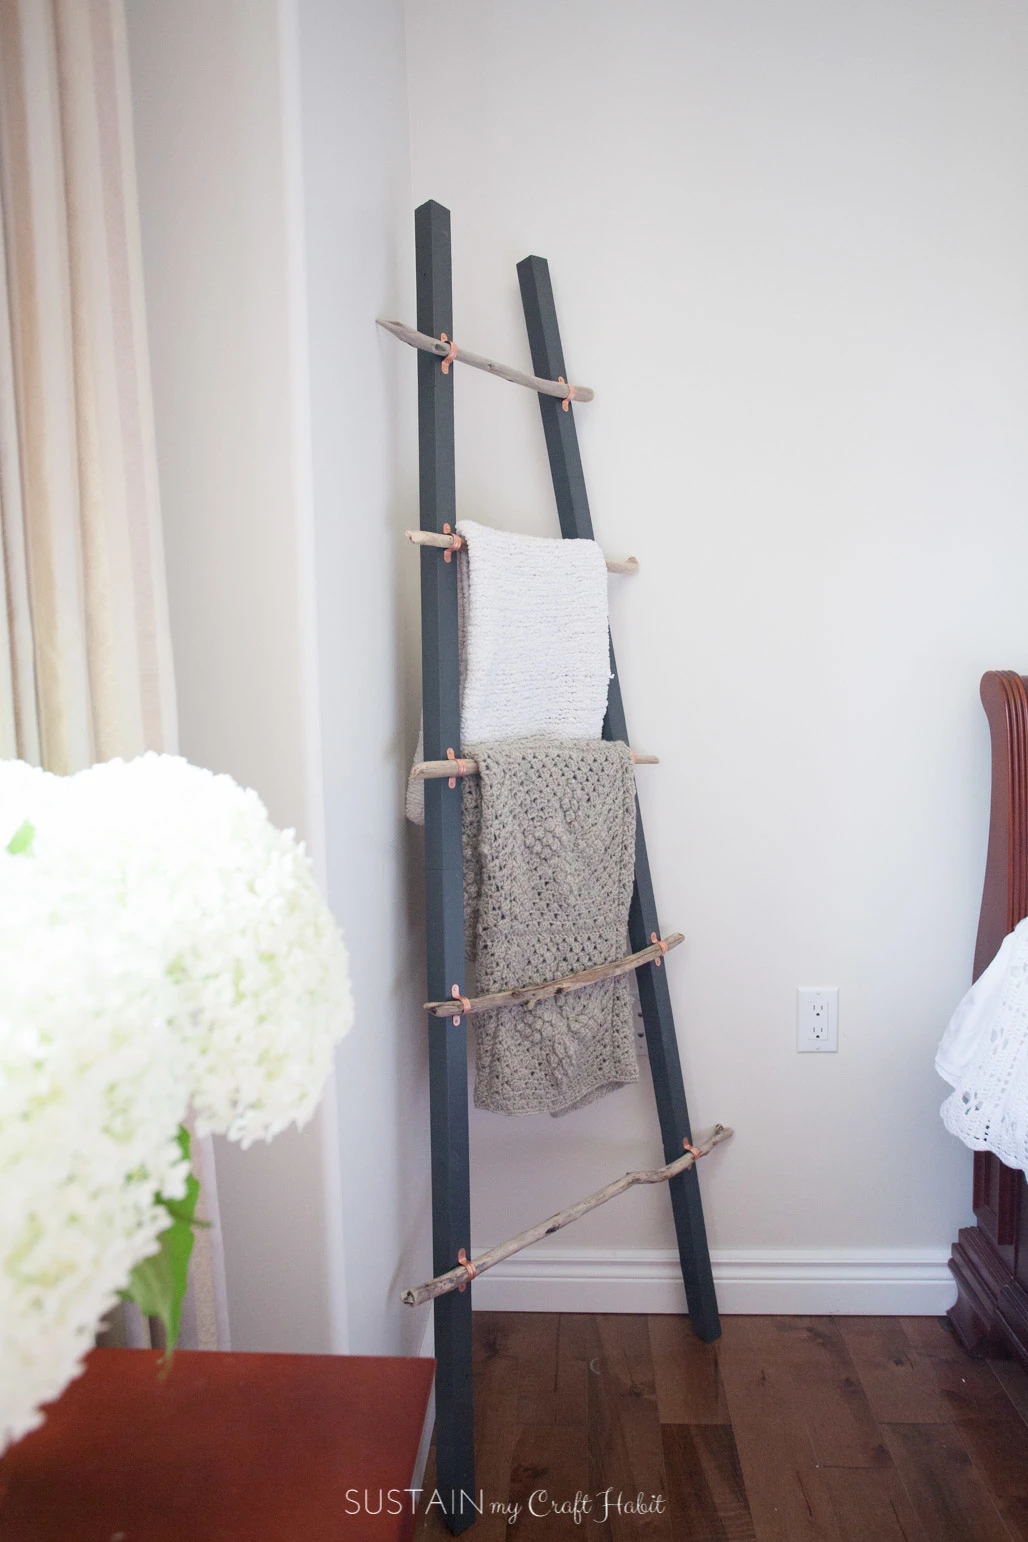
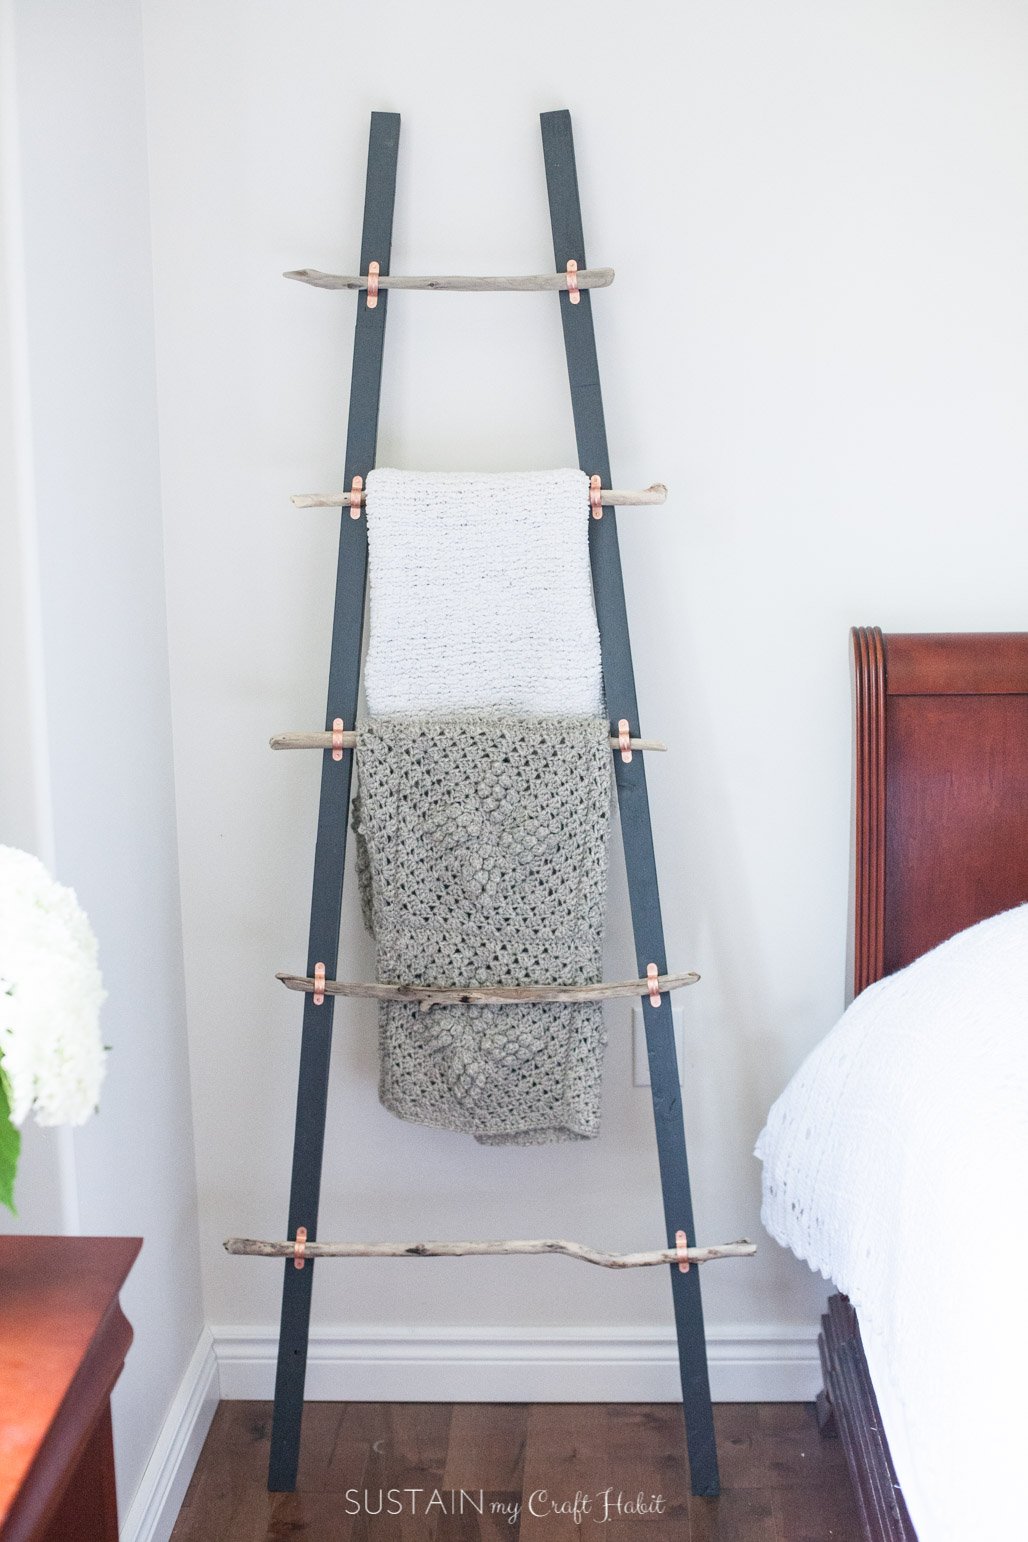
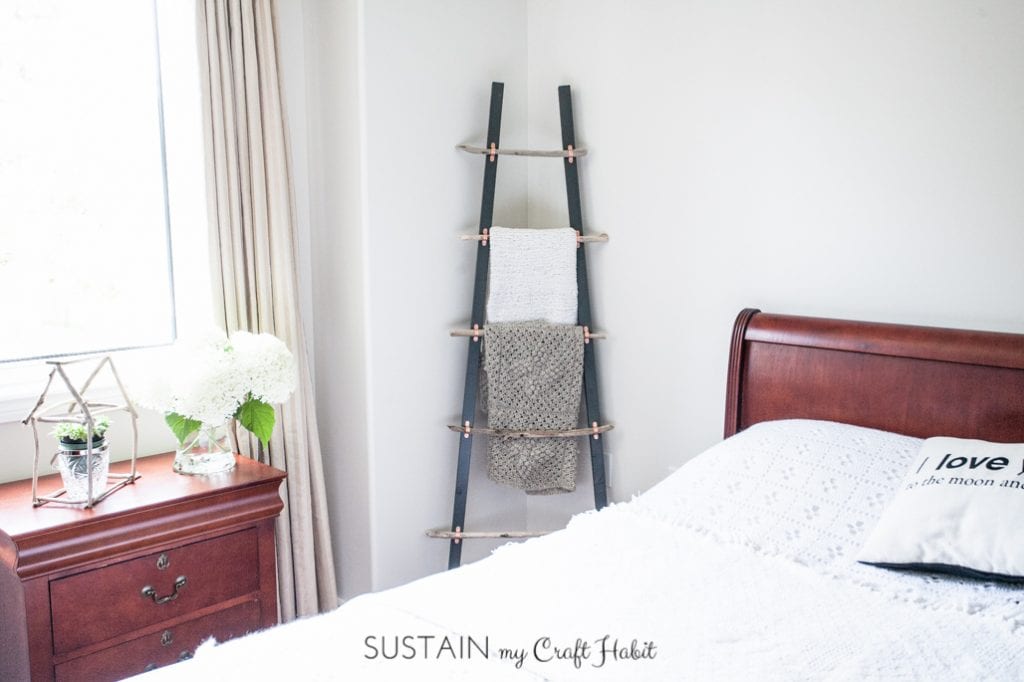
Once all your rungs are in place, your DIY blanket ladder is done!
We love how ourwool sand pebbled crochet afghanlooks on the new blanket ladder!
Orcrochet a new blanketto add to your ladder.

My son was quite proud of his hammering abilities!
Pin it for later!