And then in the Fall, we set the clocks back again 1 hour.
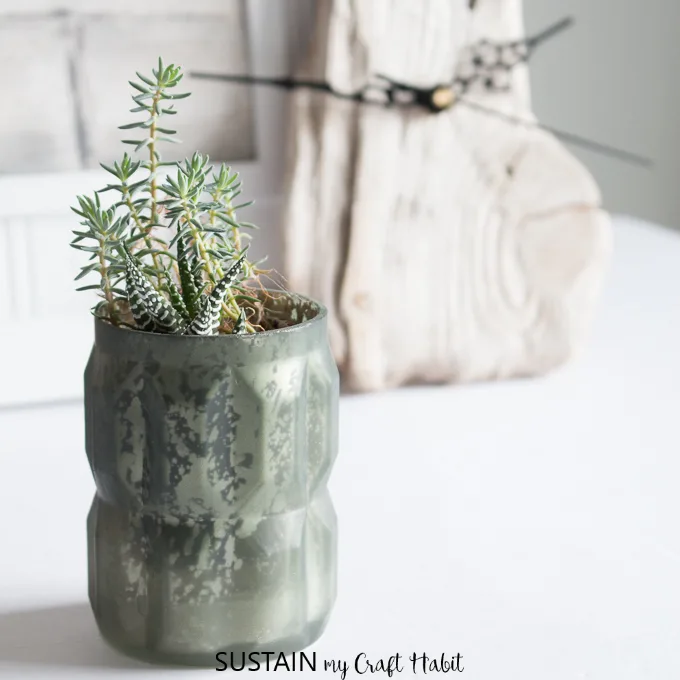
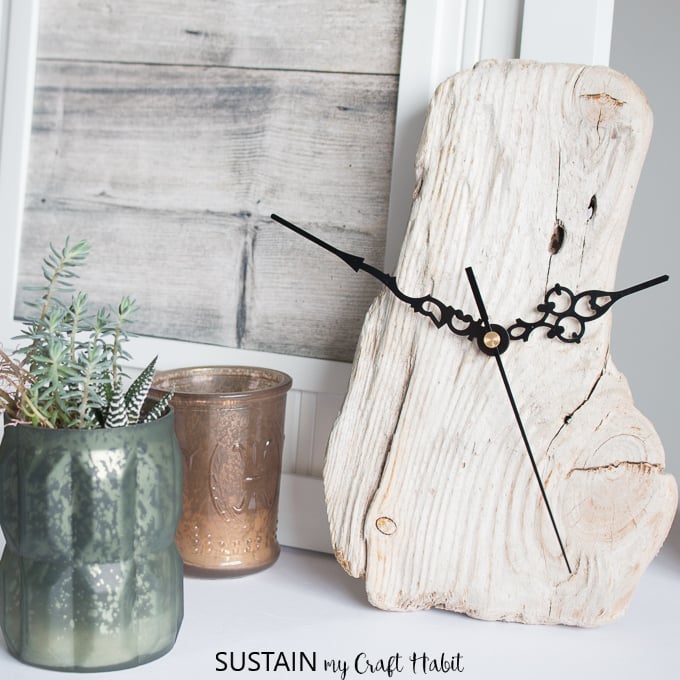
Id been holding on to this perfectly water-worn, sun bleached piece of driftwood for quite some time.
The clock kits are readily available and come in a variety of sizes and styles.
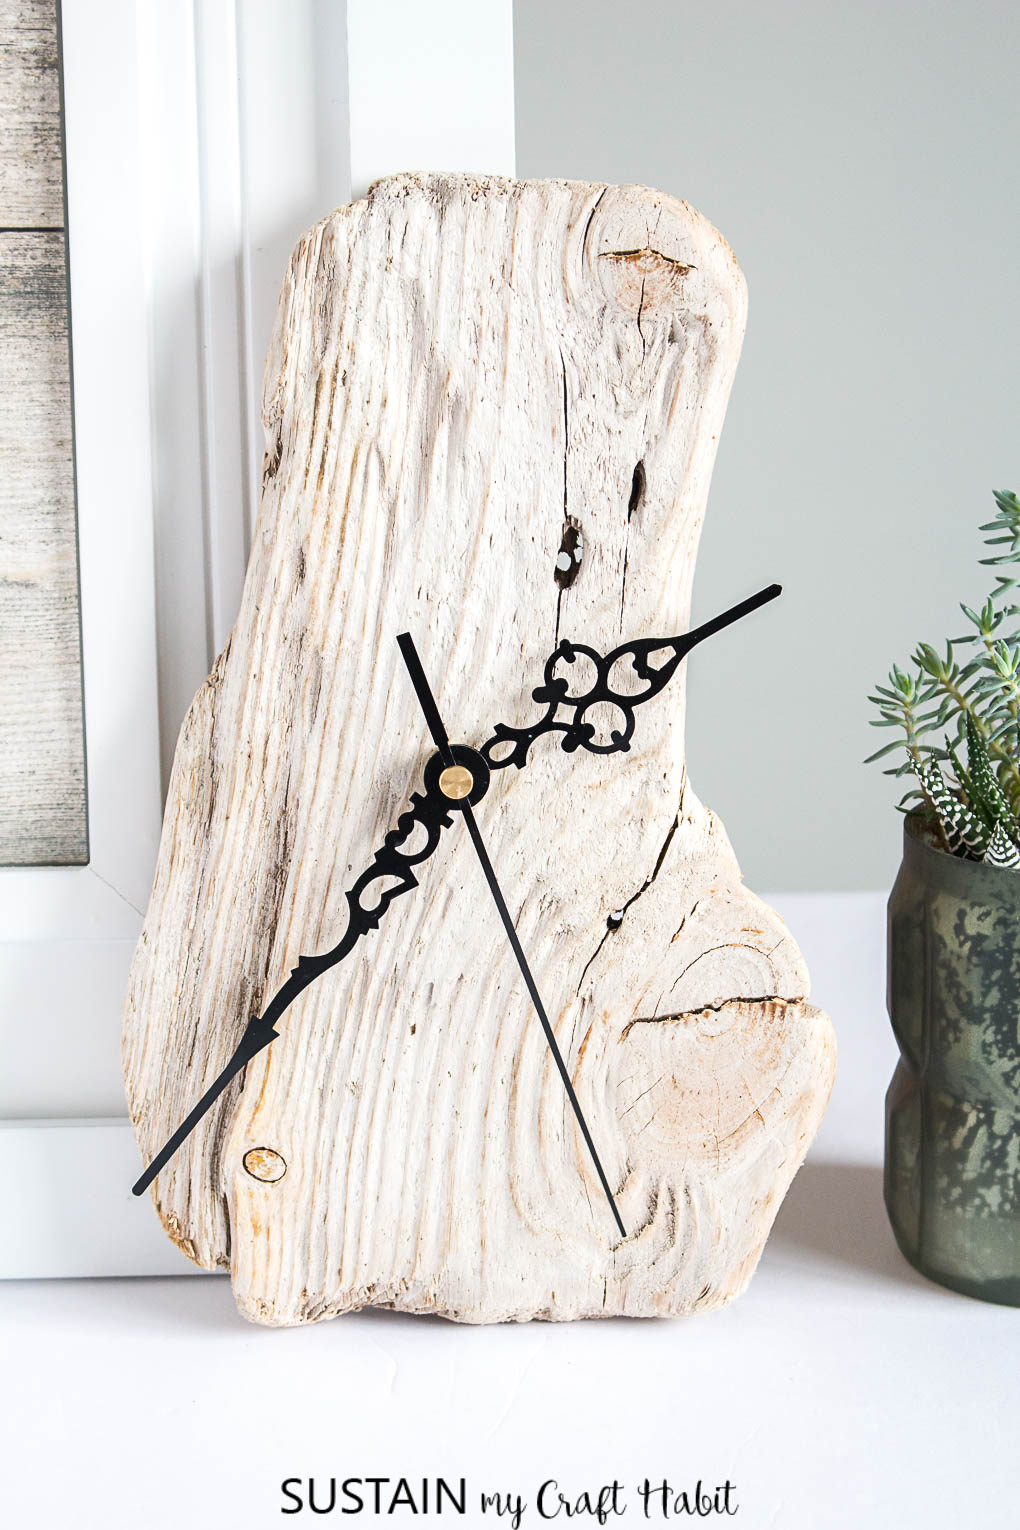
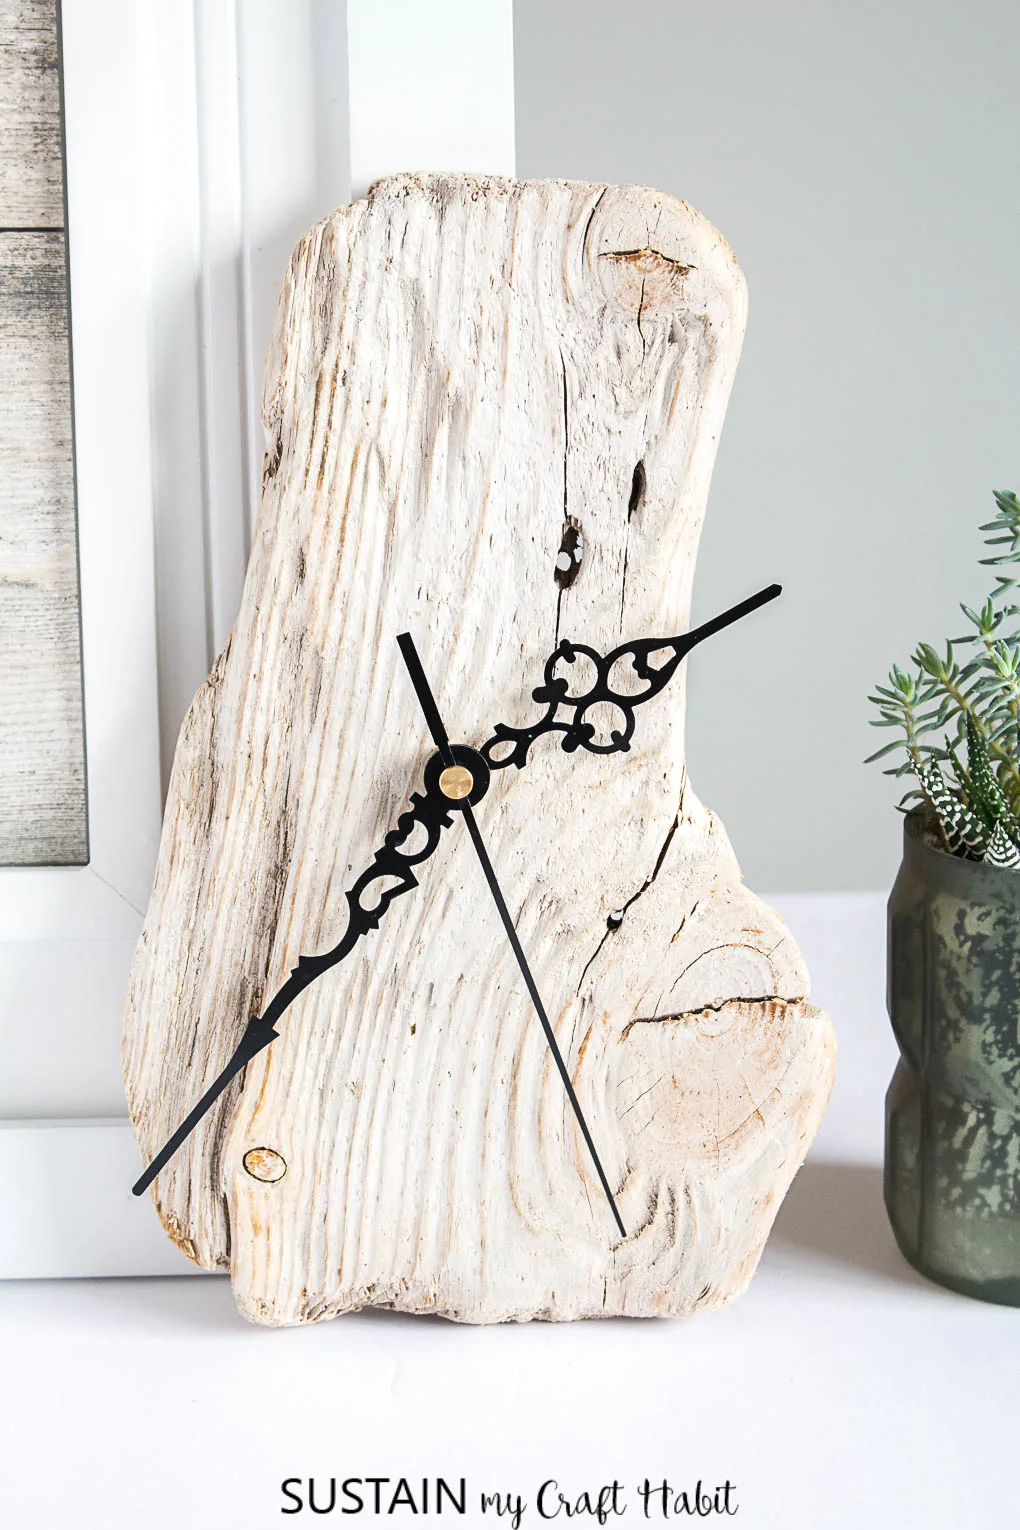
I have to say.
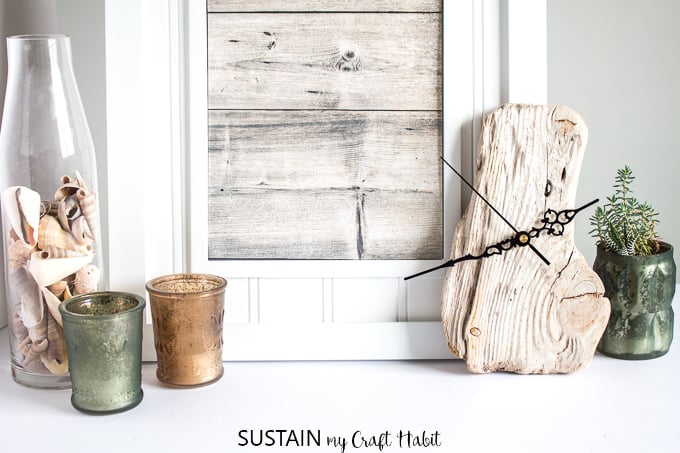
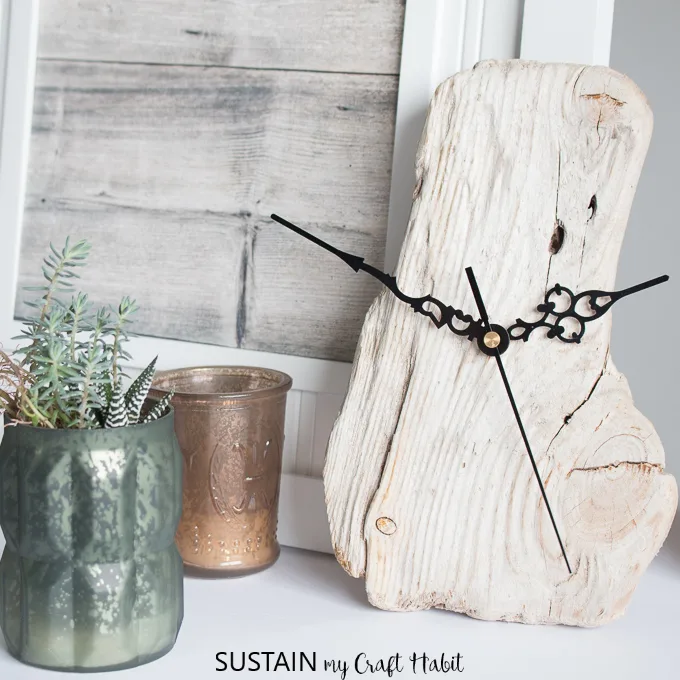
there is something pretty gratifying about making your own functioning wood clock.
This clock is also a great product to sell at craft sales and bazaars.
Check out our whole list ofscrap wood projectsto make and sell.
you’ve got the option to find ourfull disclosure policy here.
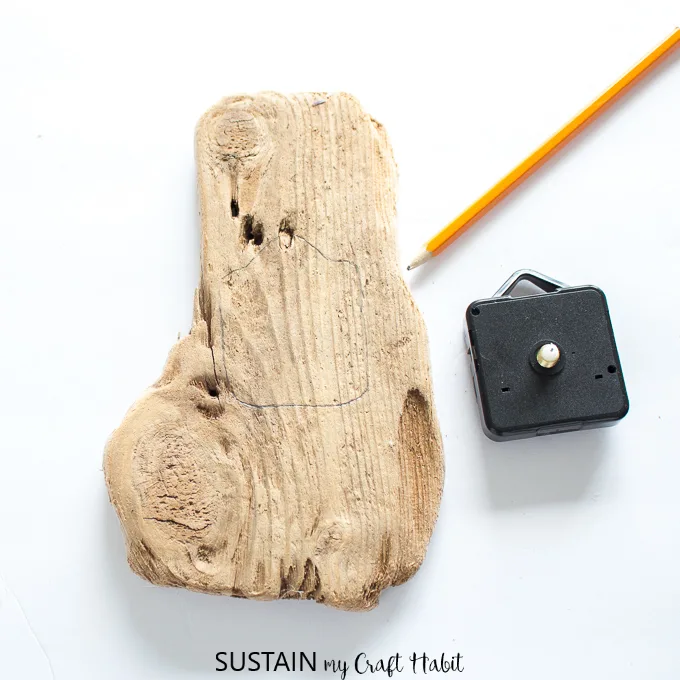
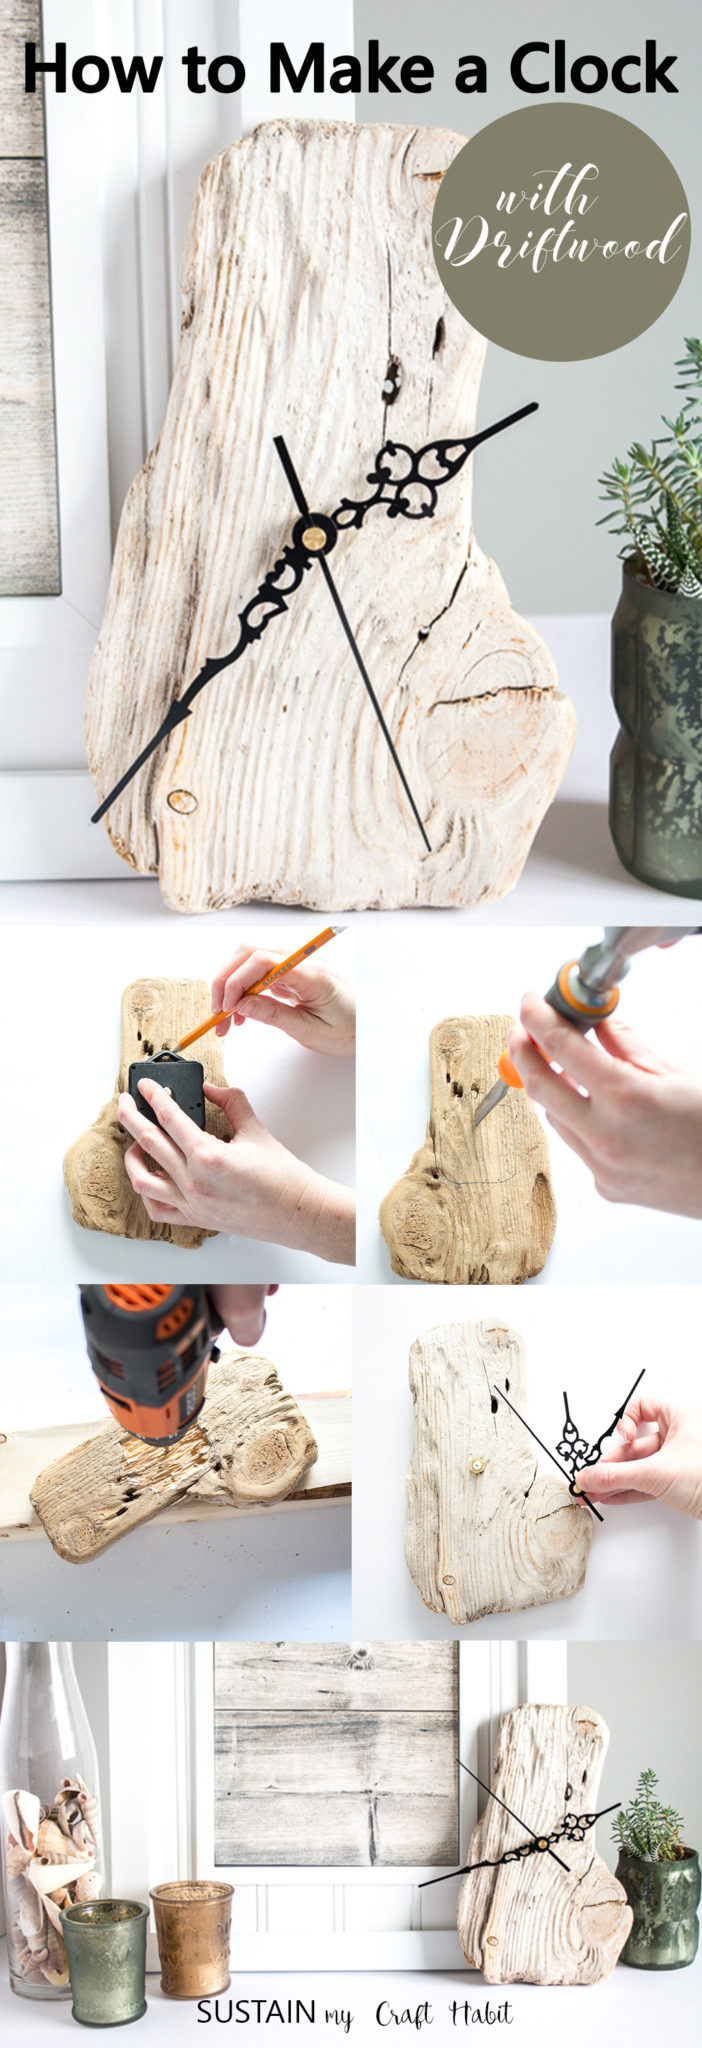
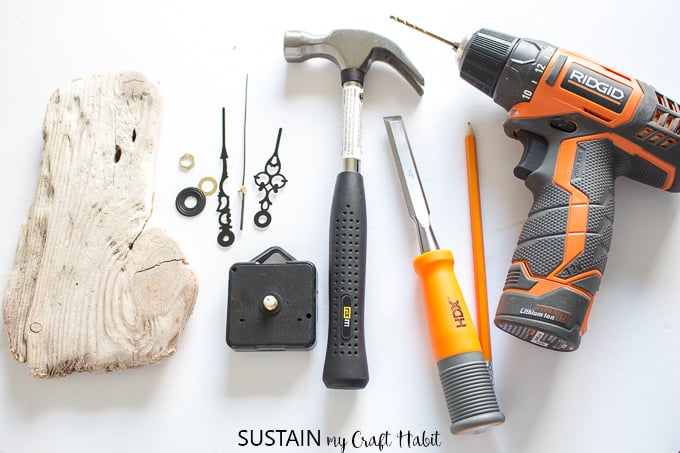
How to Make a Clock with Driftwood:
Clean and dry driftwood.
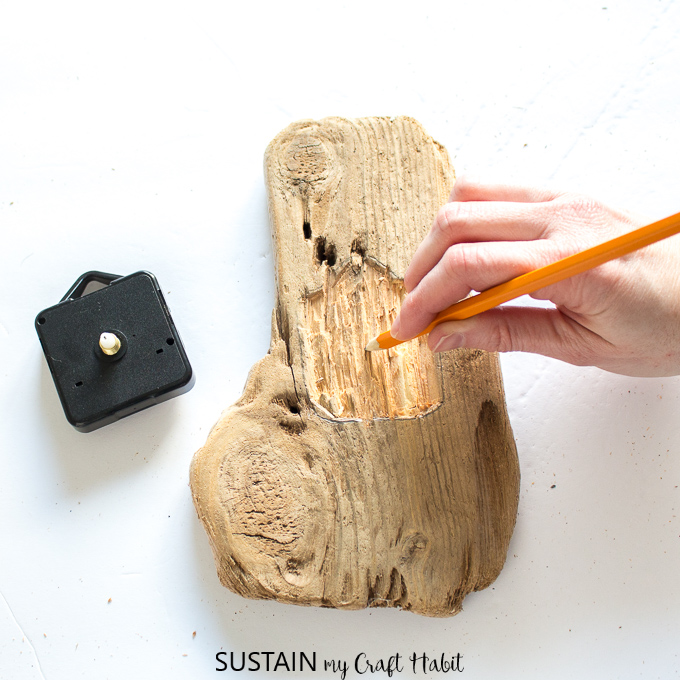
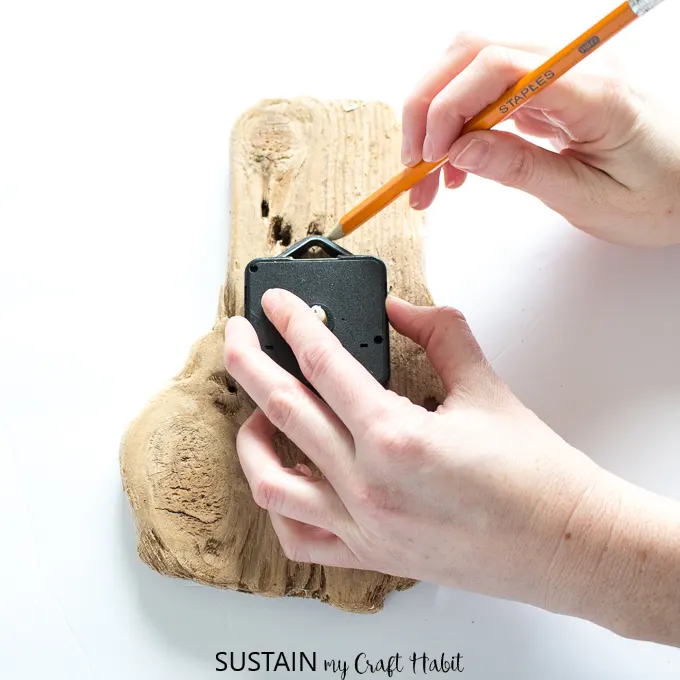
Trace the mechanism with a pencil.
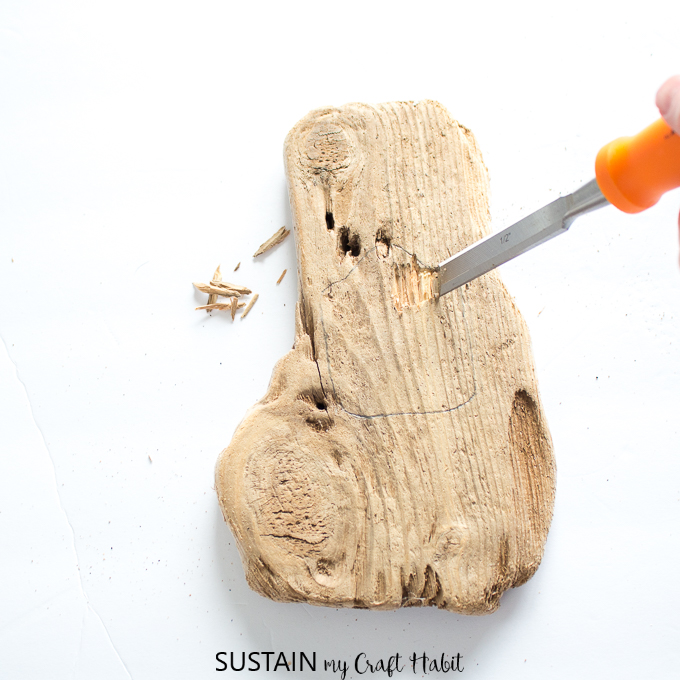
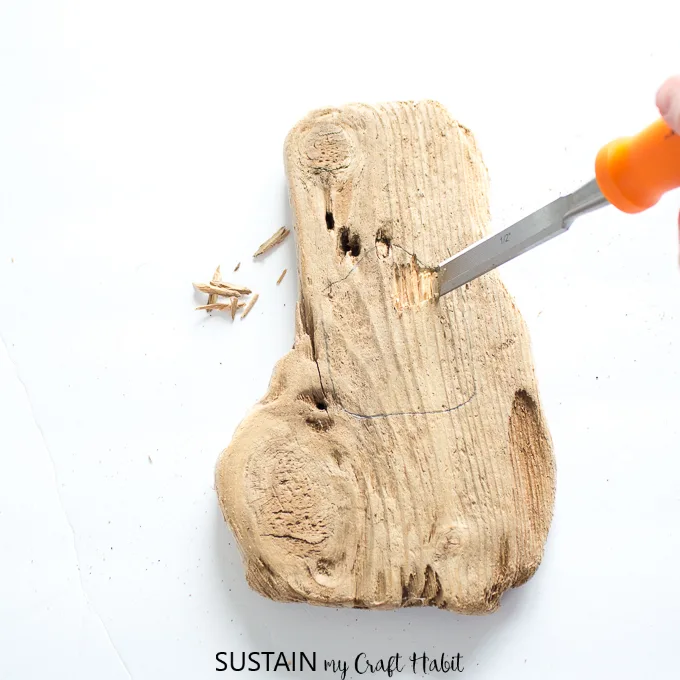
Begin to remove the wood from inside the lines using a medium sized chisel and a hammer.
Hold the wood piece in place with another set of hands or use a table clamp.
The depth of the clock shaft will determine how much youll need to chisel out of the back.
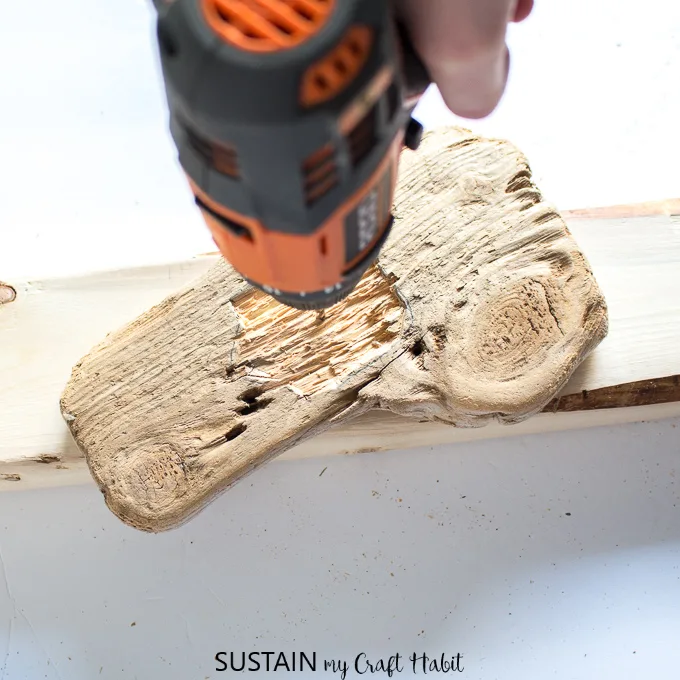
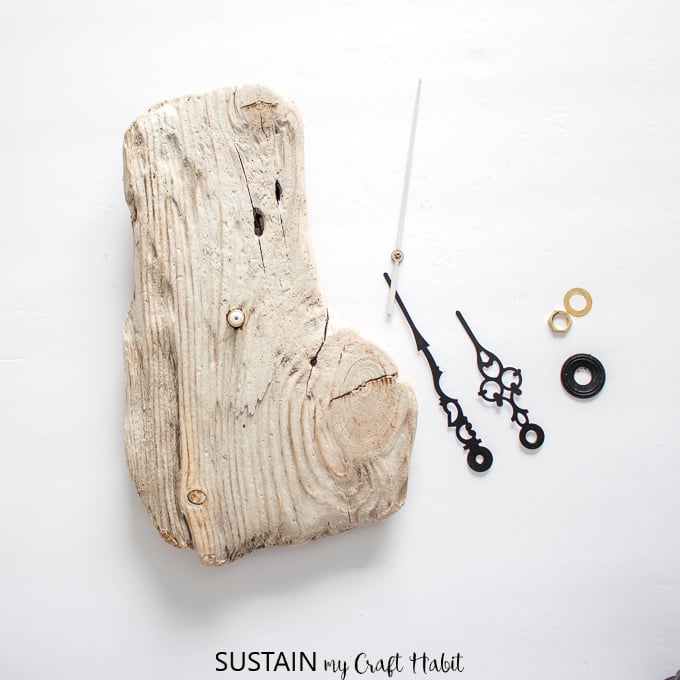
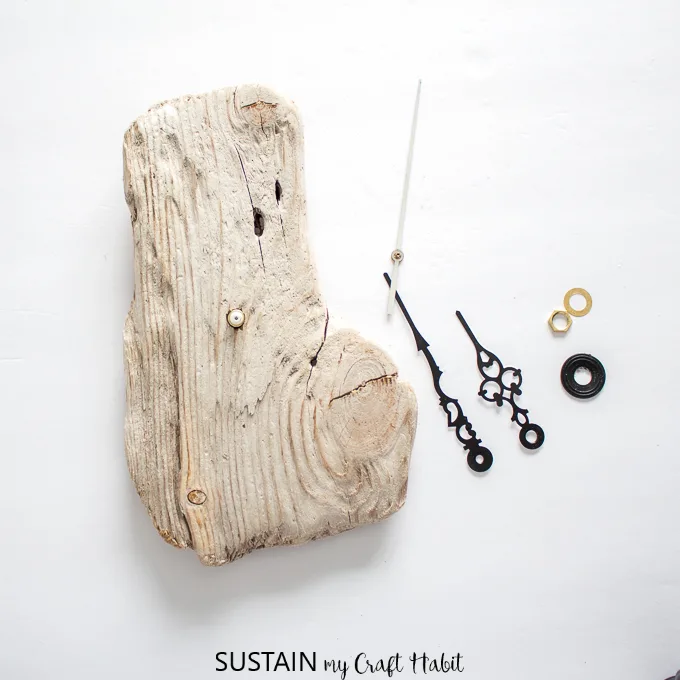
Mark the placement for the shaft and drill a hole all the way through to the other side.
Use a drill bit that is slightly larger than the diameter of the clock shaft.
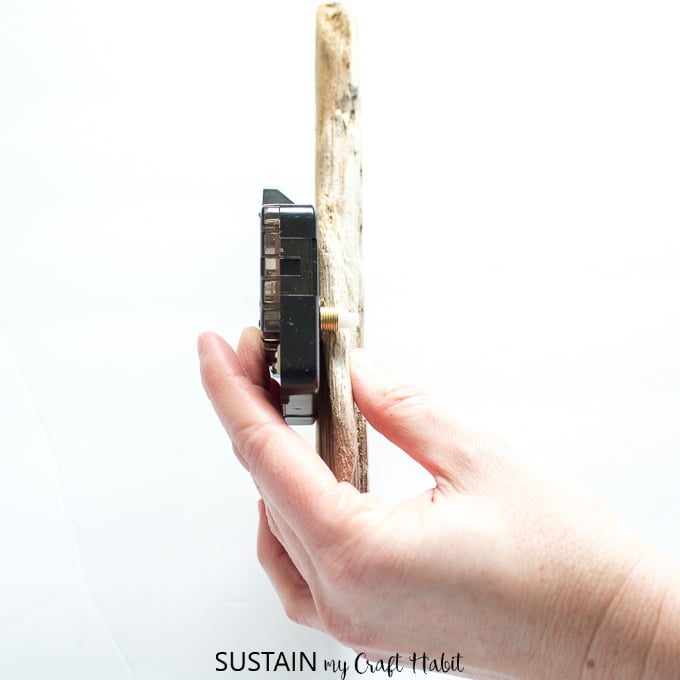
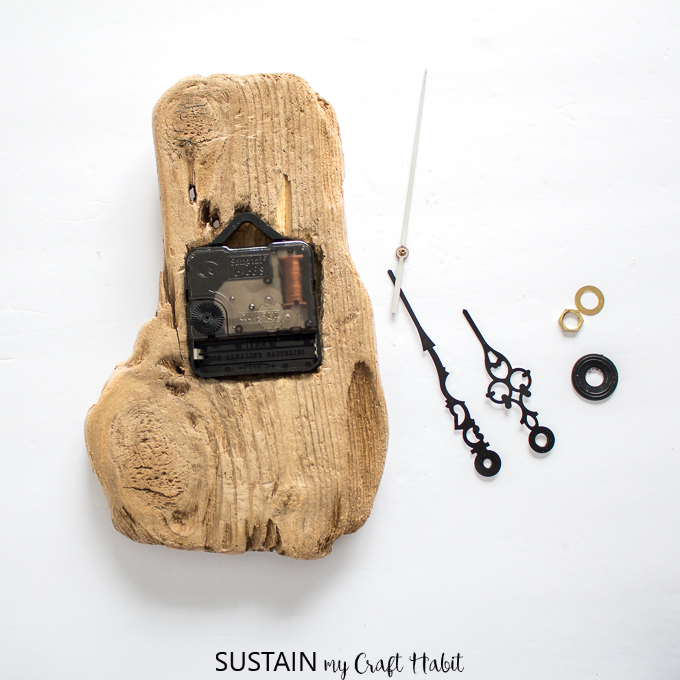
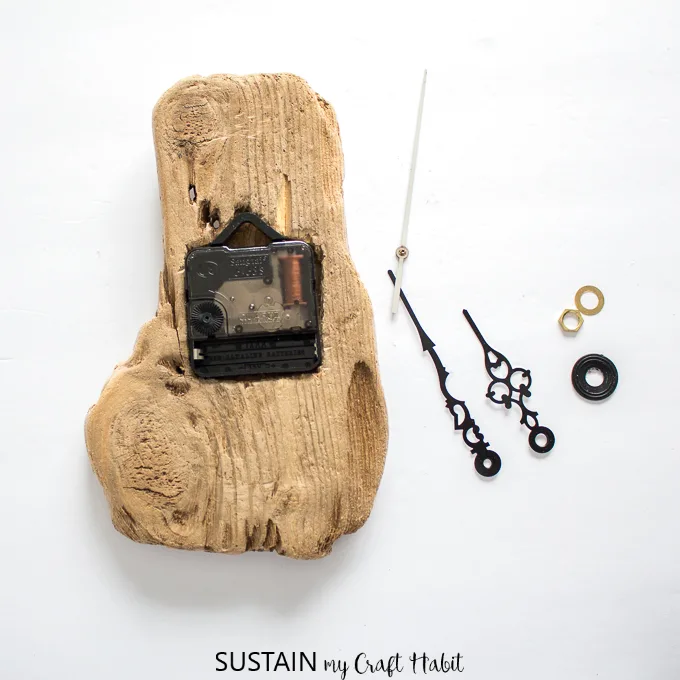
The clock shaft will stick through the center hole.
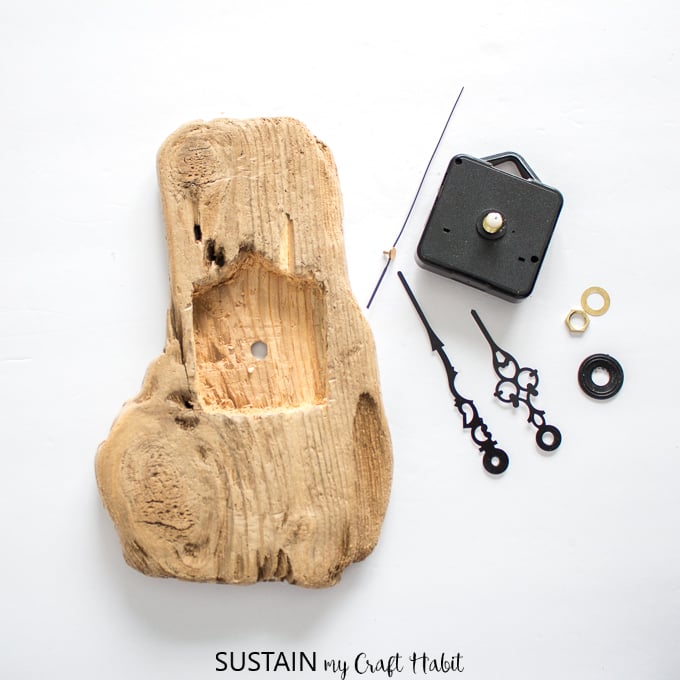
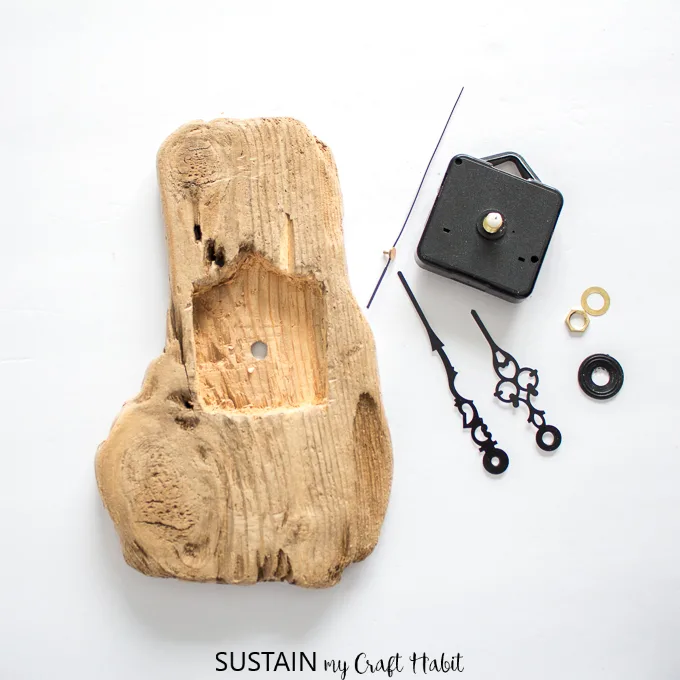
Check that the mechanism fits inside the chiseled out section.
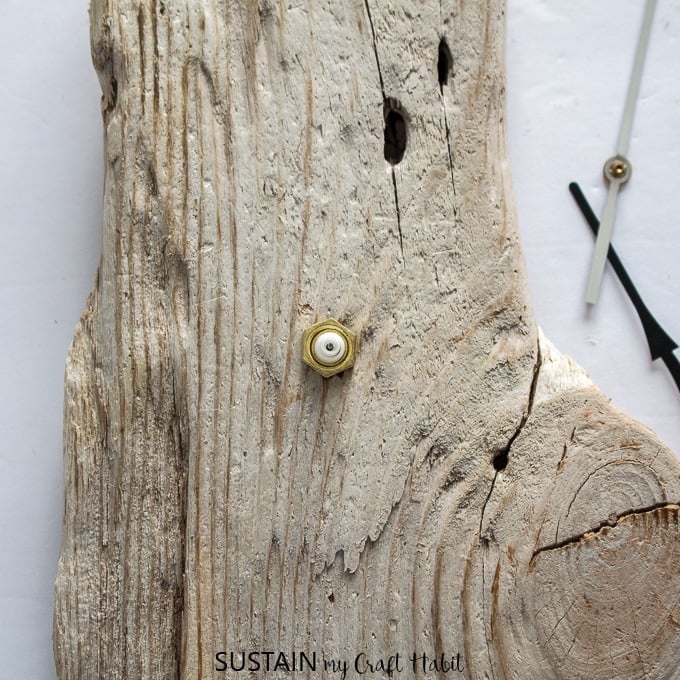
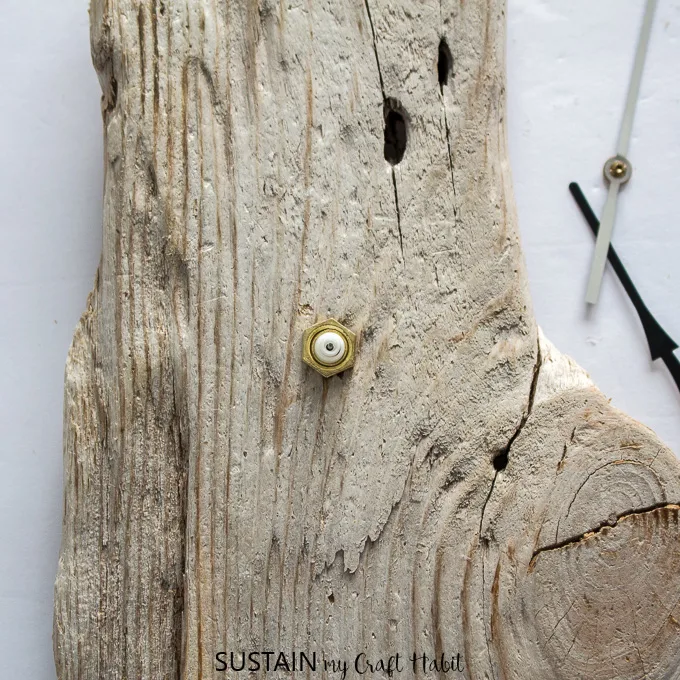
Once youve chiseled out enough, insert the mechanism pushing the shaft all the way through the hole.

In my case, I didnt use these additional pieces.
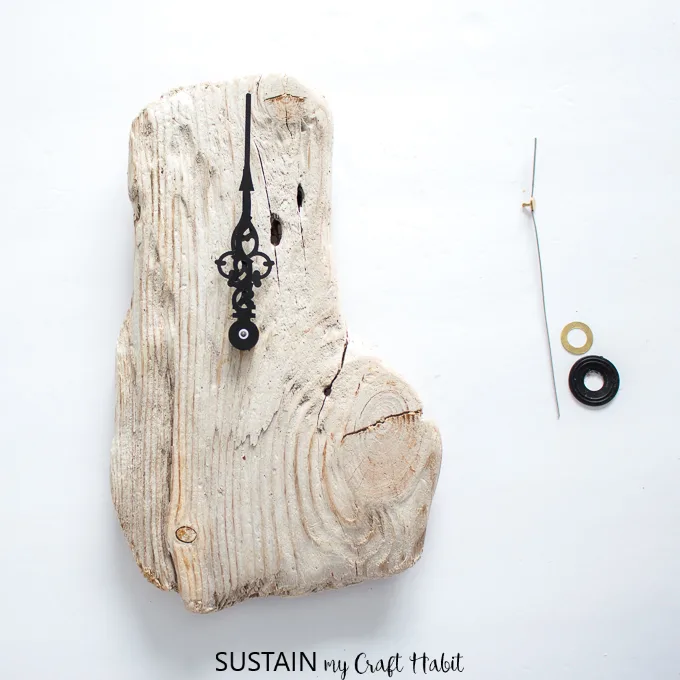
Screw the nut onto the shaft to secure in place.
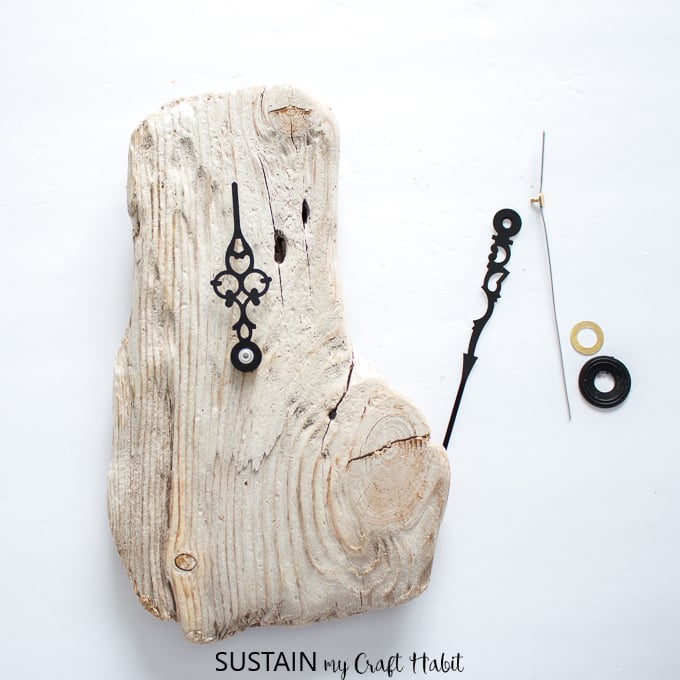
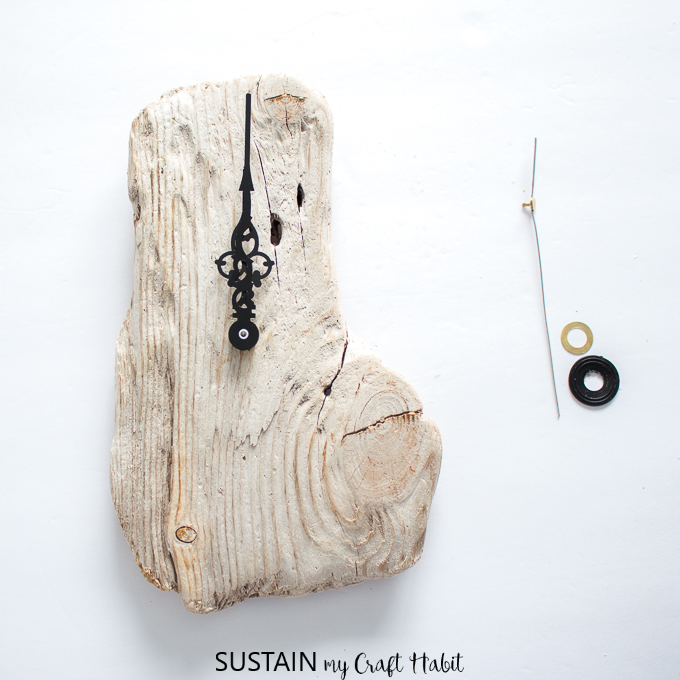
Attach the hour hand.

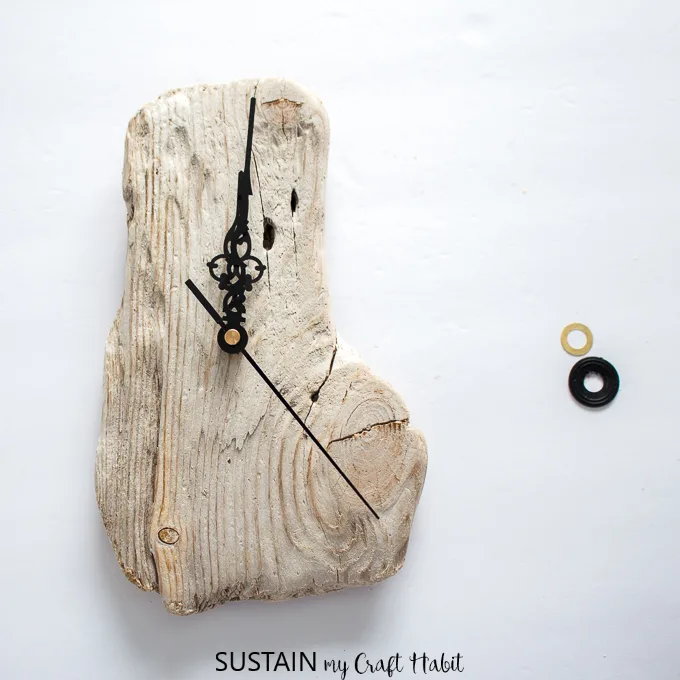
Next, attach the minute hand.
And lastly, attach the second hand.
Insert the battery and youre good to go!
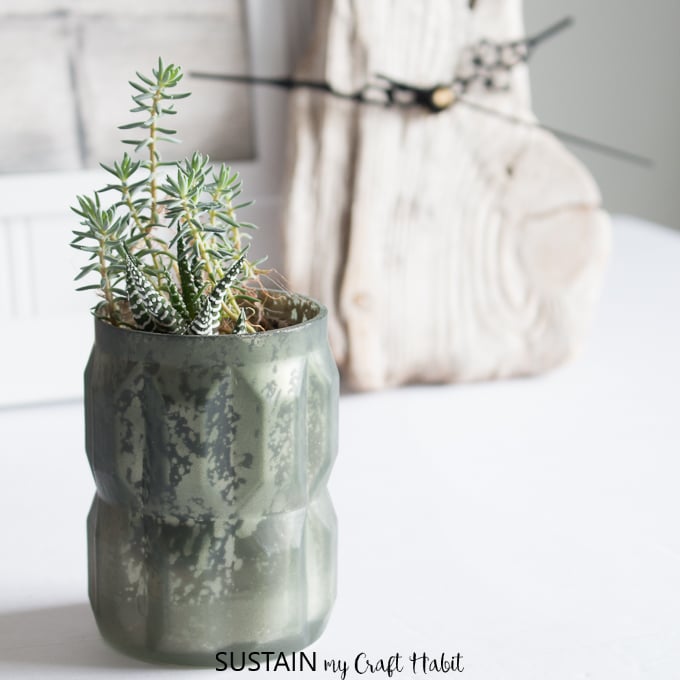
For more DIY ideas using driftwood, check out ourdriftwood hand lettered signand ourdriftwood blanket ladder.
Pin it for later!