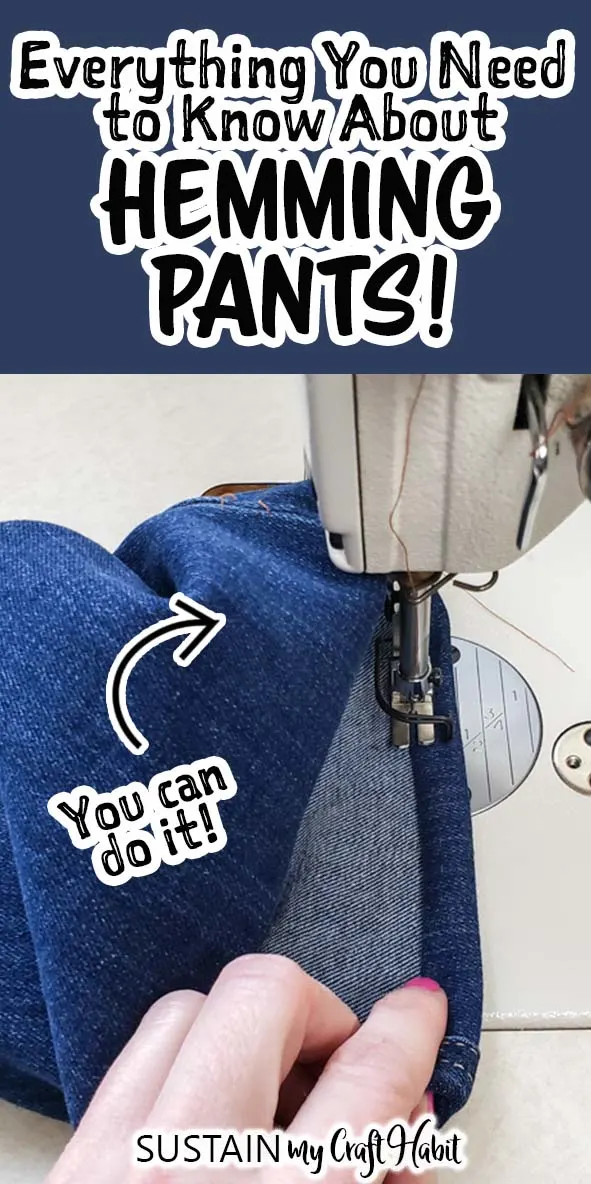
HomeArts and Crafts IdeasSewing ProjectsHow to Hem Pants: The Ultimate Guide!
Theres (almost) no pant you cant hem!
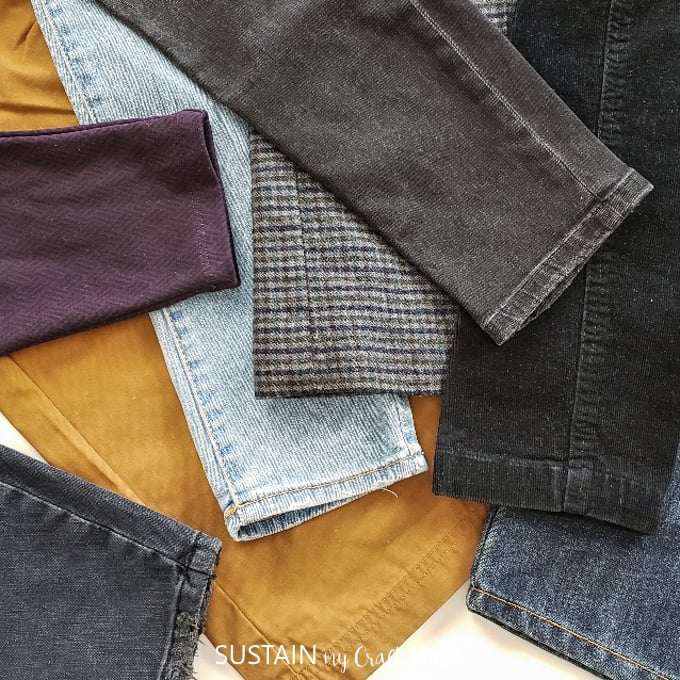
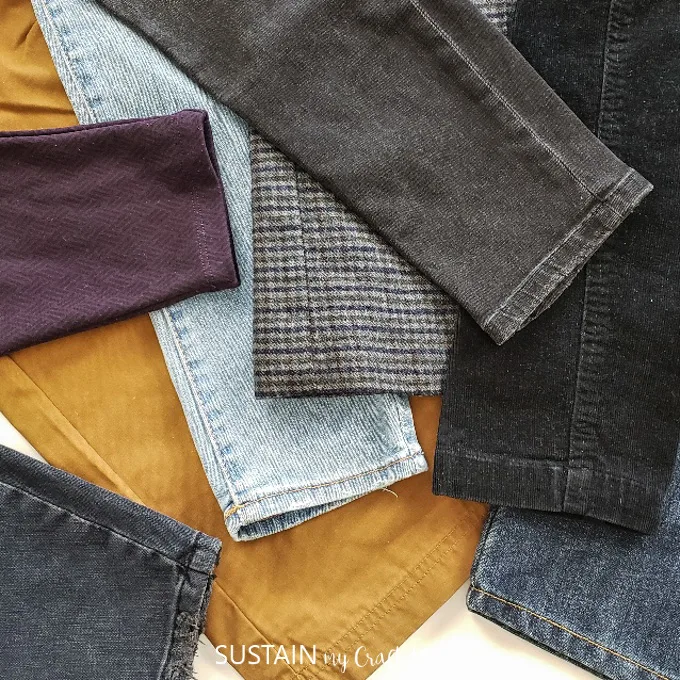
I love this time in fashion…anything goes!

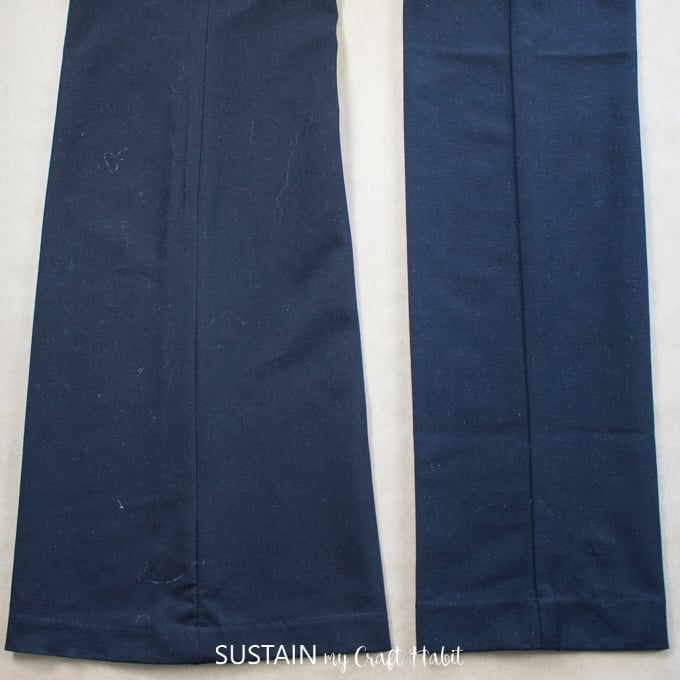
Tapered Leg
Comfort is key and its about what you feel good in and what suits your personal style.
Want to receive a ton of inspiration and money saving ideas for decorating, gift-giving and crafting?
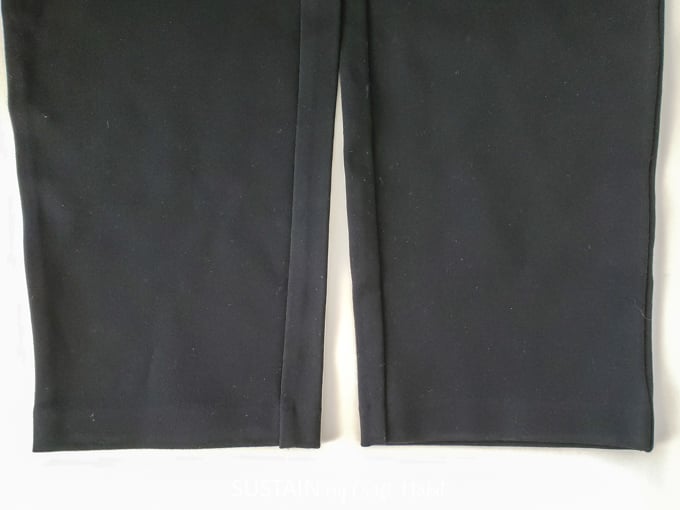
When deciding how to hem pants, it is best to try andmimic the original hemto maintain the style.

In addition to looking at the key in of hem, you need toconsider the silhouette of the pant.
This will also play a factor in how to hem pants.
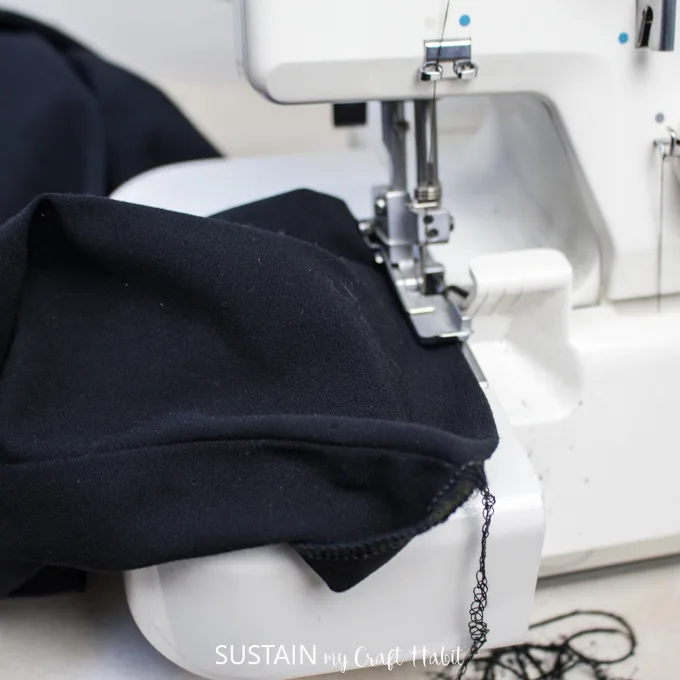
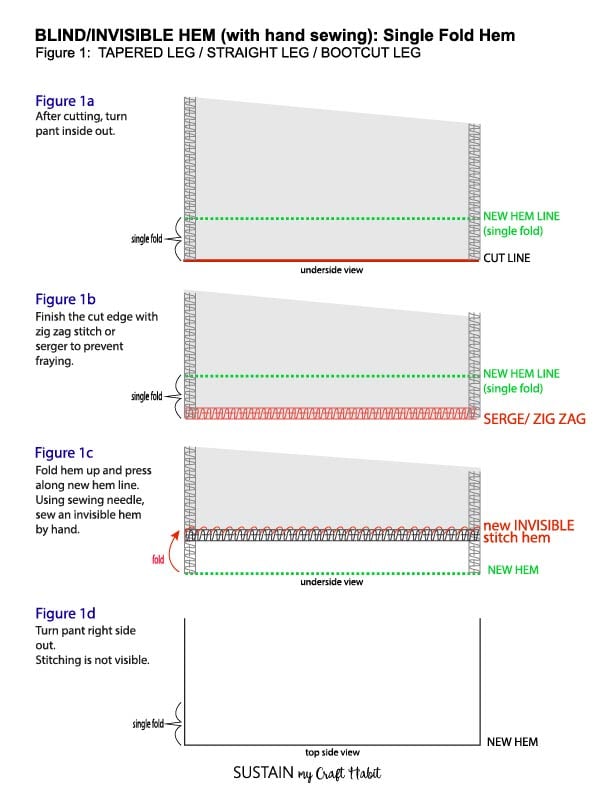
This is because they use a blind stitch machine which creates an invisible seam.

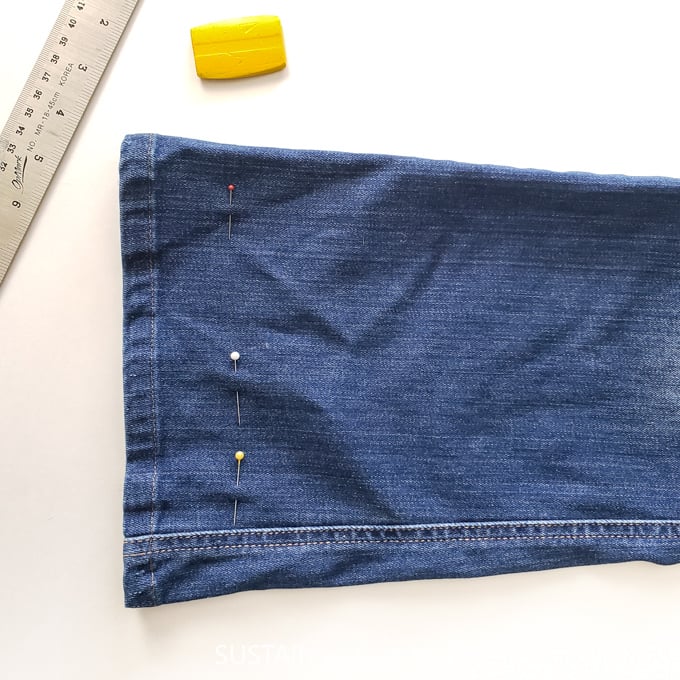
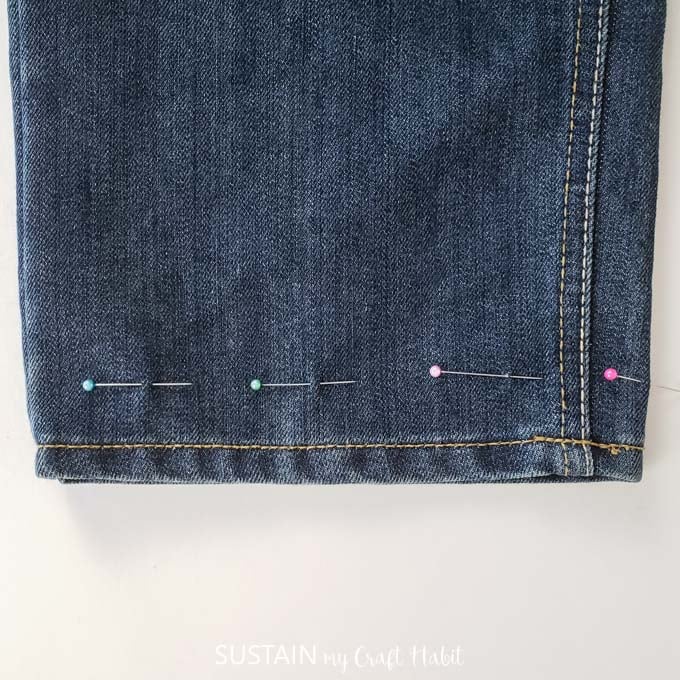
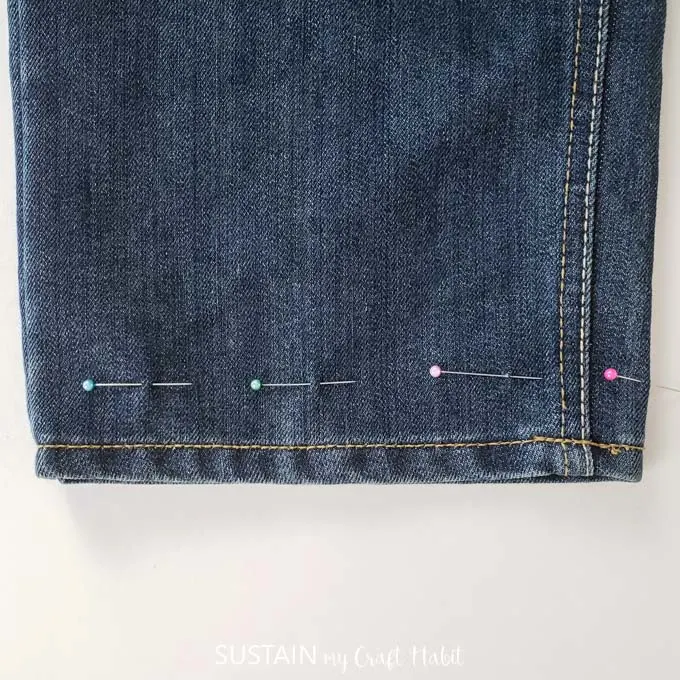
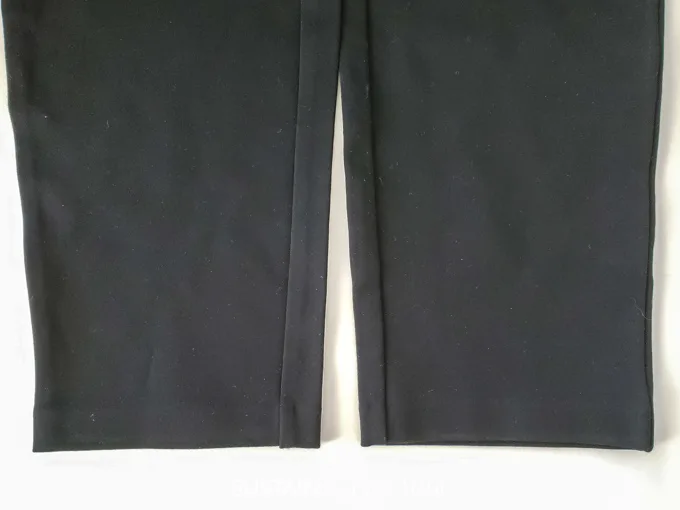
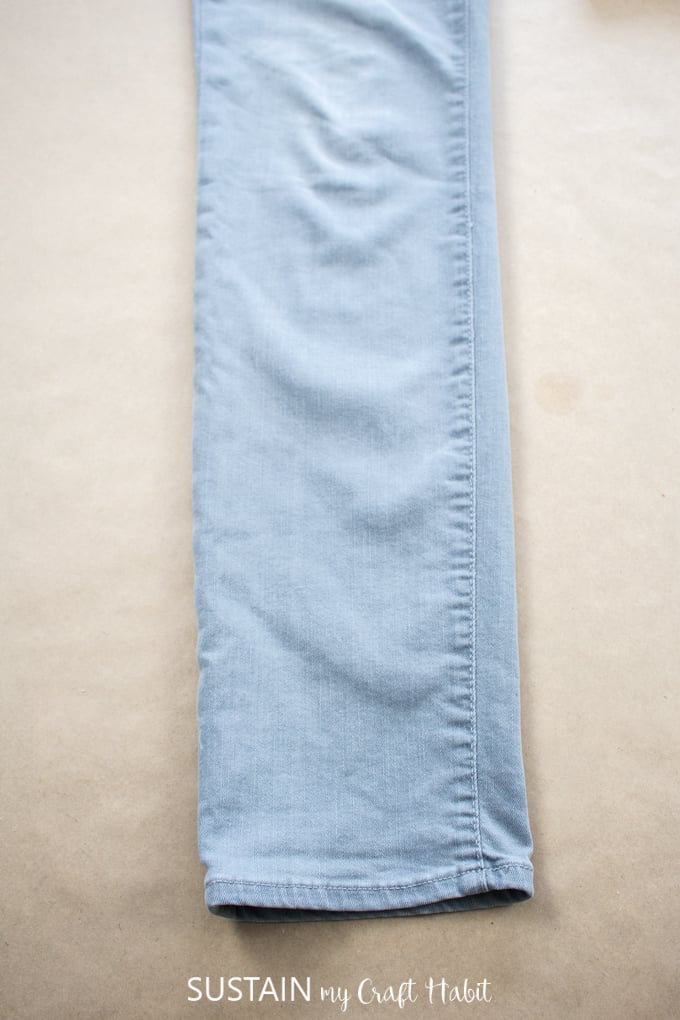
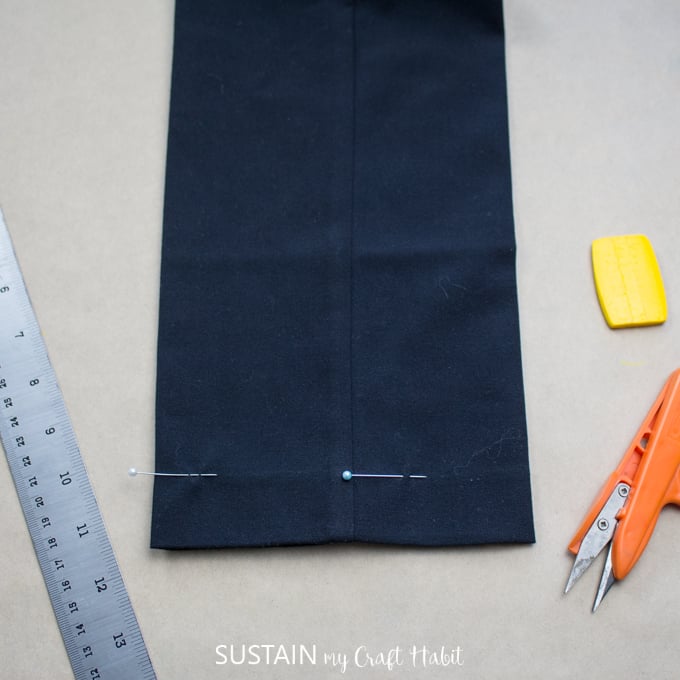
Try the pant on with a pair of shoes.
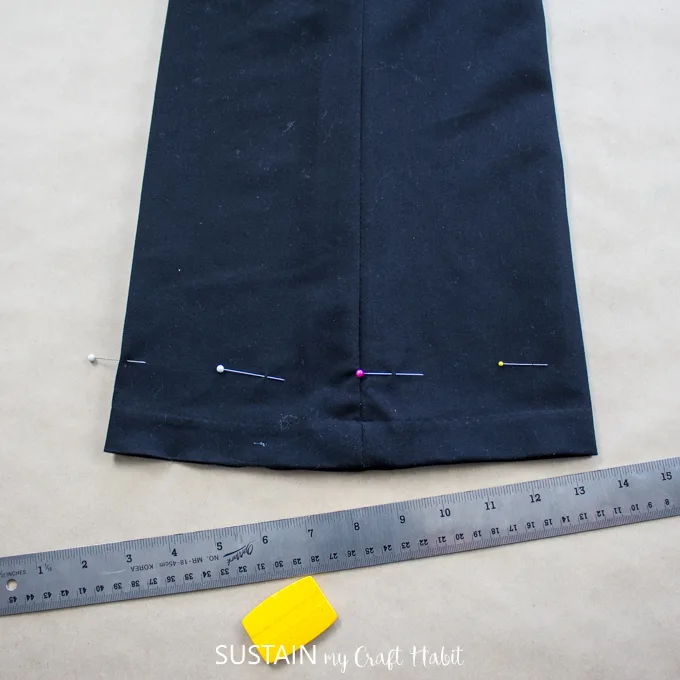
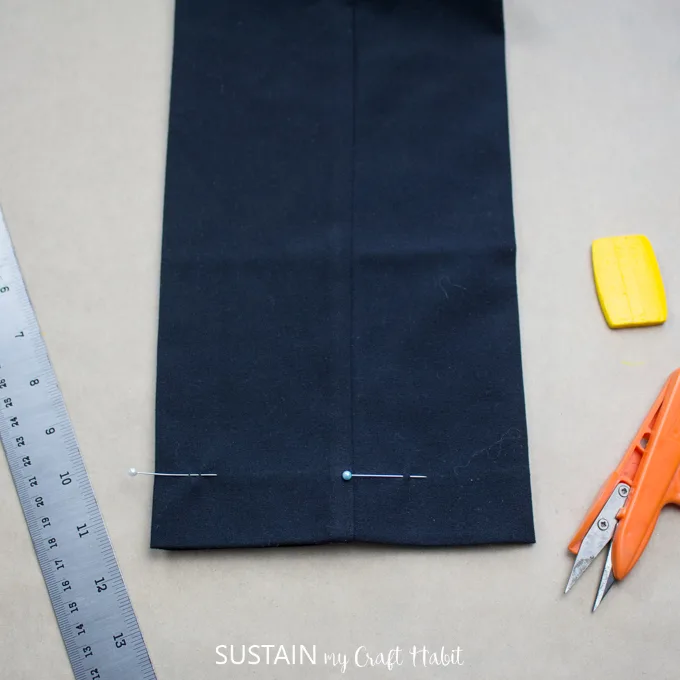
Fold under and pin in place to mark where you want the new hem to be.
Remember that the marked point or folded edge is the new hem line.

Remove the previous stitch and unfold to get the full length if necessary.
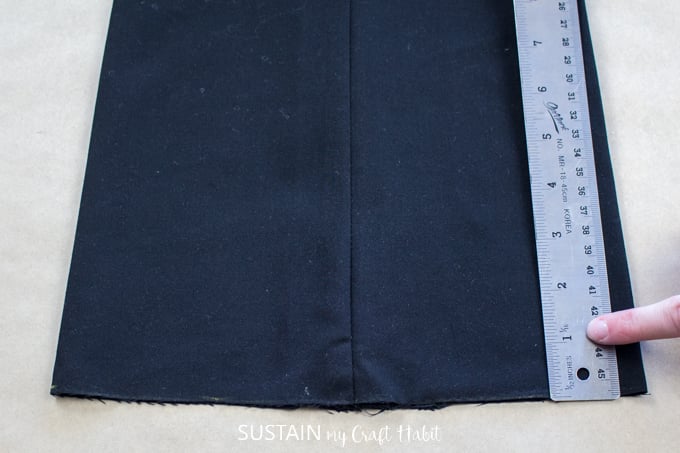
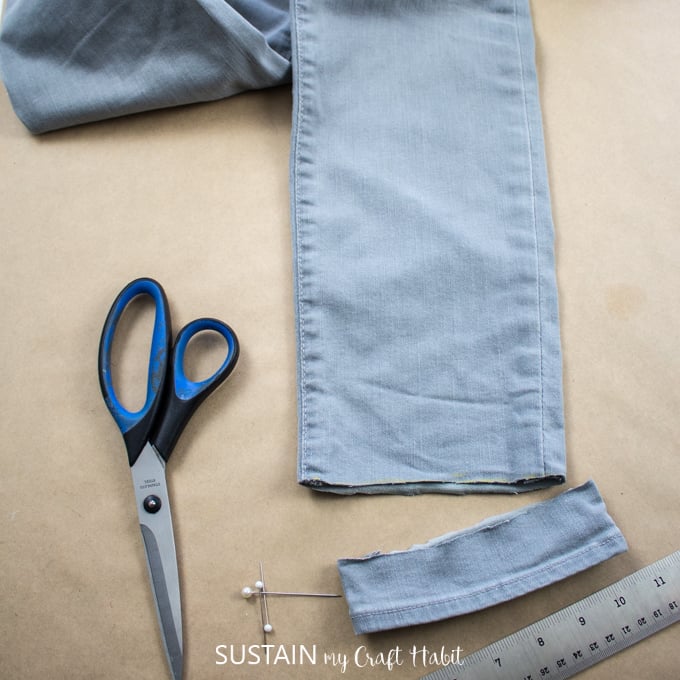
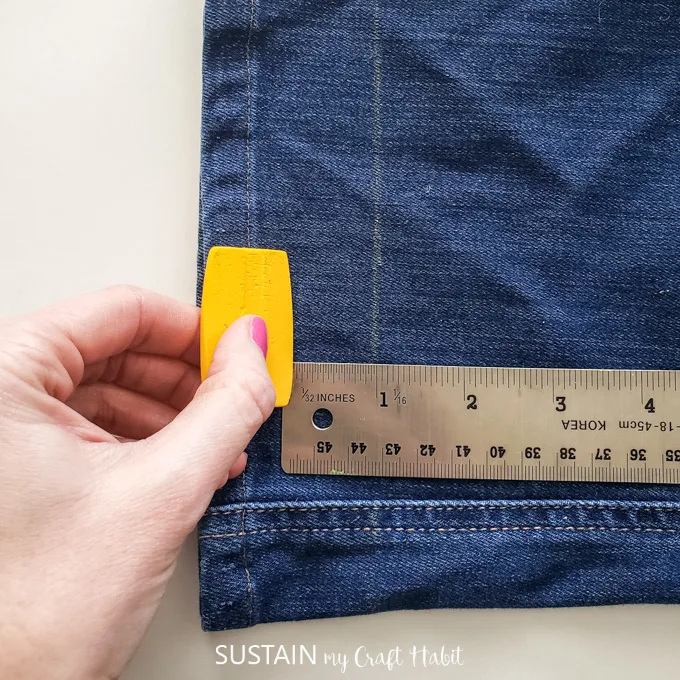
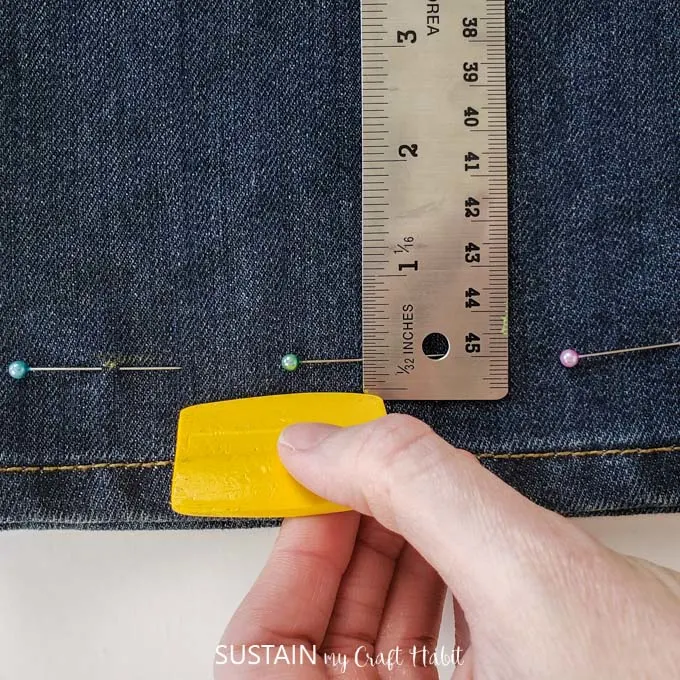
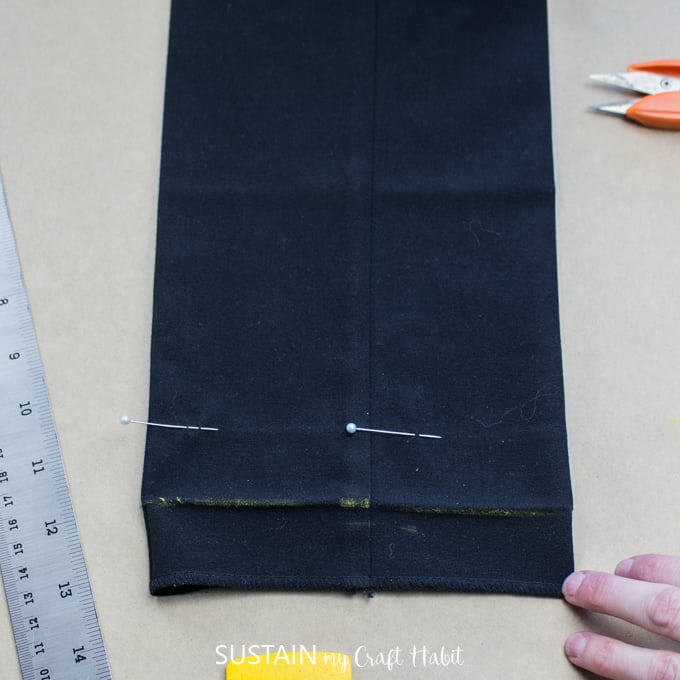
Mark the cut line using a ruler and washable chalk or wax.
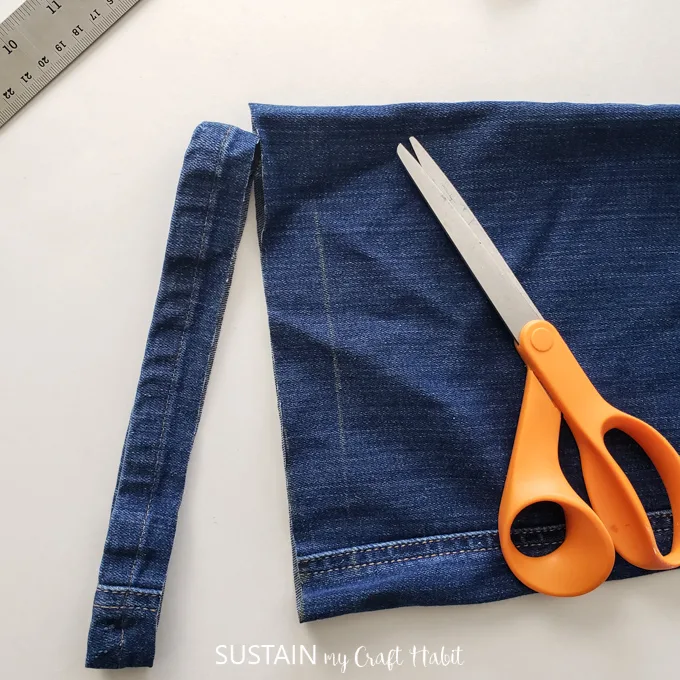
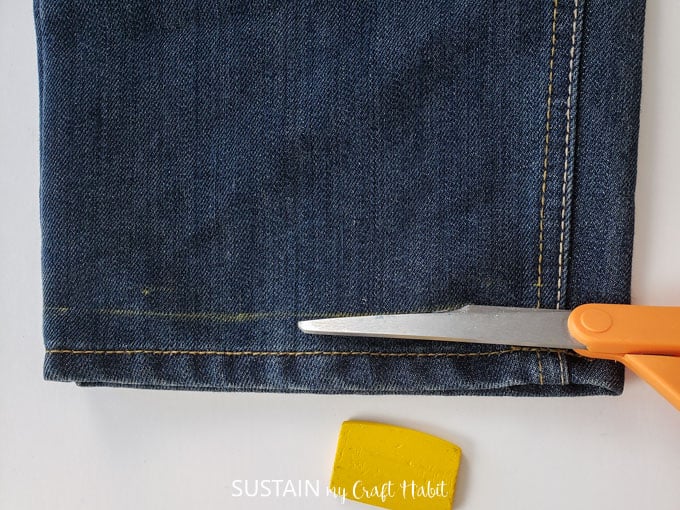
Cut along the marked line and discard the extra length.
Repeat for the other pant leg.
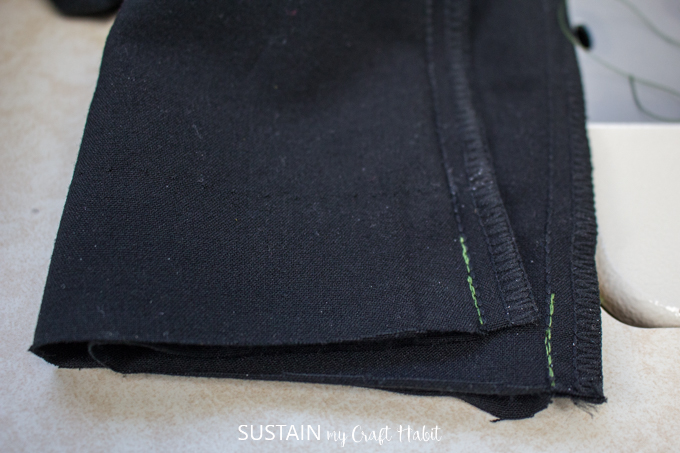
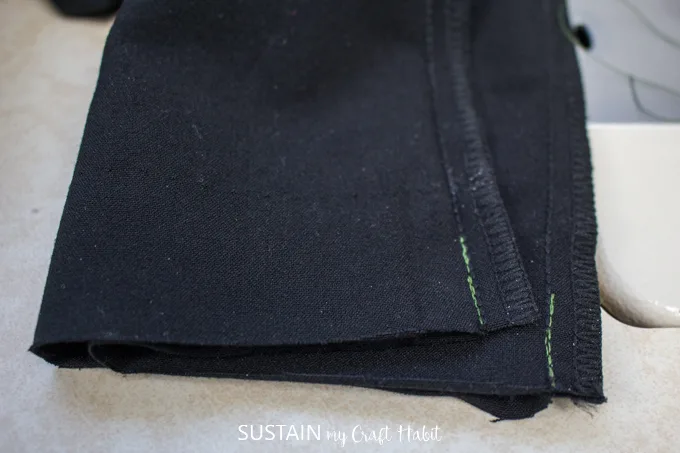
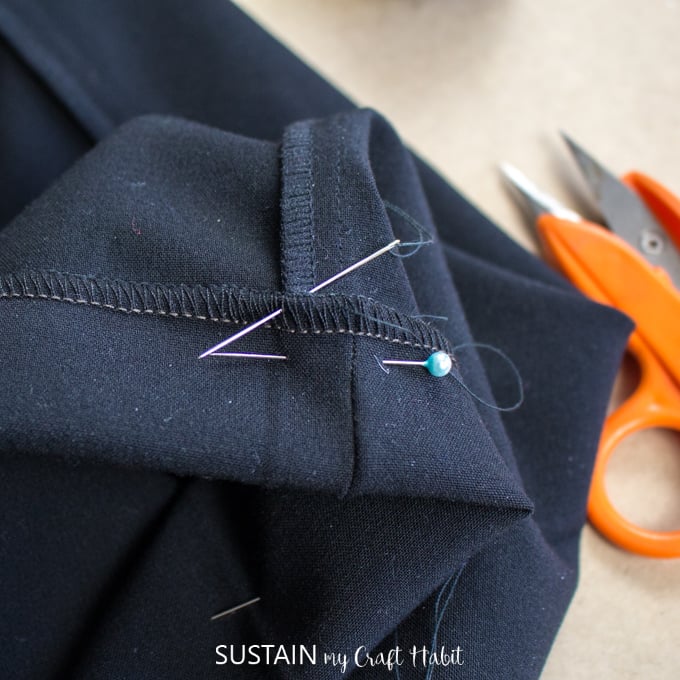
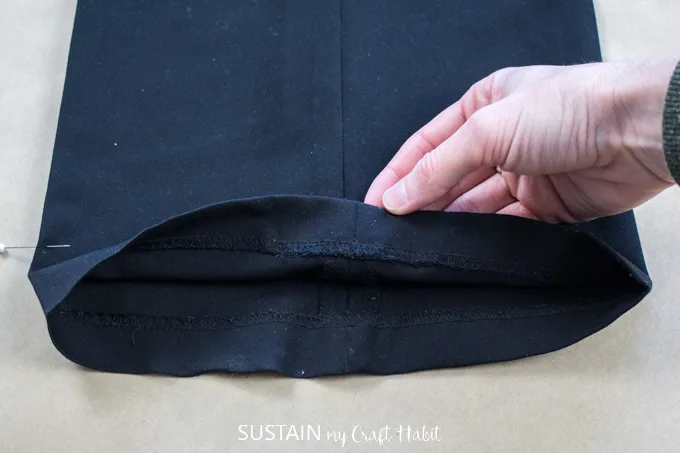
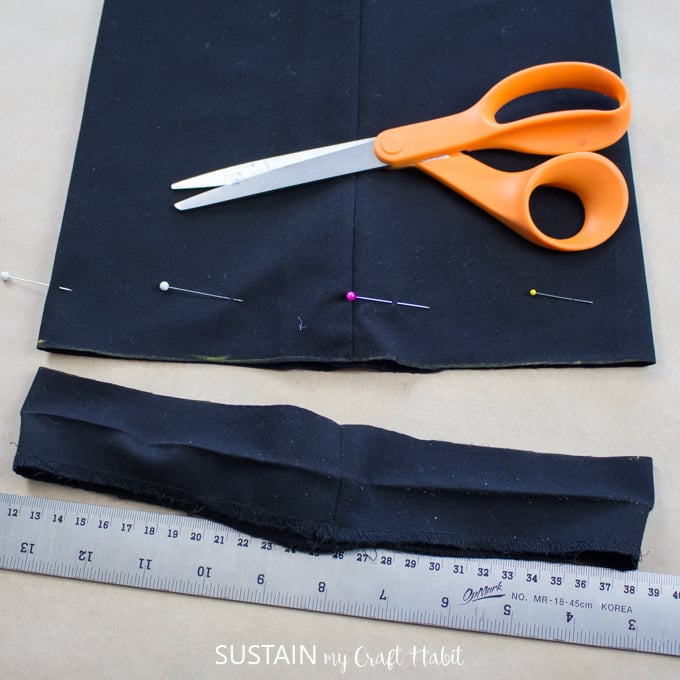
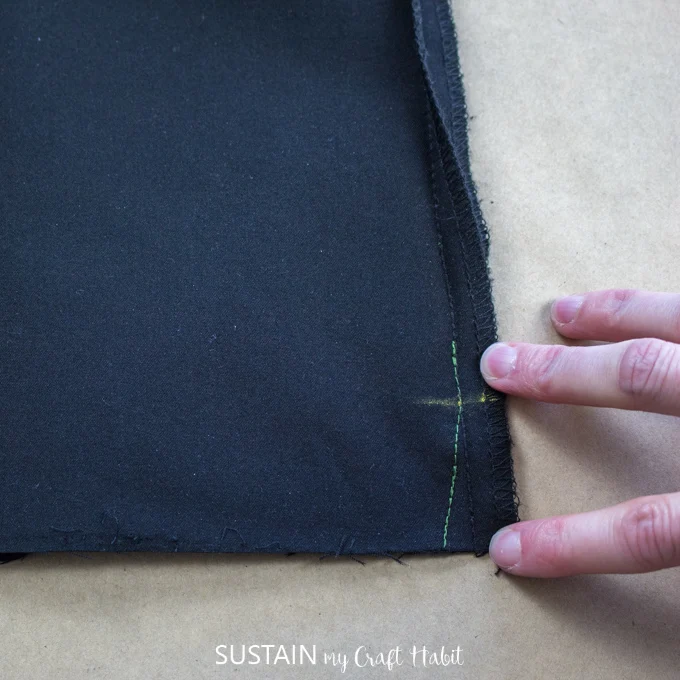
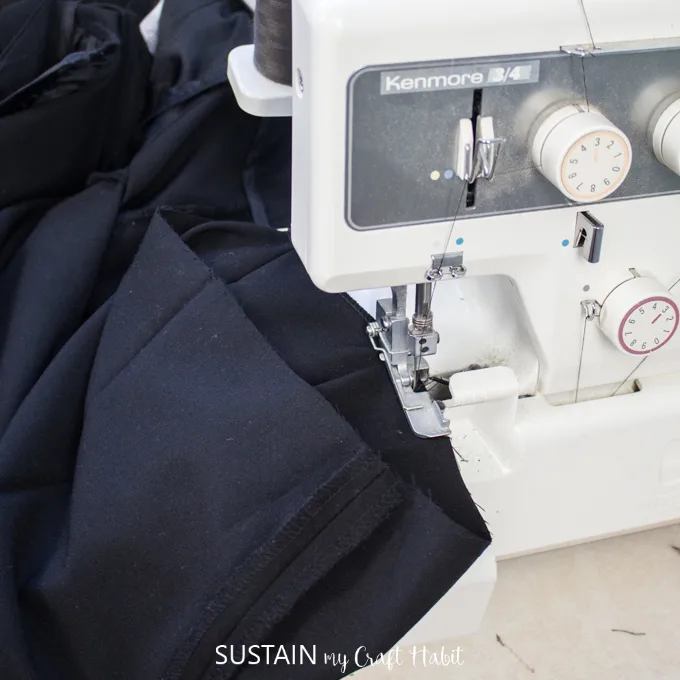
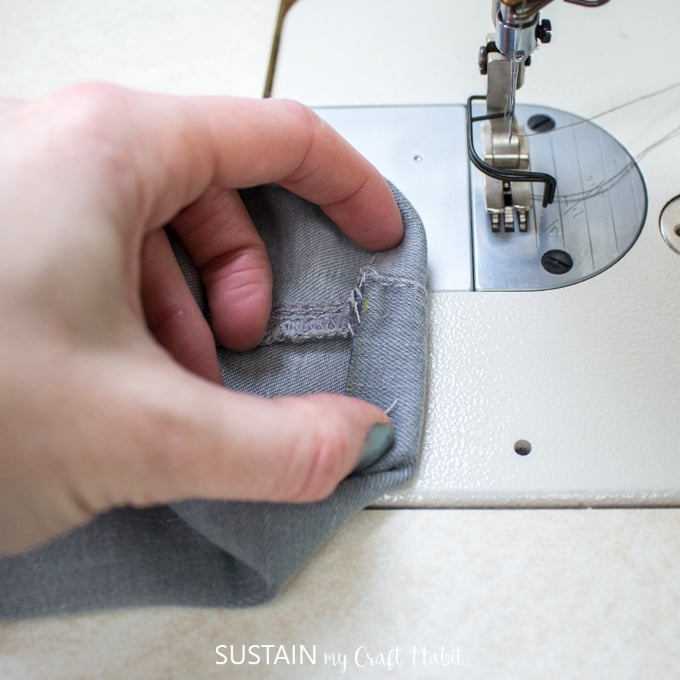
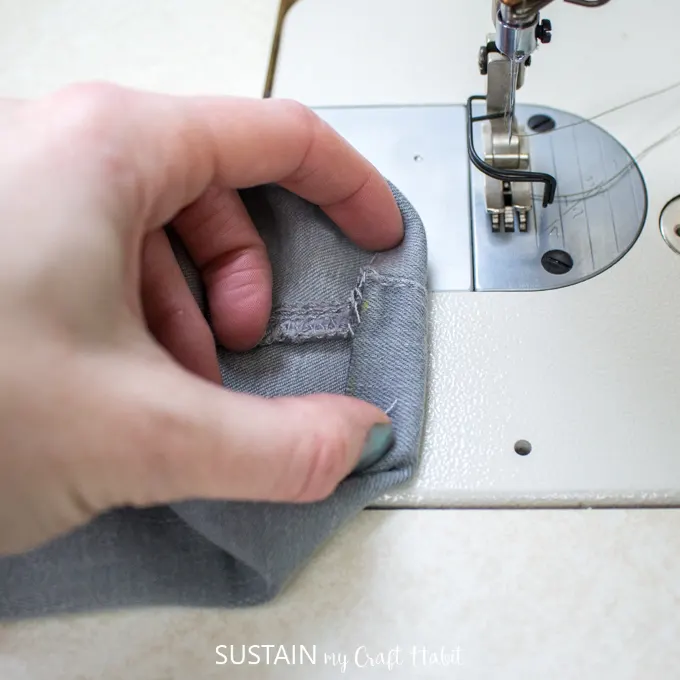
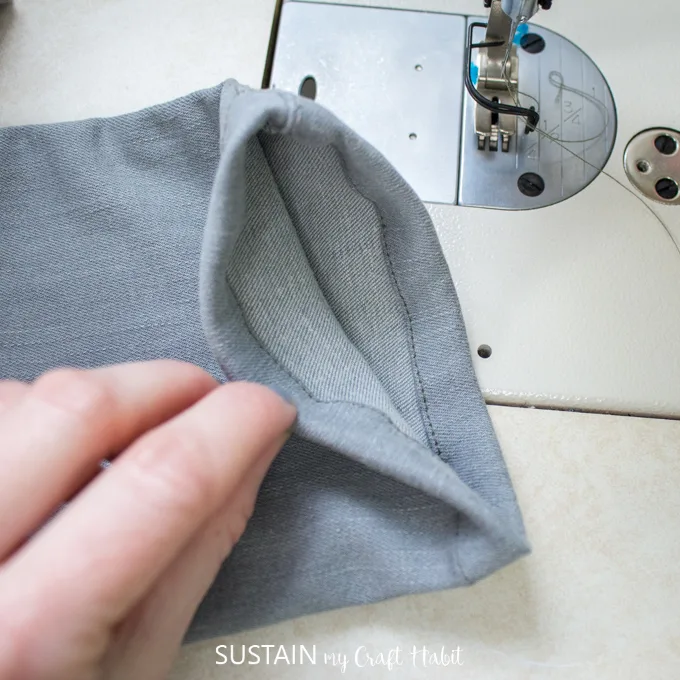
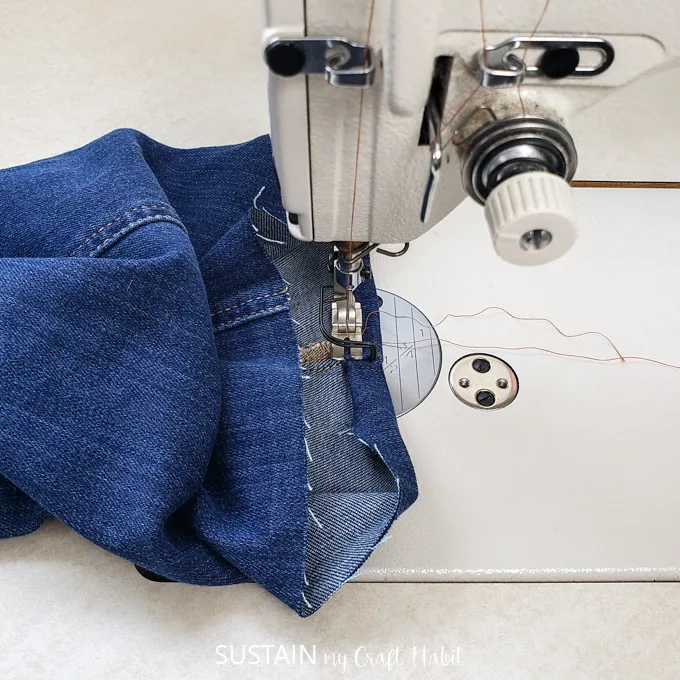
To secure the leg seams after cutting, stitch over the existing seams as shown.
This will prevent the fabric from fraying.
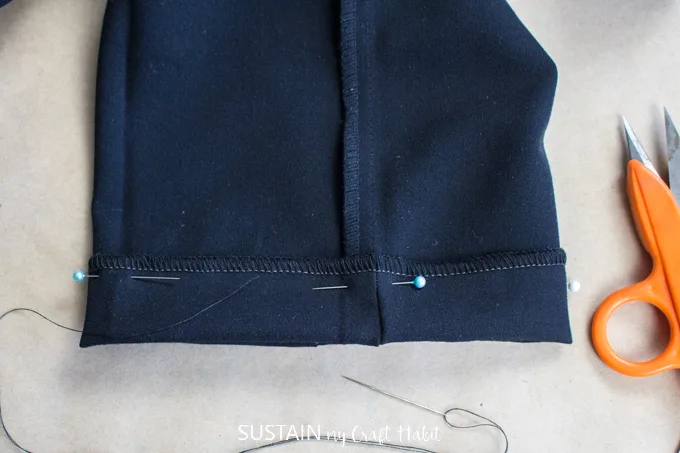
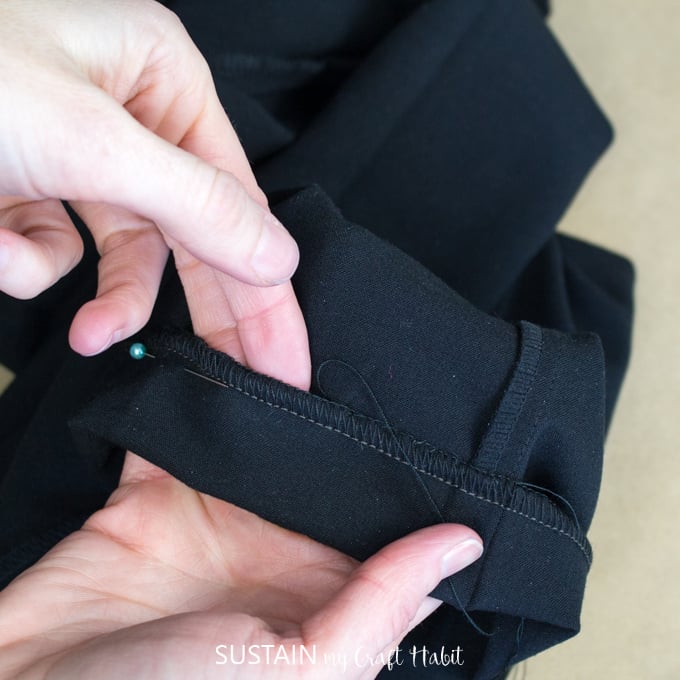
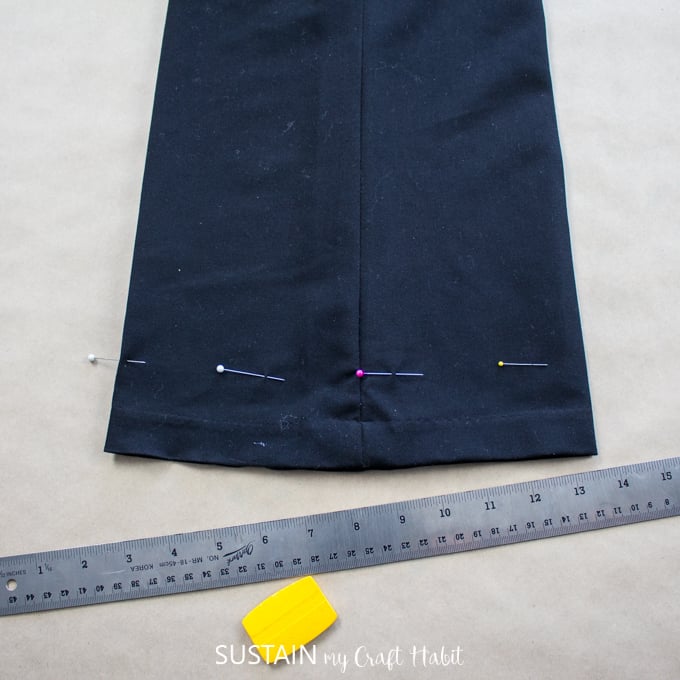
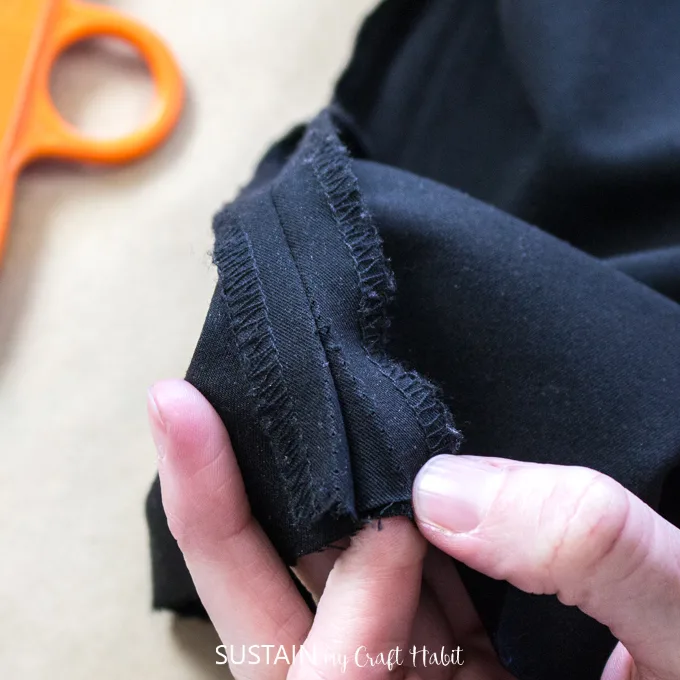
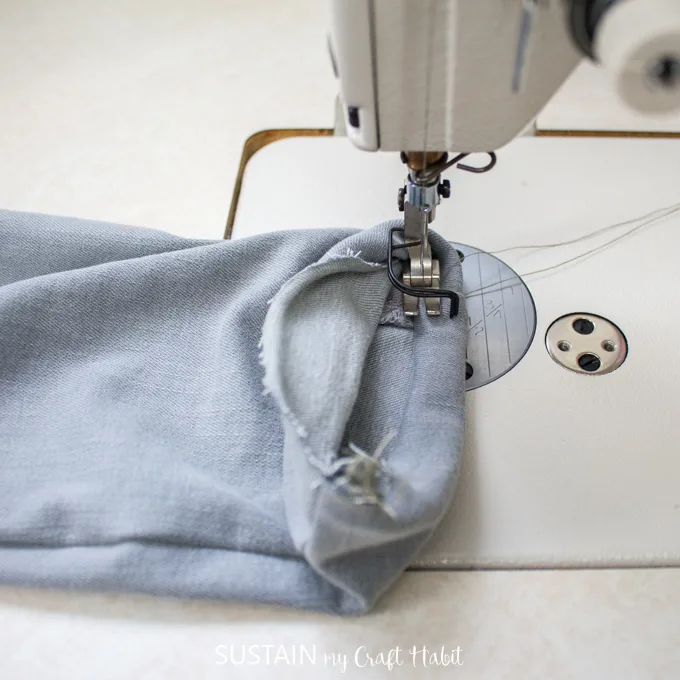
Fold the hem up by 1 (or whatever hem allowance you chose) and pin in place.
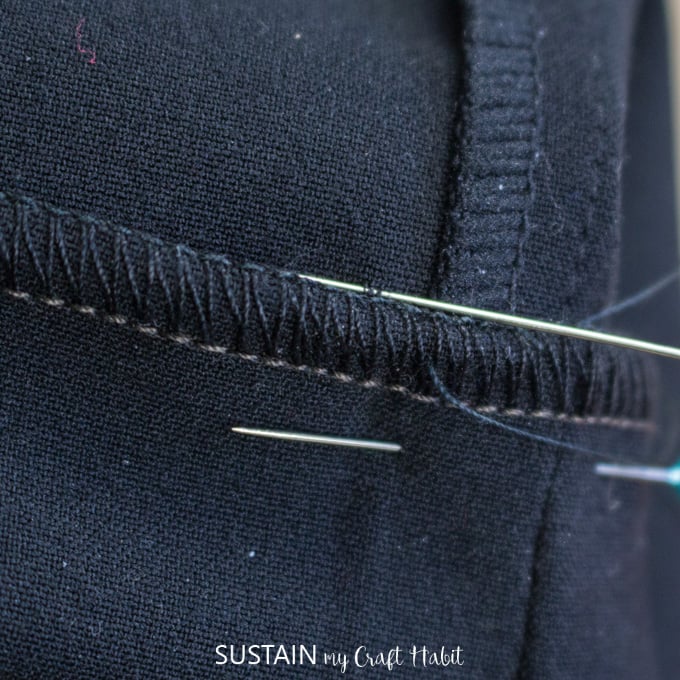
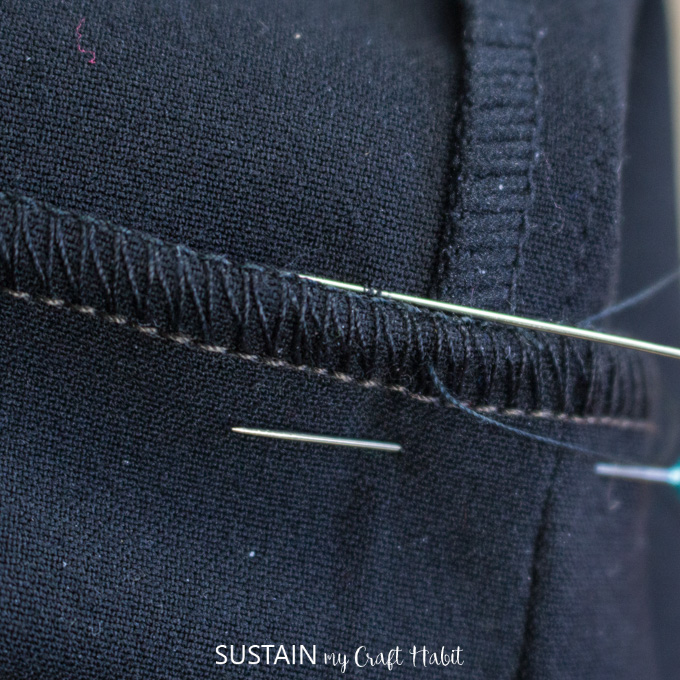
Thread a pointed sewing needle in a matching thread color and begin sewing at the inner leg.
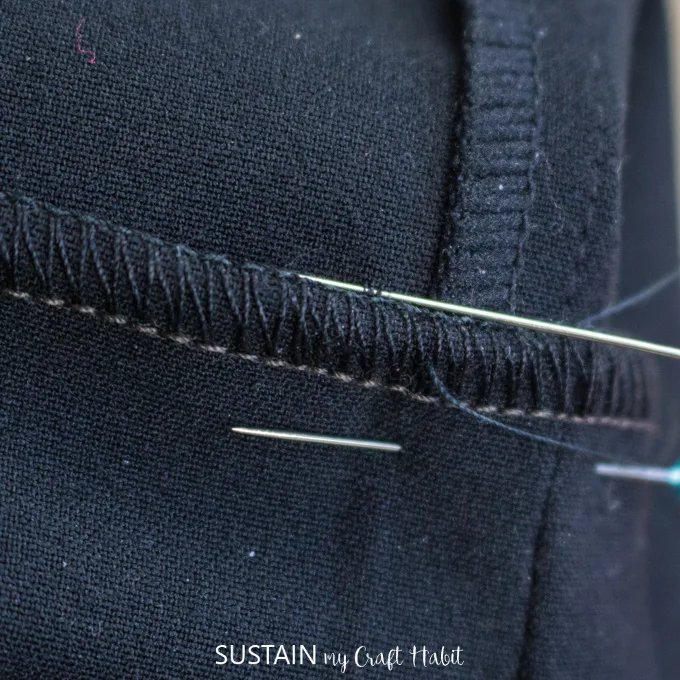
Continue until the hem is fully secure.
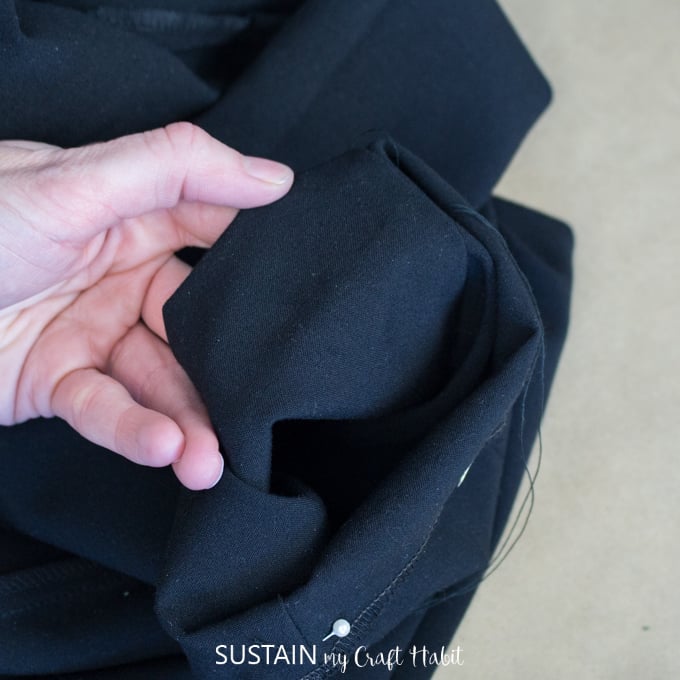
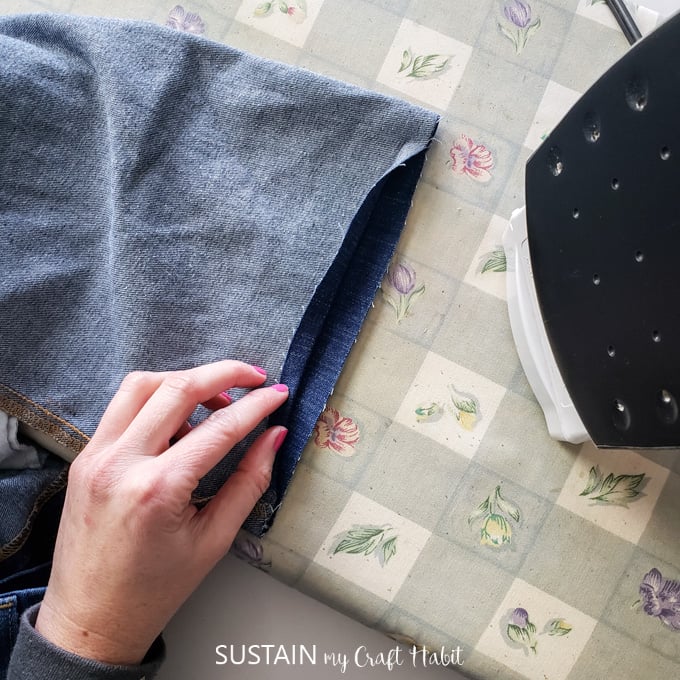
Press the hem using an iron.
If you simply attempt to fold the hem up, youll find a lot of puckering when you sew.
Remember that the marked point or folded edge is the new hem line.
Remove the previous stitch and unfold to get the full length if necessary.
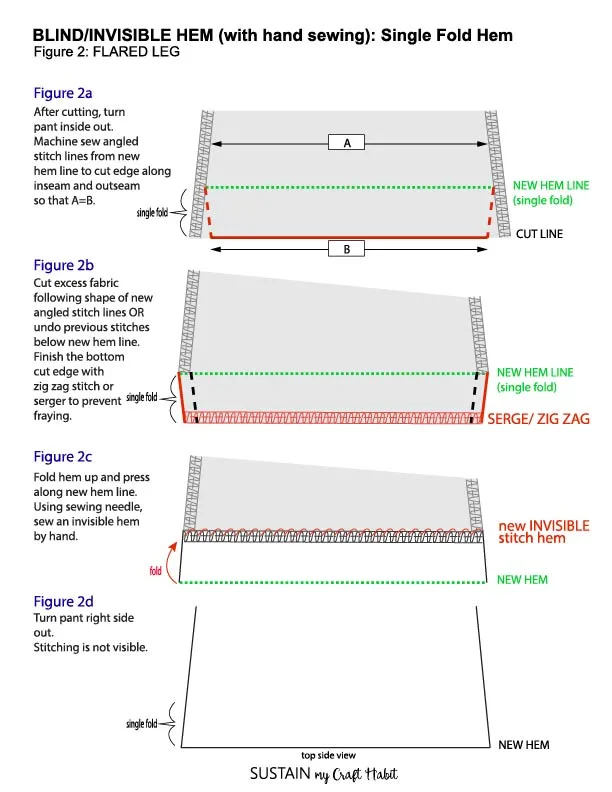
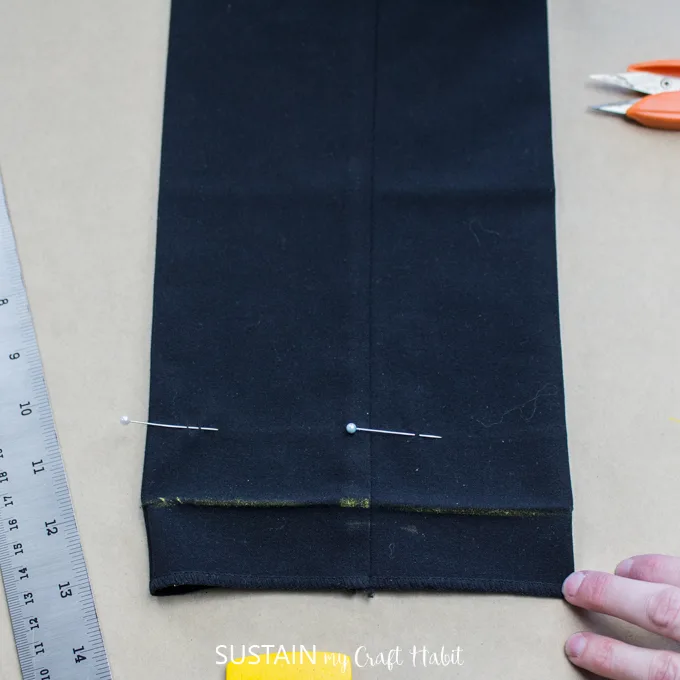
But for this example, I increased the hem height to 1.5 so the method is more clear.
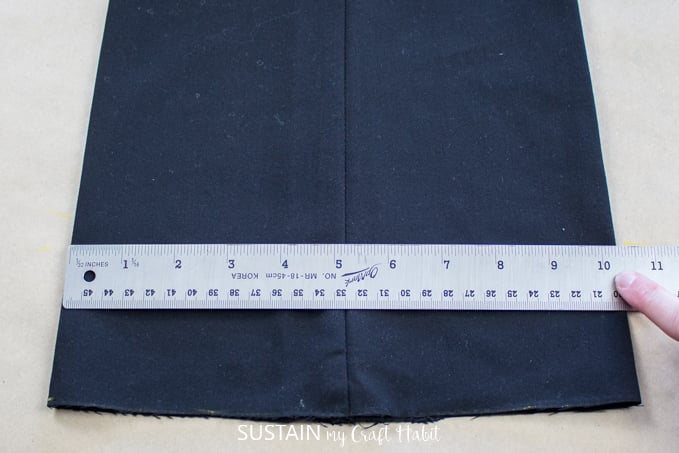
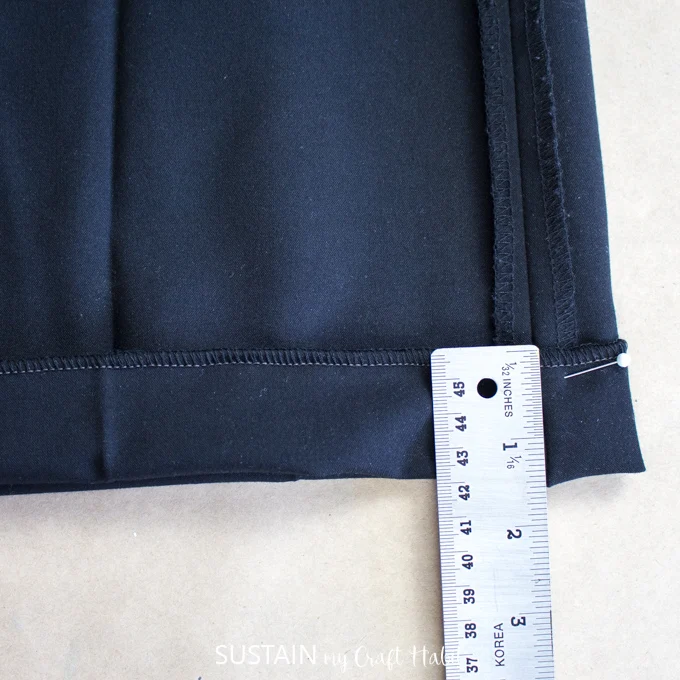
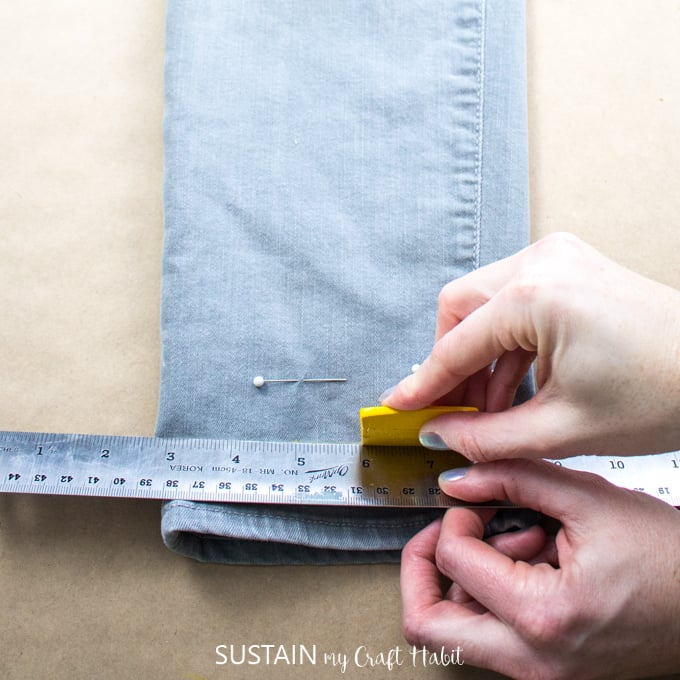
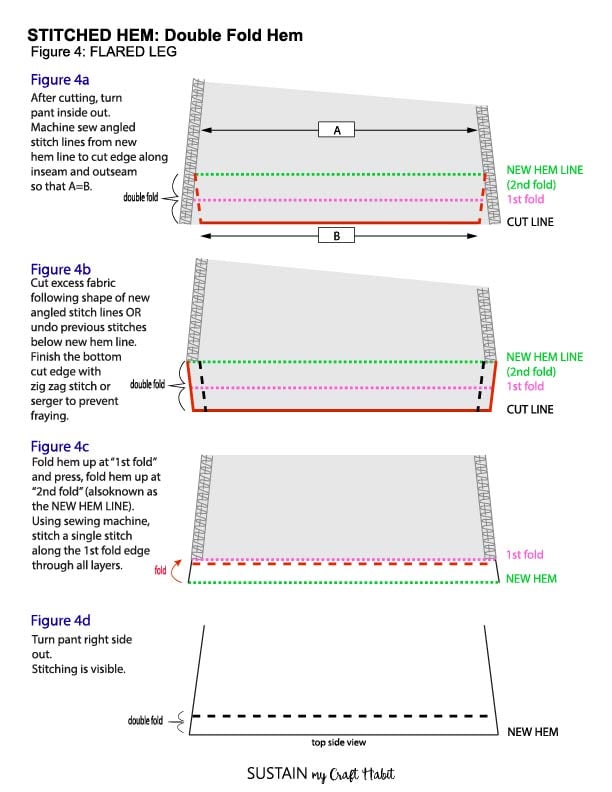
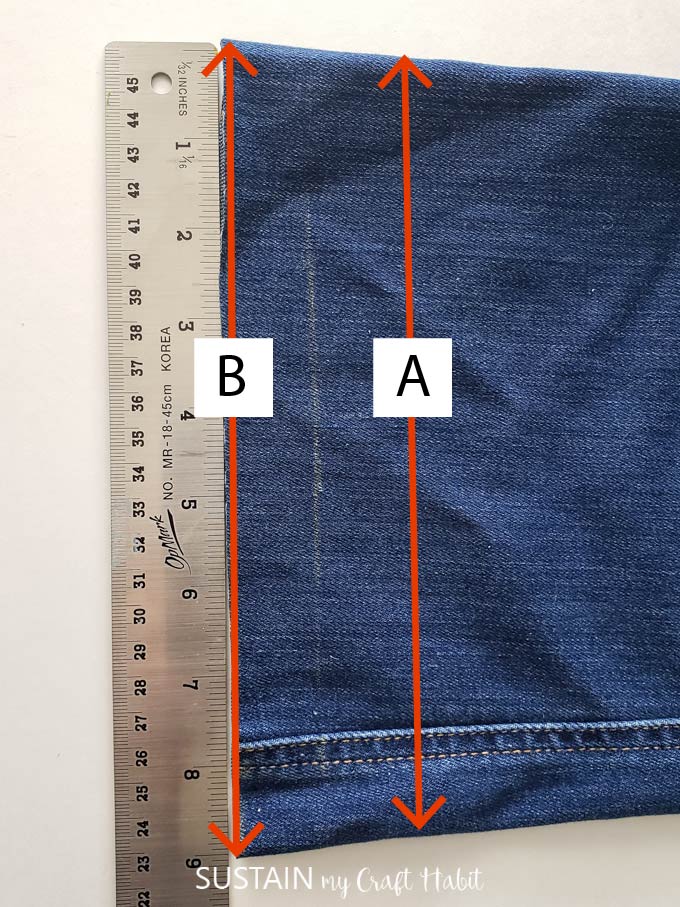
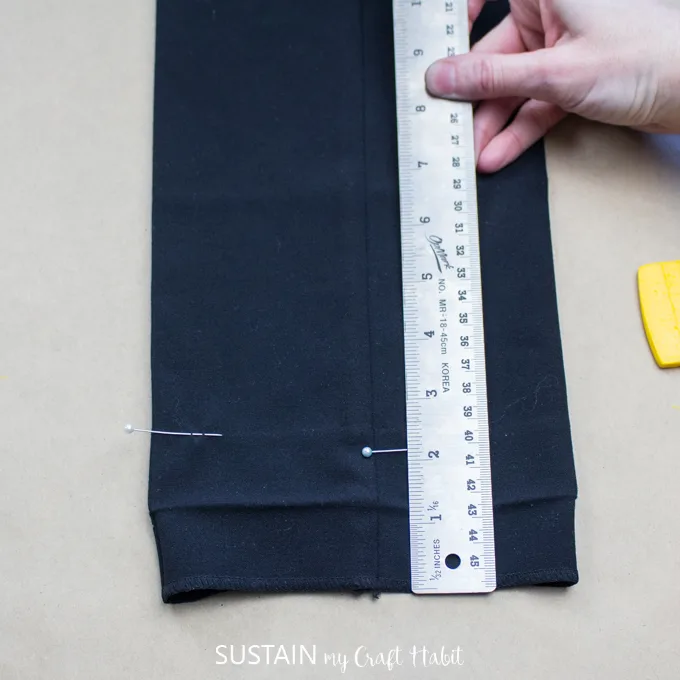
Measure the width along the cut edge.
In my case it is 10 34 wide.
This is Point B in the diagram.
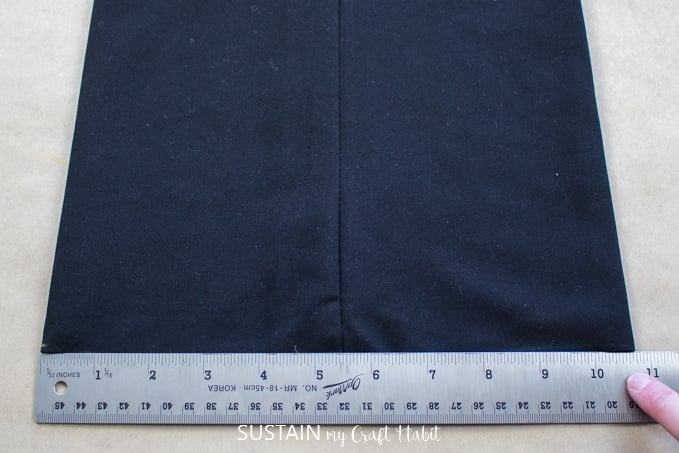
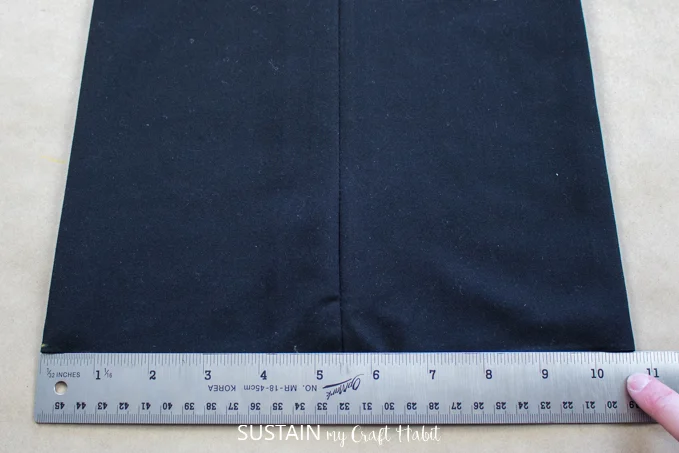
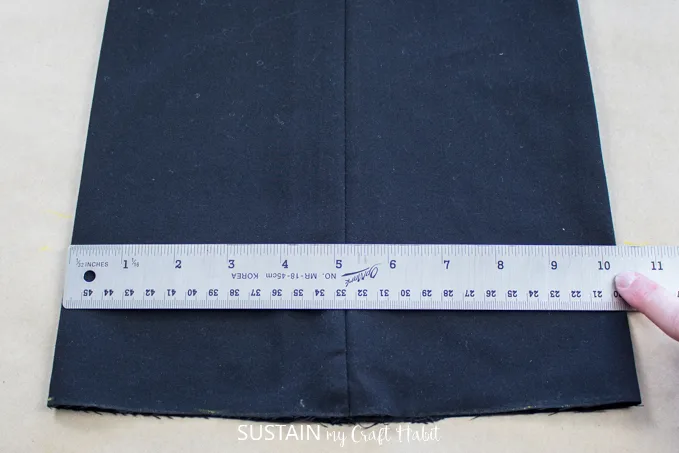
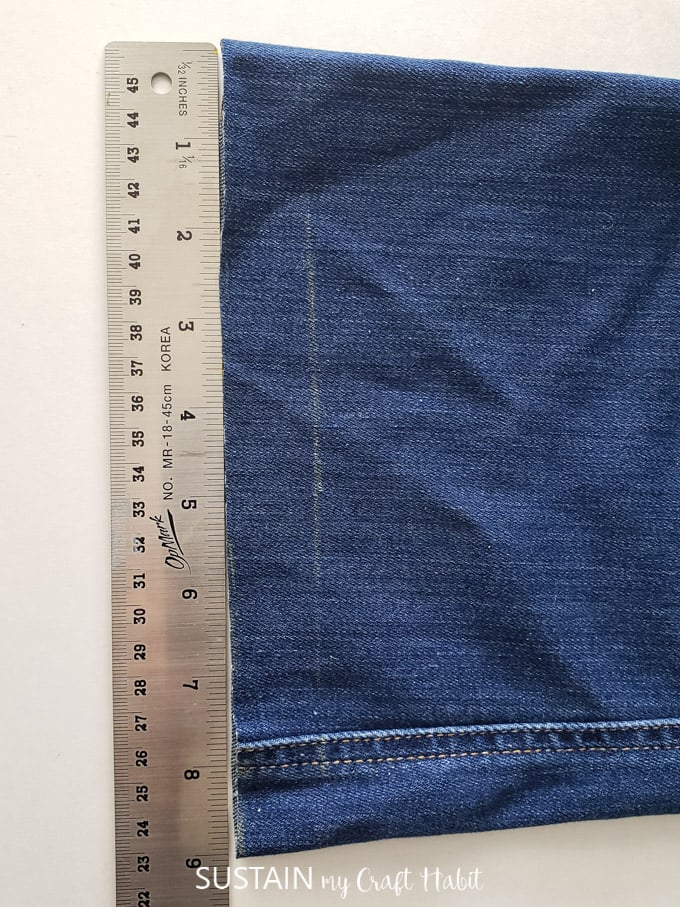
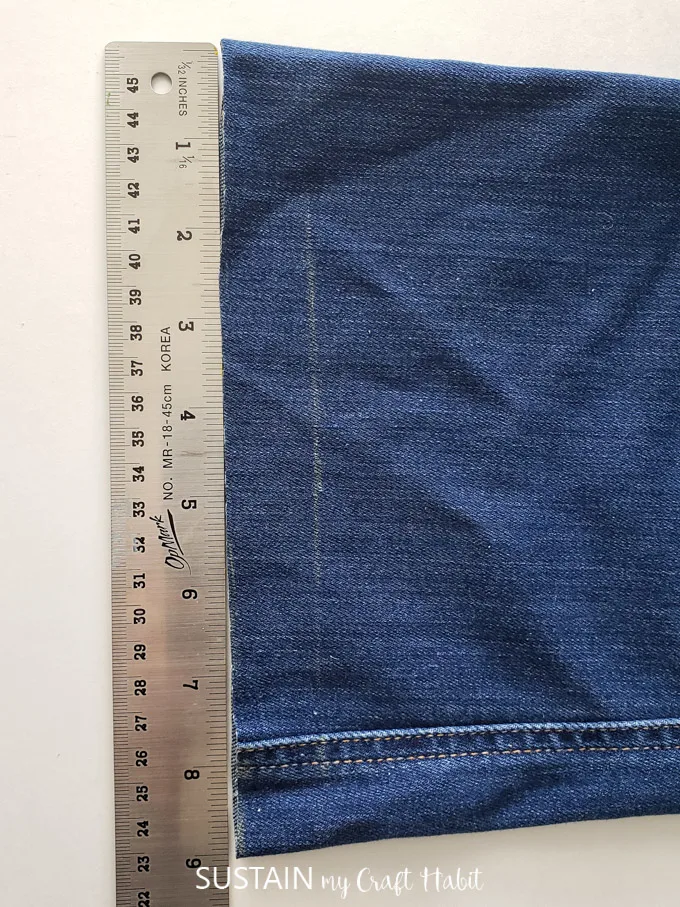
Next, measure up from the cut edge twice the amount of the hem allowance.

This is Point A in the diagram.
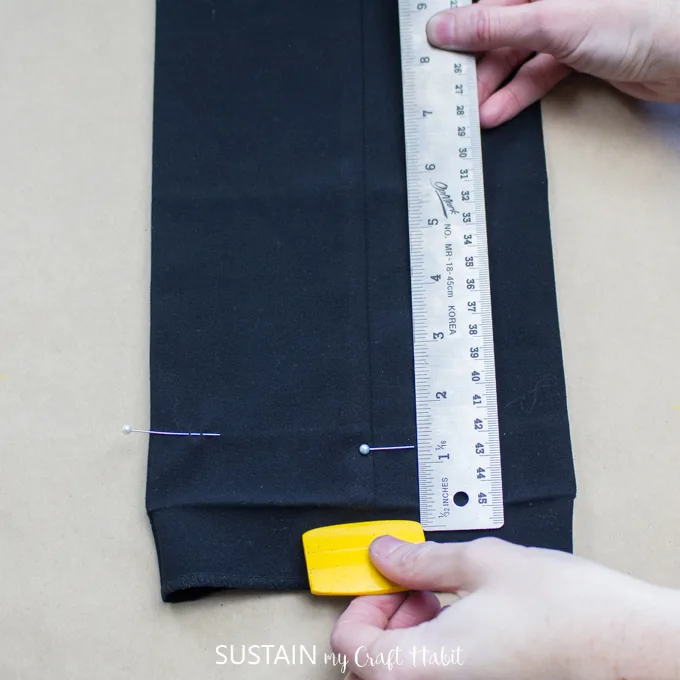
Mark this point and measure the leg width across.
In my case, it is 10 14.

Record these measurements (A and B) so you dont forget them.
Remove the previous stitches and cut excess fabric if necessary.
This will prevent the fabric from fraying.
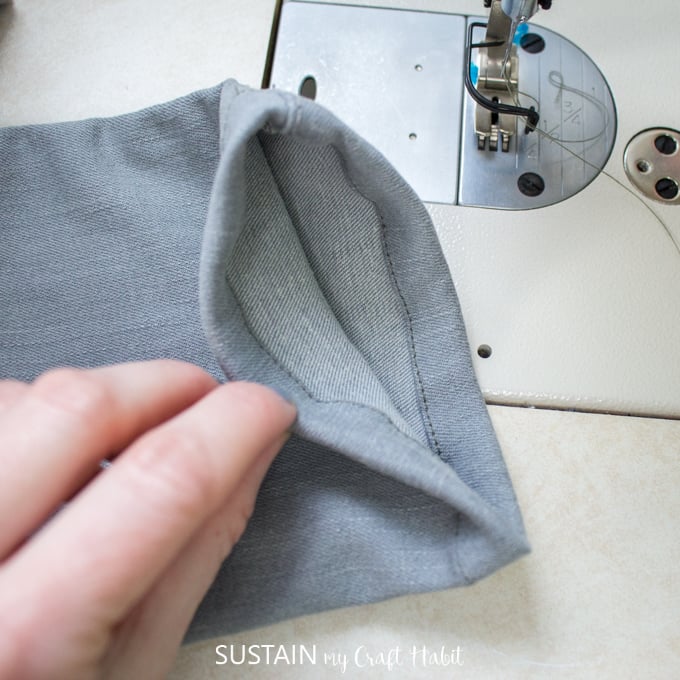
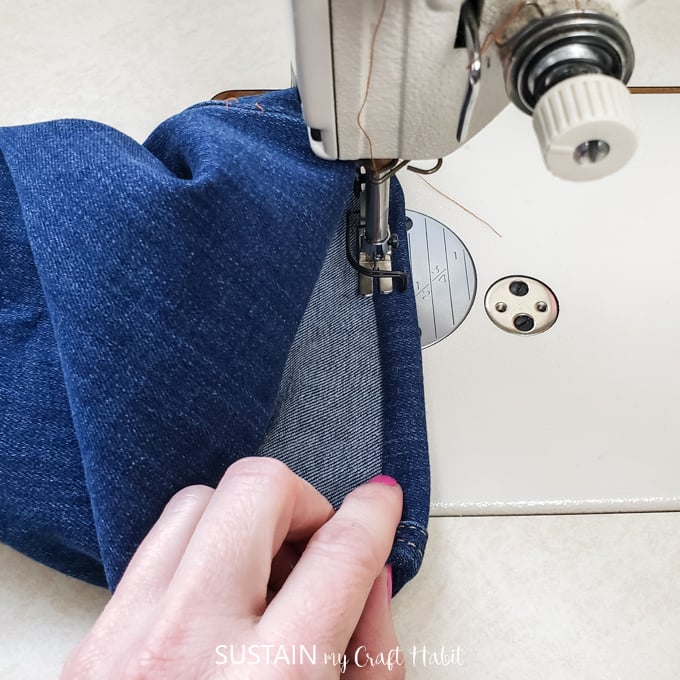
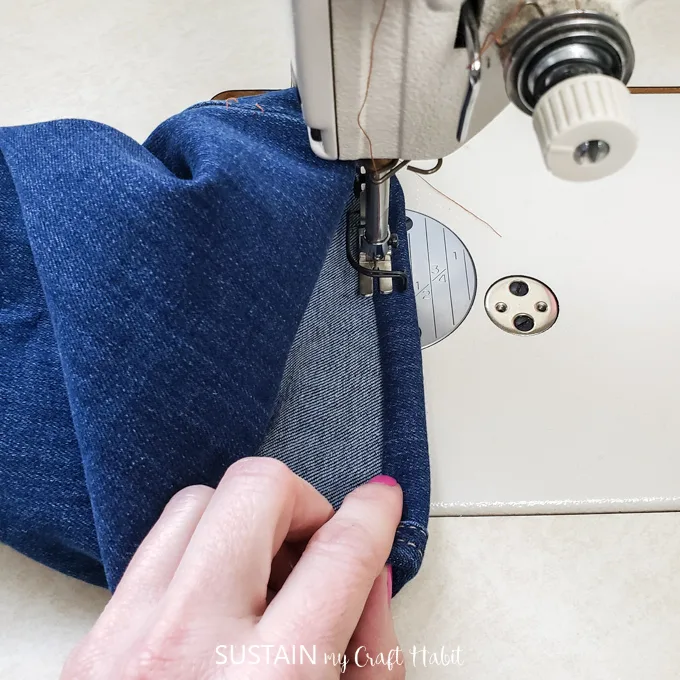
Fold the hem up by 1.5 (or whatever hem allowance you chose) and pin in place.
Take extra care to pass the needle through the fabric yarns on the inside only.
This way the stitches will NOT be visible on the right side.
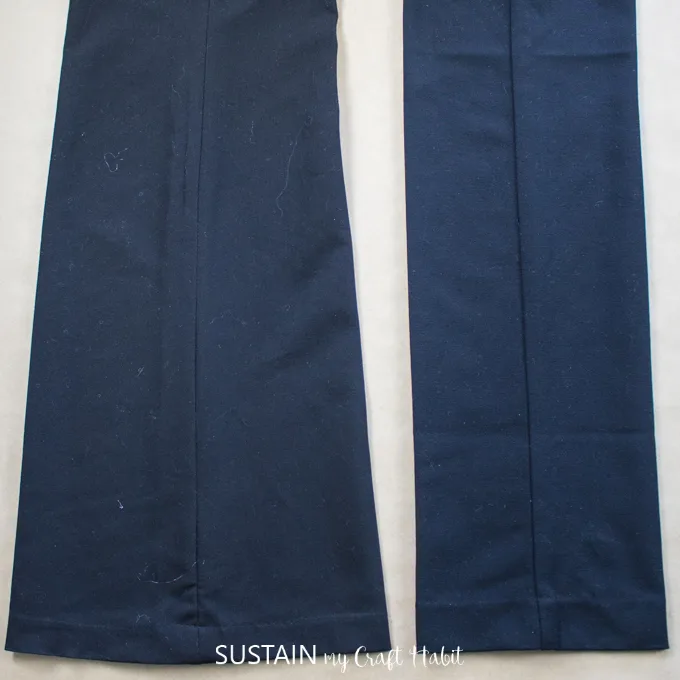
Tapered Leg
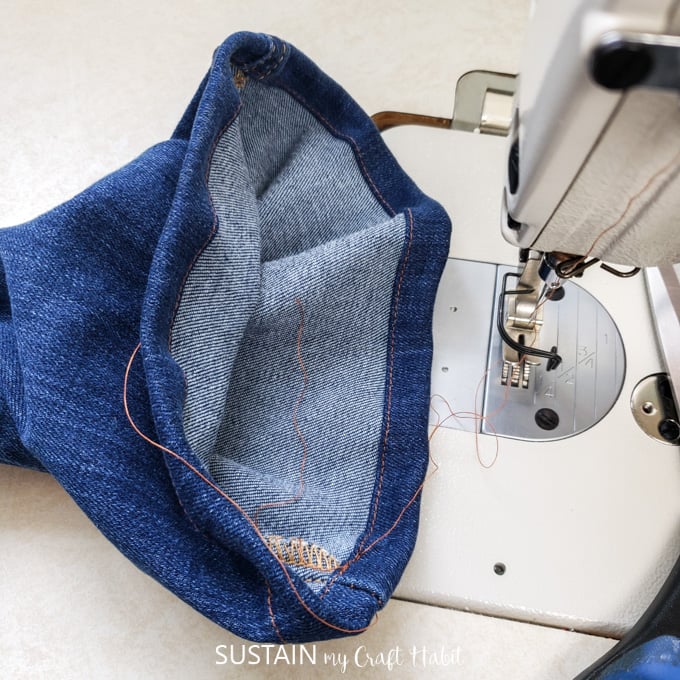
Continue until the hem is fully secure and repeat with the other pant leg.
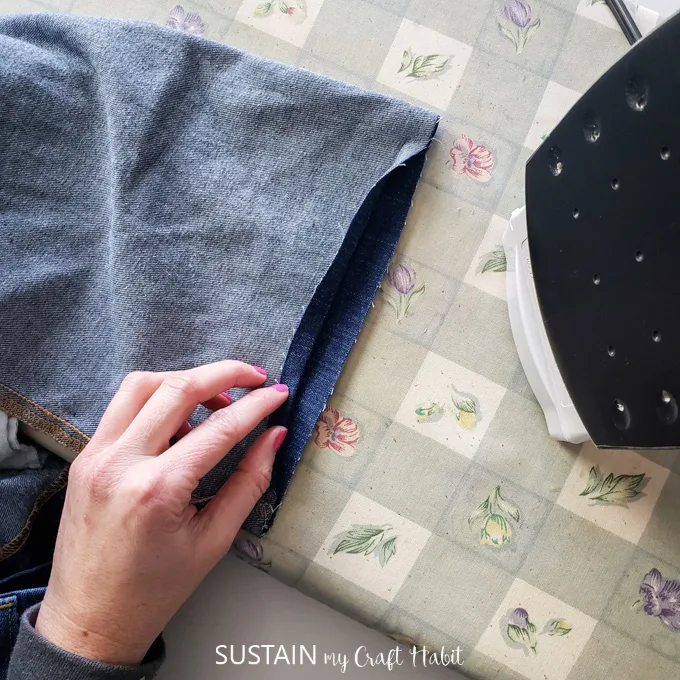
Press the hem using an iron to finish.
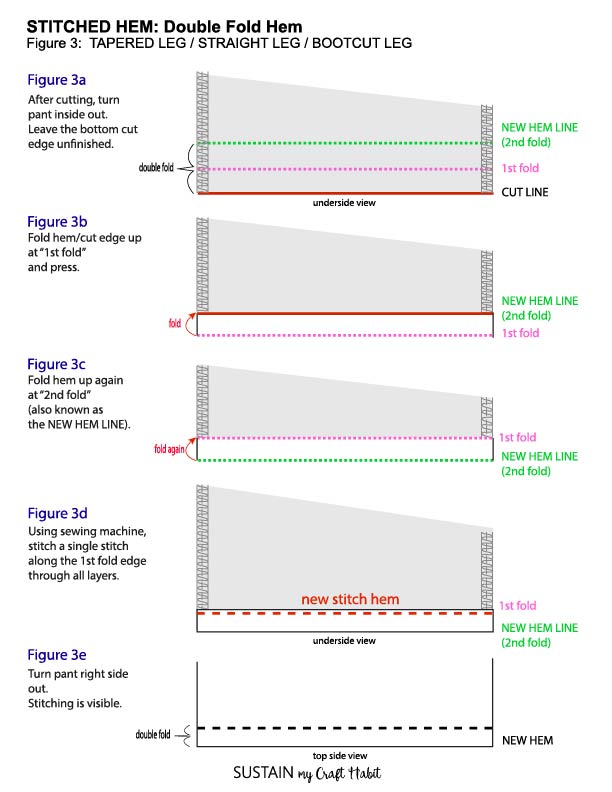
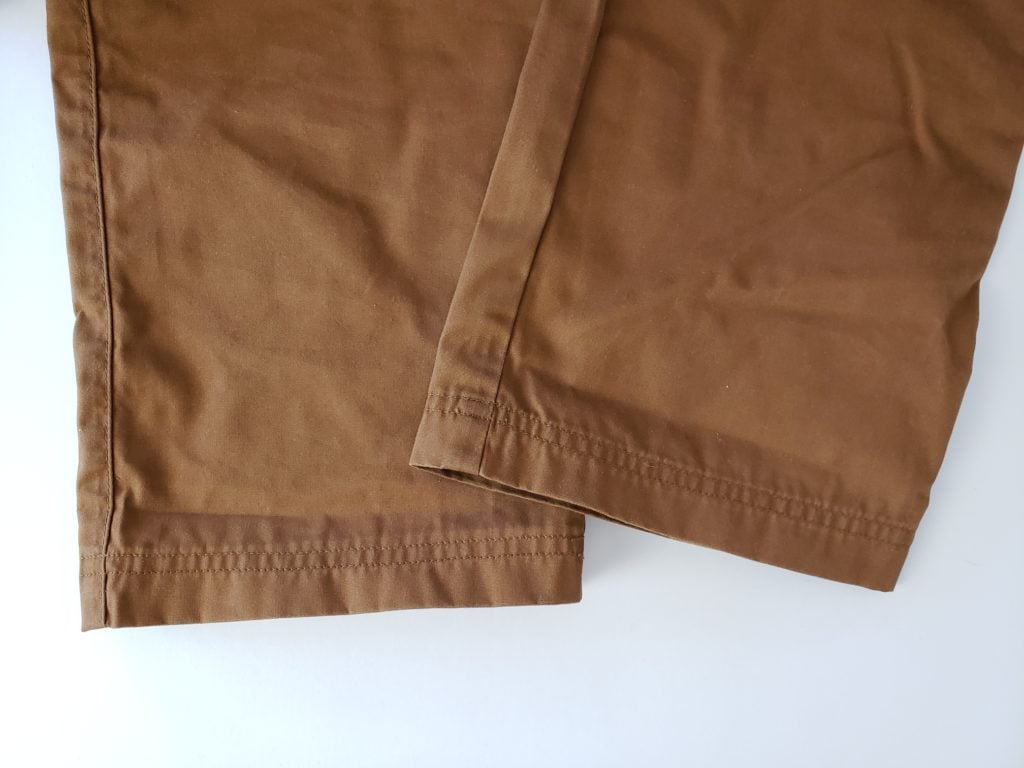
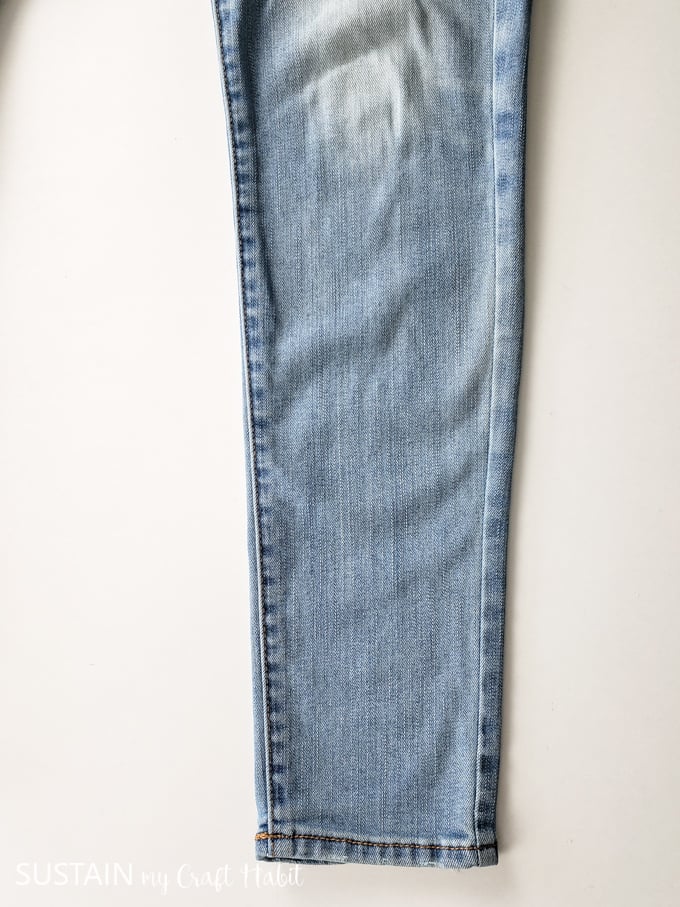
Think about your jeans or other casual pants.
If you look at the hem, youll see a single stitch line.
Try the pant on with a pair of shoes.
Fold under and pin in place to mark where you want the new hem to be.
Straight Leg
Remember that the marked point or folded edge is the new hem line.
Add an extra 1 to the length for the fold-over hem amount.
I tend to keep the same hem height as the original pant had.
Mark the cut line using a ruler and washable chalk or wax.
Cut along the marked line and discard the extra length.
Repeat for the other pant leg.

Flared leg
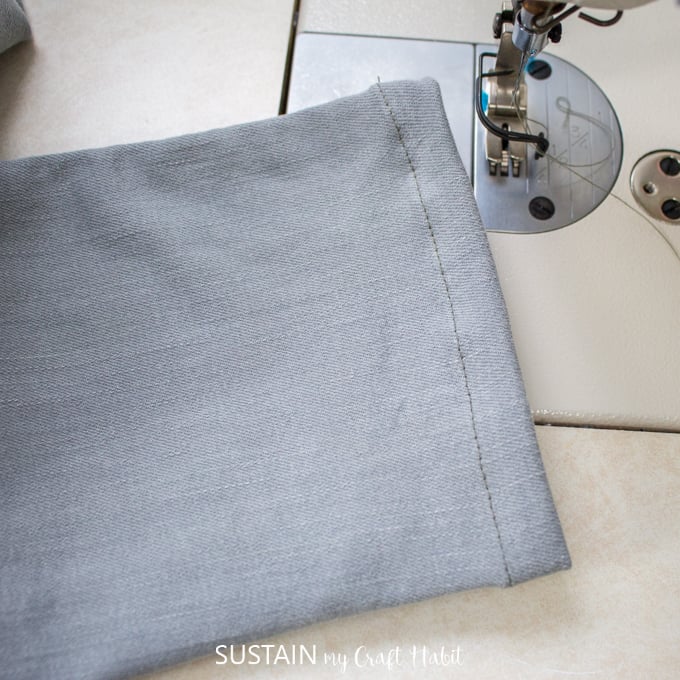
Fold the hem again another 12 and stitch along the edge of the folded hem.
Continue the stitch along the whole hem line and secure the last few stitches with back stitching.
Repeat with the other pant leg.

Remember that the marked point or folded edge is the new hem line.
Add an extra 1 to the length for the fold-over hem amount.
(I tend to keep the same hem height as the original pant had).
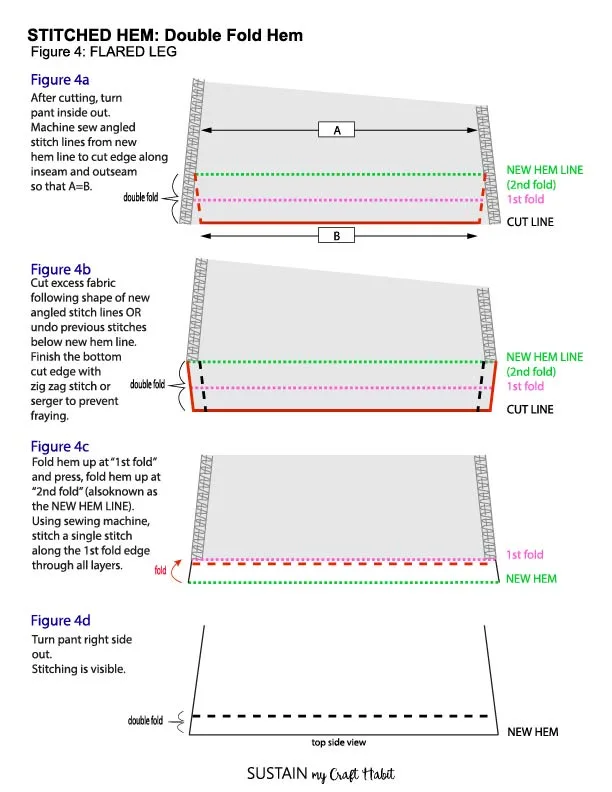
Measure the width along the cut edge.
In my case it is 9 wide.
This is point B.
Next, measure up from the cut edge twice the amount of the hem allowance.
Mark this point and measure the leg width across.
In my case, it is 8 1/2.
This is point A.
In my case, I need to reduce the width by 12 (9 minus 8.5 = 12).
Fold the hem again another 12 at the sewing machine (pin in place if needed).

launch the stitch line along the fold edge.
Continue until the hem is fully secure and back stitch in place.
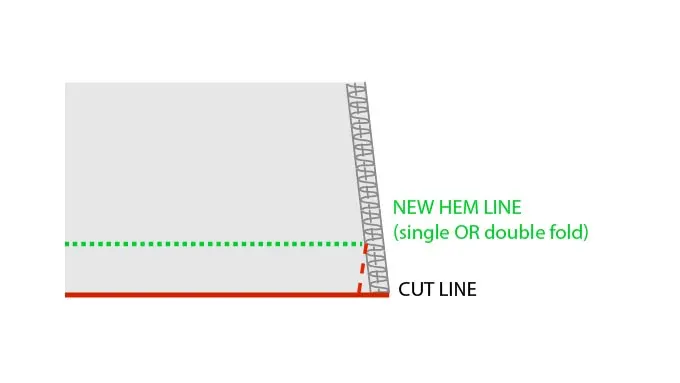
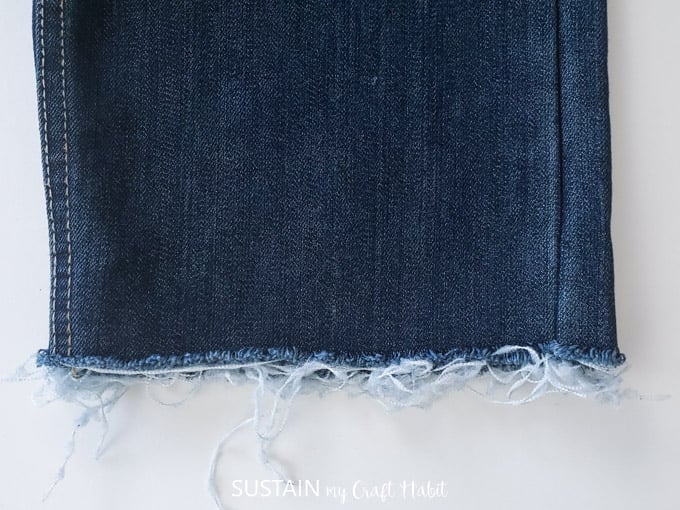
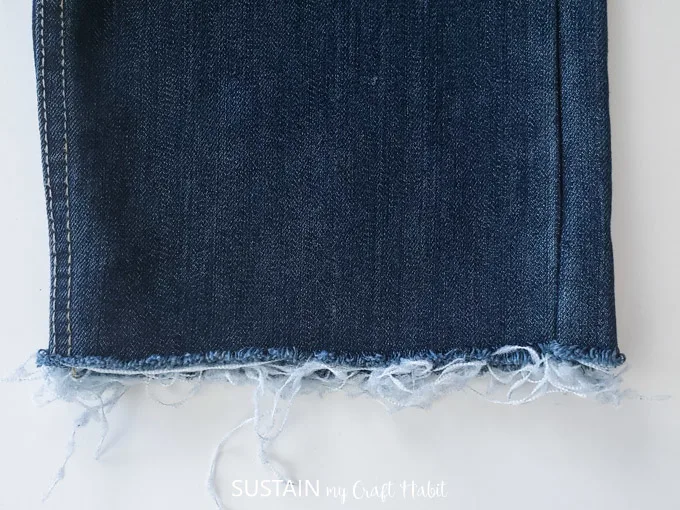
Next, lay the pant on a flat surface.
Add 1/4 to the length.
This will be the cut line for your new hem.
Using a ruler and chalk or removable wax, draw a line across to mark your cut line.
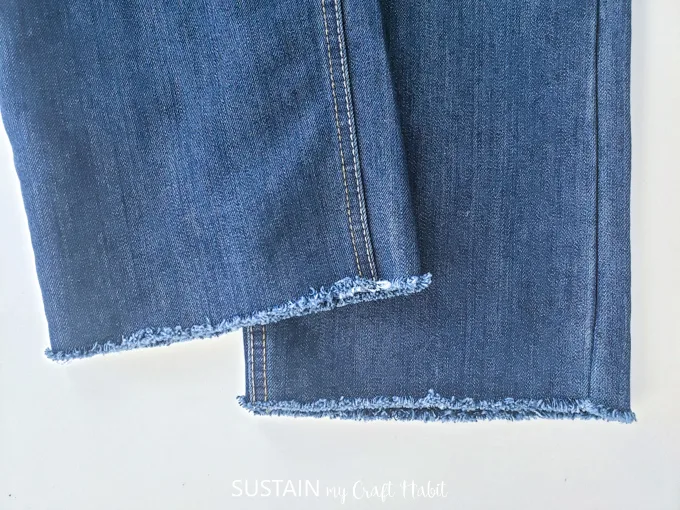
Next, cut along the chalk line using a pair of fabric scissors.
Put pant through the wash and dry cycle, the edges will fray.
Trim away any loose hanging edges if desired.

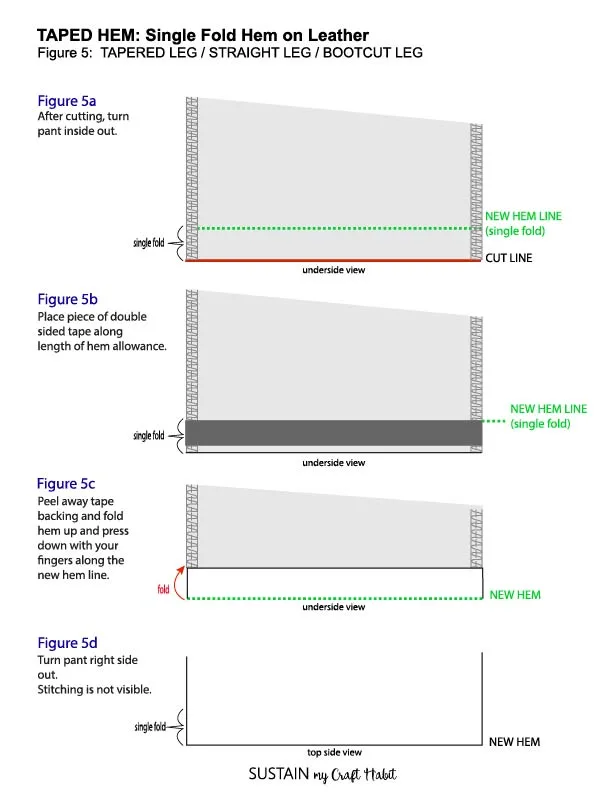
Hemming Leather Pants with Tape
Using double sided tape is a simple and professional way of hemming leather pants.
Sewing leather is not the same as sewing fabric, for example, the leather is not so forgiving.
Try the pant on with a pair of shoes.
Remember that the marked point or folded edge is the new hem line.
Add an extra 3/4 to the length for the fold-over hem amount.
Mark the cut line using a ruler and washable chalk or wax.

Cut along the marked line and discard the extra length.
Repeat for the other pant leg.
Turn the pant inside out and cut a piece of double side tape the length of the leg opening.
Place the sticky side of the tape along the cut edge and press in place.
Peel away the tape backing and fold the hem up 3/4 and press the hem in place to secure.
Measure the width along the cut edge.
This is point B.
Next, measure up from the cut edge twice the amount of the hem allowance.
Mark this point and measure the leg width across.
This is point A.
Turn the pant inside out and cut a piece of double side tape the length of the leg opening.
Place the sticky side of the tape along the cut edge and press in place.

Peel away the tape backing and fold the hem up 3/4 and press the hem in place to secure.
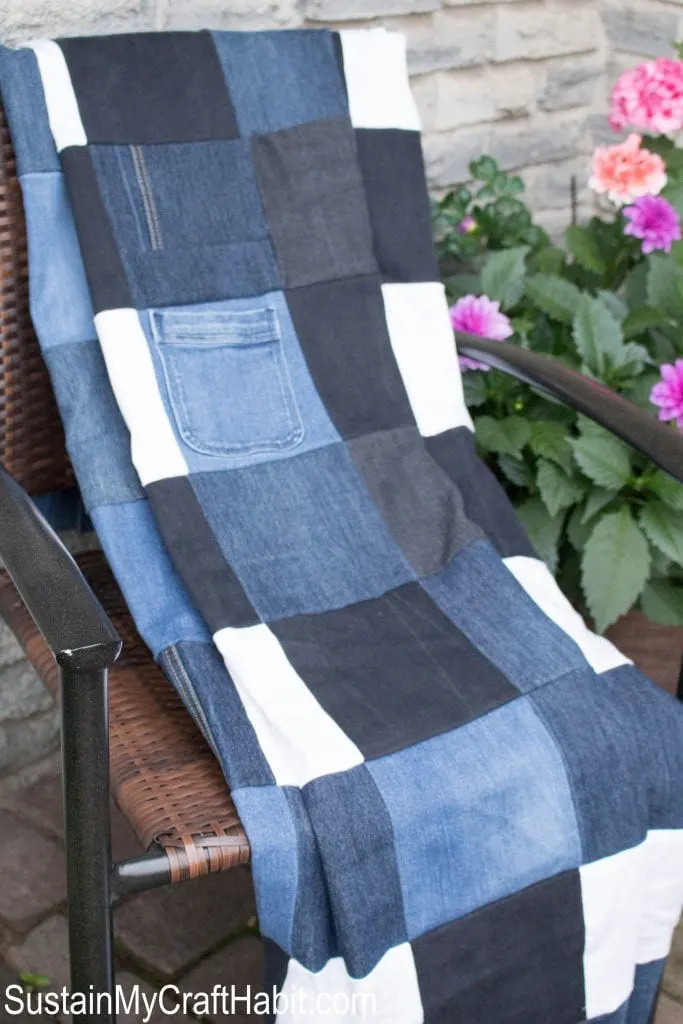
Pin it for later!