If youve been wondering how to achieve such intricate designs yourself, youre in the right place.
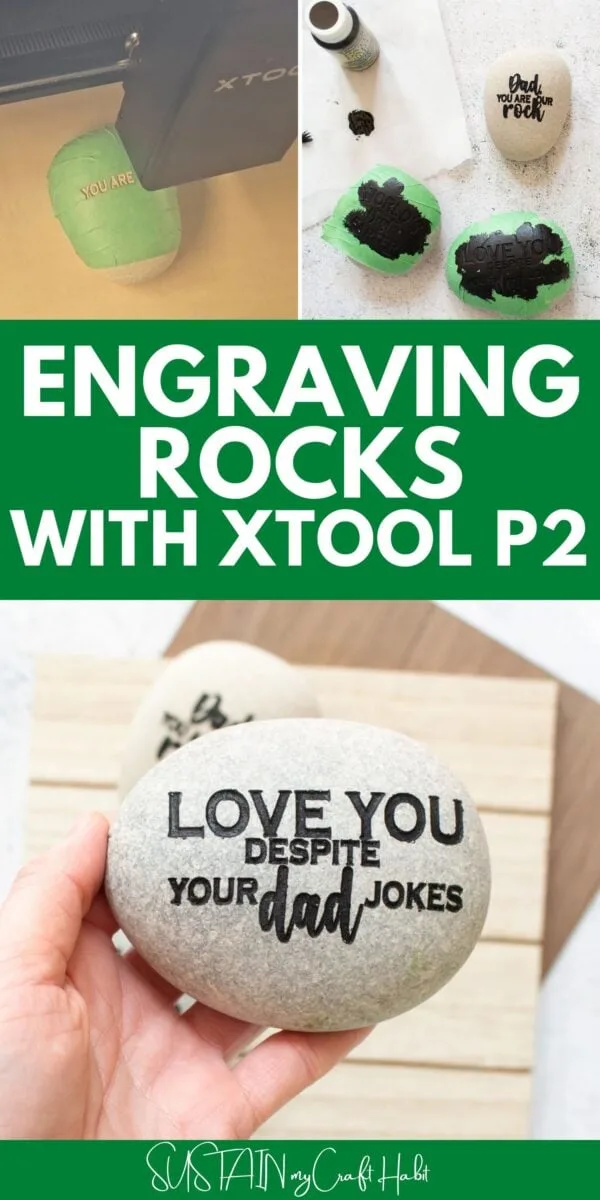
In this blog post, well show you how to engrave rocks using thexTool P2.
This powerful tool makes the engraving process not only accessible but also incredibly satisfying.

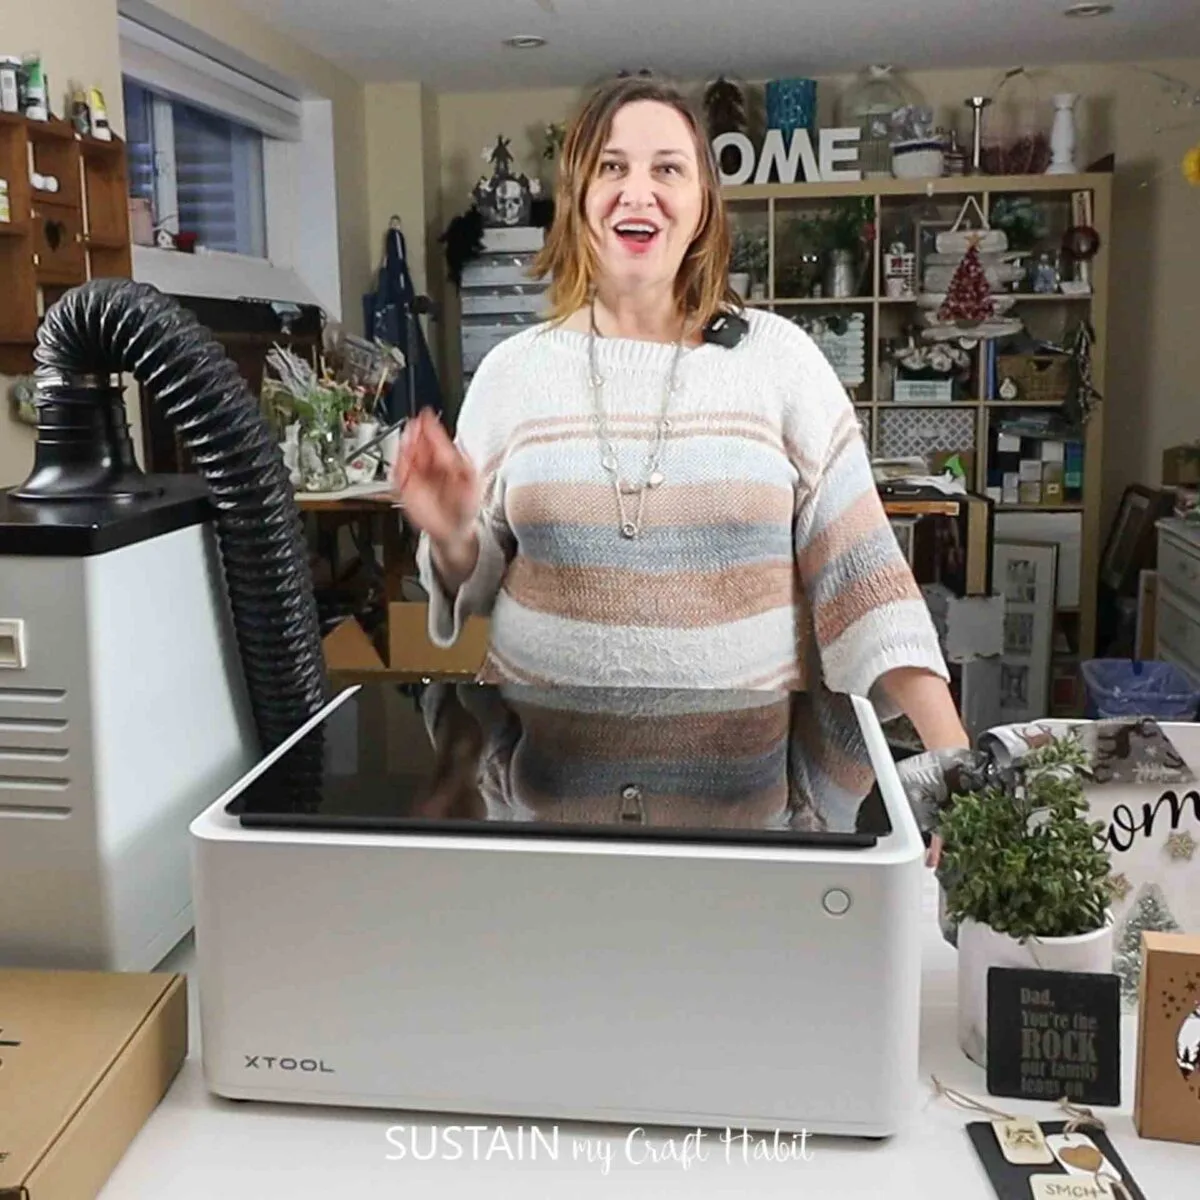
xTool P2 Review
So, grab your xTool P2, select your stones, and lets embark on this creative journey together!
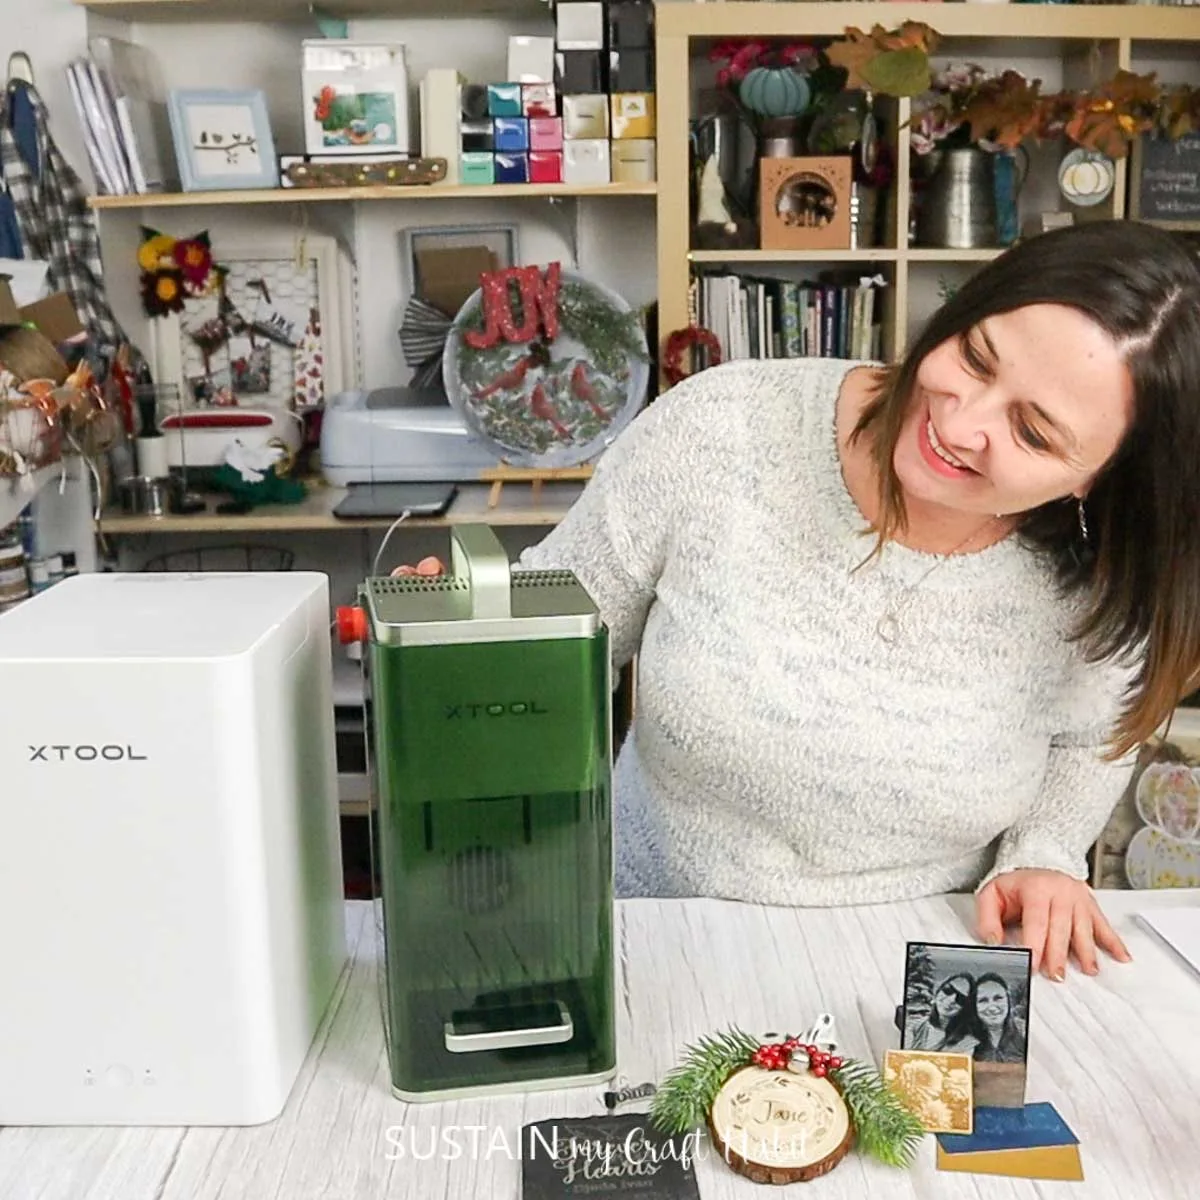
Ever sine we first received our xTool P2, rock engraving has been on my must-do craft list.
One of its unique features is the ability to engrave on to curved surfaces.
Many other users engrave tumblers but for us, rocks has been the dream surface to engrave.
Additionally, all users can achieve professional-quality results with minimal effort.
Well take you through the step by step instructions on just how to make these engraved rocks yourself.

The xTool P2 is not limited to just rock engraving.
Each material offers a unique texture and appearance, allowing you to explore endless creative possibilities.
Check out our fullreview of the xTool P2along with reviews on thexTool M1and the portablexTool F1machines.

Be sure to getaccess to our resource libraryfilled with cut files and other xTool craft ideas!
Materials Needed
Disclosure: This post contains affiliate links for your shopping convenience.
you’ve got the option to readour full disclosure policy here.

Once dry, apply a coat of sealer to the rock and leave it to dry fully.
I discovered this handy tip after engraving the rock and you might see areas the paint bled over.
Connect Creative Space app to machine and hit create project.

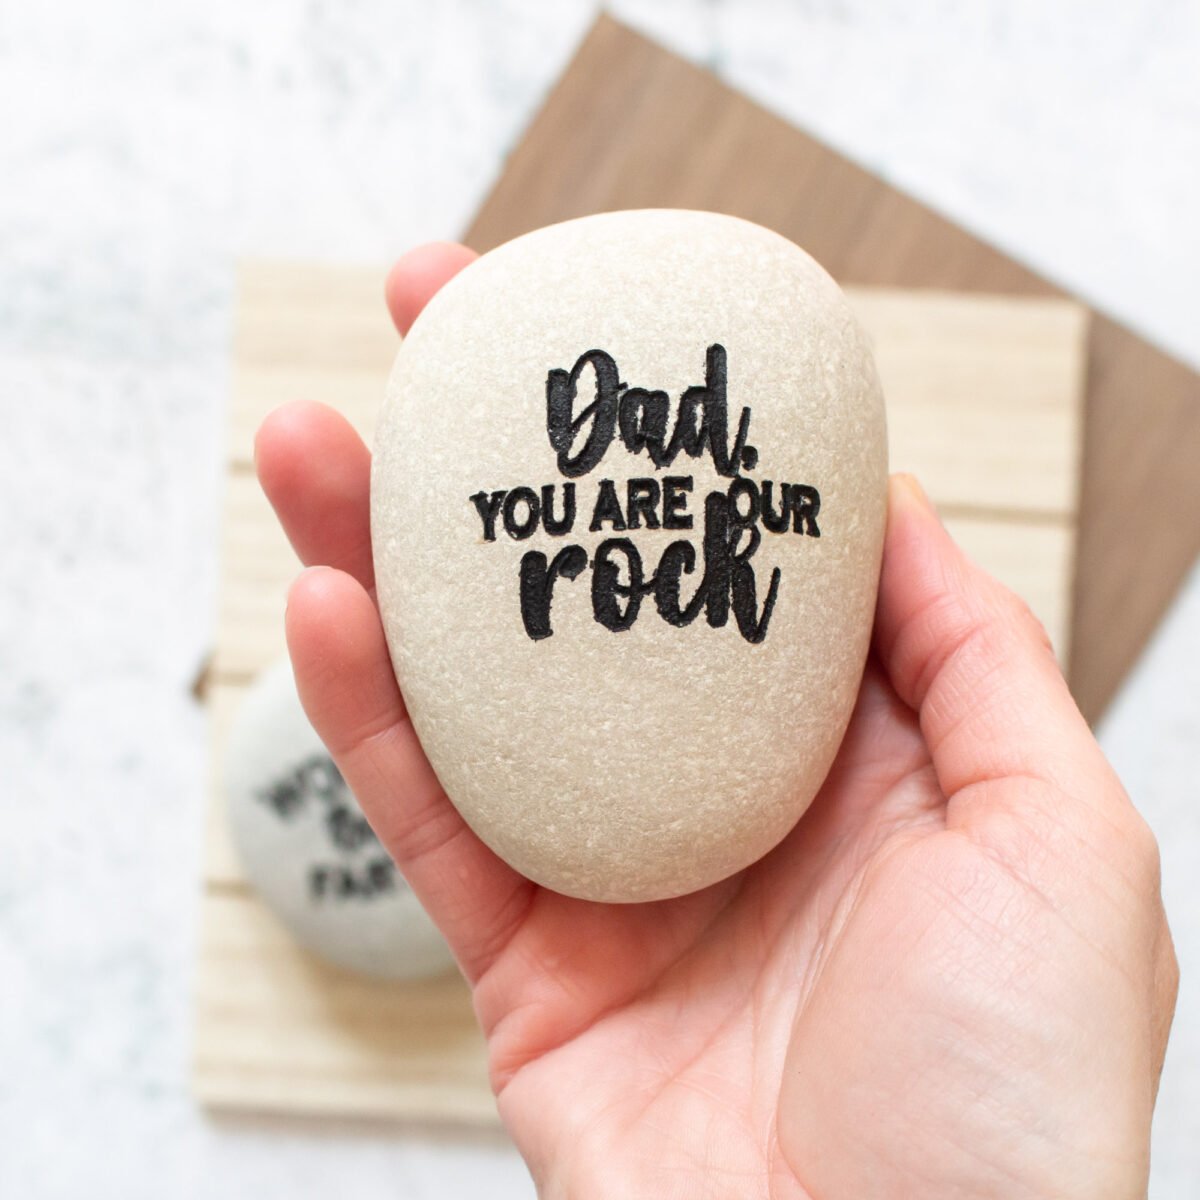
Import Image Dad, You Are Our Rock or other SVG file you wish to use.
Apply painters tape to the surface of the rock.
Press tape down firmly.

xTool P2 Review
Select curved material mode in the Creative Space software and then hit curve- measure button.
Once measured, size the design to fit within the square shown on the canvas.
This square or rectangular shape is the area of the rock to be engraved.

In our case, we found 45% power with 20mm/s and 1 pass the ideal setting.
Remove when engraving is complete.
Blow away some of the fine dust on the surface of the rock.

Review of xTool F1
Leave to dry, then peel away the painters tape.
Use an awl or pin to peel away the smaller areas of the engraving.
And voila, the engraved rocks are complete!
Pin it for later!
Materials
Instructions

xTool M1 Review


4 in a Row Game


Mirror Acrylic Keychains


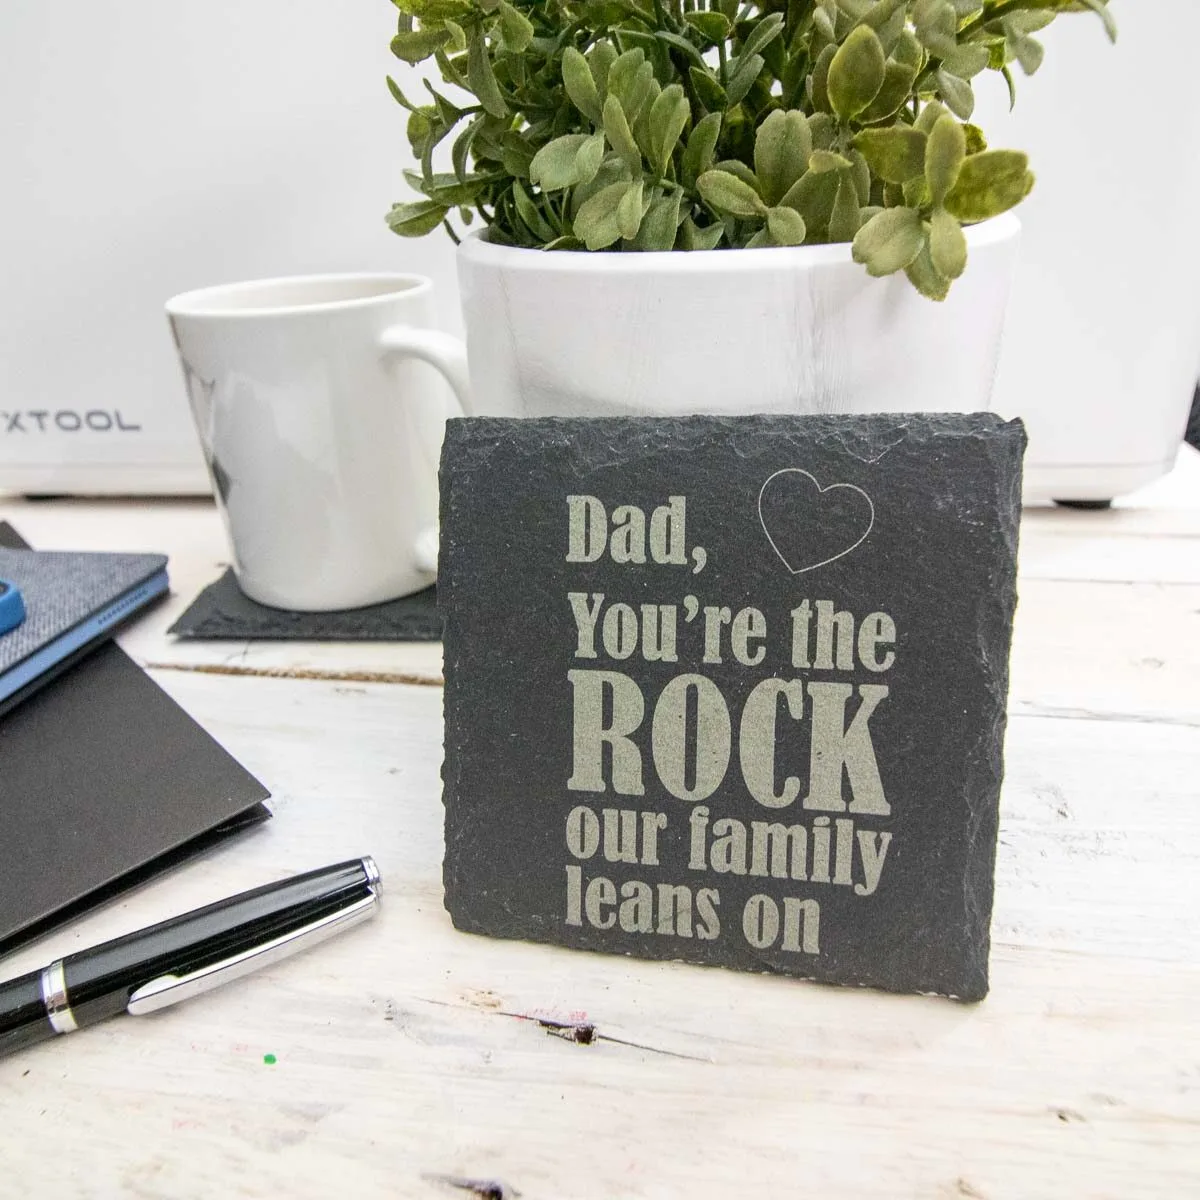
Engraved Slate Coaster

Coffee Bar Sign


