HomeArts and Crafts IdeasHow to Decoupage on Thrifted Silver Trays
Do you love thrifting and finding unique treasures?
Look no further, because we have the perfect DIY project for you decoupaging on thrifted silver trays!
Why Will I Love Using Thrifted Silver Trays As A Background?

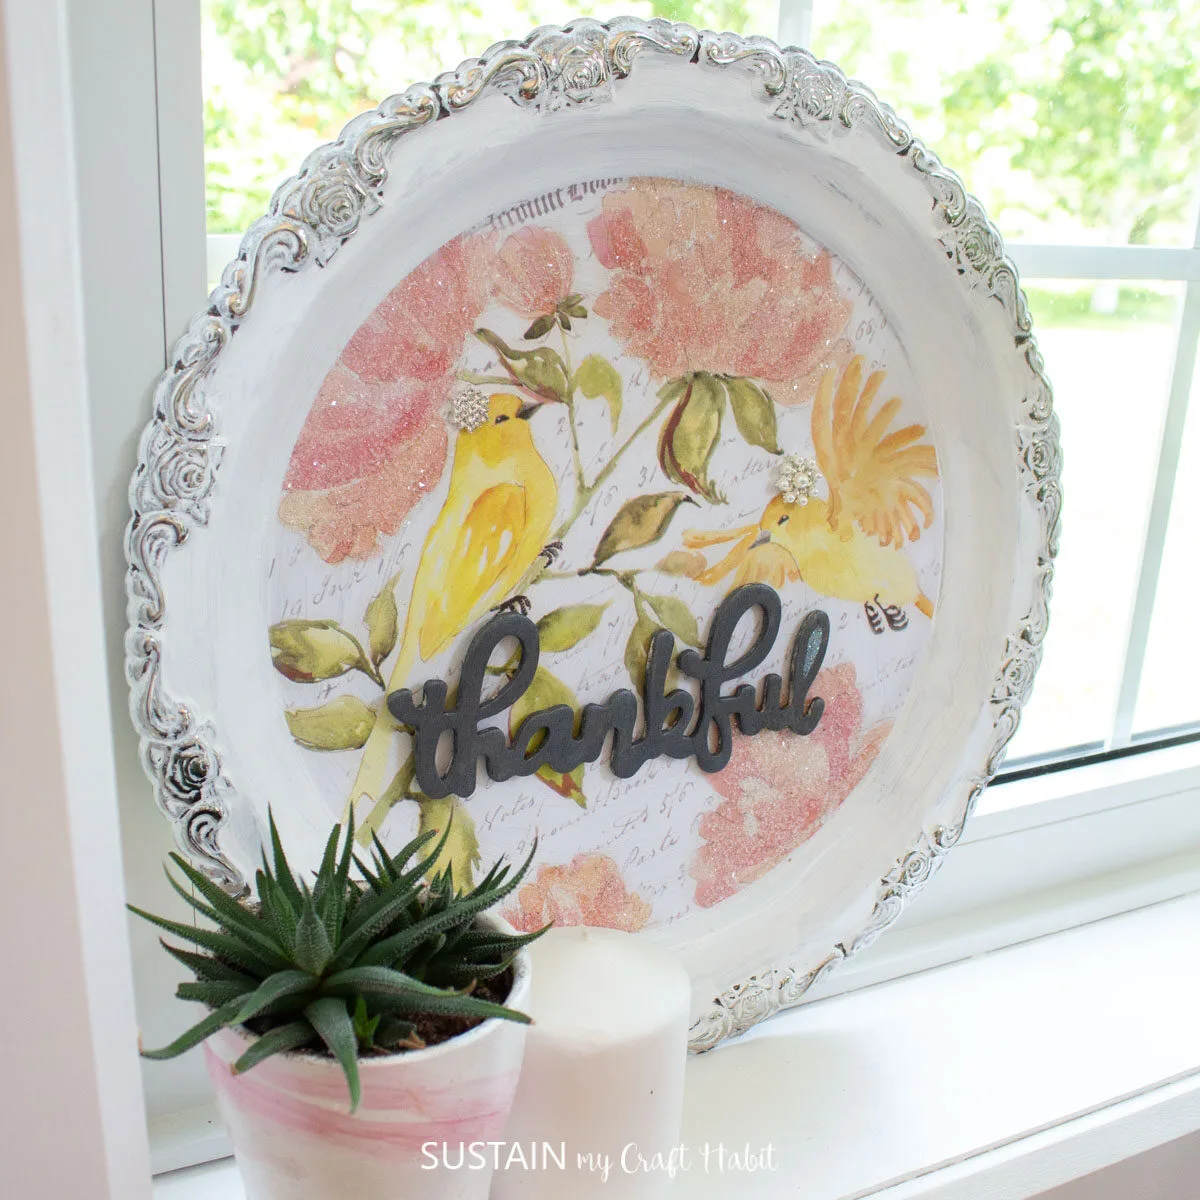
Decoupage Tray
No, you do not need to shine your silver before decoupage.
Join our crafting communityto find more thrift inspired DIYs and upcycled craft ideas.
It feels good to repurpose and upcycle!

Materials Needed
Disclosure: This post contains affiliate links for your shopping convenience.
you’ve got the option to readour full disclosure policy here.
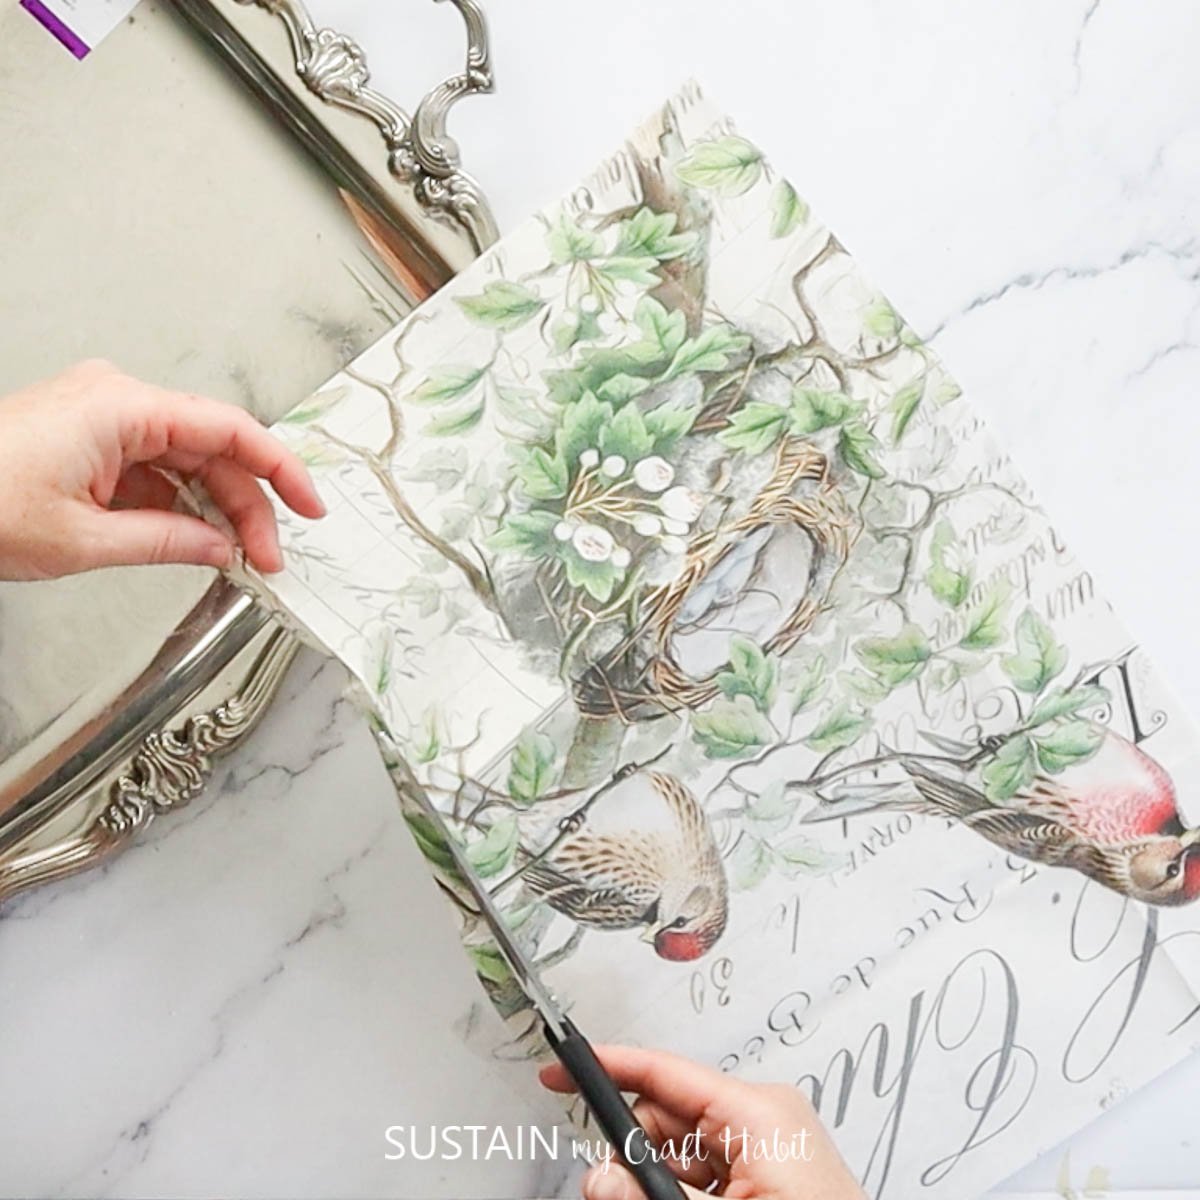
Start by cutting your decoupage paper to fit into the tray.

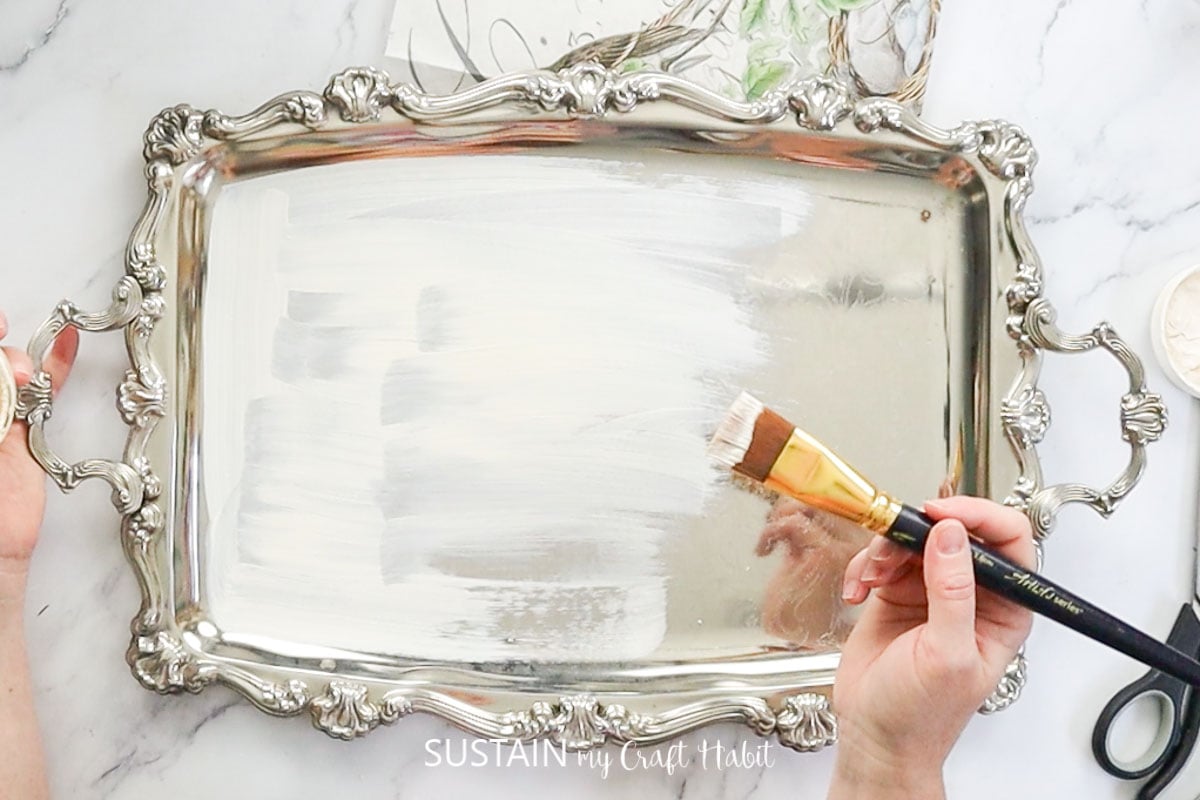
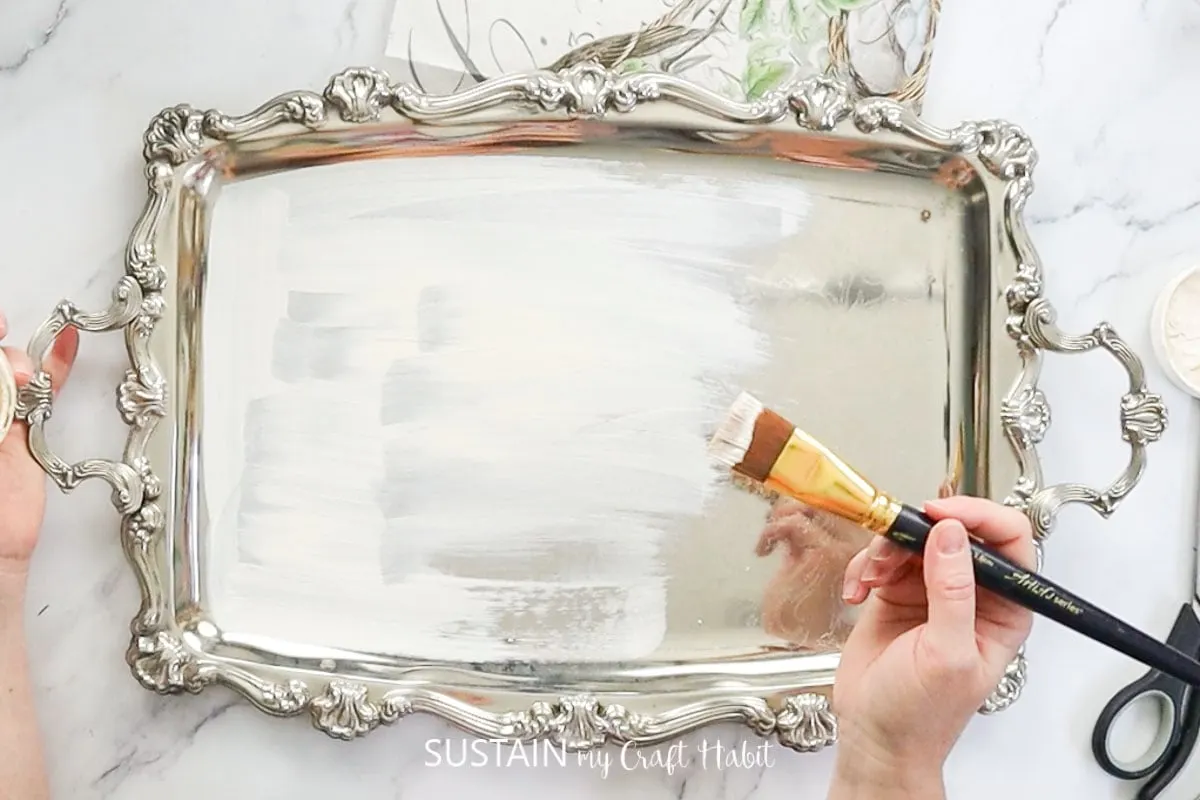
Next, paint your silver tray with white chalky paint and let dry.
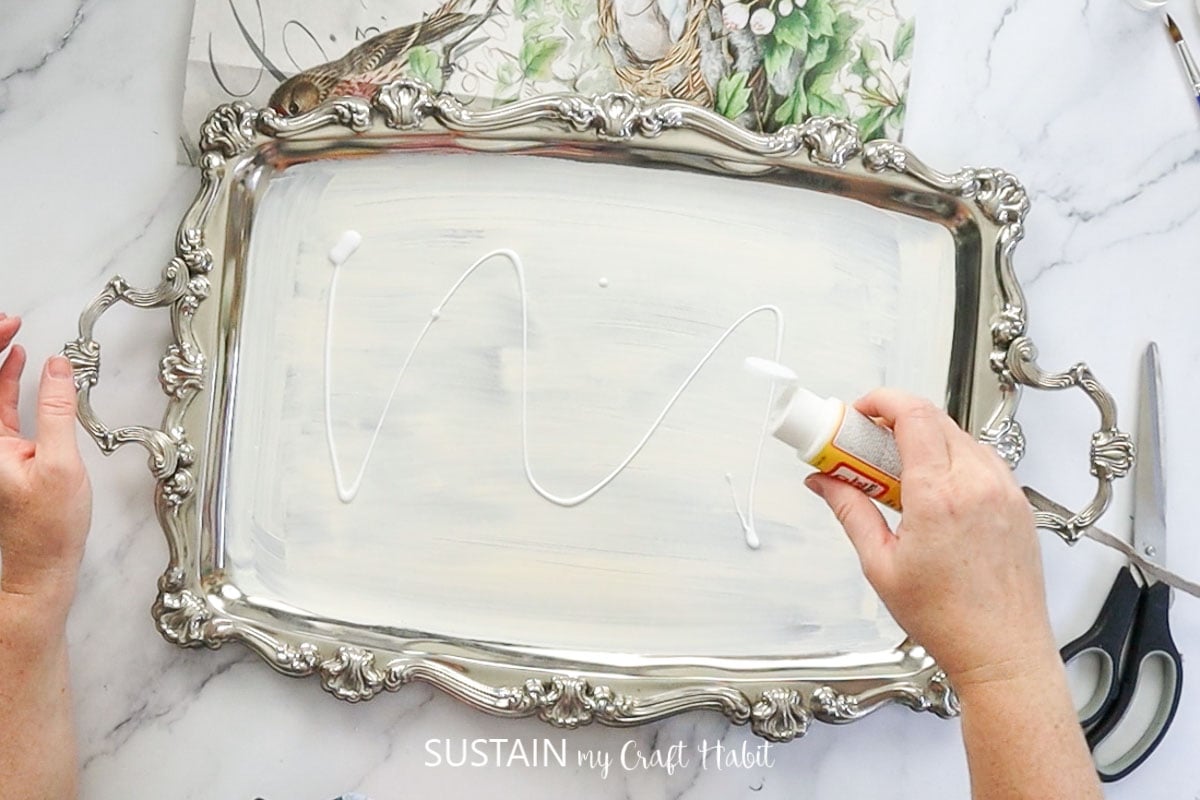
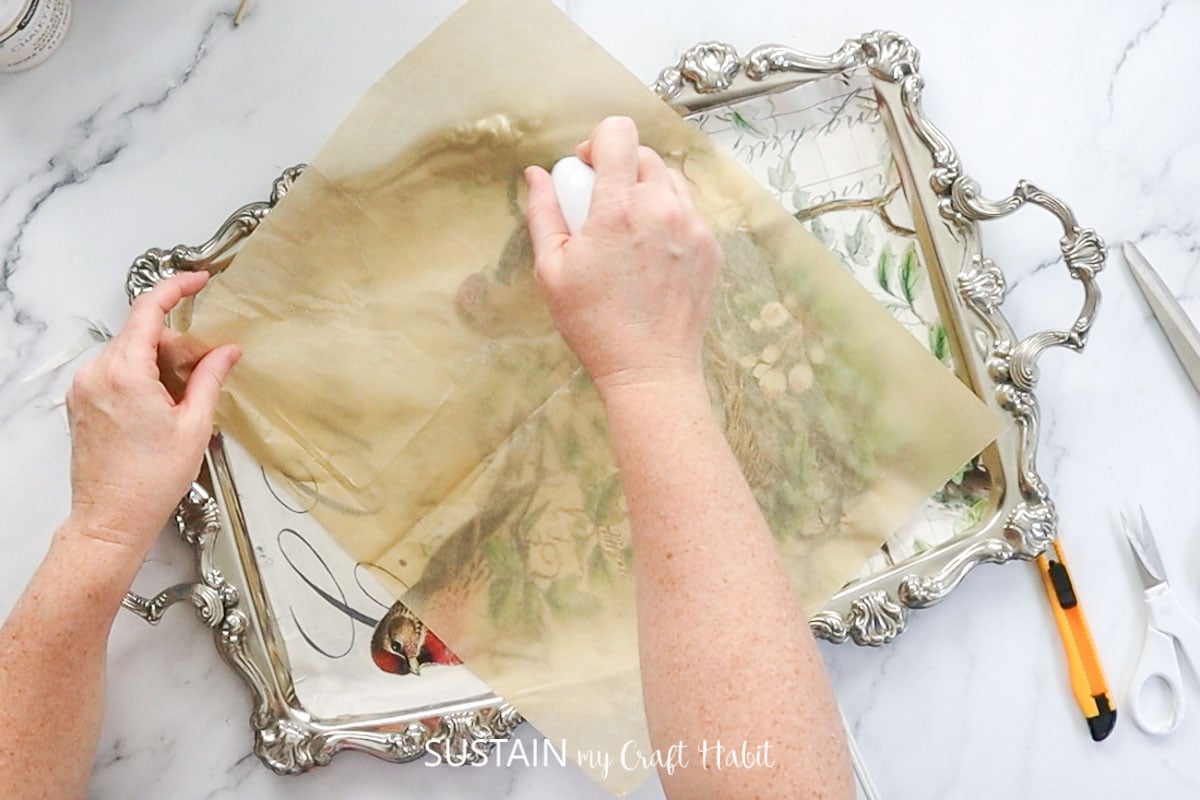
Apply a coat of Mod Podge and let dry tacky.
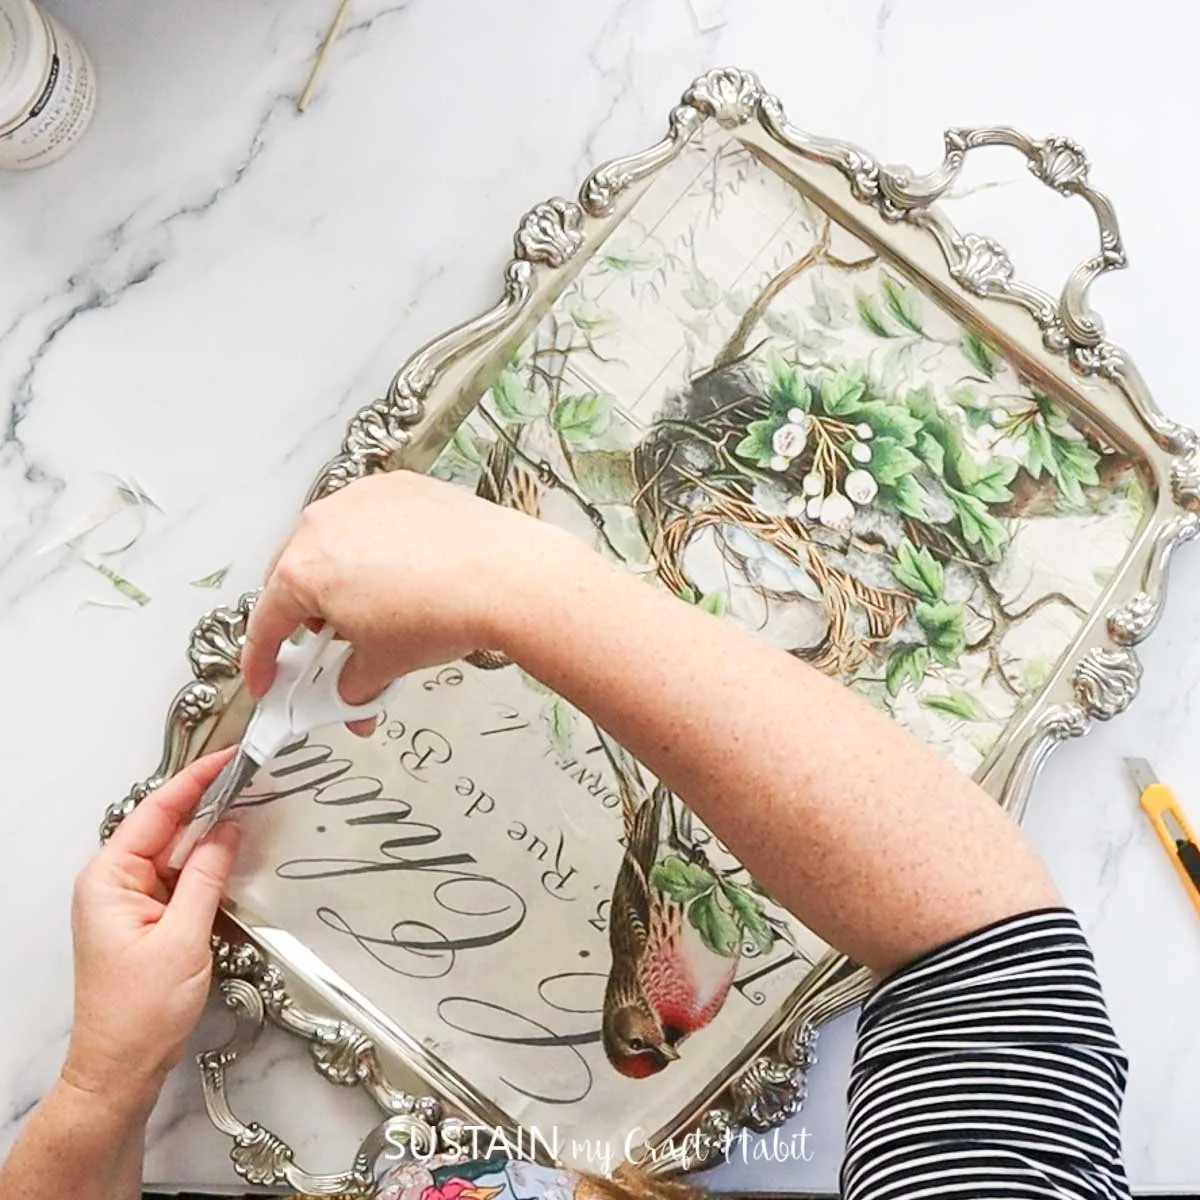
Place the decoupage paper on top of the tray and gently press down with your fingers.
Cut off any excess.
Pin it for later!
Materials
Instructions


Decoupage Tray


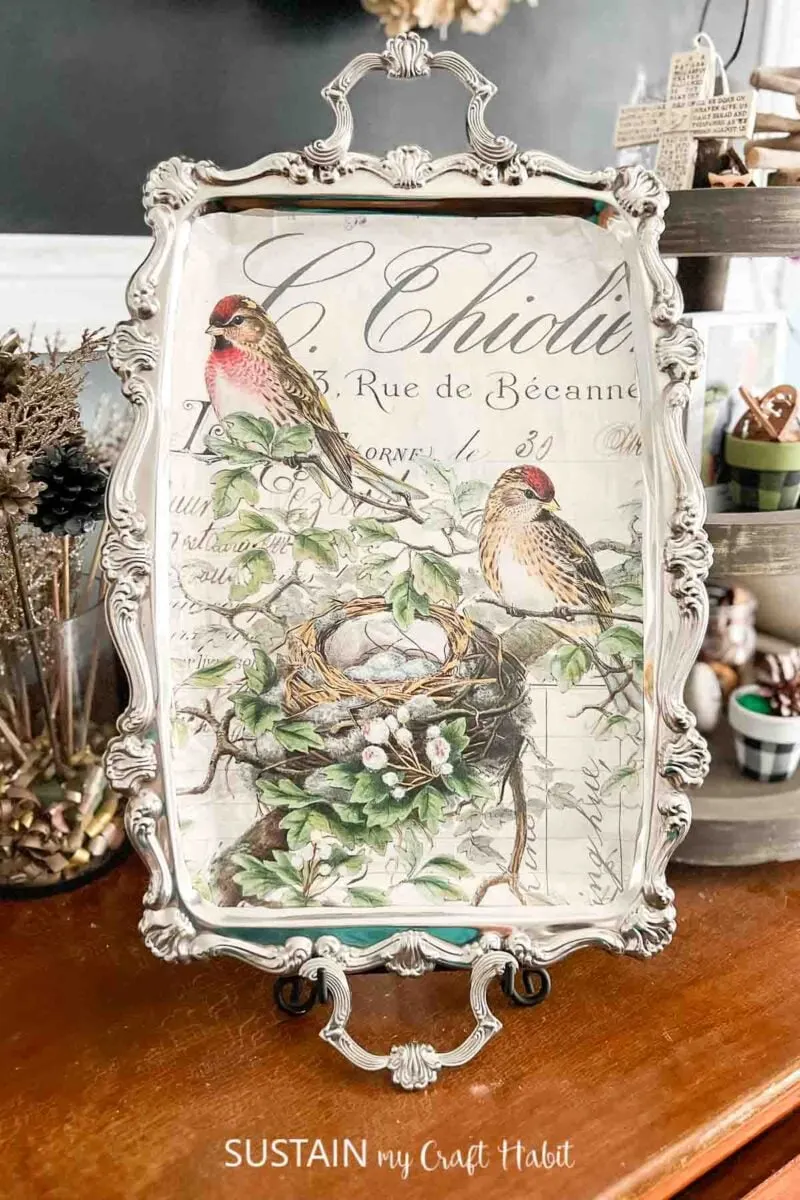
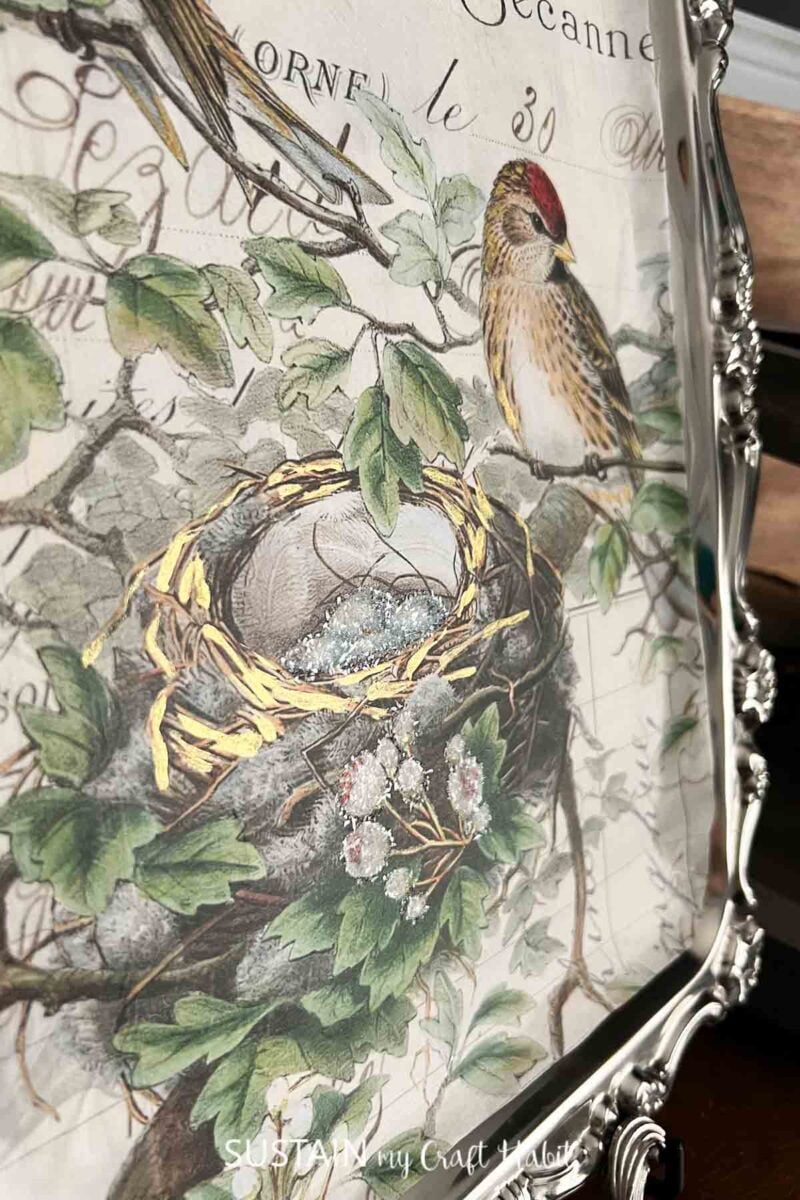
Cardinal Tray


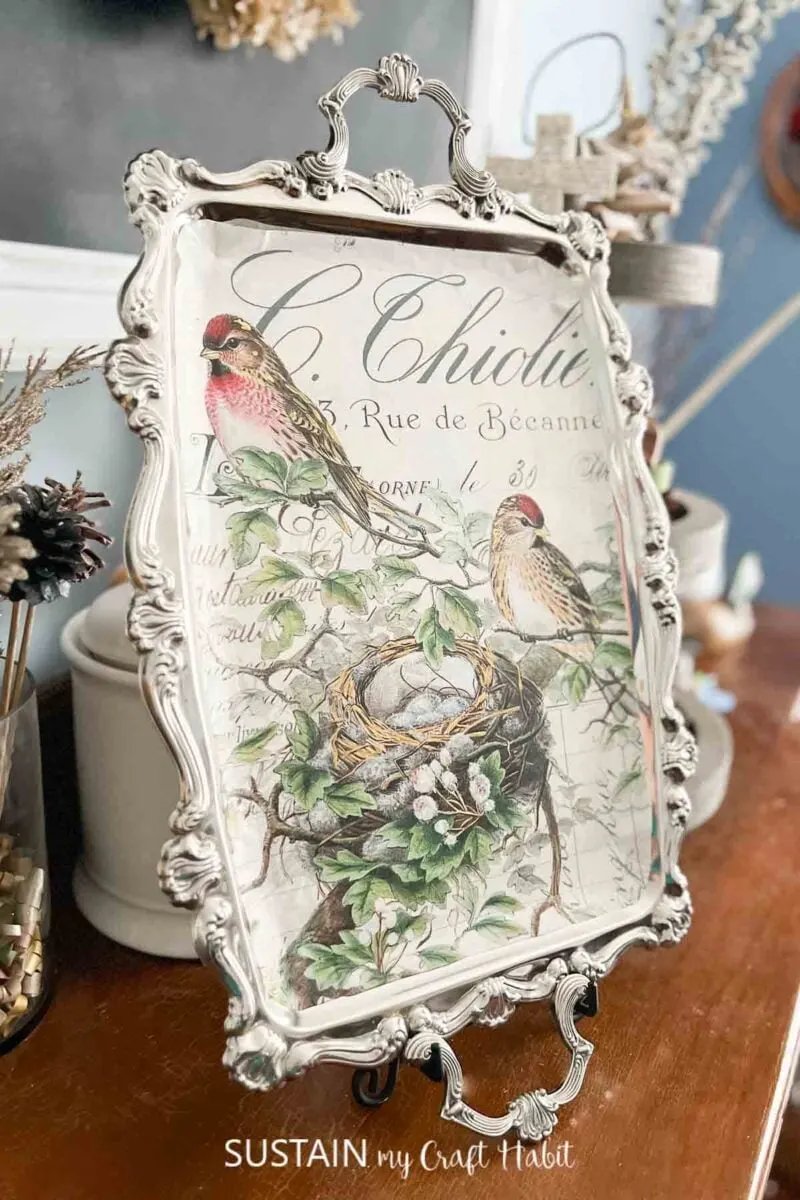
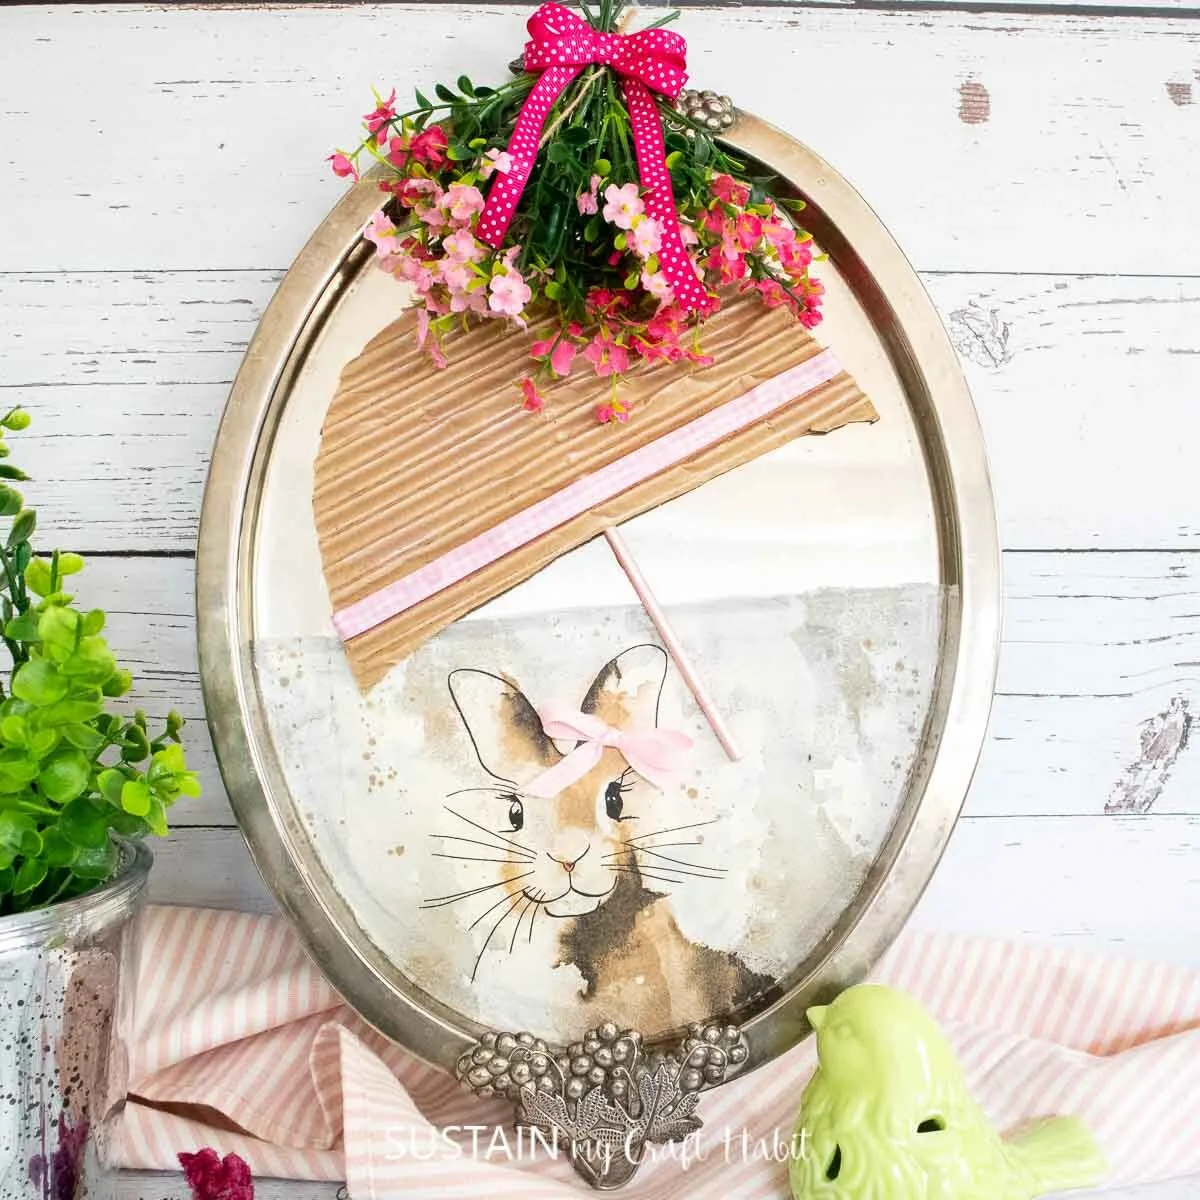
Spring Tray

Silver Tray

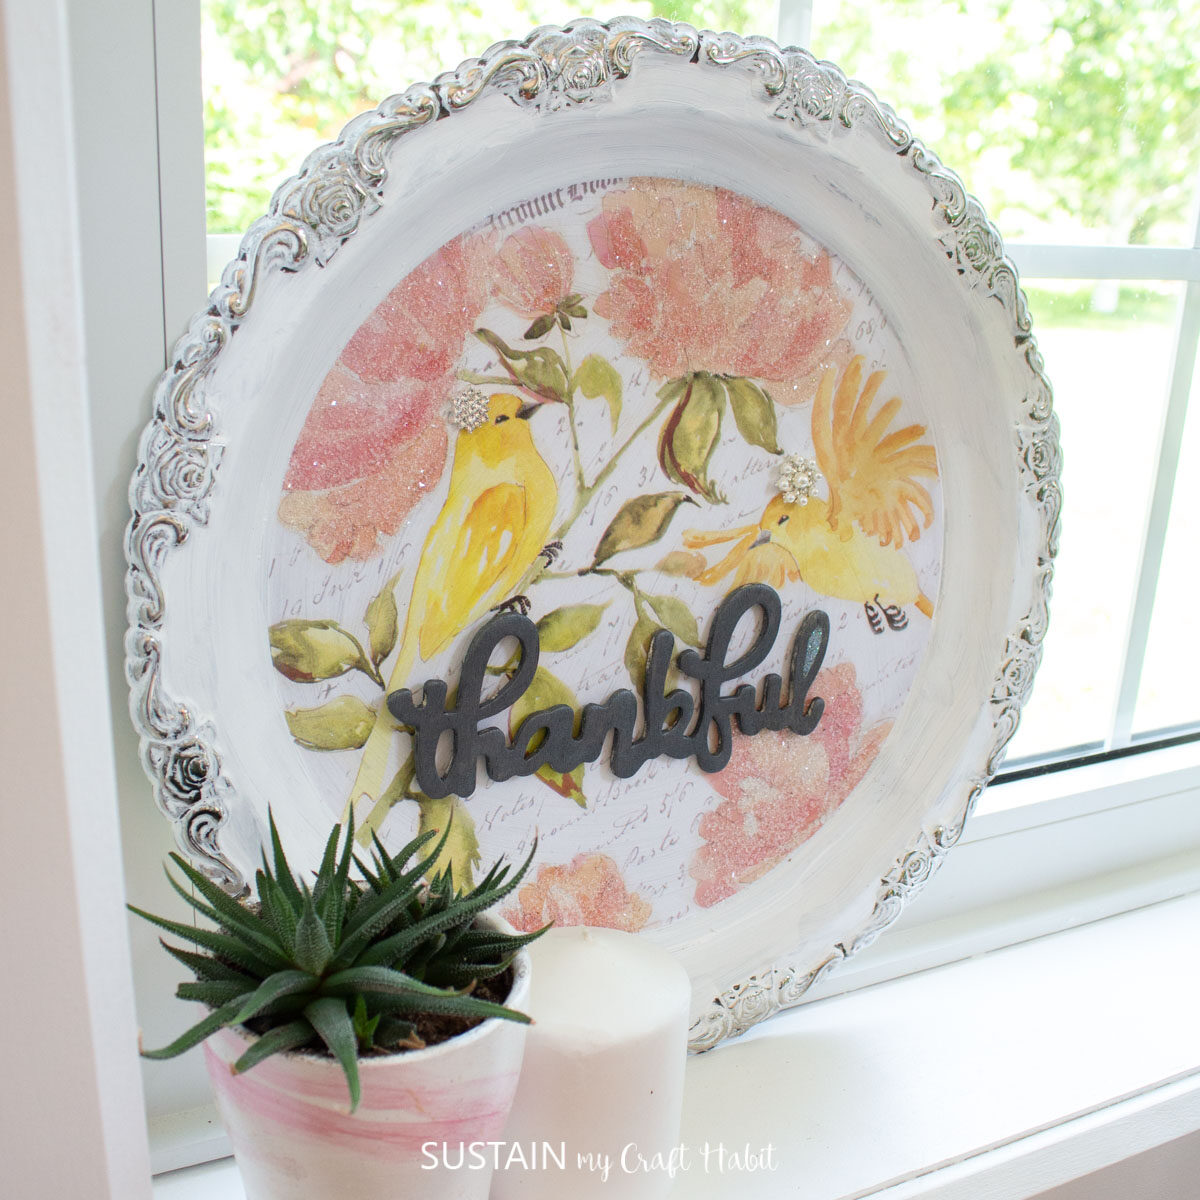
Thankful SIgn