Were sharing the step by step instructions forhow to decoupage on canvasto achieve best results.
Traditional canvas art can be beautiful, but it often lacks the polished edges that a frame provides.
Each piece is one-of-a-kind, allowing you to unleash your artistic flair without the confines of pre-made designs.

Decoupage Shell
Additionally, this project is surprisingly cost-effective, making it accessible for everyone, regardless of budget.
Yes, preparing the entire canvas before starting your decoupage project is crucial for achieving the best results.
Once the base coat is dry, your canvas is finally ready for the decoupage process.

Want to receive a ton of inspiration and money saving ideas for decorating, gift-giving and crafting?
Materials Needed
Disclosure: This post contains affiliate links for your shopping convenience.
it’s possible for you to readour full disclosure policy here.

Or if you prefer the photo tutorial, continue reading below.
To start, carefully remove the canvas from around the wood frame.
Mix equal parts brown acrylic paint with water in a small container and paint your wooden frame.

Set aside to dry.
Next, apply a coat of decoupage glue over the canvas and let dry.
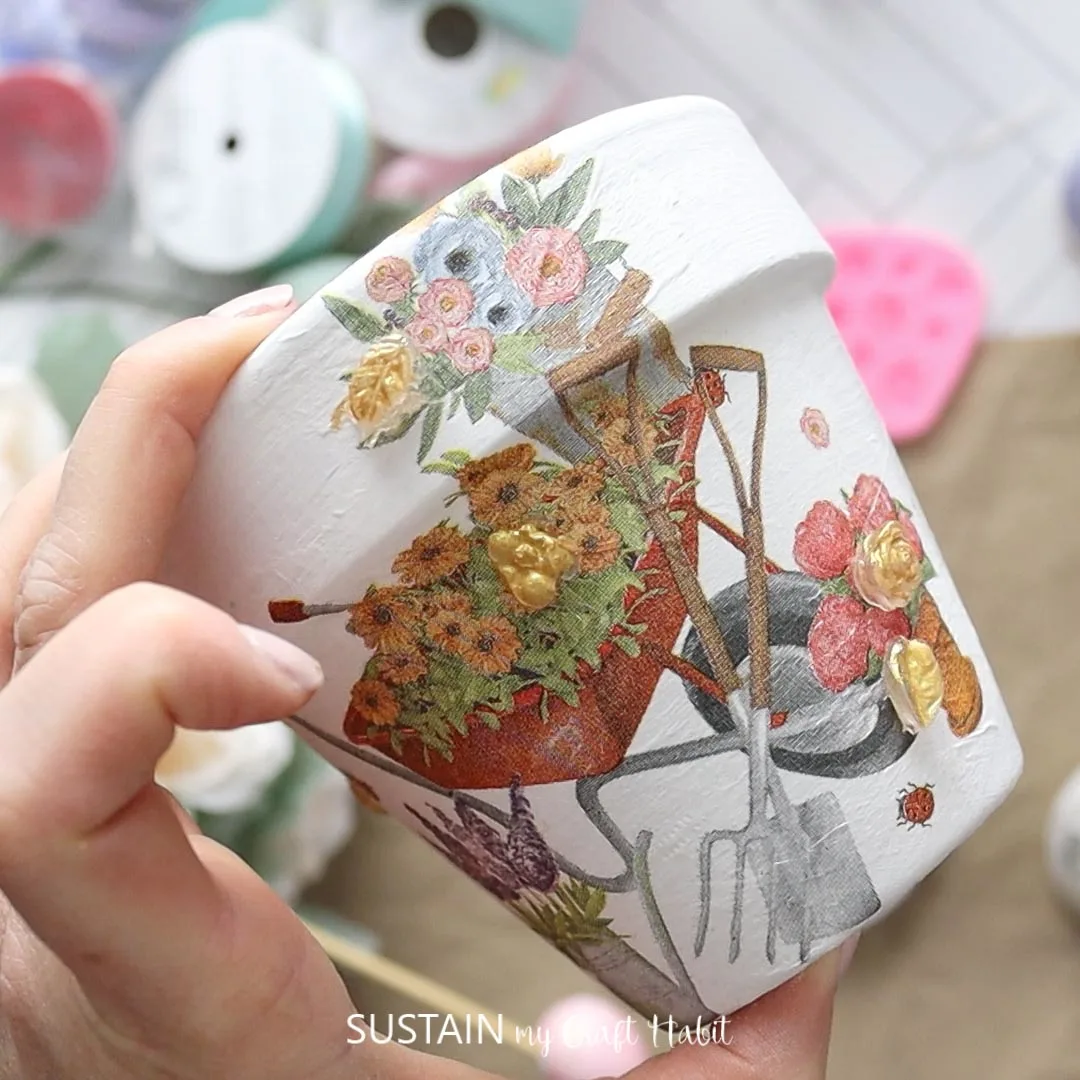
Separate the additional plies from paper napkins using just the printed layer for the craft.

Place the napkin on top of the canvas and gently press down with your fingers.
This will smooth out the napkin.
Attach the welcome sign to the canvas and add any extra embellishments.

Decoupaging on canvas using the reverse canvas method offers a delightful blend of creativity, personalization, and practicality.
This project allows you to transform simple materials into stunning, customized artwork that enhances your home decor.
We promise to send you only the good stuff.

Pin it for later!
Materials
Instructions


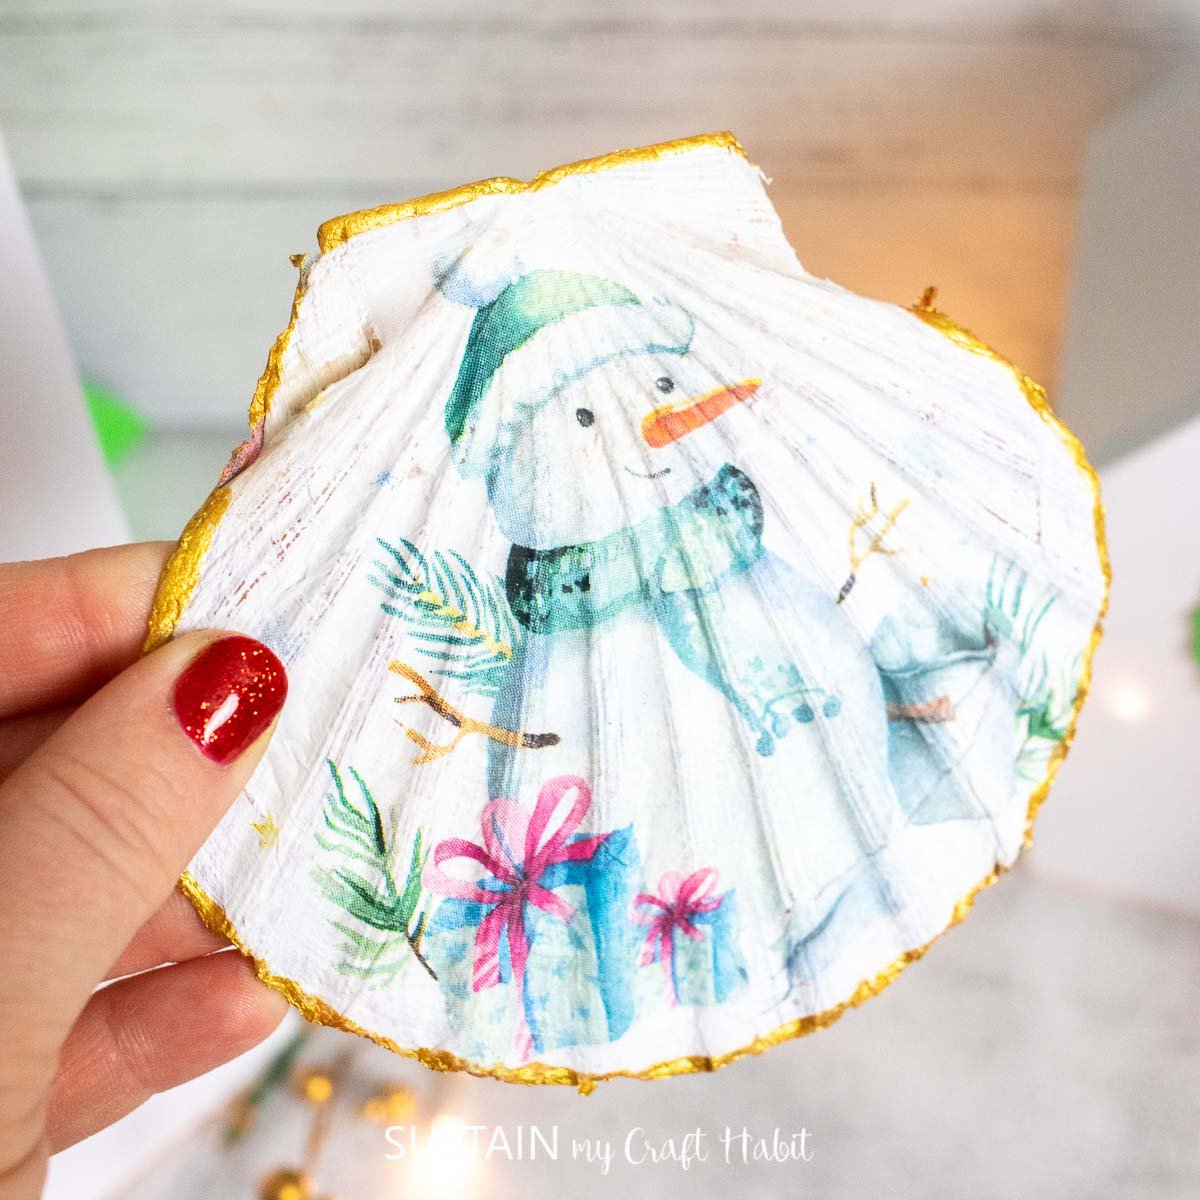
Decoupage Shell


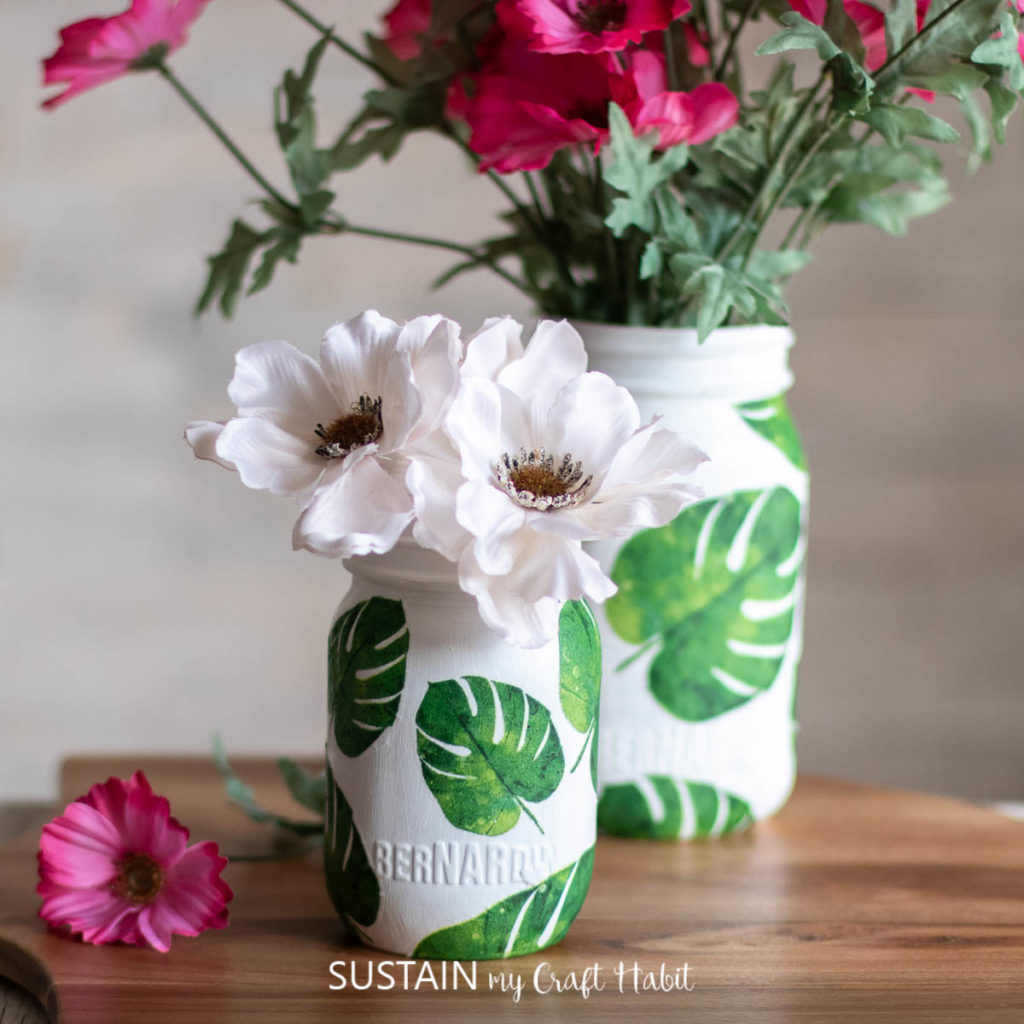
Napkin Decoupage Vases


