Its the perfect tool for flawless laser cuts every time!
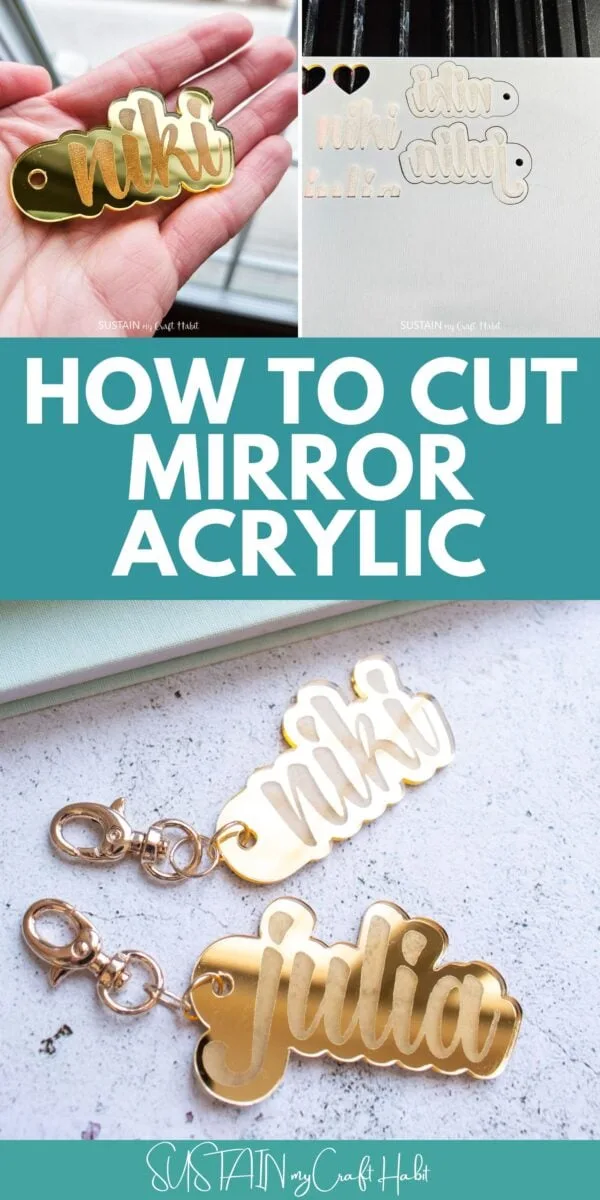
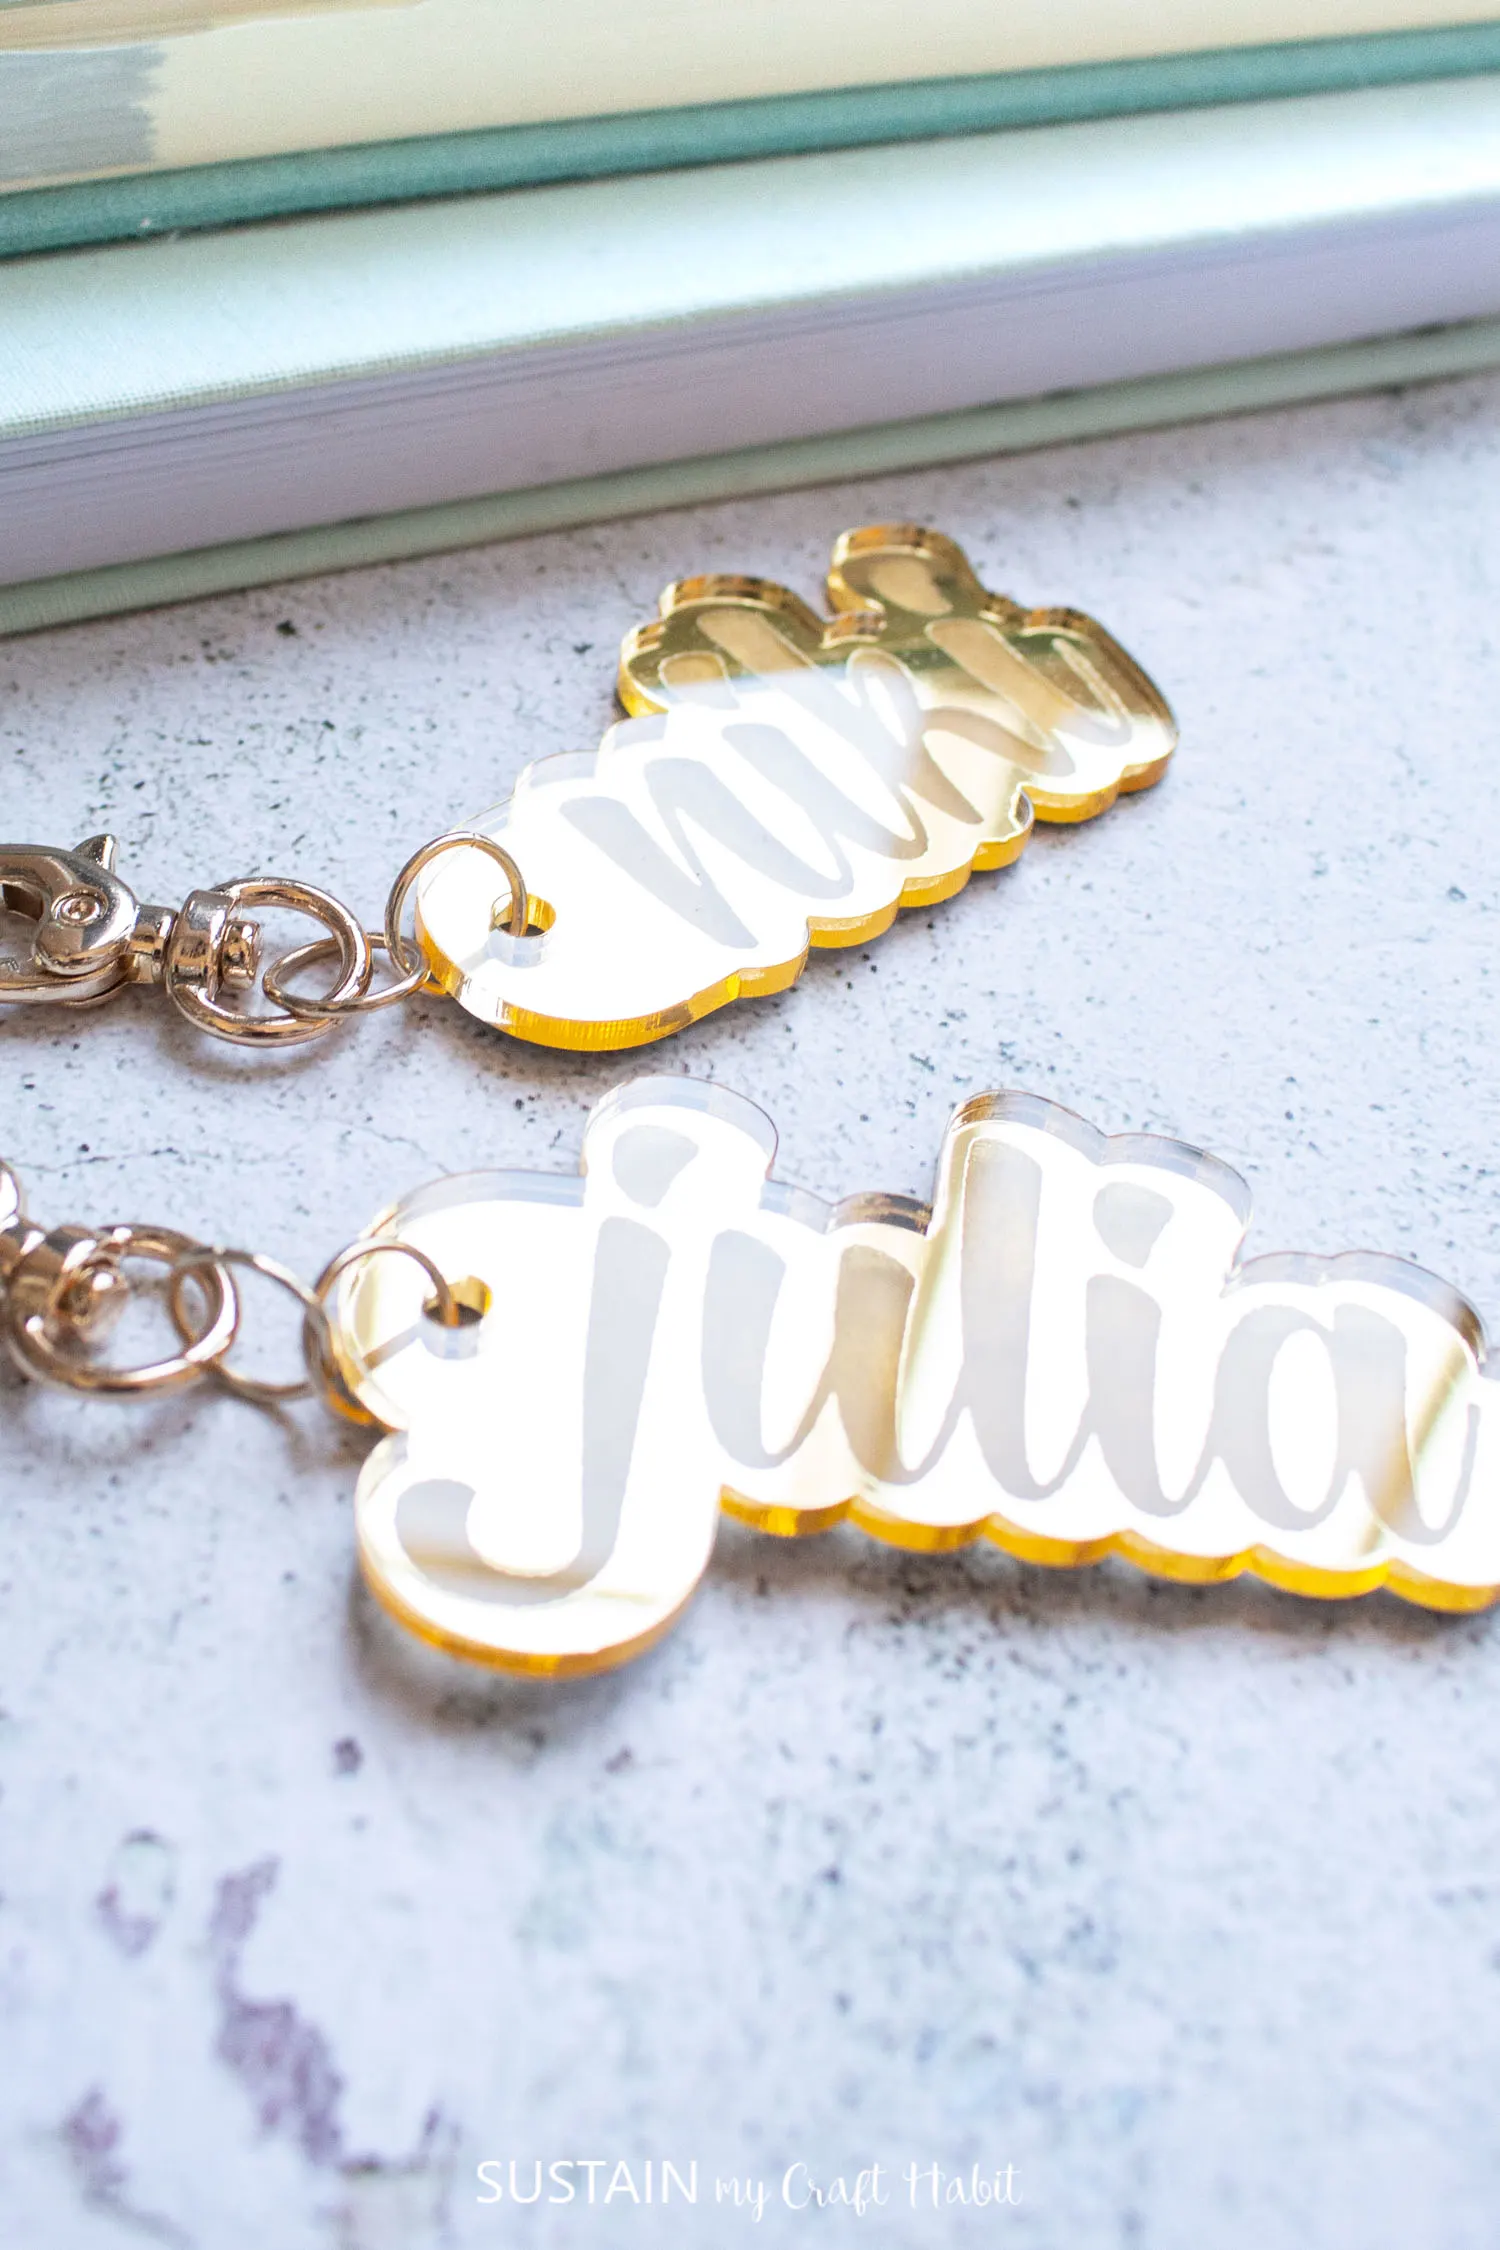
Laser Cut Mirror Acrylic Keychains
Have you seen mirrored acrylic sheets?
They are seriously cool!

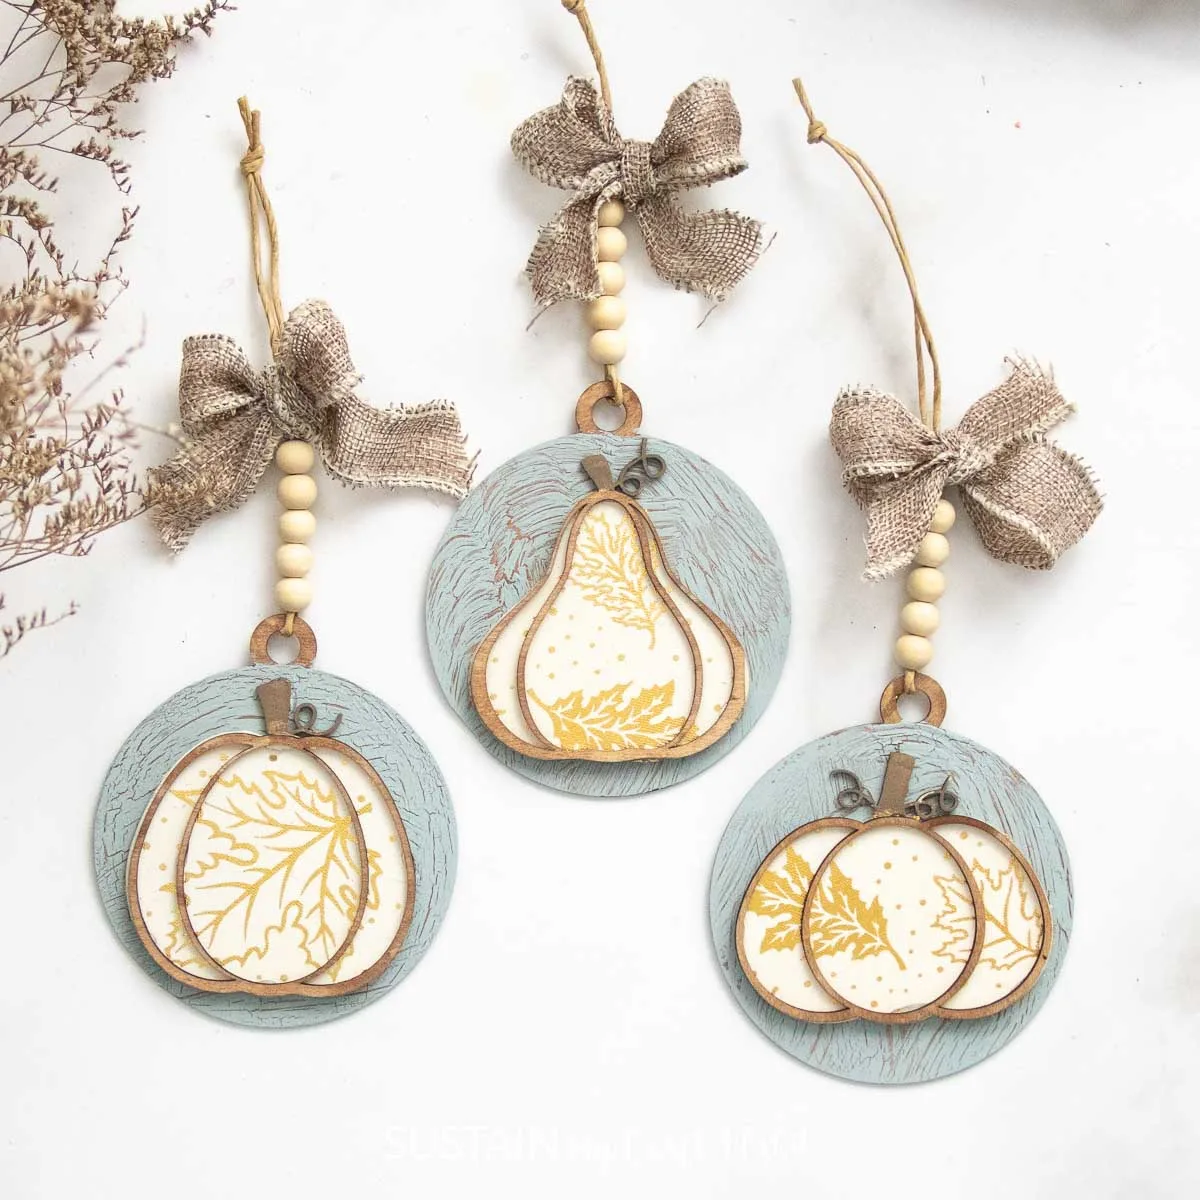
Pumpkin Ornaments
They turned out so cute!
So, lets get to it.
For a complete review of the xTool P2 cutting machine, visit our posthere.
Stay in the know on our latest crafts, special offers and freebies byjoining our mailing list.
Materials Needed
Disclosure: This post contains affiliate links for your shopping convenience.
you’re free to readour full disclosure policy here.

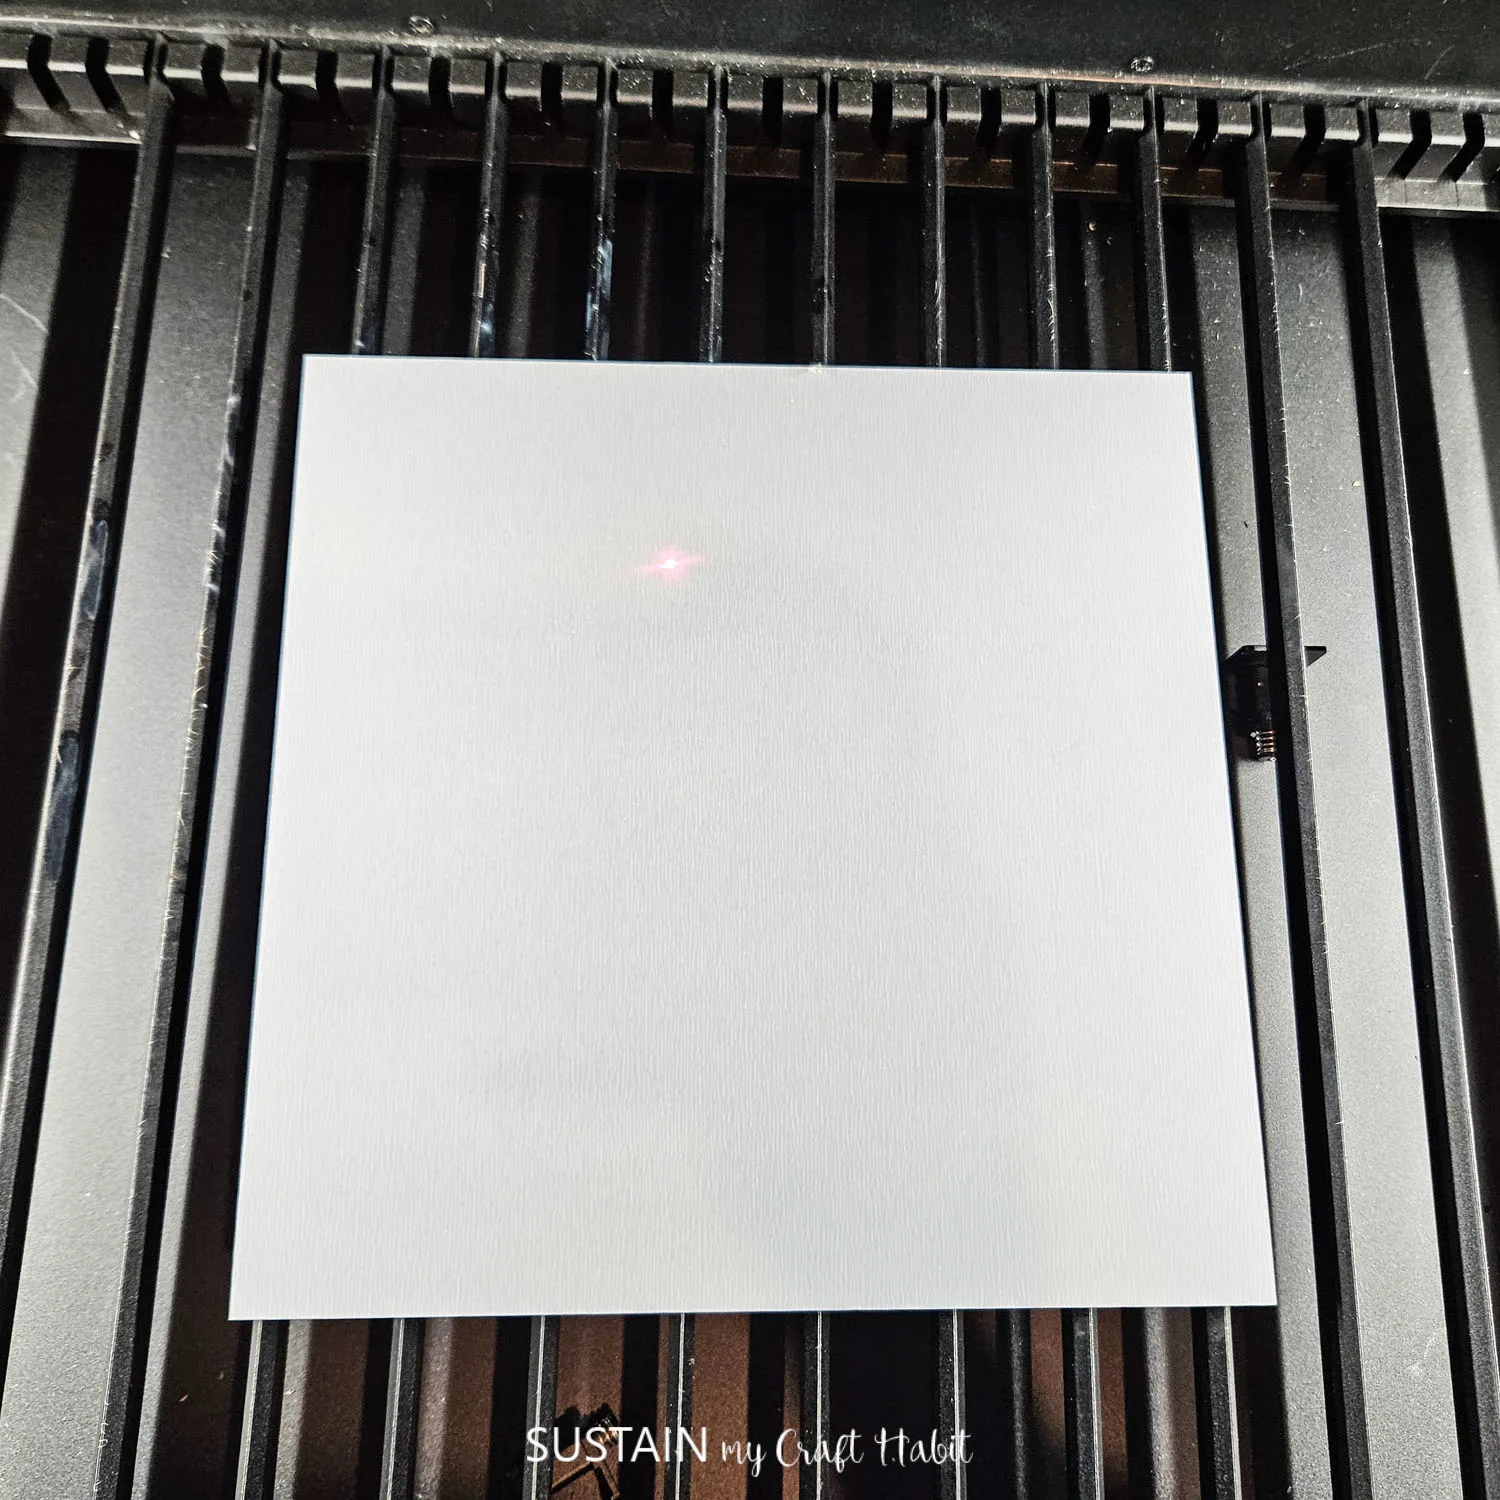
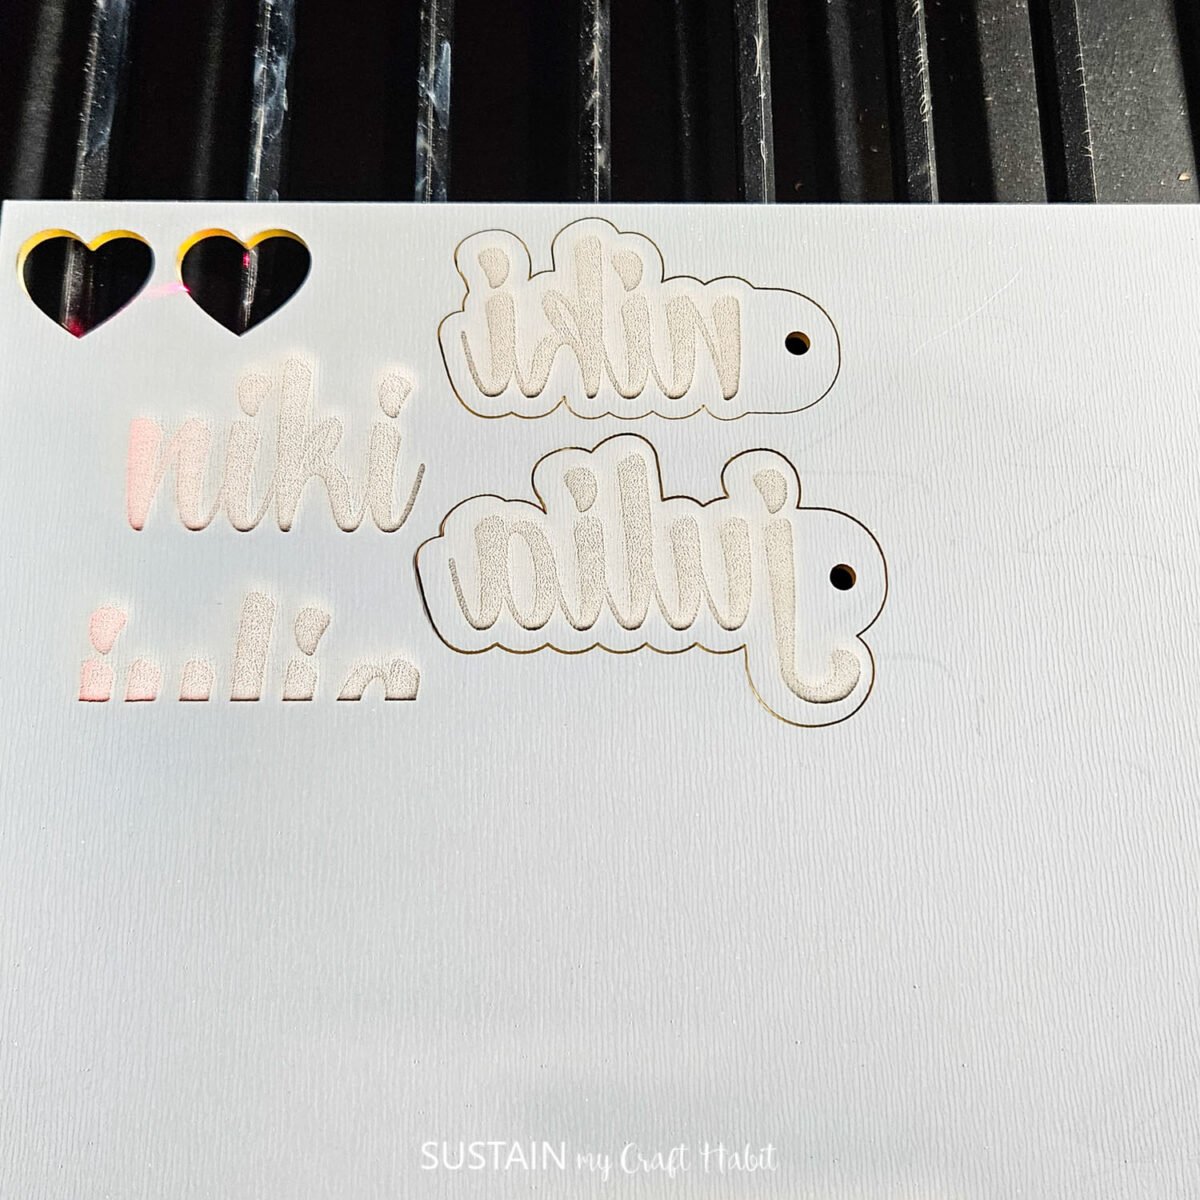
Leave the plastic protective layer on the mirrored side of the acrylic sheet.
Load the sheet into the machine with the mirror side facing down.
Secure the sheet with the magnets on the sides.
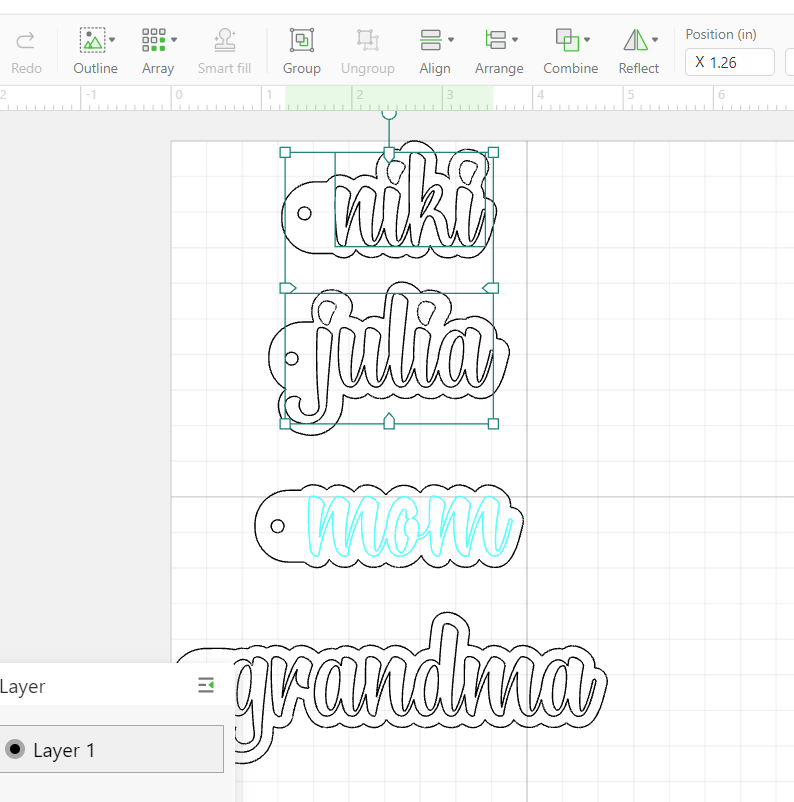
Adjust the design to your desired size or maintain the size as per the original file.
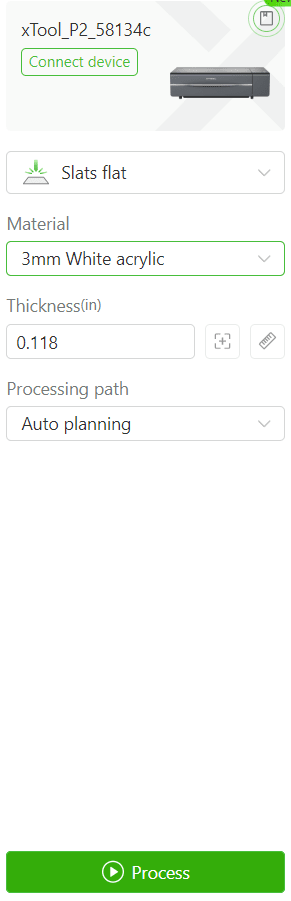
I was unable to find the mirrored acrylic option in the drop down menu.
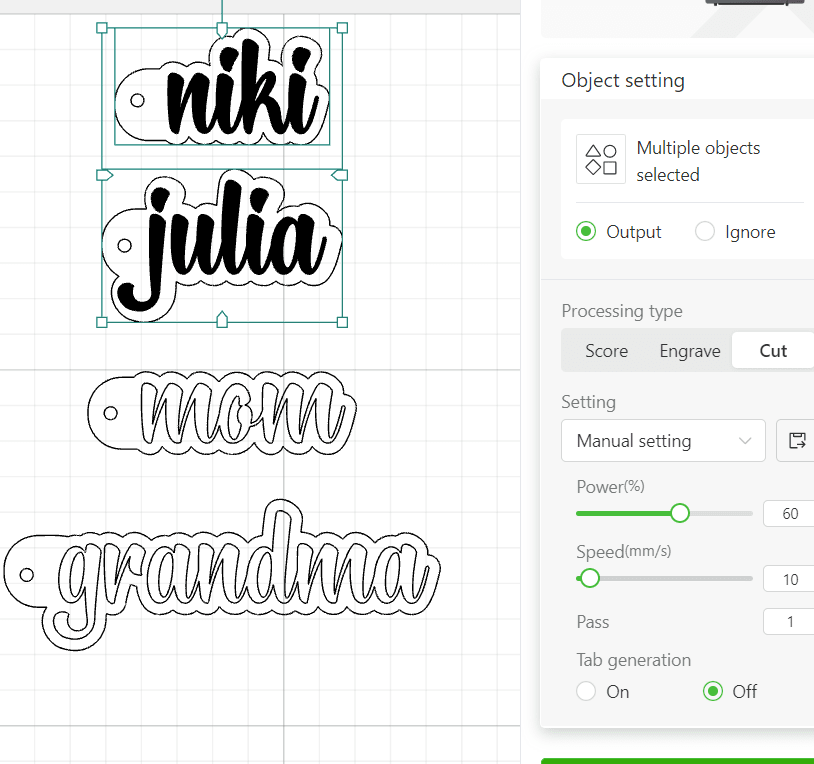
In our case, the best setting for cutting mirror acrylic is 60% power and 10 mm/seconds.
But perform your own test grid to ensure the prefs are optimal.
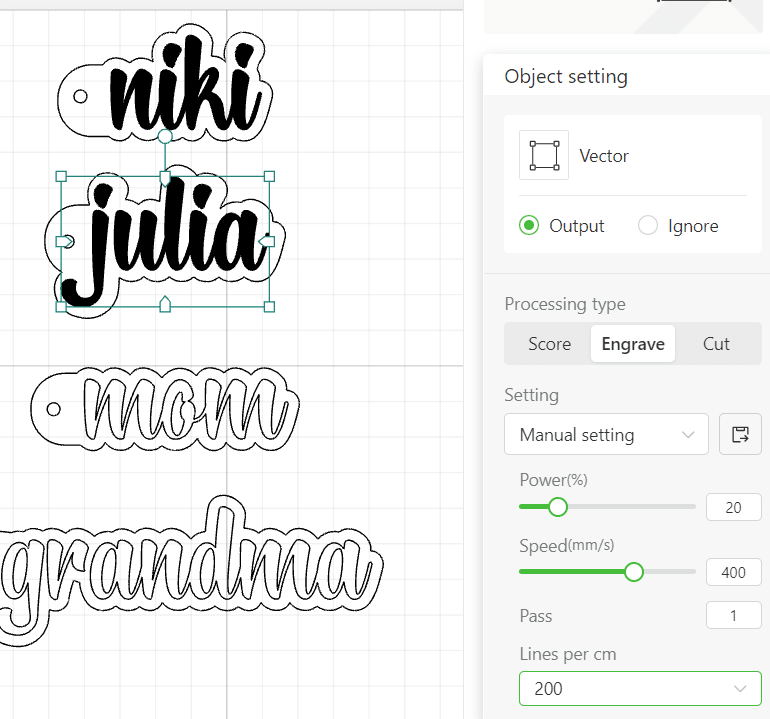
For the name or lettering (layer 2), ensure the machine setting tab is set to engrave.
But again perform your own test grid to ensure the prefs are optimal.
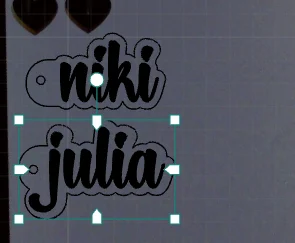
Most important!Flip the design so it appears backwards on your screen.
This is a must for cutting mirrored acrylic.
Double check the placement on the sheet and hit process.

Remove when engraving and cutting is complete.
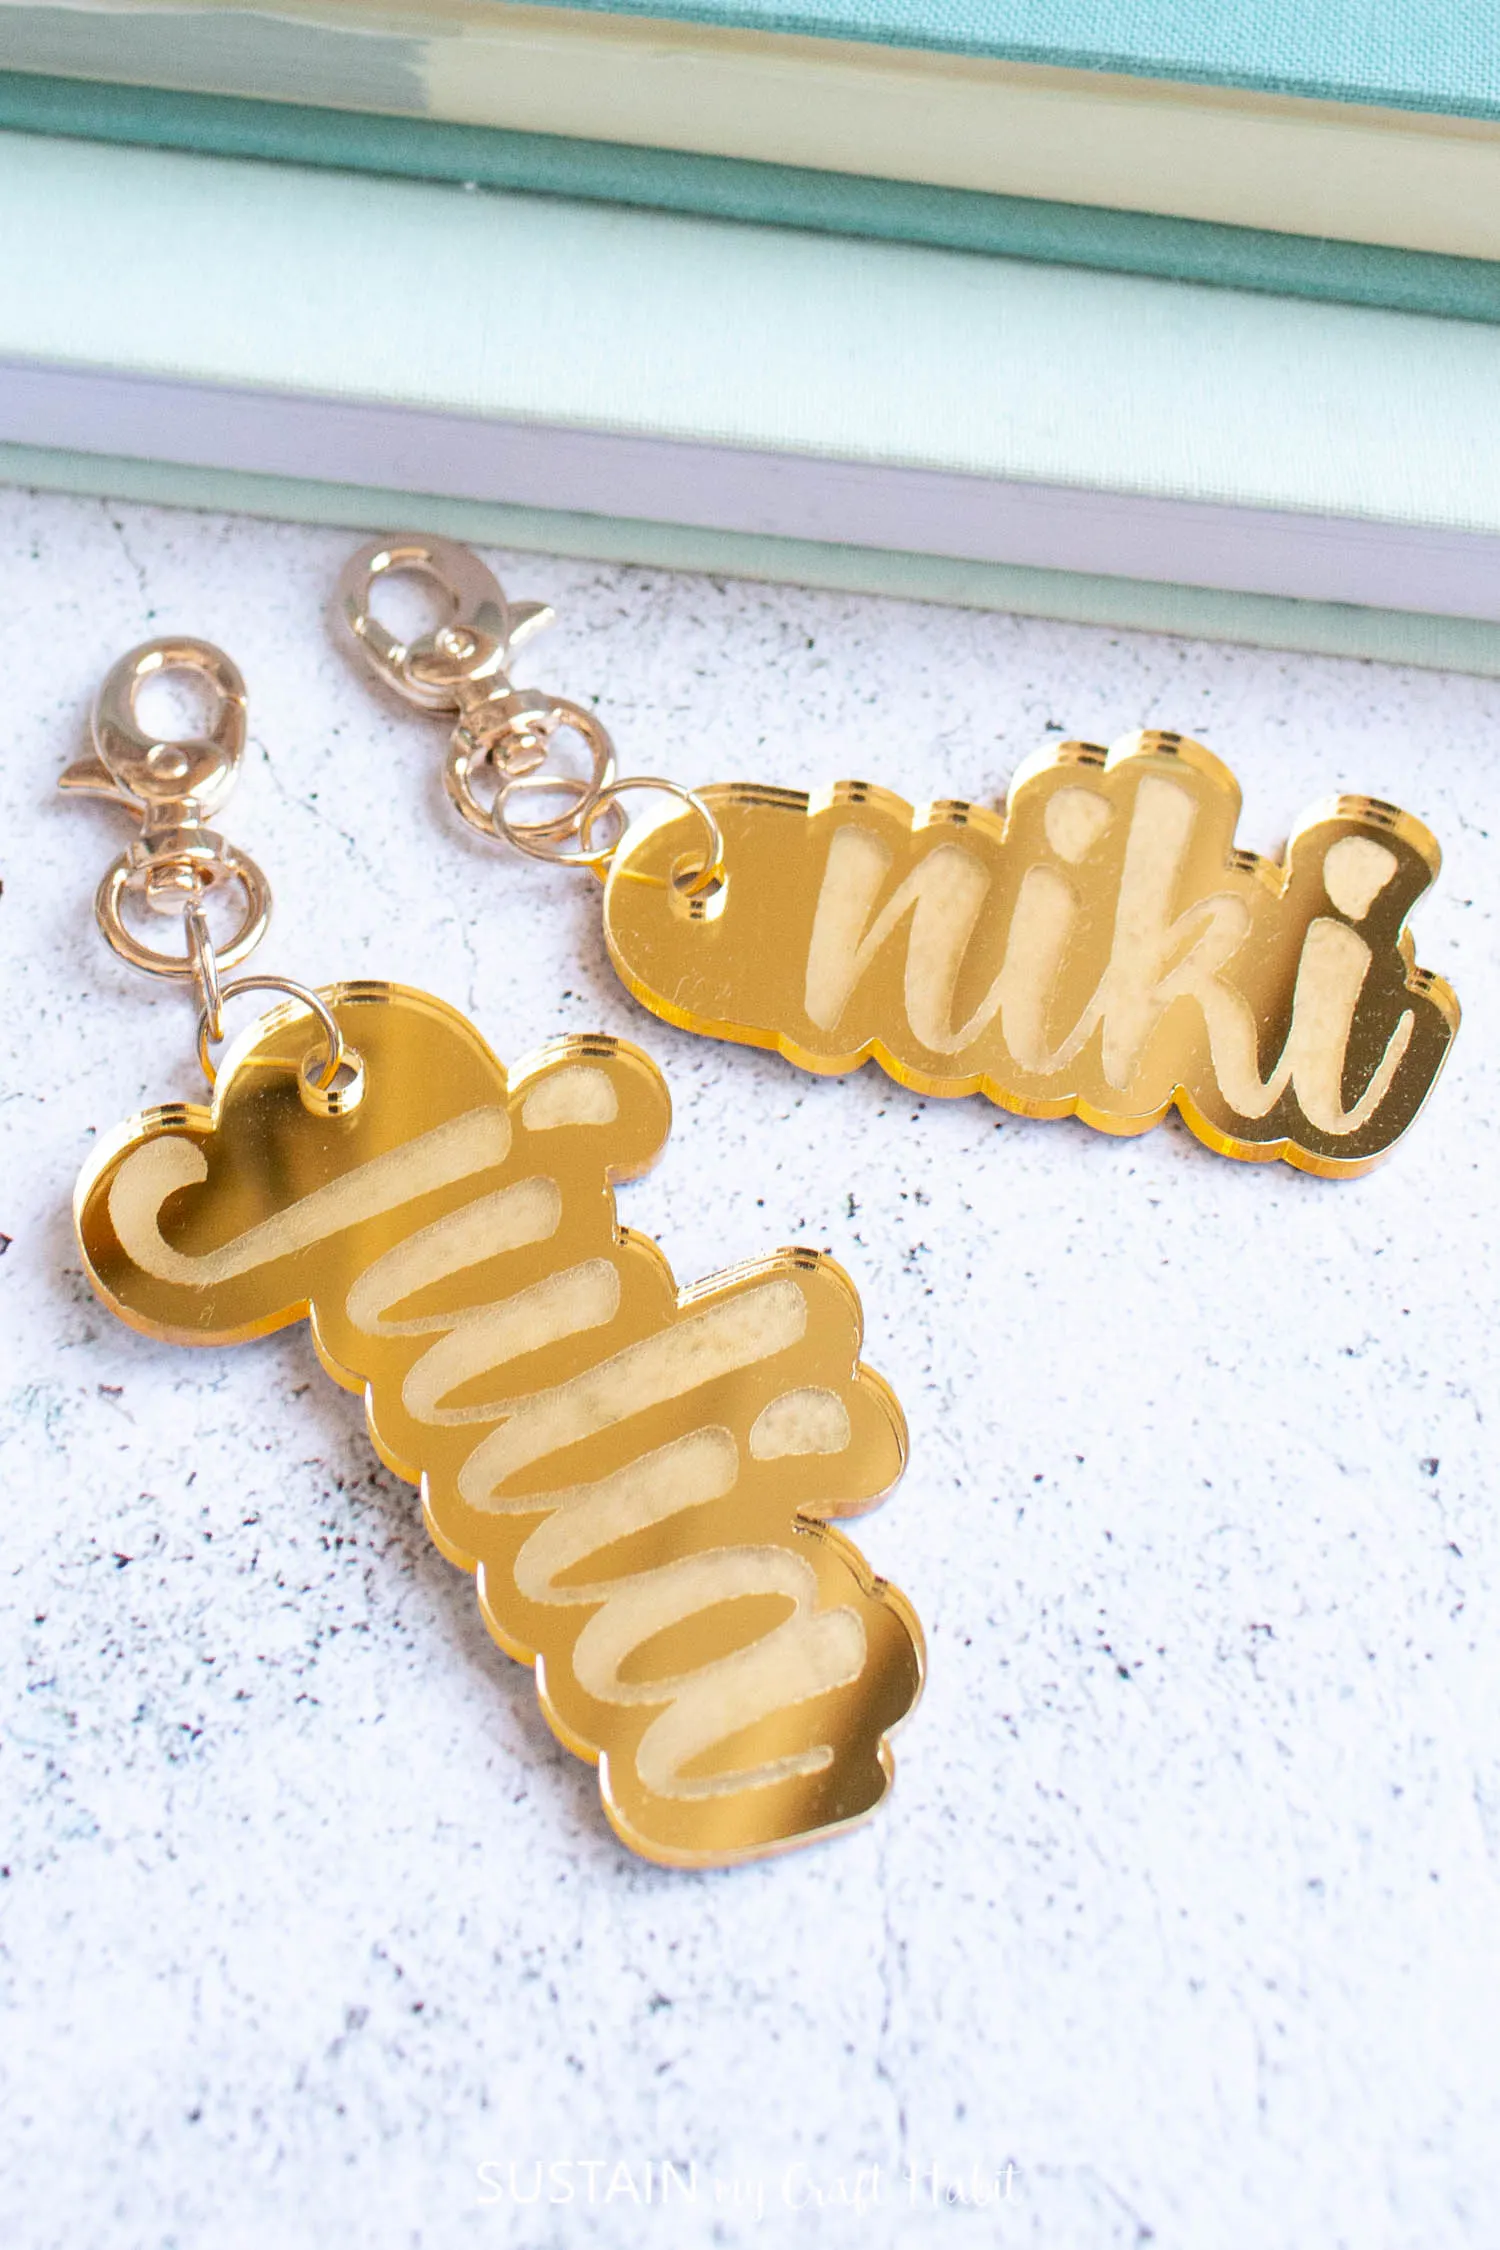
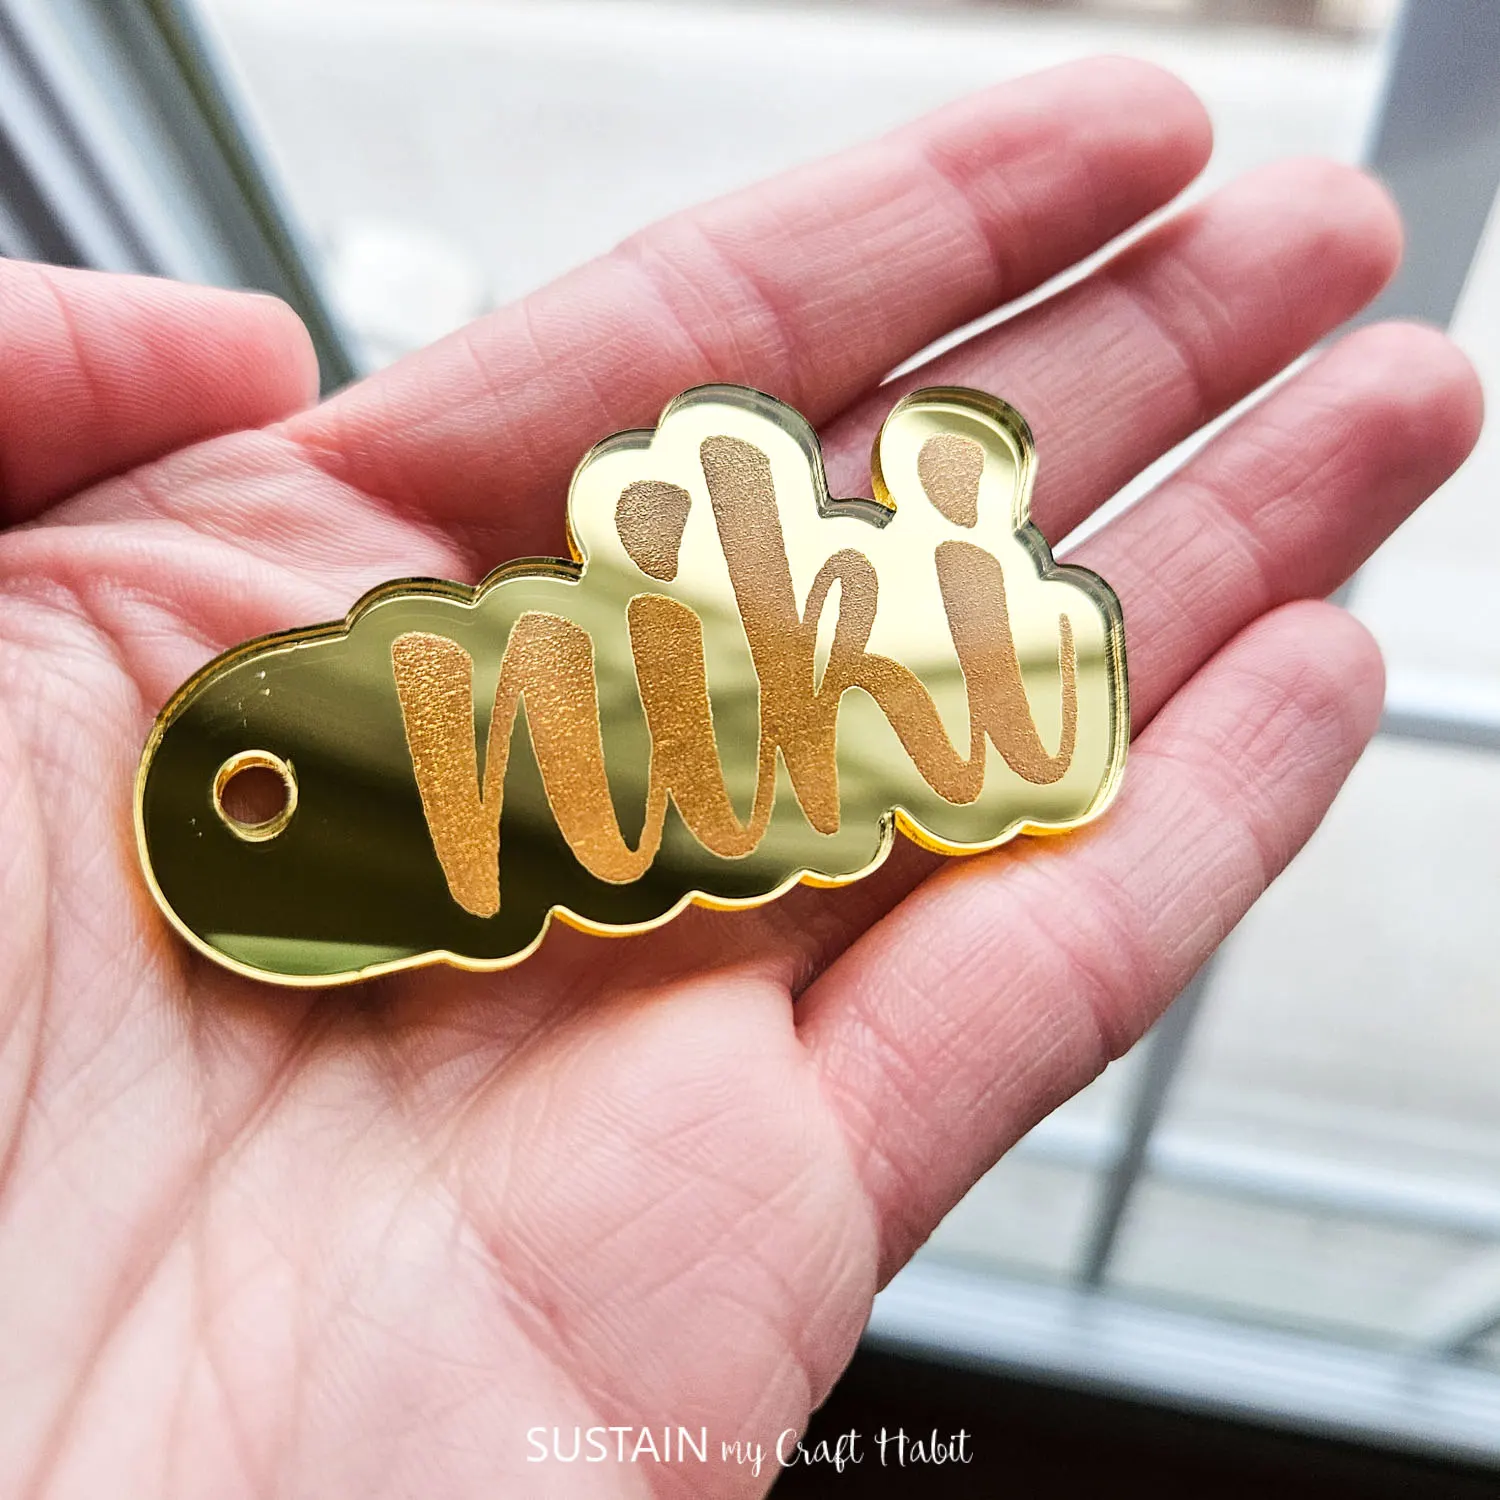
Wipe away the build up on the back of the keychain from the engraving.
You will find it is dusty from the backing material being engraved.
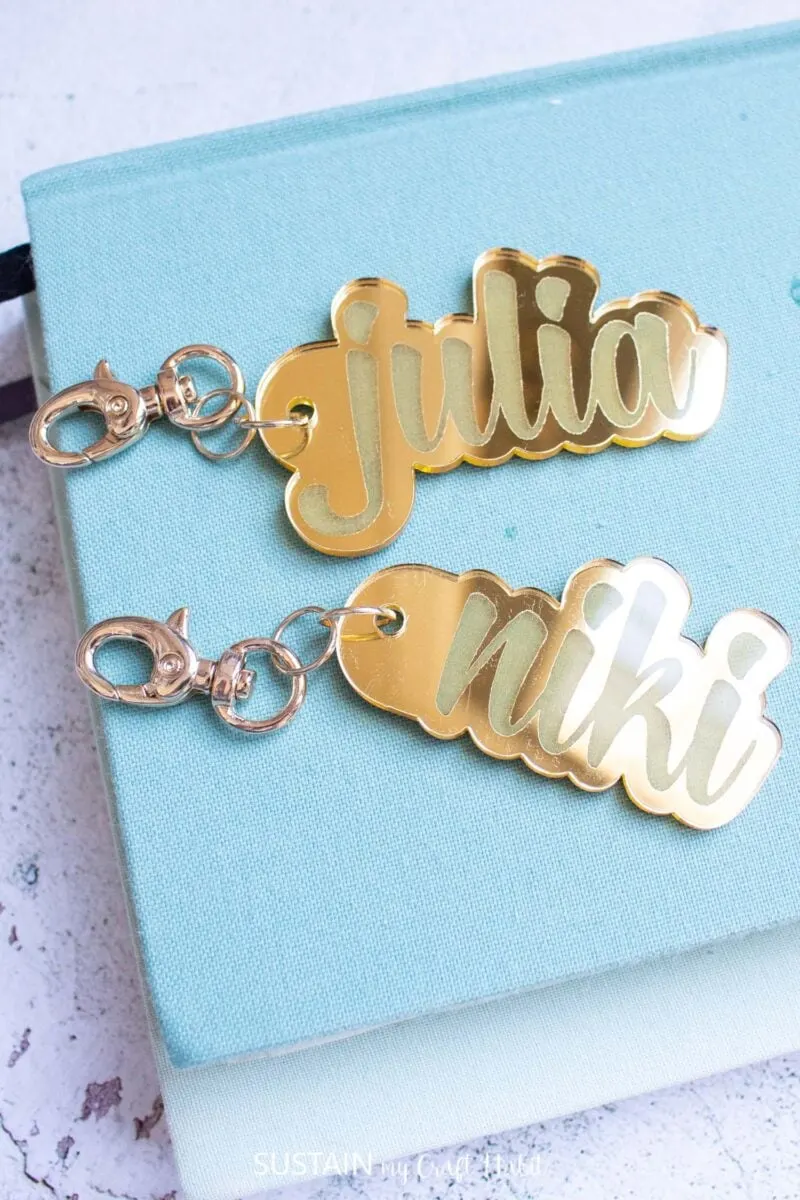
Peel away the plastic protective covering and then attach a ring and lobster clip to complete the keychain.
Thats all there is to it.
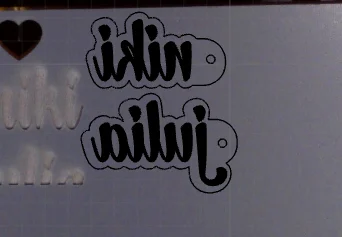
The cut designs come out so crisp and clean.
We hope you found this tutorial helpful.
The possibilities truly are endless with this nifty machine.
Pin it for later!

Materials
Instructions


Pumpkin Ornaments
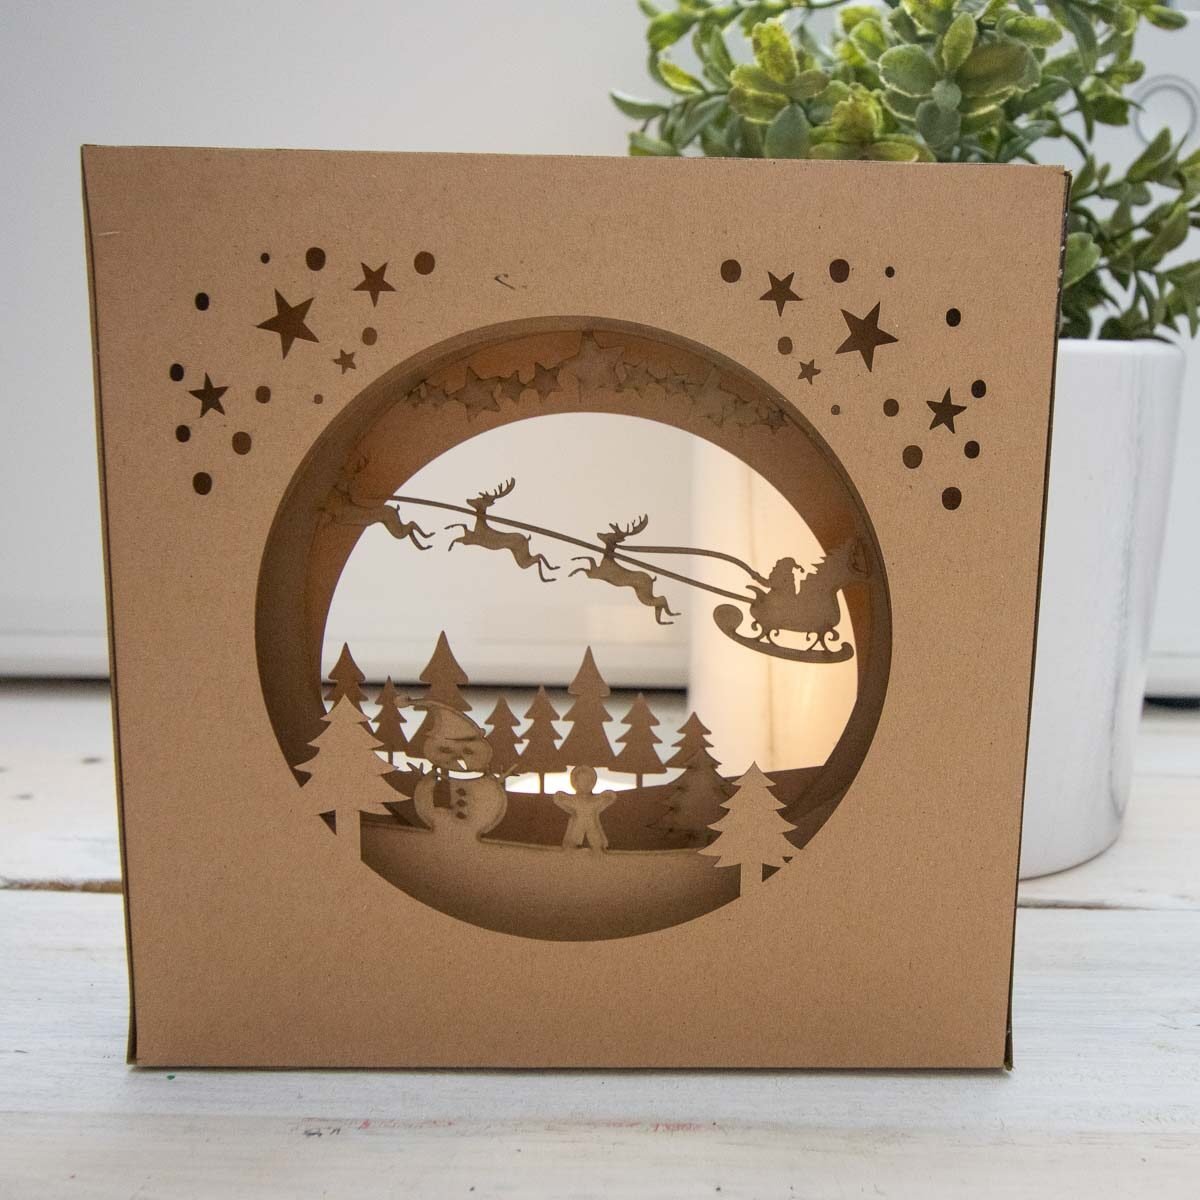
Kraft Paper Night Light

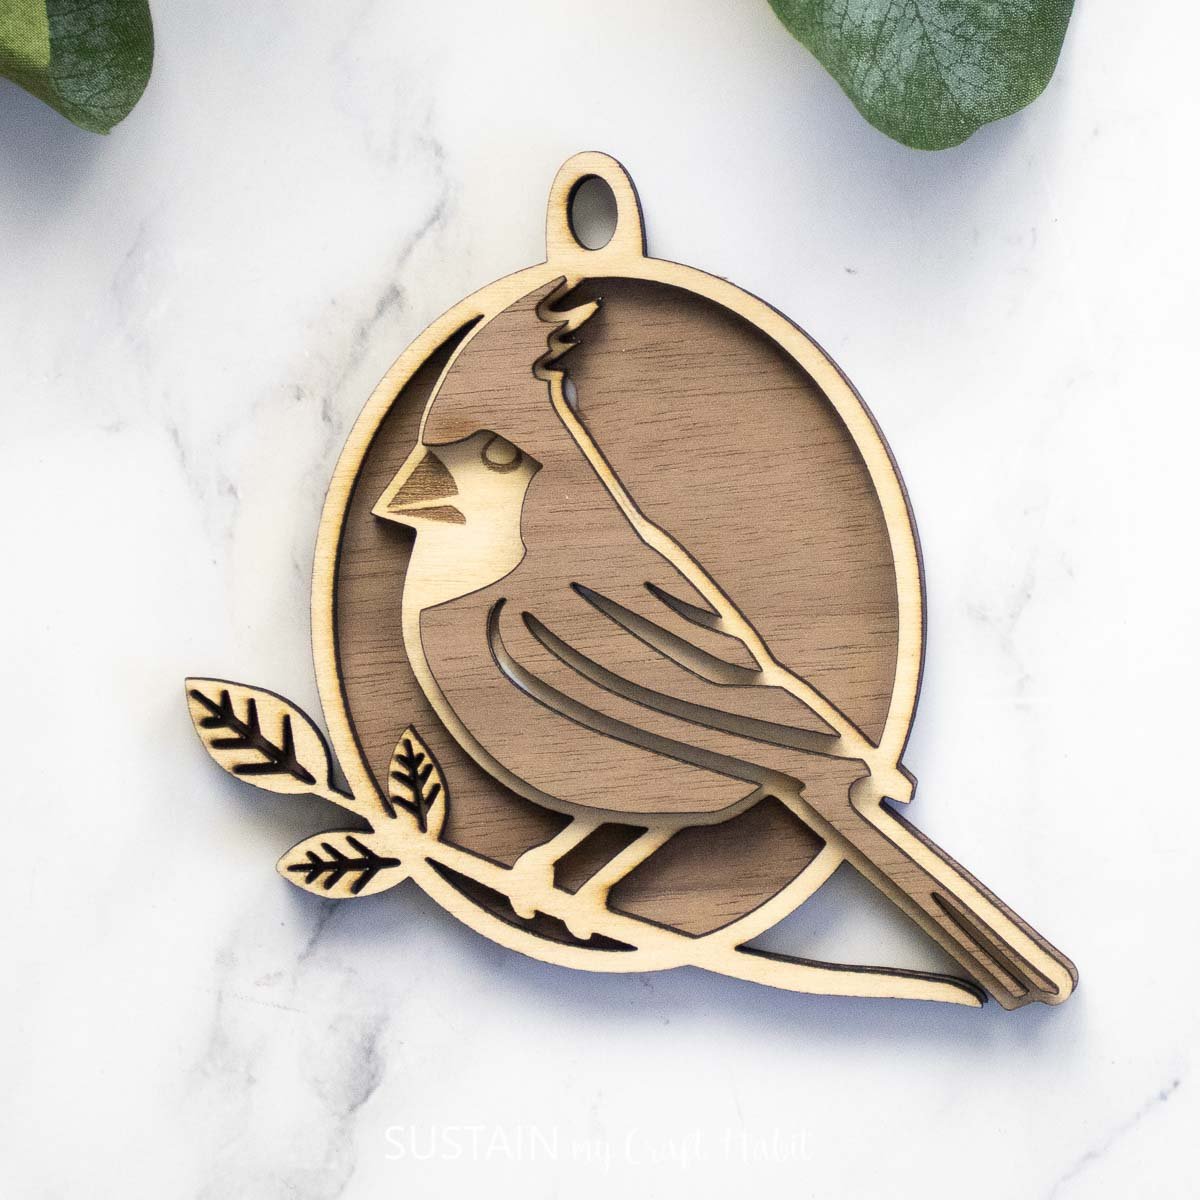
Layered Bird

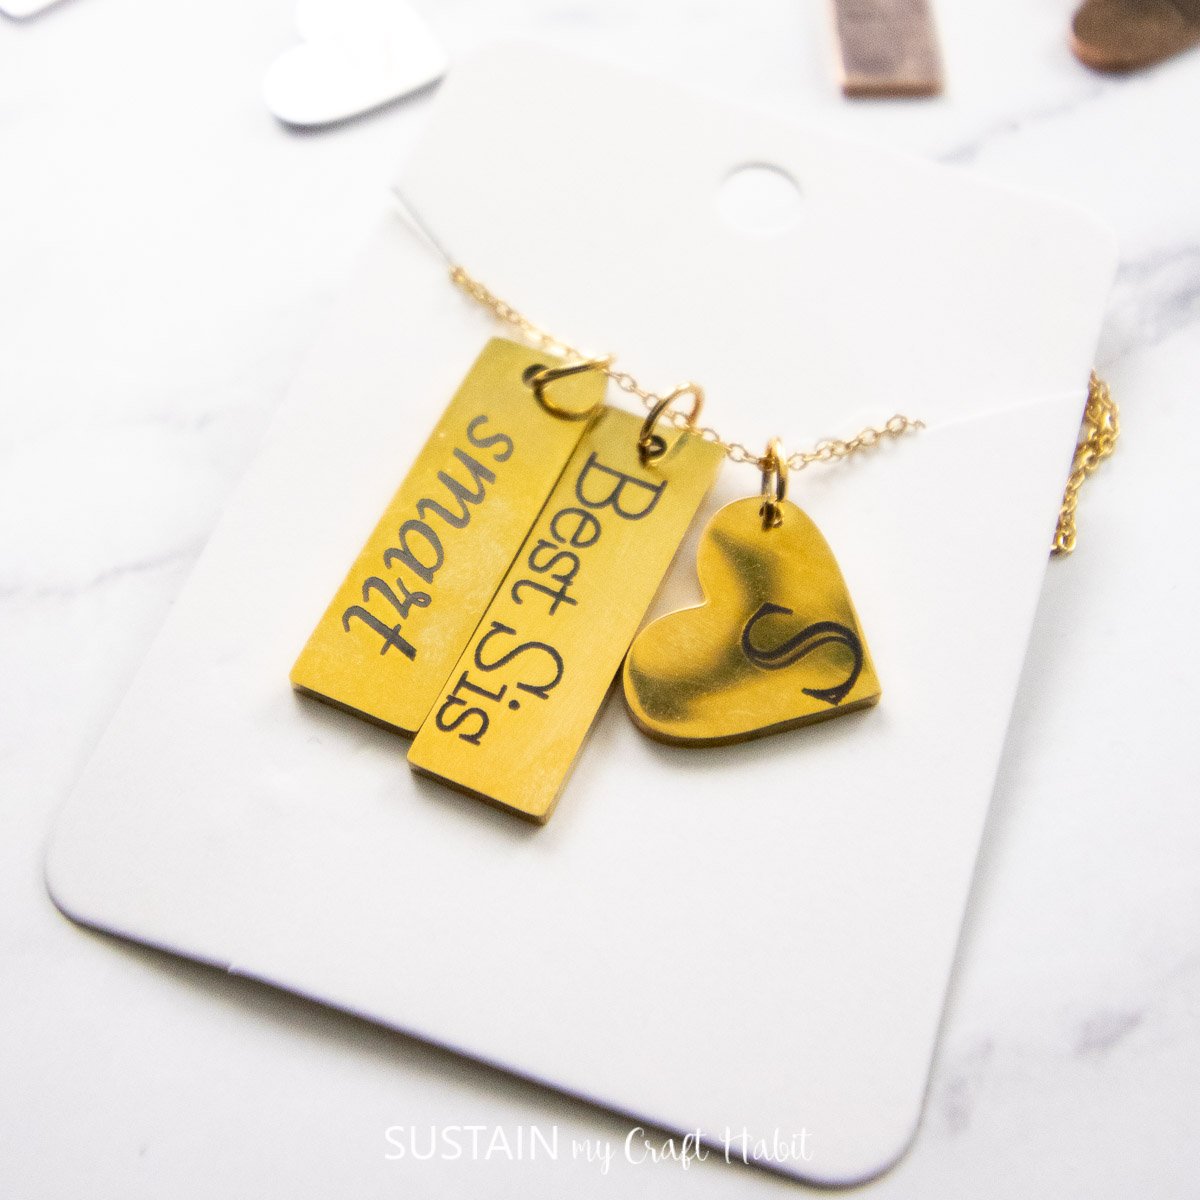
Engraved Jewelry

Engraved Earrings


