Best of all, you dont need a large backyard to get started.
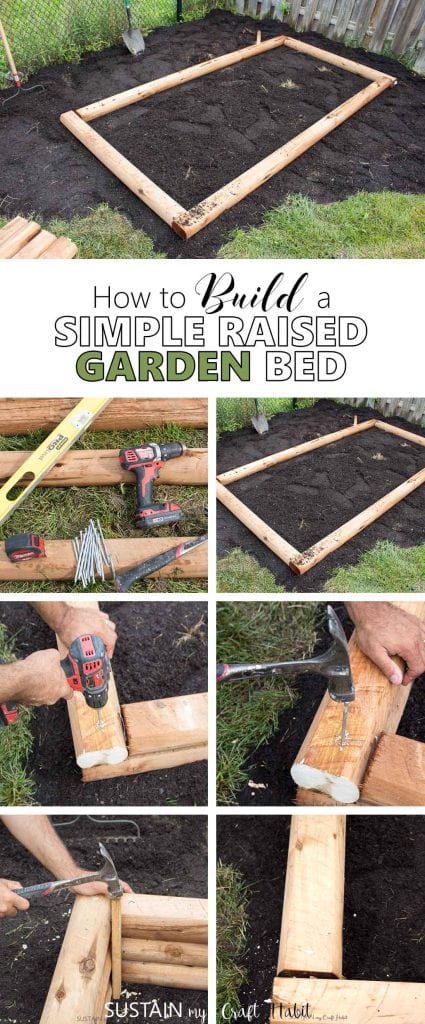
Learn how to make your own diyraised garden bedwith just a few supplies and this easy diy tutorial.
Wonder if my sister would say the same?
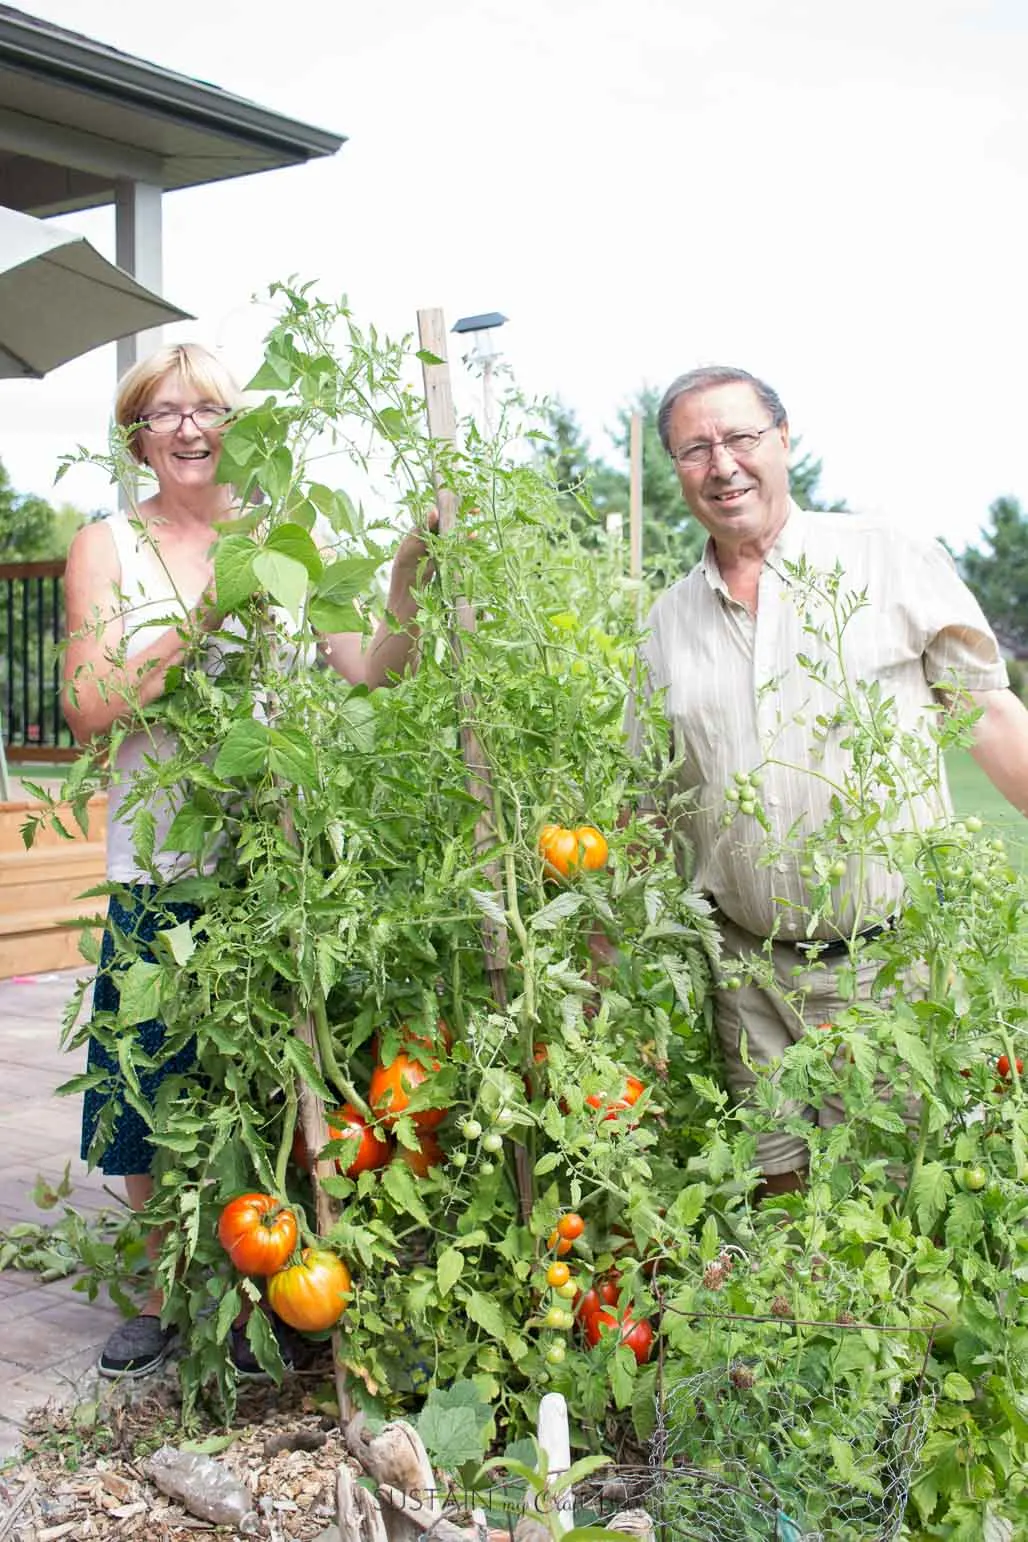
Our parents playing peak-a-boo in their tomato garden. You can see we’ve learned from the best!
Having our own vegetable garden is a tradition we want to pass on to our children.
But simply, there are some really cool life lessons in growing your own veggies.
We use these monsters to bake our favourite andeasy zucchini bread recipe.

The best solution for us was to build a raised garden bed.
you’re able to readour full disclosure policy here.
Also, consider ease of working the garden from all sides.

Consider placing down a layer of landscape fabric to suppress grass growth in the garden.
If you use untreated wood consider lining the inside with landscape fabric to slow wood rotting from moisture.
Step 4: Assembling the DIY Garden Bed
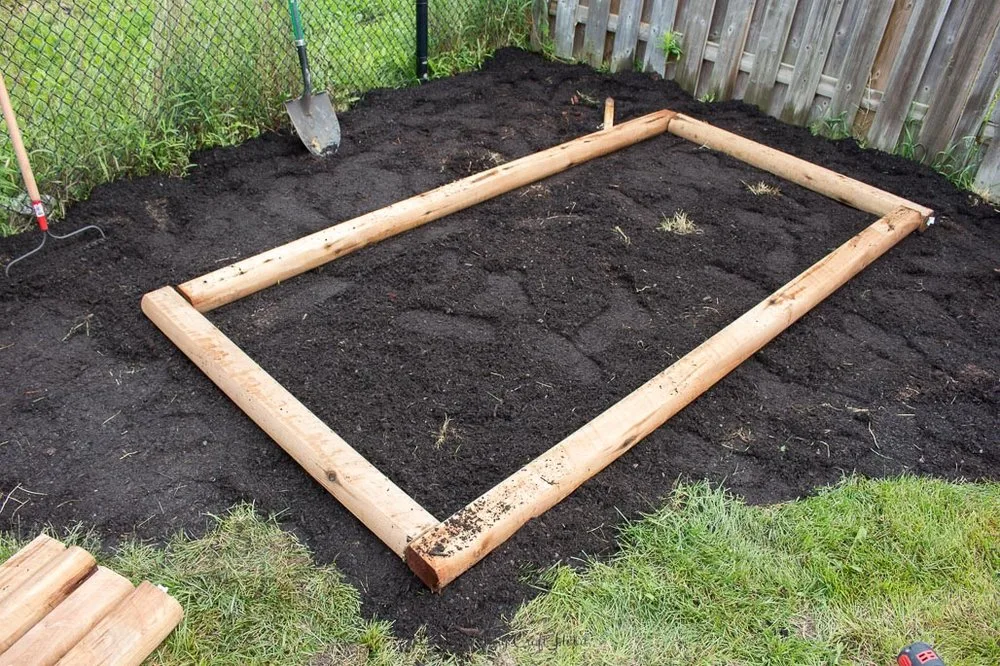
Start by positioning one 8 long mini tie lengthwise.

Continue with placing the second 8 long and 4 long tie to form an evenly shaped rectangle.
Stagger the placement as shown in the photo.
Check and measure to ensure that the first round of ties are level and squared at all corners.

Our parents playing peak-a-boo in their tomato garden. You can see we’ve learned from the best!
For the next step, add a second row of mini ties, overlapping the ends as shown.
Using a large sizeddrillbit, drill pilot holes through both ties close to overlapping ends.
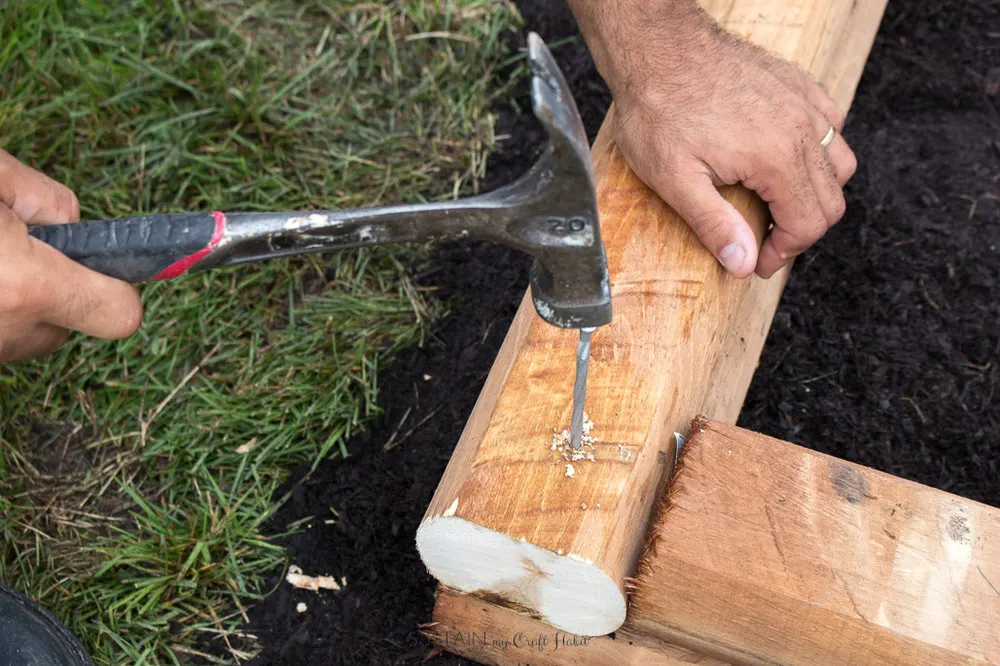
Hammer long 10 spikes into all 4 corners to secure to ground.
Add another round of mini ties and stagger the railway ties as was done in the 2nd round.
Pre-drillholes at all 4 corners and hammer shorter spikes through the pre-drilled holes to secure ties together.
Your raised garden bed is now ready for planting!

We used our easy raised garden bed successfully for four years before moving to a new home.
The rot-resistant wood help up great!
What will you plant in your garden bed this year?Happy Gardening!