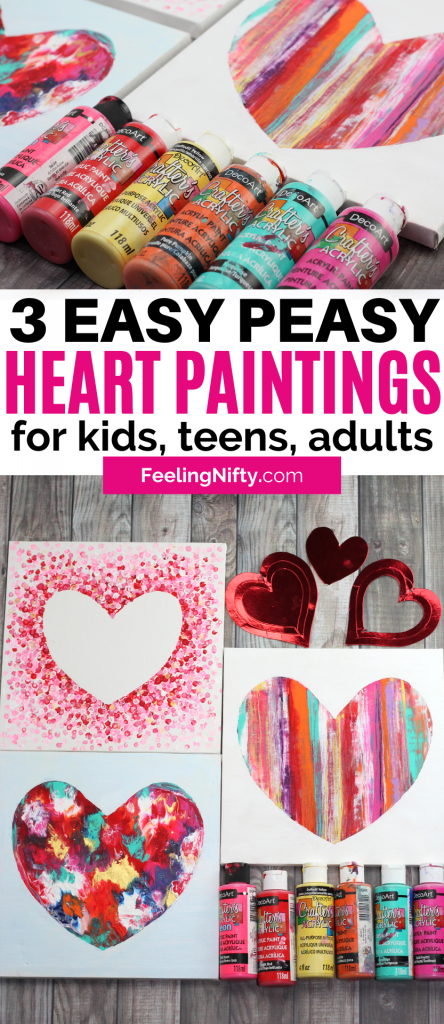
Learn to make a heart painting with 3 easy peasy painting techniques.
Fun for all ages!
Heart paintings are super easy painting ideas, that it’s possible for you to totally get creative with.

Positive Space Heart Stencil
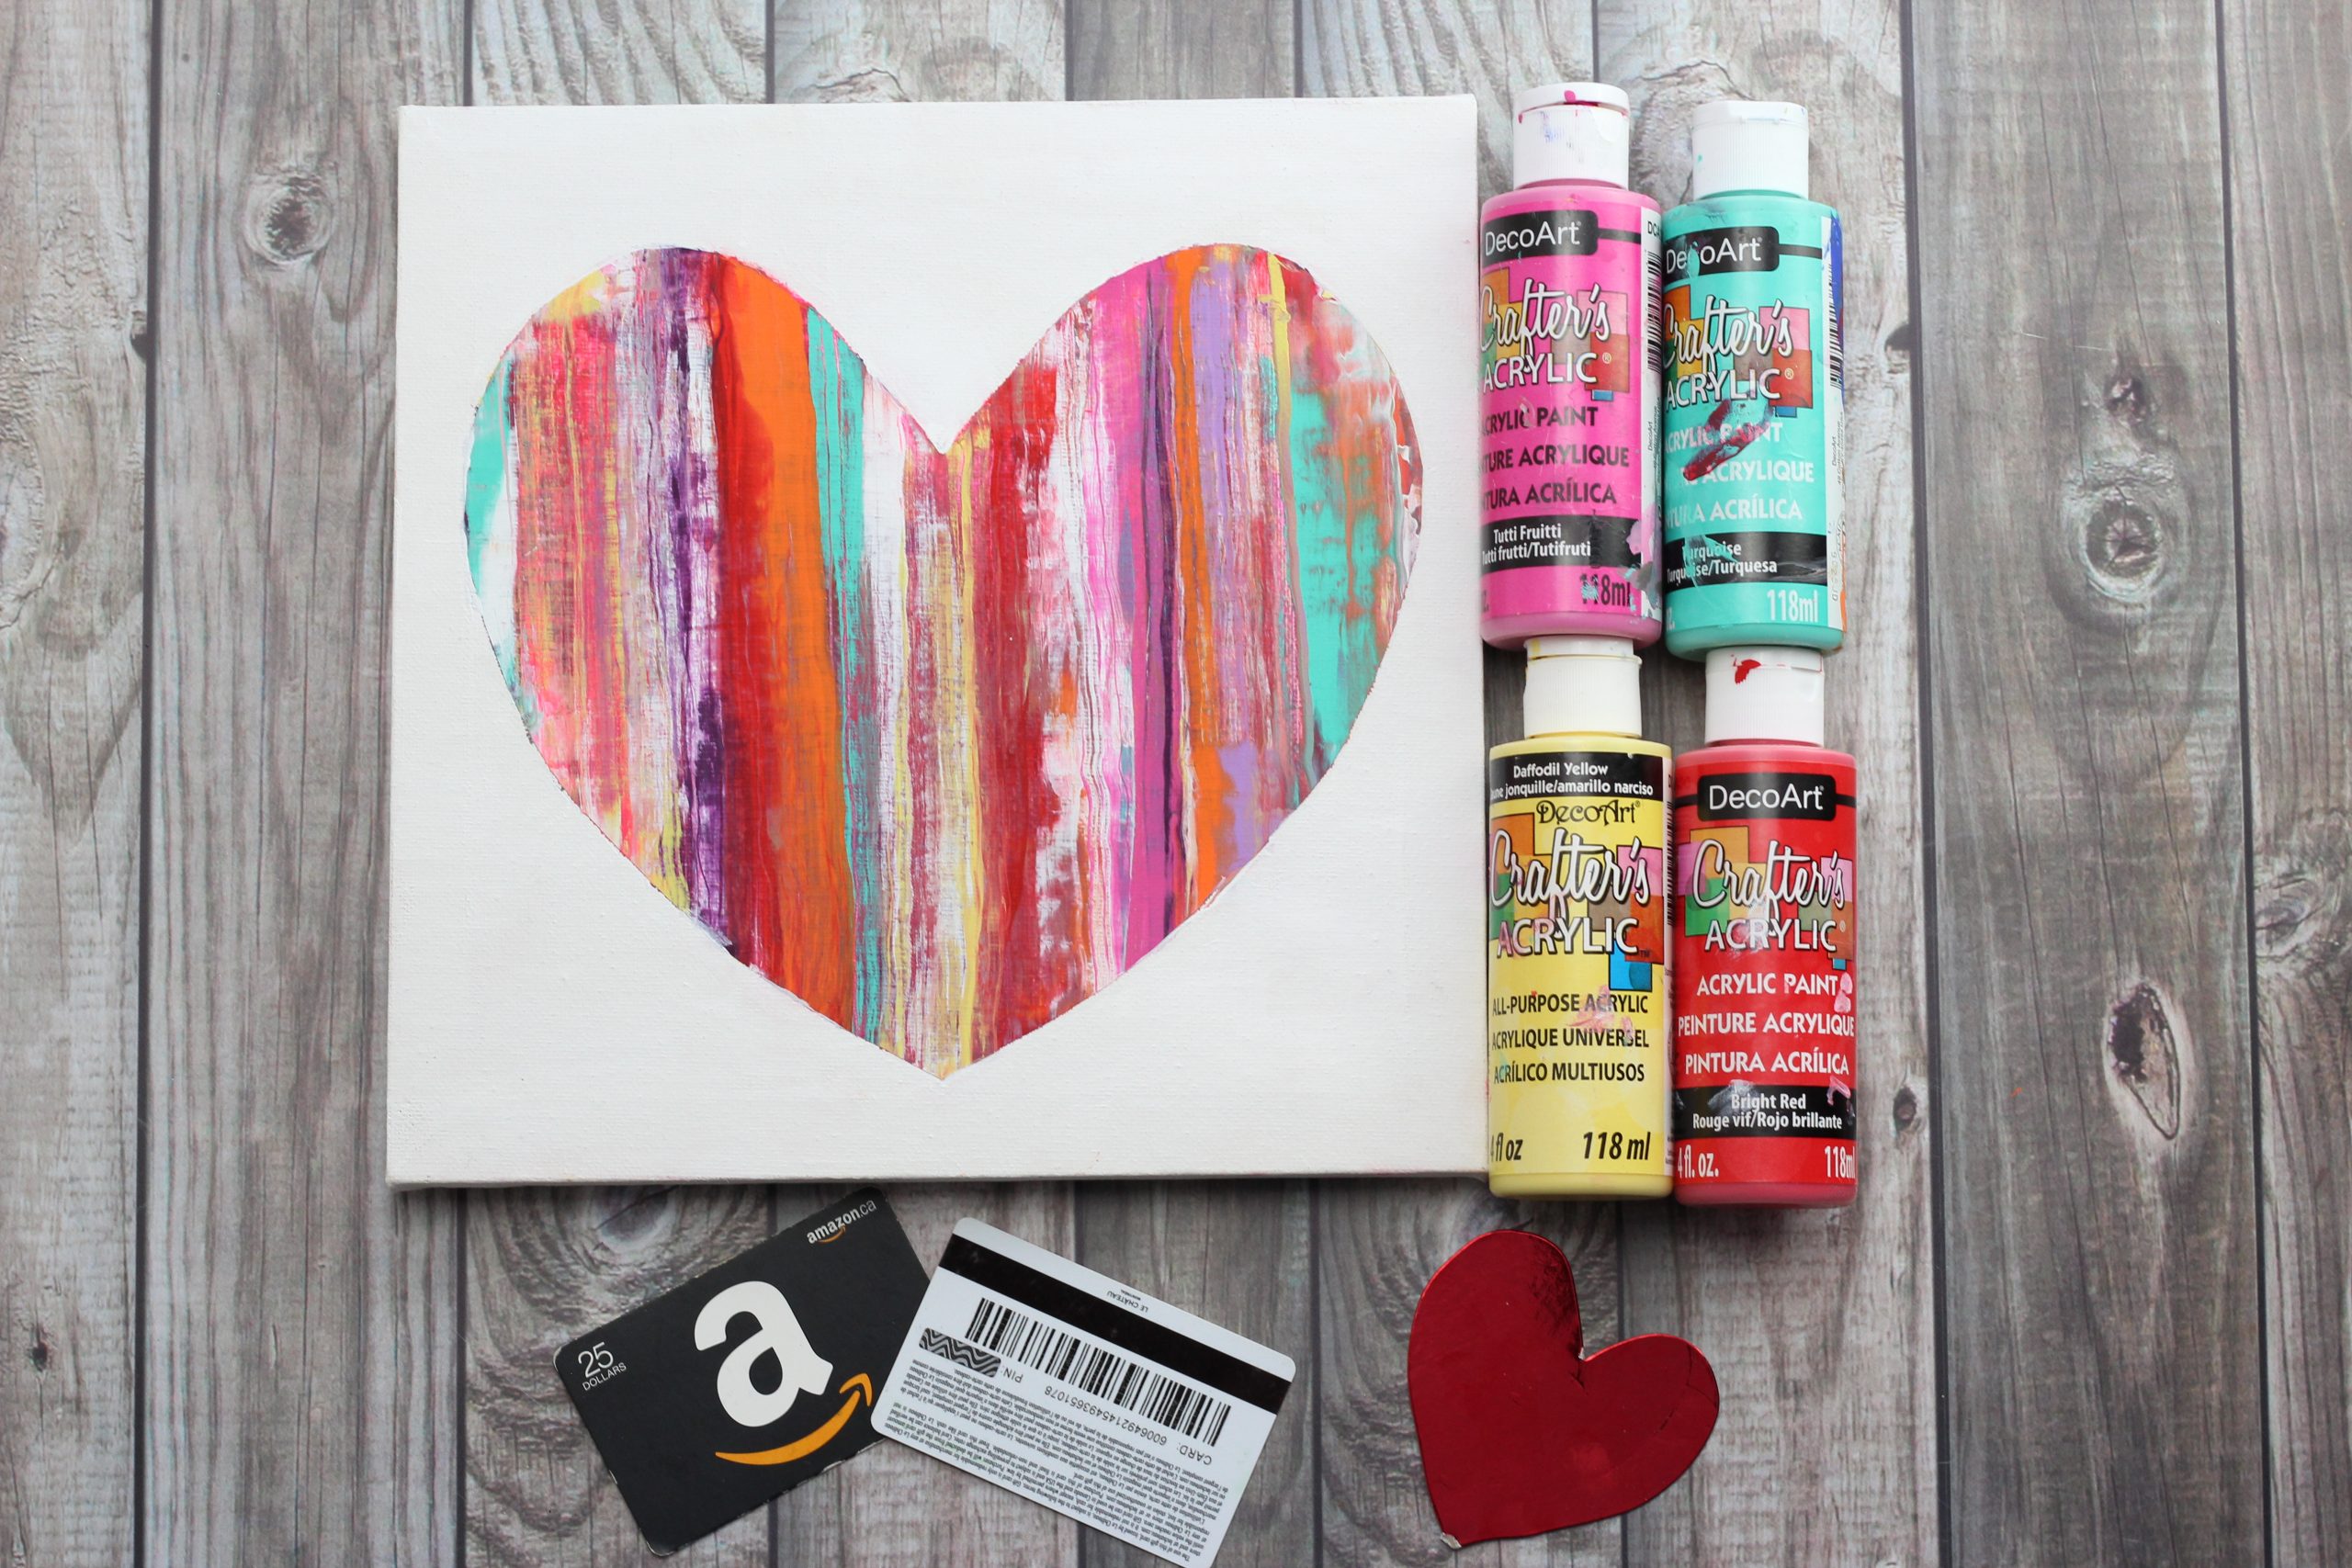
Oh yeah, and no paintbrushes needed!
Plus, if you know me, I love reusing things AND saving $$!
I got all my supplies from the Dollarstore, so you should be able to get them too!
Amazing what these little cotton swabs can do!
This project is kid-friendly.
If youre looking for more ideas for the budding artists, check out this83 painting ideas for kidspost.

Also, check out theYoutube video tutorialif youd learn these techniques through video format.
Valentines Day Inspired Craft
These 3 heart art ideas were inspired by Valentines day.
My kids and I made them as valentines day crafts.

But that doesnt mean you have to wait for V-day to make these cuties…
Hearts are simple shapes, which makes it easy to get creative & fun with!
Then use this simple kitchen item…
Contact paper…or also-known-as kitchen shelf liner!
You know, that water-proof lining that has a sticky side used to line your cupboards or drawers with?
Cut a piece of contact paper to the size of your canvas.
Positive Space Heart Stencil
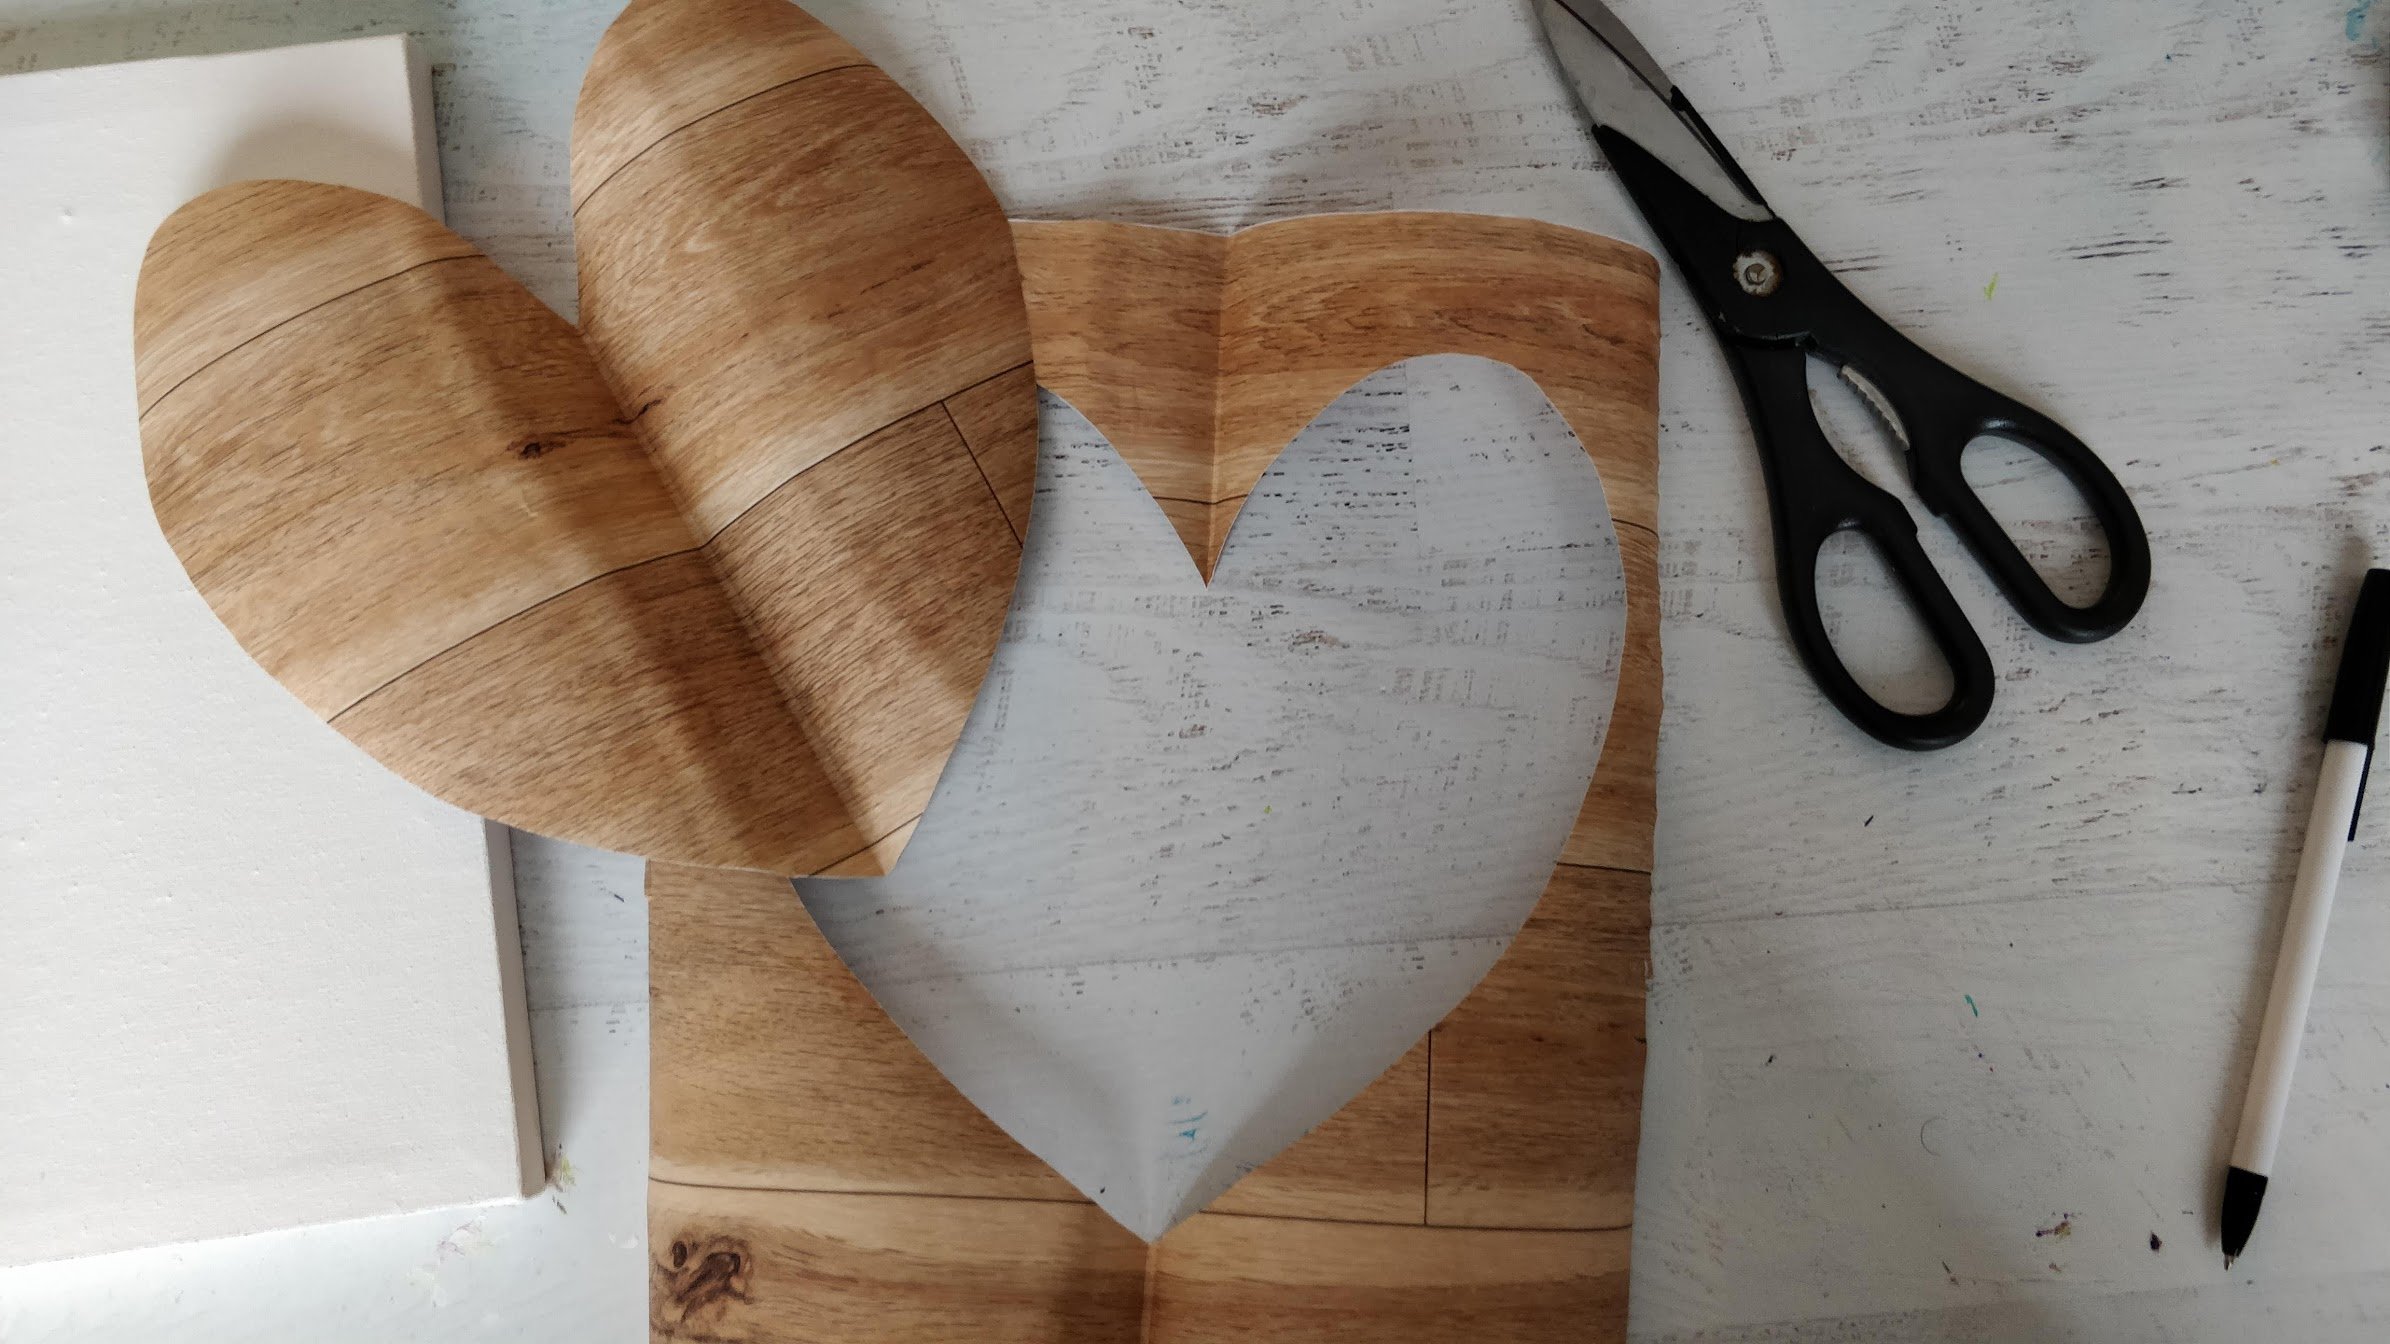
Fold the contact paper in half.
Take your pencil and draw half a heart.
Using scissors cut the folded contact paper along the line you just drew.

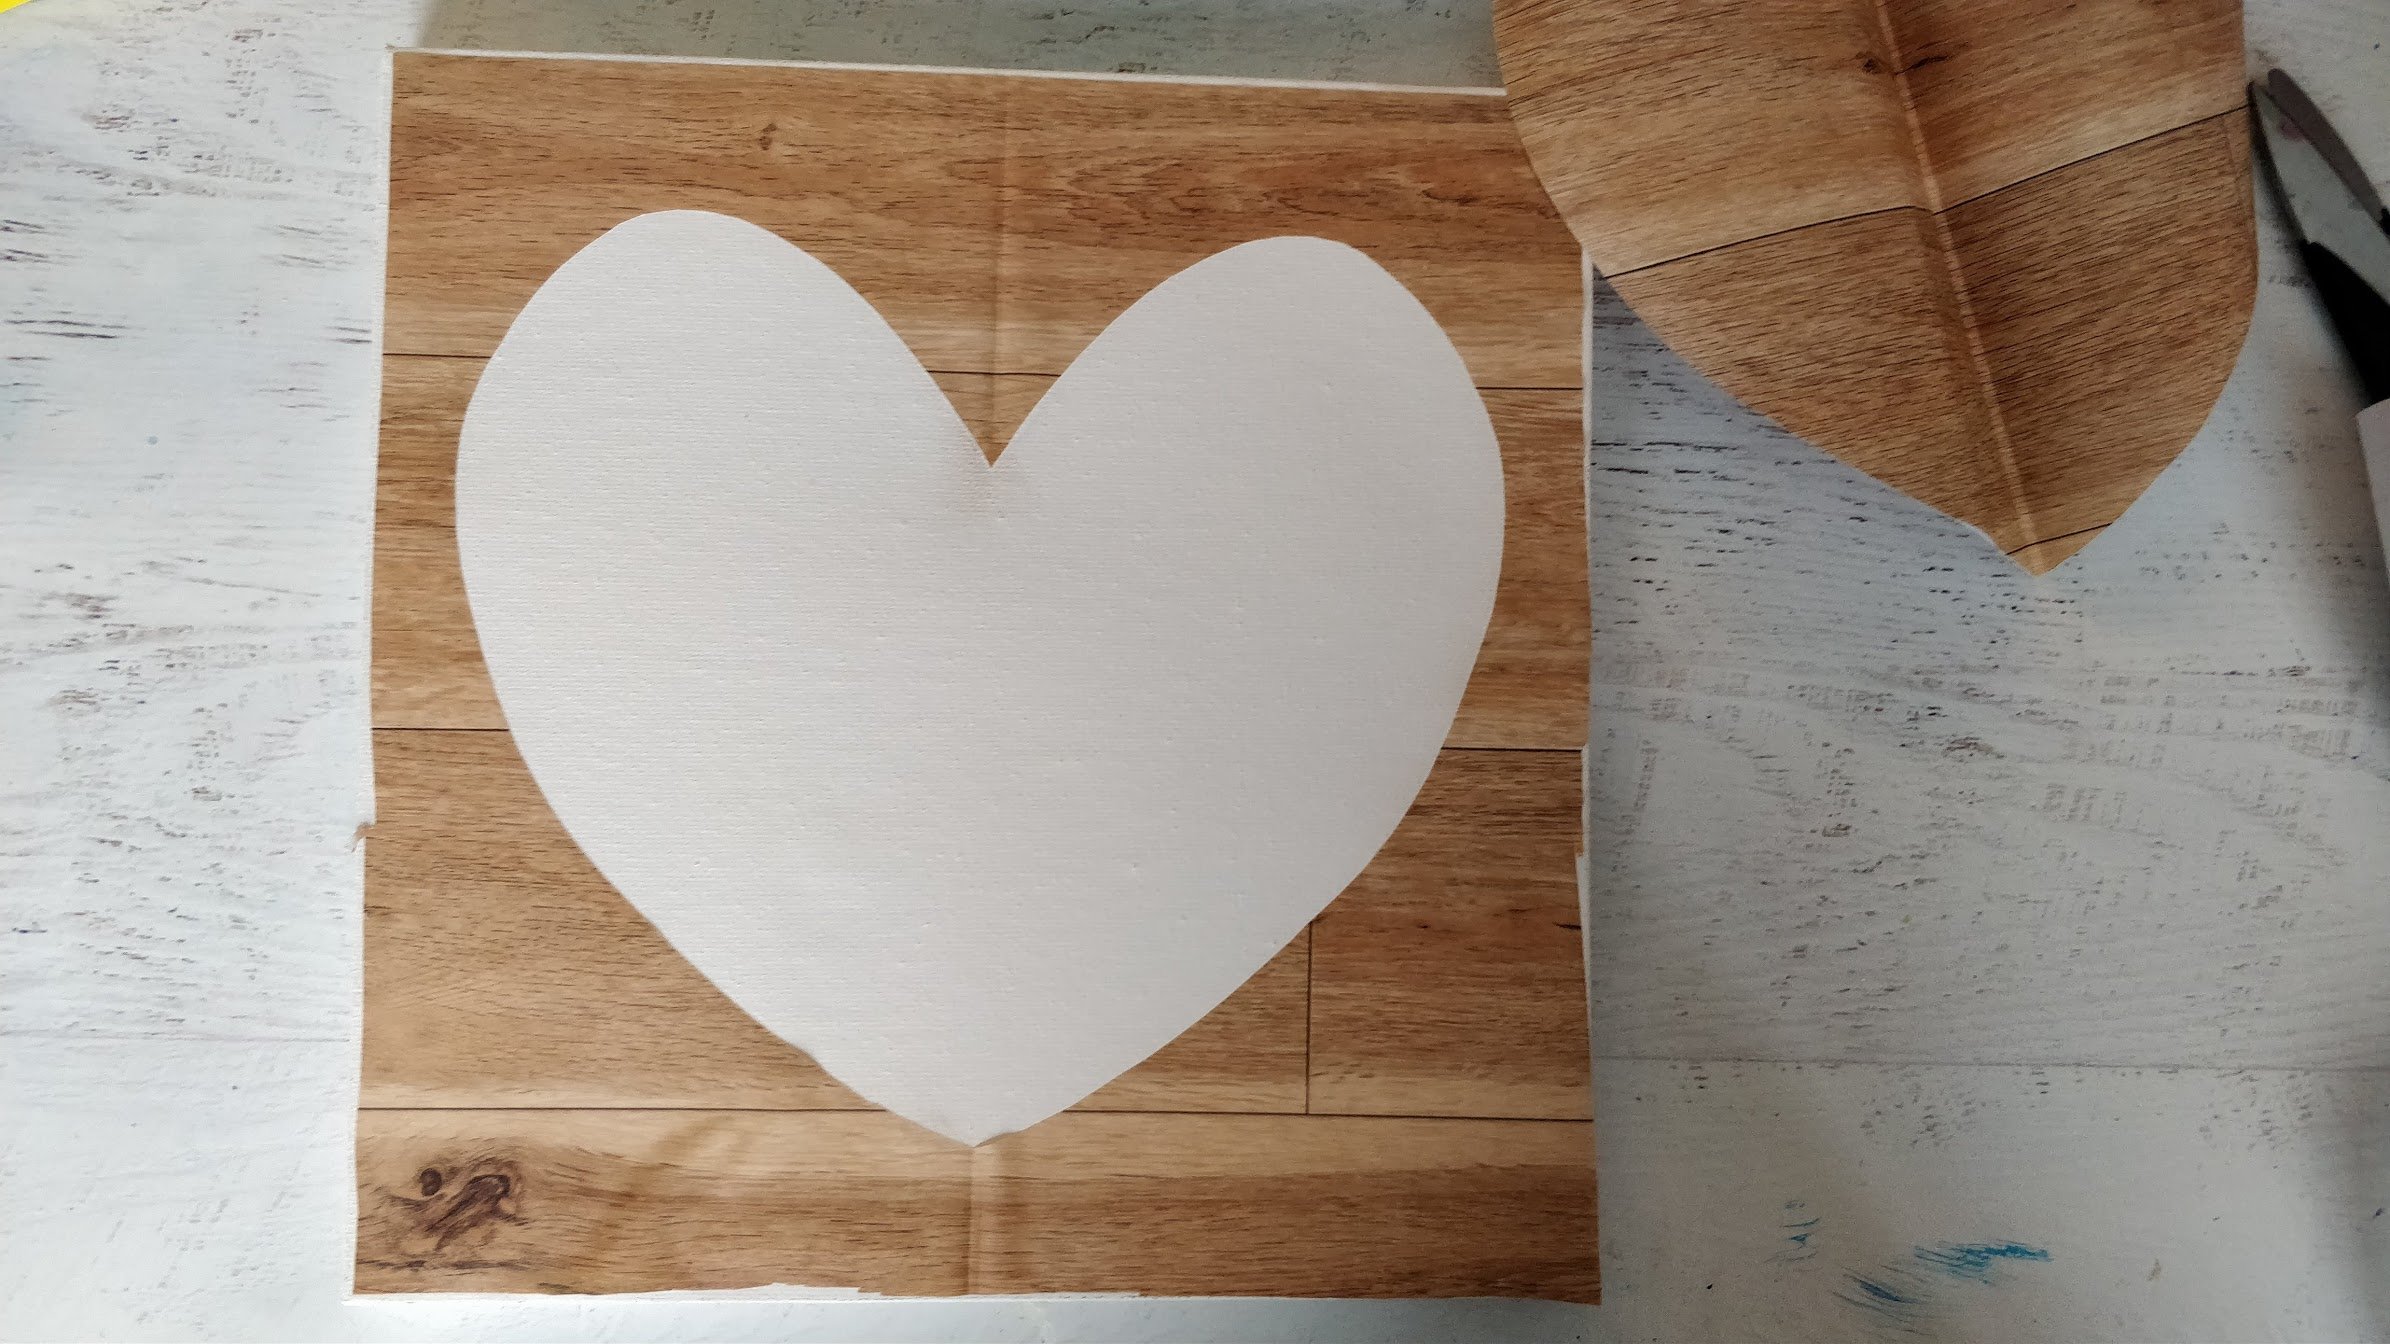
Negative Space Heart Stencil
Peel and stick the stencil directly on your canvas and youre ready to paint!
Youll end up with 2 perfect heart stencils.
Ill show you what each looks like in the tutorials below.
Now that you have your stencils in place, time for some painting!
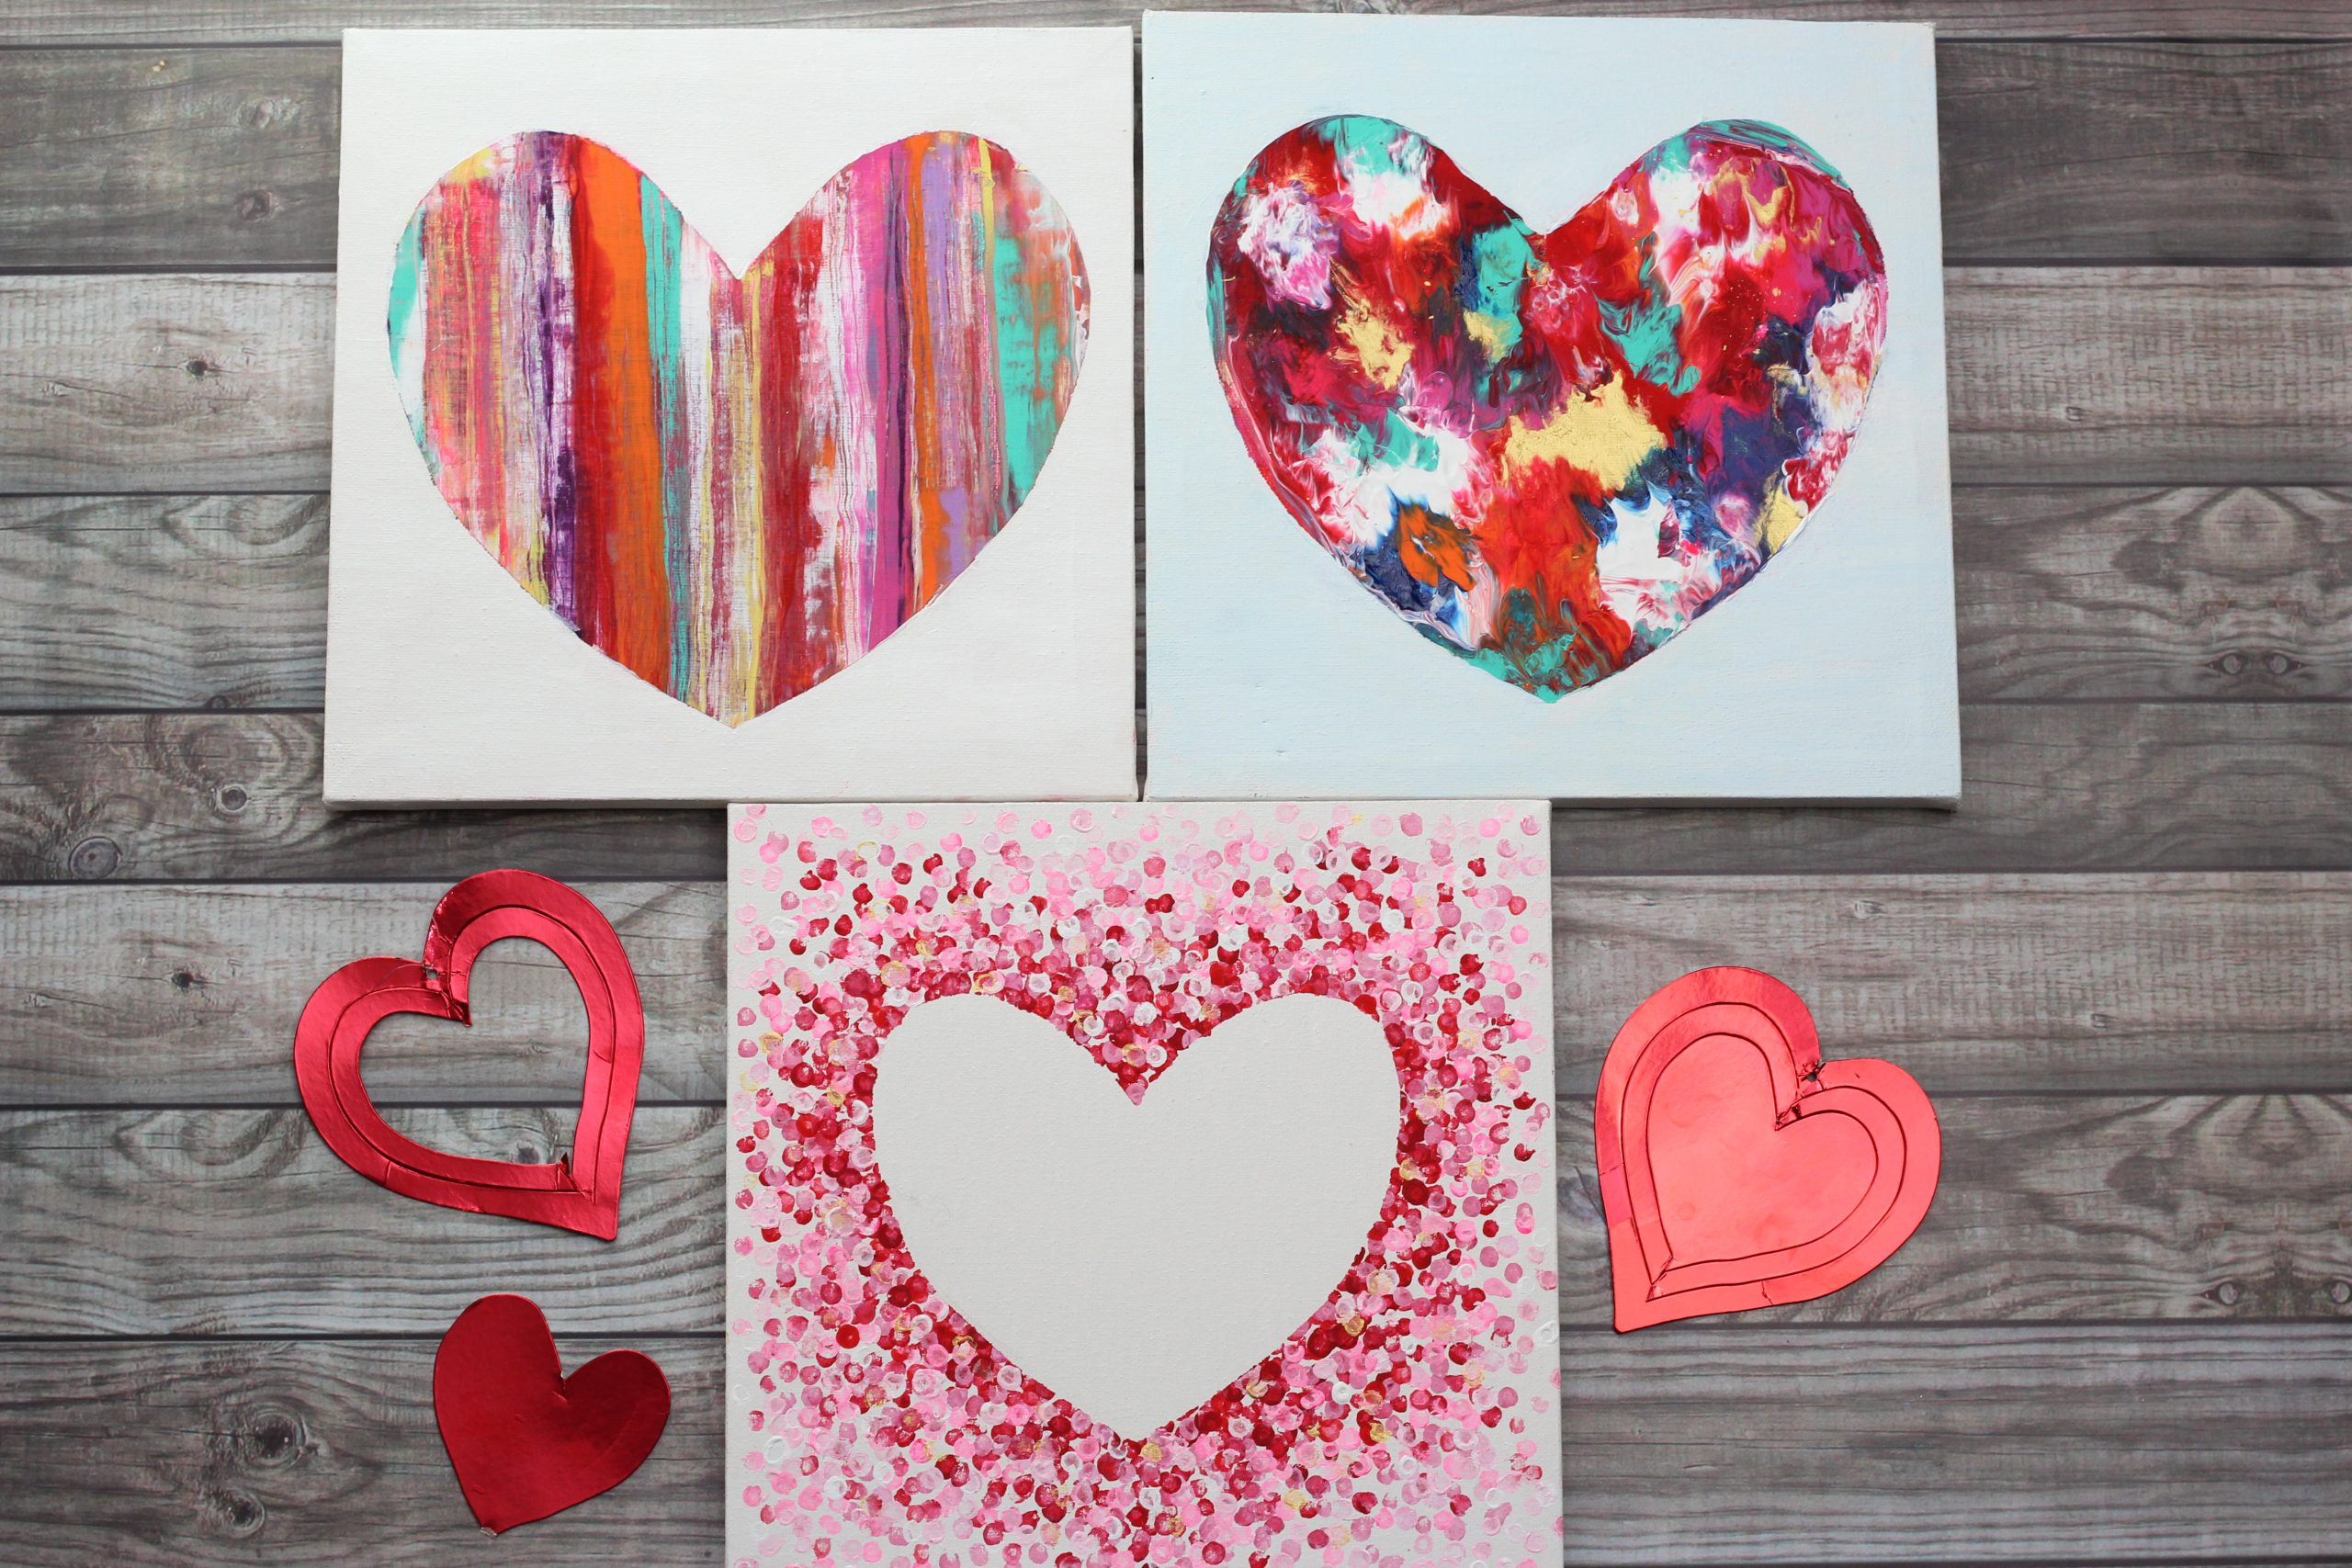
Here are the 3 different heart painting ideas, in no particular order!
Take a look at each, you might even want to do all 3!

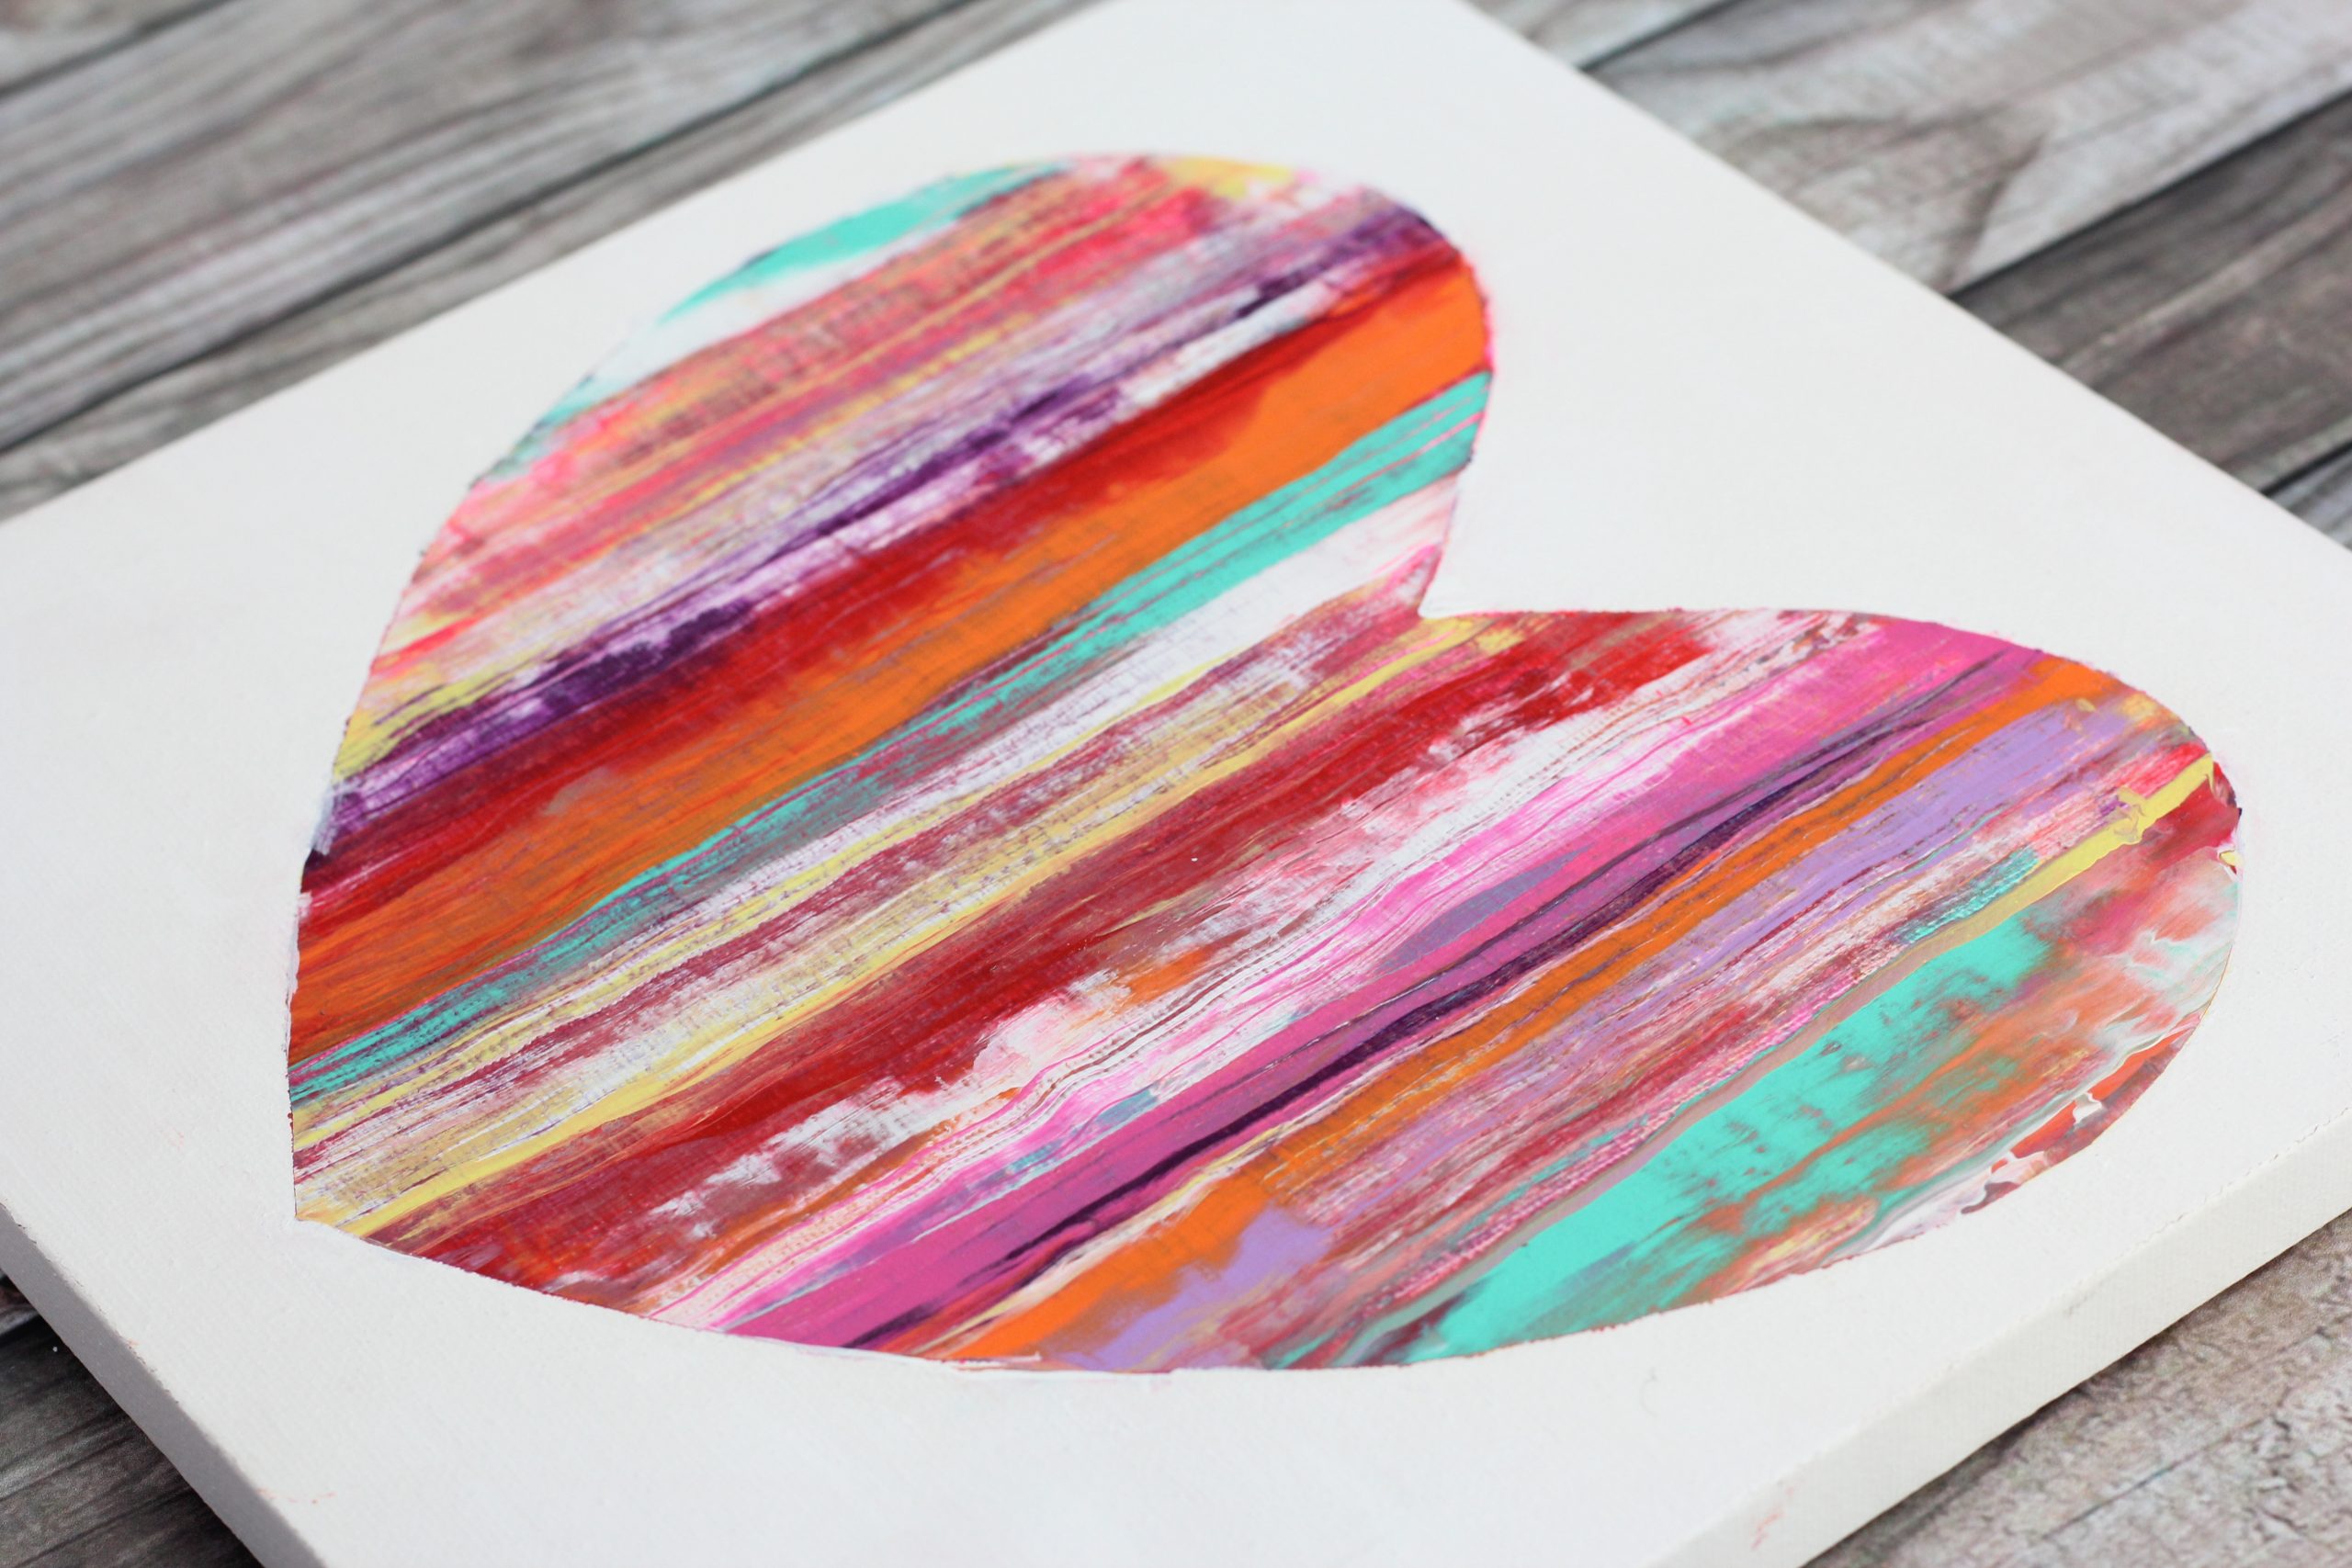
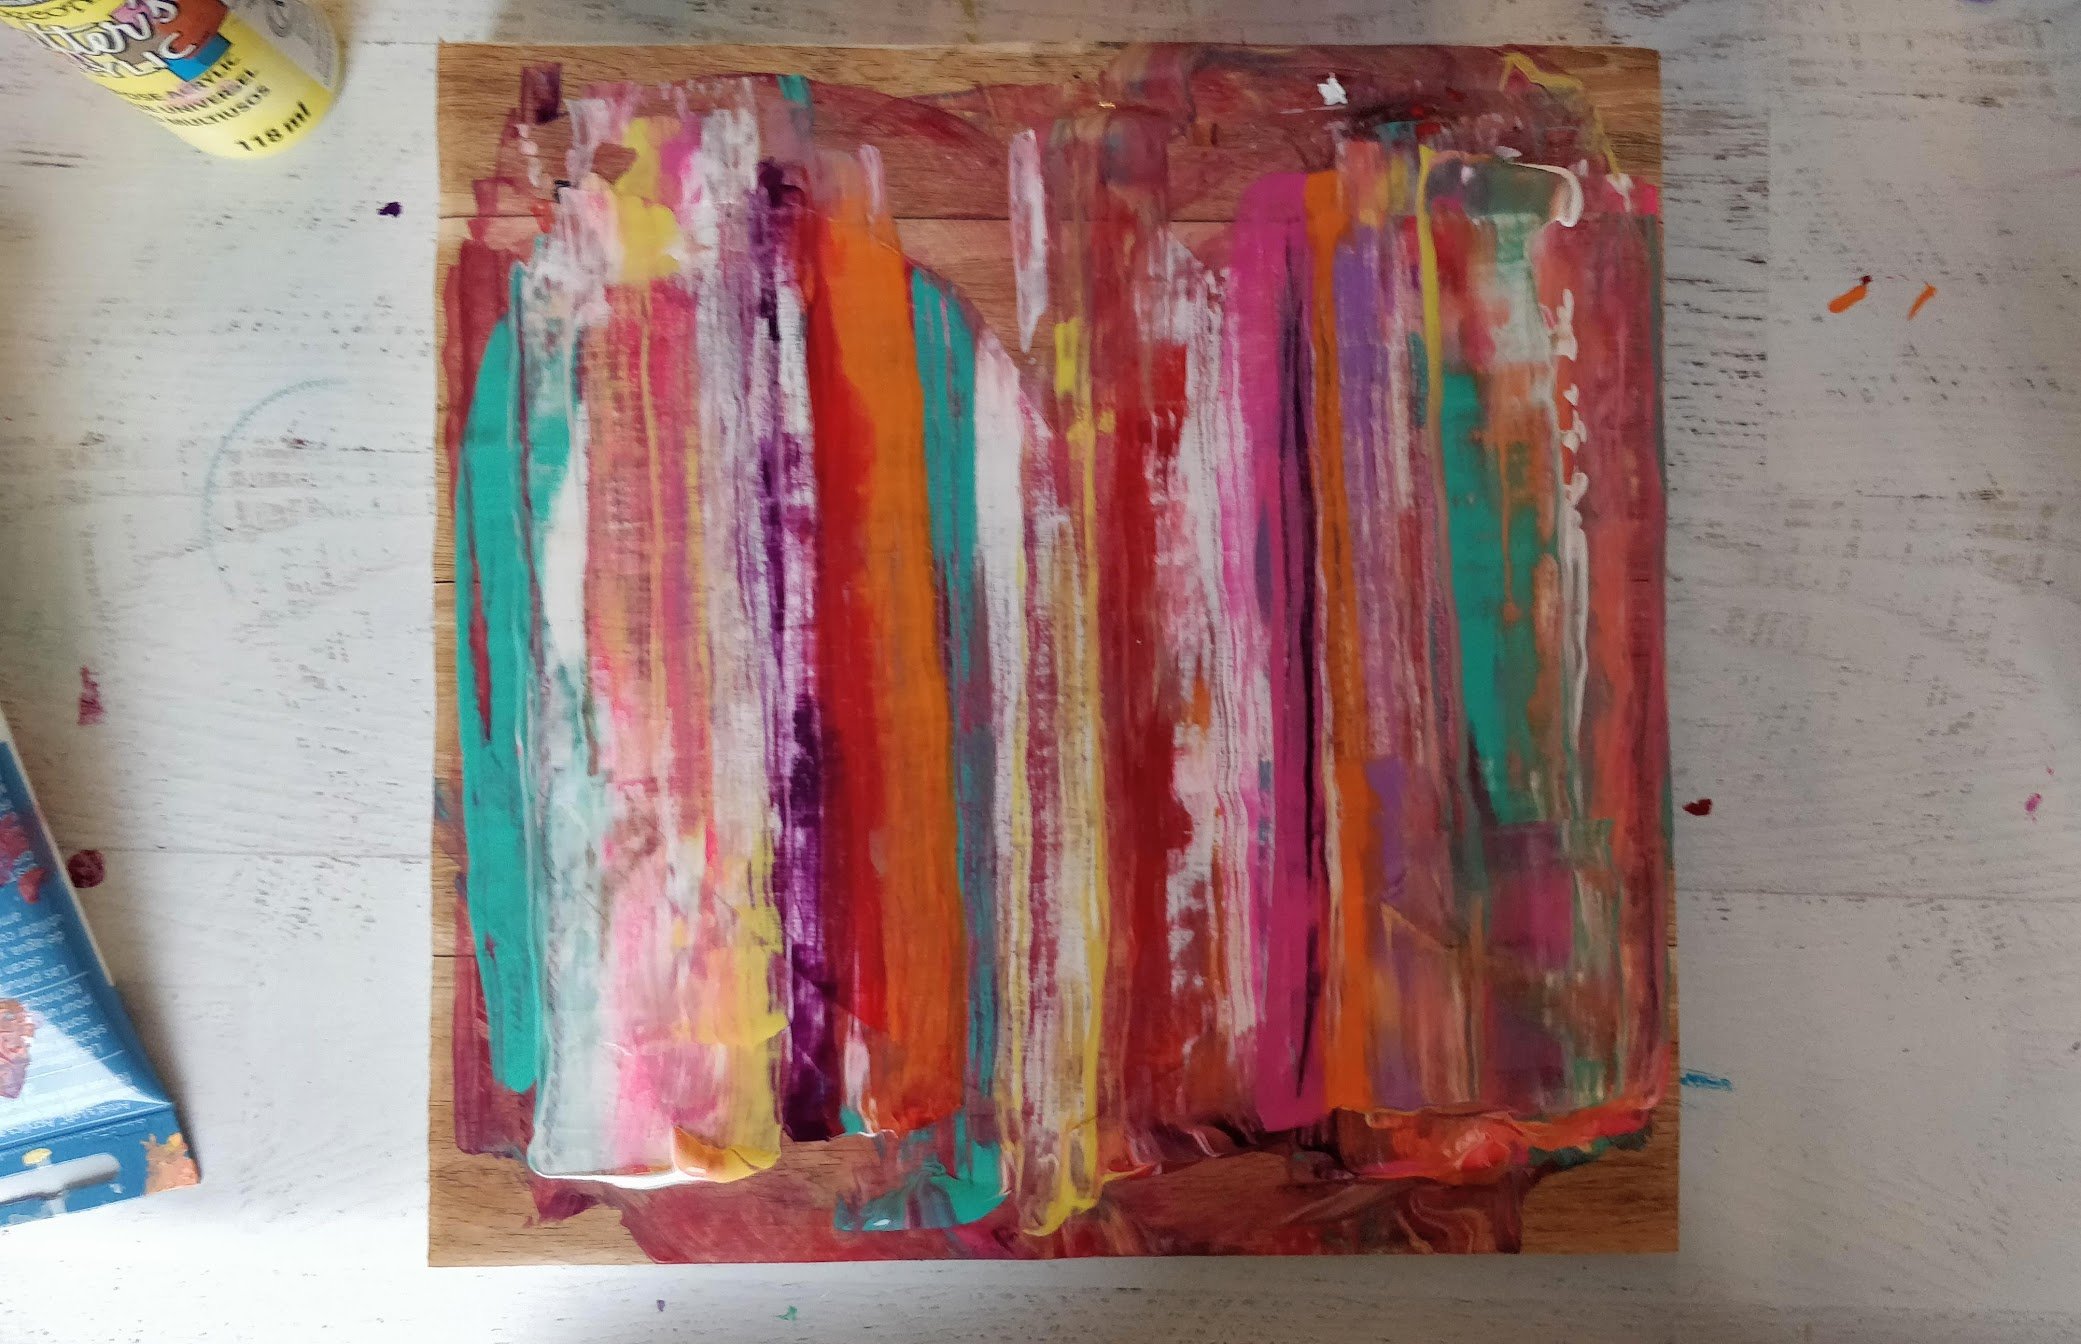
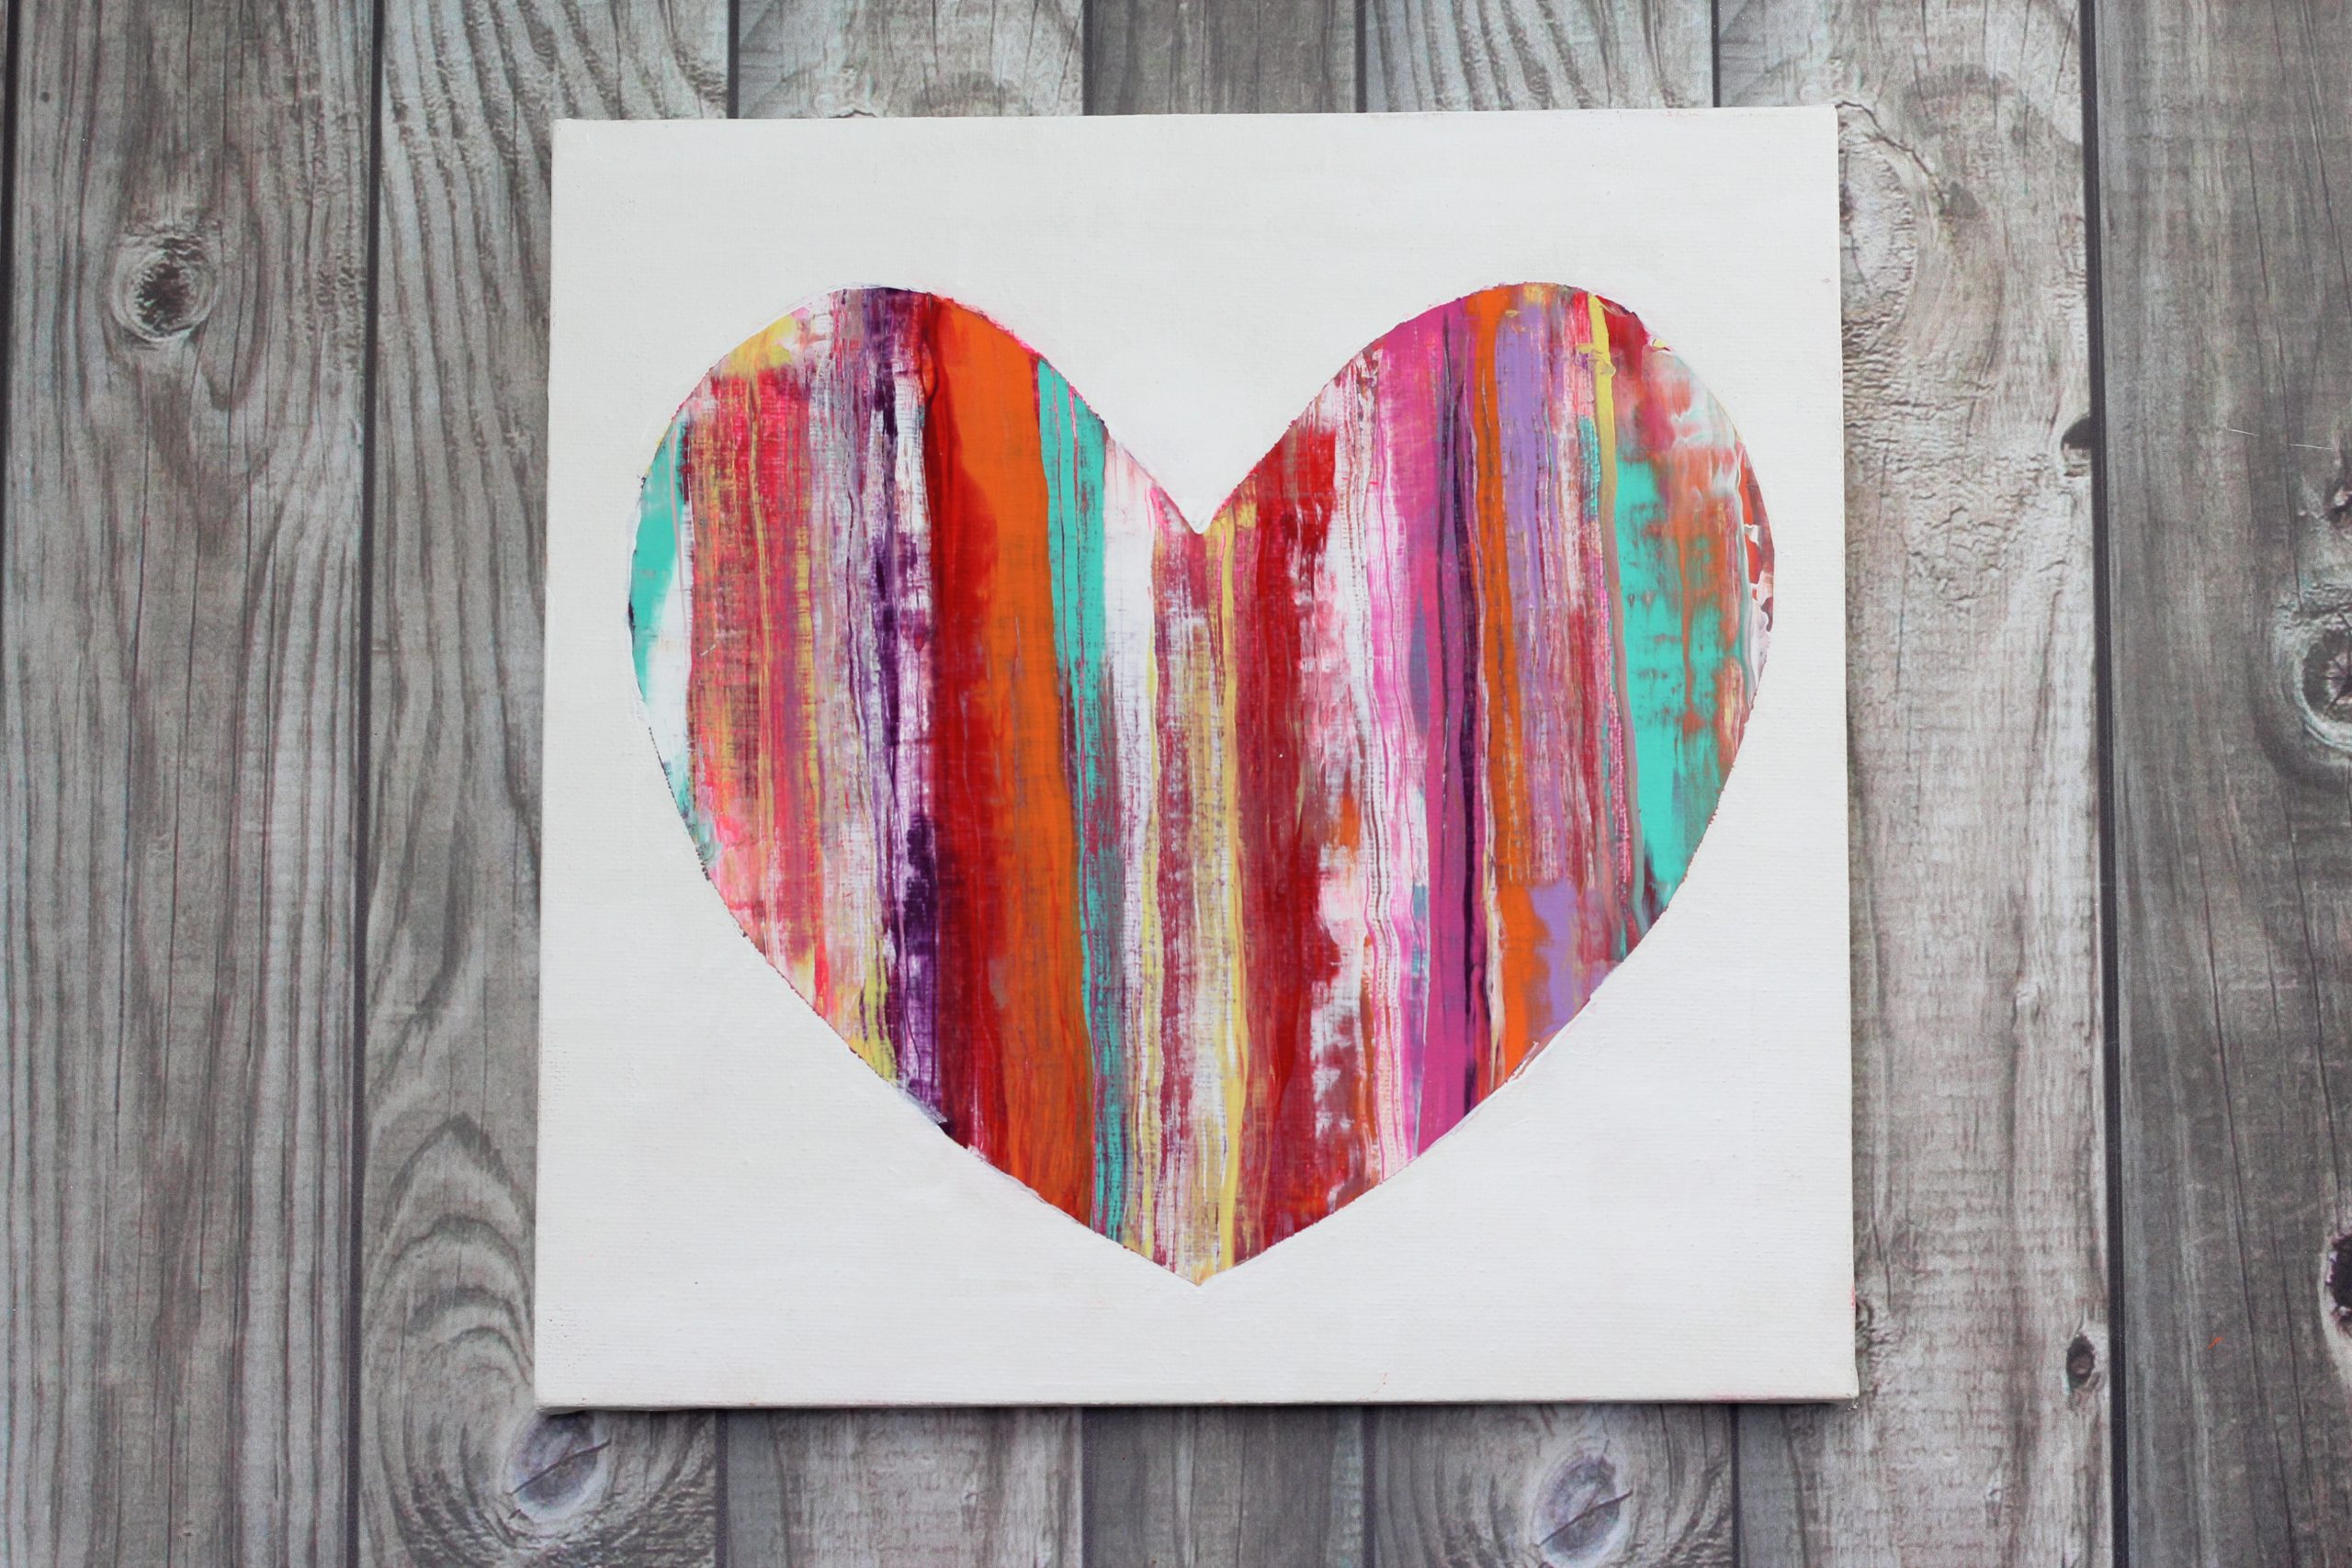
This one was my favorite technique.
I love how rustic it looked- like paneled wood slats.
you’ve got the option to totally have fun with and try different colors etc..

It would also make a cool background in an art journal or abstract art piece!
Note:you might want to use a card that you dont need to use again in stores.
Although you might probably wash it off, its best to use an old card you no longer need.
Heres the first tutorial…
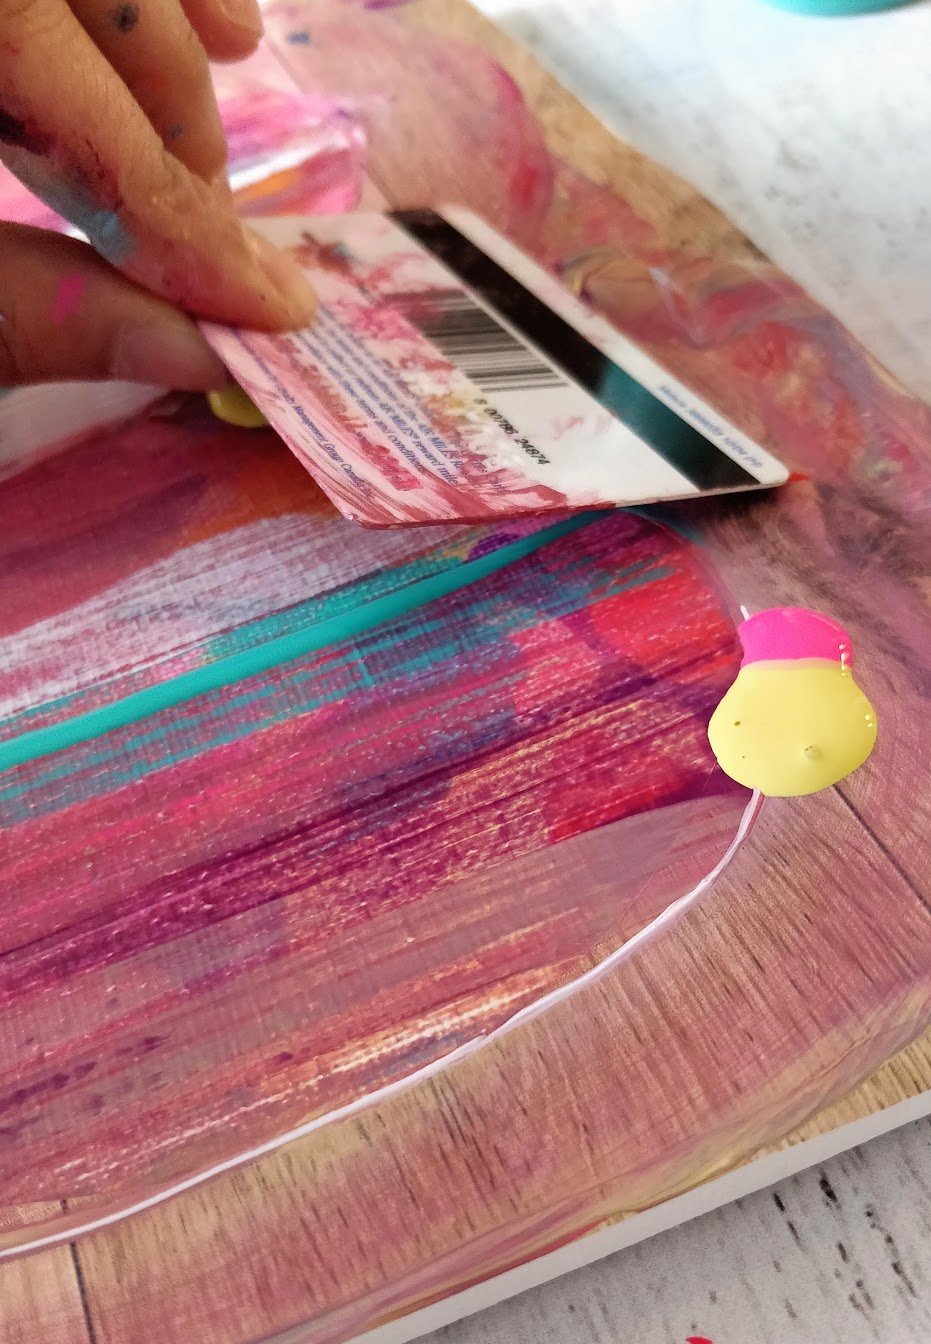
Step 1:Add your positive space heart stencil (see above) to the canvas.
Angle the credit card at a 45-degree angle while dragging down (see pictures below).
TIP: dont drag too hard (I.e.
dont scrape the canvas).
Use gentle (light) pressure to drag the paint downwards to get the best effect.
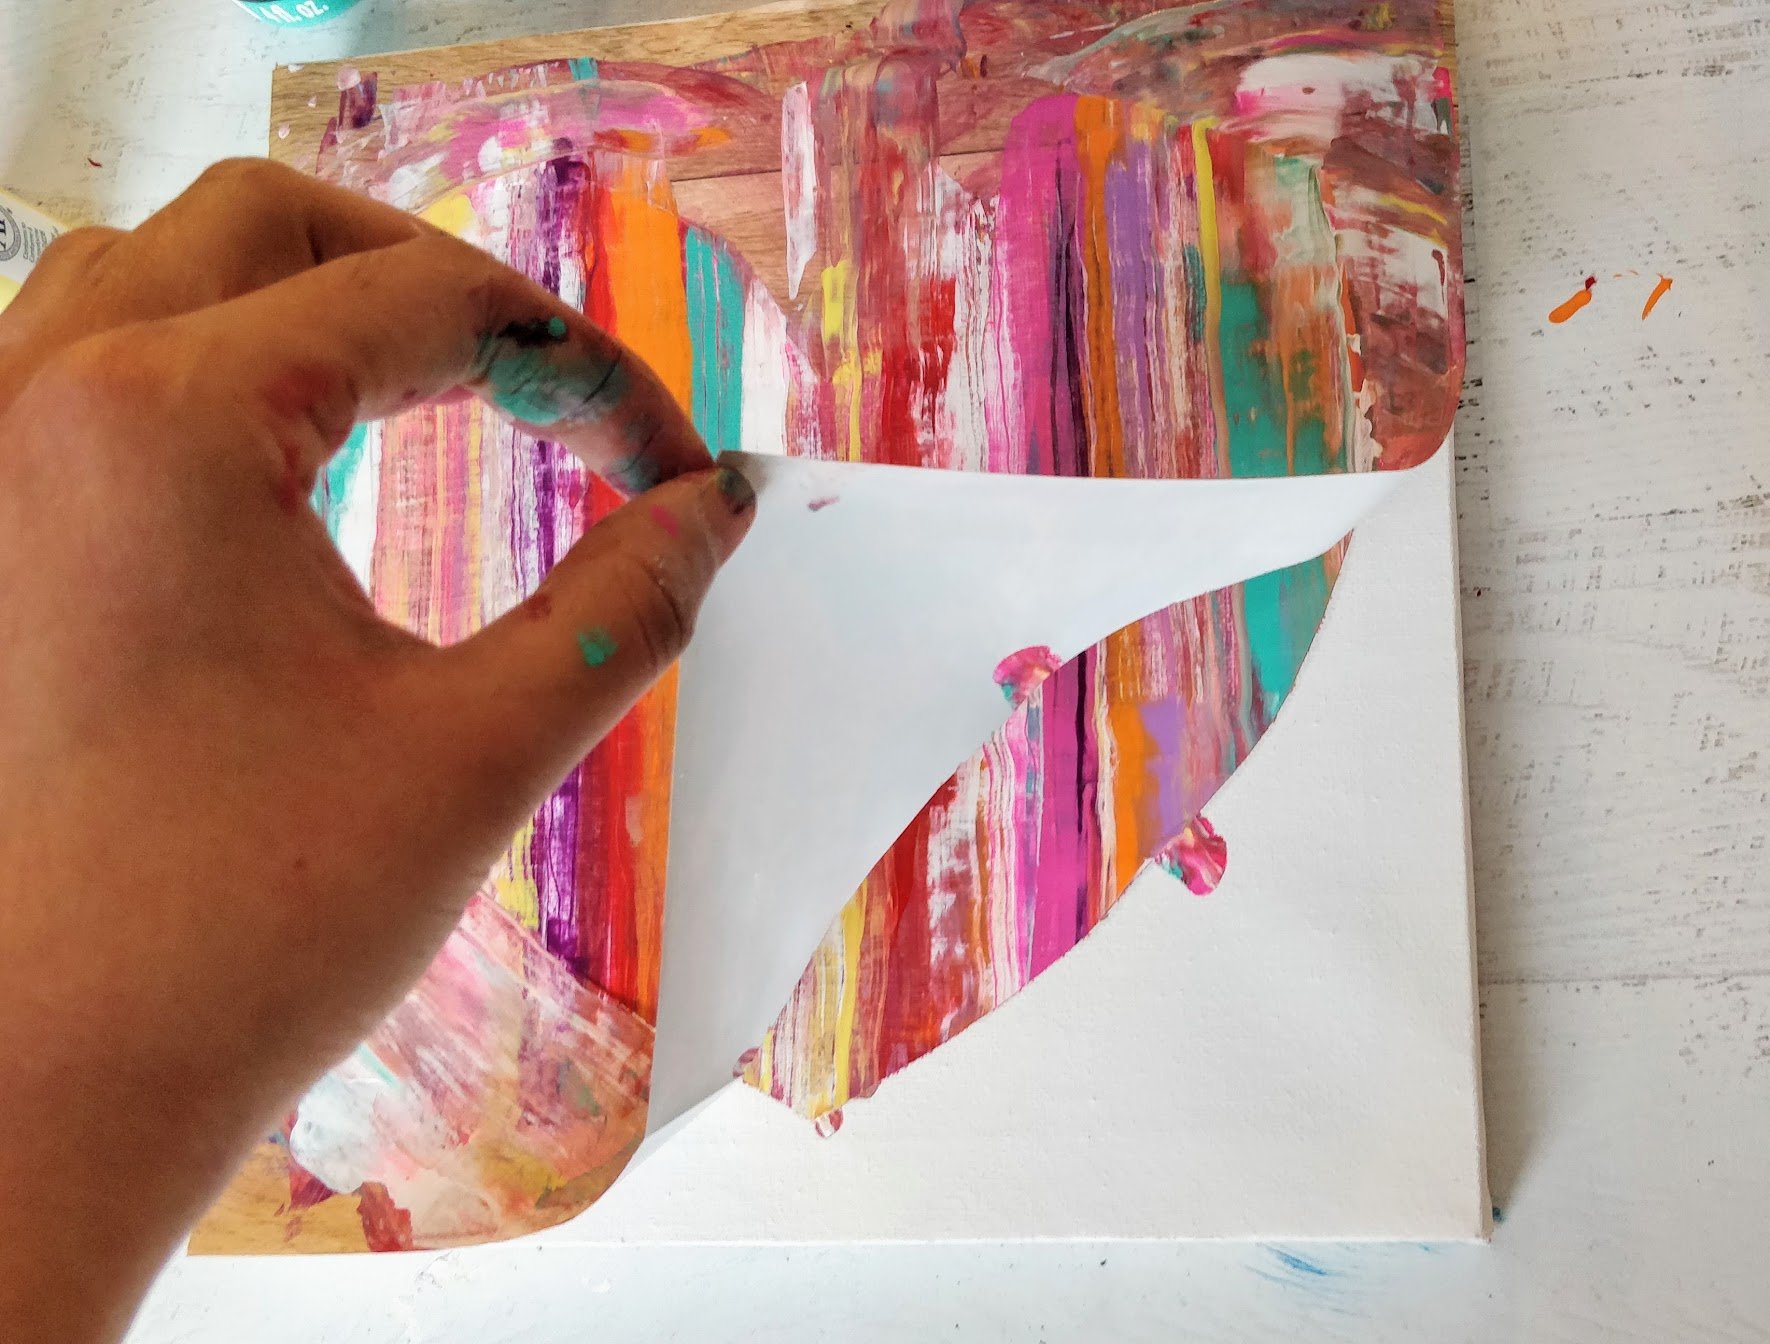
Step 4:Peel the contact paper off gently.
You might get some bleed through (meaning some paint will have run under the contact paper).
This is OK.
Just venture to gently wipe any big globs, and wait for the painting to dry.
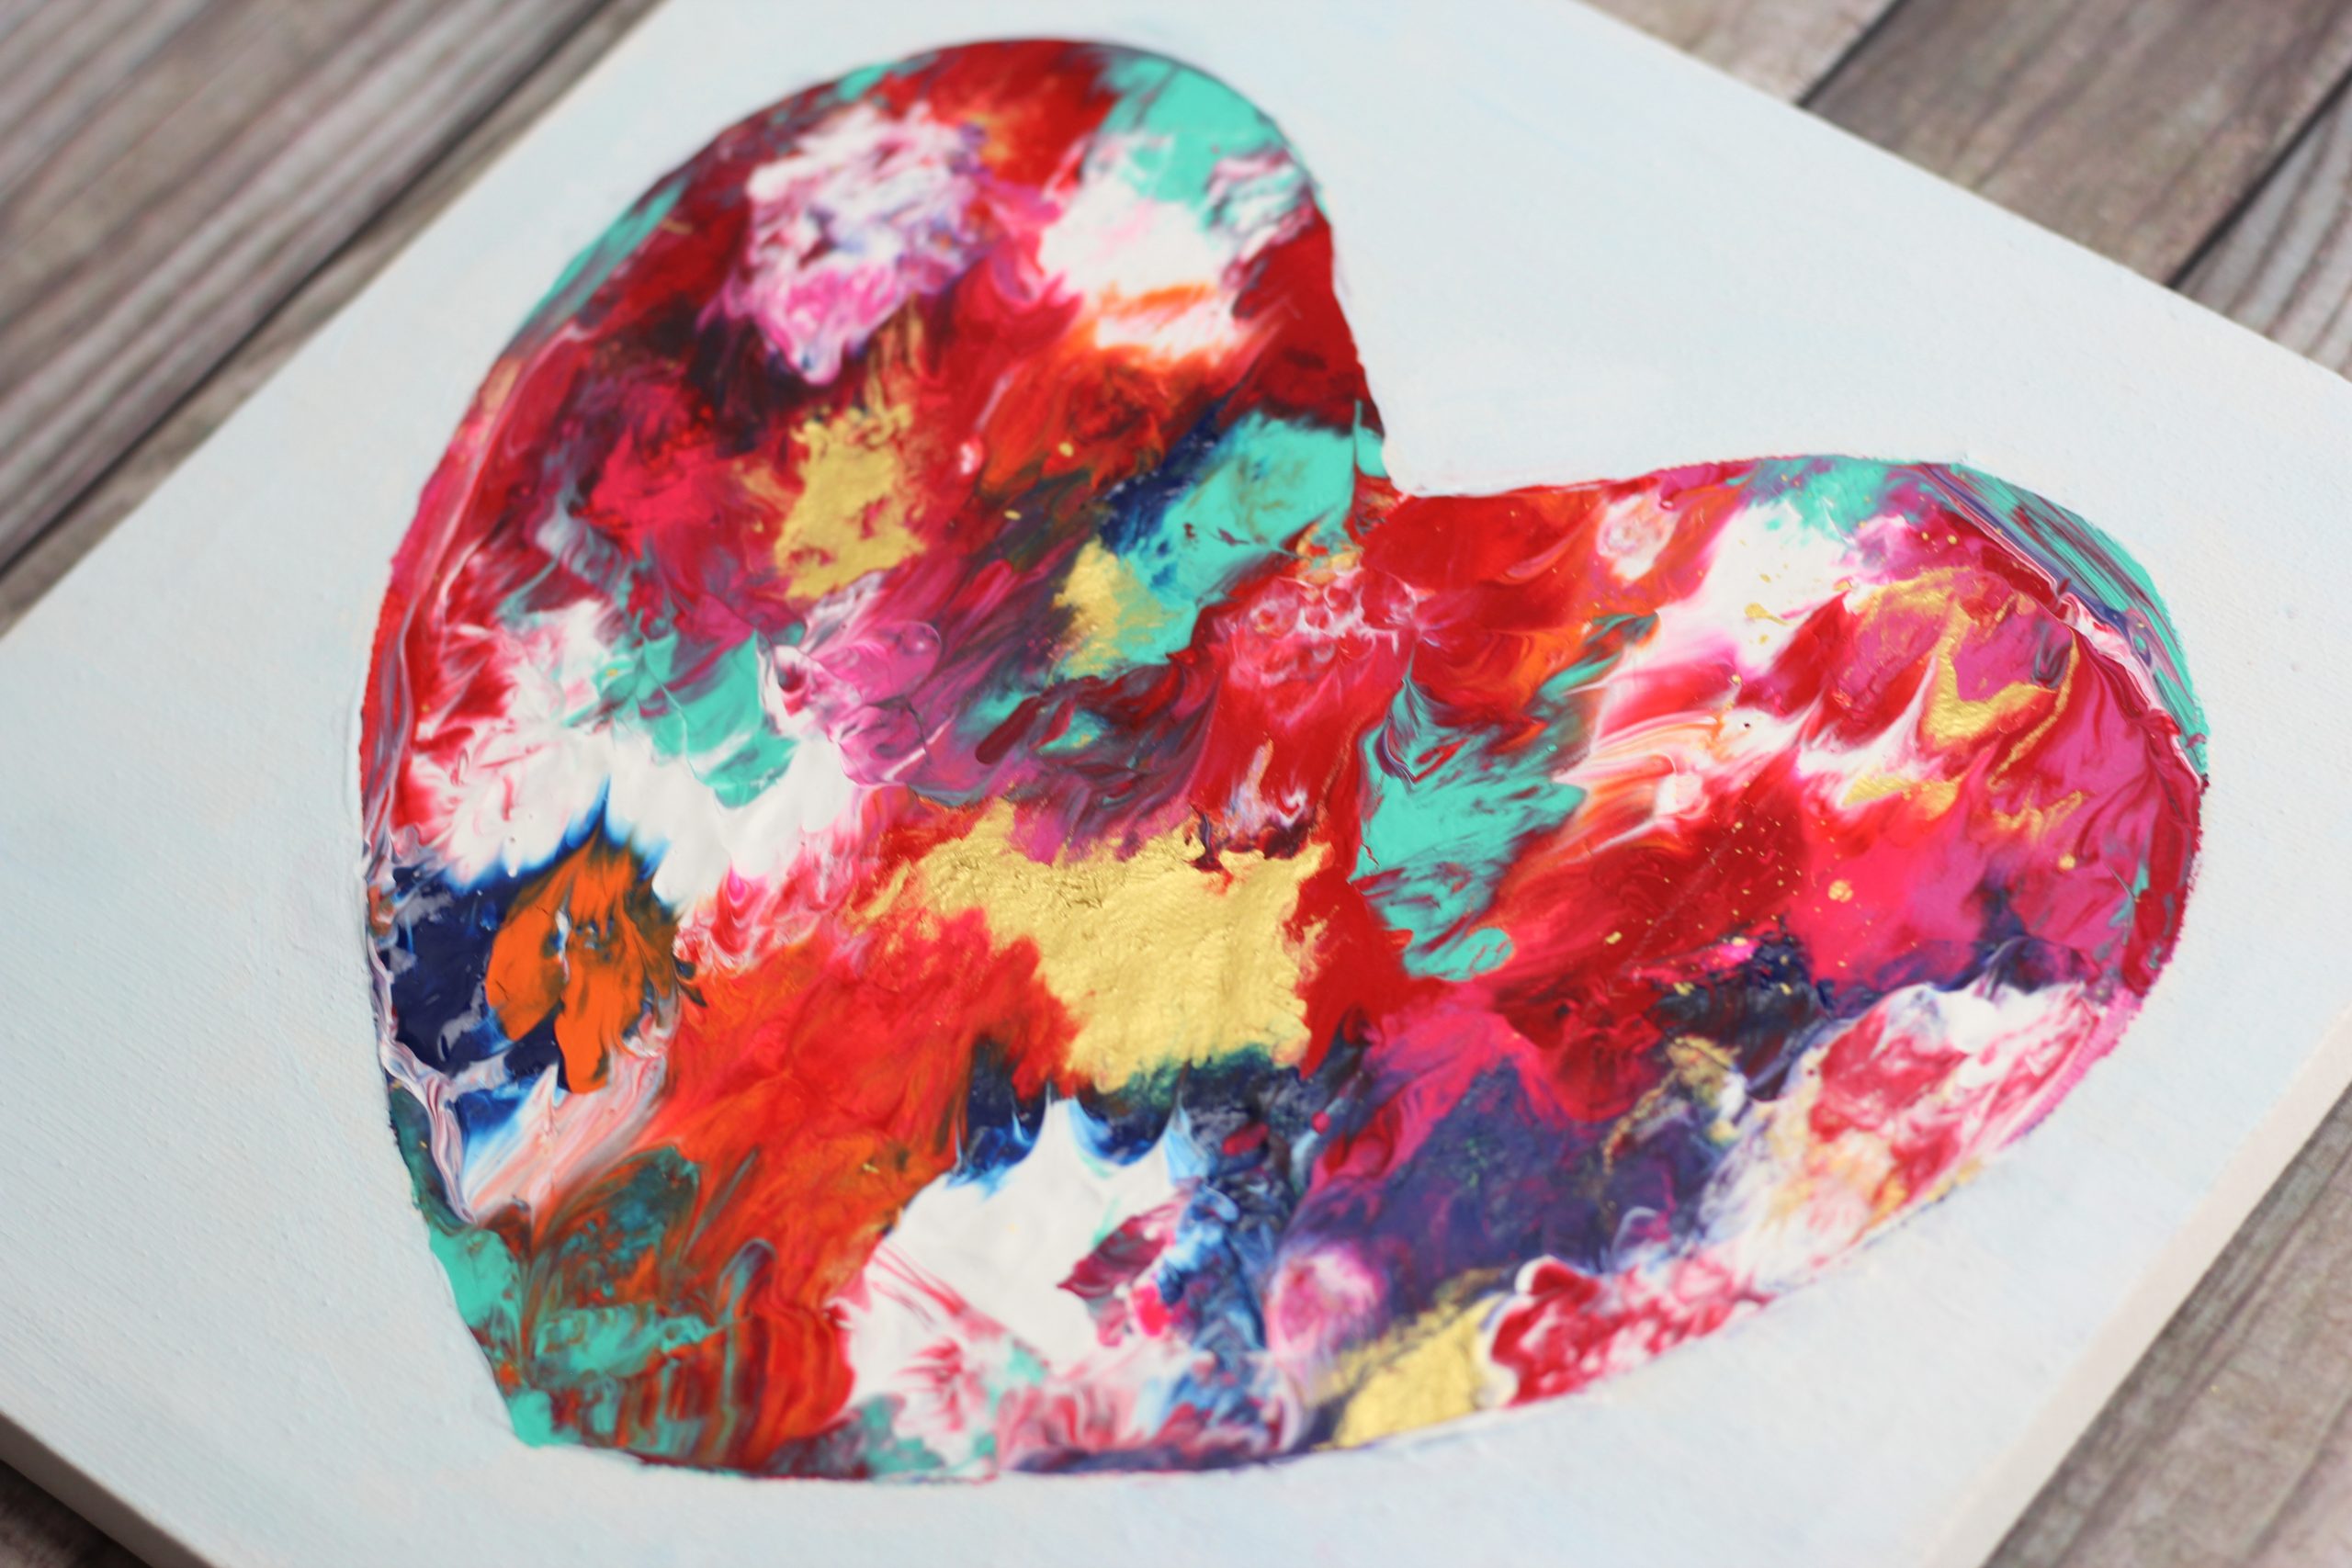
Next, well explore a super nifty acrylic paint technique using a common kitchen item: Cling Wrap!
Plus you probably have some laying in your kitchen right now!
This painting technique, in particular, is fun for the kiddos.
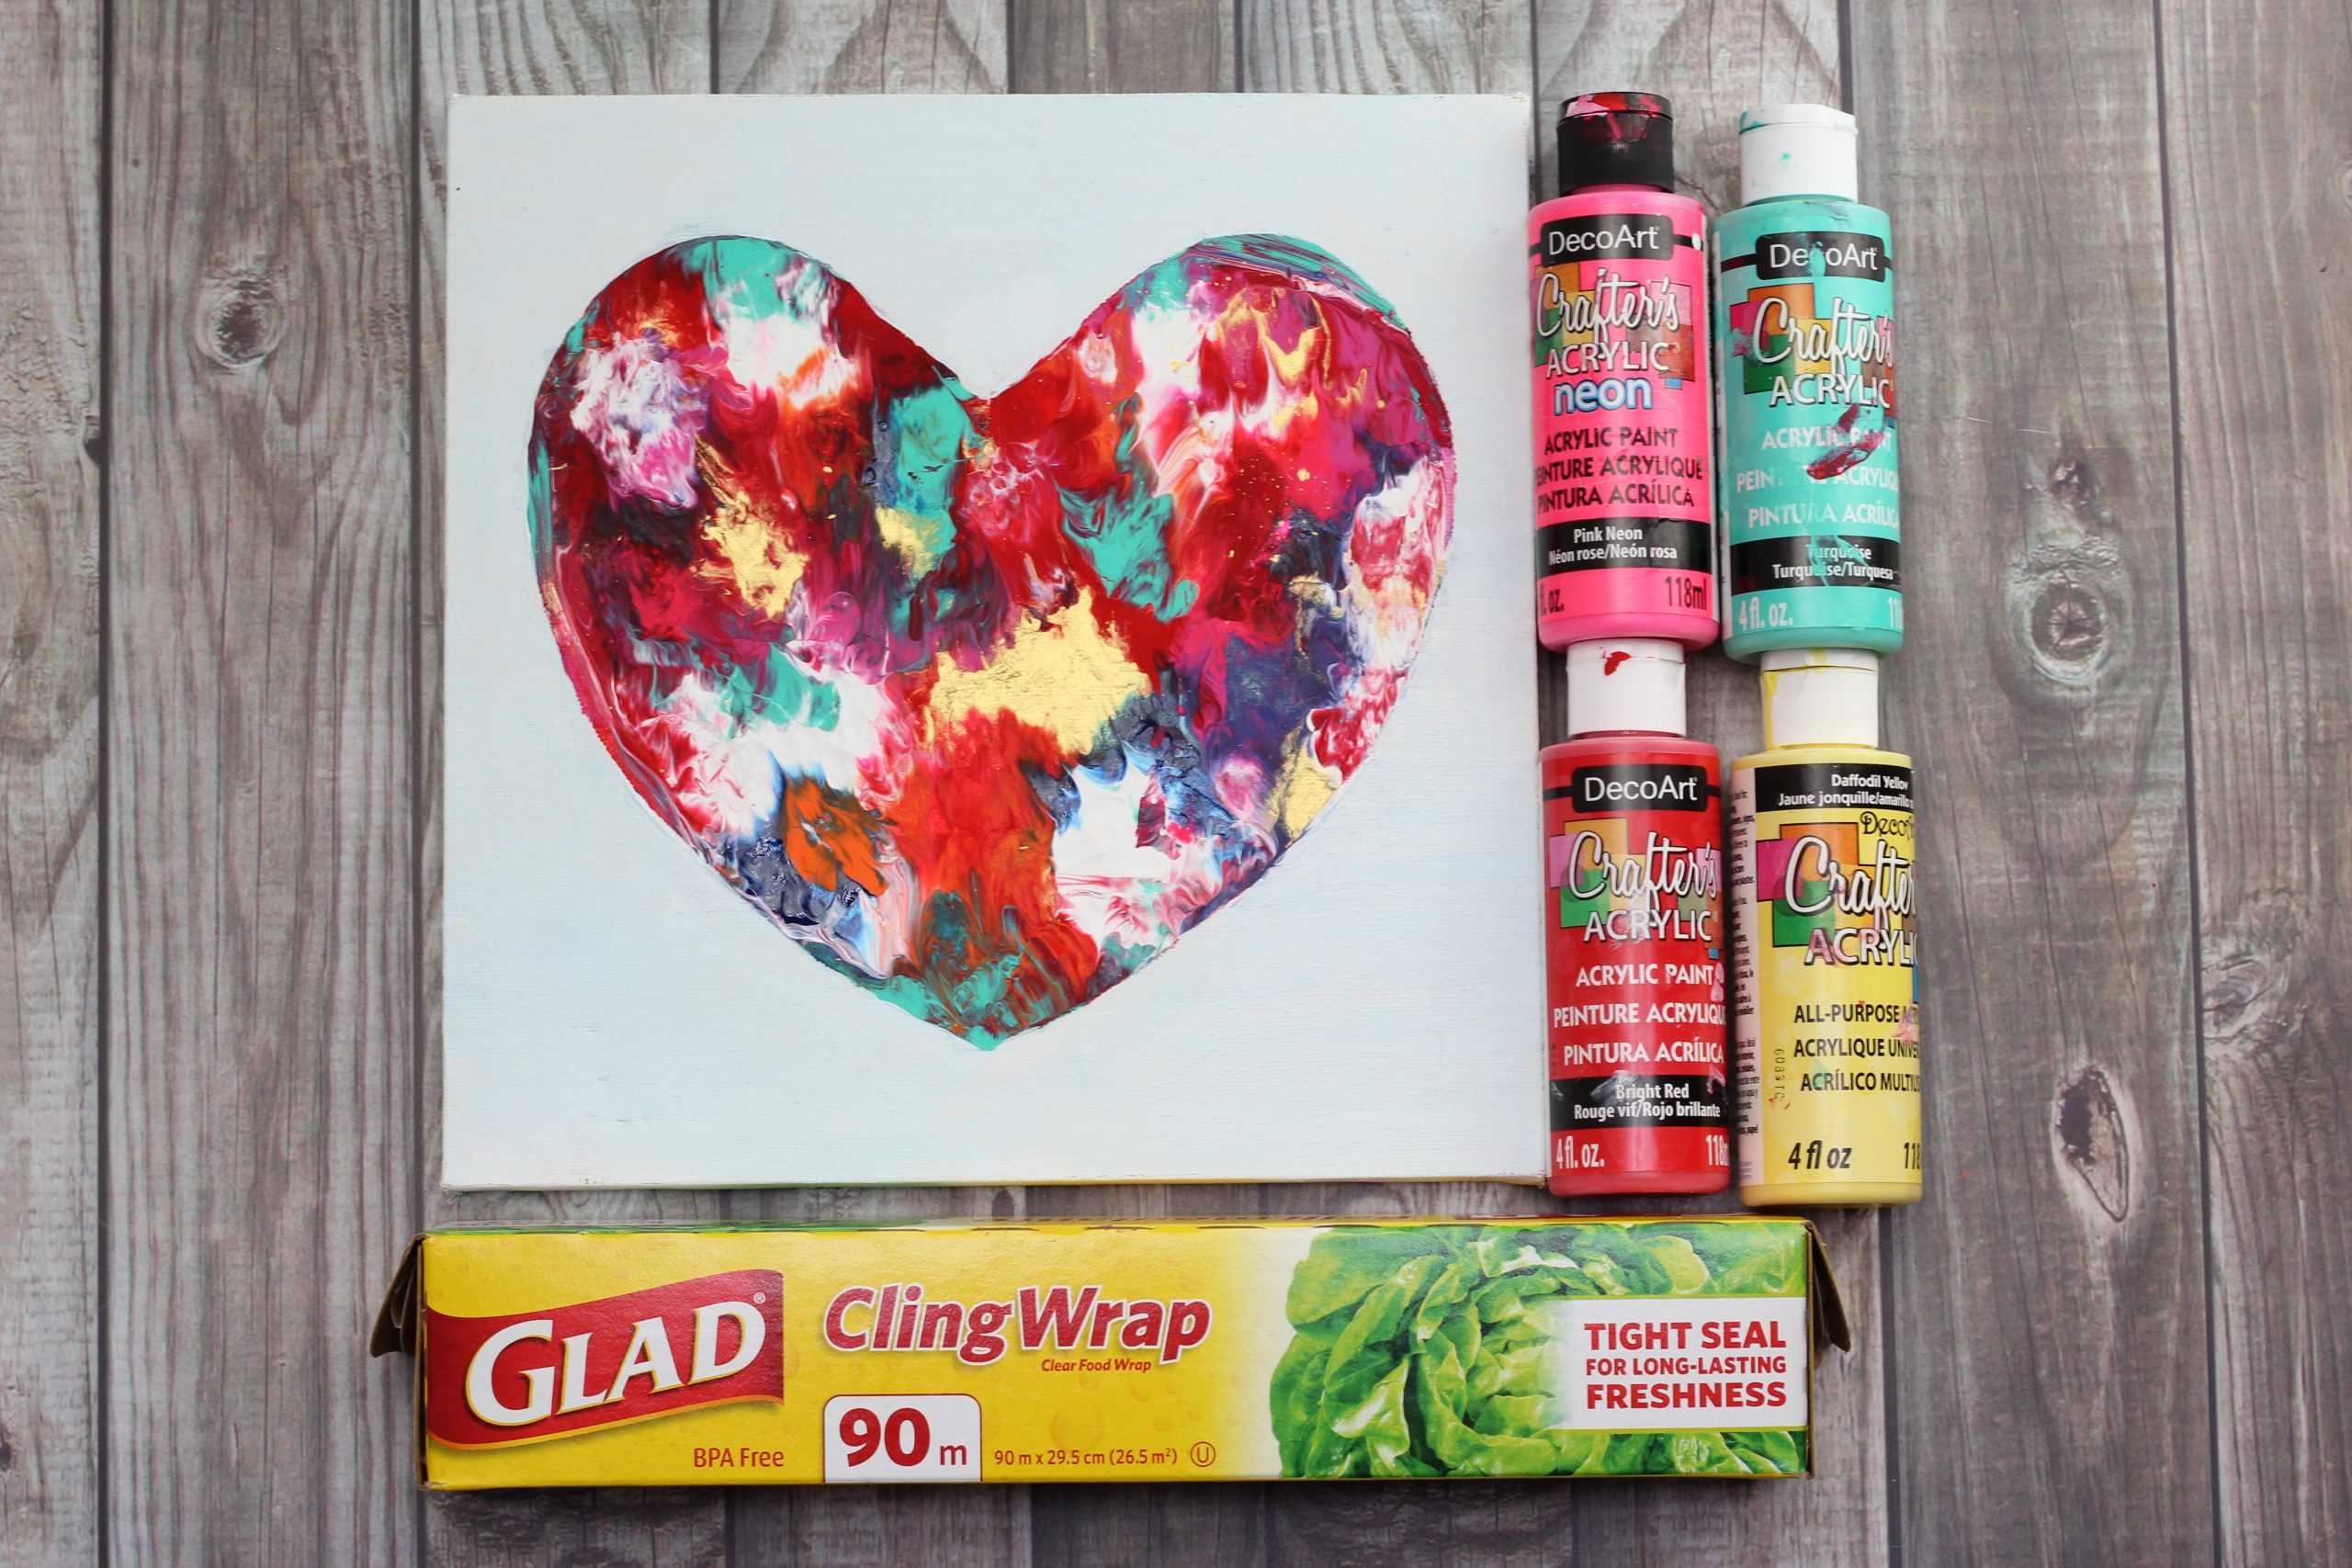
My 8 year old LOVED this one and helped with spreading to paint.
Plus there is ZERO mess!
This technique would also look amazing being used on the entire canvas!
There are endless possibilities with this technique…
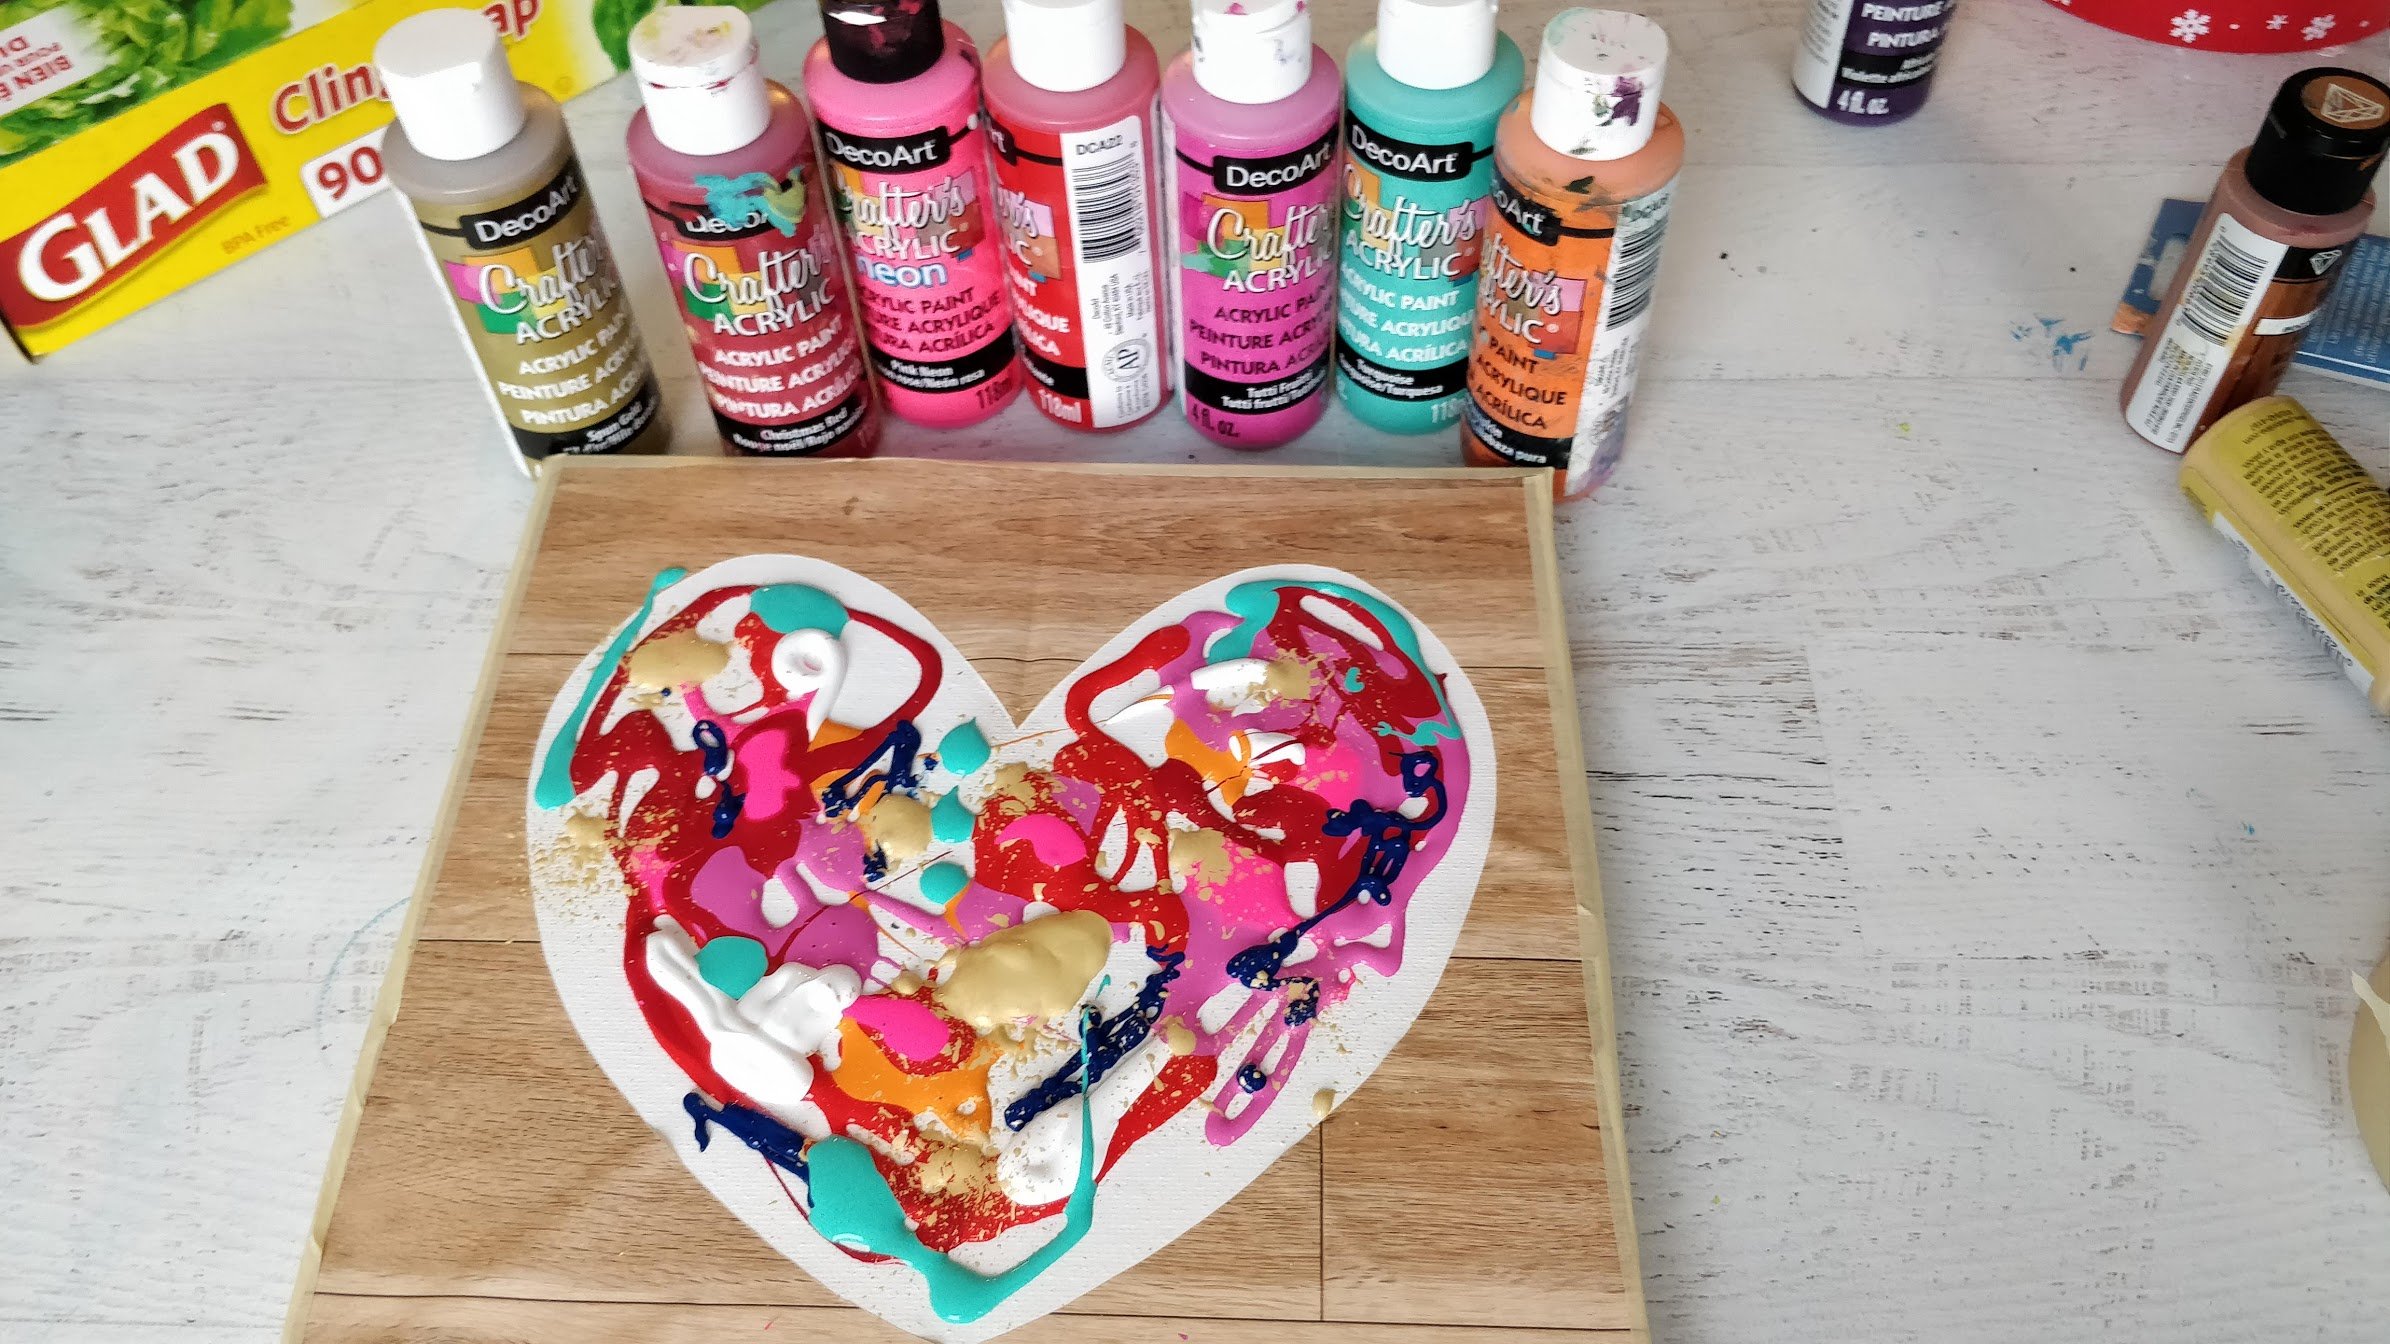
Step 1:Add your positive space heart stencil (see above) to the canvas.
squeeze some paints onto the white part of the canvas.
Now the fun part!
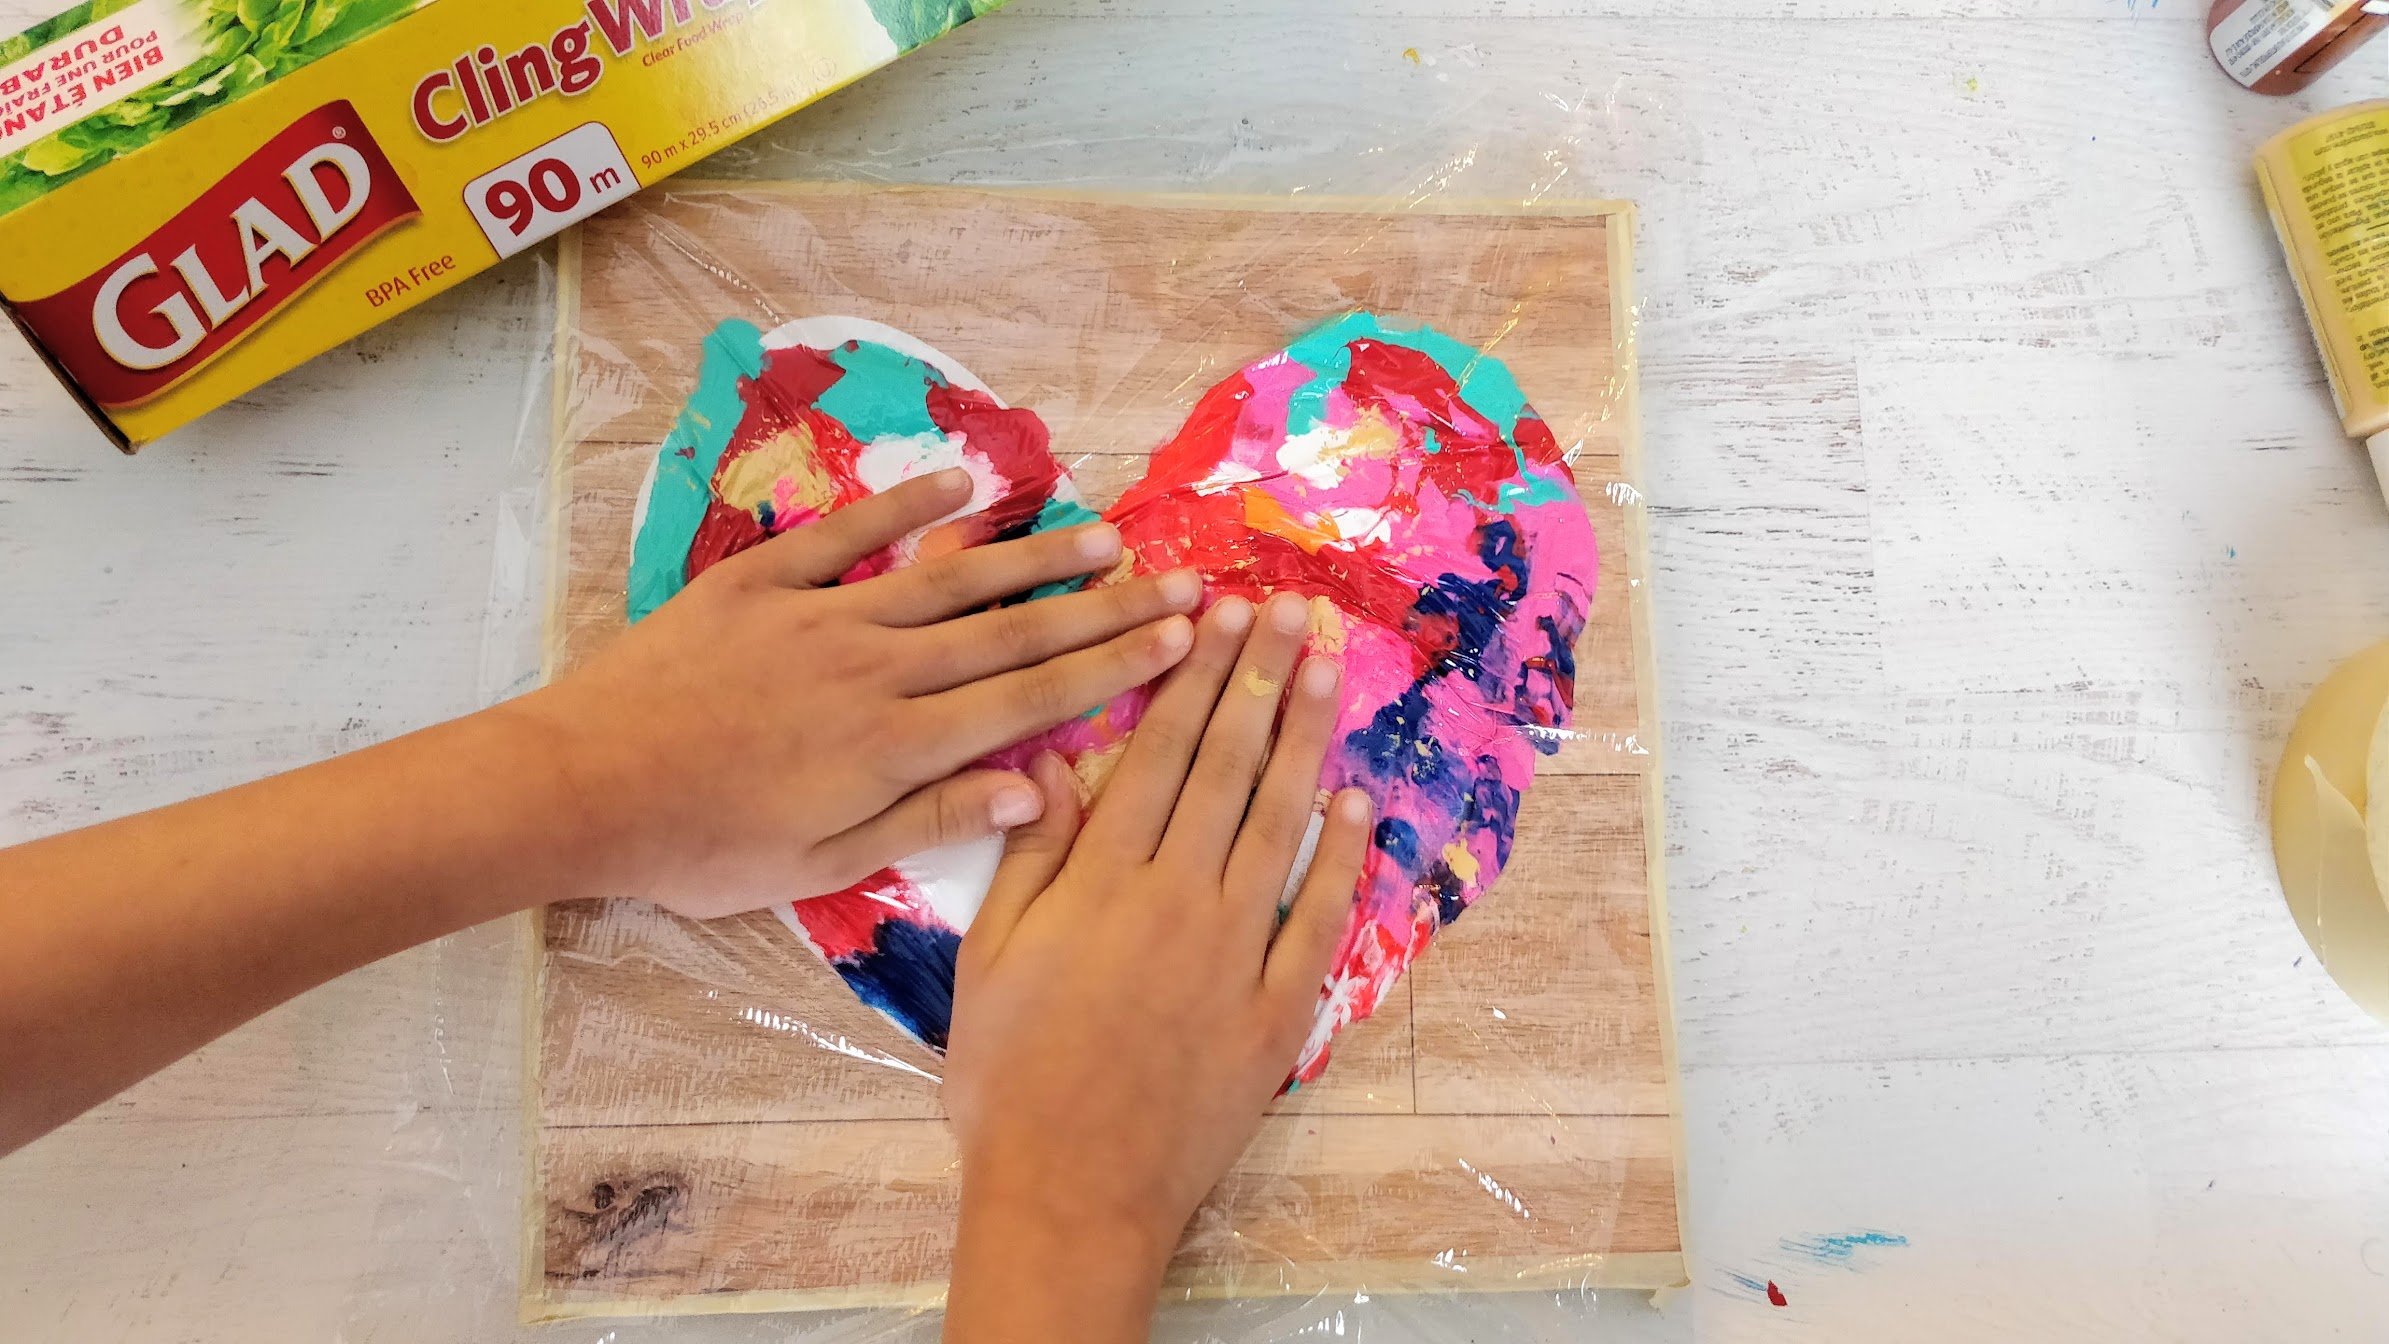
Use your hands and move the paint around (kids love this!)
Step 3:Once youve had some fun squishing and moving around the paint (clean hands and all!
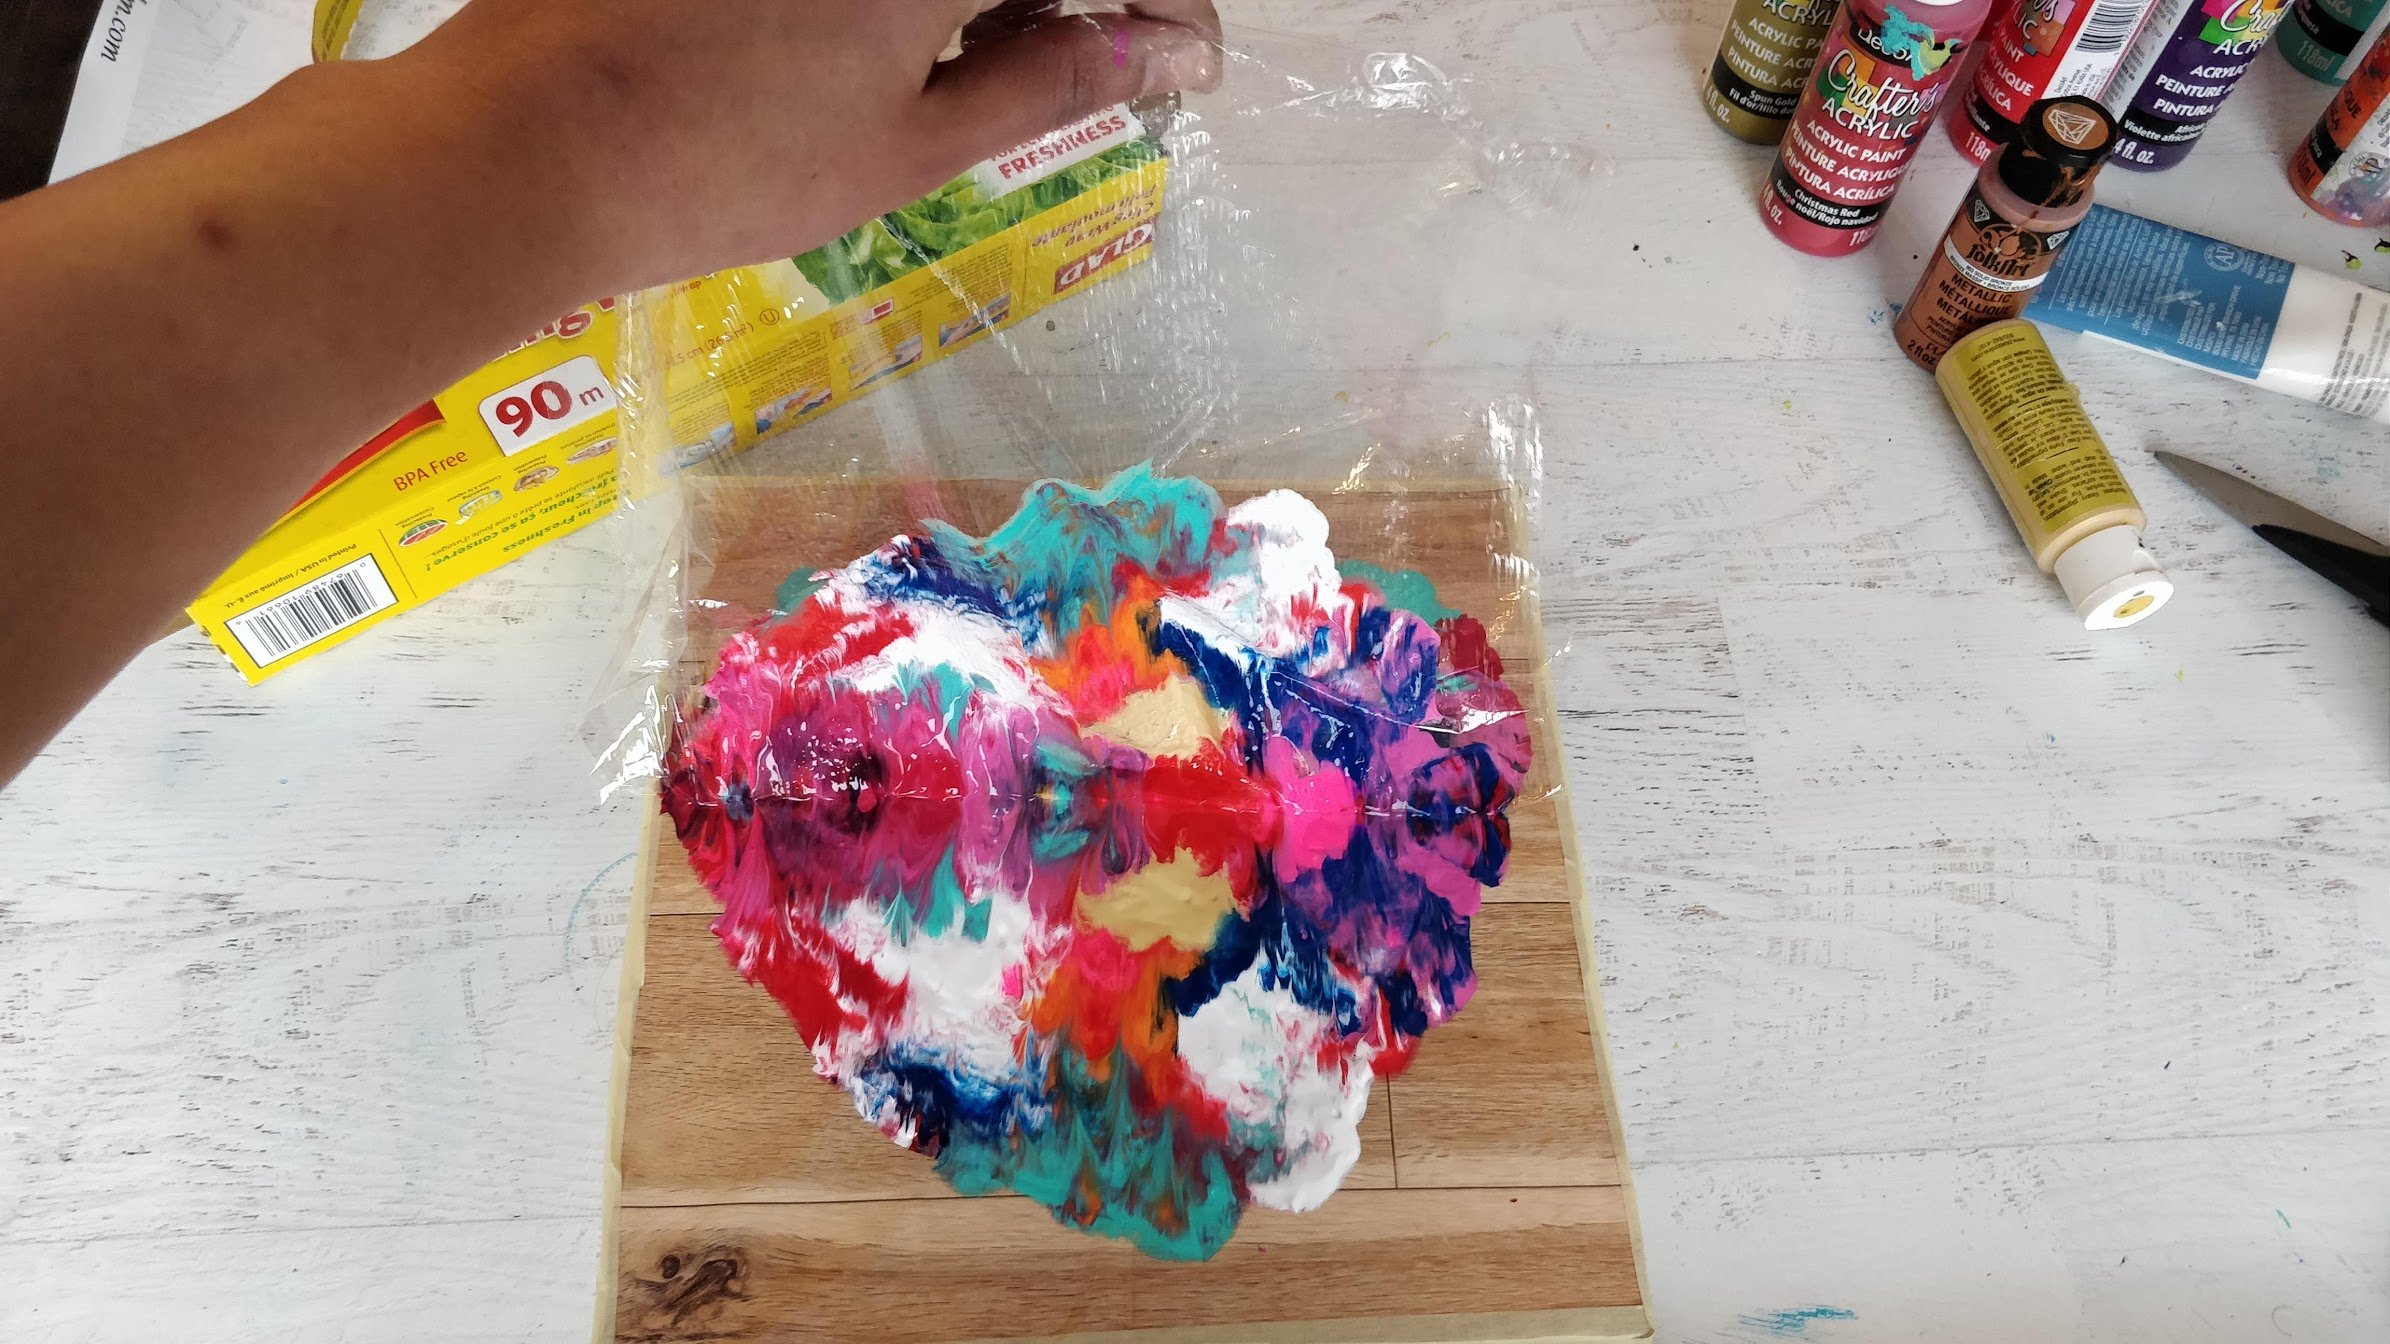
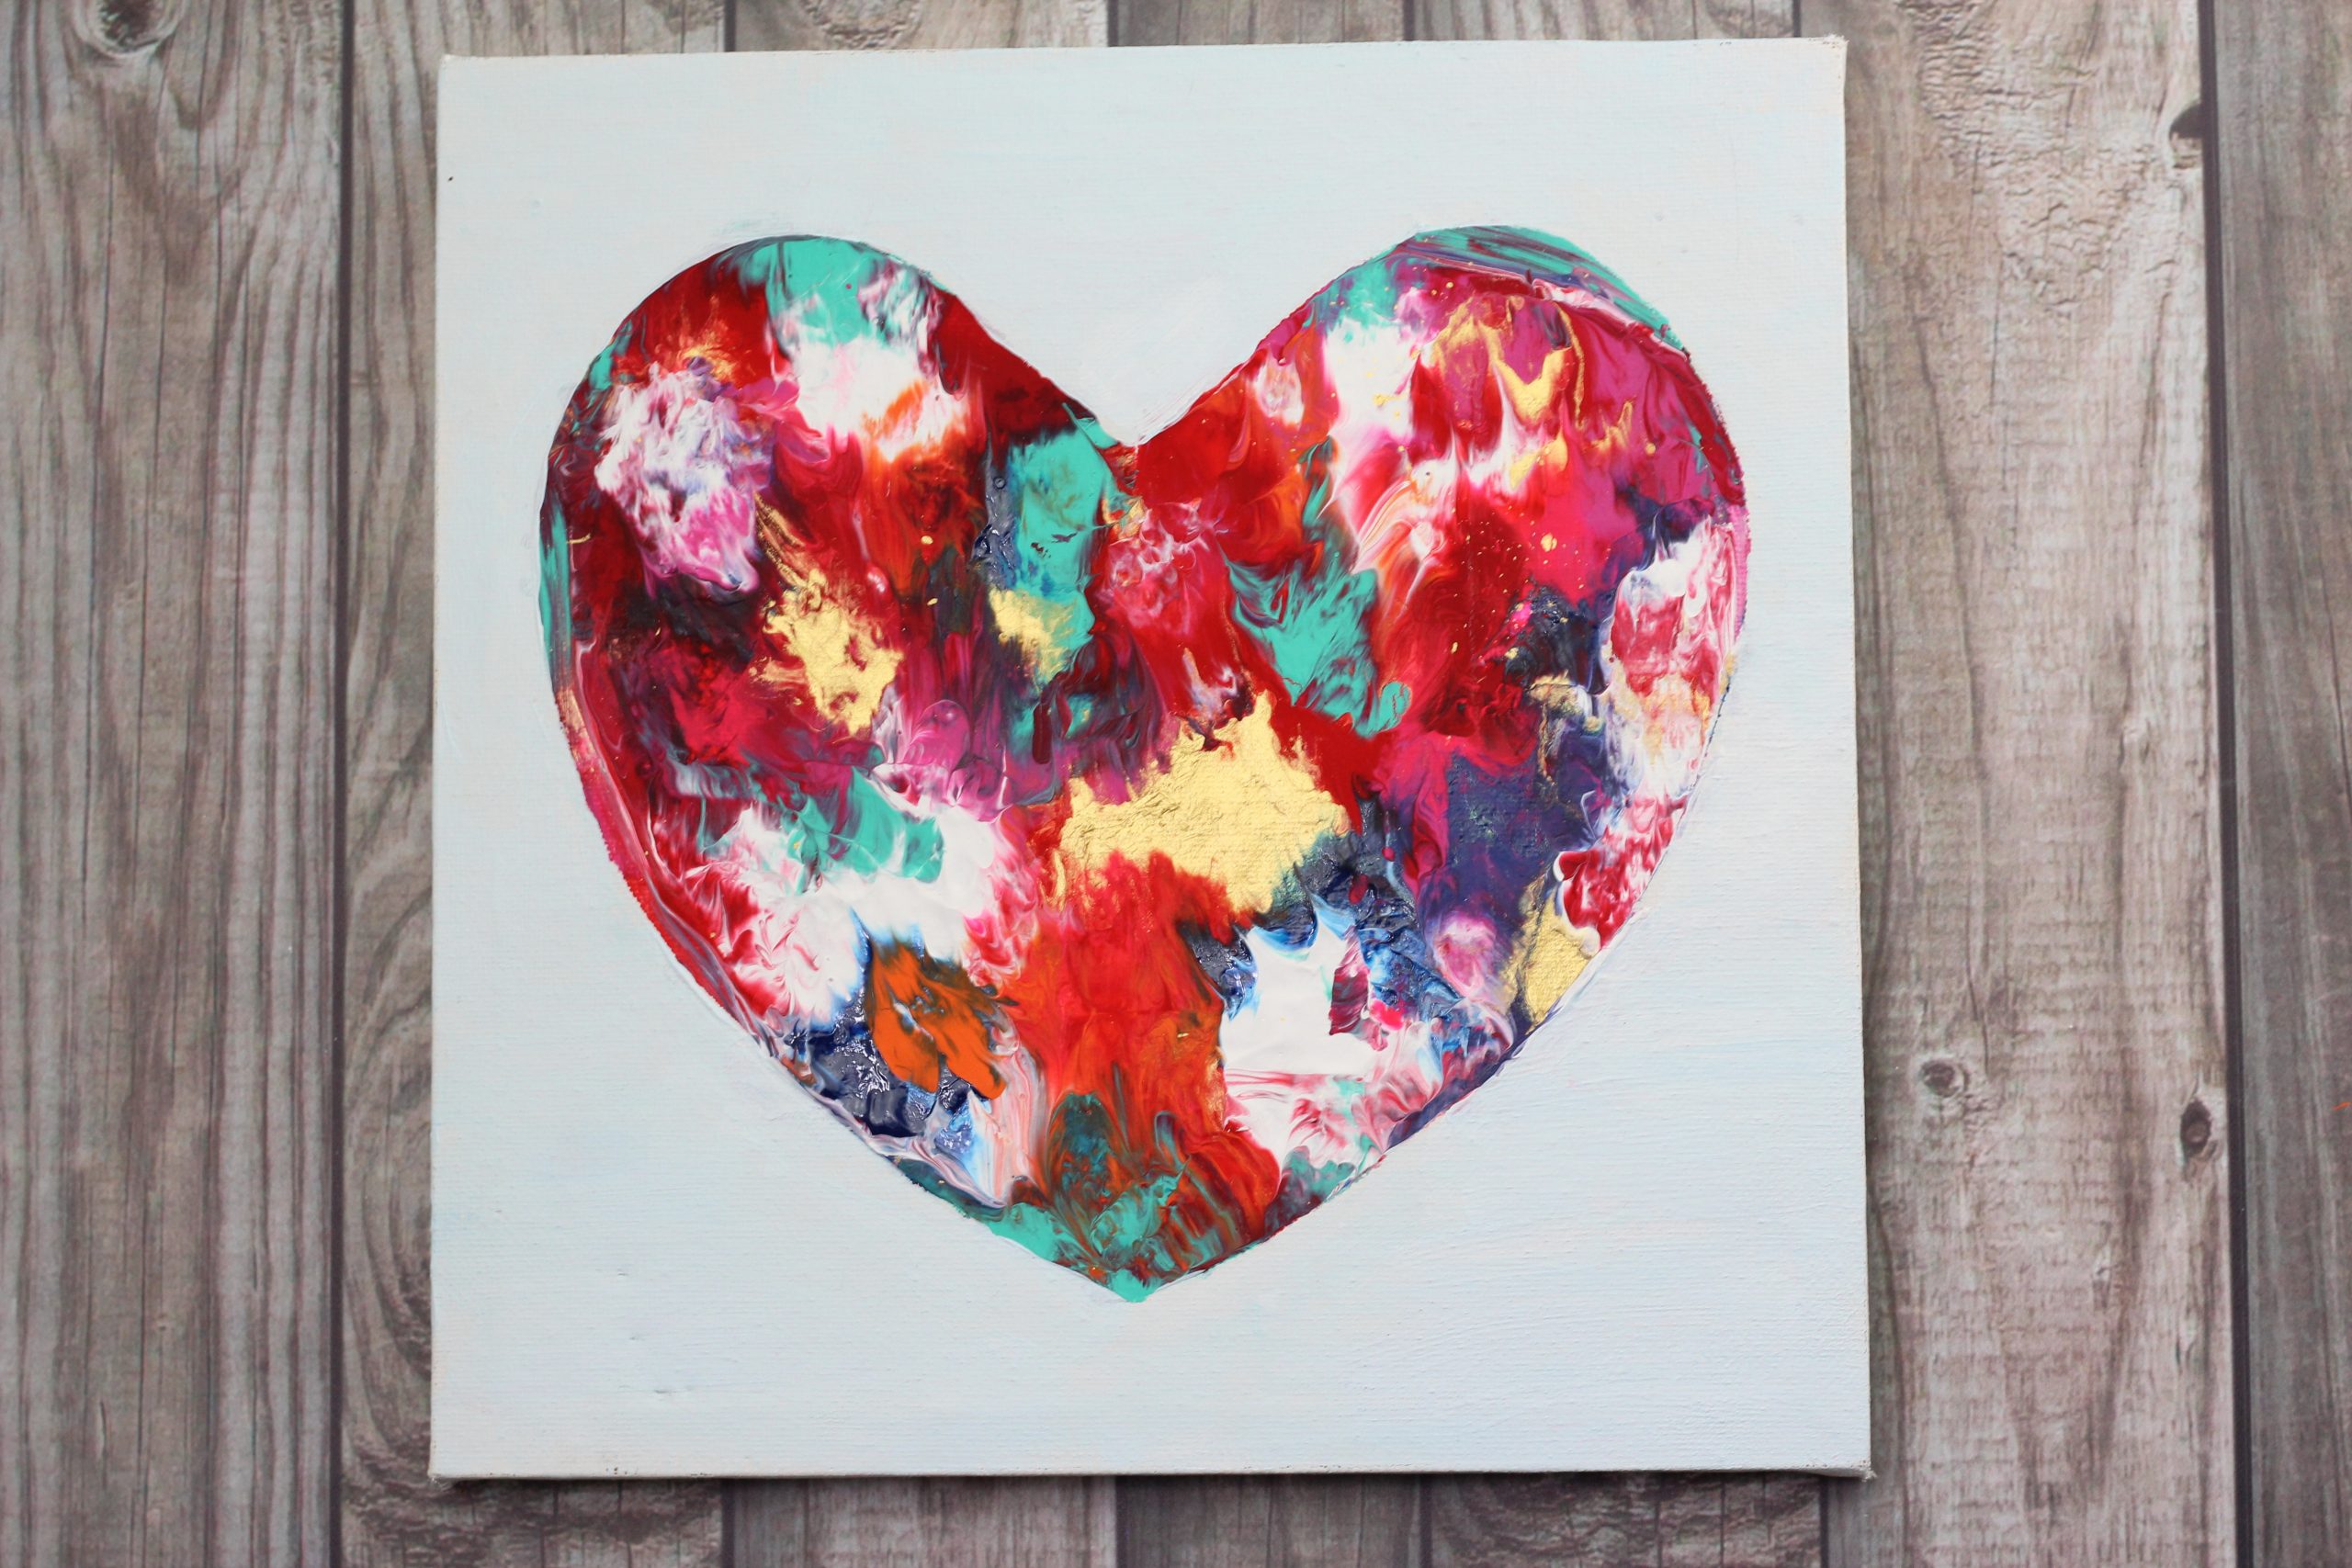
), time to lift up the cling wrap to reveal your masterpiece!
Step 4:Peel the contact paper off your canvas.
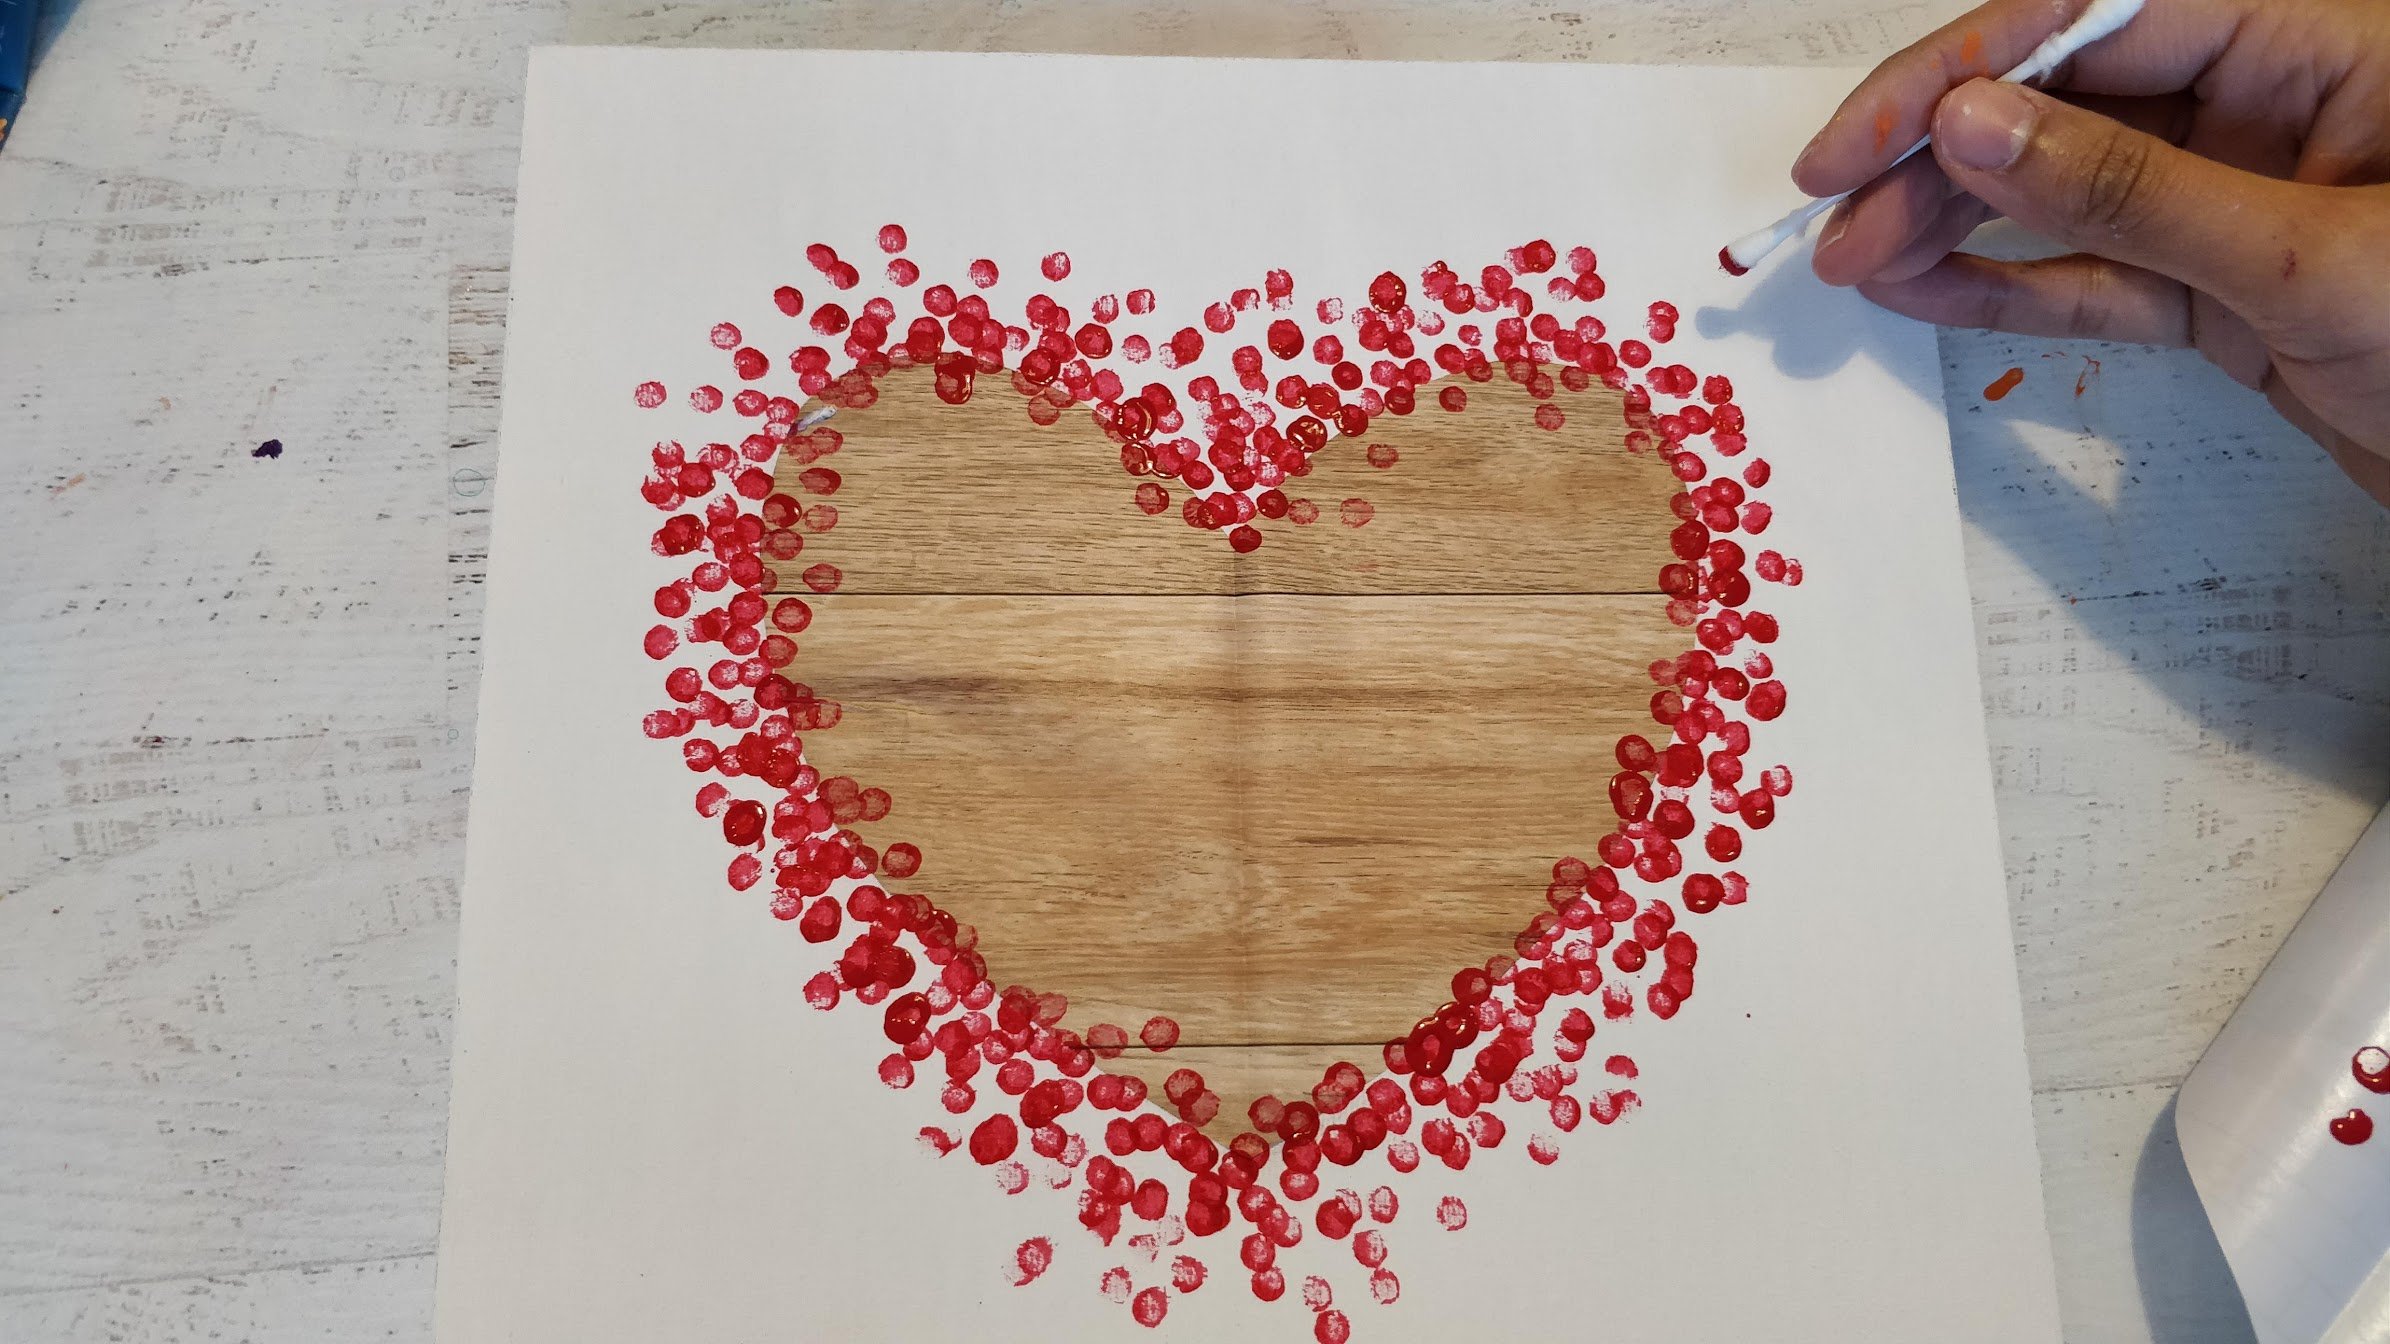
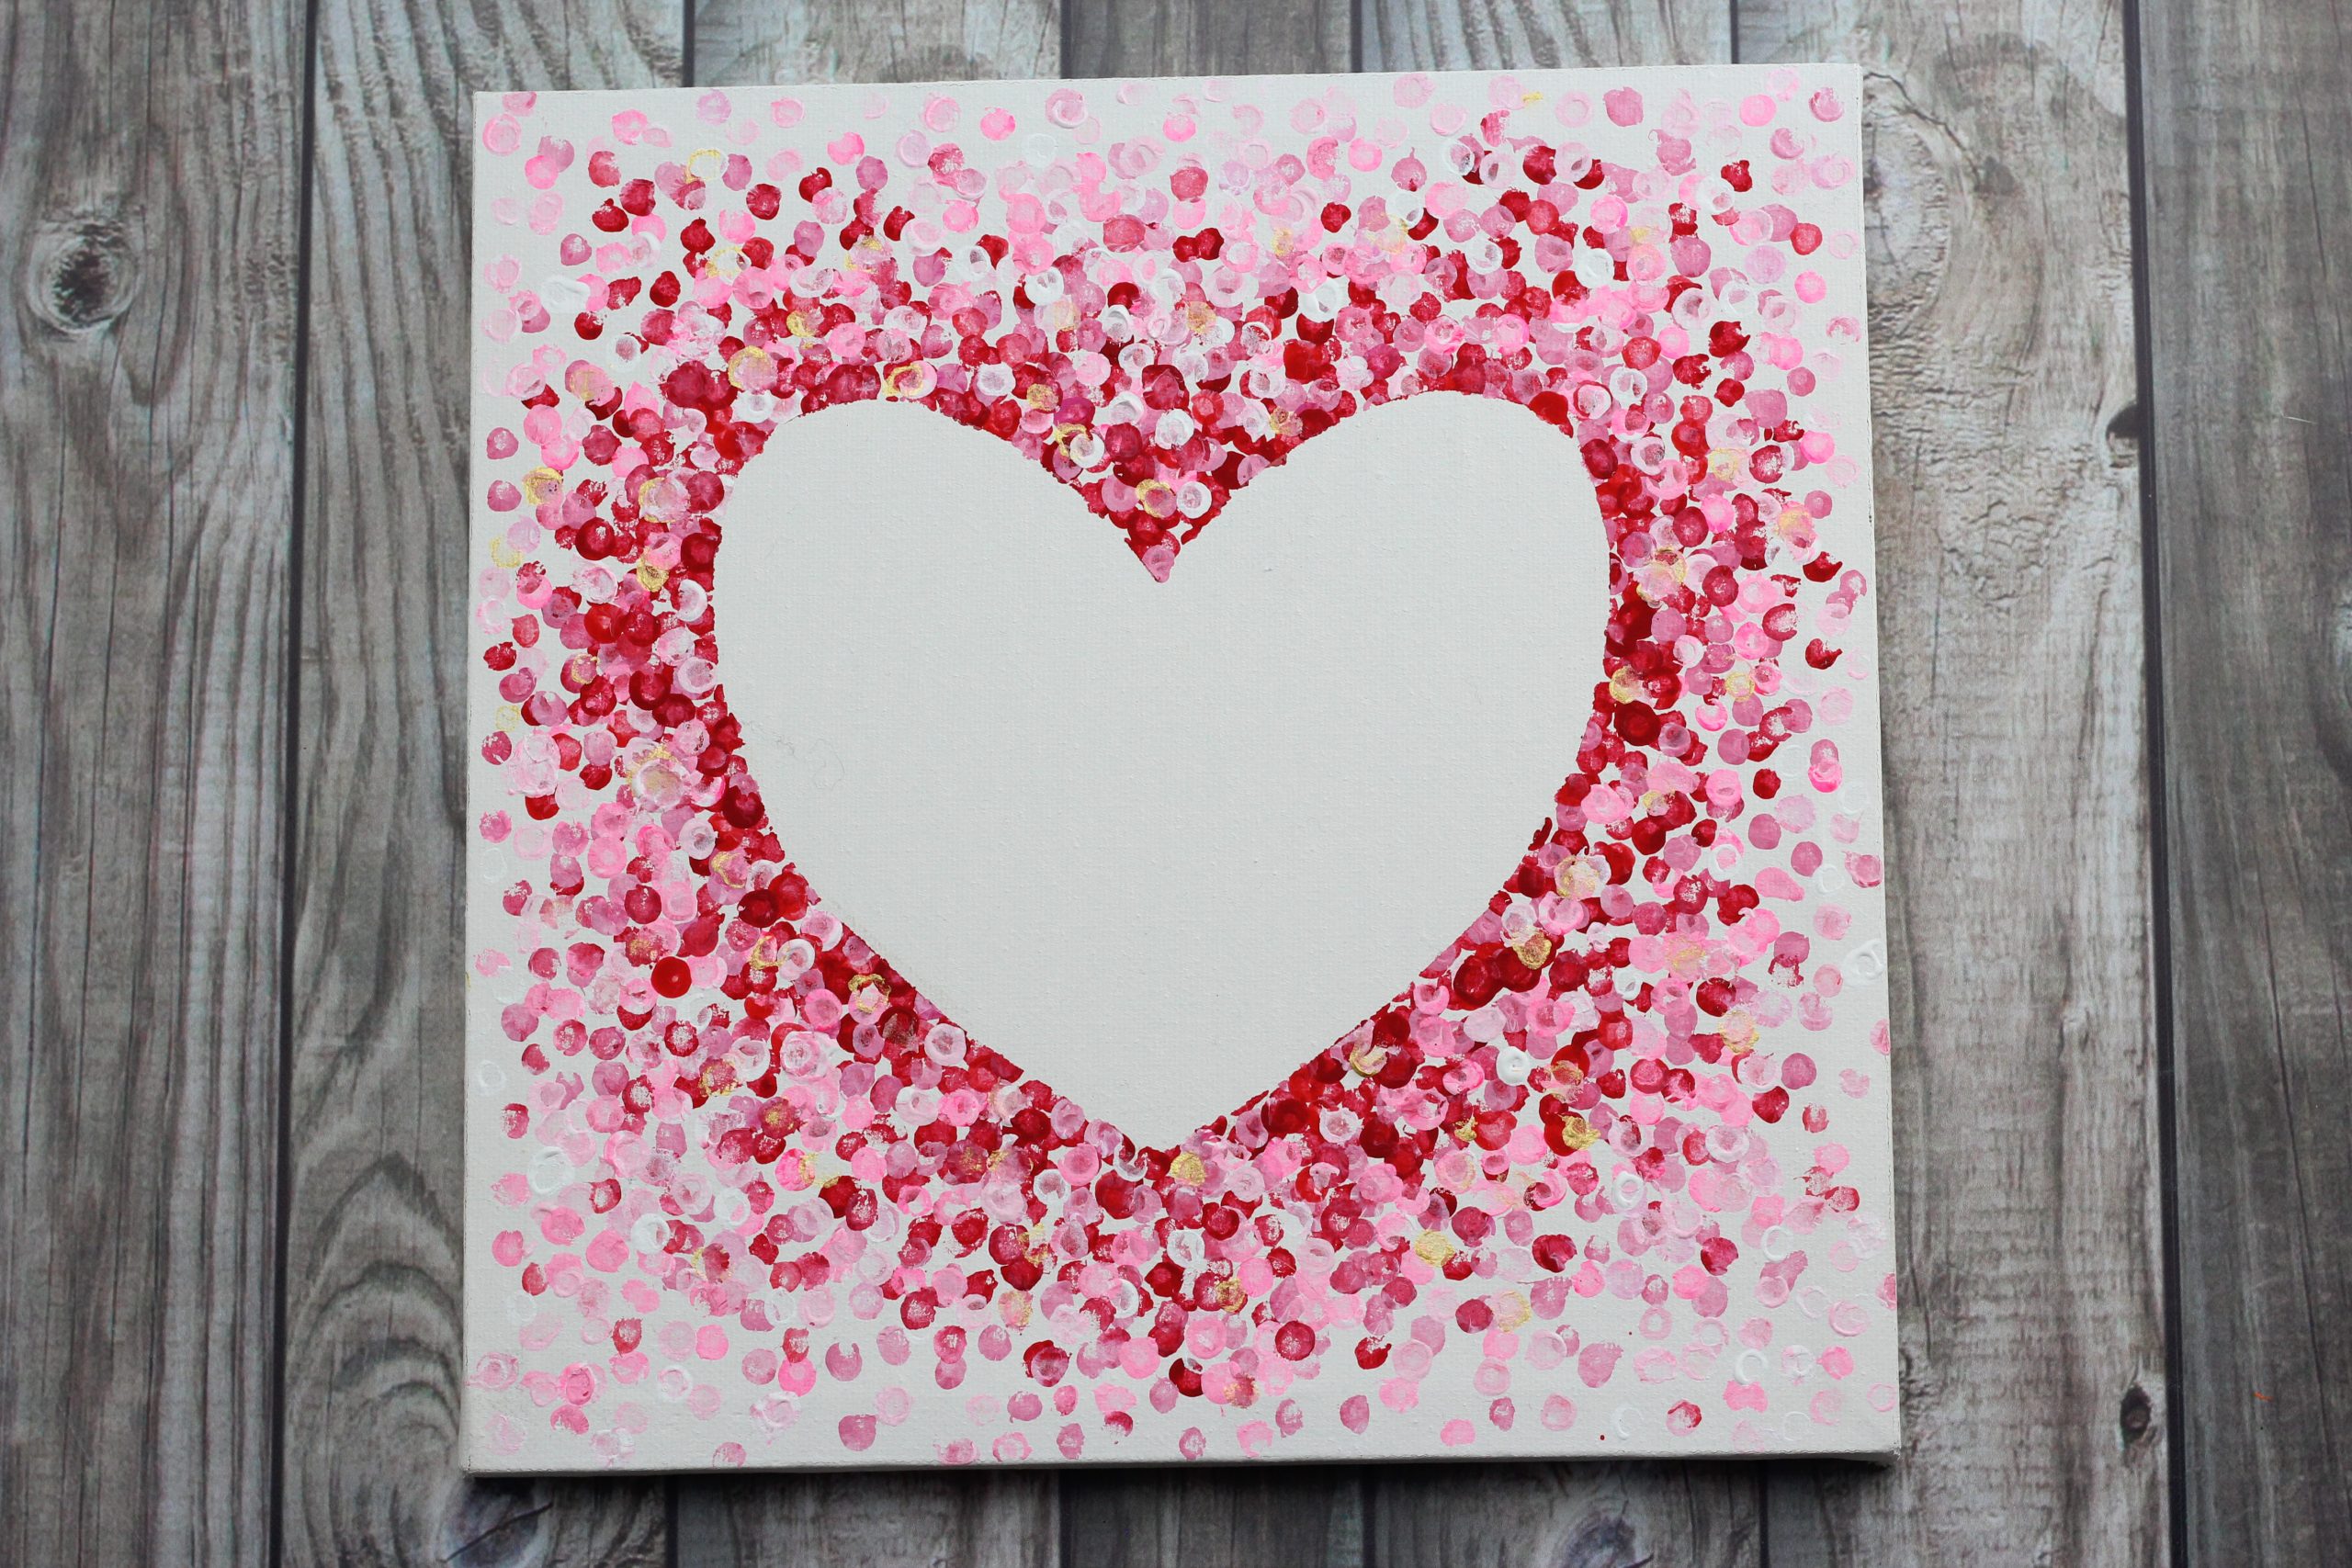
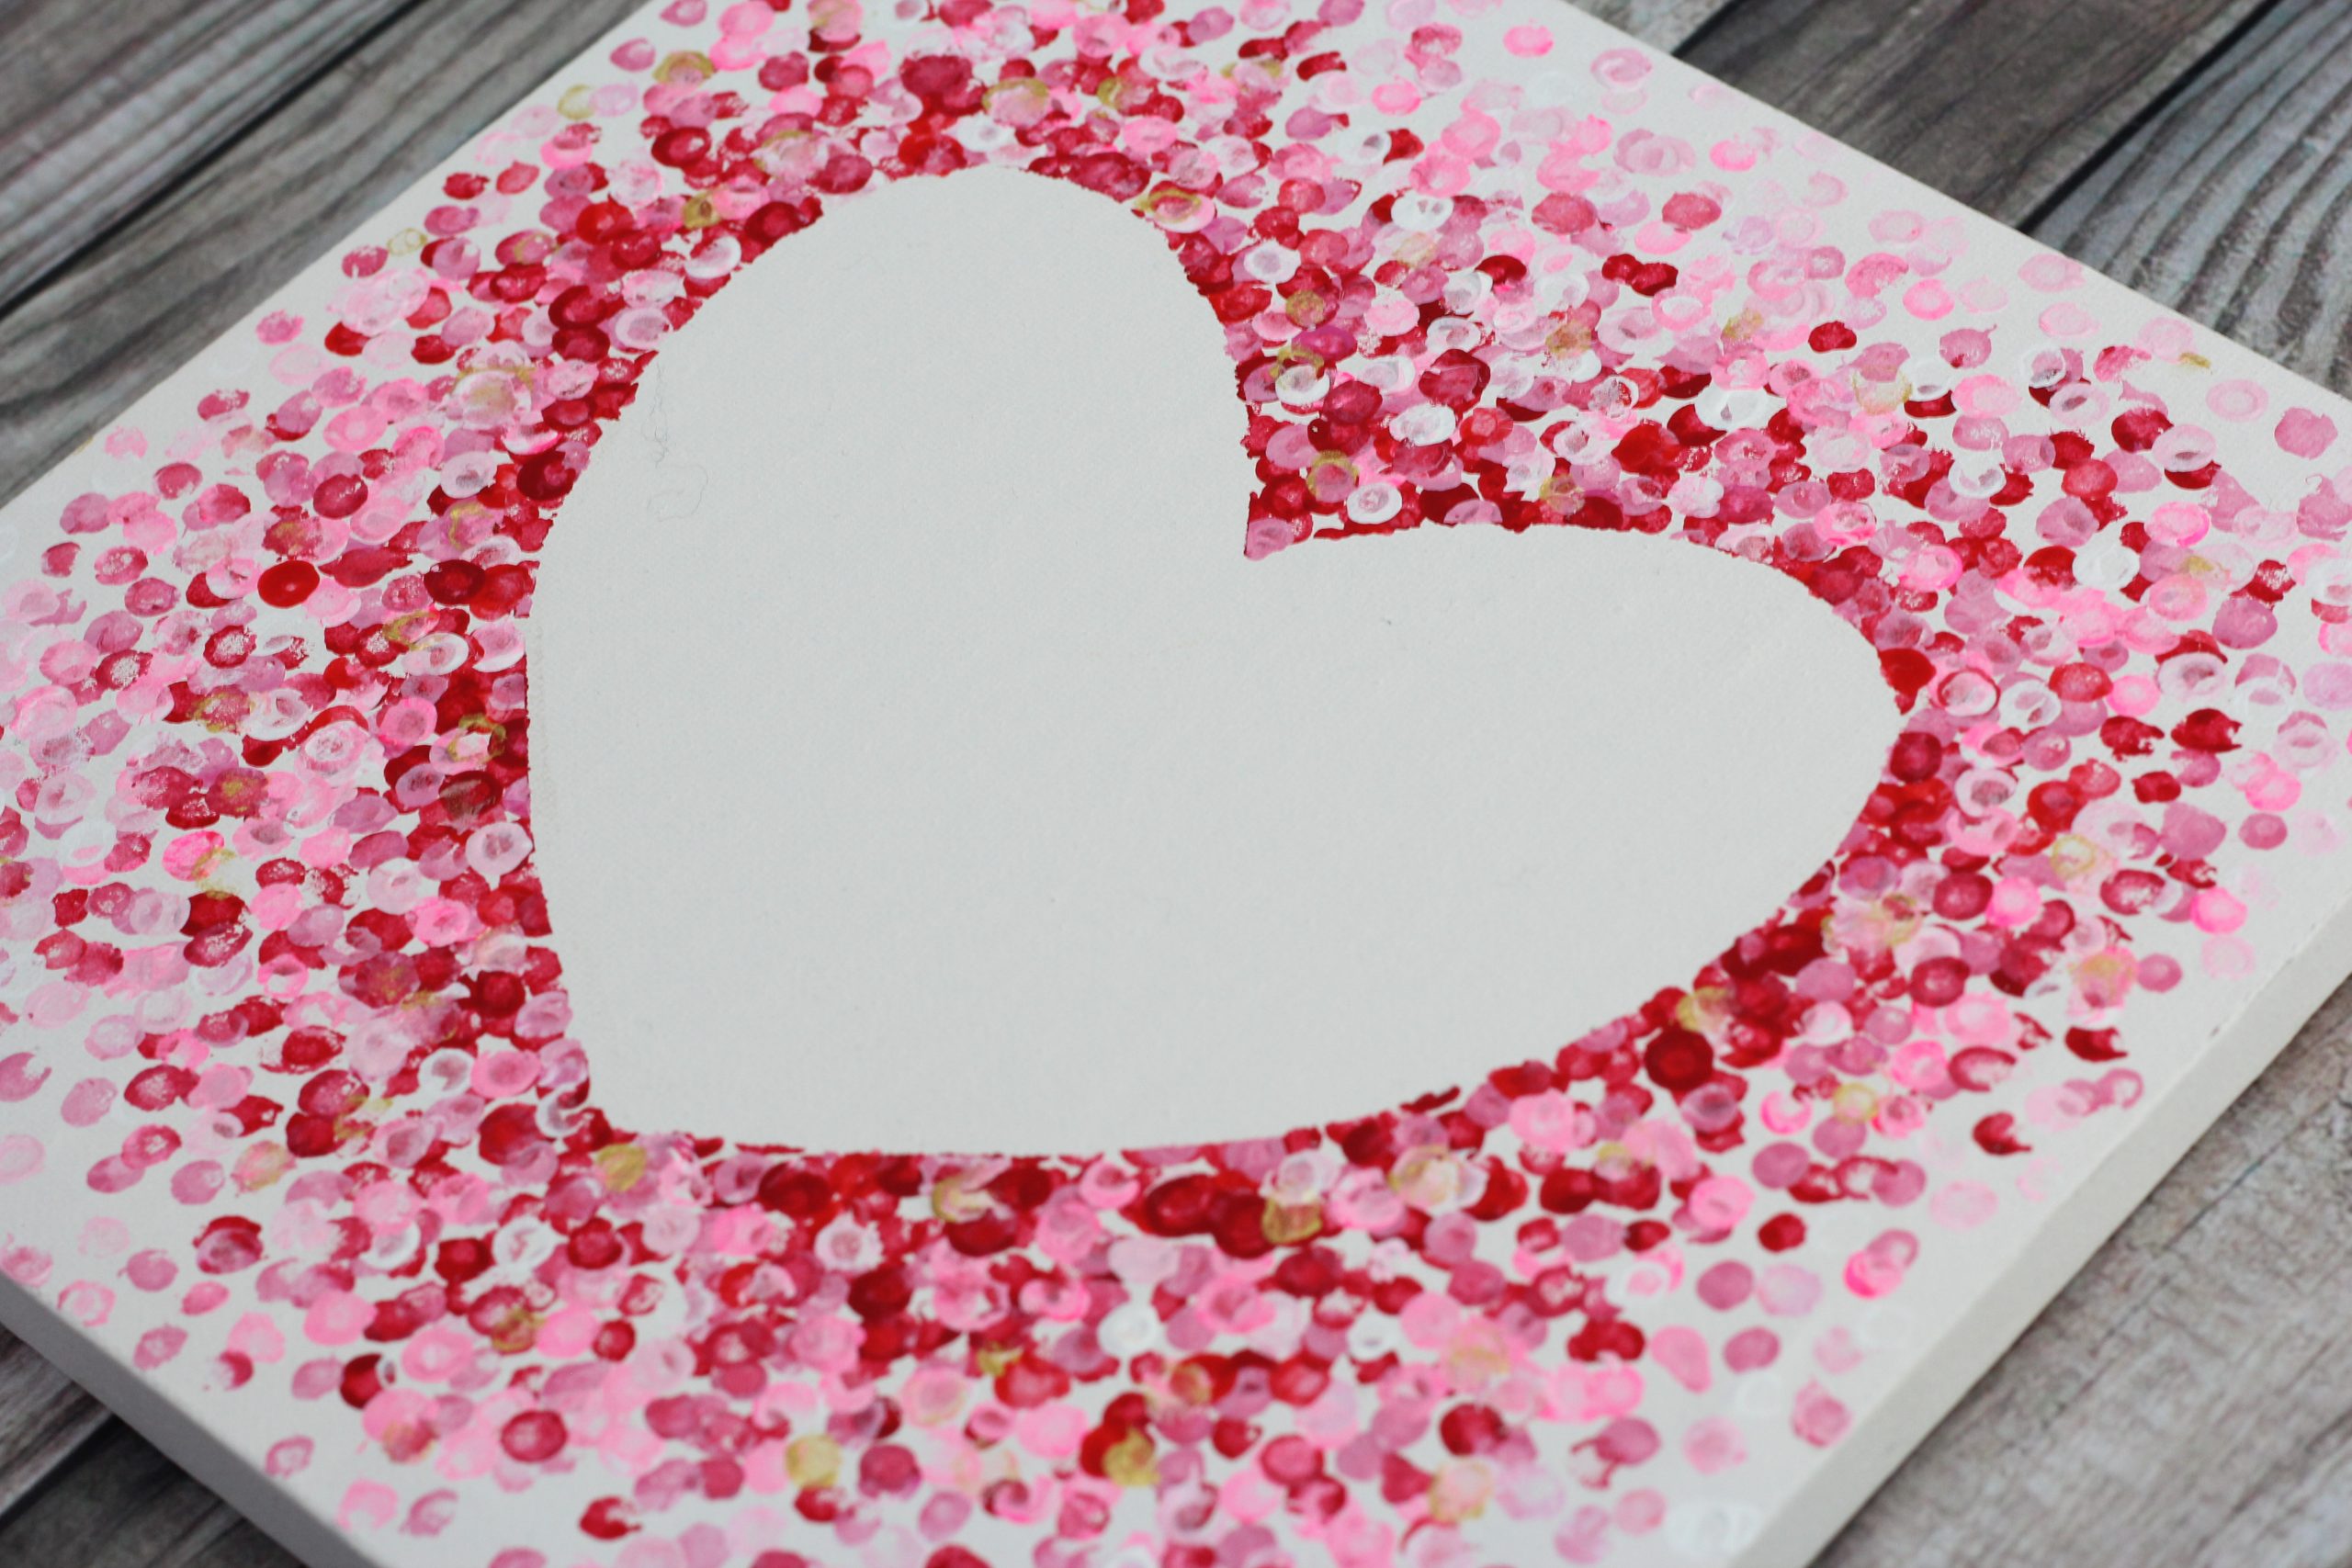
Next lets explore some a fun negative painting technique, using cotton swabs / Q-tips.
Heart Painting on Canvas using Cotton Swabs
Using cotton swabs is one of my favorite tools in painting.
Step 1:This time add your negative space heart stencil (see above) to the canvas.
Using some bright red paint, dip your cotton swab in it and create a border around the heart.
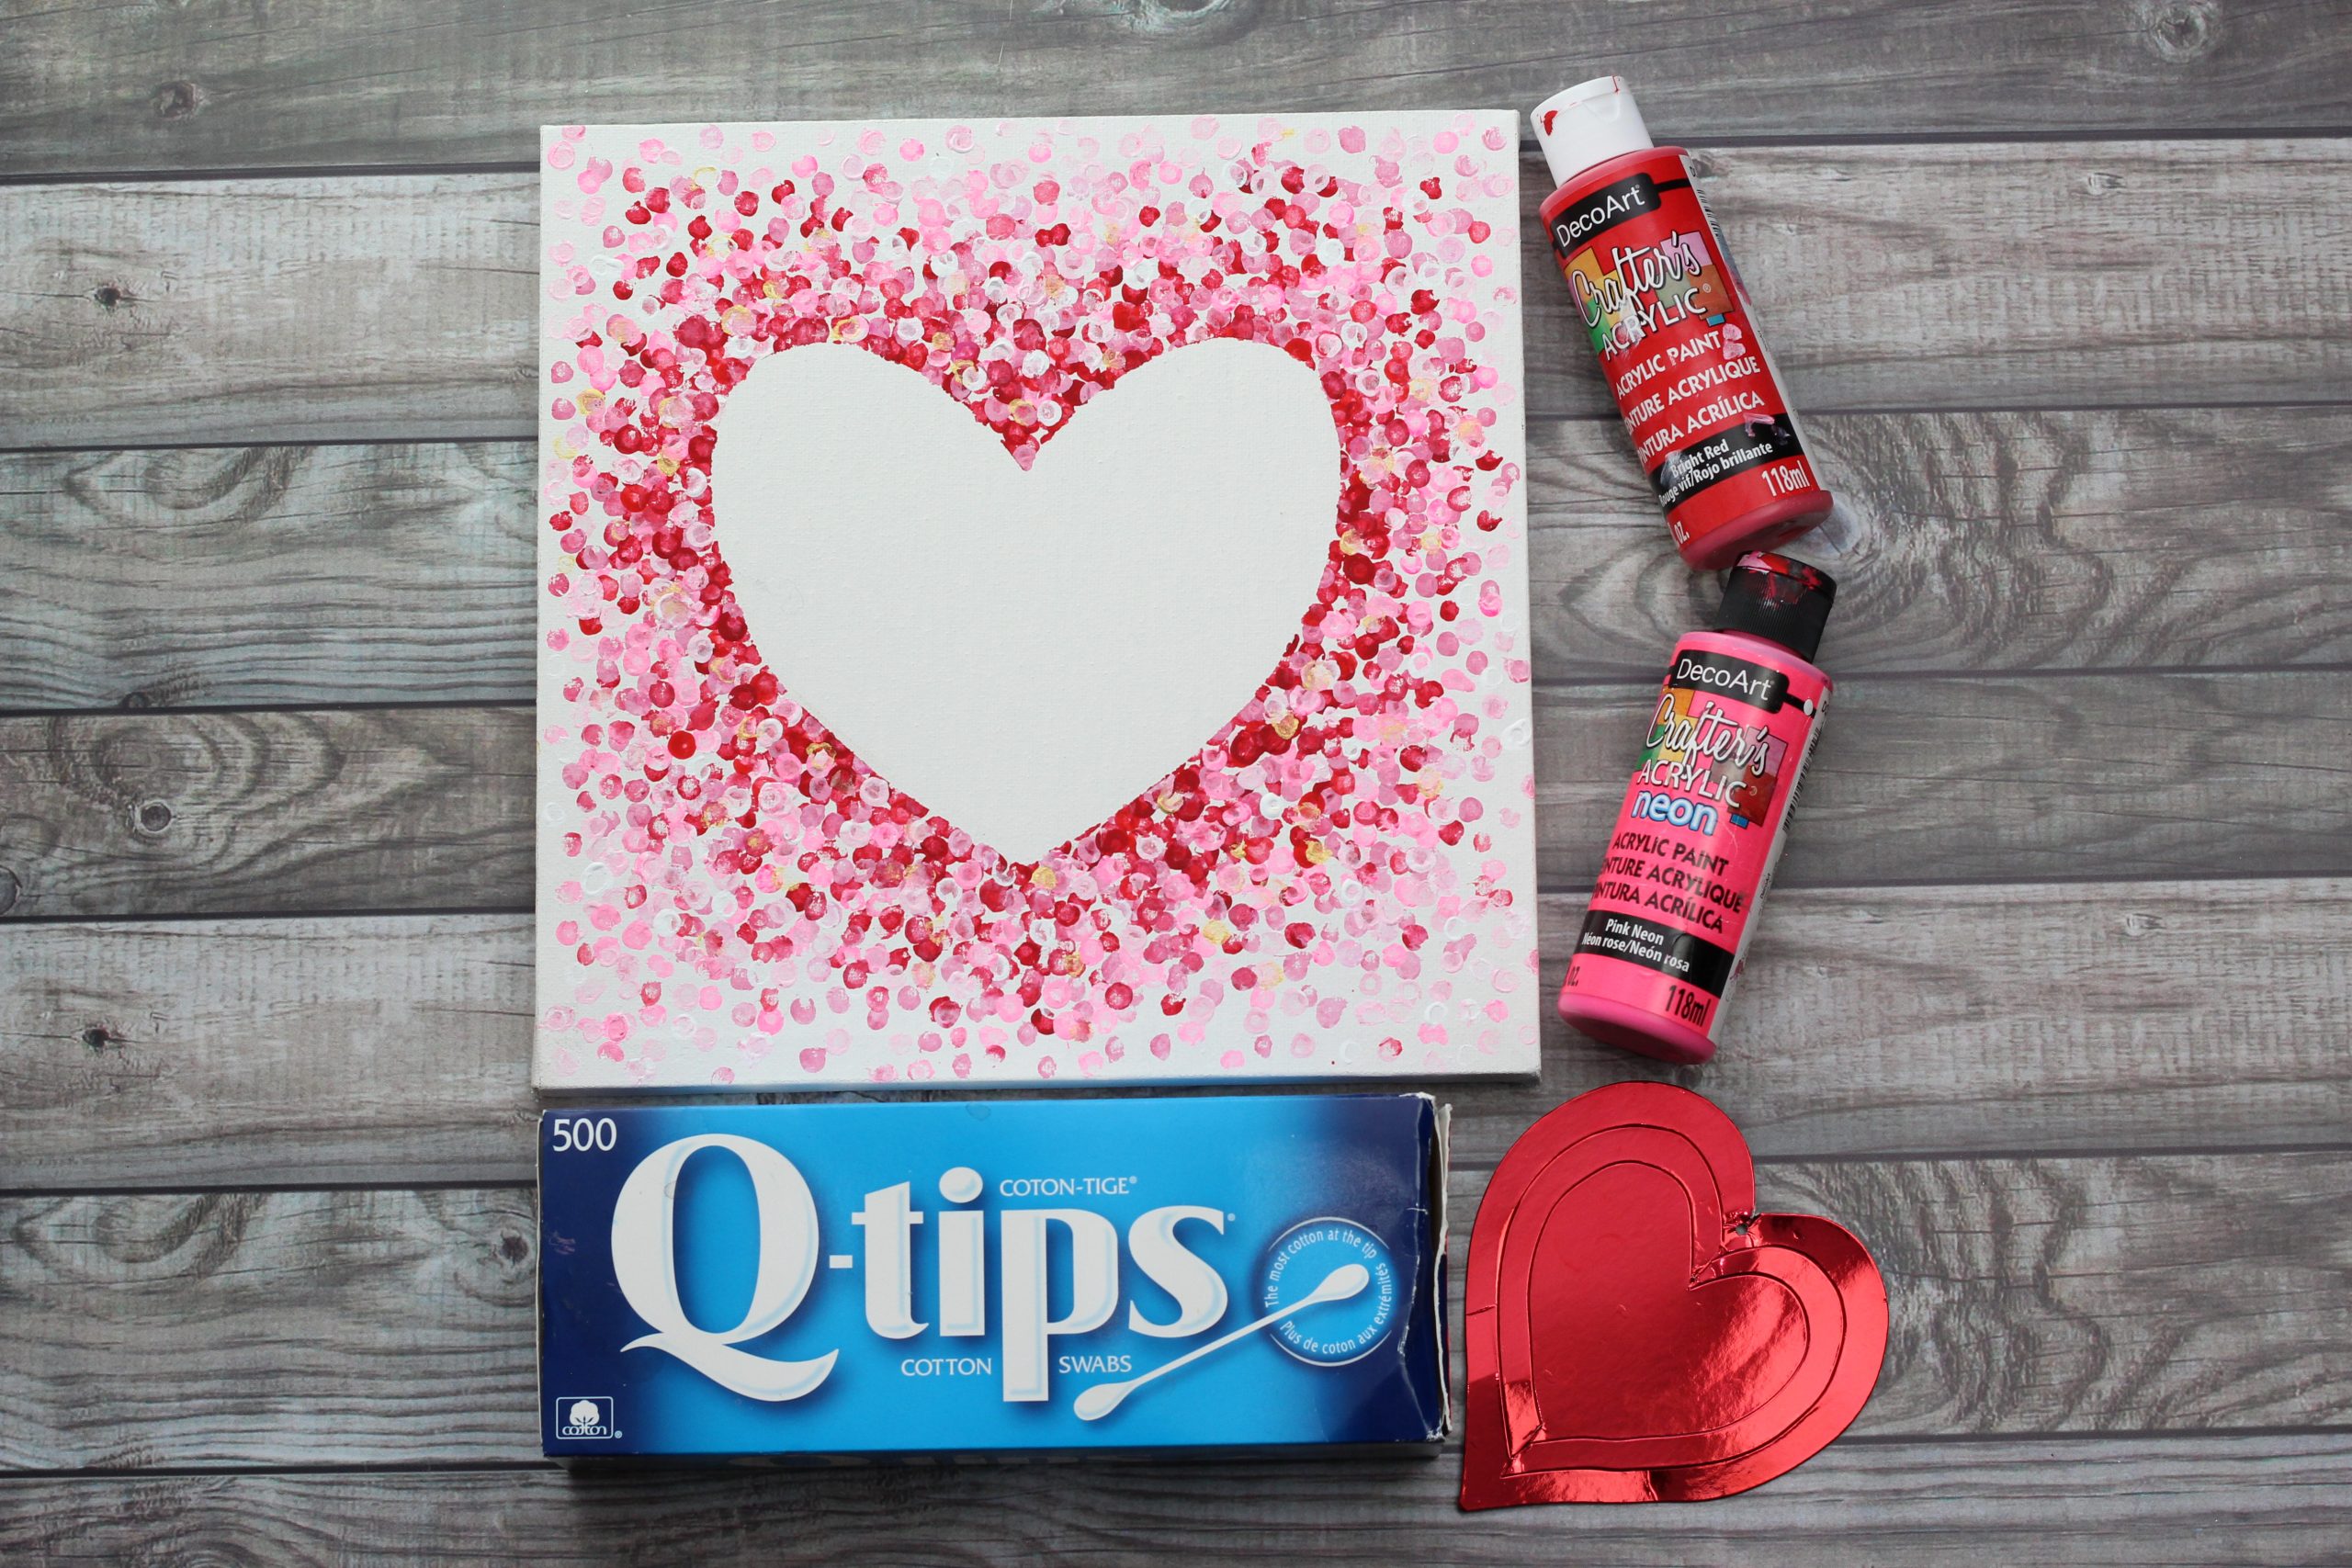
Dont go all the way to the edge of the canvas with the red.
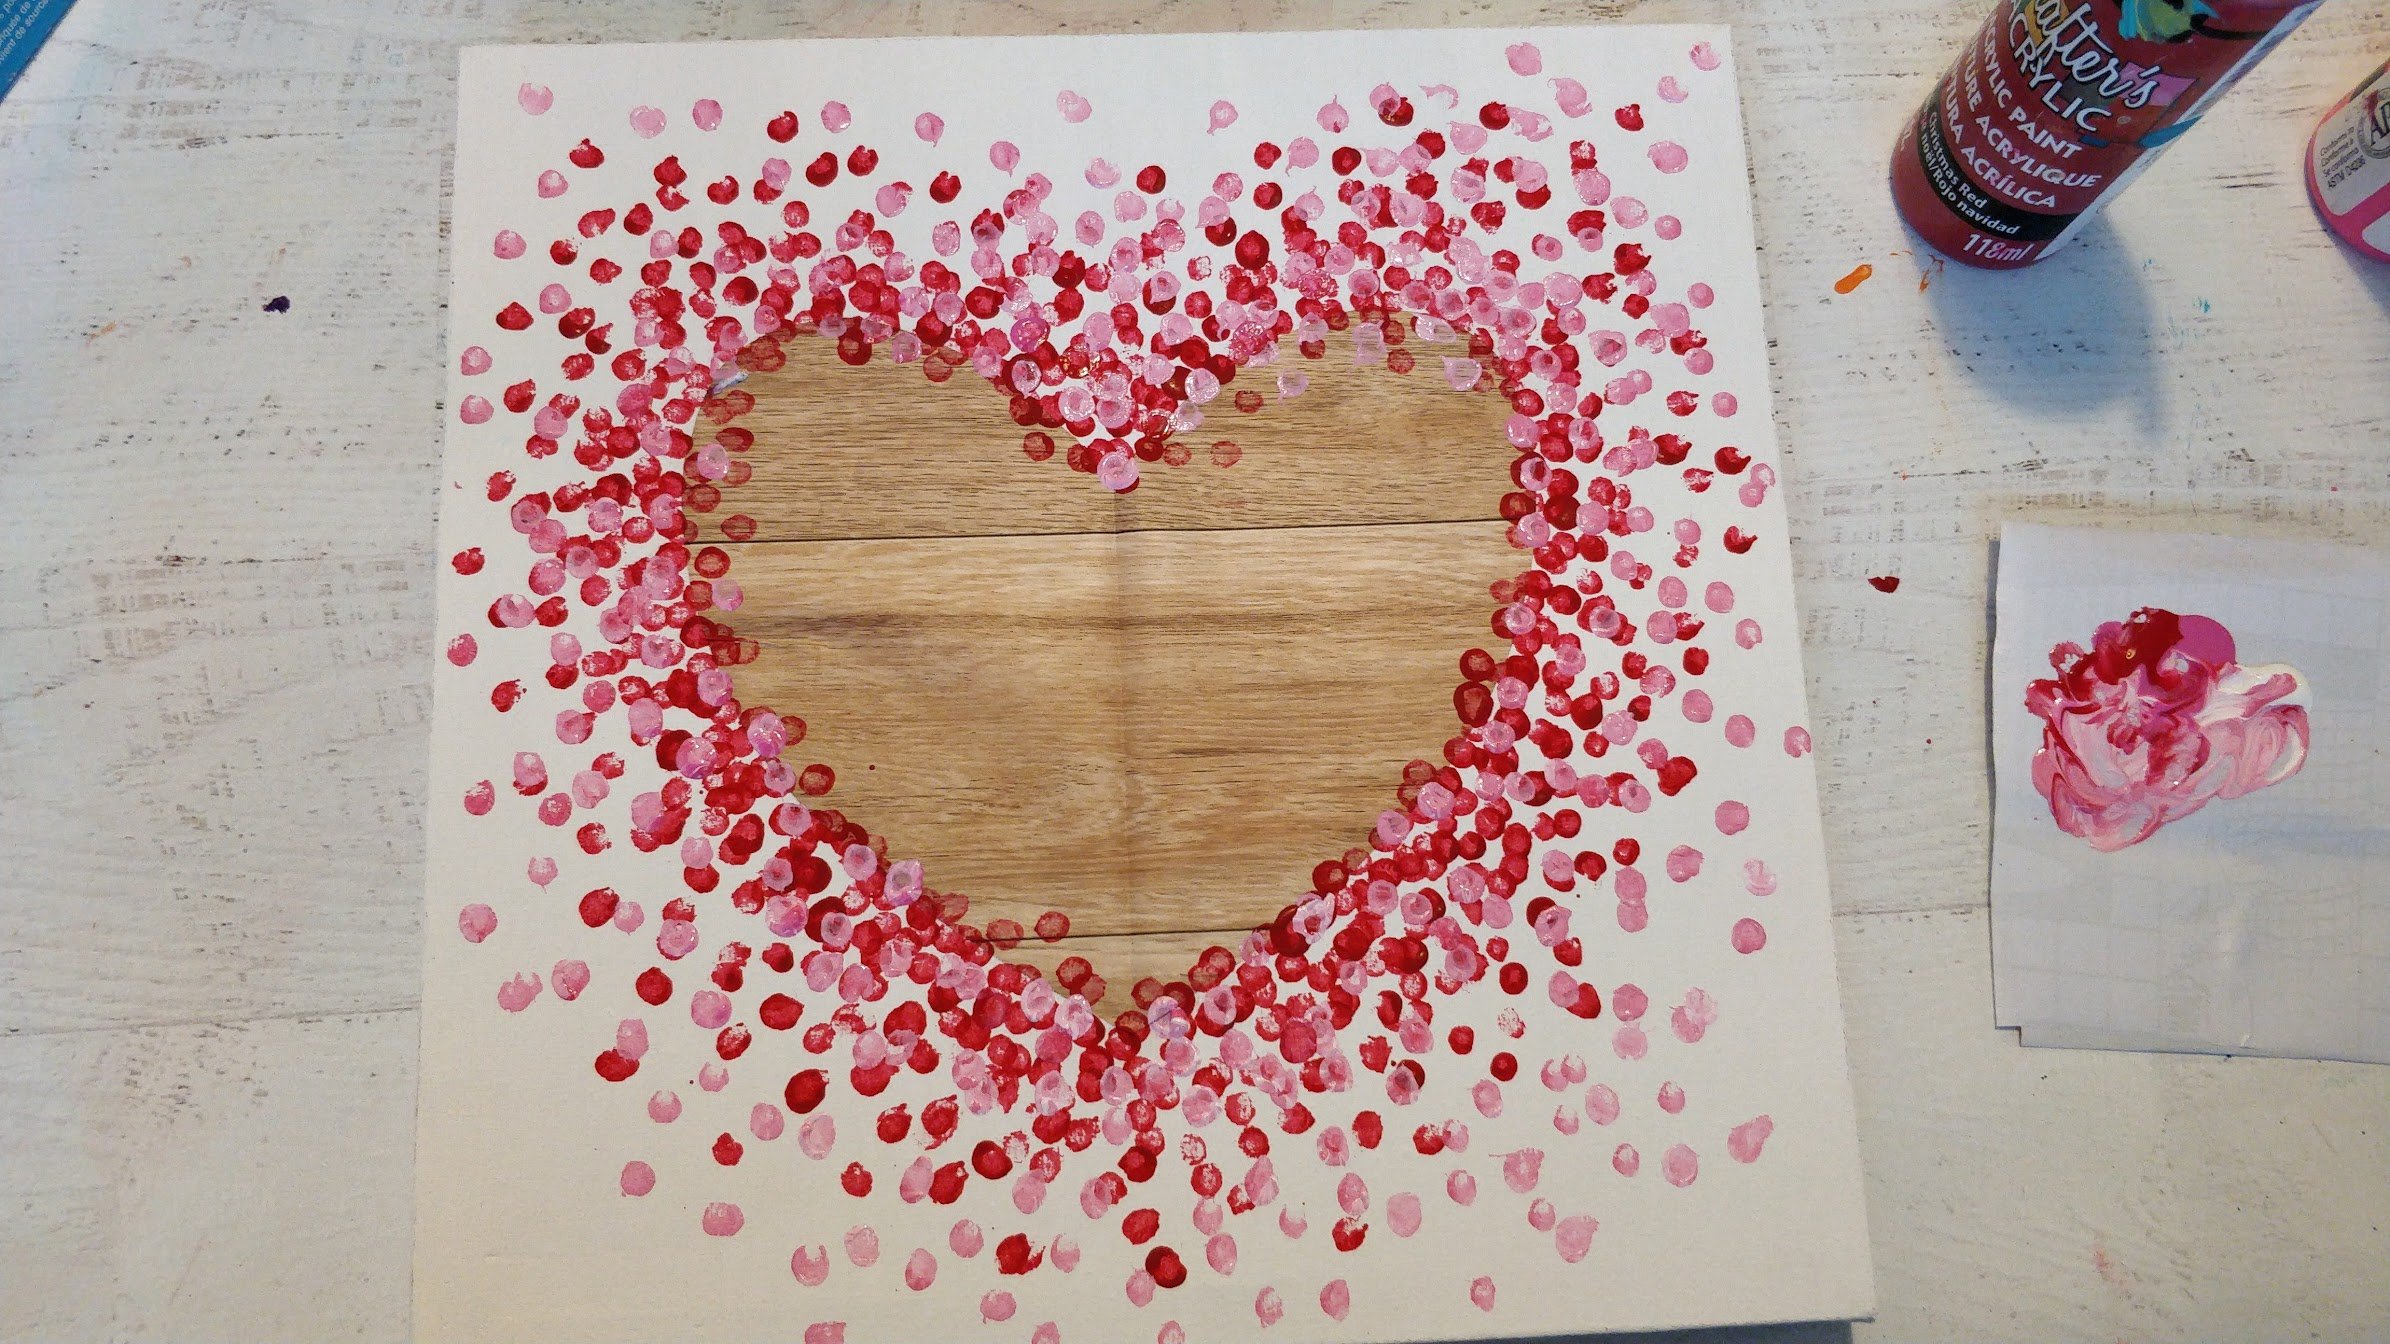
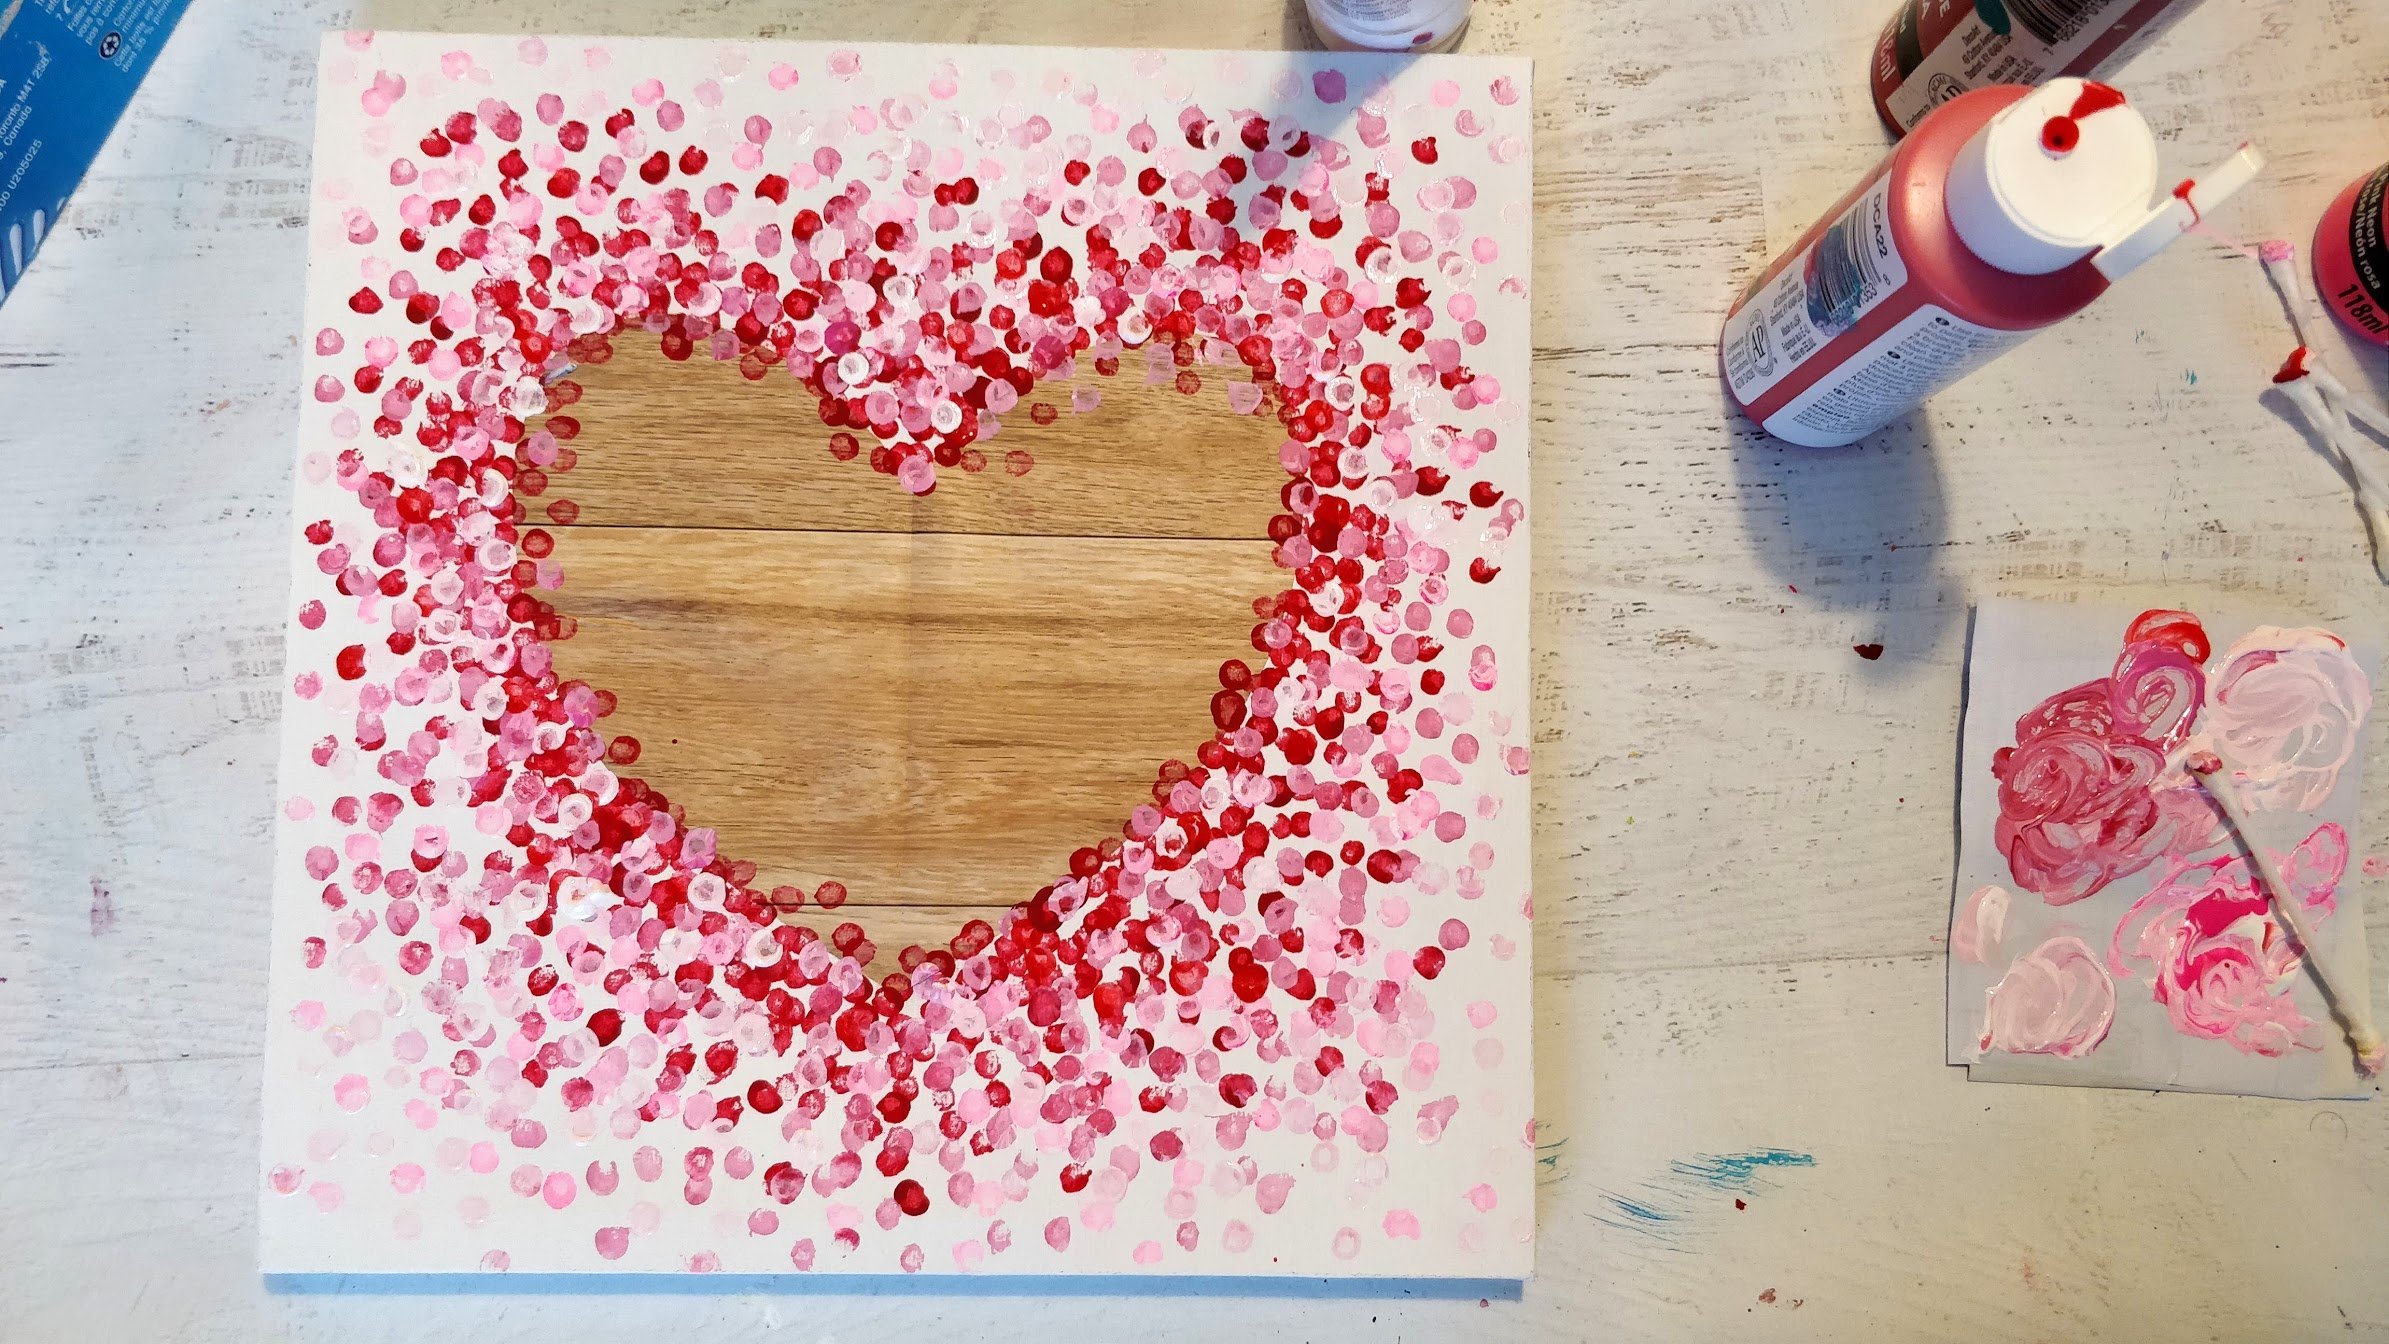
Using another cotton swab, dot the pink into the red dots and extend it beyond the red border.
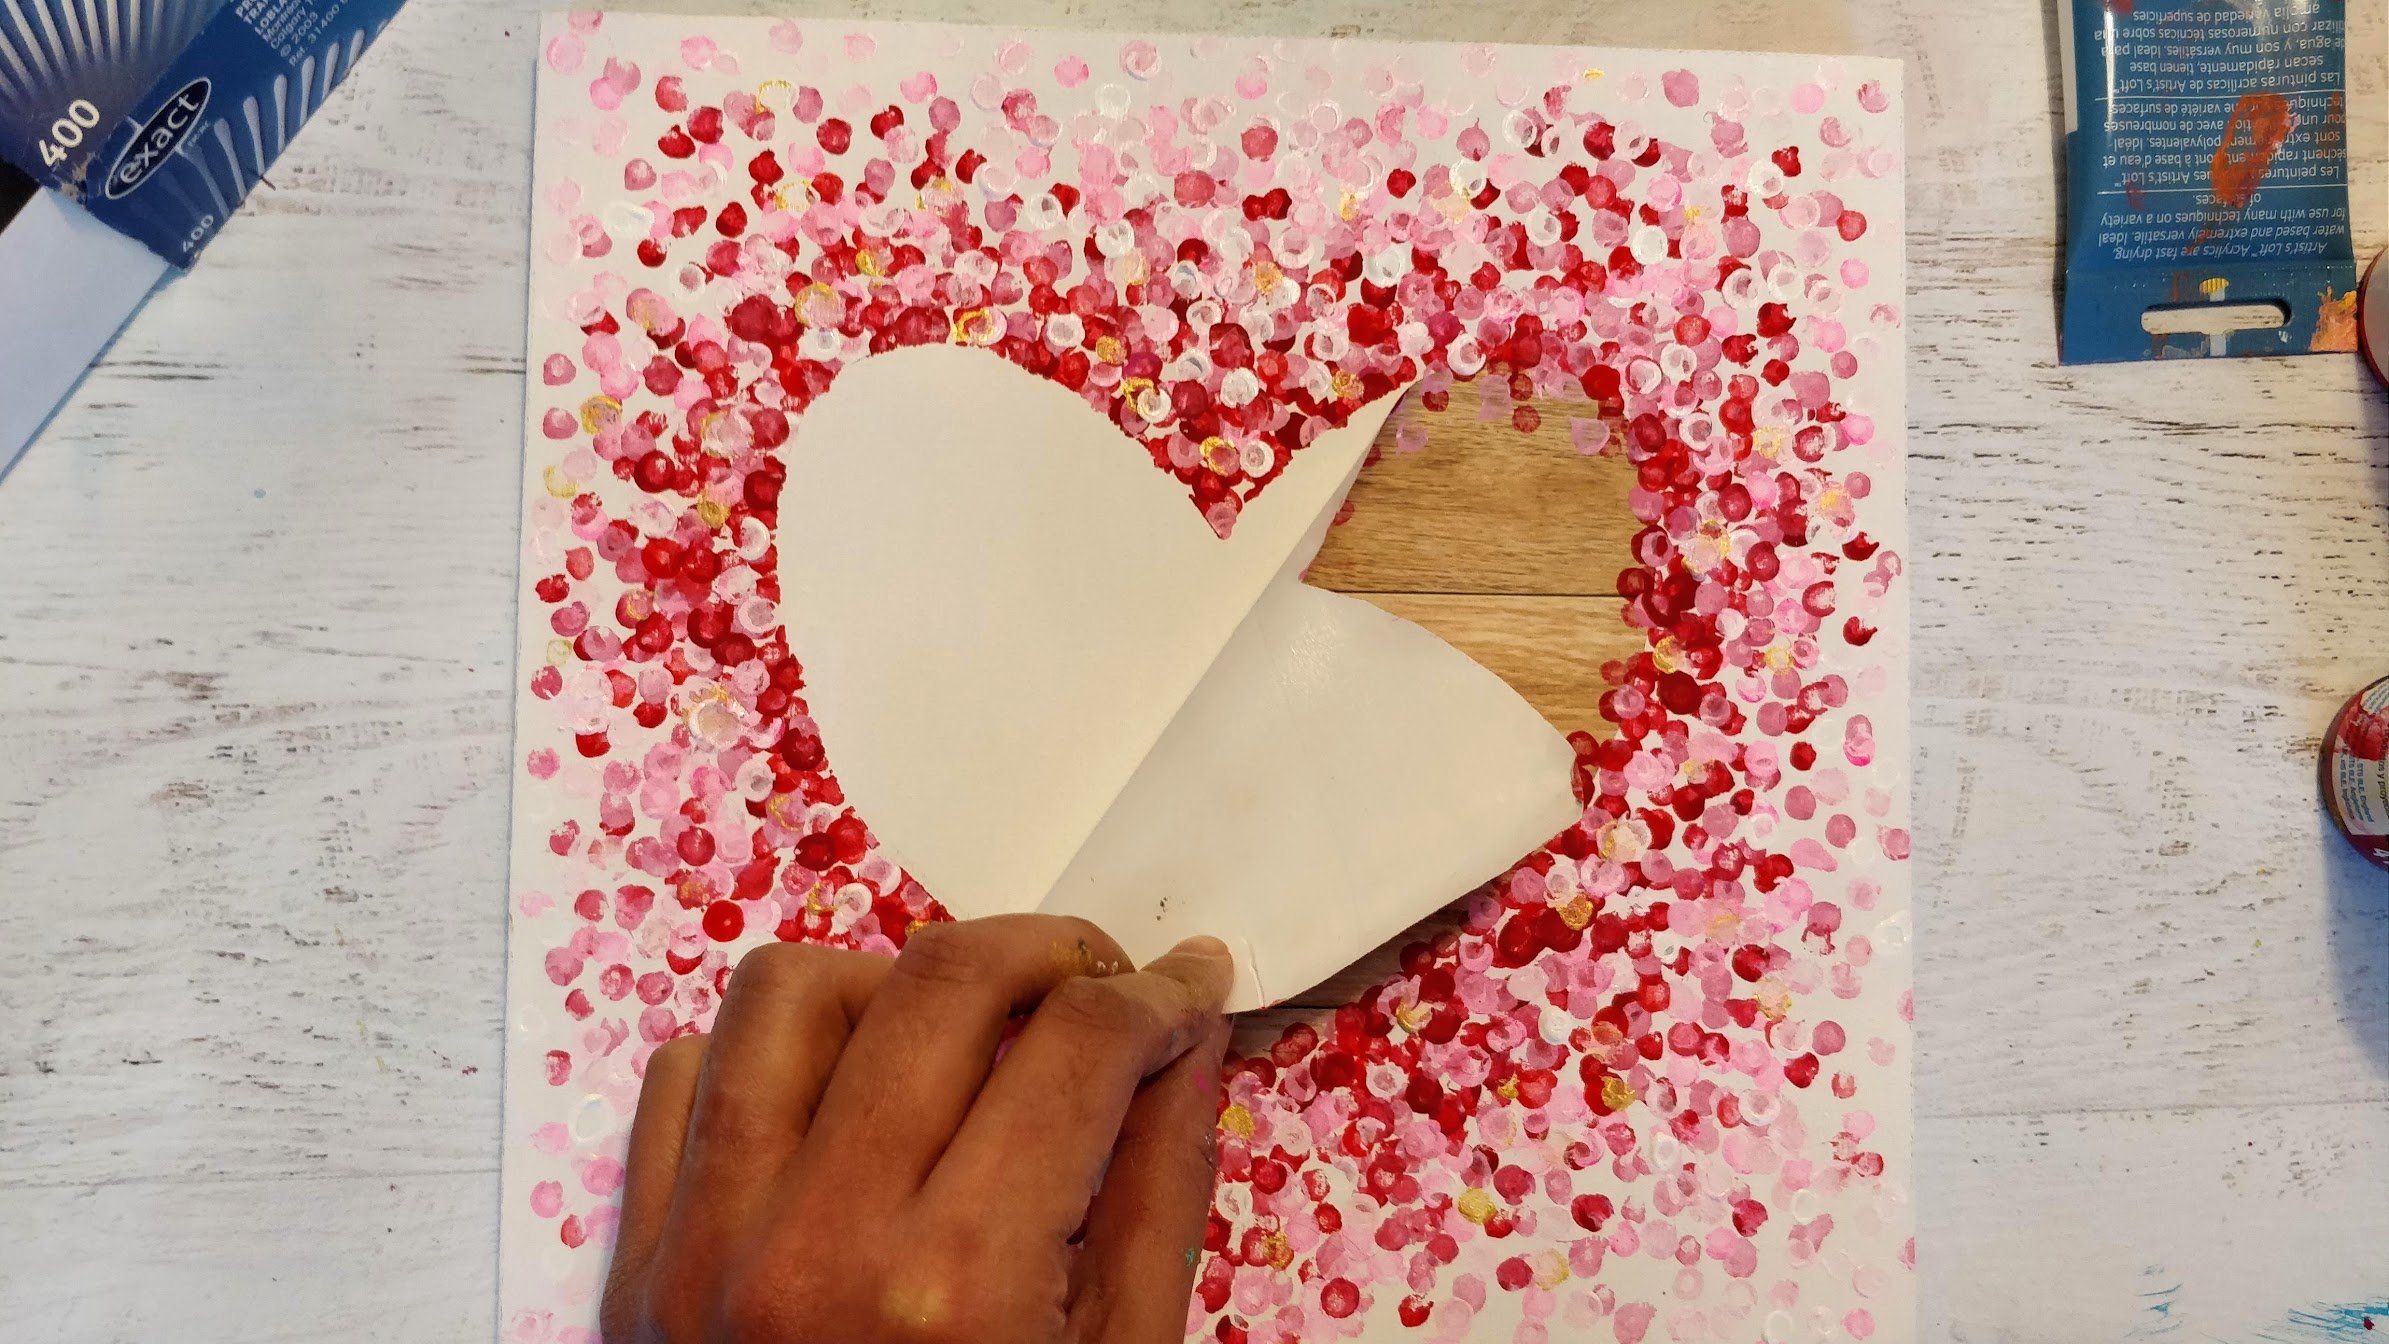
Step 4:When you are happy with your design, remove the contact paper, and voila!

Youve got a nifty heart art (in the negative space!)
Here are some more pictures of the finished pieces!
If you liked this tutorial, kindly show some love and pin it!