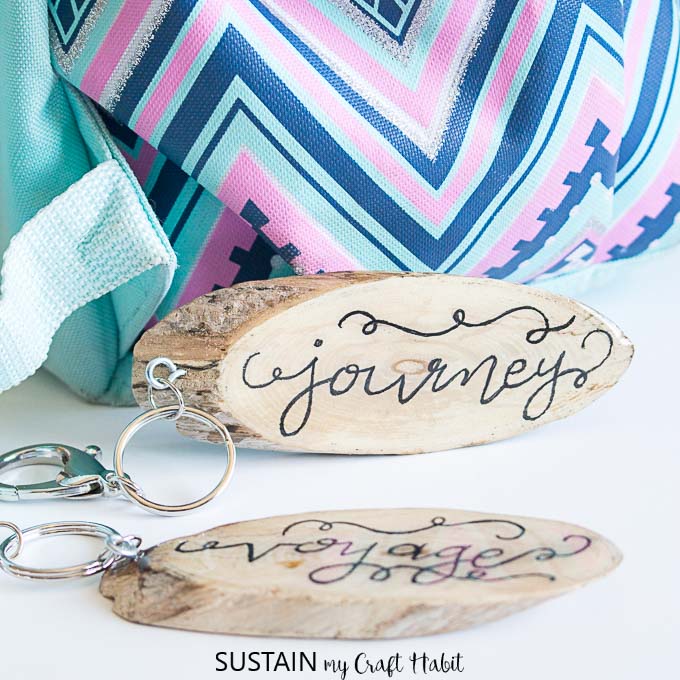
These rustic chicDIY keychainsput us in the perfect mood to daydream about backpacking through Europe.
I foolishly declined: with school, work and other responsibilities it just wasnt the right time.
There would always be another opportunity to travel!

Well, I have yet to backpack through Europe.
In the meantime, Ill appease my wanderlust with staycations andtrips to the cottagethis summer.
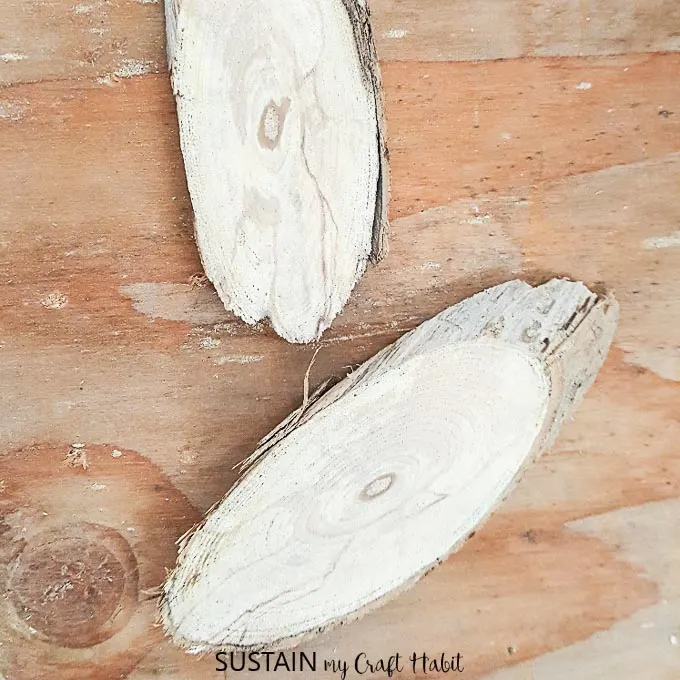
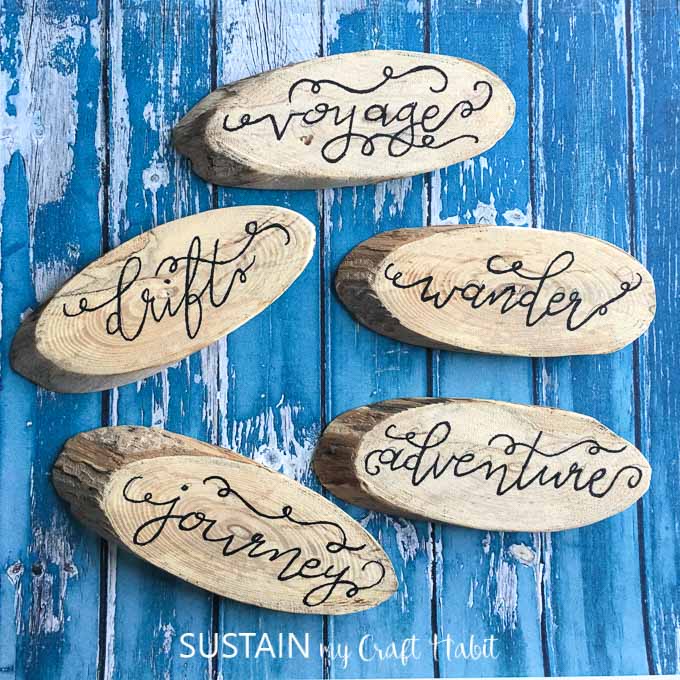
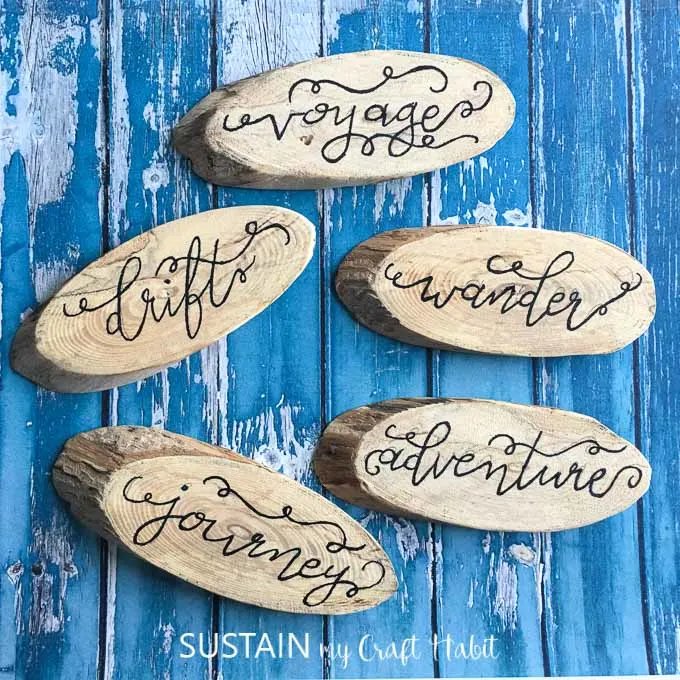
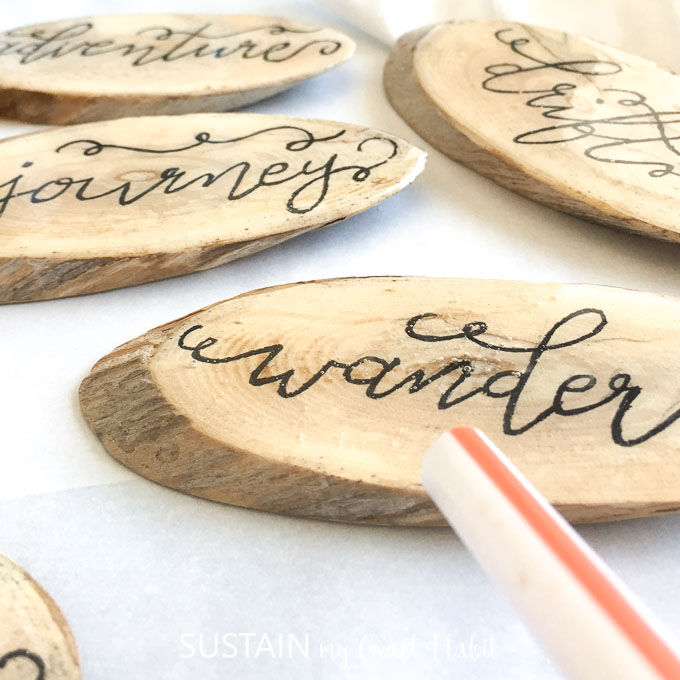
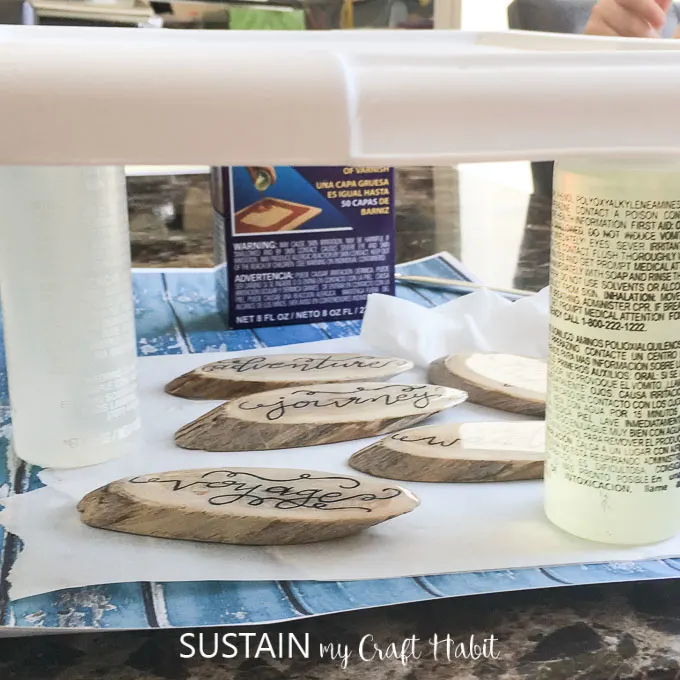
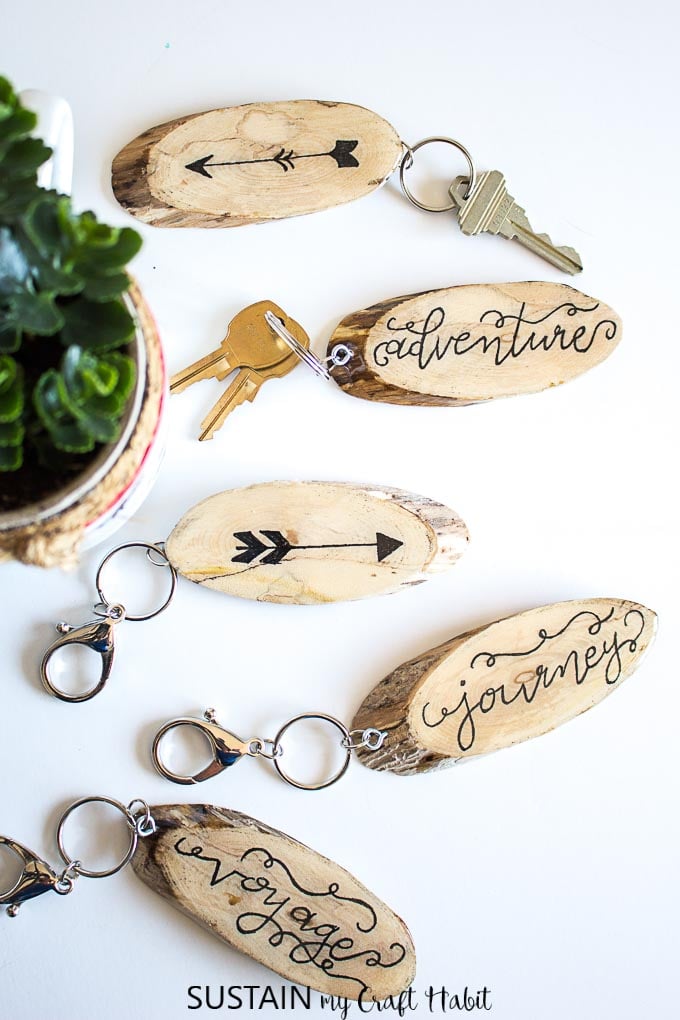
We used driftwood slices and Jane lettered these lovely phrases.

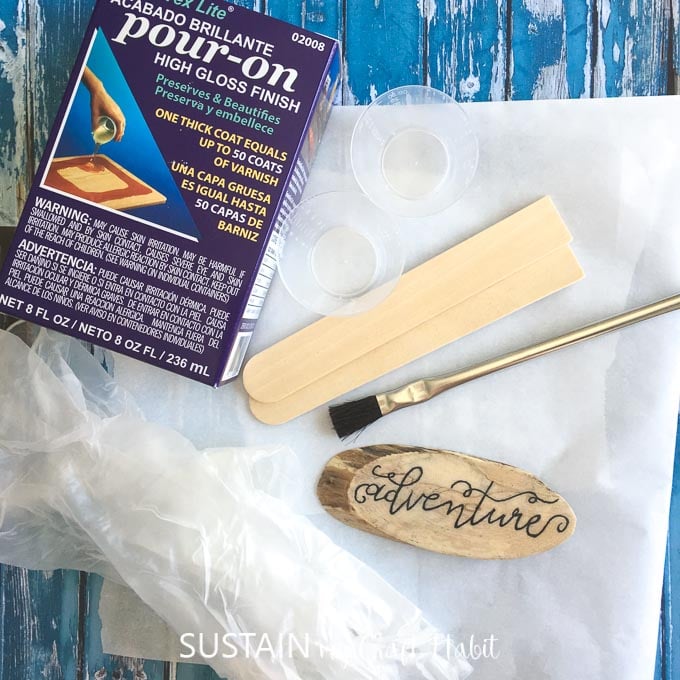
We decided to give them a high gloss coat withEnviroTex Lite Pour On resin.
The resin provides durability and accentuates the beautiful wood grain and hand-lettering.
Theres so many different ways to use resin, from jewelry to home decor.
Were always amazed at the difference adding the resin makes to the final piece.
it’s possible for you to find ourfull disclosure policy here.
Instructions to make 5 Wood Slice DIY Keychains:
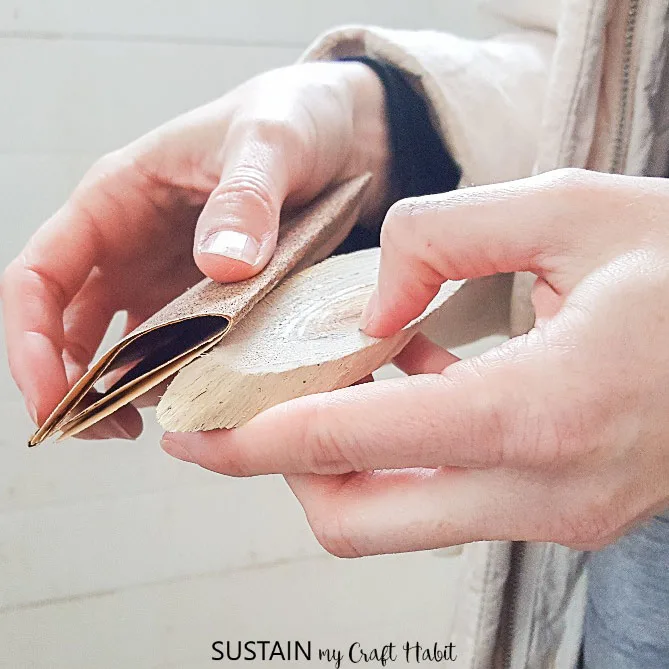
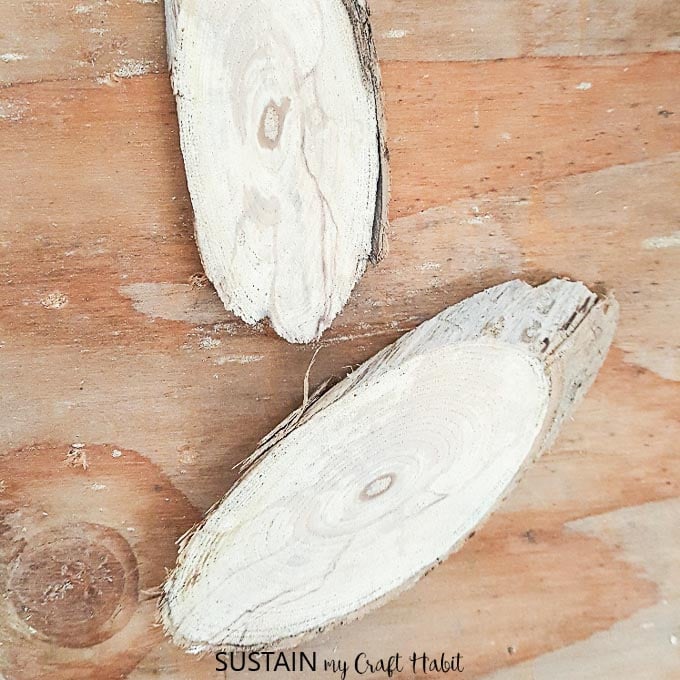
Prepare wood slices for crafting.

Cut to desired size and sand any rough edges with 100 grit sandpaper.
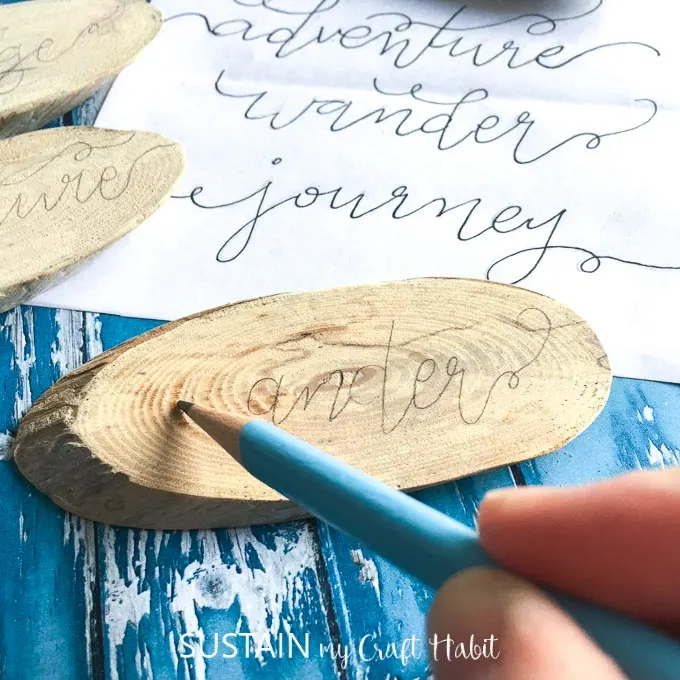
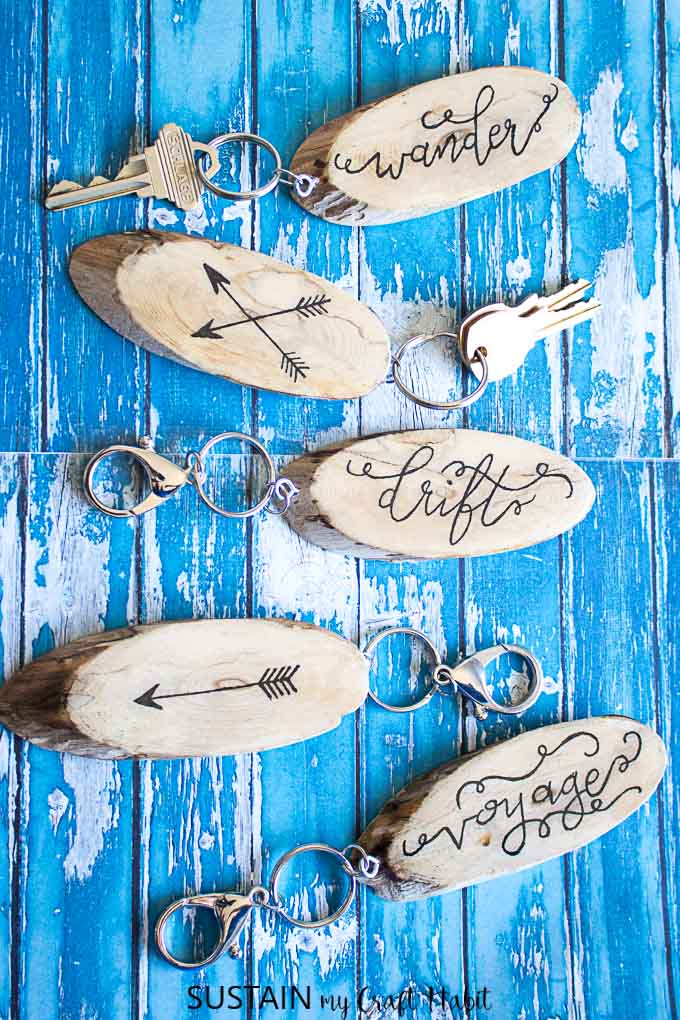
Decide which words or phrases you would like to write on your keychains.
Carefully hand letter a word onto the center of the wood slice using a pencil.
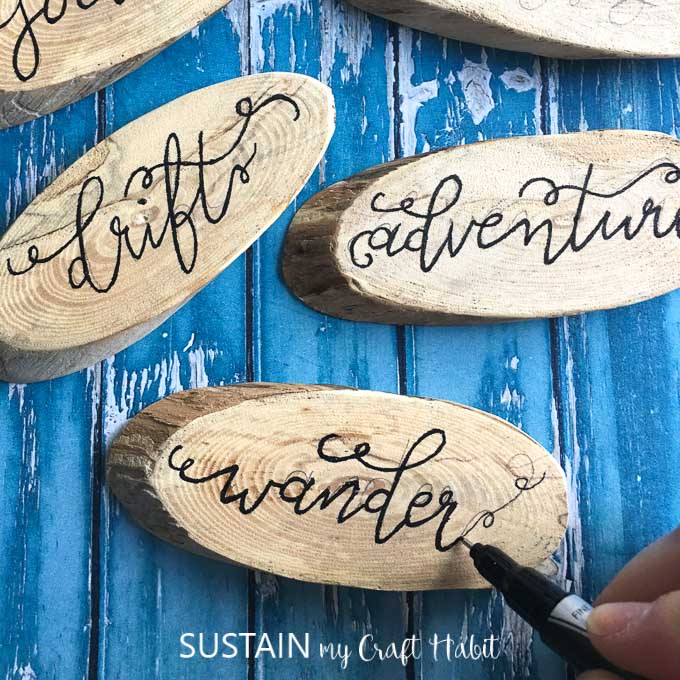
Trace the letter using a fine tip Sharpie pen.
You may want to go over the lettering a few times to make it pop!
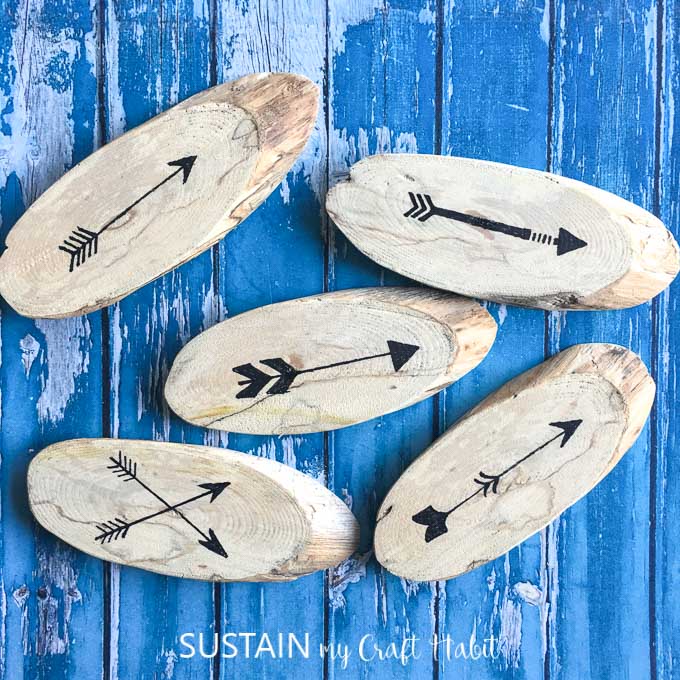
Repeat with different words or patterns on the back of the wood slice.
We went with arrows to give us some direction in our travels .
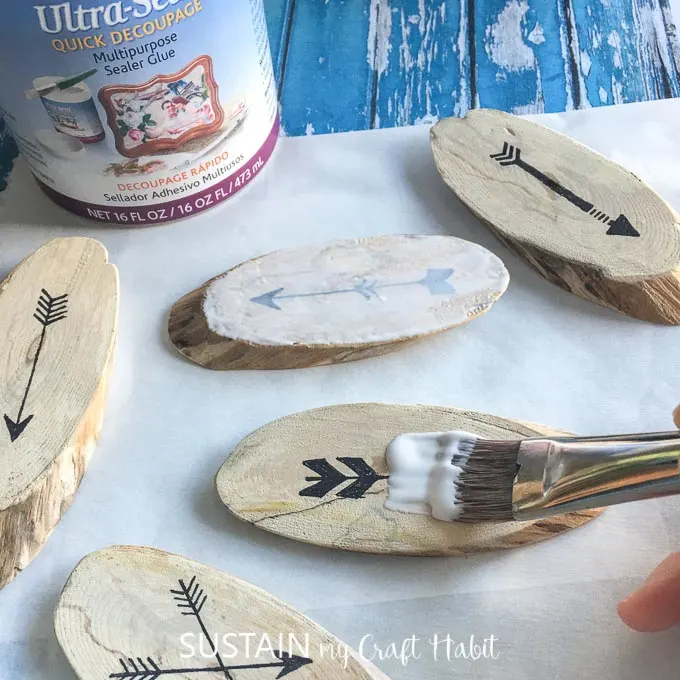
Seal the surface of each side of the wood slices with a multipurpose sealer.
For best results be sure to read the instructions provided in theEnviroTex Lite Pour Onpackaging.
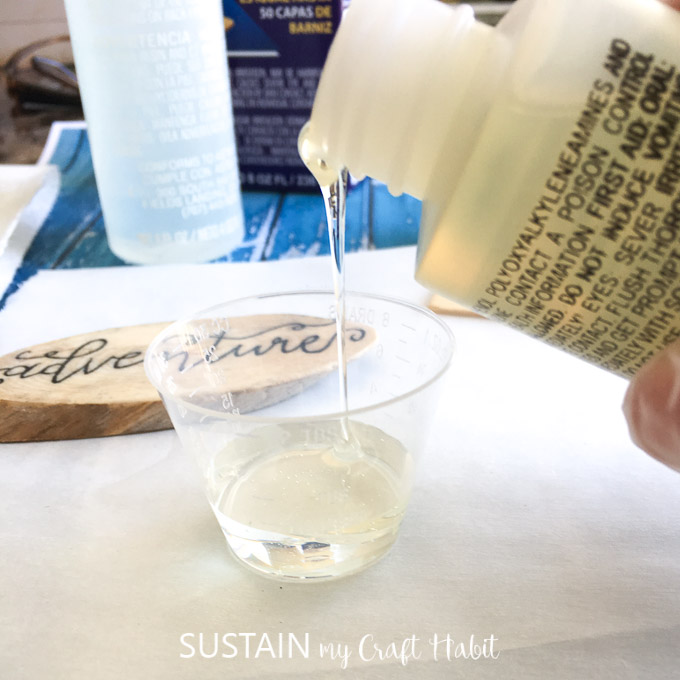
Ensure your resin and hardener are at room temperature or warmer before mixing.
Mix exactly equal amounts of Resin and Hardener into one measuring cup.
Stir together continuously for 2 minutes, scraping the sides of the container.

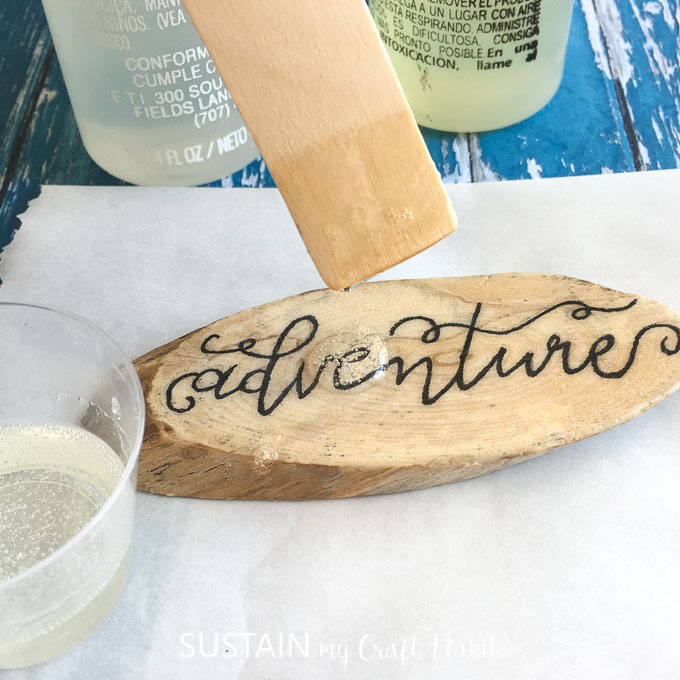
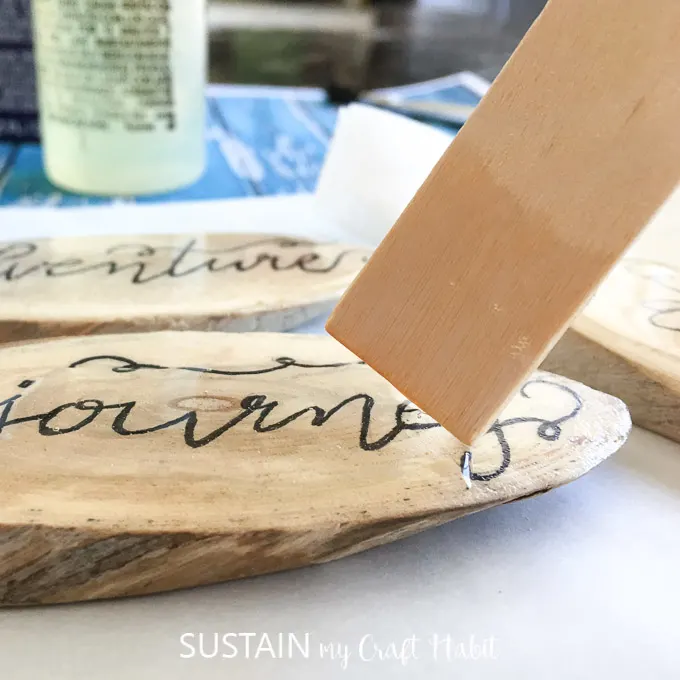
Work slowly so that the resin doesnt flow over the sides of the wood slices.
Use the wood stir stick to carefully draw resin to the edges of the wood without flowing over.
Blow off air bubbles by blowing through a straw over the surface of the wood slice.
Cover to keep dust from settling in and allow to cure for 24 hours.
Repeat the process above on the opposite side of the wood slices.
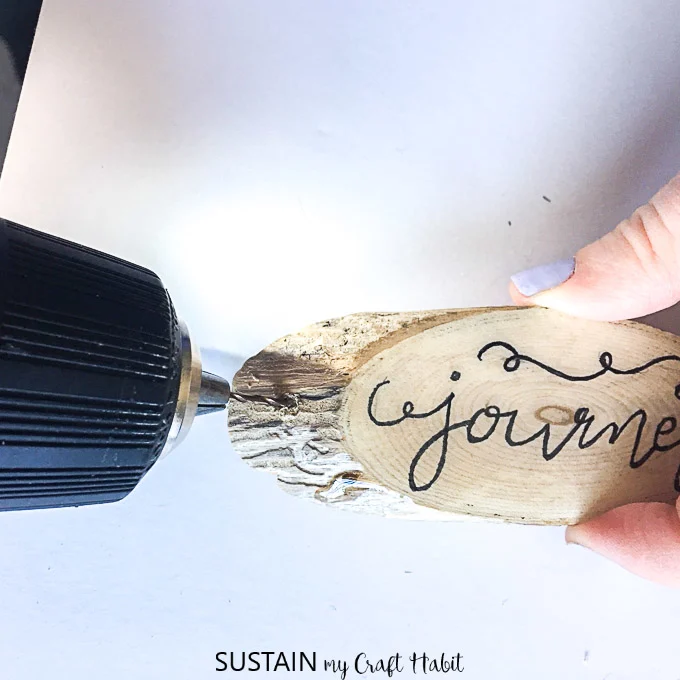
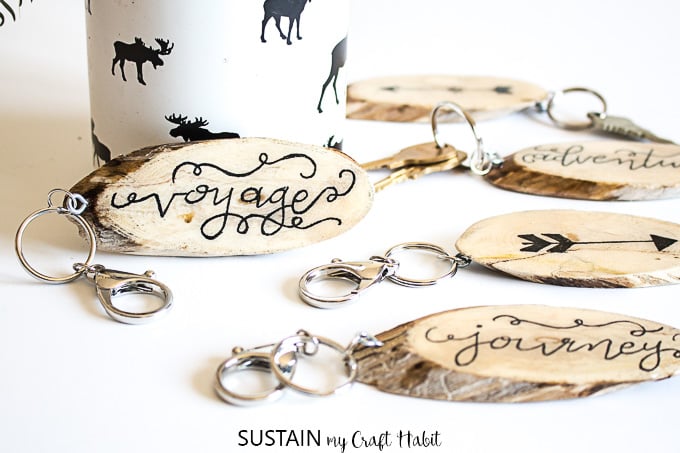
Drill one small pilot hole at the end of the wood slice.

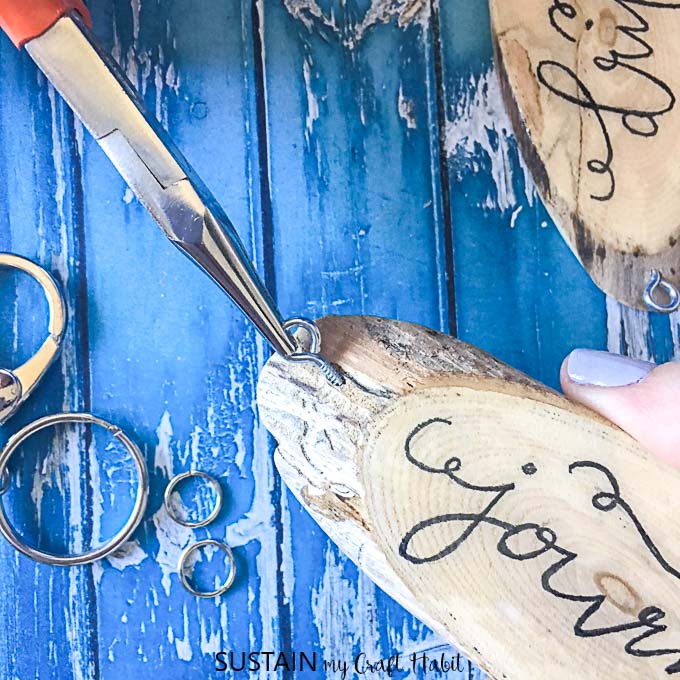
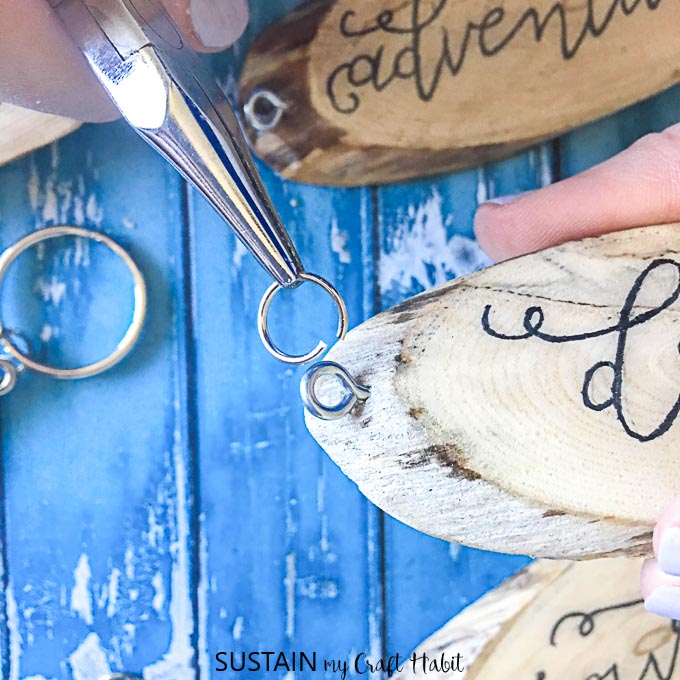
Attach one eyelet screw into the pre-drilled hole using a pair of pliers.
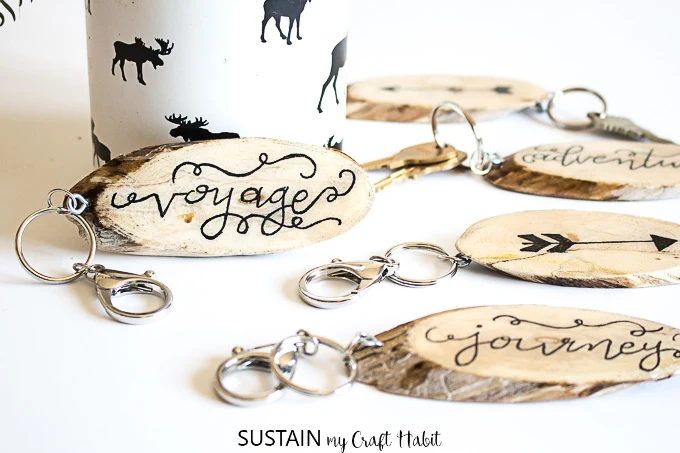
These hand lettered wood slice DIY keychains turned out even better than we had expected.
Bon voyage, mon amis!
Pin it for later!