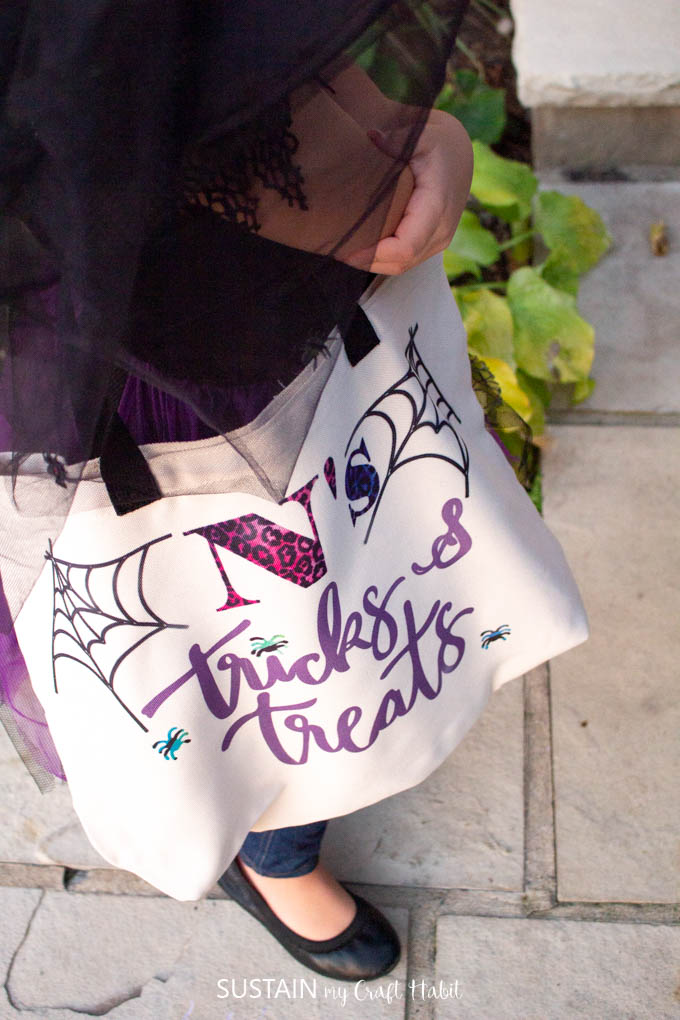
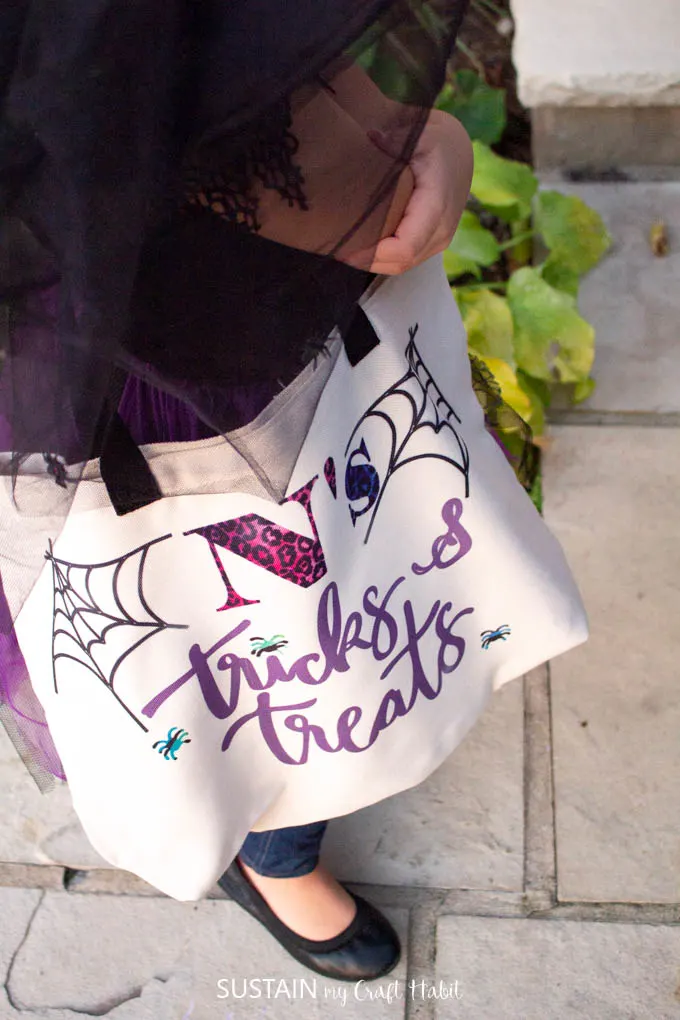
Now my little monsters are all set for the big night out!
The opinions and text are all mine.
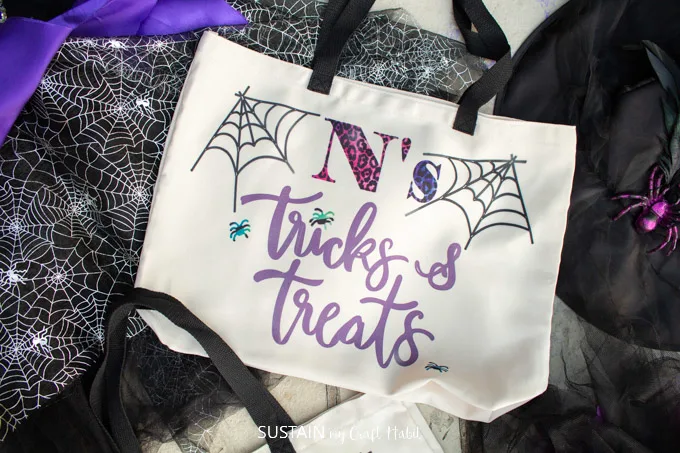
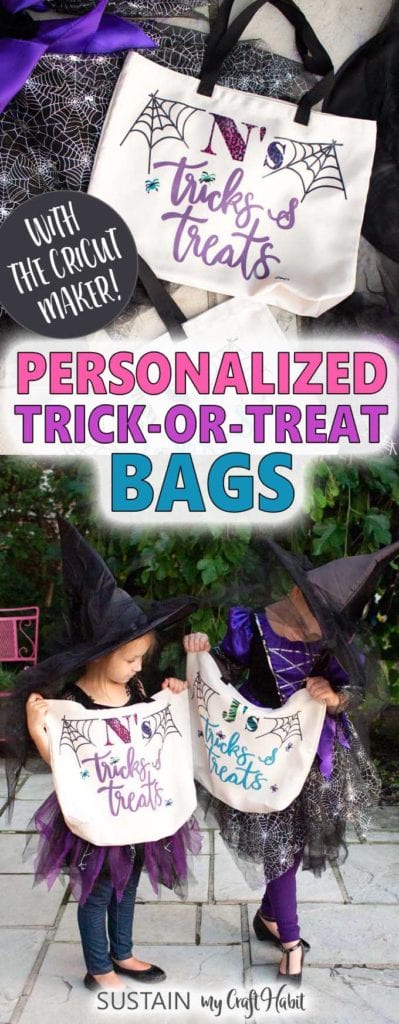
Personalized Trick or Treat Bags for Halloween
Halloween gets scary around our home.
Not because of the ghouls and goblins but because my littlest ones always fight over their trick-or-treat bags!
They inevitably will argue over which bag belongs to whom.
However, this year will be different!
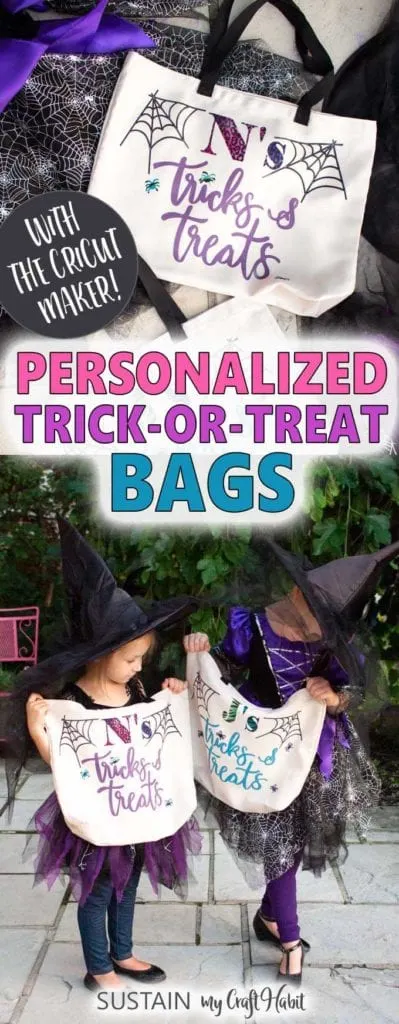
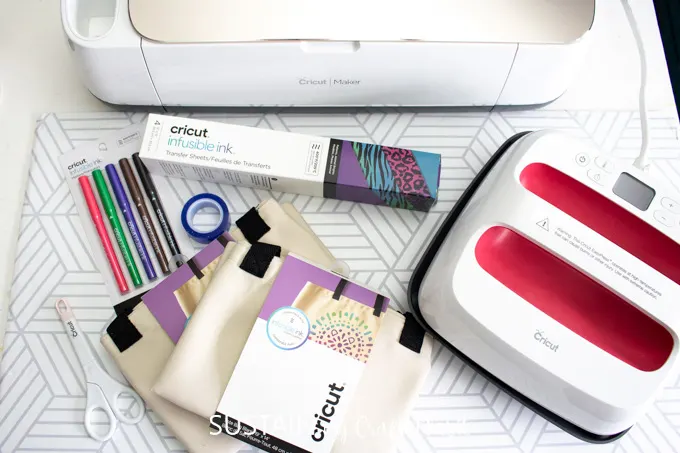
TheCricut Makerhas been such a great addition to my crafting tool box.
Im still learning about all the creative ways it can be used.
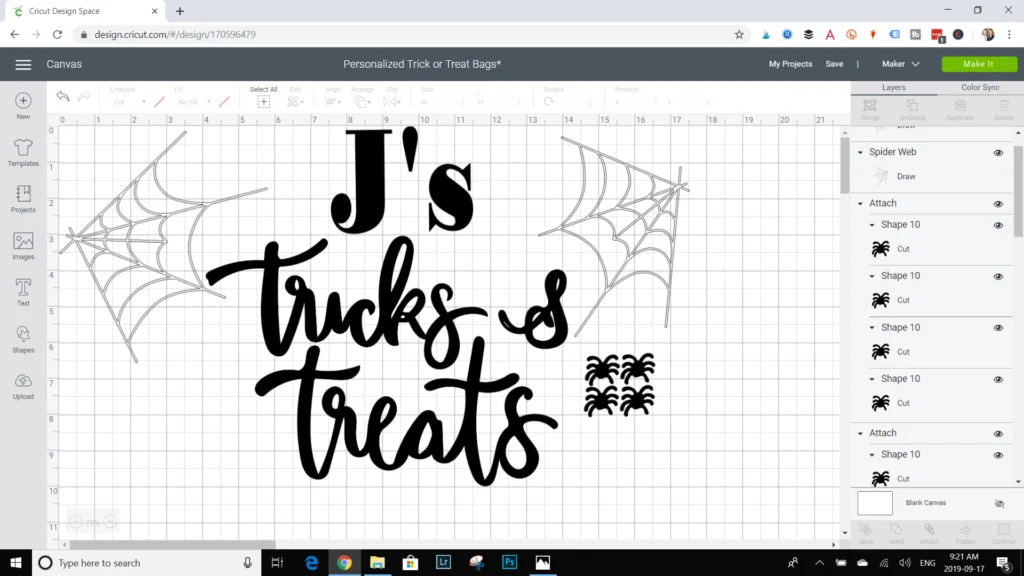
Personalizing some tote bags for Halloween was the perfect opportunity to create with it again.

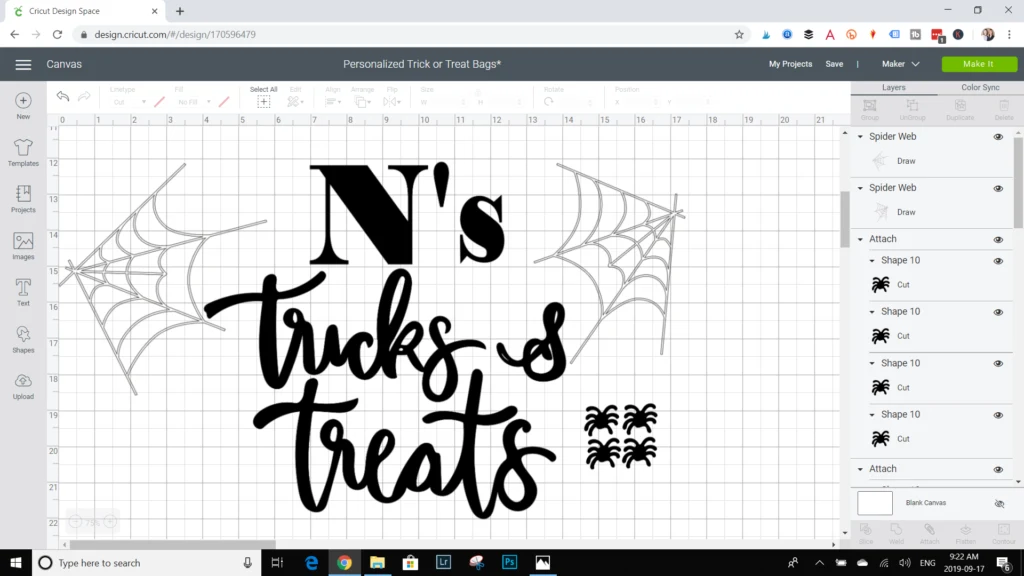
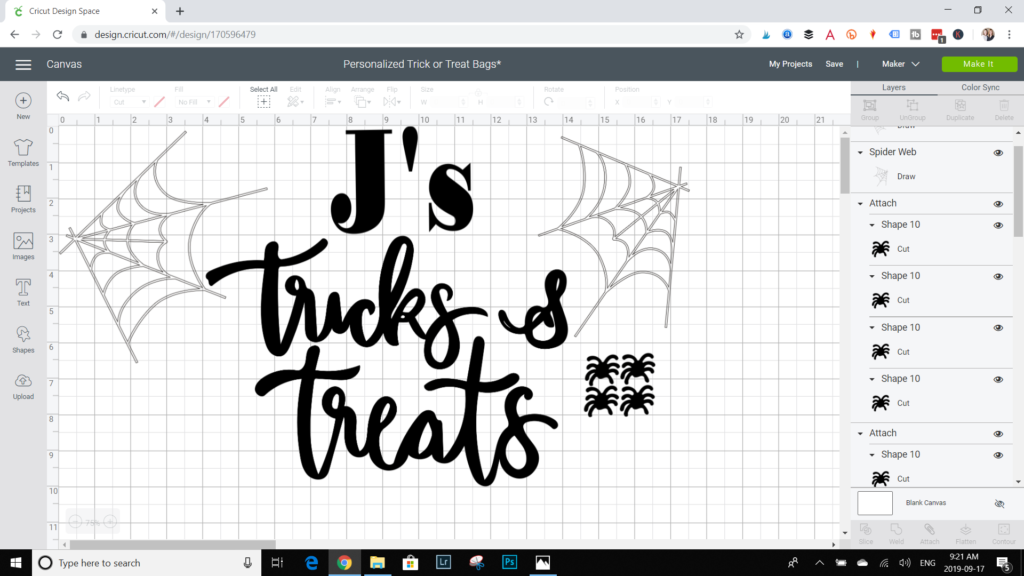
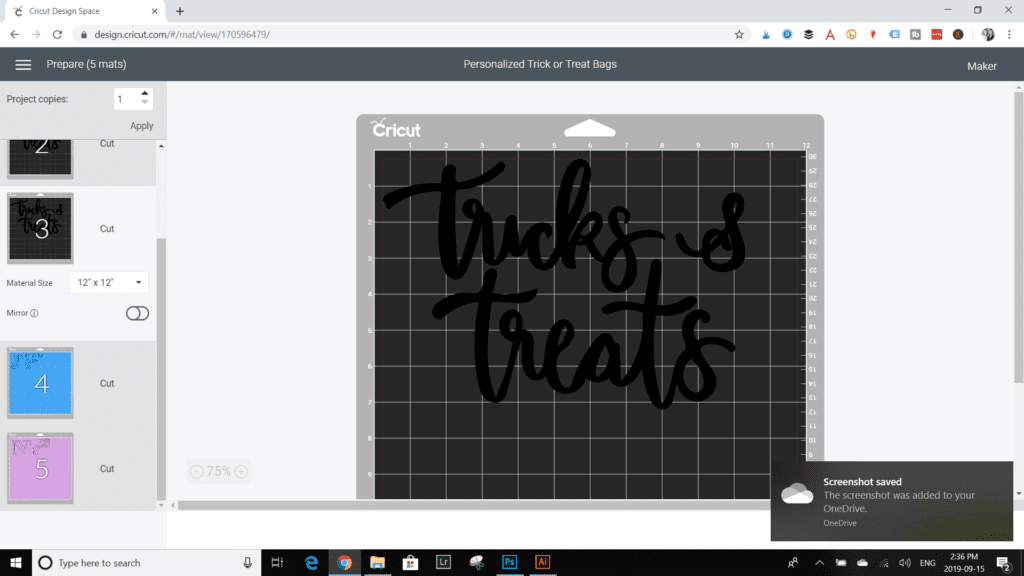
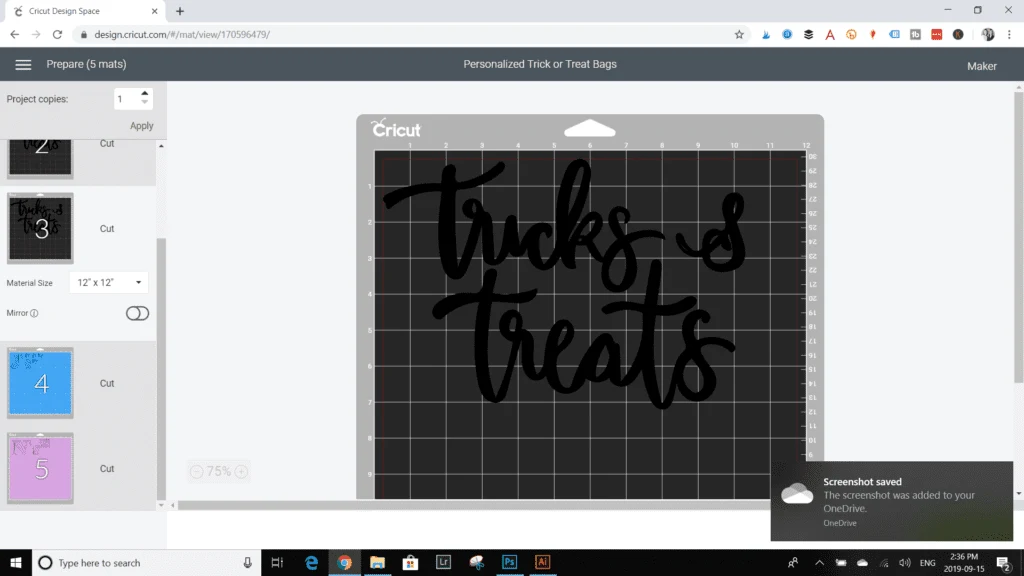
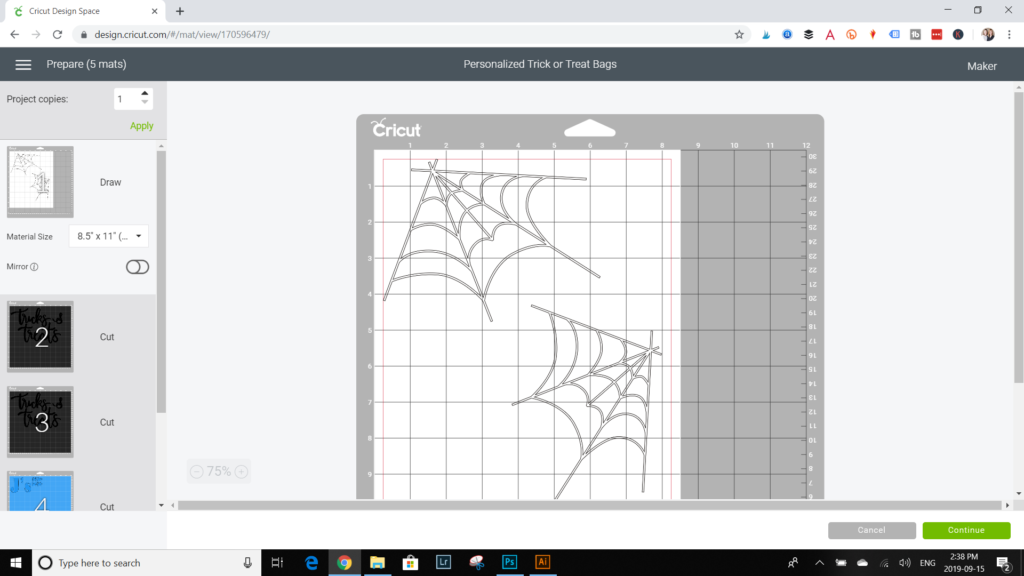
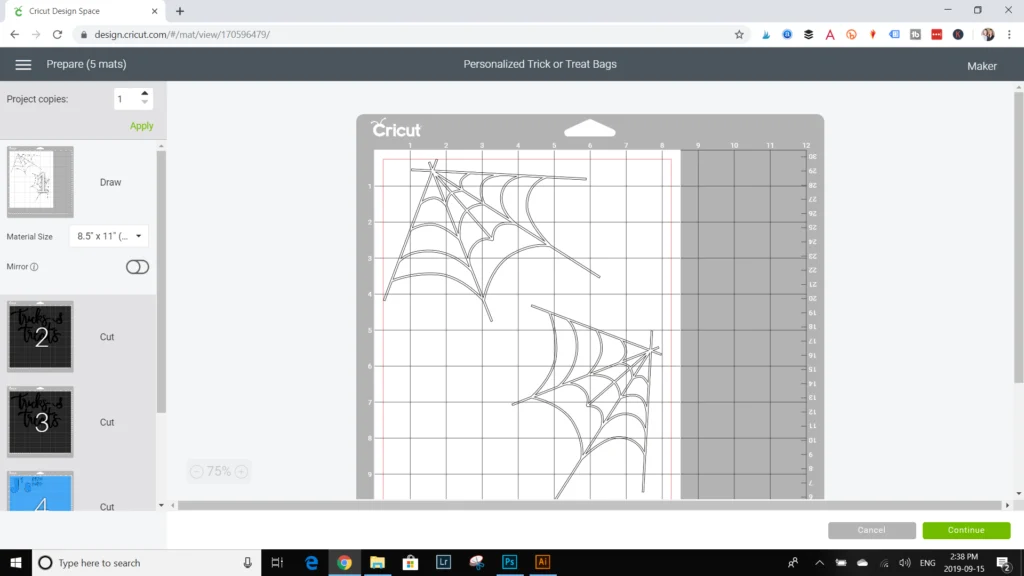
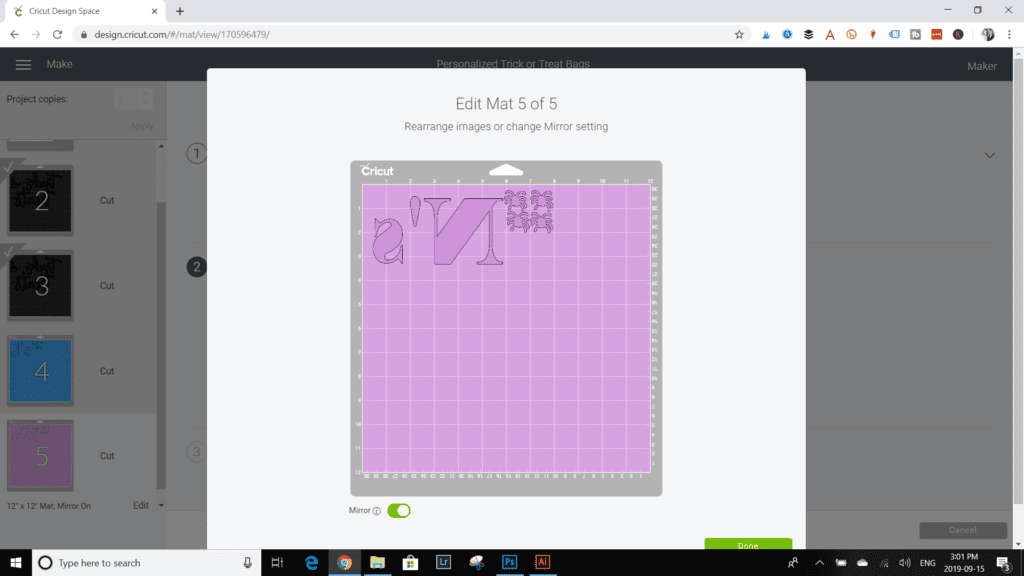
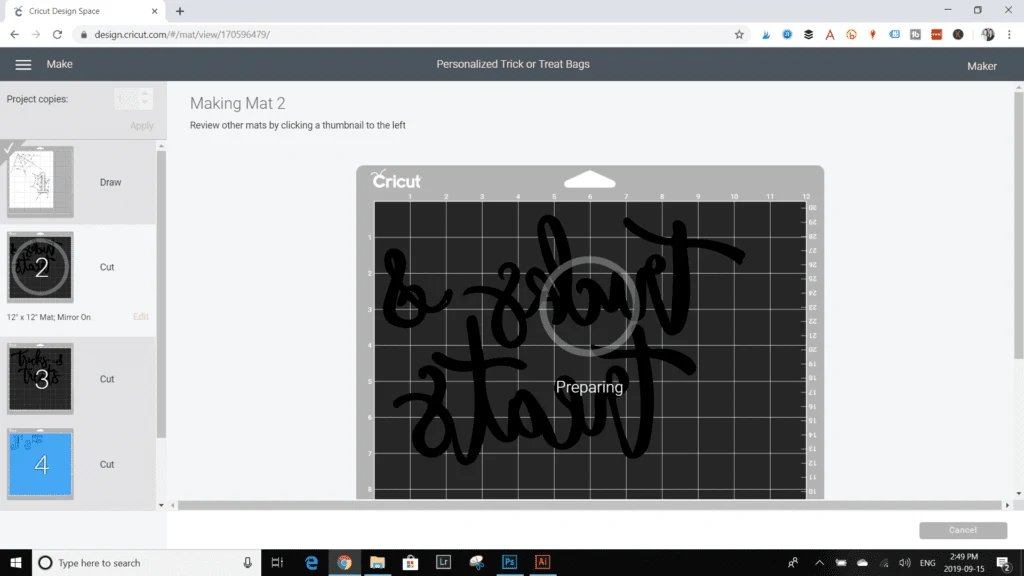
Select Customize in the toolbar to personalize the letters to reflect your little ones name.
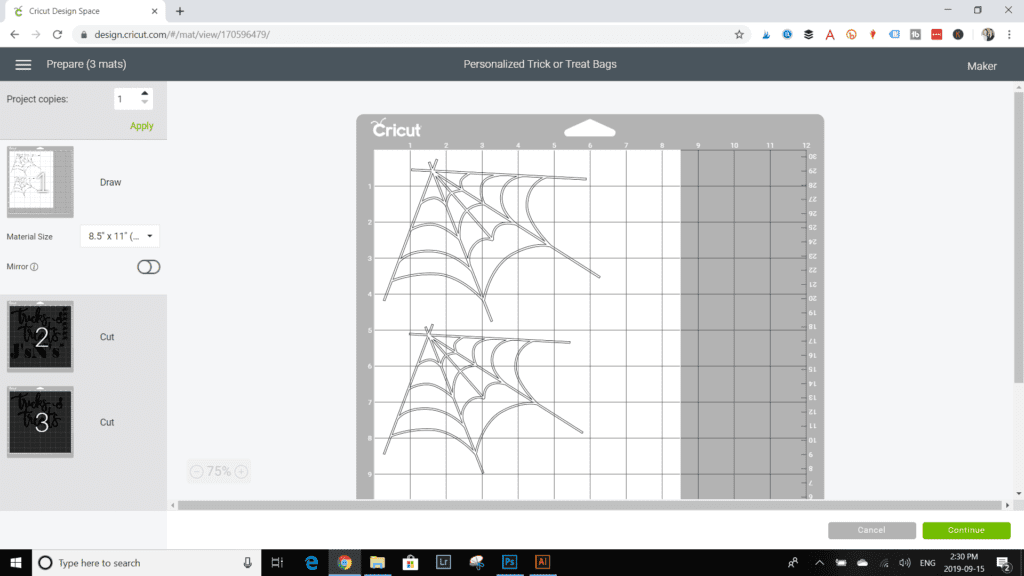
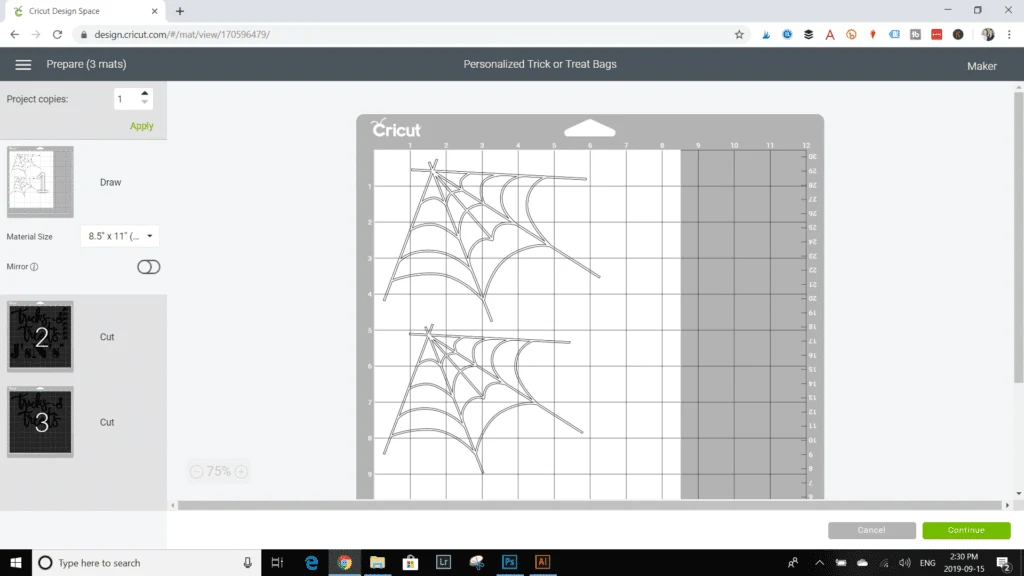
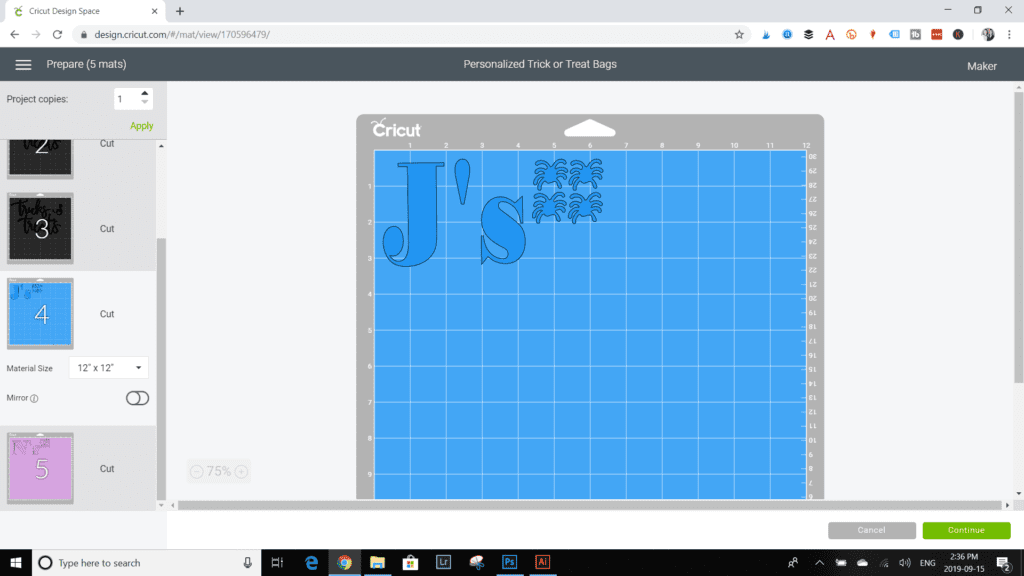
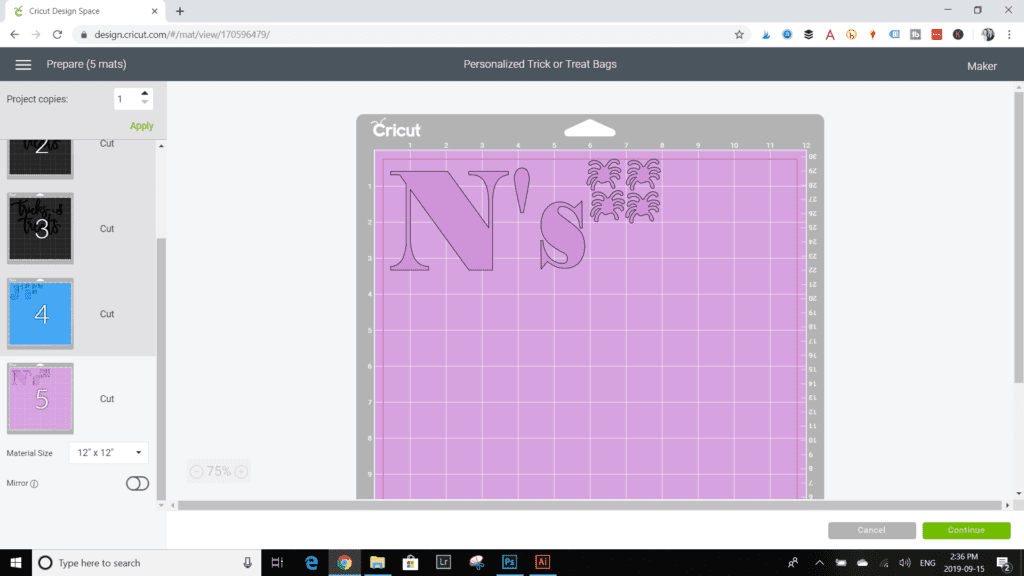
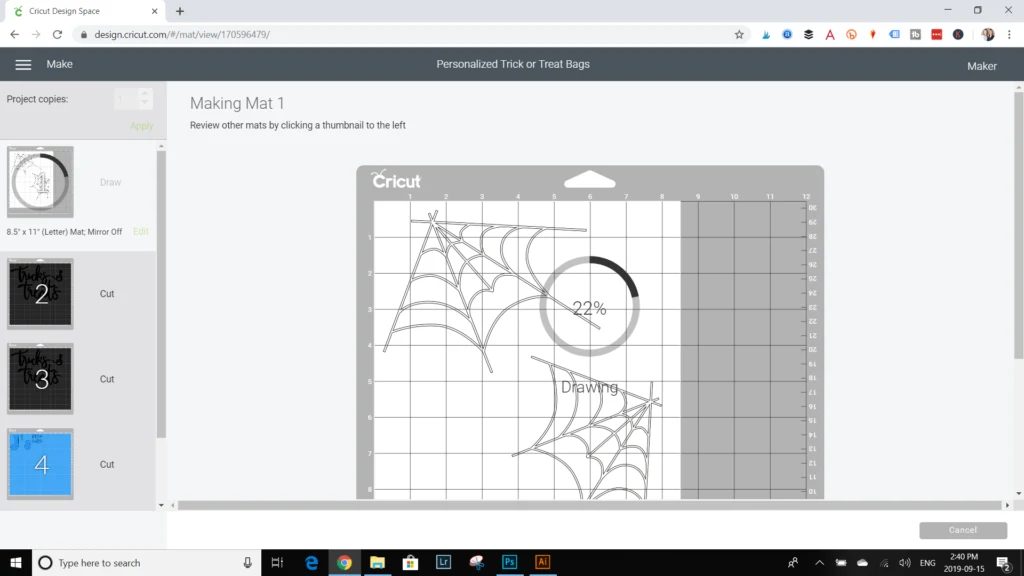
For example, keep the spider webs together on one mat.
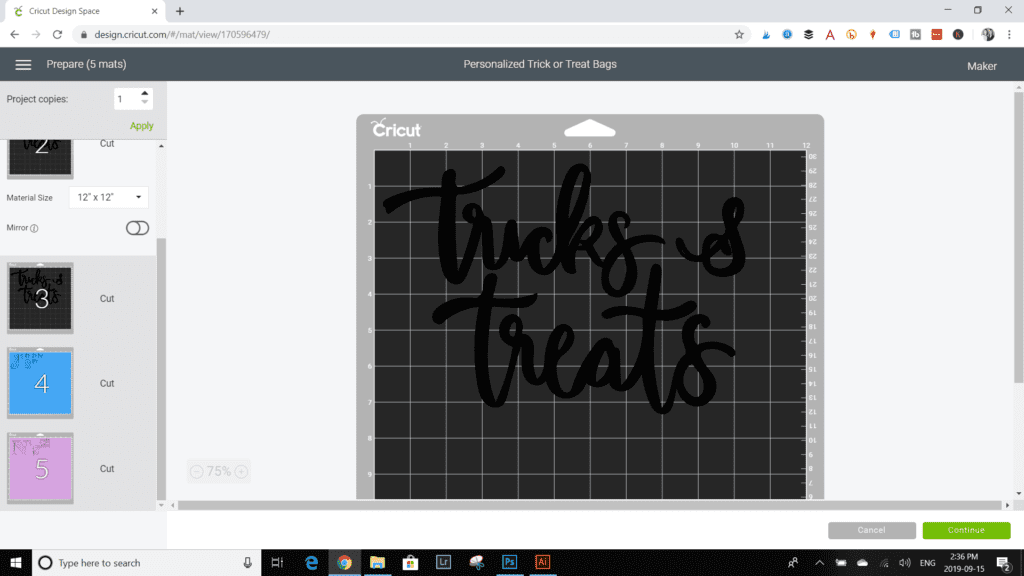
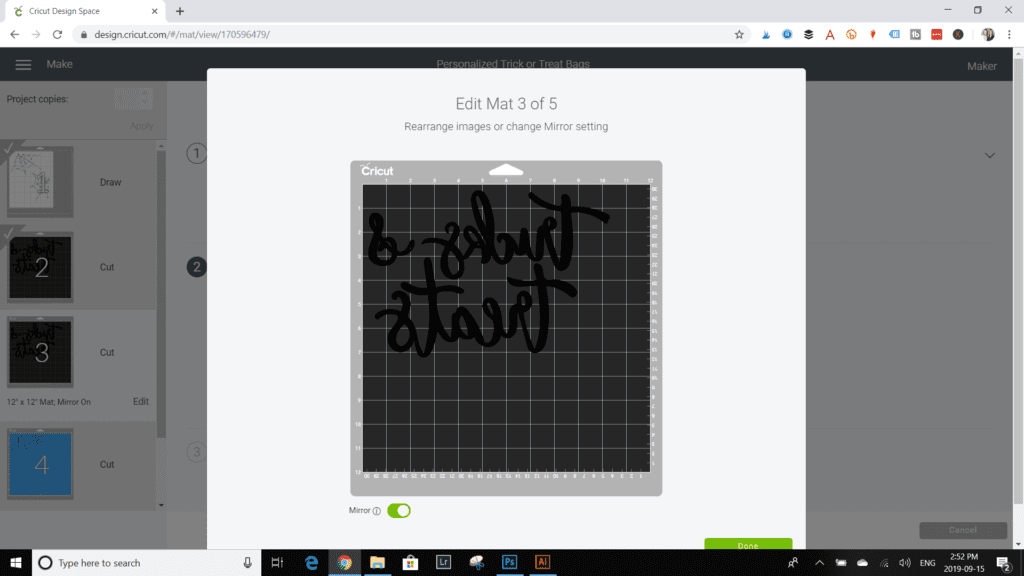
Then right punch the tricks & treats text and move each one to a different mat.

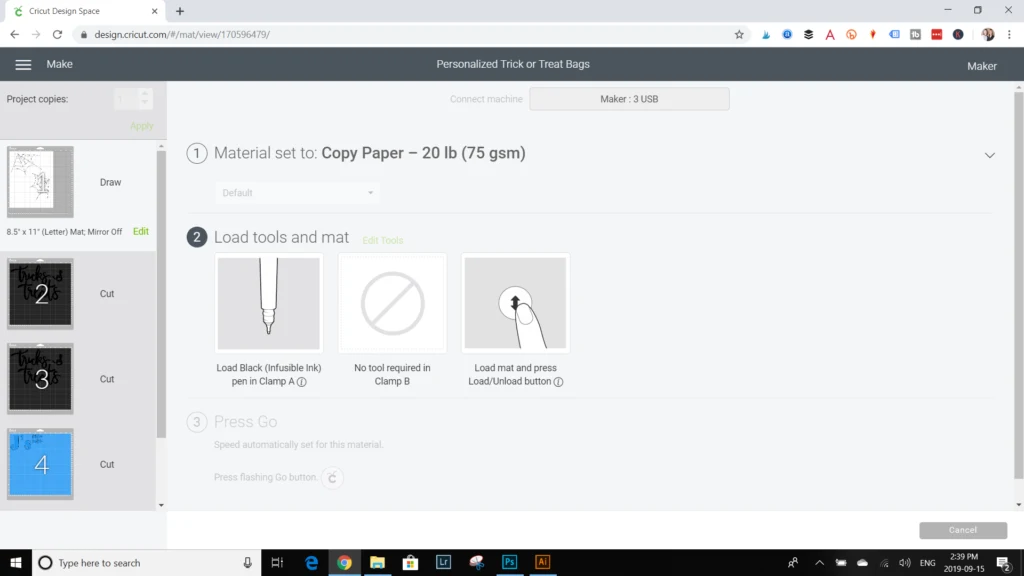
Set the material option to copy paper.
Place a plain sheet of laser ink copy paper on to the standard grip mat.
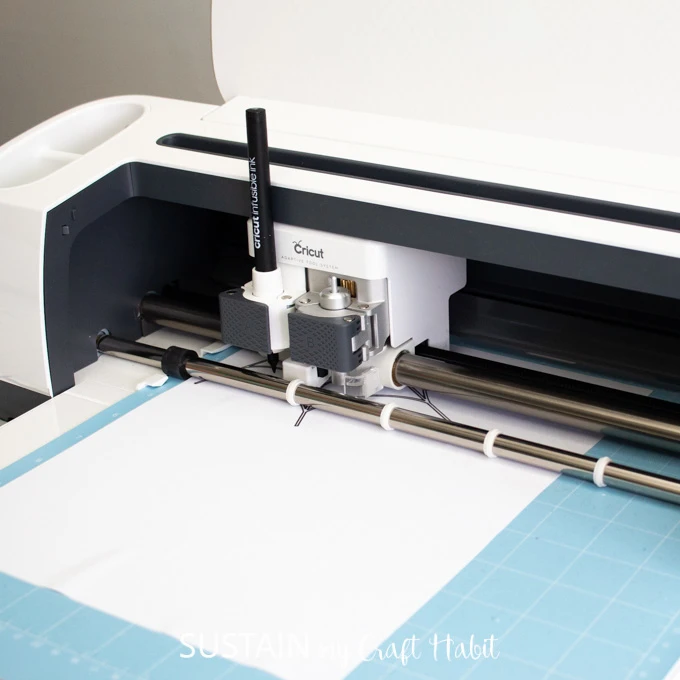
Insert the marker color indicated on the screen in clamp A and upload the prepared mat to the Maker.

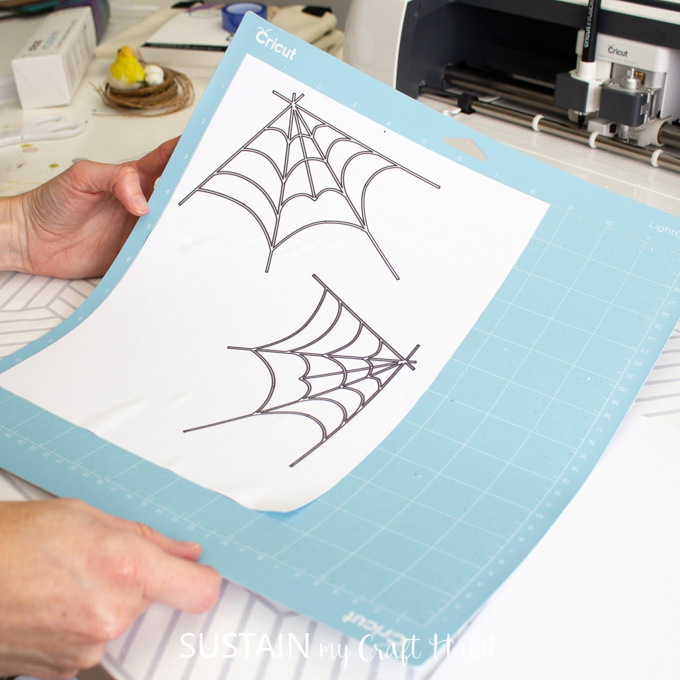
grab the start button on theCricut Makerto begin transferring the spider web design on to the paper.
Unload the mat when complete and carefully peel off the copy paper and put aside for the time being.
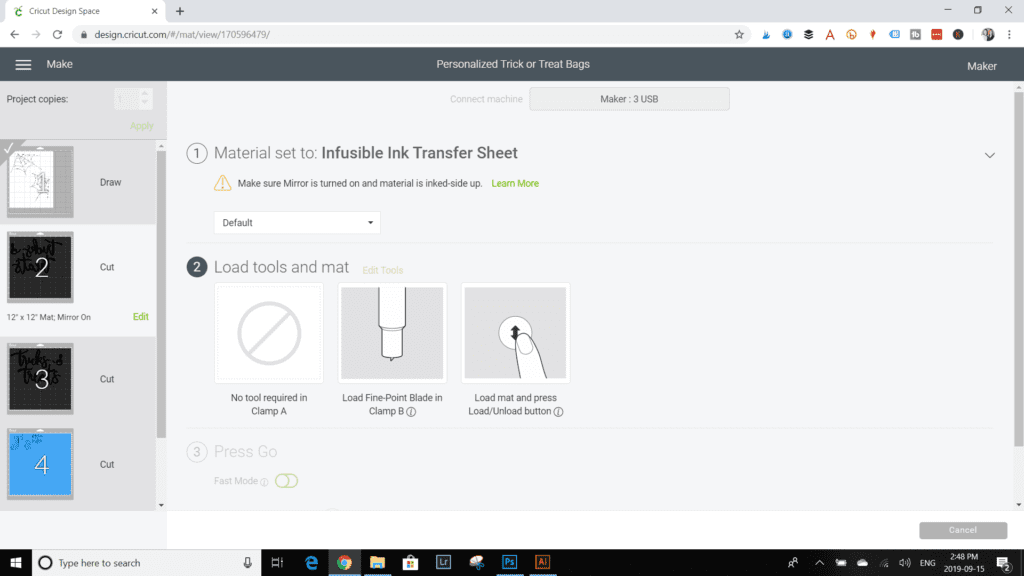
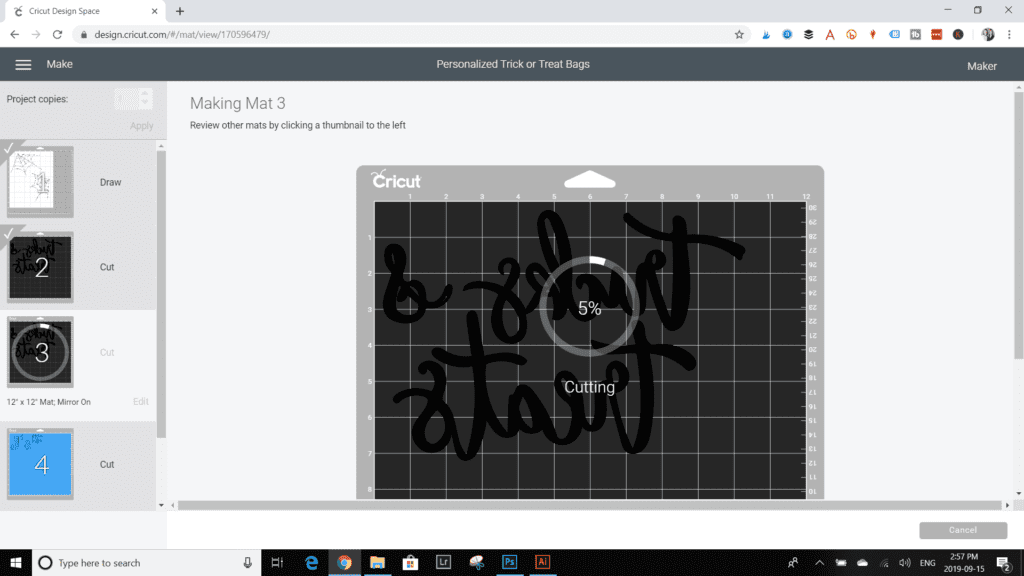
Be sure to turn on the toggle button to flip the text.

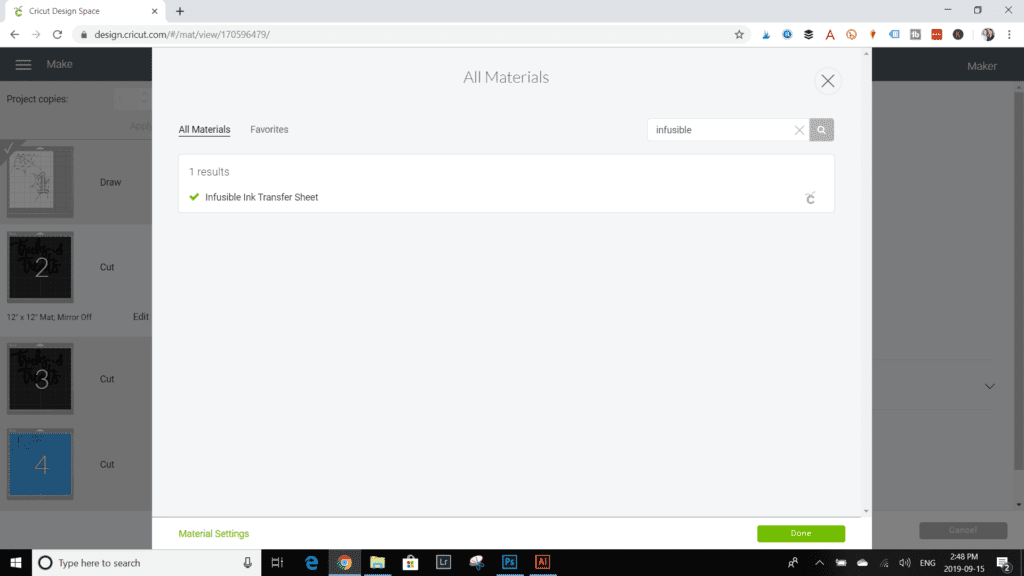
Set the material option to Infusible Ink Transfer Sheet.
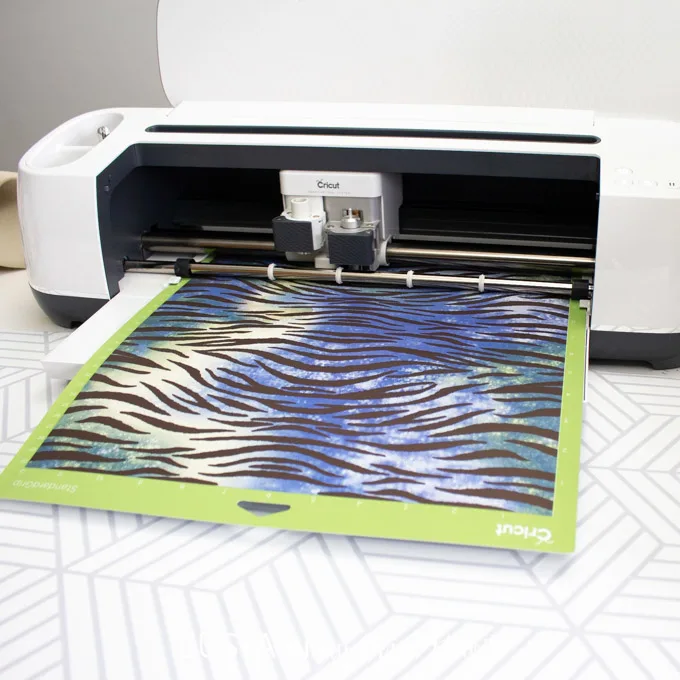
Ensure the fine point blade is inserted in the Maker and load the prepared mat.
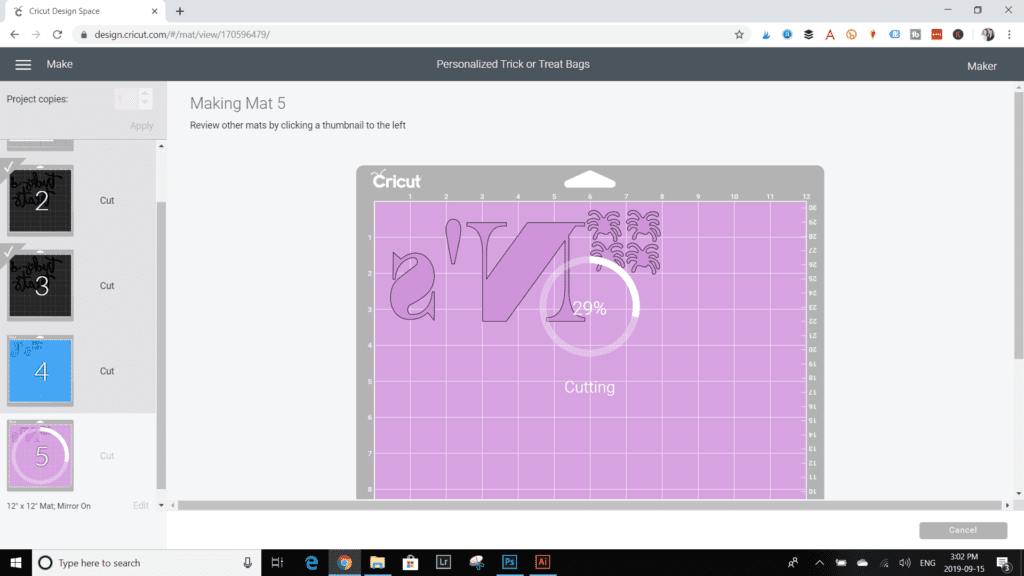
Continue with the remaining pattern pieces by following the prompts in Design Space.
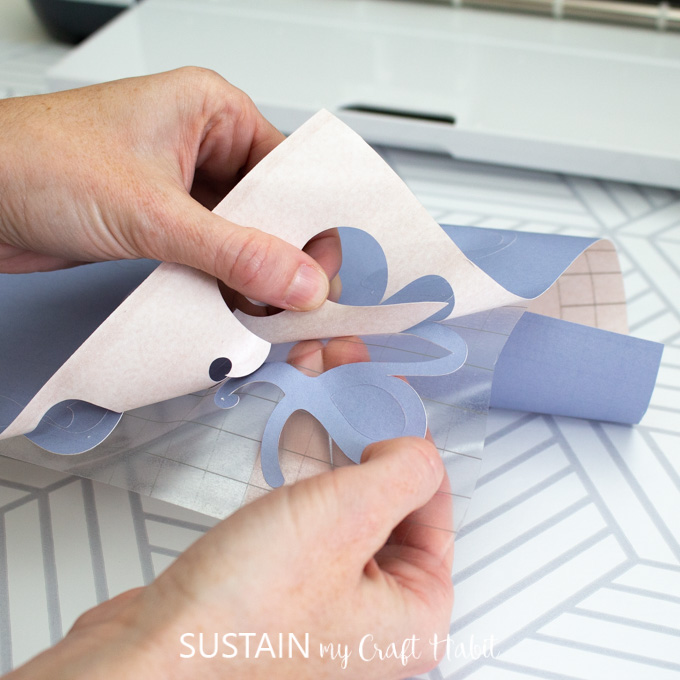
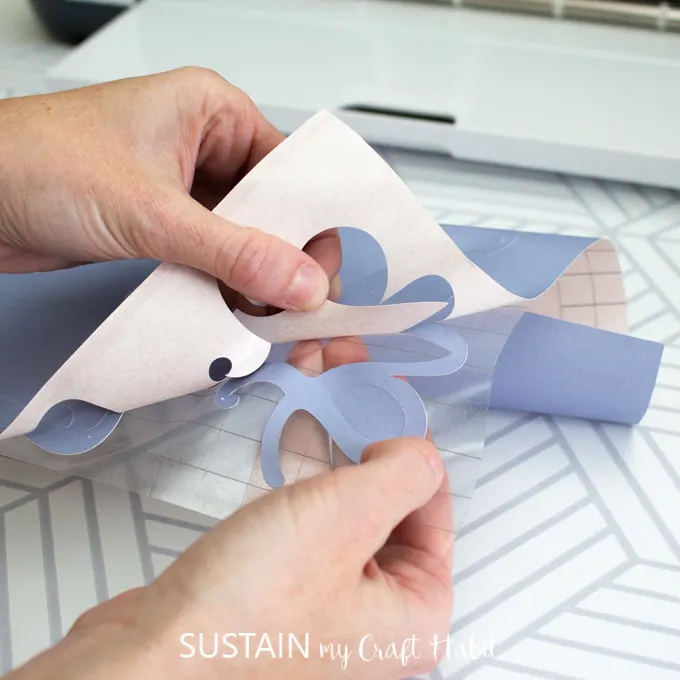
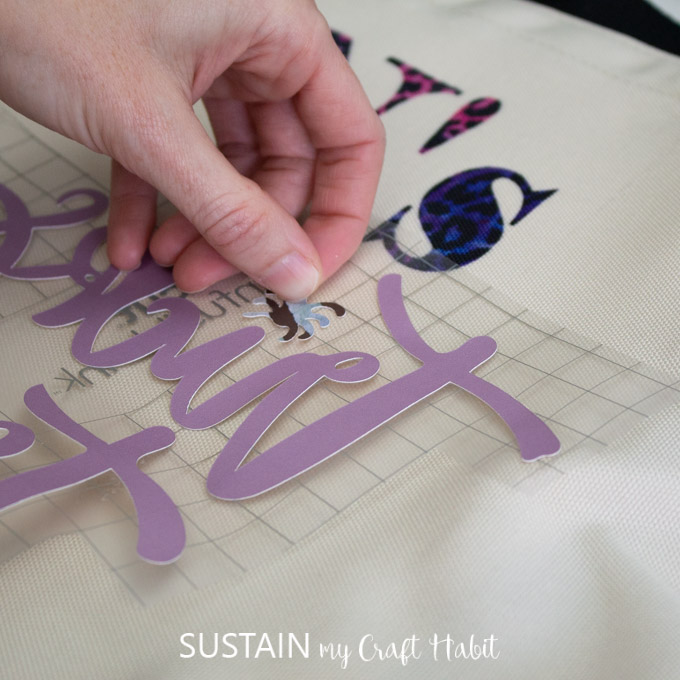
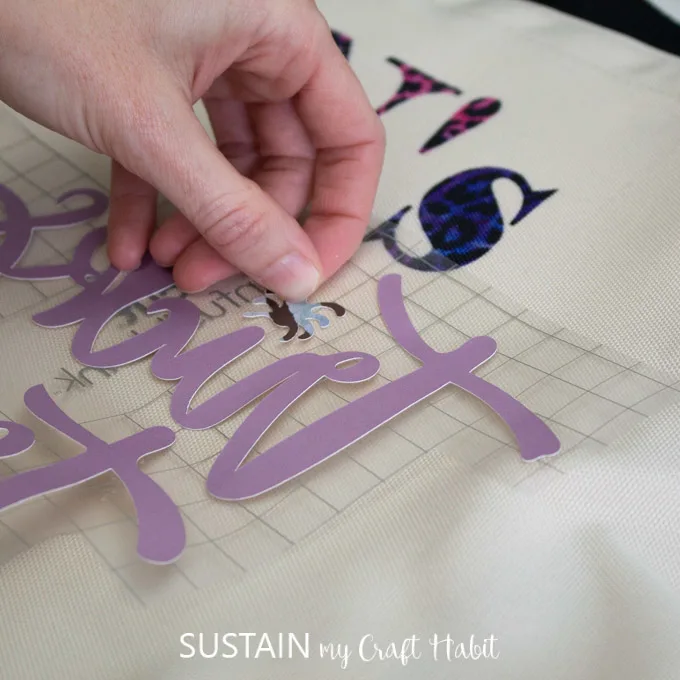
Unlike vinyl, there is no need to use the weeding tool with infusible ink transfer sheets.
Simply use your fingers to peel away the excess part of the cut design.
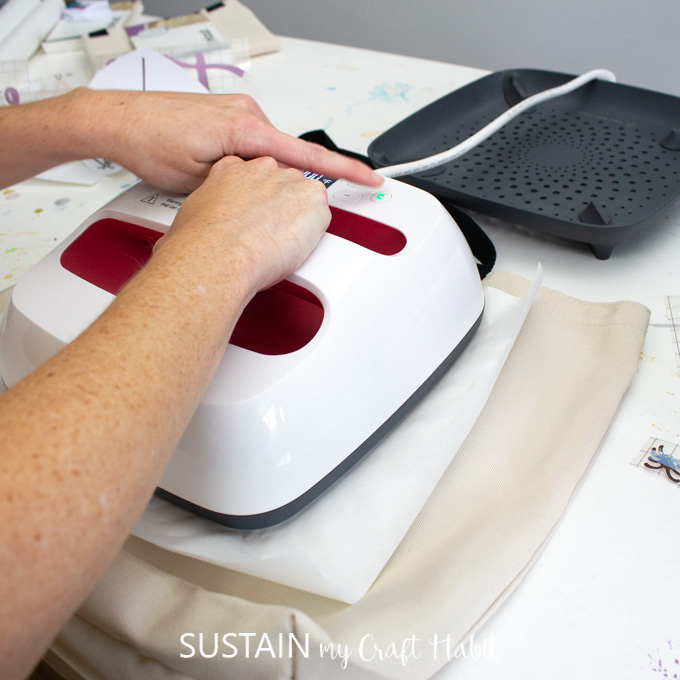
Preheat the EasyPress2 to 400F and set the time to 40 seconds.
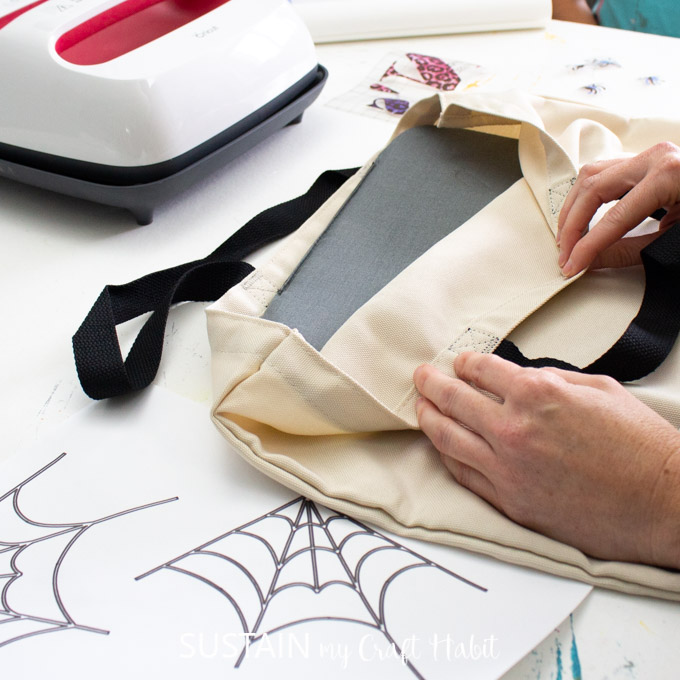
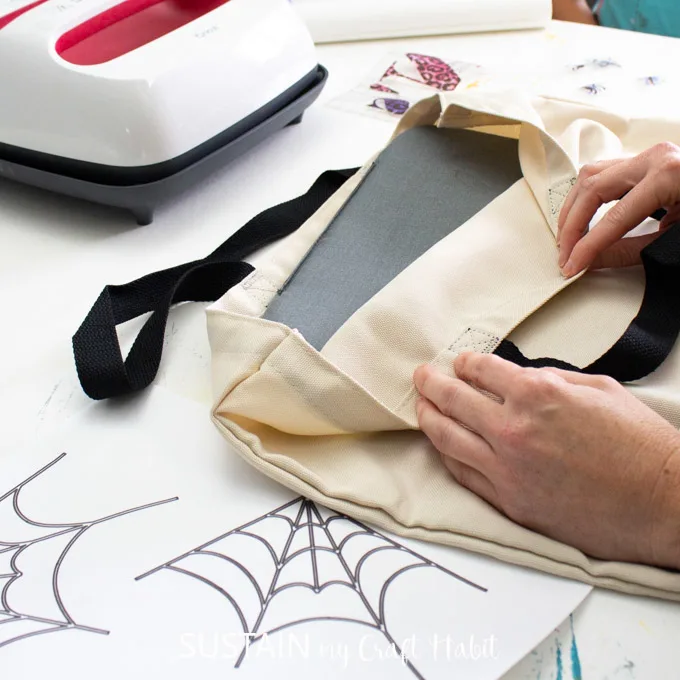
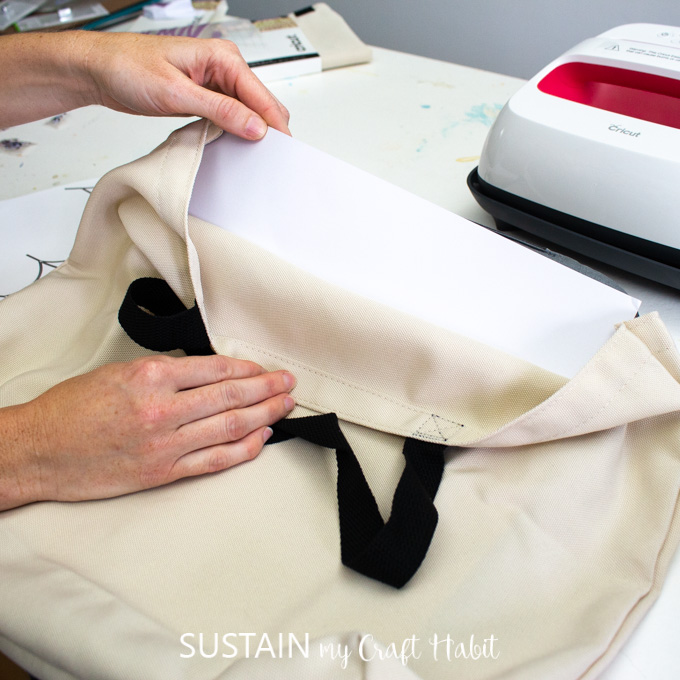
Place the tote bag down on top of the mat and insert the cardstock into the bag.
This is important in preventing bleedthrough from the ink.
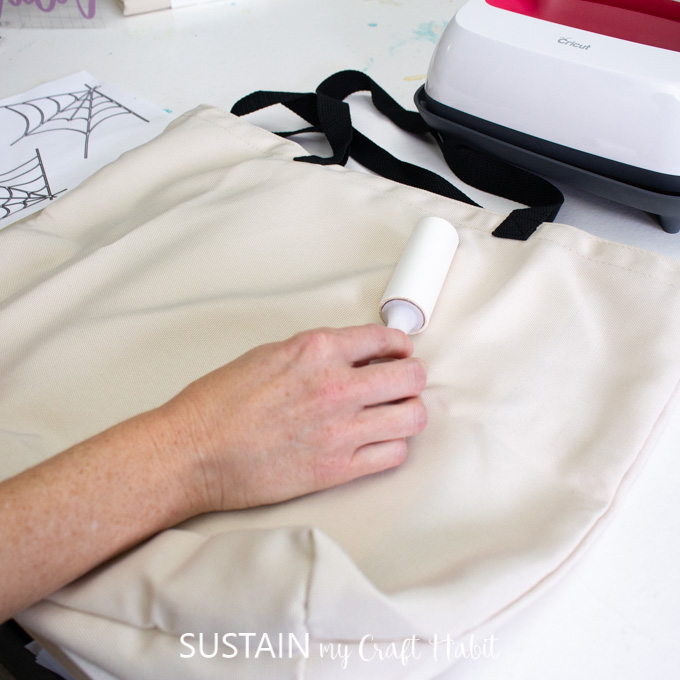
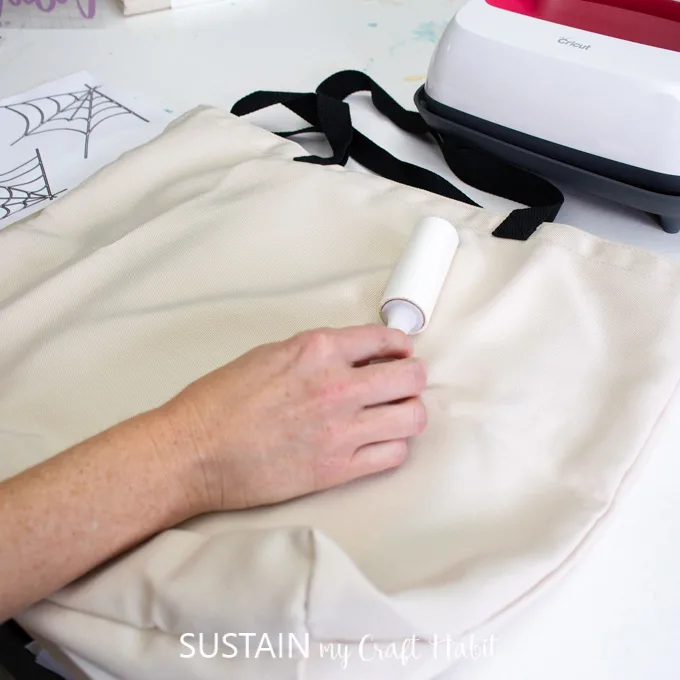
Use the lint roller over the tote bag to eliminate any loose fibers before heat pressing.

Remove the butcher paper carefully as it may be warm to the touch.
Be sure to preheat all areas you will be placing the design.
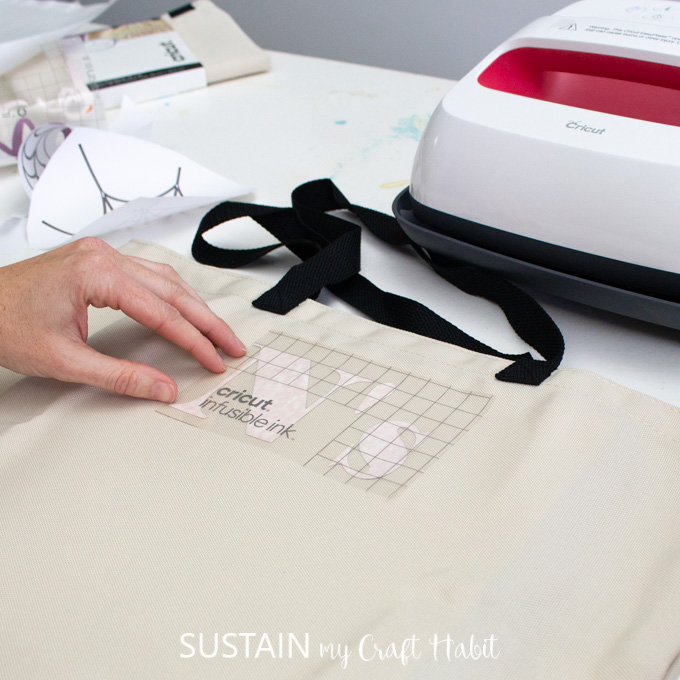
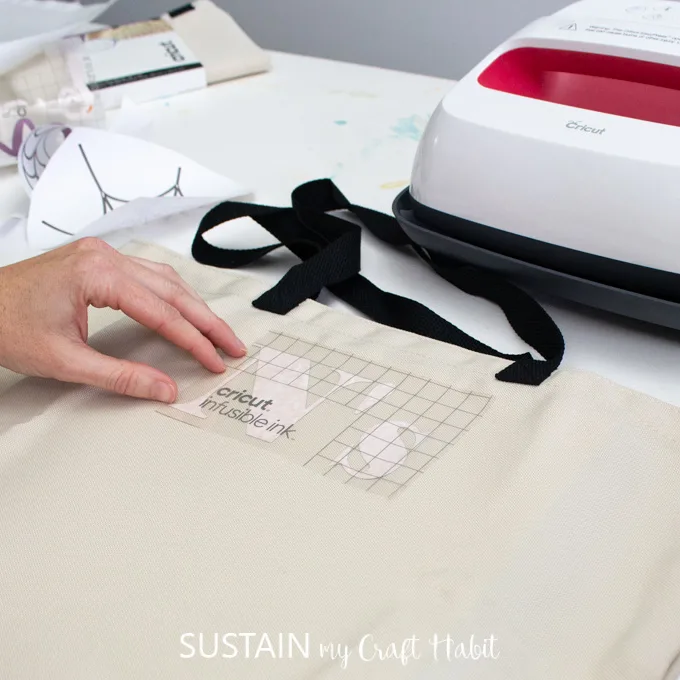
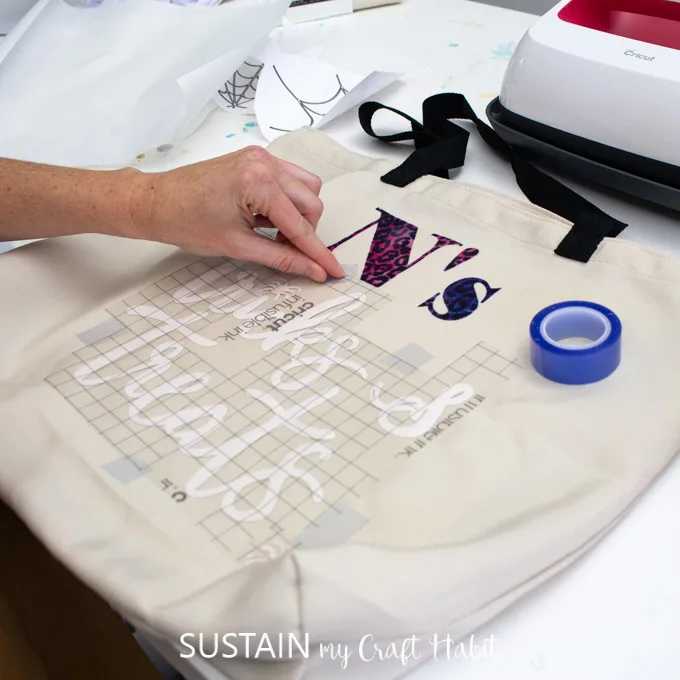
Position the prepared design face down on to the tote bag with the liner side facing up.

Since our EasyPress2 is smaller than the full design, we had to apply the designs in sections.
Lift the press and carefully remove the butcher paper.
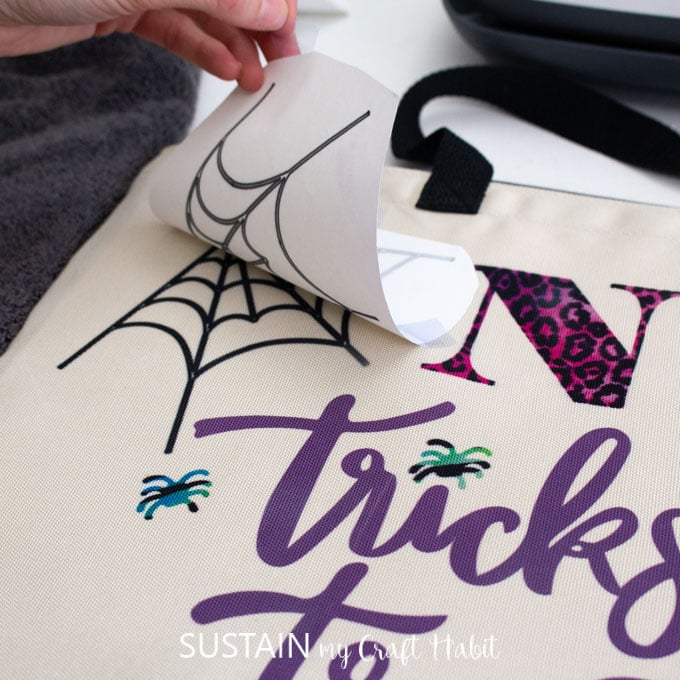
Wait for the surface to cool completely before peeling away the liner.

Move on to the other pattern pieces next.
Position the design face down (shiny backing side up).
Lastly, position the spider web pattern with the ink side down at the top right and left corners.
Tape the pieces in place.
Repeat for the other spider web pattern on the opposite corner.
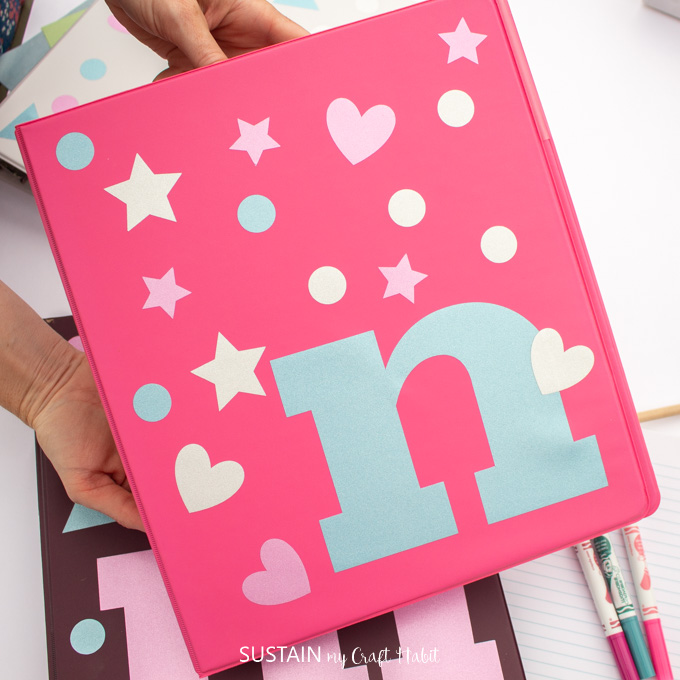
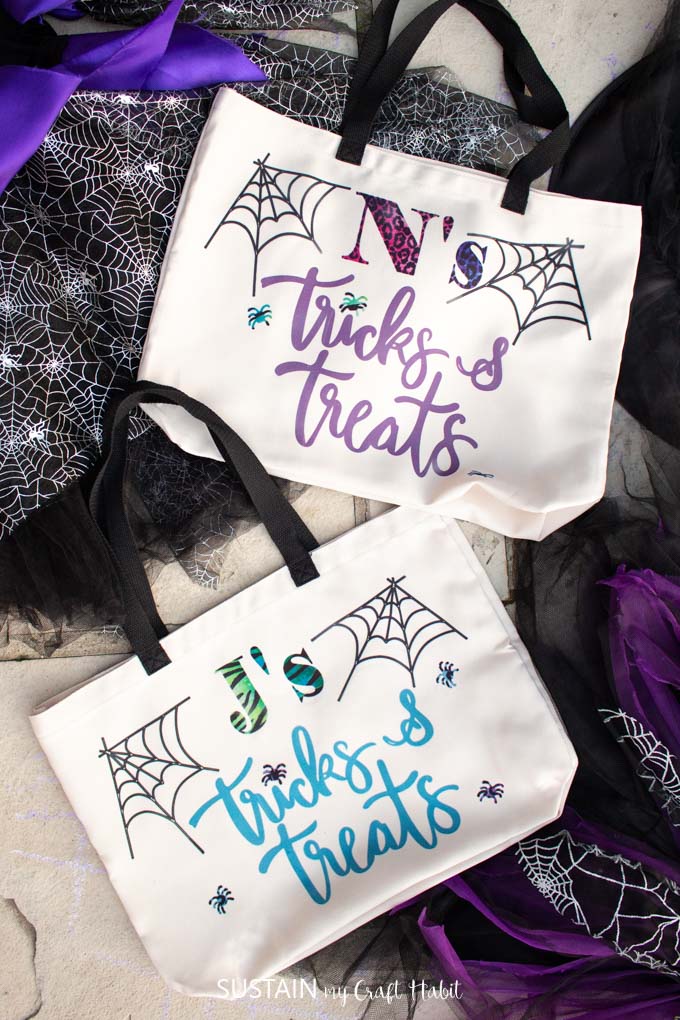
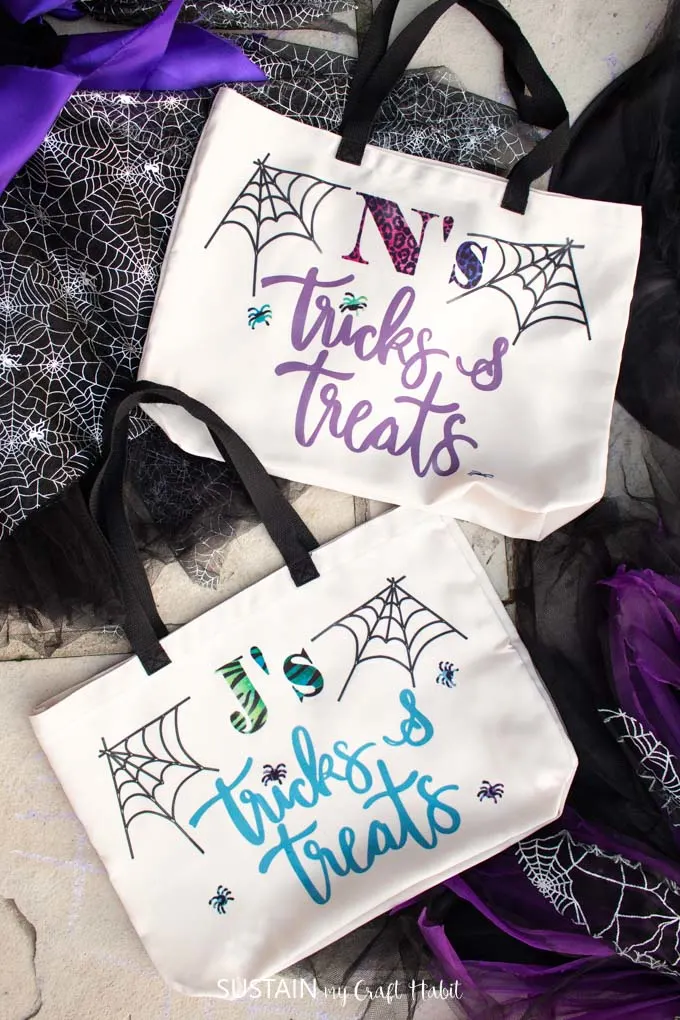
Our personalized trick-or-treat bags turned out absolutely beautifully.

And the girls loooove them!
Theyre only sad that it isnt quite time yet to go collecting candy :).
Be sure to check out Cricut.com for all of your Halloween personalization needs!

Are your little goblins excited for trick-or-treating?
Pin it for later!