Wooden DIY Planter Box
You know we love our woodworking projects here at Sustain My Craft Habit!
NOTE: Use the coupon code AXISCRAFT to receive 10% off plus free shipping!
Since theyre pressure-treated, theyre perfect to use for outdoor projects.
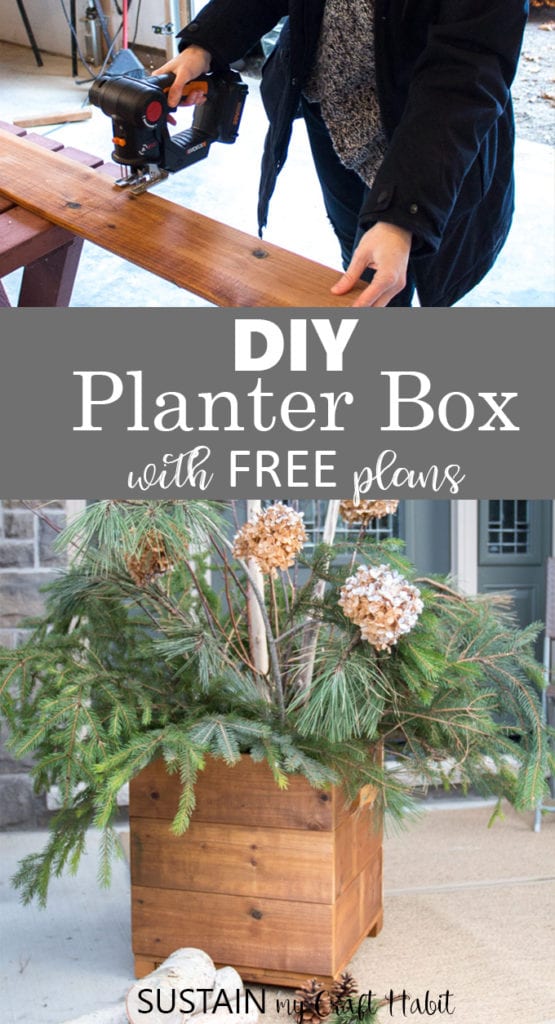
Scroll on down for the full how-to tutorial includingfree DIY planter box plans.
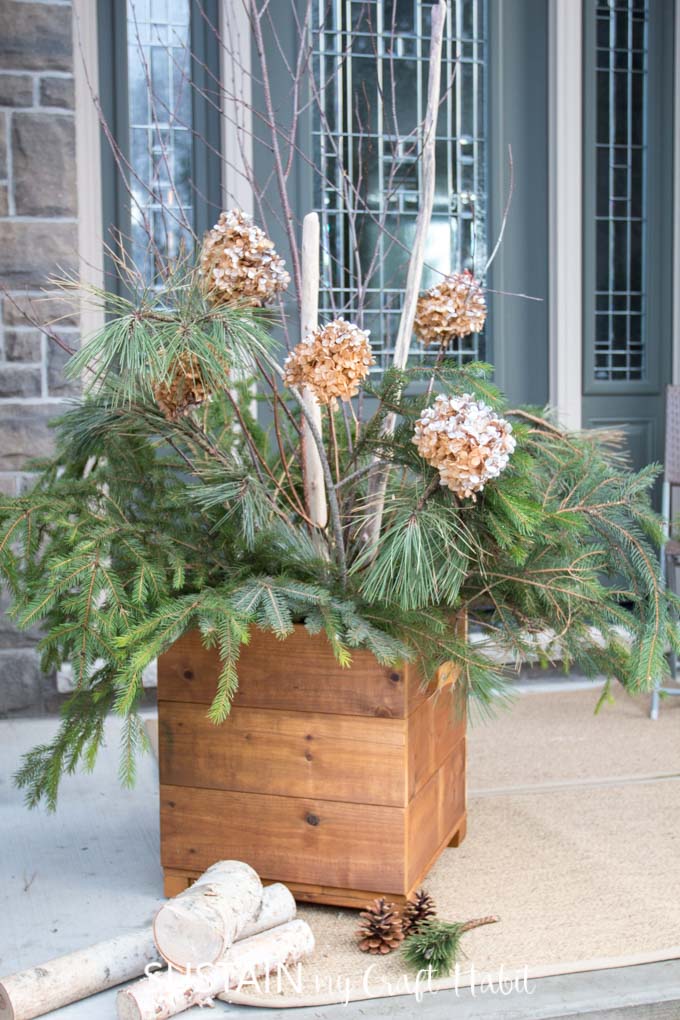
Were looking forward to using our new DIY planter with the changing seasons.
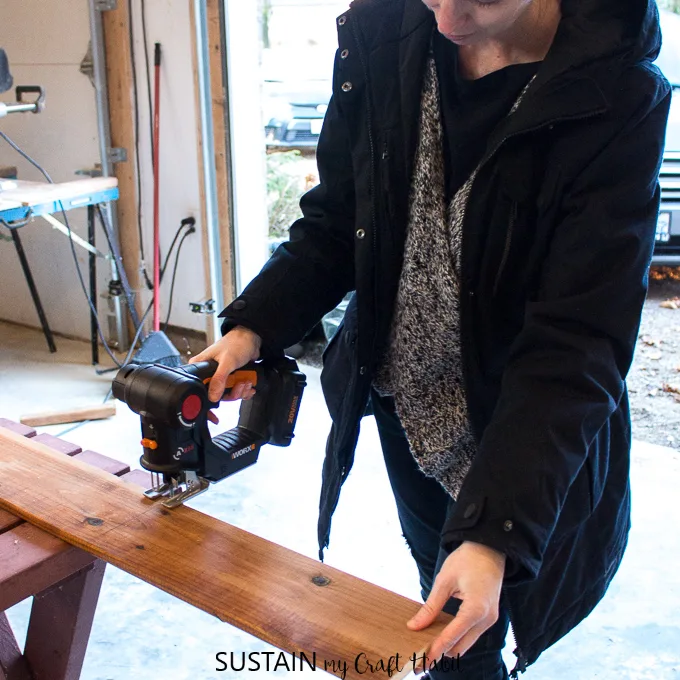
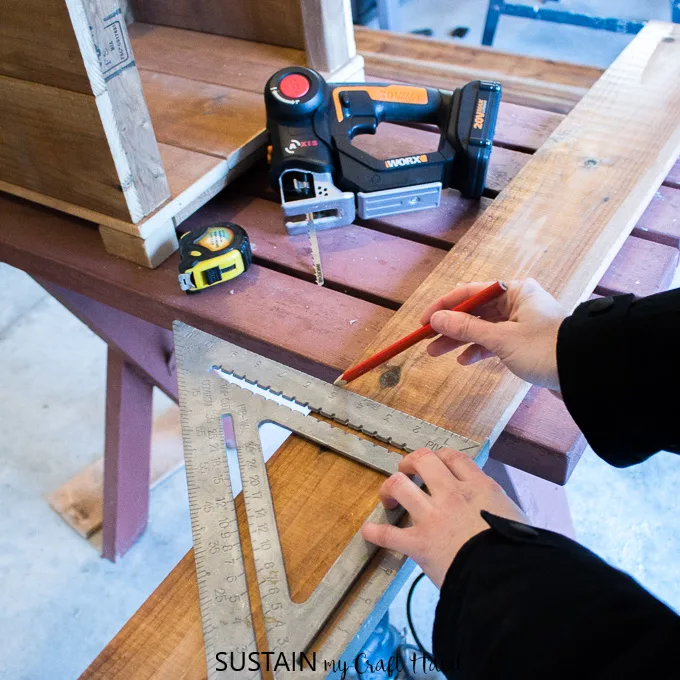
A jigsaw is ideal for cutting curved shapes in wood up to about 34 thick.
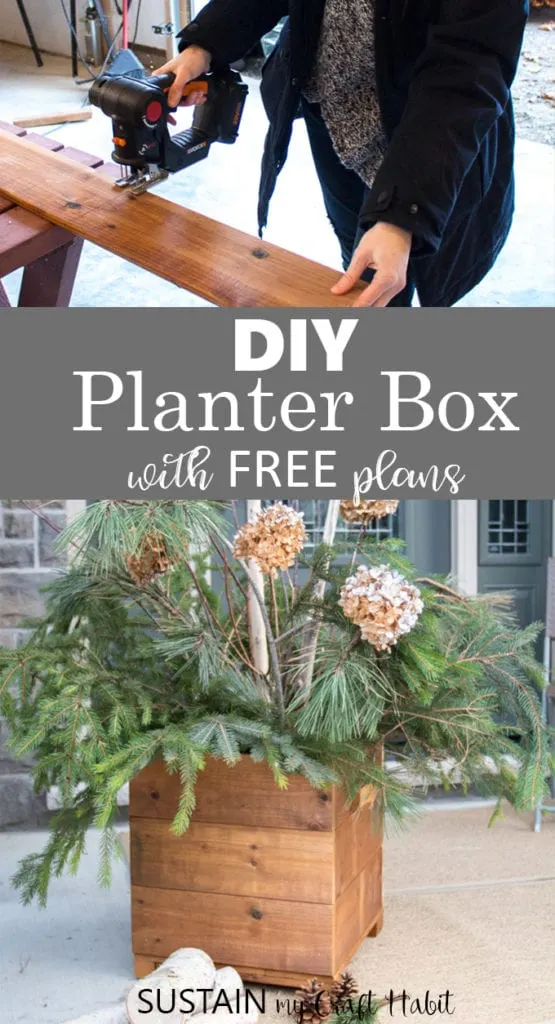
We use a jigsaw to make ourdriftwood mirrorsanddriftwood wreathsfor example.
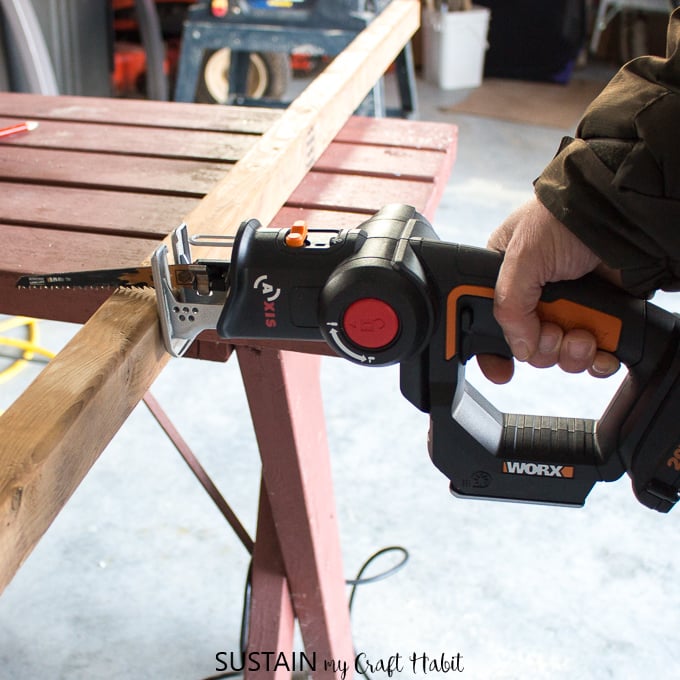
The Reciprocating Saw variation is ideal for cutting through branches or PVC piping.
All opinions are our own.
Read ourfull disclosure statement here.
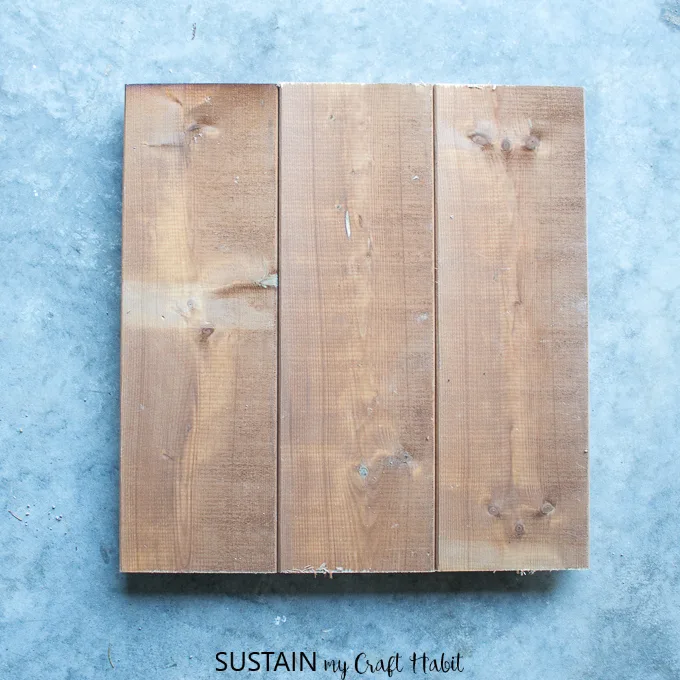
Using a palm sander, sand all rough edges until smooth.
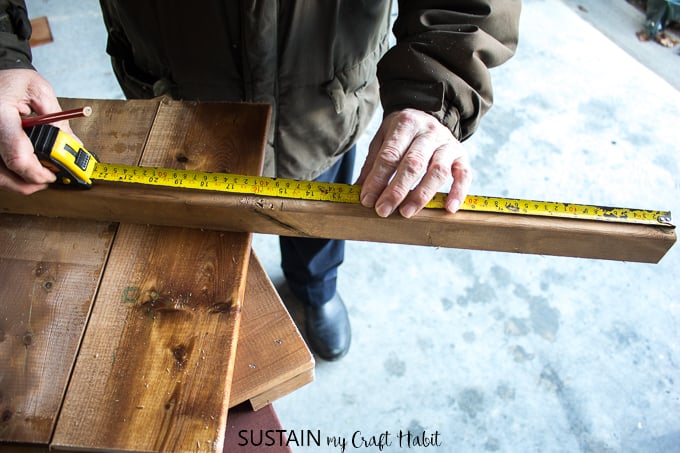
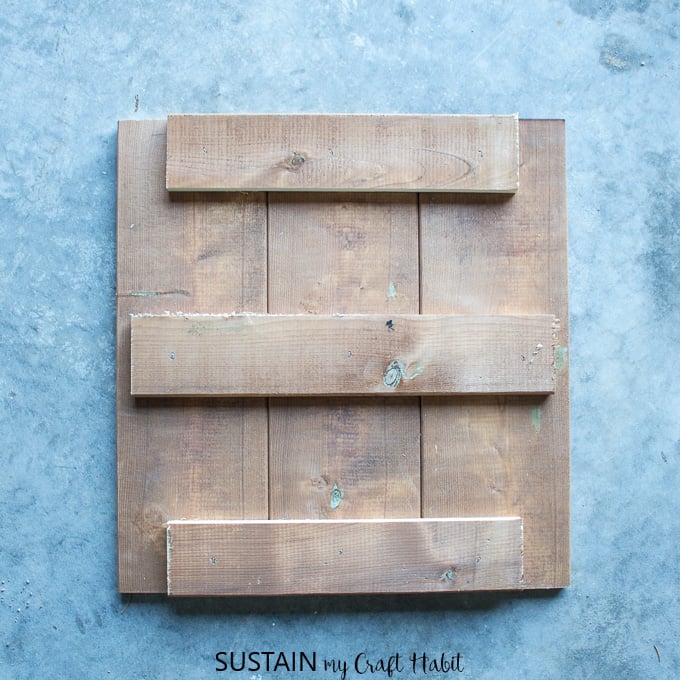
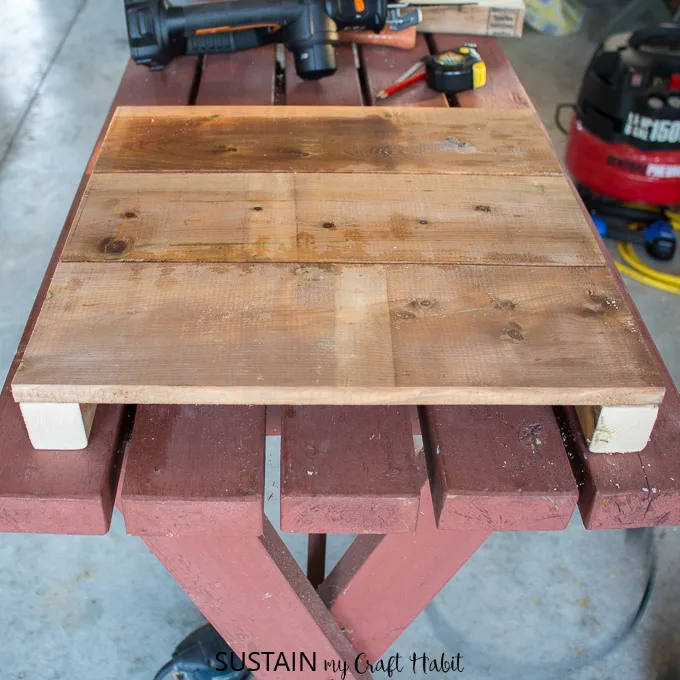
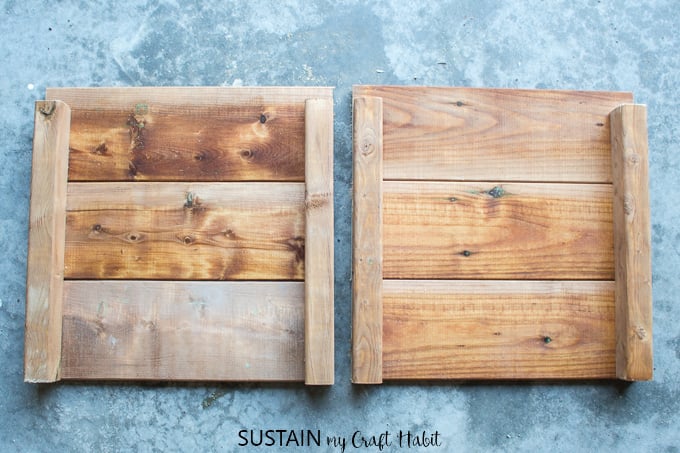
Align the 3 pieces of 16.75 long fence boards on a flat surface.

Overlap the 12 long fence boards with the other boards as shown (in the opposite direction).
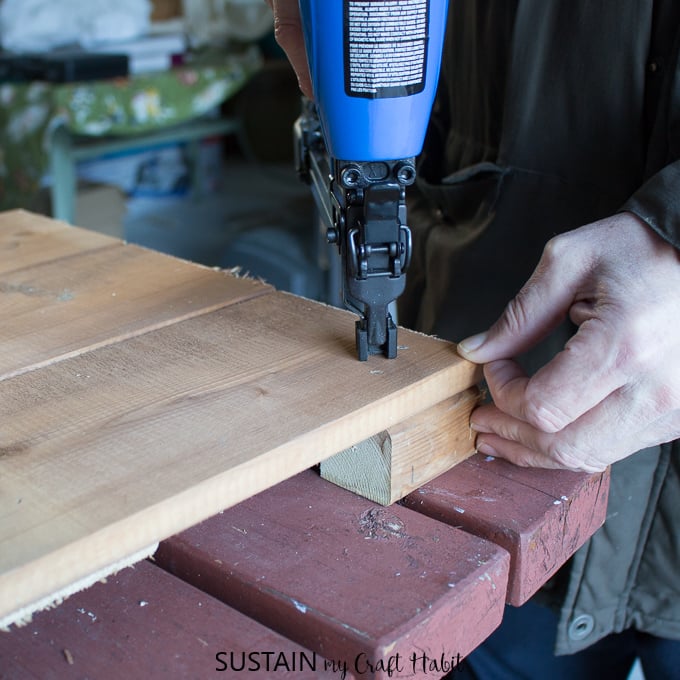
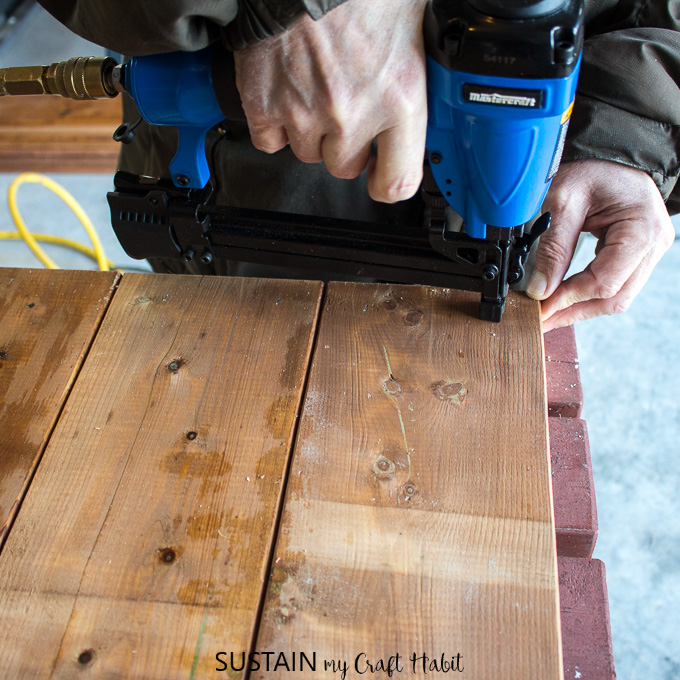
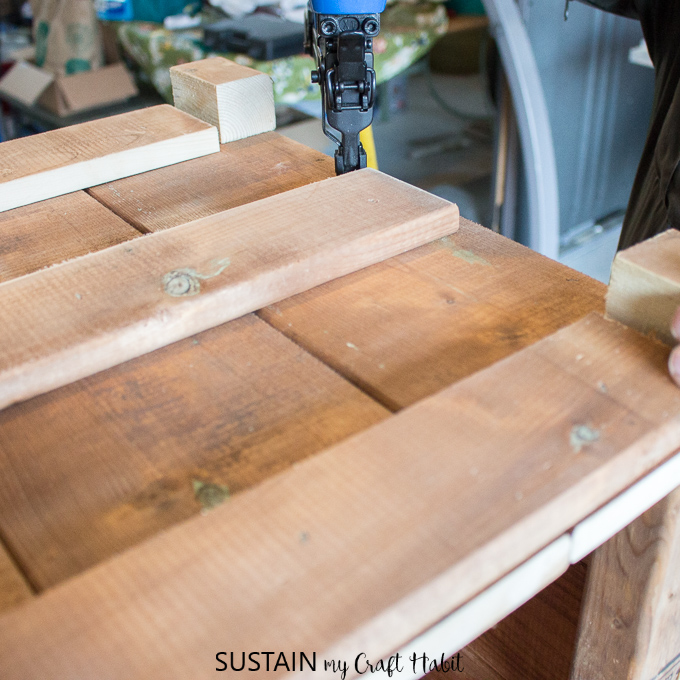
Using a staple gun, staple the overlapping boards together.
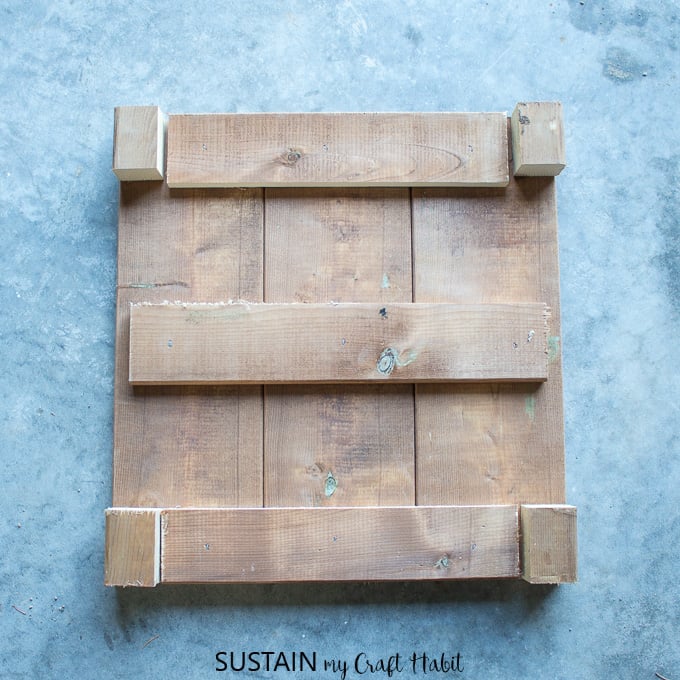
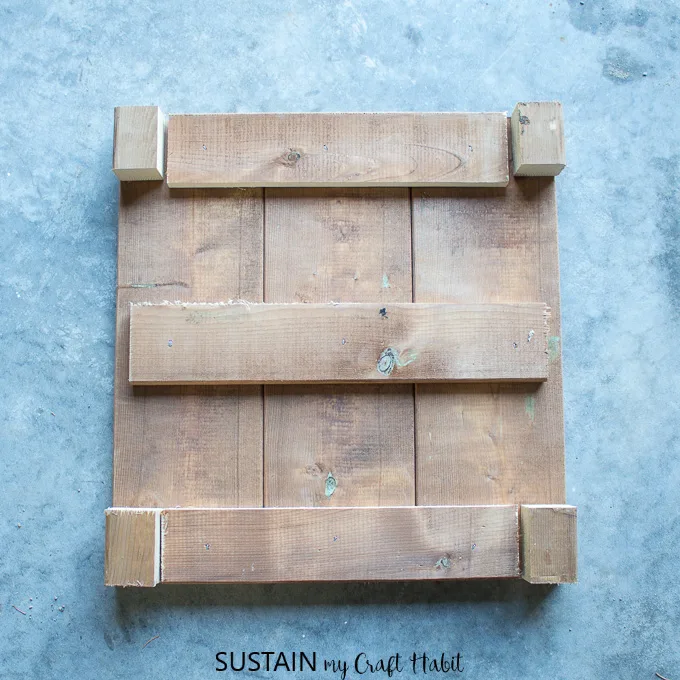
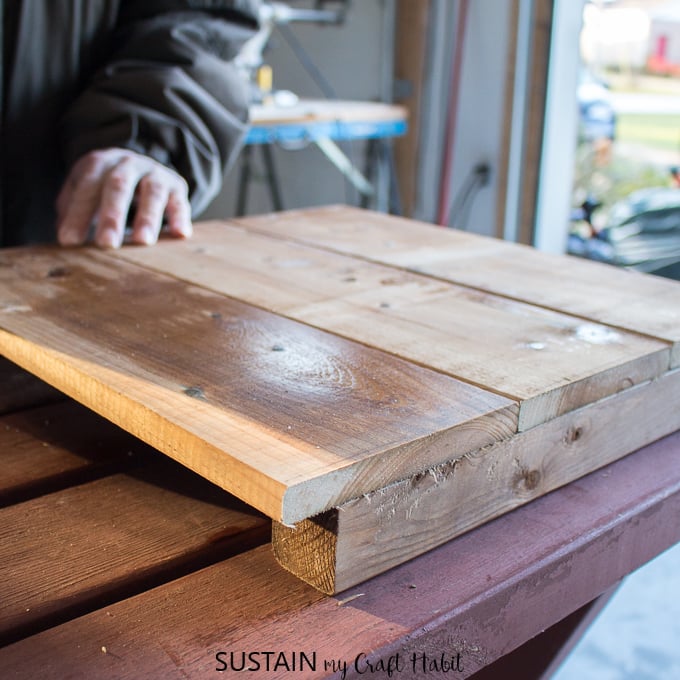
Place the planter box legs at all 4 corners and staple in place from the top side.

you might also wait to add the planter legs at the very end.
For our next one, we would attach the legs at the end.
Put the base piece aside for time being.

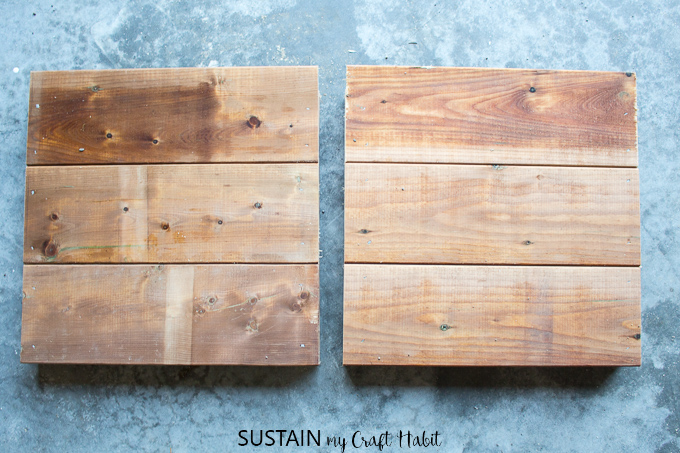
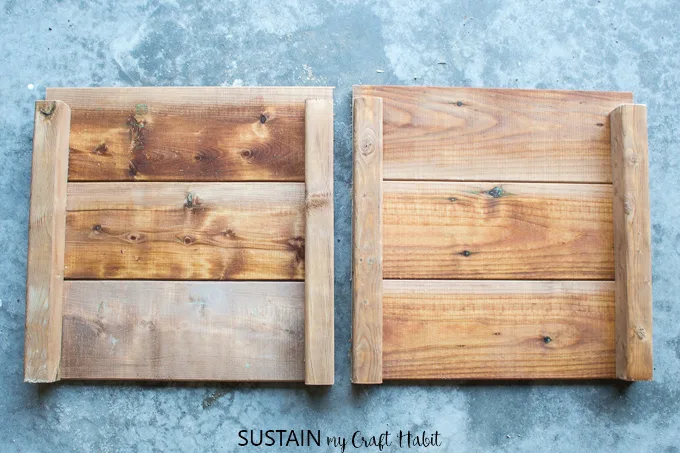
Align the 3 pieces of 16.25 long fence boards on a flat surface.
Position the 15 long 22 posts underneath the fence boards as shown.
Using a staple gun, staple the fence boards to the 22 posts.

Repeat one more time (for side B).
Put sides A and B aside for the time being.
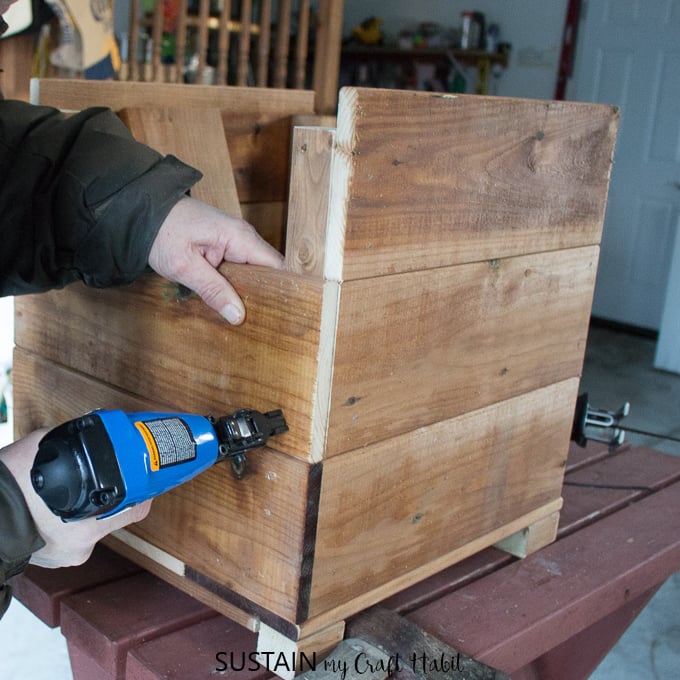
Attach the base to sides A and B using a staple gun along the base edges.
In total, this project took about four hours, perfect for a weekend afternoon!
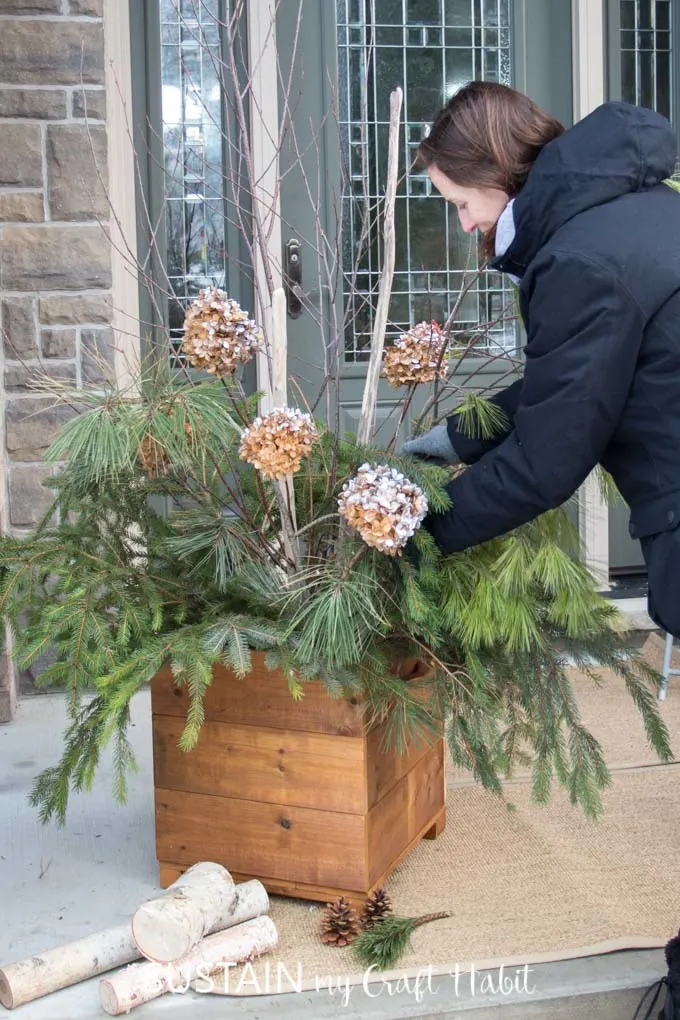
Alternatively, you’ve got the option to place an already potted plant inside.
We created our arrangement inside a large plastic pot which we can change out with the coming seasons.

Pin it for later!