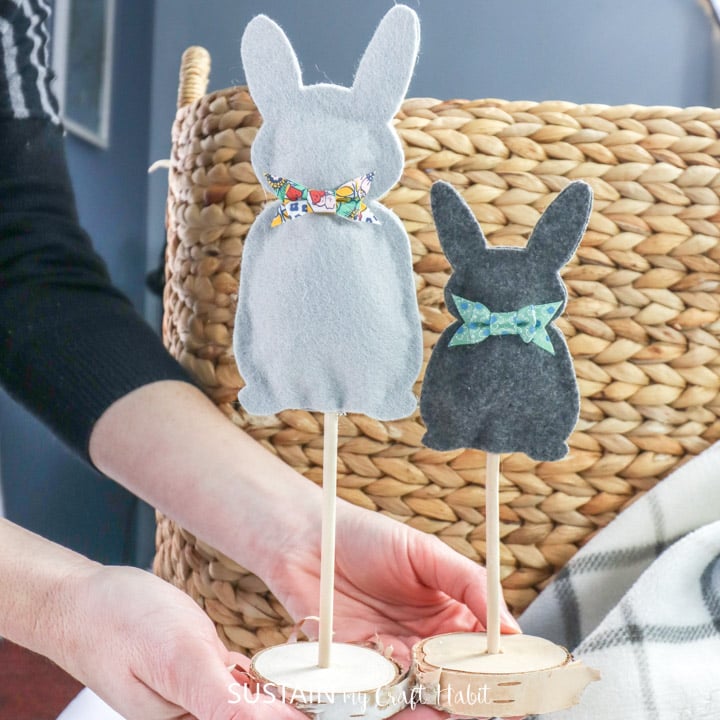
Simple Felt Bunny Pattern
We definitely have a thing for bunnies here on the blog!
We love adding these sweet touches of Easter to our homes at this time of year.
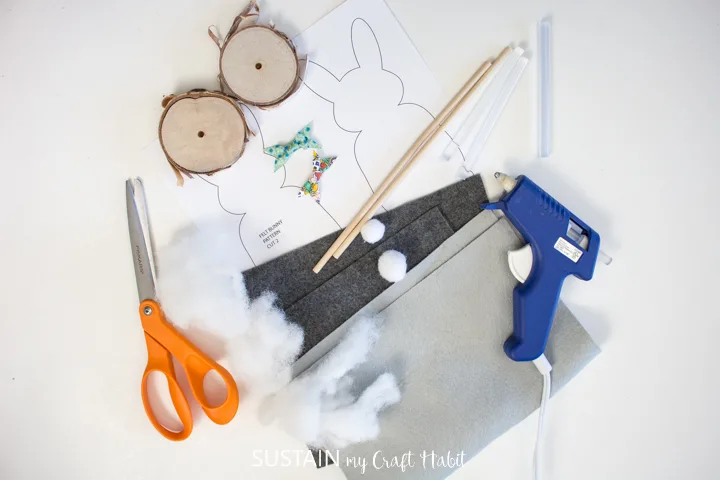
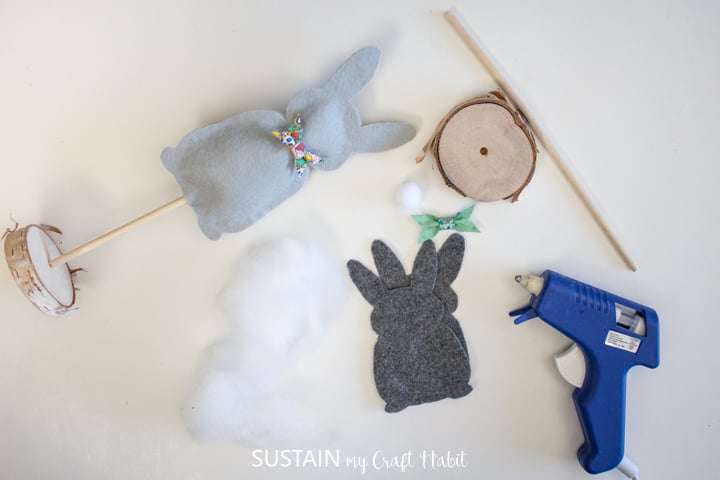
Materials Needed:
Disclosure: This post continues affiliate links for your shopping convenience.
Mini Felt Easter Baskets
you’re free to find ourfull disclosure policy here.
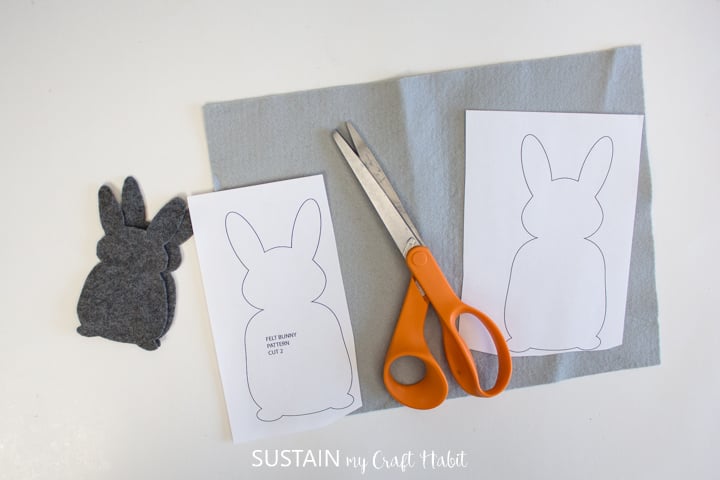
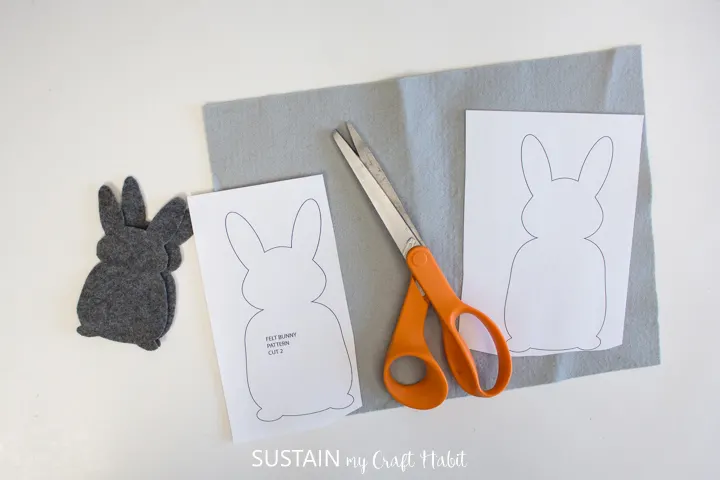
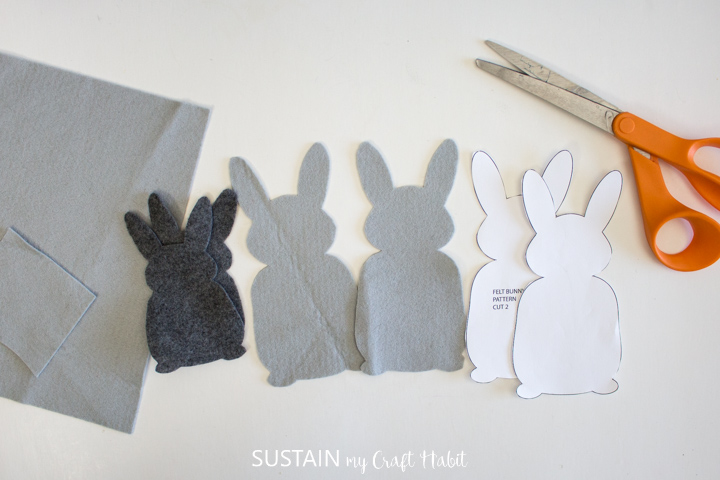
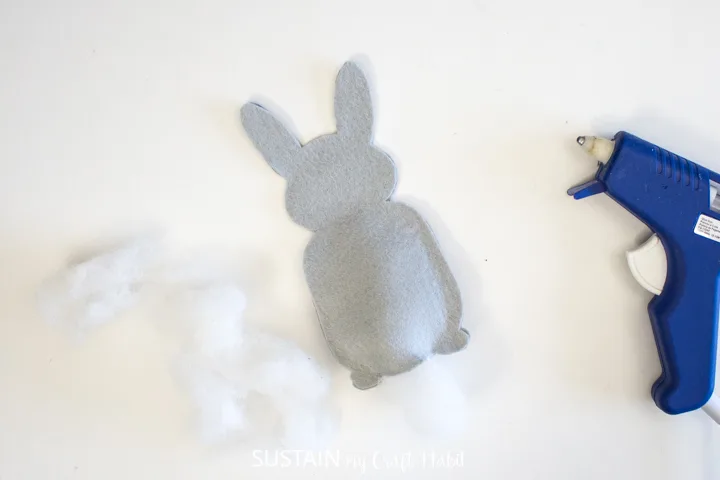
Using a pair of fabric scissors, cut out the bunny shape along the solid line.
Cut 2 pieces for each bunny.
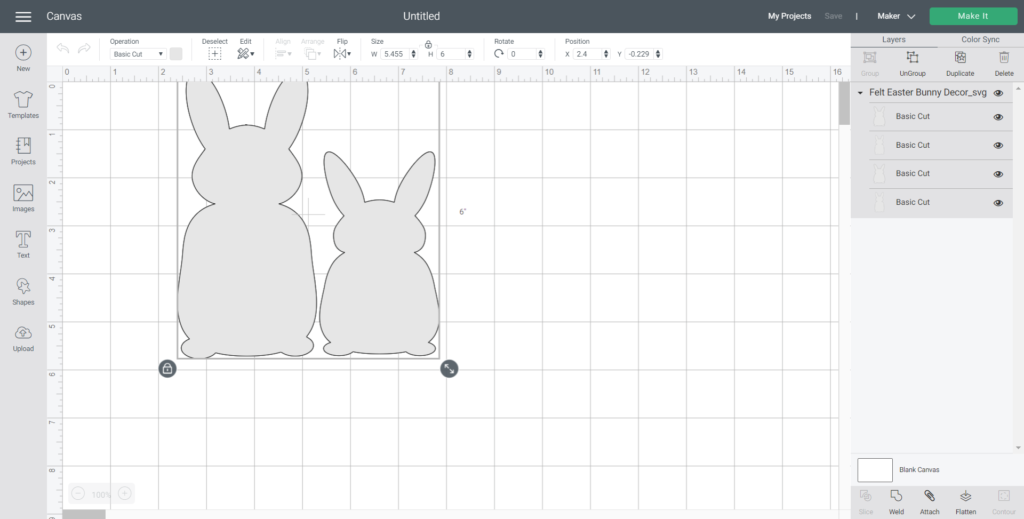
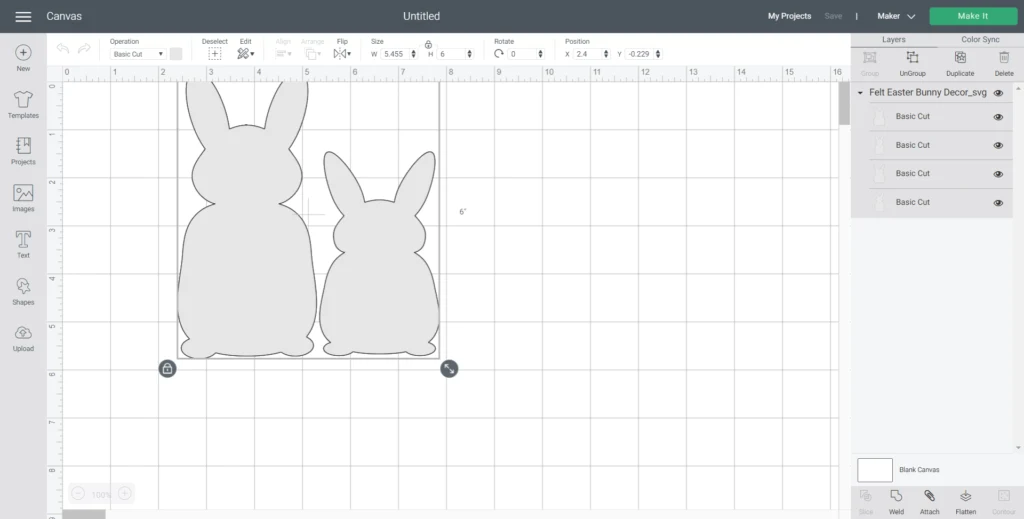
Open a blank canvas in Cricut Design Space and upload theBunny SVG Fileinto Design Space.
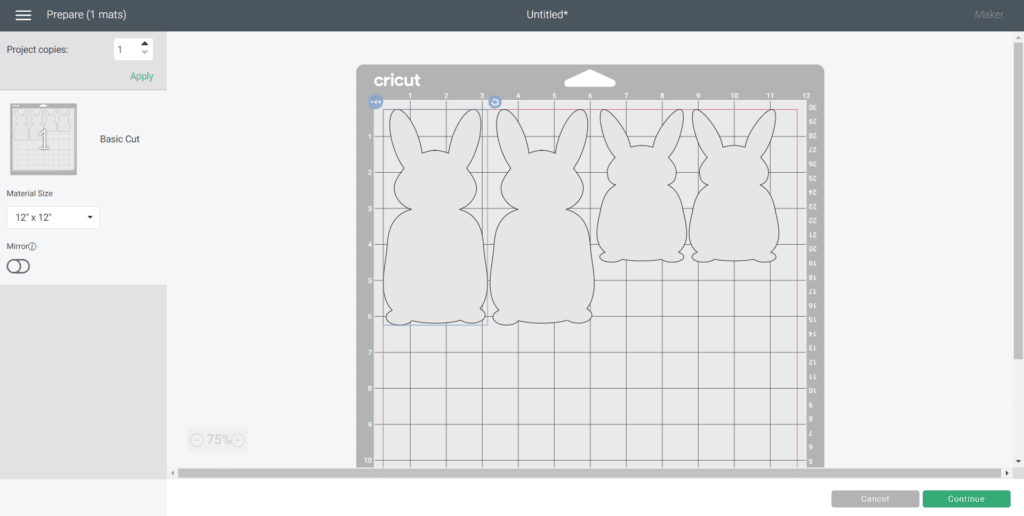
Select Make It in Design Space and set the material throw in to Felt.
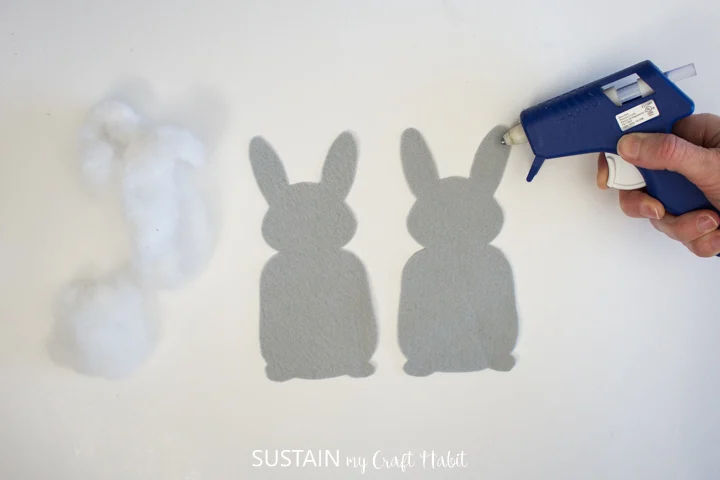
Preheat a hot glue gun.
Place identical cut bunny shapes side by side.
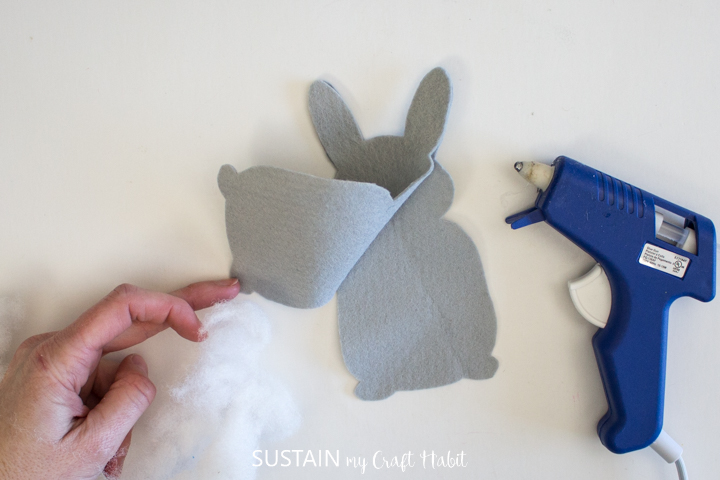
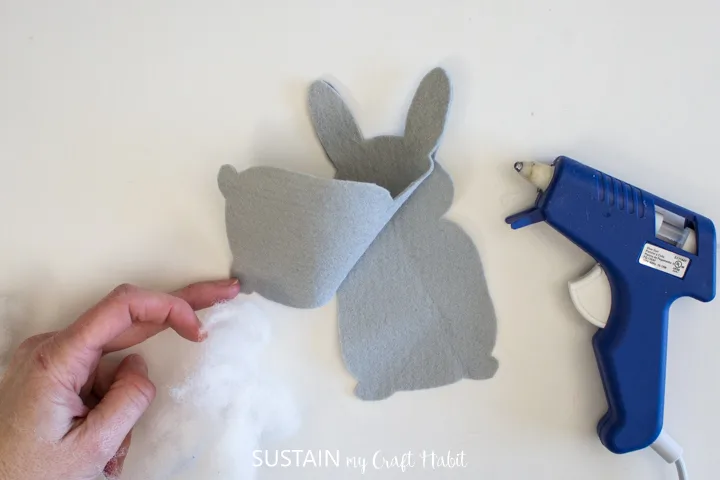
Place the other bunny shape on top and press the ears together.
Continue glueing the two shapes together.

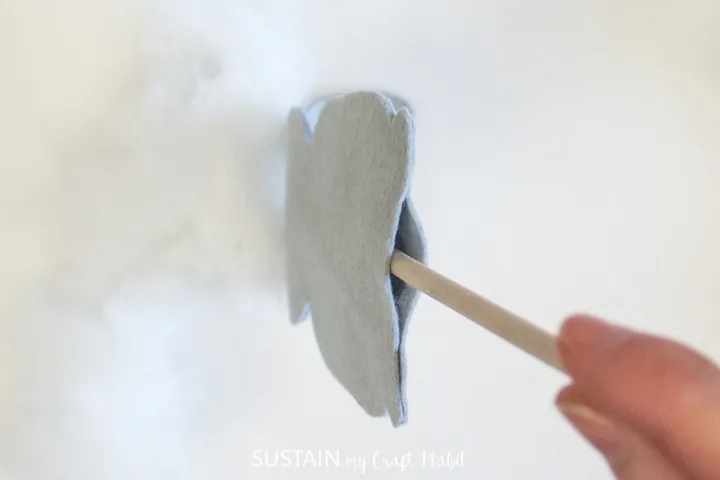
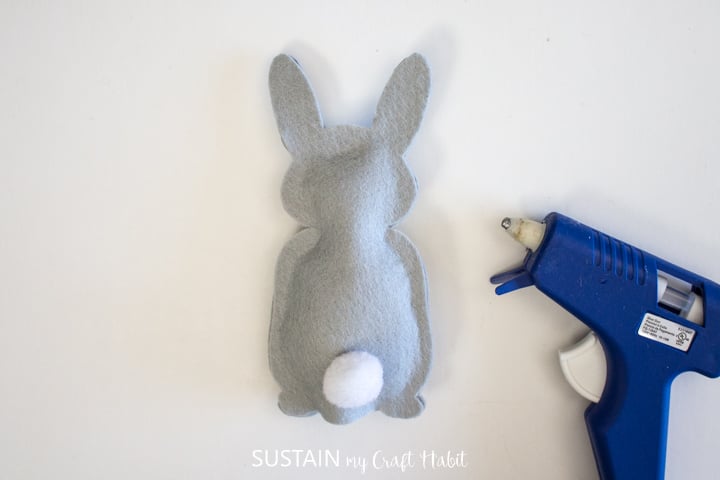
Apply glue along the outer edge of the bunny cutout leaving the center of the bunny without glue.
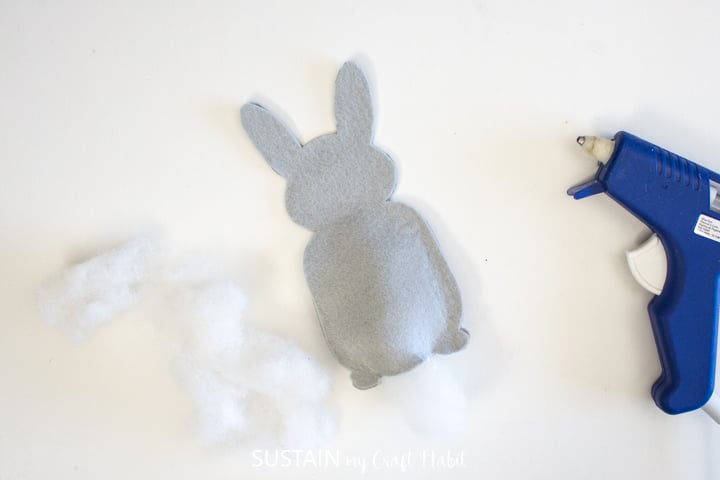
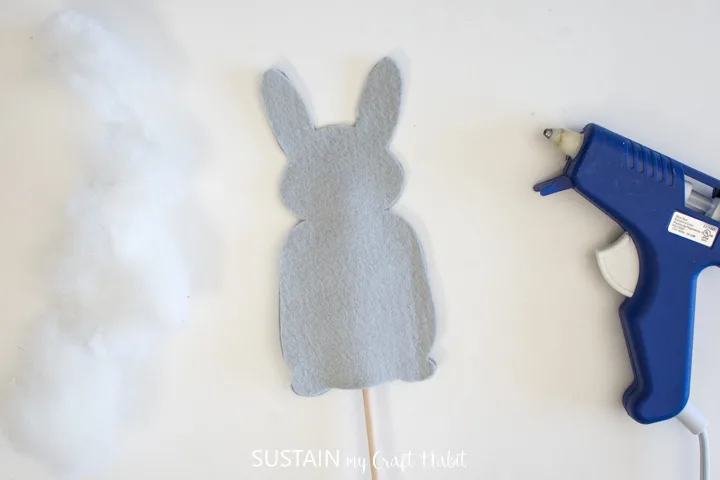
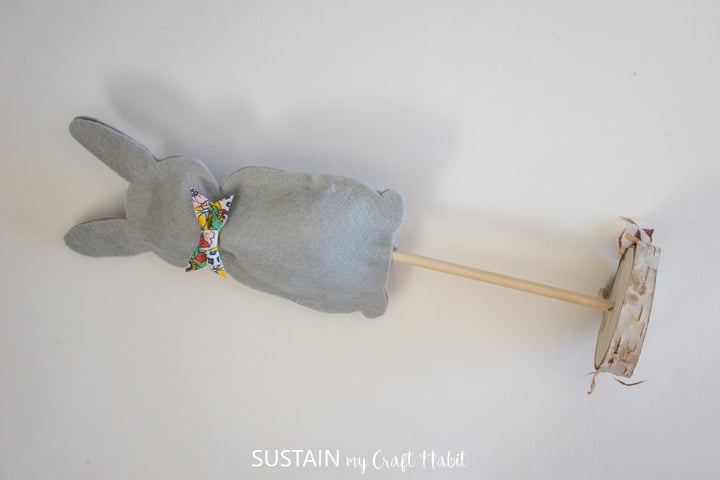
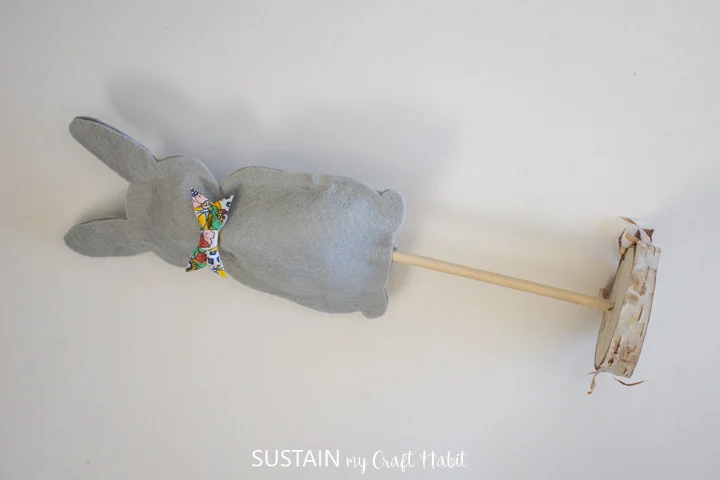
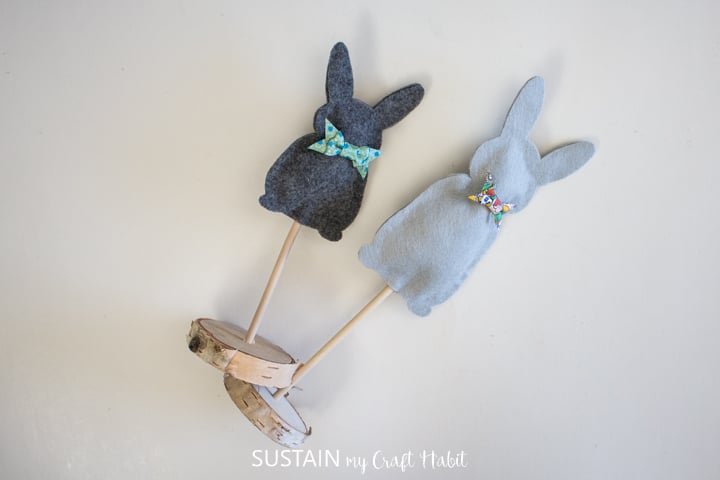
Insert the dowel and push it all the way to the top.
Glue the bottom opening closed with the dowel inserted.
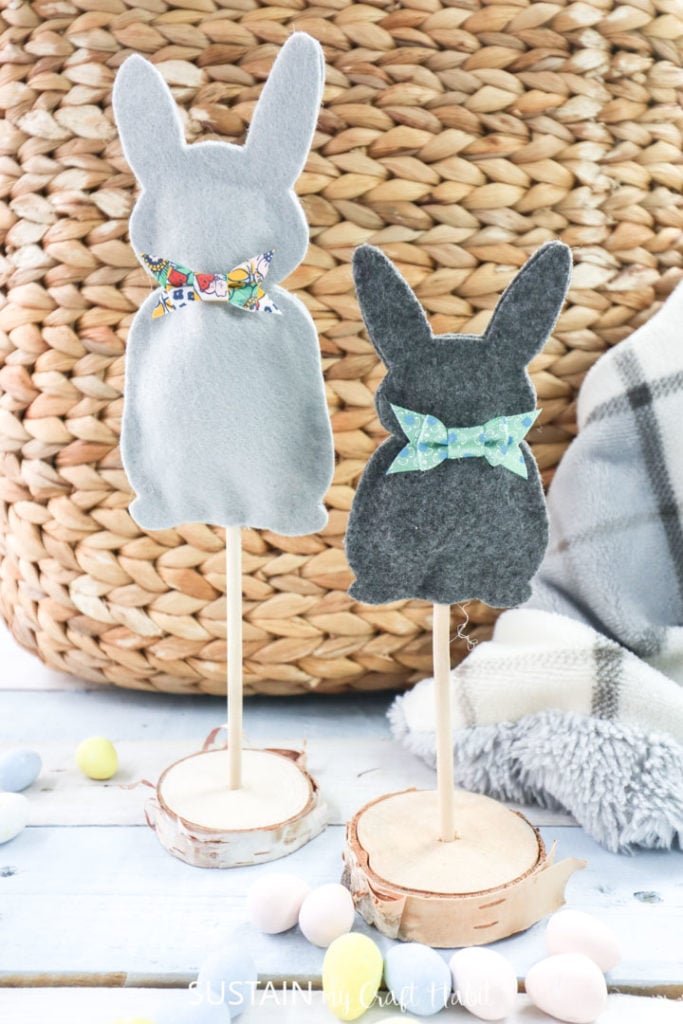
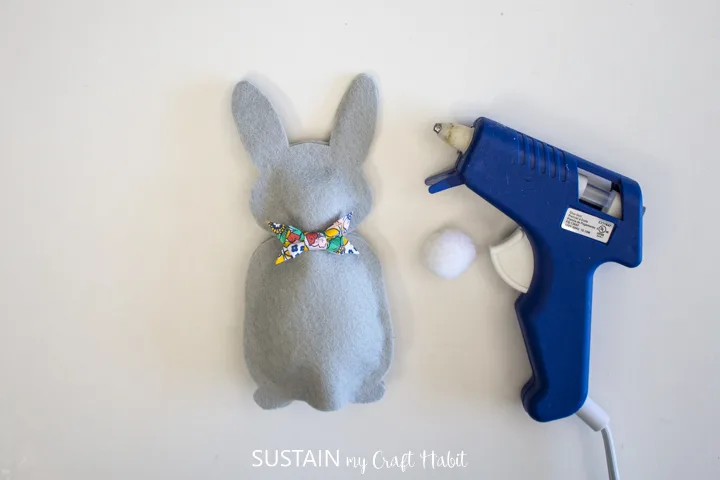
Glue decorative bow to one side at neck area.
Lastly, glue a pom-pom to the reverse side for bunny tail.
Insert the bottom end of the dowel into one of the wood slices.

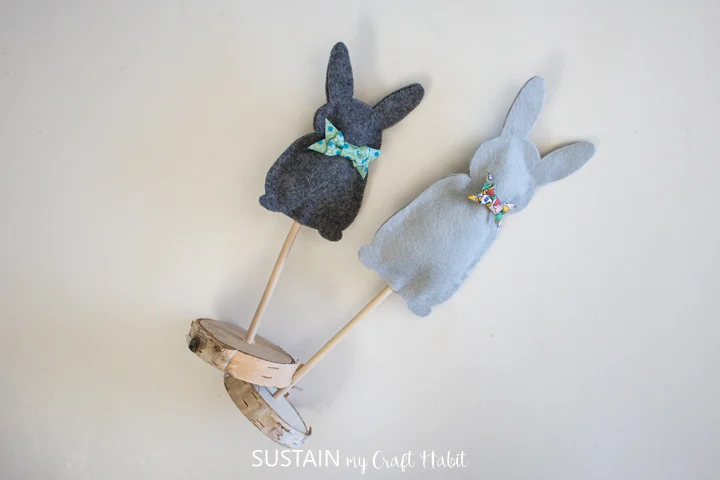
Repeat for the other bunny shape.
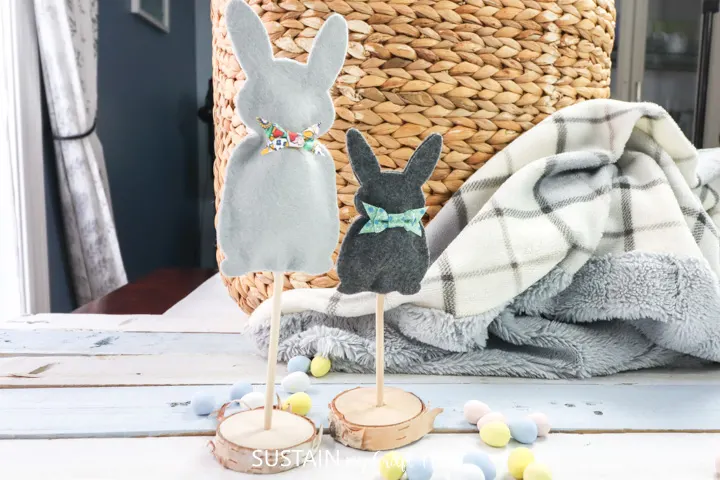
The pair of adorable felt bunnies is complete and ready to add to your Easter decorations.
Pin it for later!

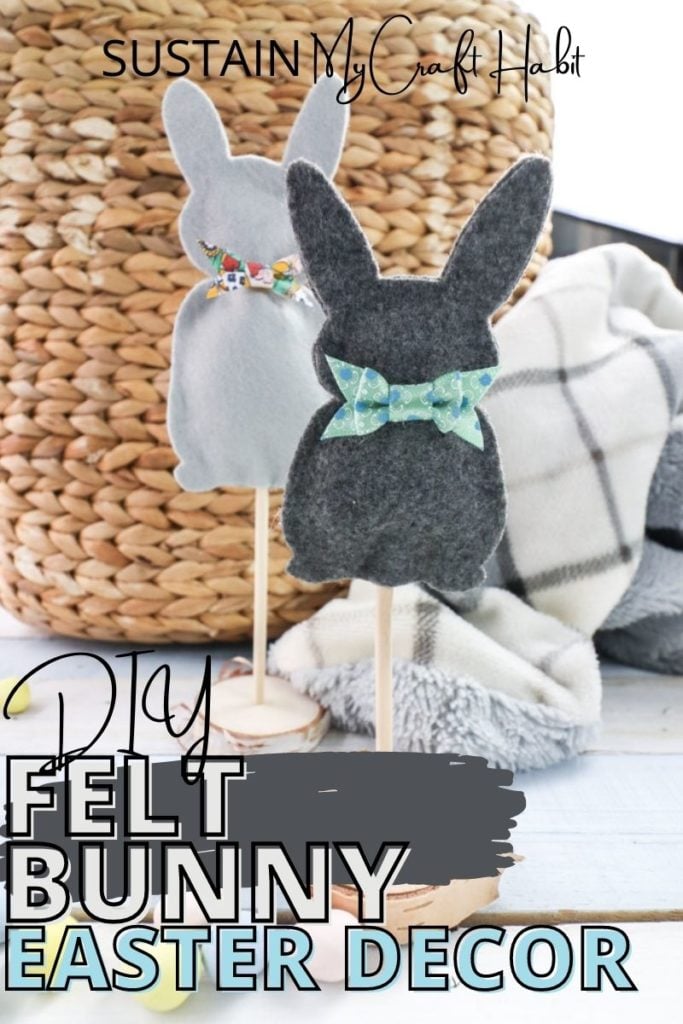
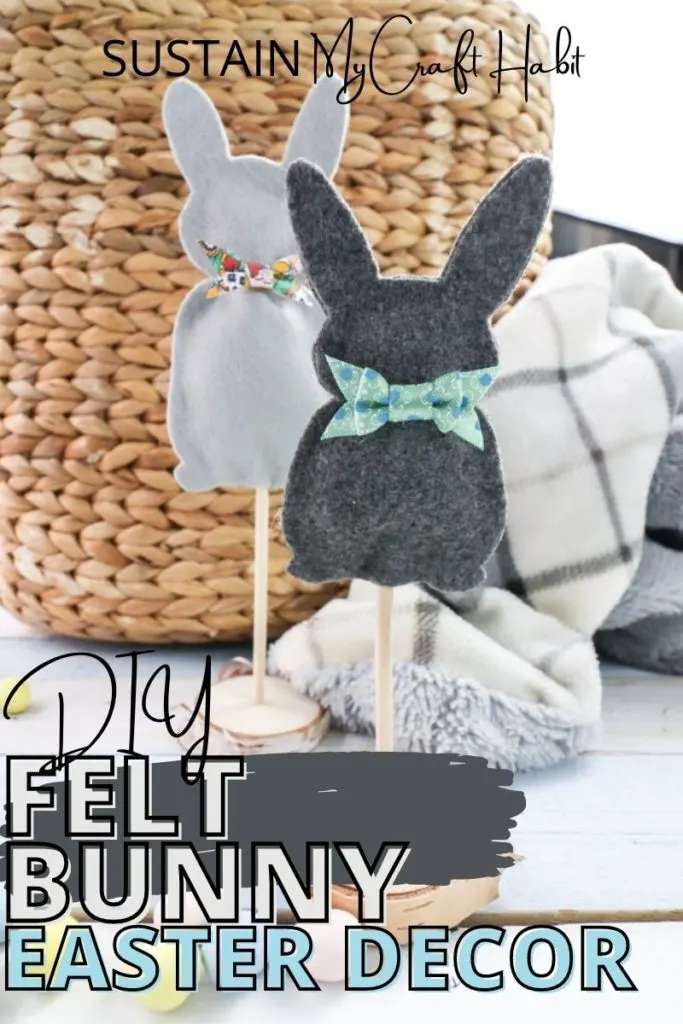
Felt Bunny Easter Decor
Materials
Instructions


Mini Felt Easter Baskets

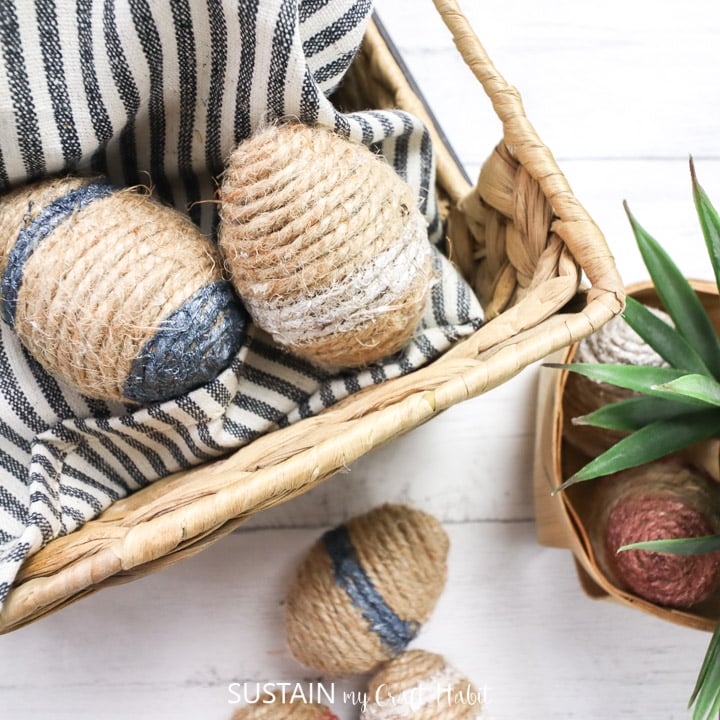
Twine Wrapped Plastic Eggs

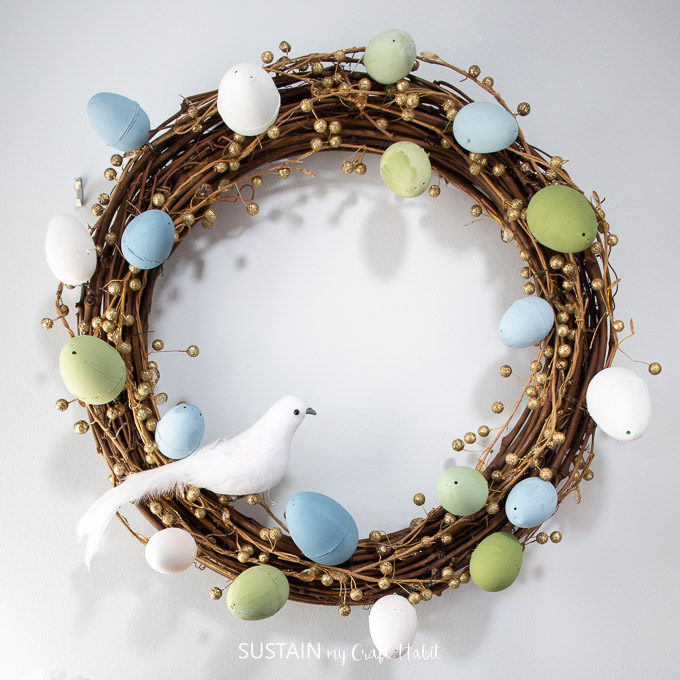
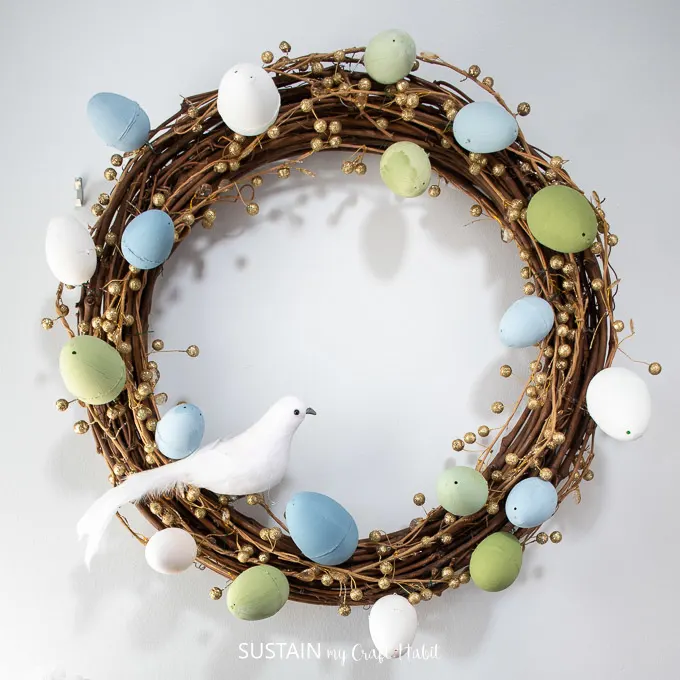
DIY Easter Wreath
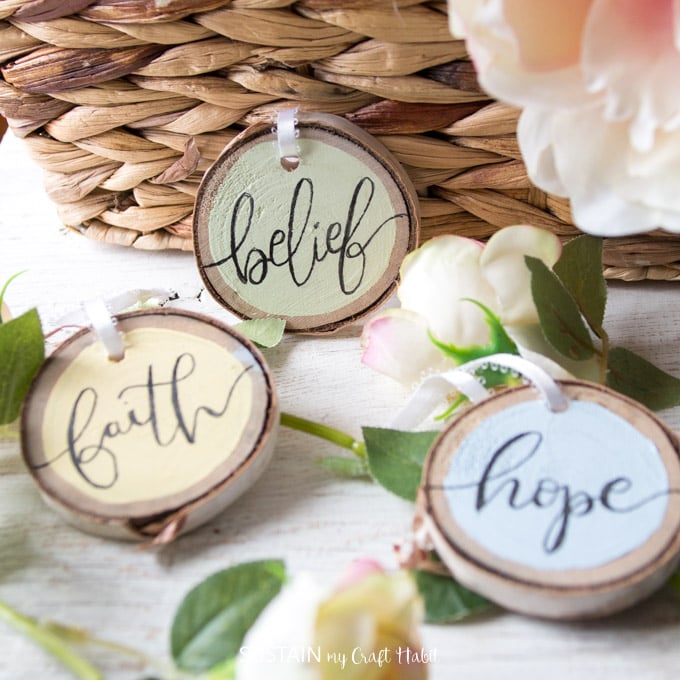
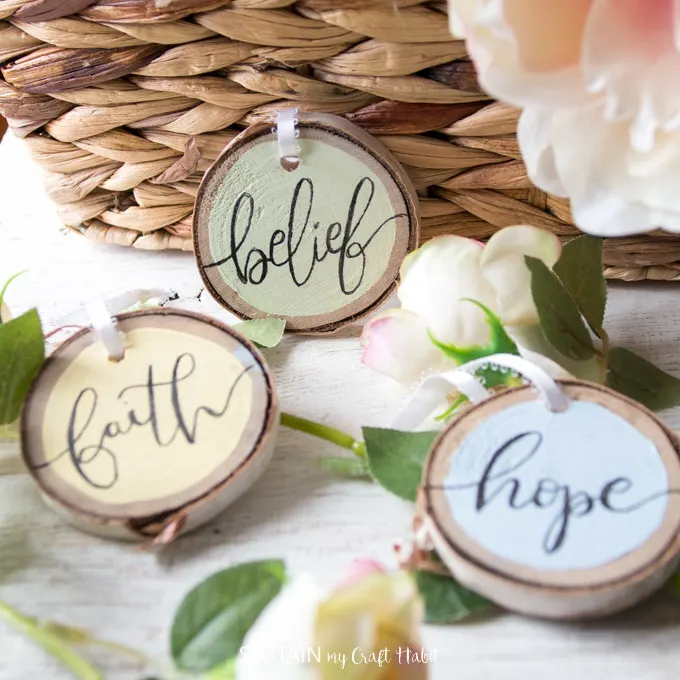
Wood Slice Easter Ornaments