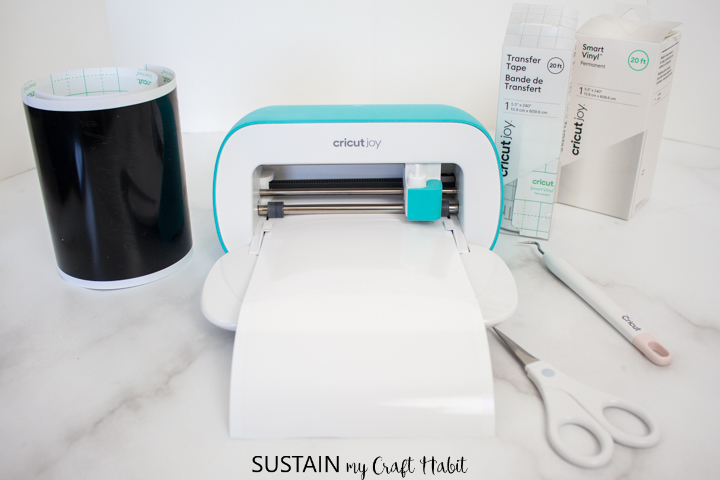
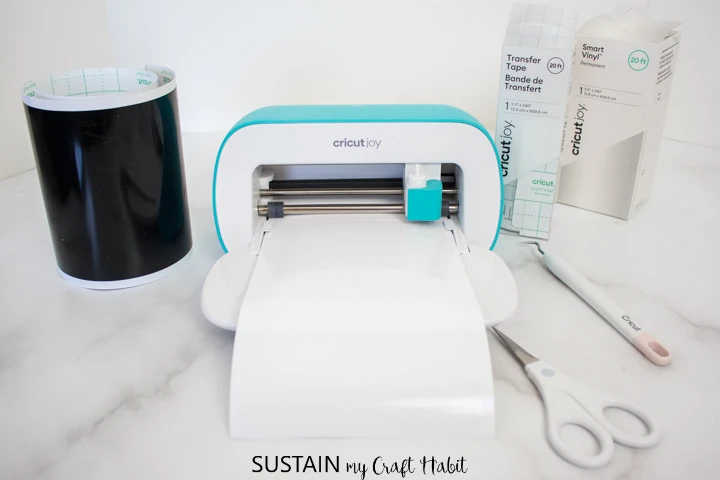
Materials Needed
Disclosure: This post continues affiliate links for your shopping convenience.
you’ve got the option to find ourfull disclosure policy here.
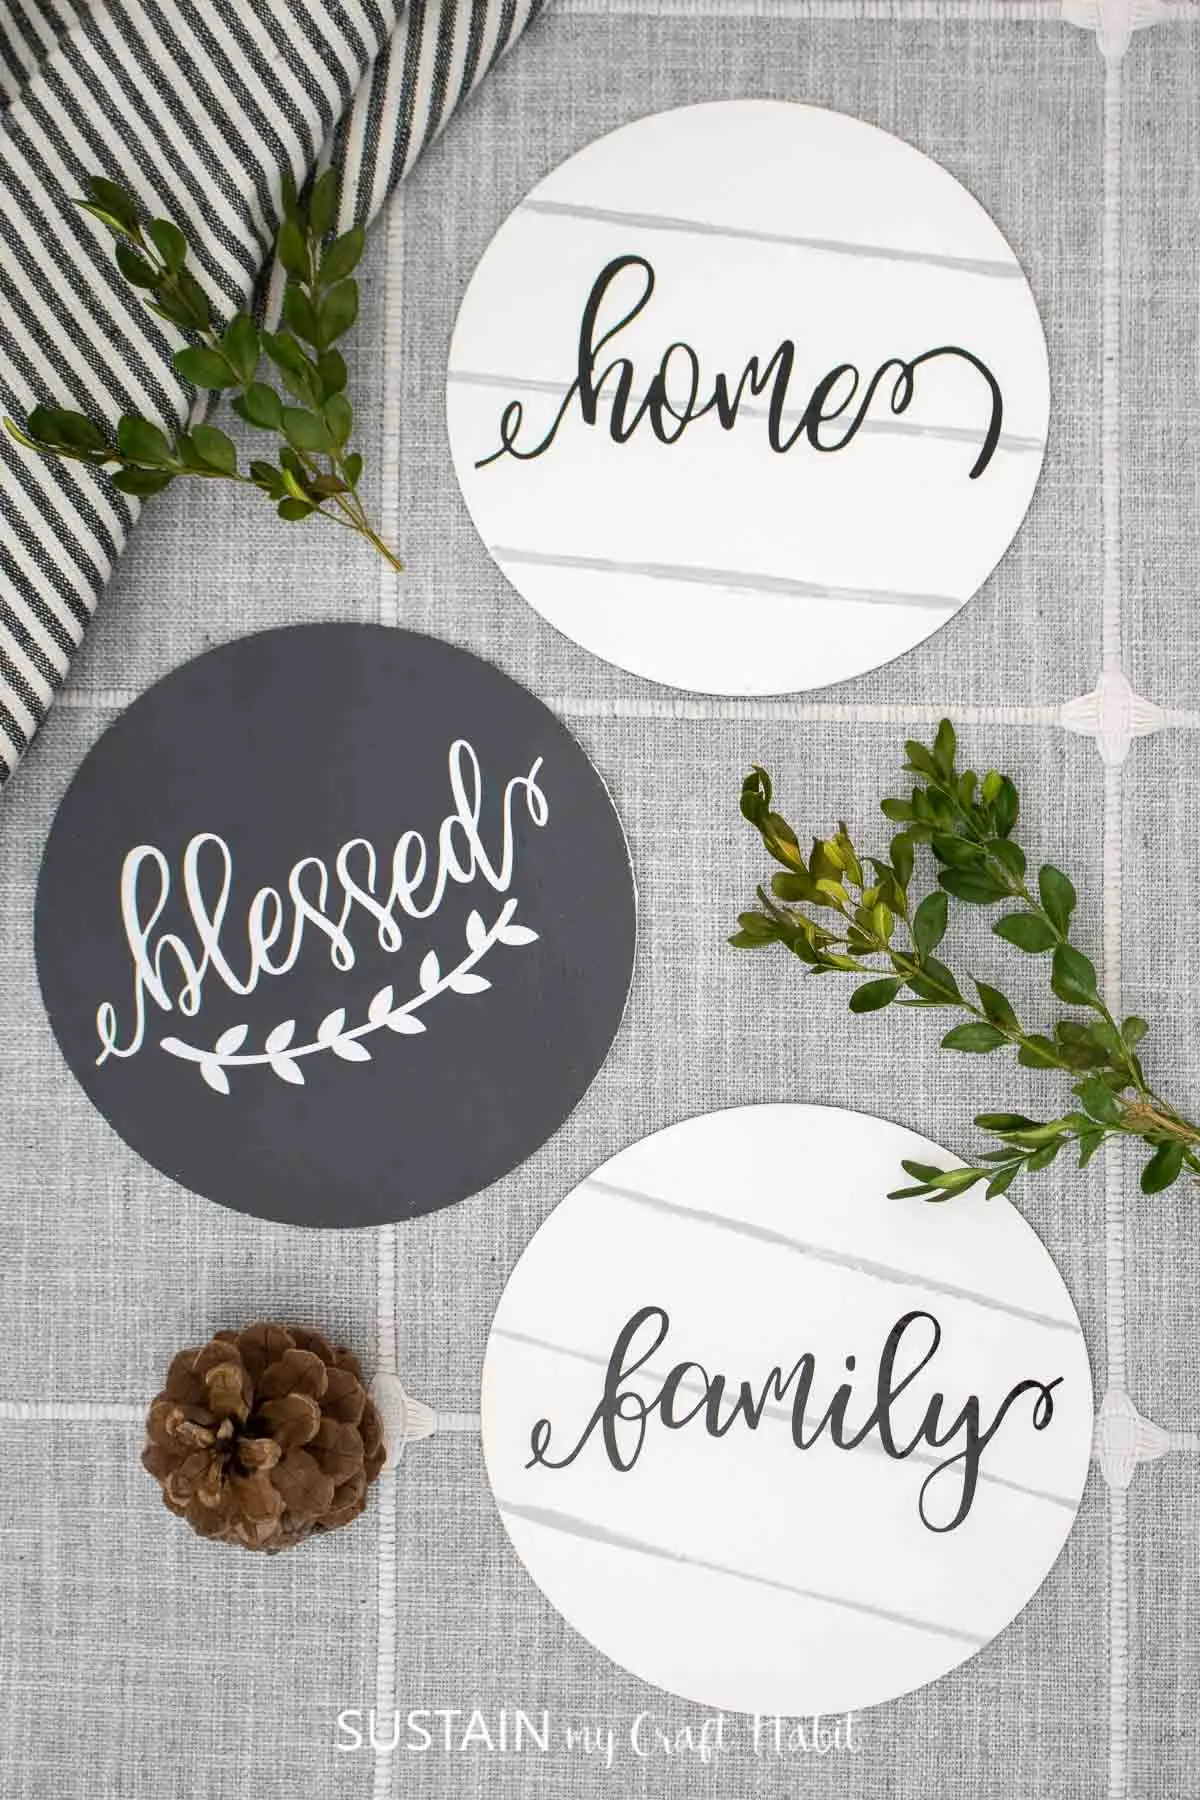
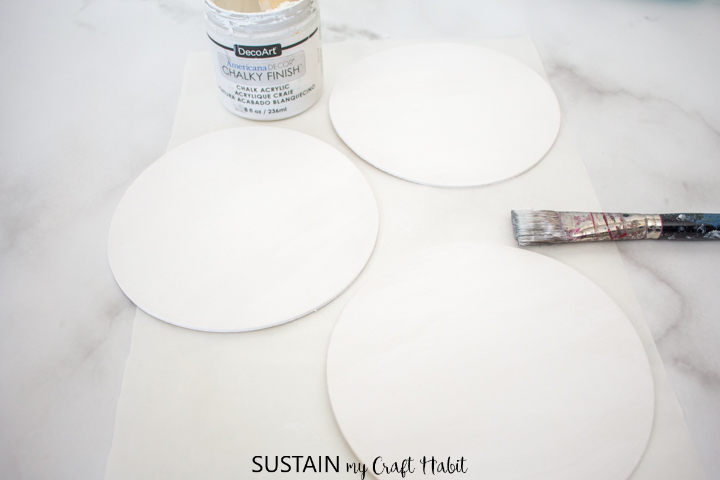
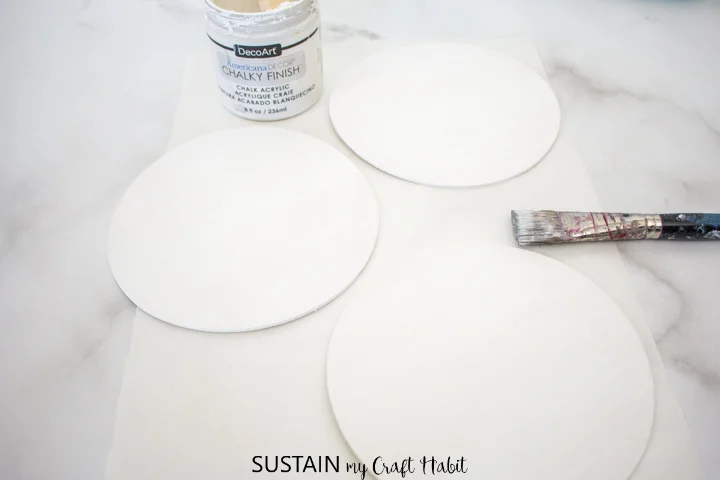
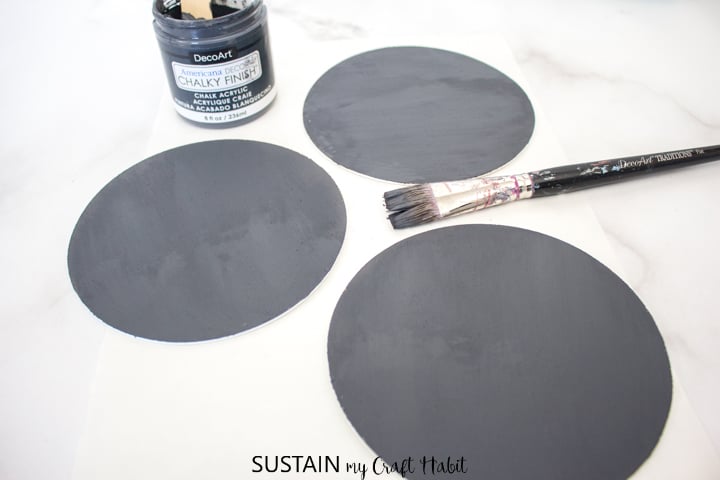
Paint the reverse sides of all the wood circles in Relic and leave it to dry fully.
Wood Tray
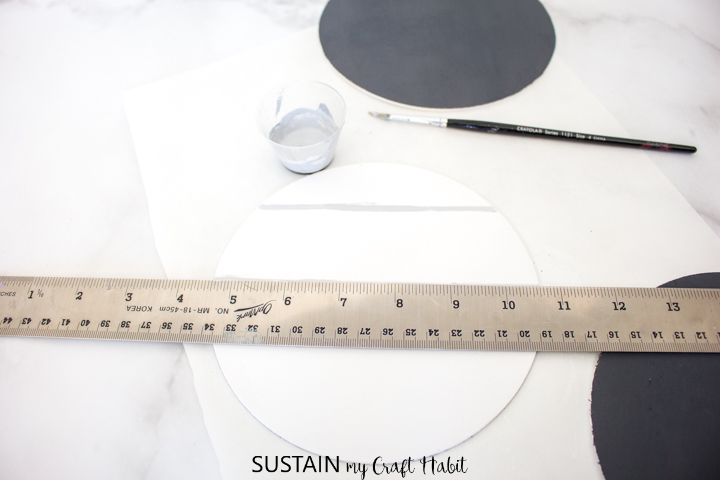
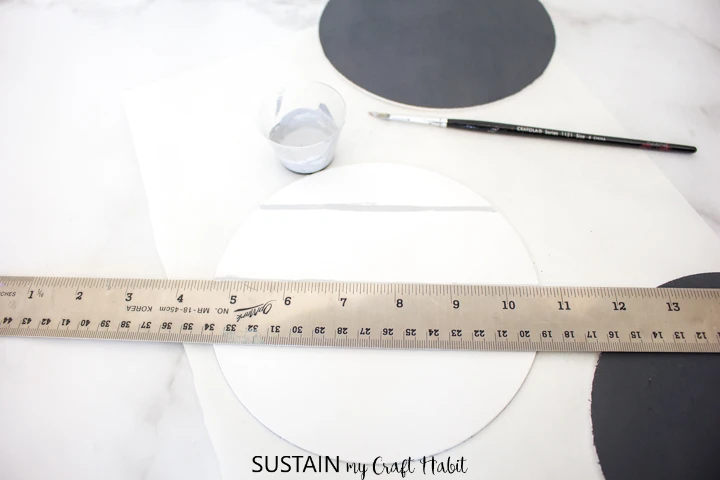
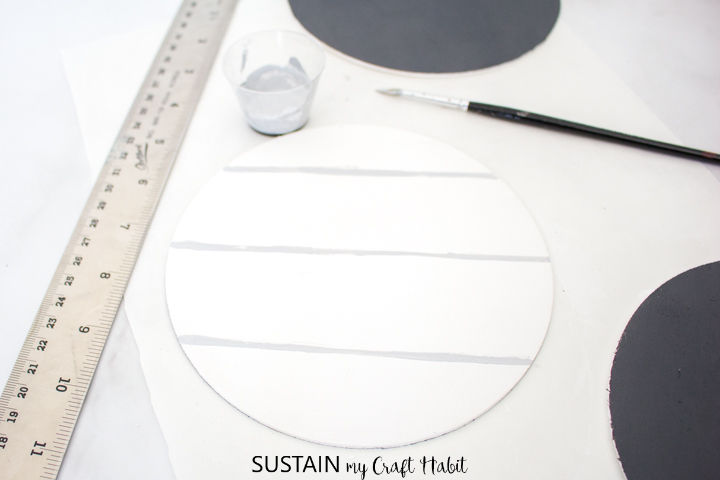
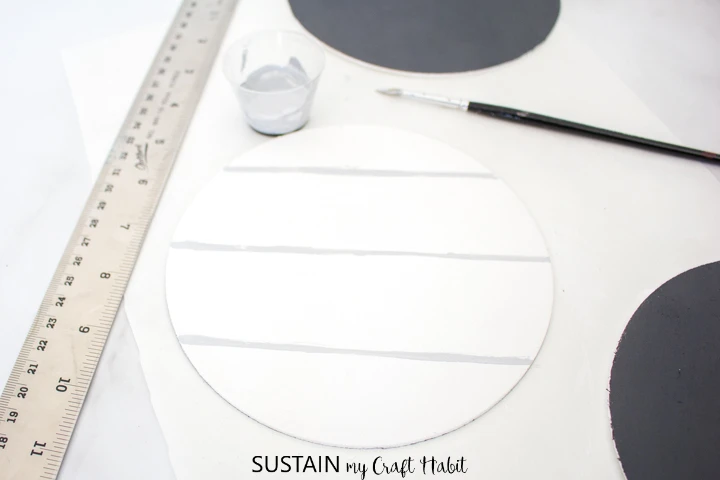
Add a small amount of Relic to Everlasting and mix for a light gray color.
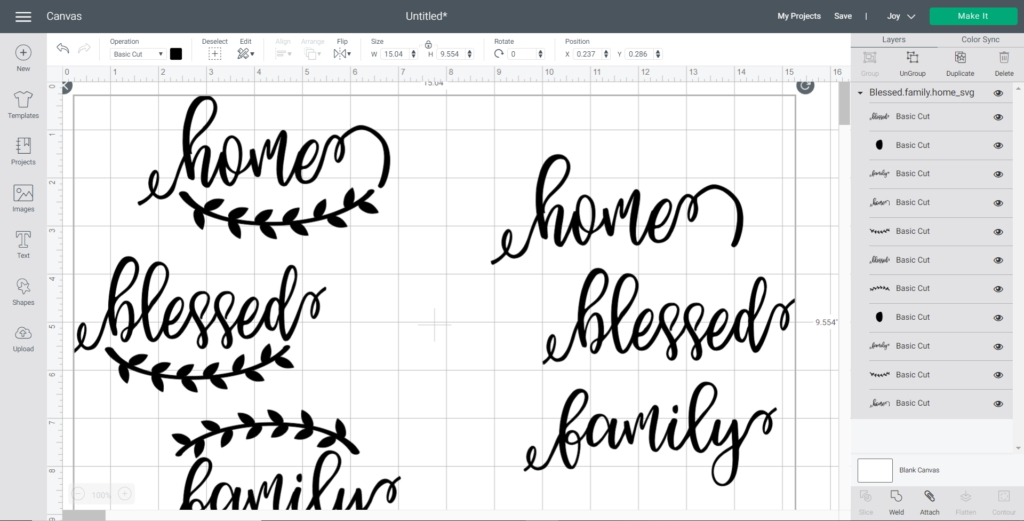
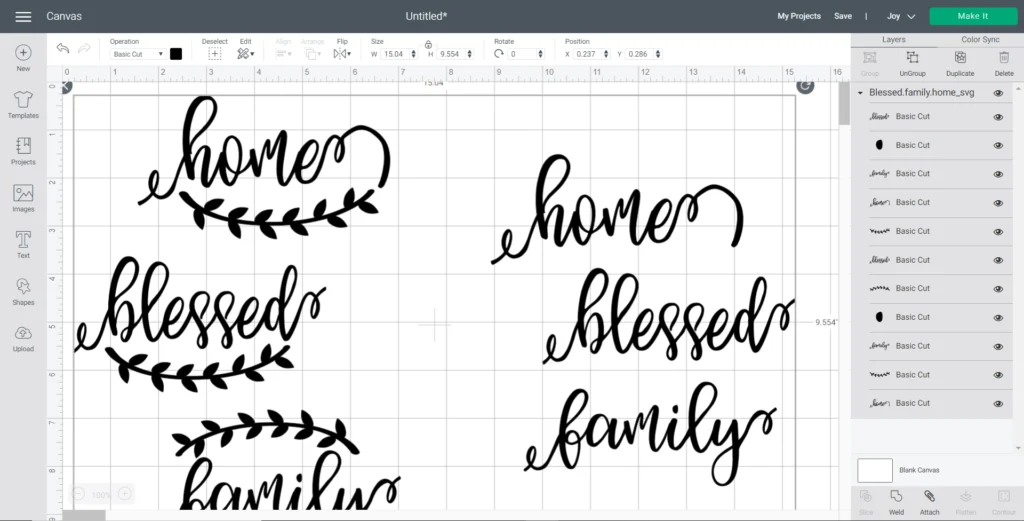
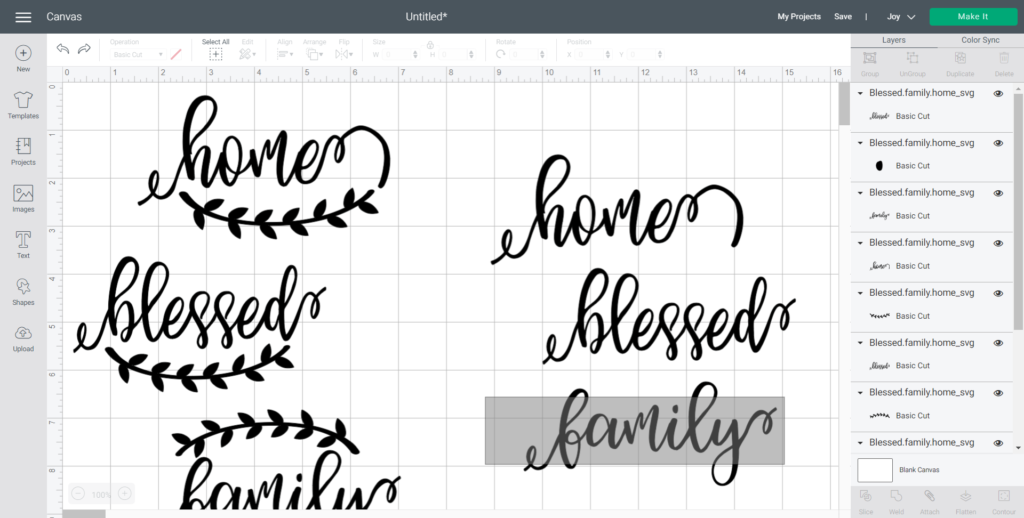
tap on the Upload button from the toolbar to insert the letteredFamily.Blessed.Home SVGfile onto the canvas.
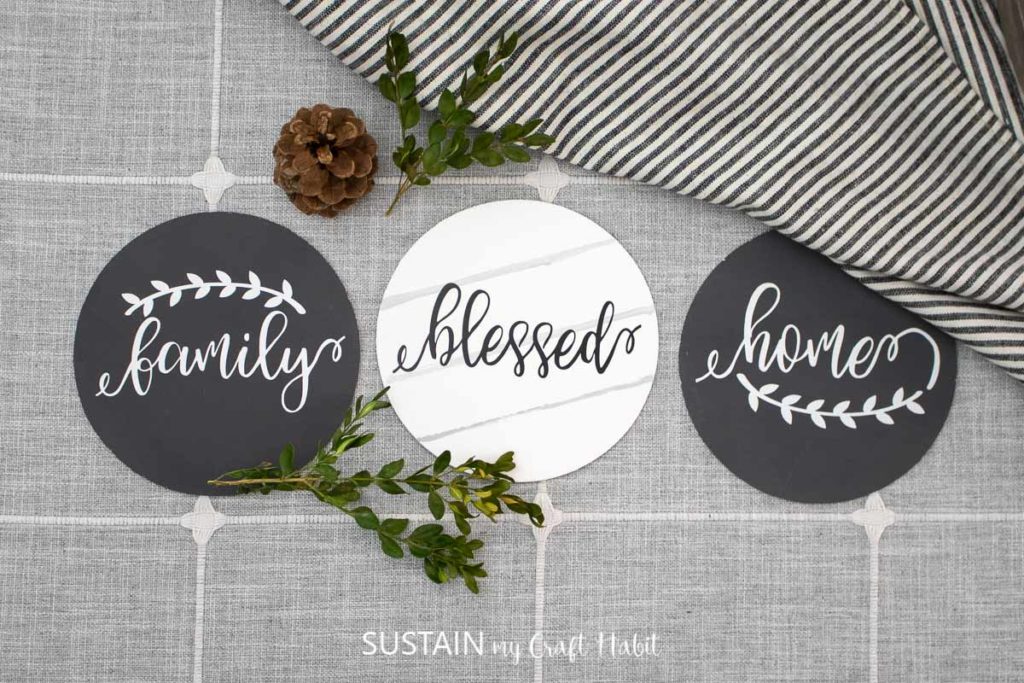
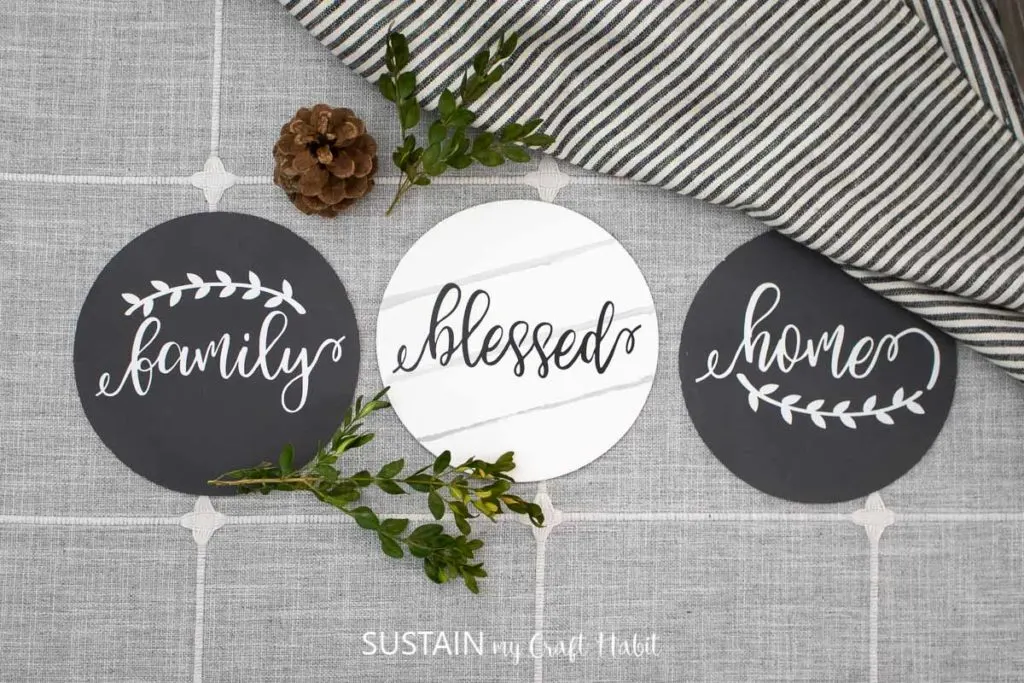
Maintain sizes at about 5.25 wide to fit within the 6 wood circles.

Highlight the word along with the leaf art together and select attach to join the separate images.
Do this with the word family as well.
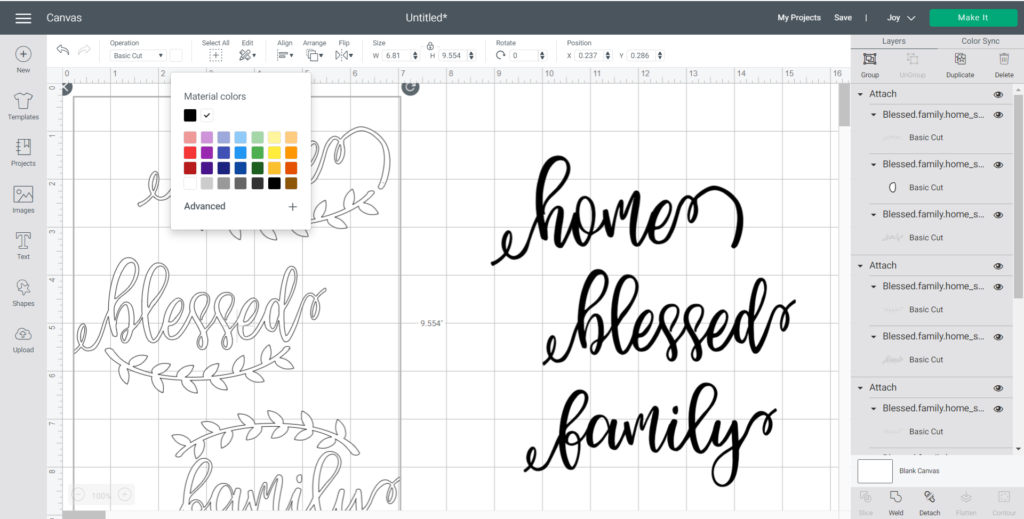
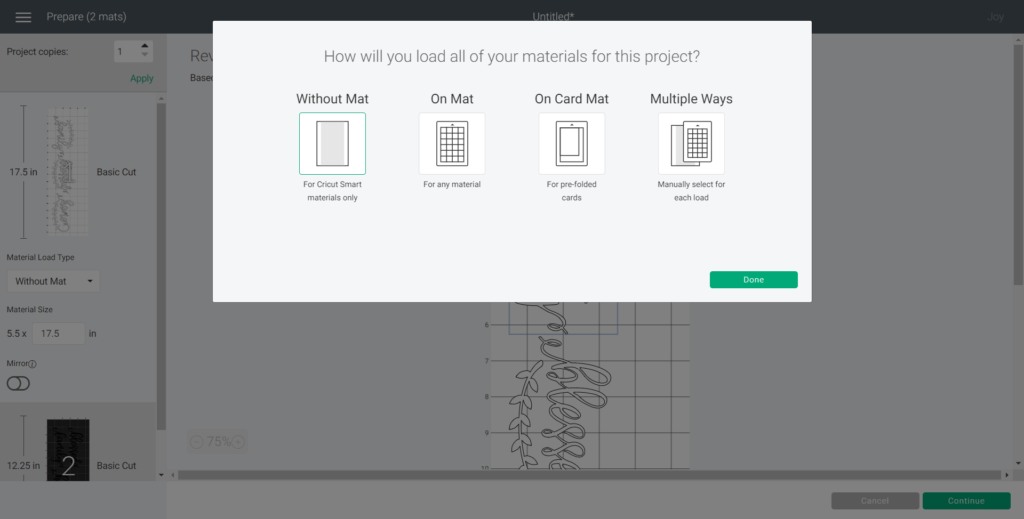
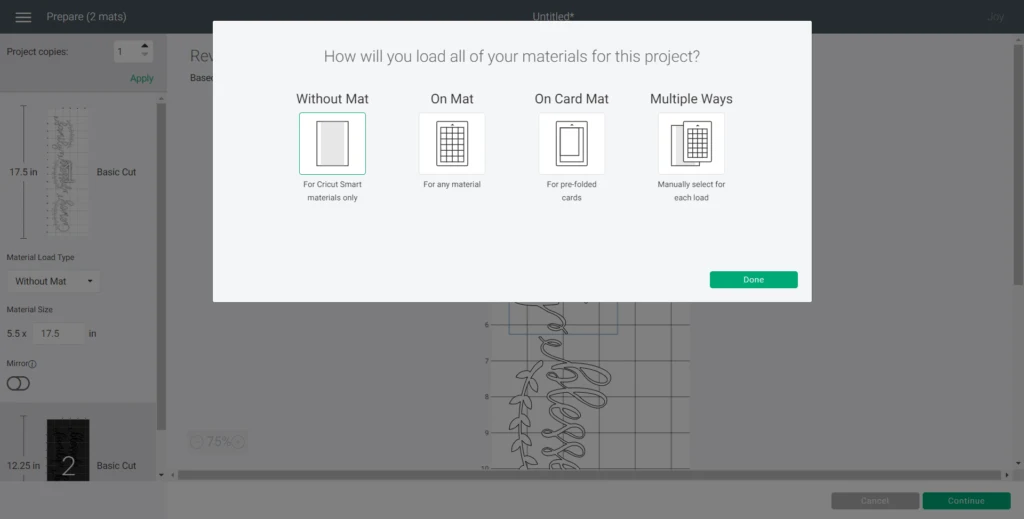
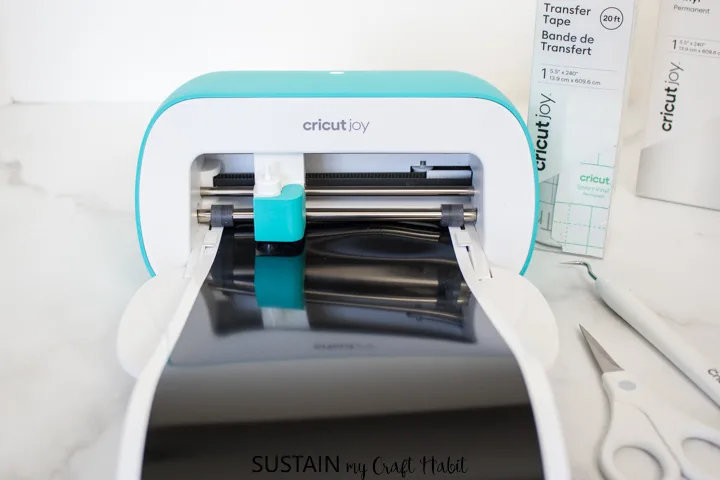
Ensure the machine is set to Cricut Joy and select Make It in Design Space.

Choose Without Mat as the option for cutting when using Smart Vinyl.
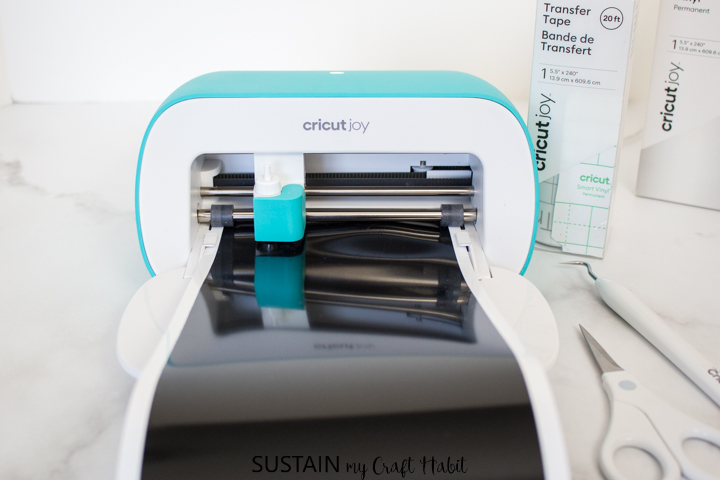
When prompted, unload the vinyl from the cutting machine.
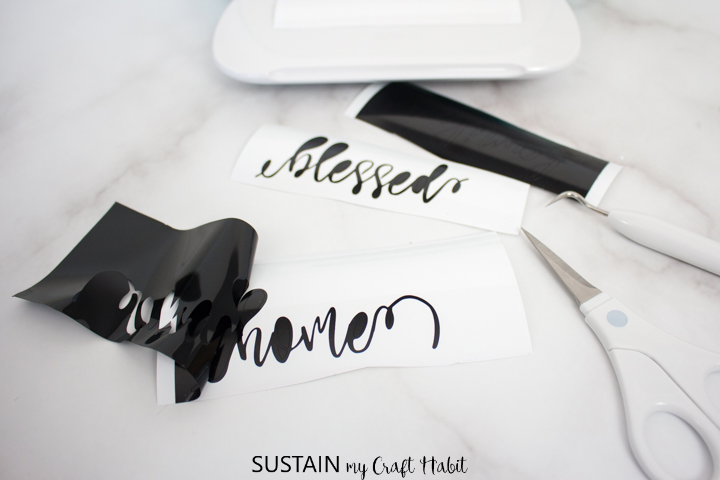
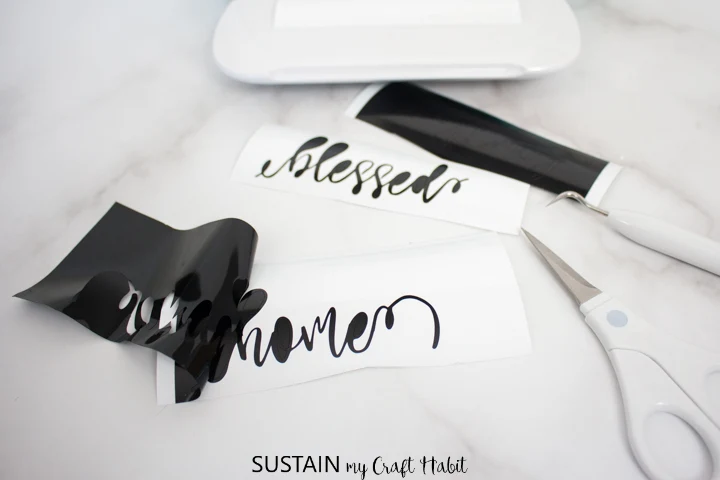
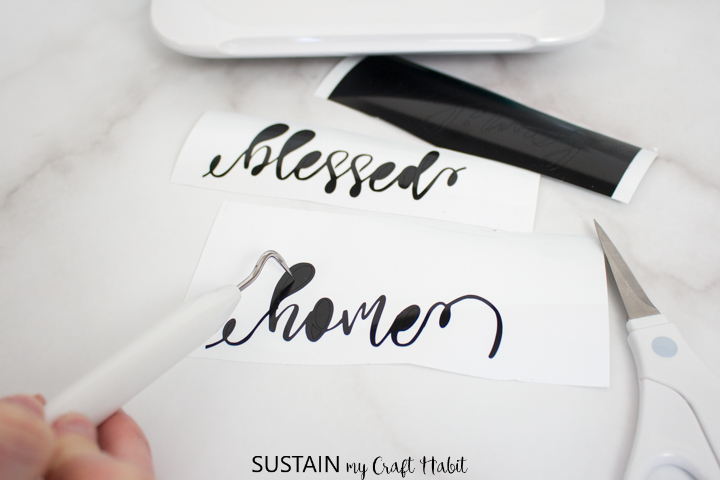
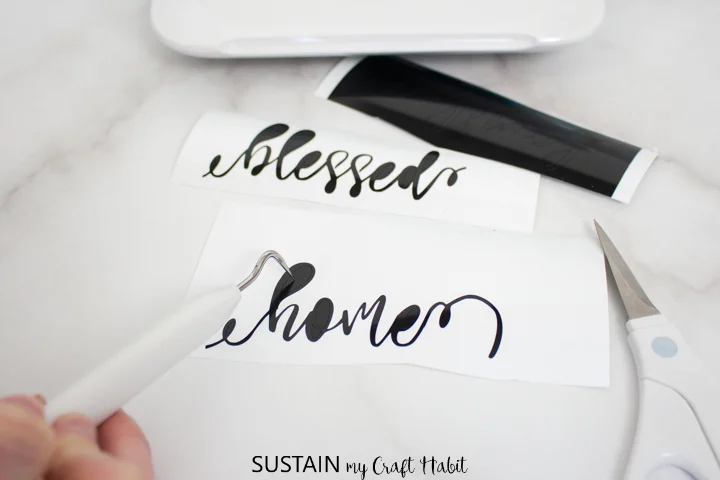
Using the weeding tool, peel away the excess vinyl around the images and discard.
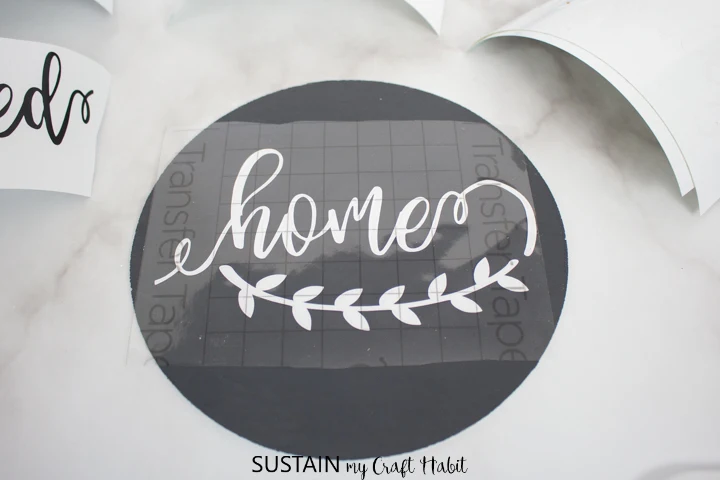
Cut a piece of transfer tape a bit larger than the size of the word or image.
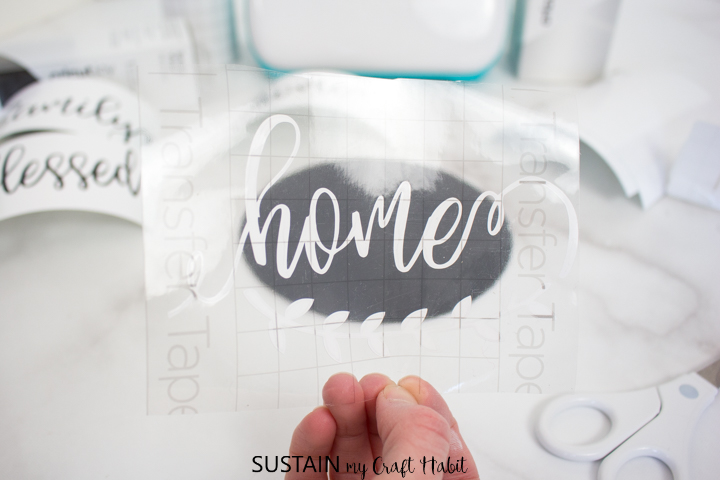
Peel away the transfer tape backing and place the transfer tape overtop of the cut image.
Gently rub the vinyl to help it stick to the transfer tape.
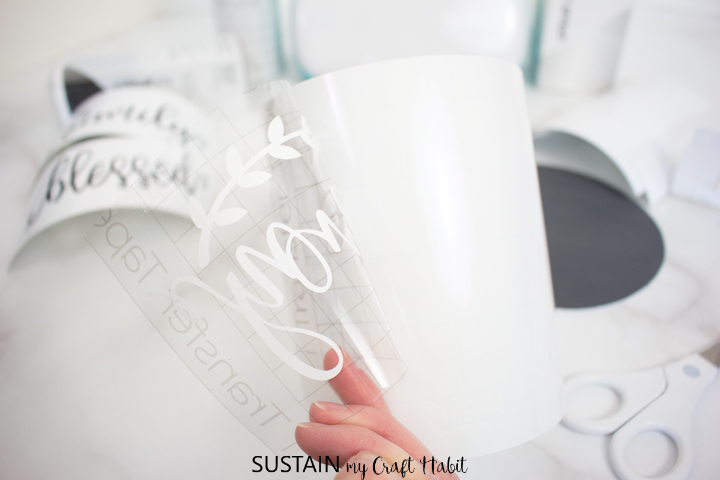
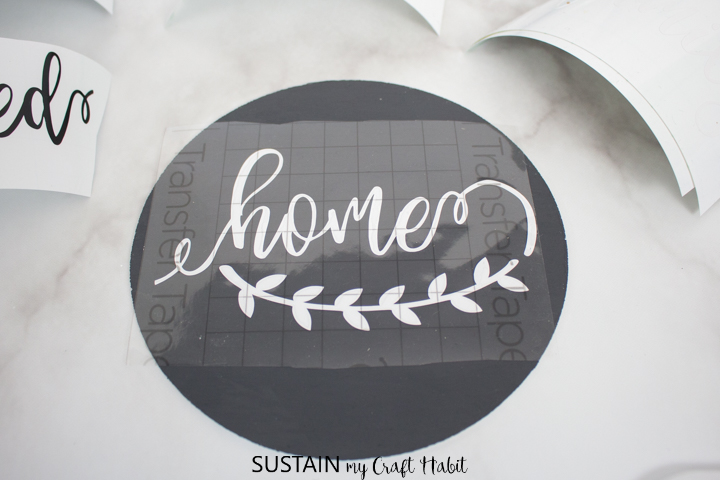
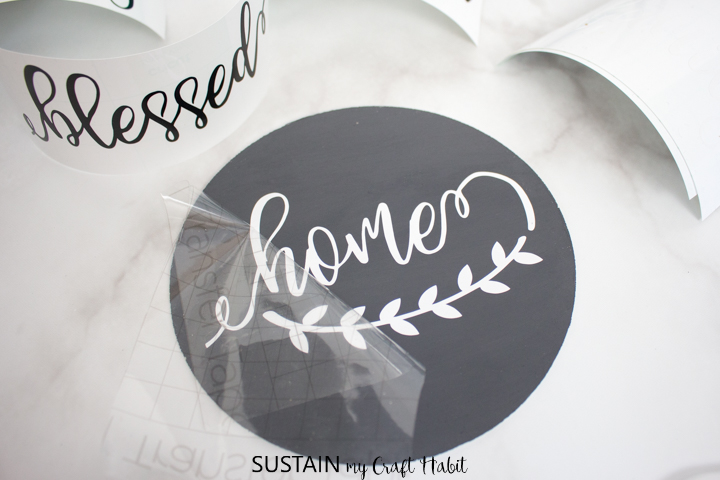
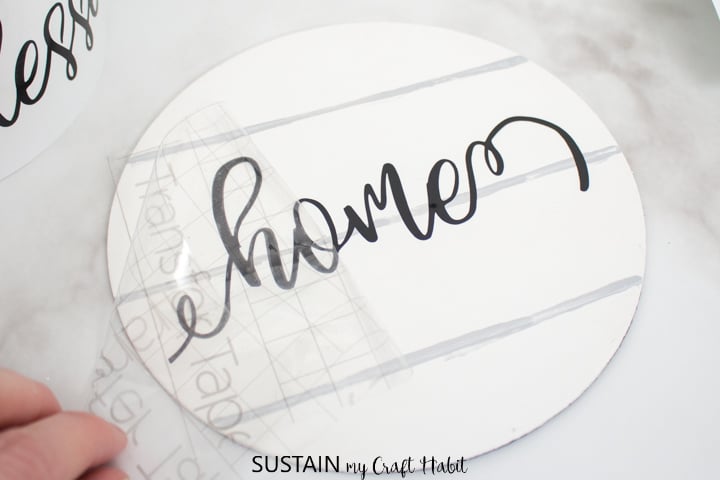
Peel away the vinyl backing and place the image on to the wood circle.
Gently rub the vinyl to help it stick to the wood.
you’ve got the option to use a Cricut scraper tool or your finger nails for this.
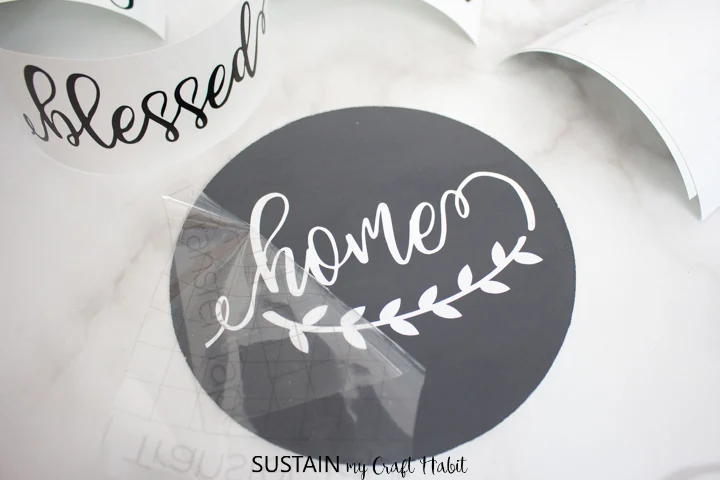
Carefully and slowly peel away the transfer tape.
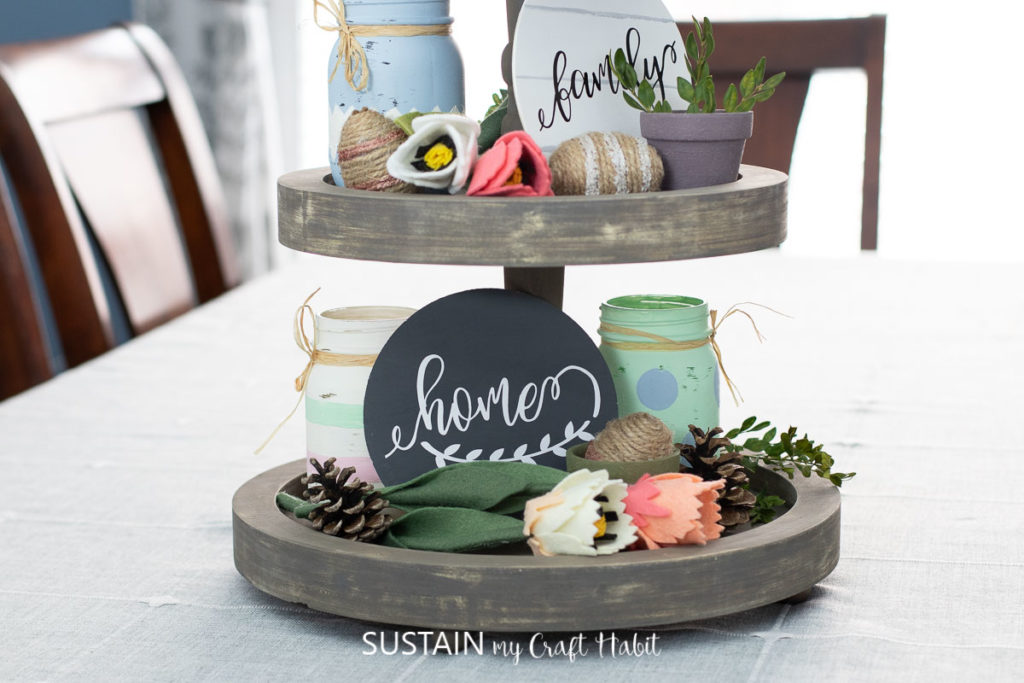
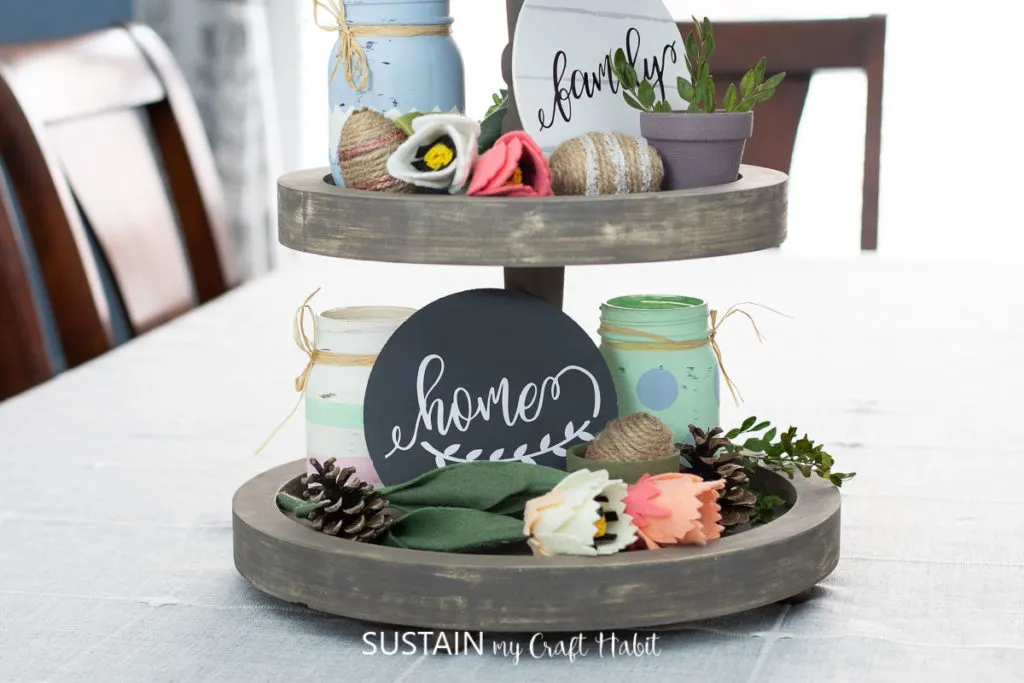
Repeat with the remaining vinyl images and wood circles to make all of your round wood signs.
Once the transfer tape is peeled away, the wood signs are ready for use.

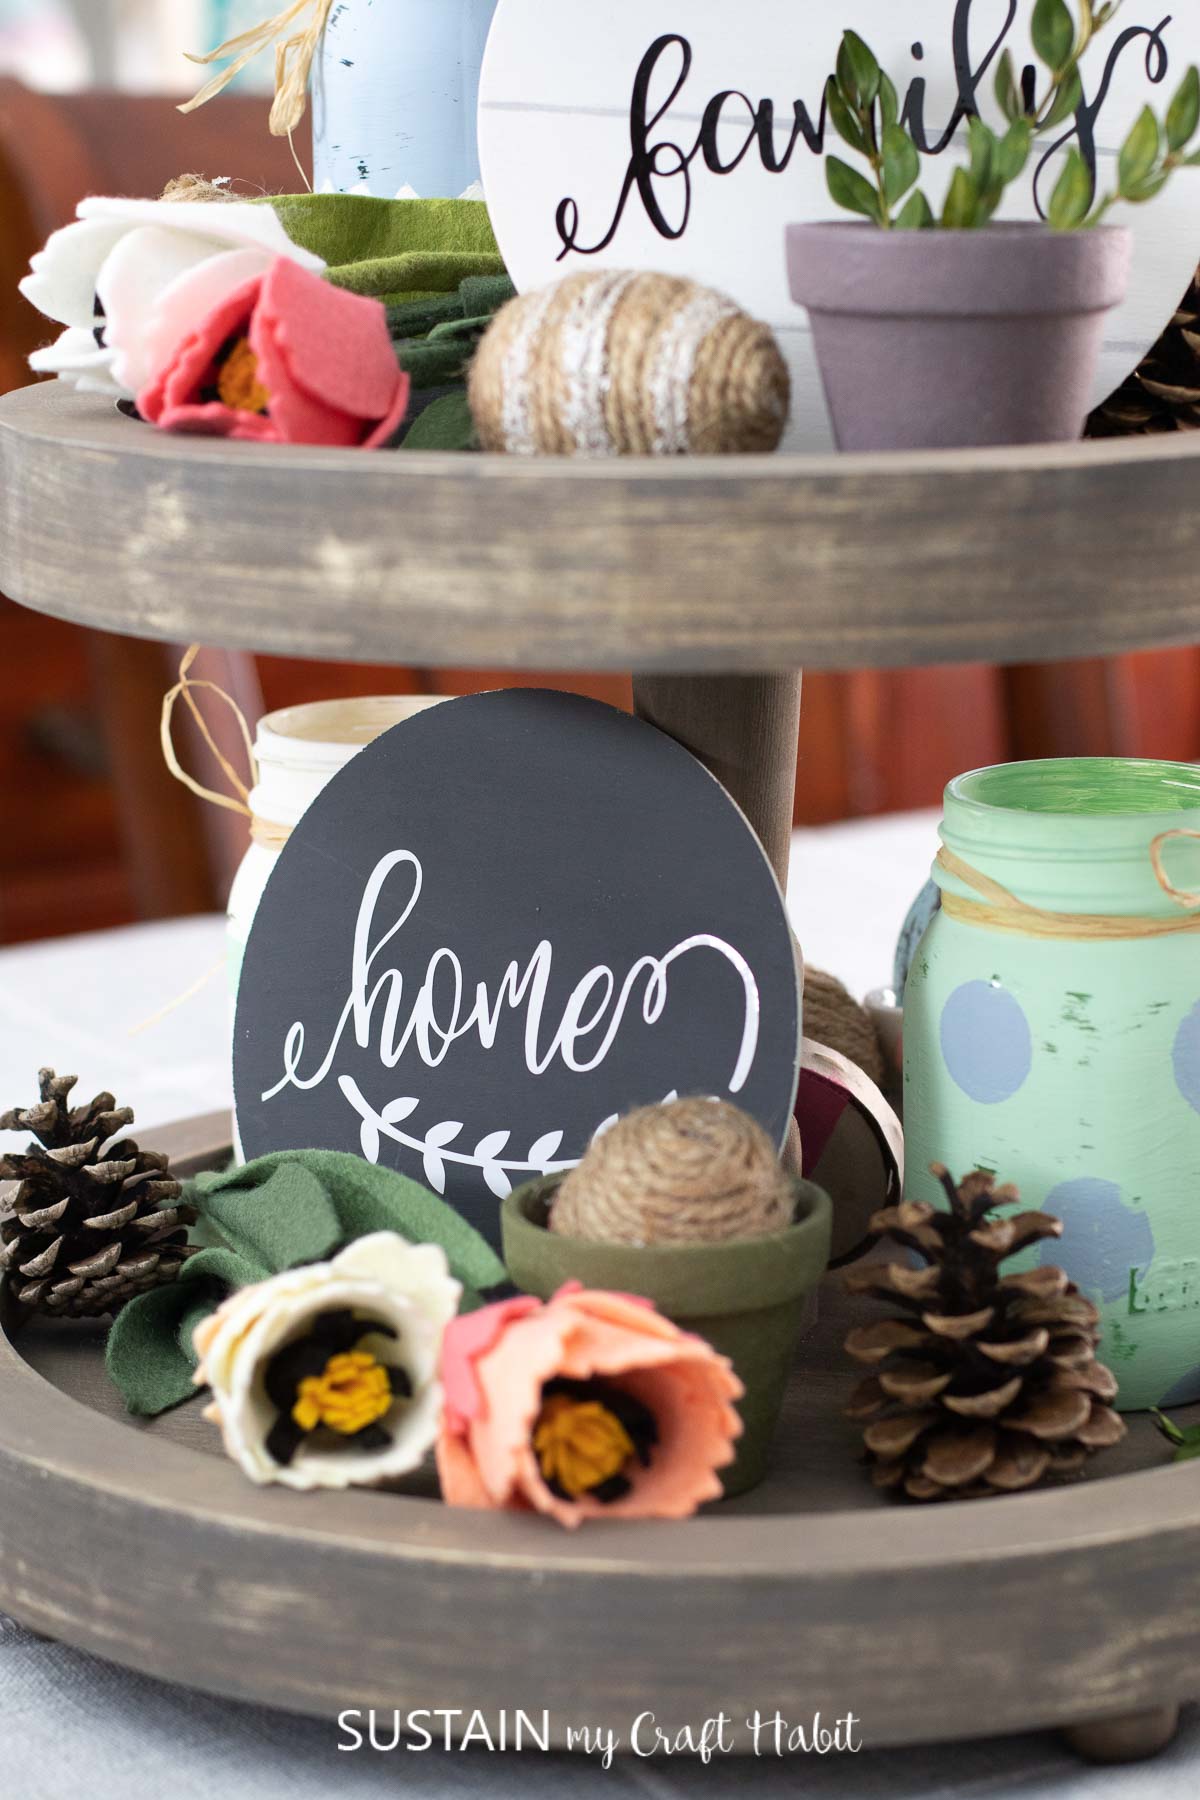
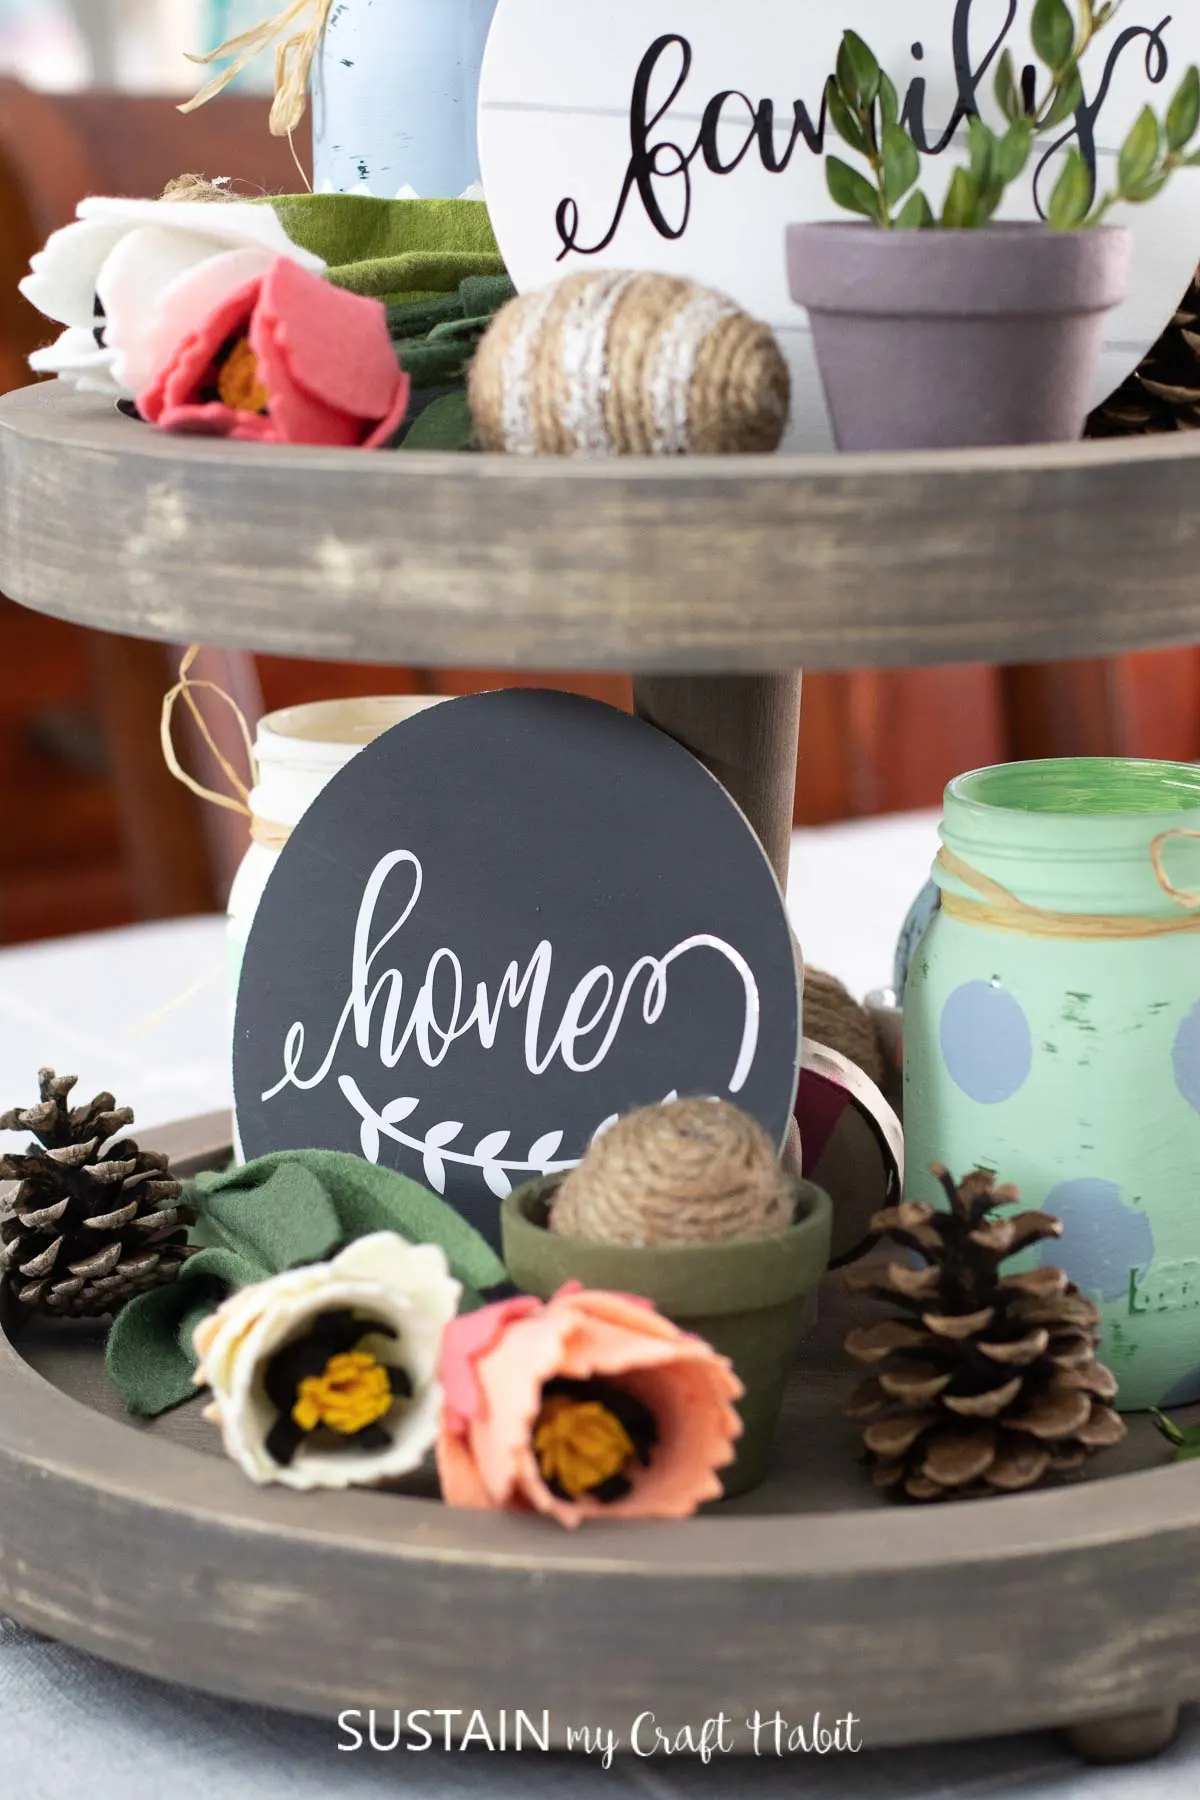
Enjoy placing them throughout your home, adding that farmhouse look and feel to your space.
It feels good to repurpose, upcycle and create with nature!
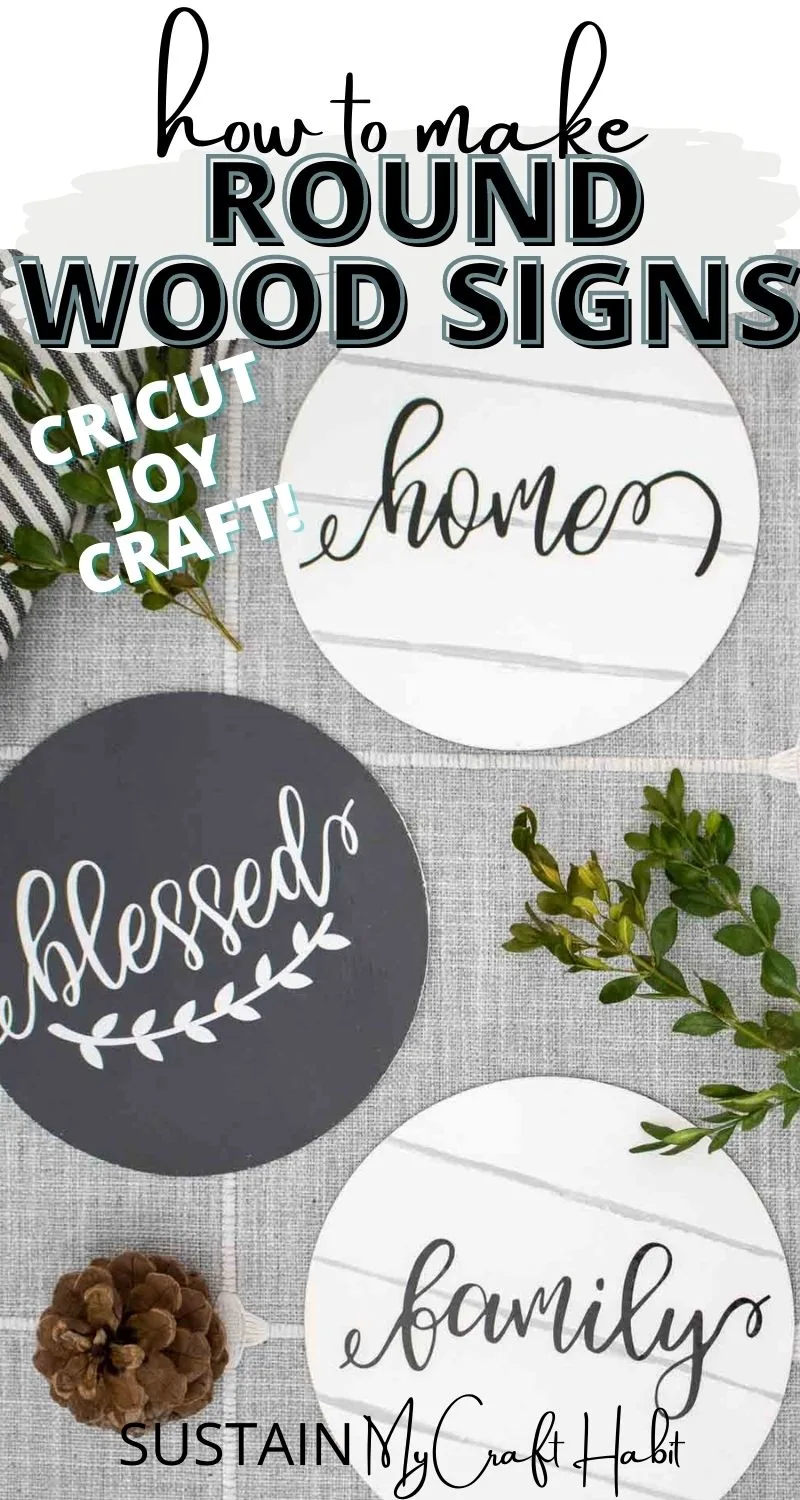
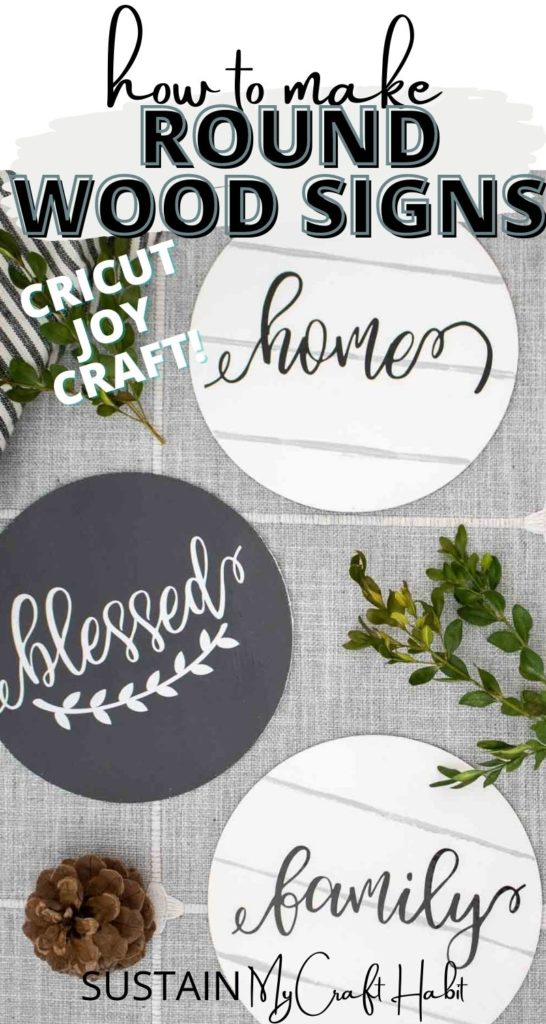
Farmhouse Inspired DIY Round Wood Sign
Materials
Instructions
Like it?

Pin it for later!


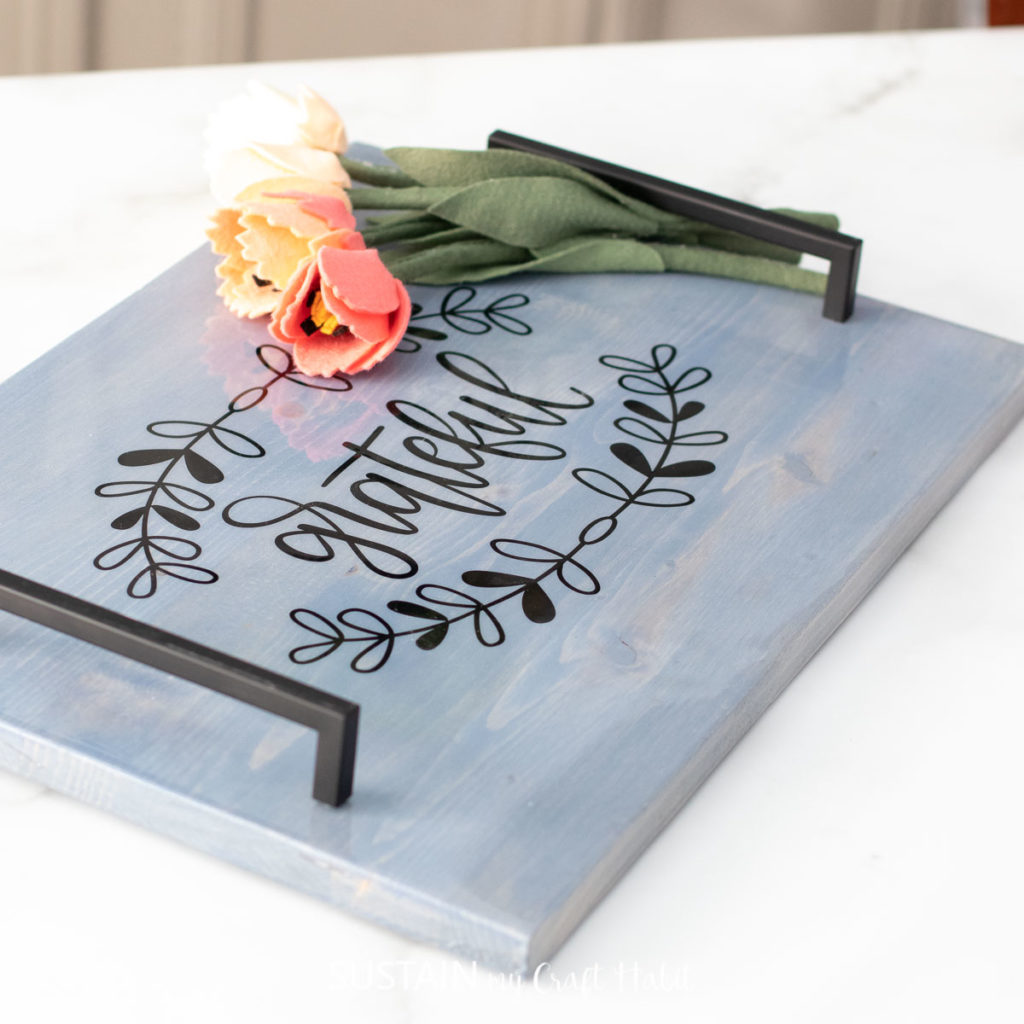
Wood Tray

Bathroom Sign


Spring Decor

Family Tree with Cricut Foil