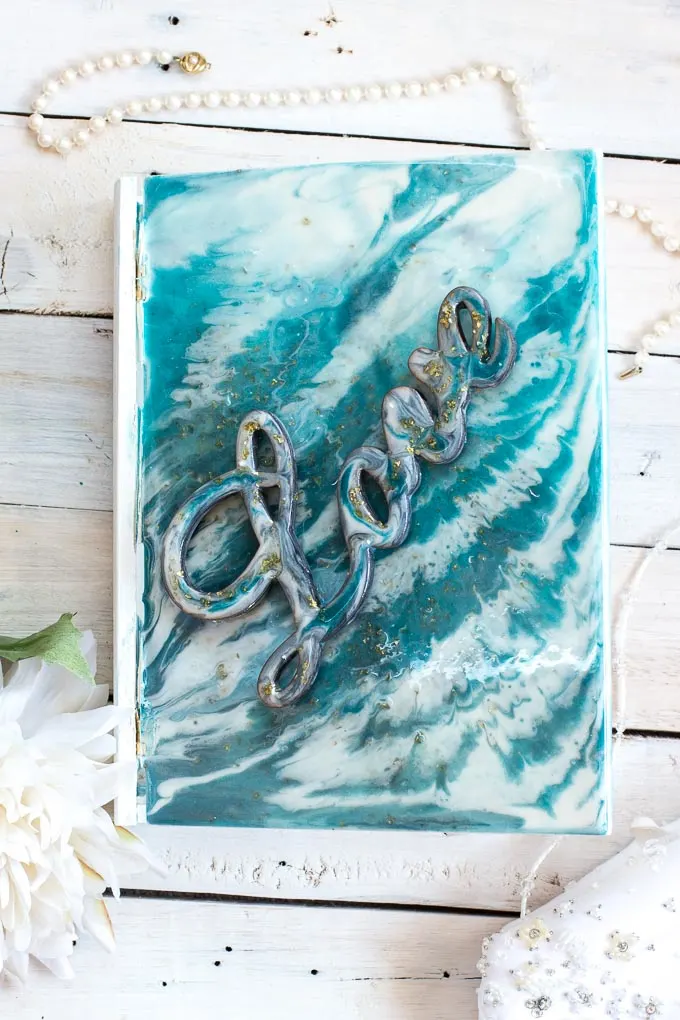
ThisDIY resin poured memento boxis a beautiful and elegant gift idea to help them preserve those special keepsakes.
newspaper) to catch any run off.
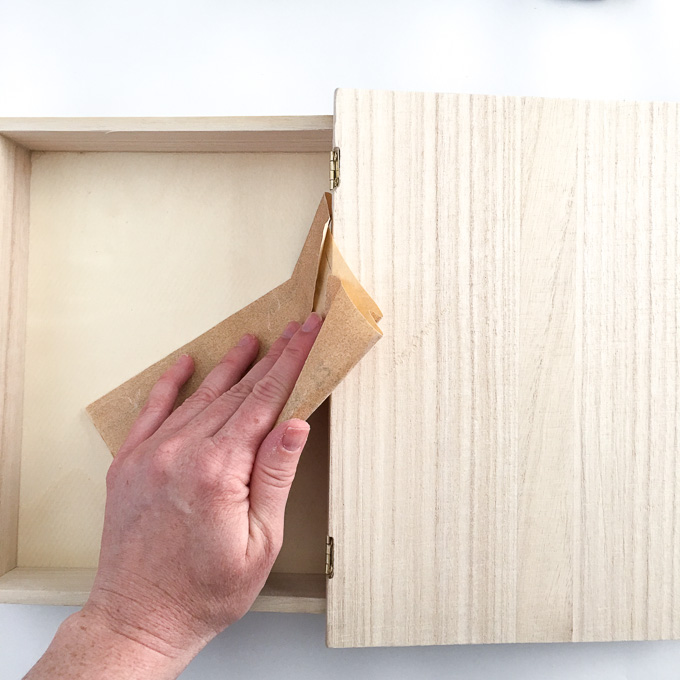
IMPORTANT: Remove the cover flap from the rest of the box byunscrewing and removing the hinges.

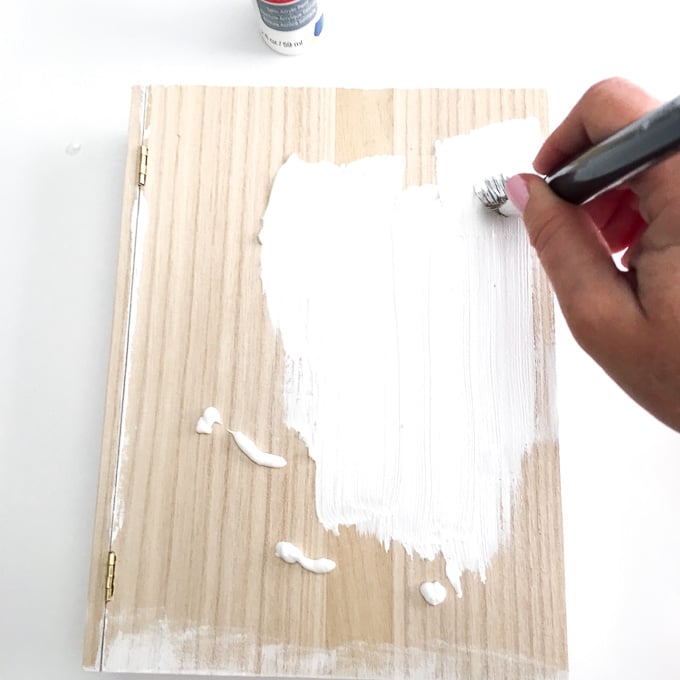
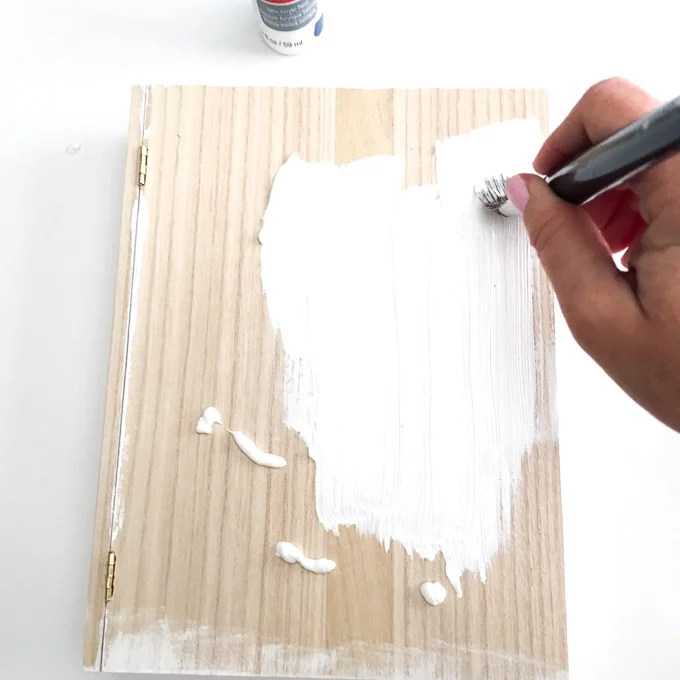
Lightly sand all the surfaces and edges of the wood book box using fine grit sandpaper.
Paint all of the surfaces with two coats of white acrylic paint.
Tape off the edge of the cover flap along the spine side of the book box.

Otherwise you may have difficulty reassembling the book box when finished.
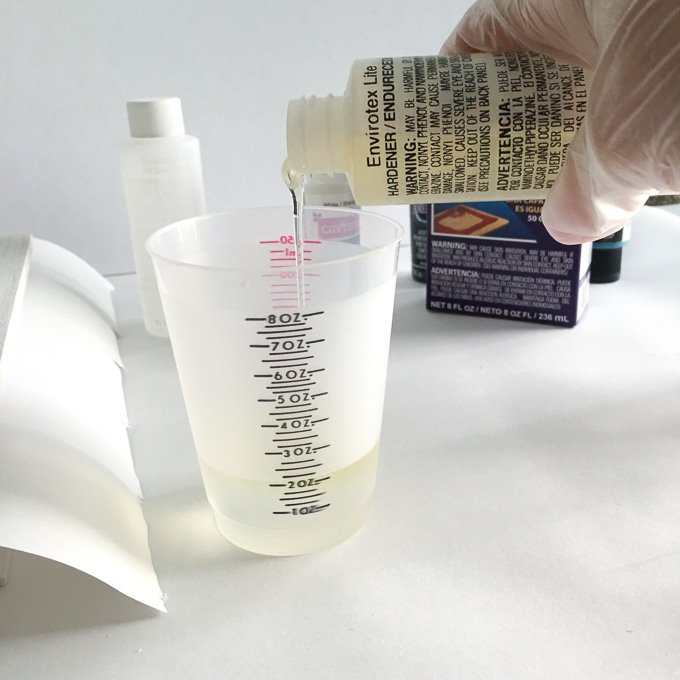
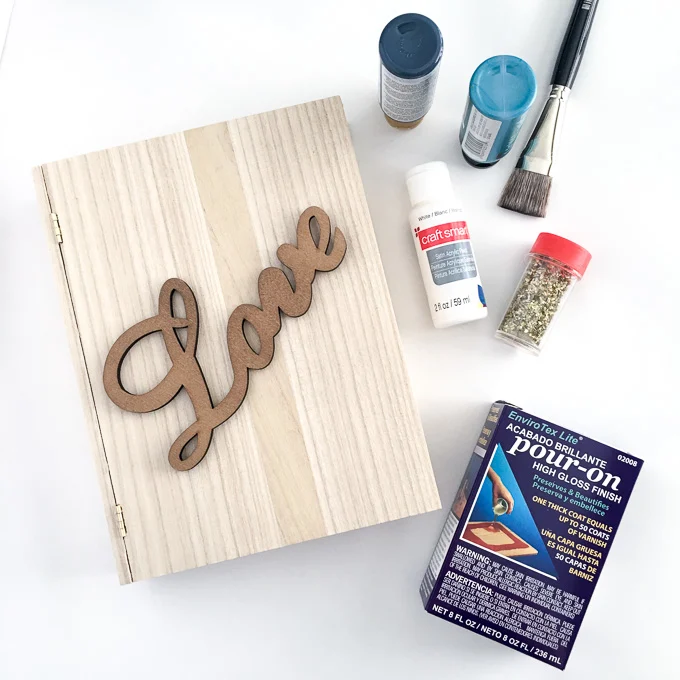
Read and follow all instructions in the Envirotex Lite packaging for best results.
Work in a well ventilated area with gloves.
Ensure your resin and hardener are at room temperature or warmer before mixing.
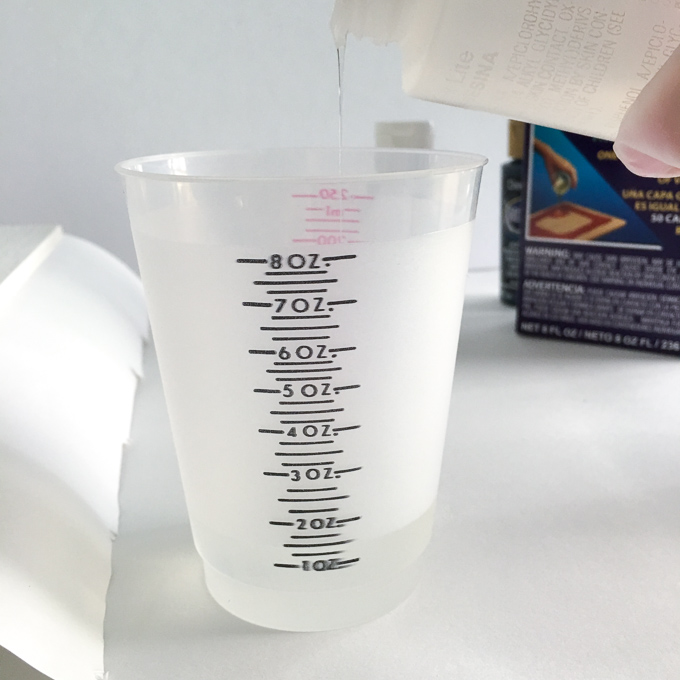
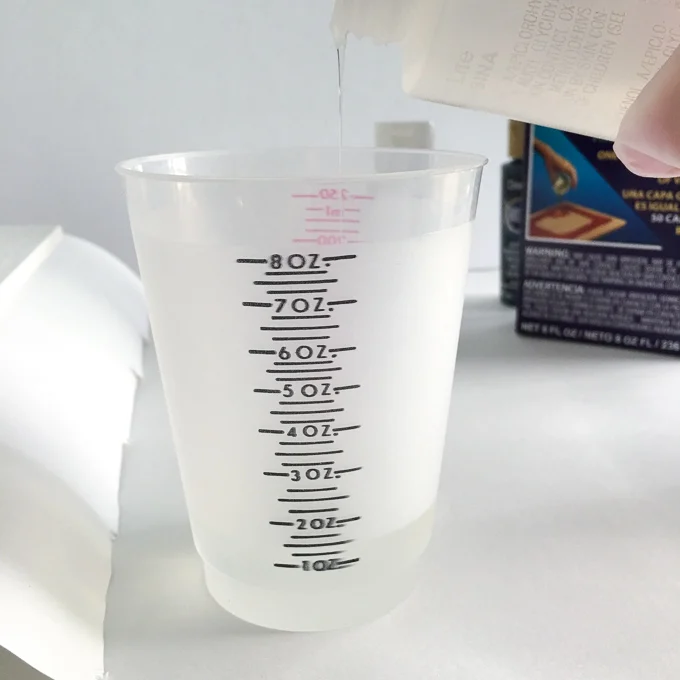
Mix exactly equal amounts of Resin and Hardener into one measuring cup.
The size of your piece will determine how much resin you need.
In my case, I poured 2oz of the resin and 2oz of the hardener.
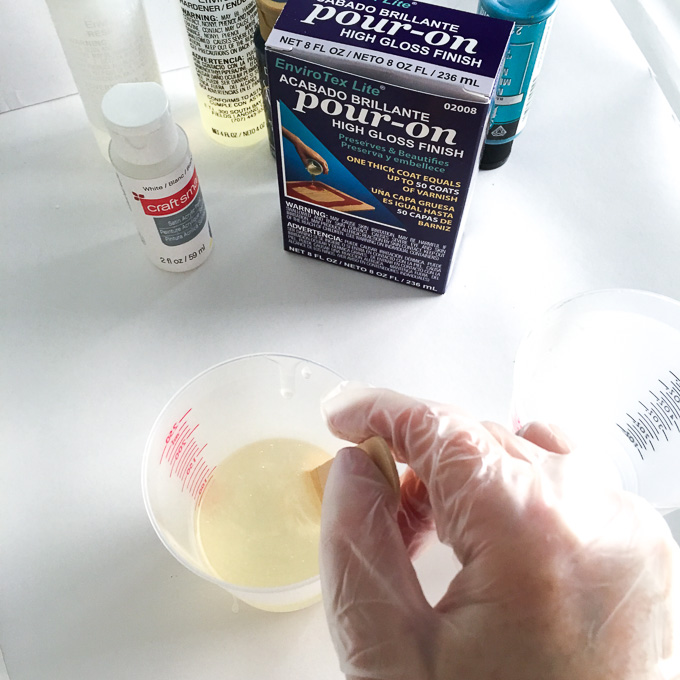
Stir together continuously for 2 minutes, scraping the sides of the container.
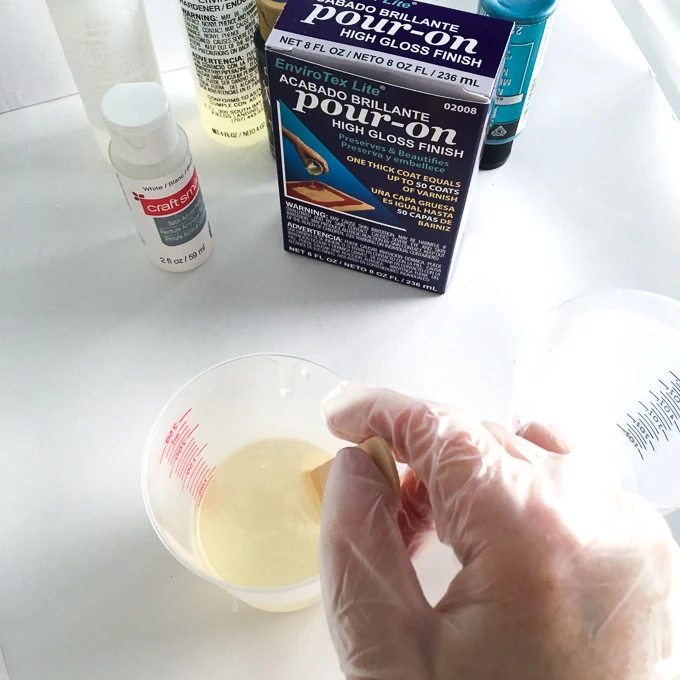
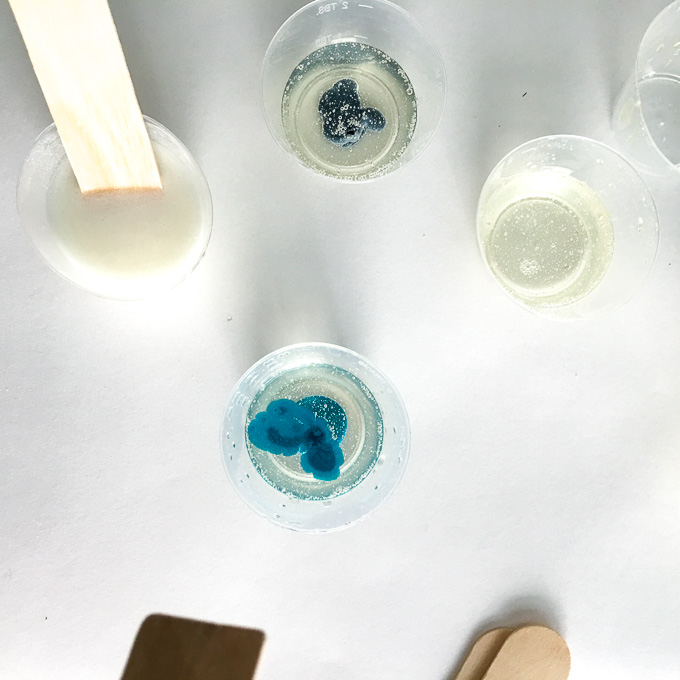
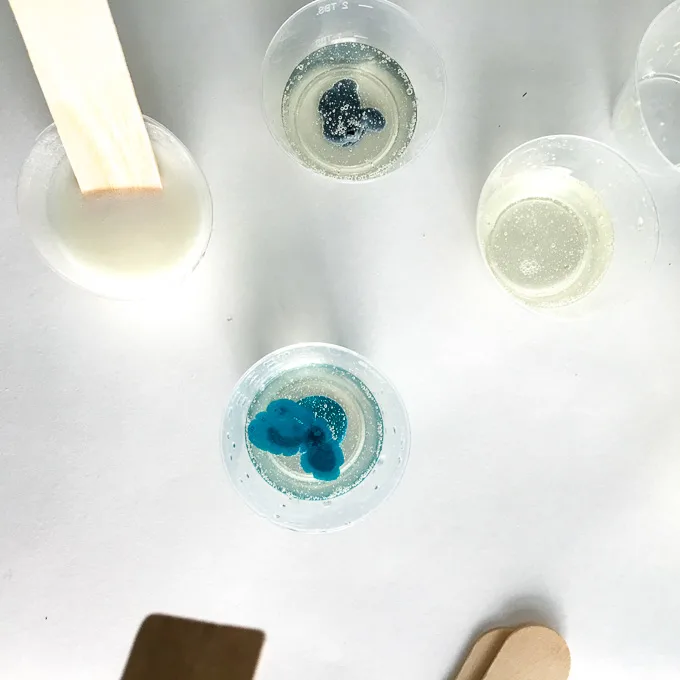
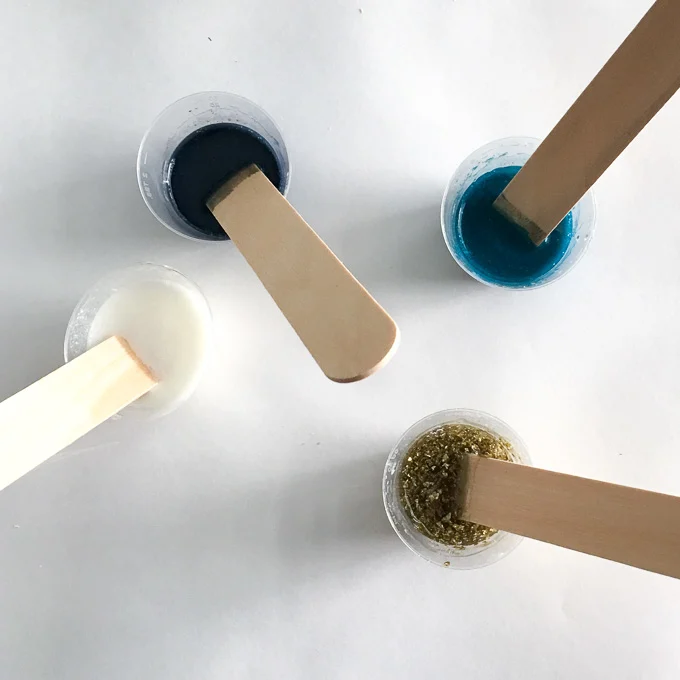
Evenly distribute the resin mixture into 4 different smaller cups.

Add 3-4 drops of acrylic paint of each colour in each cup.
Mix gold glitter flakes in the fourth cup.
Elevate your painted and sealed wood flap off of your work surface.
A couple of small cups underneath work great!
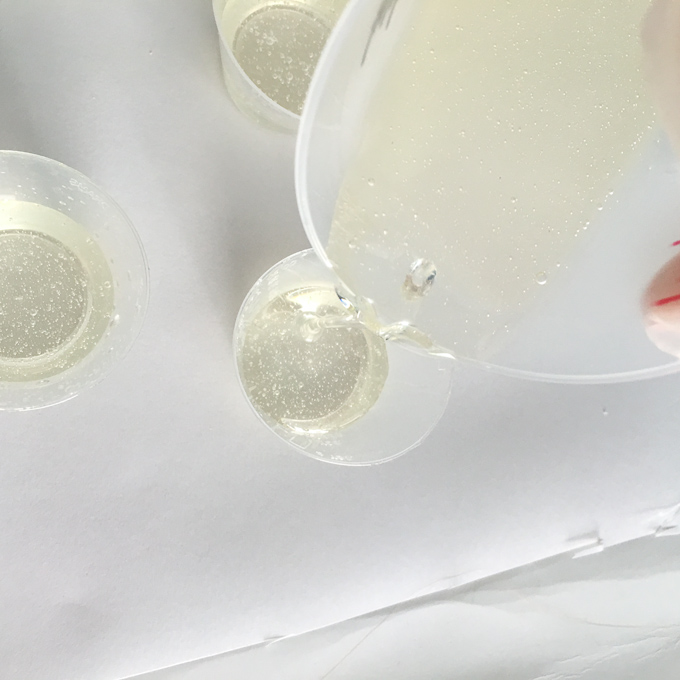
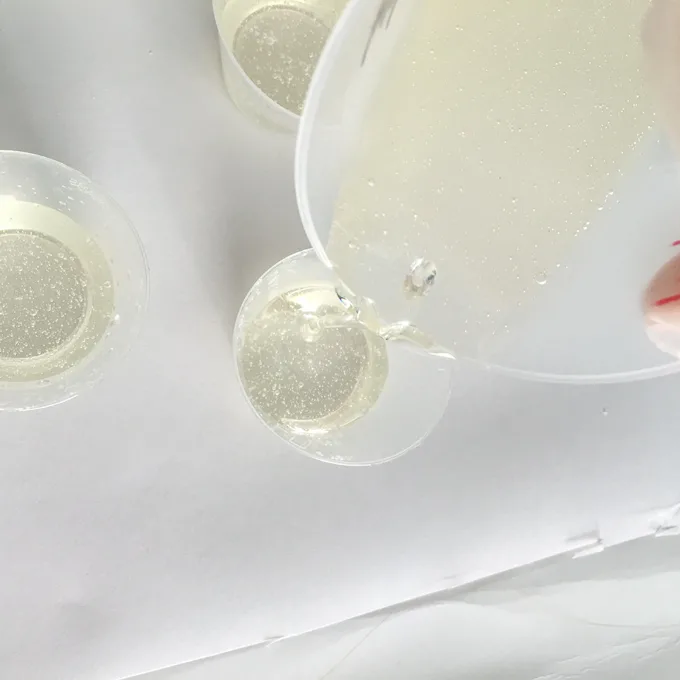
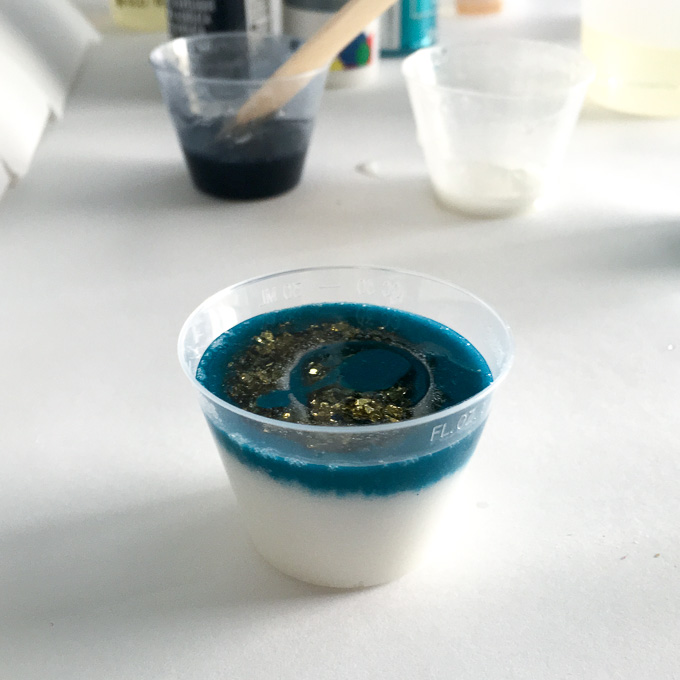
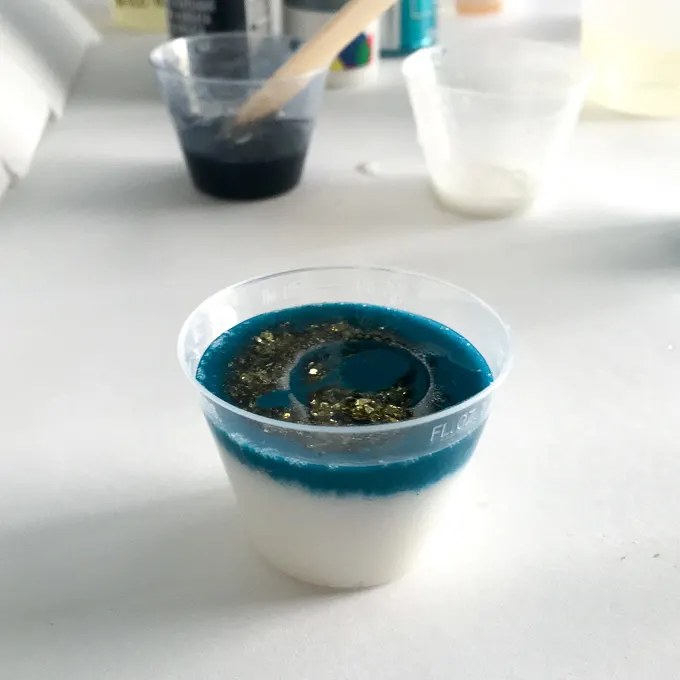
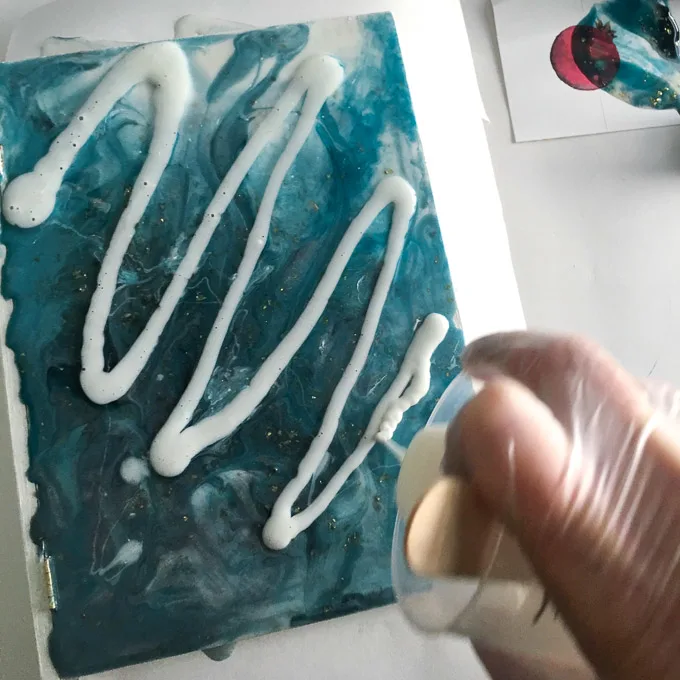
In a separate cup, pour about half of the white tinted resin.
Repeat this pattern with smaller amounts until you nearly fill up the cup.
Theres really no wrong way to go about this!
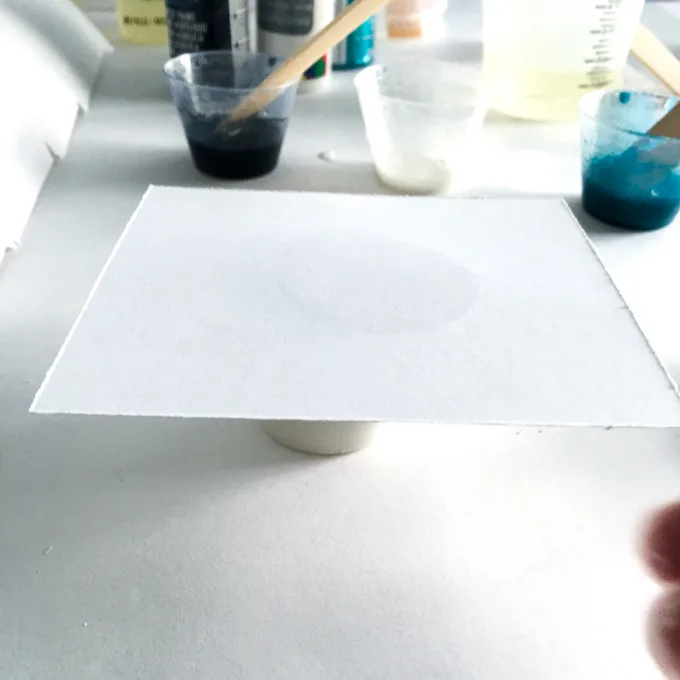
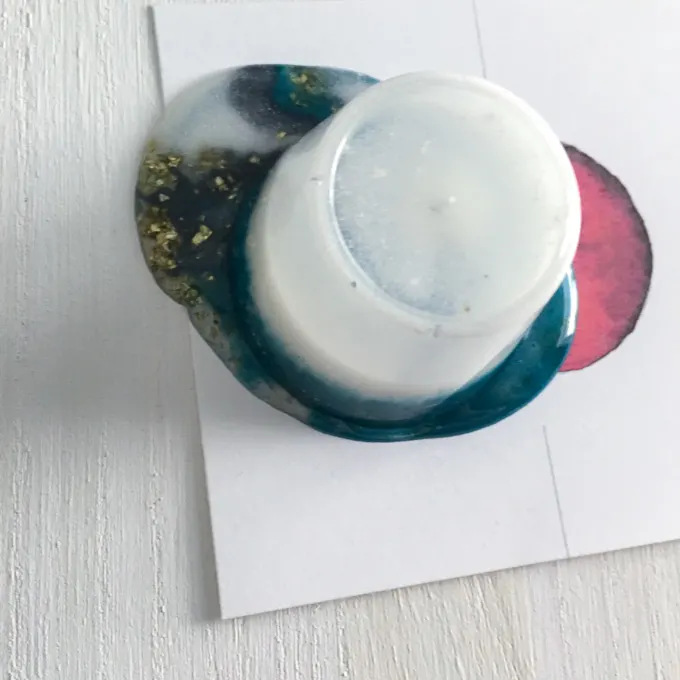
Place a flap of sturdy paper such as thick card stock over the top of the cup.
Firmly hold the cup down and slowly slide the card stock out from underneath the cup.

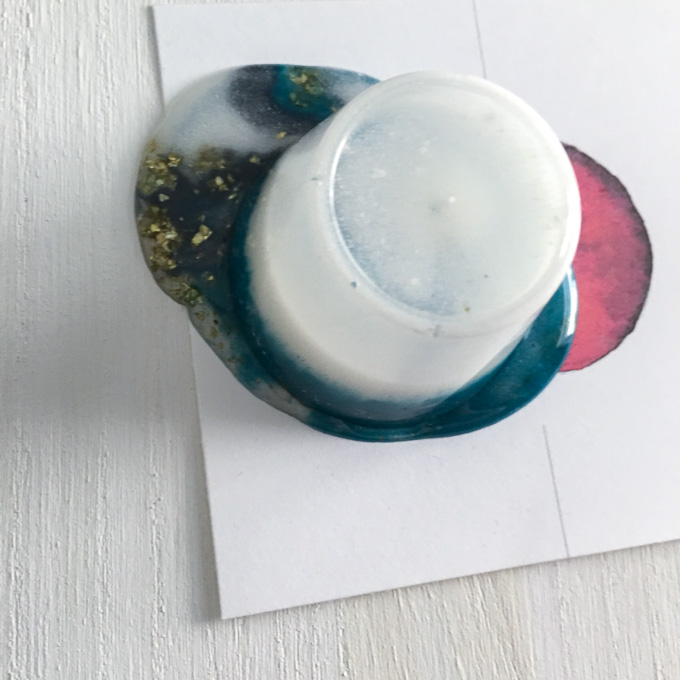
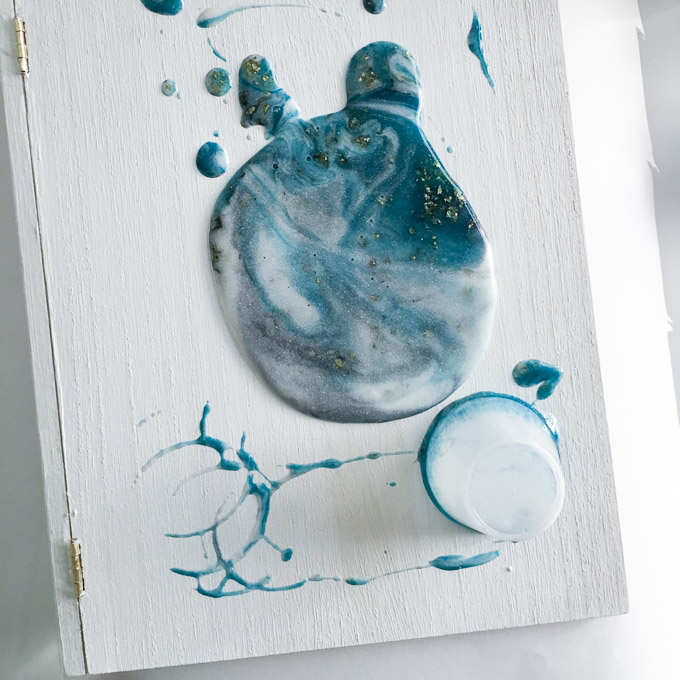
Next, gently lift the cup up to reveal your creation!
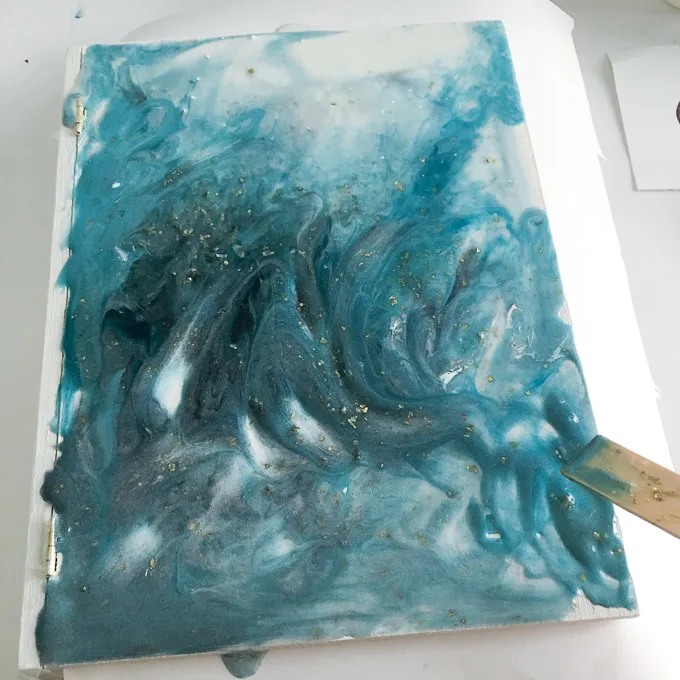
You may need to repeat the resin pour with additional resin to fully cover the surface.
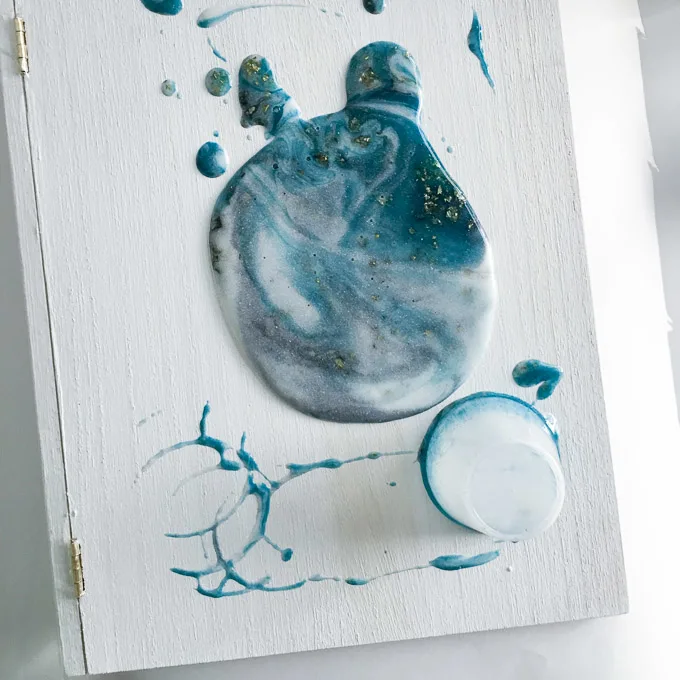
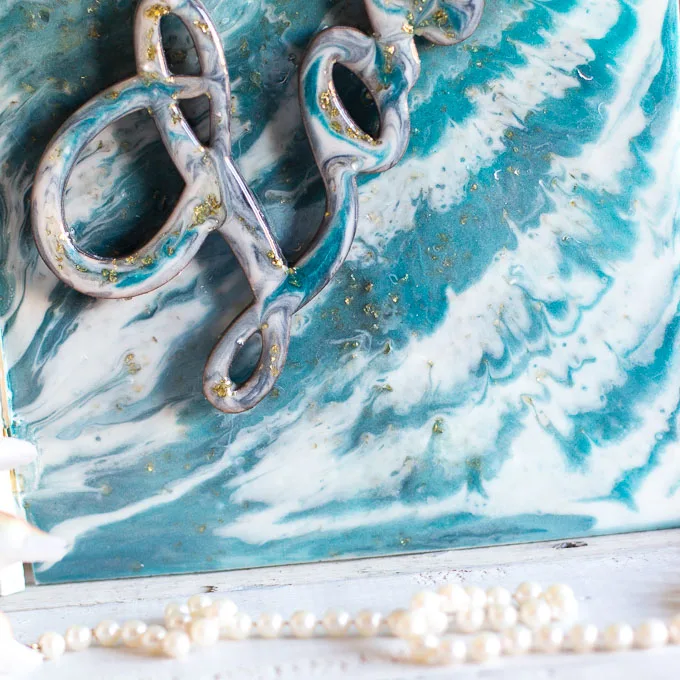
The resin blends together beautifully as it settles.
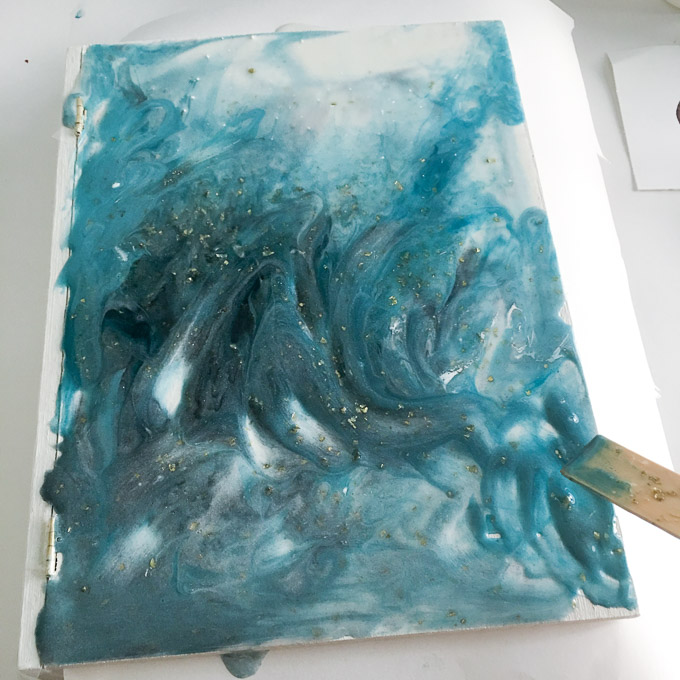
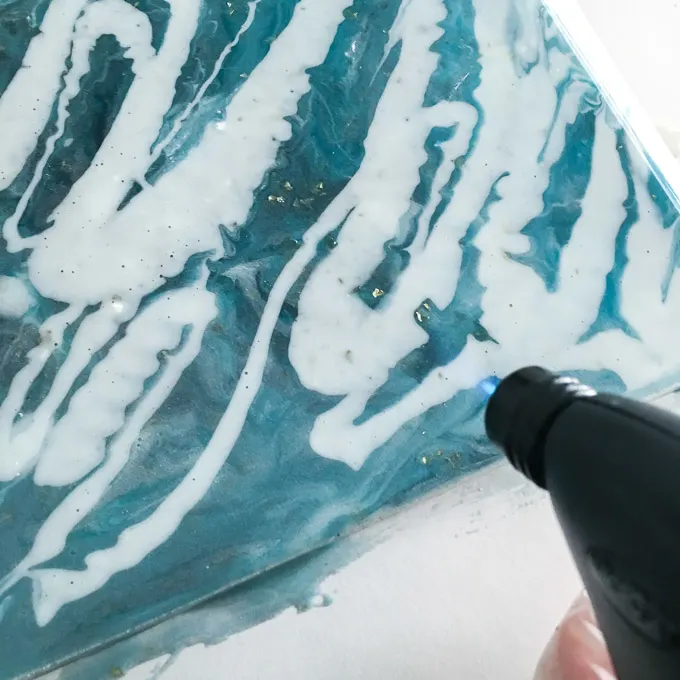
However, I helped to soften the edges using the air and heat from the kitchen torch.
Use the torch to pop any air bubbles that arise to the surface.
I did this several times over the first hour or so of the curing process.
Be sure to cover the piece to keep dust from settling in.
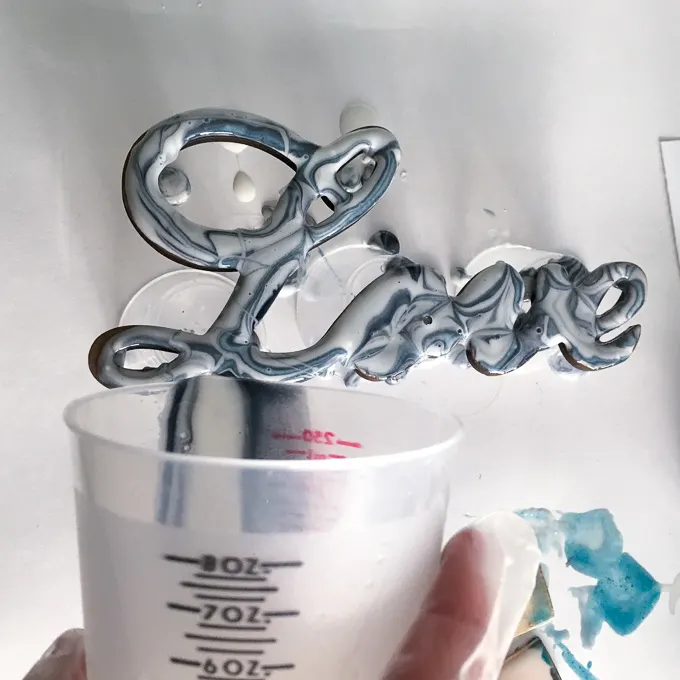
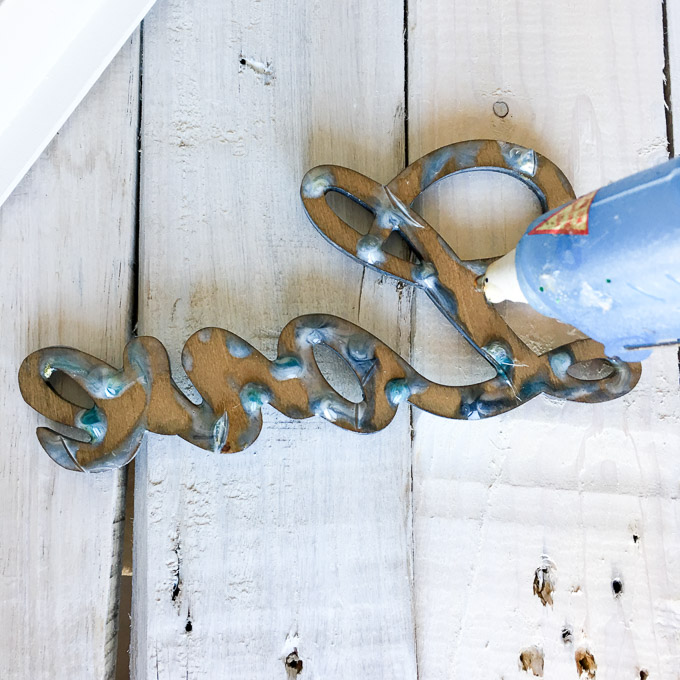
With the remaining resin, coat the wood Love shape.
Add in the glitter resin in various spots.
Use the kitchen torch to blow off any air bubbles then cover and let cure overnight.
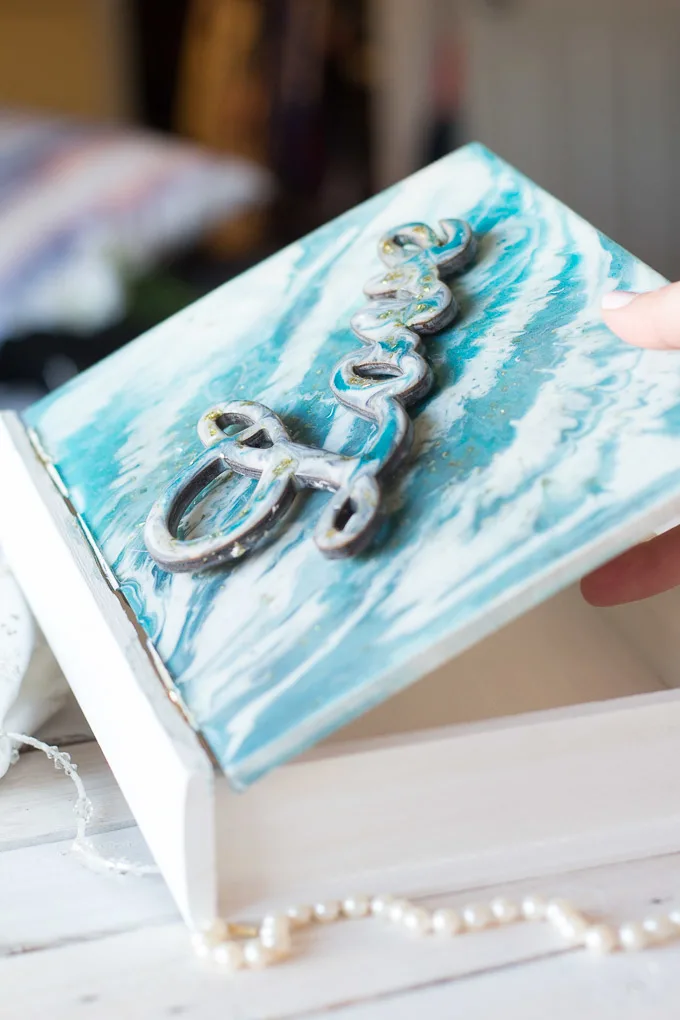
Once the phrase and book box cover are fully cured, glue the phrase in place with hot glue.
Note, you may need to trim down any large drips on the back side of the phrase.
Im so pleased with how my first resin pouring project turned out!
Thats the beauty of resin pouring.
Pin it for later!