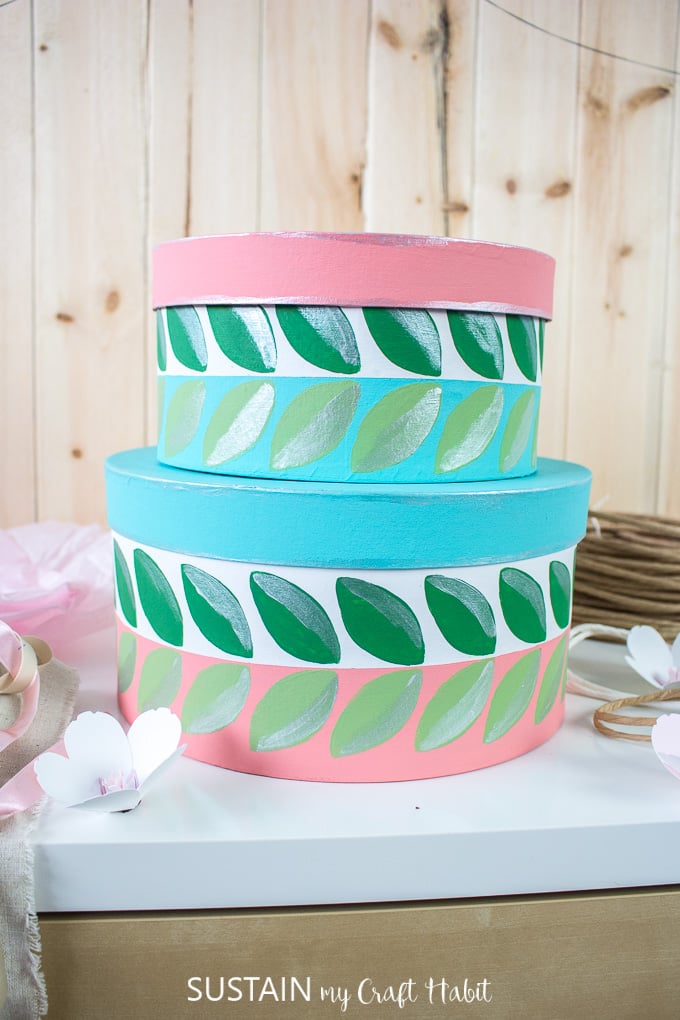
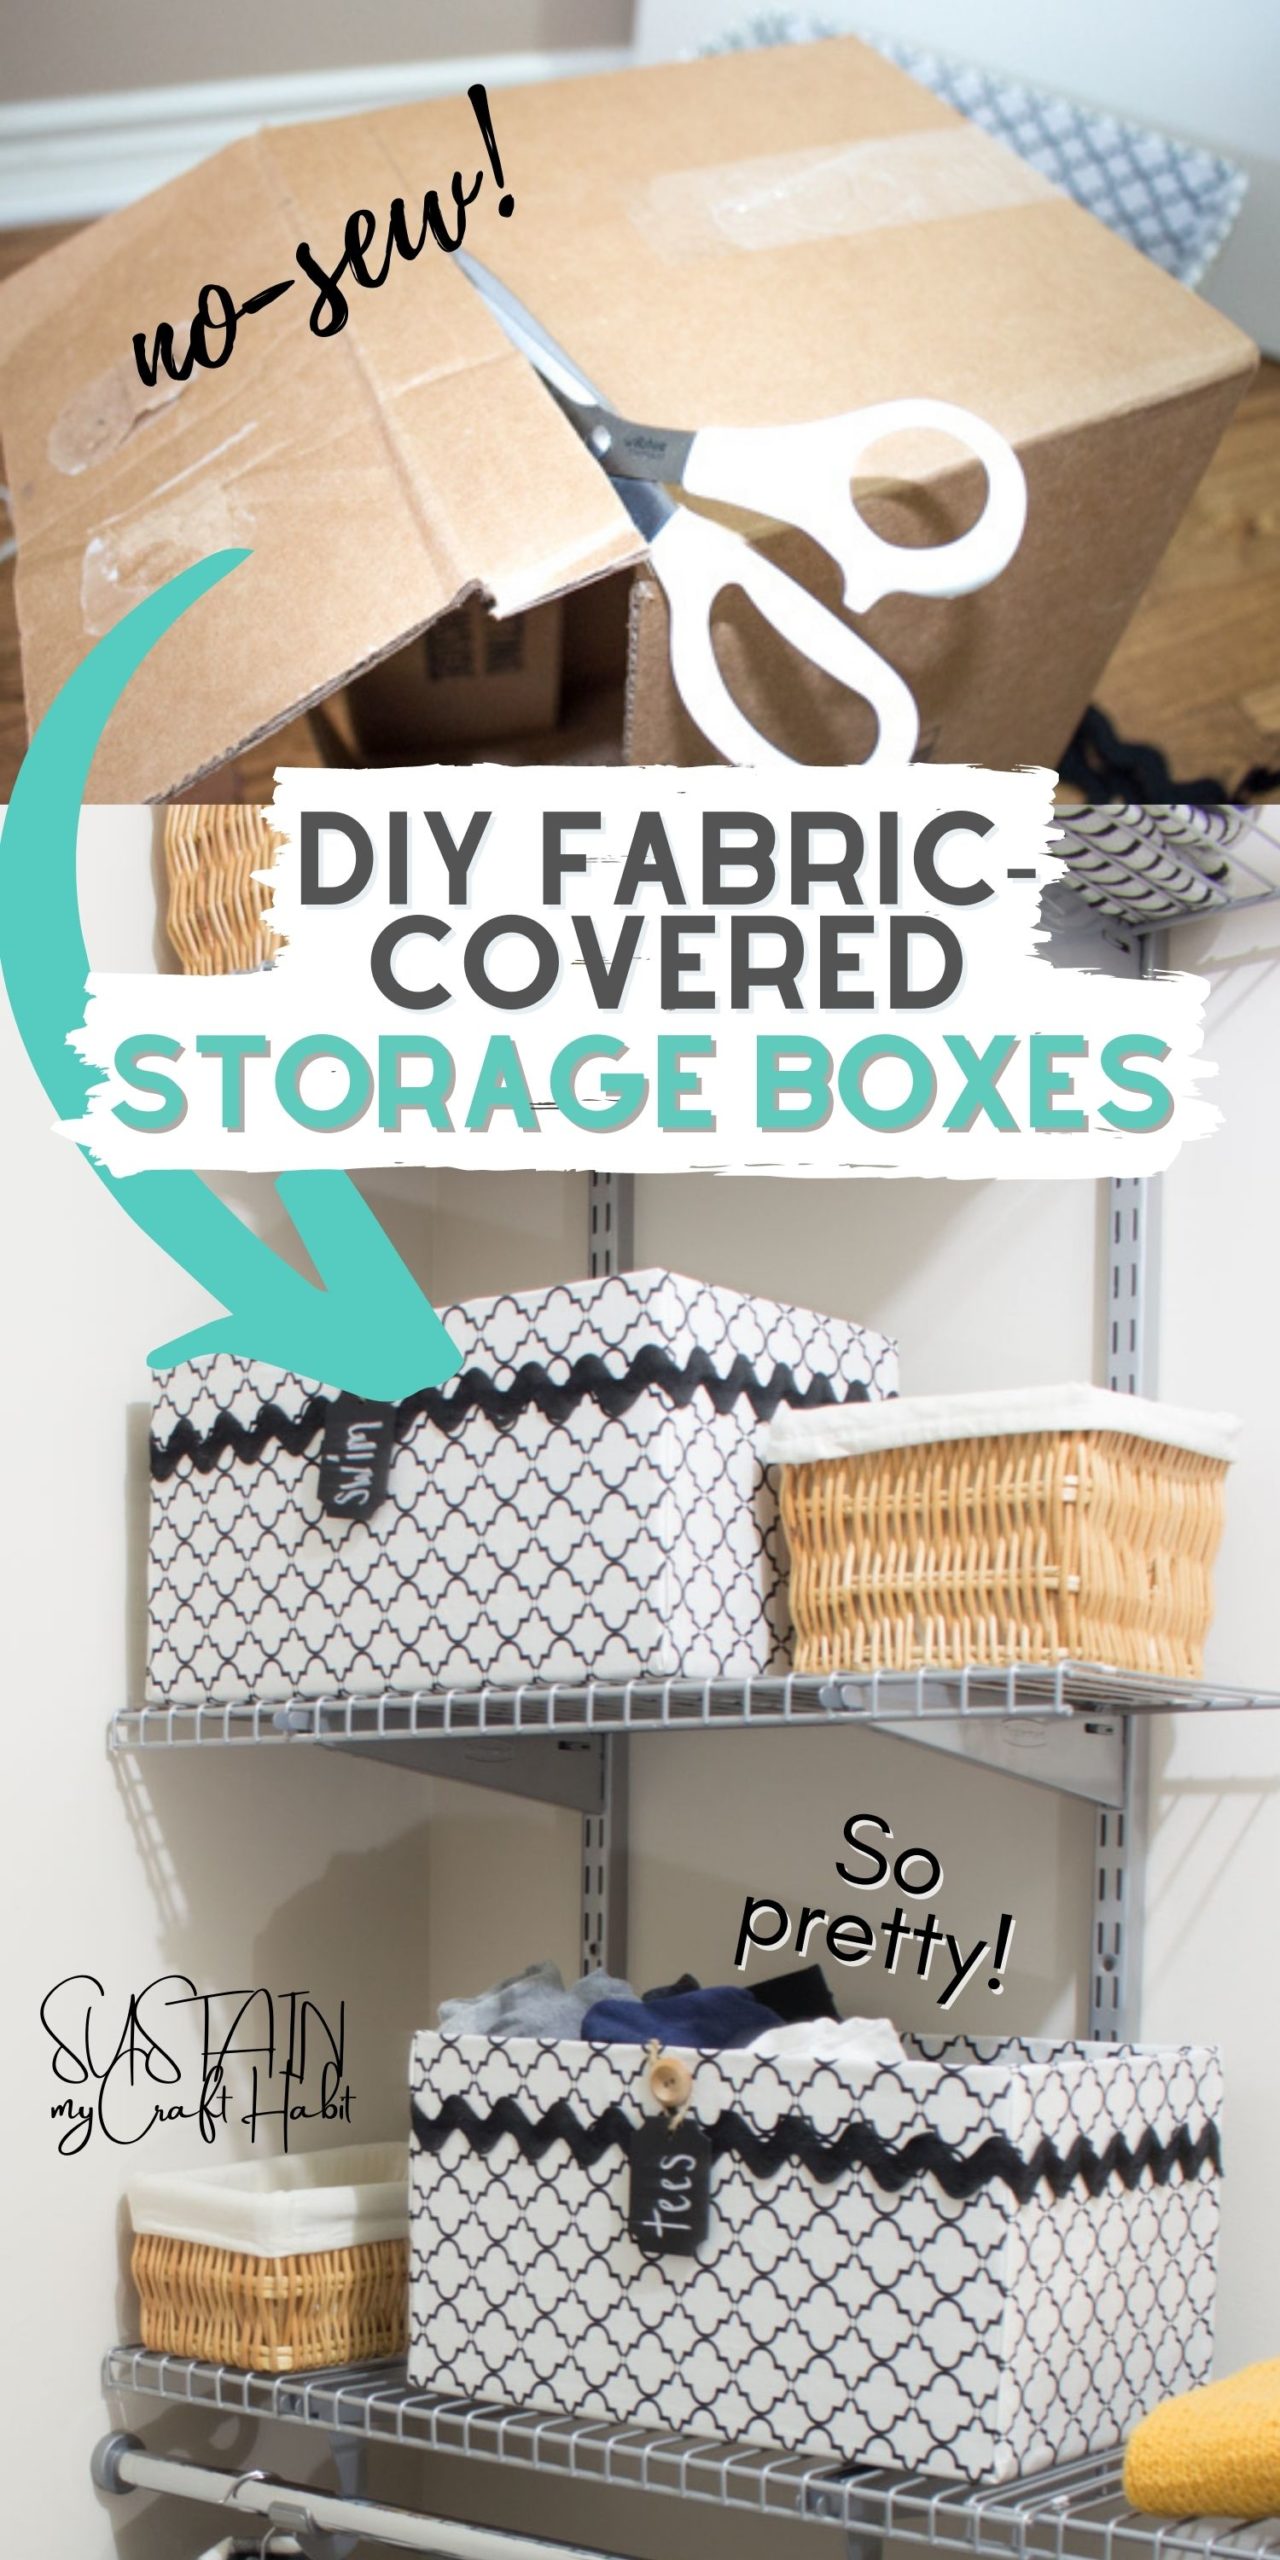
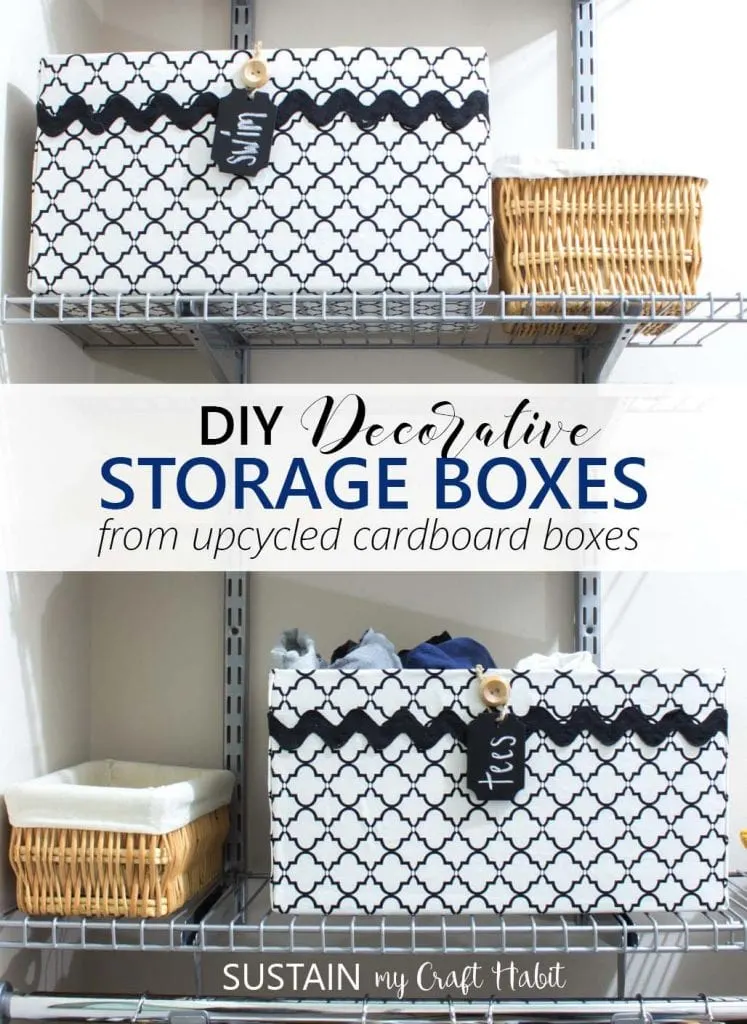
We dont need to spend a fortune to have pretty storage containers.
Let us show you how to makefabric DIY storage boxesto tidy up all those loose items!
ORGANIZING PROJECTS: Get 7 days of free tips and resources for organizing any room in your home.
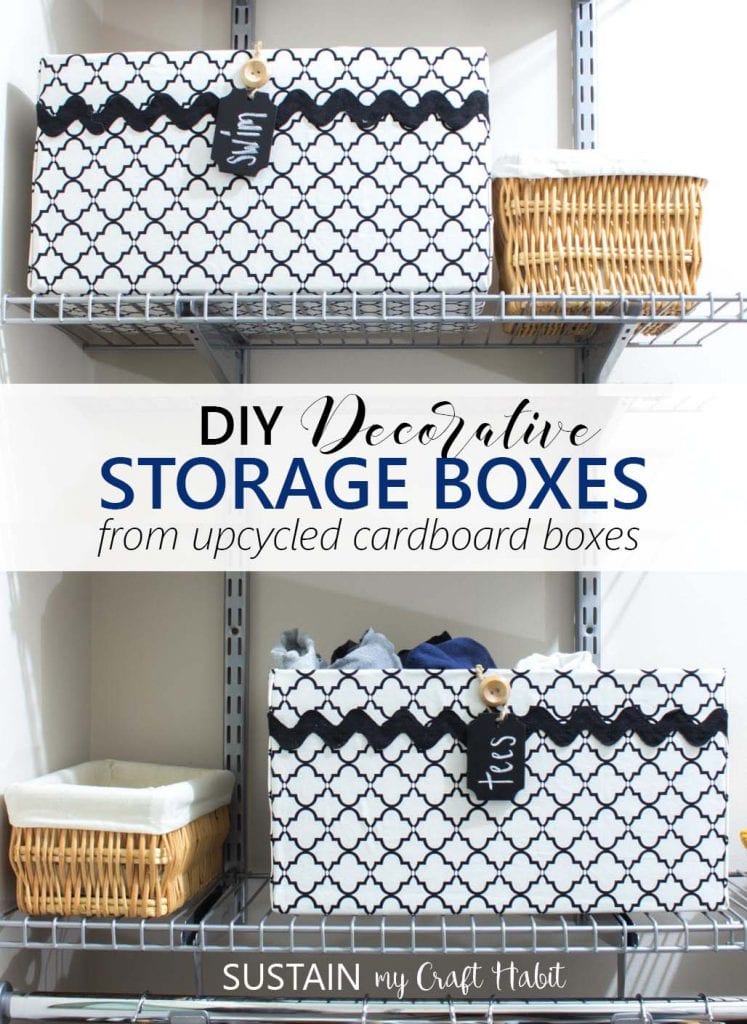
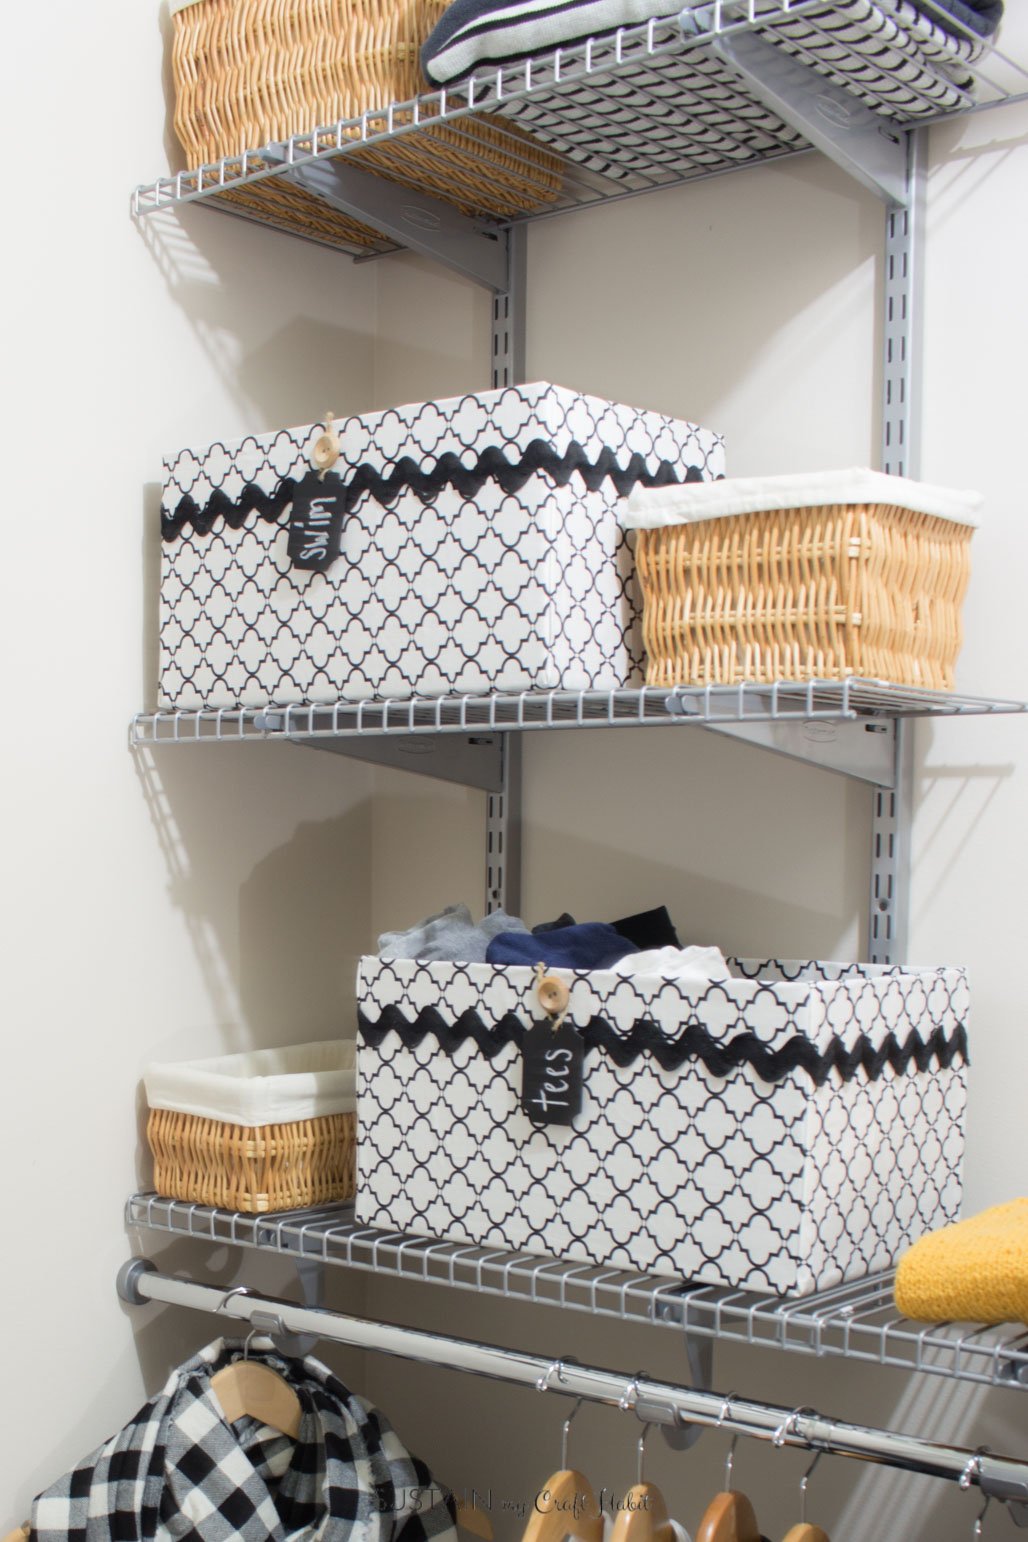
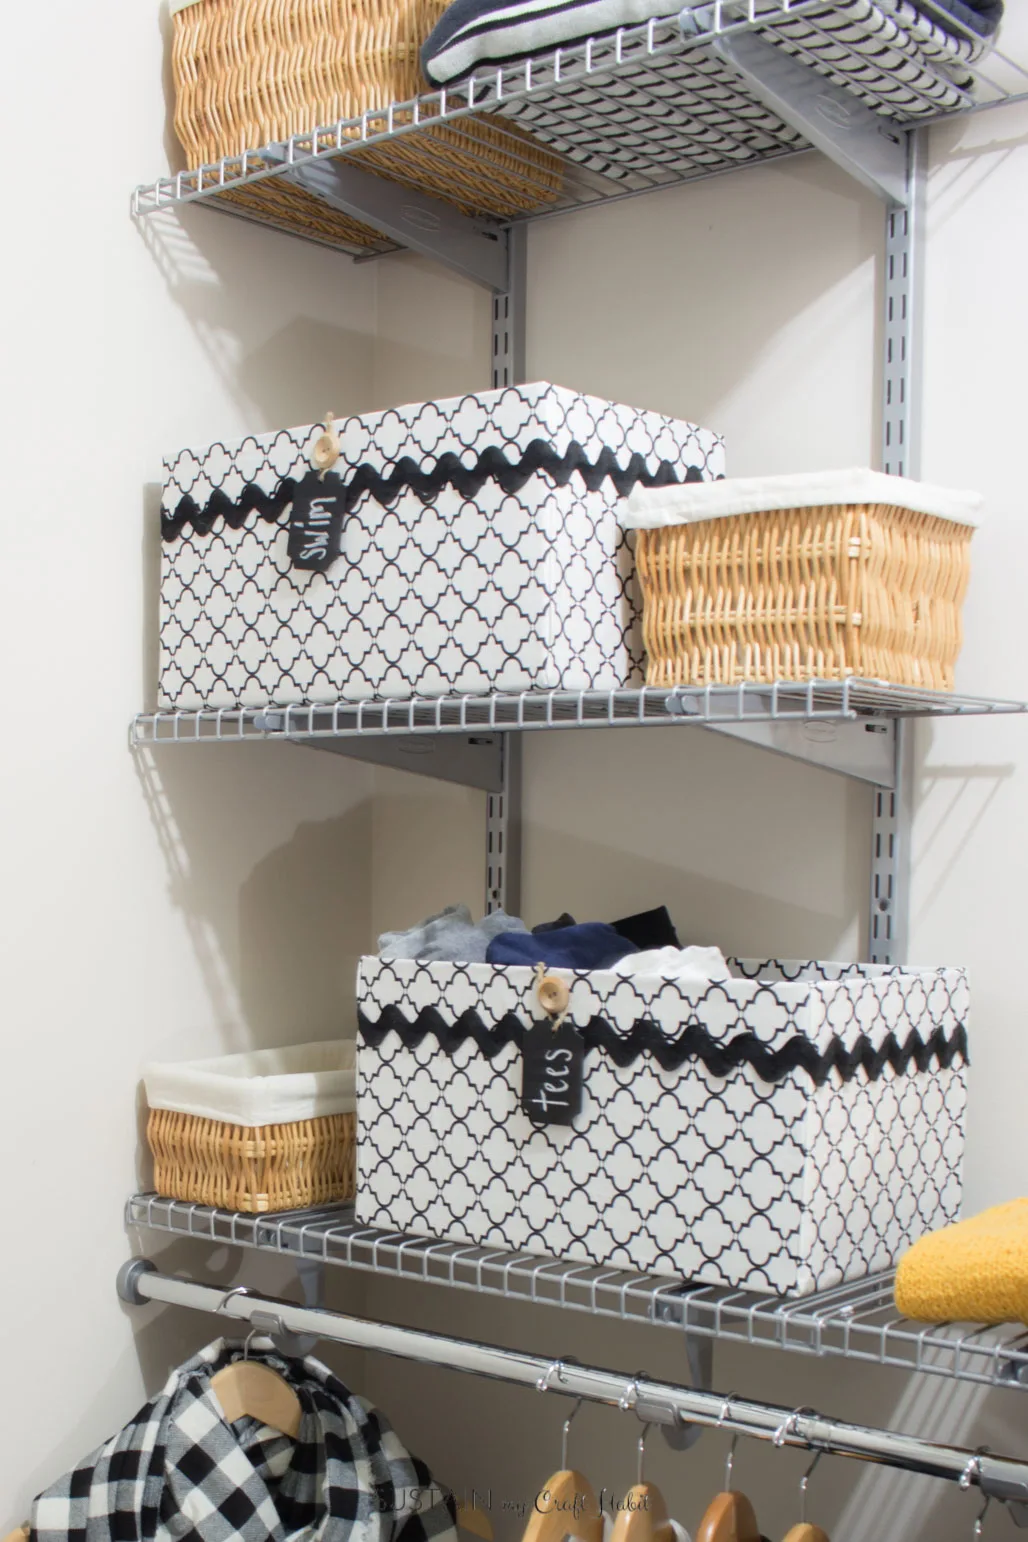
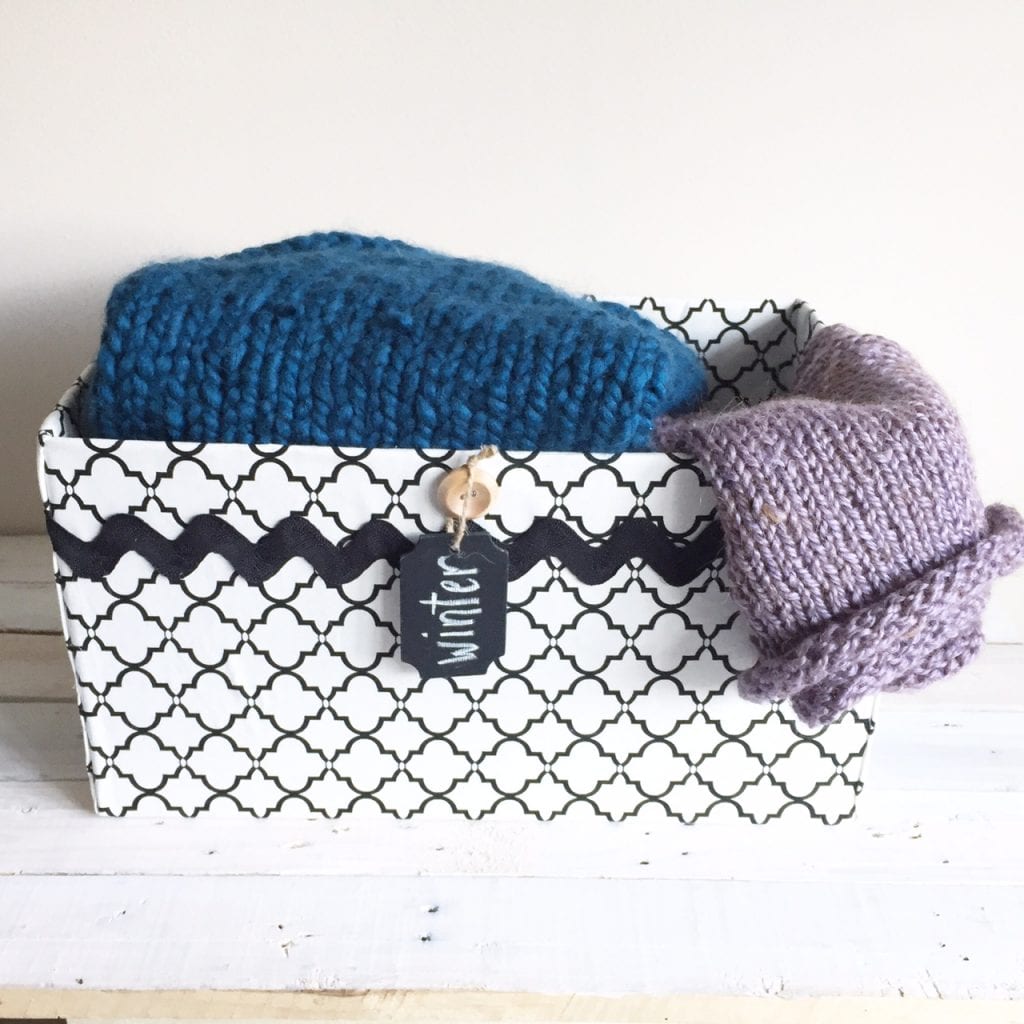
These decorative storage boxes will hold our seasonal accessories such as t-shirts, tanks, scarves and mitts.
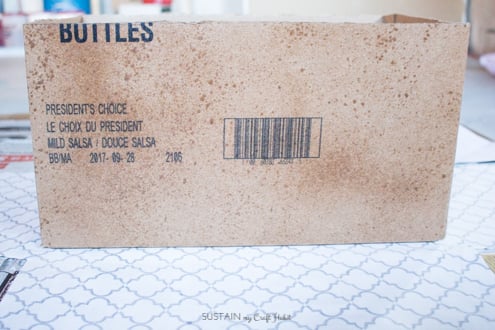
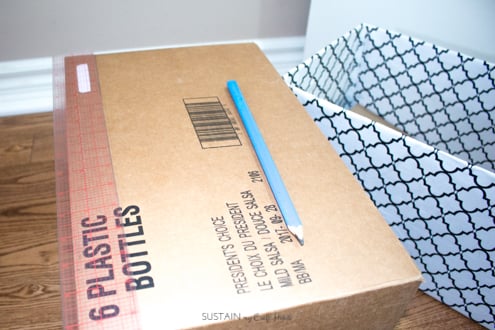
Craft Materials Needed:
Disclosure: This post contains affiliate links for your shopping convenience.
you could readour full disclosure policy here.
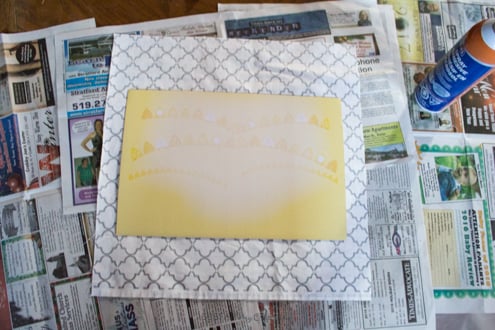
Lay fabric down on a protected flat surface with right side facing down.
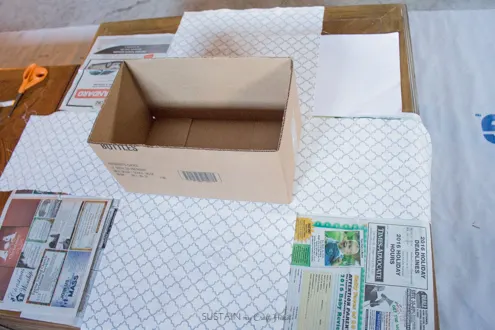
Position the empty box into the center of the fabric.
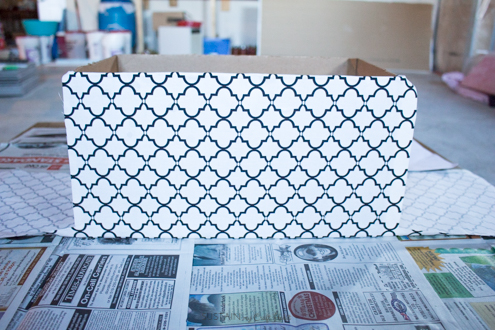
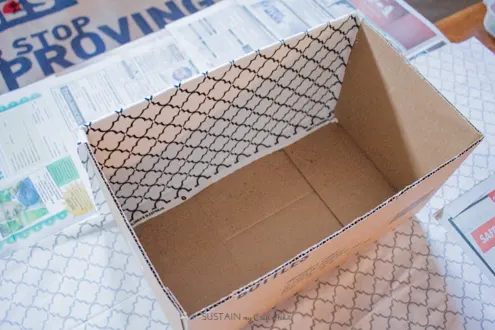
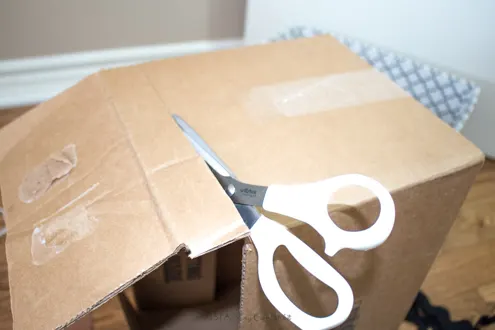
Cut the lid flaps and sides of the box to your desired size.
Place it centered on the fabric.
Using a pair of sharp scissors, cut out the corners of the fabric as shown.
Leave 12 extra of fabric (i.e.

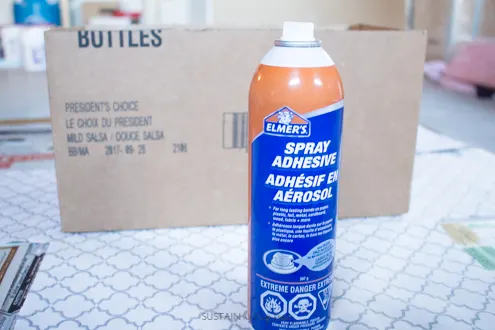
Tip: Give the spray adhesive a shake before using.
Spray one side of the box.
Fold the fabric up and press out any bubbles or air pockets.
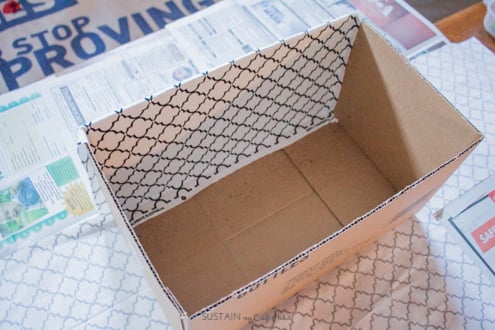
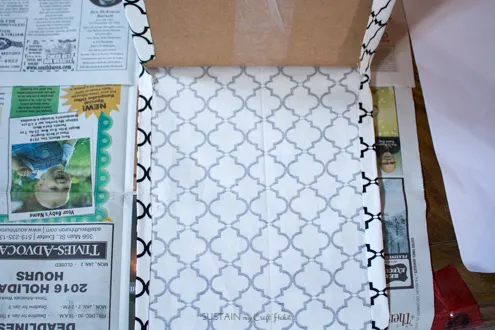
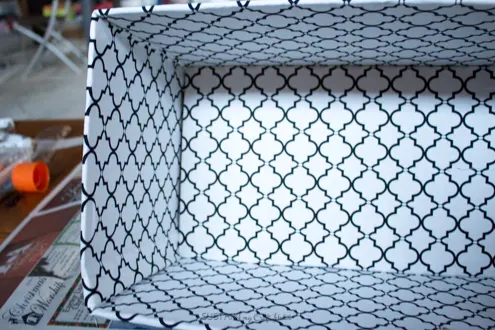
Spray the inside of the box and fold the fabric into the box.
Press out the air bubbles.
Repeat on the opposite side of box.

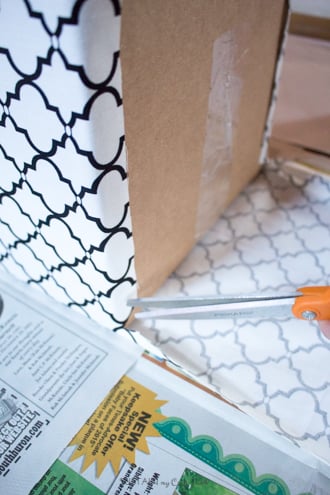
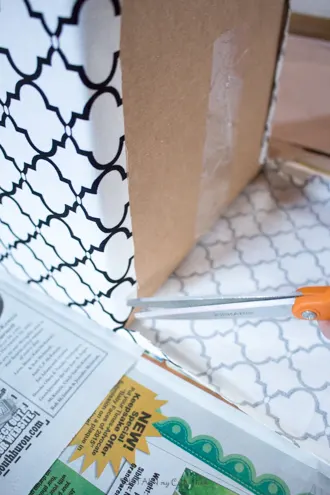
Clip the fabric corners at the bottom corners of the box.
Wrap the cut edges around corners of box.
Fold lengthwise cut edges as shown.

Spray outside of box.
Fold fabric up and press out all air bubbles.
Spray inside of box and fold fabric into box.
Repeat on opposite side of the cardboard box.
Spray and upholster with fabric and add it to the bottom of the box.
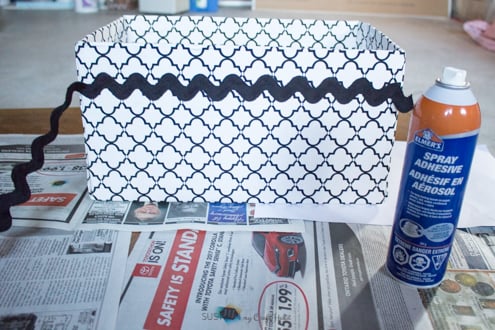
For decoration, it’s possible for you to add some ric rac to the top edge.

Spray the underside of the ric rac and press onto box (or use a hot glue gun).
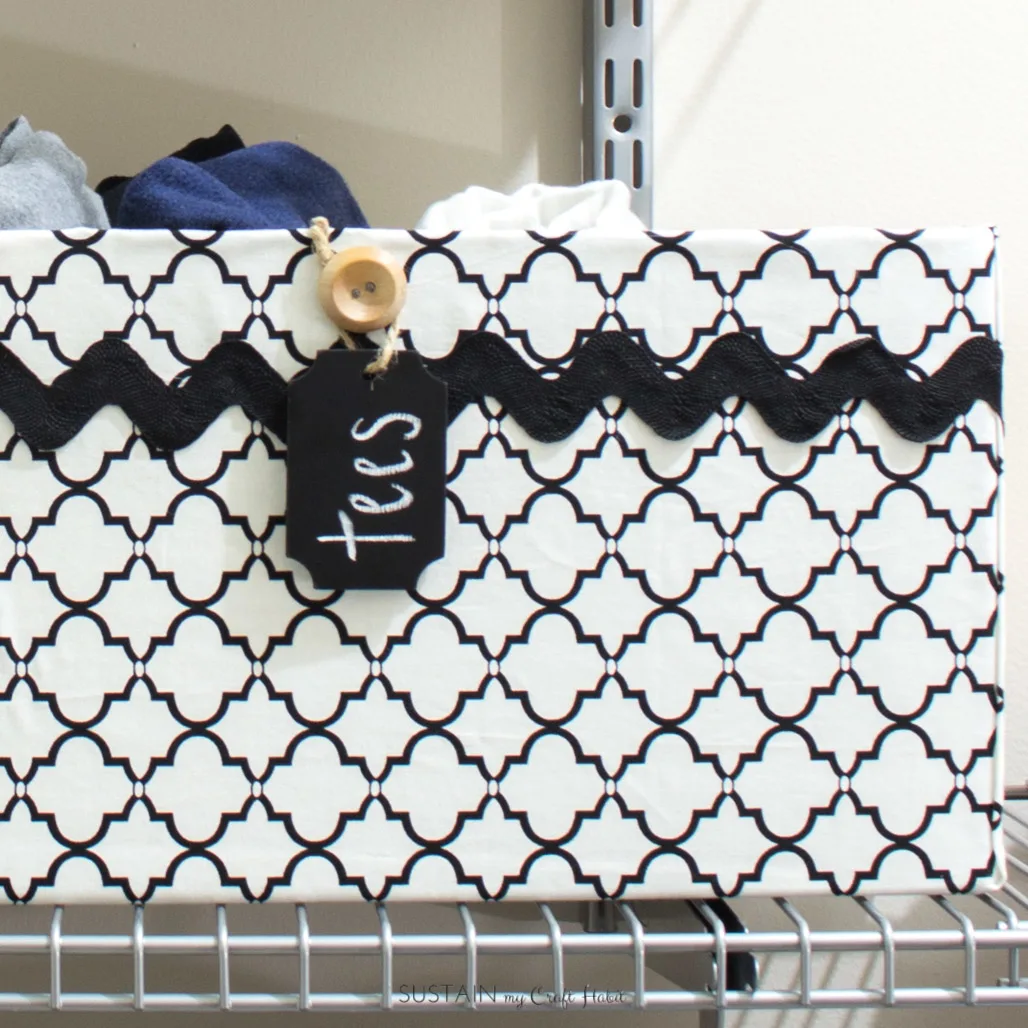
I used a chalkboard tag and hung it onto a button that I hot-glued to the completed box.
I love how this project turned out.
Since its no-sew it would also make a great project for teens along withthese cool crafts.
We hope you enjoyed this DIY project!
Check out our collection of over70 DIY projectsyou can complete in a weekend.

Pin it for later!