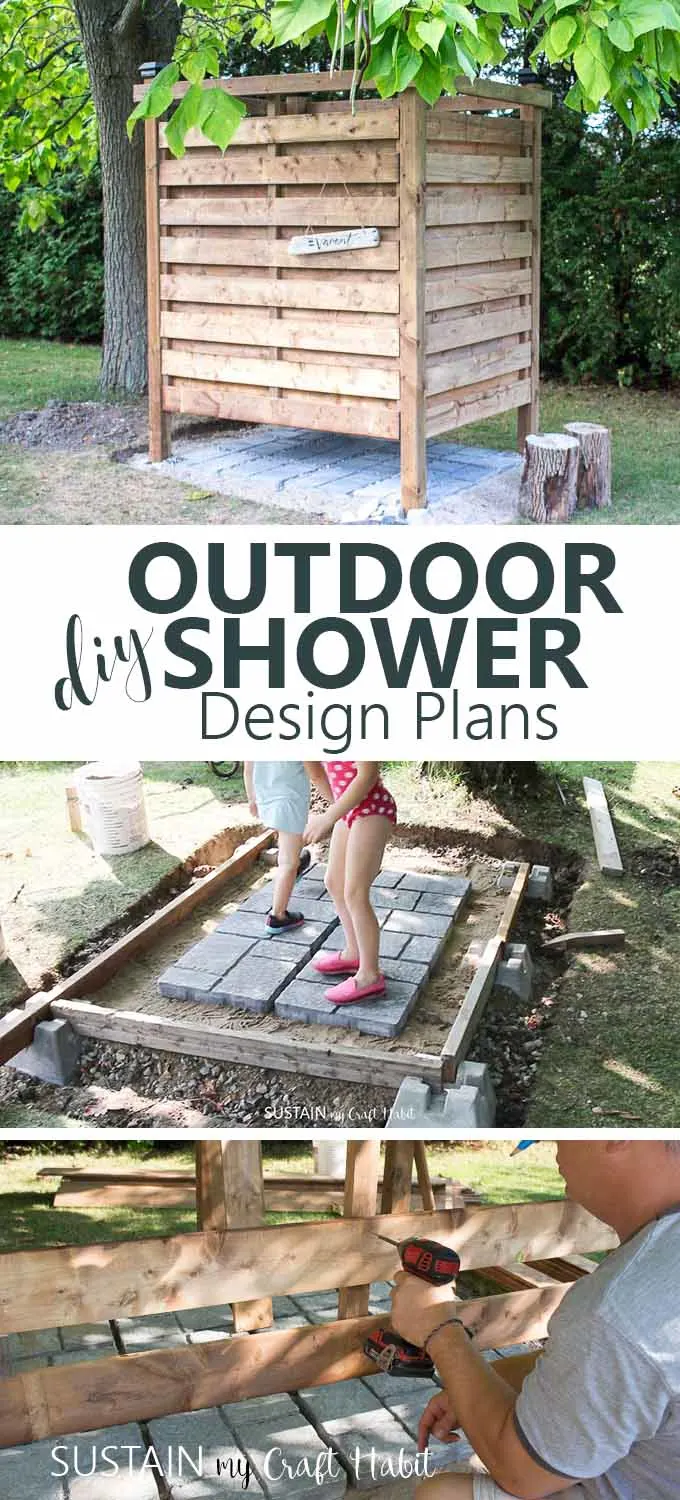
HomeEasy DIY Outdoor Shower Enclosure Plans [with VIDEO!]
Have you considered adding your own outdoor shower to the exterior of your home?
Were so excited to share with you ourDIY outdoor shower enclosure plans and step-by-step instructions!

Read on for the full project plans and tutorial.
All opinions expressed are our own.
This post contains affiliate links.

just find ourfull disclosure statement here.
Were so fortunate to havea cottage by the beachto spend our summer days at.
The kids love it and end up coated in sand by the time were done.

However, as theyre getting older (theres 5 of them altogether!)
weve been brainstorming the idea of an outdoor shower stall.
Were happy to share our process for making the outdoor shower with you.
NEW: DIY Outdoor Shower Enclosure Video Tutorial!
Weve finally had a chance to post the video tutorial on our YouTube channel.
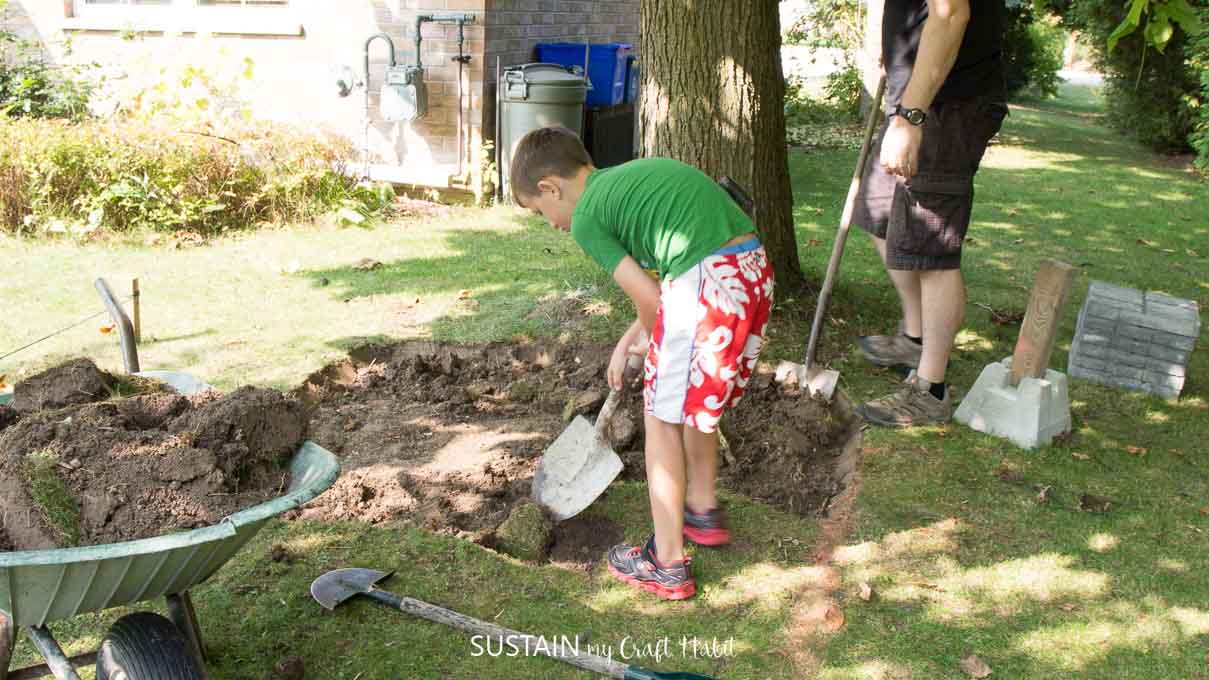
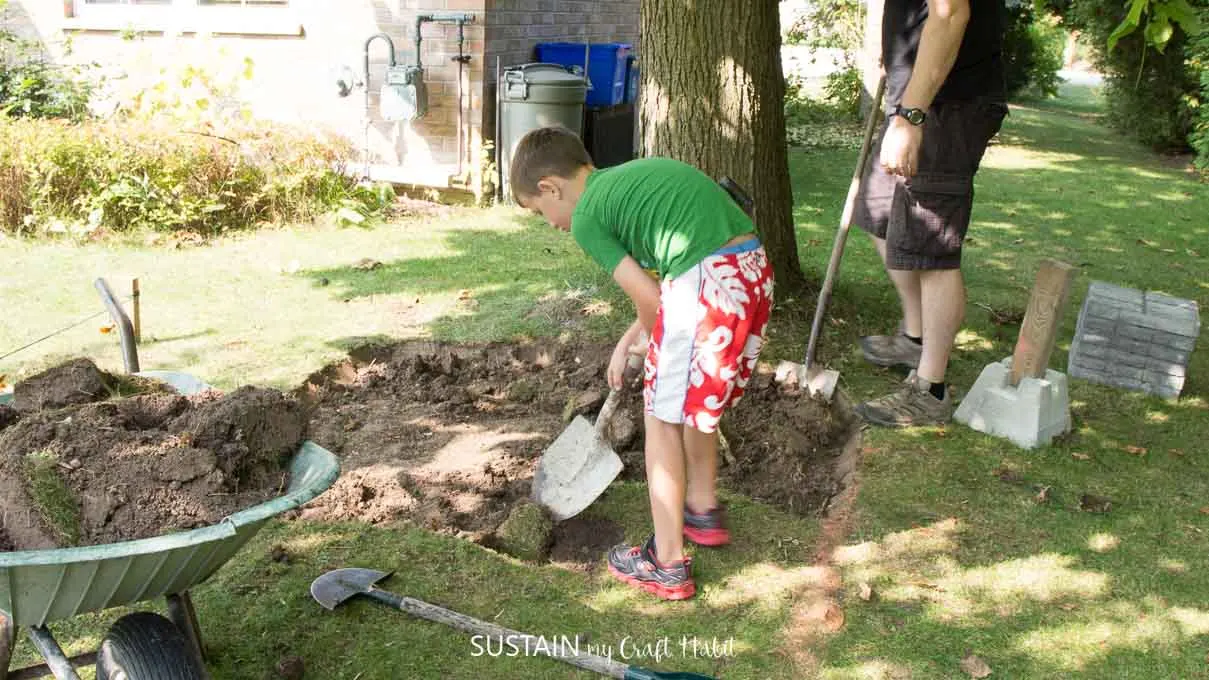
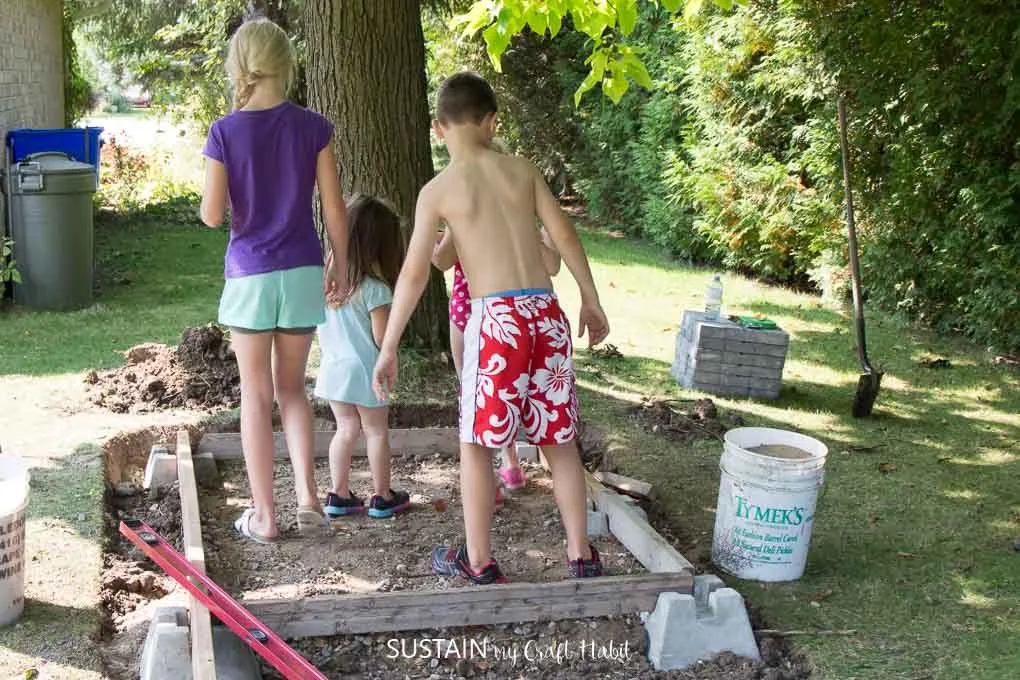
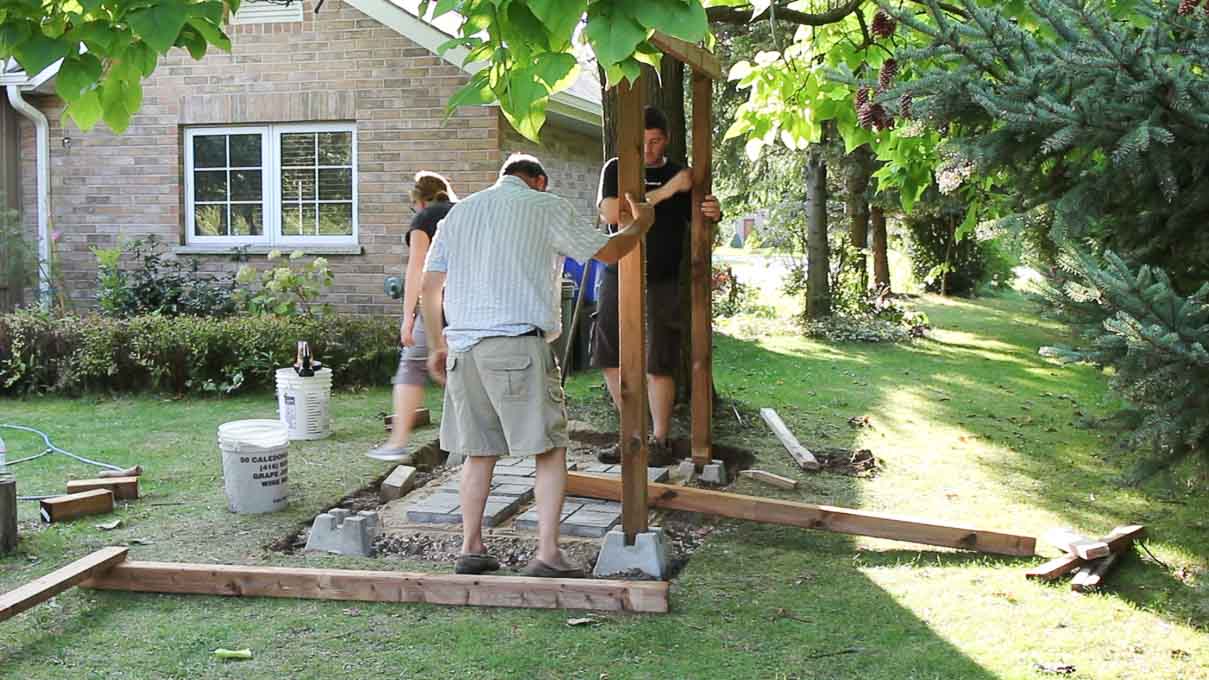
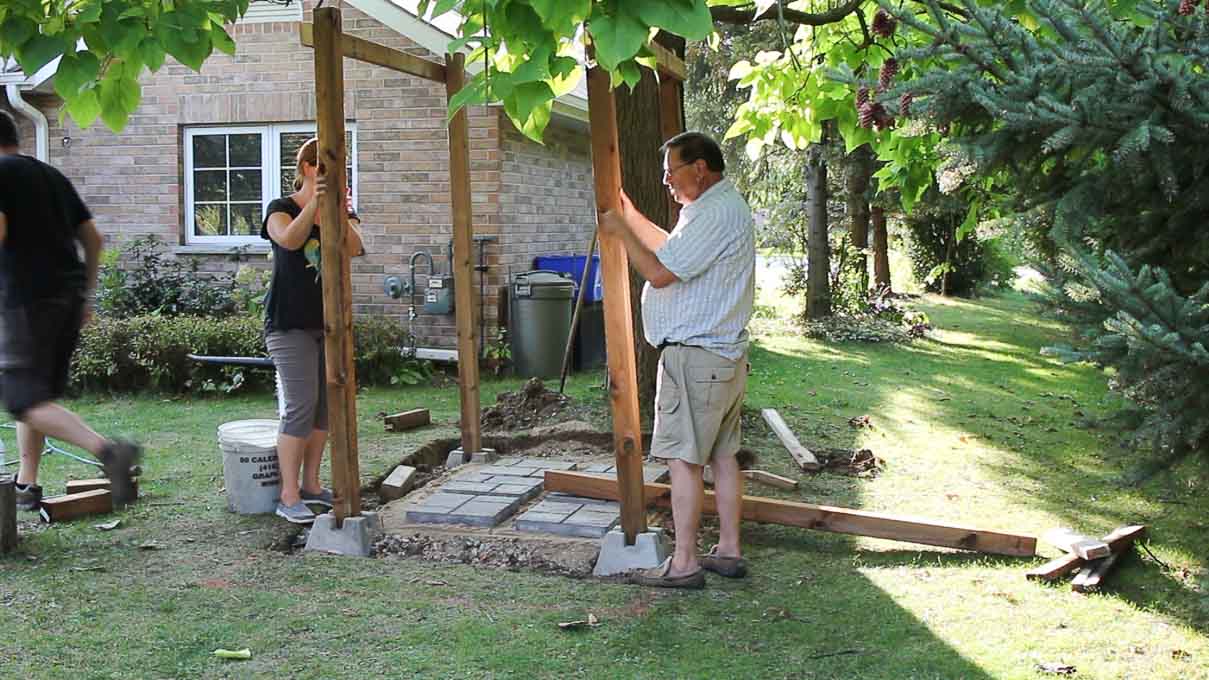
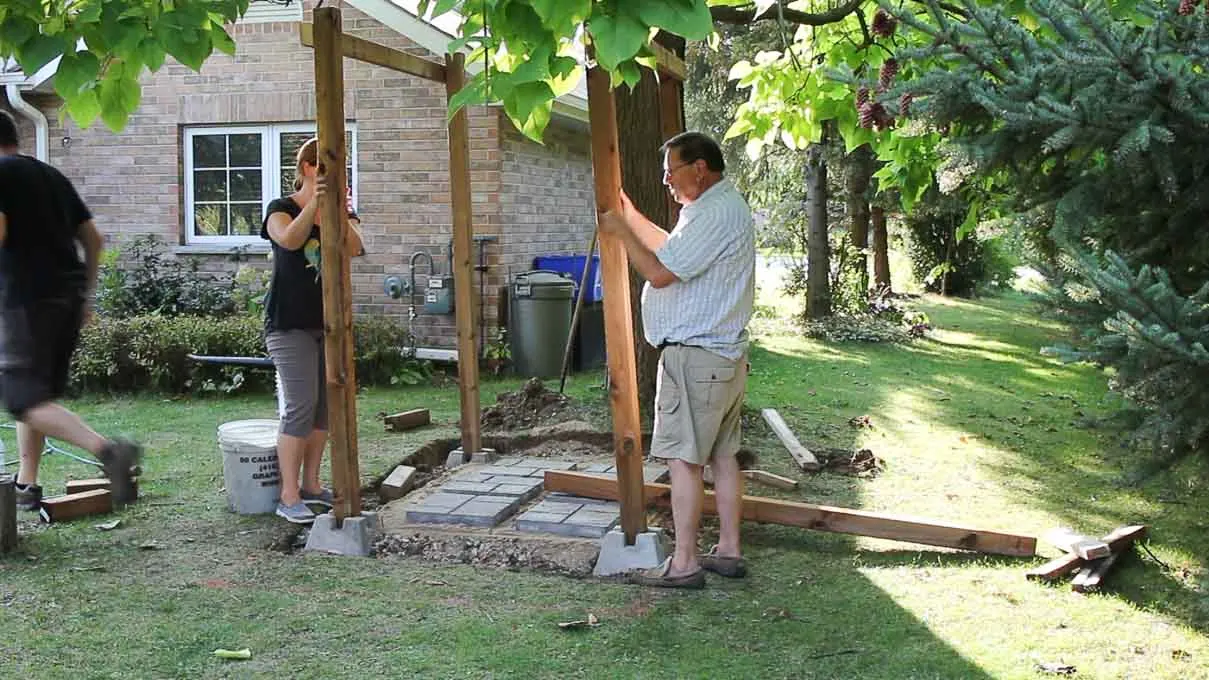
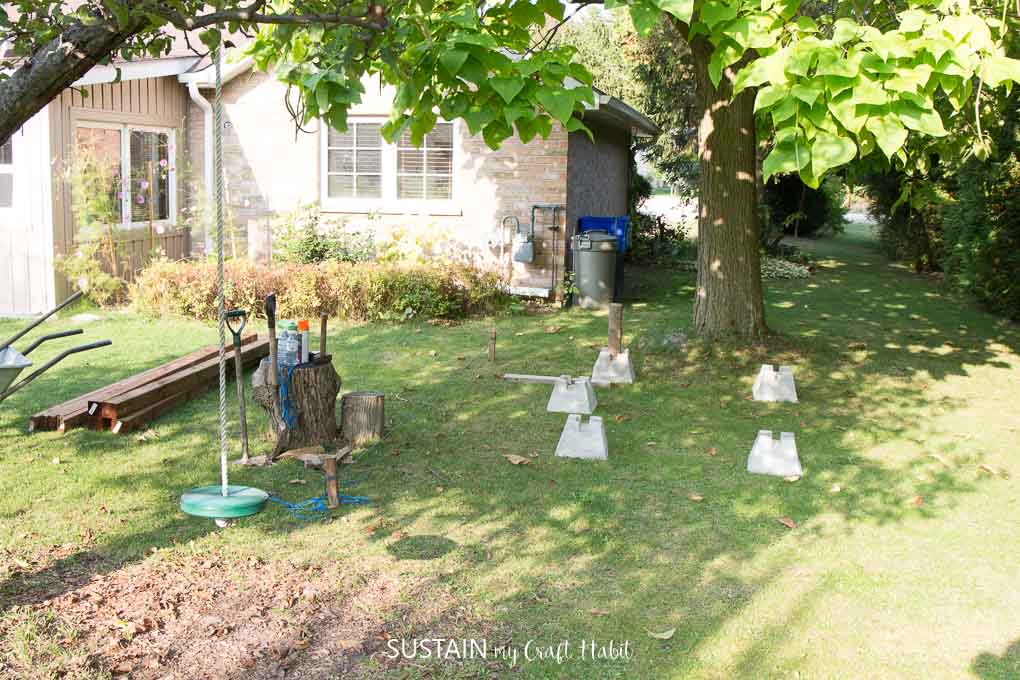
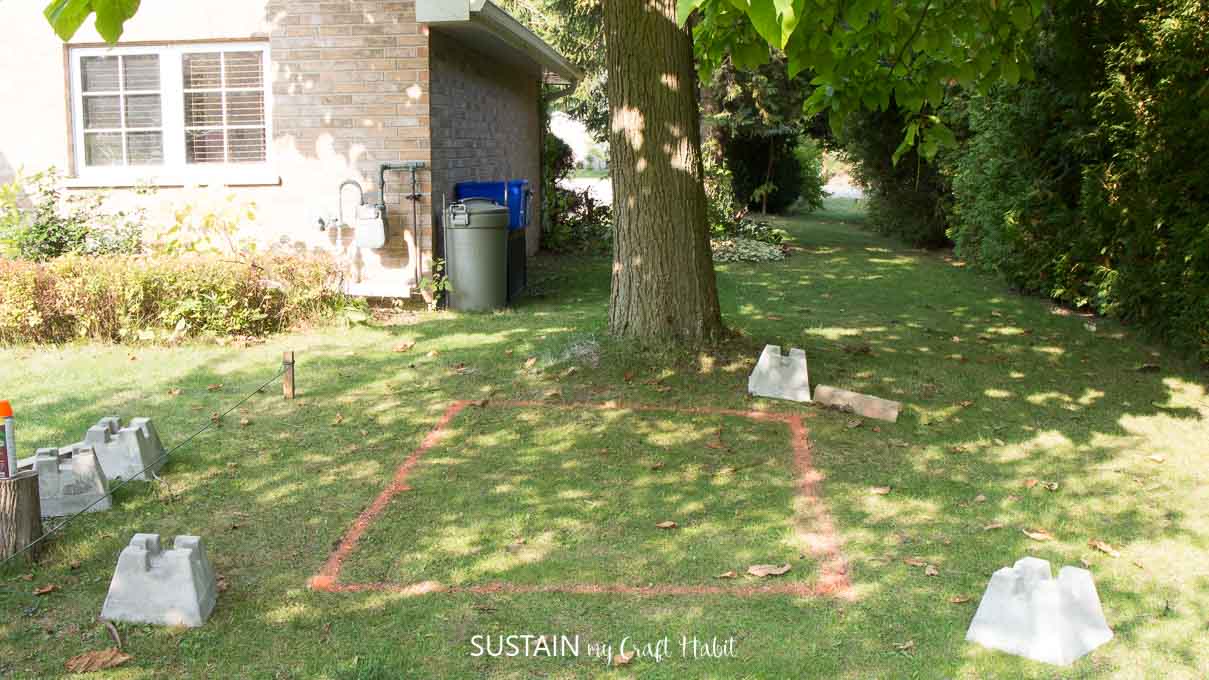
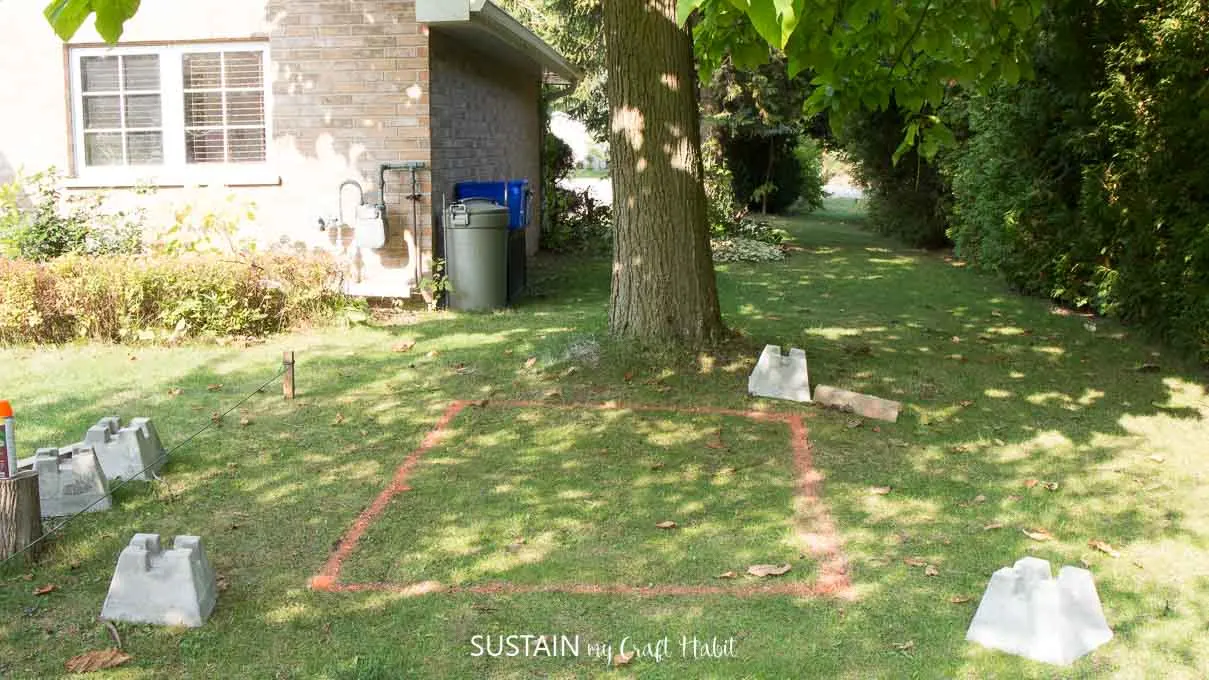
We decided on this private area behind the cottage, under a large tree.
We measured our area (4x6) and marked the ground as a guide for where to dig.
Then we started digging.
Have I mentioned that this wasone of the hottest weekends of the summer?

Thank goodness we were working in the shade is all I have to say!
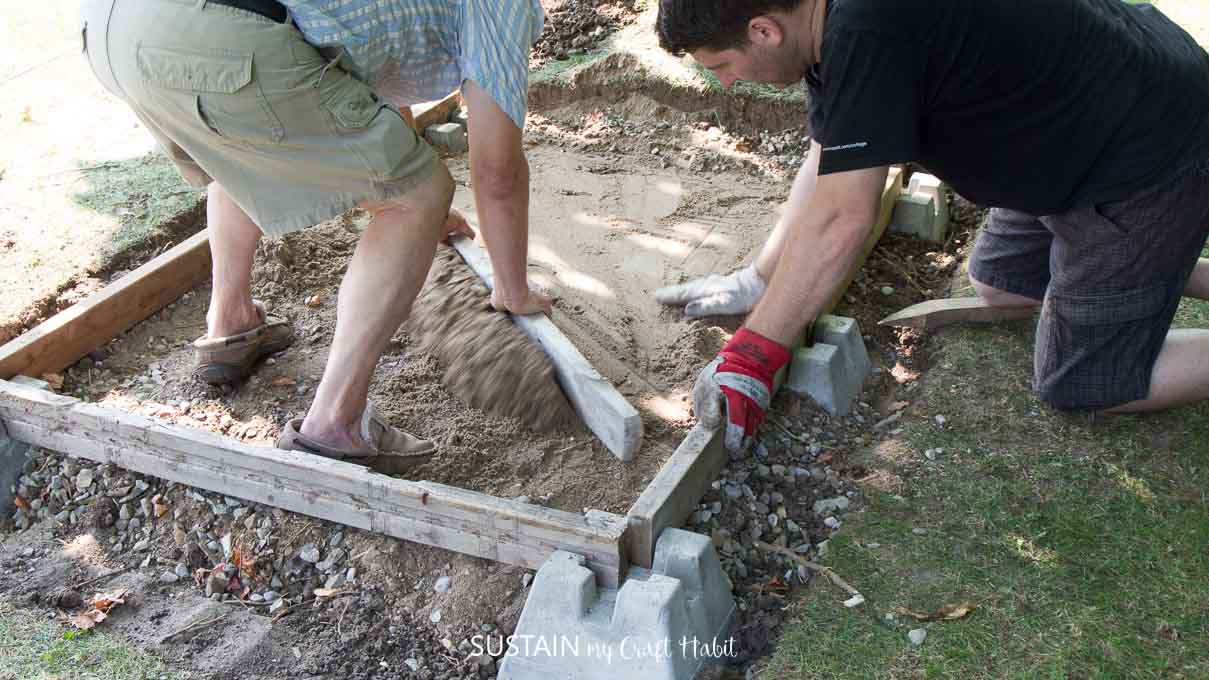
After a little while I called in the big guns!
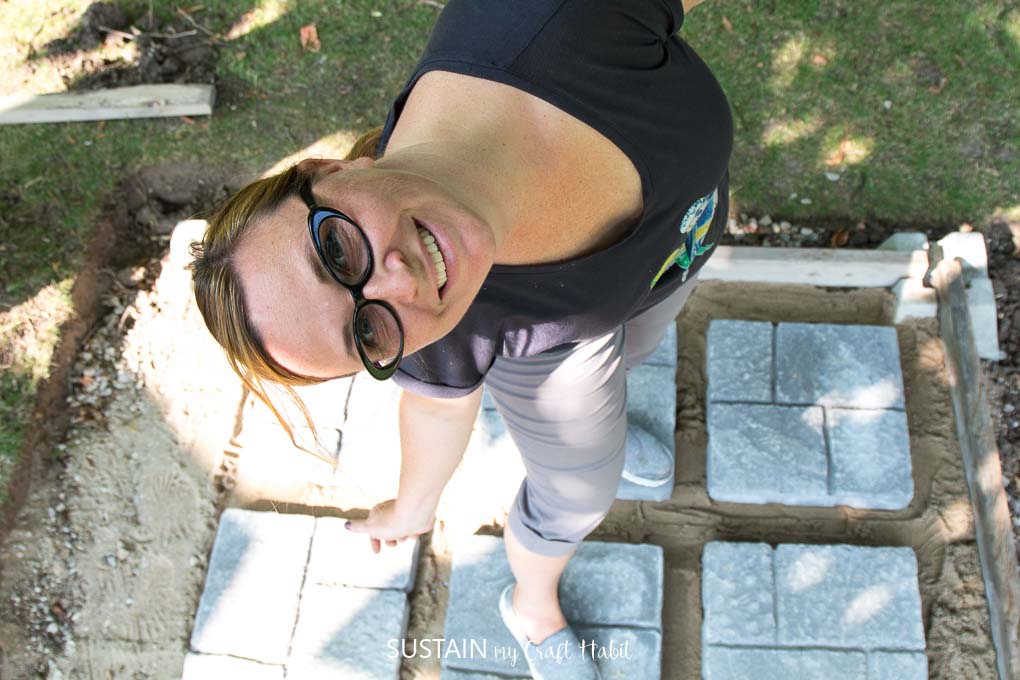
And here I am relieved that were done for the day!
(Did I mention it was hot out there?)
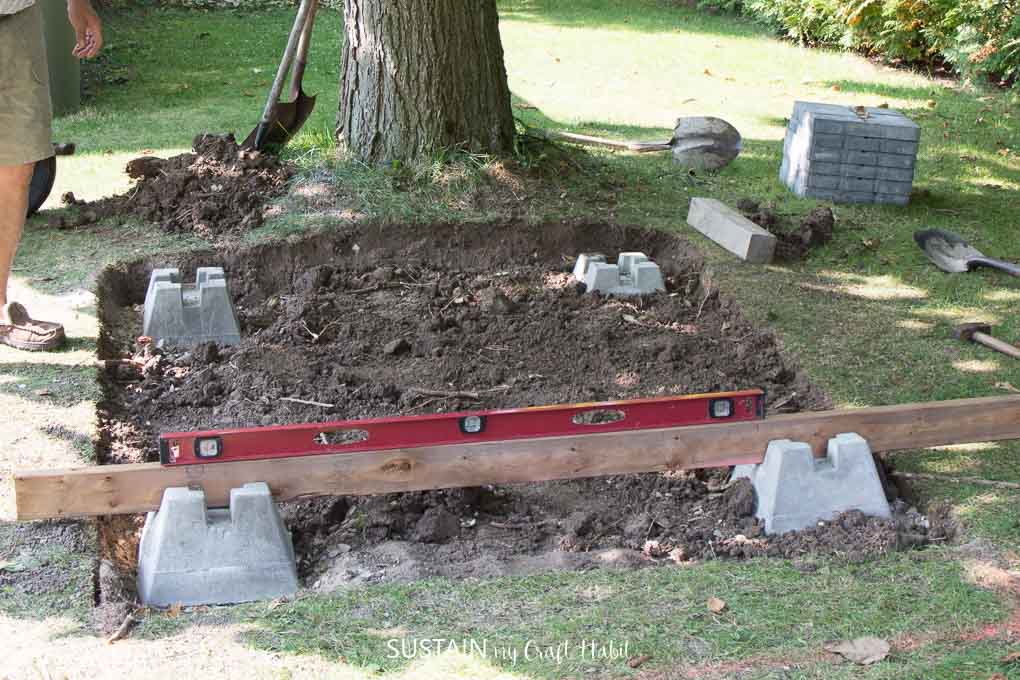
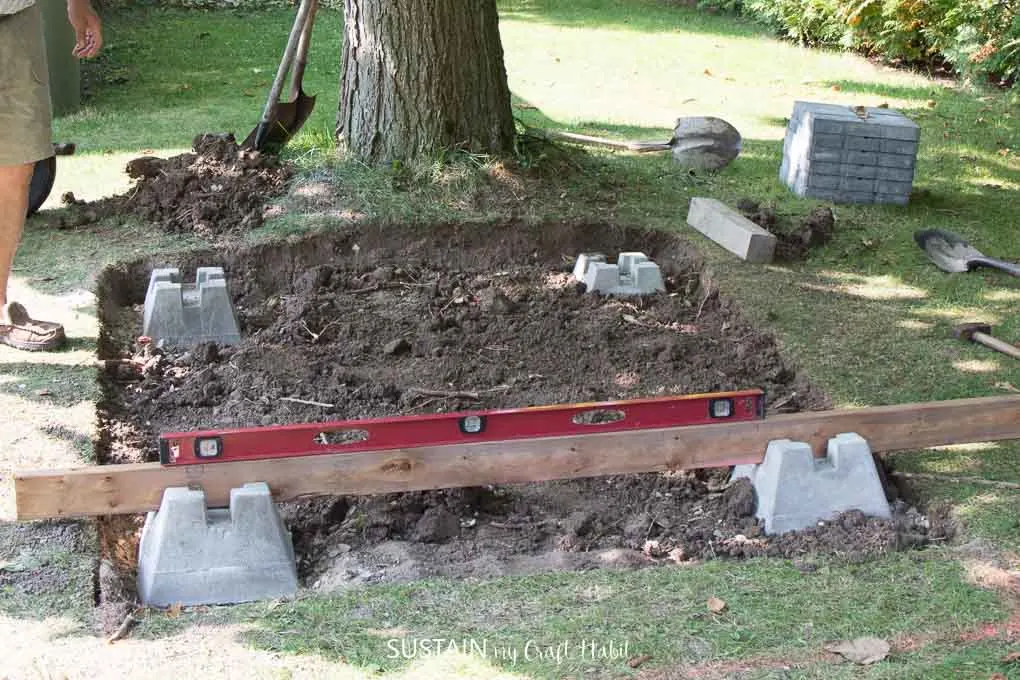
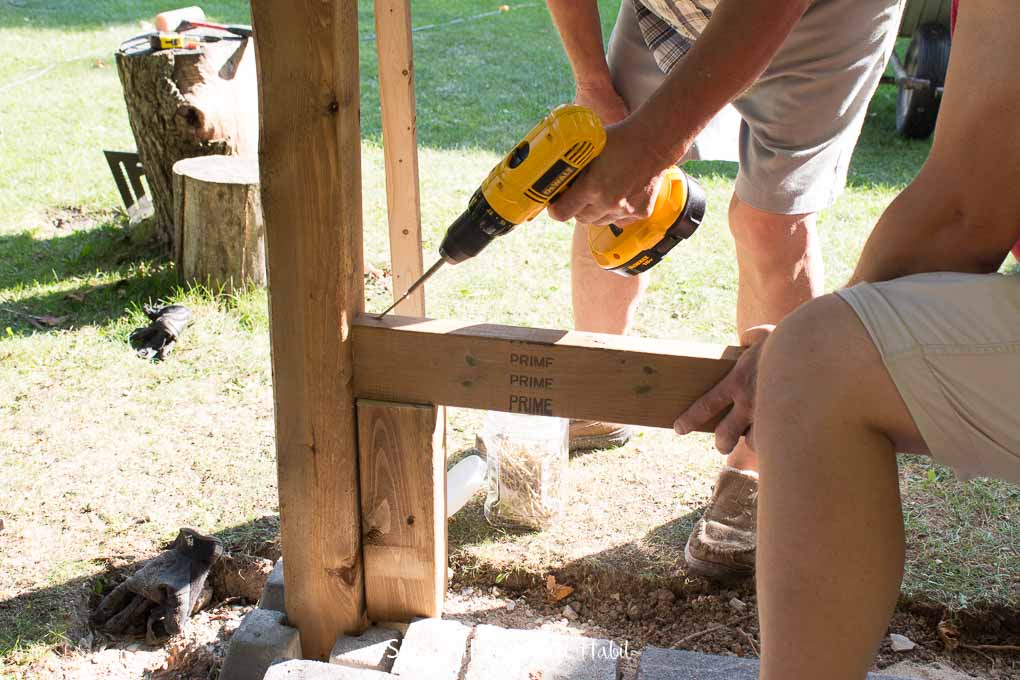
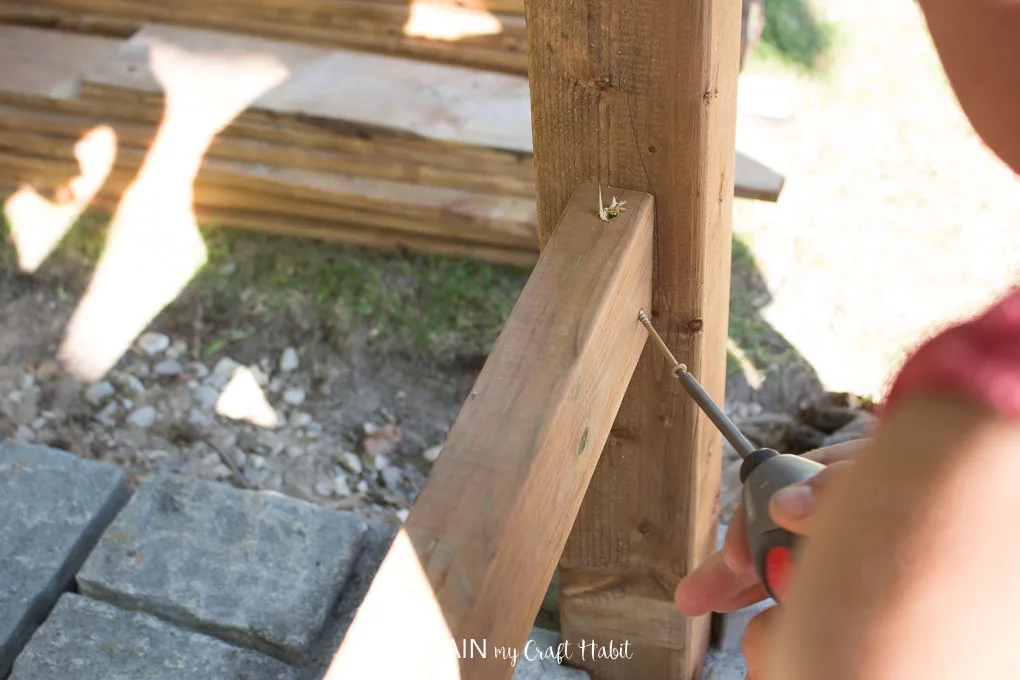
We cleared all dirt out of the deck blocks before putting the posts in.
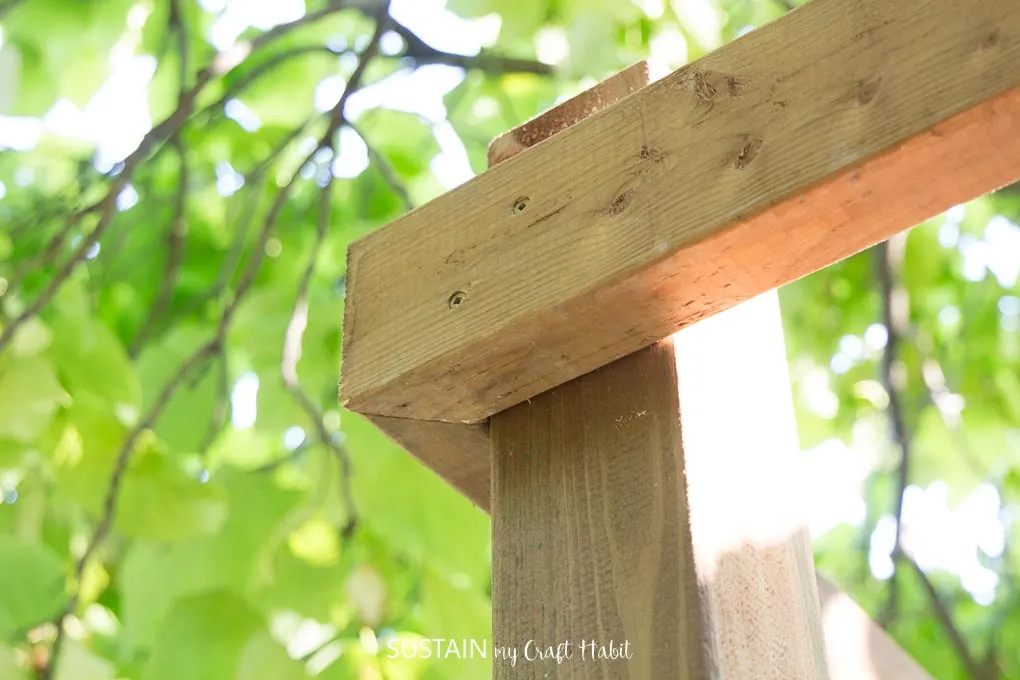
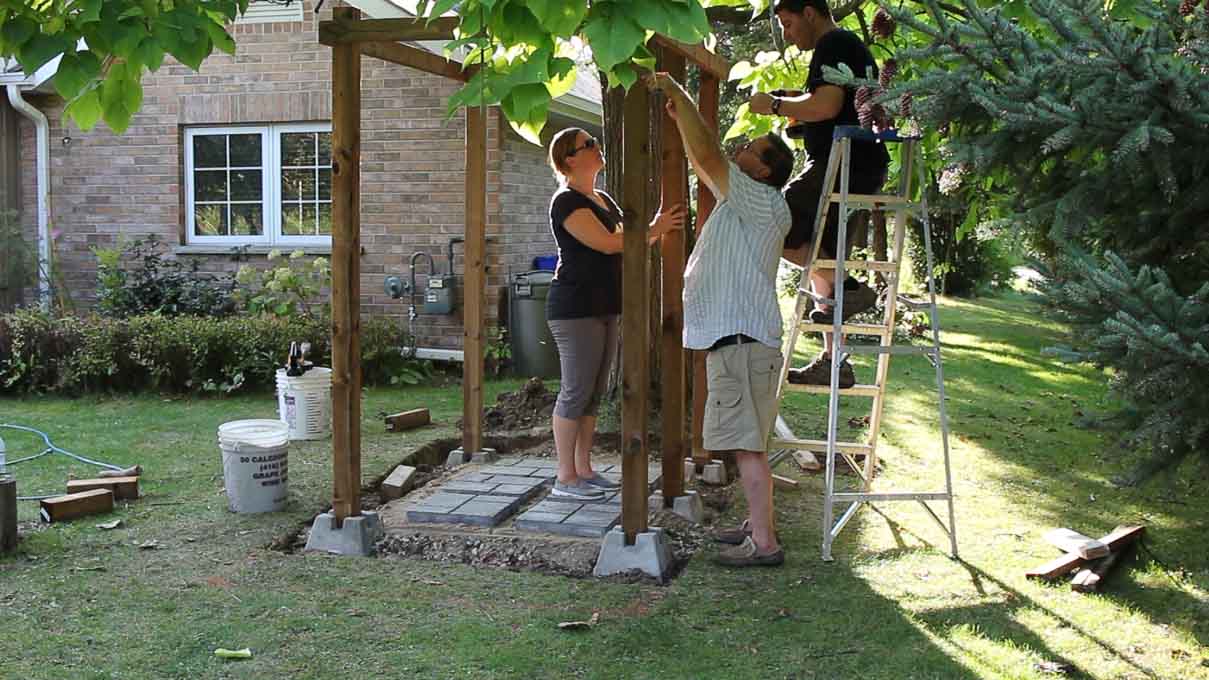
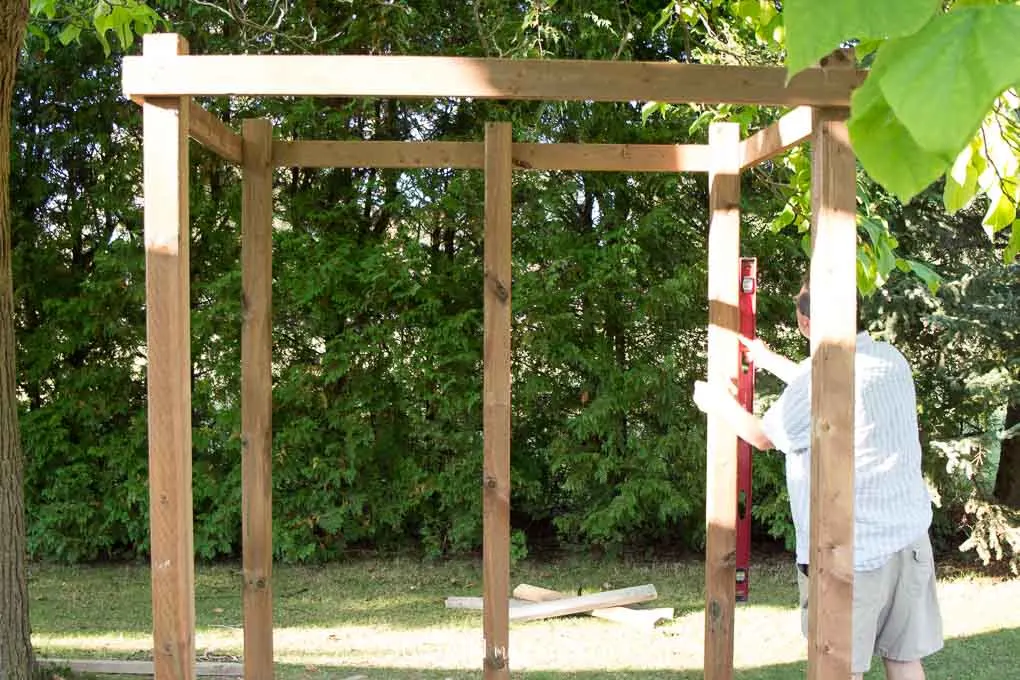
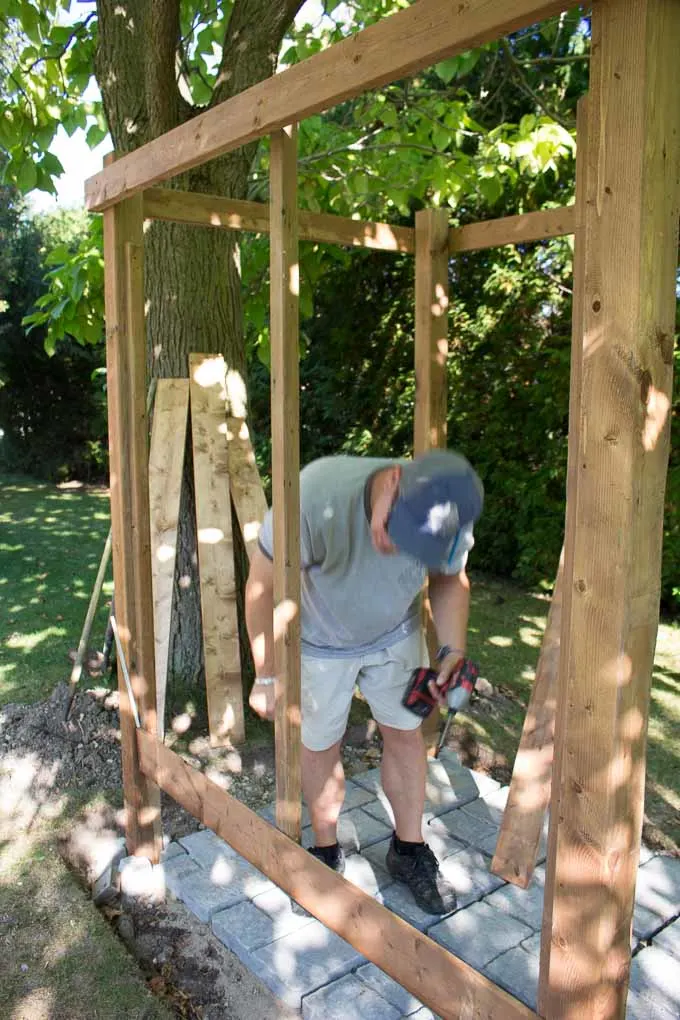
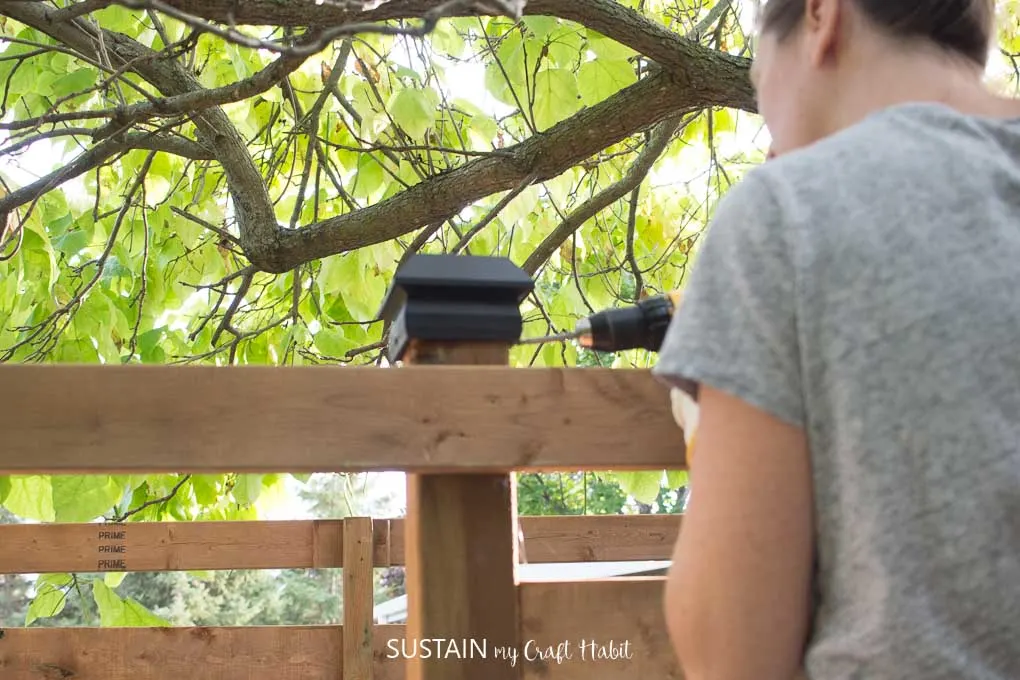
Finally we screwed the fifth post in place, leaving a 27 wide opening for the enclosure entrance.

Once the posts were all in place we ensured that they were all vertical.
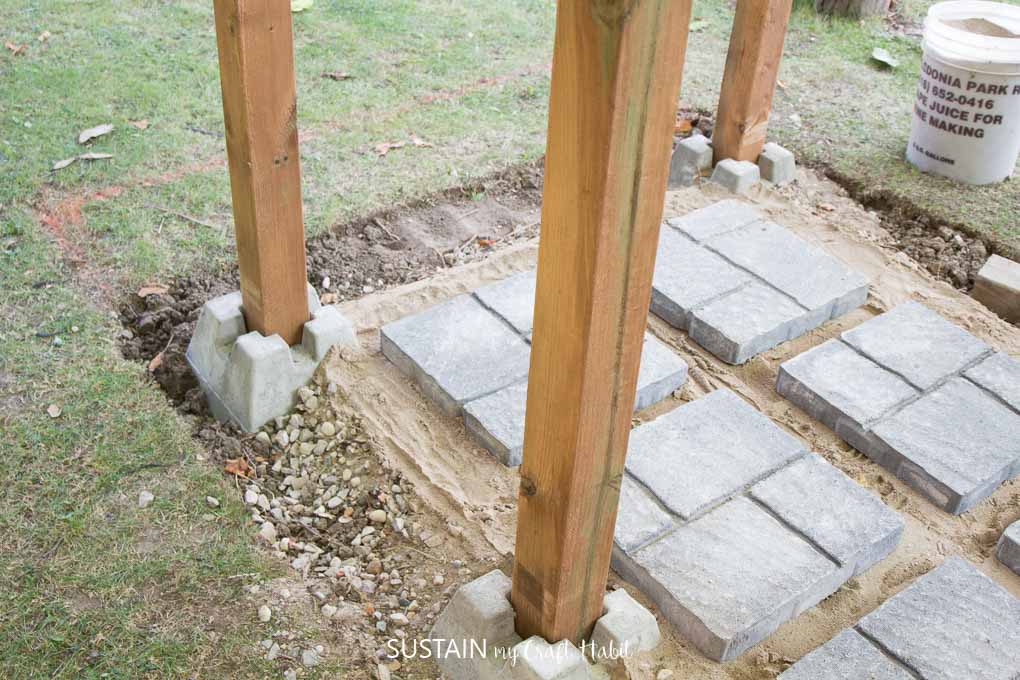
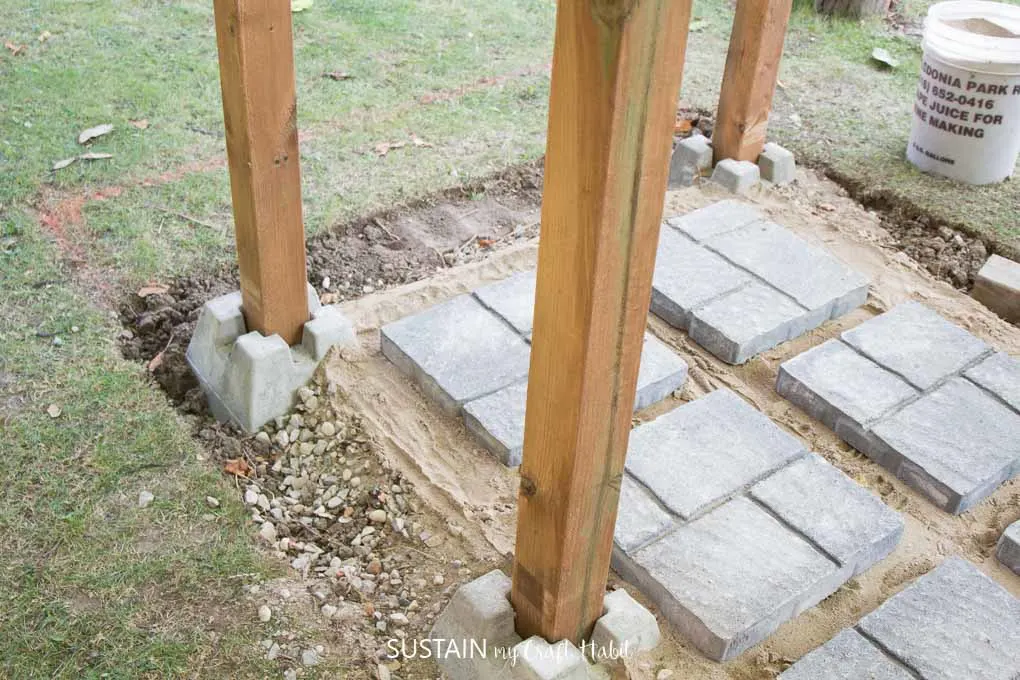
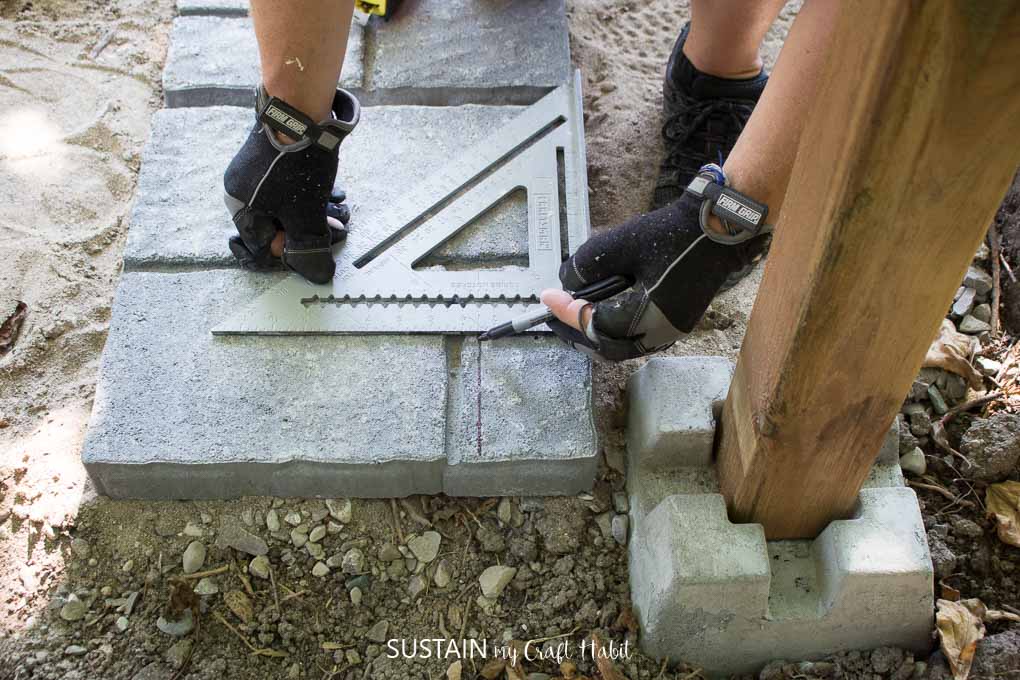
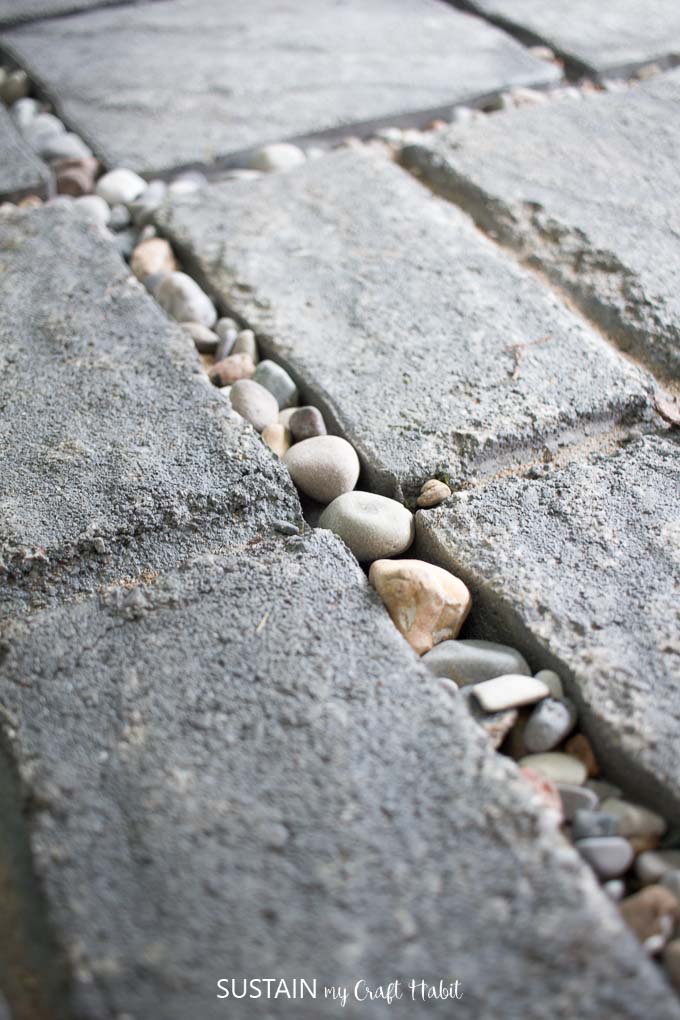
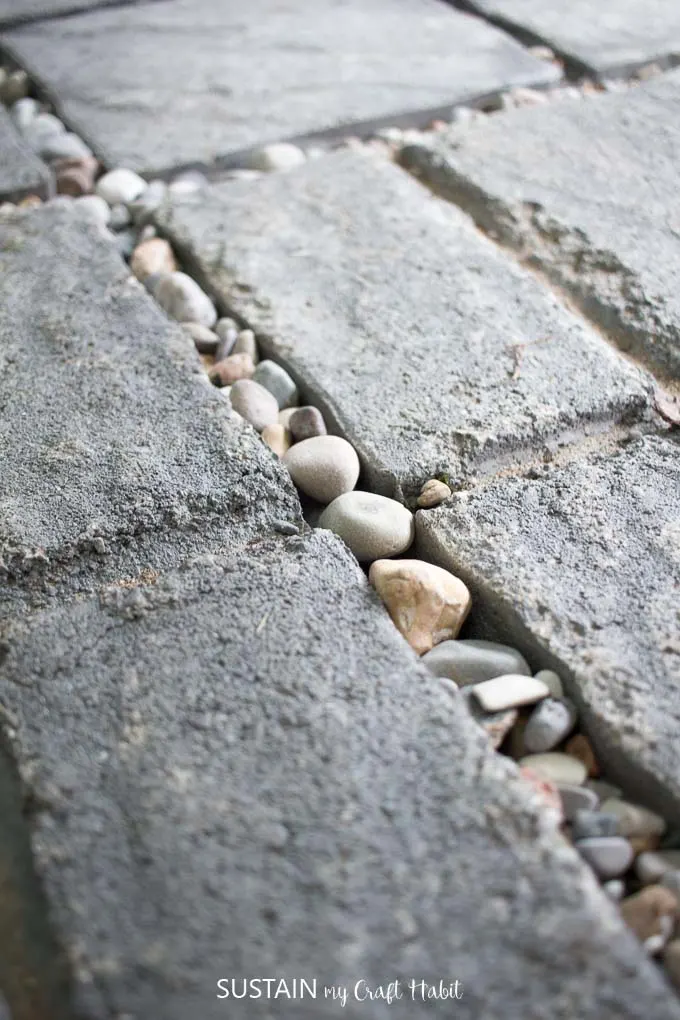
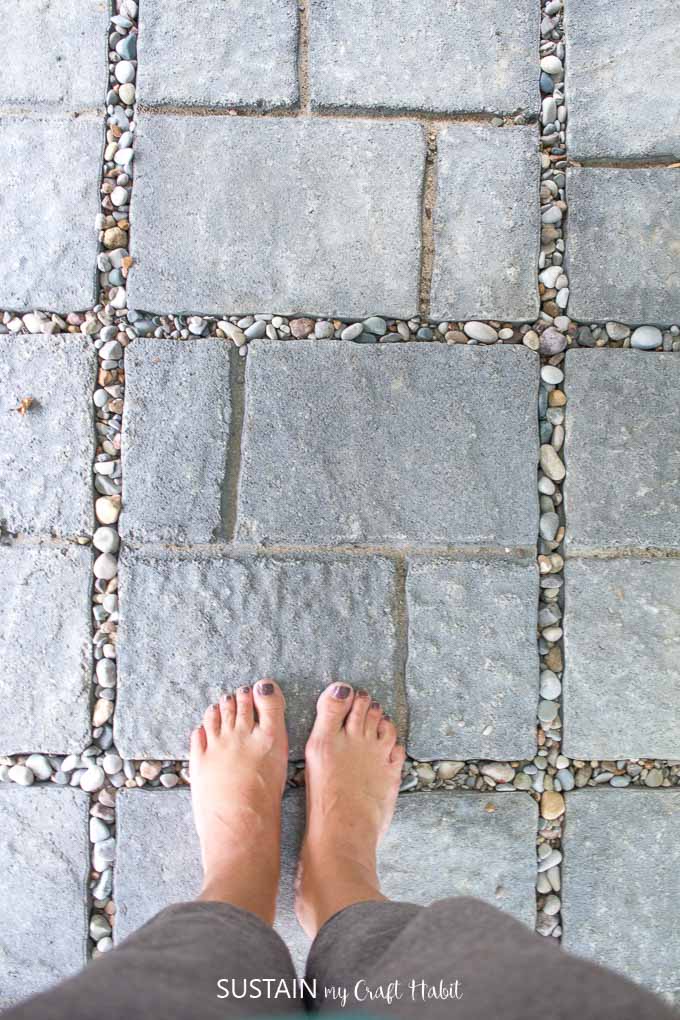
This required carefully measuring out the corners of the stones and cutting them to slide around the deck blocks.
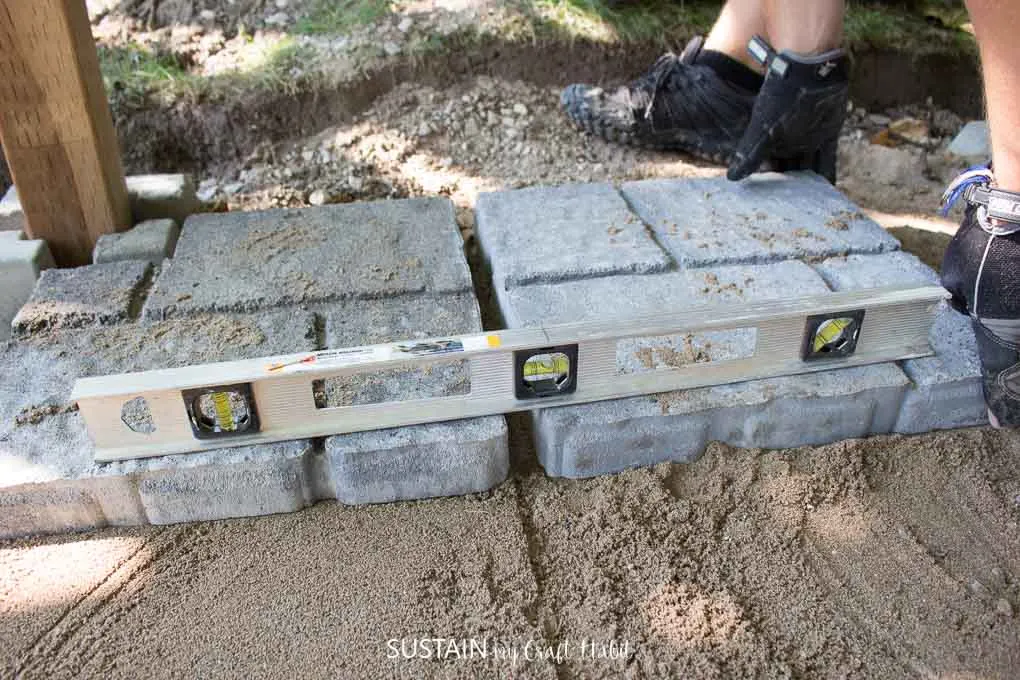
We cut the blocks one by one and made sure they were all leveled…
…and evenly spaced.
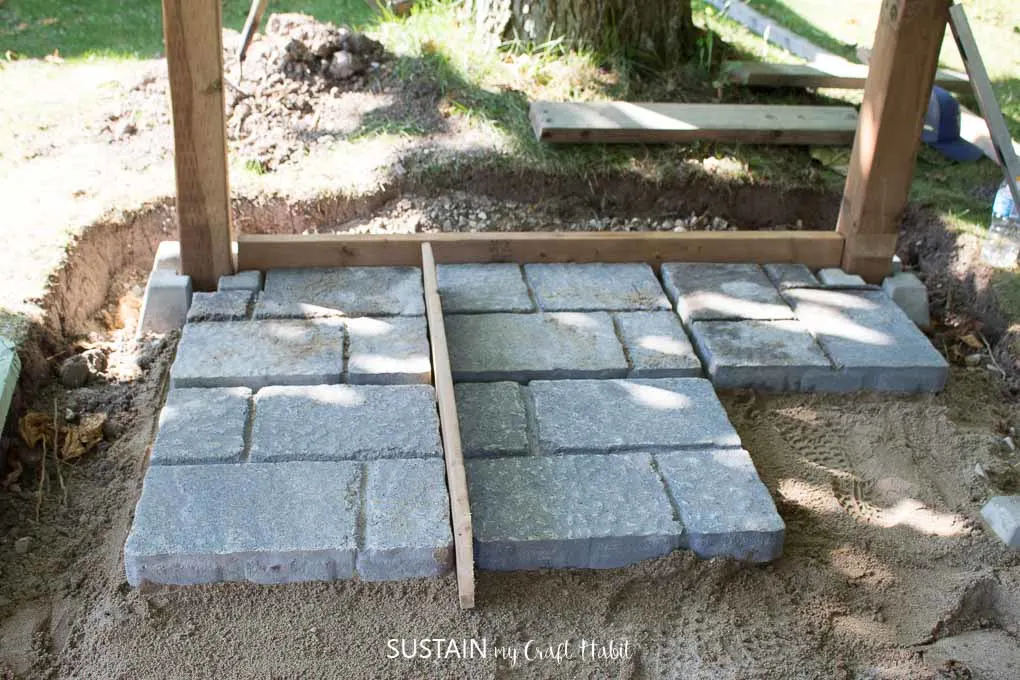
This again took longer than we anticipated but was well worth it.
Cutting the pavers around the deck blocks will ensure they stay in place over time.
It was almost time for the fun part, building up the shower walls!
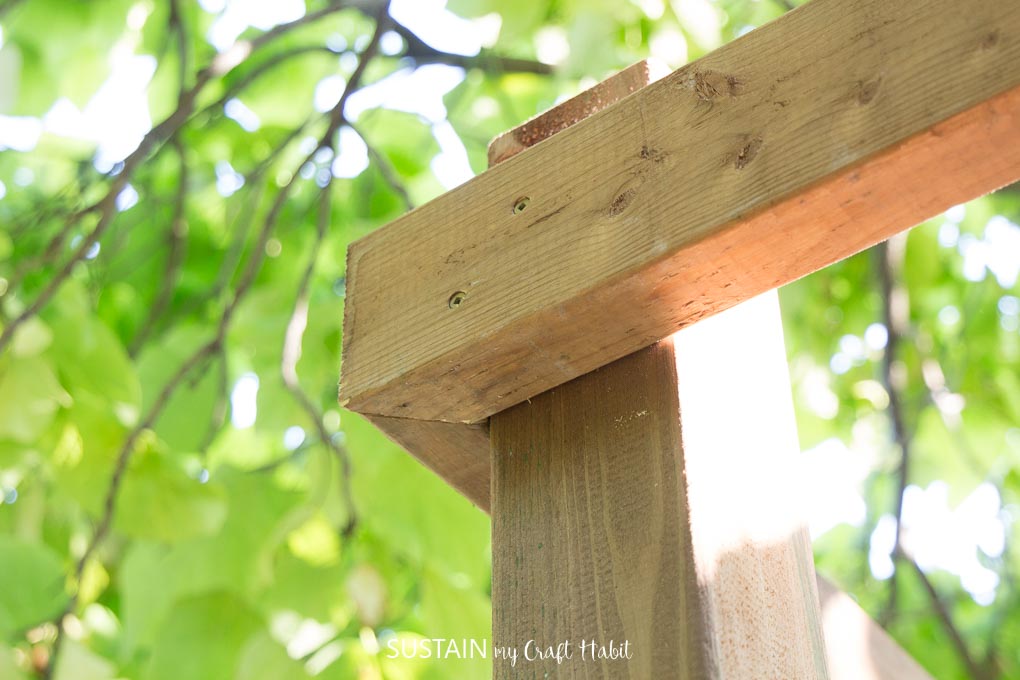
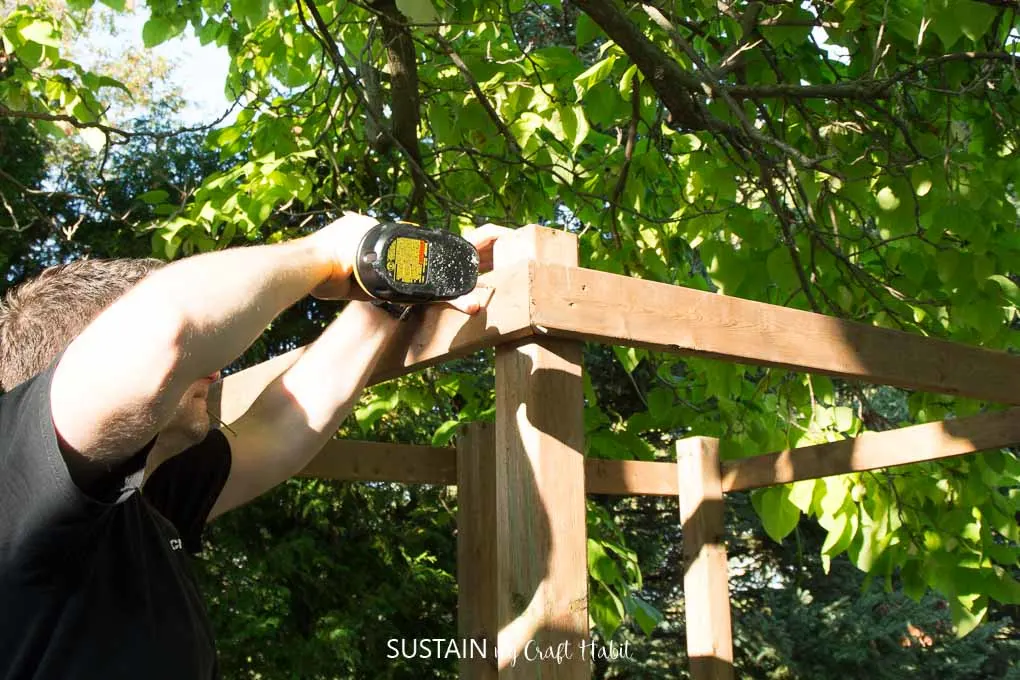
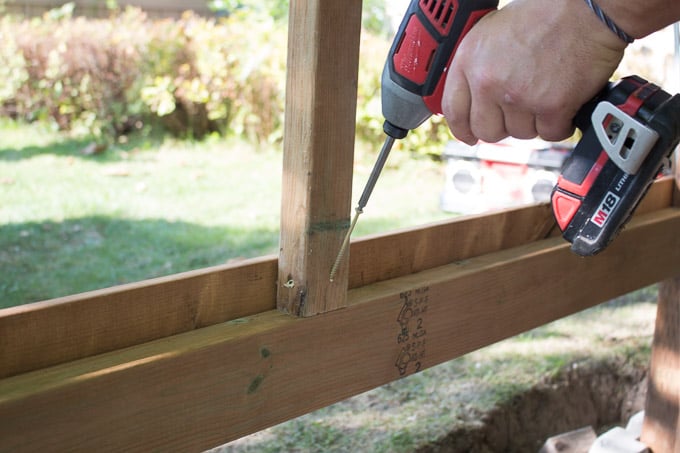
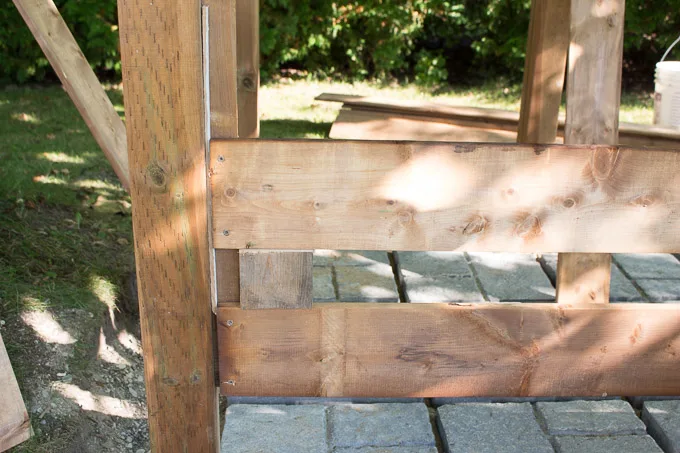
Next, we cut 24s in half and mounted them to the inside centers of the 44s.
We did need to add a spacer at the top to line up with the upper 24.
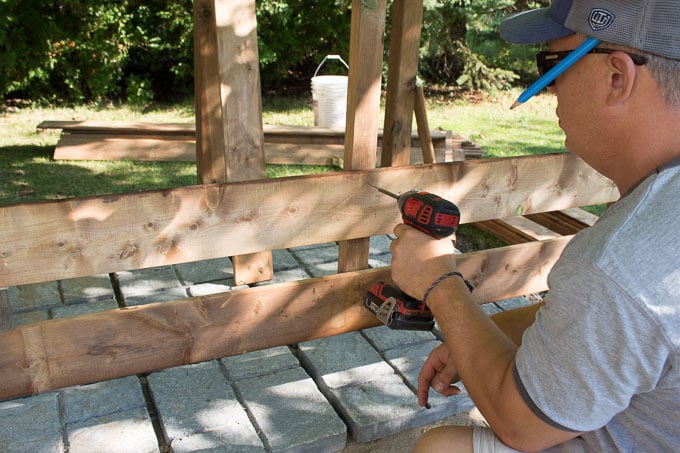
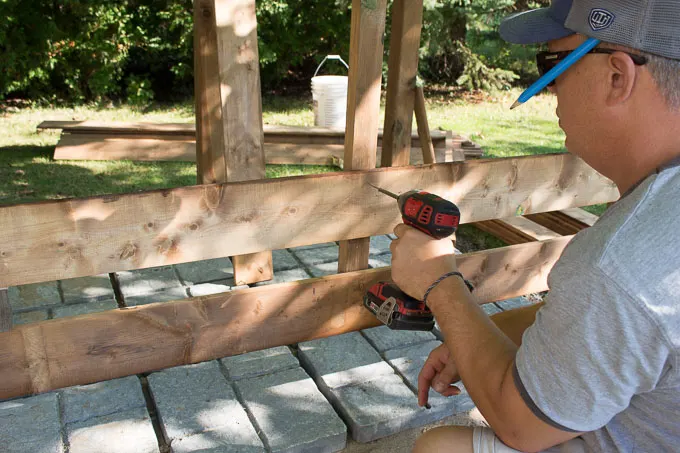
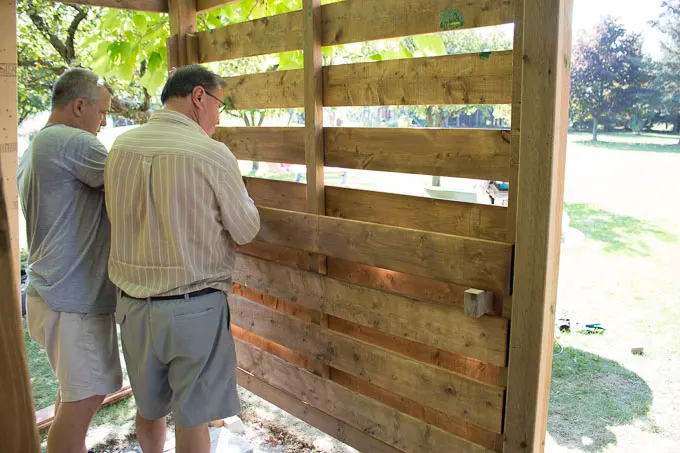
Time to add the fence board walls.

Our aim was to alternate the boards on the inner and outer sides of the brackets we had installed.
We wanted there to be privacy yet allow for air flow.
We cut all the fence boards to size for each wall.
Ensure when cutting the pieces that we left a 1/4 space for expansion.
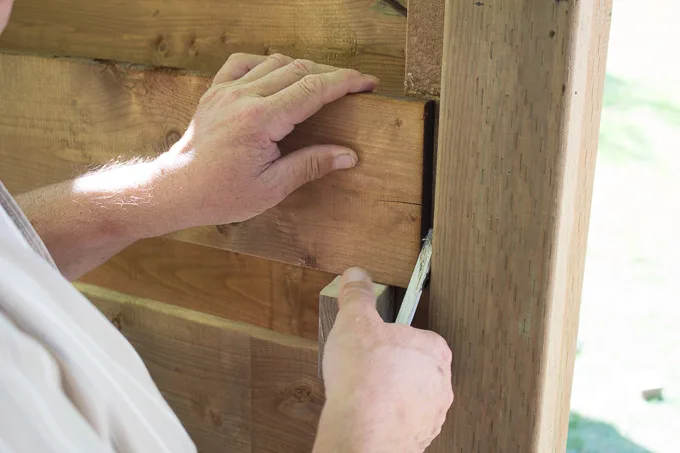
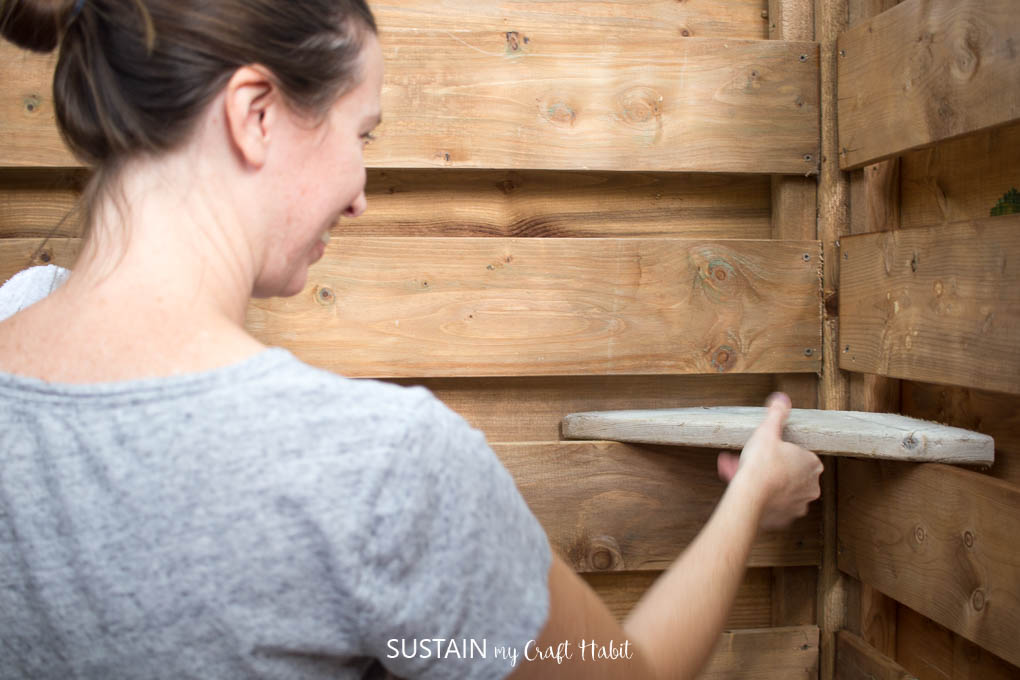
We cut spacers which were 2 1/2 high and used them throughout the building process.
We secured the second fence board, leaving the 2 1/2 gap.

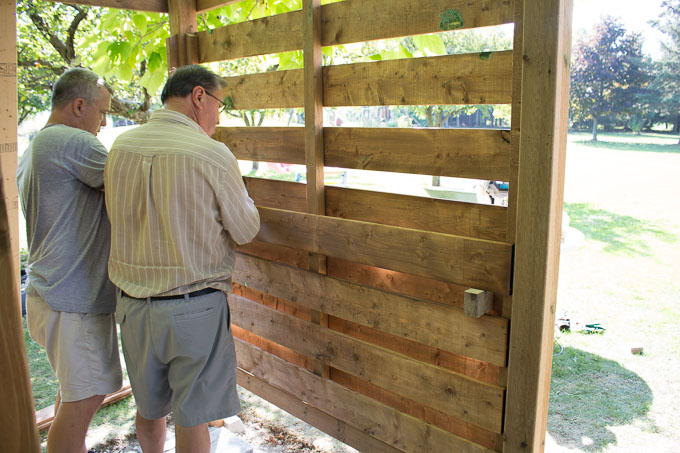
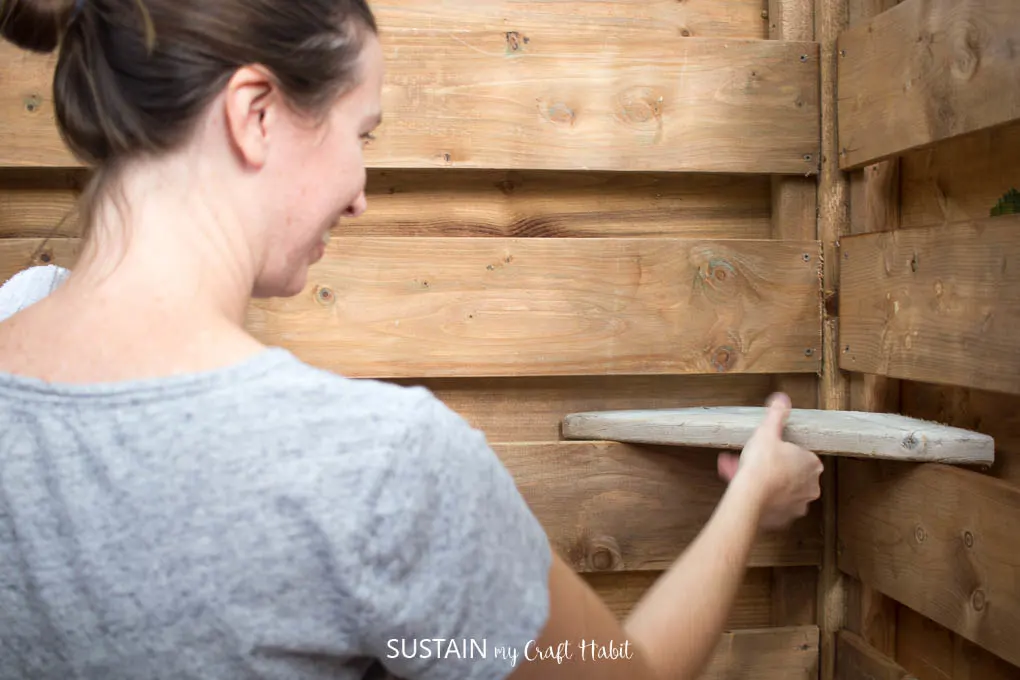
We continued this all up along the outside of the shower and then repeated on the inside as shown.
Next was the second wall.
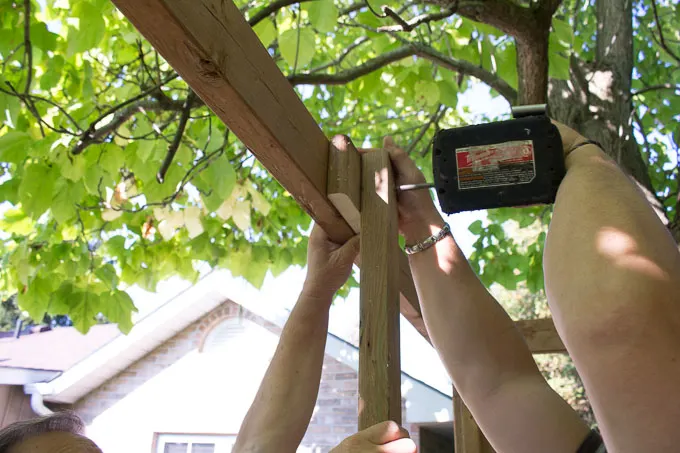
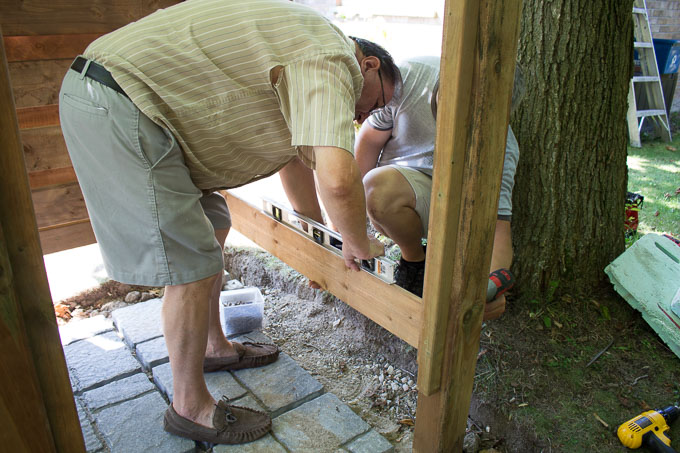
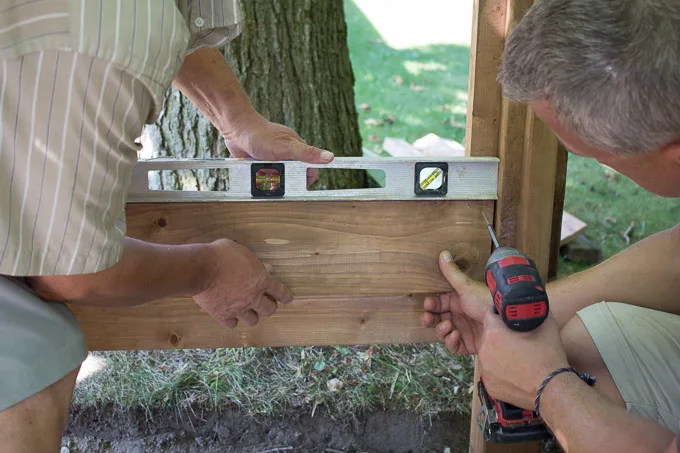
We made sure that the framing was level before continuing.
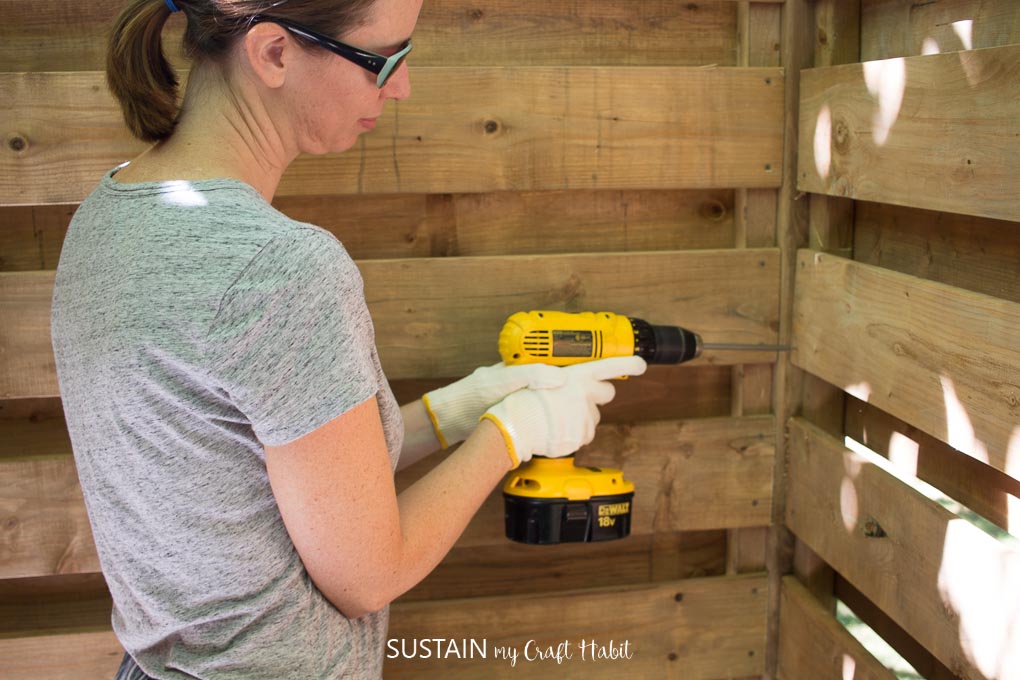
Even Sonja got in on the action
This is how our shower looked with two sides completed.
We continued on to the other sides, leaving the opening for the door.
We werent too worried about the open door as were in a very private area.
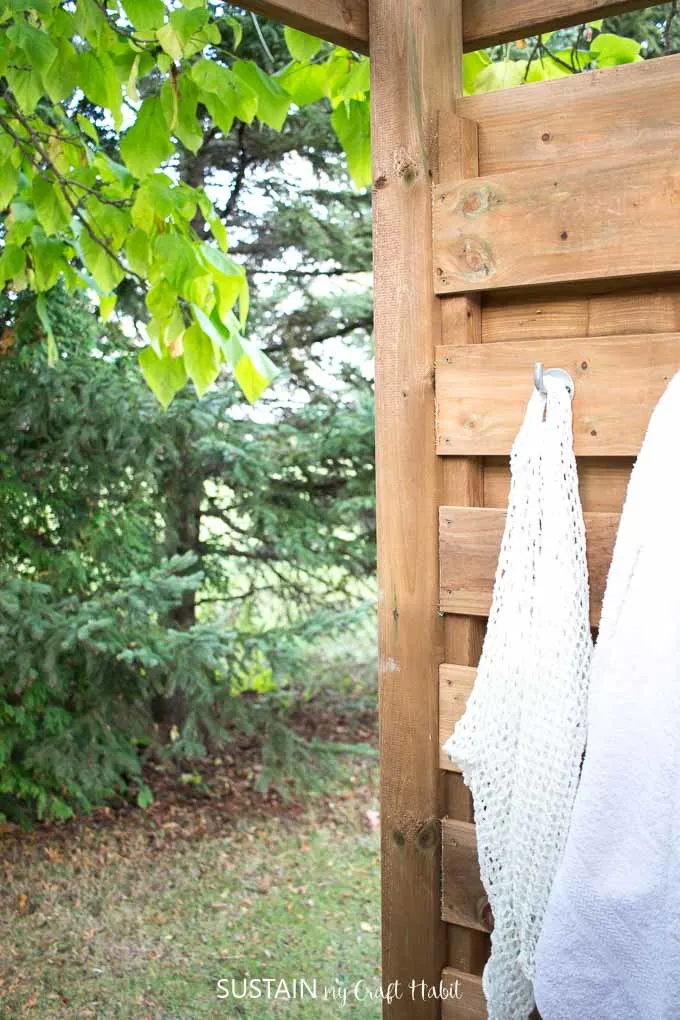
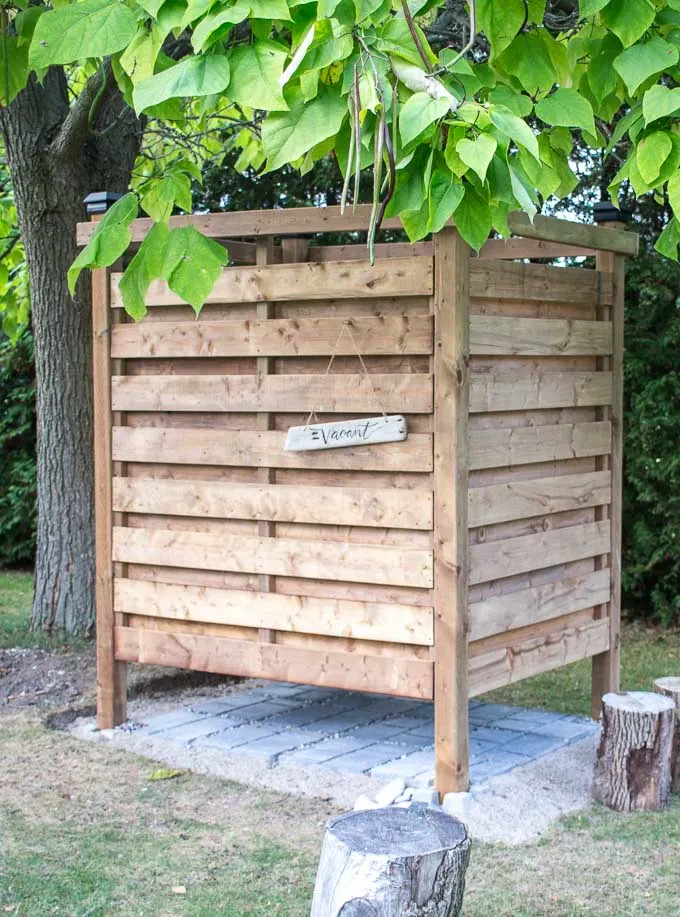
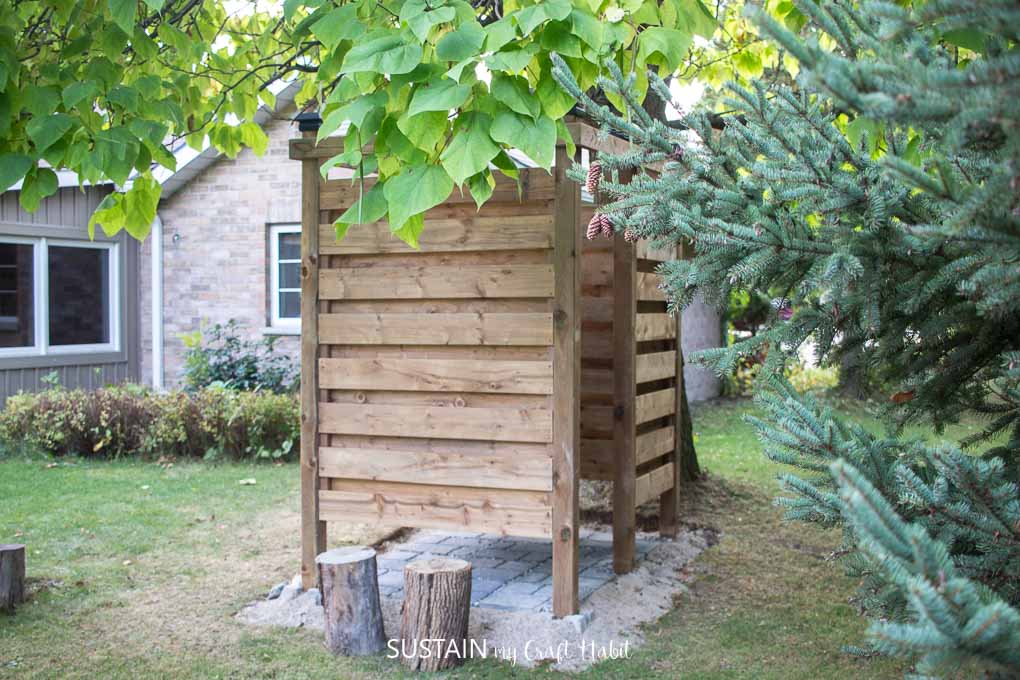
And there she is: our new private outdoor shower enclosure!
Were quite happy with how it turned out its quite spacious and private.
Itll be perfect for showering after the beach without needing to go indoors.

However, we realized the kids wouldnt be happy with cold water showers.
So next we ordered thisinexpensive camp showerwith a built in shower head from Amazon.
We also tried leaving out an extra long garden hose to be heated by the sun.

This worked great until the water ran out half way through showering.
We are so excited to get to use this new addition to the Graystone Beach cottage.
Pin it for later!