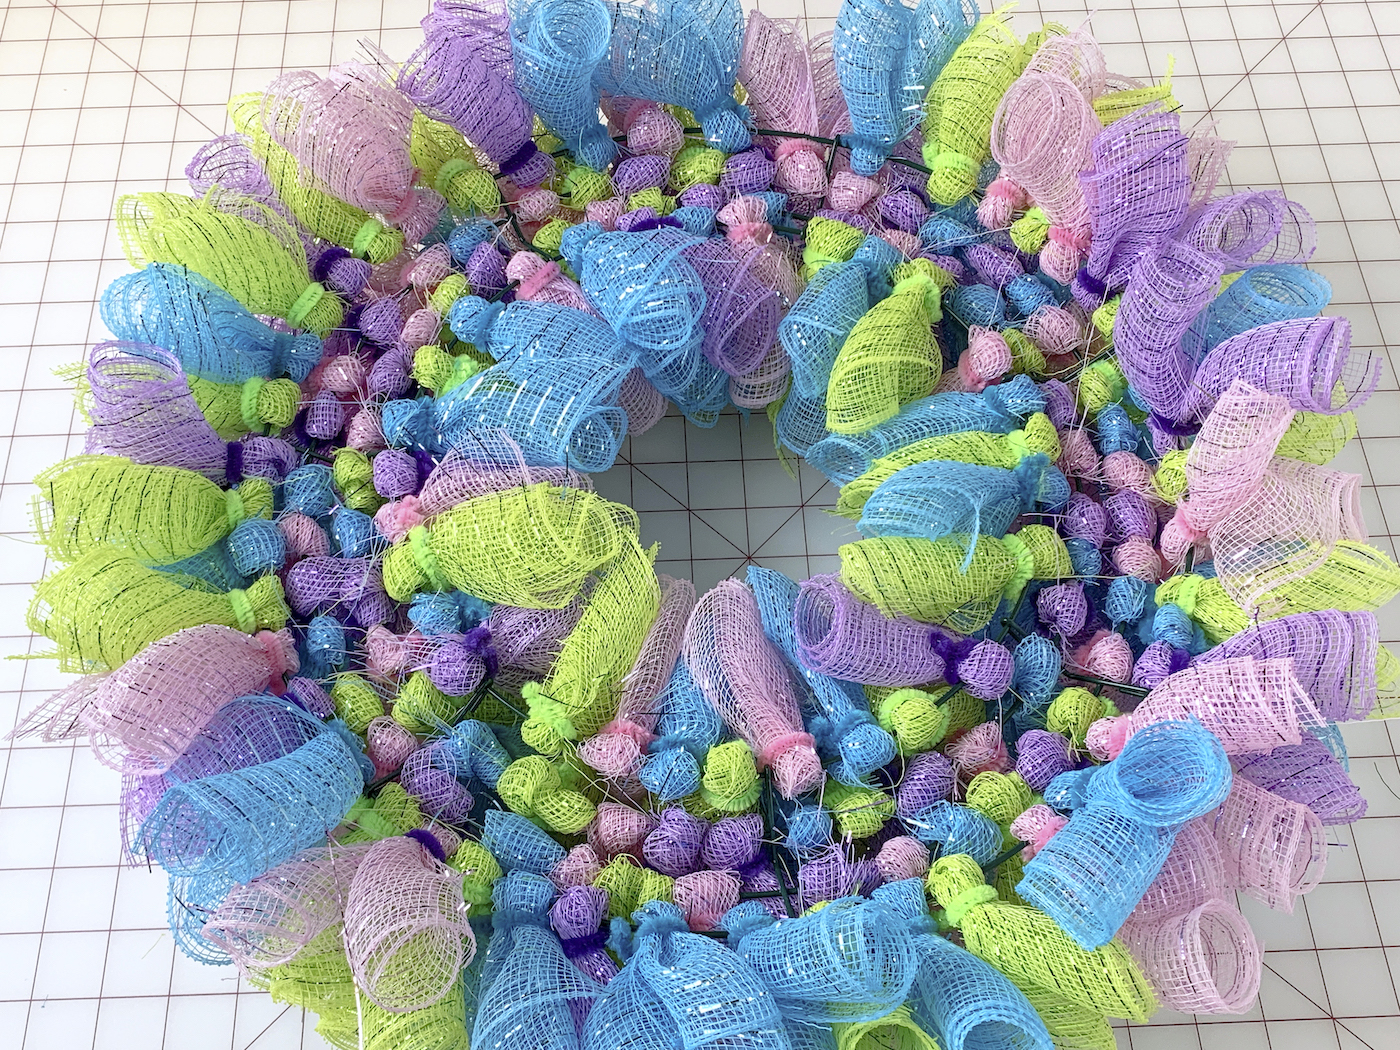
Learn how to make an Easter mesh wreath for beginners.
Its easy to put this deco mesh wreath together because youll add the colors randomly.
I warned everyone aloonnnggggtime ago that it was going to be the year of the mesh wreath.
And what ended up being one year has suddenly become two.
But also not really!
I just couldnt ignore Easter!
I have to keep a good thing going, especially when my front door expects it now.
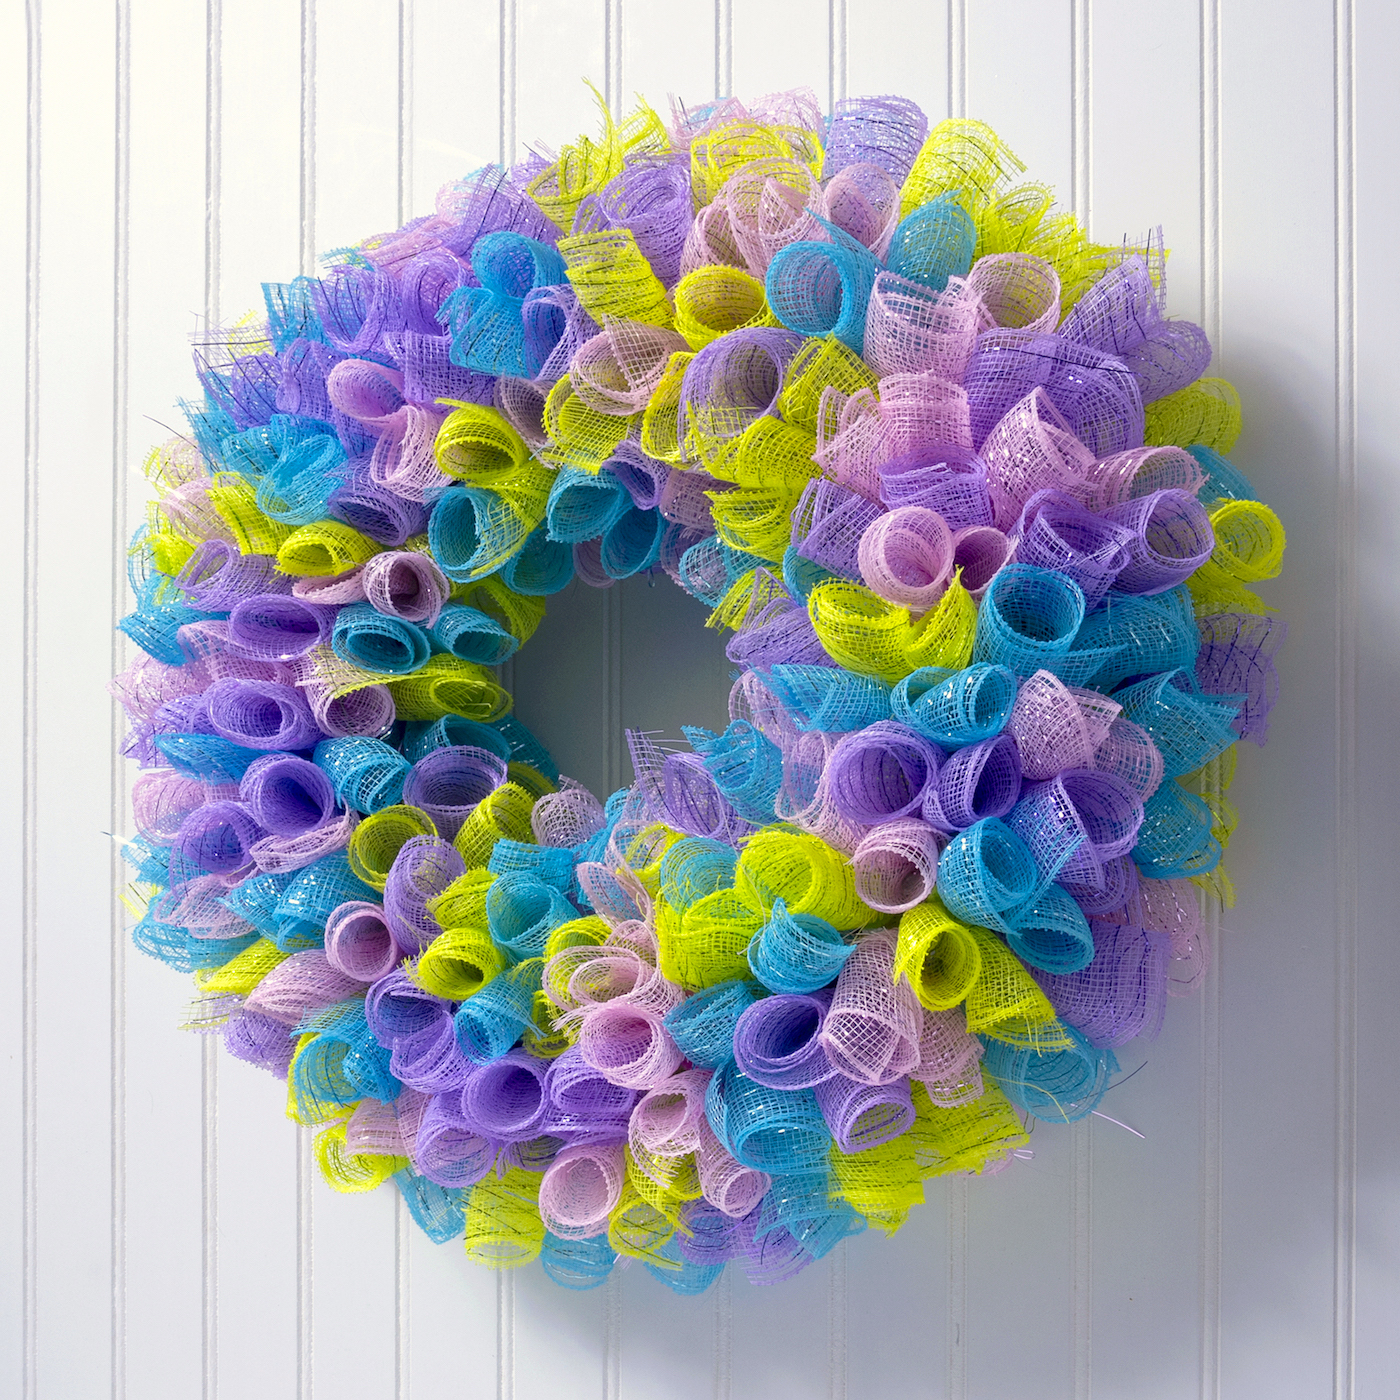
So I made an Easter mesh wreath, and Im excited to show you how to do it too.
If youre ready for bright, spring colors to grace yourEaster decor, this is the project for you.
Magic doesnt just happen, people!
It takes a minute.
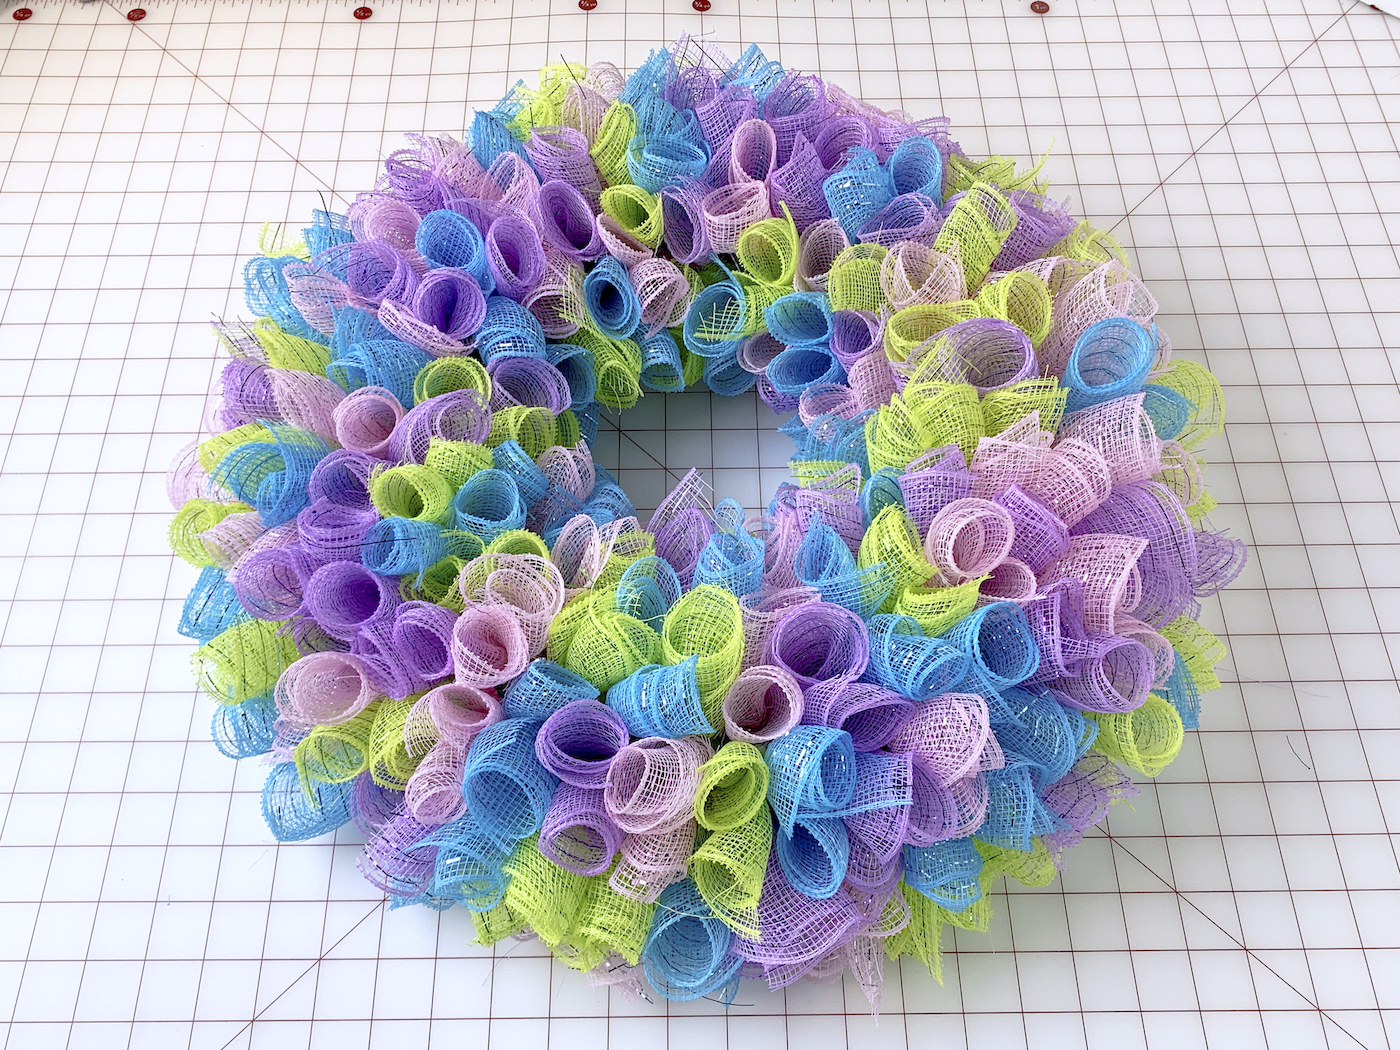
Youre going to make this project in three easy steps.
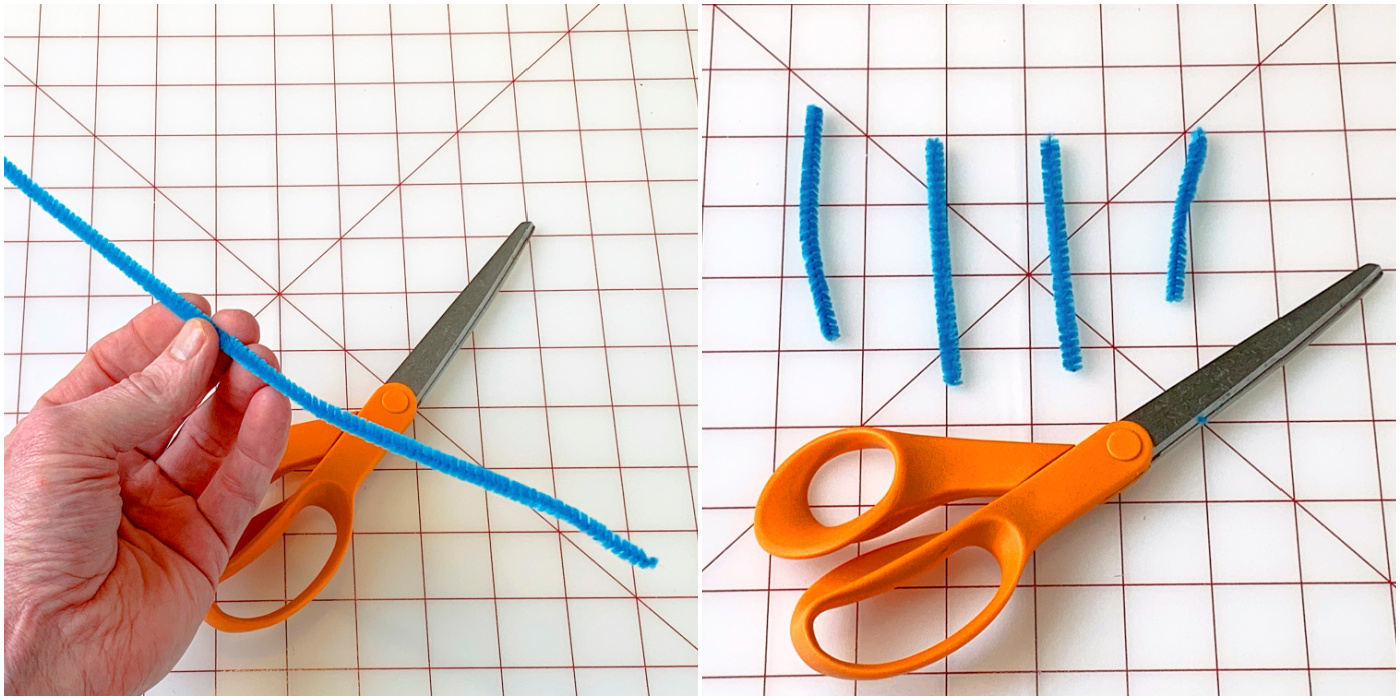
Youre going to cut the mesh, then cut the pipe cleaners.
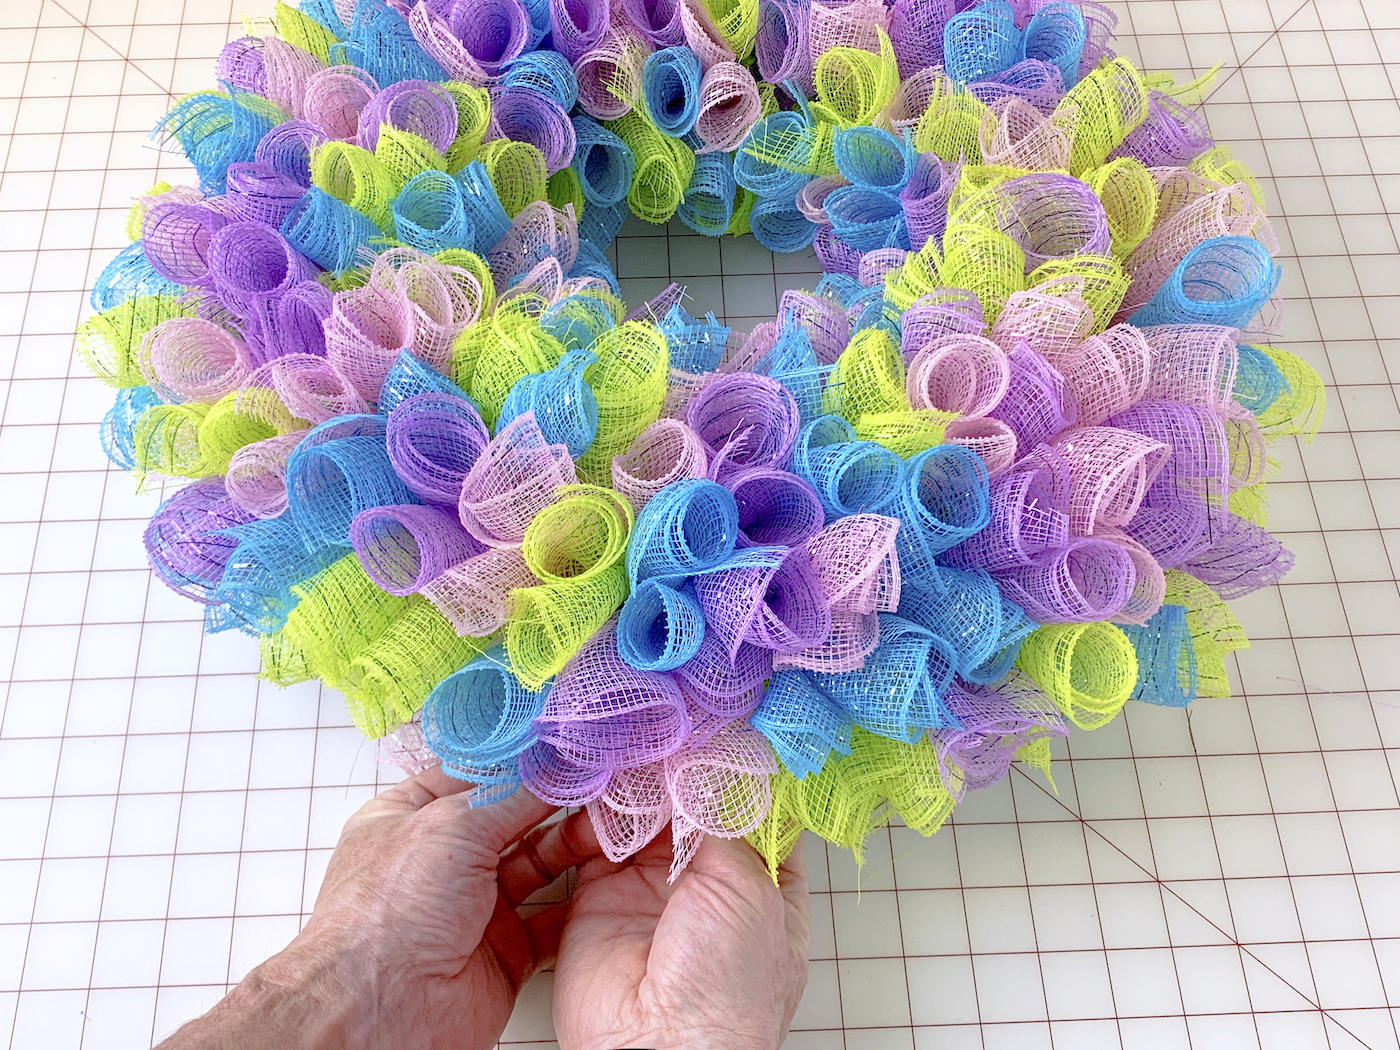
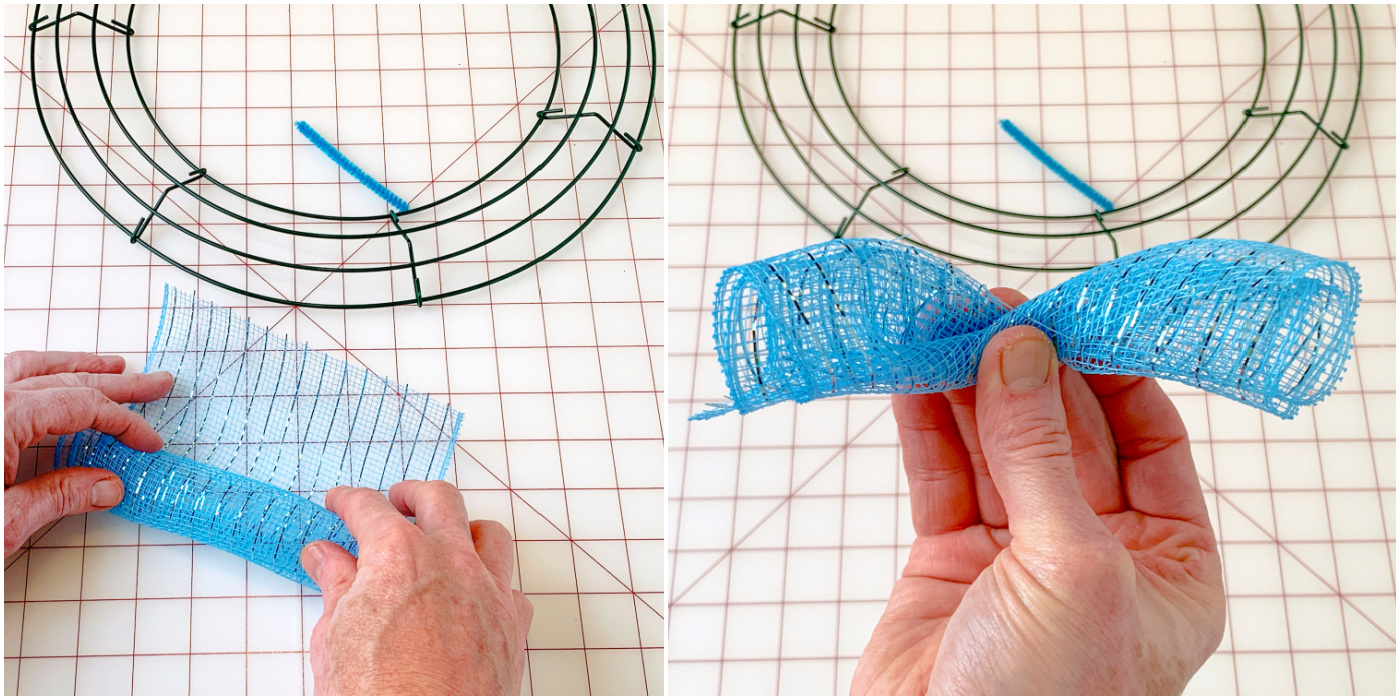
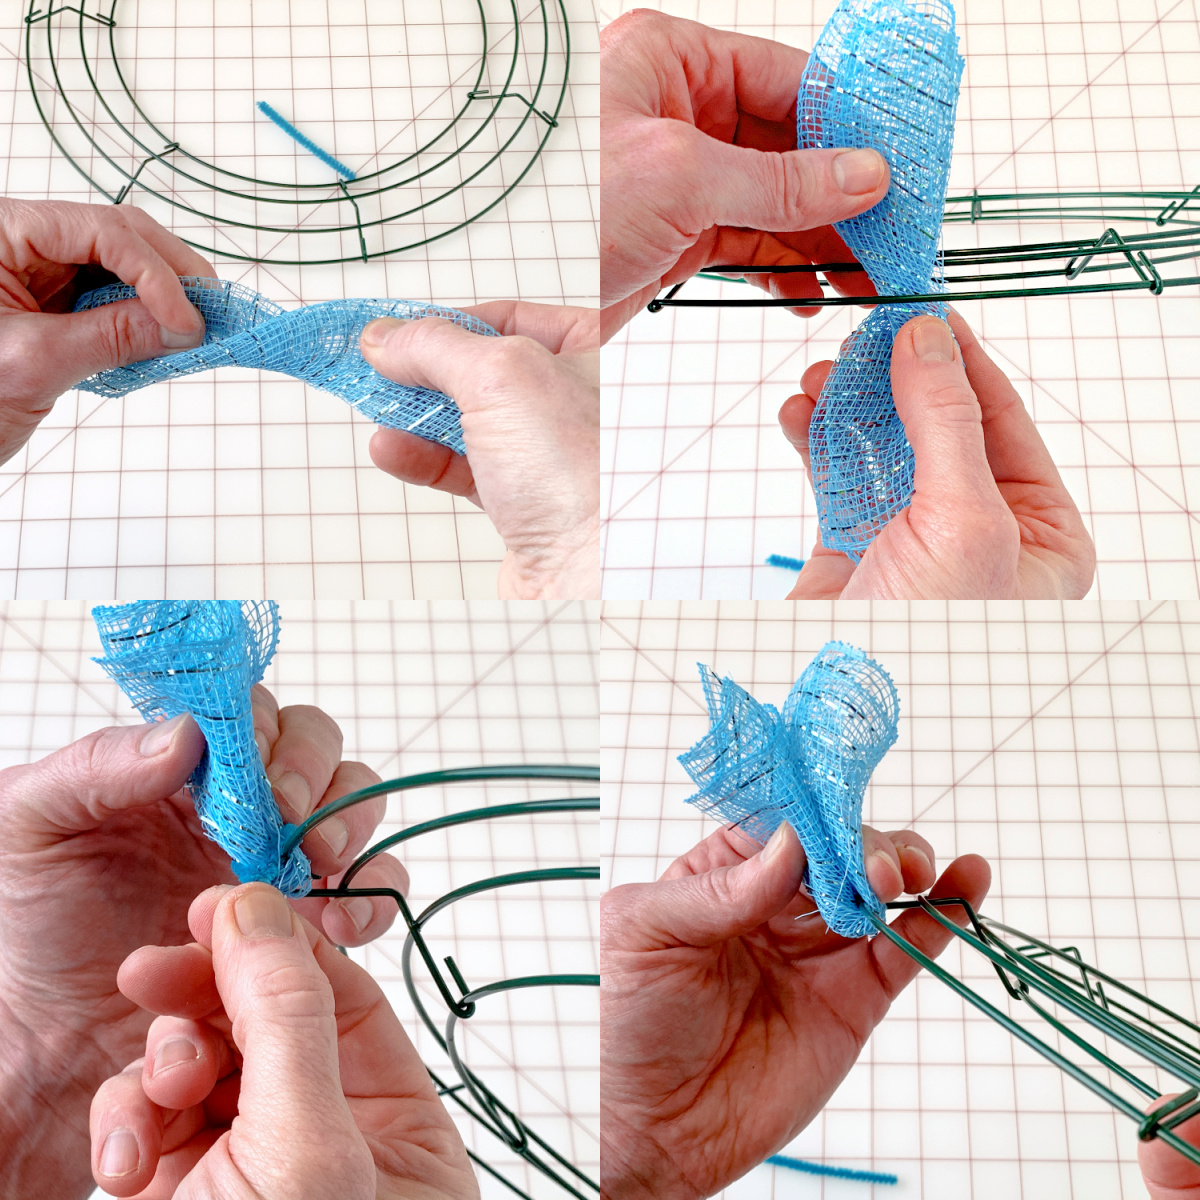
Then youre going to attach the mesh to the wire form.
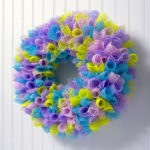
The bow is optional but I really think it adds something.
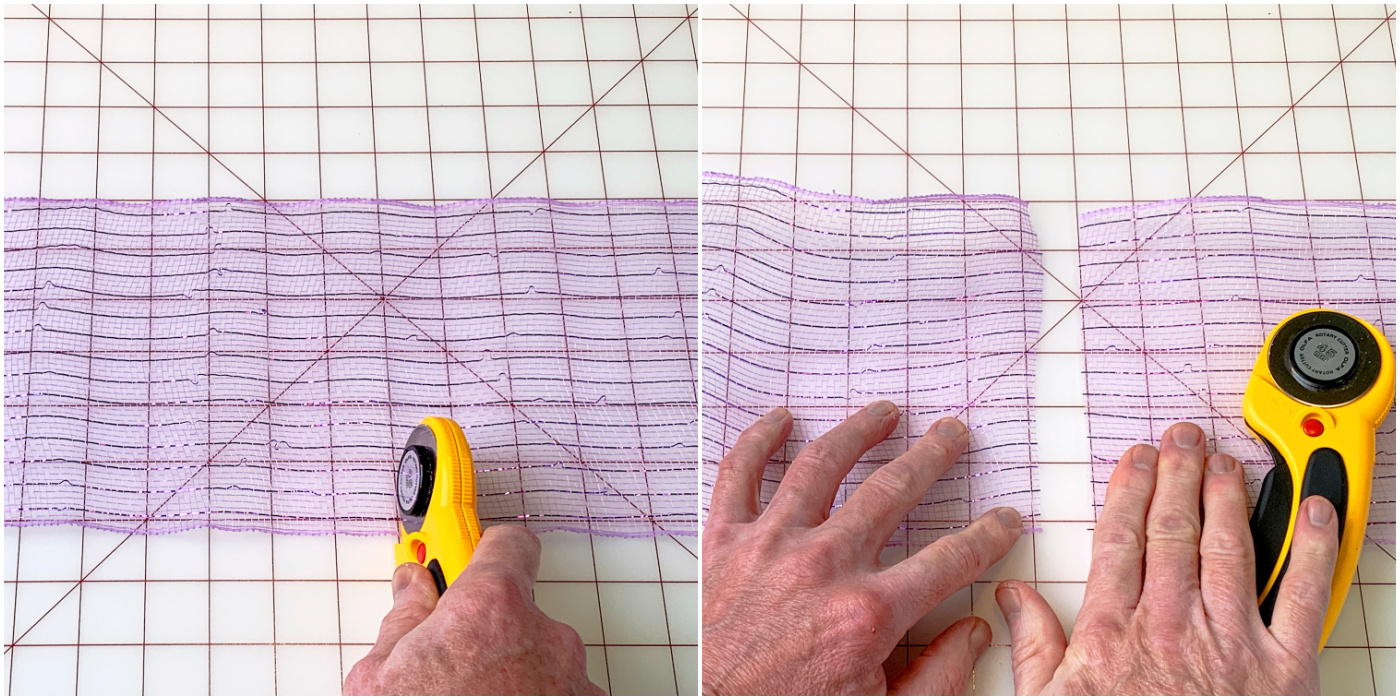
If needed, you might cut down the mesh horizontally as well as vertically.
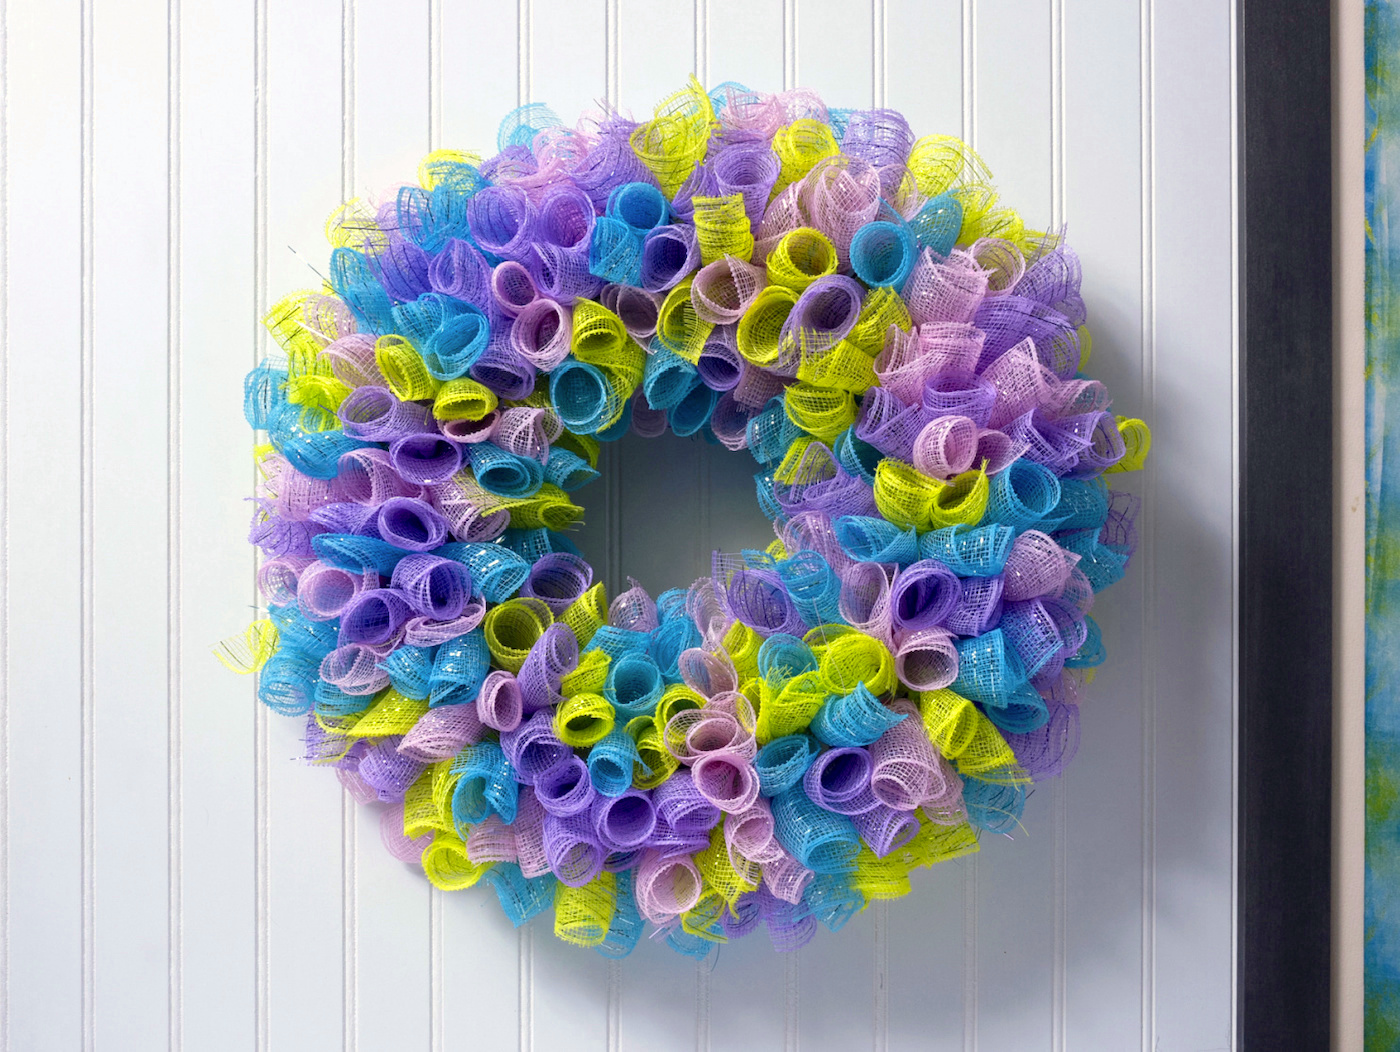
The wreath does look a little bit more frilly if you trim the mesh horizontally.
I would describe it as hairy.
But its still cute, I just happen to like the crisp edges a bit better.
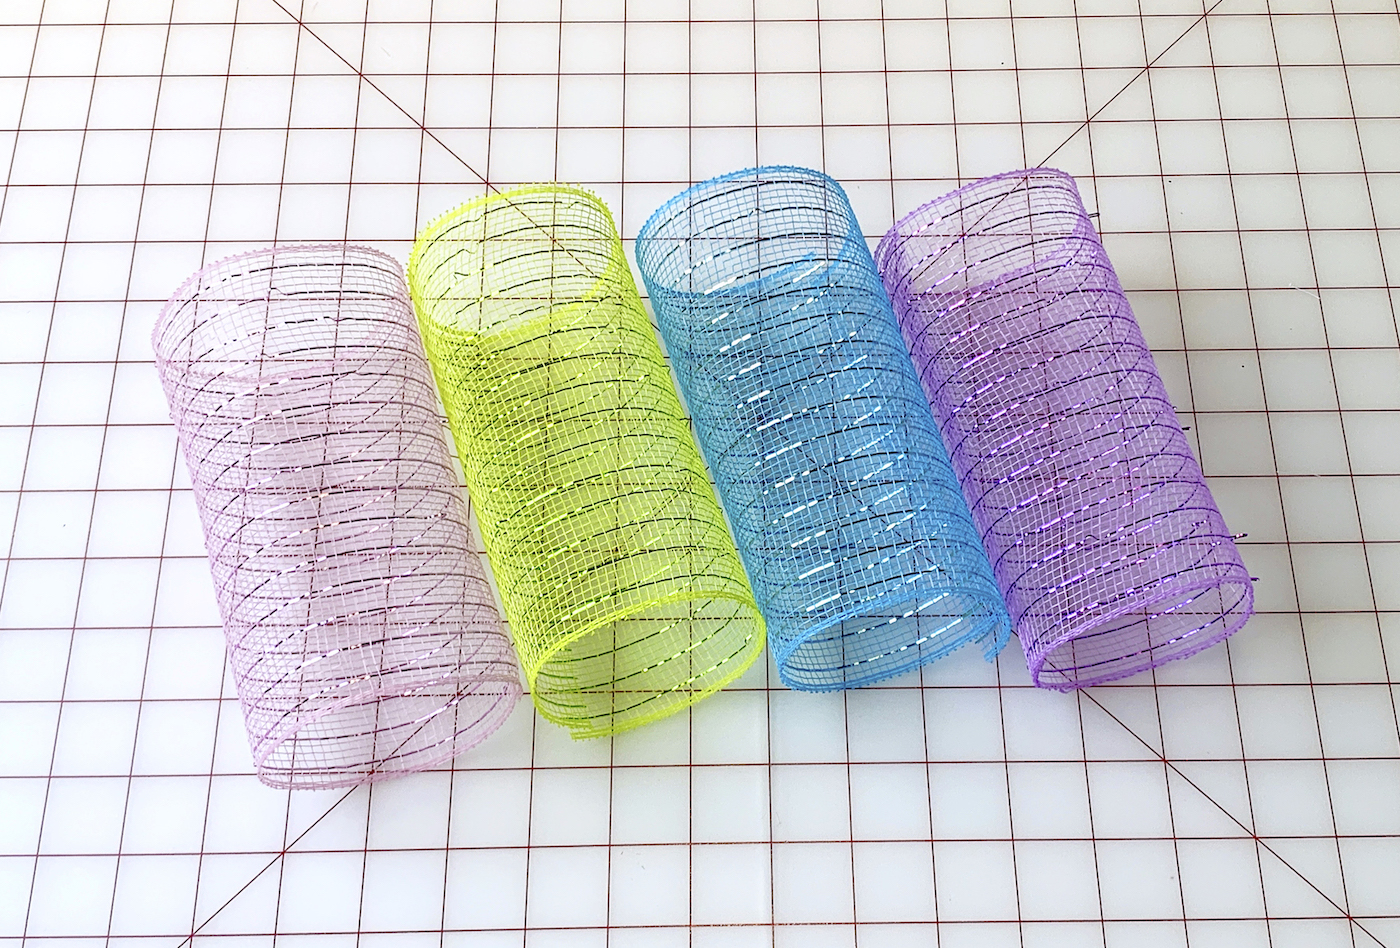
There was a little bit left over from each of the colors.
With the lengths they come in, its nearly impossible tonothave some left over.
Plus if you want to go a little larger on the form, you’re able to.
Are you ready to make this Easter mesh wreath?
Heres how its done below!
I usually attempt to coordinate with one of the colors in my wreath or use white.
If youve never used aBowdabrato make a bow youre missing out.
Its actually really easy and I recommend everyone get a Bowdabra.
Trust me on this.
And for reference, heres how it looks from the back.
Get the printable how to card for this project below!