I have many hobbies.
irresistible craft supply pusher).
But since the kids came along these pastimes have fallen to the wayside.
other priorities (i.e.
this constant need to feed them!)
and lack of space, time and often motivation contribute to keeping these supplies in the storage boxes.

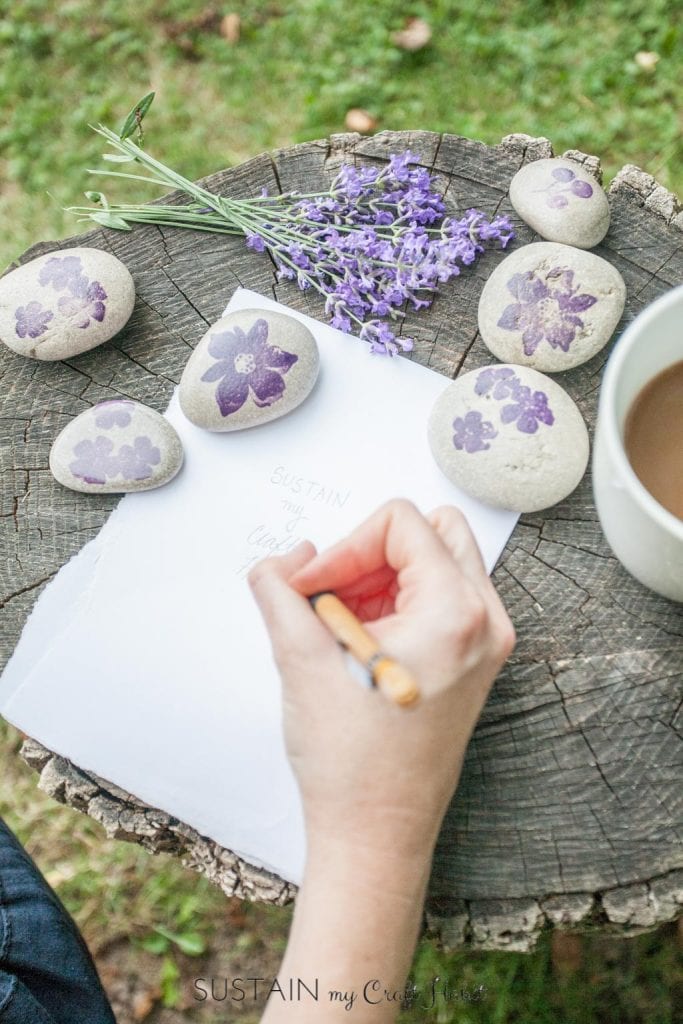
It gives us a reason to dust off that box of stamping supplies and actually use them!
Beach combing is one of our favourite hobbies and one we can do with the kids!
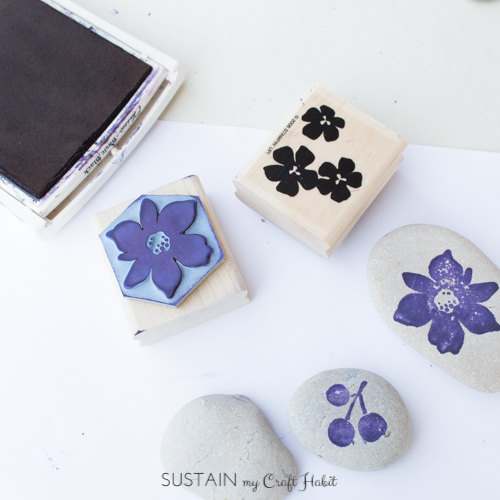
For these decorative stamped rocks, smooth, light coloured, medium sized rocks work the best.

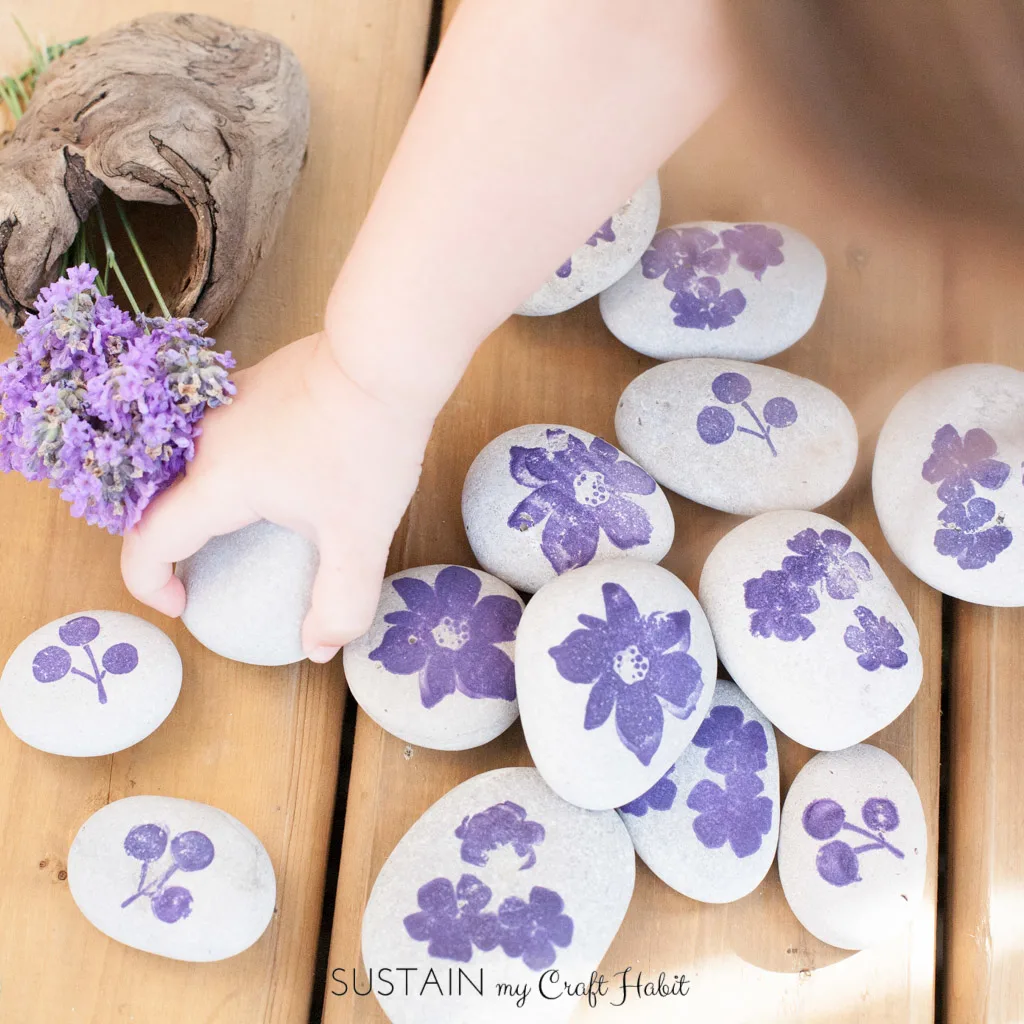
Once you start, you cant stop.
So give it a try and start collecting those beautiful and unique rocks for your next DIY.
Materials Needed to make your own DIY Rubber Stamped Rocks:
1.
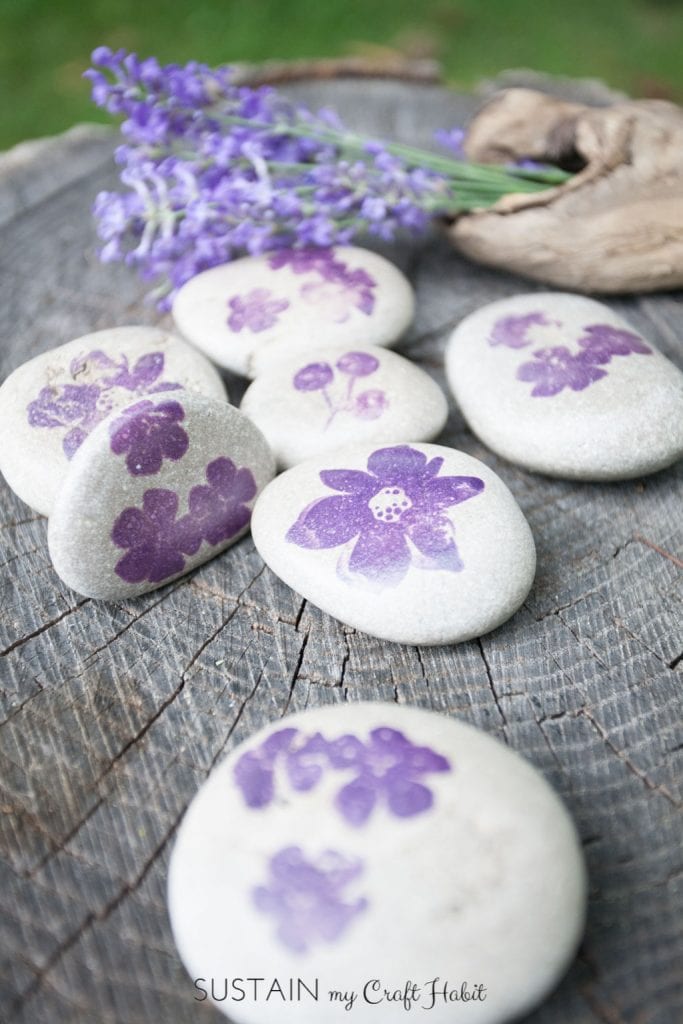
Before you begin, wash and dry the rocks.
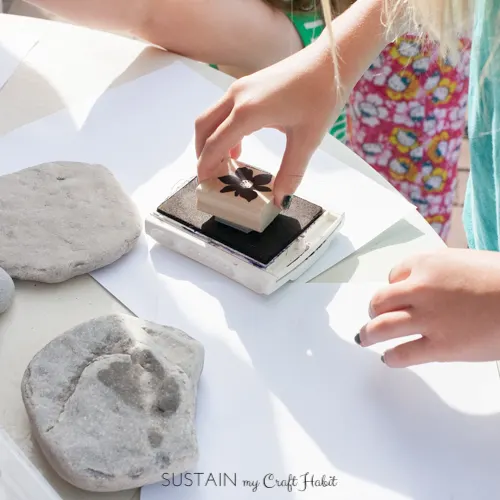
Press the stamp onto the ink pad and ensure the stamp is evenly coated with ink.
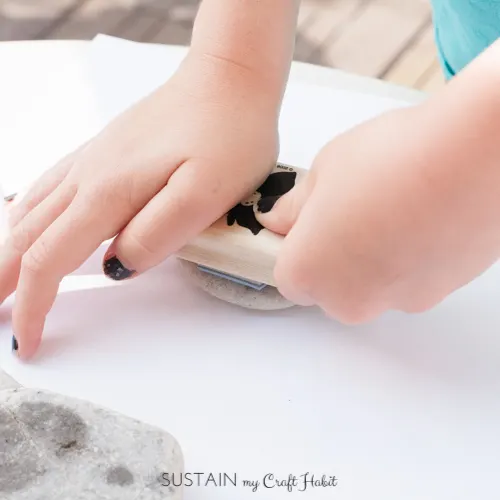
Firmly press the stamp onto one side of the rock.

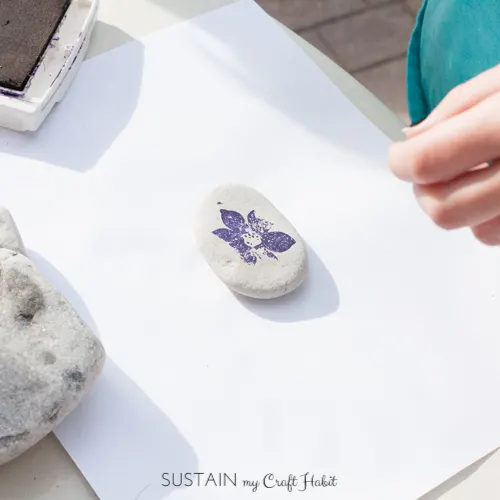
Allow ink to dry.
Protect your work surface and apply a thin even coat of spray lacquer to one side of the rocks.
All enough time to dry and apply another coat to the reverse side of the rocks.
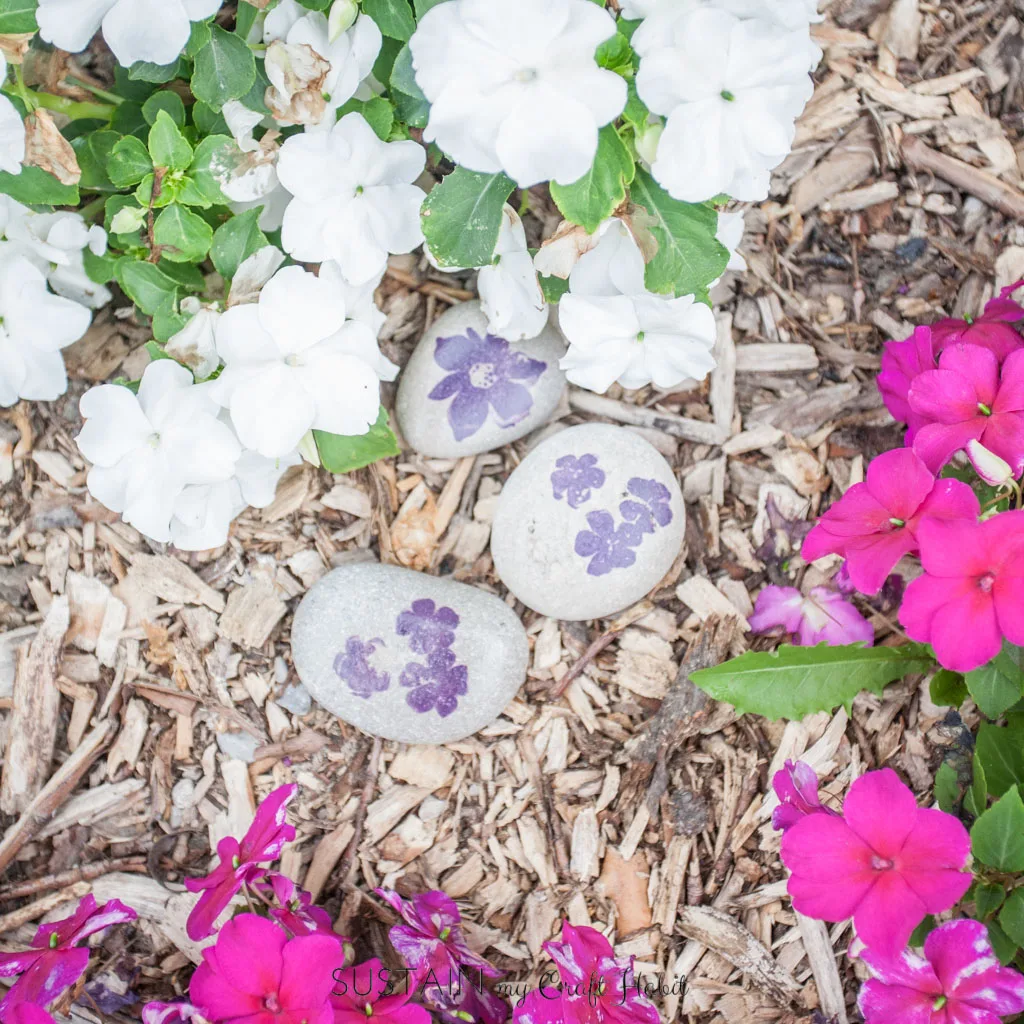
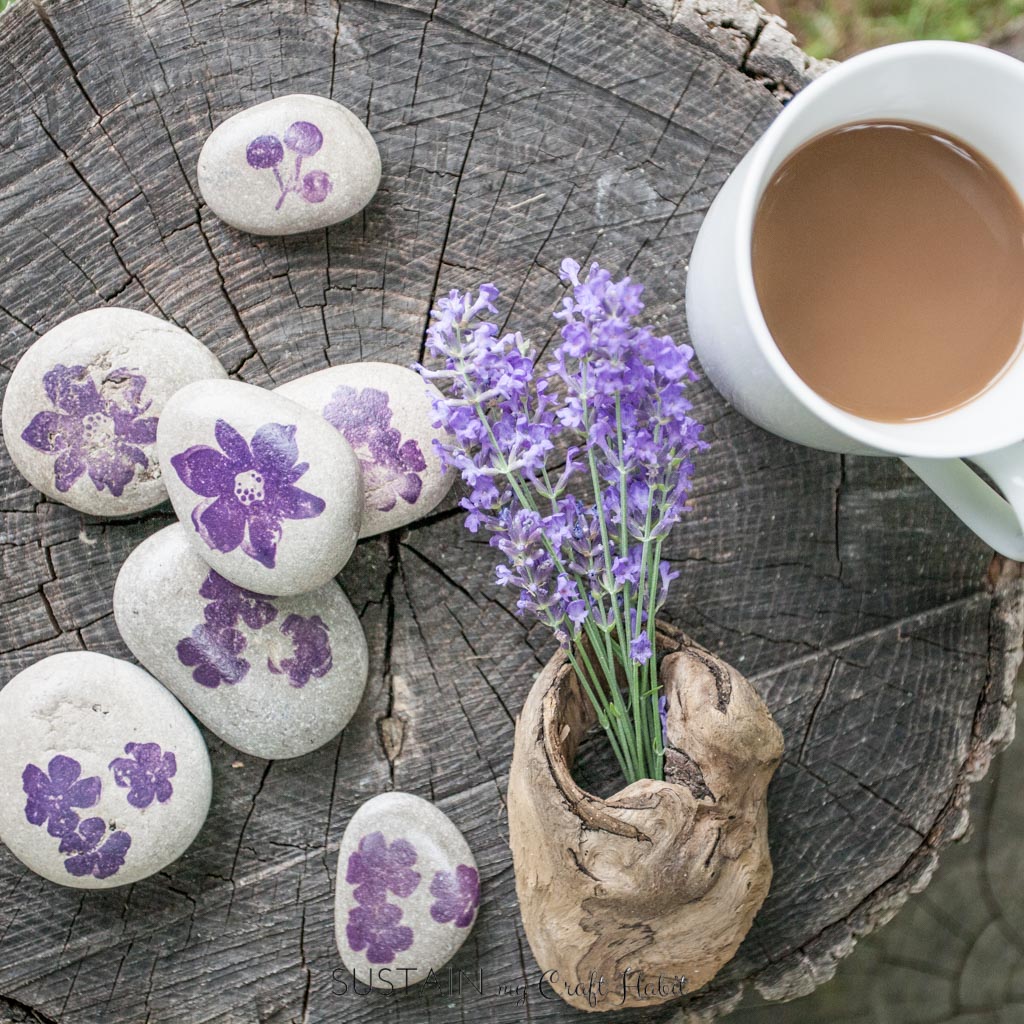
These rocks are really simple and versatile little decorative gems.
Perfect for a little afternoon tea and some of our easy and delicious #zuchinni cake!
Link to #recipe is in the profile!

#throwbackthursday #flashesofdelight
A photo posted by Jane & Sonja ?
?
?
????
(@sustainmycrafthabit) onJul 28, 2016 at 3:22pm PDT
Do you have any craft supplies collecting dust?