HomeDIY
This post may contain affiliate links:full affiliate disclosure.
An easy DIY zipper pouch great for adults and teens to make.
You could never have too many zipper pouches, and anyone who tells you otherwise isclearlylying.
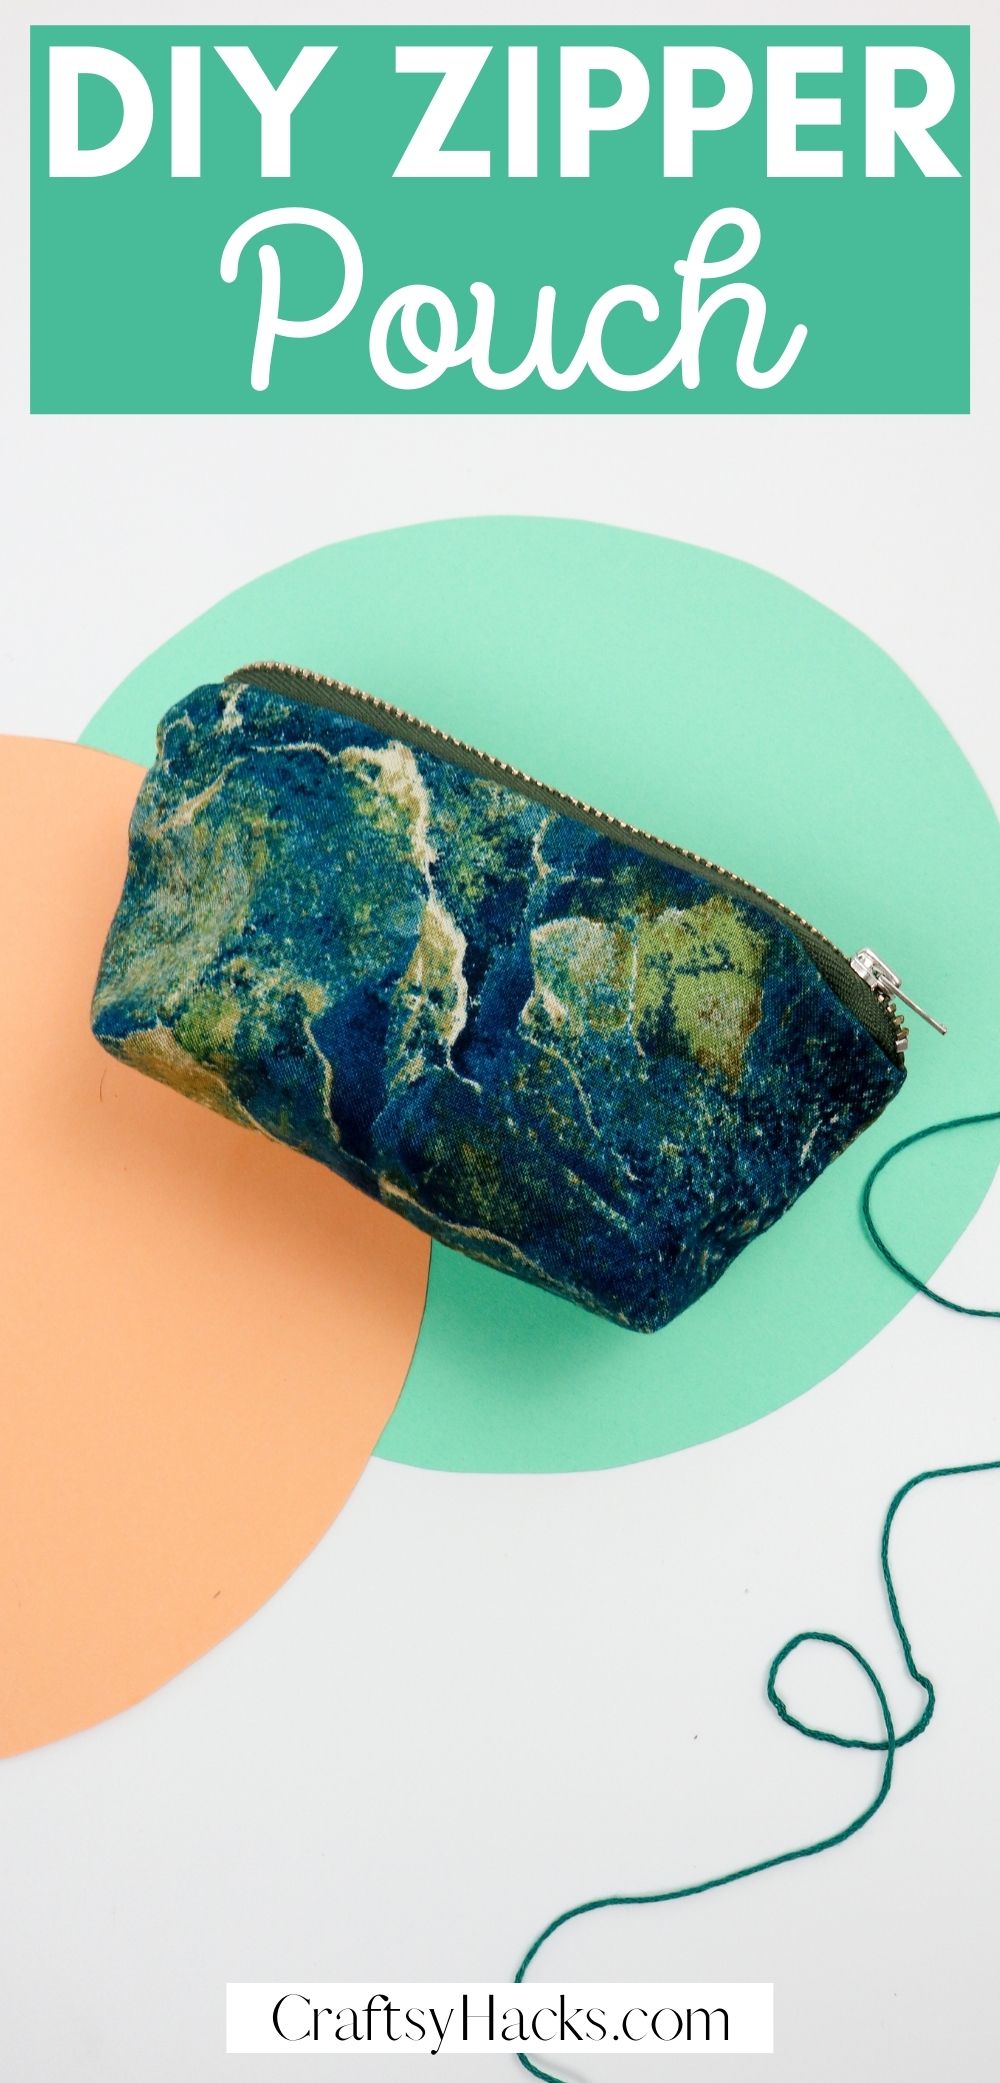
Just think of how useful these pouches are and also how fabulous!
There are so many ways you could use this pouch.
Really, the opportunities and choices are endless.

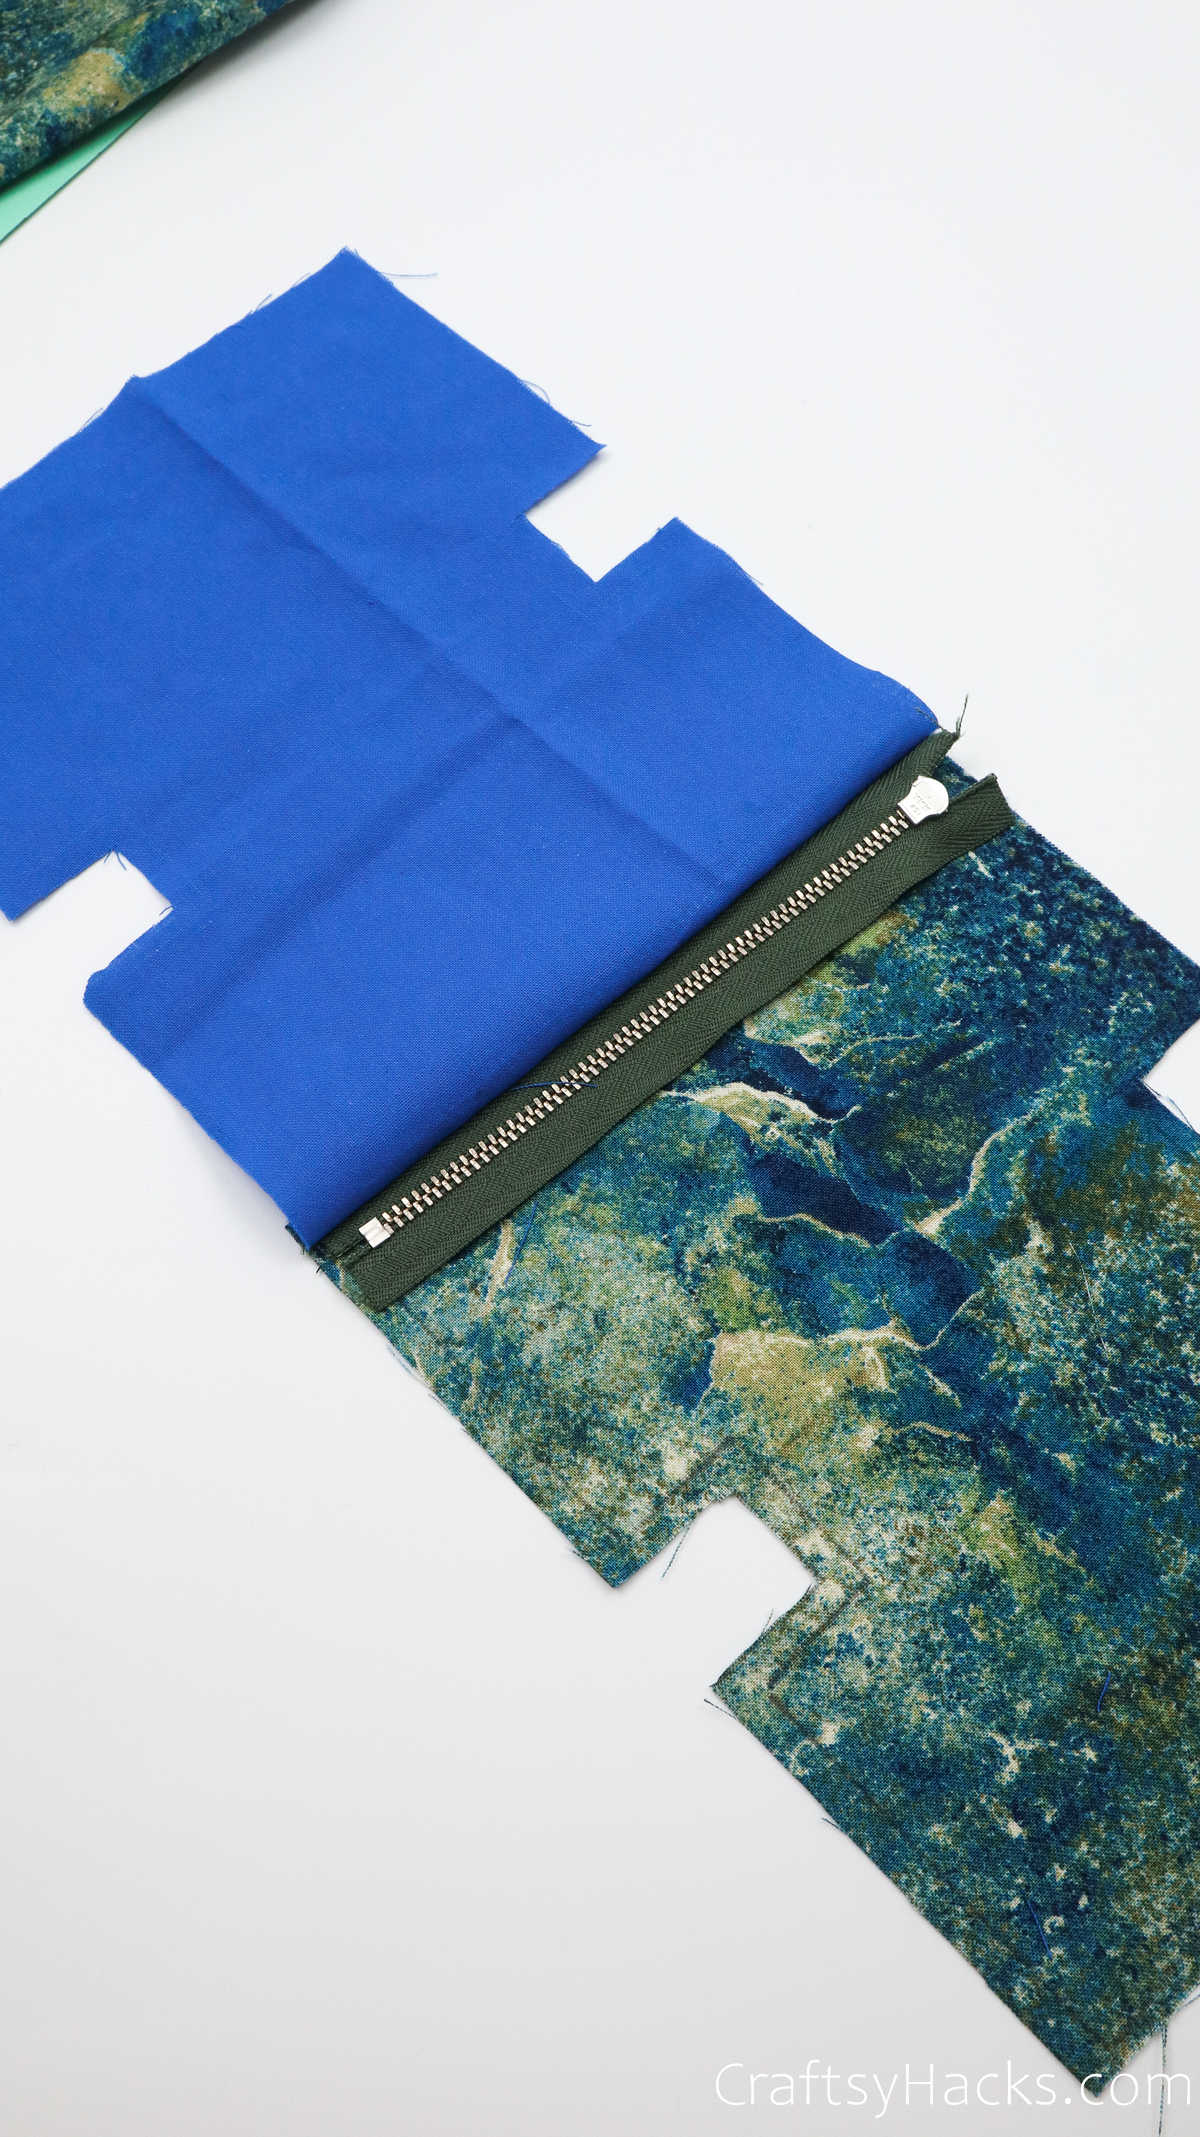
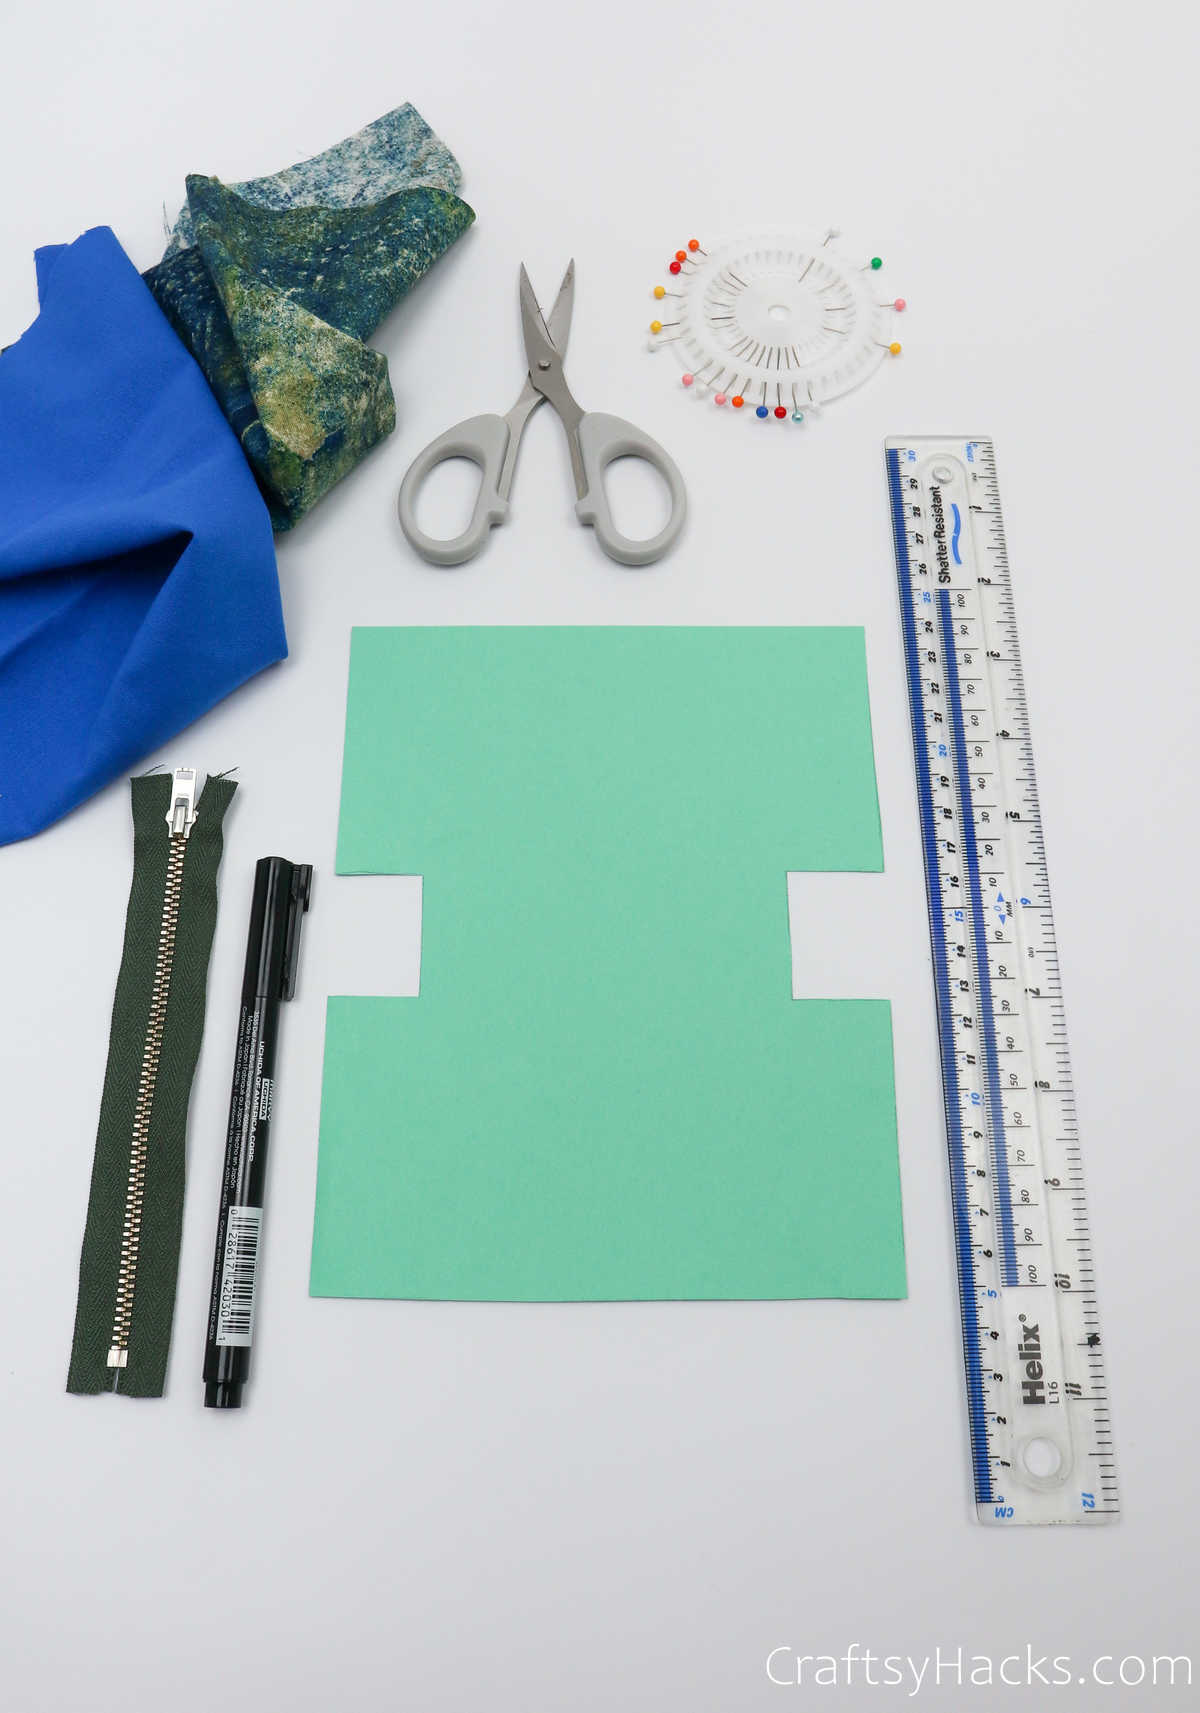
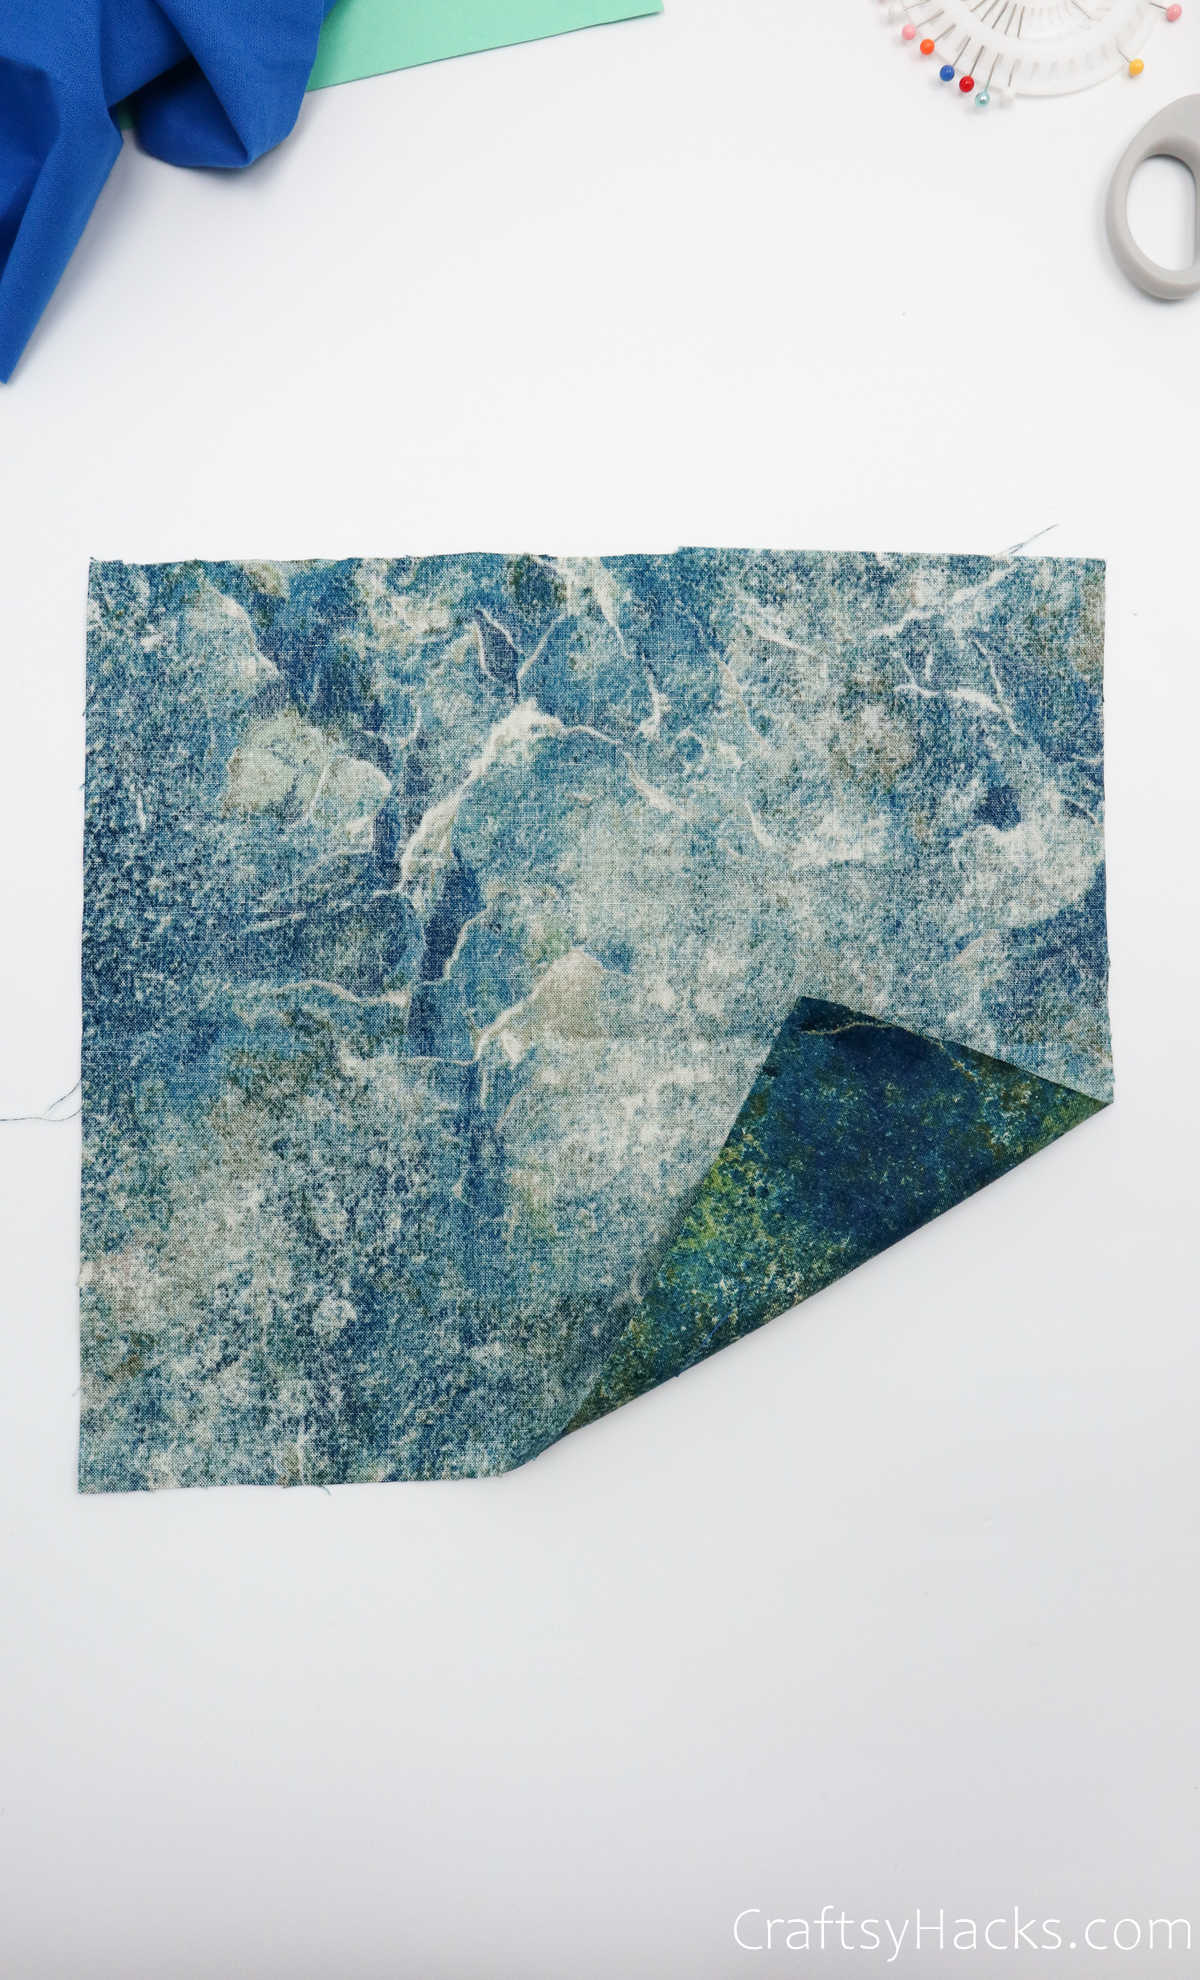
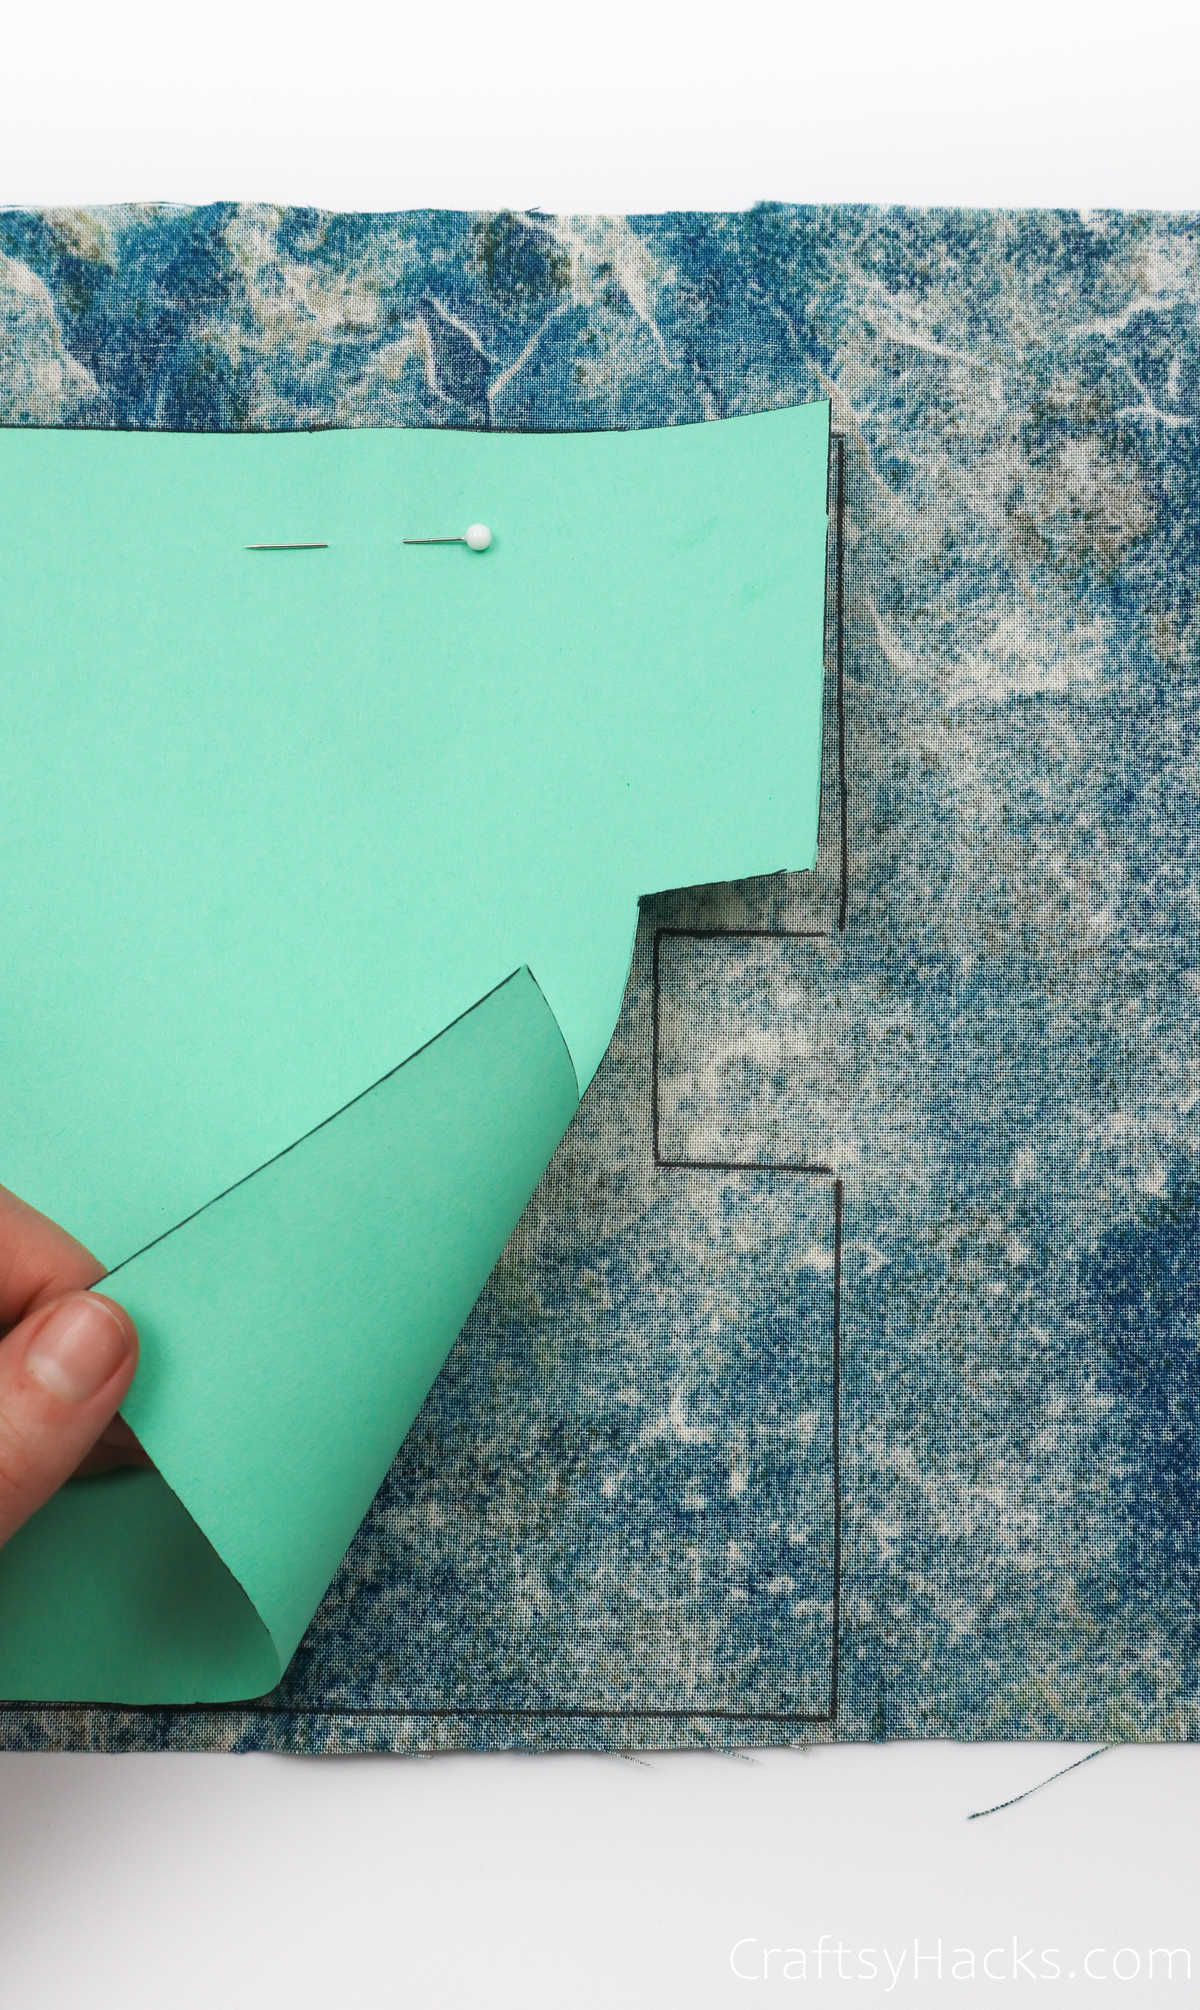
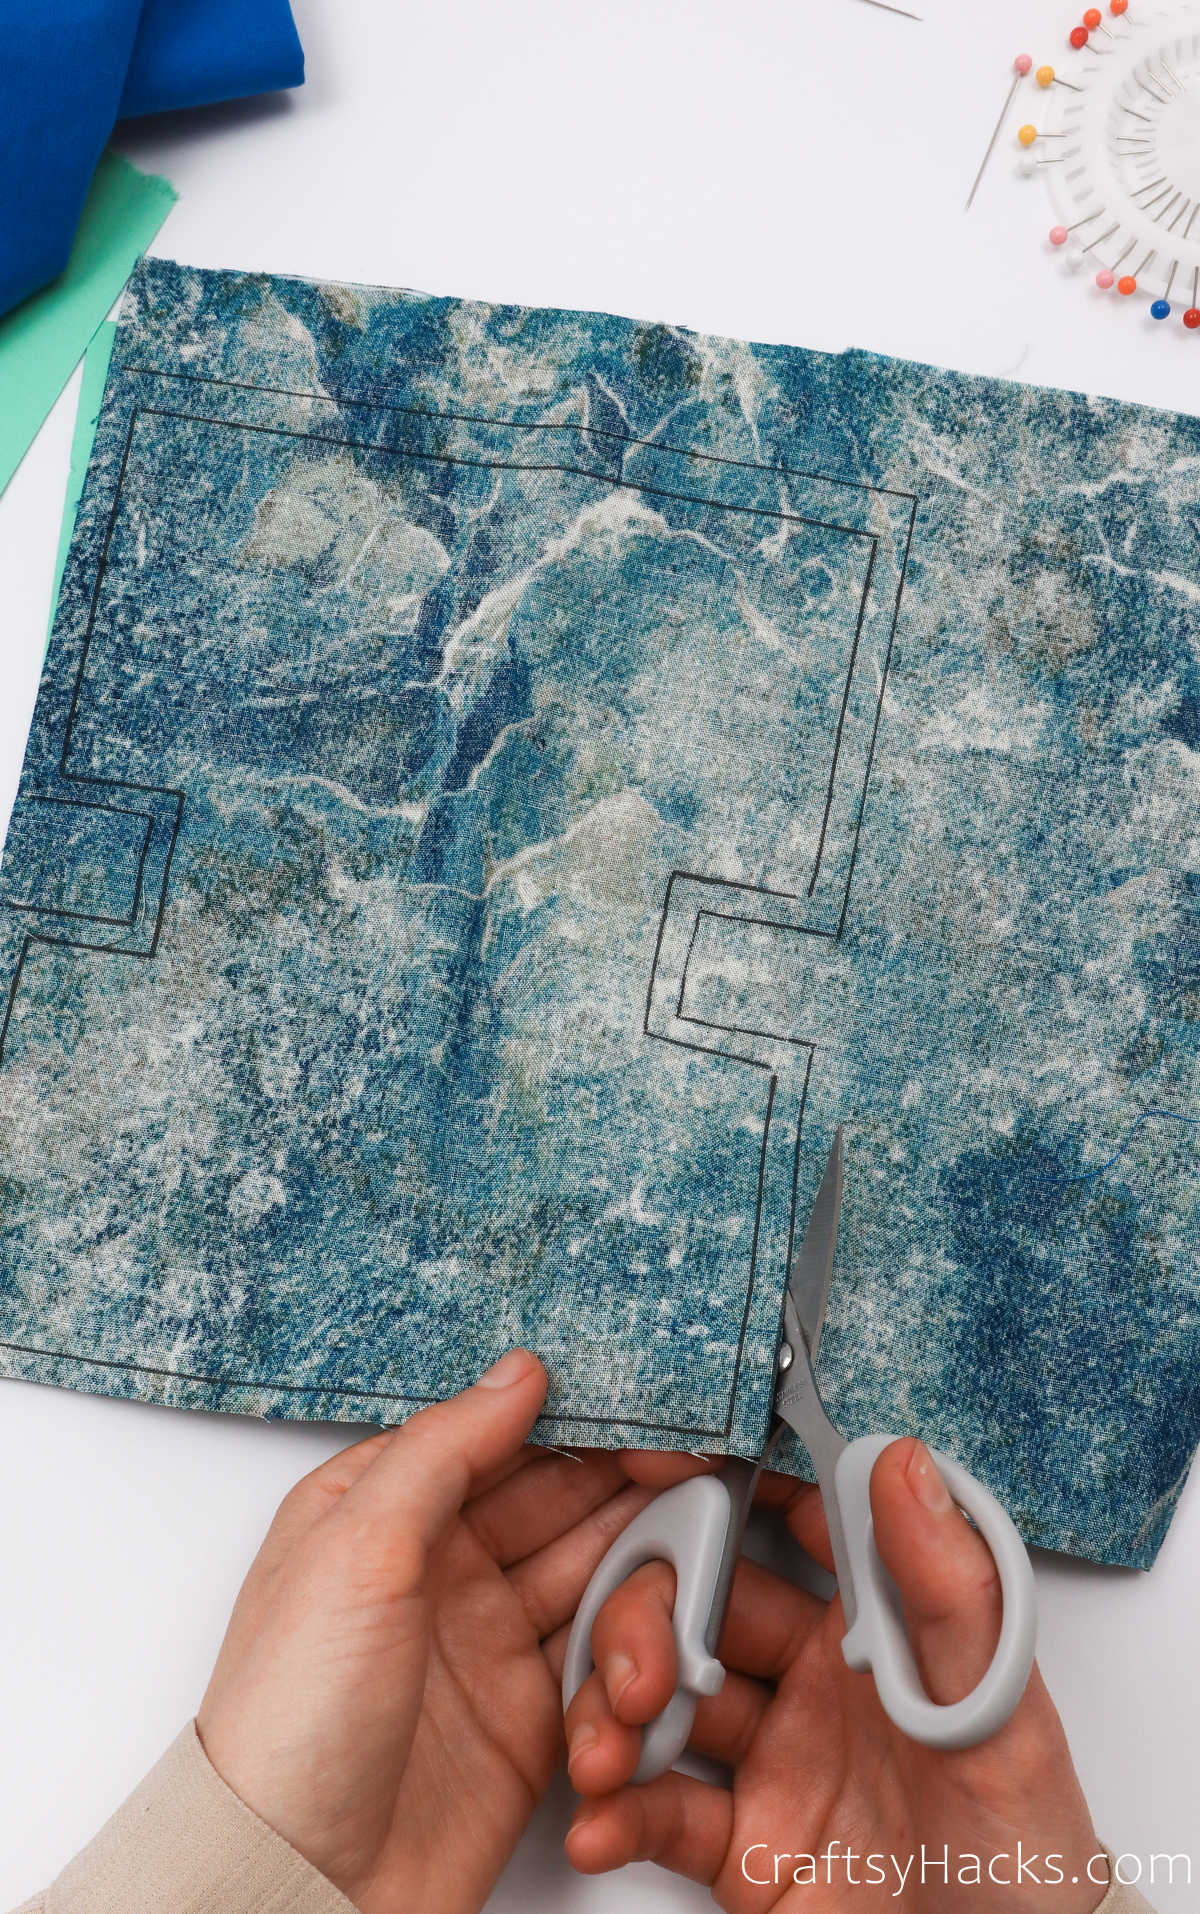
So, grab your fabric and lay it down on your work surface with the wrong side facing up.
Step 2
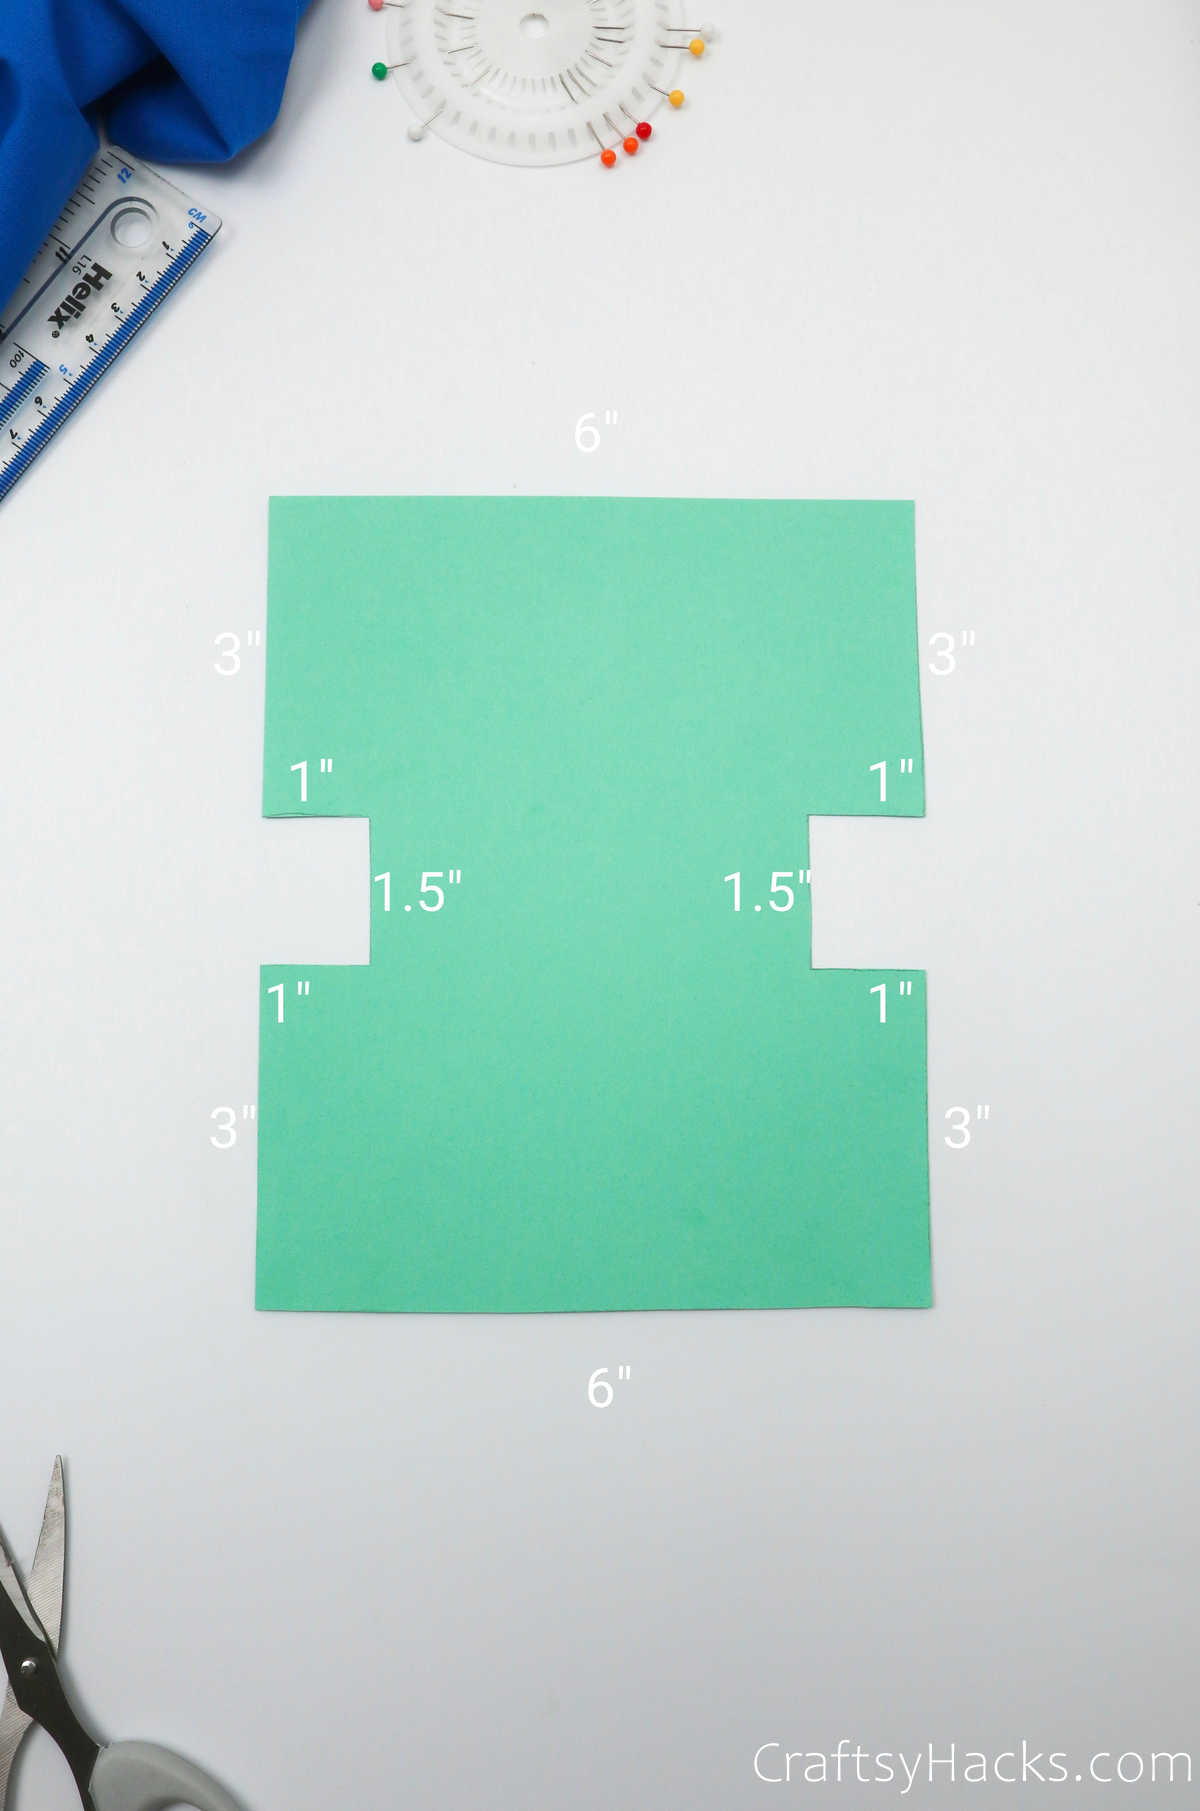
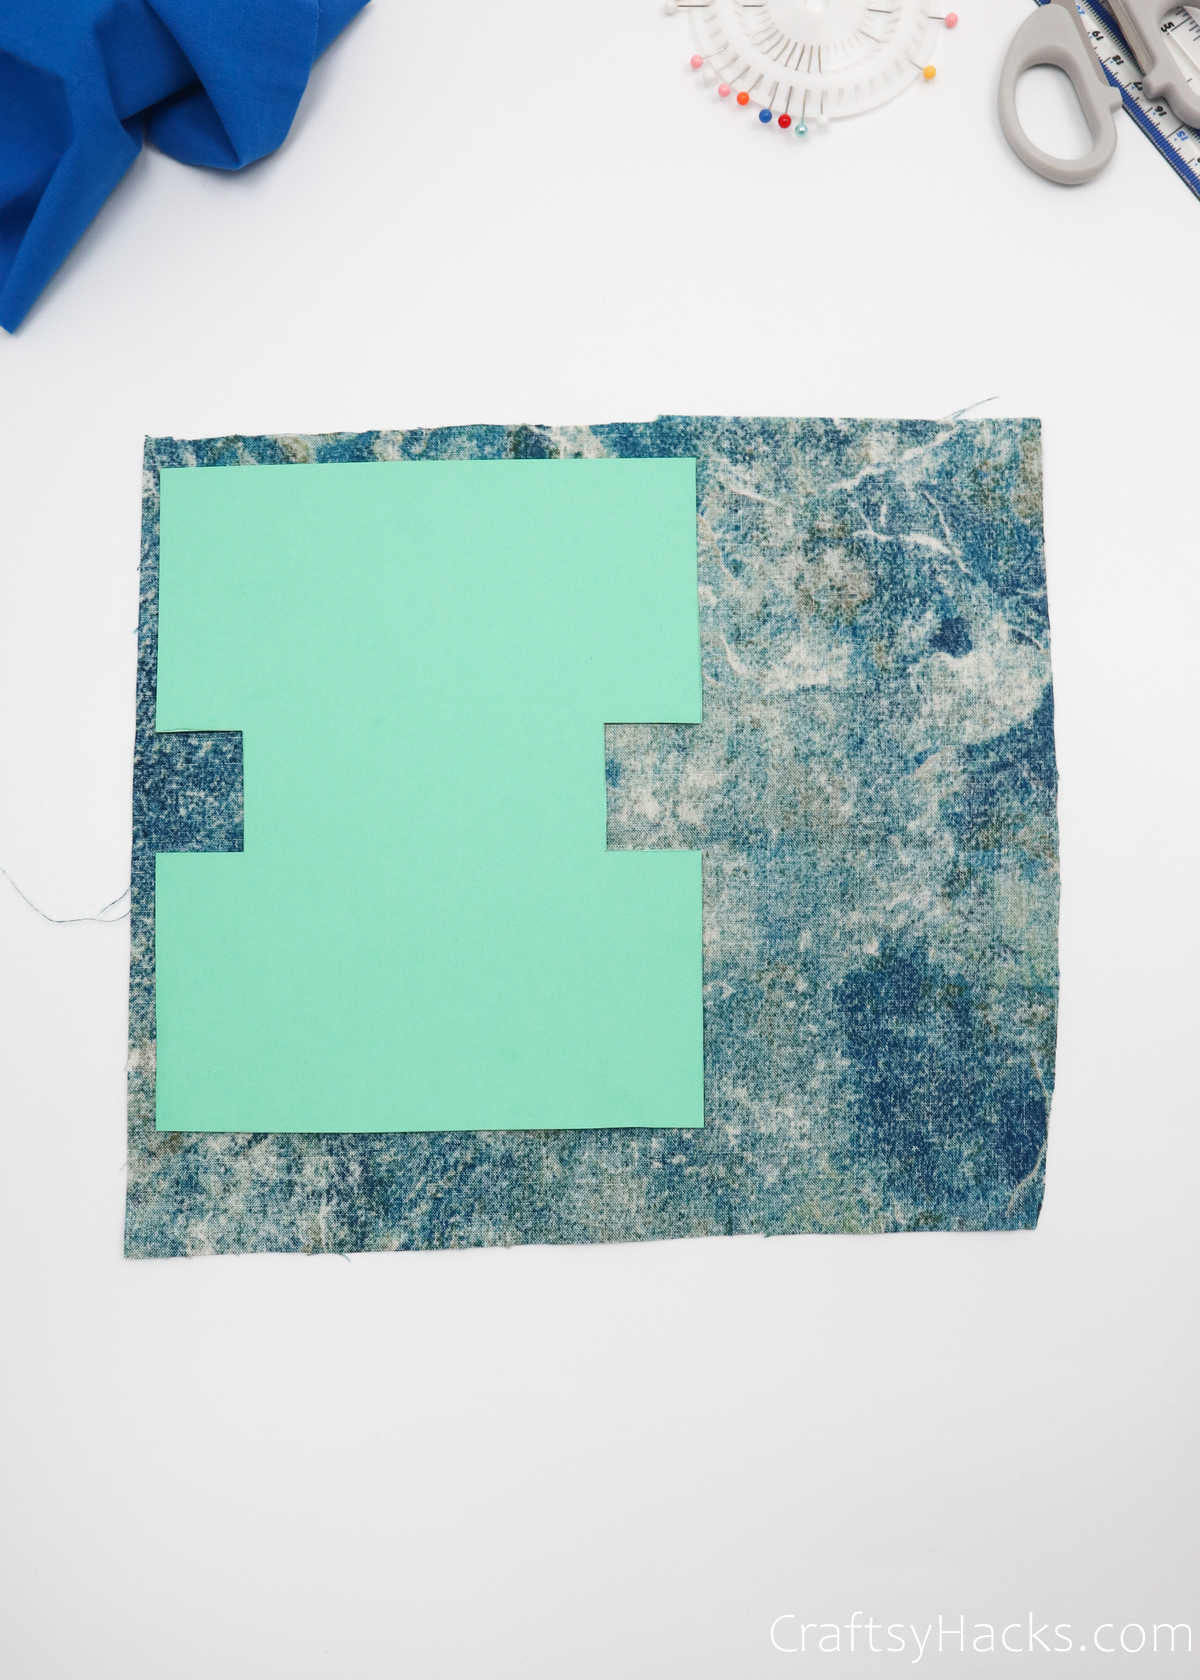
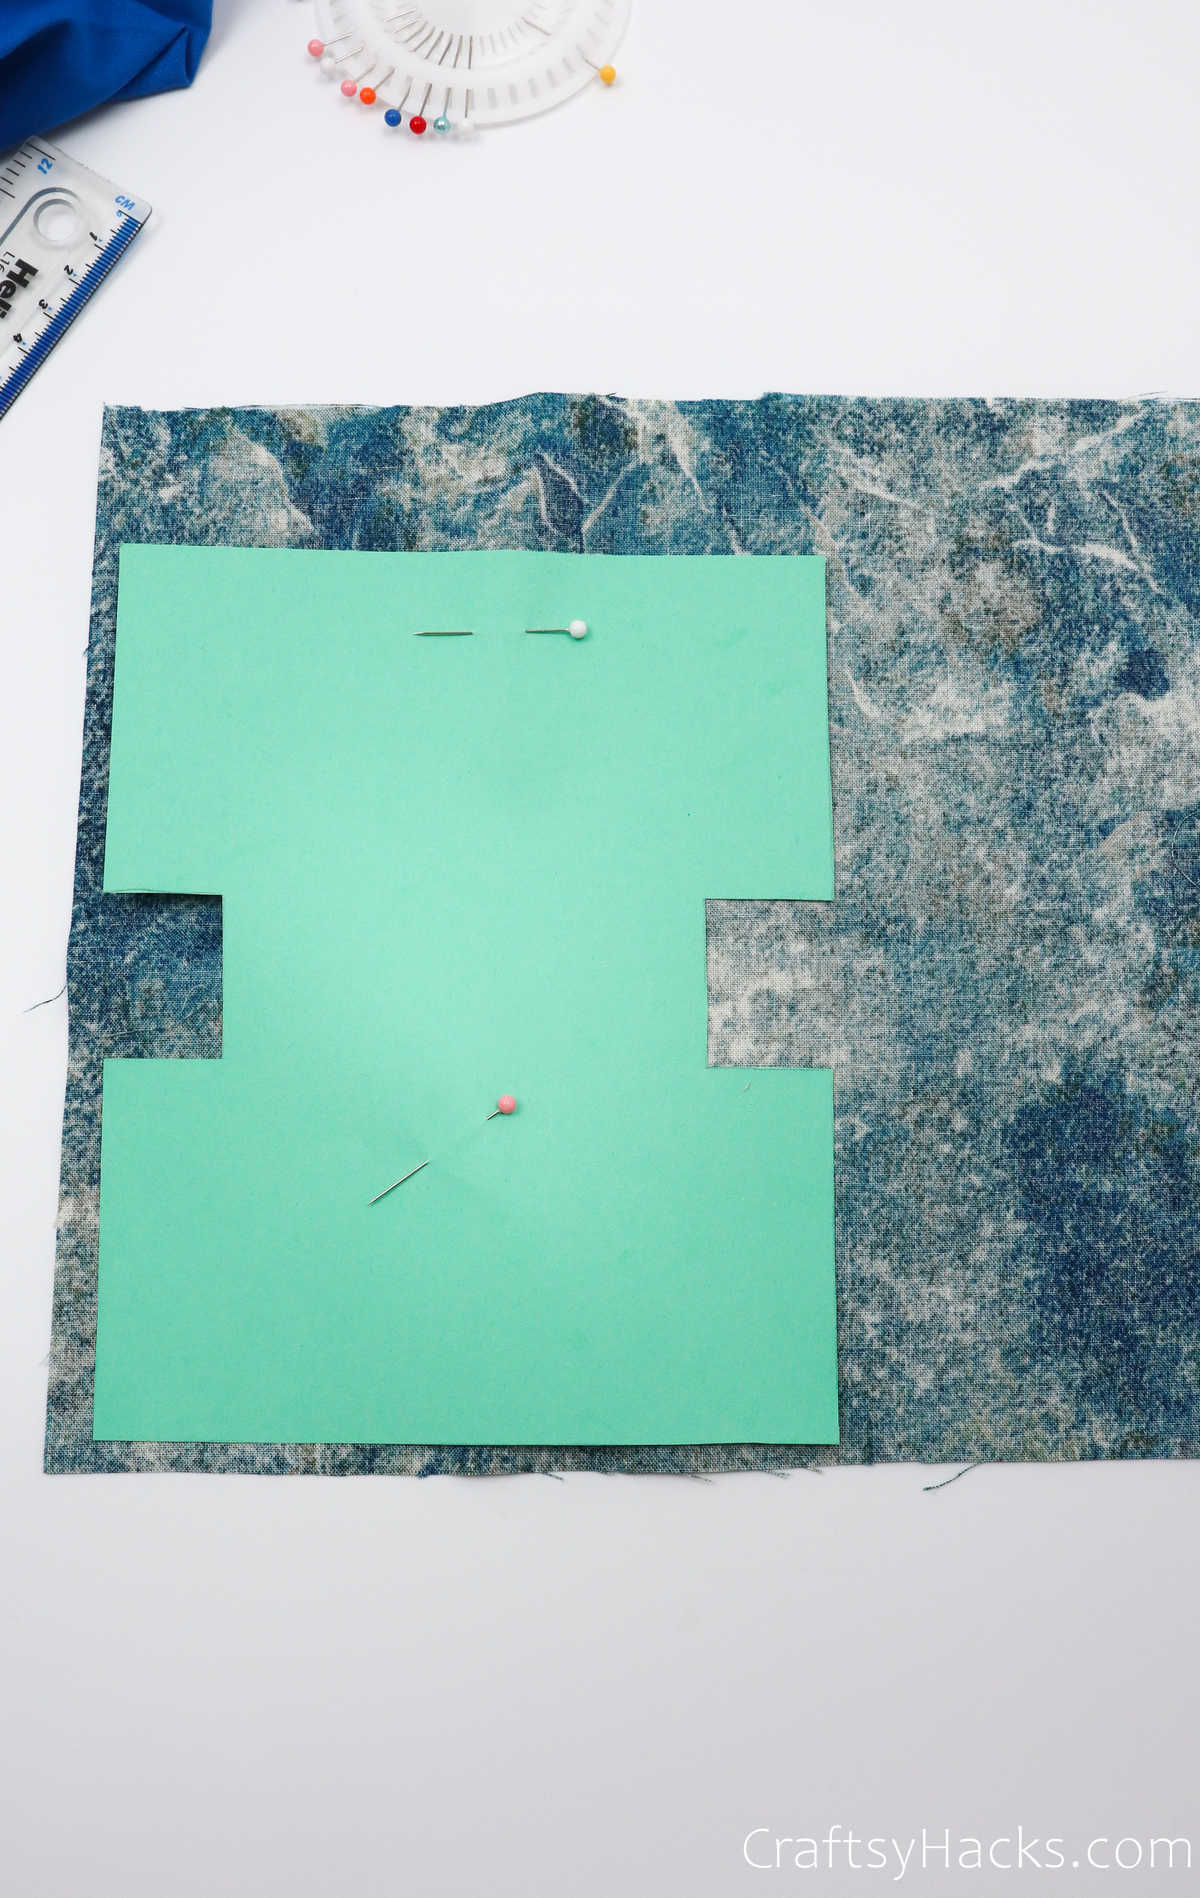
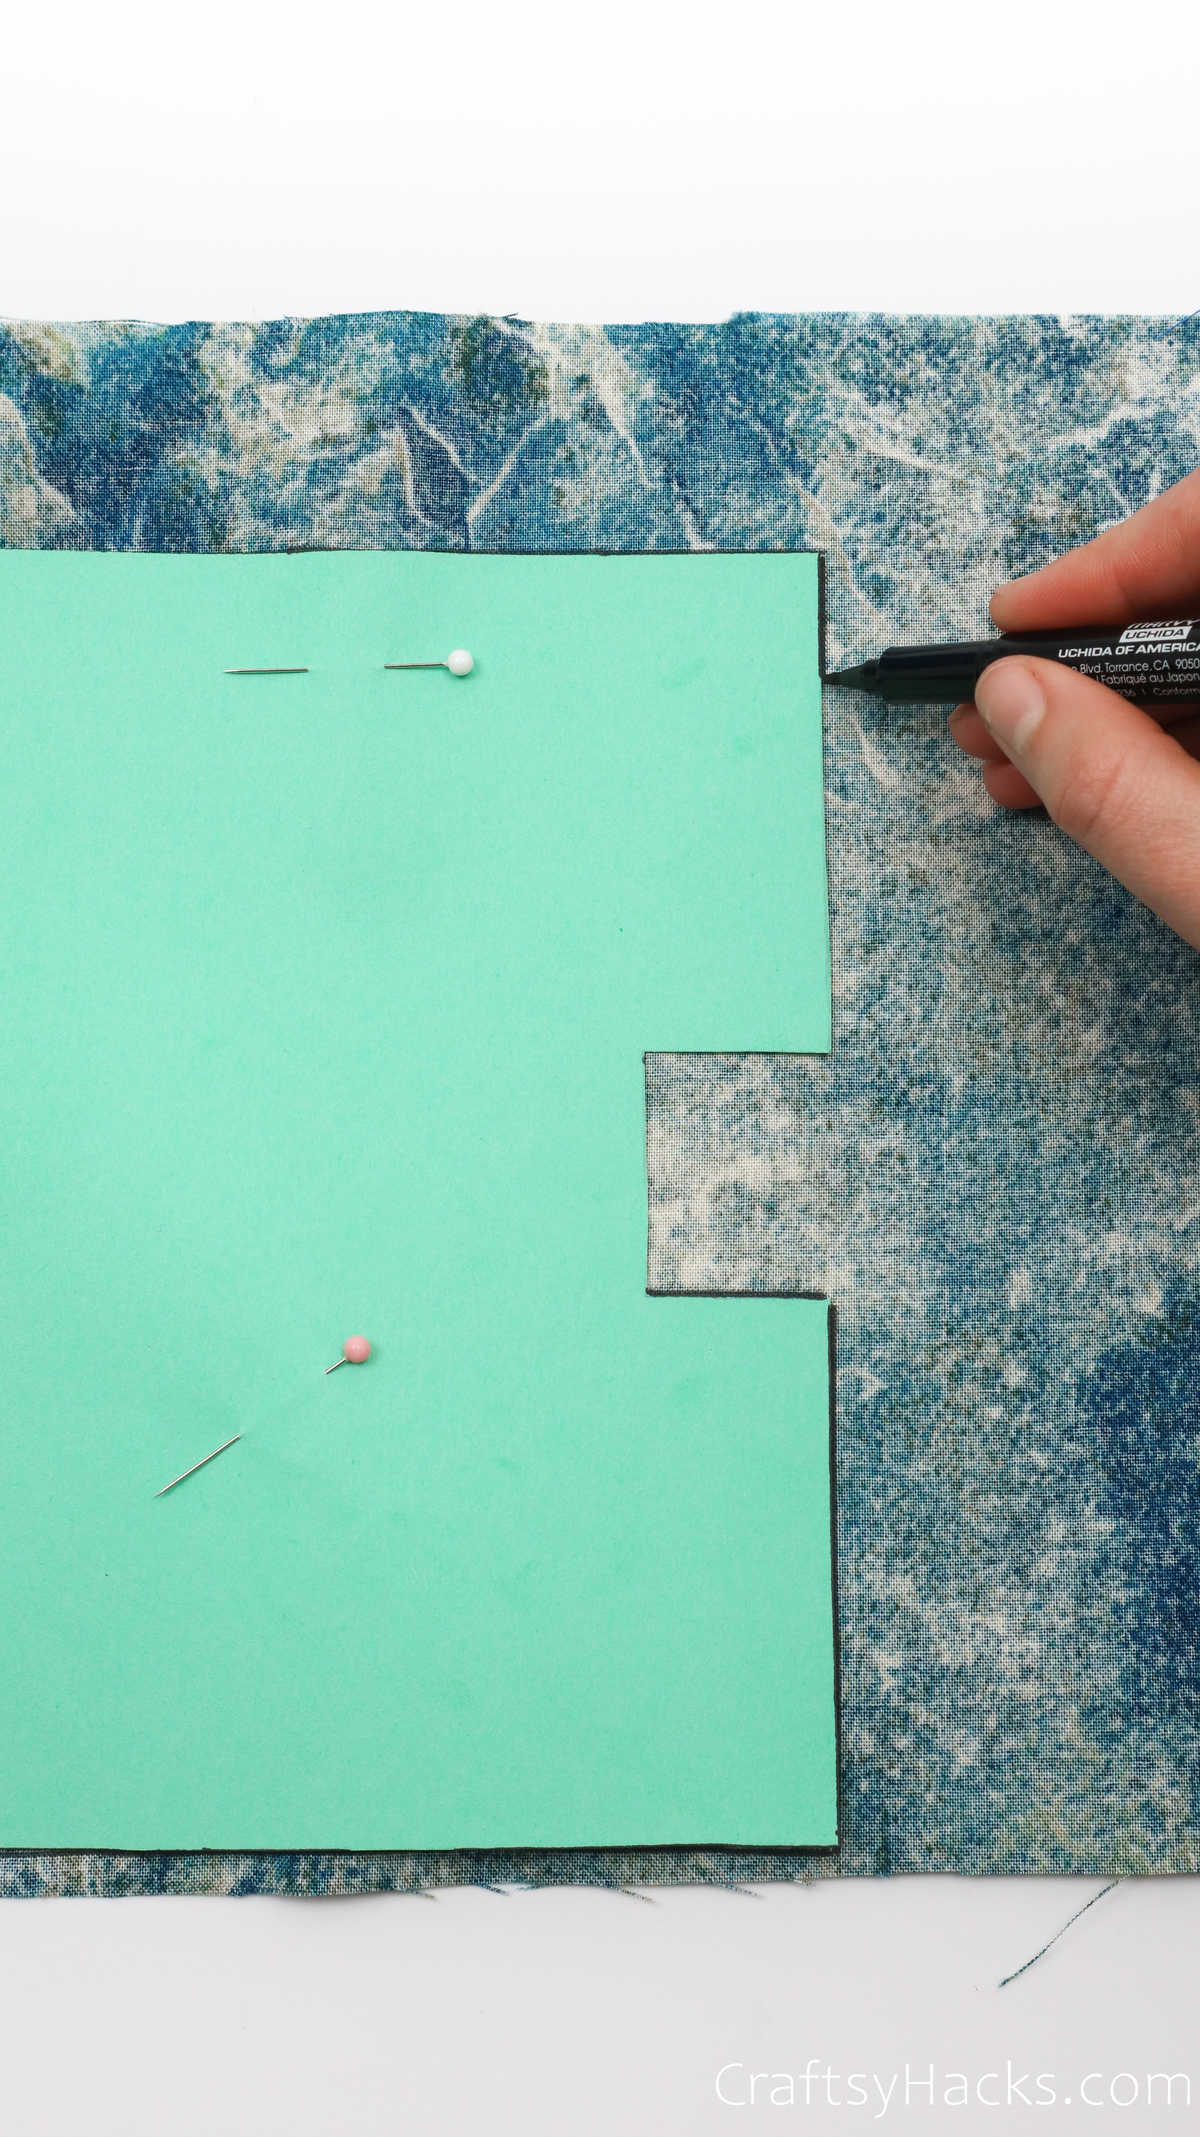
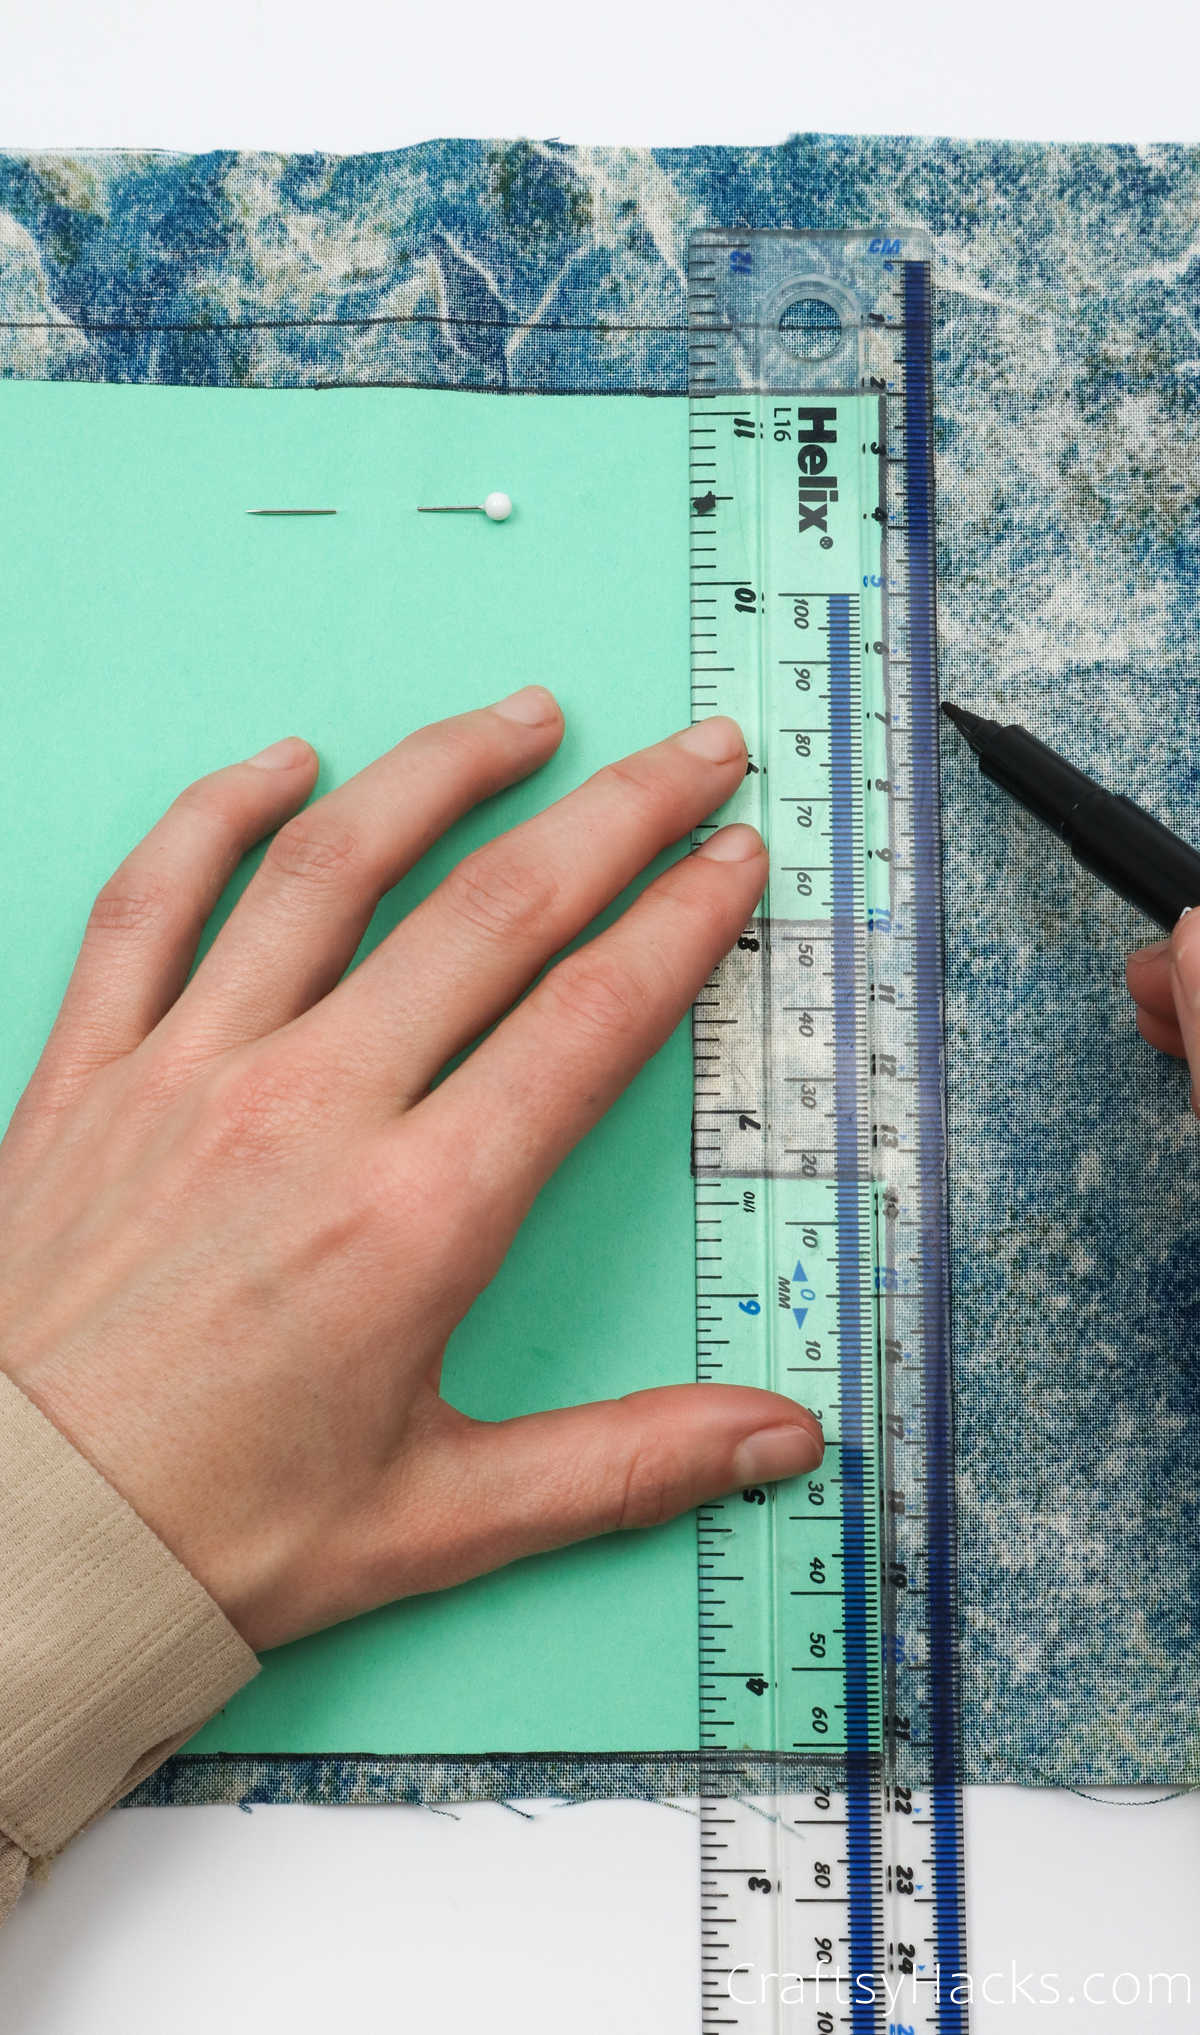
Grab a black marker and trace the outline of the paper pattern onto the fabric.
When youve drawn the edging around the fabric, you could unpin it and set it aside.

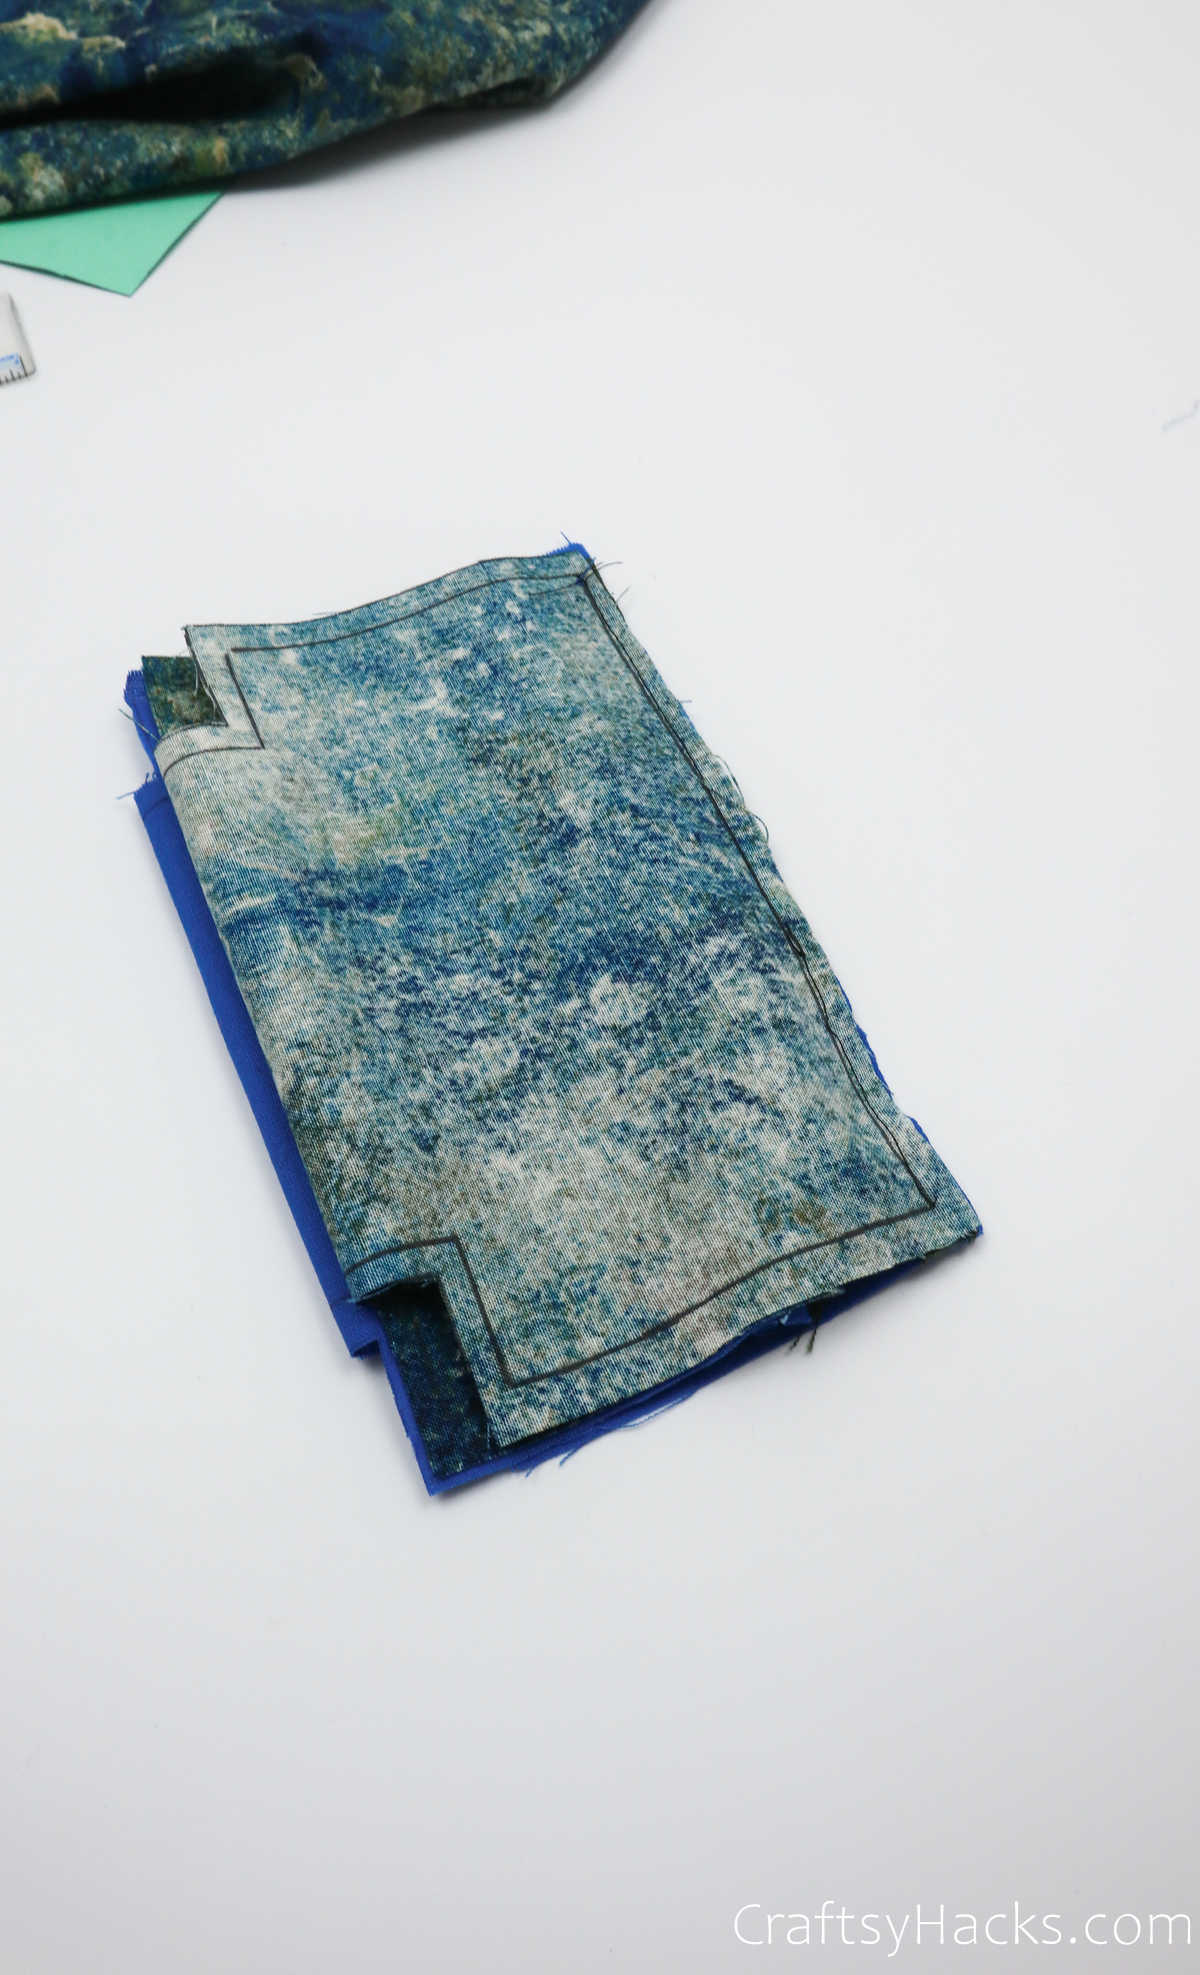
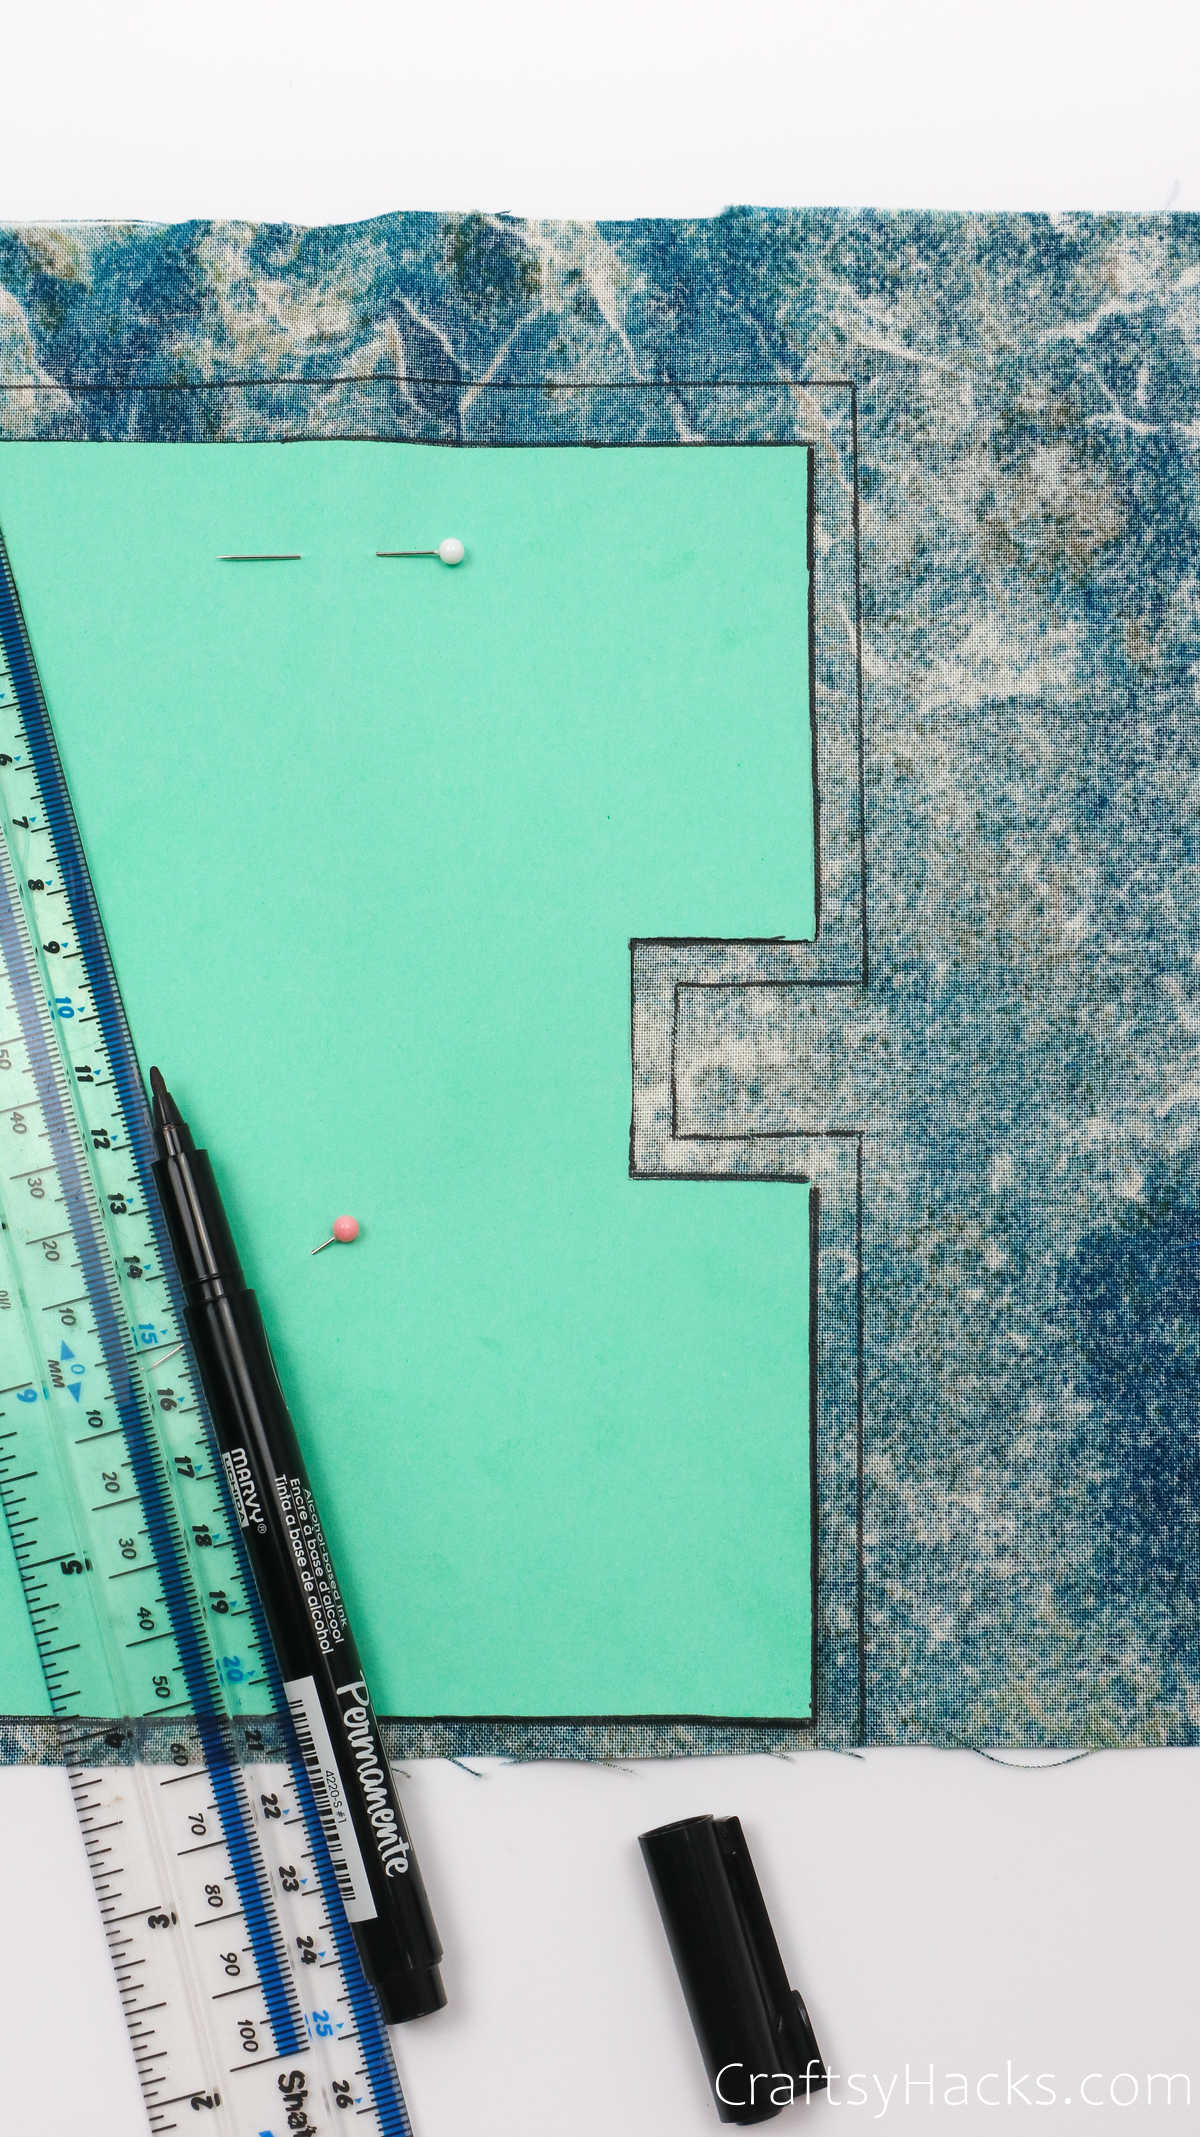
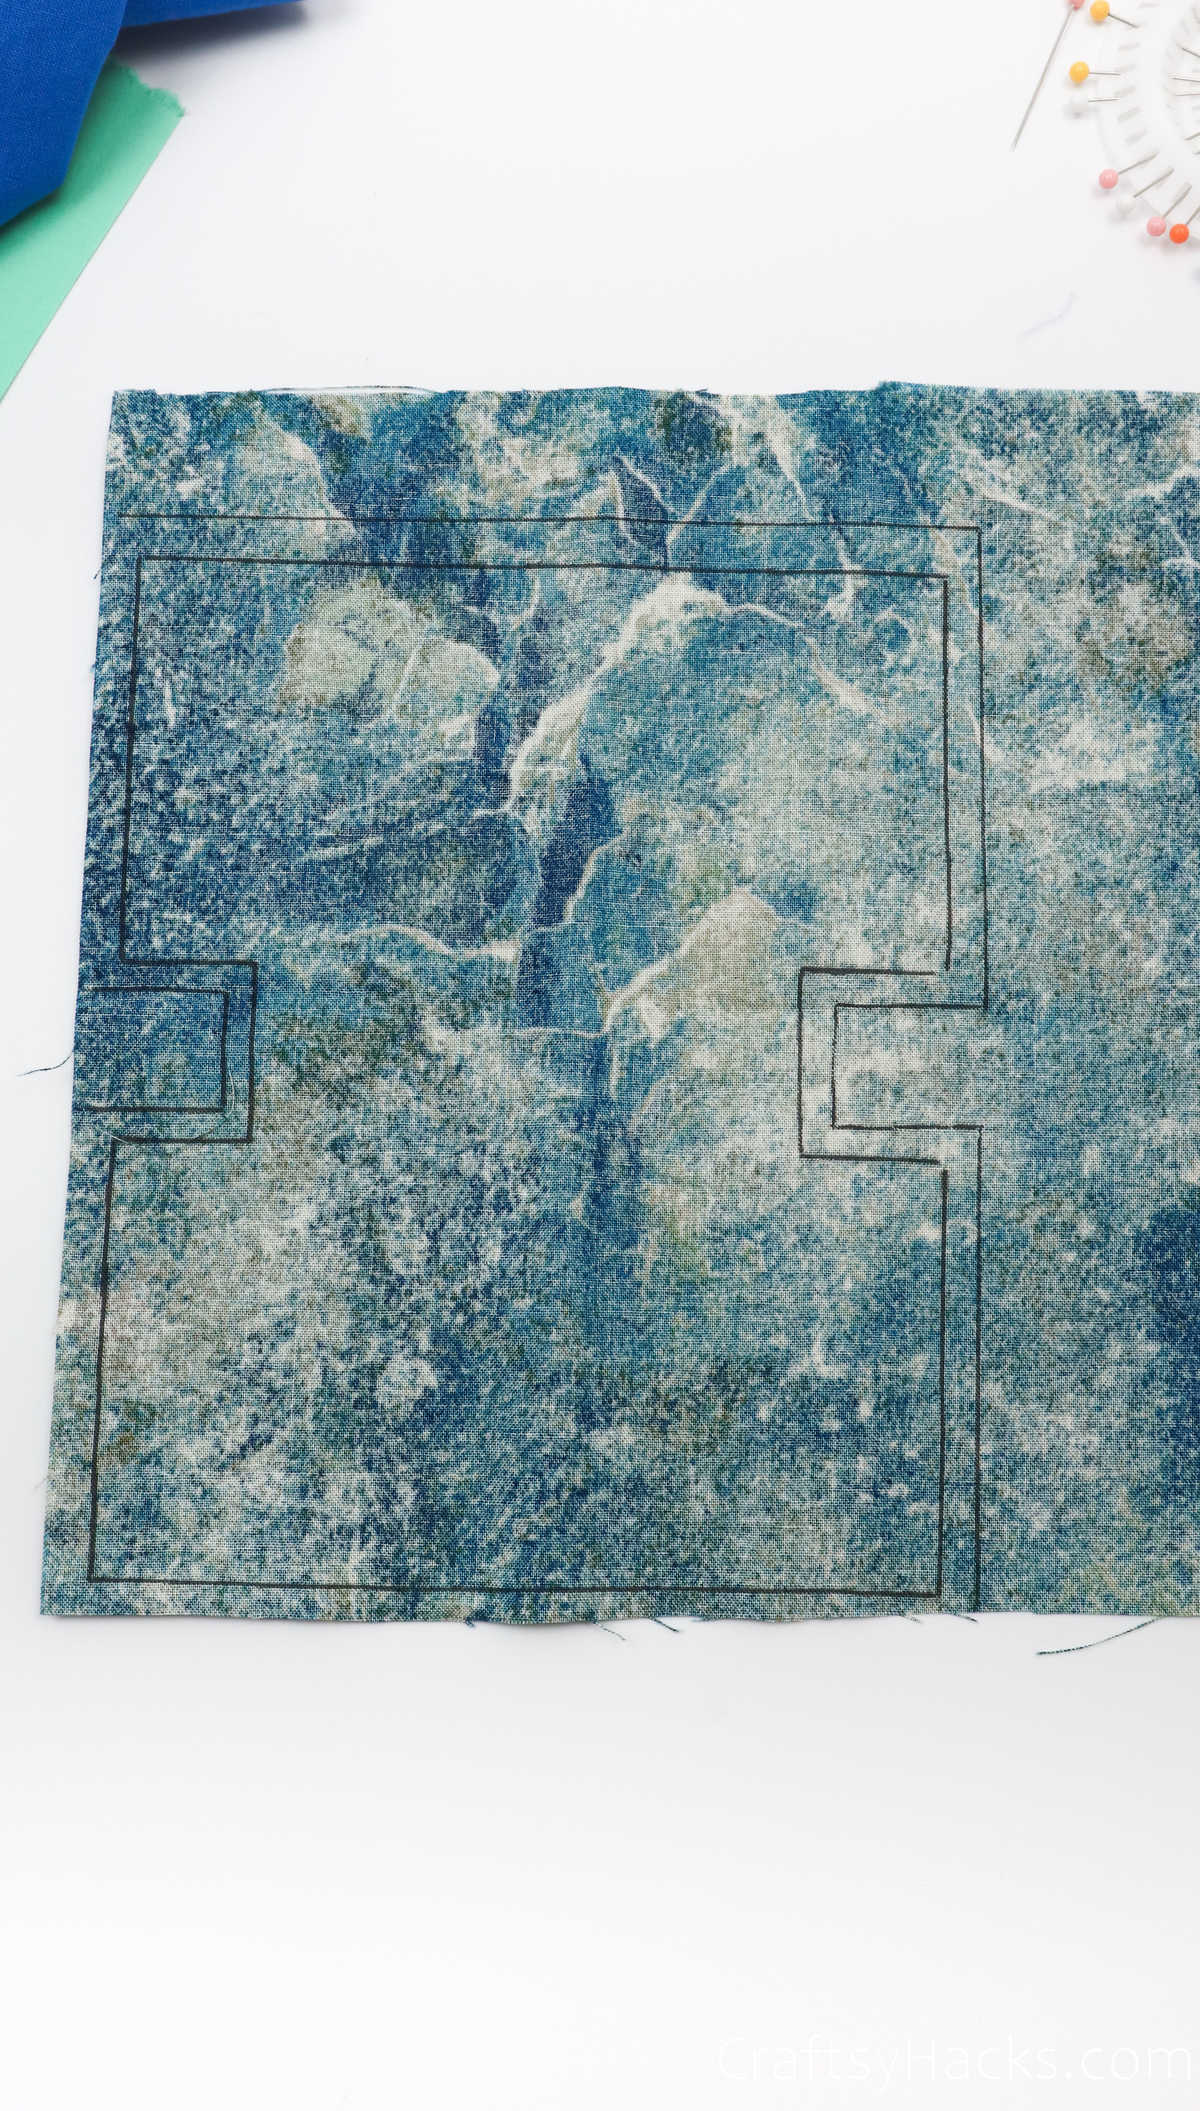
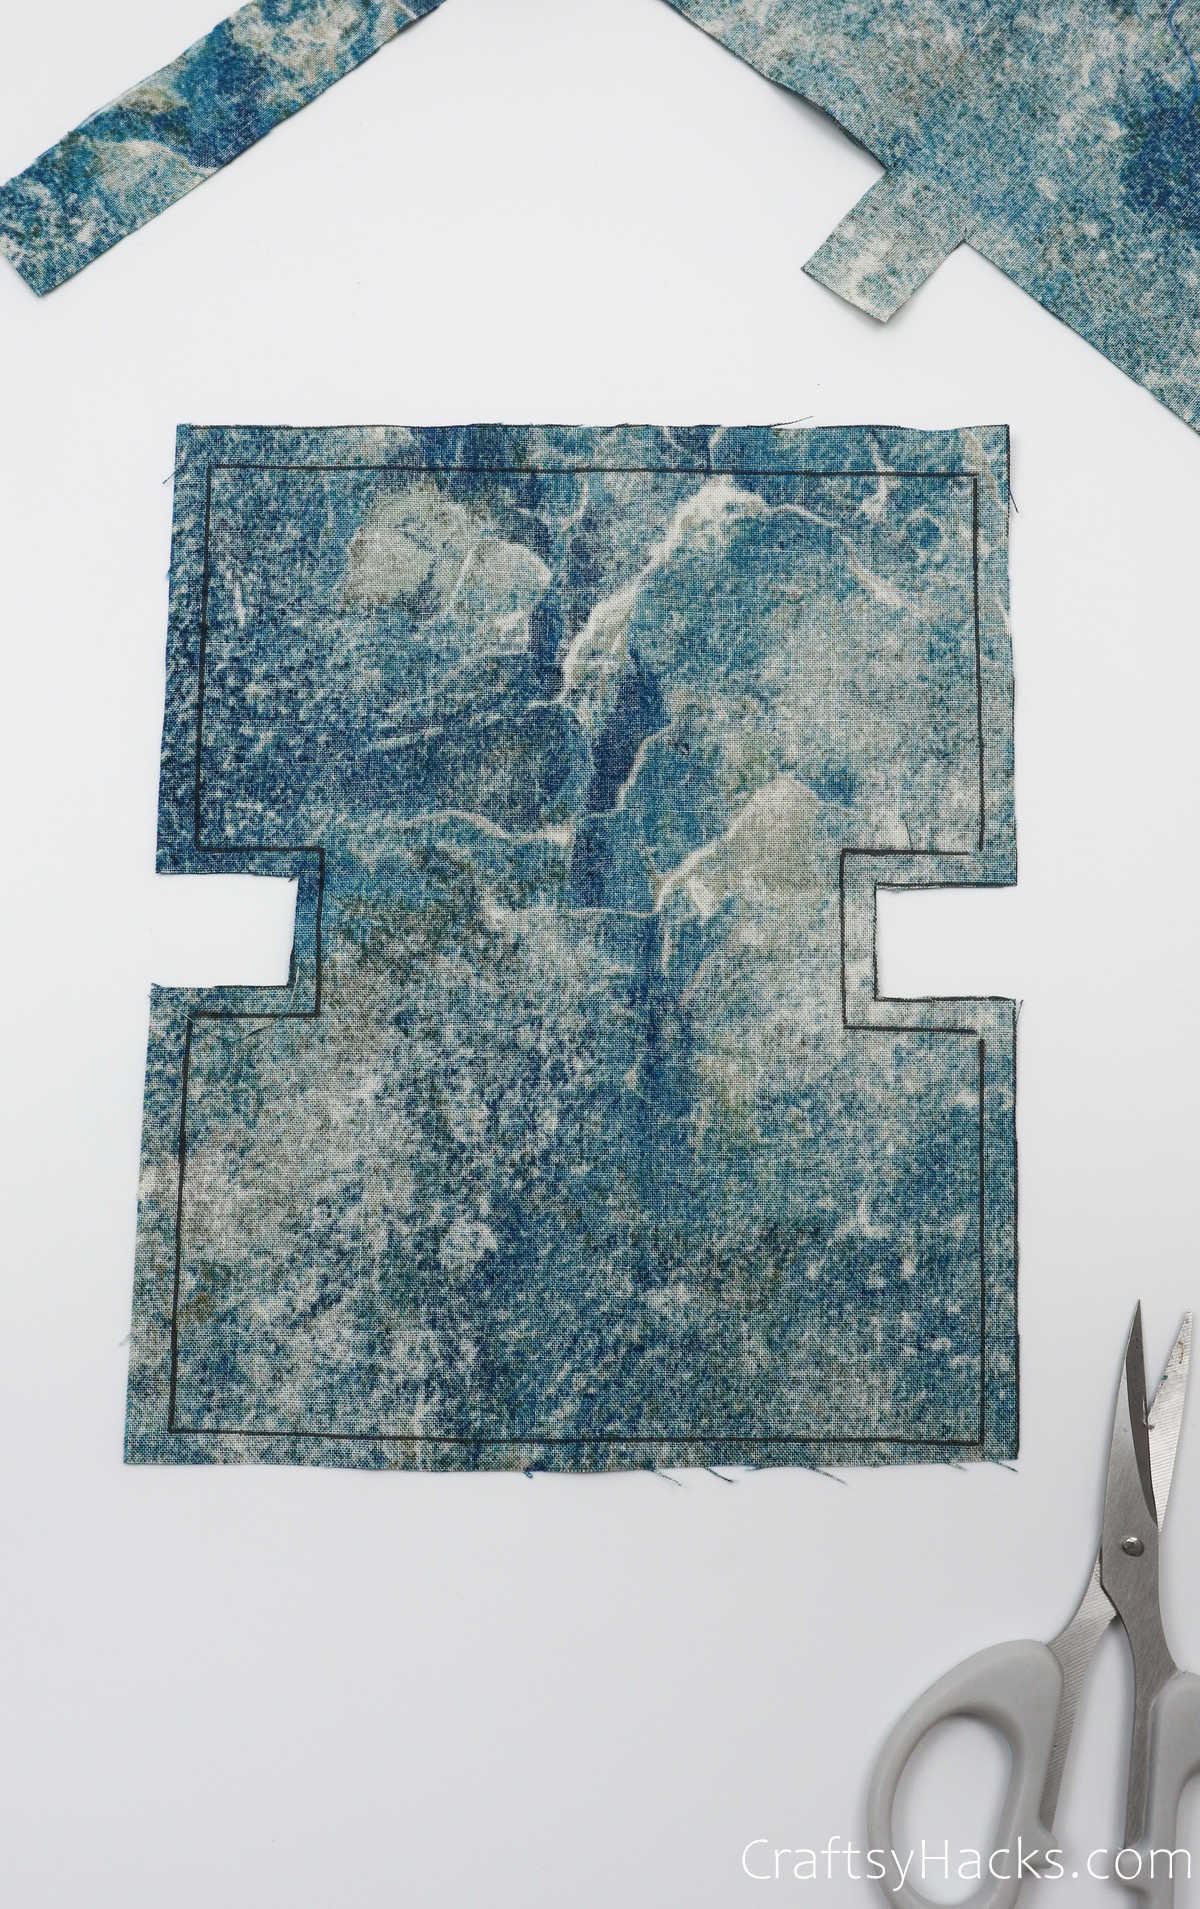
Your marking on the fabric should look somewhat like this.
Youll be cutting the fabric along the outer outline you drew (the edging).
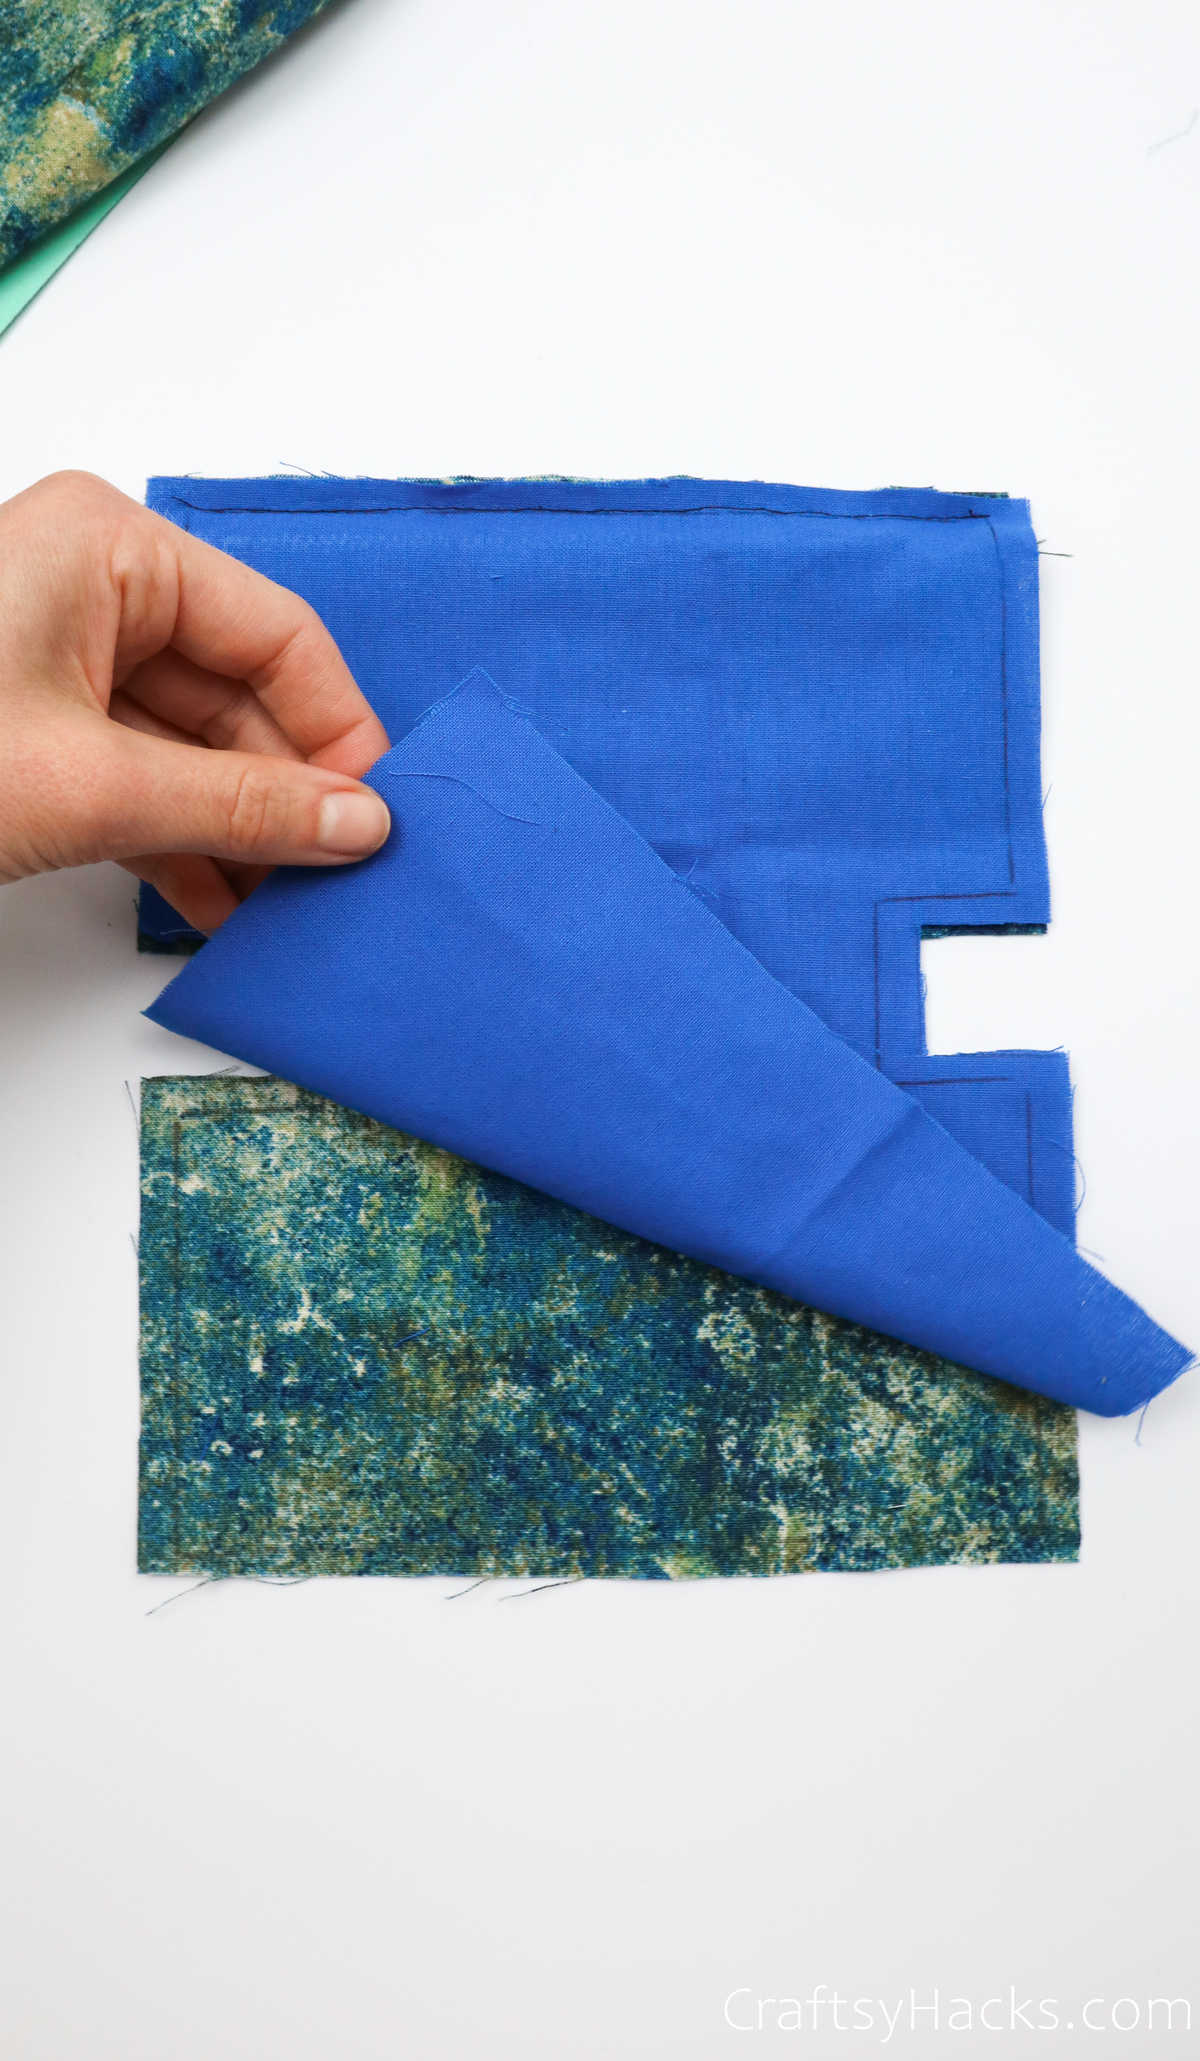
Step 5
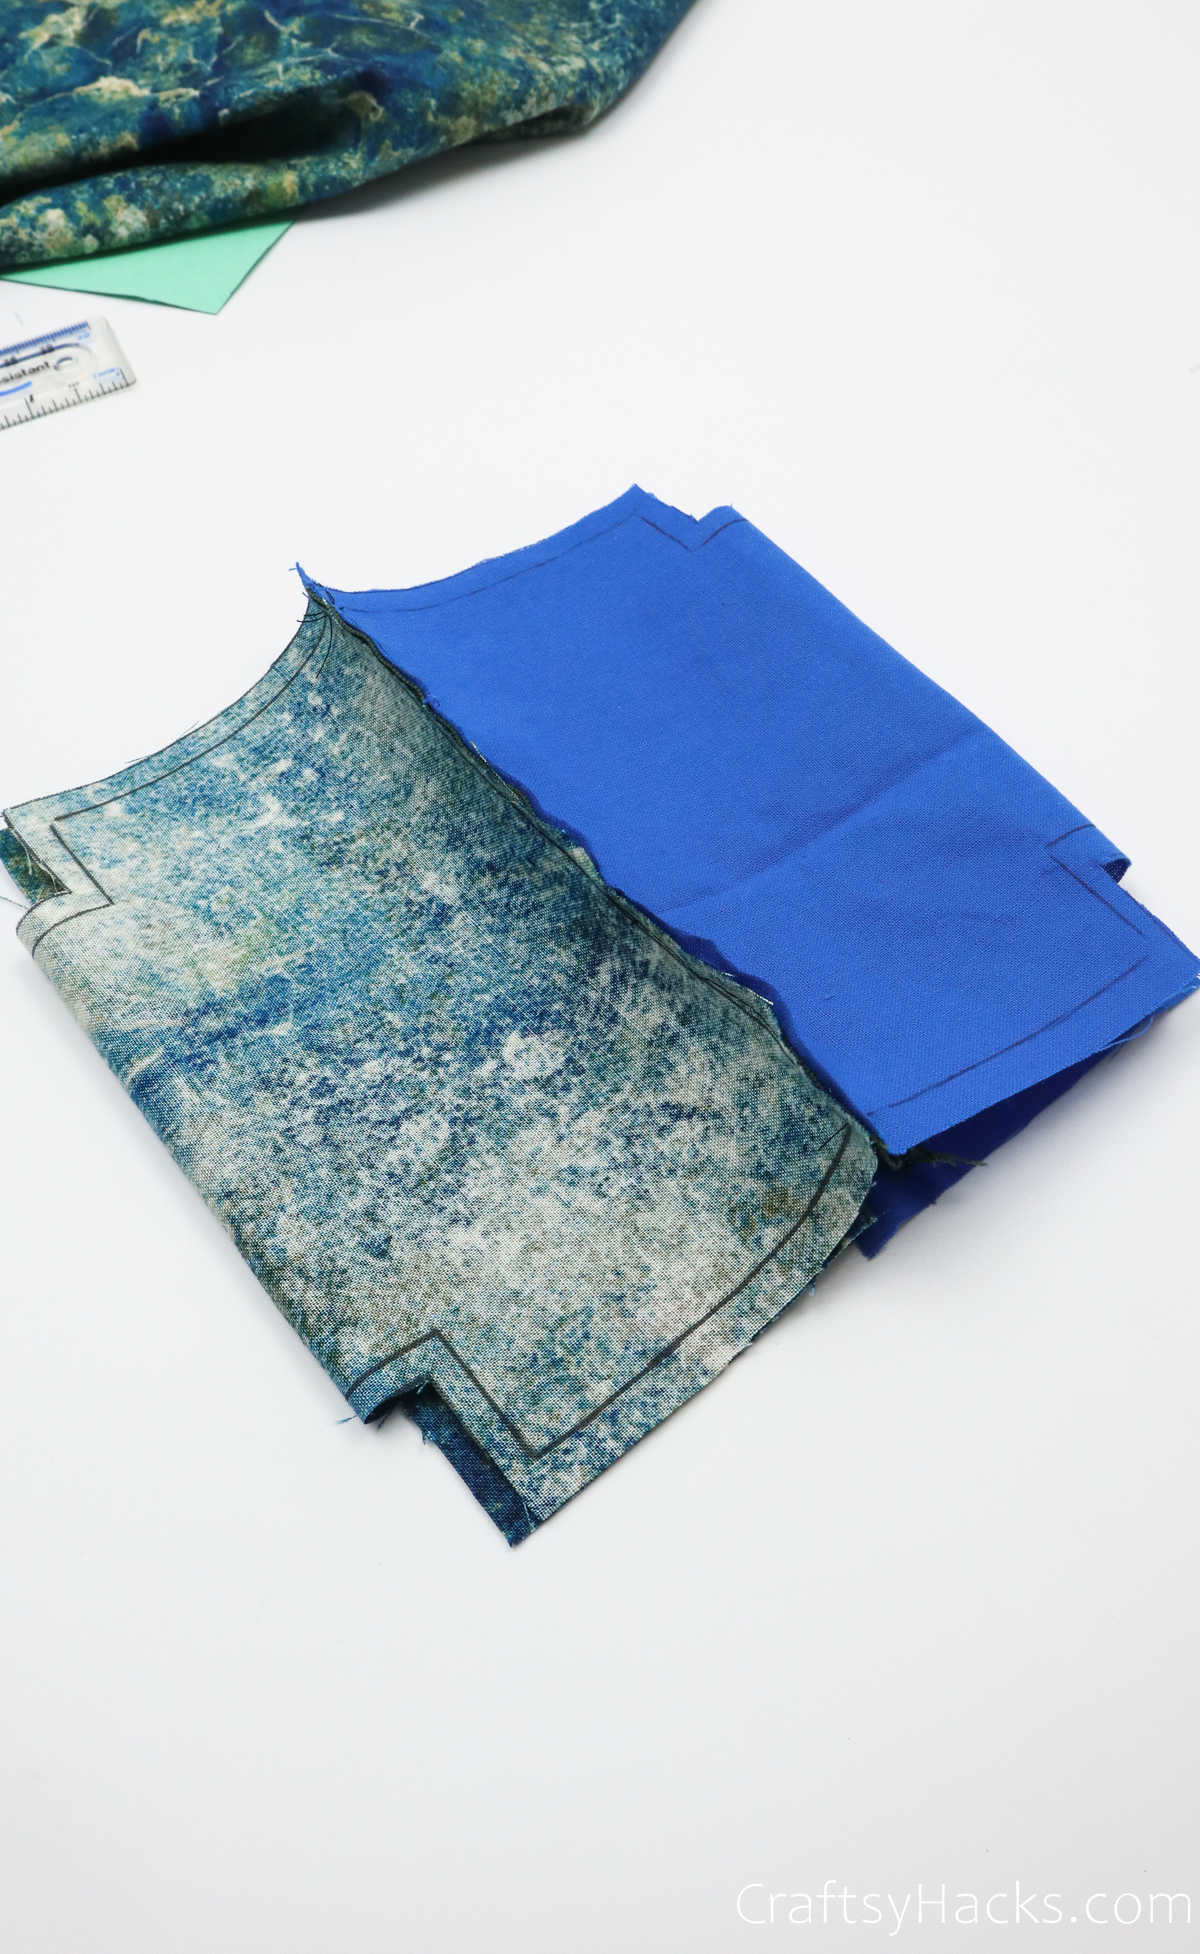
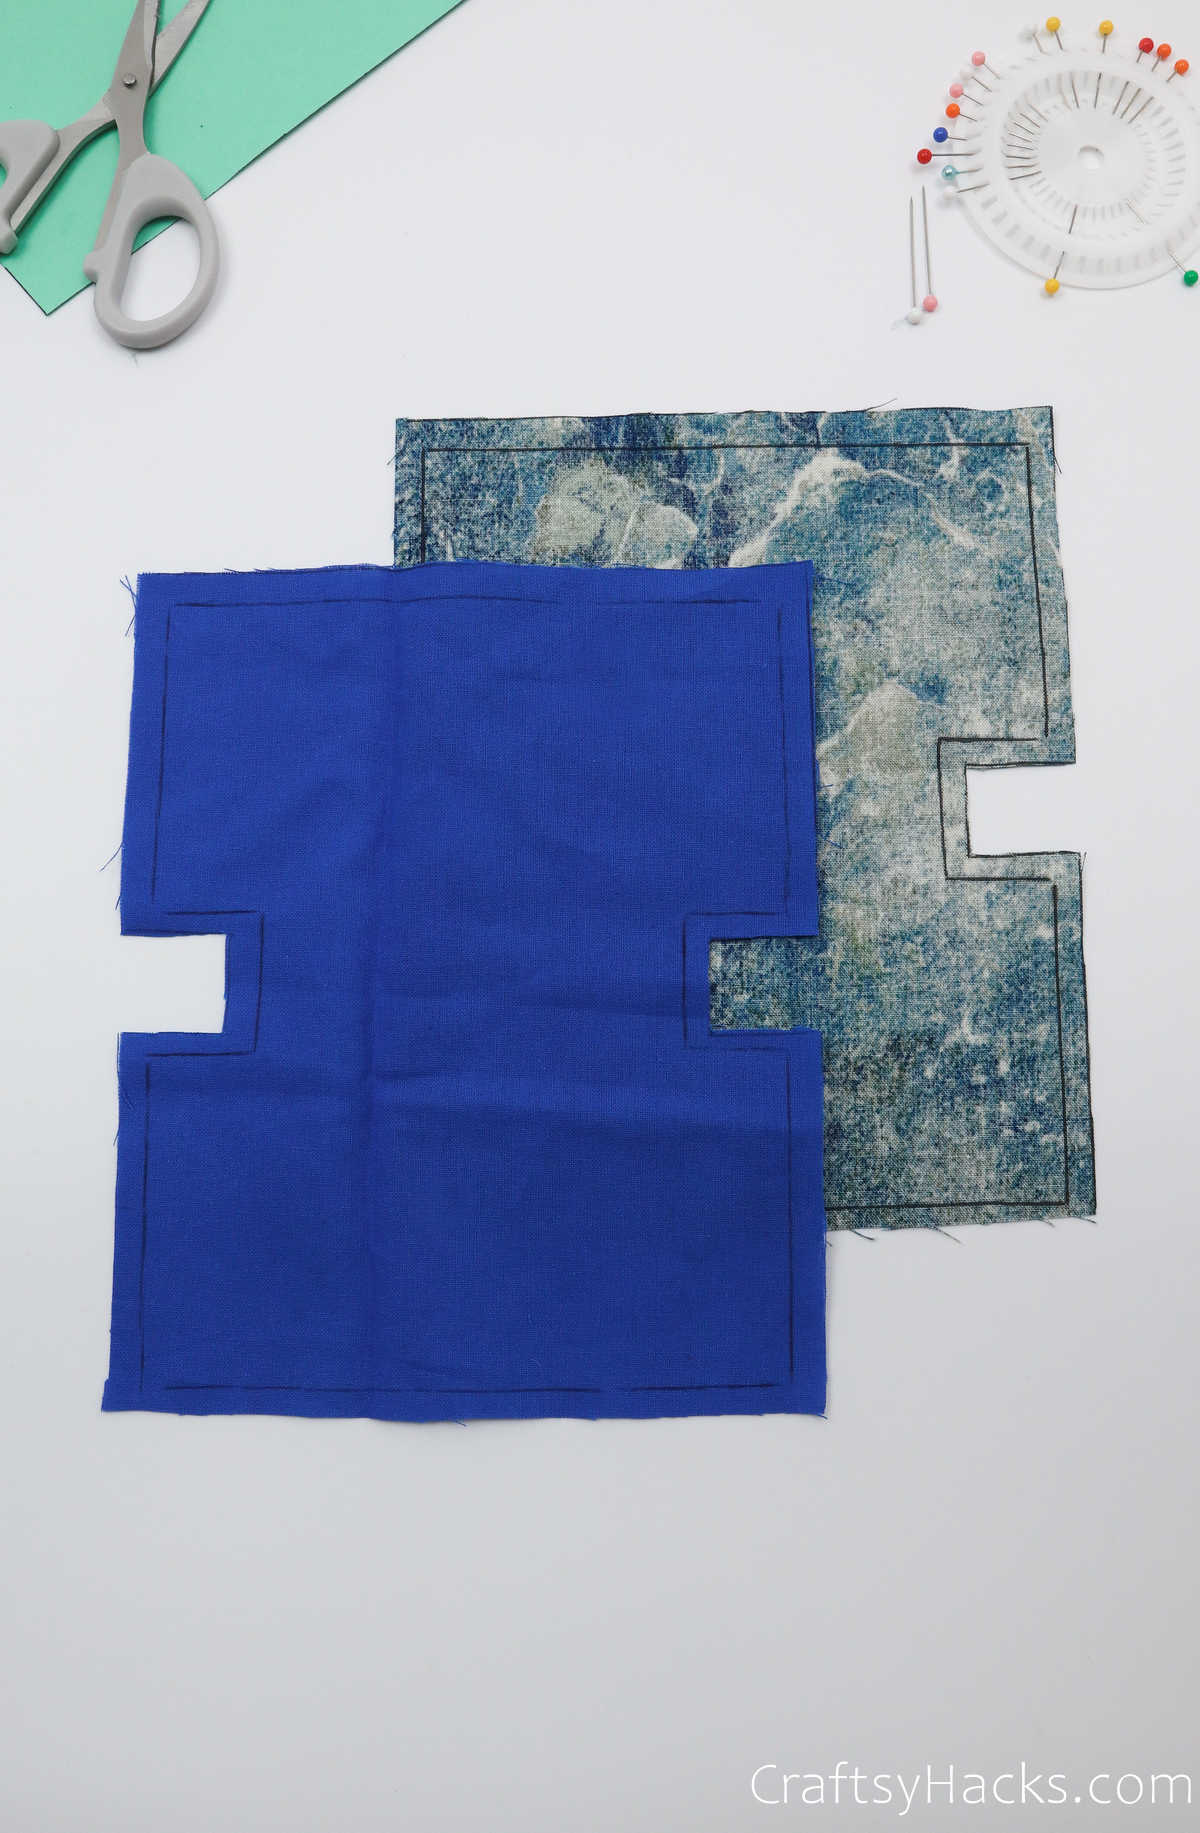
Repeat steps one through four for the second swatch of fabric, too.
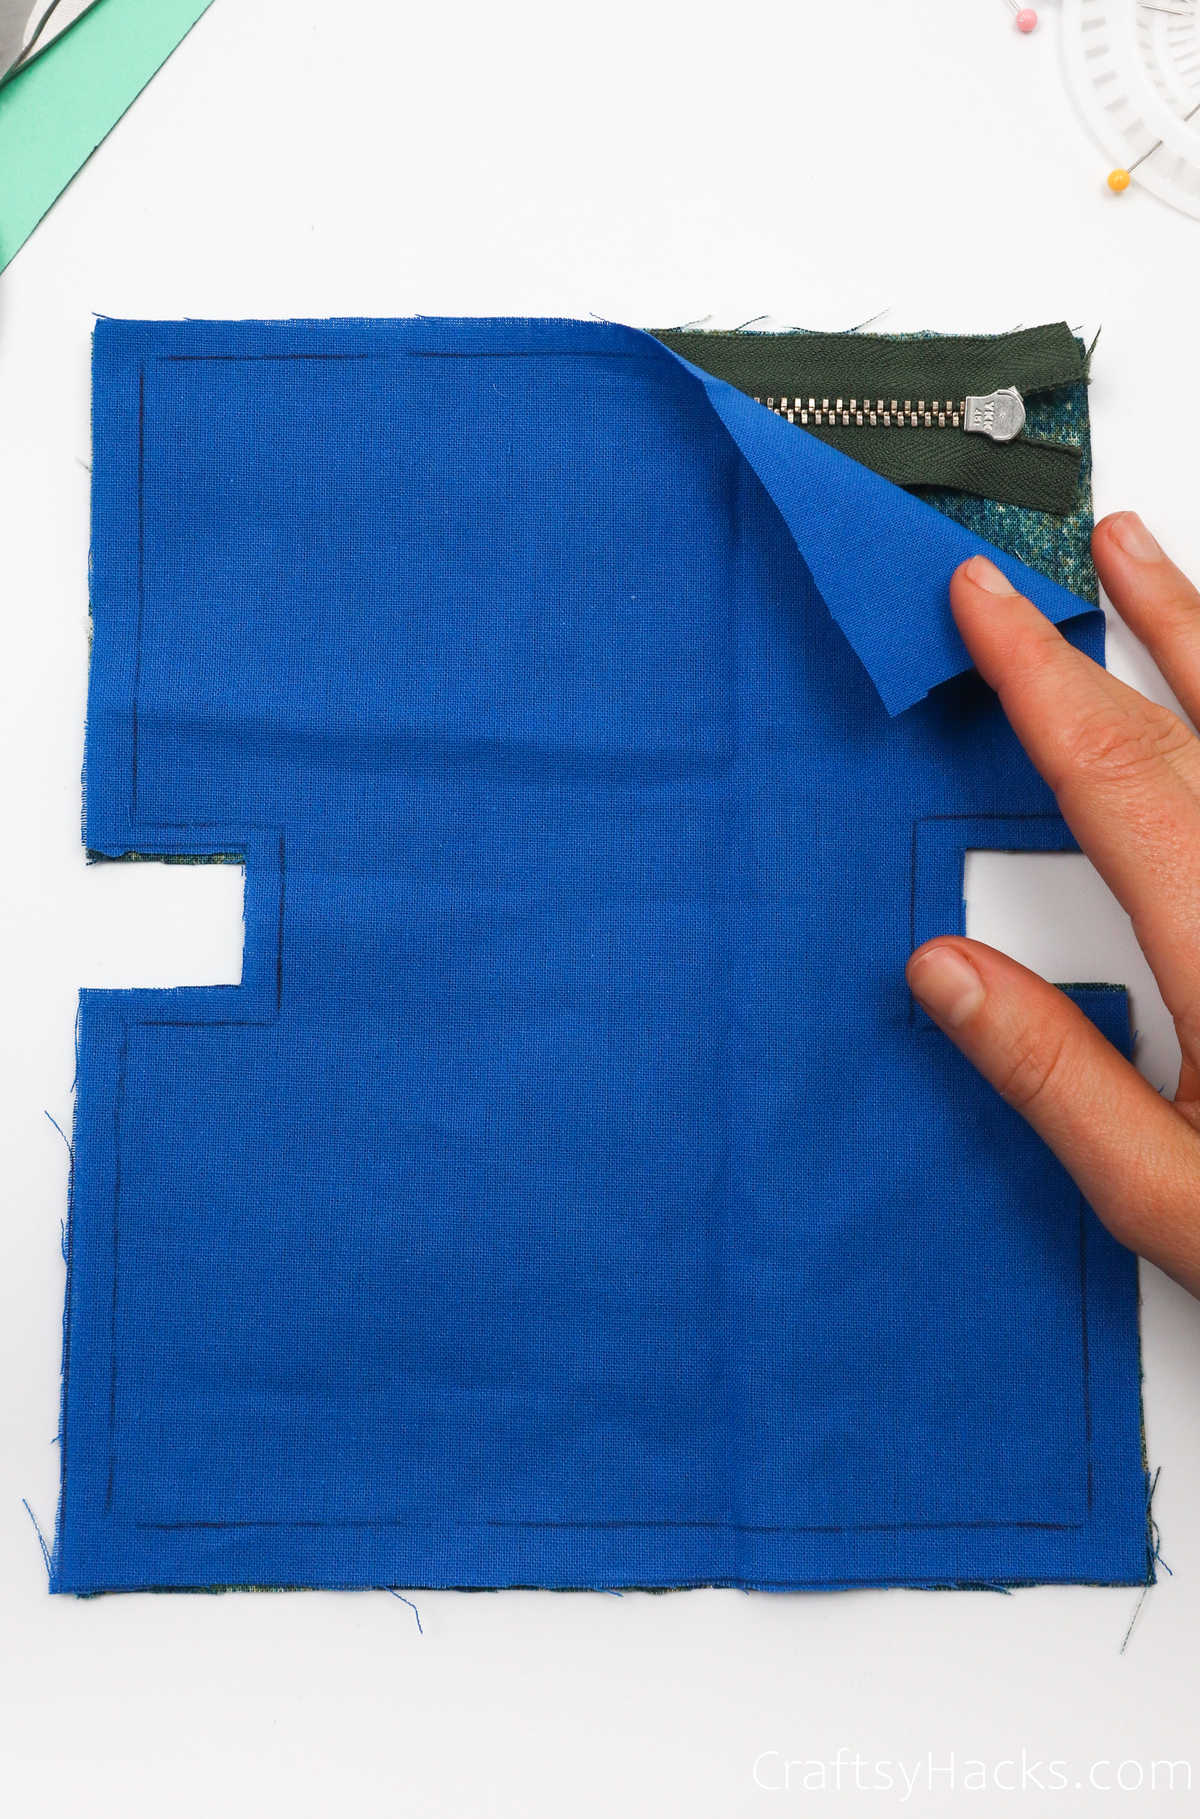
Take the outer fabric and lay it down with the right side facing up.
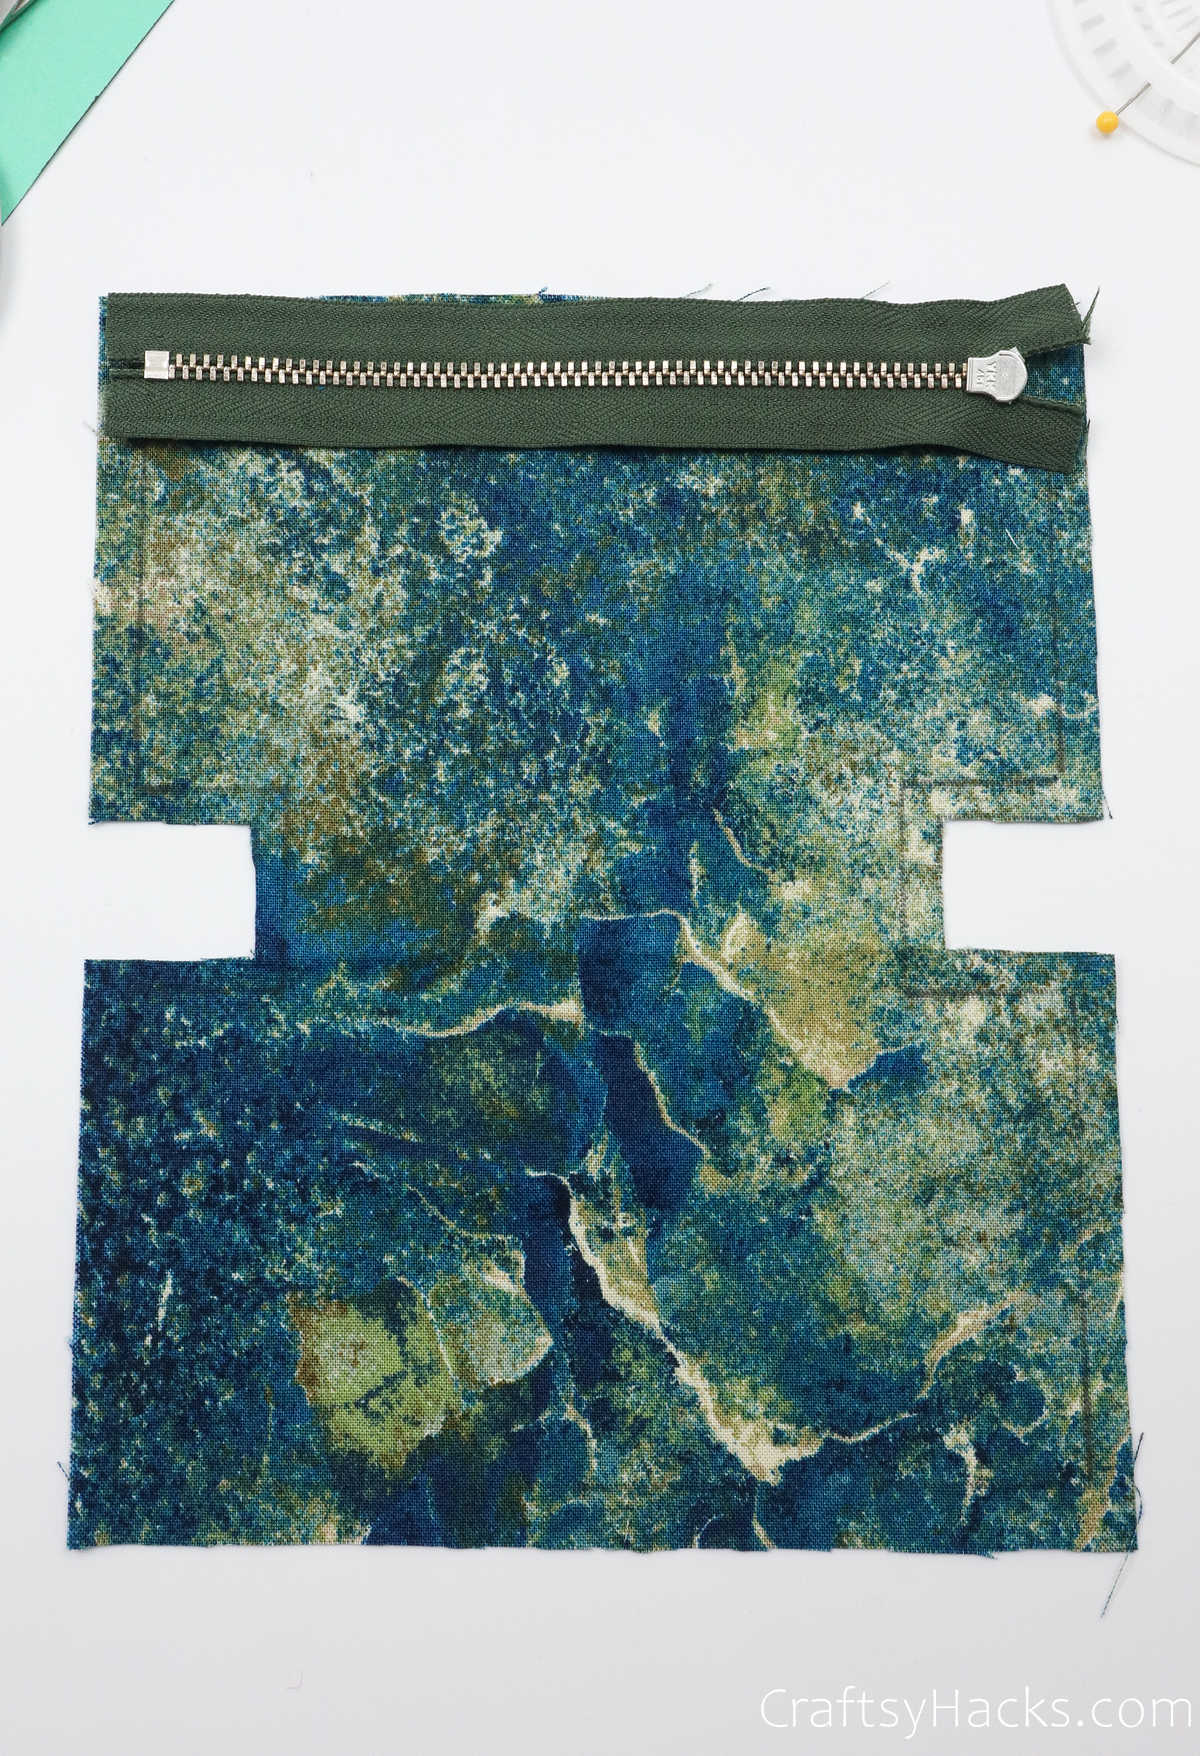
Then, grab your second fabric cutout and place it over the zipper.
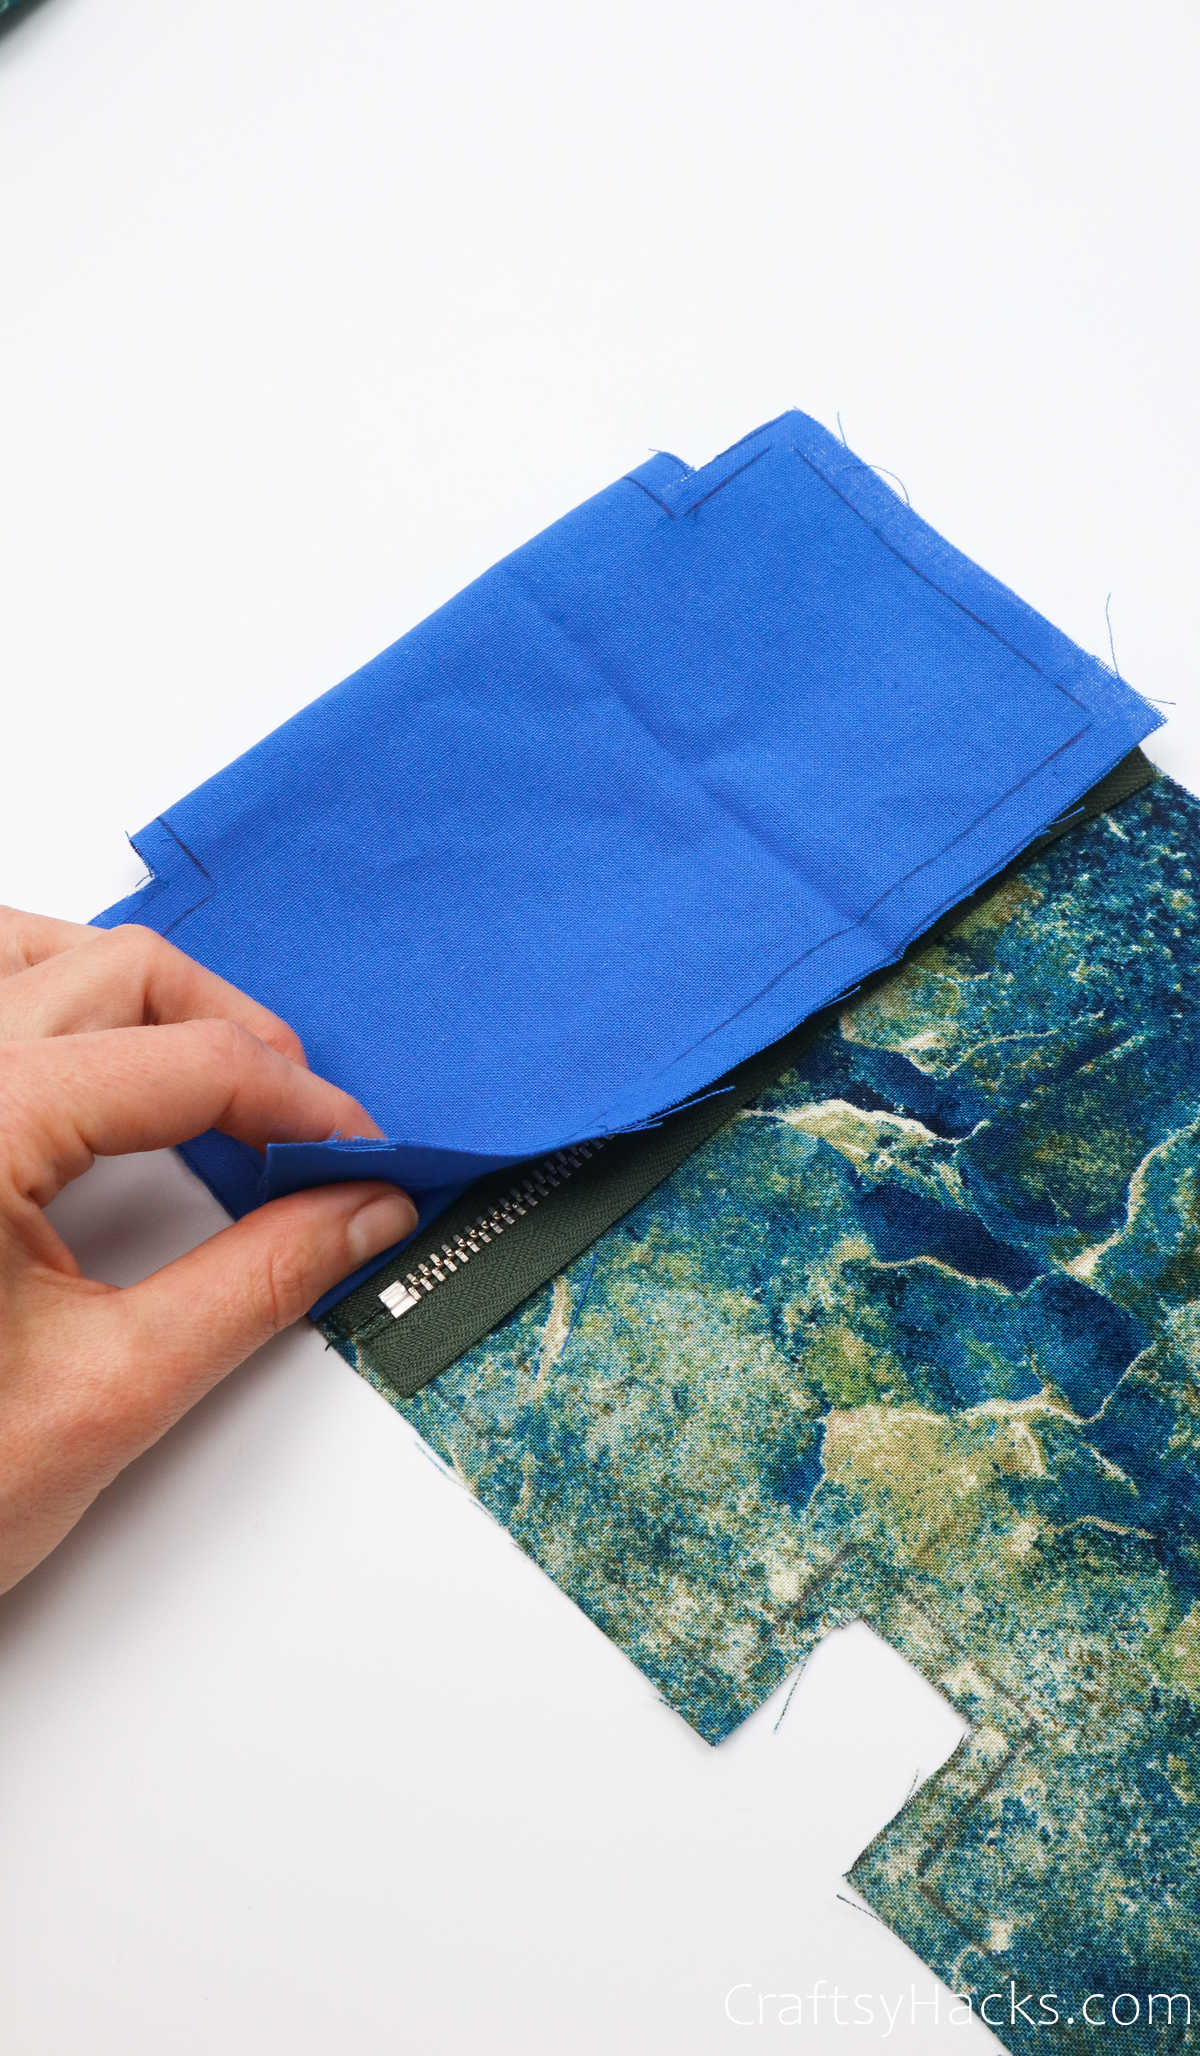
see to it that the edging you outlined is visible.
That means that the right sides of both the fabric swatches will be facing inward towards each other.
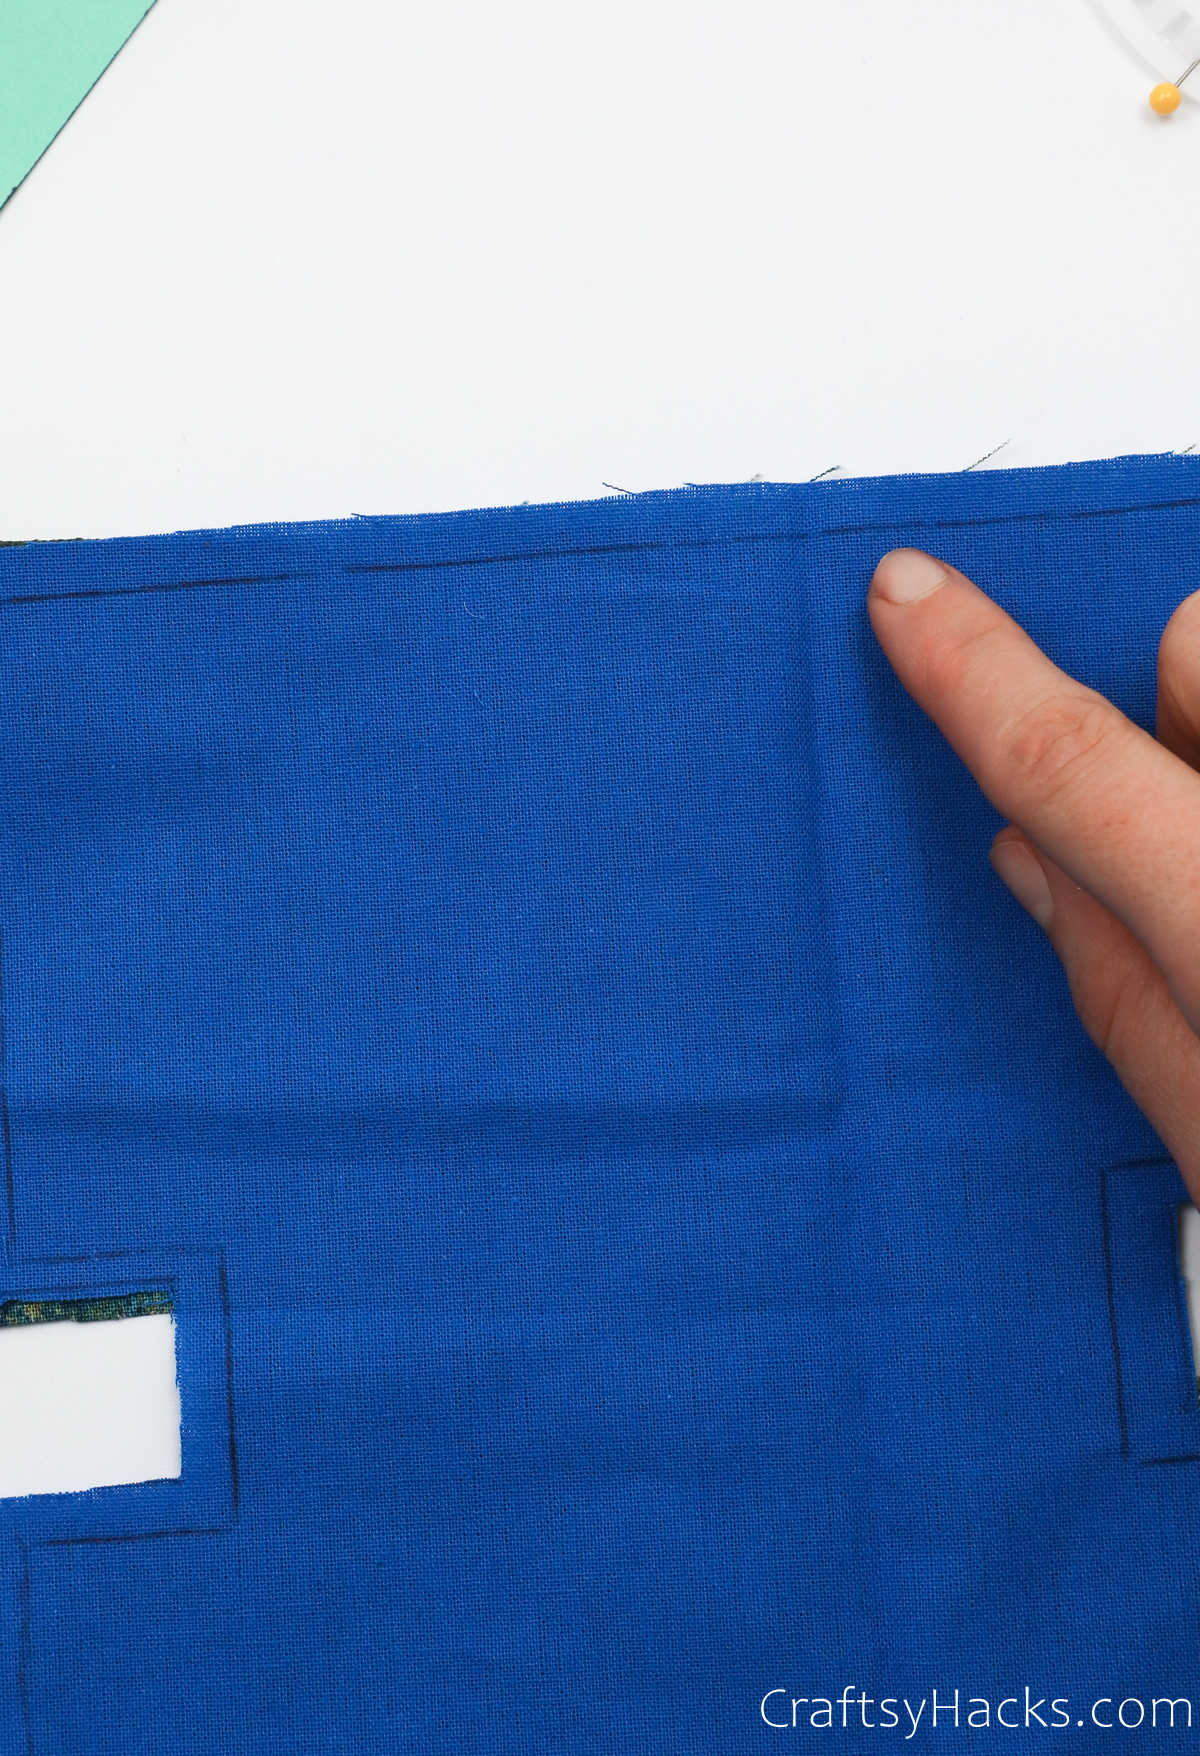
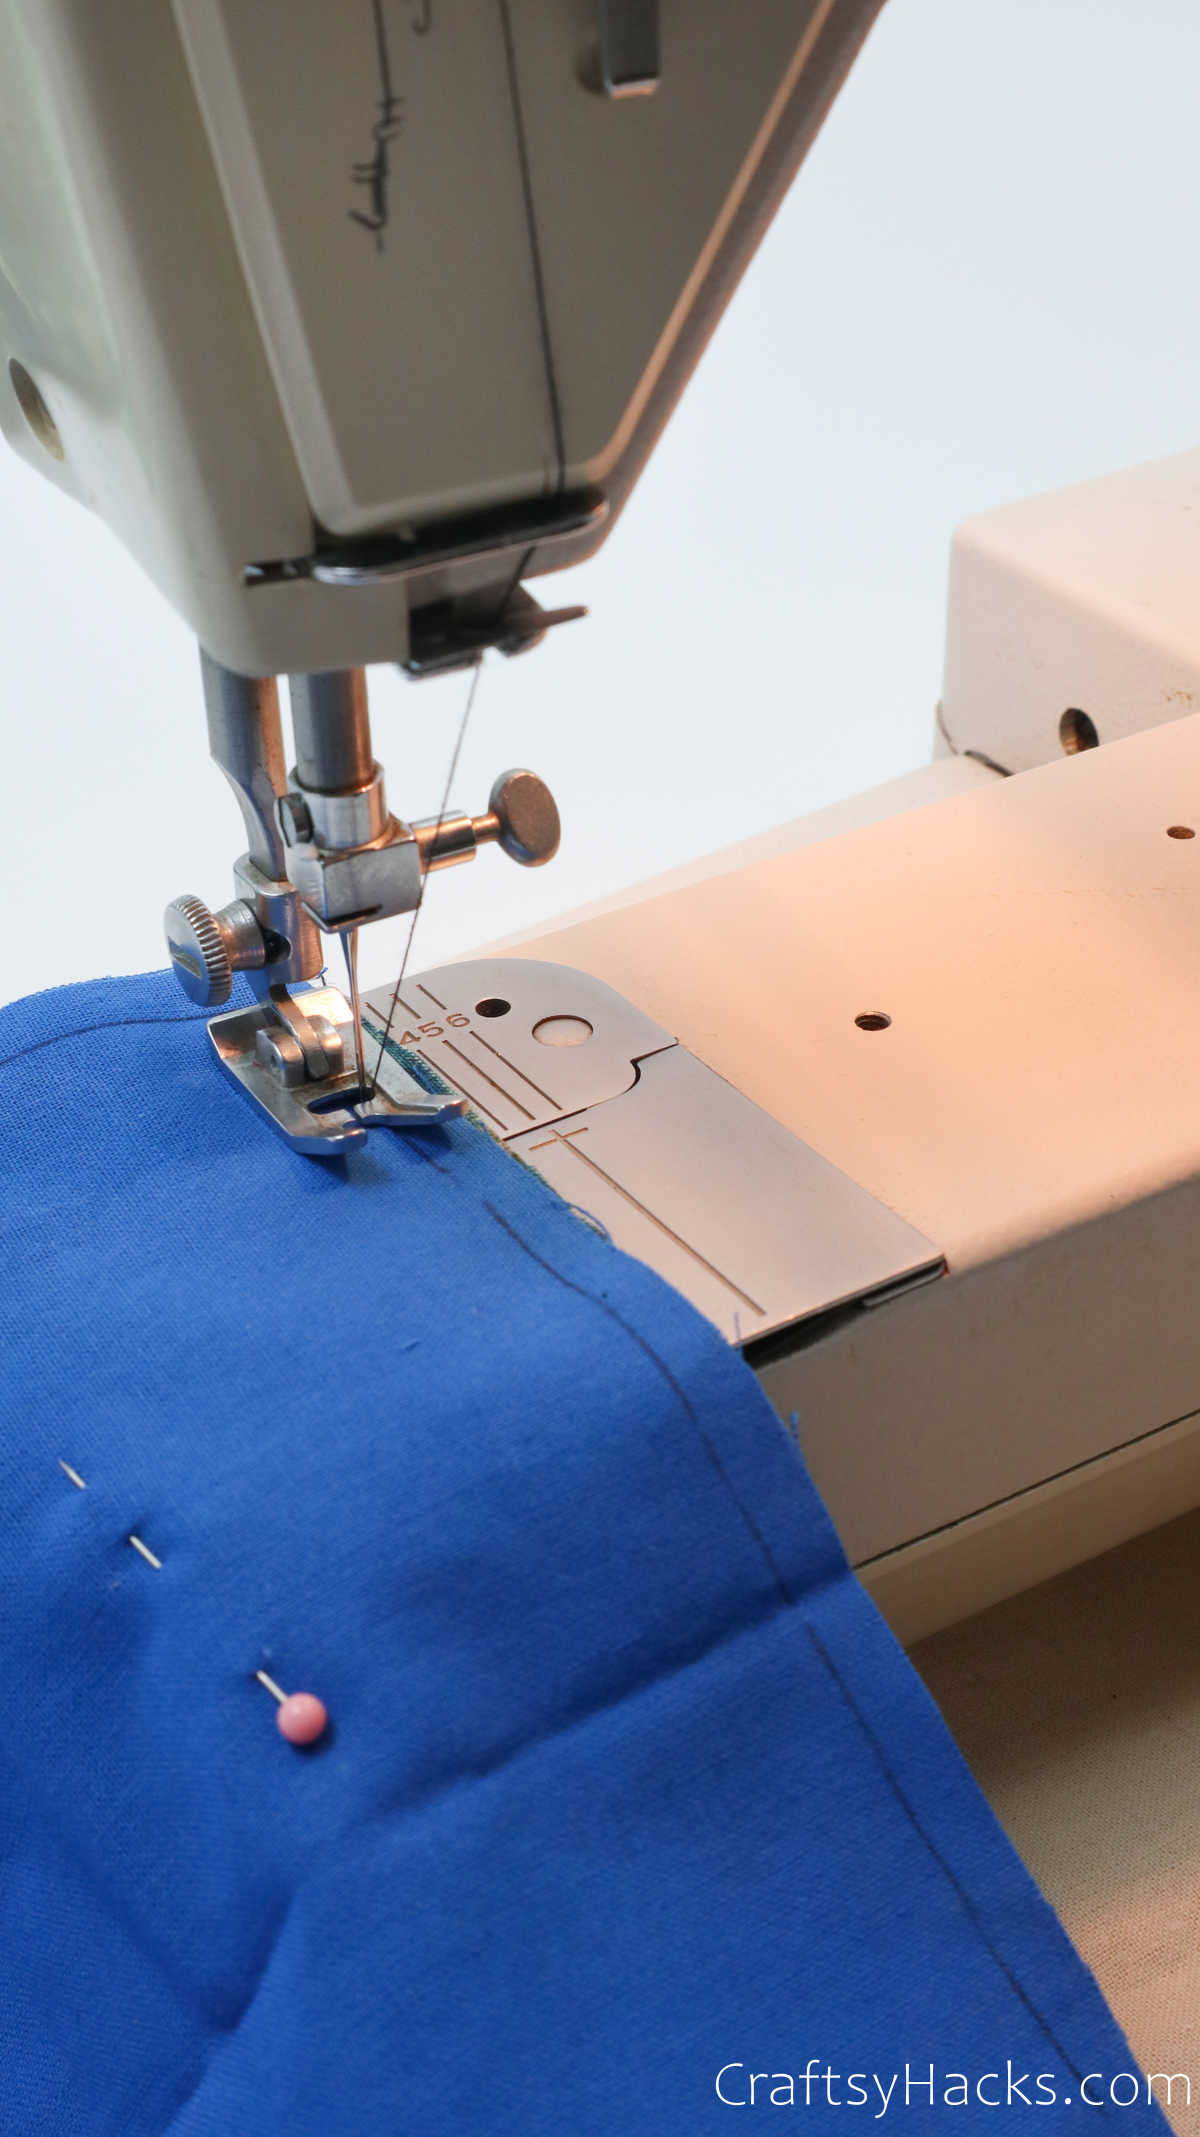
Step 7
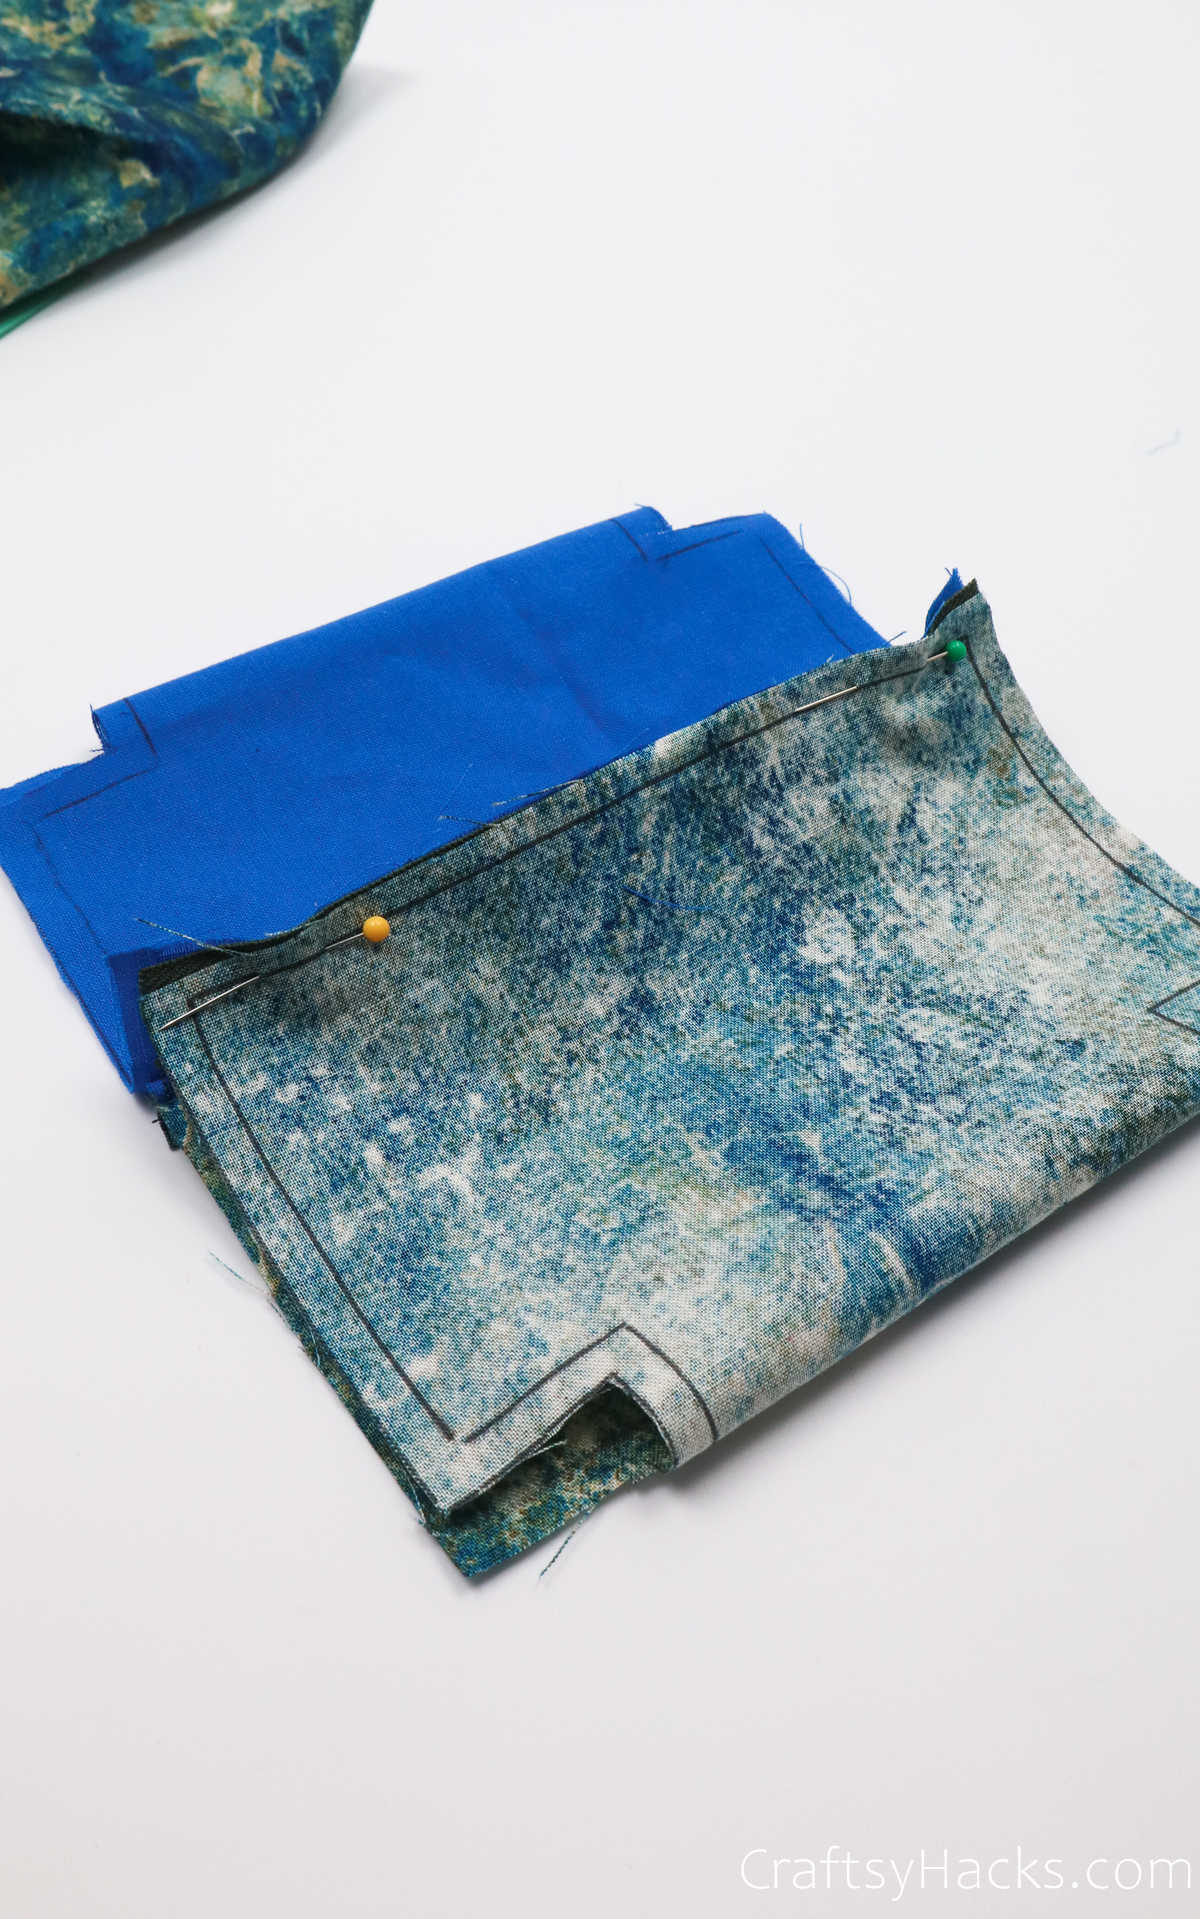
When youve aligned the edges, see to it you pin them in place.
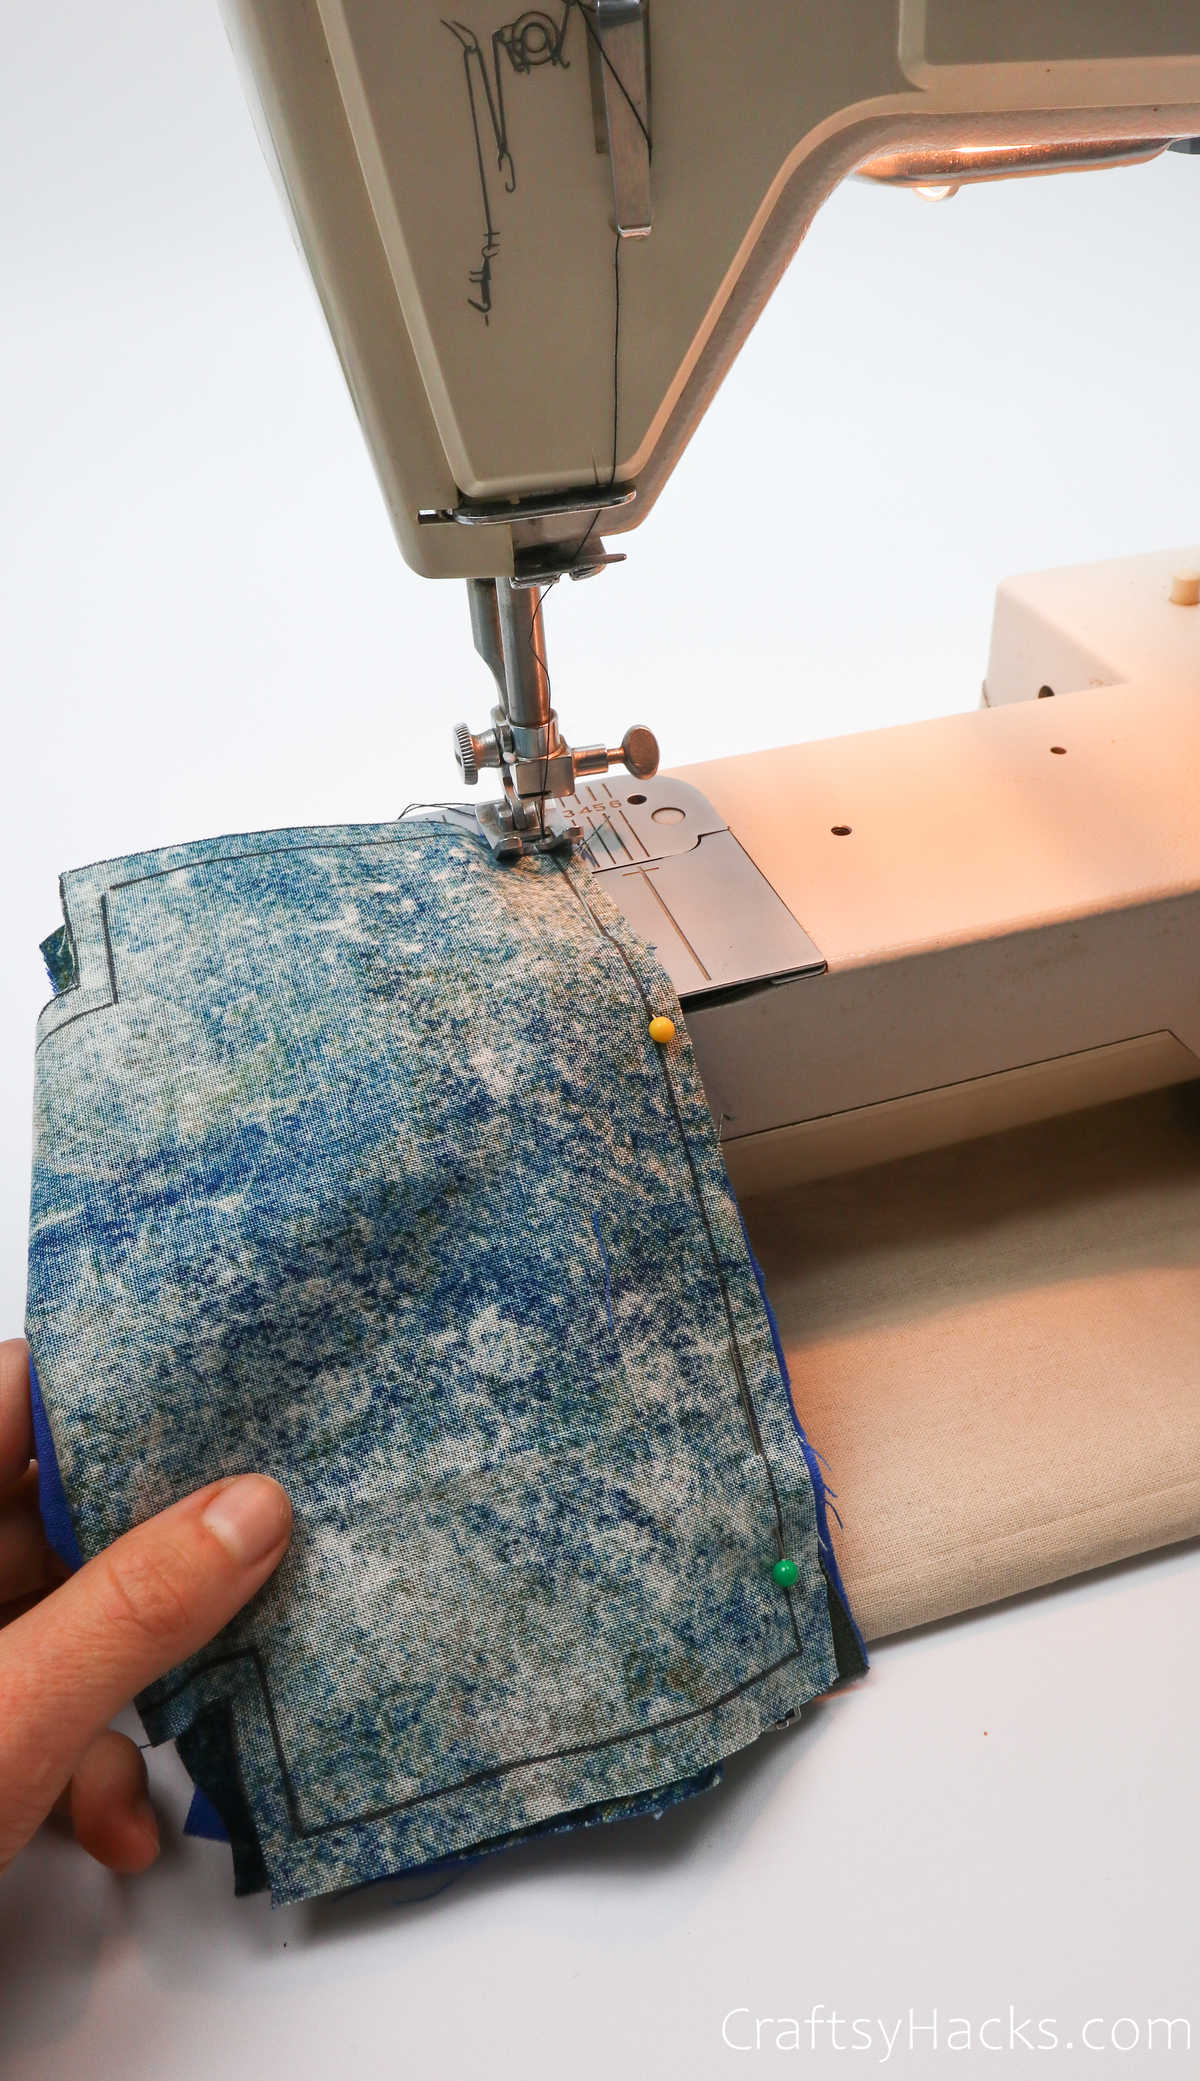
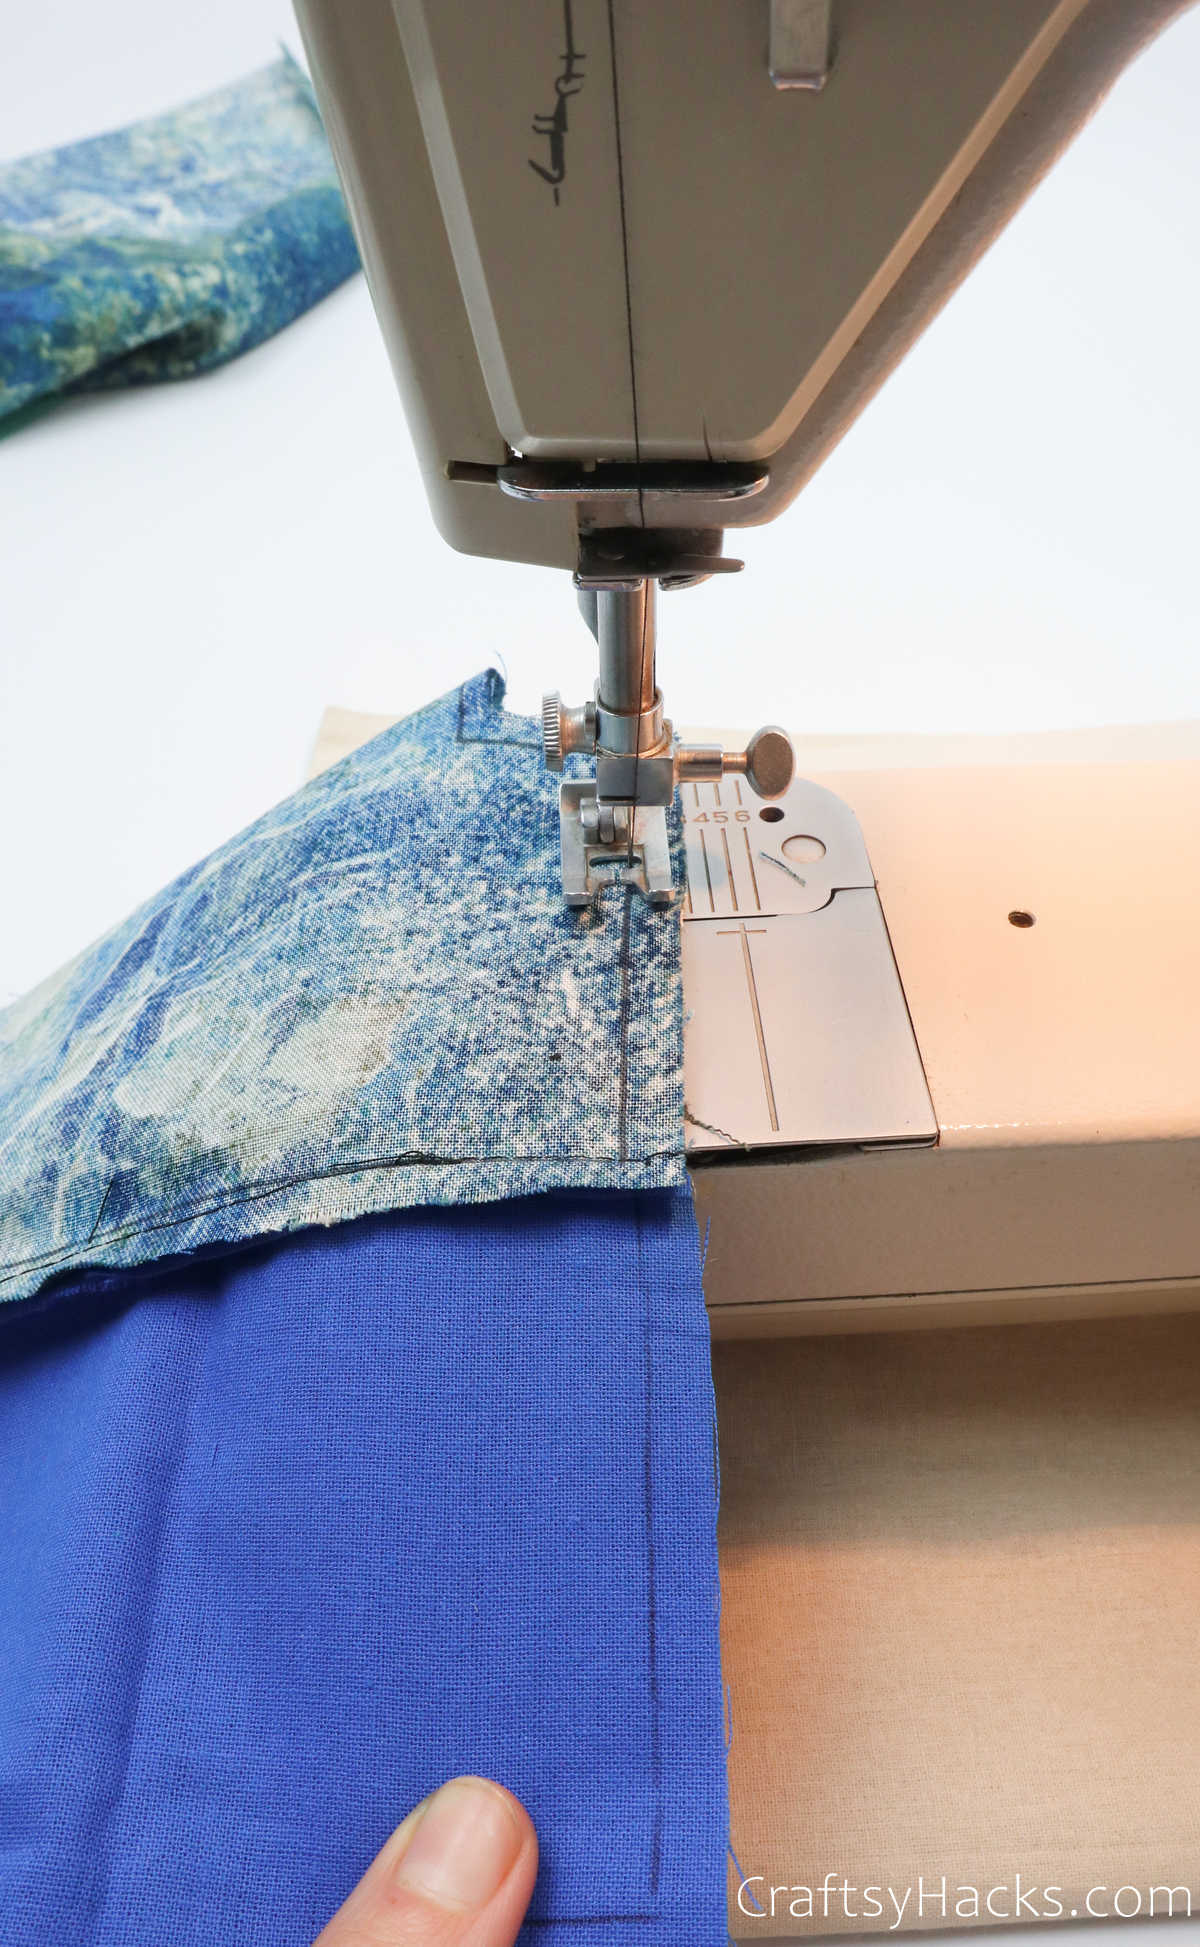
Then, do you remember that first inner outline you drew?
Youre going to sew right along that line, over the teeth of the zipper.
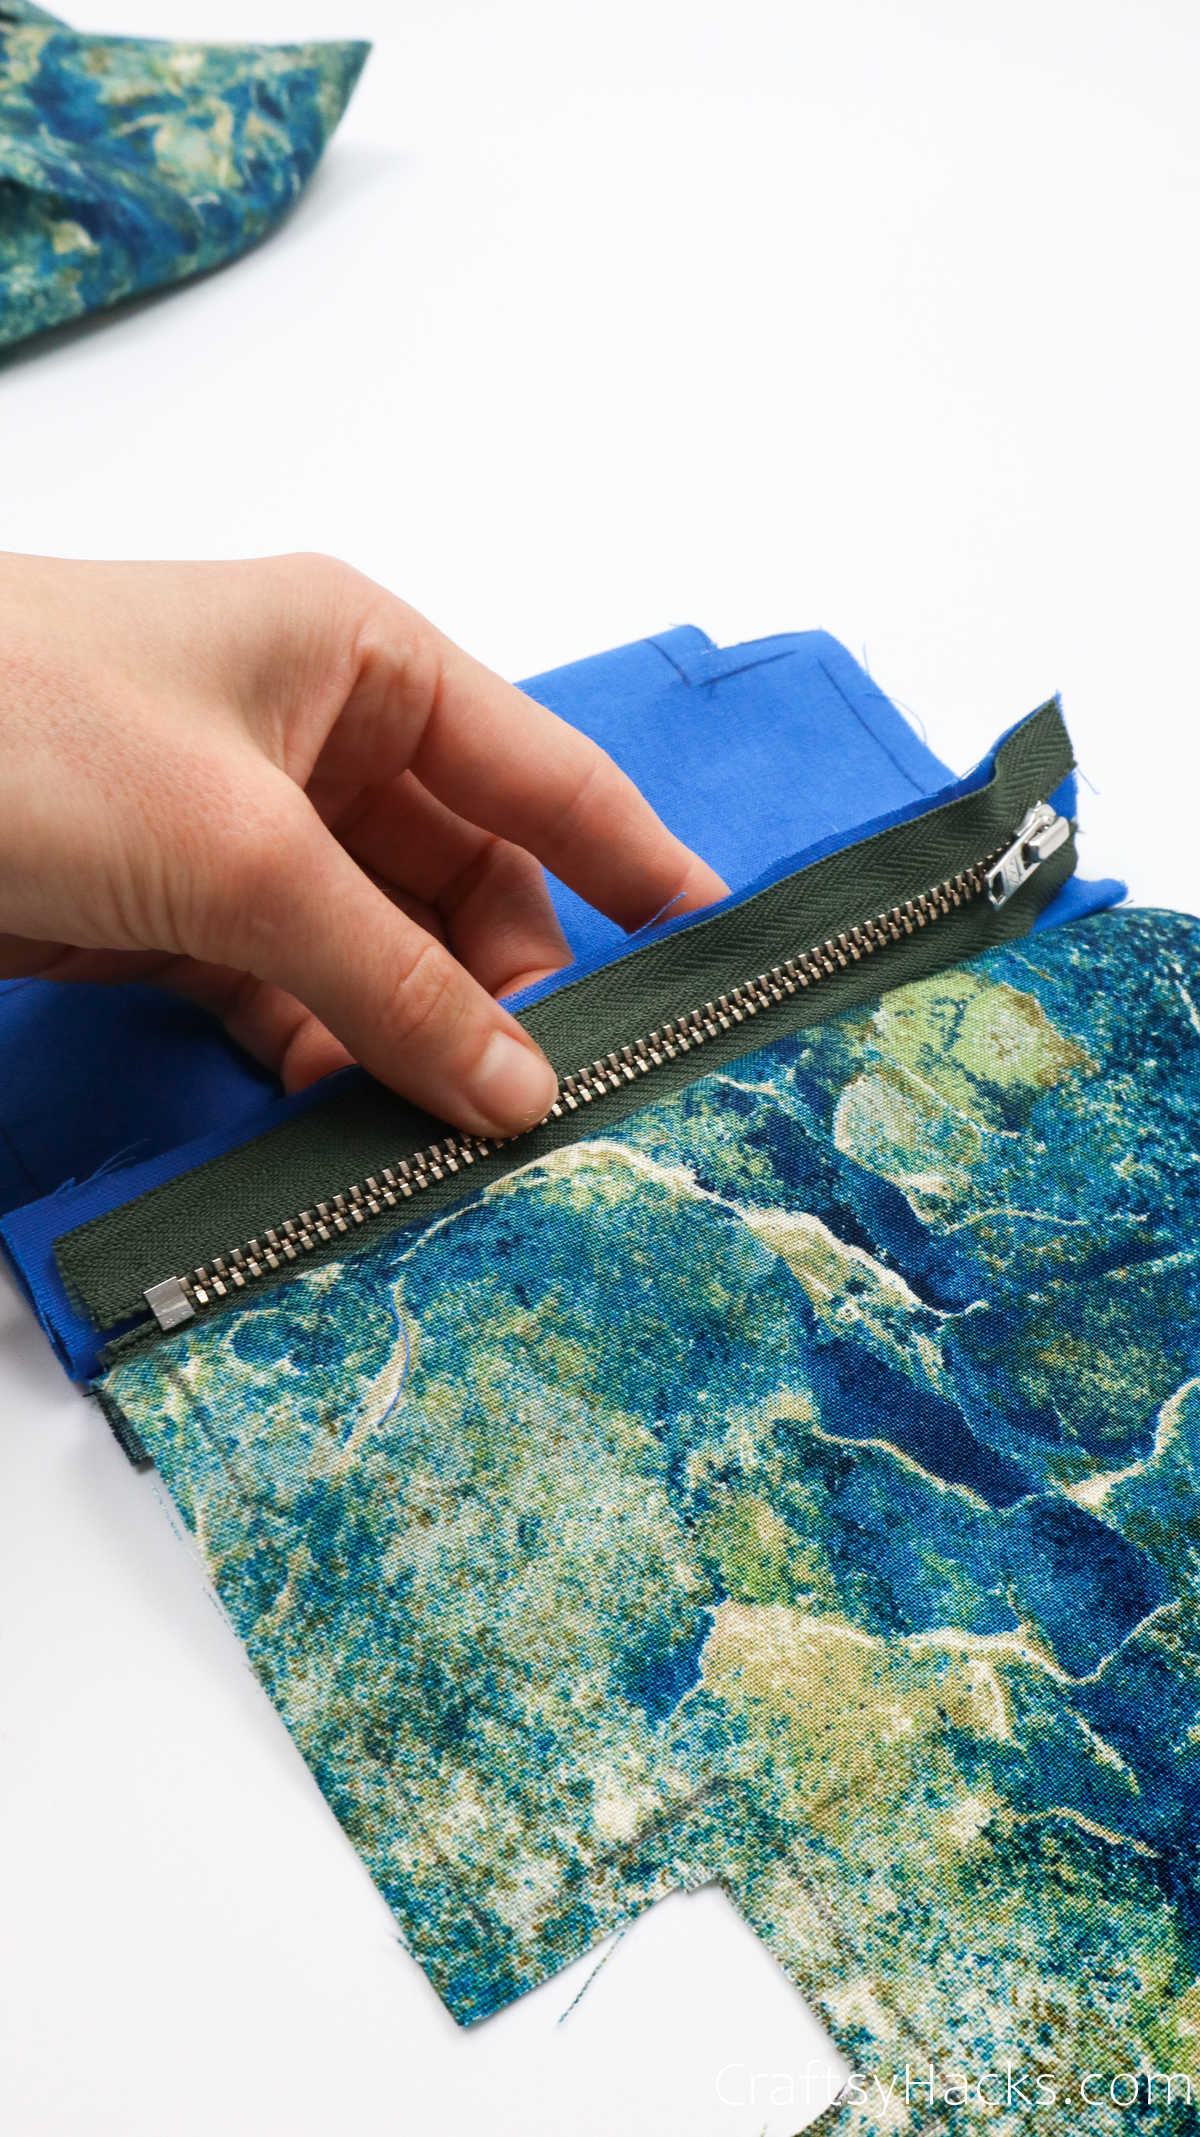
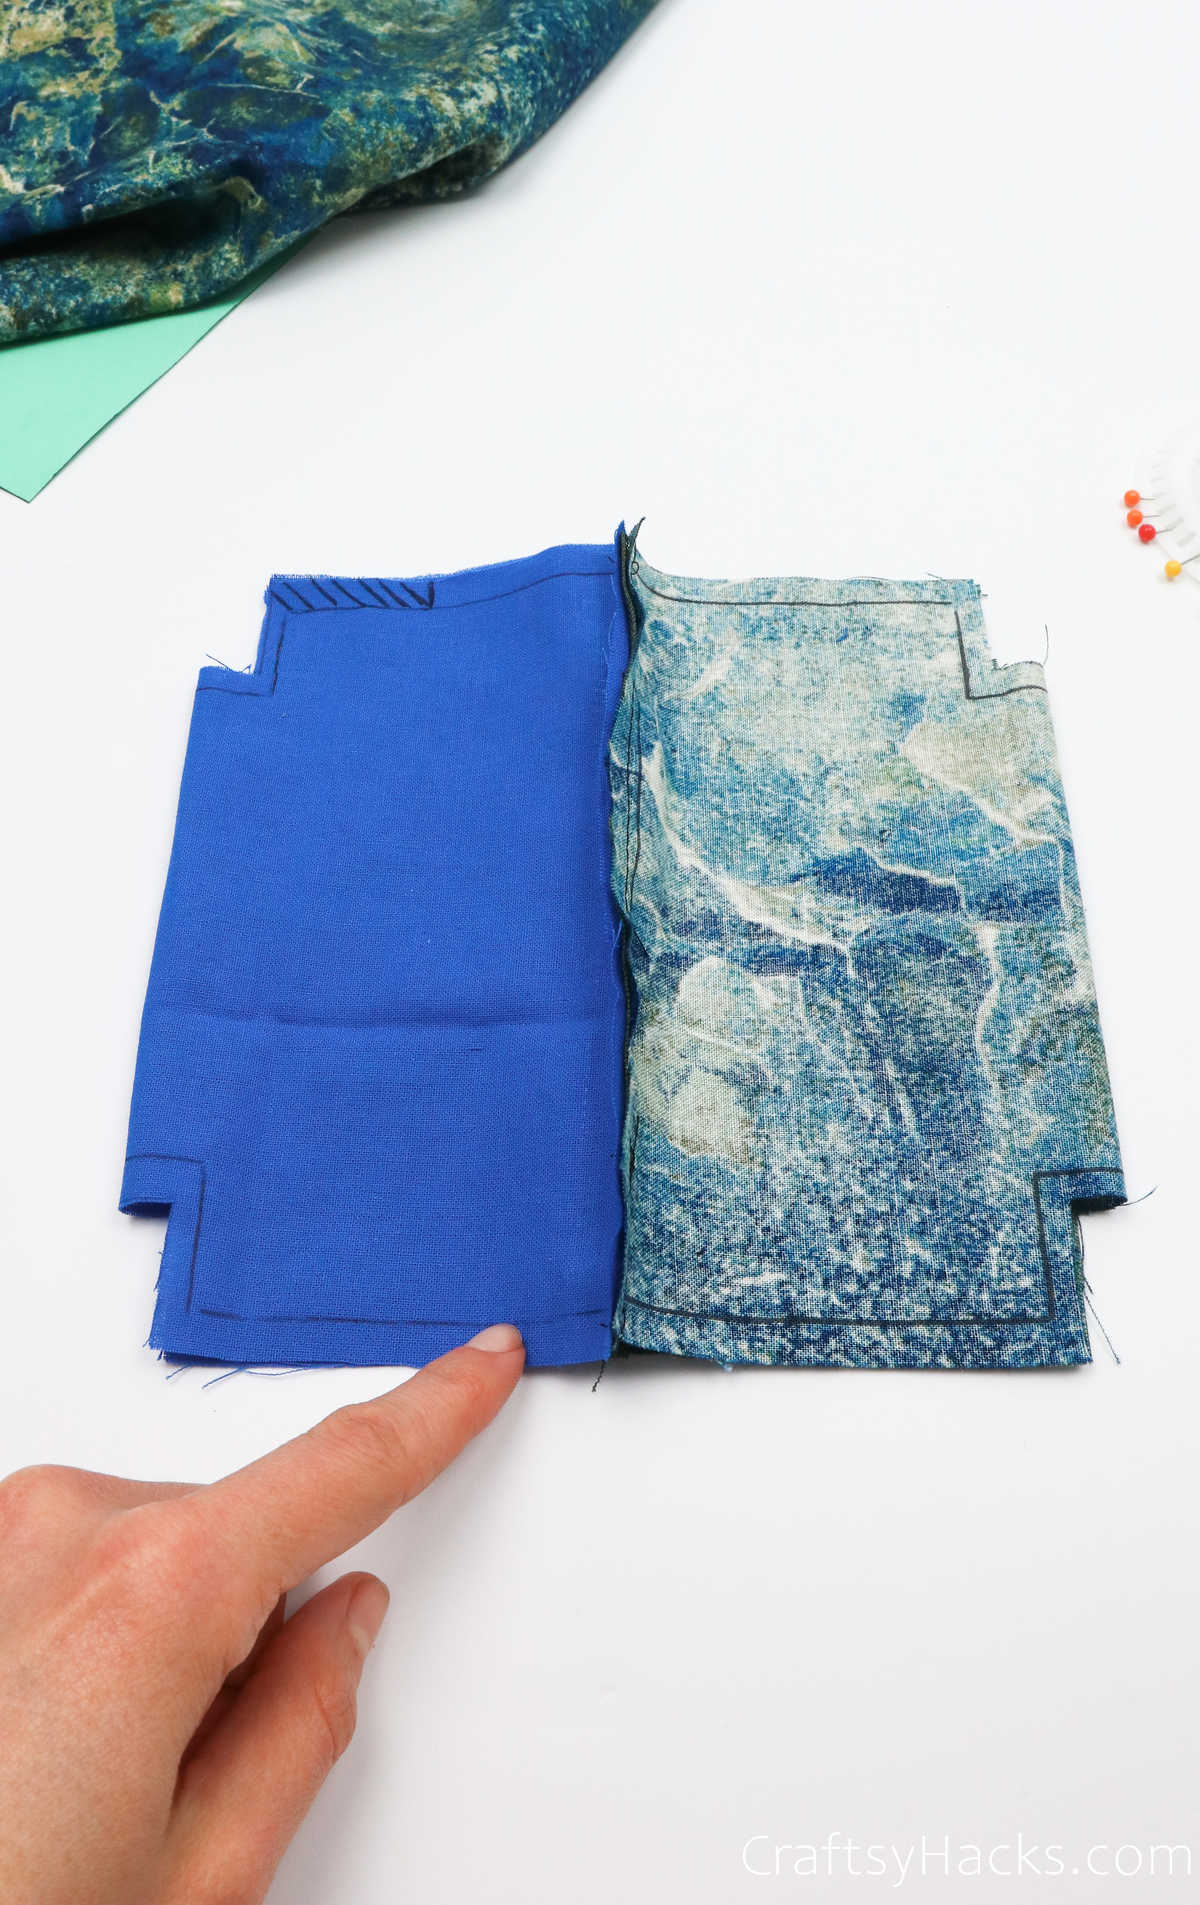
Line the edges together, creating a fold of sorts.
Use a couple of sewing pins to pin the edges in place.
Then, repeat this with the other fabric cutout, as well.
Bring the opposite side of the fabric up and line the edges along the zipper.
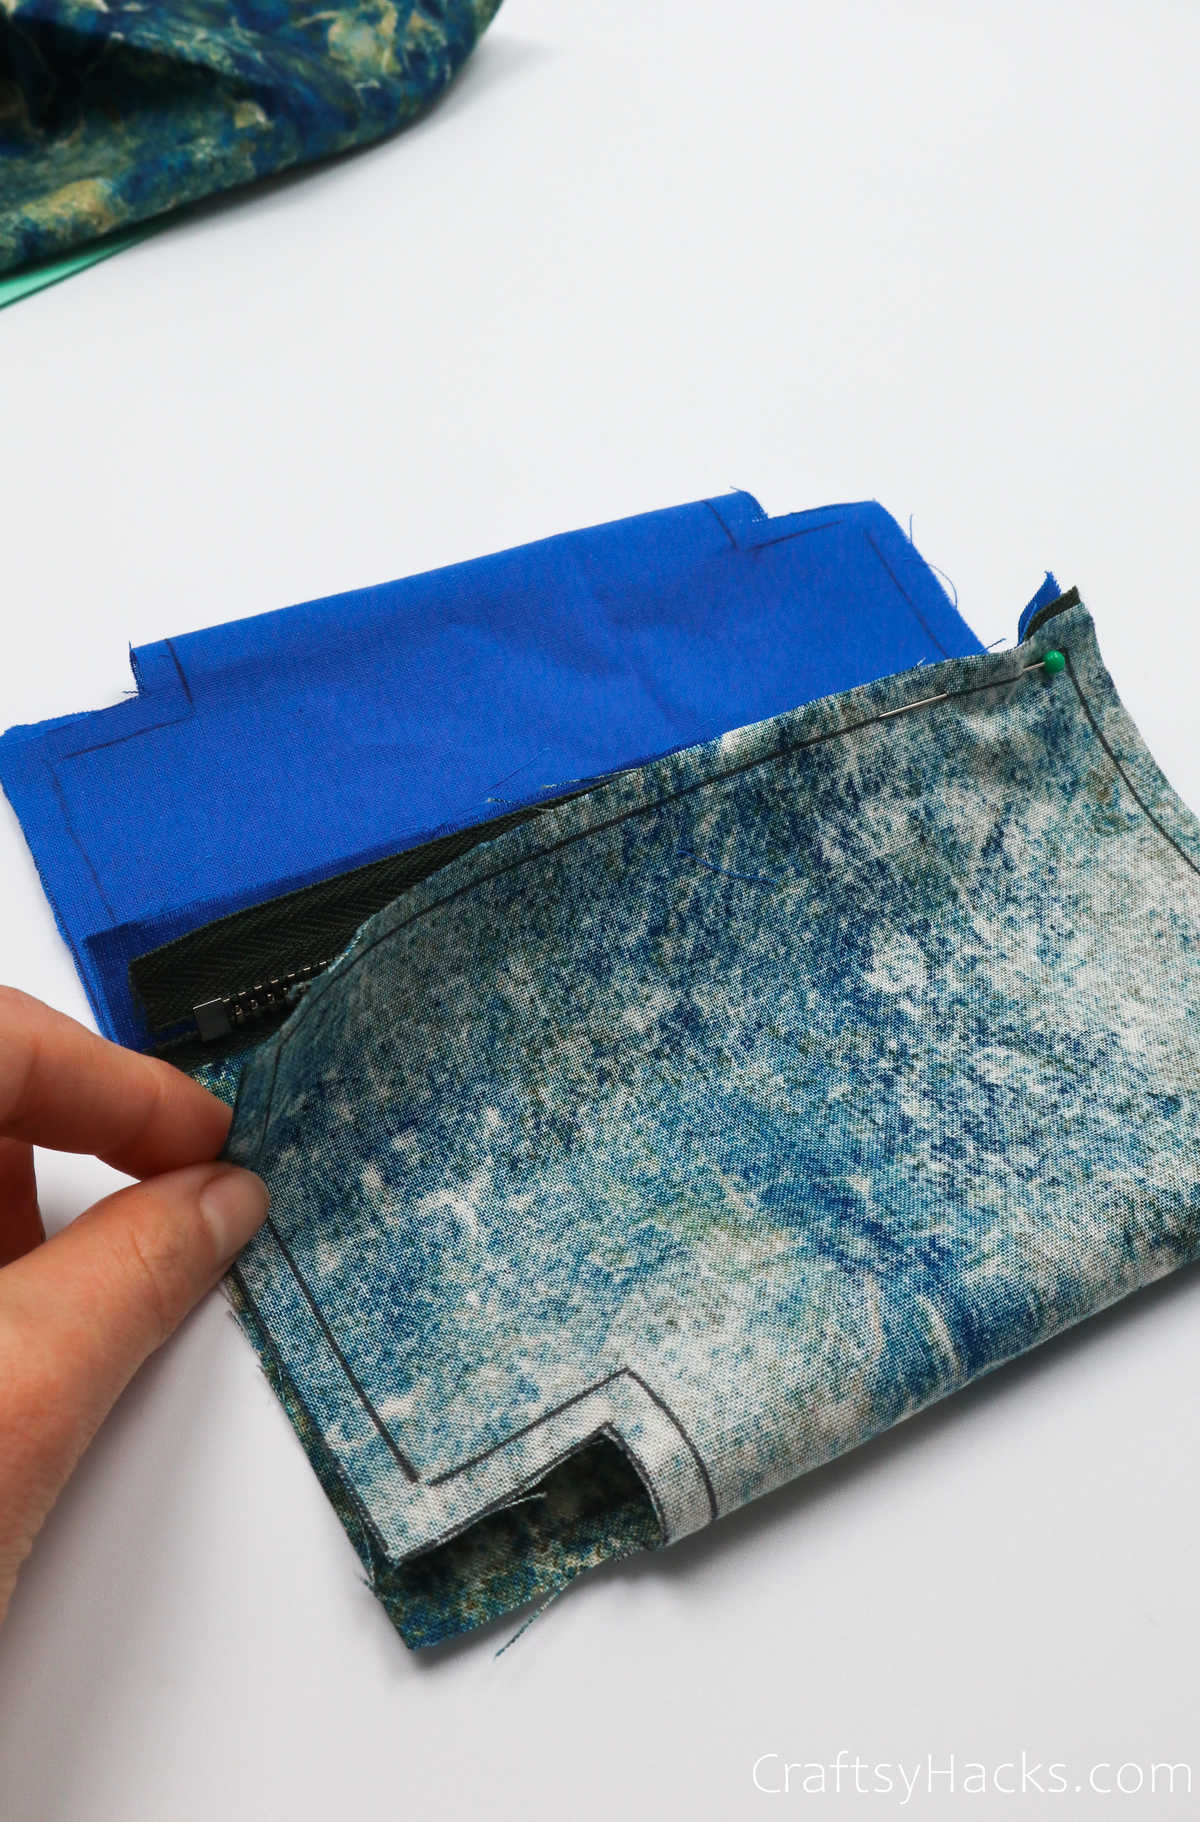
You should have a sandwich-like swatch with both ends of the fabric pieces sandwiching the zippers edge.
Pin them in place to secure all three components till youre ready to sew them.
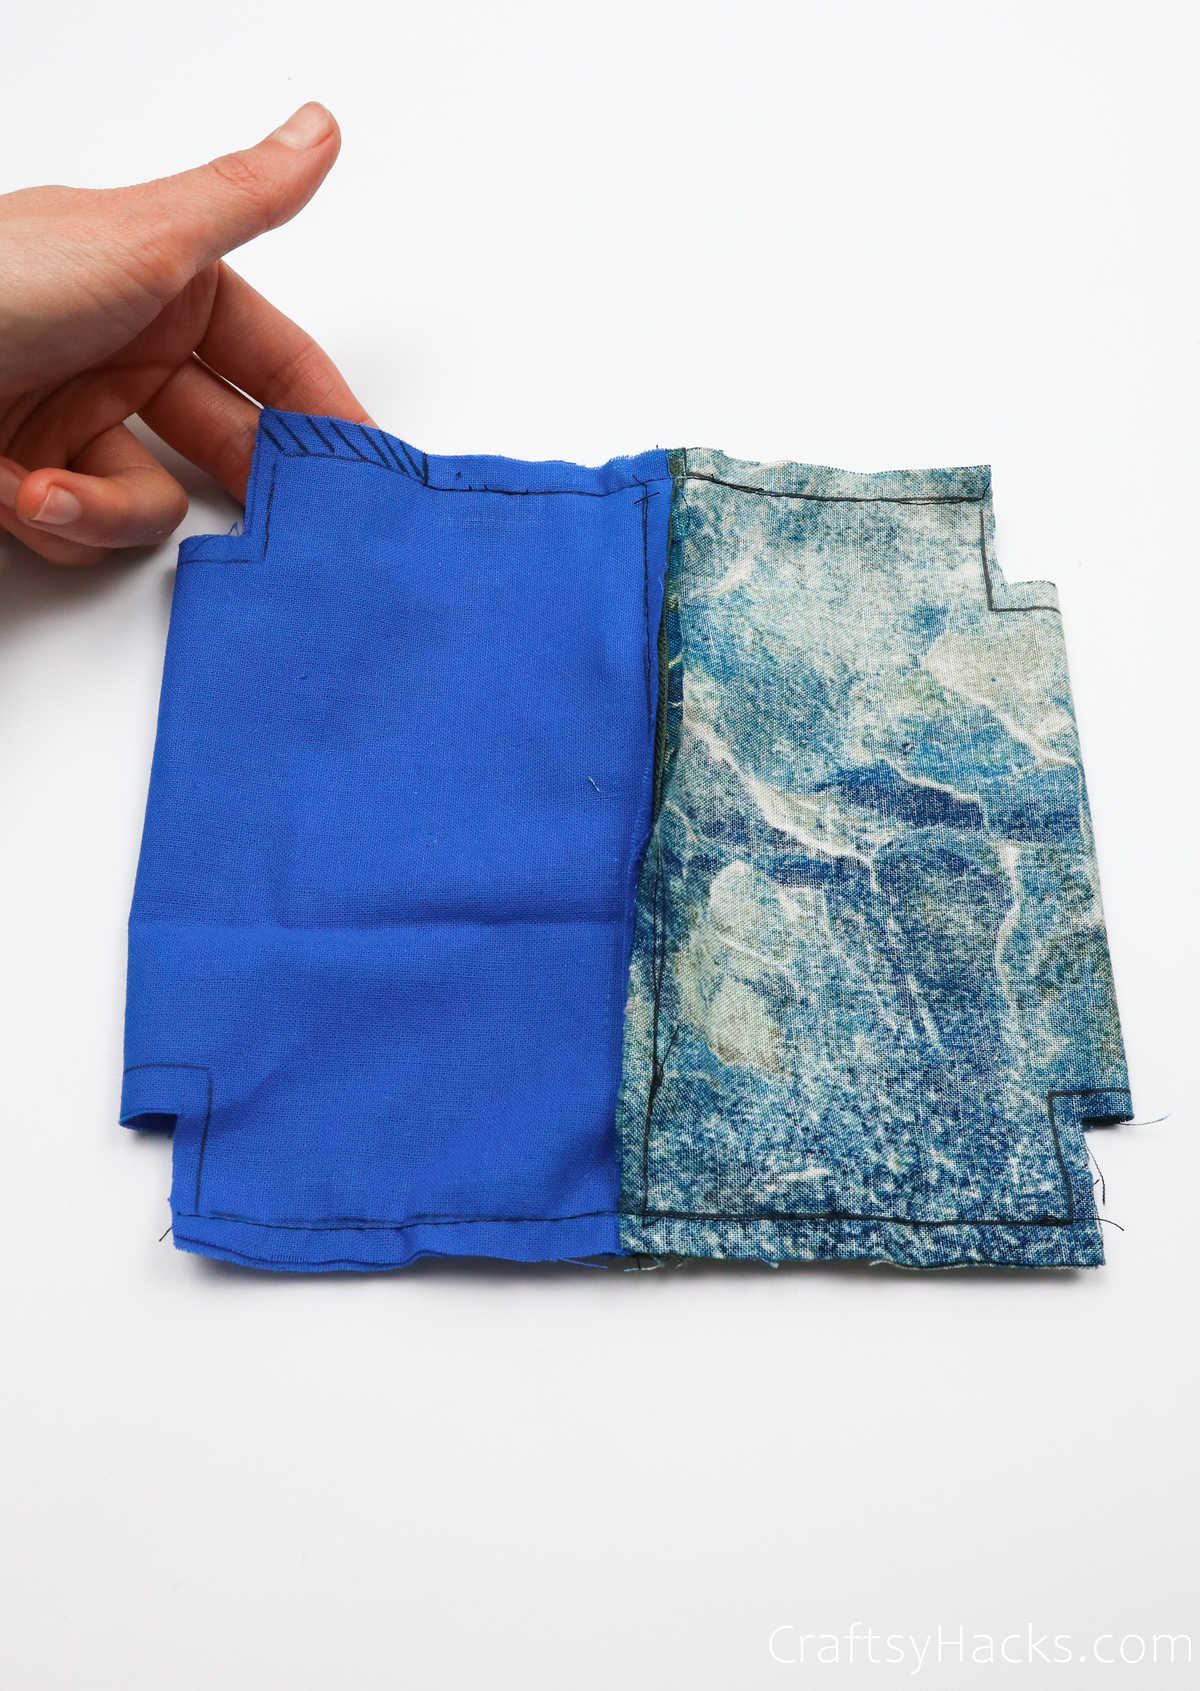
Your pouch should look something like this at this stage of the project.
Your corners and the edges should be aligned once again so they are neatly folded over each other.
Step 11
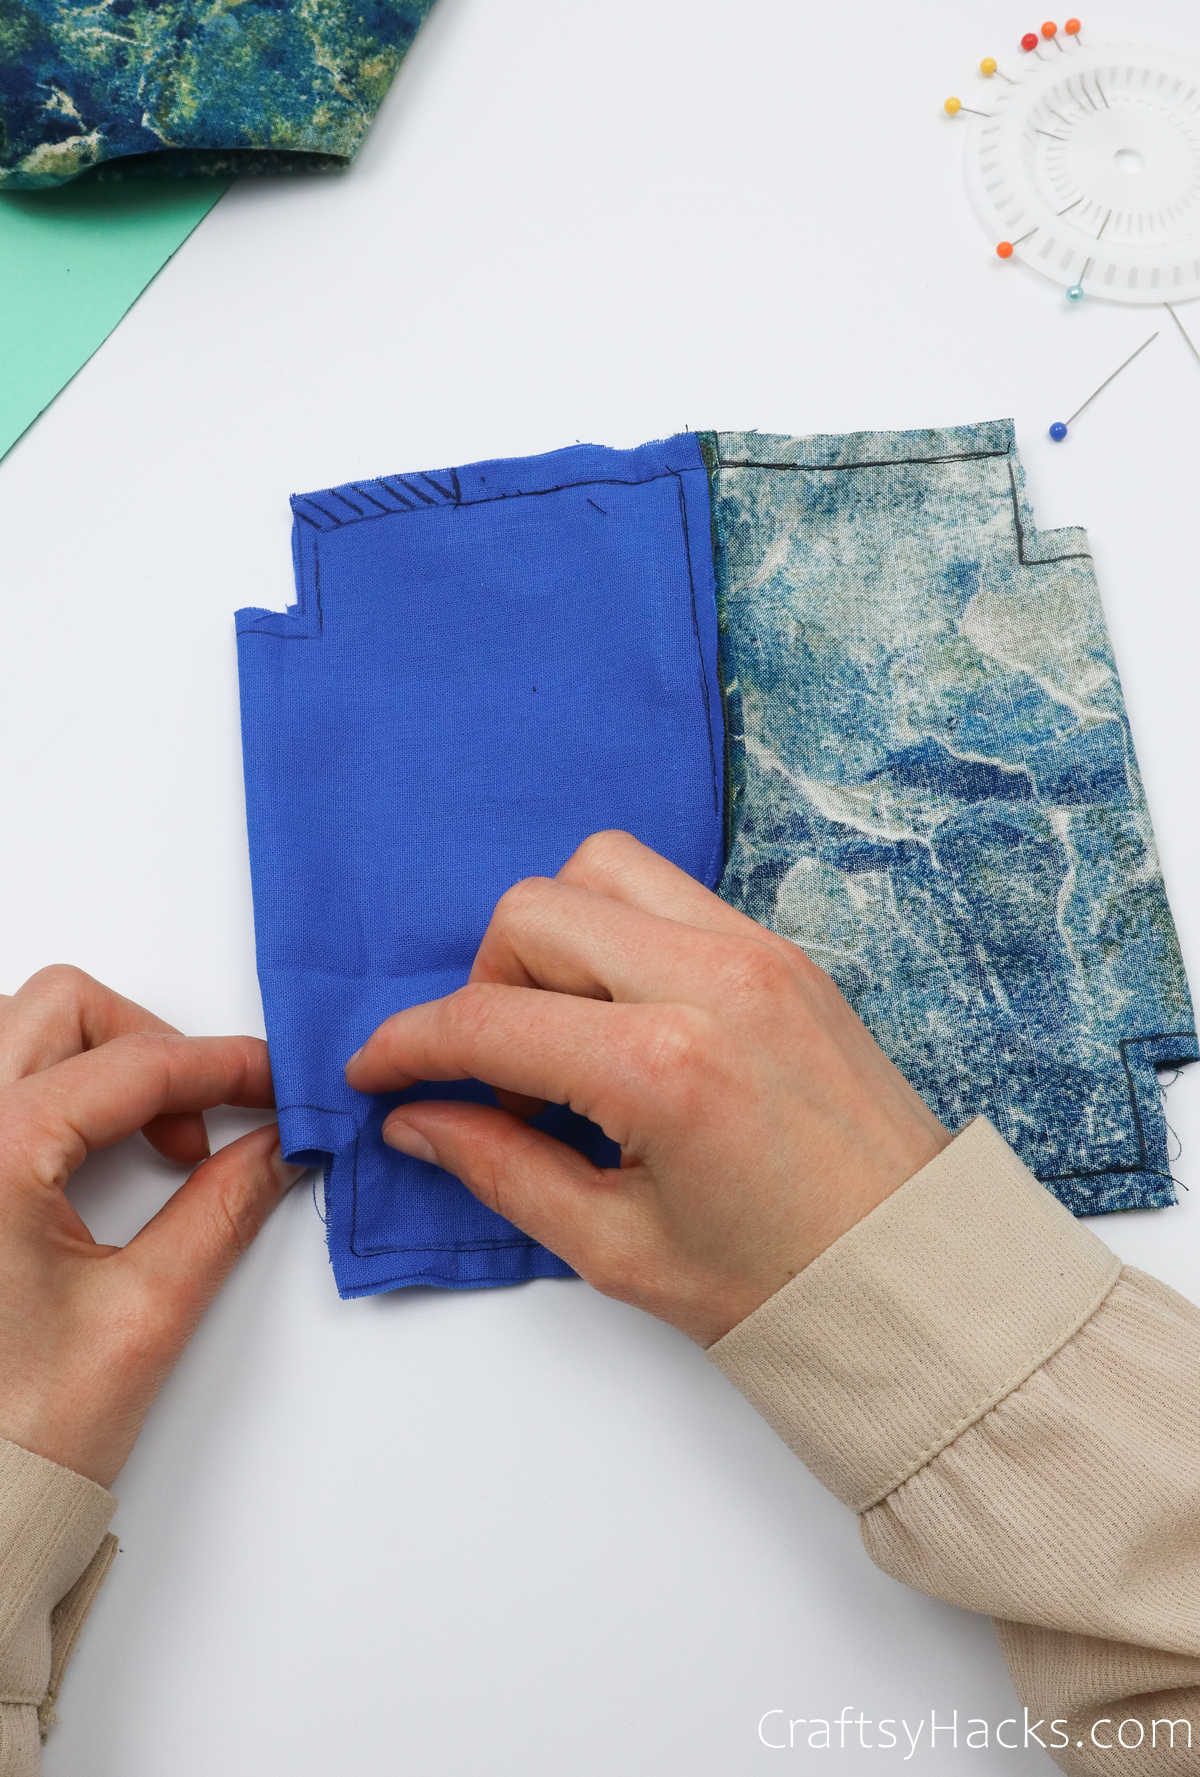
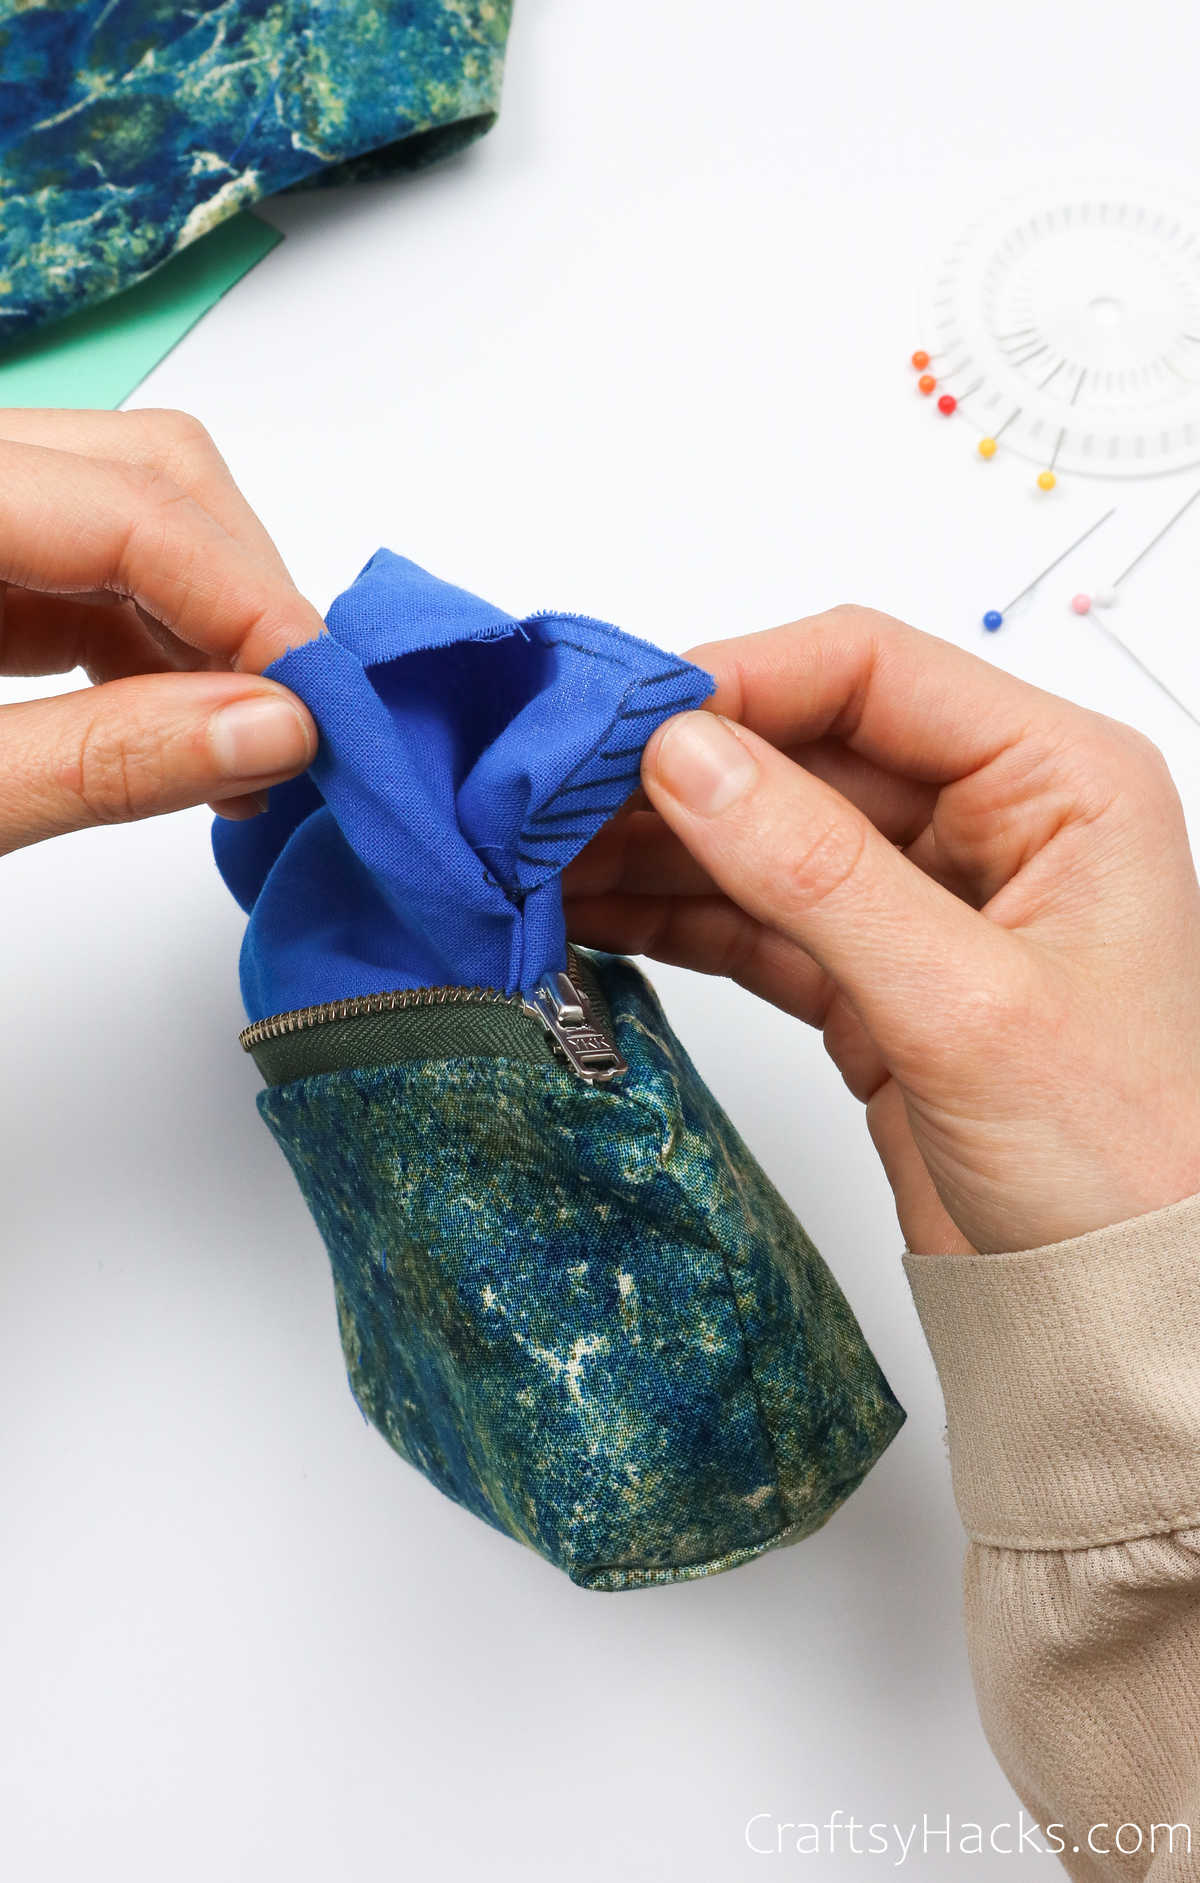
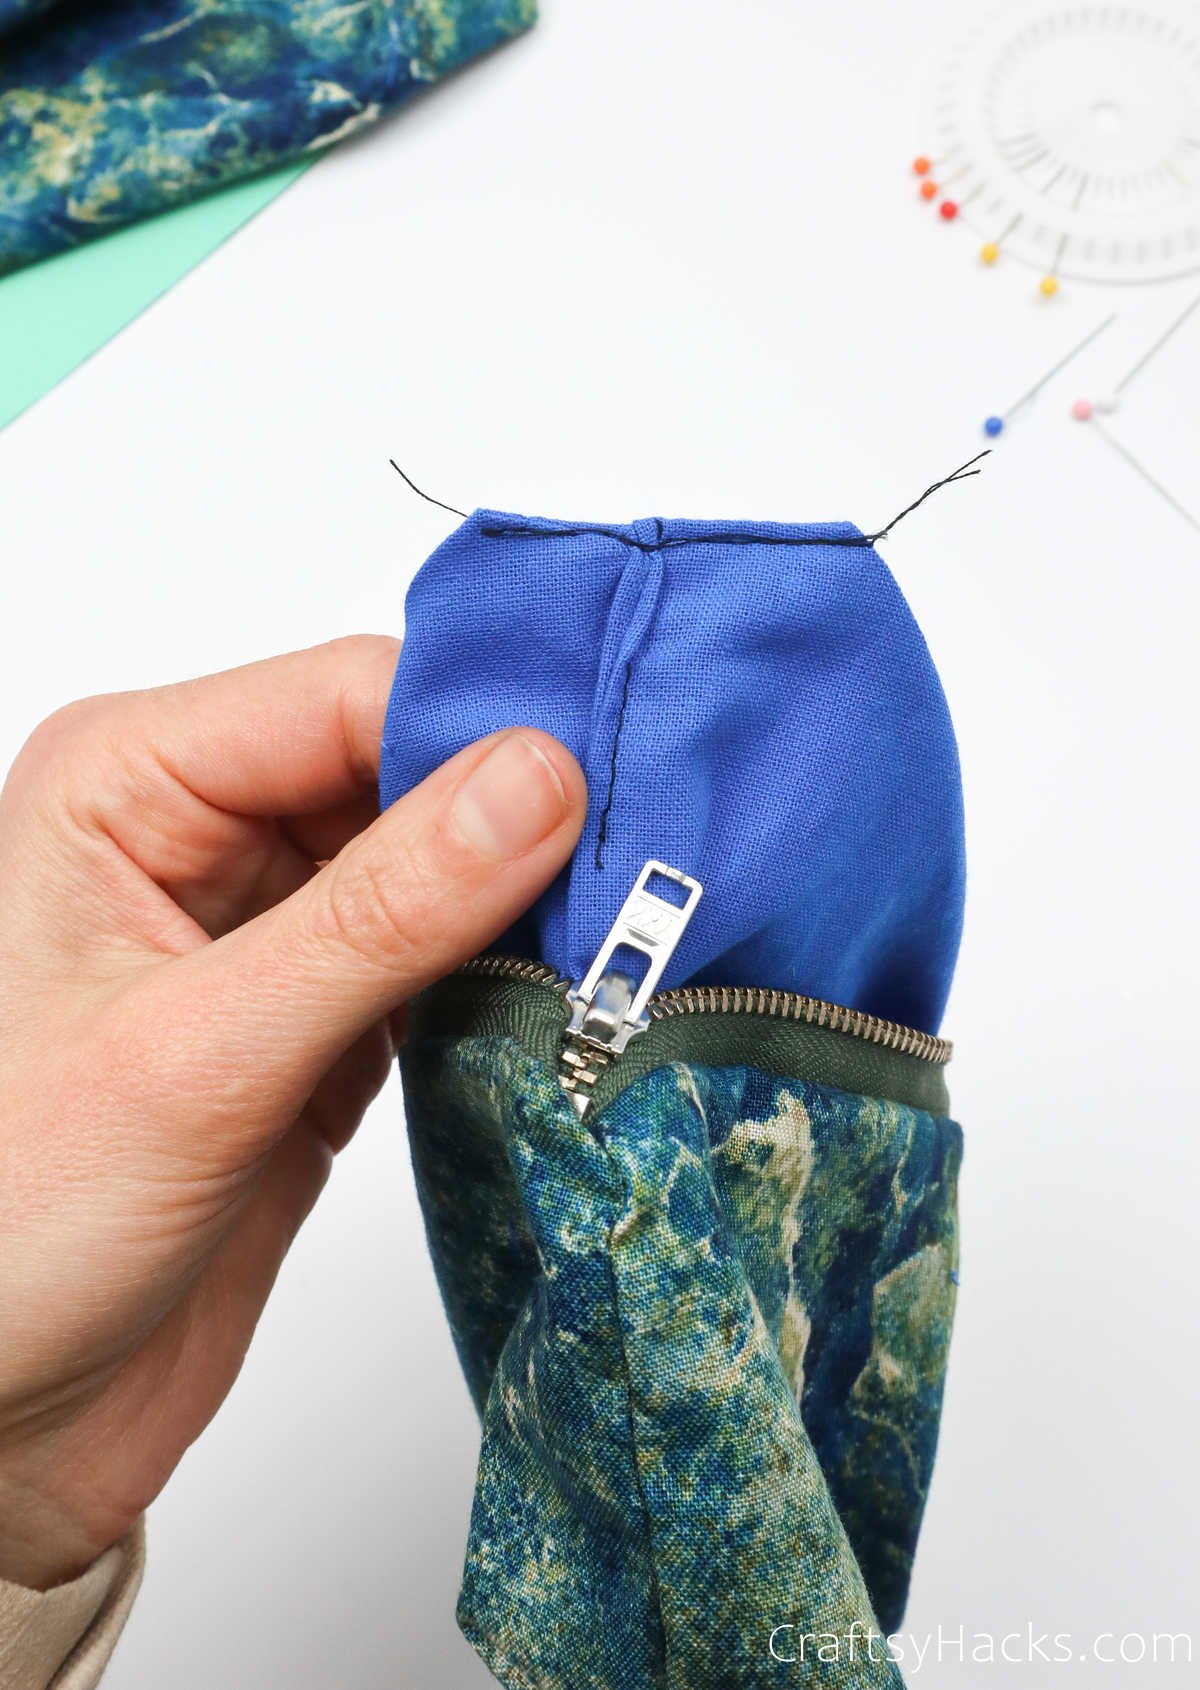
Put your hand in between the fabric and find the zipper.
Pull it open just about halfway through.
Youll find that you have two corner pieces on both the exterior fabric and the lining fabric, too.
Youre on the right track!
Your pouch should look like this.
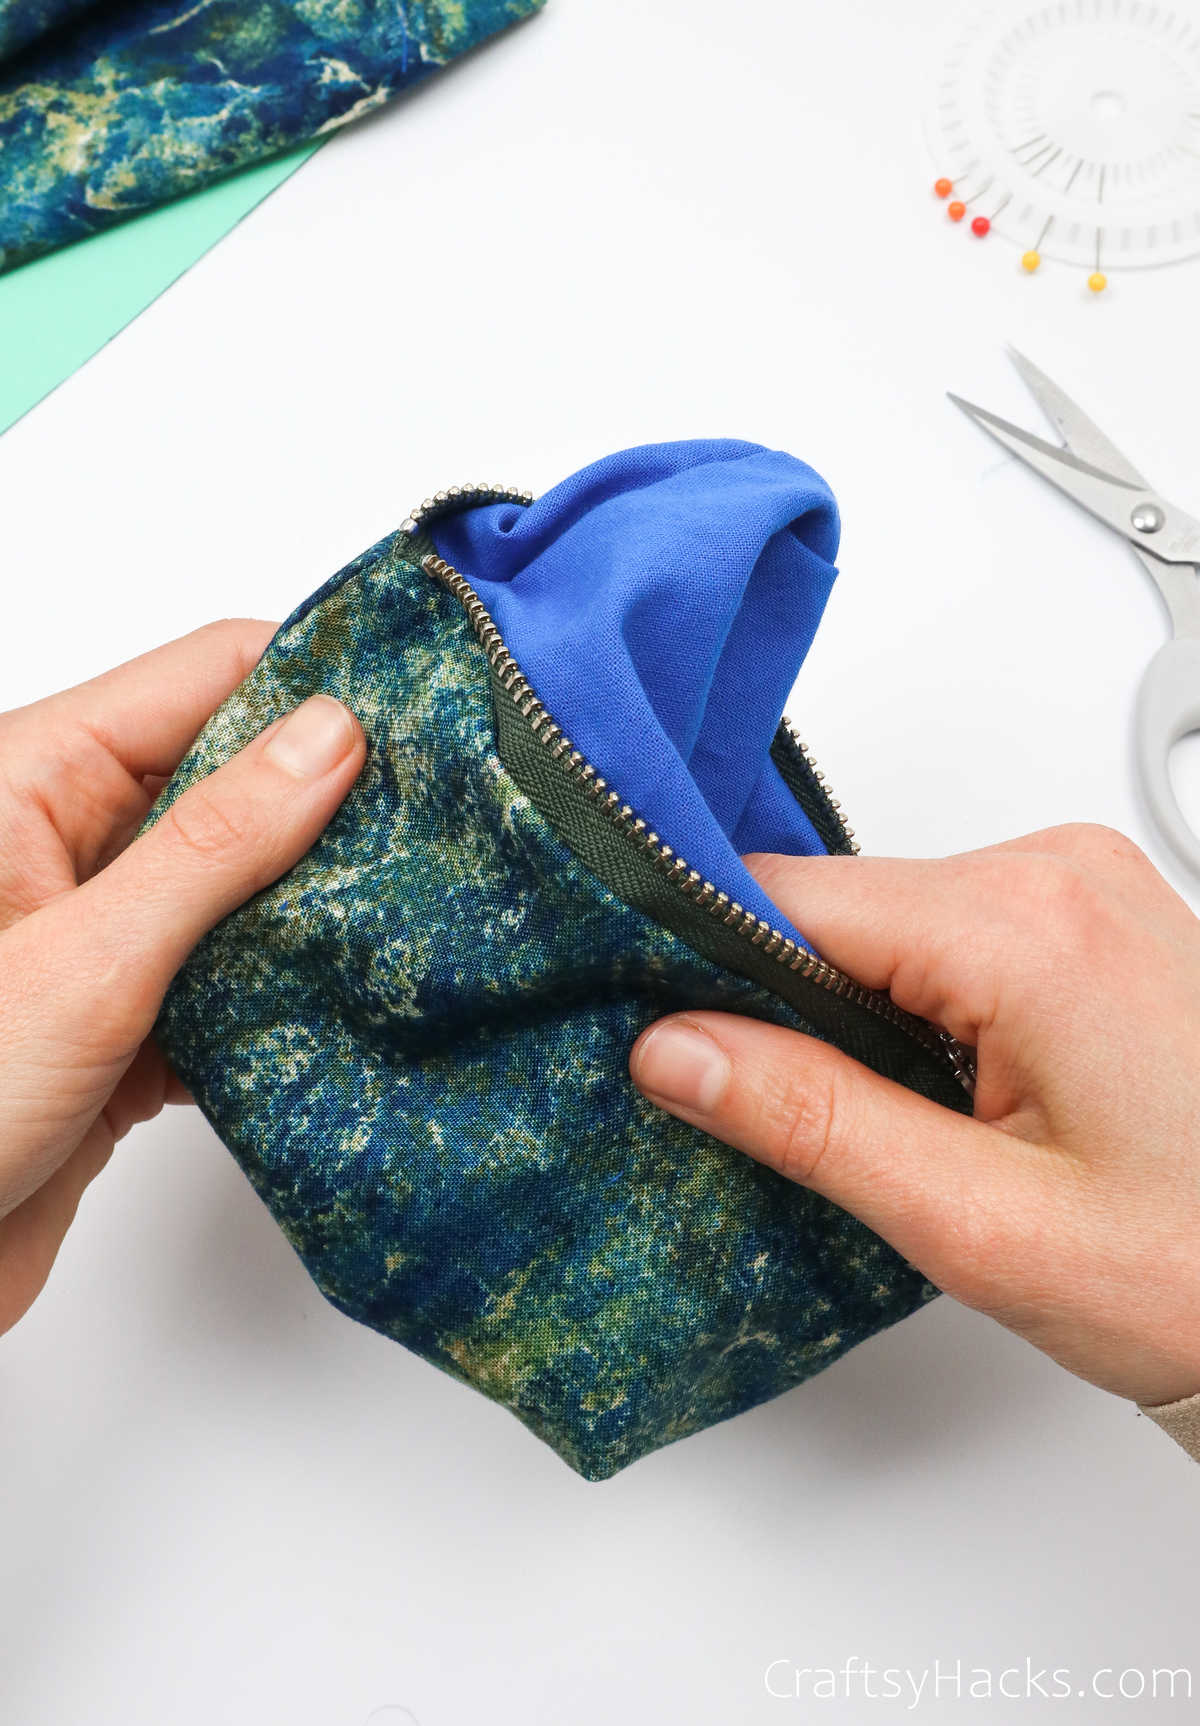
Step 14
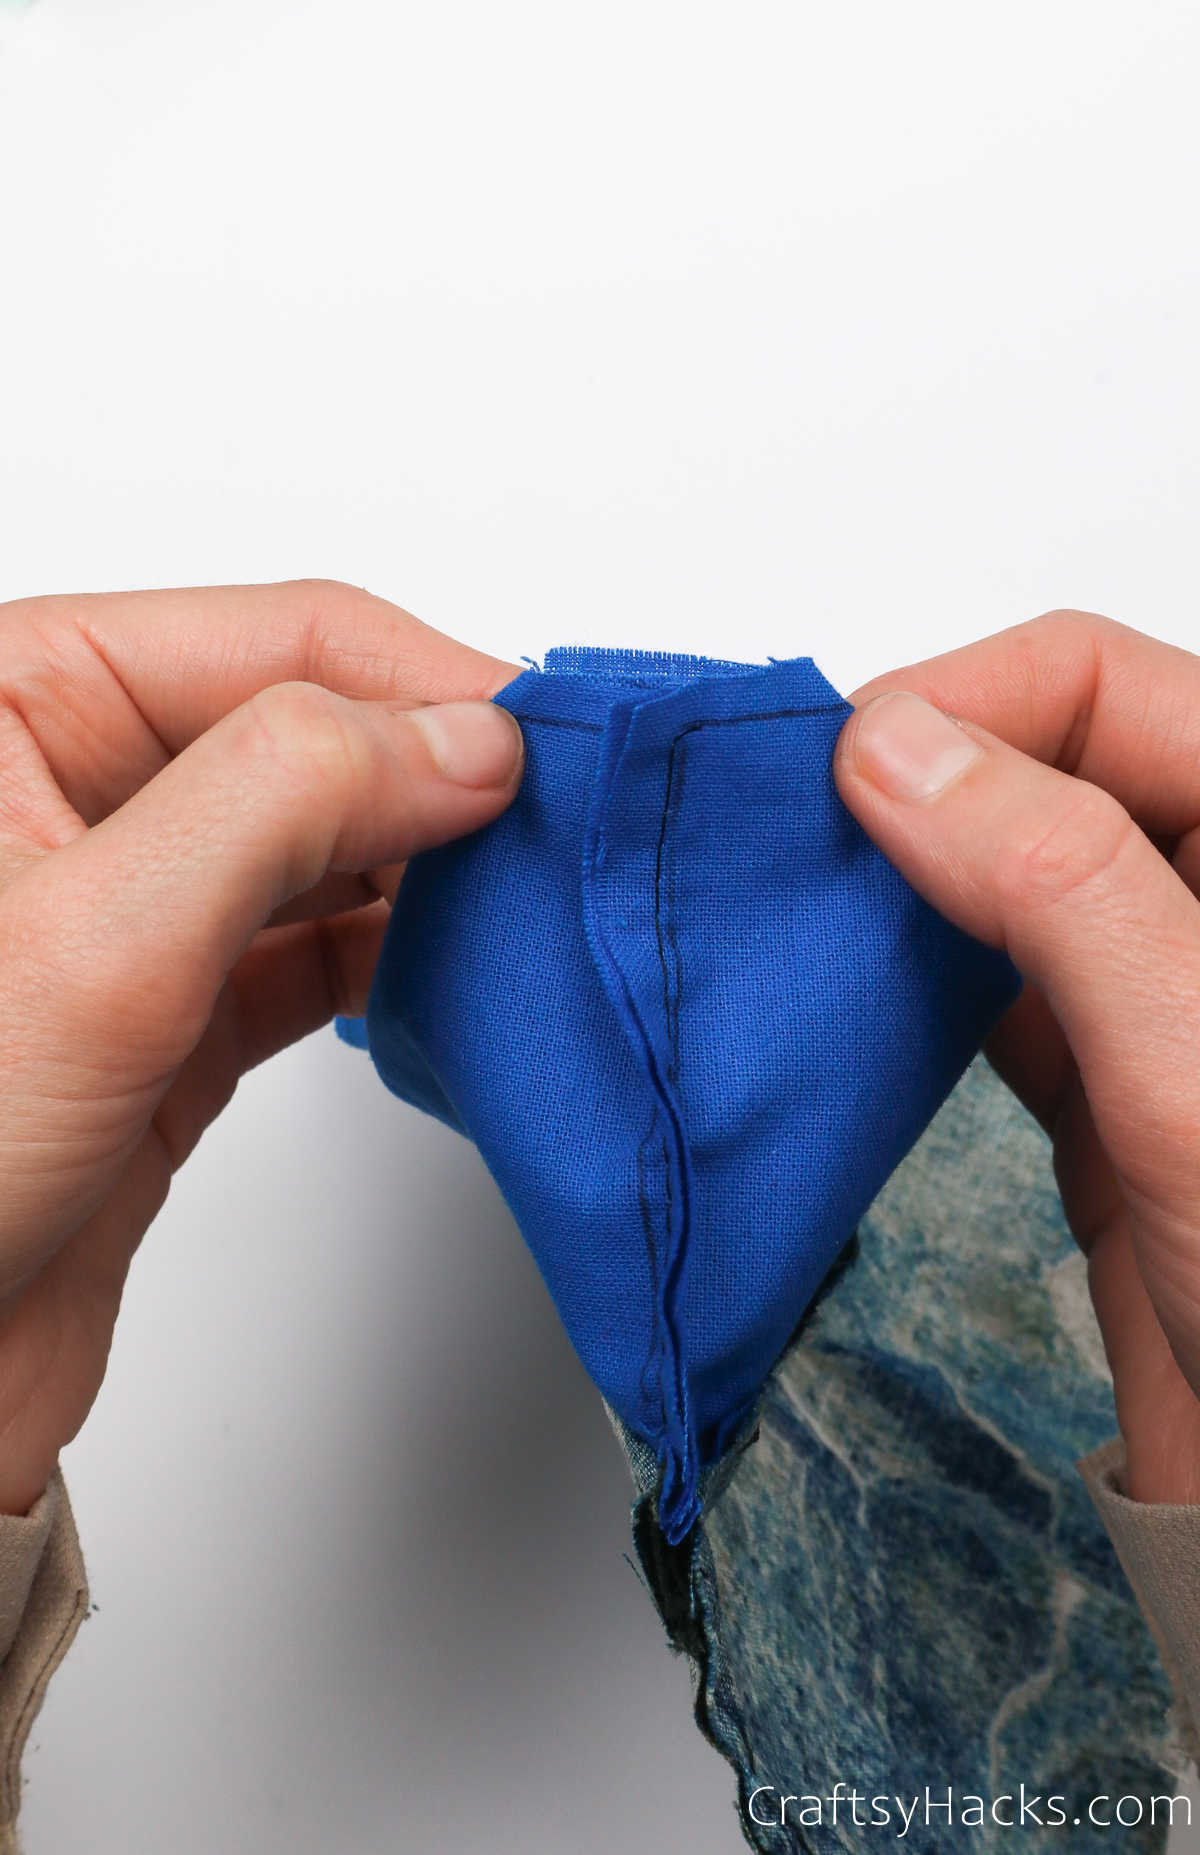
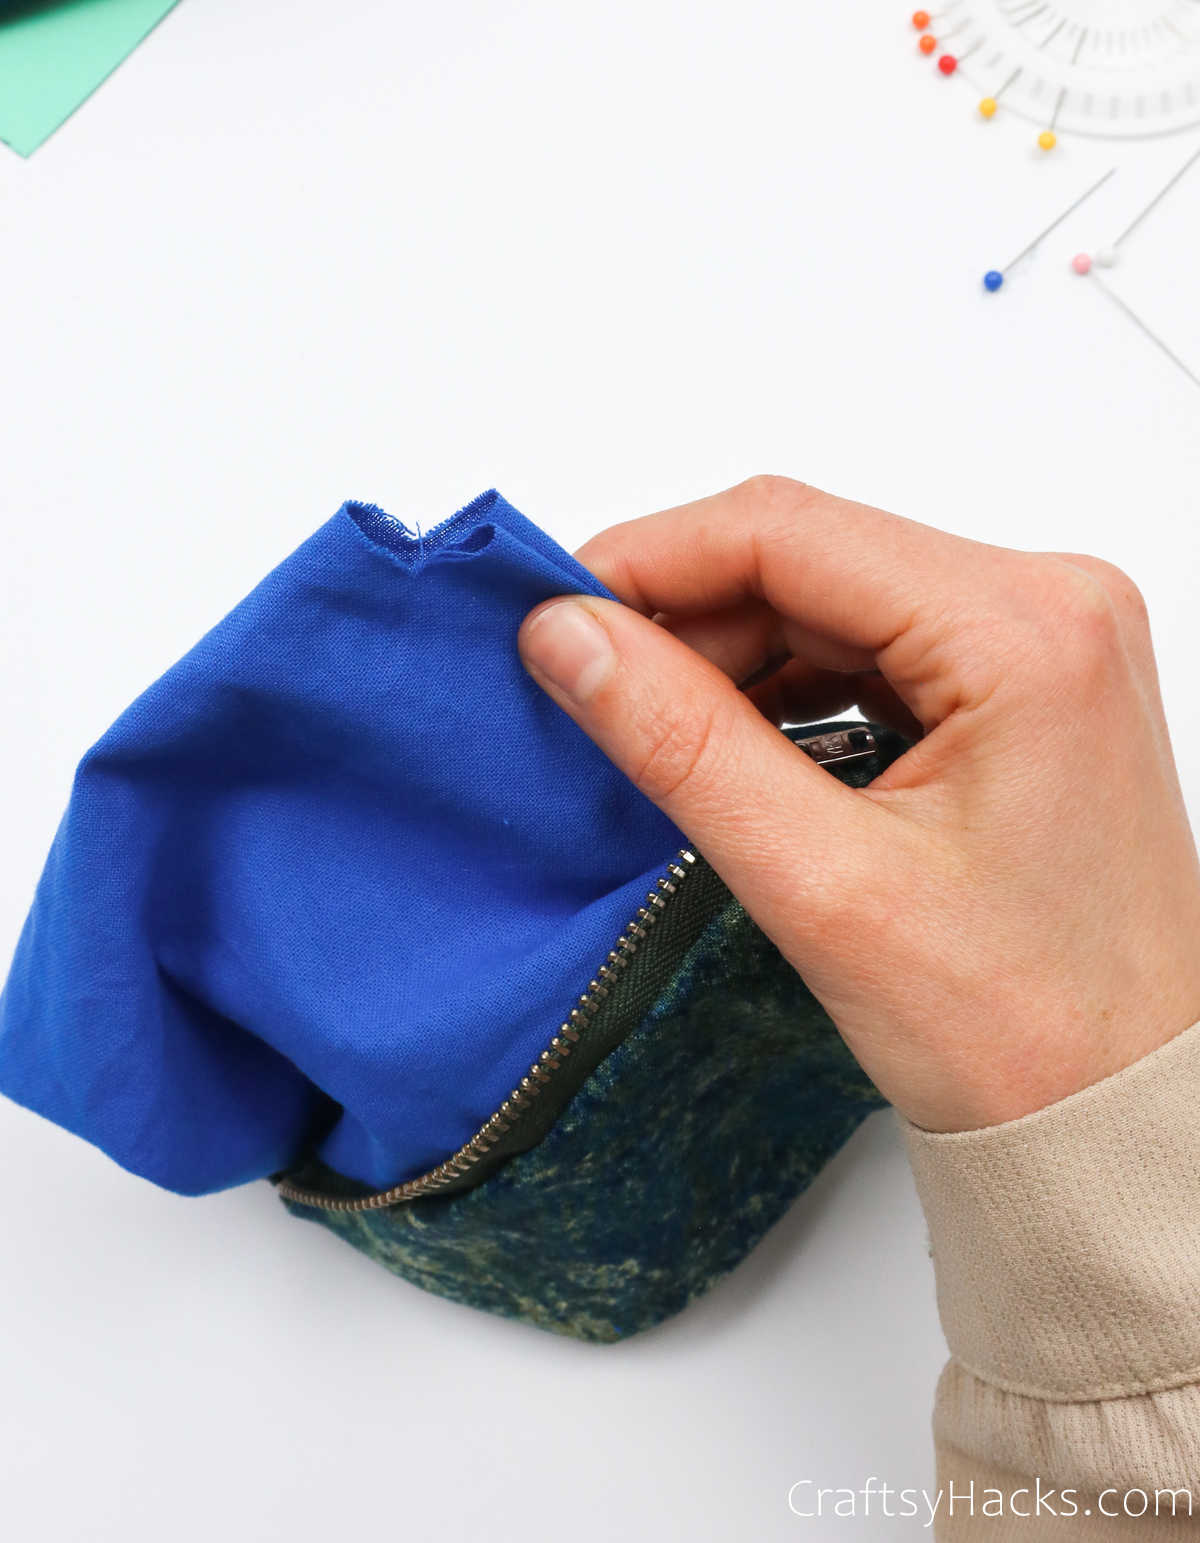
Next, youre going to box the edges.
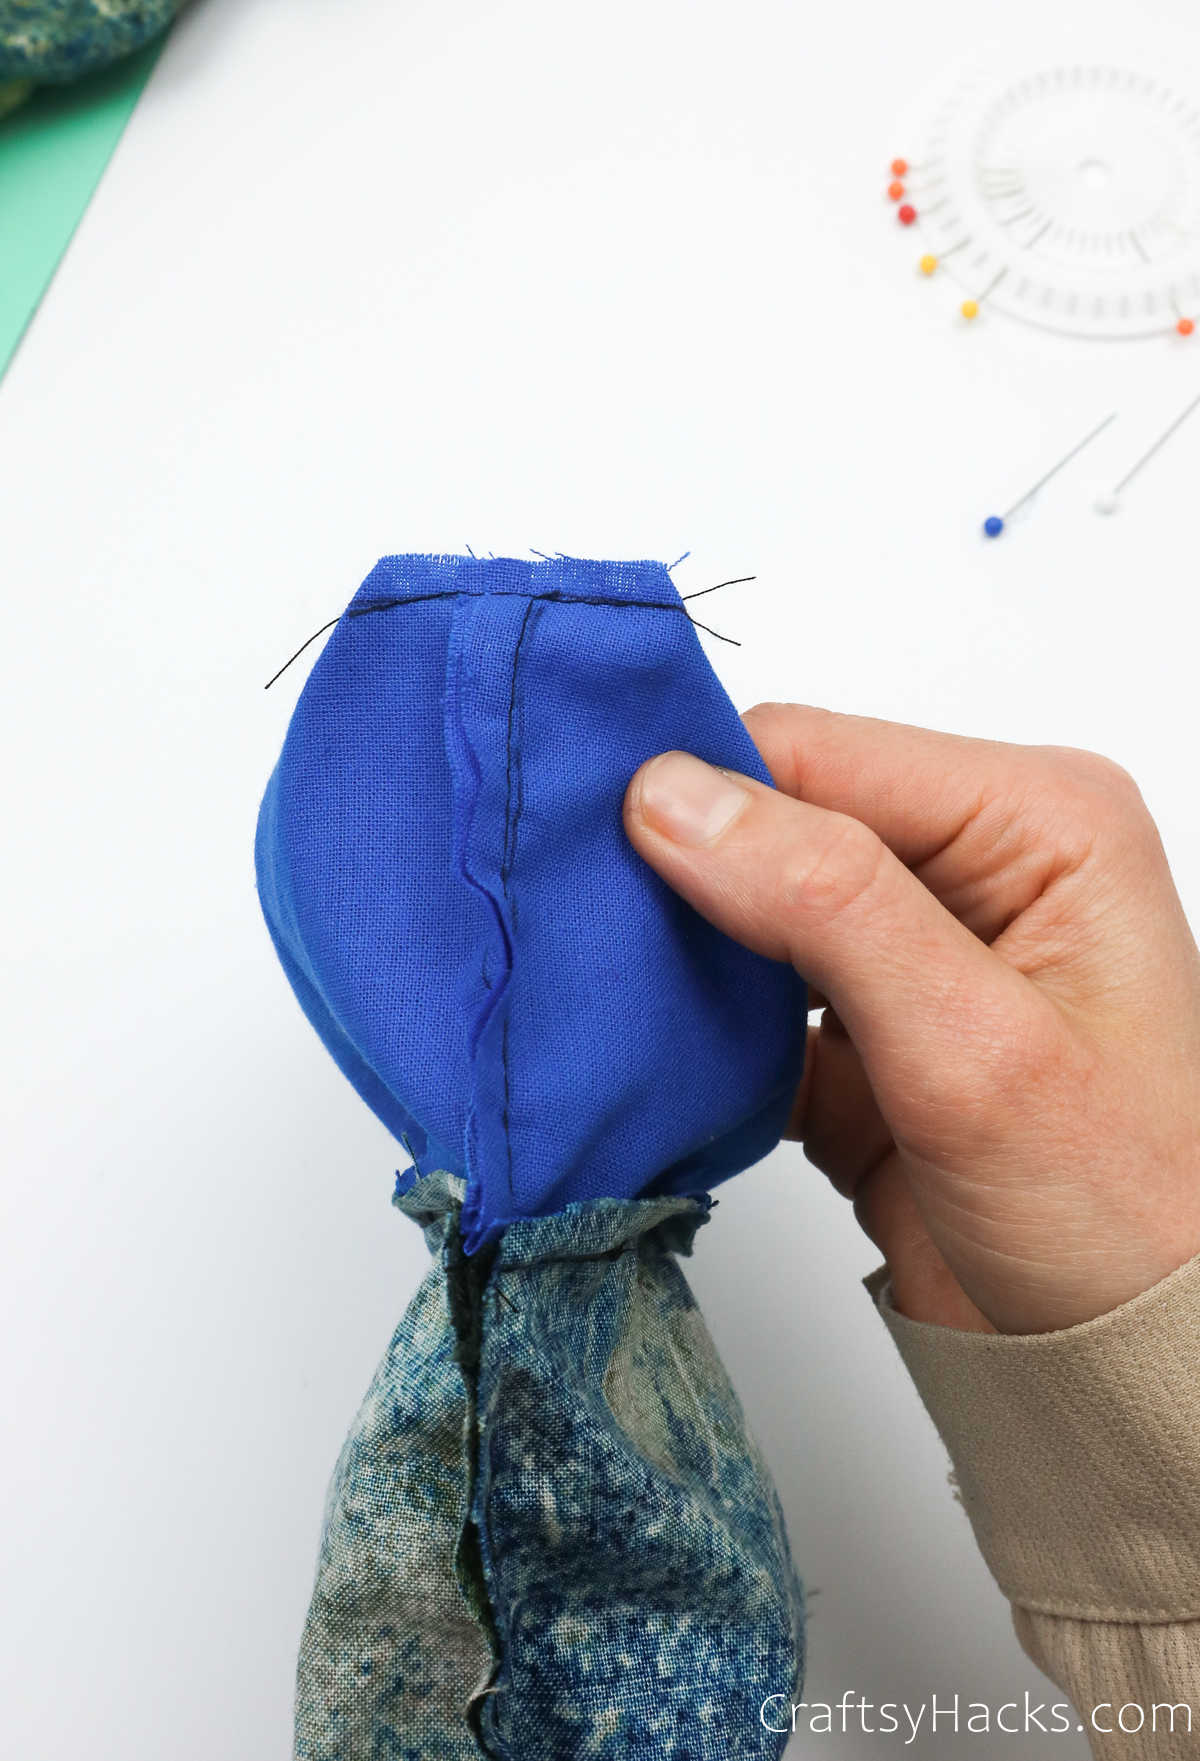
To do this, first, grab the indented ends on one corner.
Pull the ends apart and flatten them out before you secure them in place.
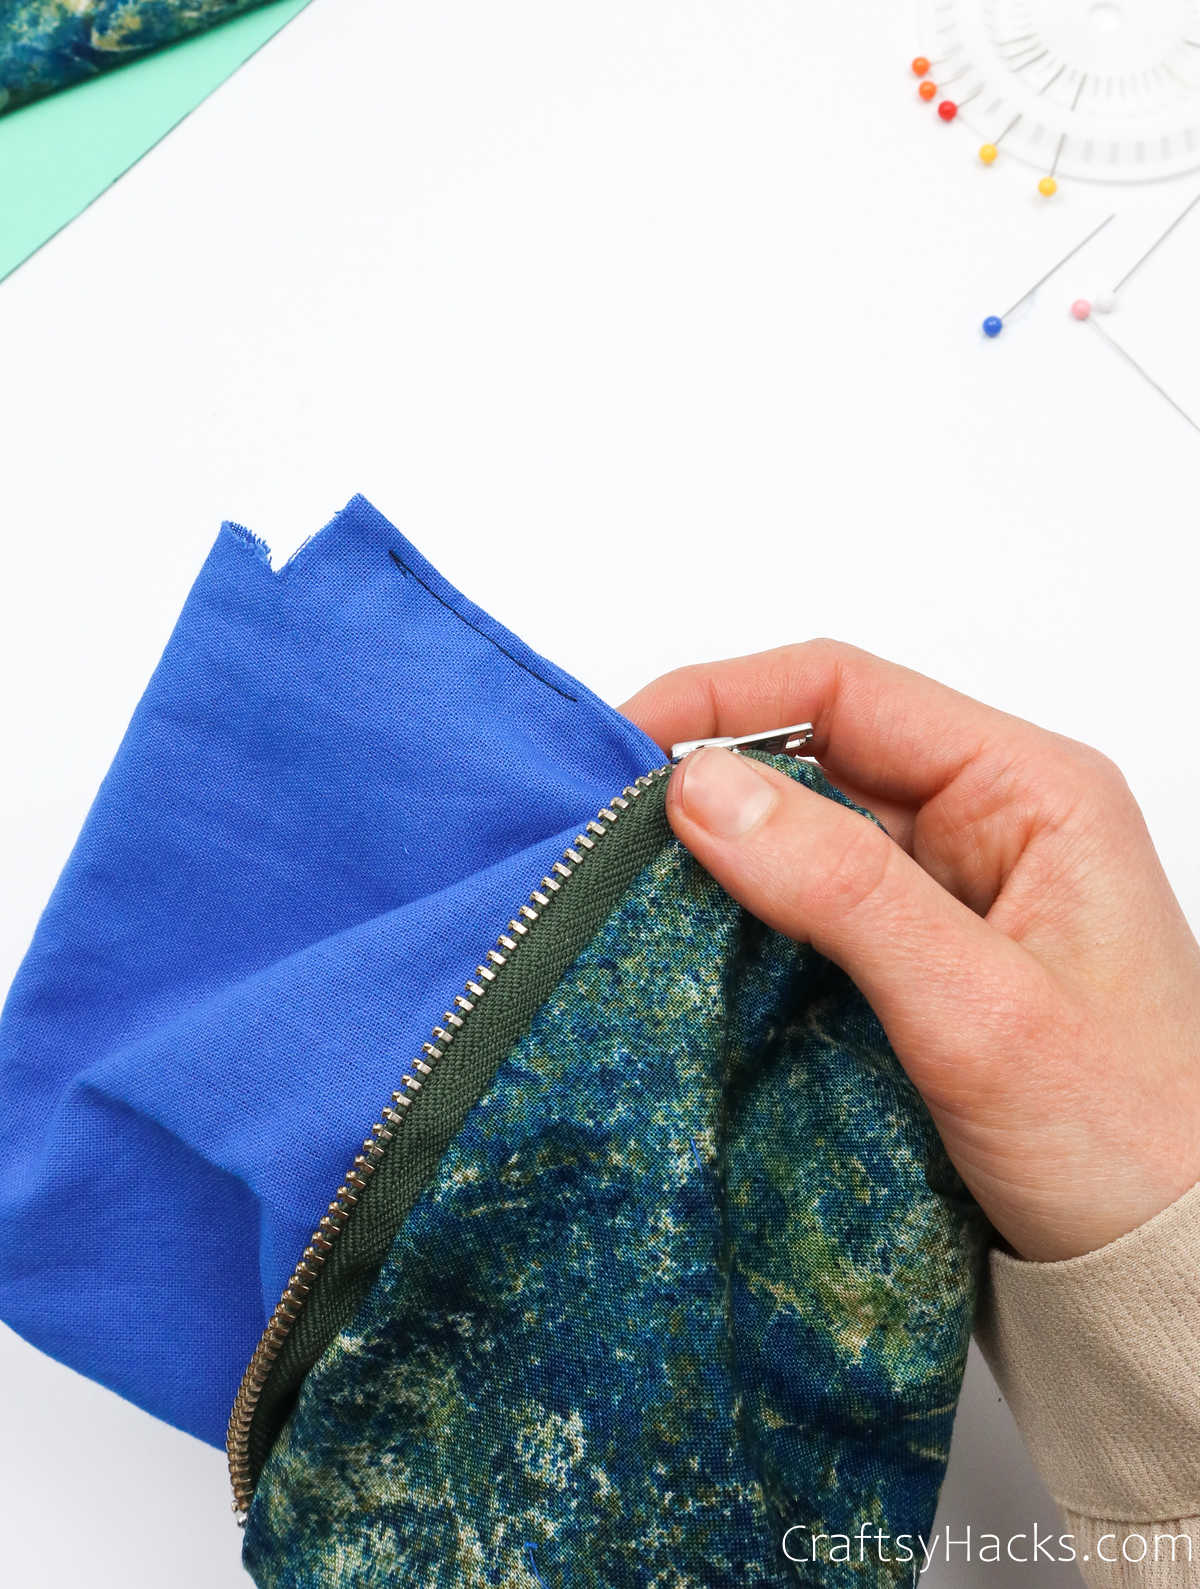
Repeat this with the other two indented ends of the other two corners.
Once again, you should avoid the fourth corner where you left that one-inch gap.
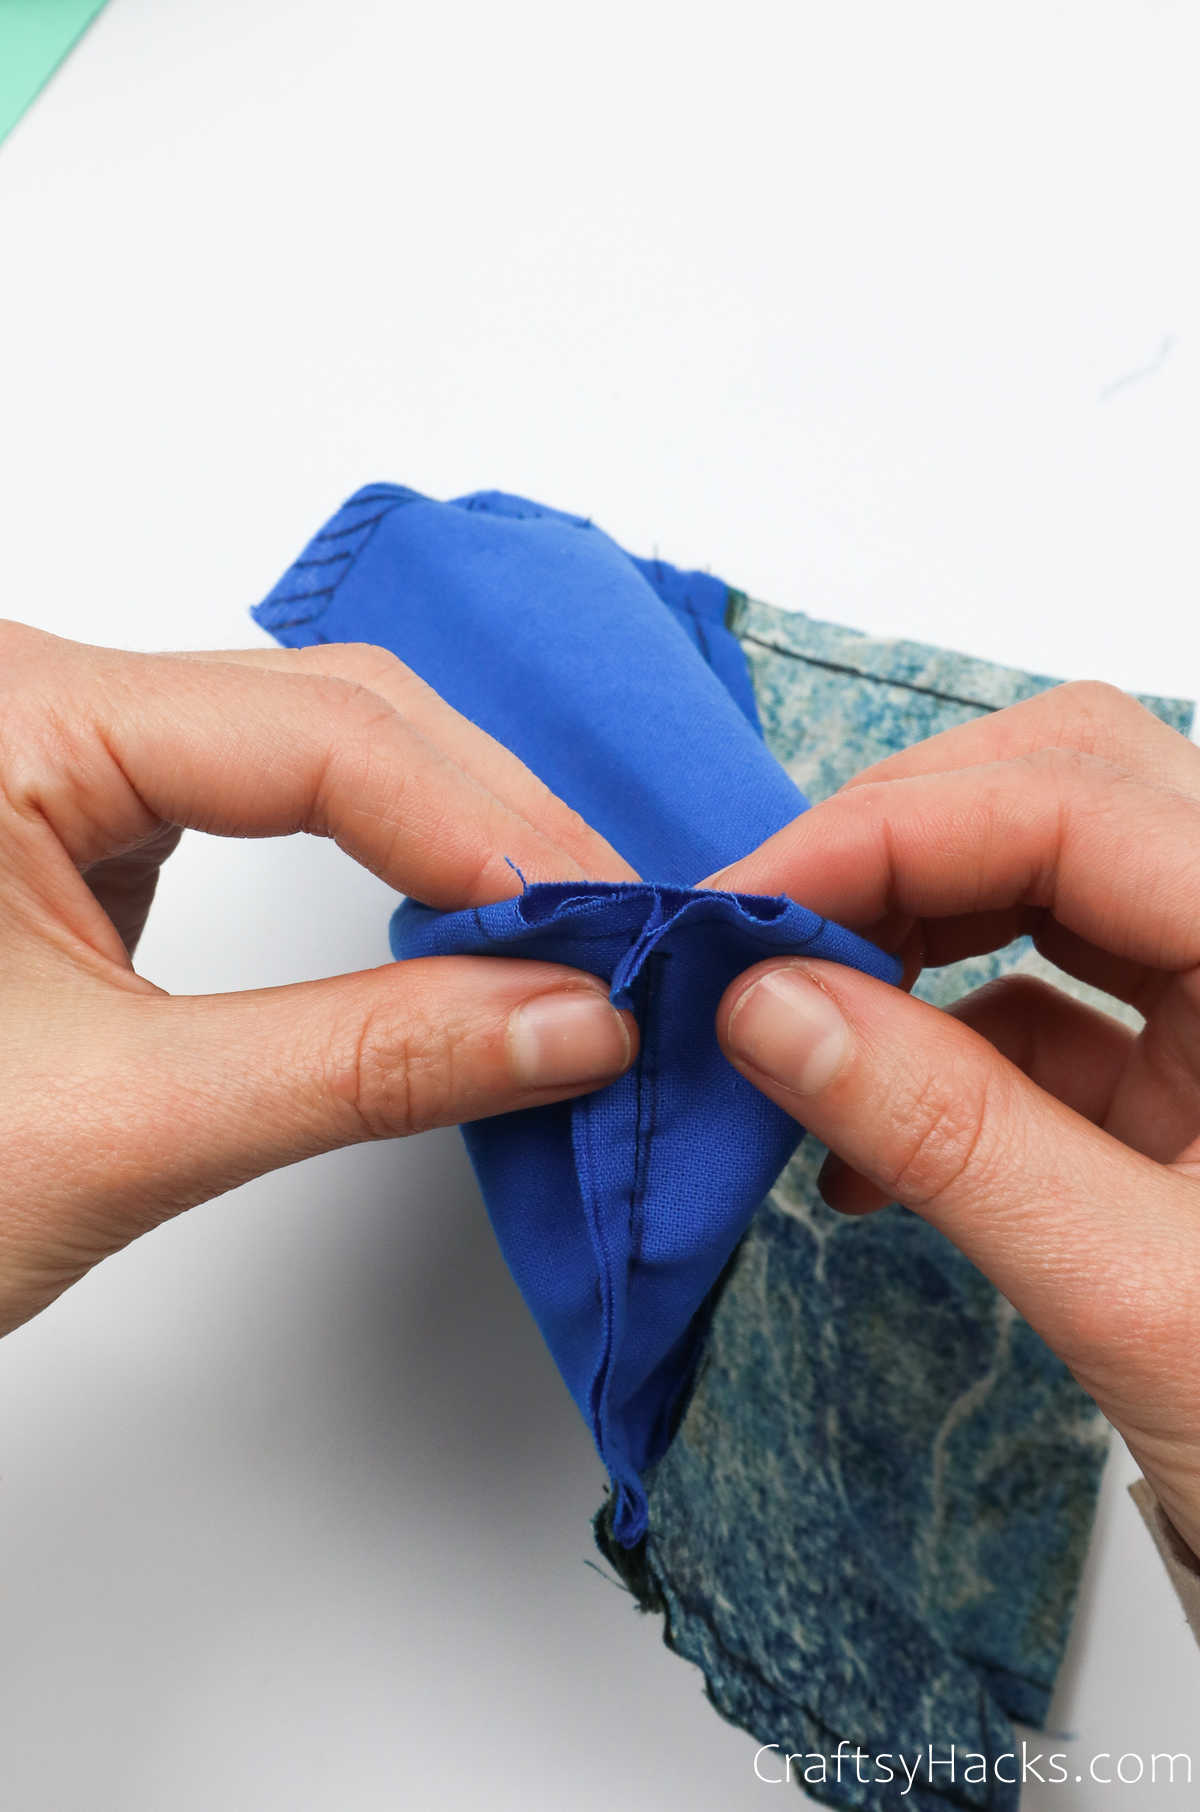
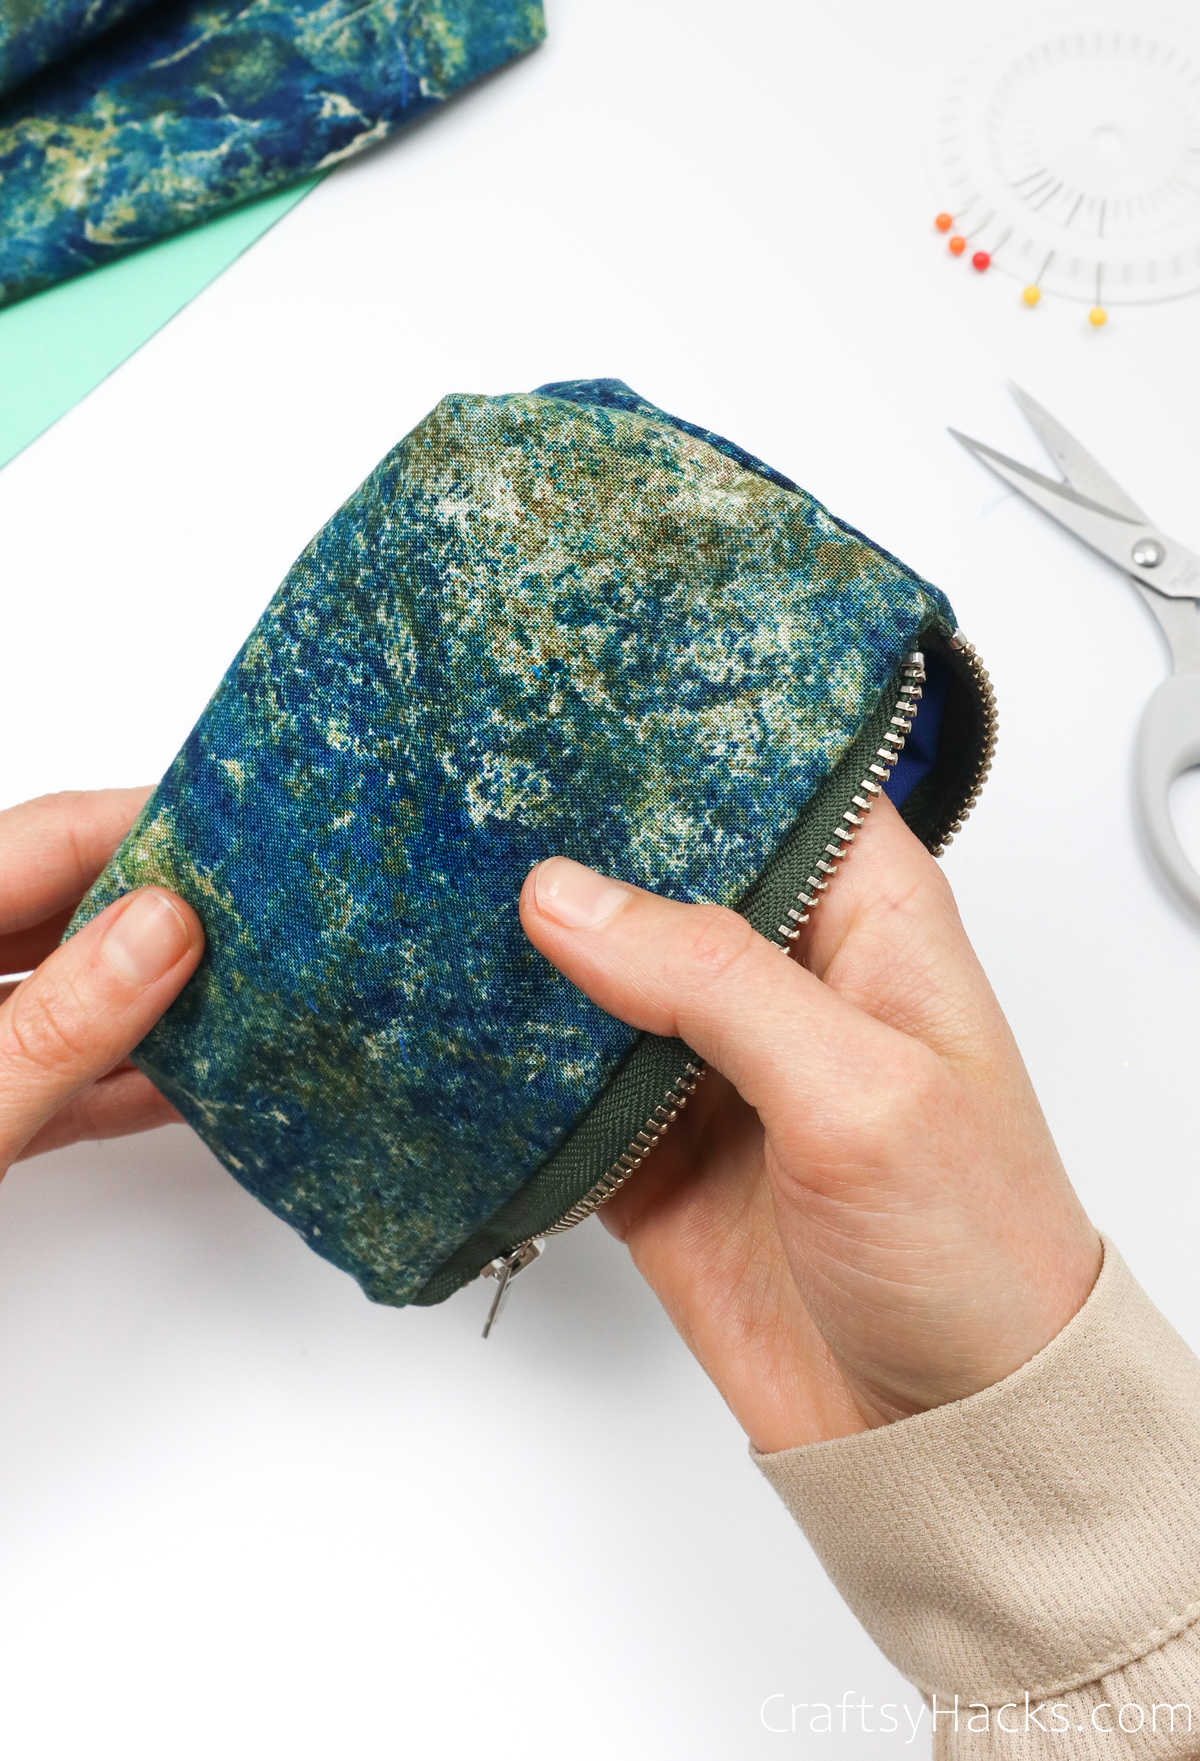
Step 15
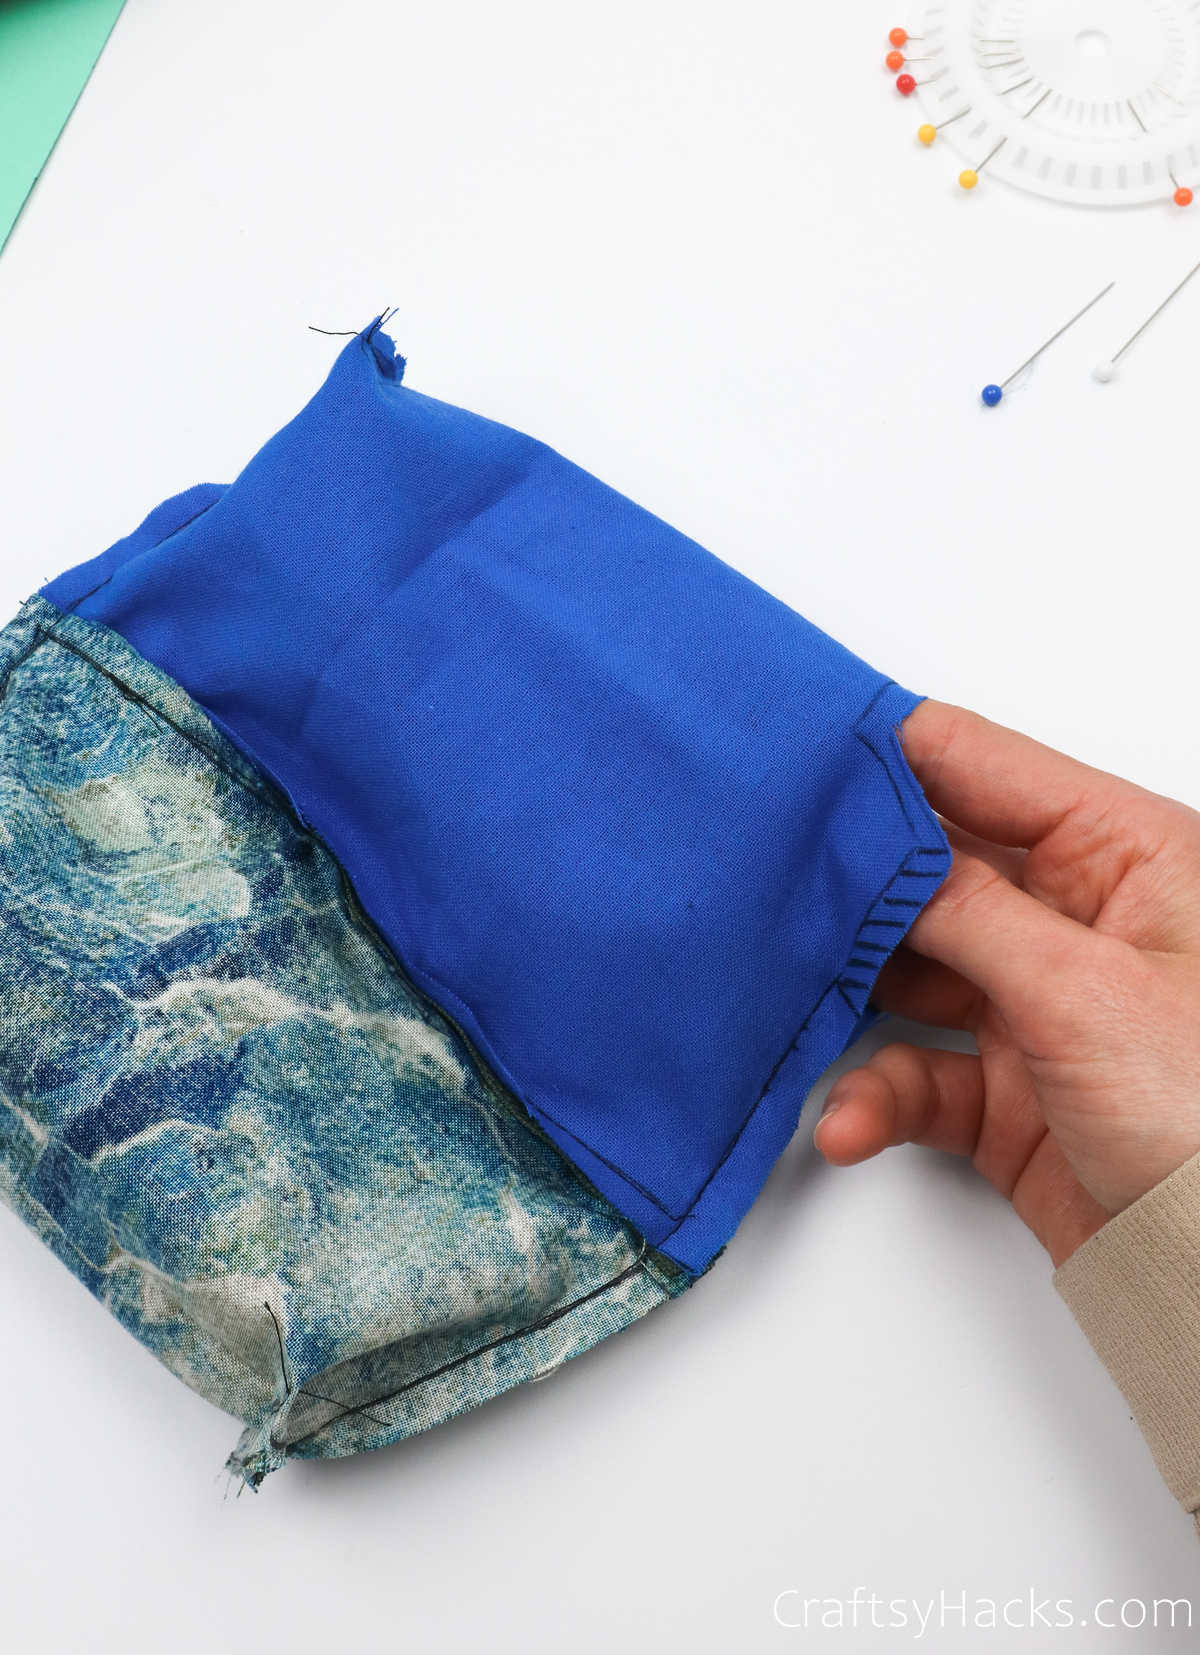
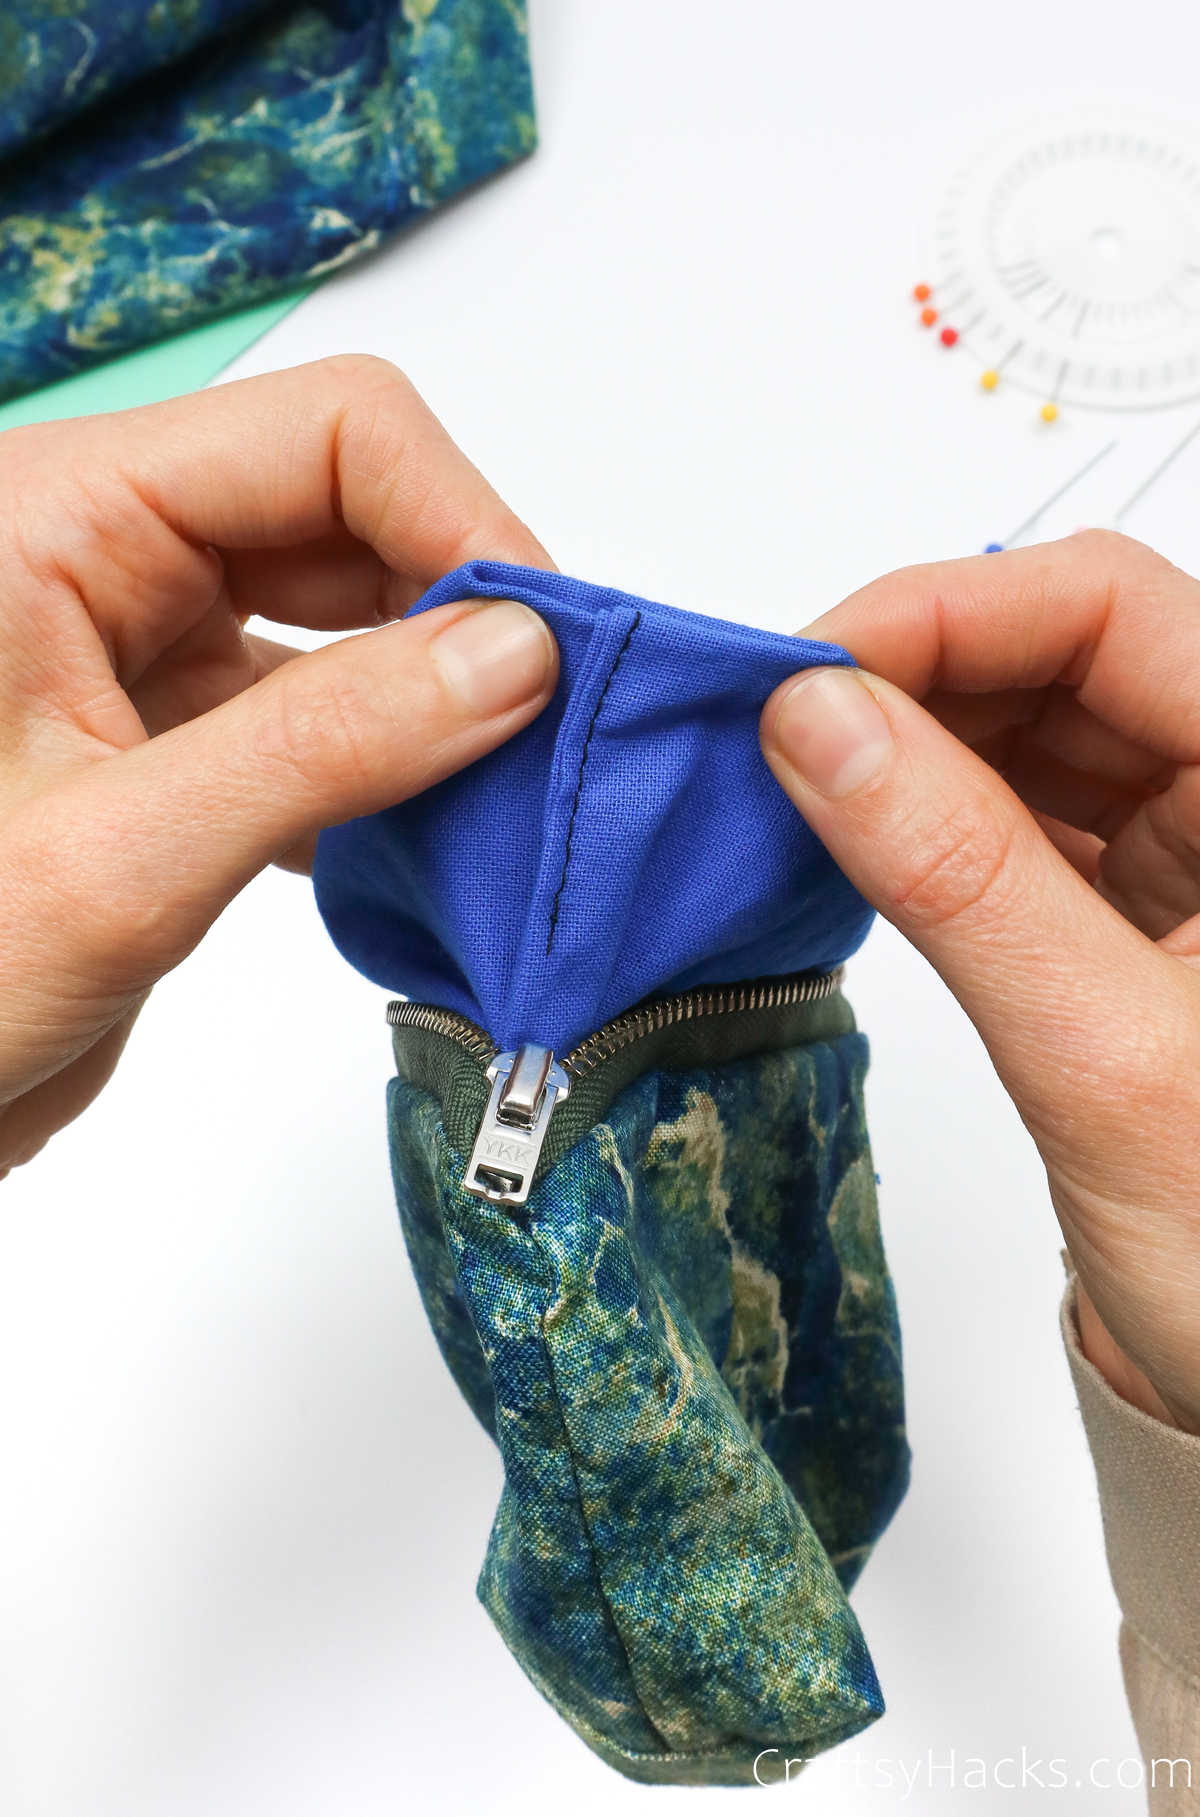
Head over to your sewing machine and stitch the indented ends, as shown here.
Are you wondering why you’re gonna wanna box the ends?
Its pretty useful to do this, actually.
When you have boxed ends, the bottom of your pouch wont be slouch and shapeless.
Instead, it will sit straight and balance out the entire pouch, giving it structure and shape.
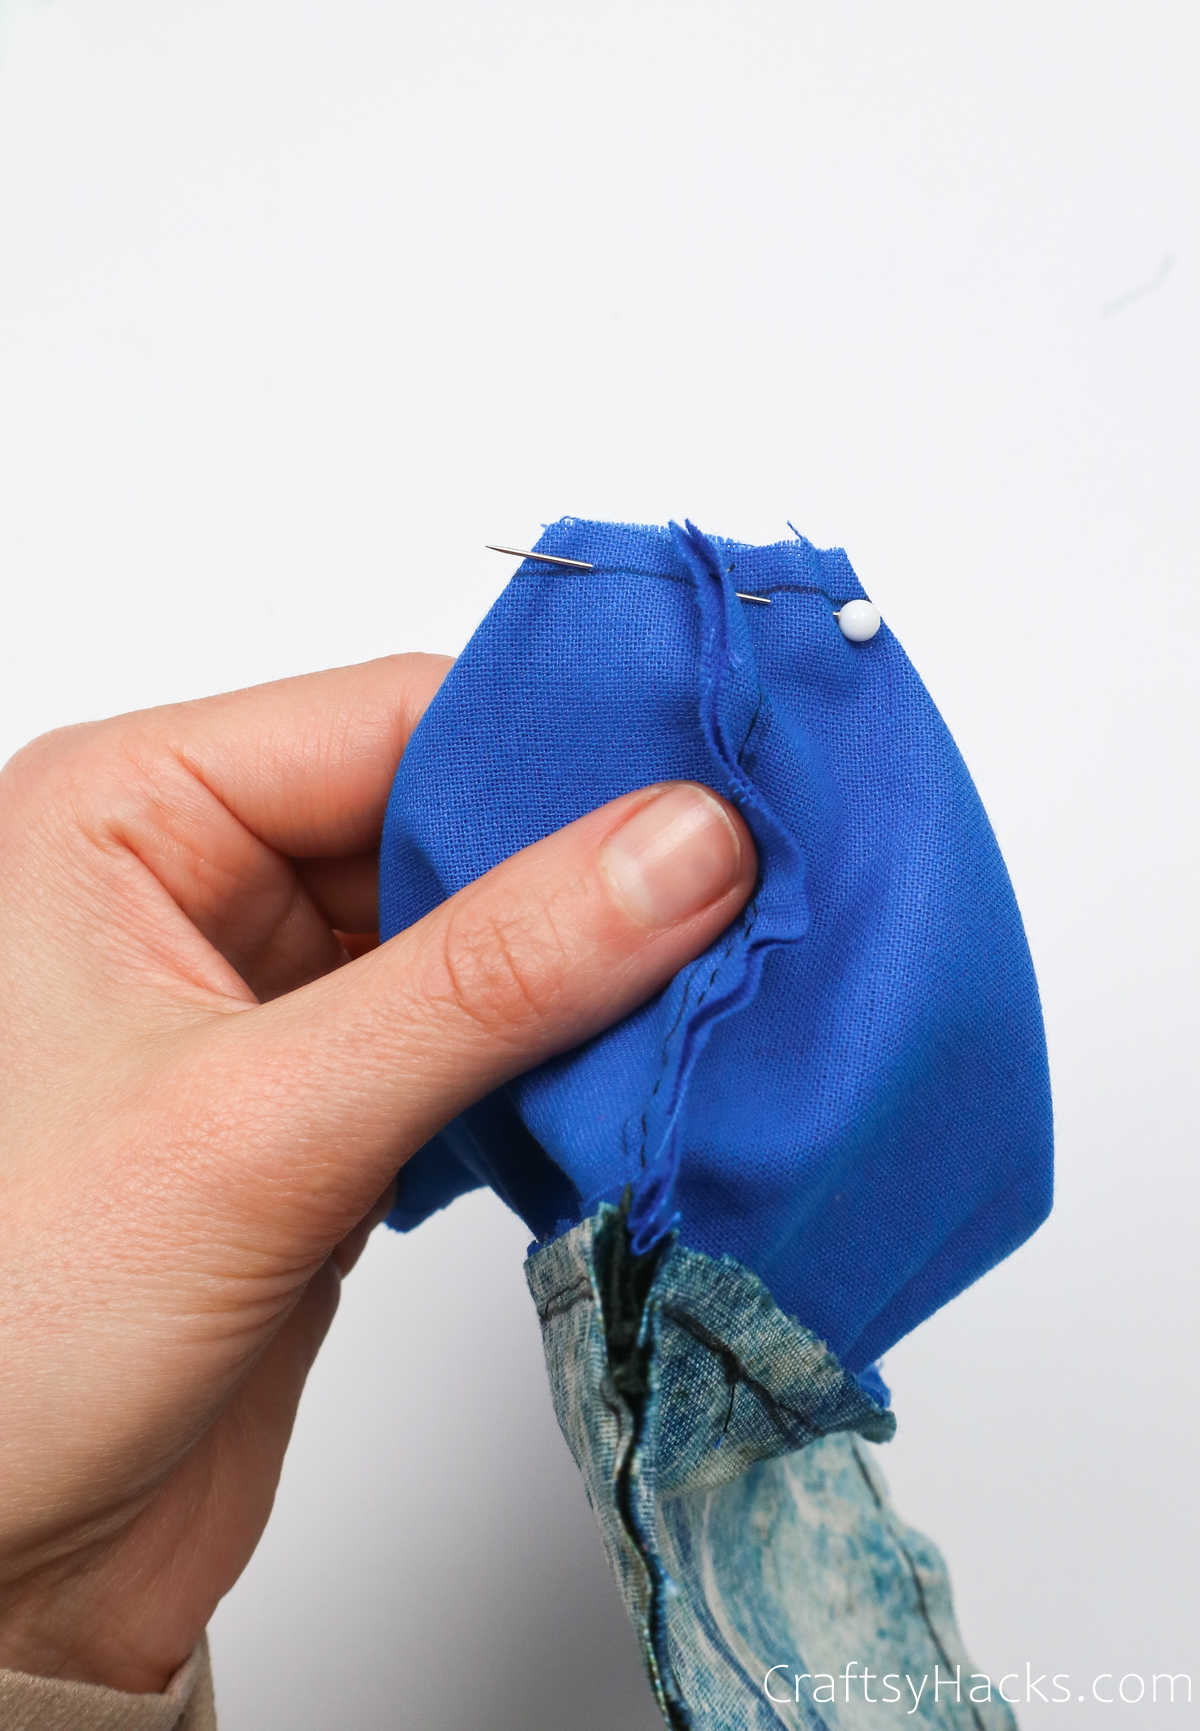
Step 16
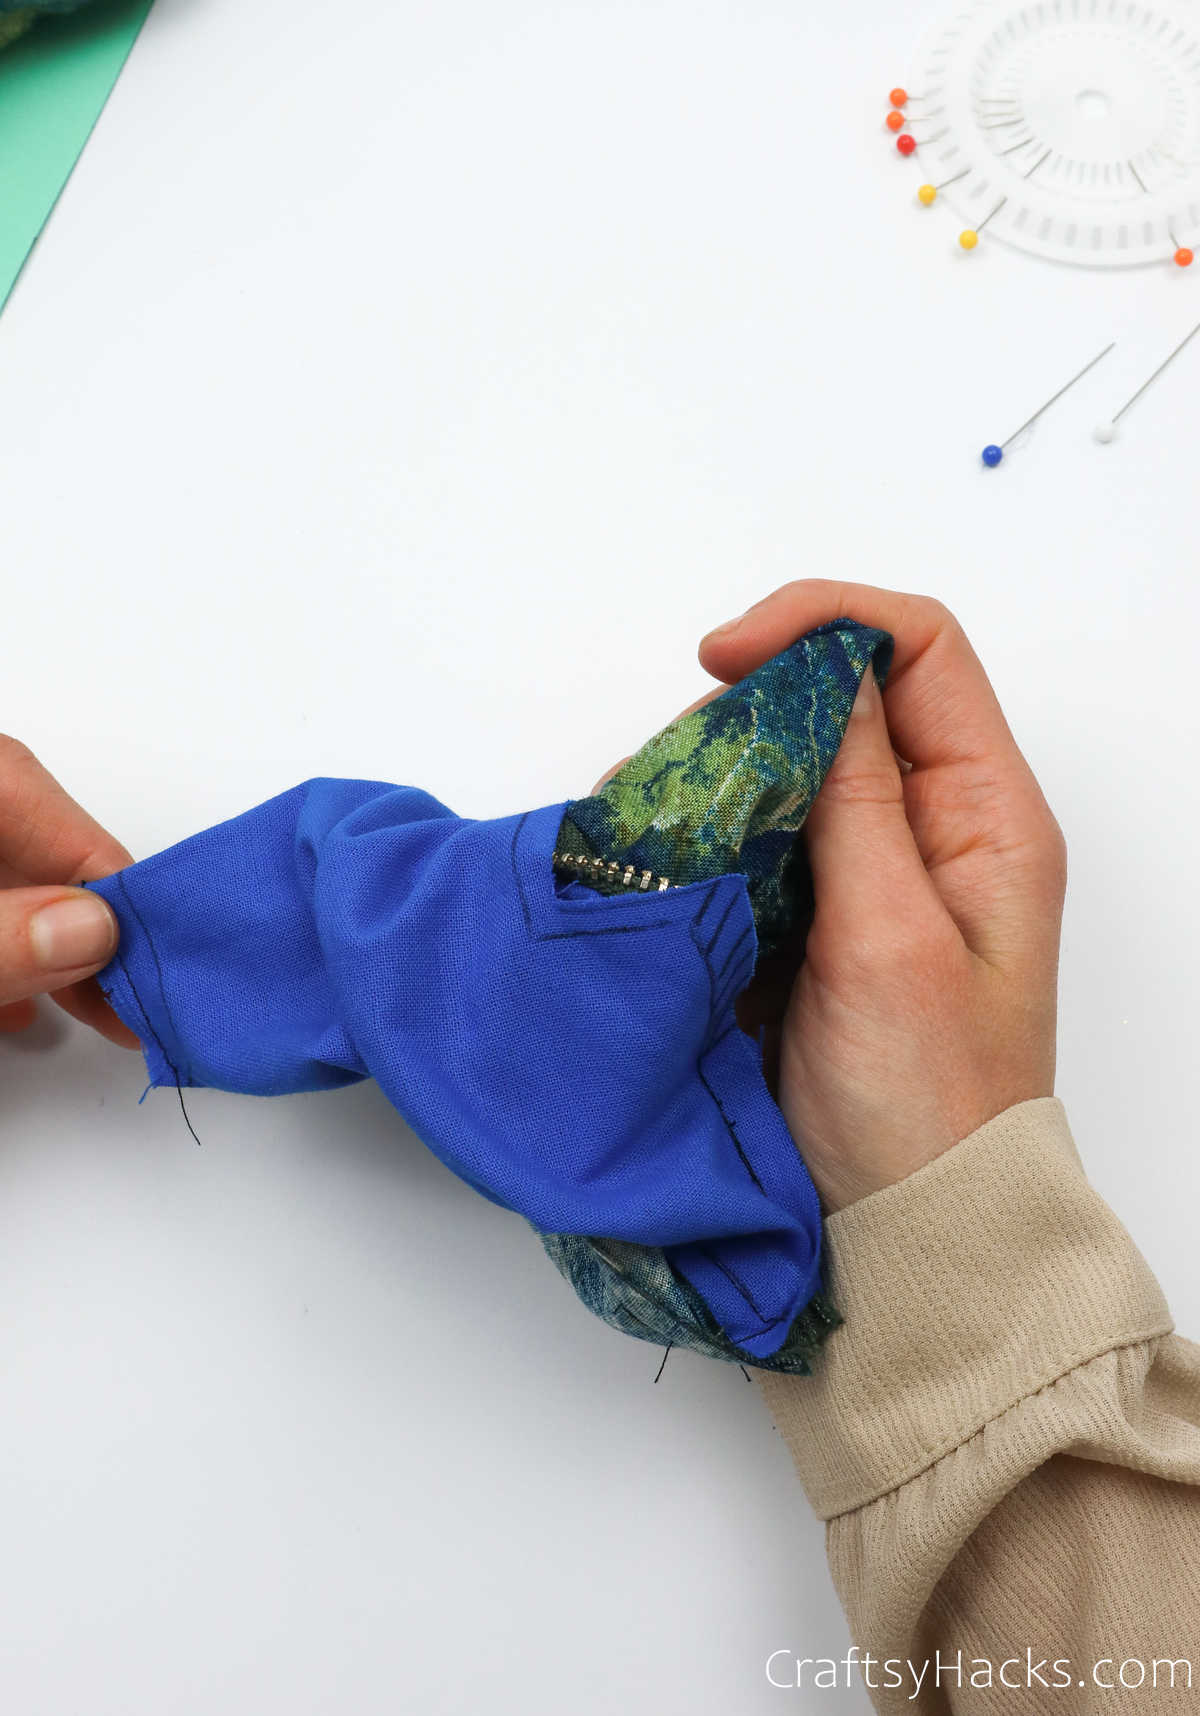
I also bet you were wondering why you needed that inch gap on one corner.
Well, youll be turning the pouch inside out by pulling all the fabric through that gap.
Fold the flaps of the fabric inward and line them up against each other.
Press the folds and pin them in place.
Sew a neat line across the folds you just pinned in place to kill the gap.
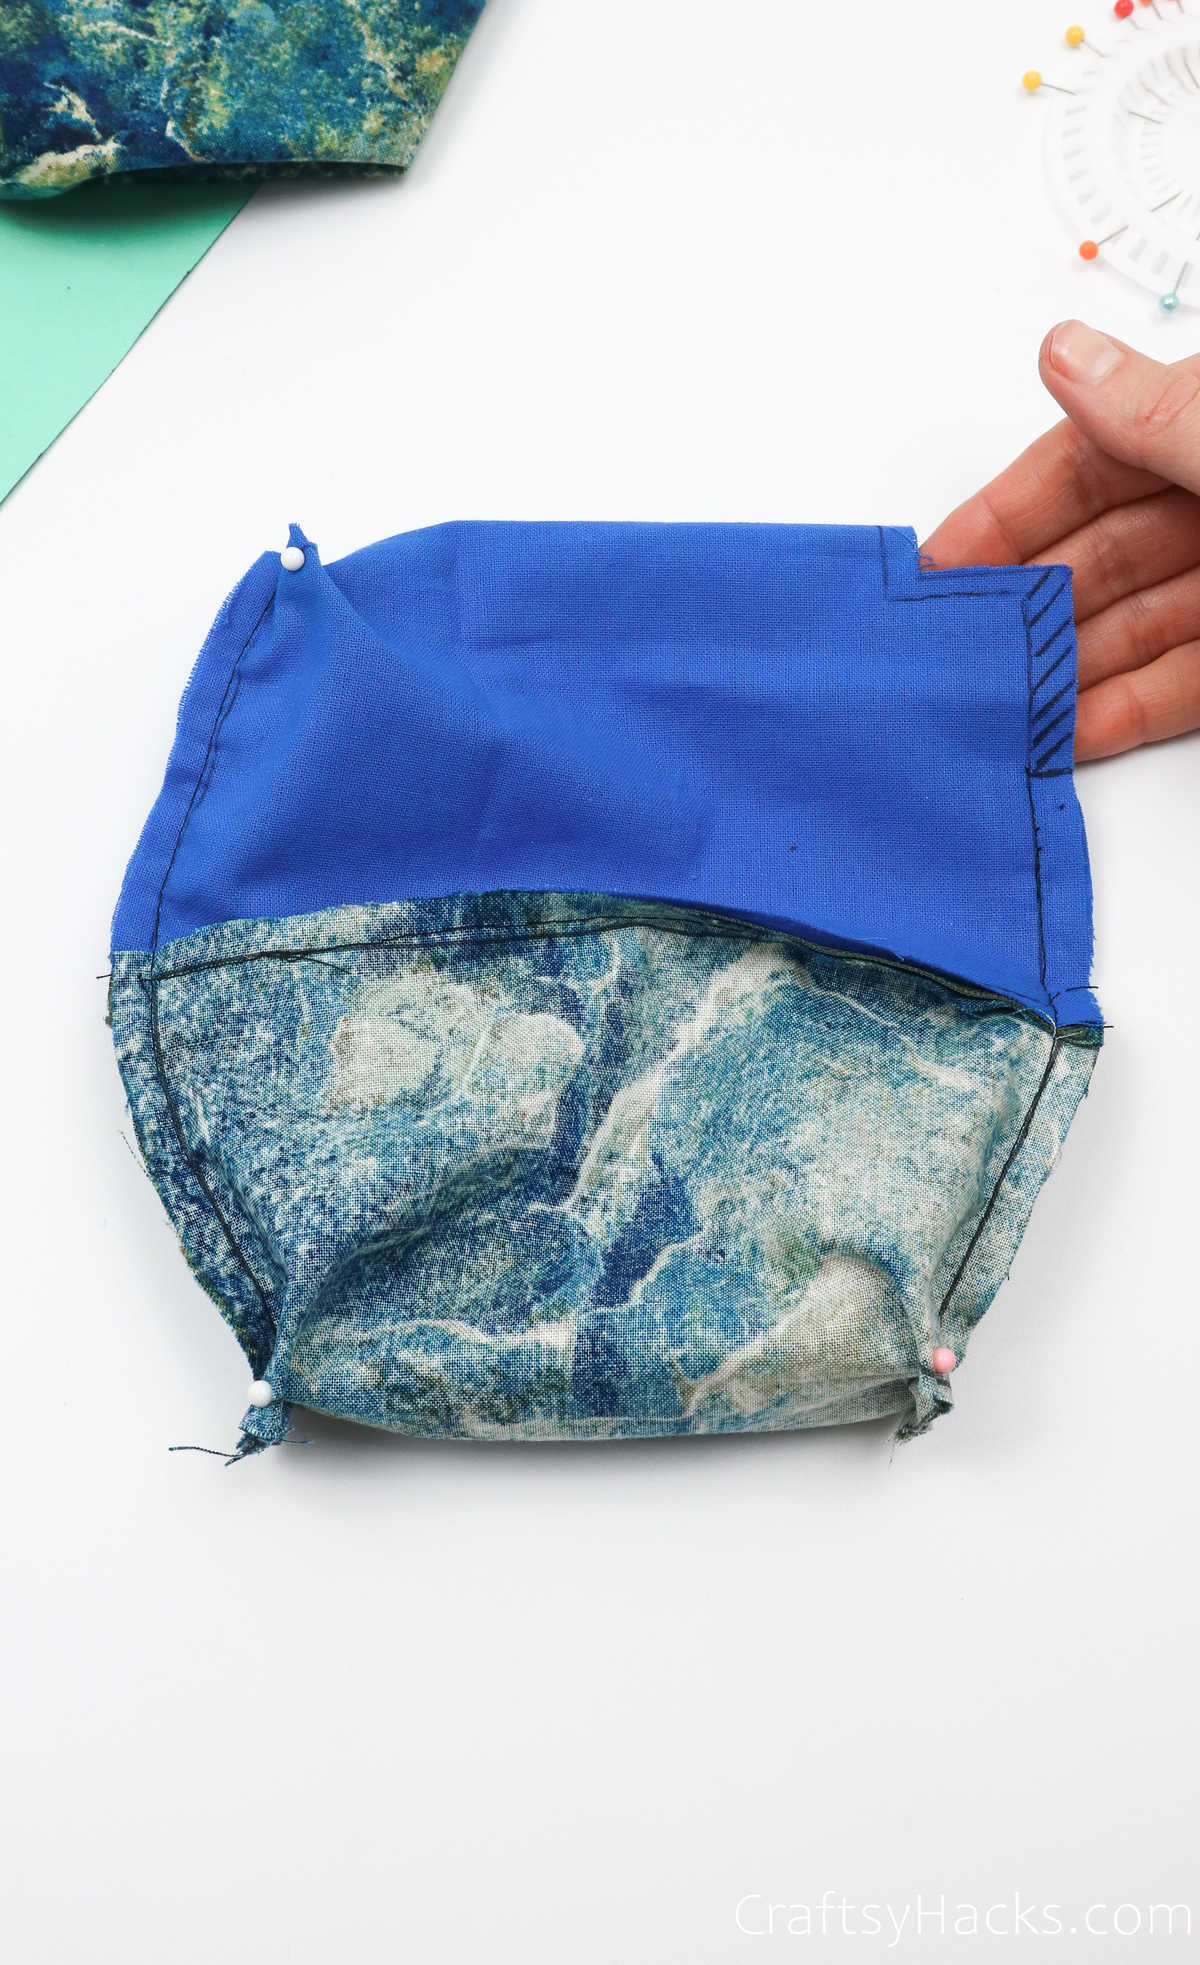
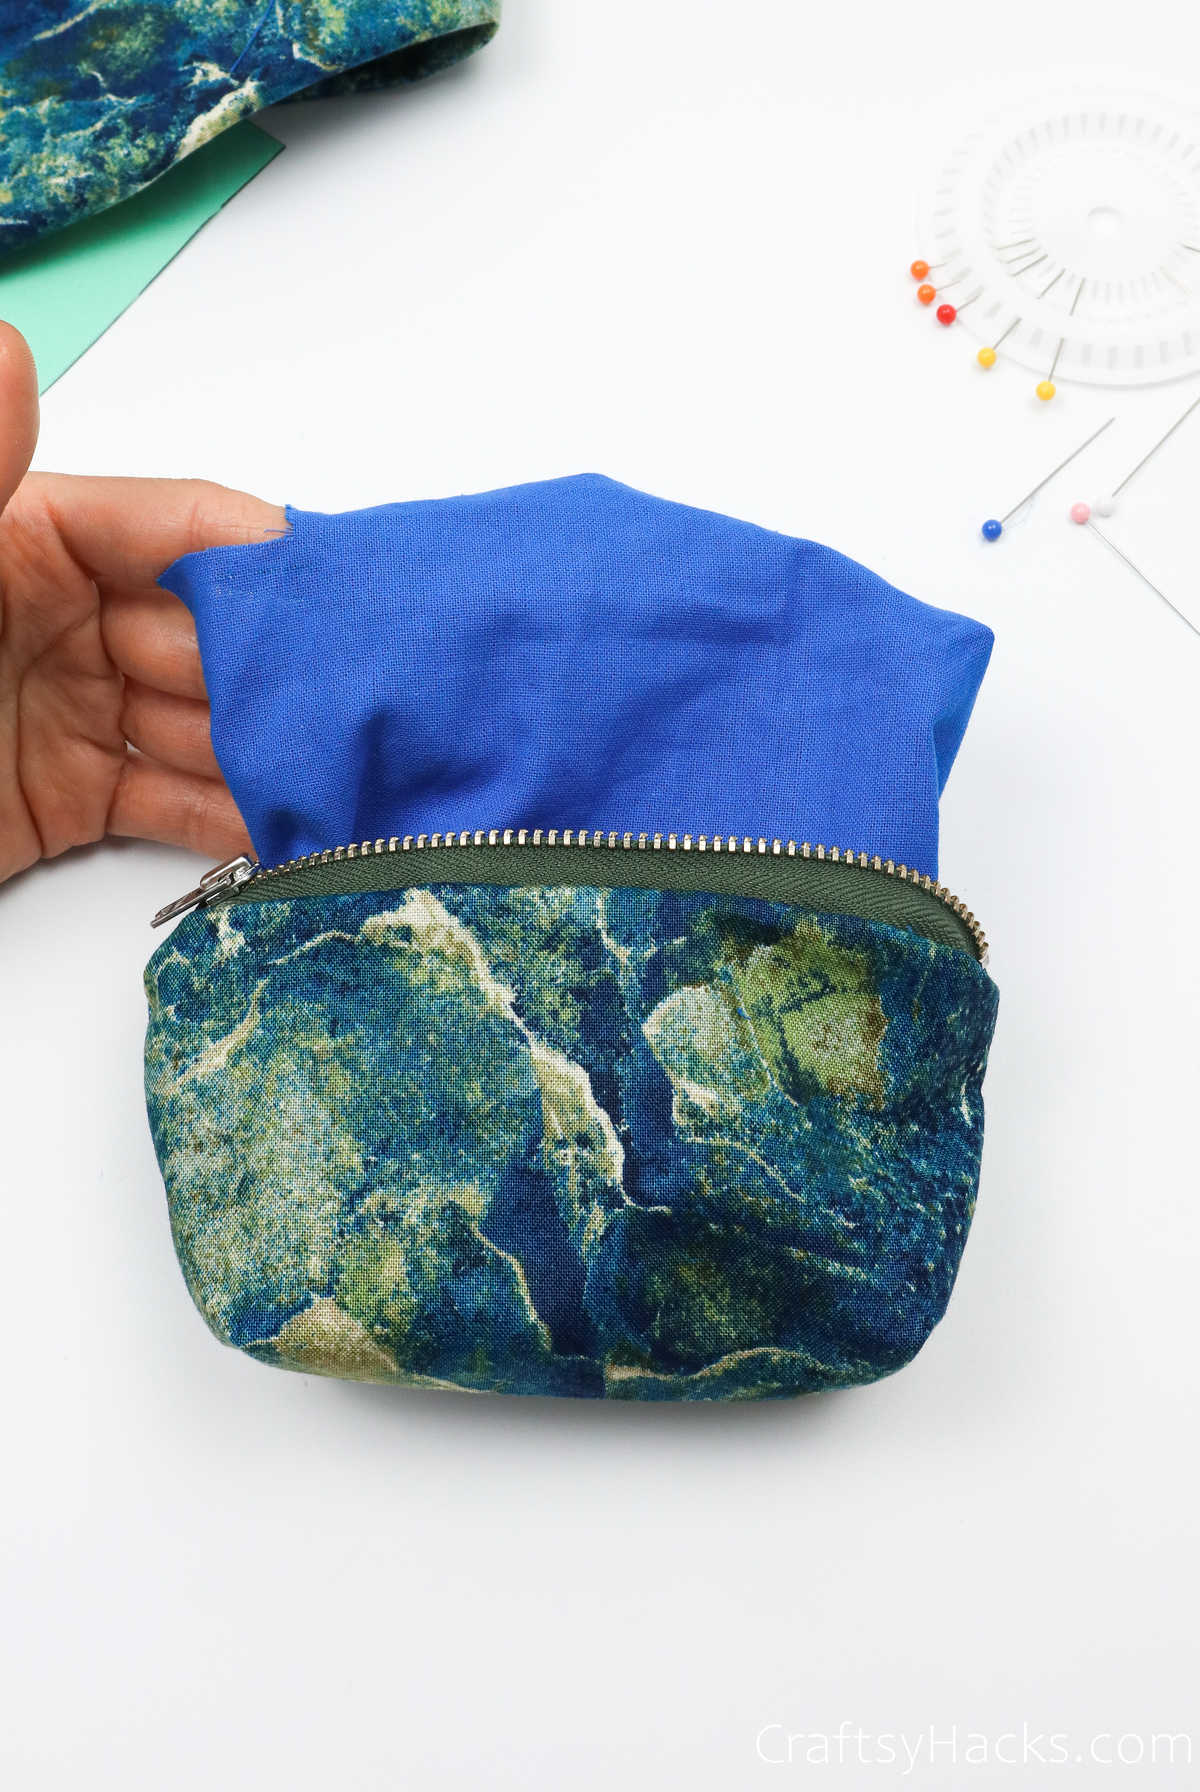
Use your fingers to tweak the boxed ends so theyrejustright.
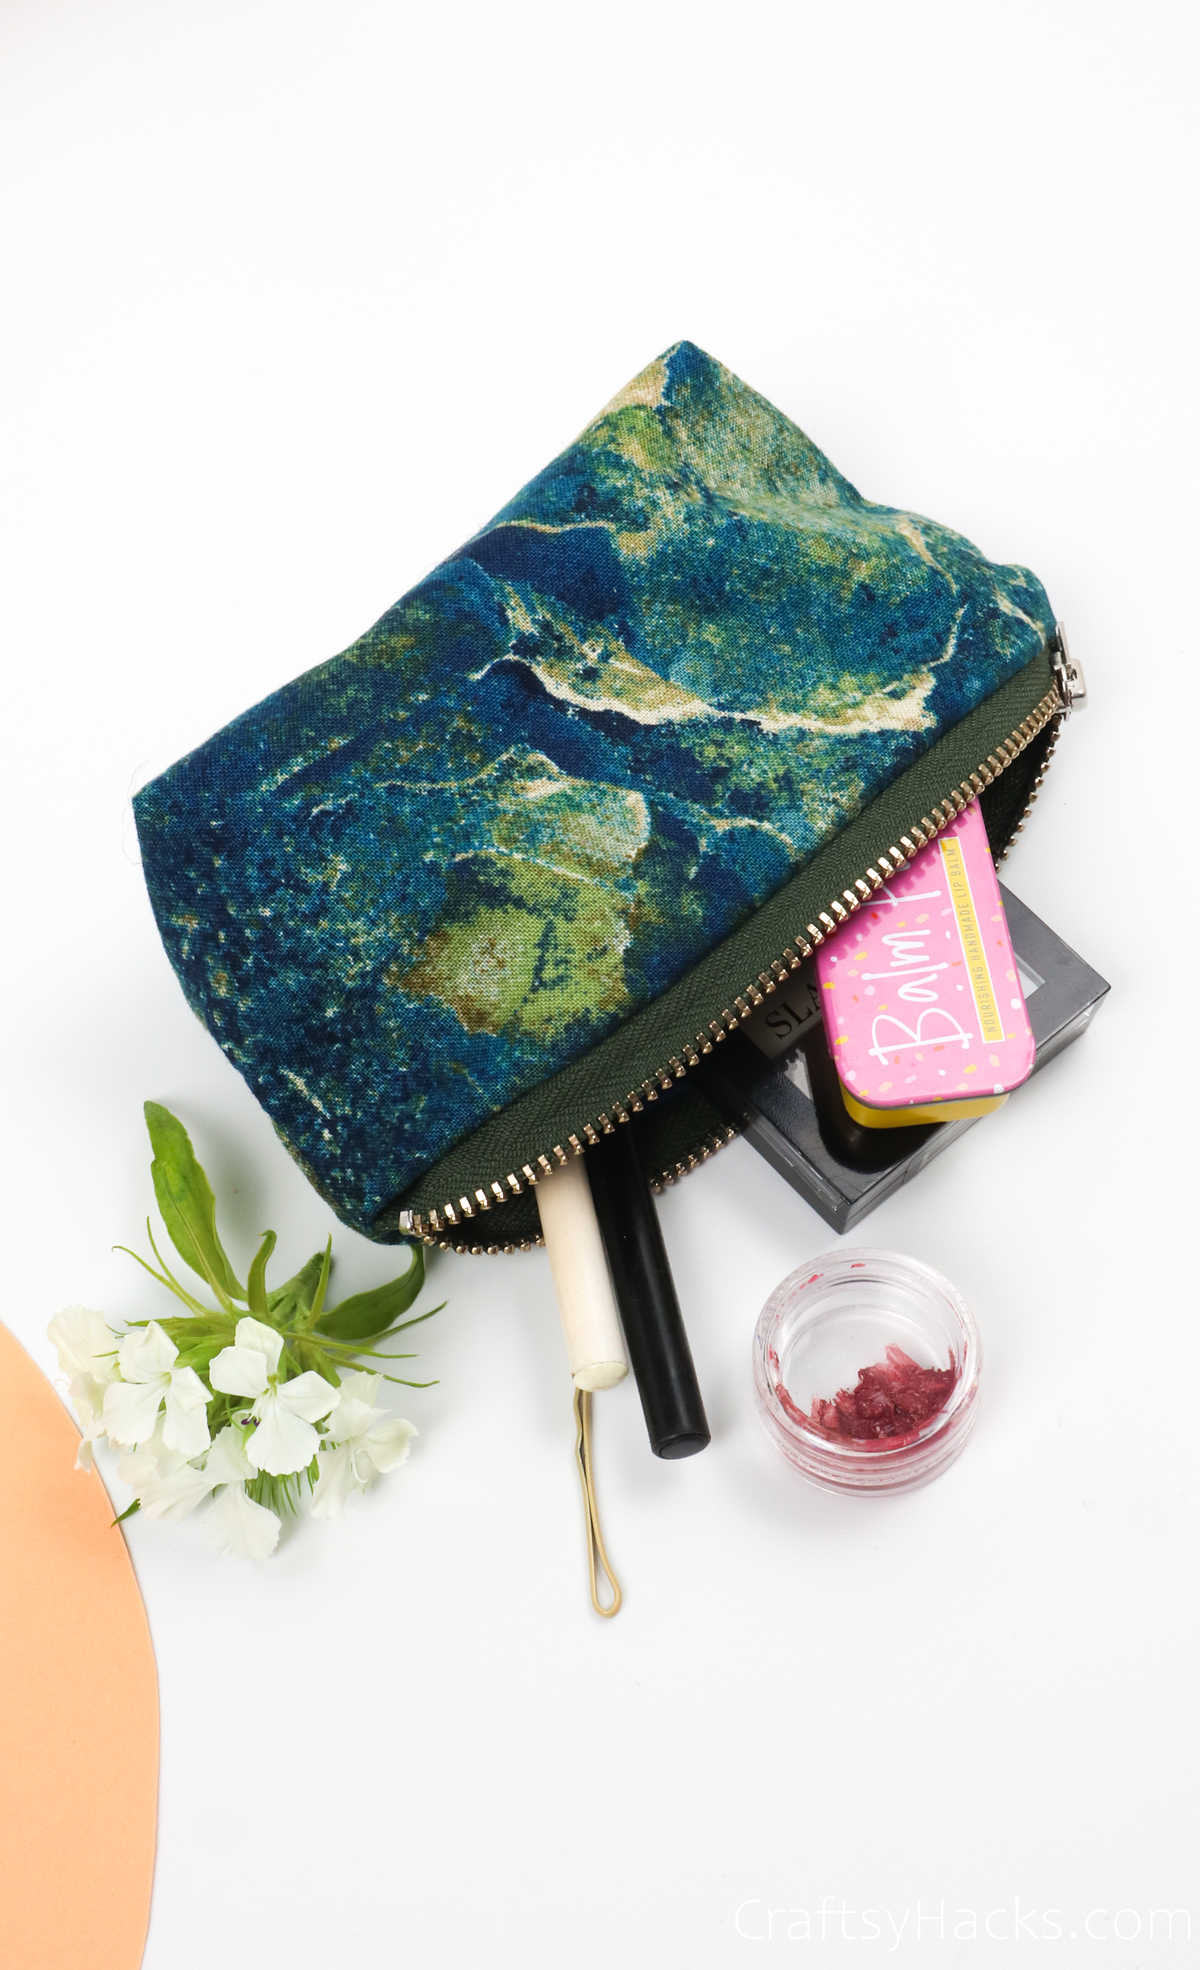
And there you go!
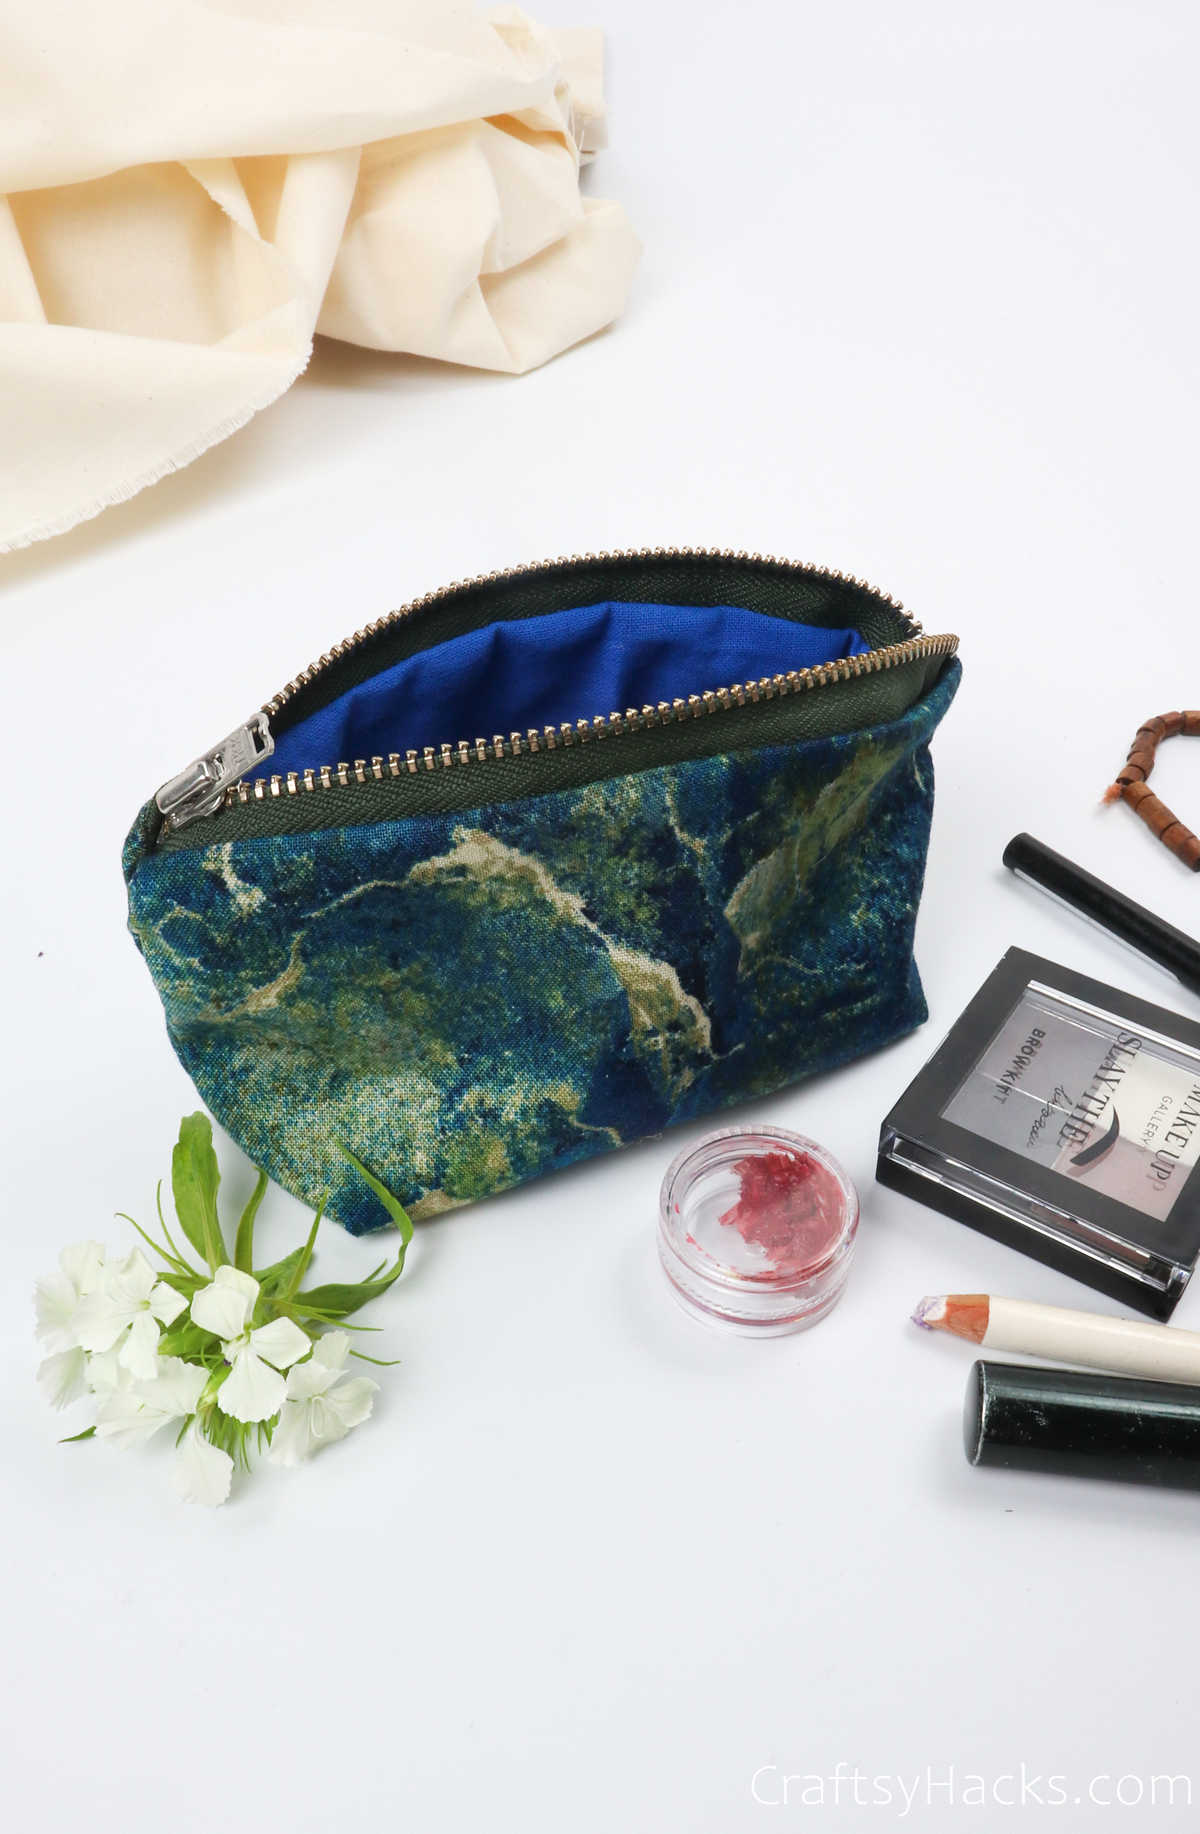
Your DIY pouch with a zipper is all done and ready to use!
Anamazing craft for adults.
What Can You Store in This Zipper Pouch?
The question is: what can younotstore in these pouches?
Heres a list of things you might keep in these pouches:
Who Can Make This Pouch?
This zipper pouch is a perfect project for beginners and experts alike.
Its a great mini-project for beginnersto practice their cutting and sewing.