After pulling some strings (did you see what I did there?
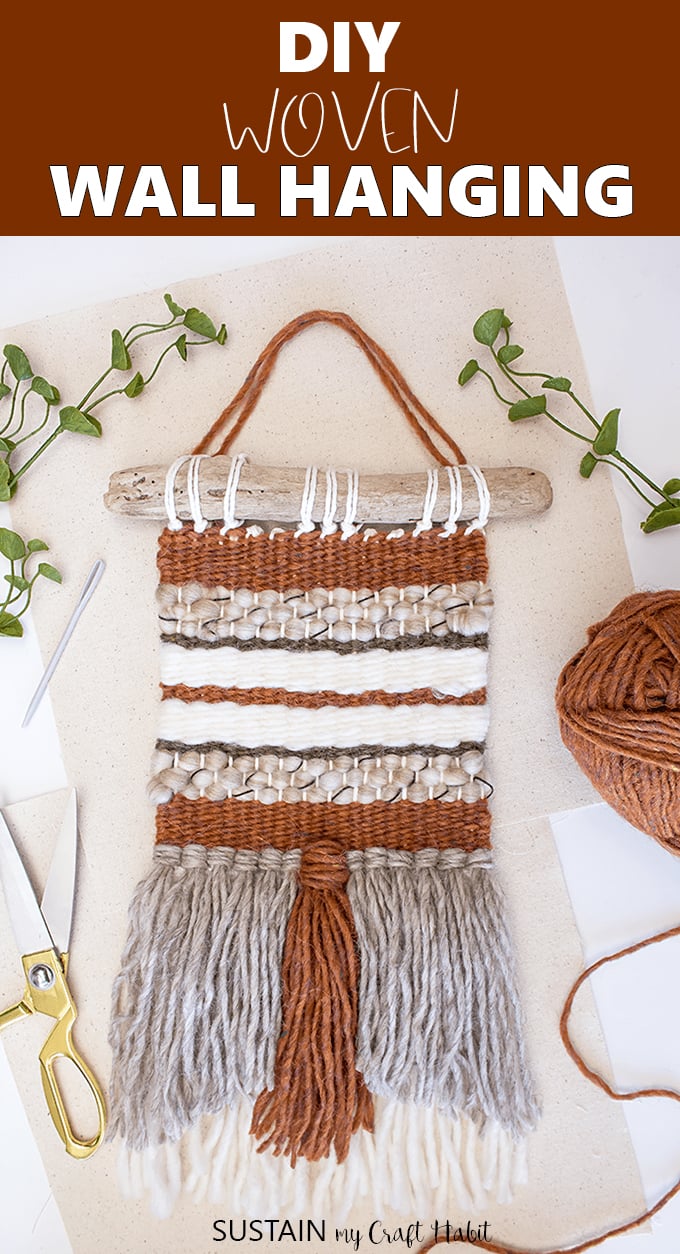
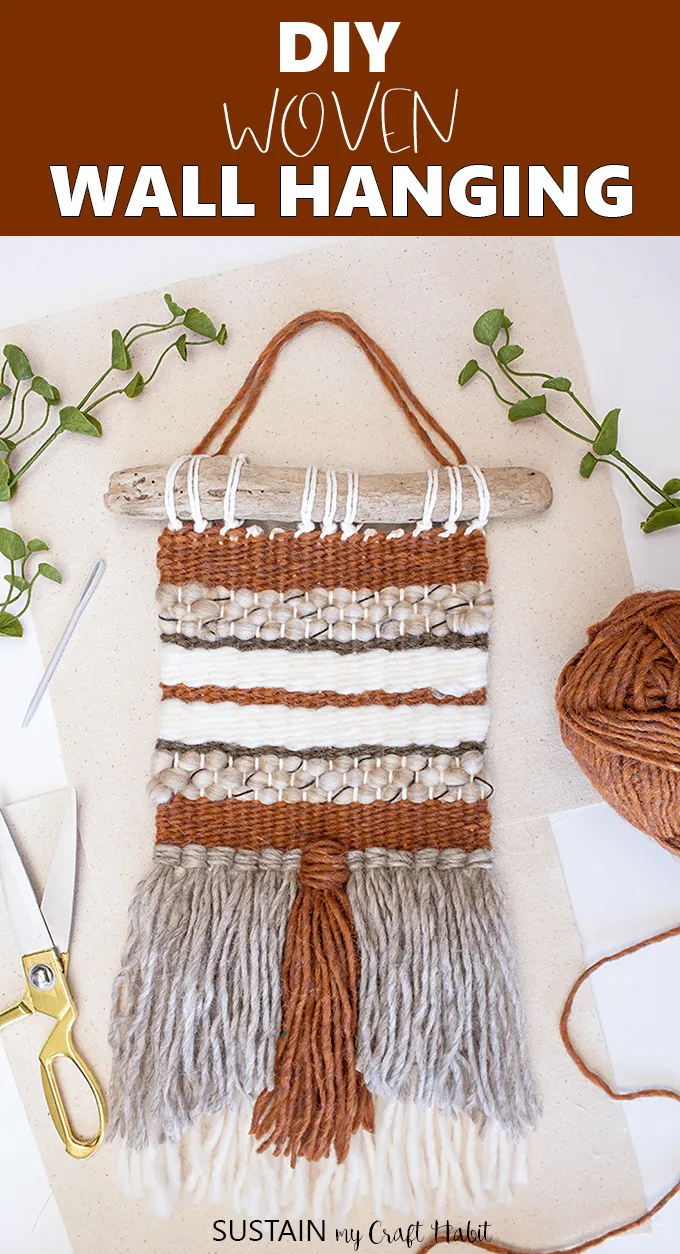
), shes kindly agreed to share aDIY woven wall hangingtutorial with us.
Once I started, I never looked back!

It is a beginners level tutorial, so dont worry if youve never woven before.
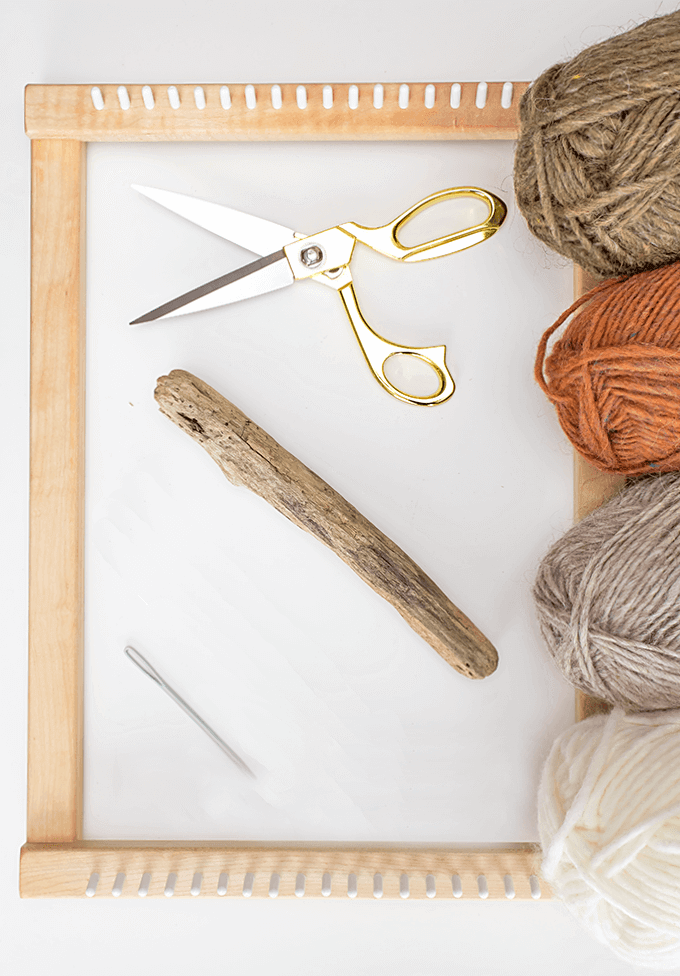
Okay, lets get started!
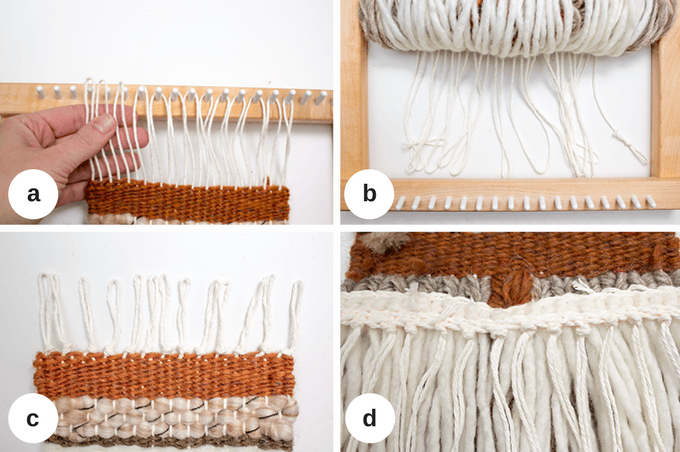
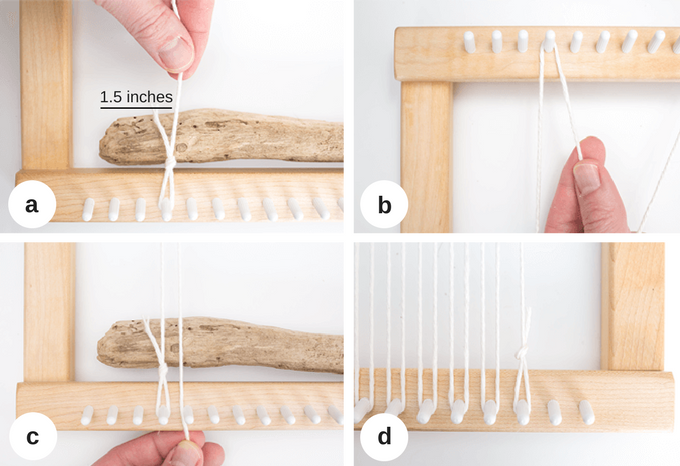
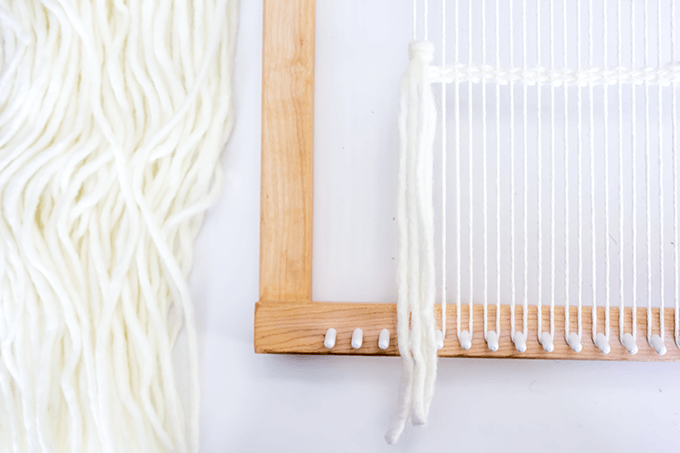
To begin, you will first set up the vertical strings.

The vertical strings are referred to as the warp.
You will begin by warping the loom.
Once youve completed the warping process, simply set the driftwood aside.
c.Wrap around the next peg and pull up.
d.Continue repeating the process until you are satisfied with the width.
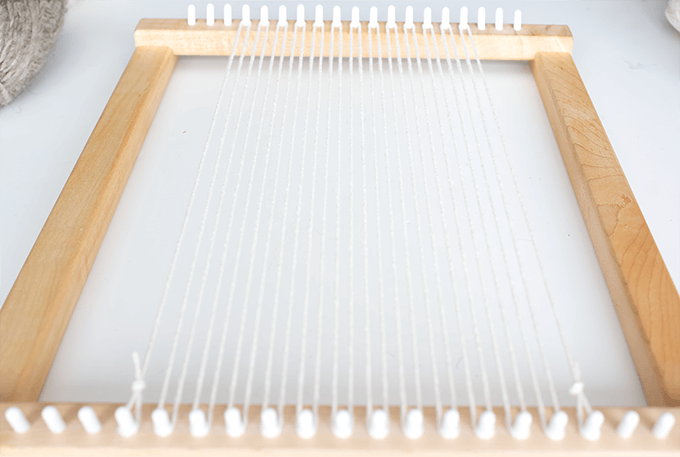
Here is your completed warp.
Tip:Pay attention to the tension of the warp.
Test the warp by laying your hand over the warp and press down.
When you lift your hand, it should spring back immediately.
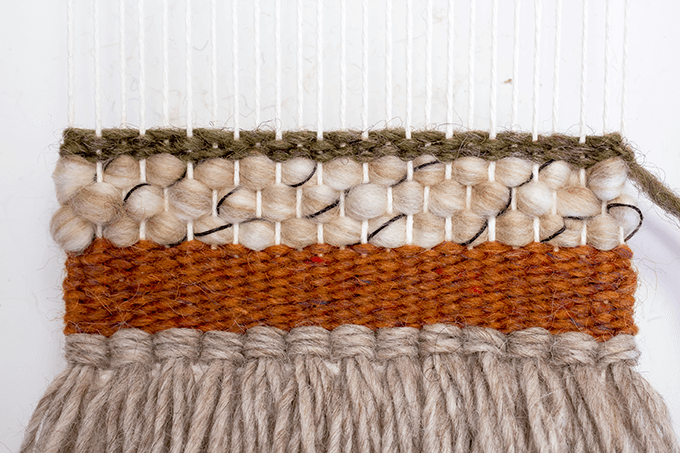
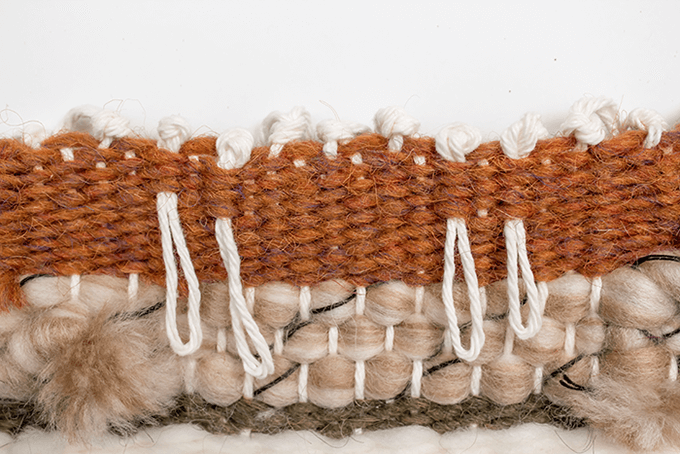
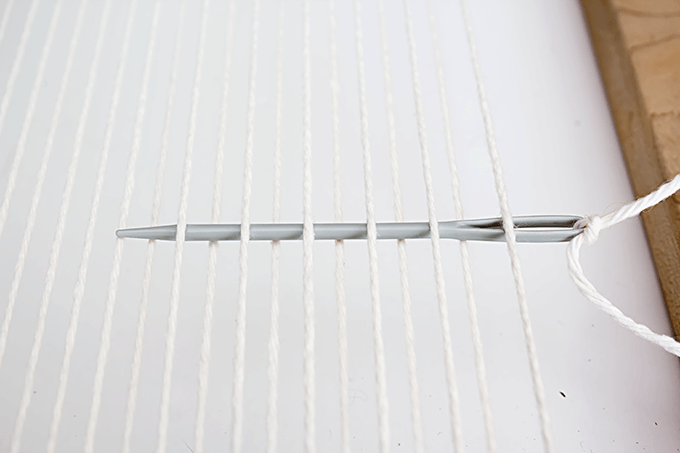
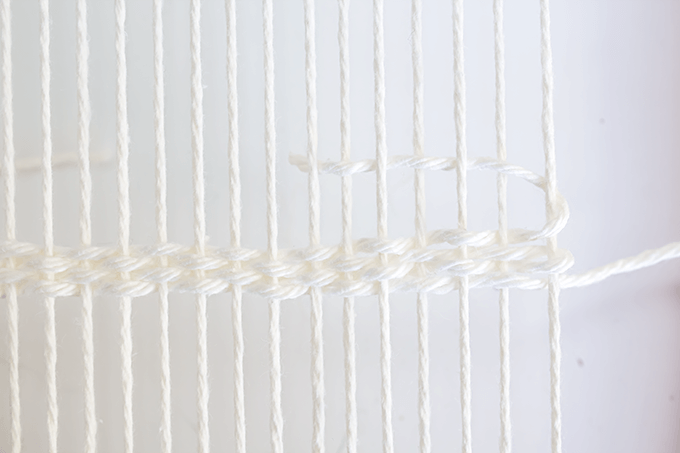
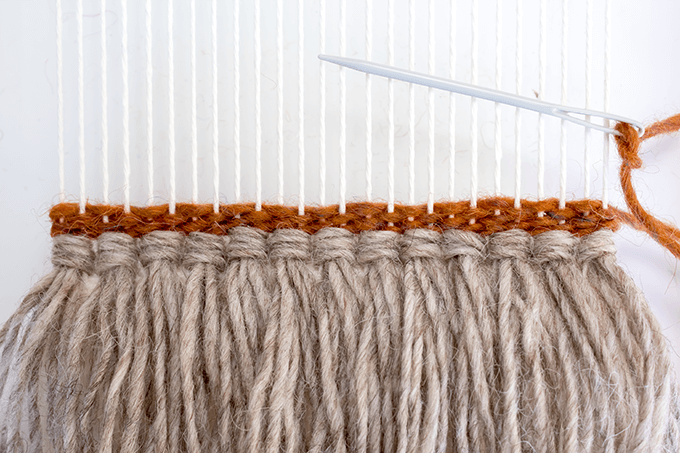
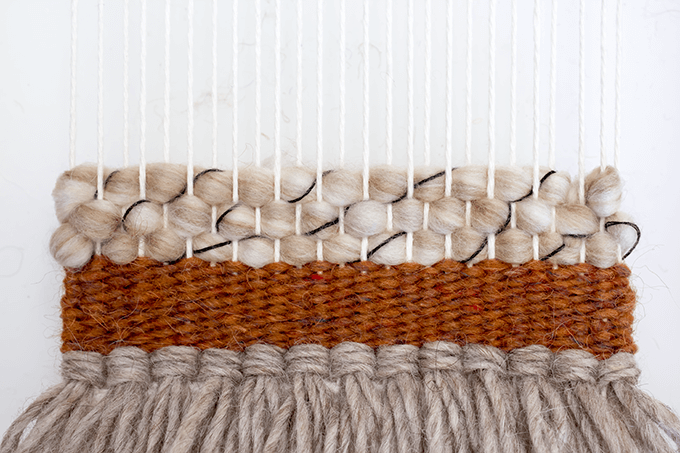
This punch in of weaving is calledTabby or Plain Weave.
b.When you reach the opposite side, begin weaving back towards the end you started from.
Otherwise, you will unravel your weave.
In the picture below, the first row of yarn ends over the first warp string.
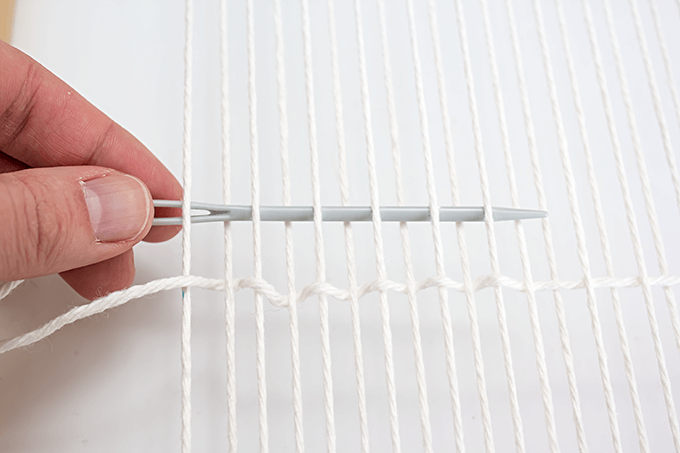
Begin weaving the second row going under the first warp string.
c.Continue creating about 4-5 rows.
When you reach the end, snip off the yarn and weave in the end.
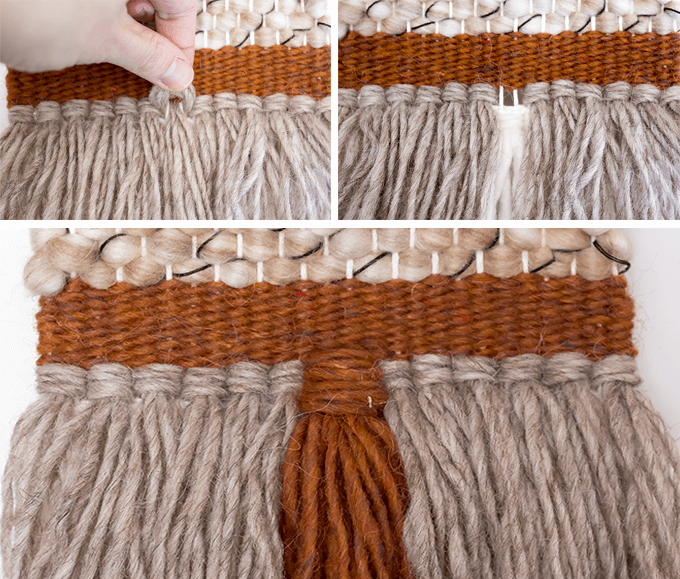
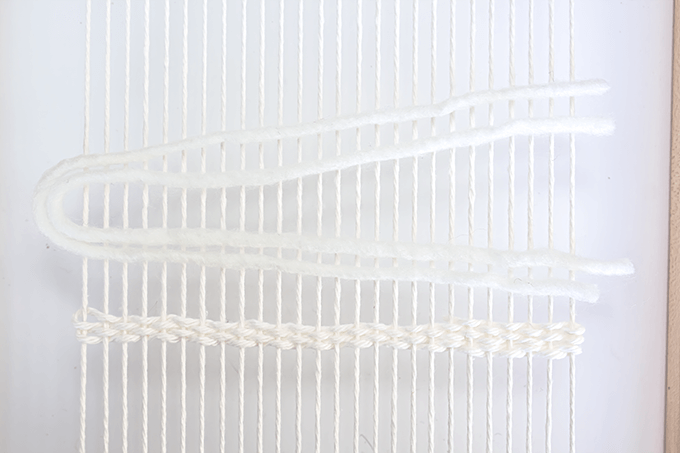
Most modern woven wall hangings have lovely fringe along the bottom.
Lets begin by adding a couple of layers of fringe just above the rows of plain weave just created.
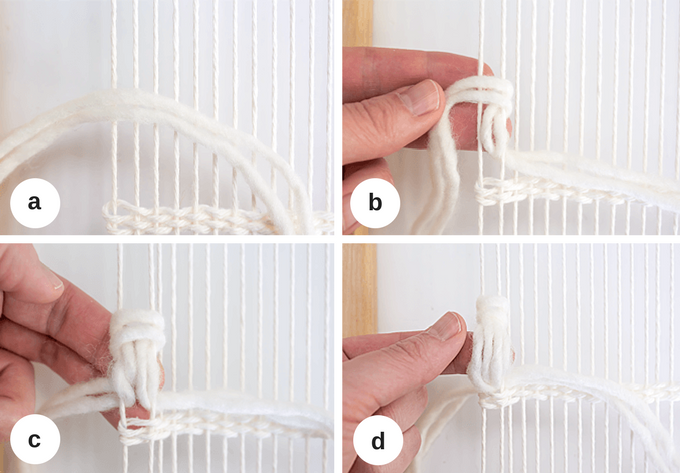
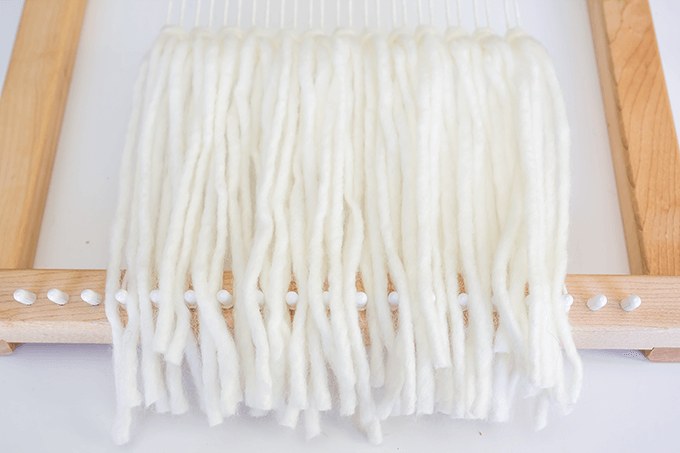
Add your first fringe as follows:
a.Lay the middle of your yarn over the first two warp strings.
b.Push the right side of your yarn down and up through the middle.
c.Push the left side of your yarn down and up through the middle.
d.Pull both ends up through the middle.
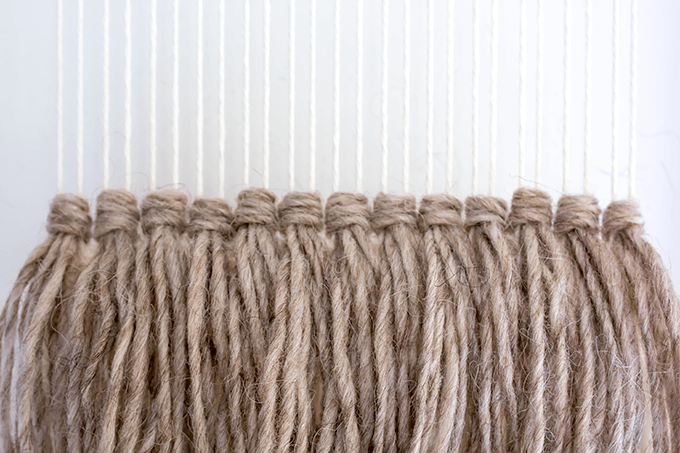
This will create whats called a Rya knot.
Pull the yarn down towards the woven rows to anchor your first piece of fringe.
Continue creating a row of fringe, from left to right.
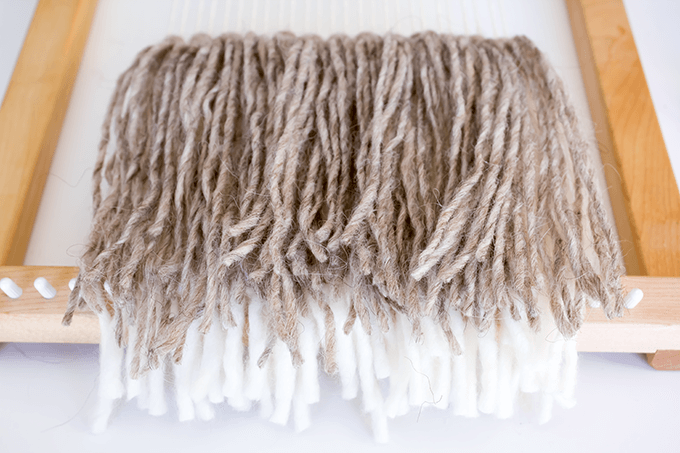
For this piece, I added a second row with a contrasting colour.
If you decide to add another row, first add a few more rows of plain weave.
This will create a stronger anchor in your row of fringe.
Then add another row of fringe the same way you did the first row.
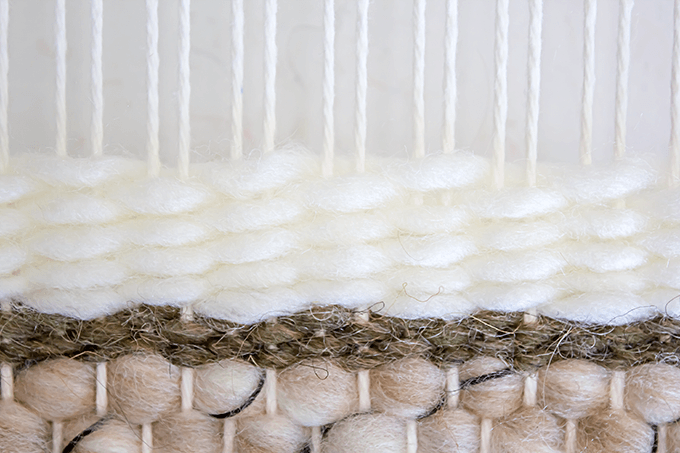
Using theTabby/Plain WeaveTechniqueyouve just learned begin weaving.
Choose any combination of colours you like.
Either way, keep weaving until you are about 2-3 inches from the top of the loom.
Replacing a Rya knot can be tricky, but it is possible.
b.Do the same along the bottom.
d.Do the same along the bottom.
Simply slip through the loops along the top and you are all done.
This is because driftwood is misshapen.
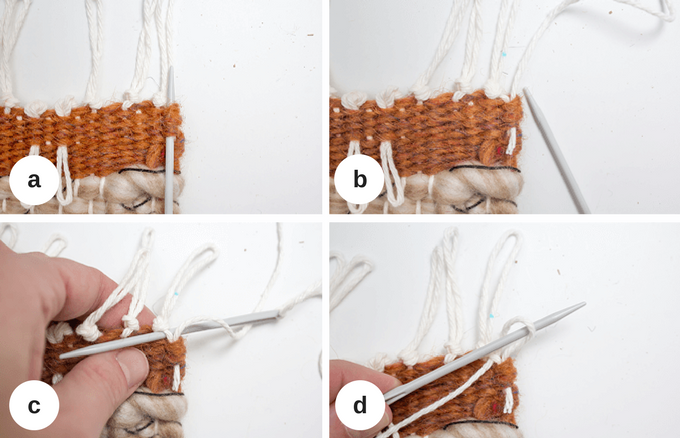
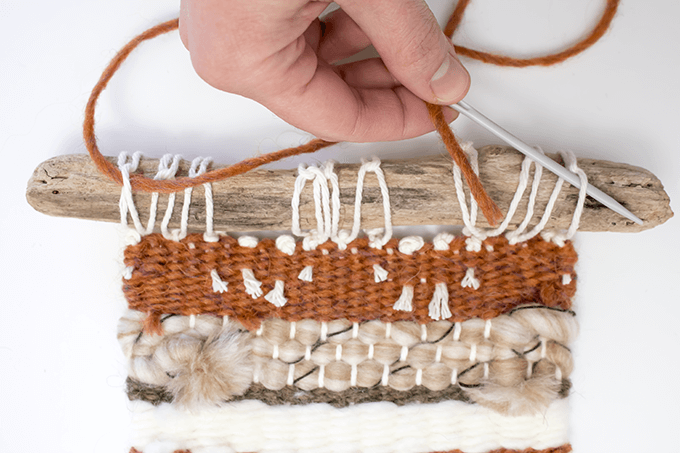
(optional) Weave in 4 of the loops along the back of the weaving.
This left me with three clusters of three loops to attach to the driftwood.

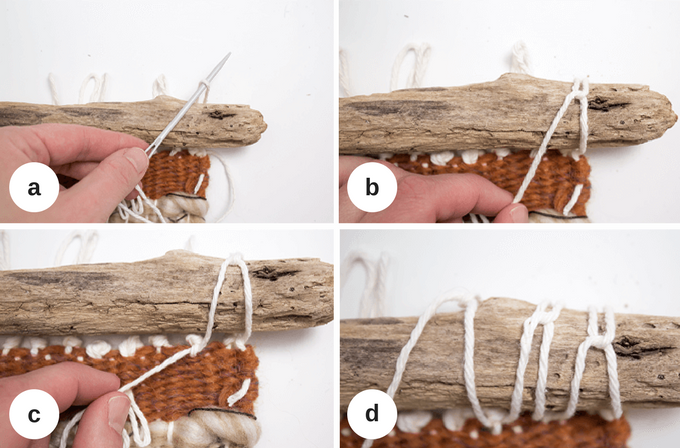
b.Continue pulling upwards until you are left with a small tail.
c.Push the needle under the overhand knot at the far end of the weaving.
d.Pull the needle towards yourself until a small loop forms.

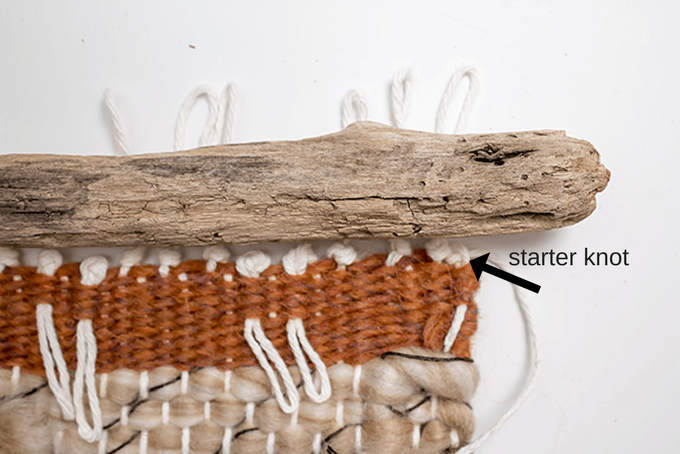
Push the needle back through the loop to create your starter knot.
**Do notsnip off your yarn just yet.
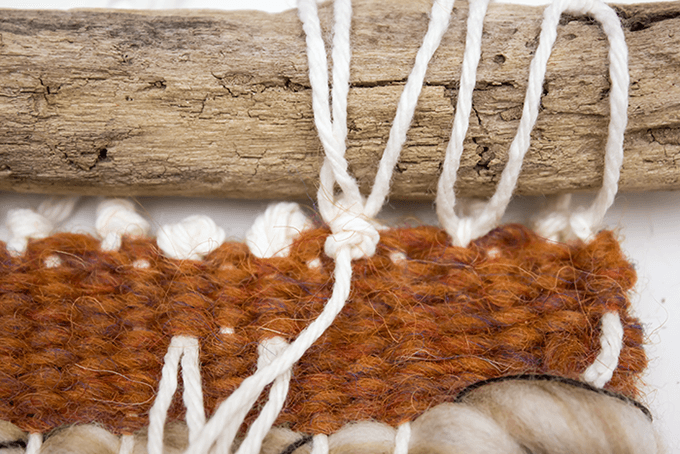
Lay the driftwood on top of the loops.
c.Push the needle under the next knot.
d.Repeat the process until you reach the last loop of the first cluster of three .
**Now you’ve got the option to snip off your yarn.
Repeat this process for each cluster of three along the top.
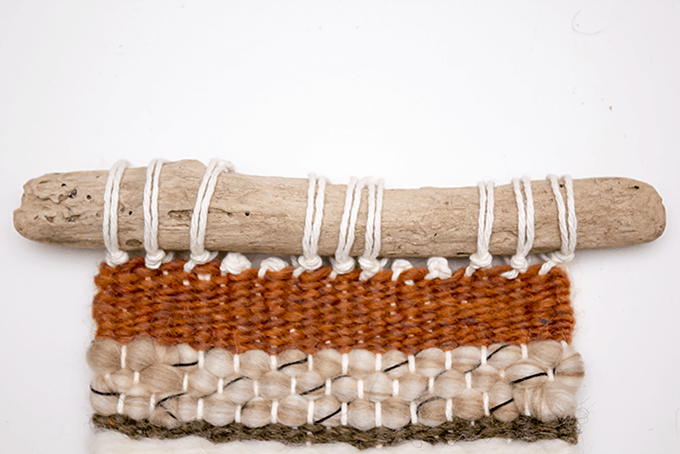
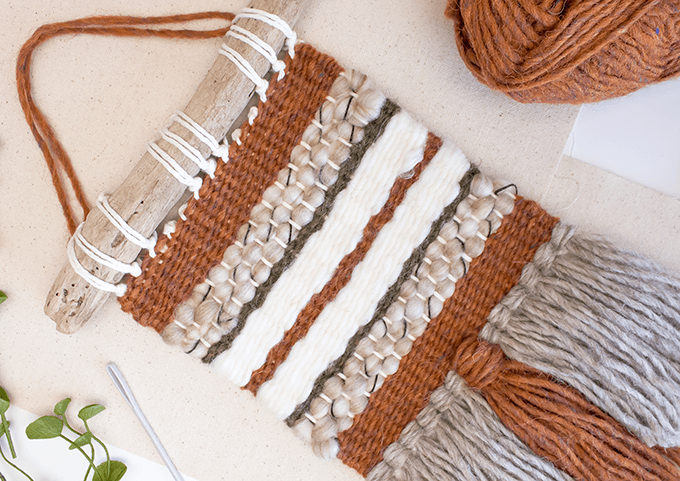
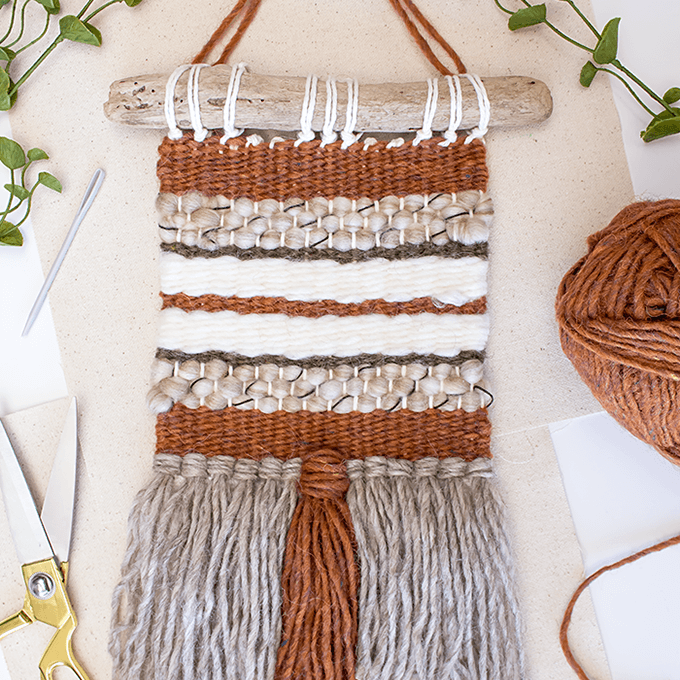
Your driftwood is now securely attached to your woven wall hanging.
Attach a piece of yarn to the loops for easy hanging.
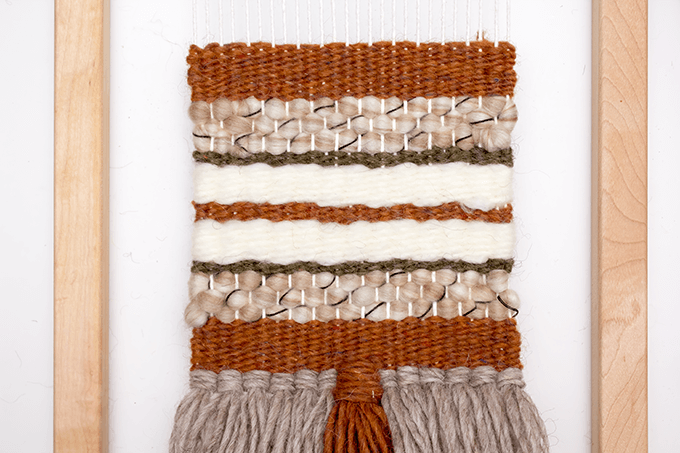
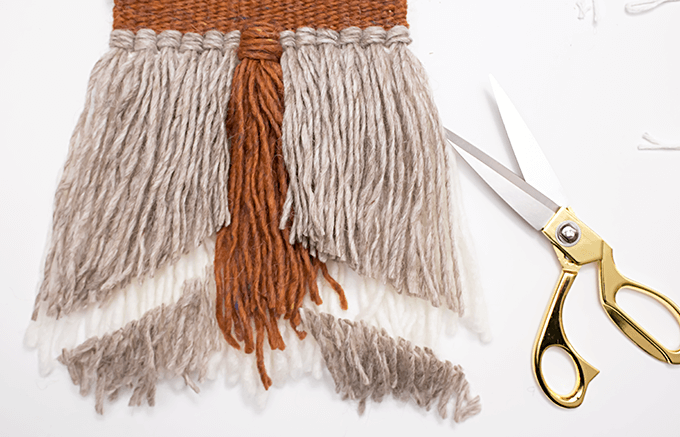
Finishing Your Woven Wall Hanging:
Last step!
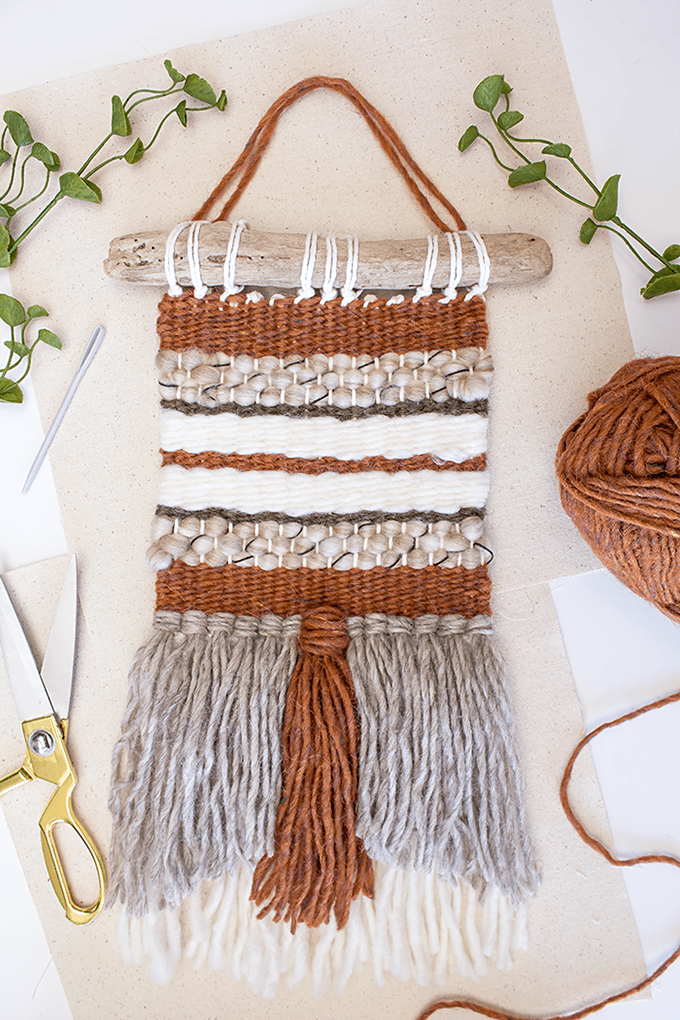
Shape your fringe with a cool, angular design.
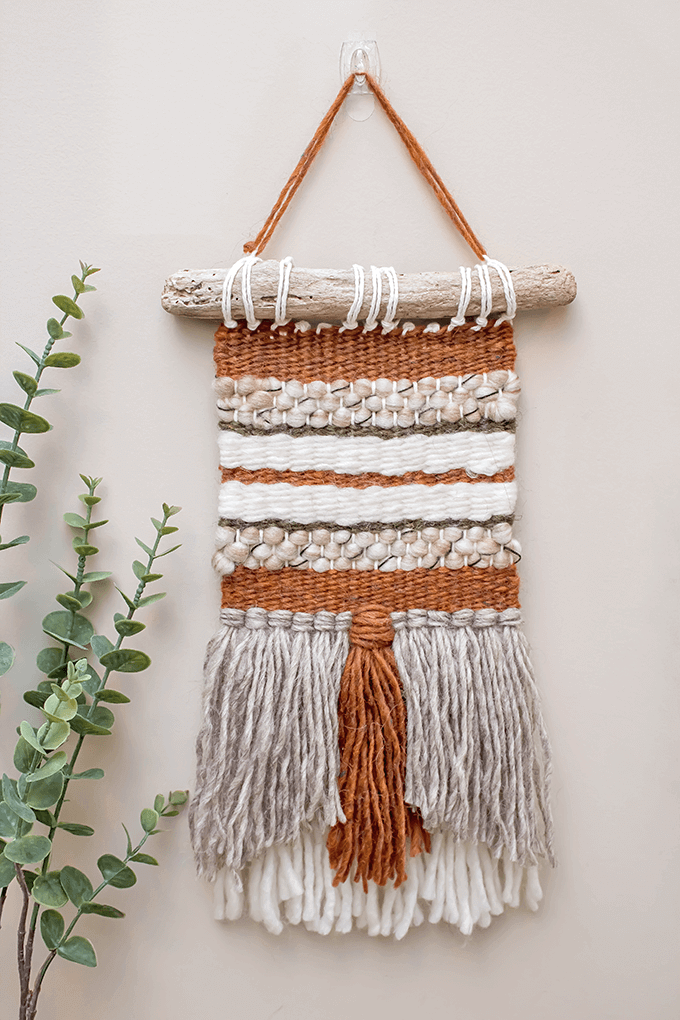
Now your handmade item is ready to be displayed.
If you have any yarn leftover from this woven wall hanging, consider making thischilds easy knitted headband.
Or cozy up with one of thesefree scarf knitting patterns!
Pin it for Later!