HomeDIY
This post may contain affiliate links:full affiliate disclosure.
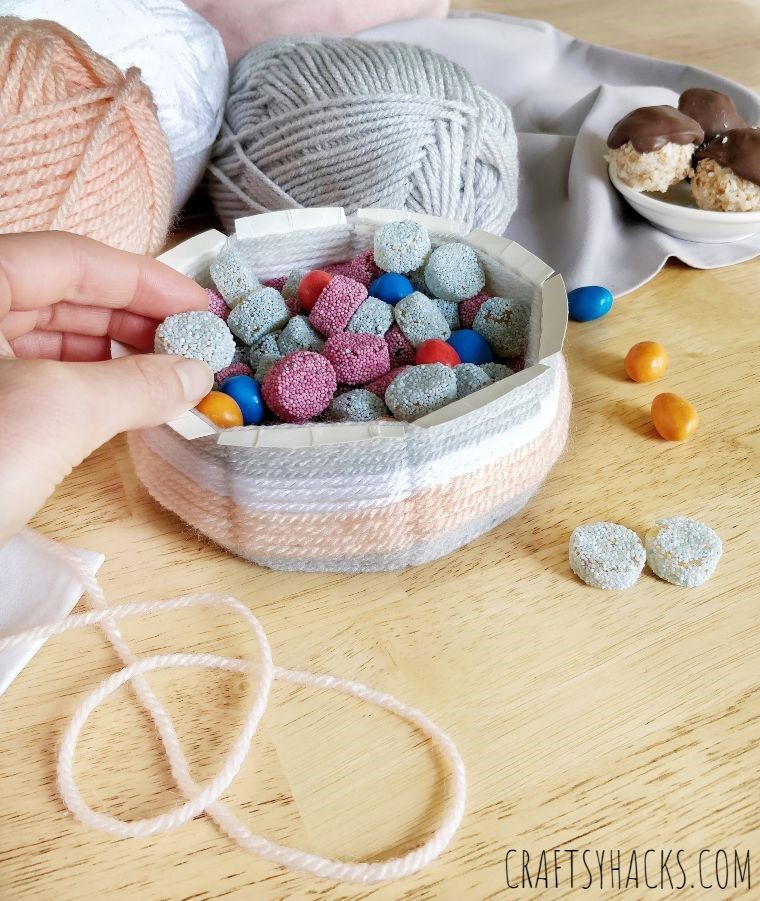
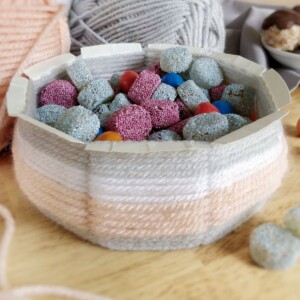
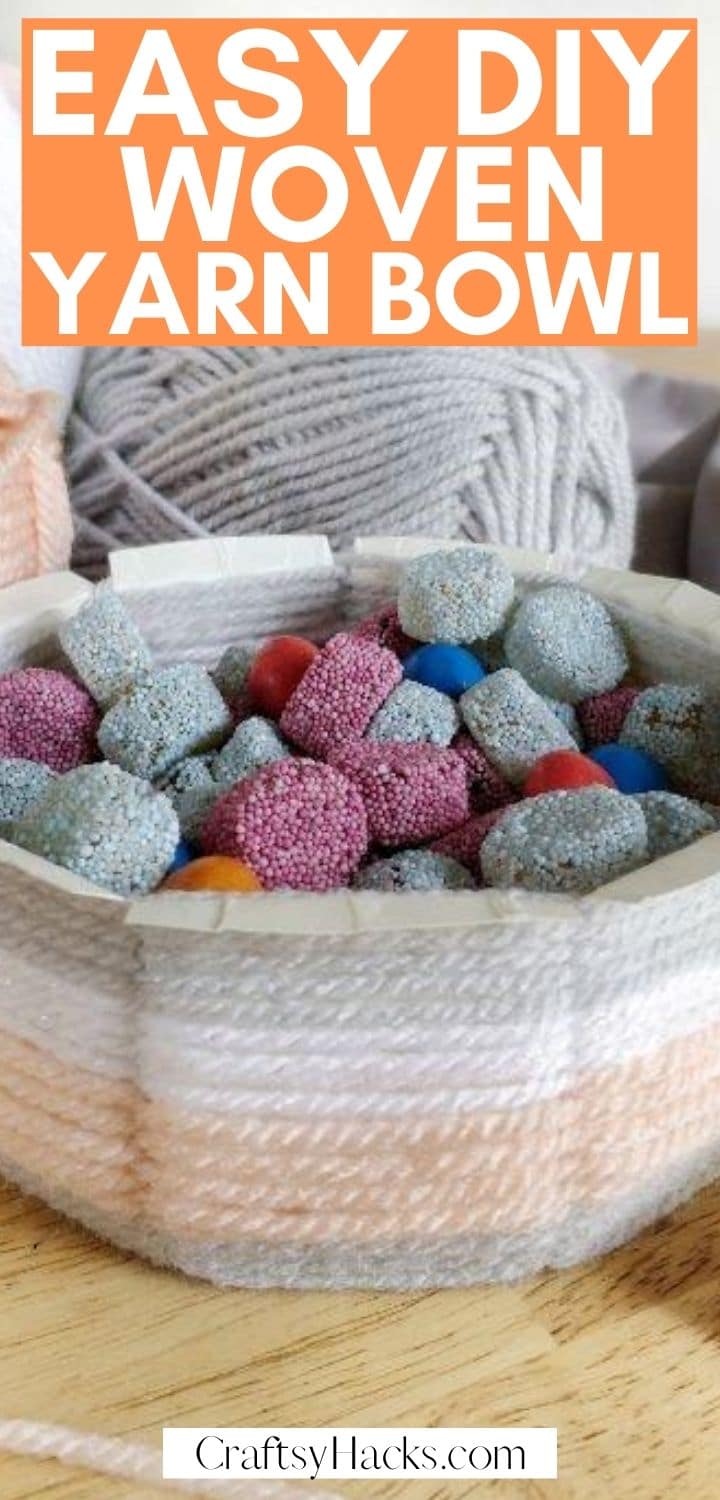
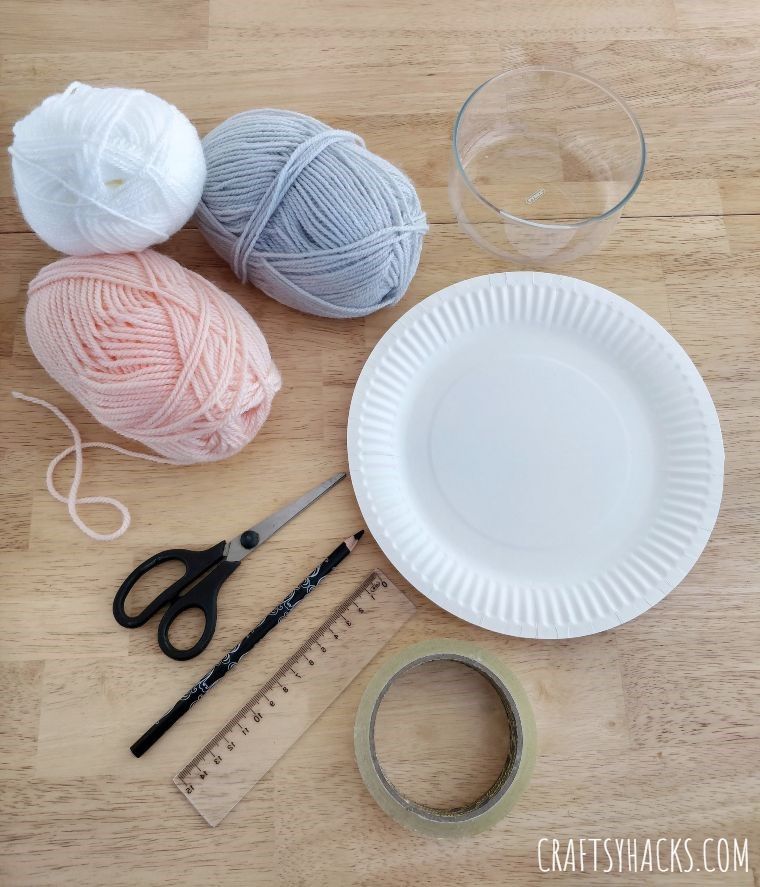
A practical woven bowl you could make with a paper plate and a few yarns.
Its a fun, practical craft it’s possible for you to use for storage.
I dont know about you, weaving is a form of therapy for me.
Its a very relaxing craft and a very fulfilling one, once you see the finished product.
Another thing I love about weaving is that you’re free to do it using almost any material.
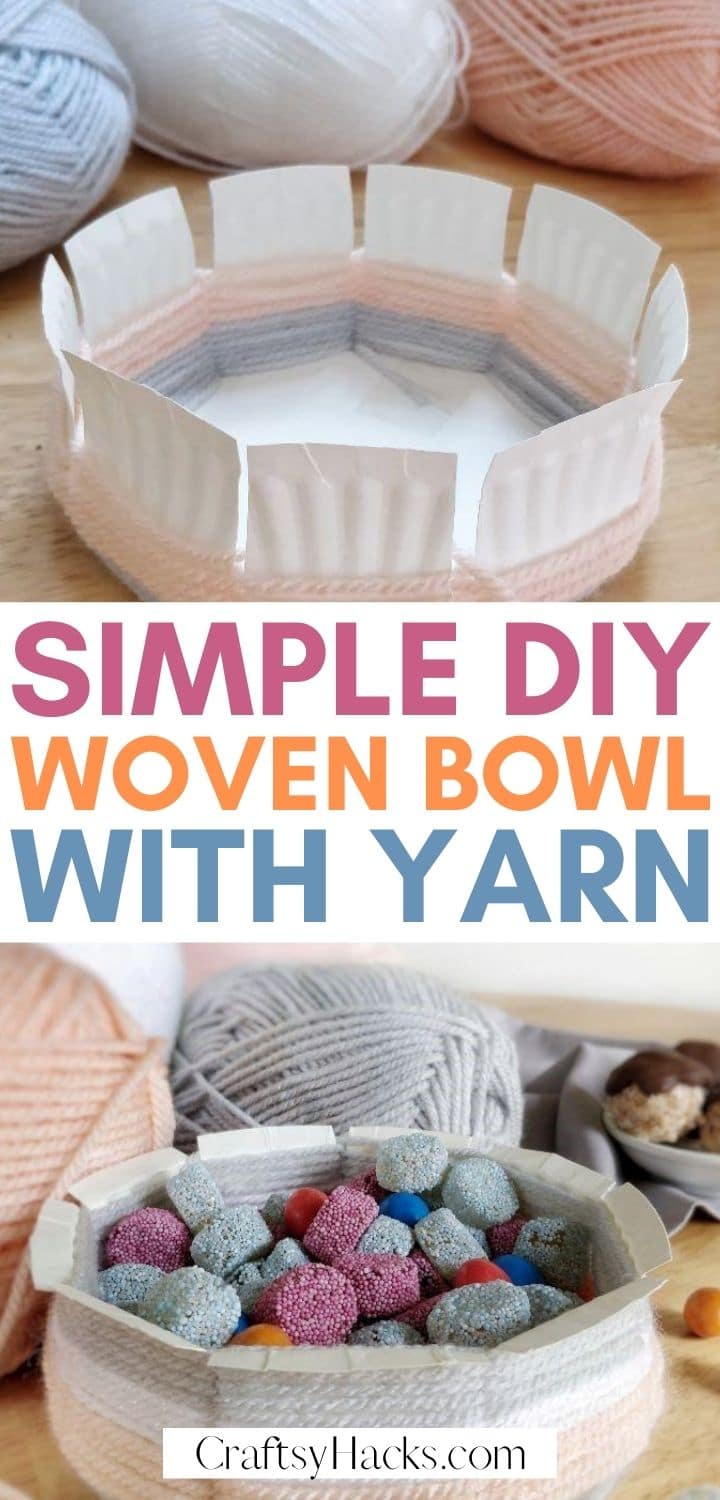
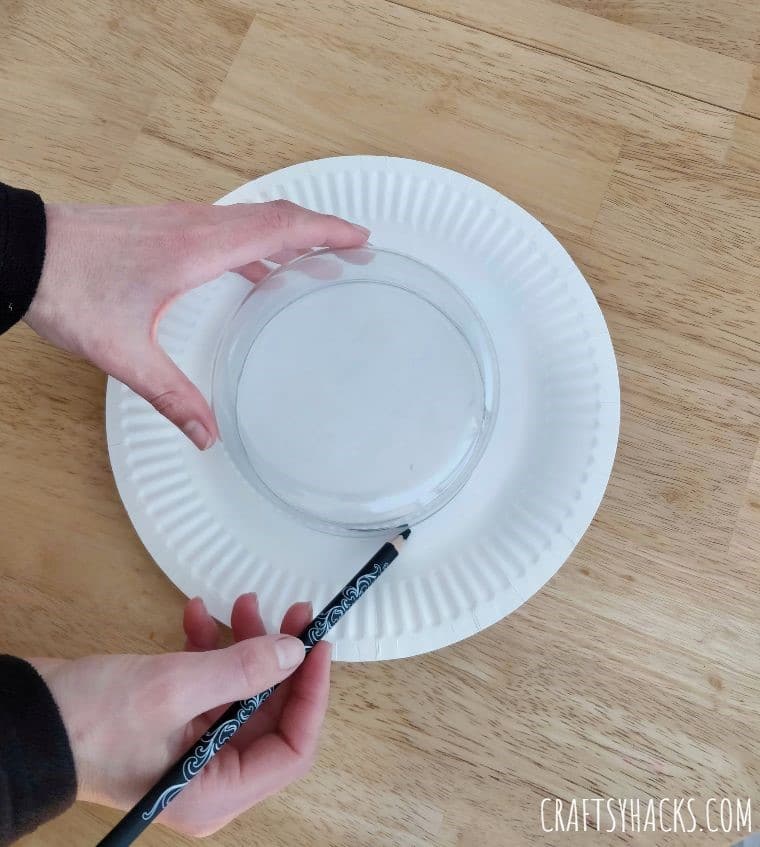
In this DIY project, I show you how I made a bowl out of woven yarn.
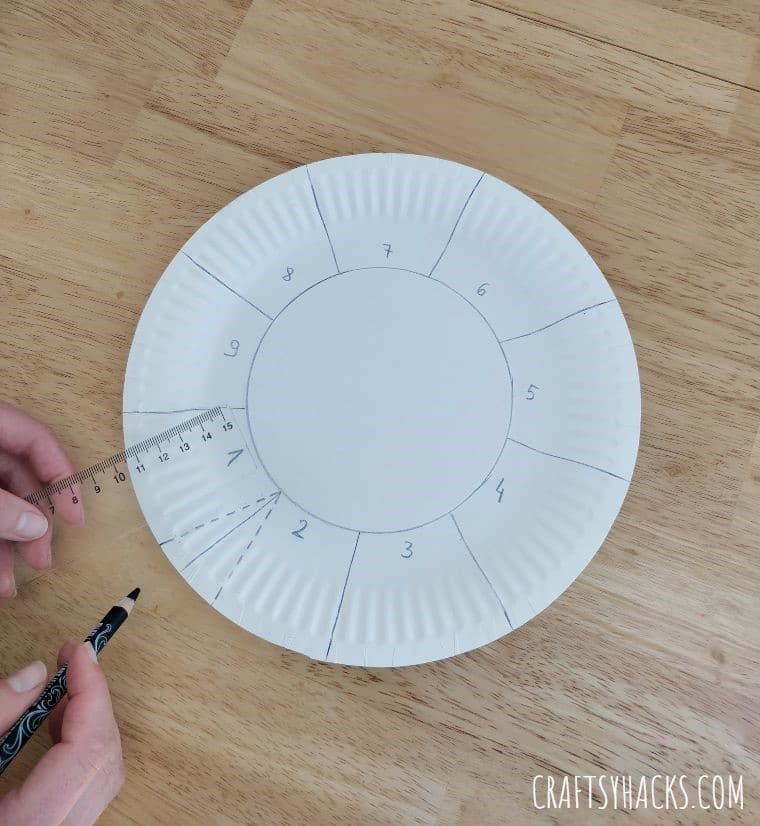
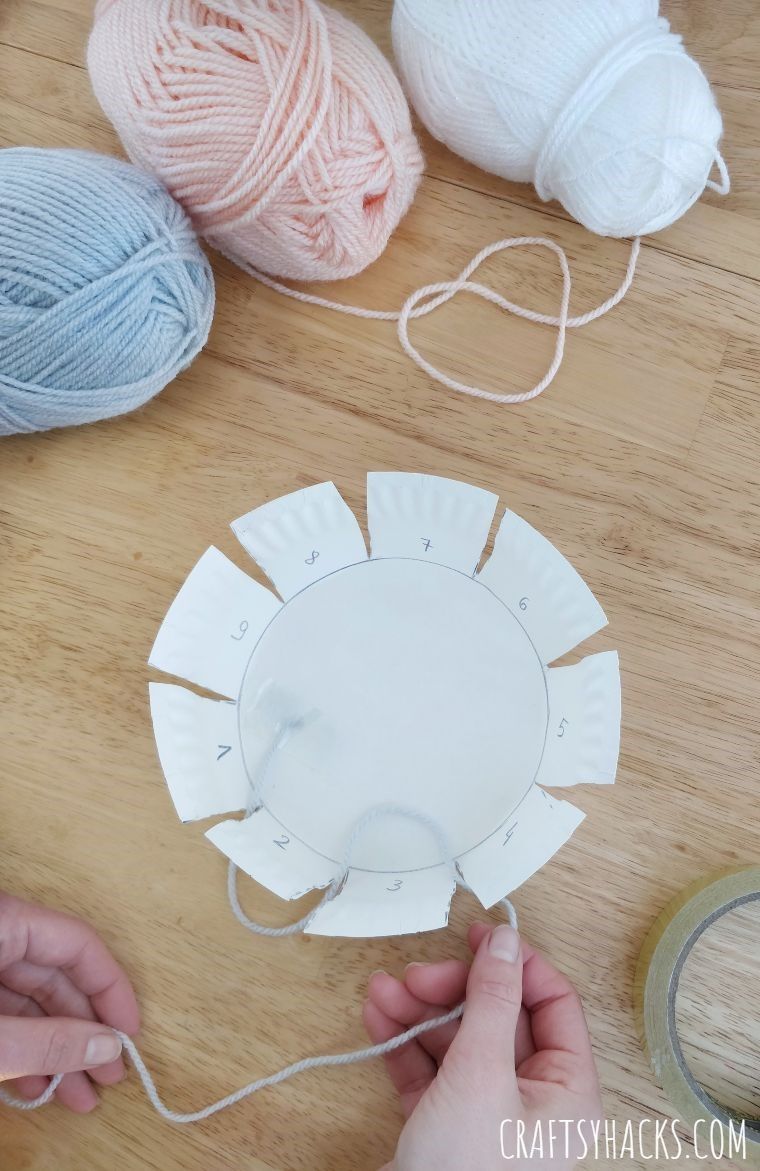
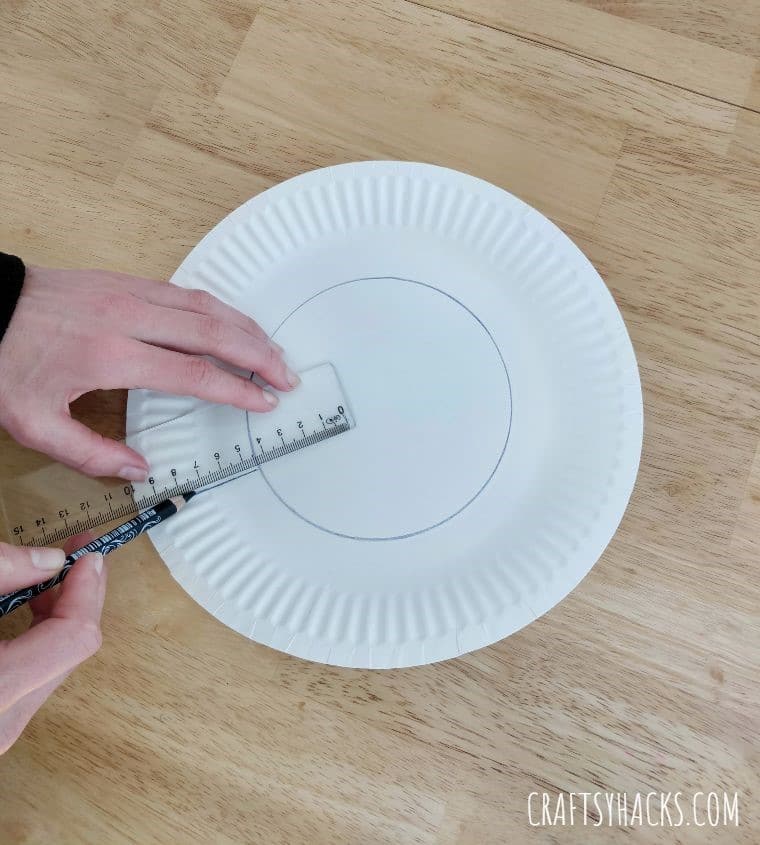
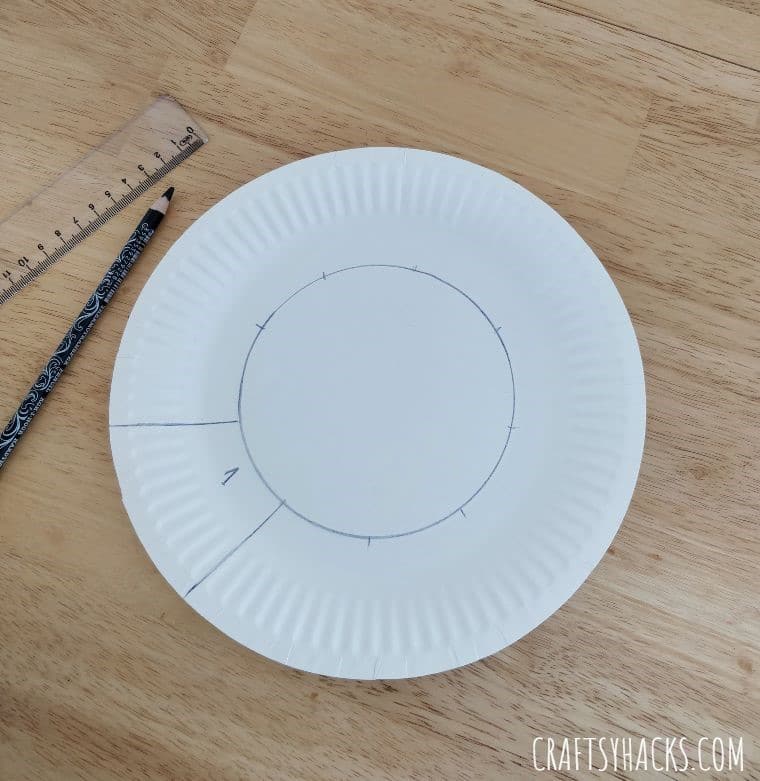
For the purpose of this guide, we will call these marks your gap marks.
Measure another 4.5 cm (1.8 inch) from the gap mark, and create another gap mark.
Continue doing this until youve marked around the entire diameter of the circle.
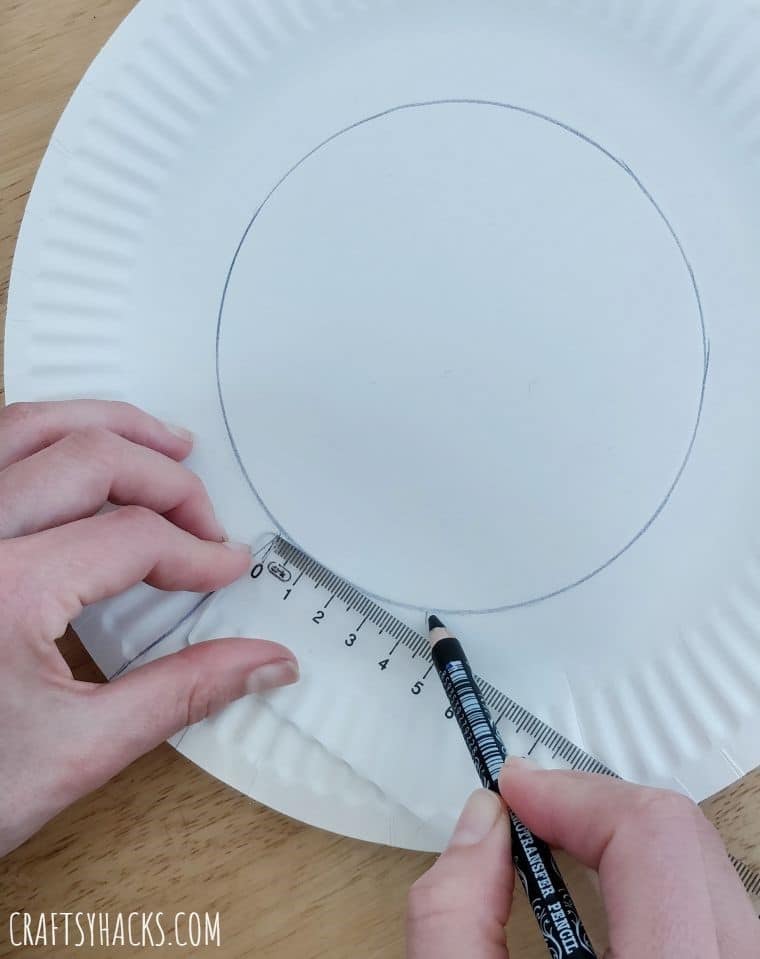
This should create a shape like a slice of cake, like the one shown in the photo.
Mark the first shape with the number 1.
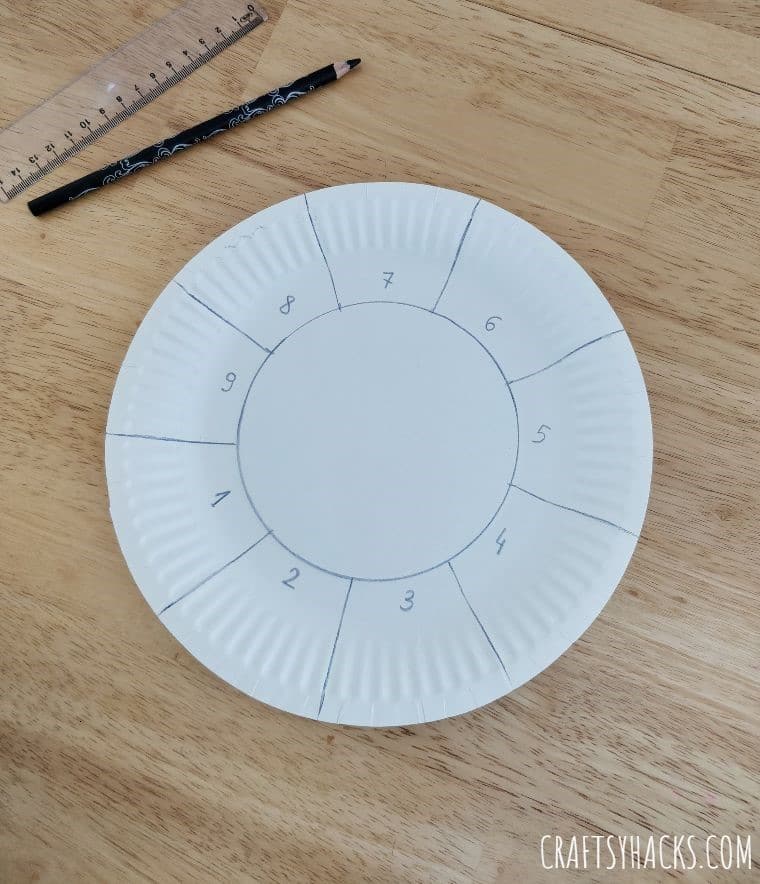
Remember to number the completed shapes in order.
Do this again until you complete the entire diameter of the paper plate.
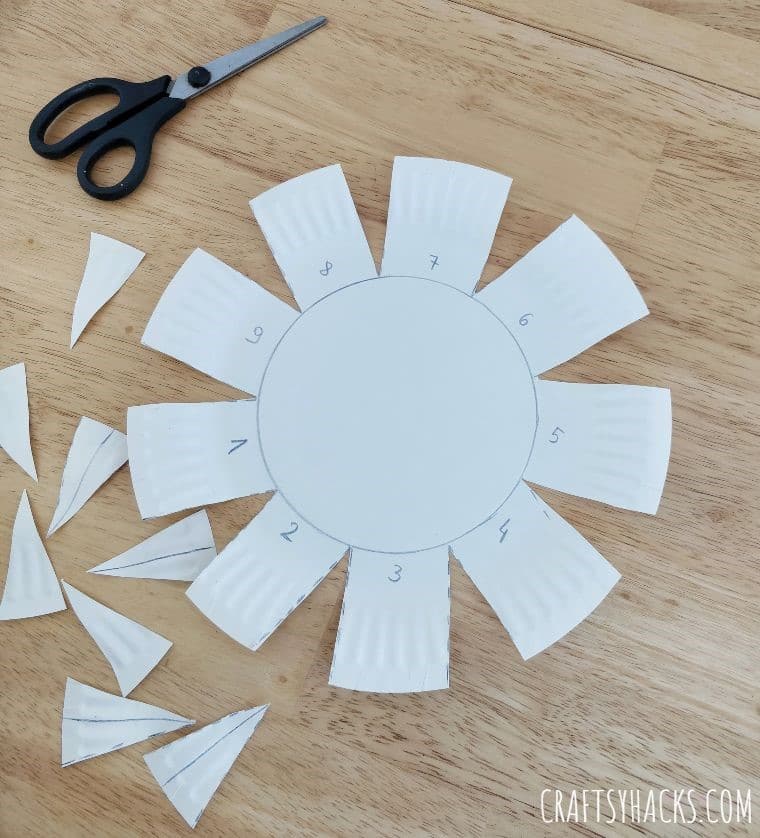
STEP 8
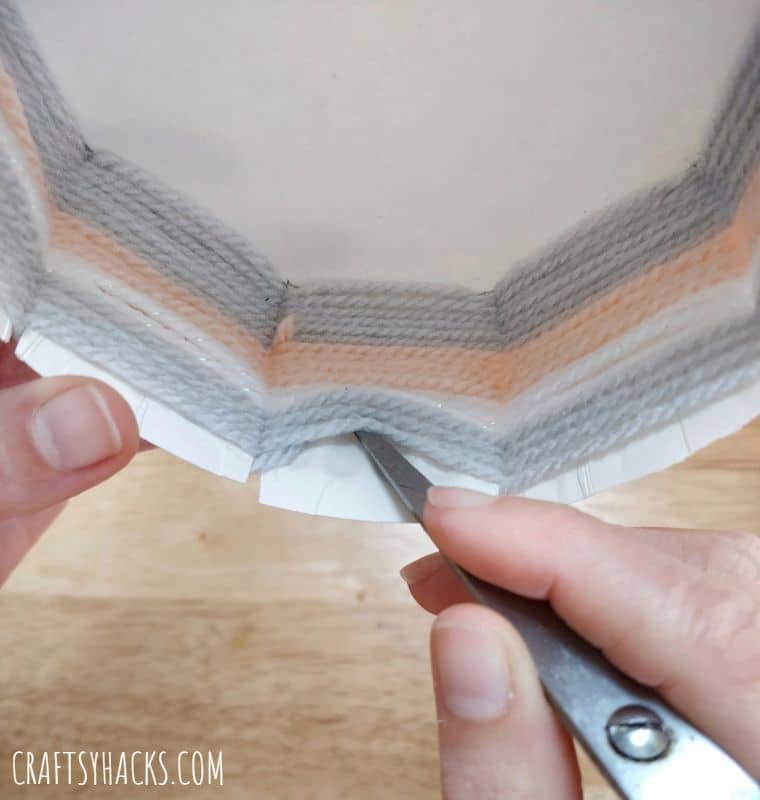
Use your scissor and cut along all the dashed lines you made.
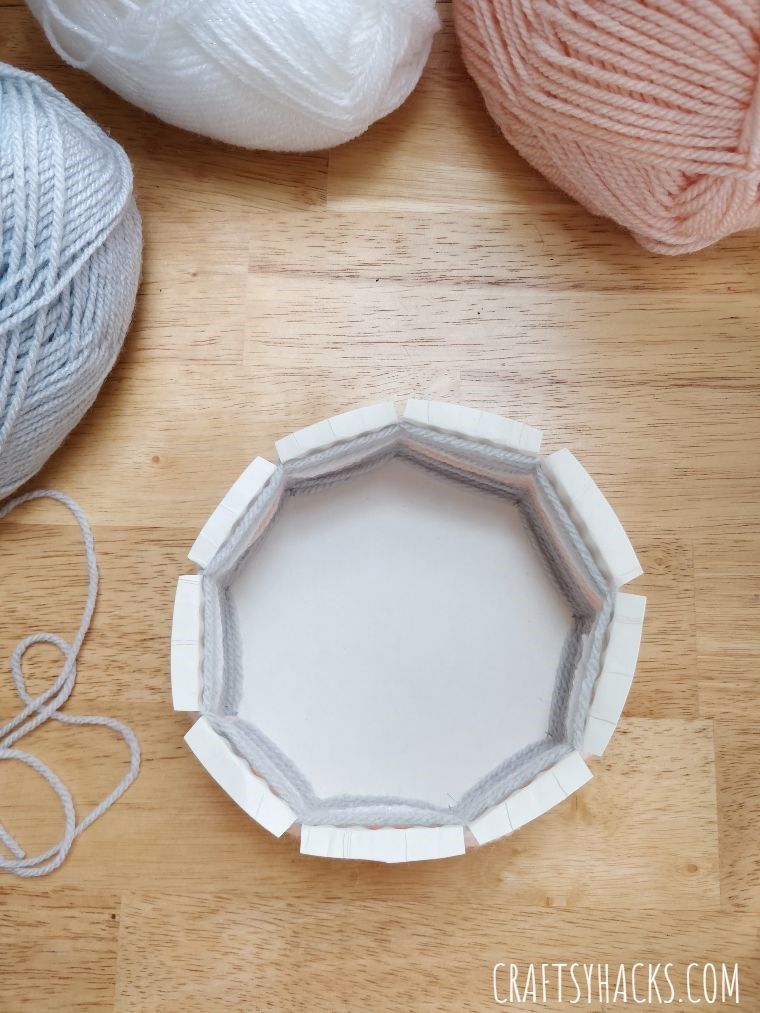
You should have a total of nine cut triangle pieces.
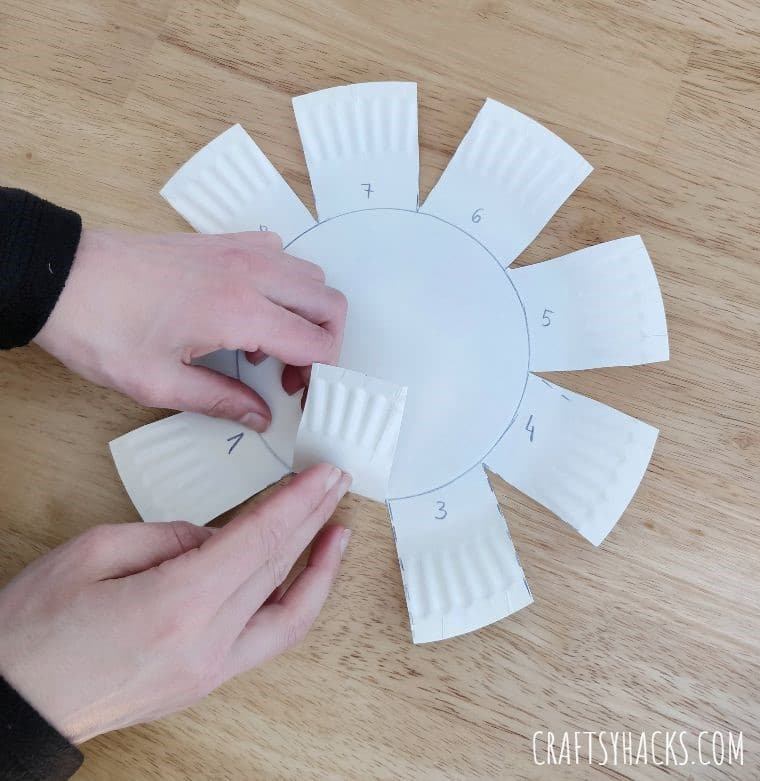
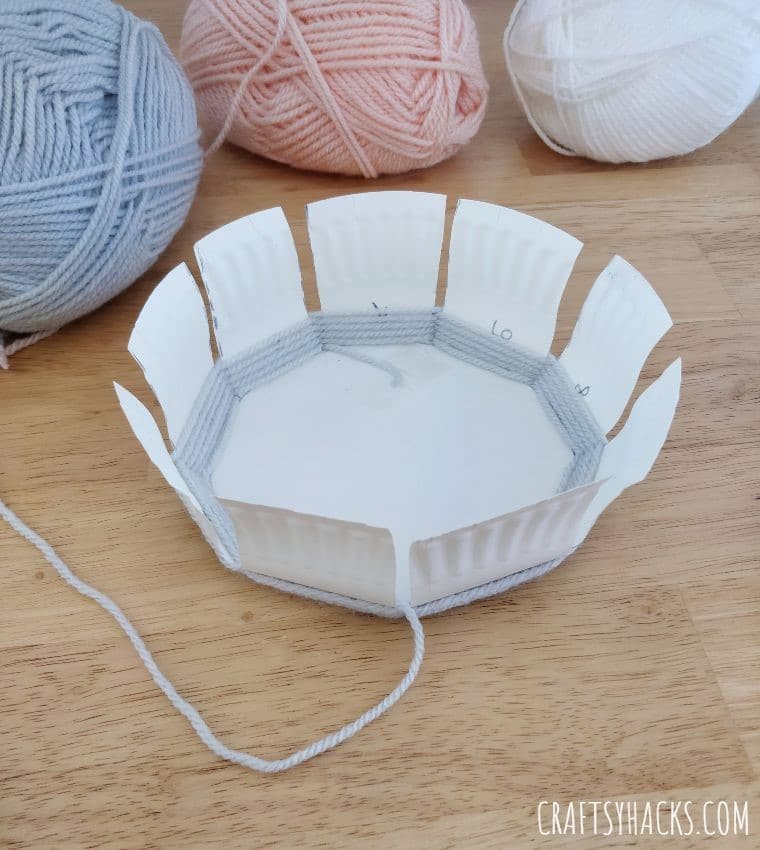
Make a slight crease on as you fold for added standing stability.
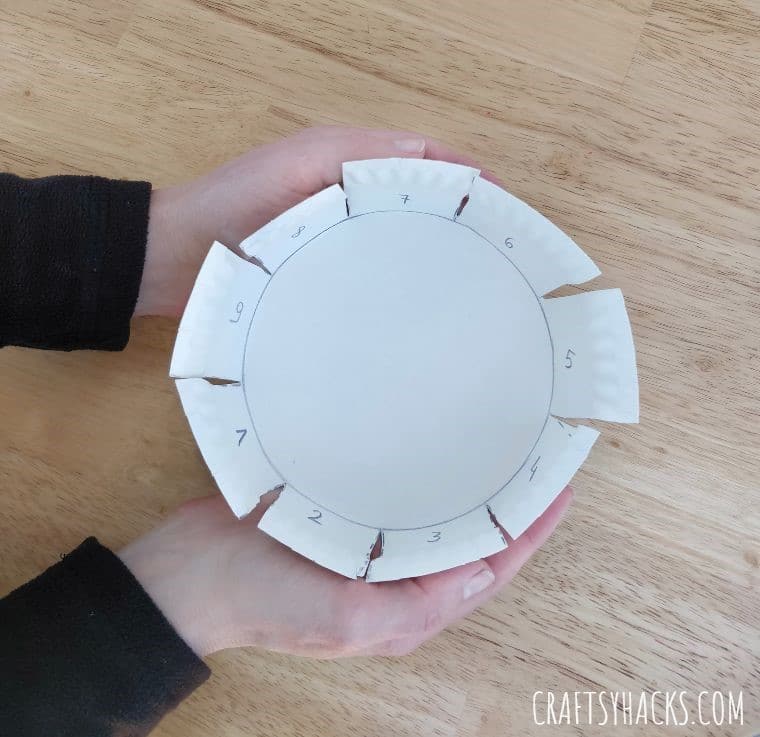
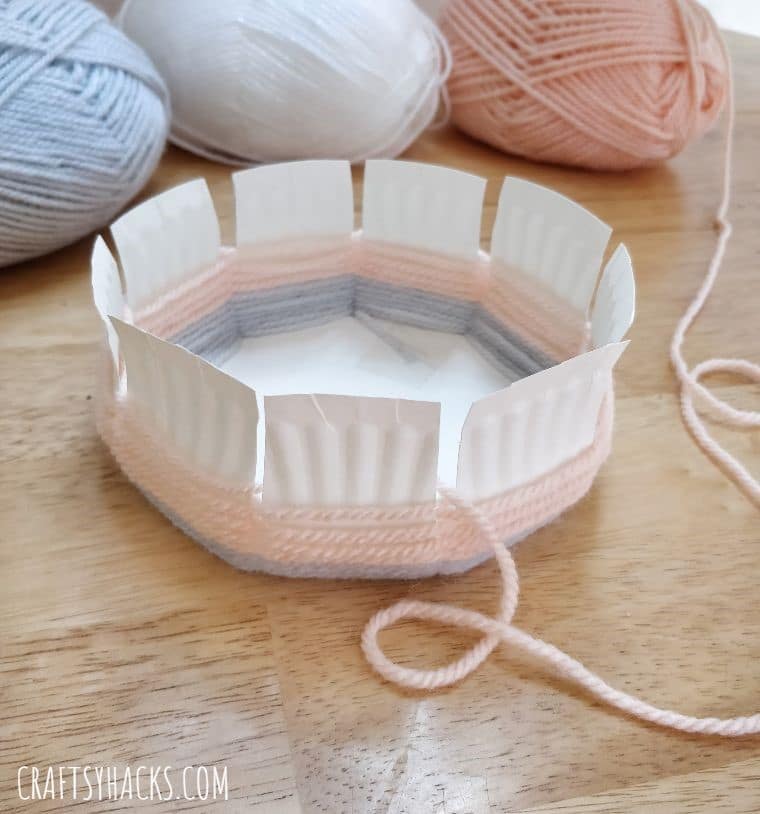
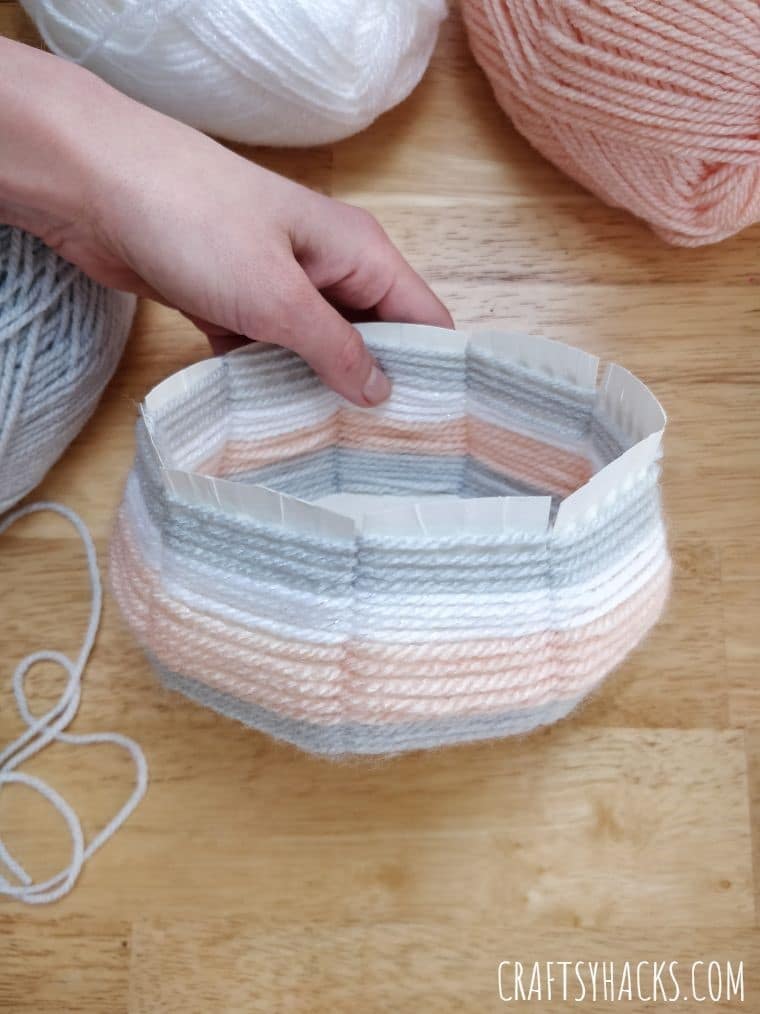
You should have a bowl-looking base once youre done with this step.
STEP 11
Now that the base is completed, this is where the fun weaving part begins!
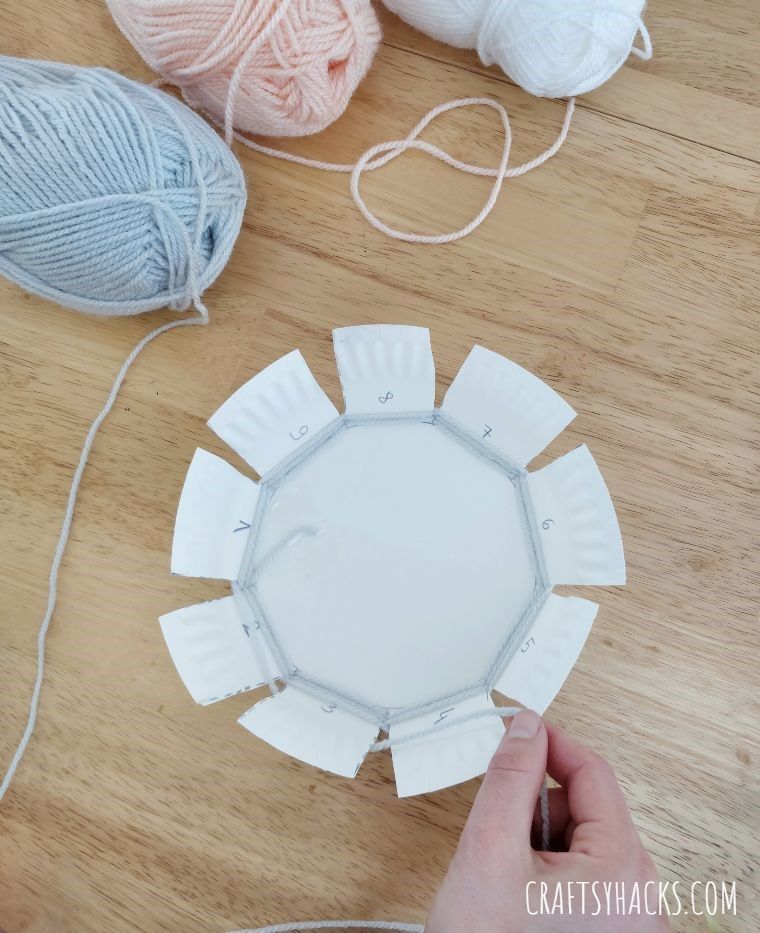
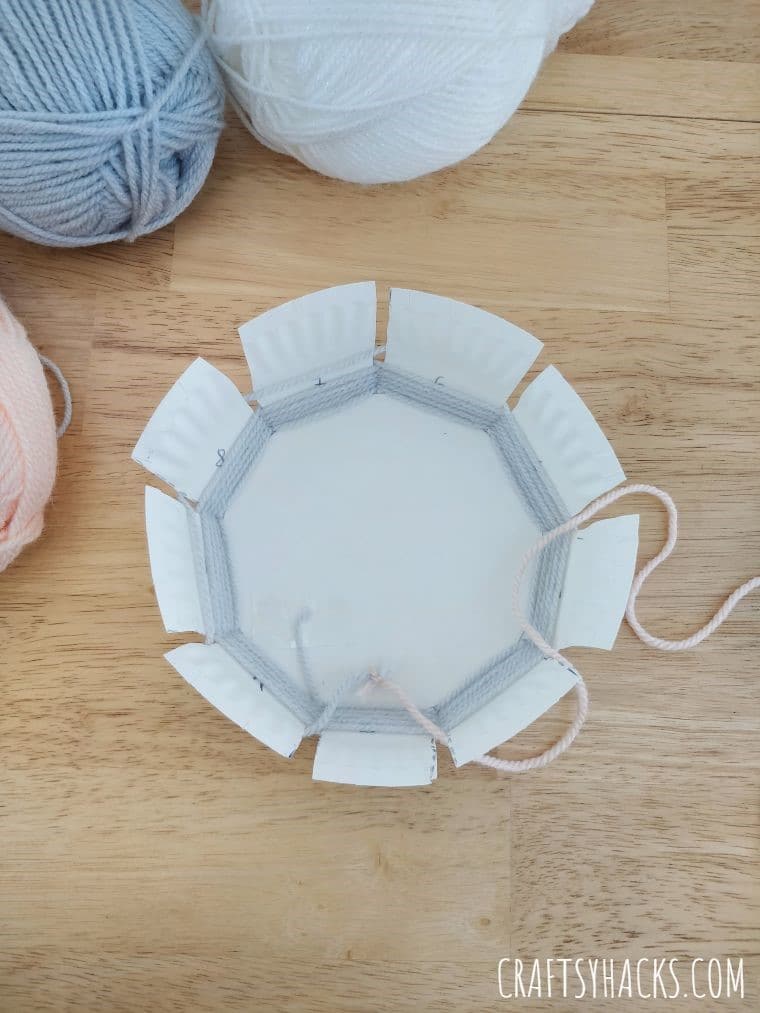
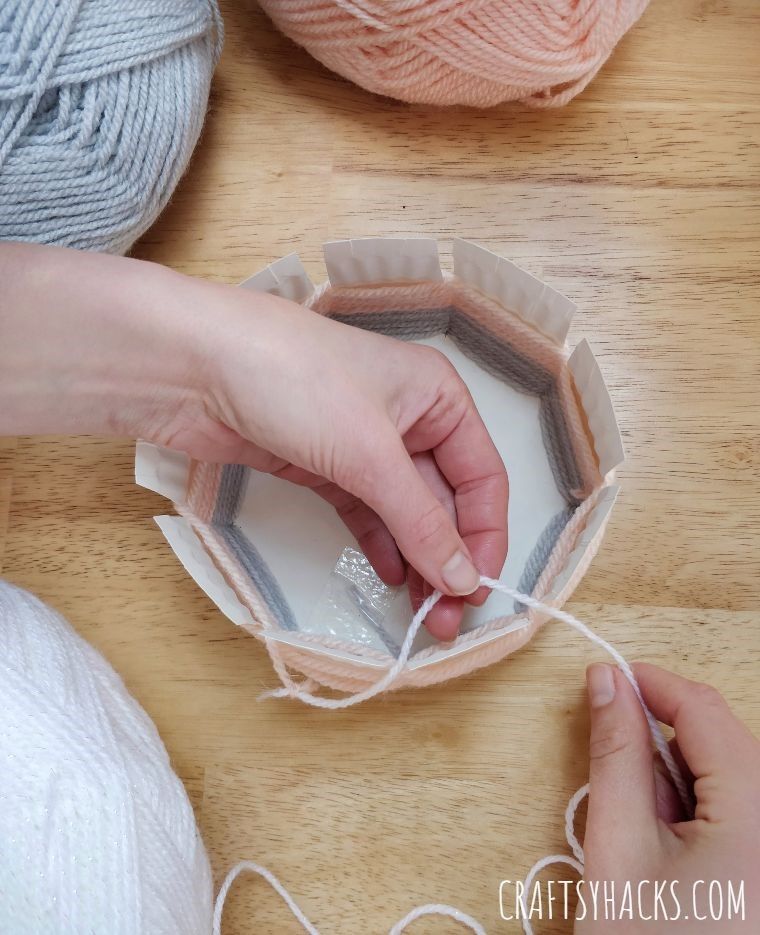
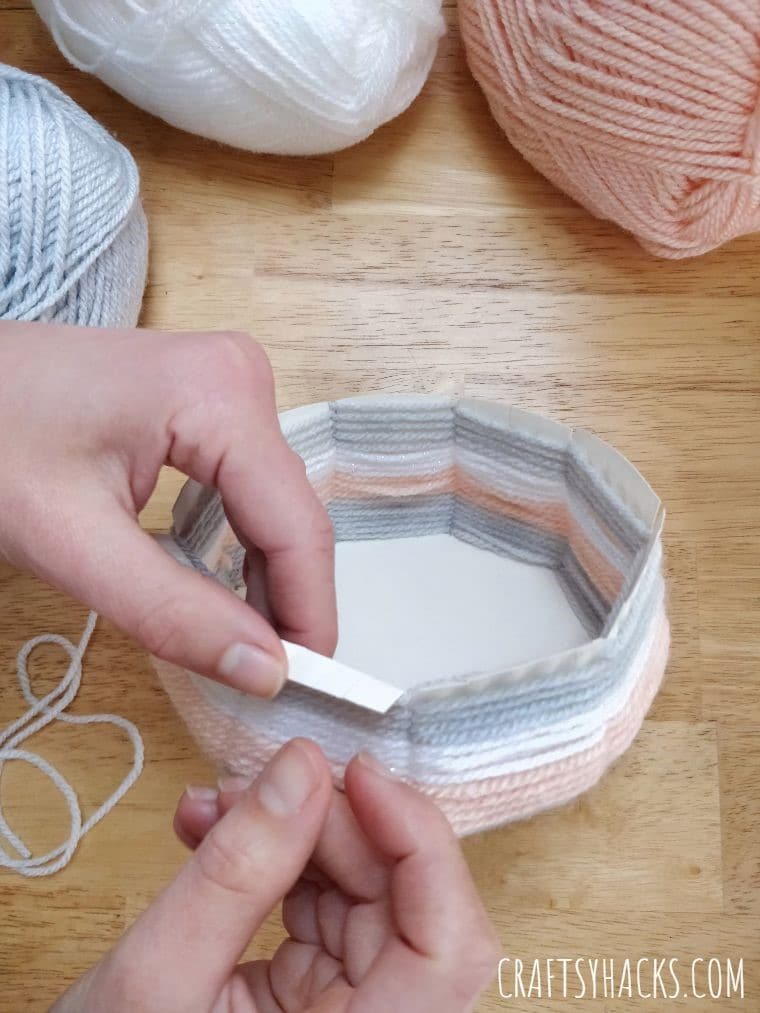
Grab the first yarn color and use Scotch tape to attach it to the inside of your pre-drawn circle.
Once its securely and firmly attached, start weaving through the numbered flaps in an alternate direction pattern.
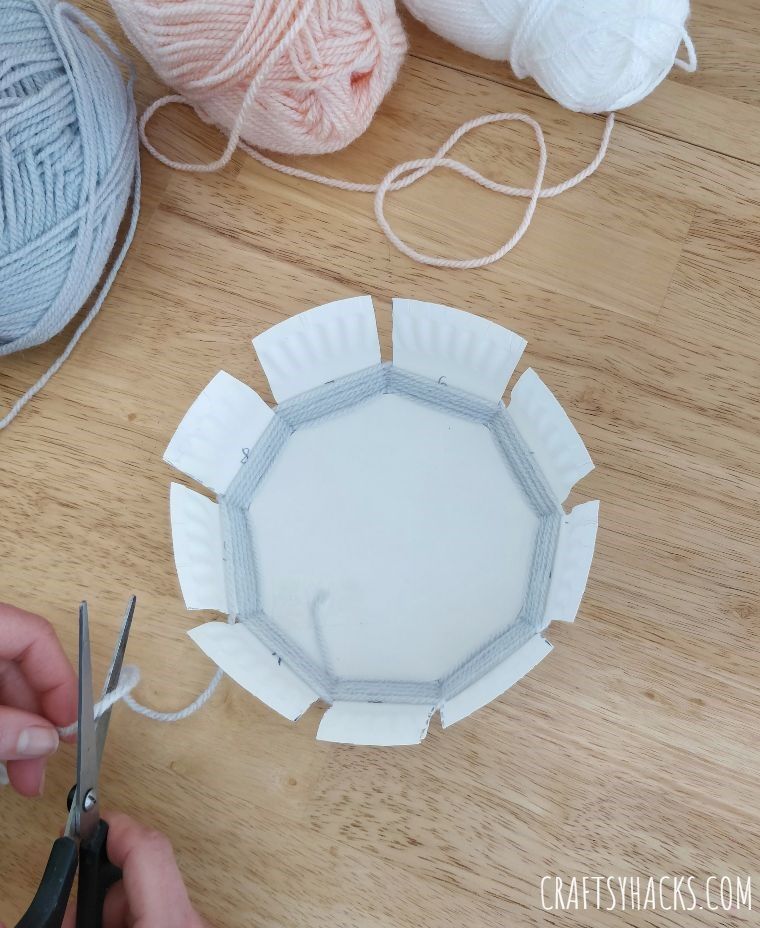
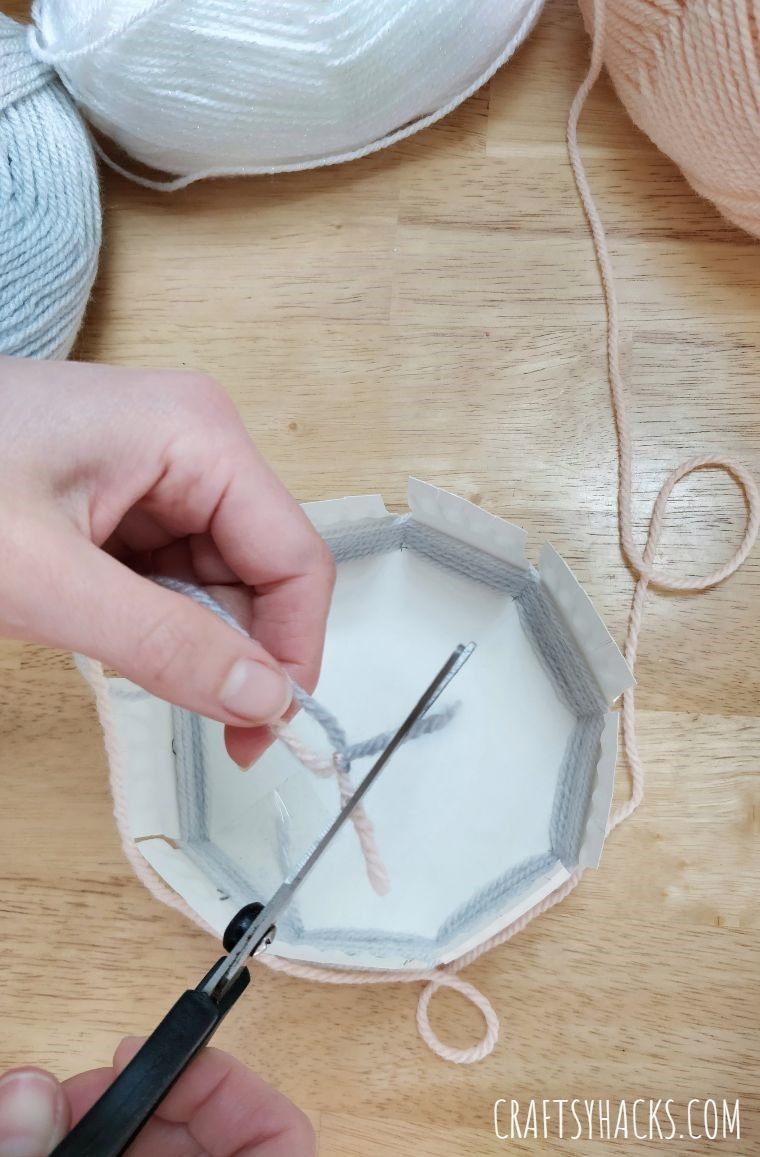
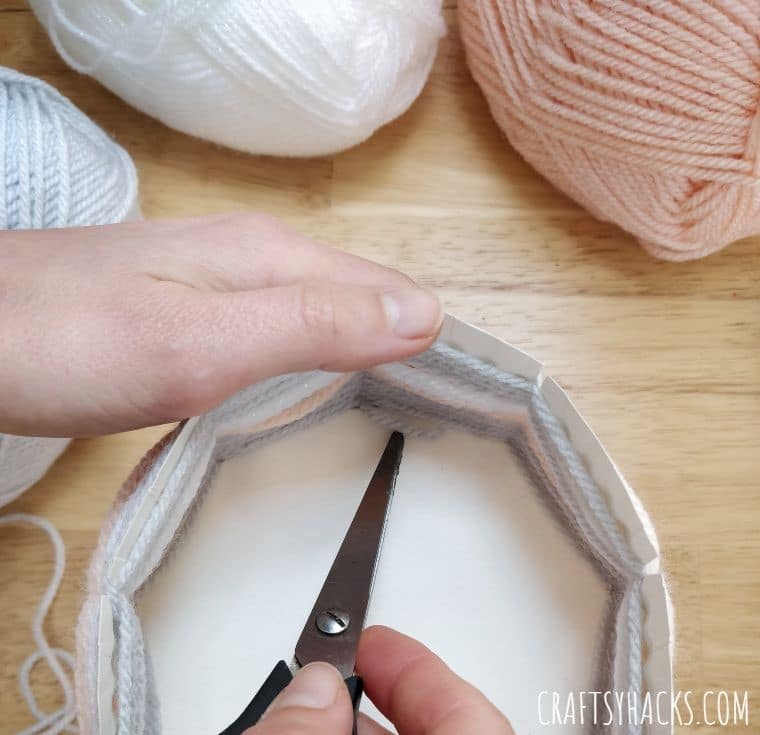
Use the scissor to cut the yarn, leaving at least two inches from your last weave.
The remaining two inches should cover the last two flaps but dont weave this just yet.
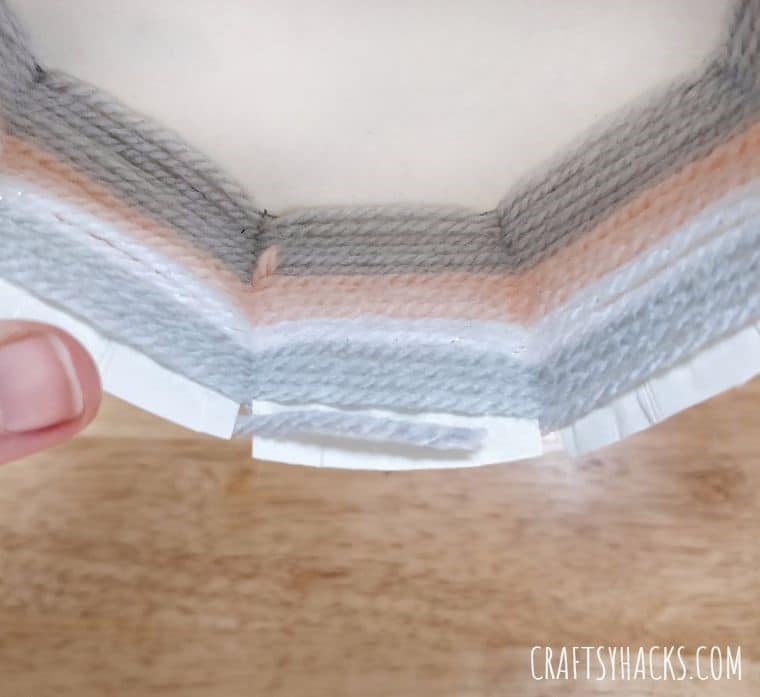
STEP 14
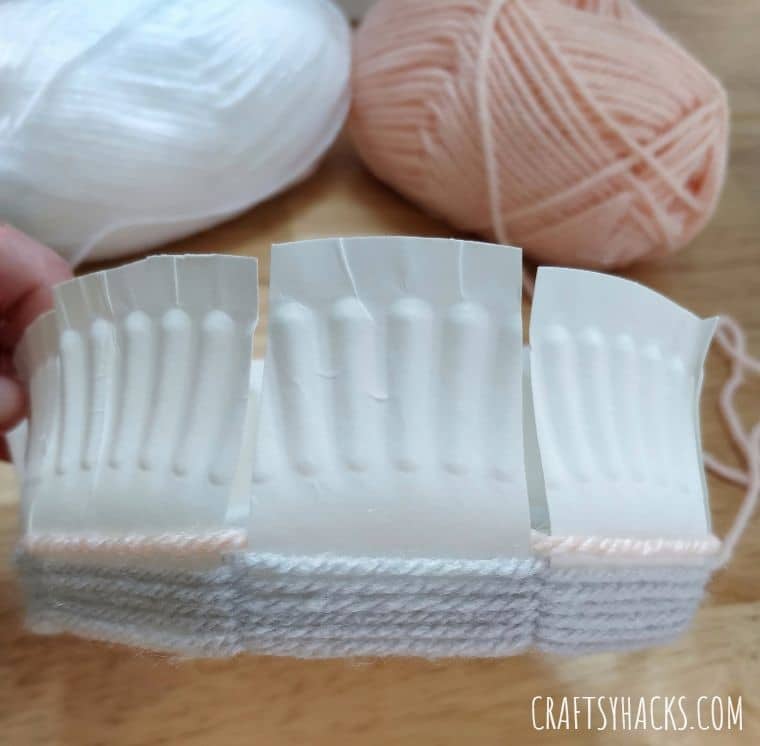
Grab your next yarn color and combine both colors using a simple knot.
STEP 15
Trim away any excess yarn, for a cleaner knot finish.
Leave about 1 cm or two.
End your weave on the inside of the bow, as shown in the photo.
STEP 24
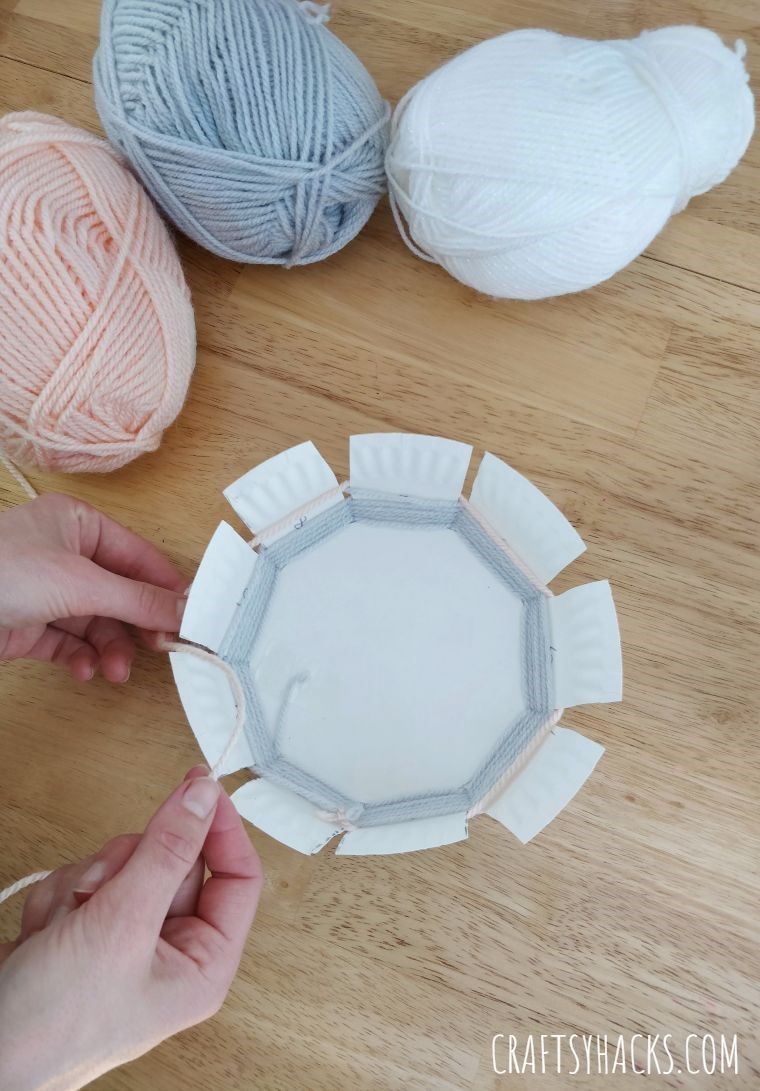
Remember the first strand you taped on the plate?
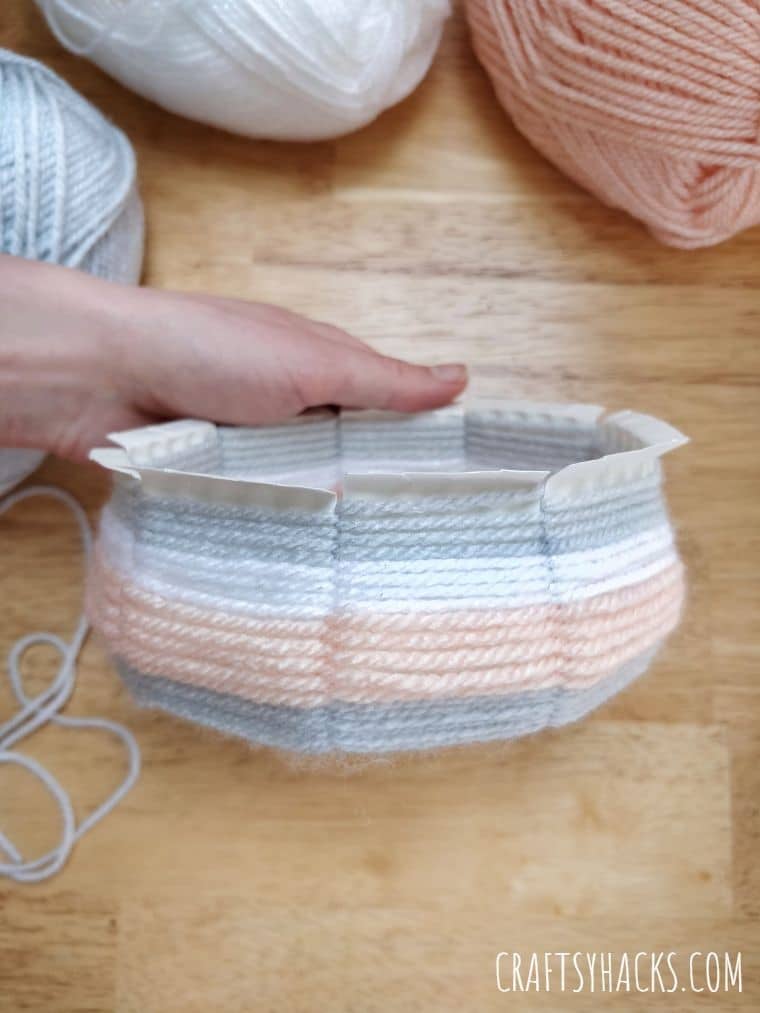
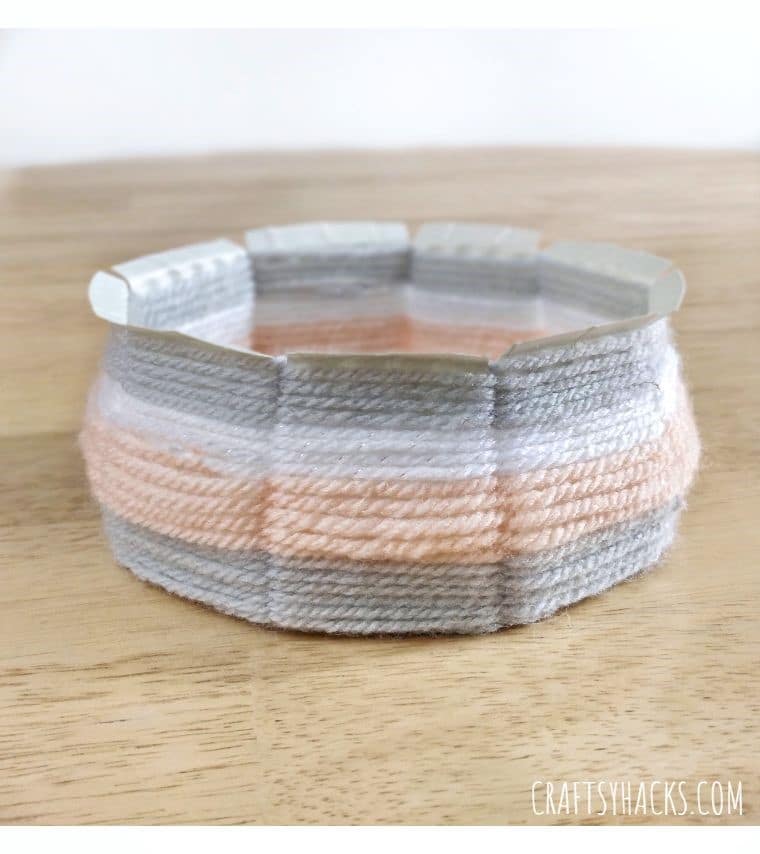
Do this by folding the flaps outwards, creating a nice overlap rim.
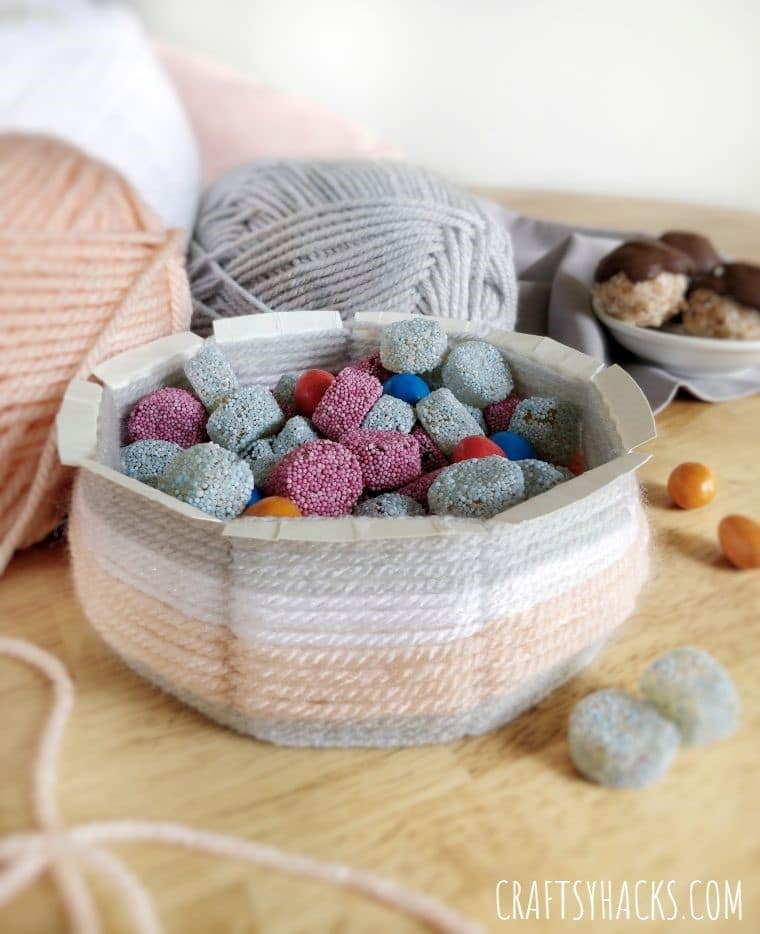
Where Can You Use These DIY Woven Bowls?
The great thing about these woven bowls is their versatility.