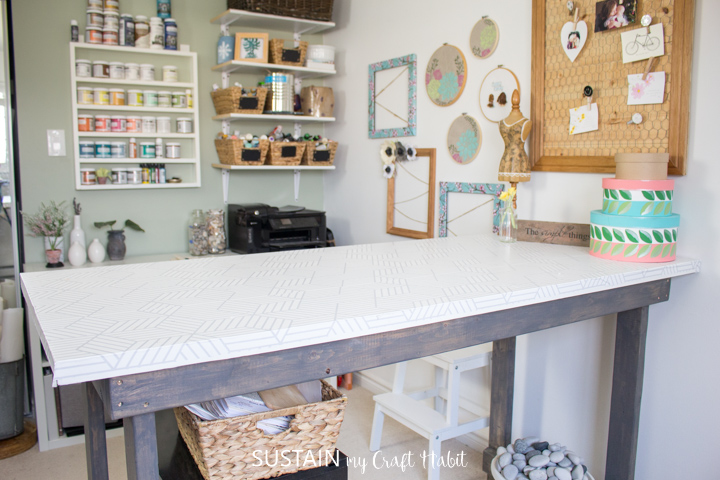
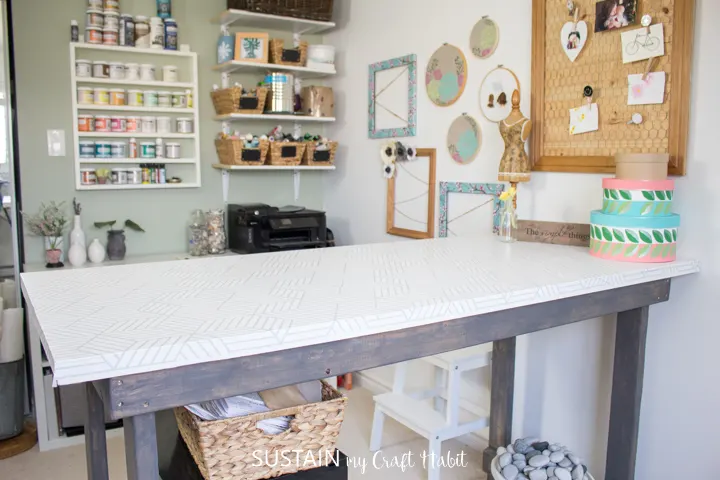
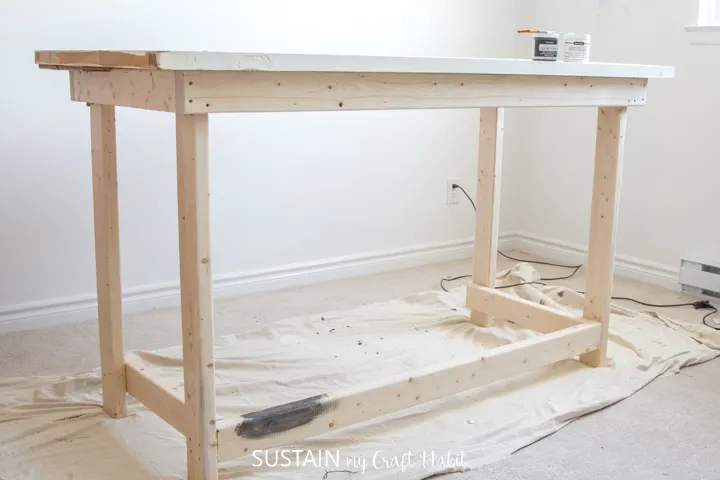
But one of the absolute best things I did for my space is make this DIY work table.
I use the table every day for just about everything and couldnt imagine my craft room without it.
Materials Needed:
Disclosure: This post continues affiliate links for your shopping convenience.
DIY Memo Board
you’ve got the option to find ourfull disclosure policy here.
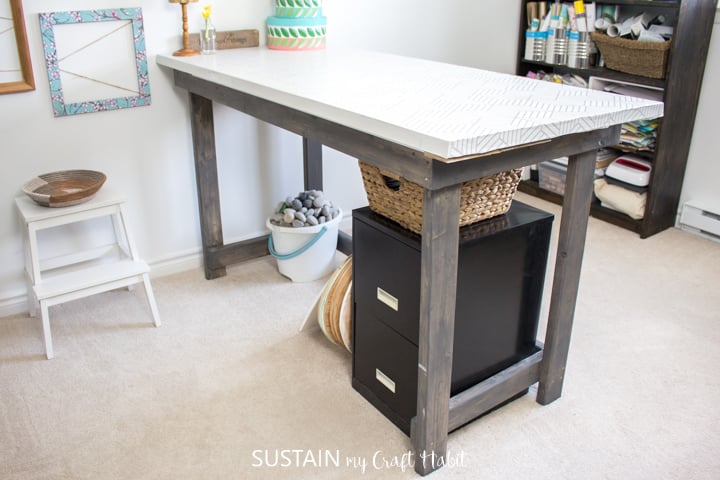
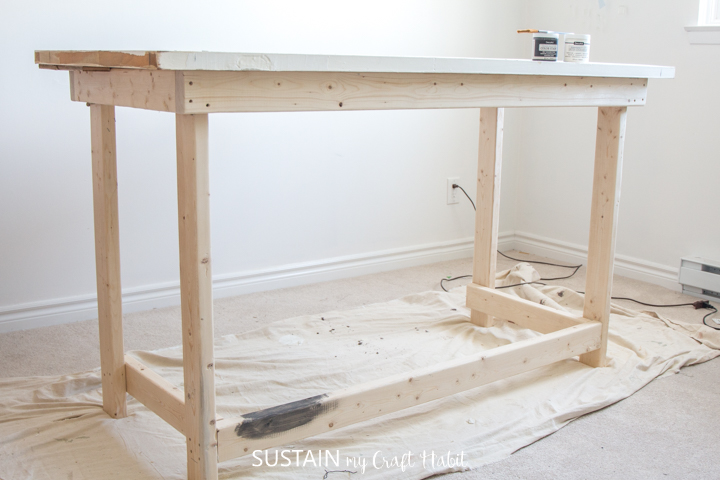
The finished table measures 38 high x 30 wide x 66 long.
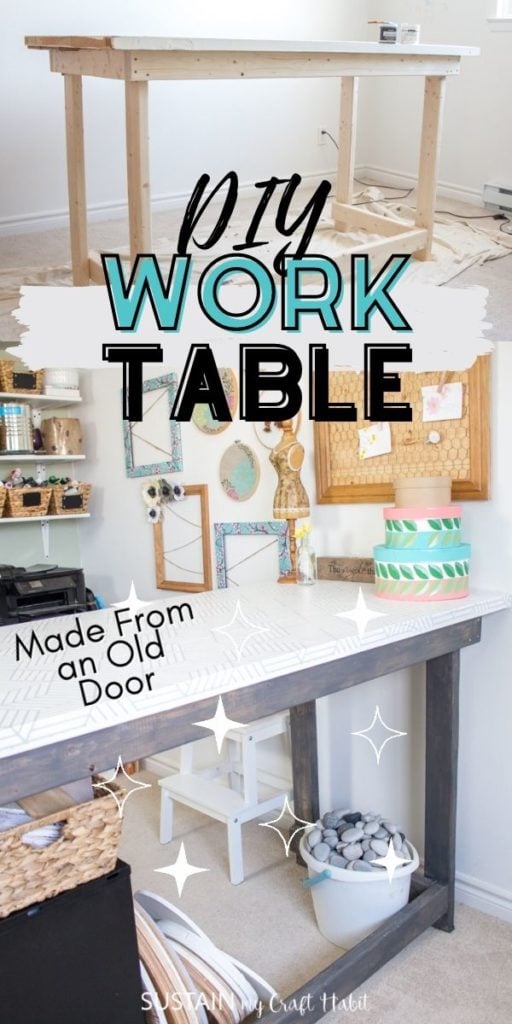
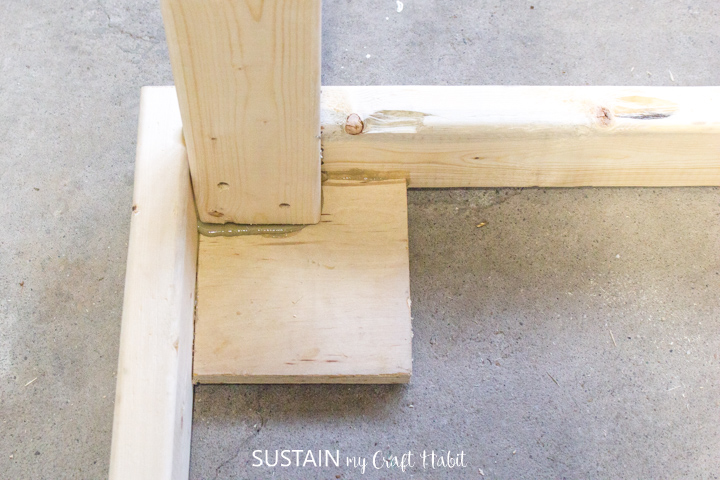
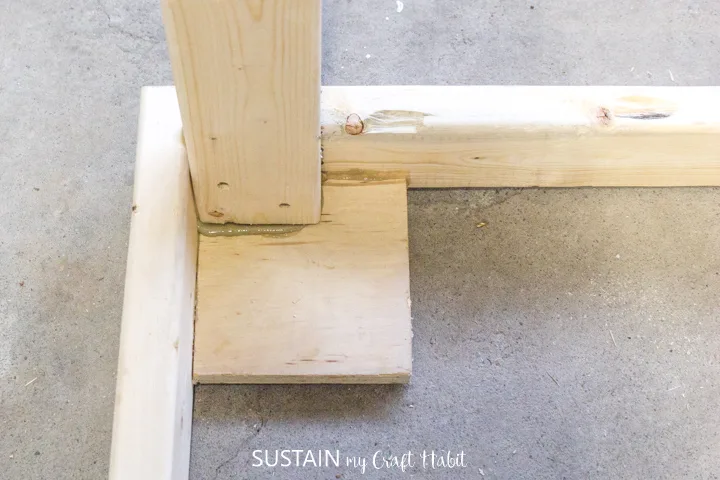
Assemble the pieces to form base starting with the tabletop support pieces.
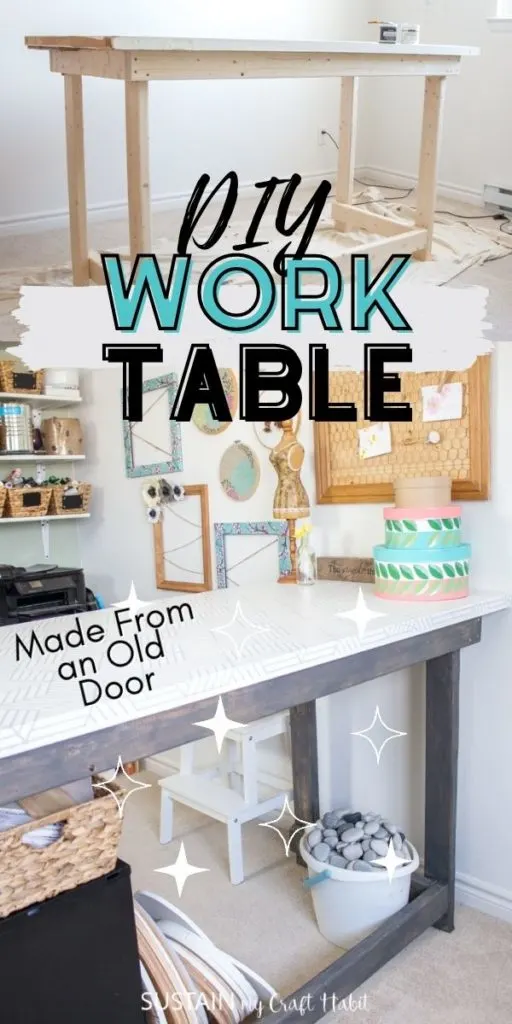
Join them to form a large rectangle, connecting the corners with screws.
Glue and screw the pieces together to secure.
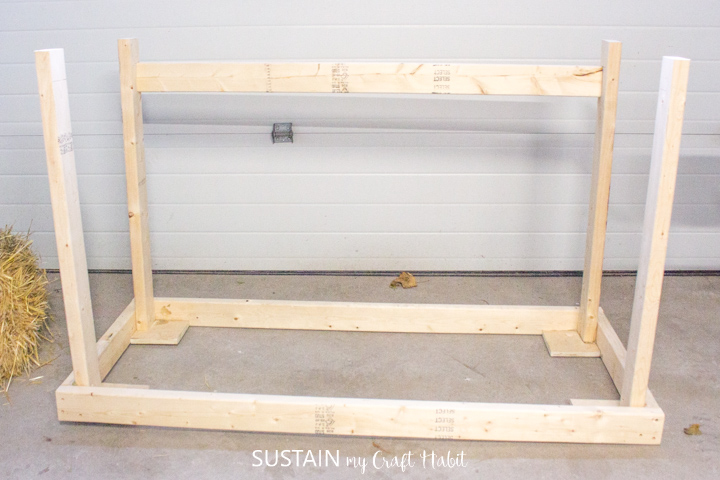
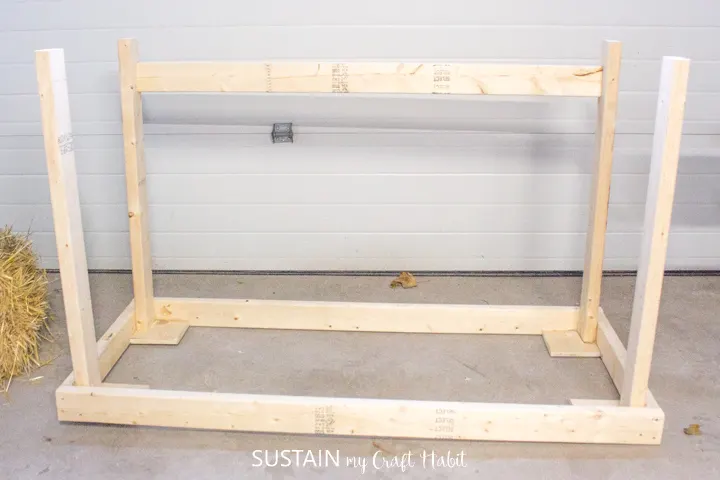
Once the tabletop support is assembled, move on to the lower supports.

Measure and mark placement for the remaining 24 pieces (about 4 above the bottom of the legs).
Secure to the legs with screws.
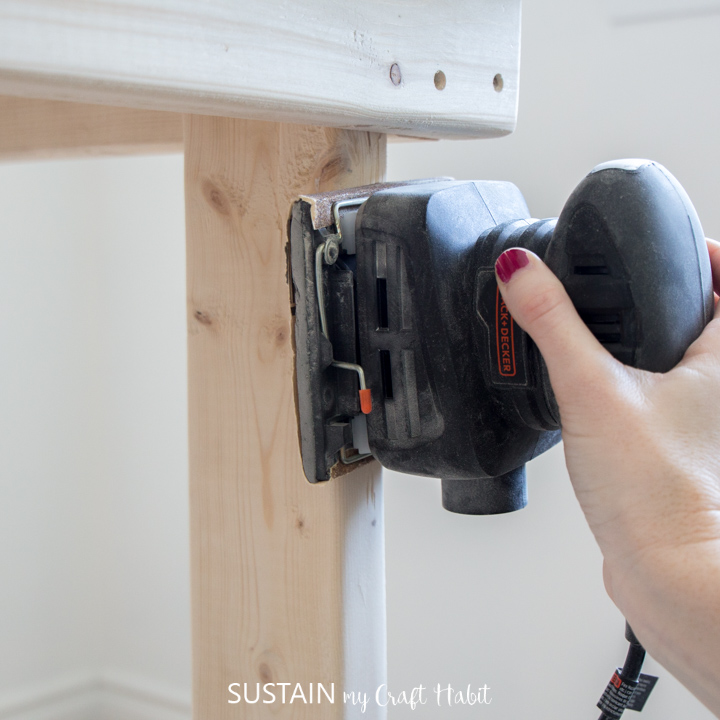
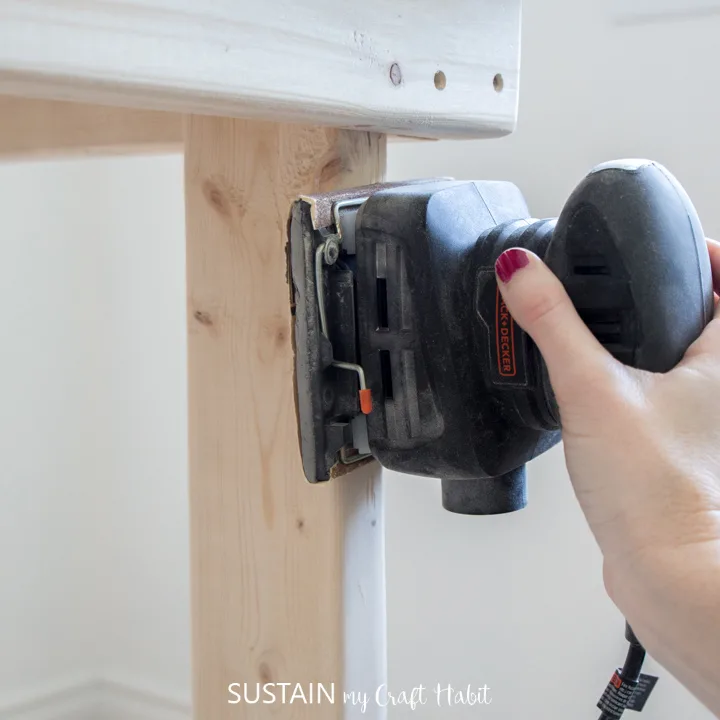
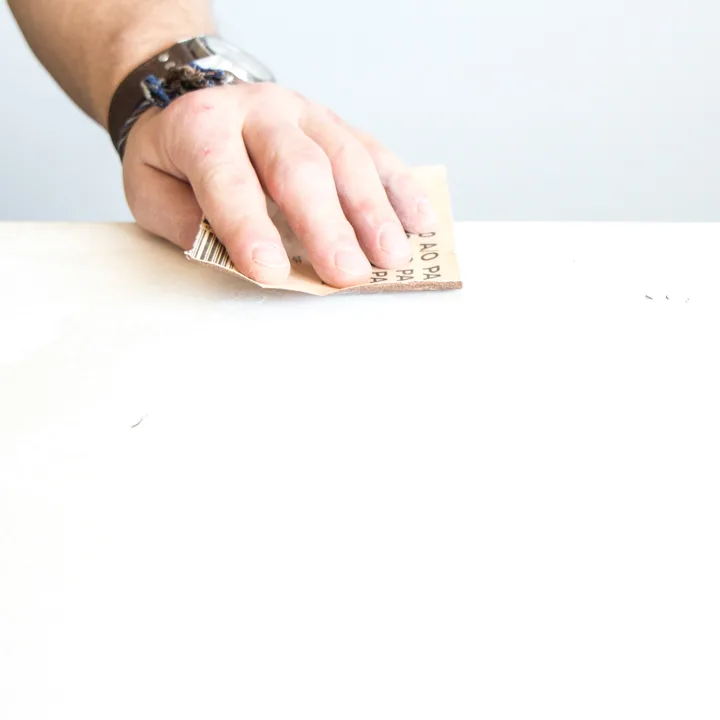
Turn table right side up and use a sander to sand off any rough edges on the wood.
Remove old hinges and knobs.
Fill in hole with foam and let dry.
Scrape and sand any rough edges.
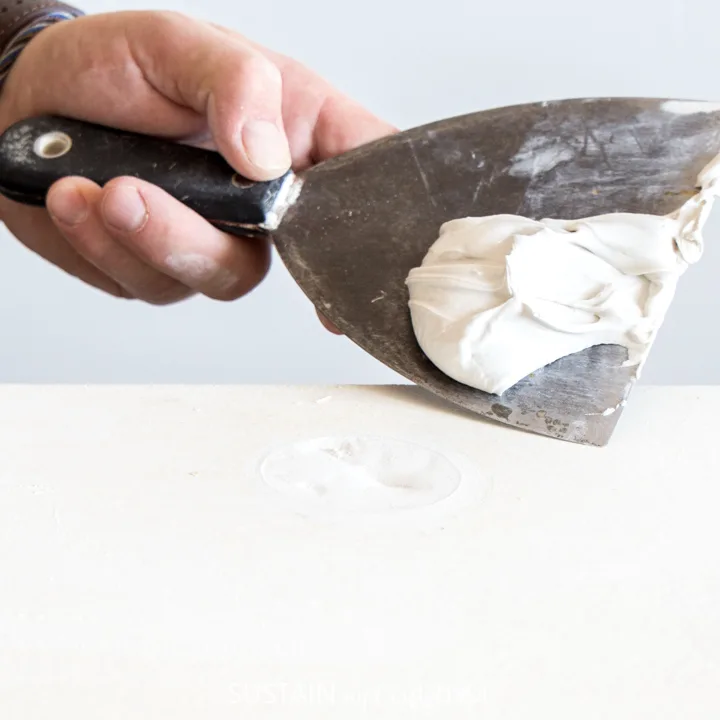
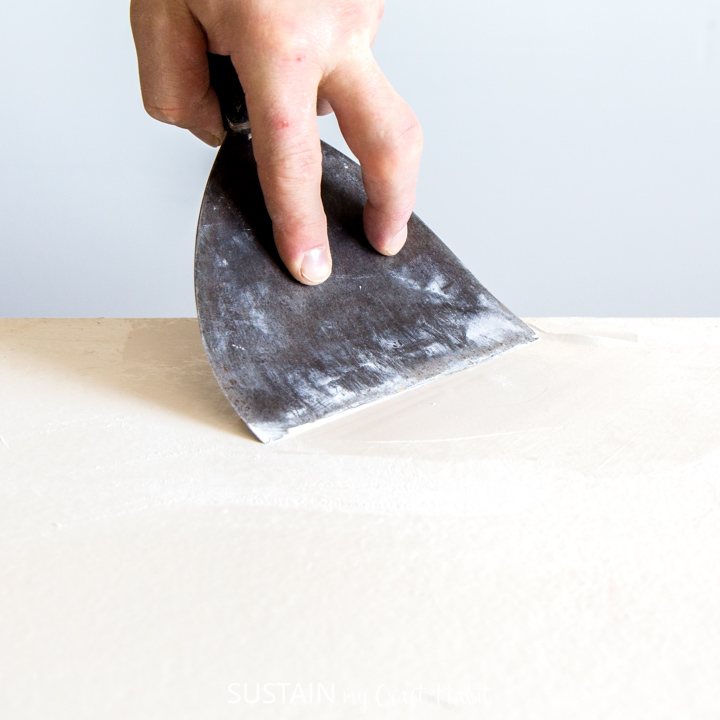
Use drywall mud to fill in any gaps or holes in the door.
Let it dry and then use a sander or hand sand paper to smooth the edges.
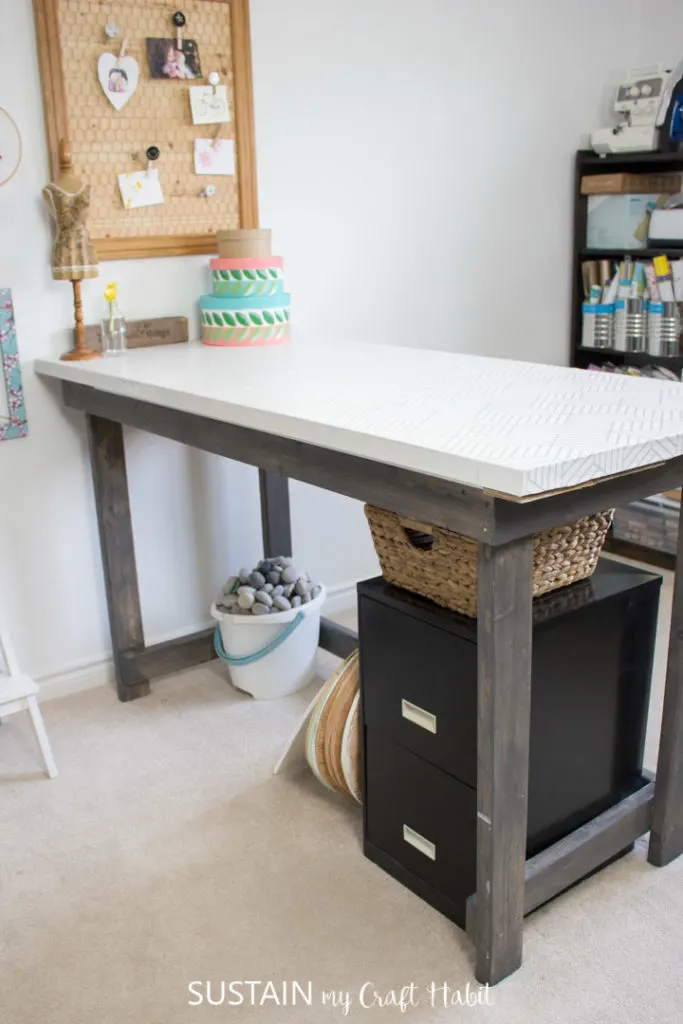
Place the door on top of the base centering it over the frame.

Screw the tabletop together through the plywood at each of the corners to hold.
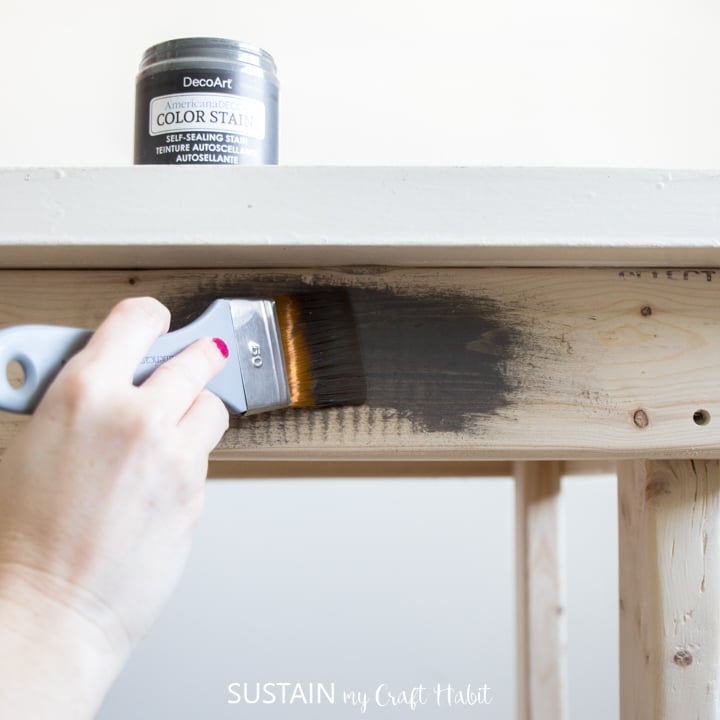
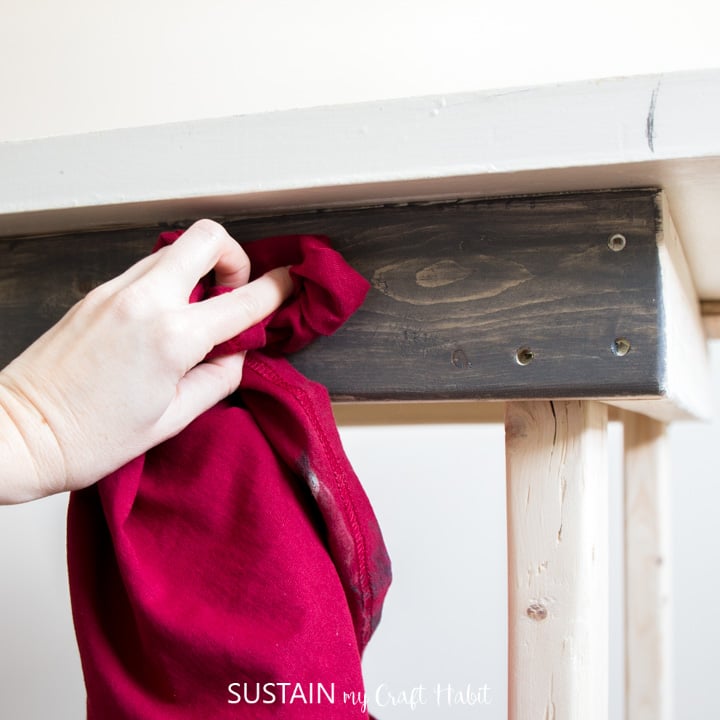
Clean off all the dust before painting the surface of the table or staining the 24 base.
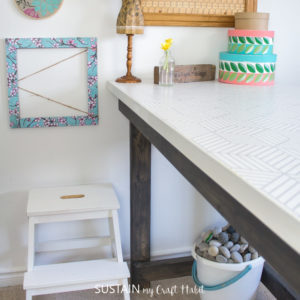
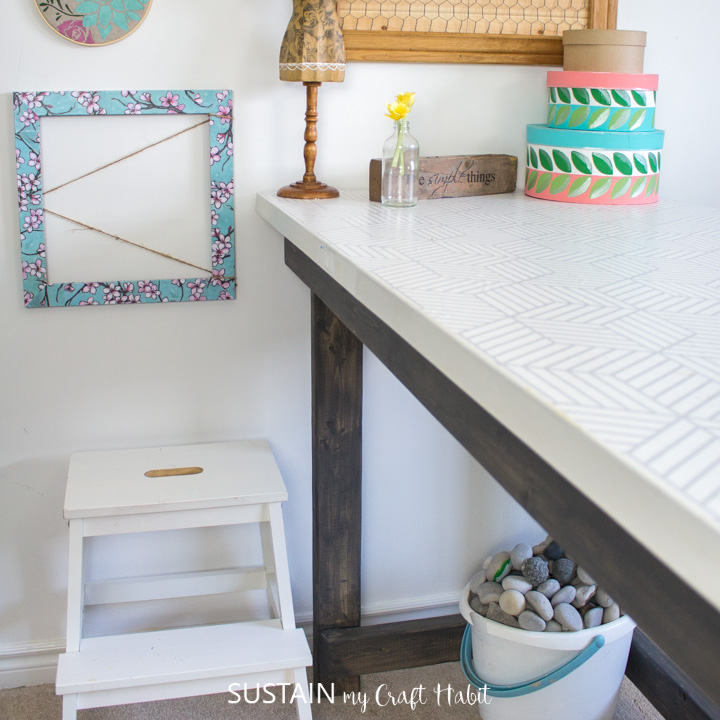
We used adurable satin enamel paintfor the surface of the table.

And we used adark grey stainfor the base.
Looking for more ideas for your craft room or office?
Pin it for later!

DIY Work Table from a Repurposed Door
Materials
Instructions


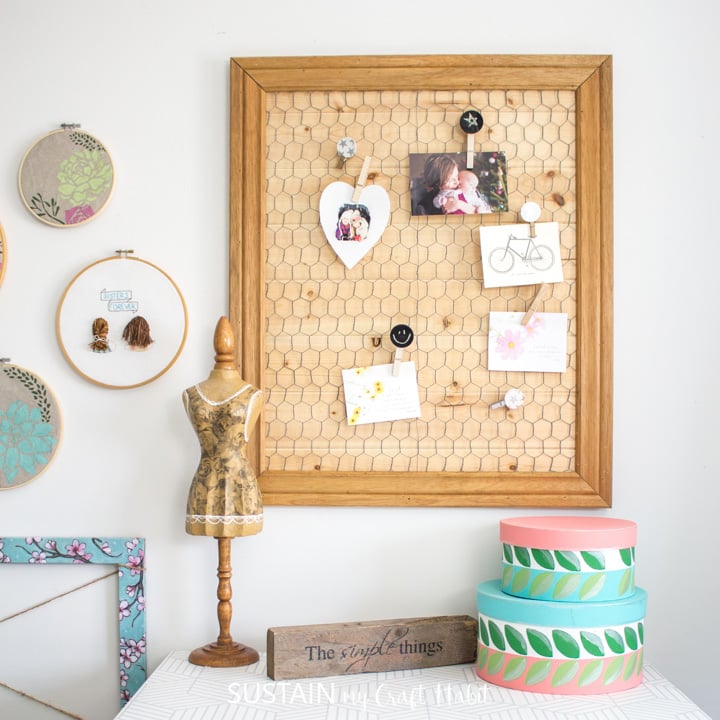
DIY Memo Board

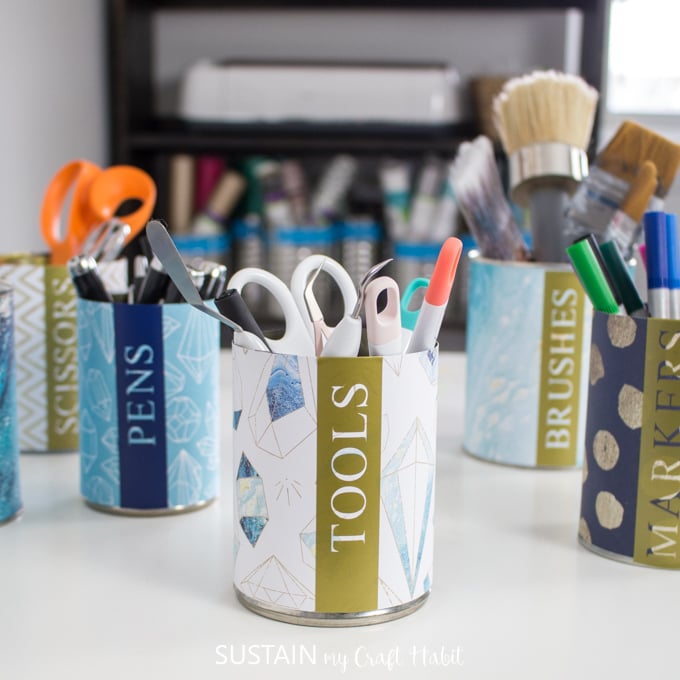
Tin Can Craft Storage

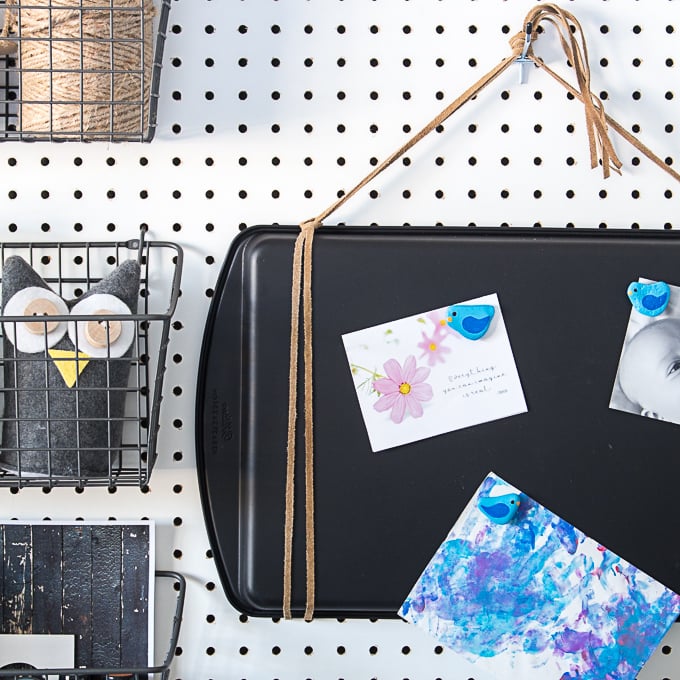
Magnetic Board Upcycle


10+ Cricut Crafts