Easy to follow tutorial!
Steve loves to build things.
Feeling success after that build, he decided thatDIY bencheswere his thing.
And it was time to do another project!
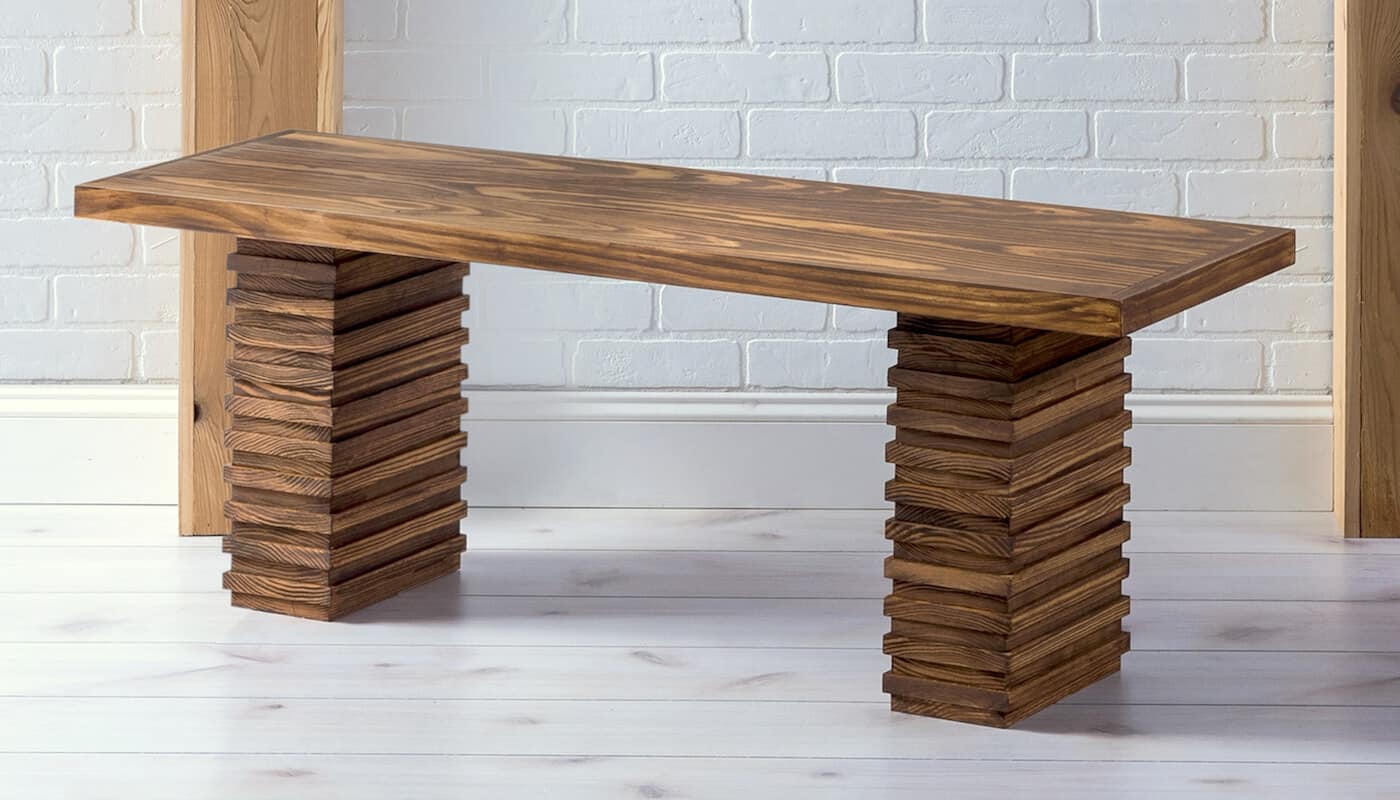
Its really beautiful withreclaimed woodfrom Brazil and Australia this wooden bench is also $999.
Even if you have to buy a few things, its going to be way less than $999!
Heres how we made our version!
Its a perfectbeginner woodworking project, so lets get started.
So your EXACT measurements may vary, though they will be close.
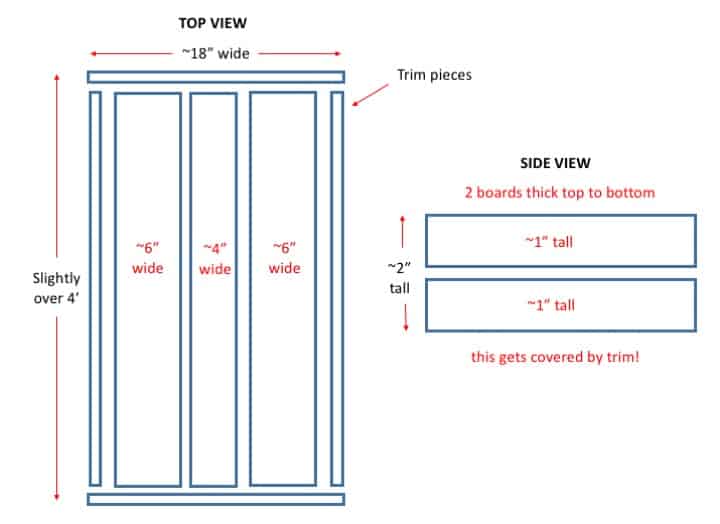
Were going to start with the top of the bench and Ill show you how its assembled below.
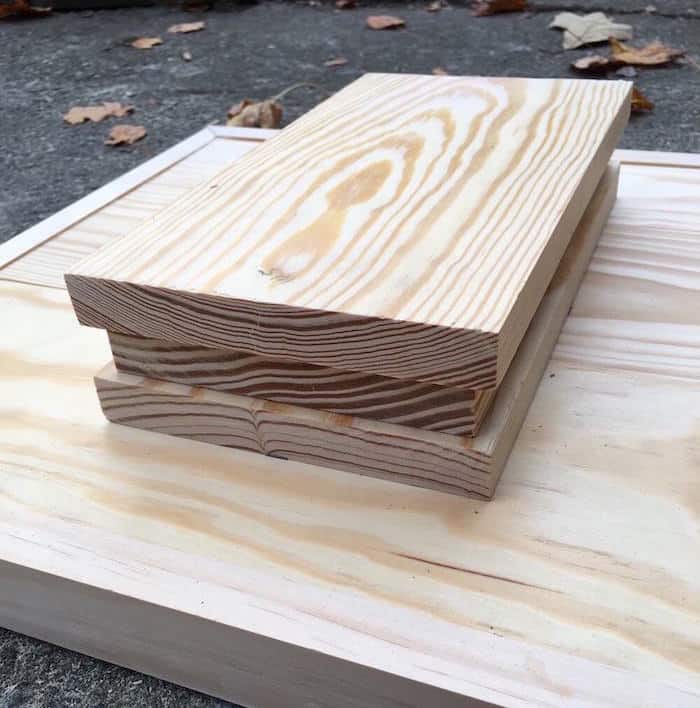
Your first question might be why didnt you just use two solid pieces of wood?
The answer is because we liked the grain of the wood and wanted to create a little variation.
I wanted to give you the diagram first and then delve into the instructions.
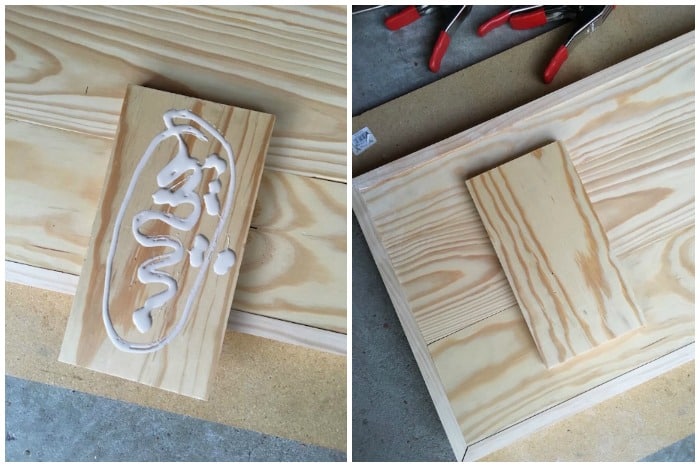
So heres what youll do.
Thats three separate pieces of wood hold them together with clamps while they dry several hours.

Lay the planks side by side and glue them together lengthwise clamp and let dry.
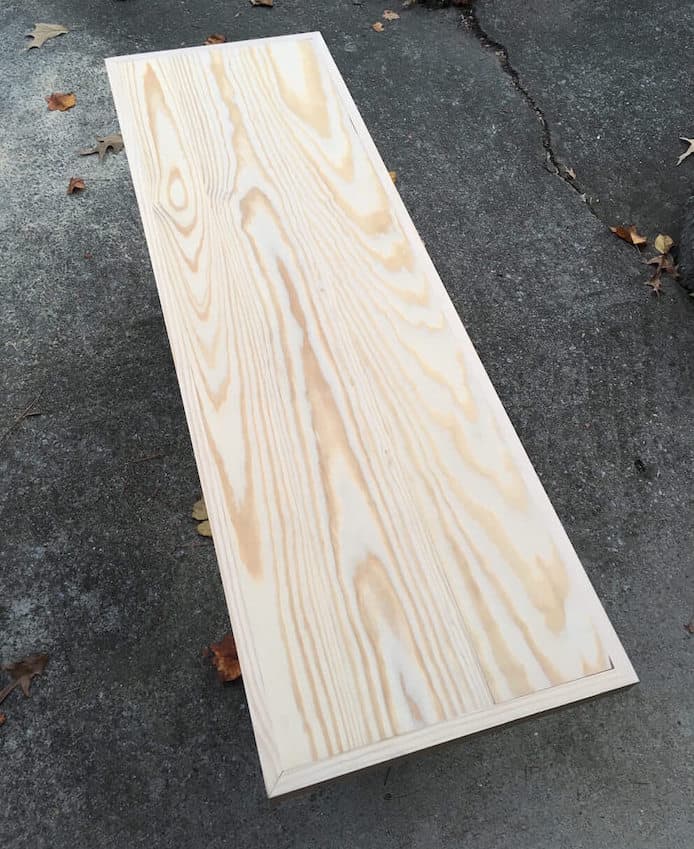
Now youre going to trim the top to give it a finished look!
Youll use two finished 1 x 2 x 6s.
Out of each trim pieces you might trim a long side and a short side of the bench.
Repeat with the other board.
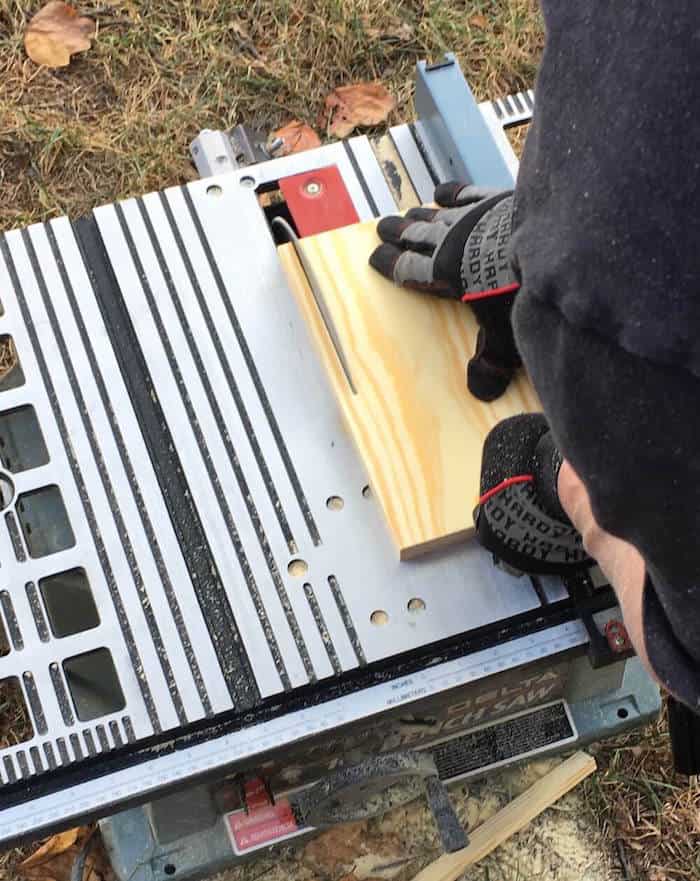
Cut 45 angles on the ends of all four trim pieces.
Use wood glue to attach the frame pieces to the outer edges of the bench top and clamp.
Sand the bench top with 120-grit sandpaper.
you might use an orbital sander or a foam sanding block this will make for a nice smooth surface.
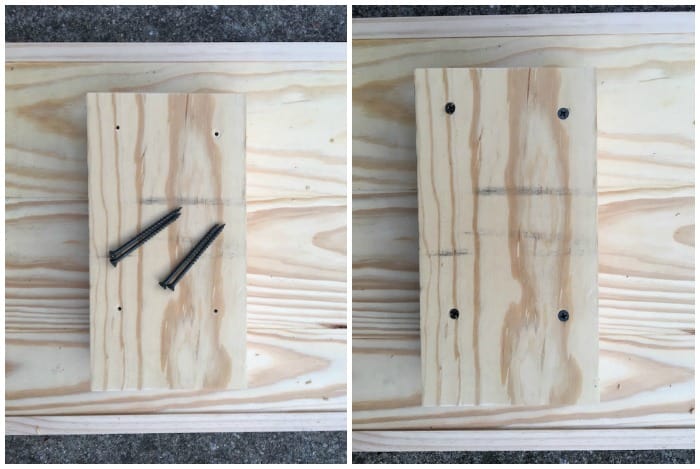
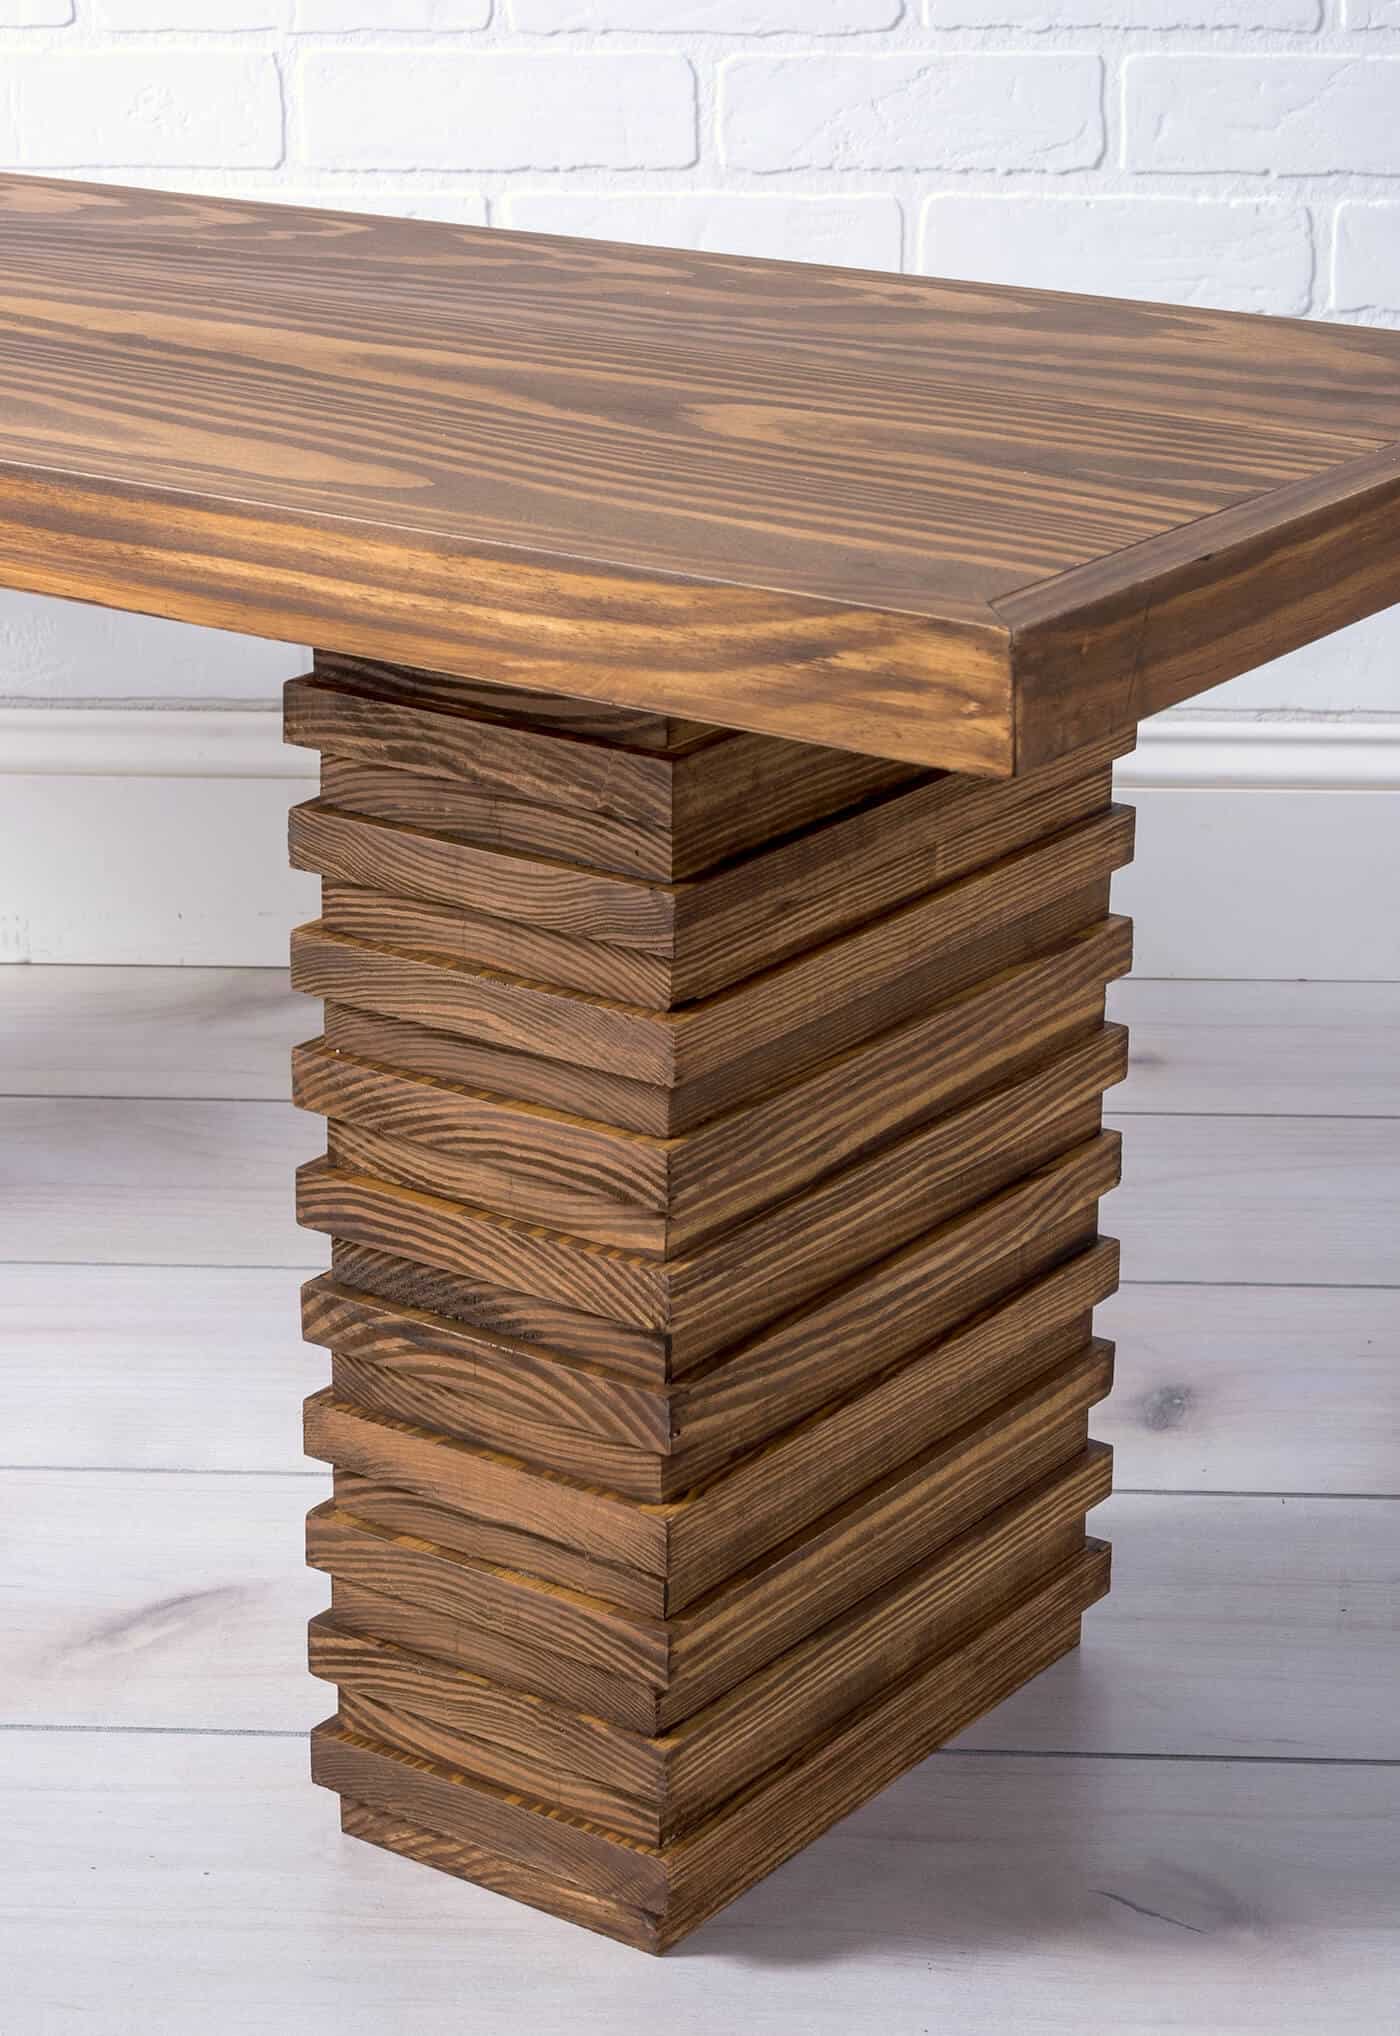
The next step is to cut the pieces for the legs of your DIY wooden bench.
Each leg takes 22 pieces 11 of one size and 11 of another.
Mine are attached 6 in from each end and centered.

Take two of your milled 10 pieces and glue them in the center of the 10 12 pieces.
This should give you a 14 boarder all the way around each 10 piece.
Finally, glue a 10 12 piece on top of each 10 piece.
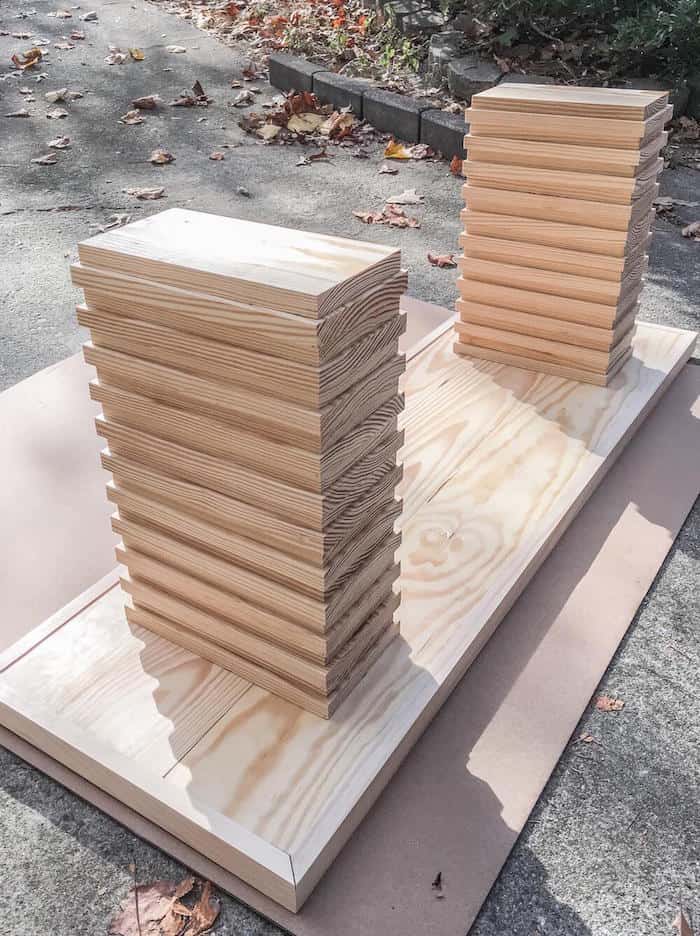
This give the staggered look to the legs.
Continue gluing the alternating sized pieces of wood and clamp.
You will start with a 10 piece and end with a 10 piece.
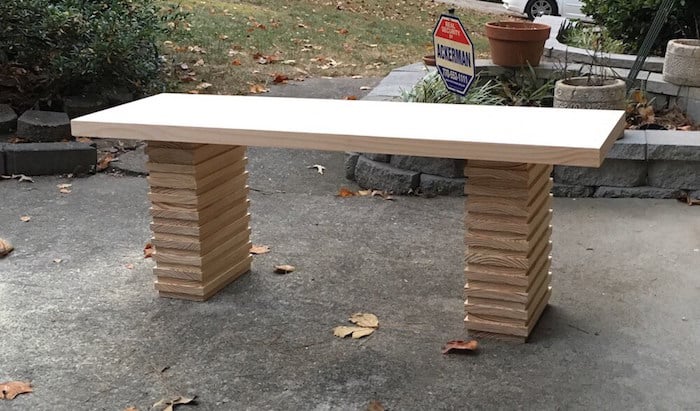
Your DIY wooden bench is coming together!
The next day flip the bench over and your wooden bench assembly is complete.
To stain the bench, I used FolkArt Home Decor Wax (Antique).
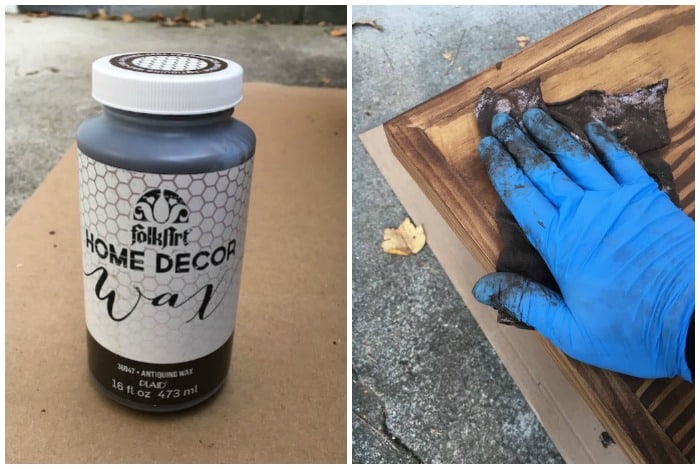
Rag the wax on to get the shade you like.
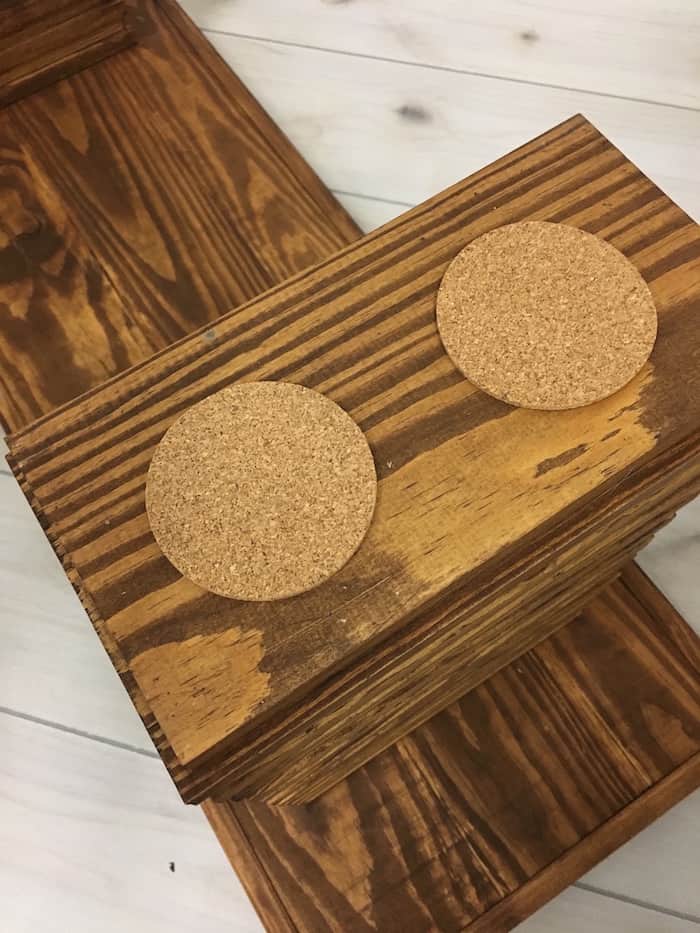
Finish your wooden bench with cork on the feet to protect your floors and keep from sliding.
Use wood glue to attach the circles.
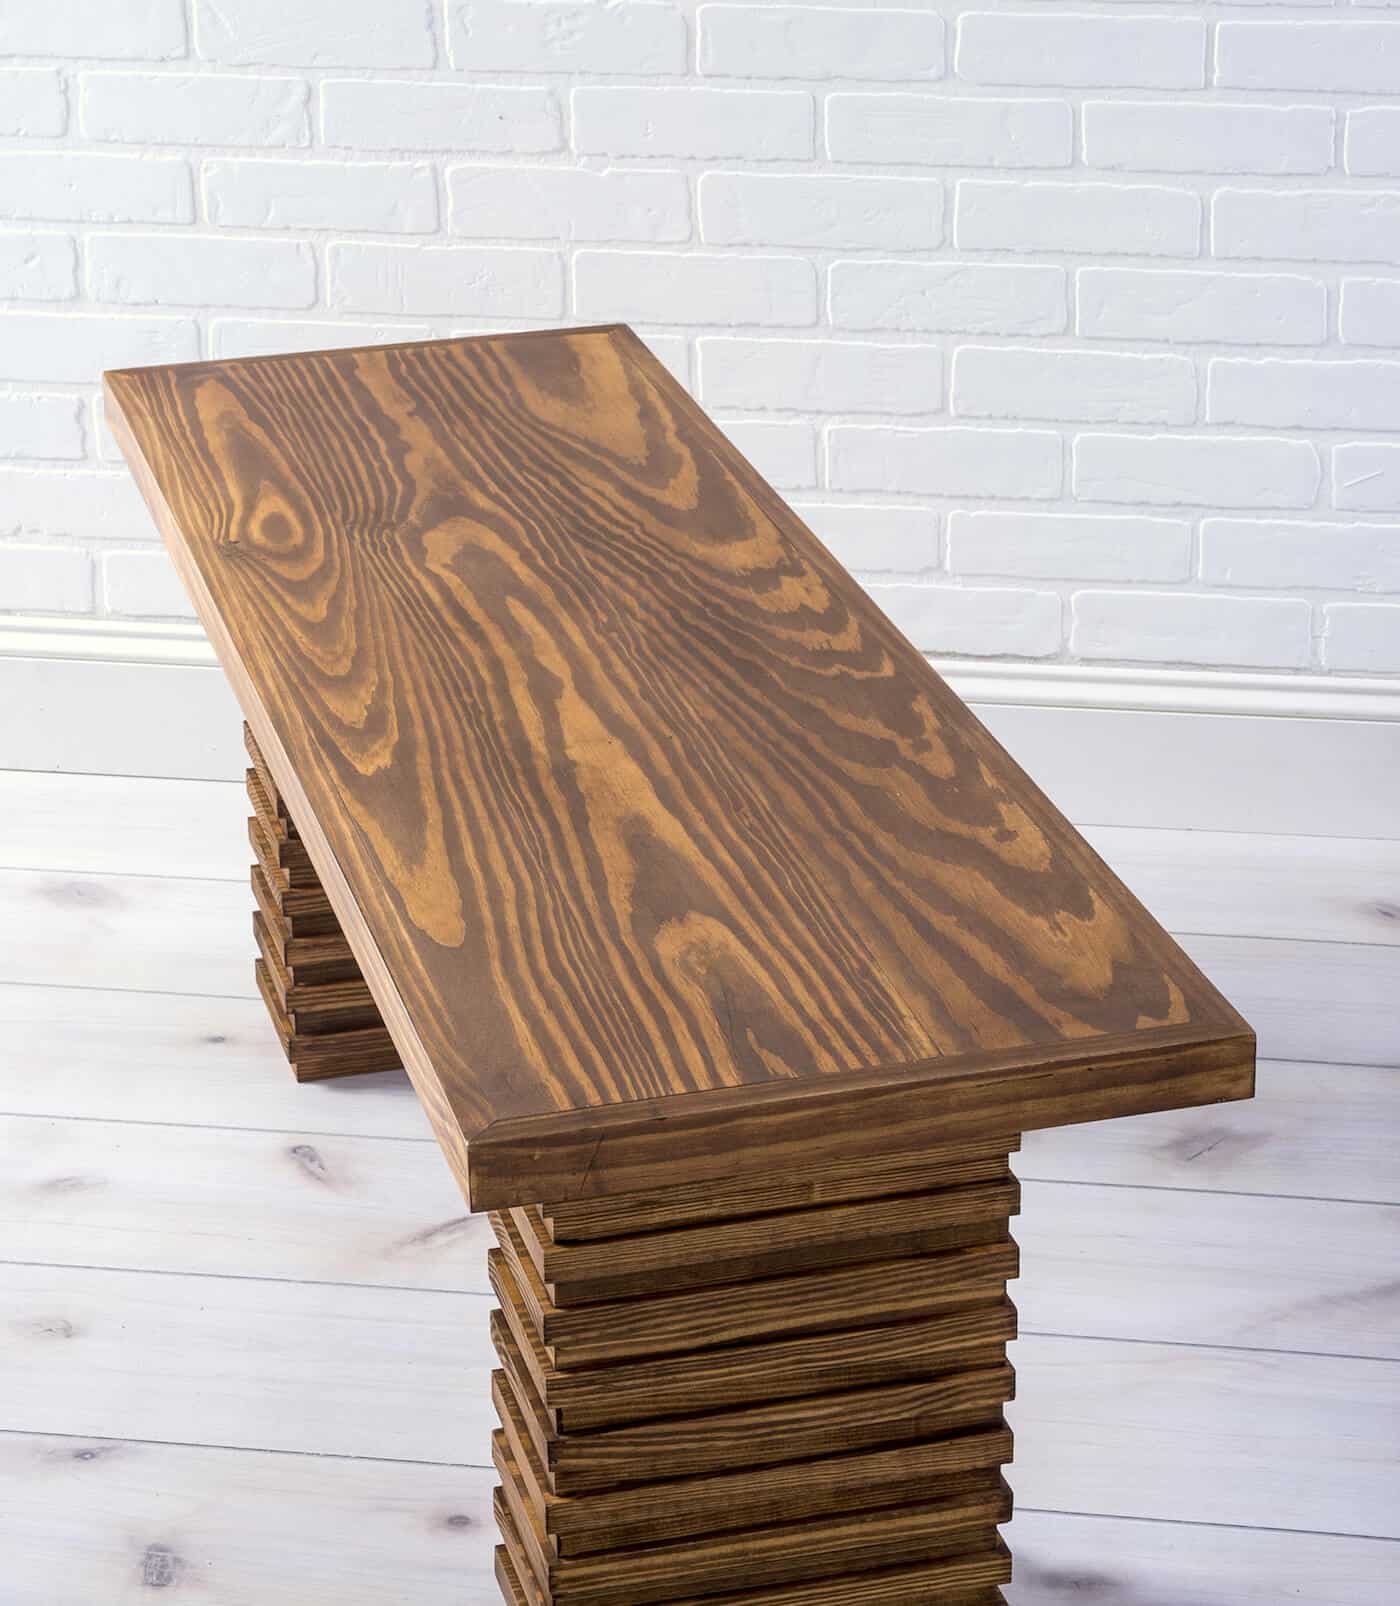
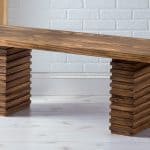
What do you think about our DIY wooden bench?
We love it and its proudly displayed in our home!
We LOVE the grain on top .