Ever since we were kids our family has always enjoyed a backyard vegetable garden.

At first we plant our tomato and pepper seeds which end up in our gardens in late May.

Ive always wanted a set of garden markers to keep track of my seedlings.

Article image

Several years ago I made some for ourherb gardenbut never yet had any for my veggies.

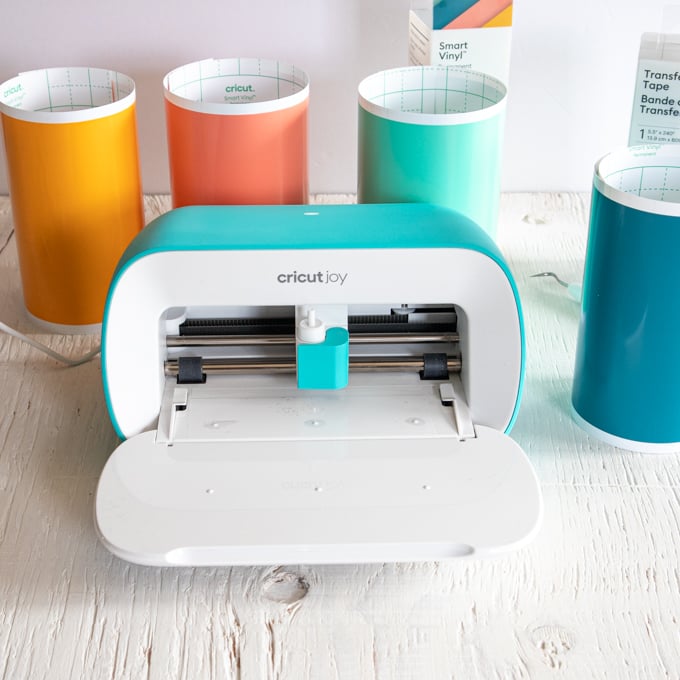
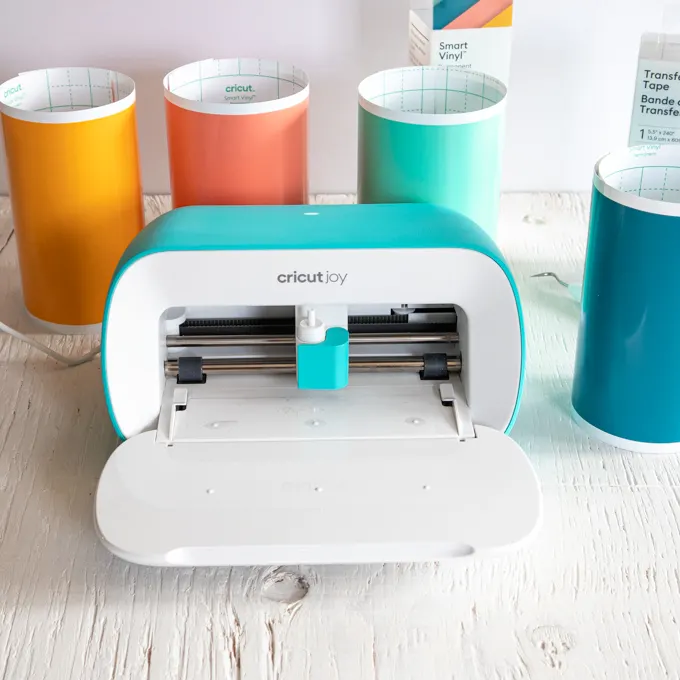
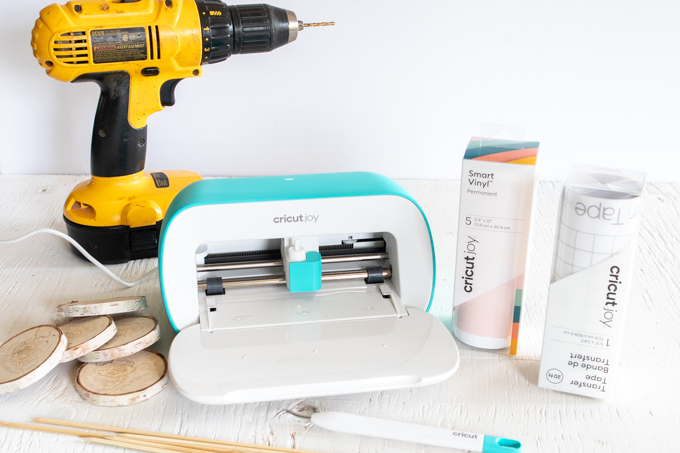
The Cricut Joy is the latest innovation from Cricut.

Stay tuned for some additional Cricut Joy projects coming soon!

Article image

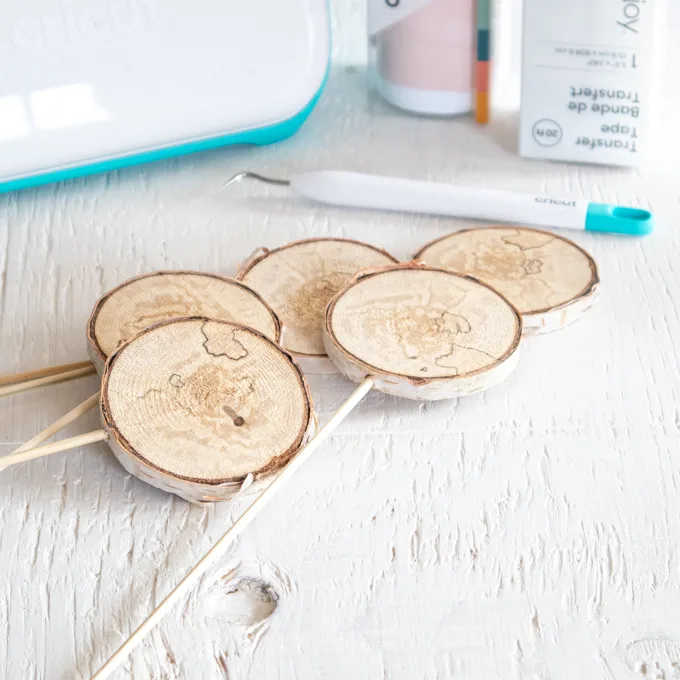
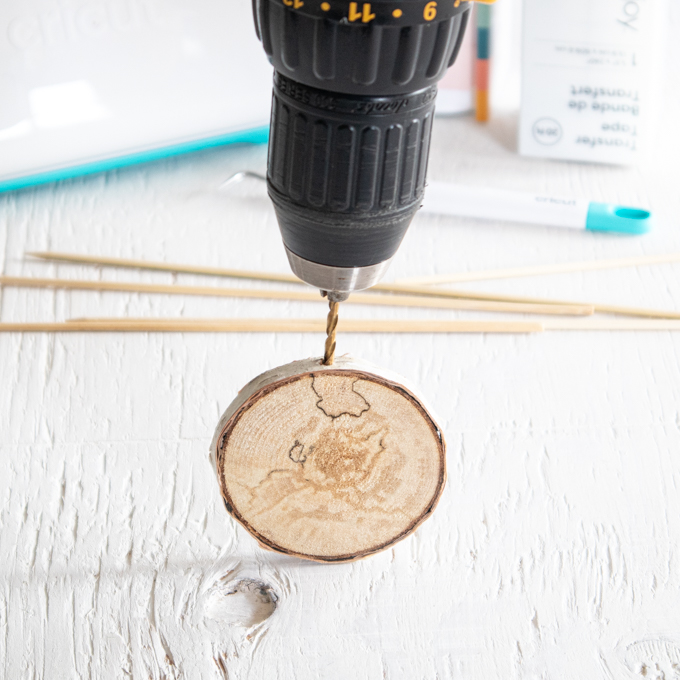
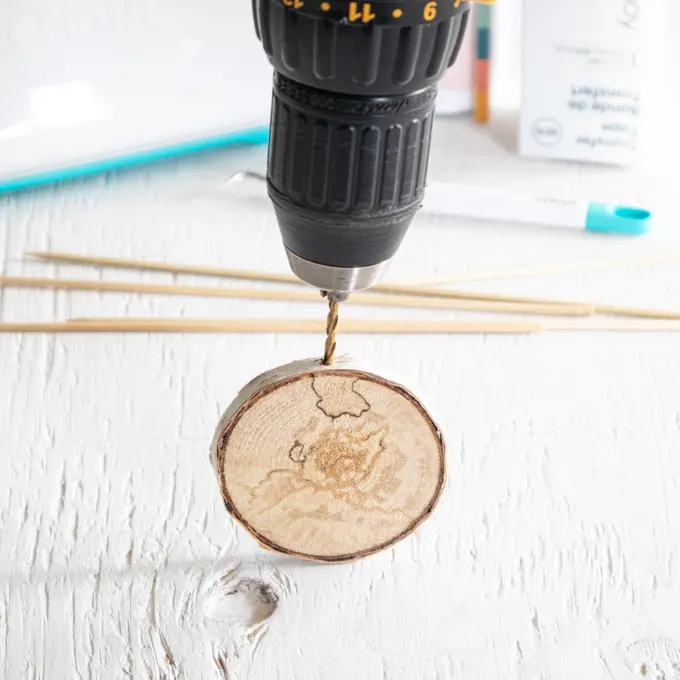
Insert wooden skewer into drilled hole.

Repeat with all wood slices and put aside.

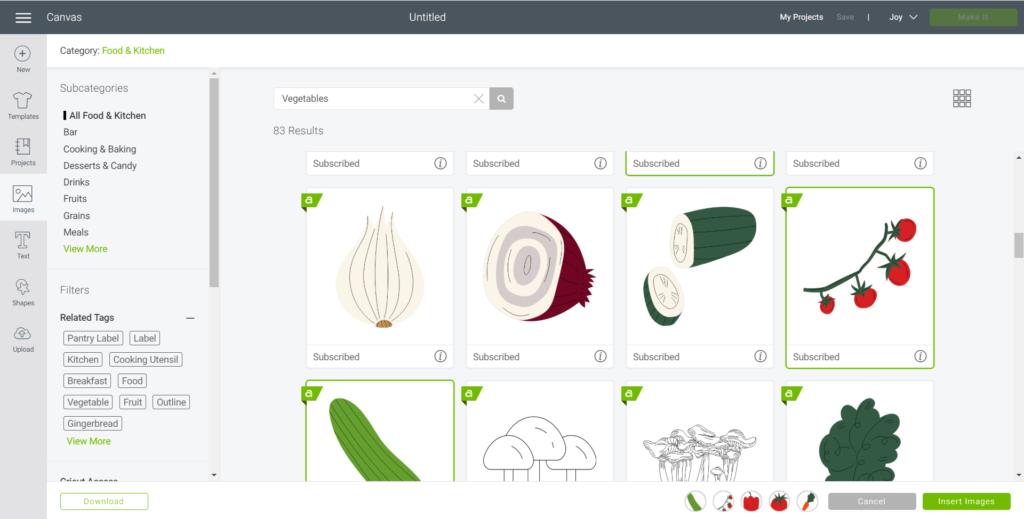
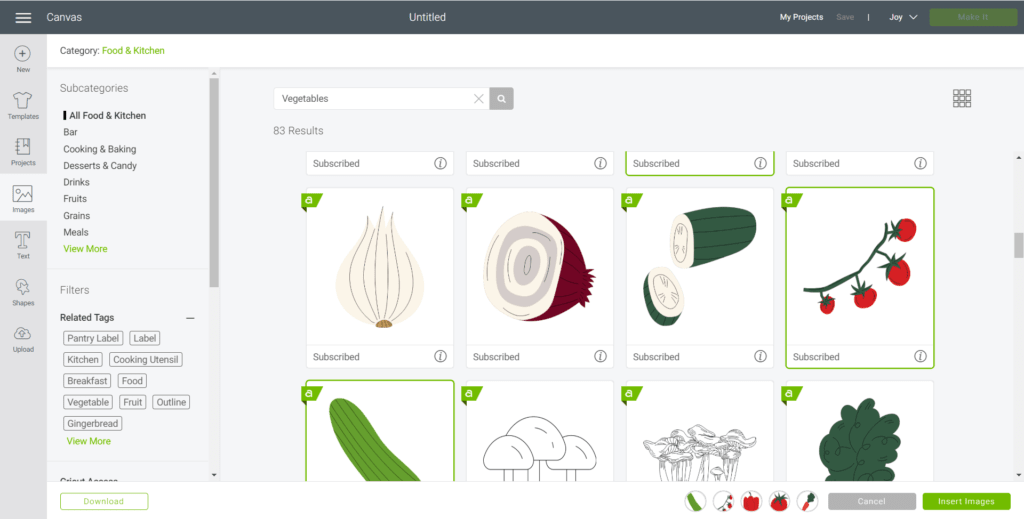
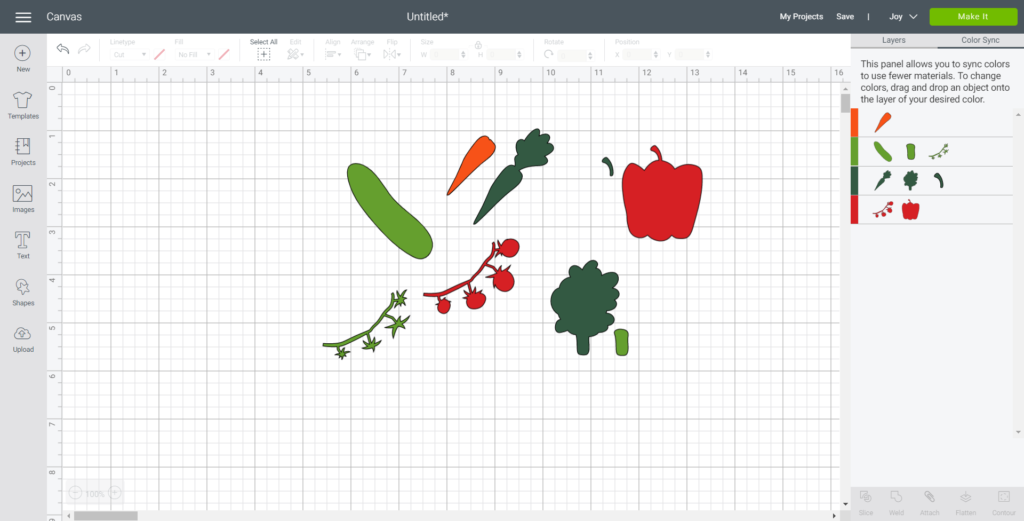
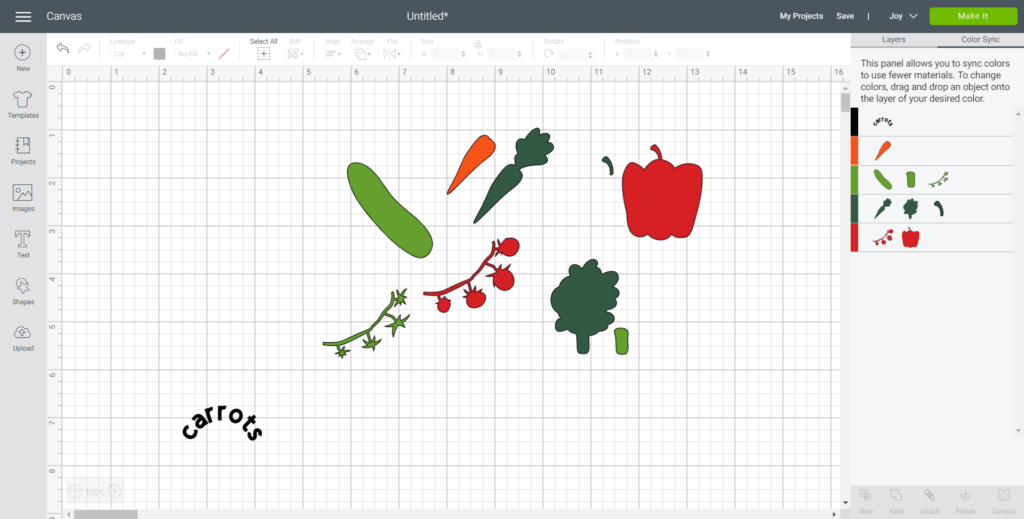
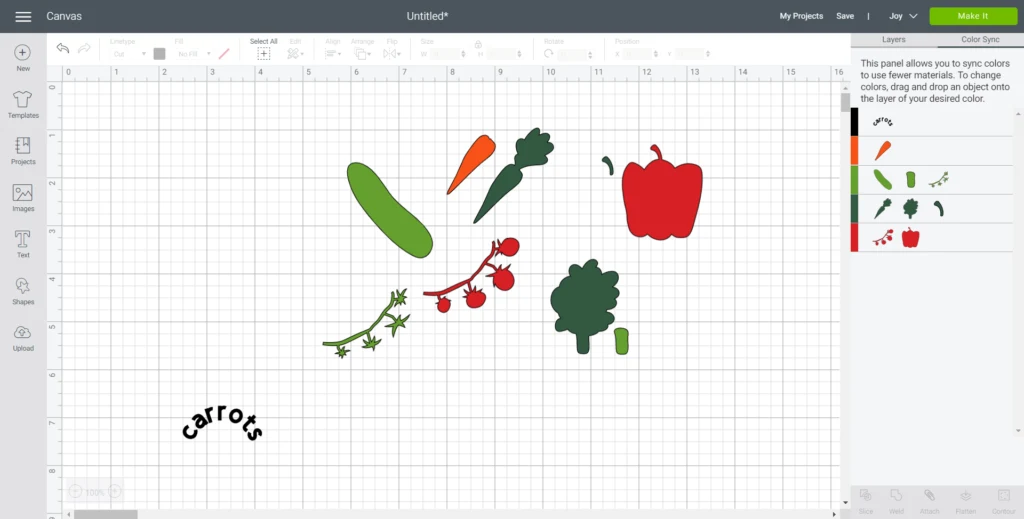
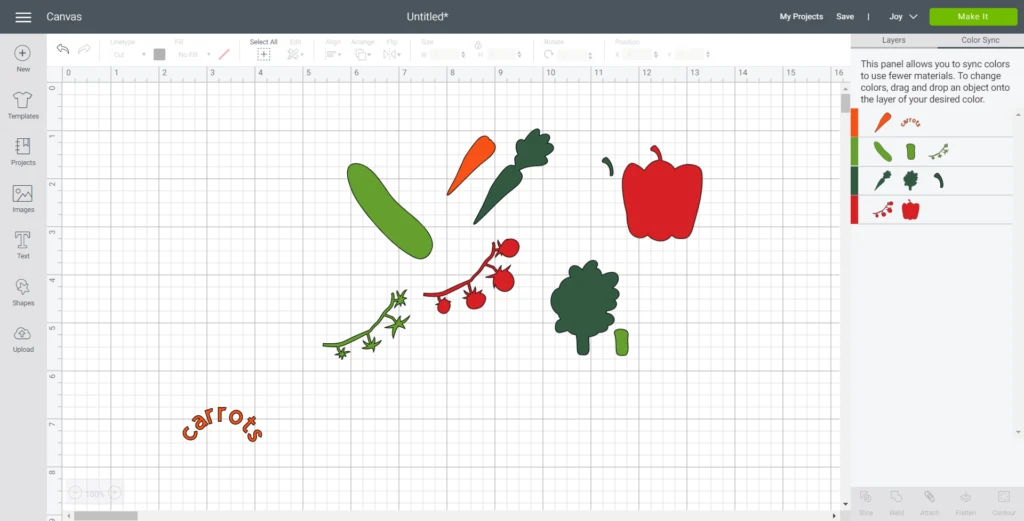
On a new canvas in Cricuts Design Space, select Images from the toolbar.

Wood slices with pictures of vegetables, on a wooden skewer  placed next to a green checkered tablecloth, a tomato and lettuce.

choose the Food and Kitchen theme and then throw in vegetables in the search engine.

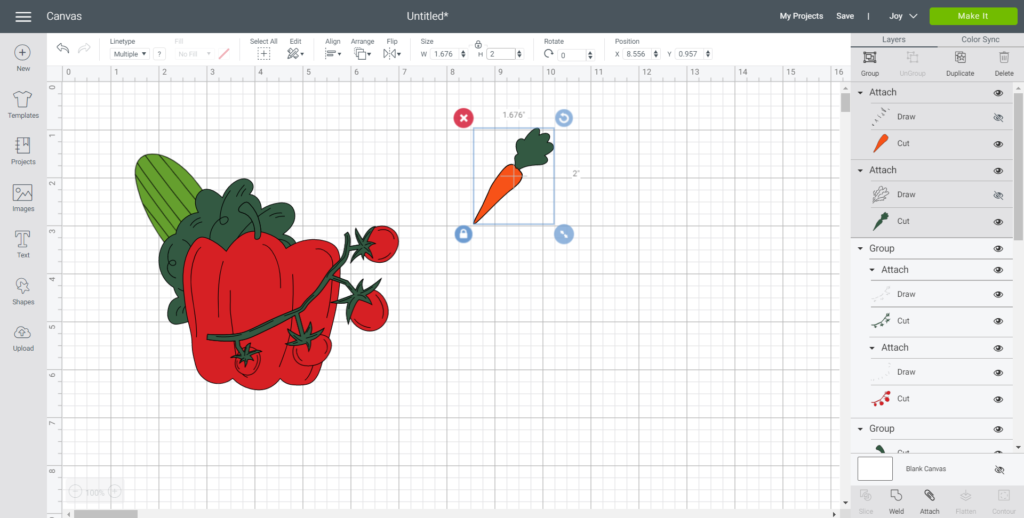
Insert the vegetable images onto the blank canvas.

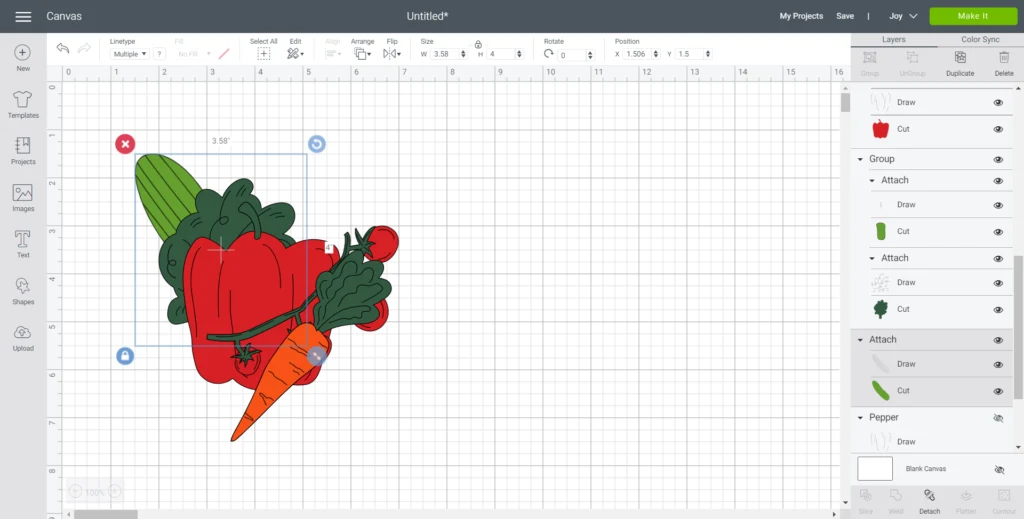
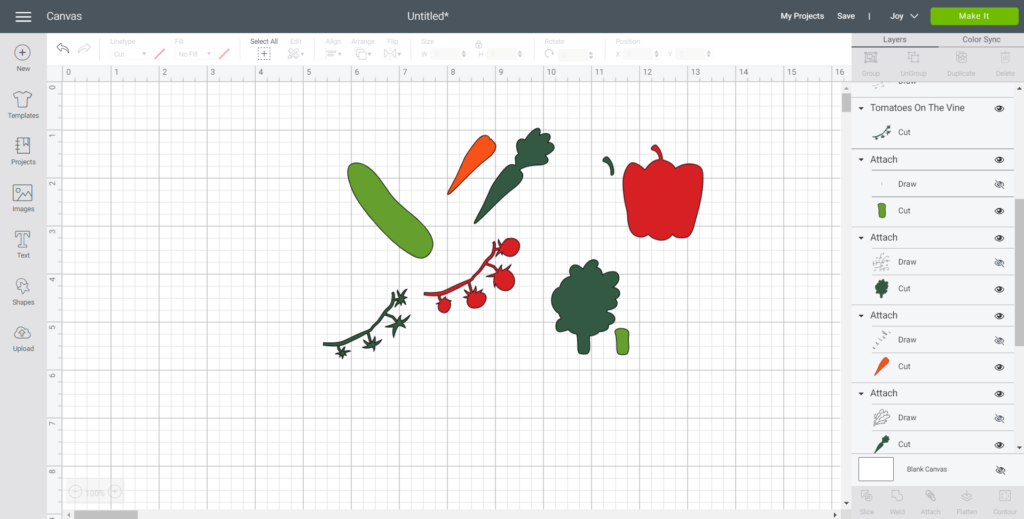
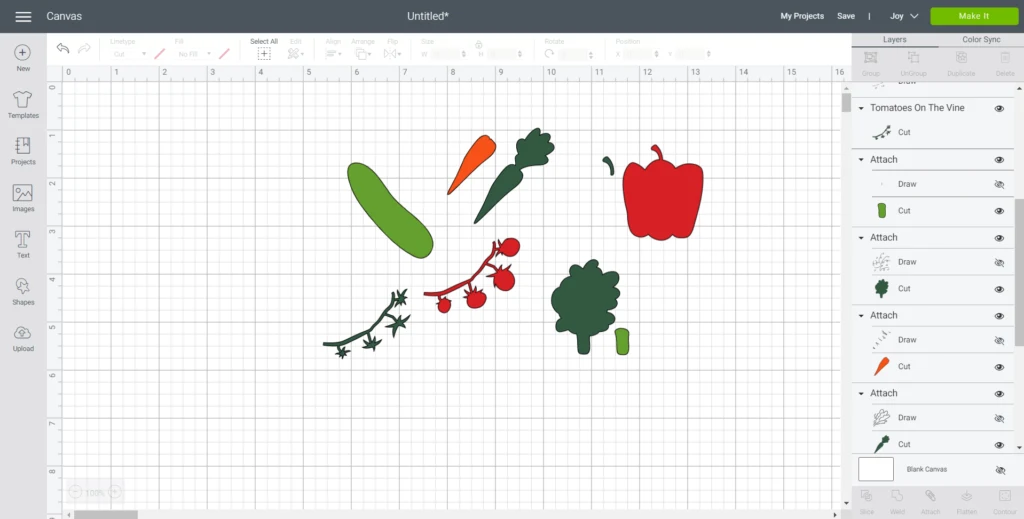
pick the image and hide all the drawing lines from the layers toolbar.

Wood slices with pictures of vegetables, on a wooden skewer  placed next to a green checkered tablecloth, a tomato and lettuce.

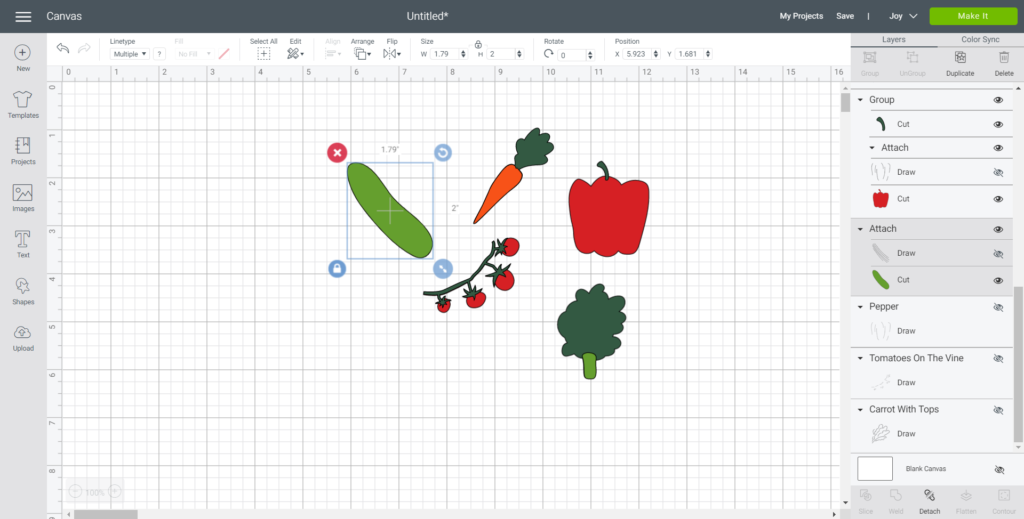
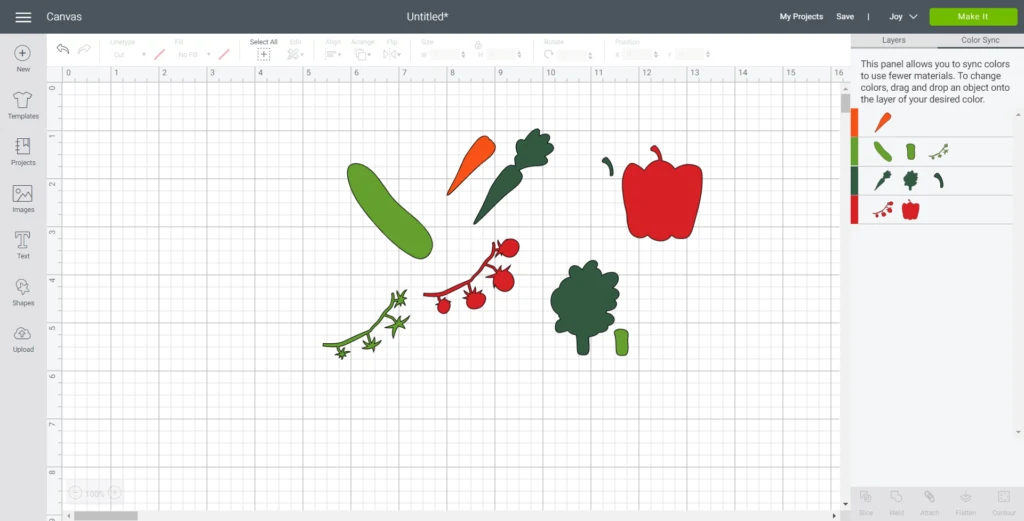
Select one image and then hit Ungroup.

If the image is still attached, hit the detach button.

This will separate the image pieces into their own layer.

a set of 5 DIY garden markers using wood slices

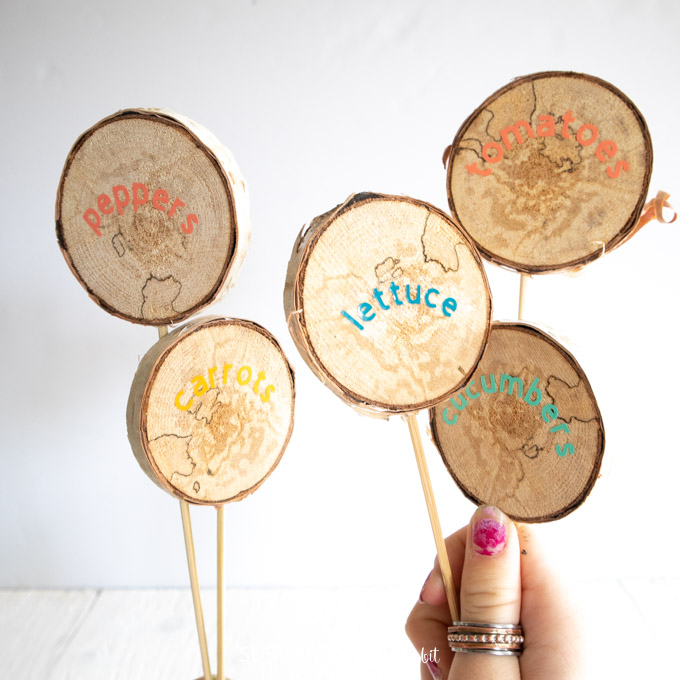
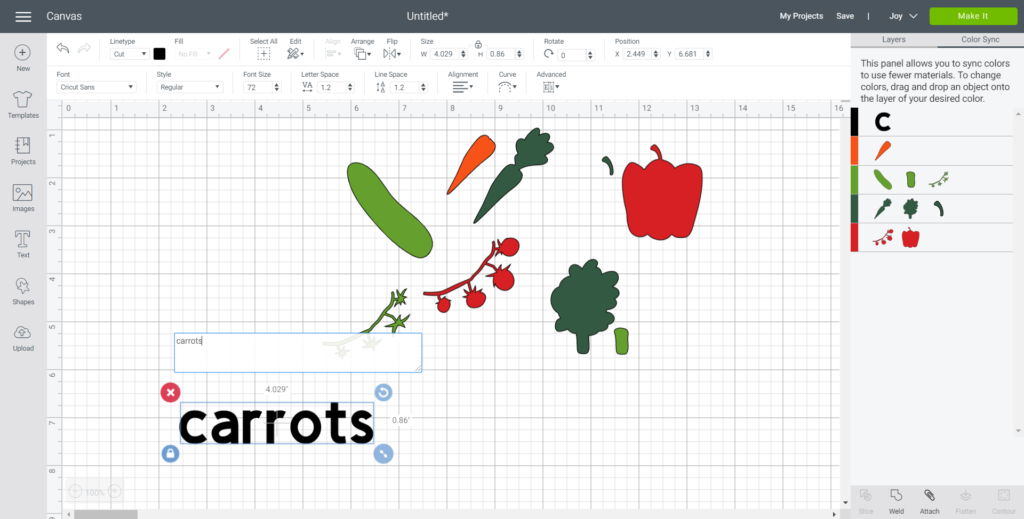
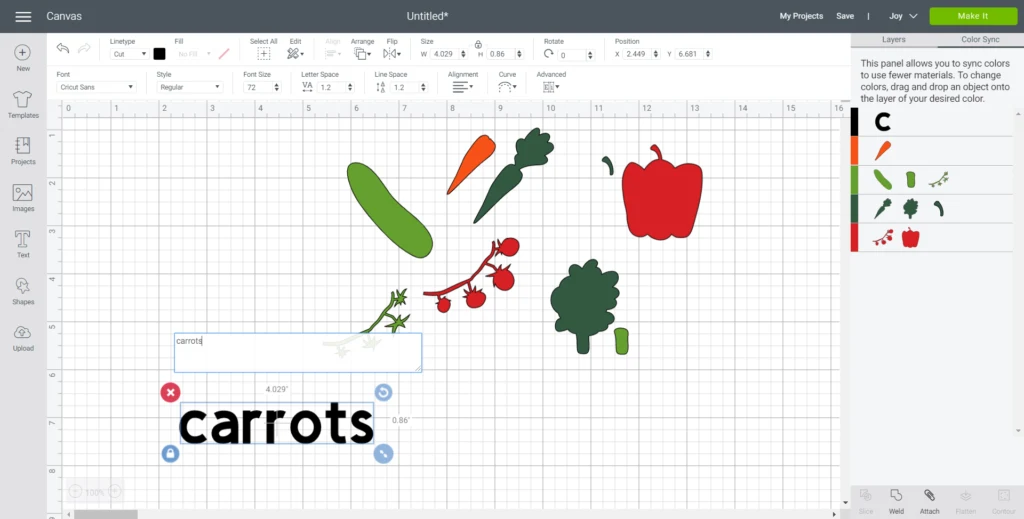
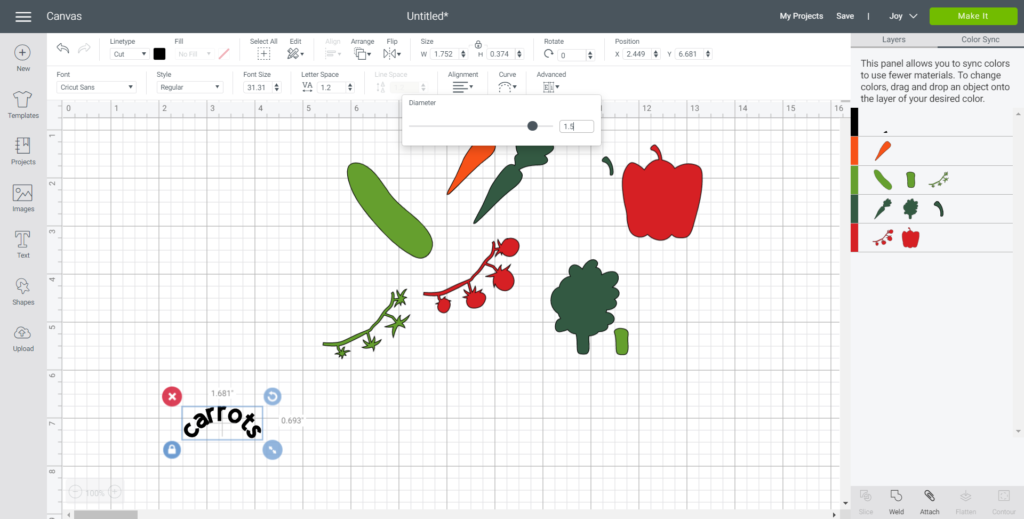
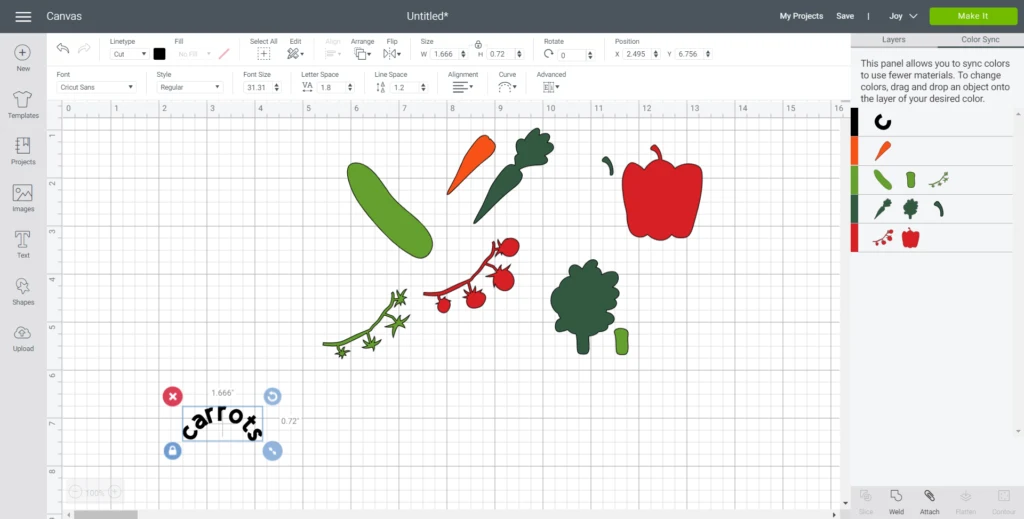
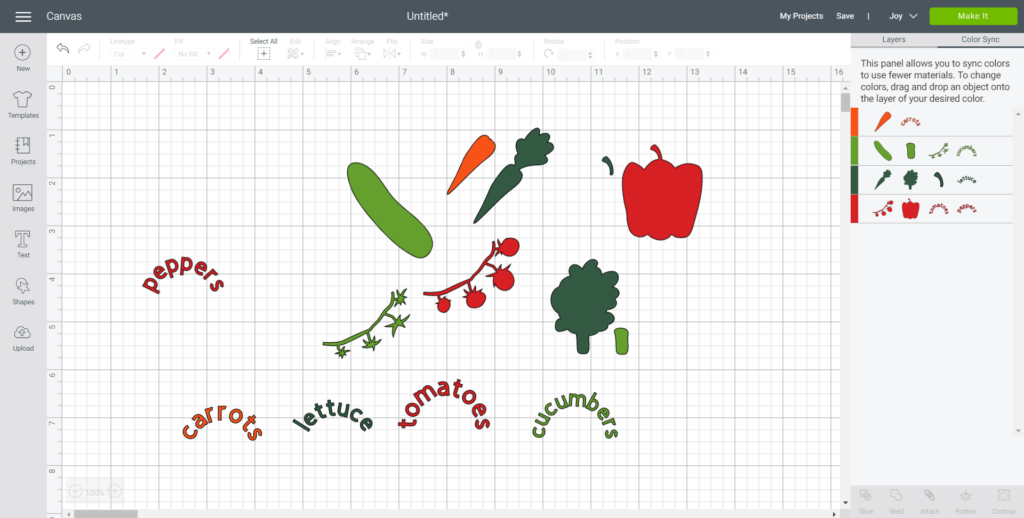
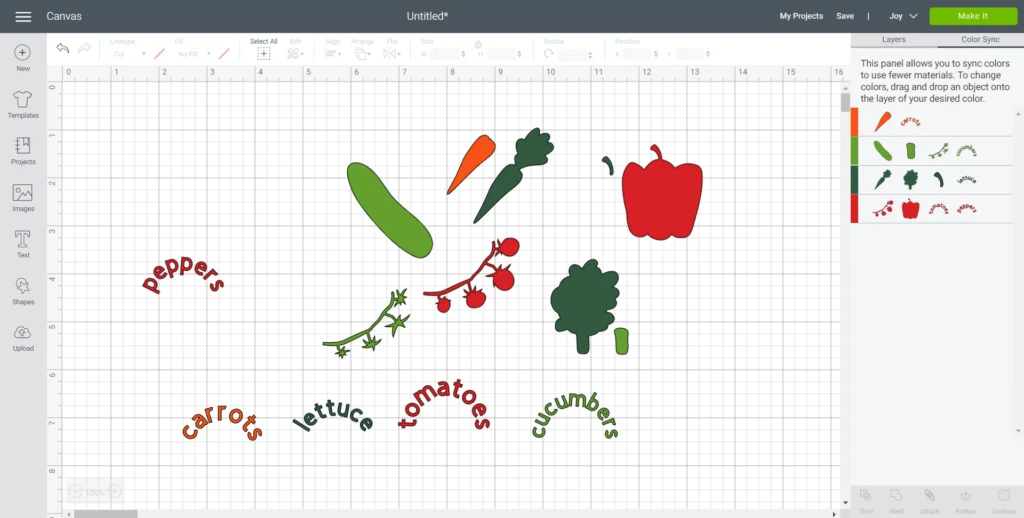
Add text for the back side of the garden markers.

Select Text from the toolbar and punch in out the vegetable: carrots.

Adjust text size to 0.375 high.

a set of 5 DIY garden markers using wood slices

Adjust the curve to 1.5.

Adjust the letter spacing to 1.8.

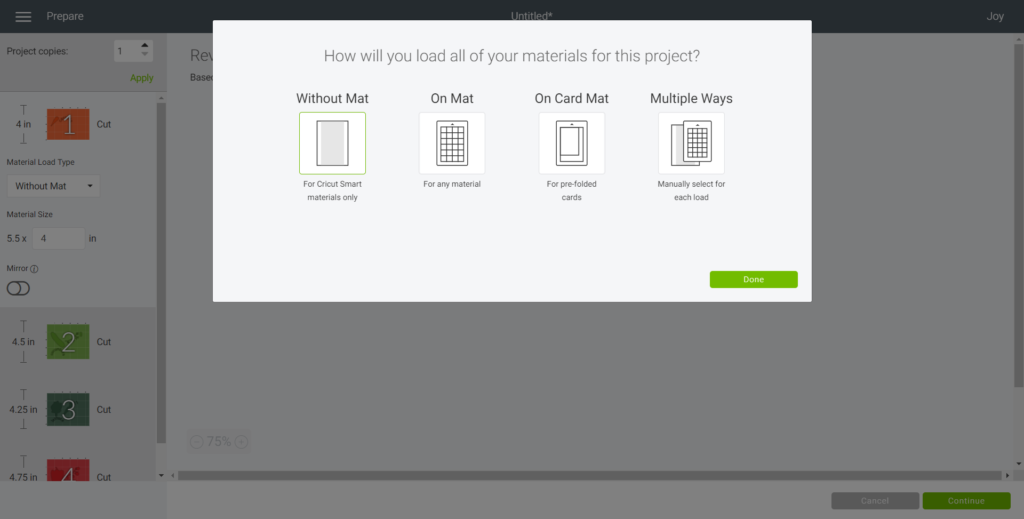
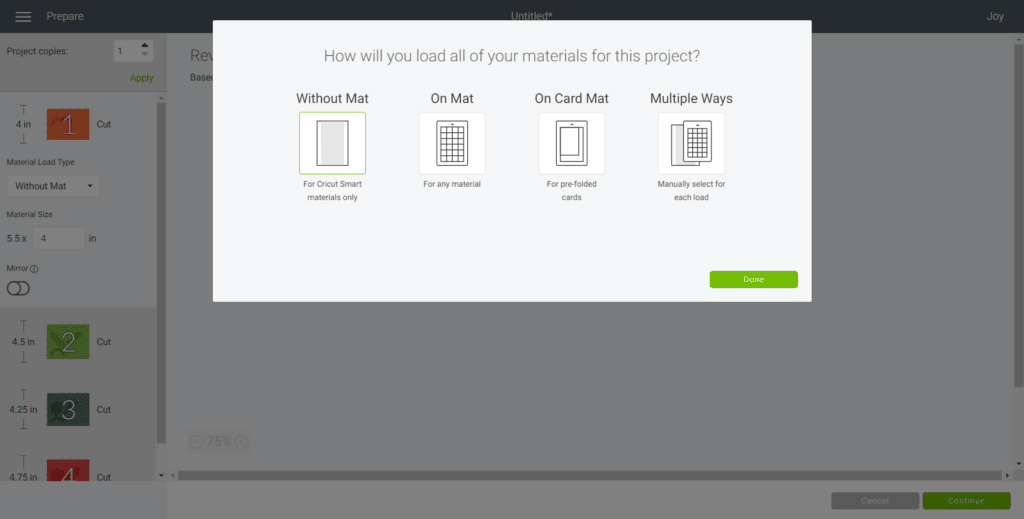
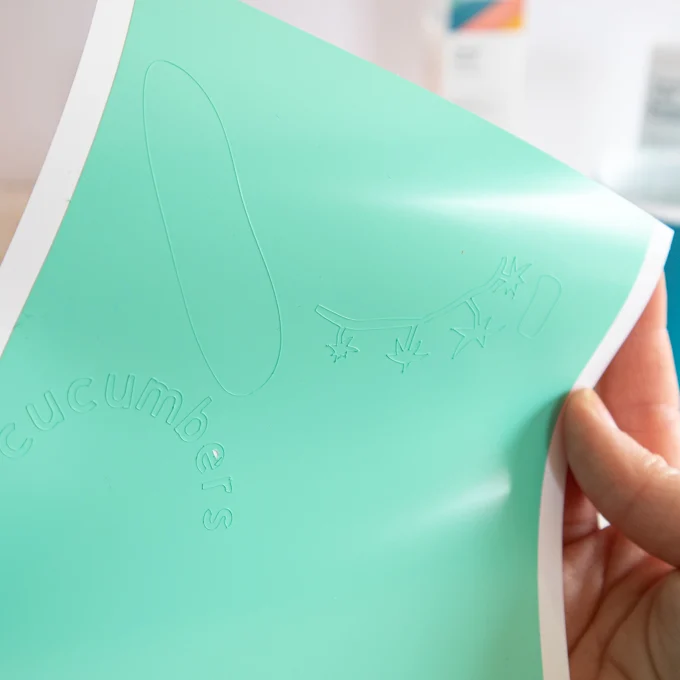
Ensure the cutting machine is set to Cricut Joy.

Materials to make wood slice garden markers. A yellow drill, wood slices, Cricut Joy machine, wooden skewers, Cricut weeder tool and two packages of vinyl tape.

Select Make It in Design Space.

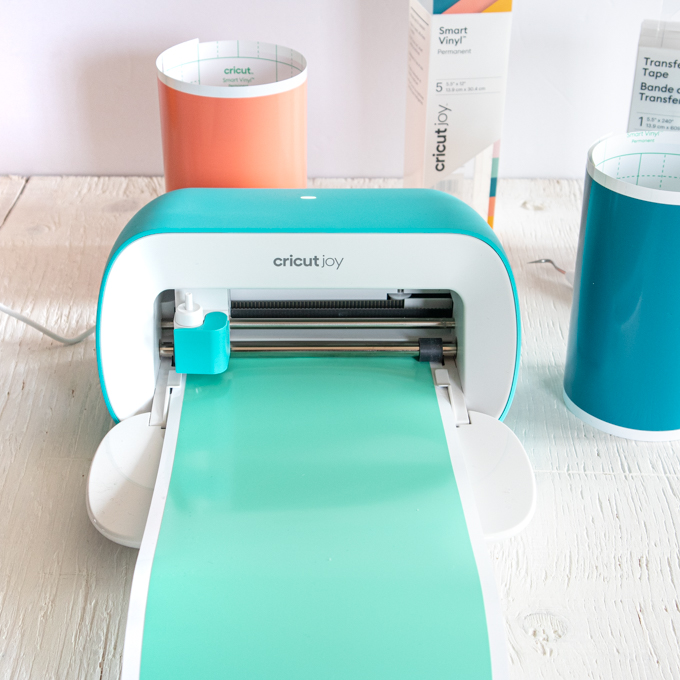
Set material punch in to Smart Vinyl, Permanent and choose No Mat from the list of cutting options.

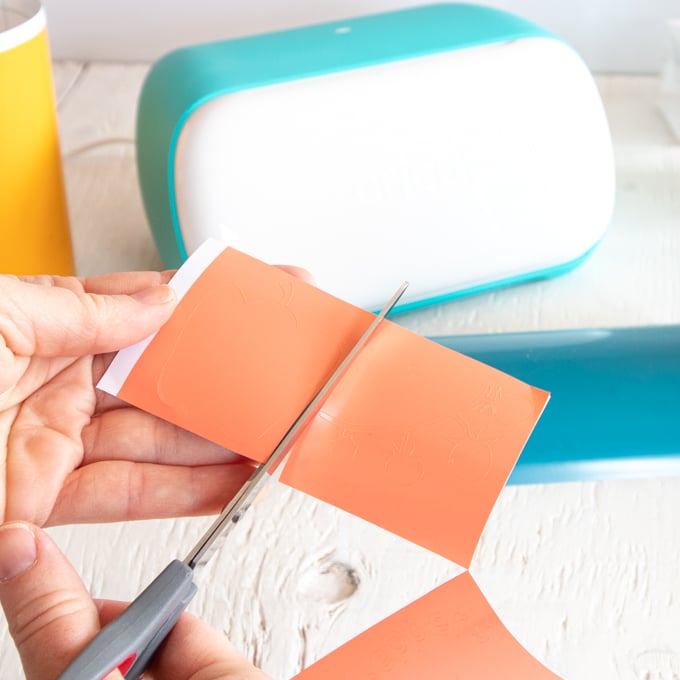
Cut around each image and lettering with a pair of scissors.

Materials to make wood slice garden markers. A yellow drill, wood slices, Cricut Joy machine, wooden skewers, Cricut weeder tool and two packages of vinyl tape.

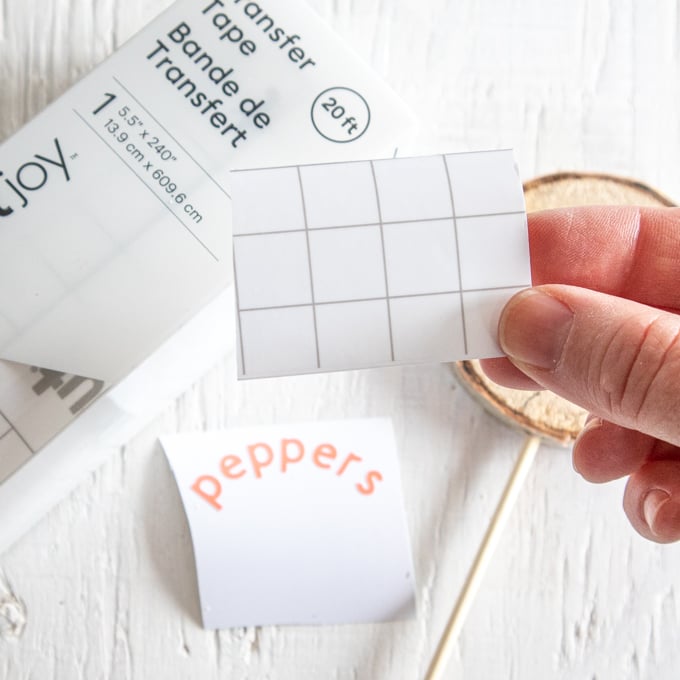
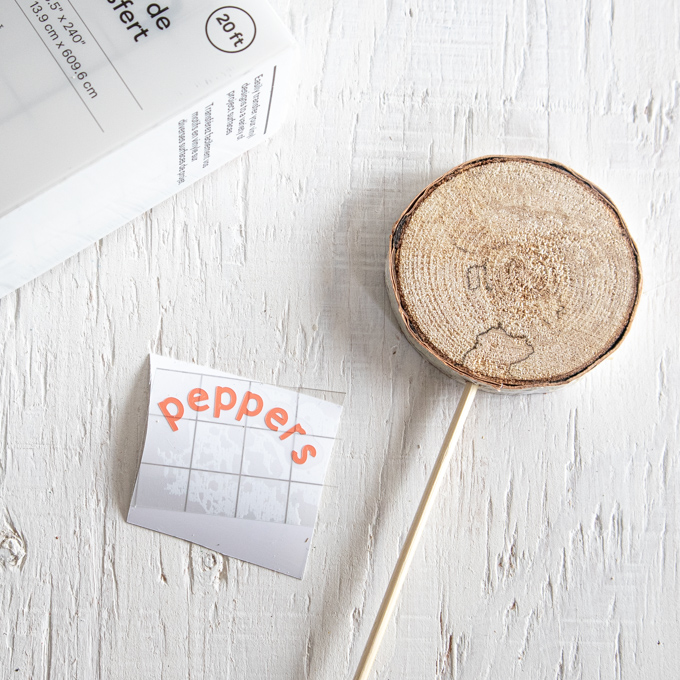
Cut a piece of transfer tape a bit larger than the size of the image.

Peel away the transfer tape backing and place the transfer tape overtop of the cut vinyl.

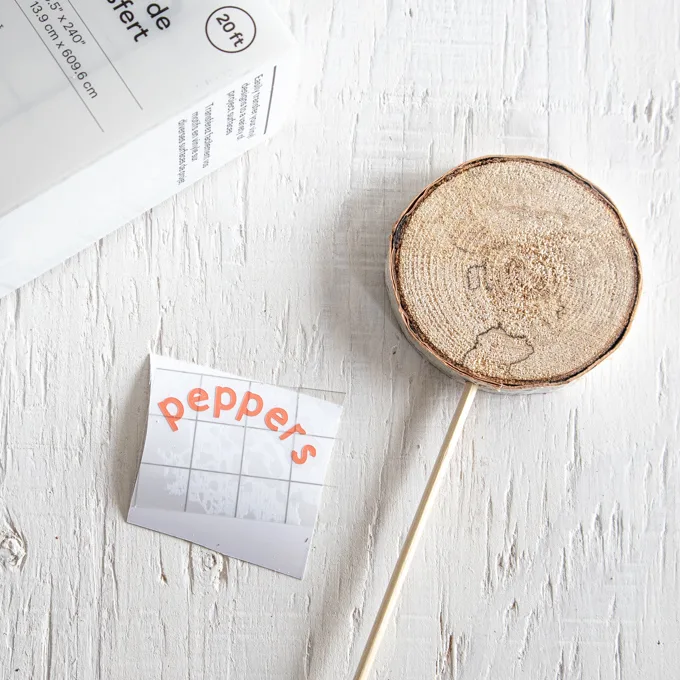
Gently rub the vinyl to help it stick to the transfer tape.

Drilling a hole onto the wood slice.

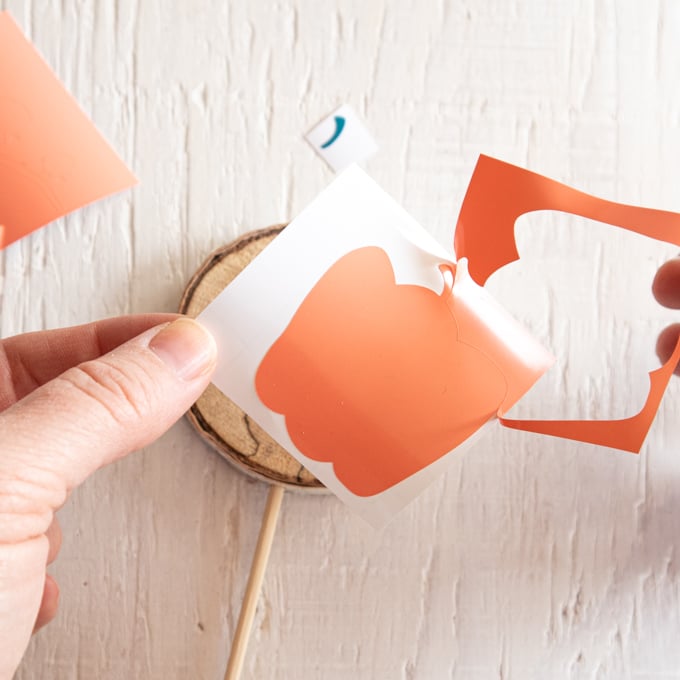
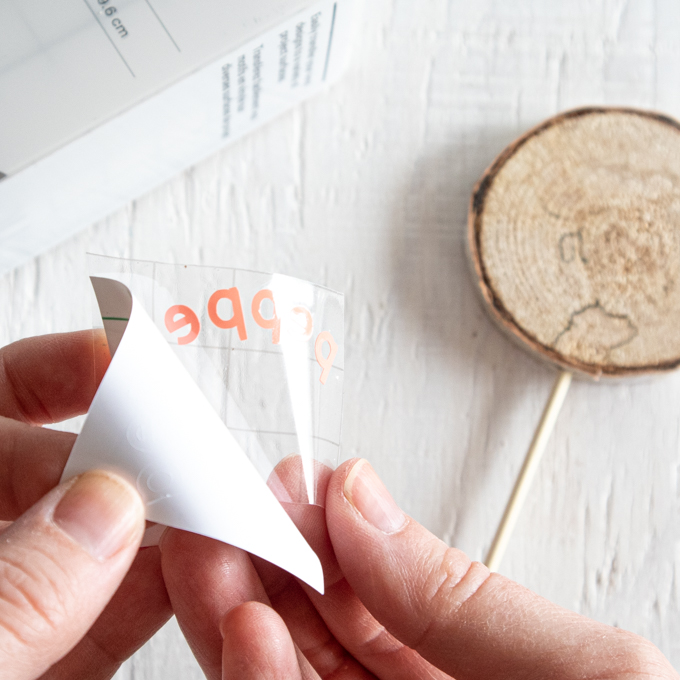
Peel away the vinyl backing, leaving just the image adhered to the transfer tape.

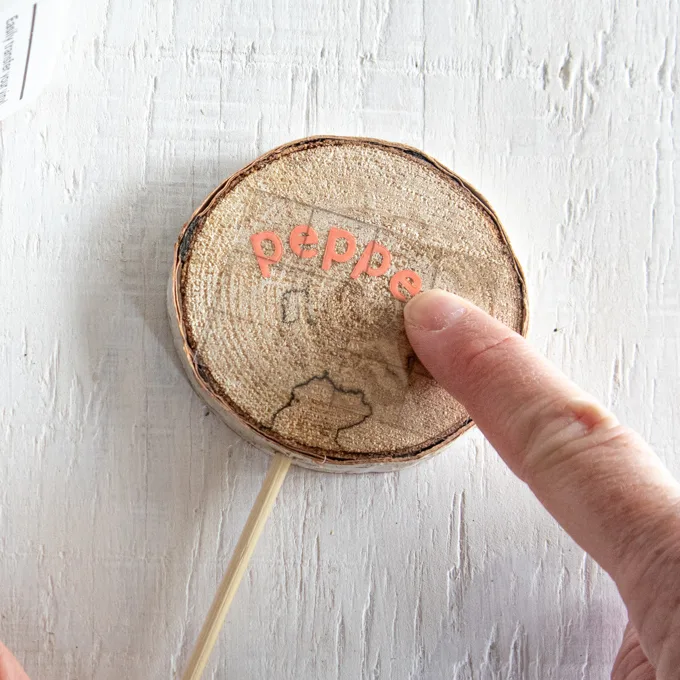
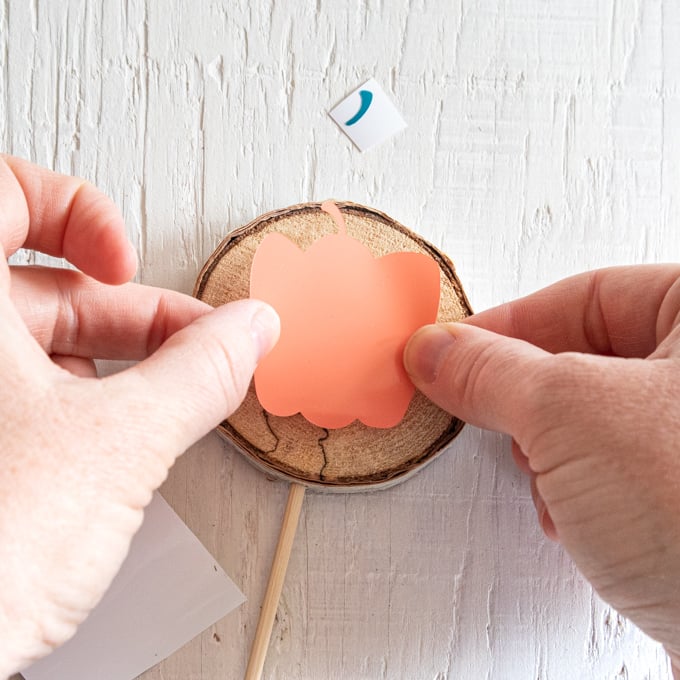
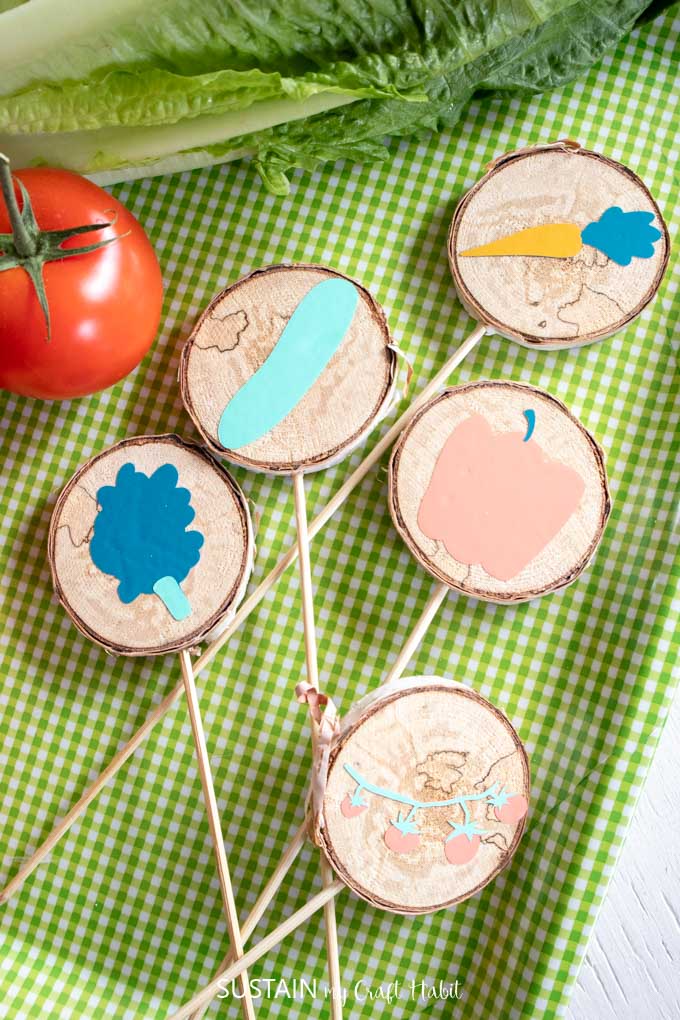
Position the image with the transfer tape on to the center of the wood slice and press in place.

Slowly and carefully remove the transfer tape leaving the vinyl image on the wood.

Drilling a hole onto the wood slice.

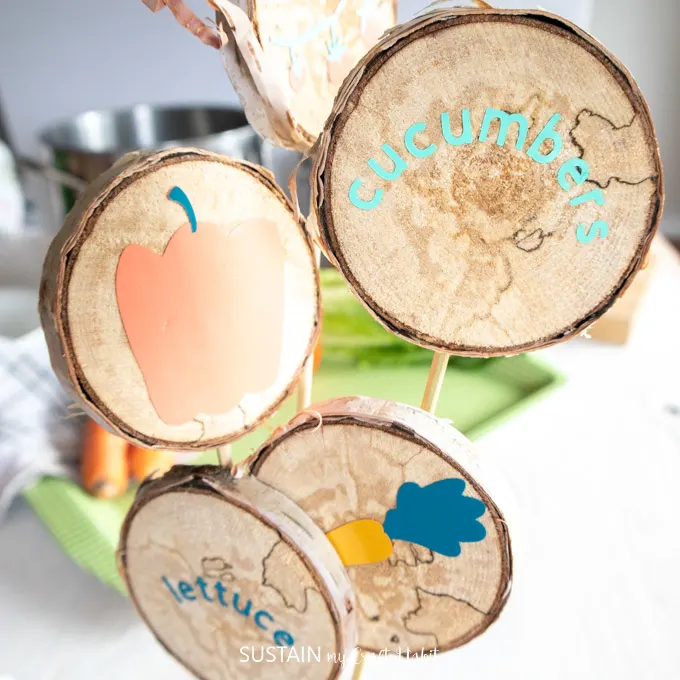
And continue these same steps for the remaining garden markers.

Repeat with the lettering on the reverse side of the wood slice.

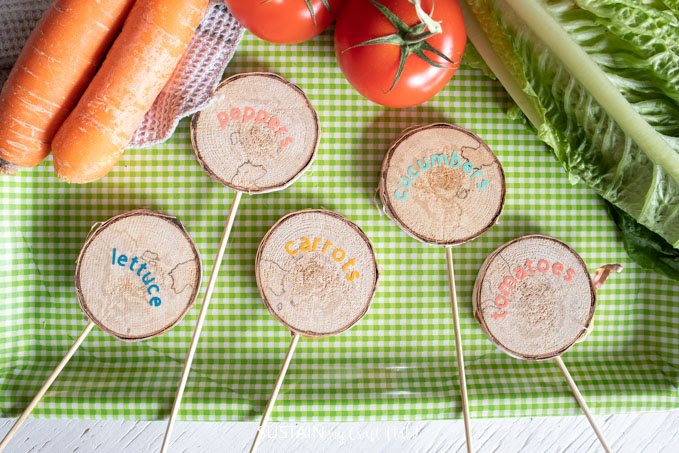
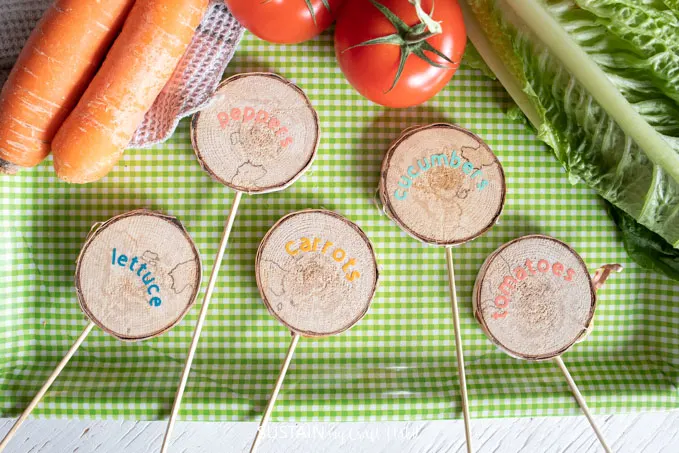
Which vegetables do you plant in your garden?

Wooden skewers added to the wood slices.

Pin it for later!

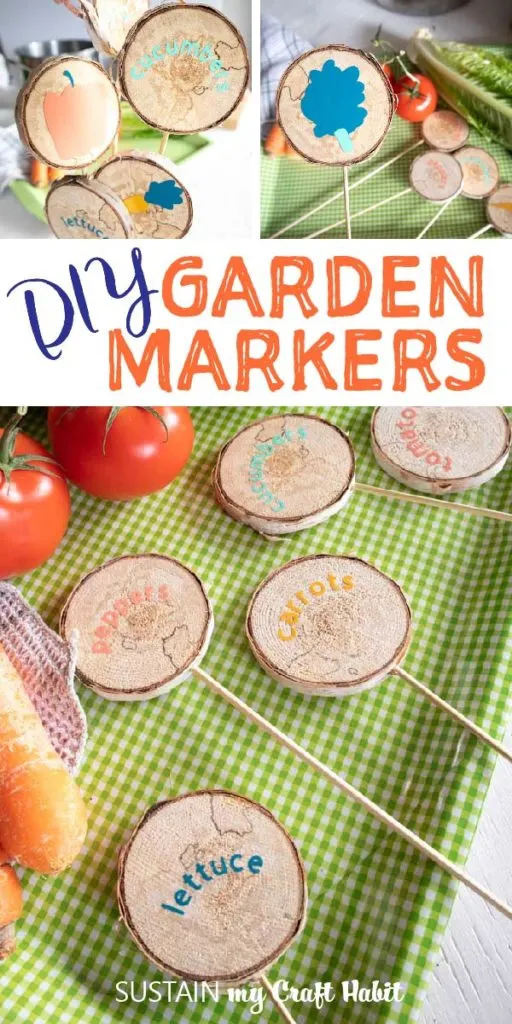
DIY Wood Slice Garden Markers with Cricut Joy

Materials

Instructions

Wooden skewers added to the wood slices.

Searching for vegetables in the Cricut Design Space program.

Searching for vegetables in the Cricut Design Space program.

Inserting vegetable images into the Cricut blank canvas program.

Inserting vegetable images into the Cricut blank canvas program.

Removing drawing lines from the carrot image.

Removing drawing lines from the carrot image.

Changing the size of the vegetable images.

Changing the size of the vegetable images.

Ungrouping all of the vegetable images in Cricut Design Space.

Ungrouping all of the vegetable images in Cricut Design Space.

Using the color sync tab to sort each vegetable image by color.

Using the color sync tab to sort each vegetable image by color.

Adding text “carrots” to the canvas space.

Adding text “carrots” to the canvas space.

Changing the size of the text “carrots."

Changing the size of the text “carrots."

This image has an empty alt attribute; its file name is DIY-Garden-Markers-with-Cricut-Joy-9-1024x519.png

This image has an empty alt attribute; its file name is DIY-Garden-Markers-with-Cricut-Joy-9-1024x519.png

Article image

Article image

Article image

Article image

Article image

Article image

Article image

Article image

This image has an empty alt attribute; its file name is DIY-Garden-Markers-with-Cricut-Joy-14-1024x519.png

This image has an empty alt attribute; its file name is DIY-Garden-Markers-with-Cricut-Joy-14-1024x519.png

Cricut Joy machine and vinyl.

Cricut Joy machine and vinyl.

Inserting the green vinyl to the Cricut Joy

Inserting the green vinyl to the Cricut Joy

Close up of the cutting results from the Cricut Joy.

Close up of the cutting results from the Cricut Joy.

Cutting out the pepper cut out from the vinyl.

Cutting out the pepper cut out from the vinyl.

Peeling away the extra vinyl from the pepper cut out.

Peeling away the extra vinyl from the pepper cut out.

Cutting a piece of transfer tape to match the size of the image.

Cutting a piece of transfer tape to match the size of the image.

Adding transfer tape to the top of the cut vinyl.

Adding transfer tape to the top of the cut vinyl.

Peeling the vinyl backing.

Peeling the vinyl backing.

Pressing the vinyl to the wood slice.

Pressing the vinyl to the wood slice.

Placing the vinyl pepper cutout to the wood slice.

Placing the vinyl pepper cutout to the wood slice.

Close up of the wood slice garden markers.

Close up of the wood slice garden markers.

Overhead view of the finished wood slice garden markers. They’re placed on a green checkered table cloth and beside carrots, tomatoes and lettuce.

Overhead view of the finished wood slice garden markers. They’re placed on a green checkered table cloth and beside carrots, tomatoes and lettuce.

a set of 5 DIY garden markers using wood slices

a set of 5 DIY garden markers using wood slices