Make a DIY wood doormat using wood slats, wood beads, and rope!
you could also decorate with fabric.
Its easier to do than you might think.
Its not hard, there are just several steps.
My husband and I are huge fans of mid-century modern home decor items.
We are especially inspired by the color palettes; greens, browns, oranges .
For me, its a reminder of my grandparents house in Bellevue, WA, just outside of Seattle.
Our latest creation inspired by mid mod is this DIY wood doormat.
Steve saw the fabric and like it, and then the rest just came together.

Heres how we made thisDIY doormat.
Dont tell my husband I called him that!
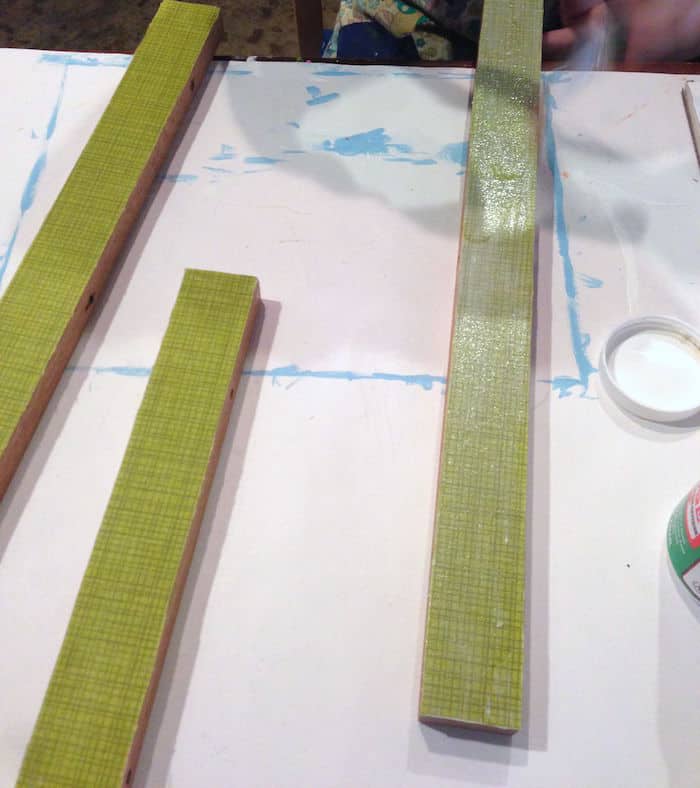
Anyhoo, BD cut them using a table saw.

Its quite easy (even this non-regular tool user can do it).
Note: Steve used oak for this.
He also stained the slats with Thompsons Water Seal and a foam brush after cutting, then let dry.
The next step, which we didnt get a photo of, was drilling into the slats.
Use a drill bit that matches the hole in your wood beads.
Prep the Fabric
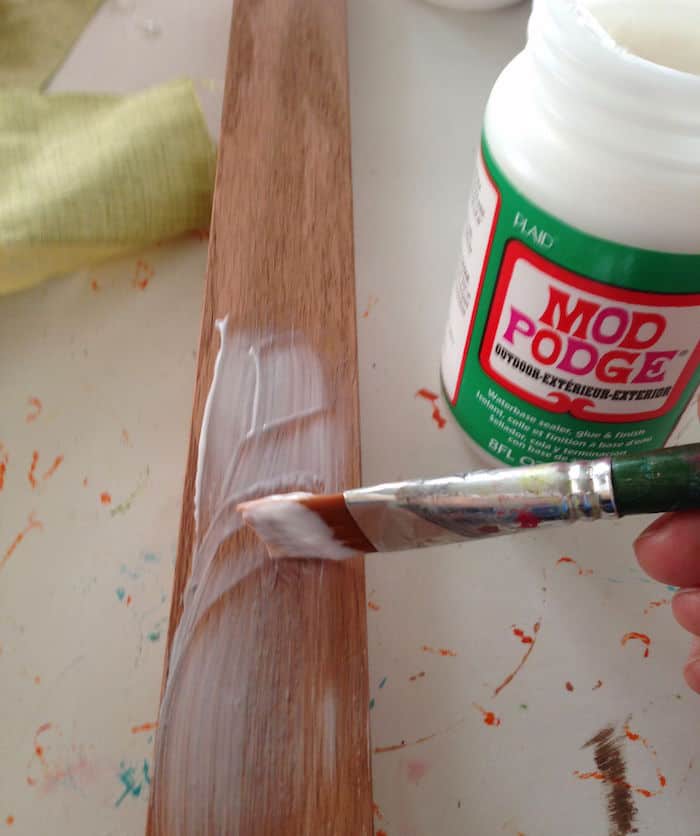
Your first step is to prep the fabric using Mod Podge Outdoor.
Mod Podge Outdoor can be REALLY thick to work with.
My suggestion is to dip your brush in water and use that to stir up the Podge before app.
you could do this outside of the jar as well.
Let your fabric dry.
And if youre wondering why Im preparing the fabric with Mod Podge?
Youll see when I trim the fabric.
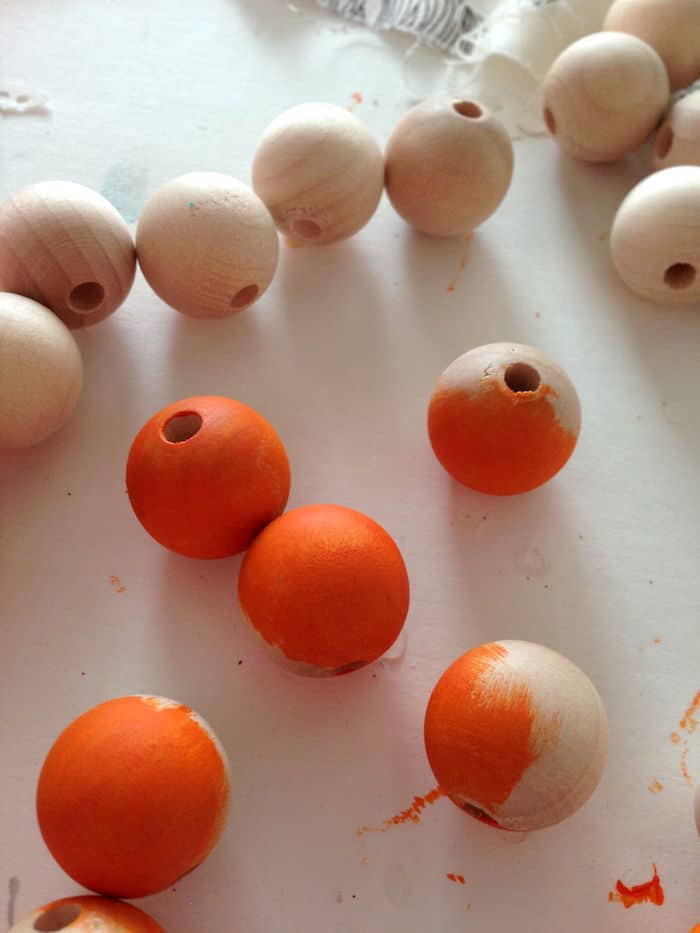
It can be hard to paint (and annoying) to paint wood beads.
Using a dowel rod helps.
Slide the beads onto the dowel while painting.
I cut a piece of fabric slightly larger than each slat with the scissors.
Repeat for each slat.
Work one slat at a time, applying Outdoor Mod Podge .
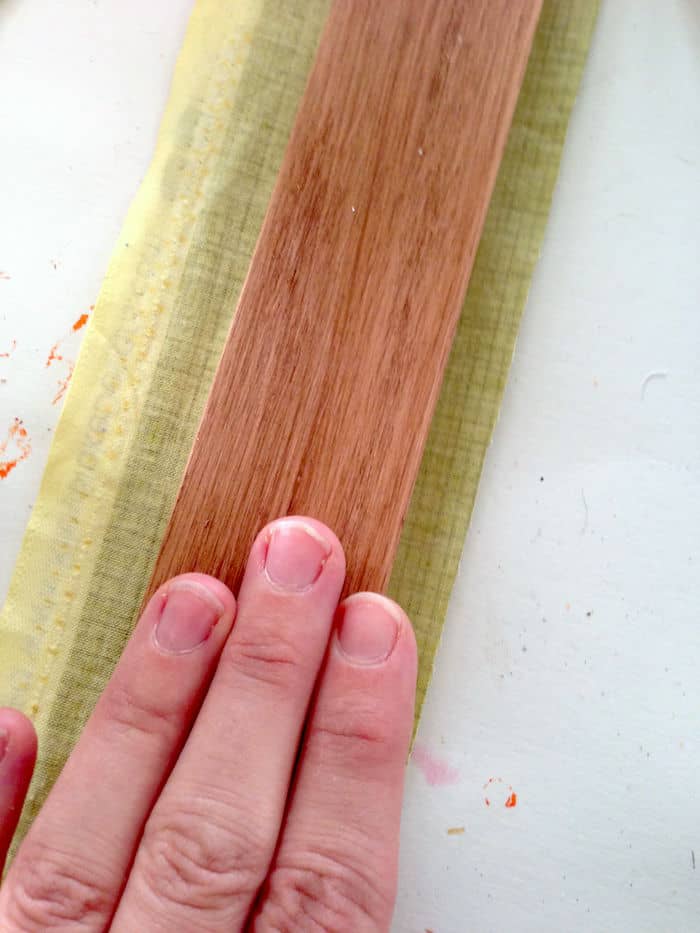
and smoothing the fabric down onto the slat, gluing it in place.
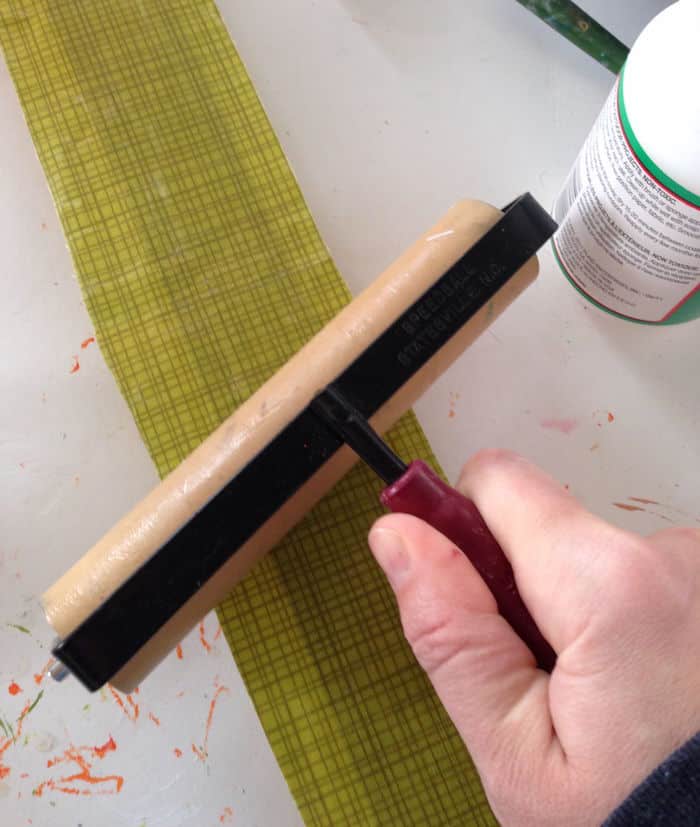
Then I turned each slat over and used the brayer to completely smooth it out.
Wipe away any Mod Podge that squeezes out the sides between the fabric and slat with a brush.
Repeat with the rest of the slats and let dry for an hour or so.
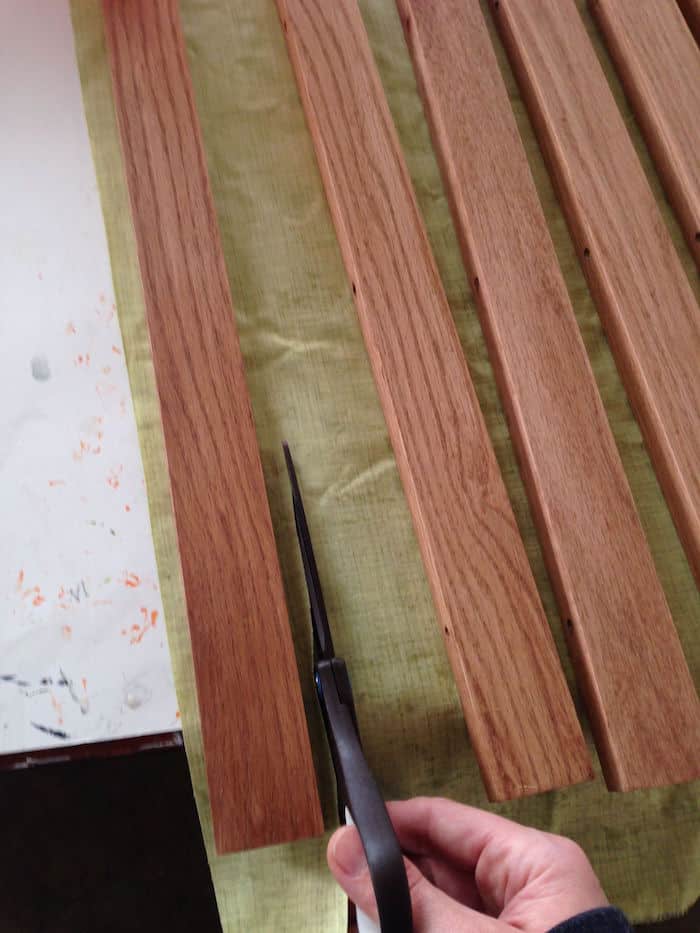
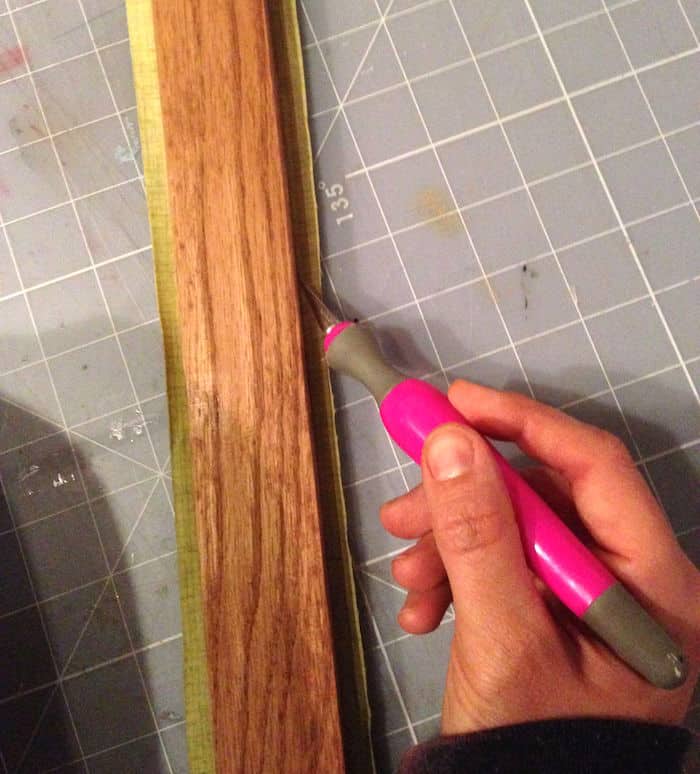
NOW youll know why I prepared the fabric.
Place each slat onto a cutting mat and trim the excess fabric off with a craft knife.
Its a HUGE pain in the butt if you didnt prep the fabric!
Its much easier to cut (it cuts like paper) if you do the preparation stage.
At least thats my experience.
Repeat with the rest of the slats.
Coat them all with Outdoor Mod Podge and let dry.
String Up the Doormat
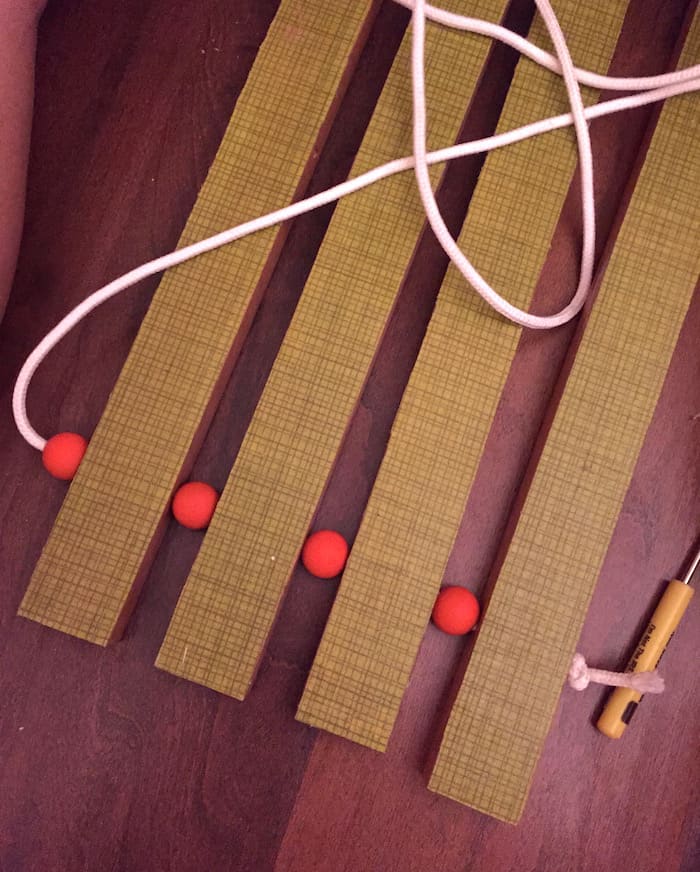
Now comes the super fun task of threading everything together!
I made Steve do it.
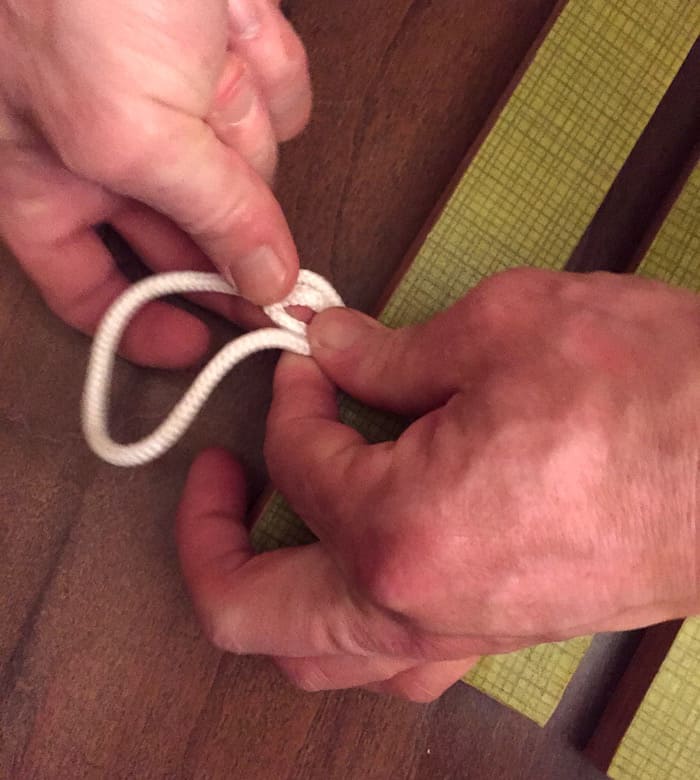
He started by tying a knot at one end and twisting the nylon cord through the beads .
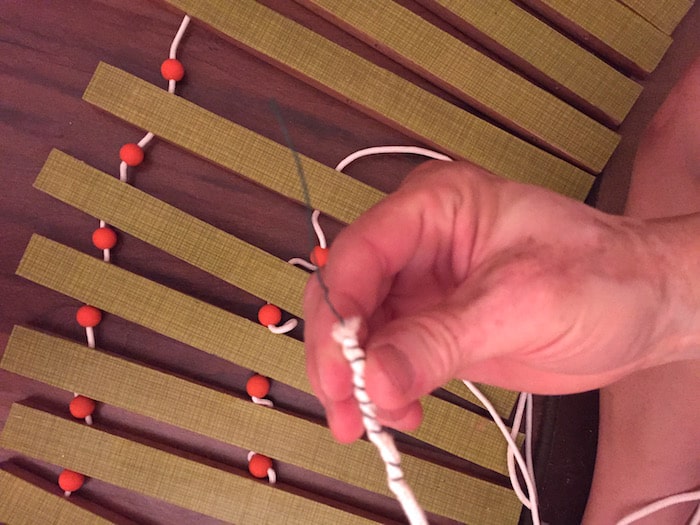
THEN he realized that wrapping some wire around the cord made an amazing needle for threading our wood doormat!
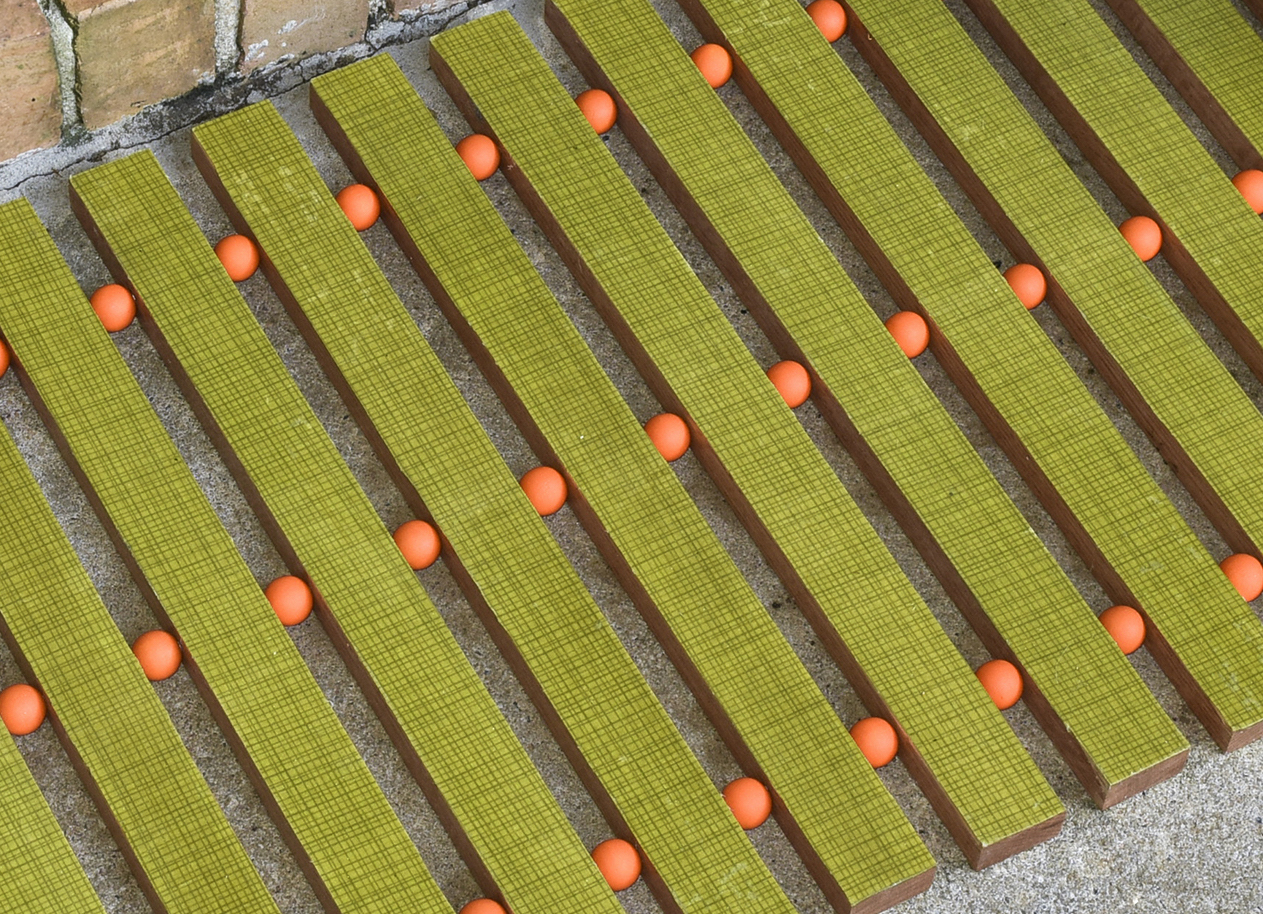
He threaded all of the slats together with wood beads in between .
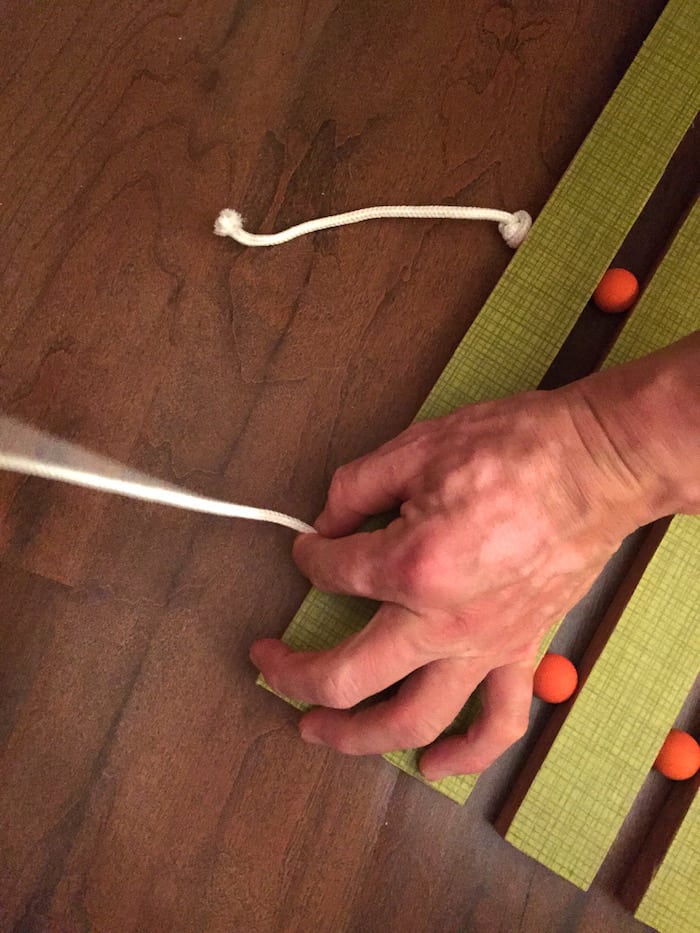
then pulled taut to tie knots at the end.
He trimmed with scissors and then melted slightly with a lighter to seal.
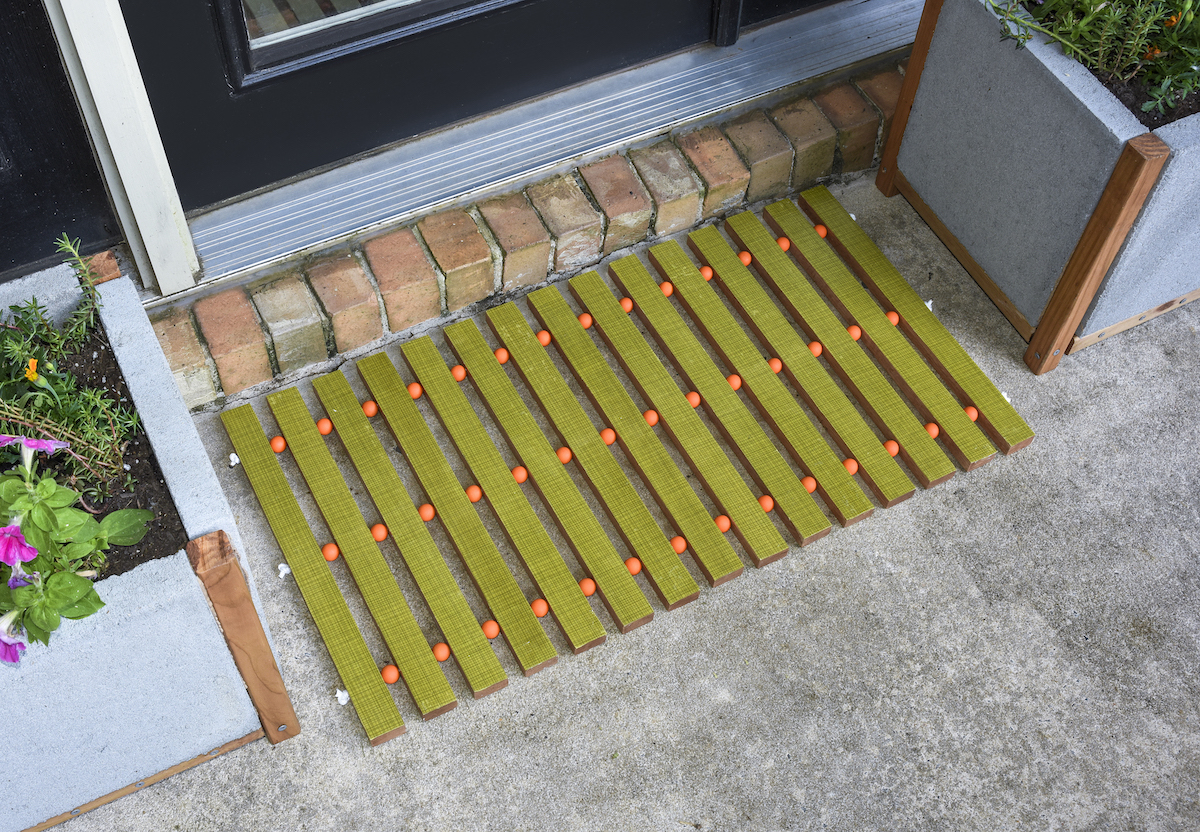
The finished DIY wood doormat looks AMAZING outside of our place.
Its a greatwoodworking project for beginners, so Id love for you to try it.
What do you think of this wooden doormat?
Are you a fan of mid-century inspired style?
Wed love to see your projects!
Id also love for you to check out these related projects:
