HomeDIY
This post may contain affiliate links:full affiliate disclosure.
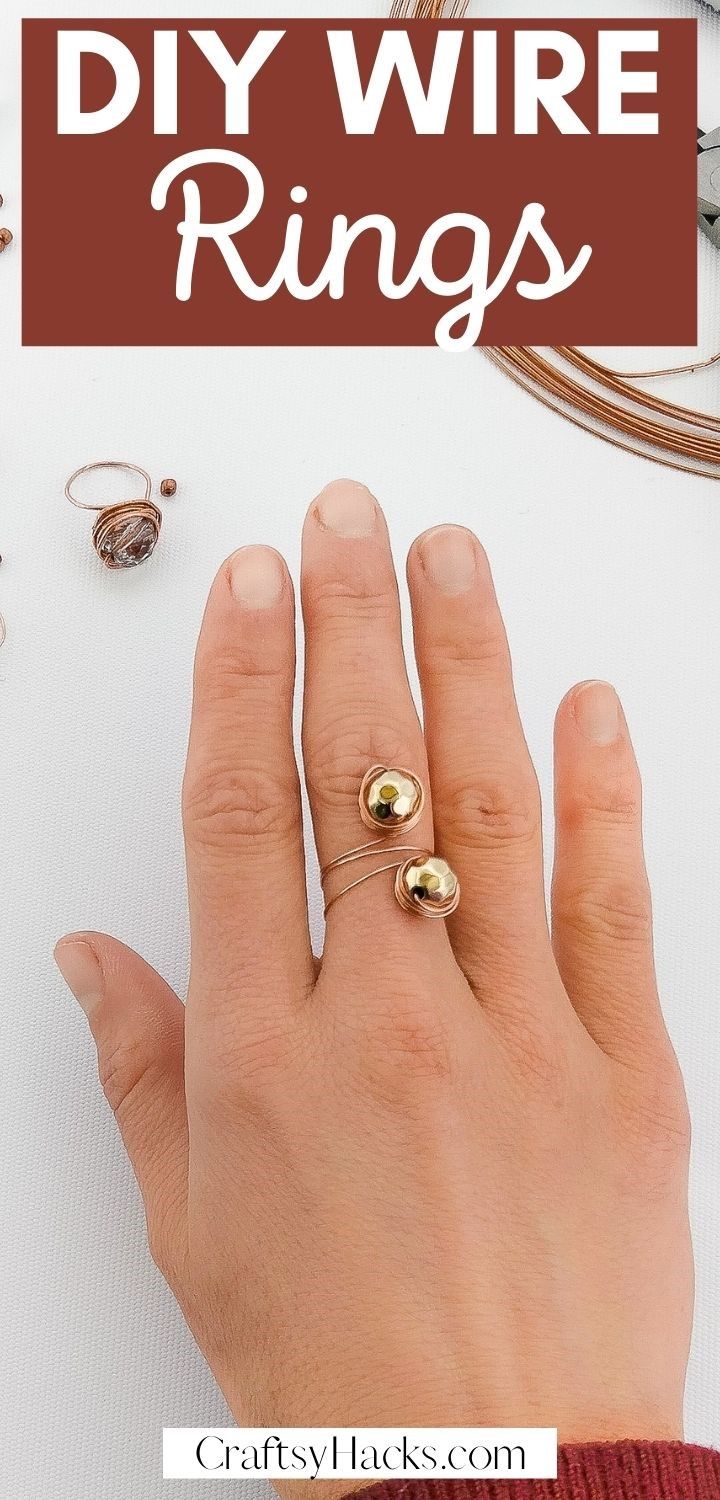
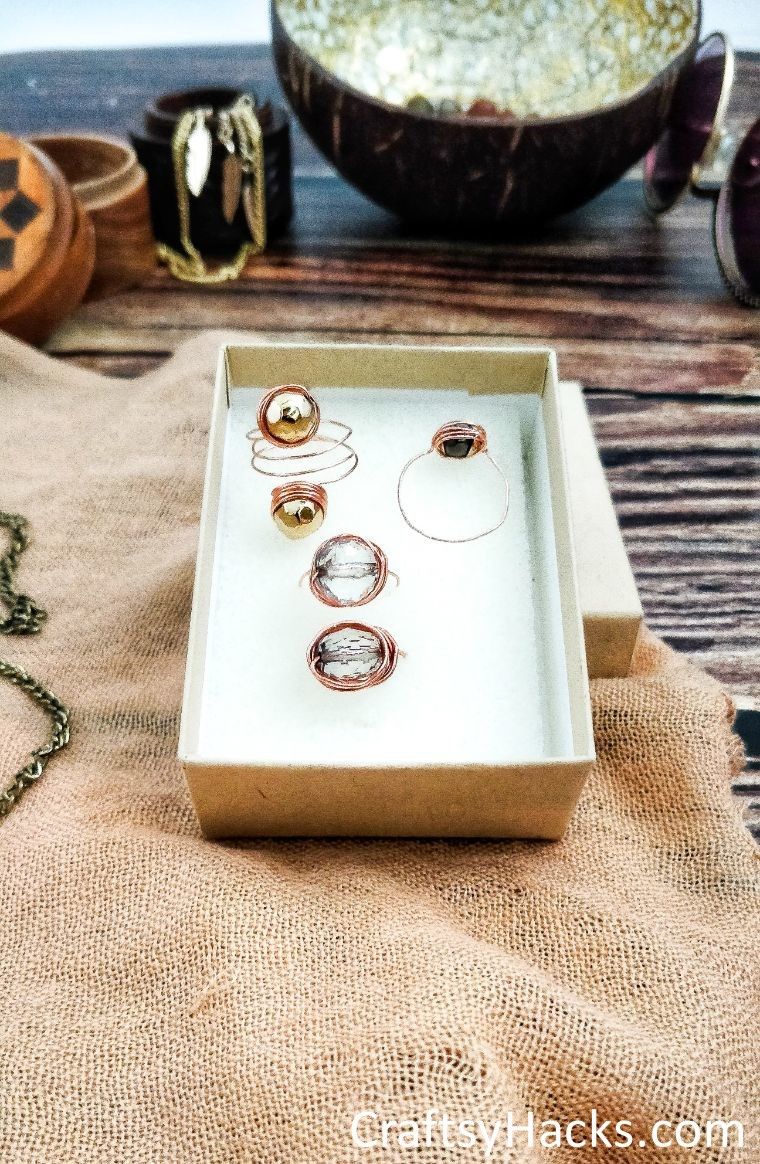
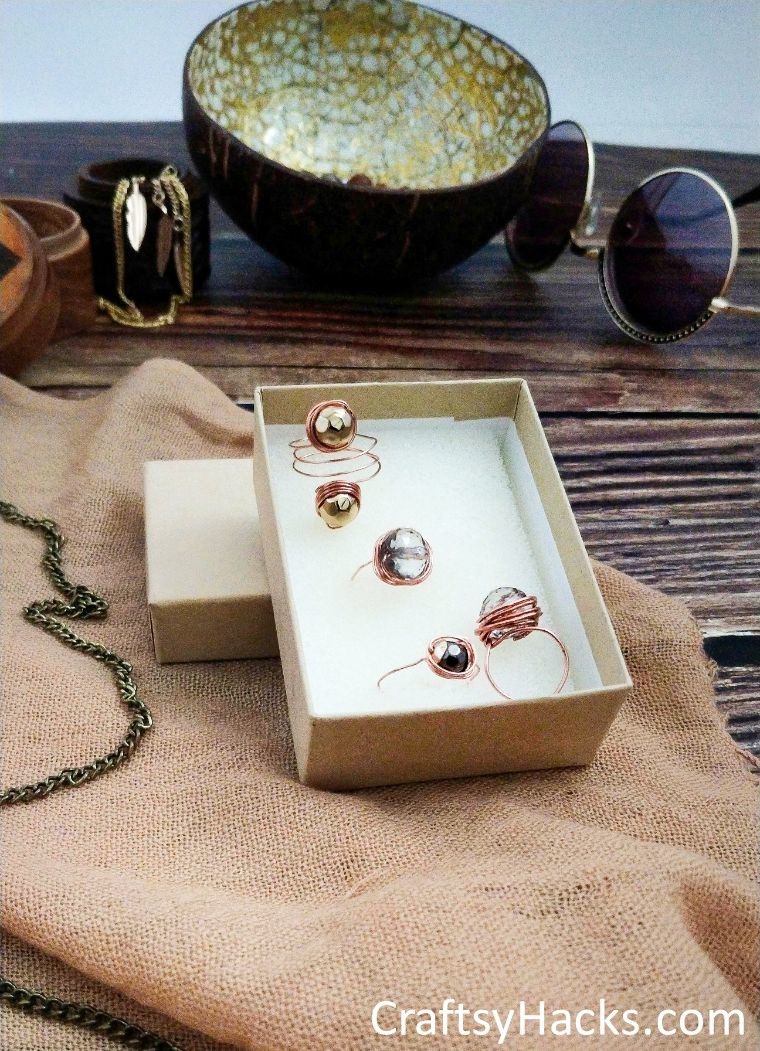
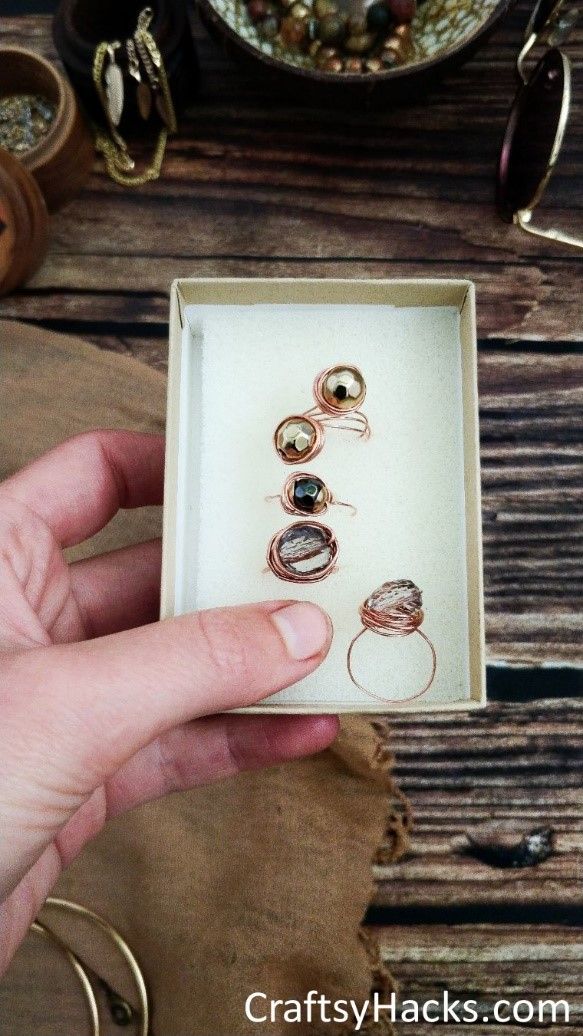
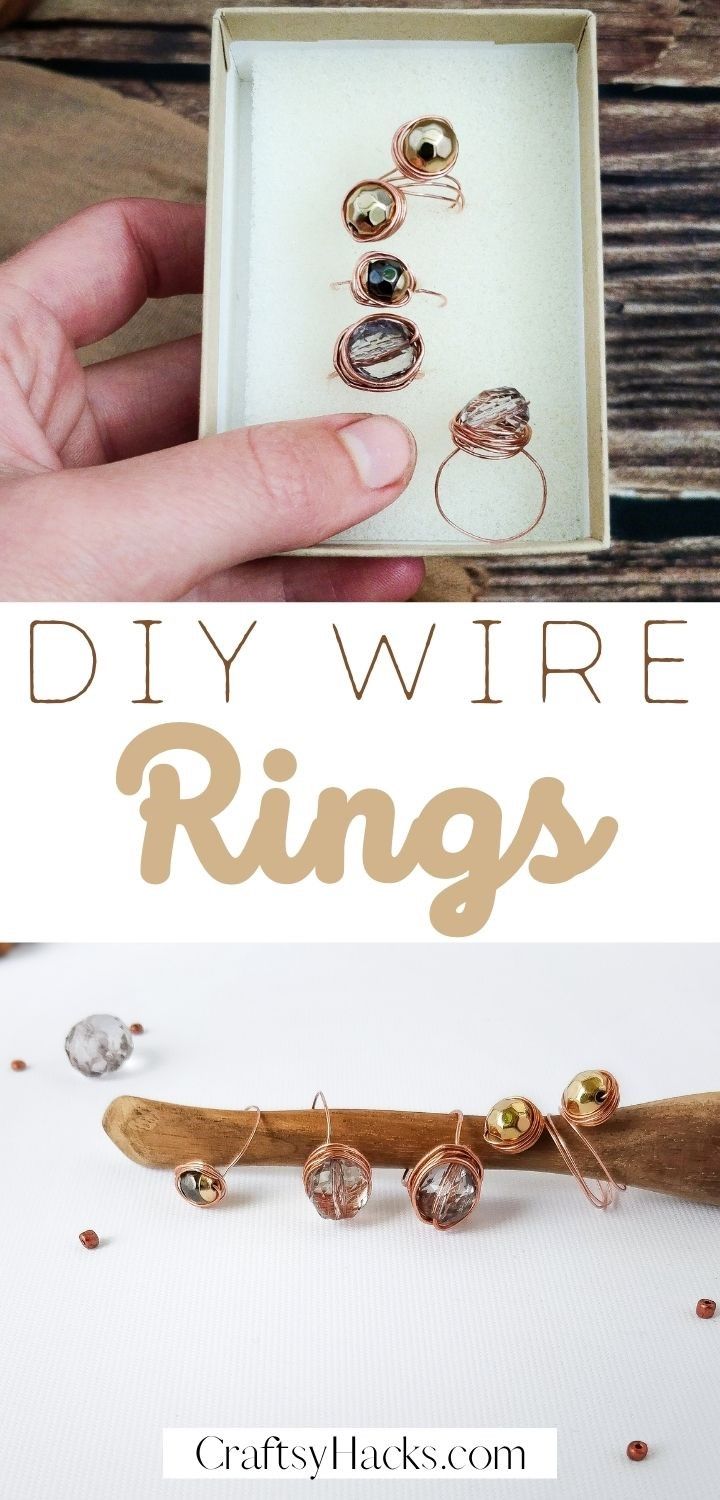
Easy to make DIY copper wire rings that are a great craft for adults!
Its a beautiful jewelry item you’re able to make on a low budget!

Theres something about owning a beautiful piece of jewelryyouvemade yourself.
Instead, you’ve got the option to just make the custom piece with your own two hands.
Thanks to the short supplies list and easy instructions, these DIY rings are so easy to customize.
Change the shape, the stone, and even the wires color to make something truly unique.
Its all up to you.
In thisDIY project, Ill show you how I crafted some gorgeous DIY wire rings.
So, grab your pliers, and lets get going!
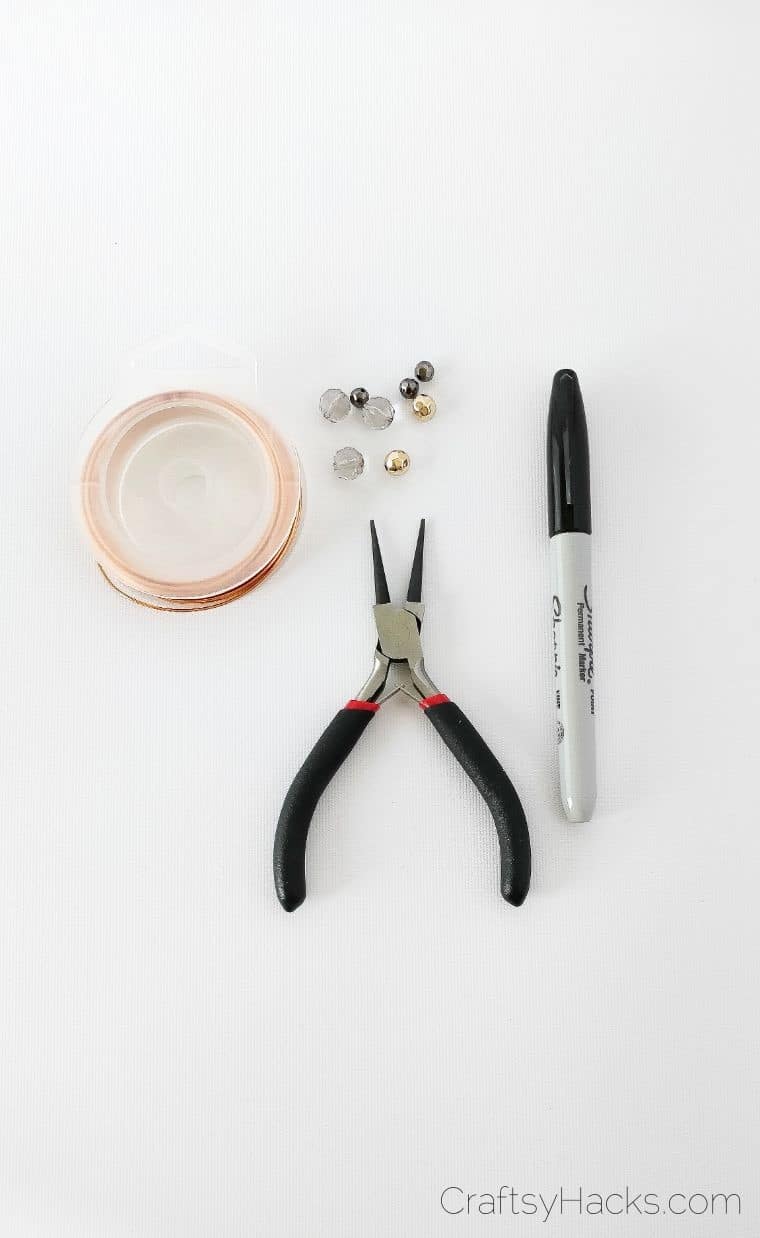
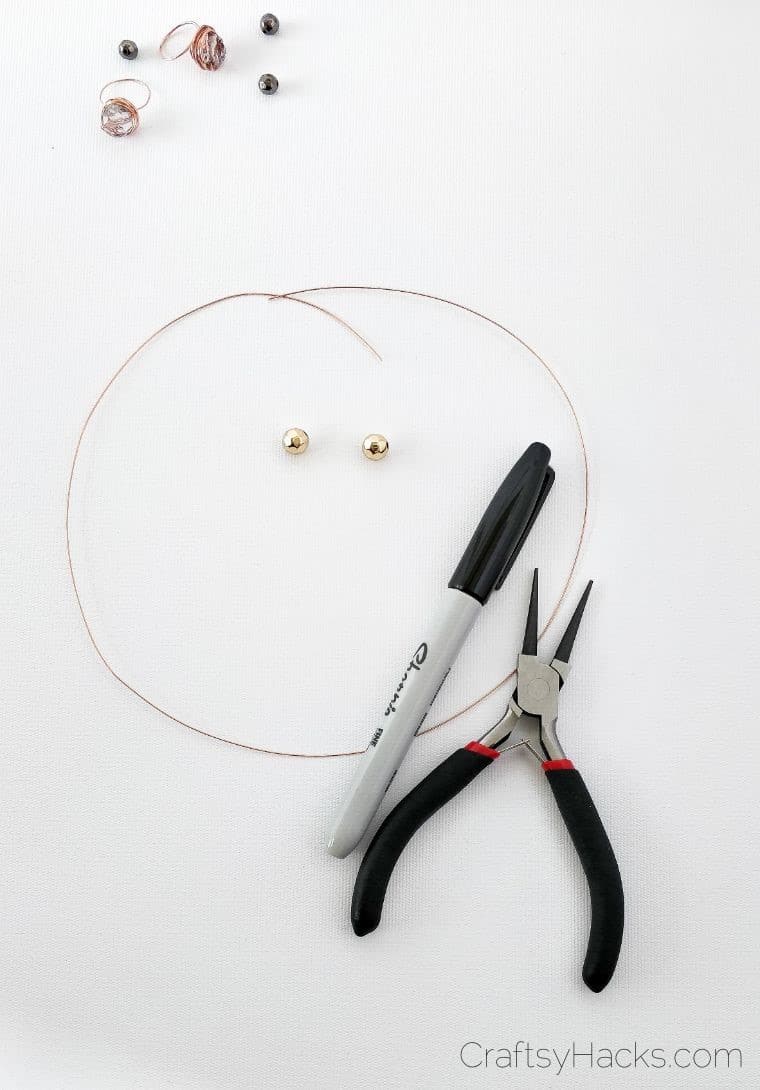
What Youll Need
How to Make Copper Wire Rings
Alright, lets make some rings!
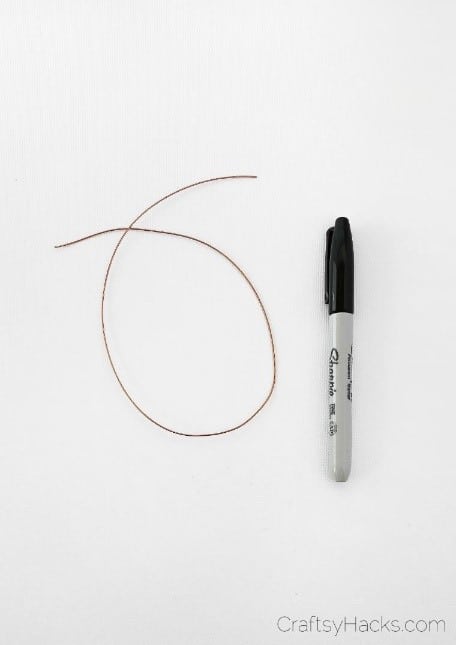
The right length will depend on the size of your finger the length I cut was about six inches.
Remember, youre going to twist this wire around a lot.
So, its going to be a lot longer than you may have expected!
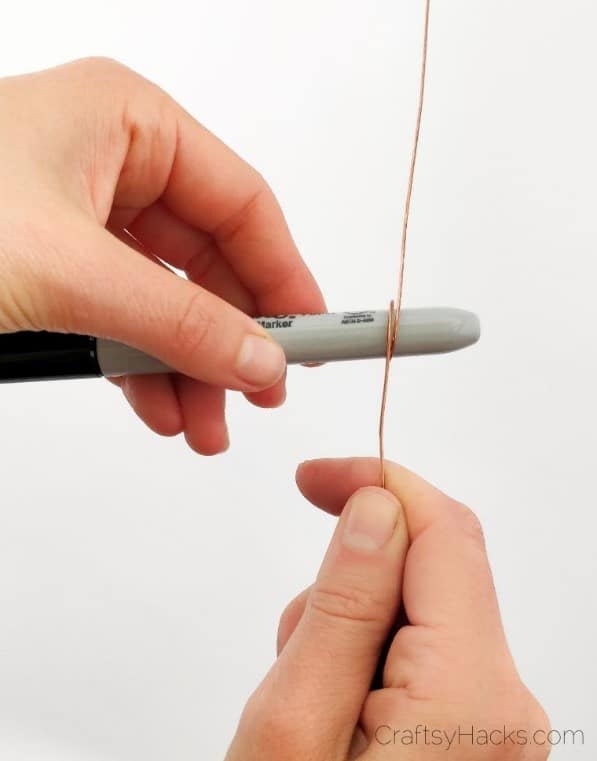
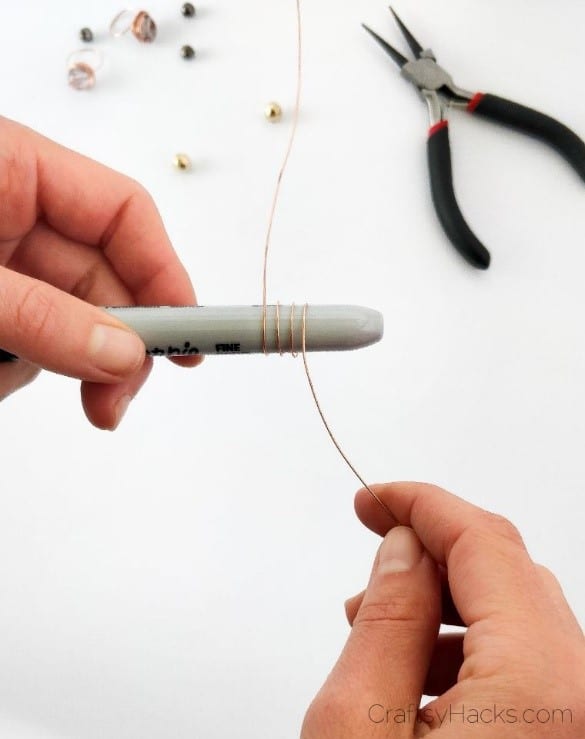
confirm your marker is the same size as your finger!
Otherwise, you might end up with a ring thats the wrong size.
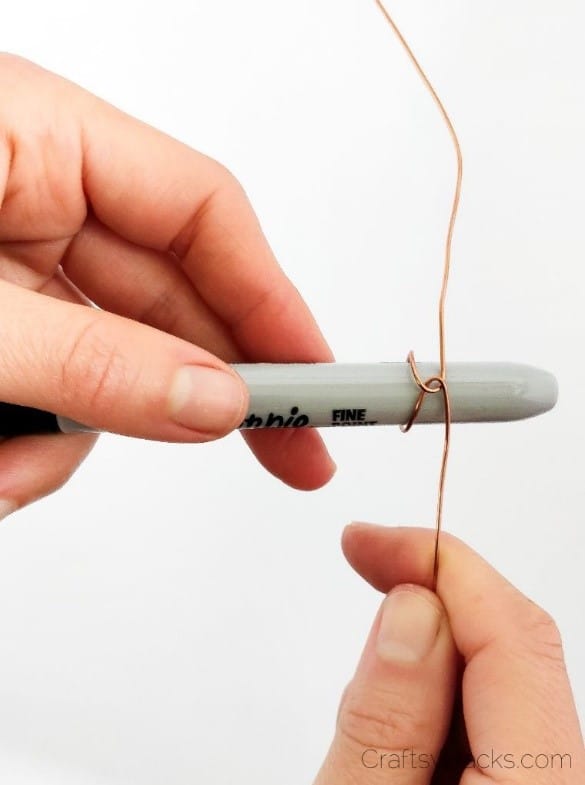
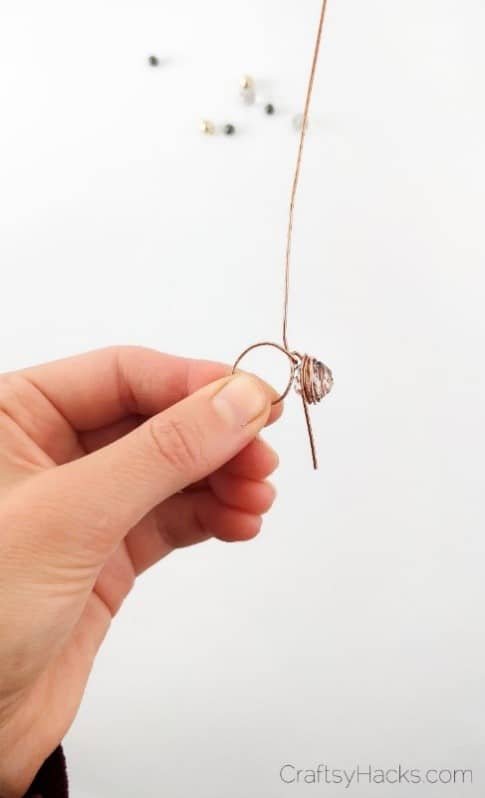
This is the first part of the loop.
This makes them hug each other, and your tails will once again be facing the opposite way.
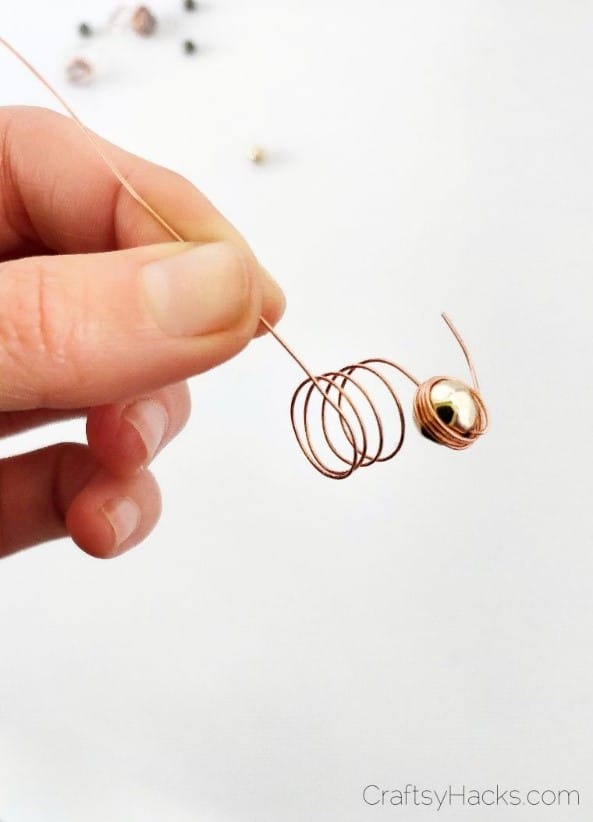
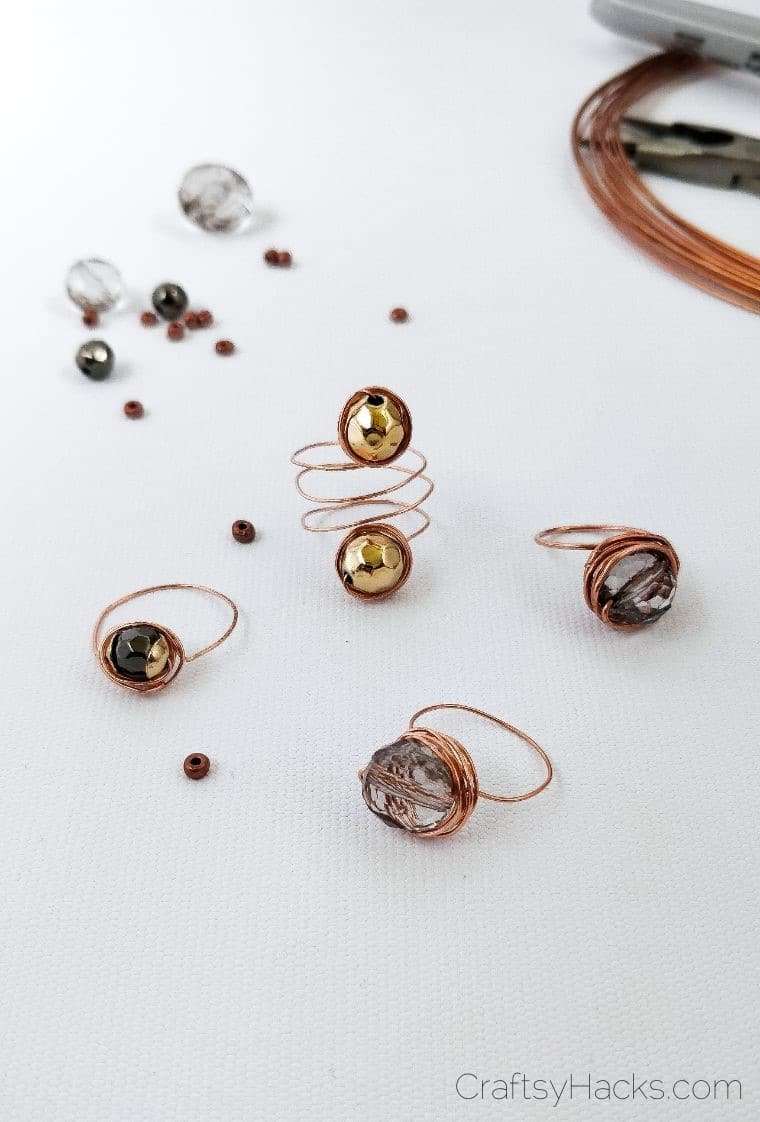
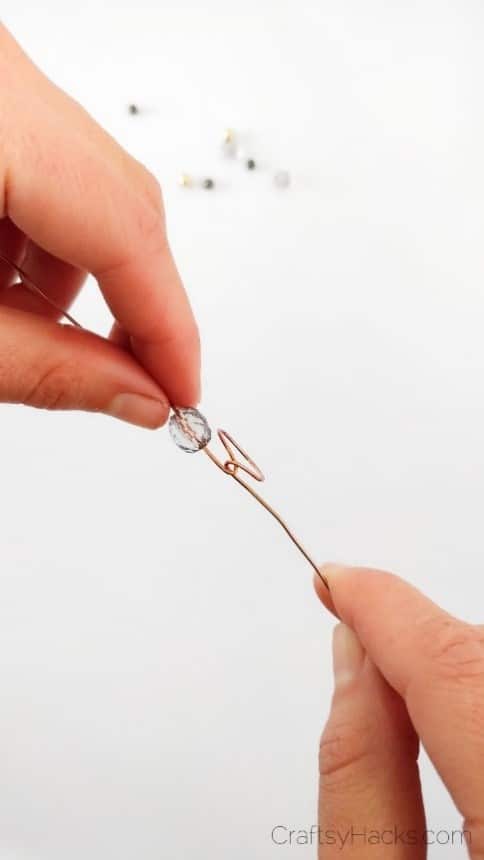
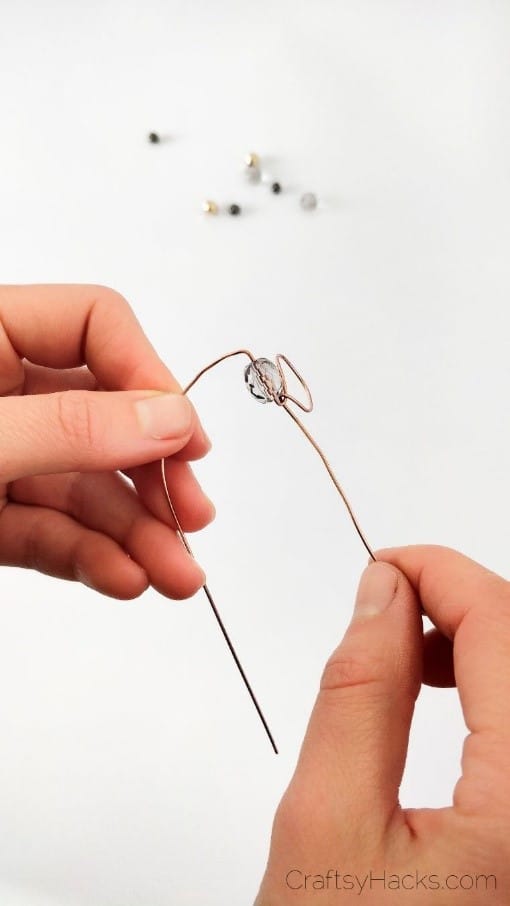
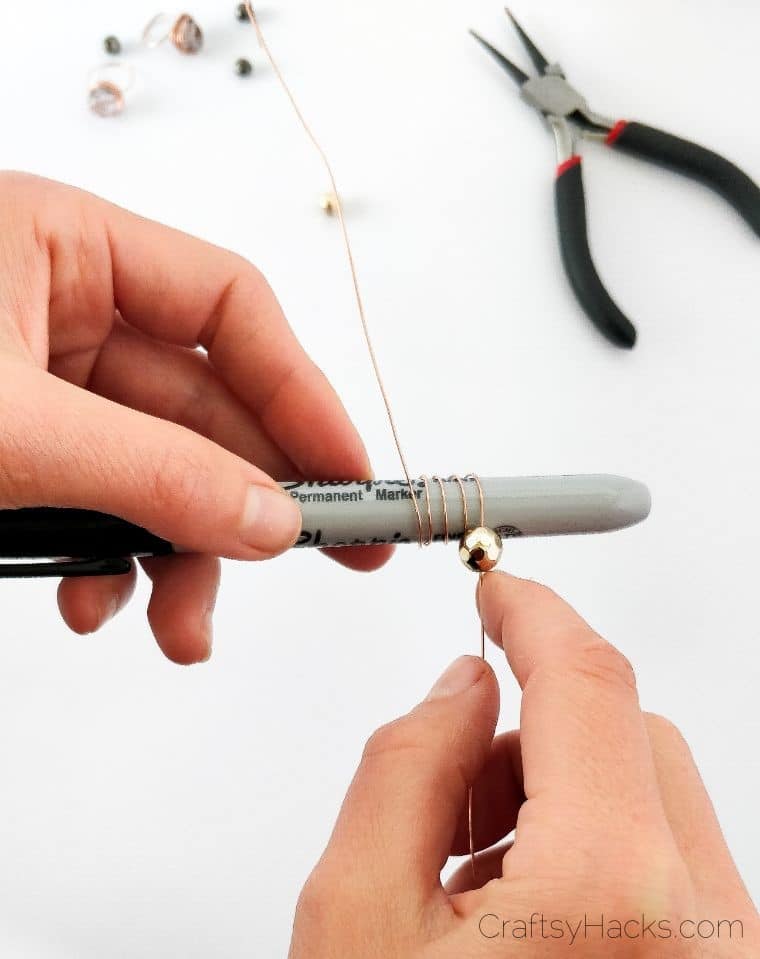
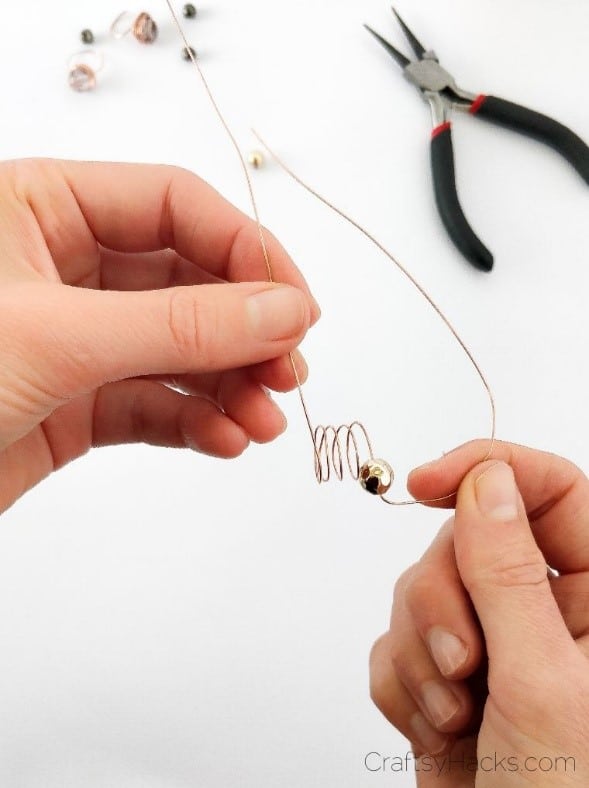
Now, its time for the bead!
With the twisty part of the loop facing you, slide the bead onto one side.
Move it until it reaches the loops base.
you’ve got the option to do it!
see to it your circles are tight!
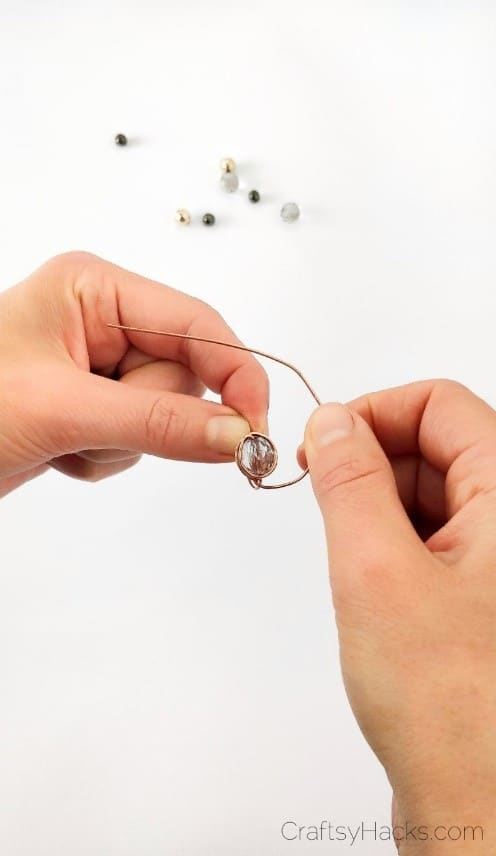
Step Six
Continue wrapping the wire in tight, concentric circles.
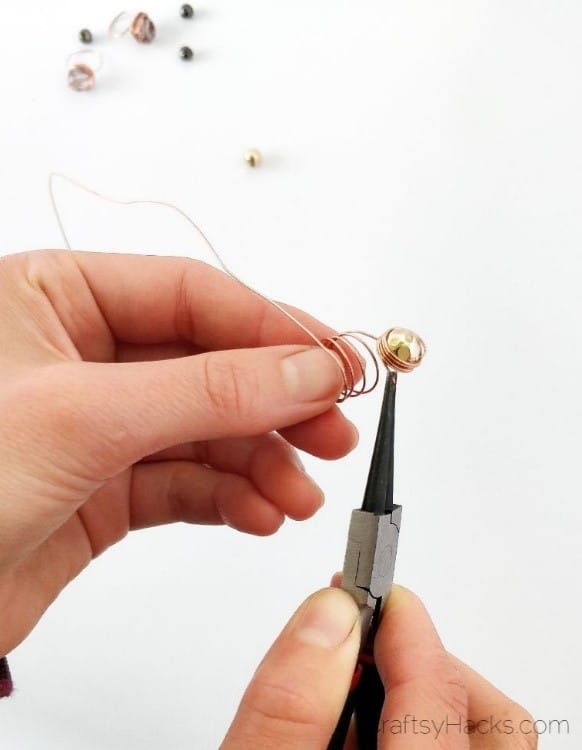
Once youre almost out of it, leave the end part sticking out to the side.
This makes it easier to get at the piece with your pliers.
This is the reason this craft uses long-nose pliers.
Theyre perfect for grabbing small objects and twisting them in close.
If space runs out at the bottom of your bead, simply start winding back up again!
This builds up the shape of your ring, making it sturdier and giving it a new look.
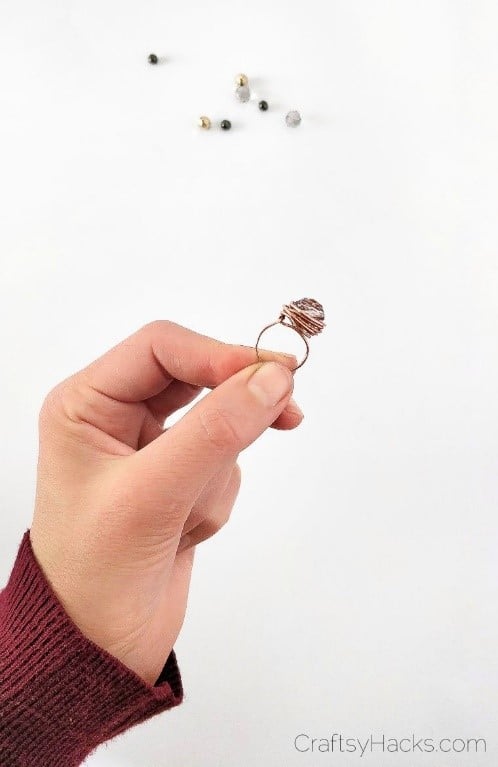
Step Nine
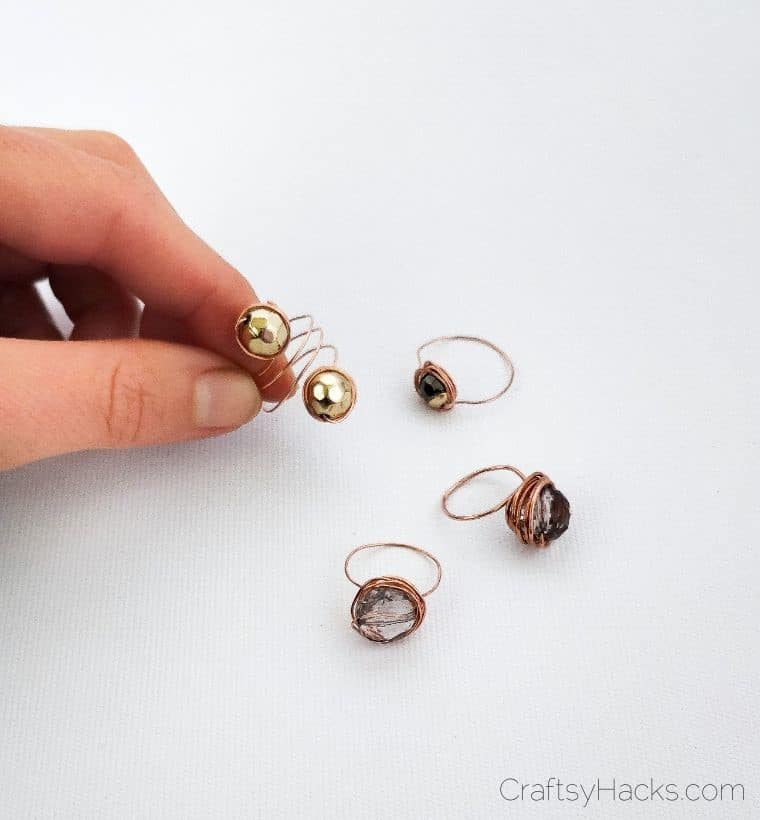
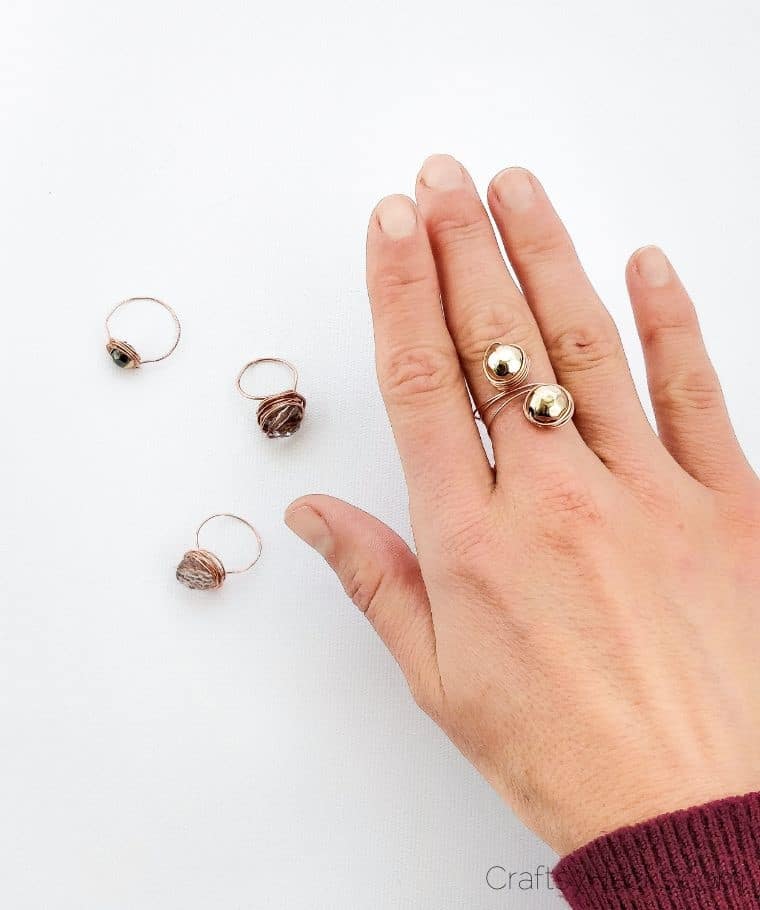
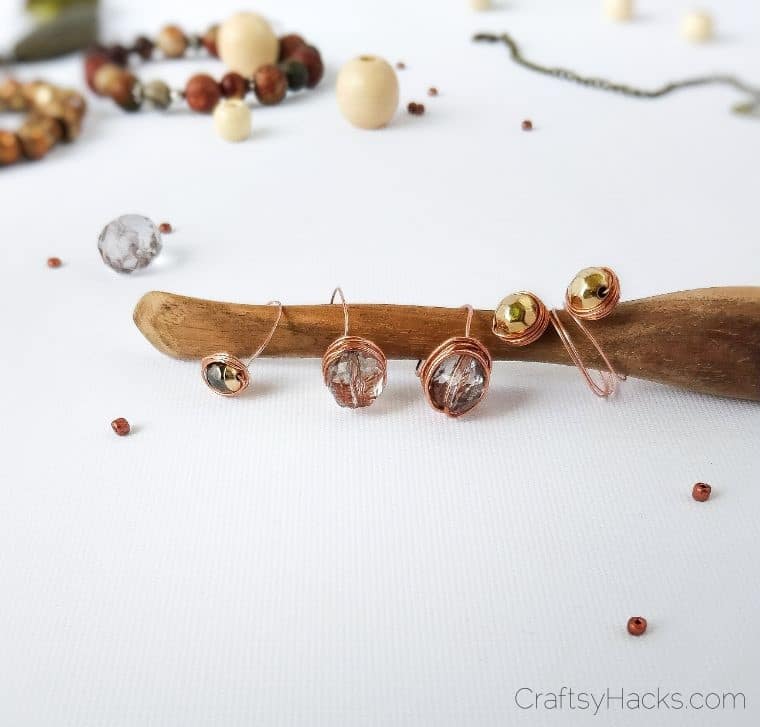
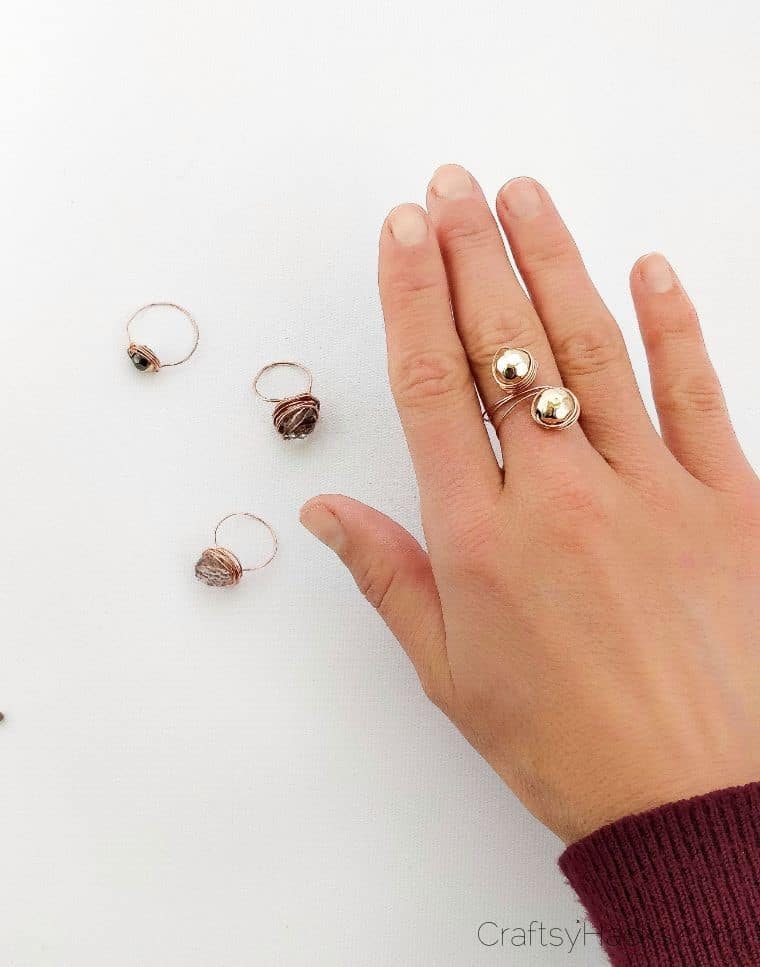
Congratulations, you have a completed wire ring!
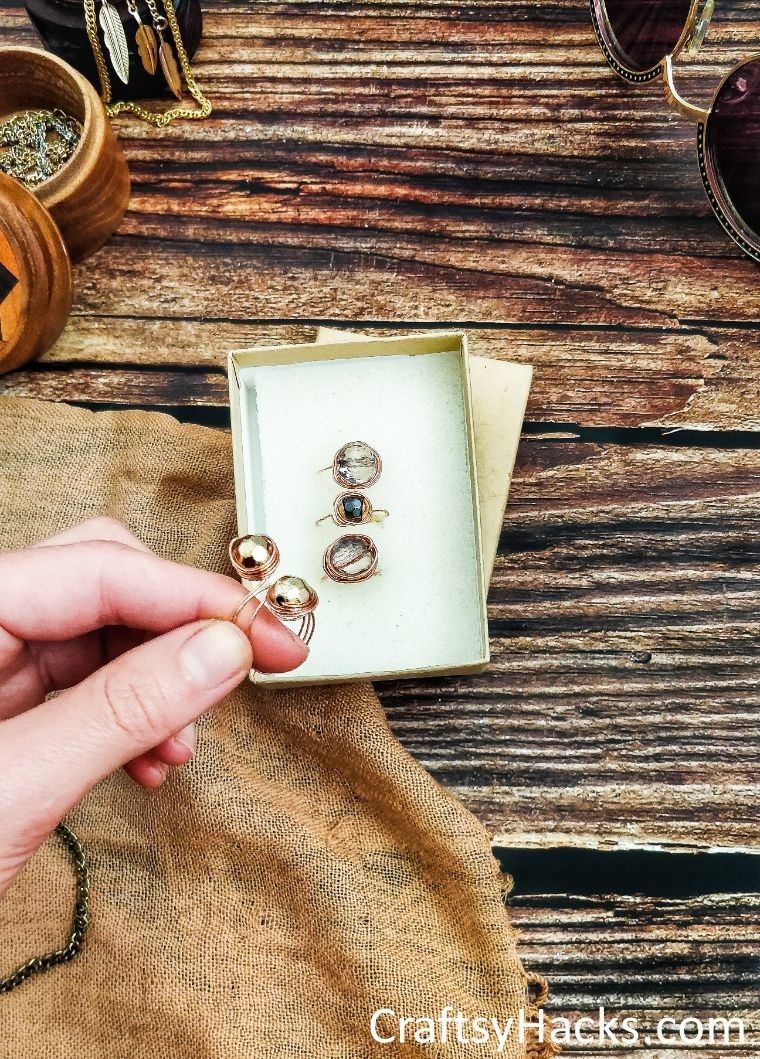
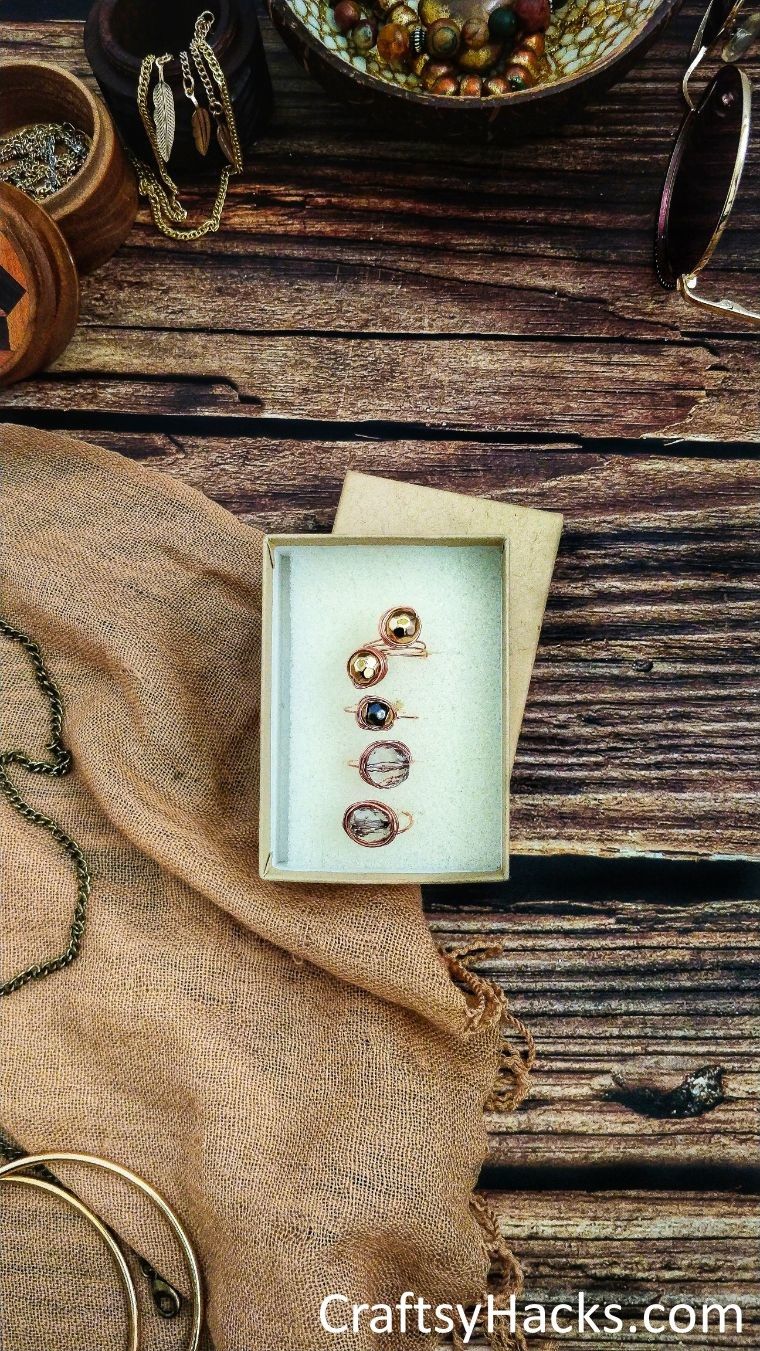
Wear this beauty every day as a dainty accessory or save it for special occasions.
And the best part is, this gorgeous little craft didnt even take an afternoon!
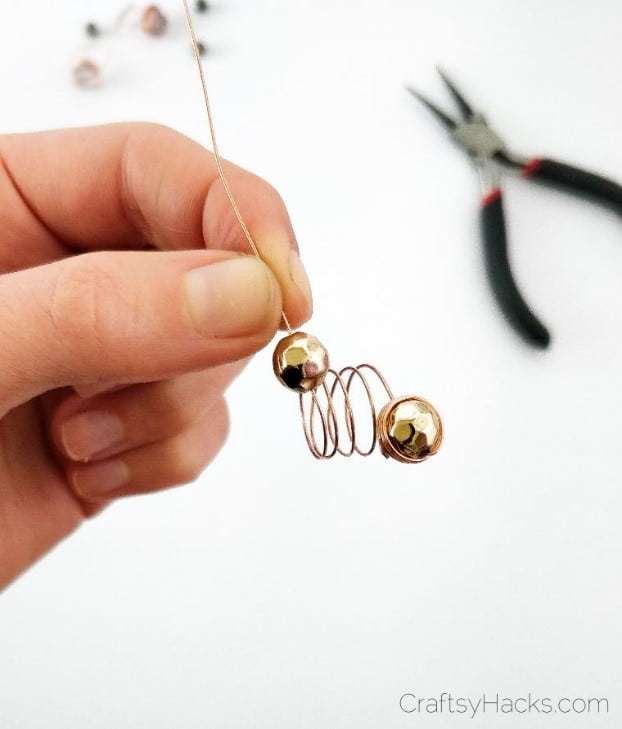
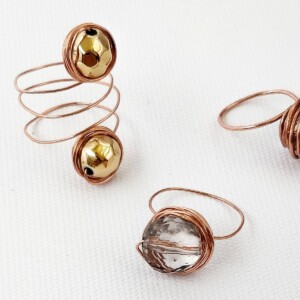
Its just as easy as the first kind.
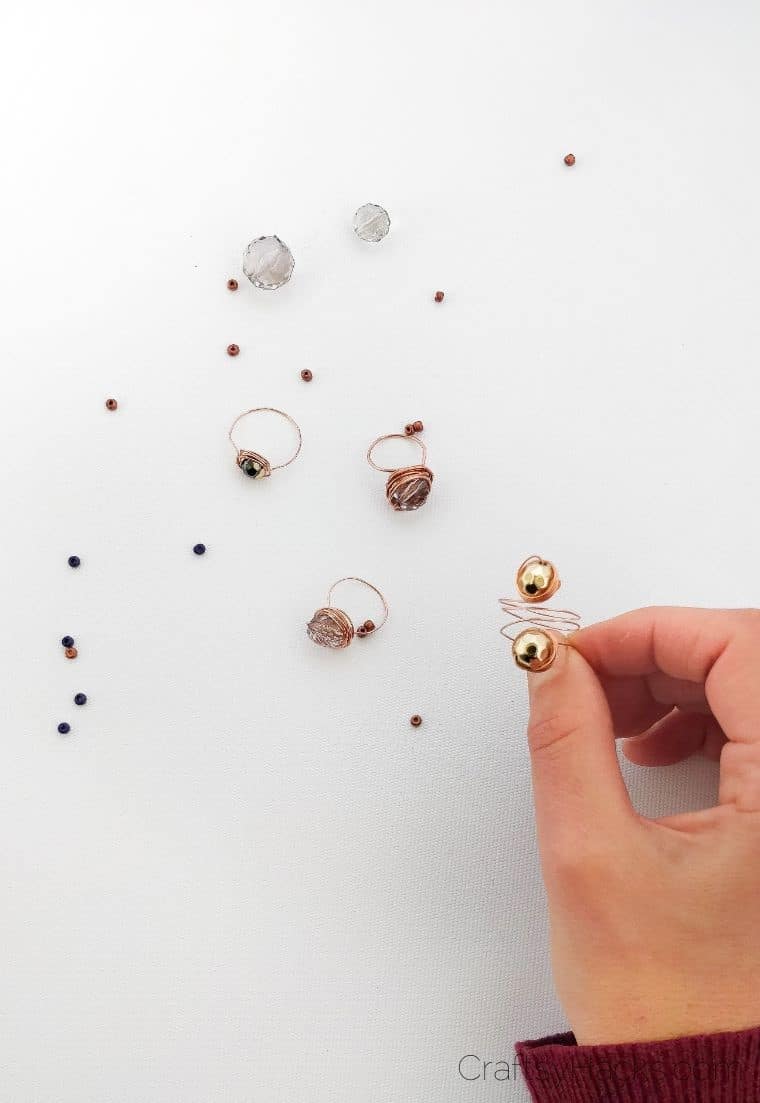
All it’s crucial that you change is getting two matching beads instead of just one crowning bead.
Start off by cutting your length of wire.
Now, position the marker above your wire and wrap both ends of the wire around the marker twice.
You should end up with two complete loops and two partial loops and tails pointing the opposite way.
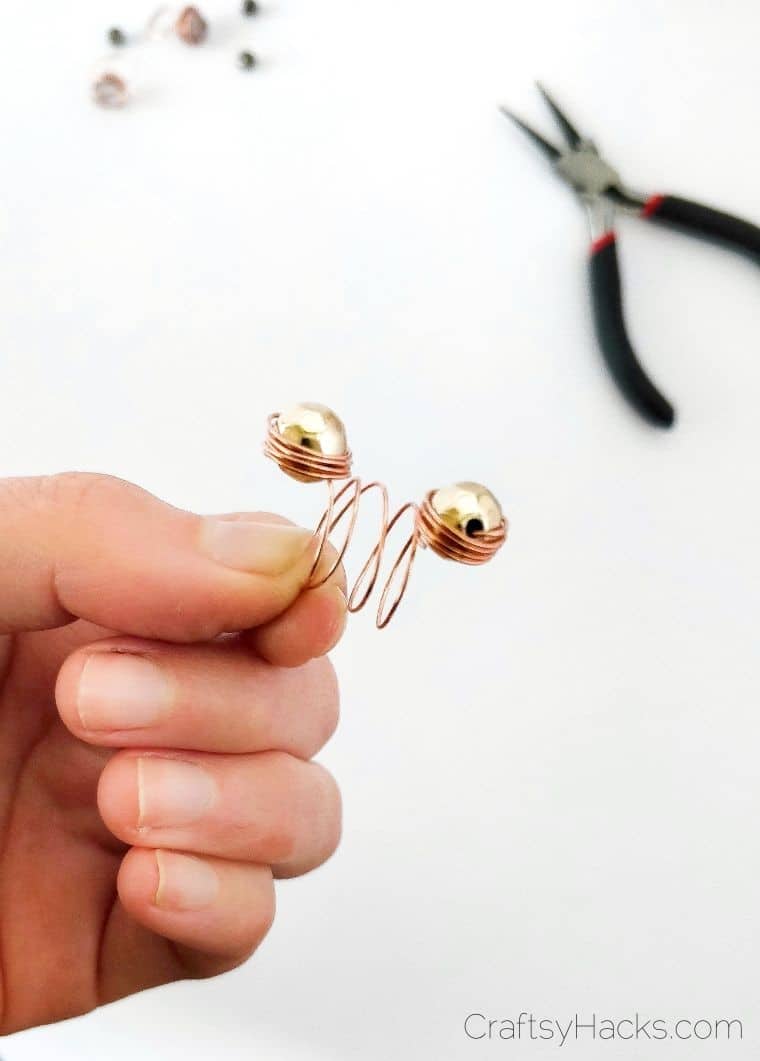
Now, for the exciting part.

Then,slide the whole thing off your marker.
Now, do as you did for the previous ring.
Wrap the piece of wire around your bead, starting at the top and working your way down.
Eventually, youll end up with just a little piece of wire sticking out.
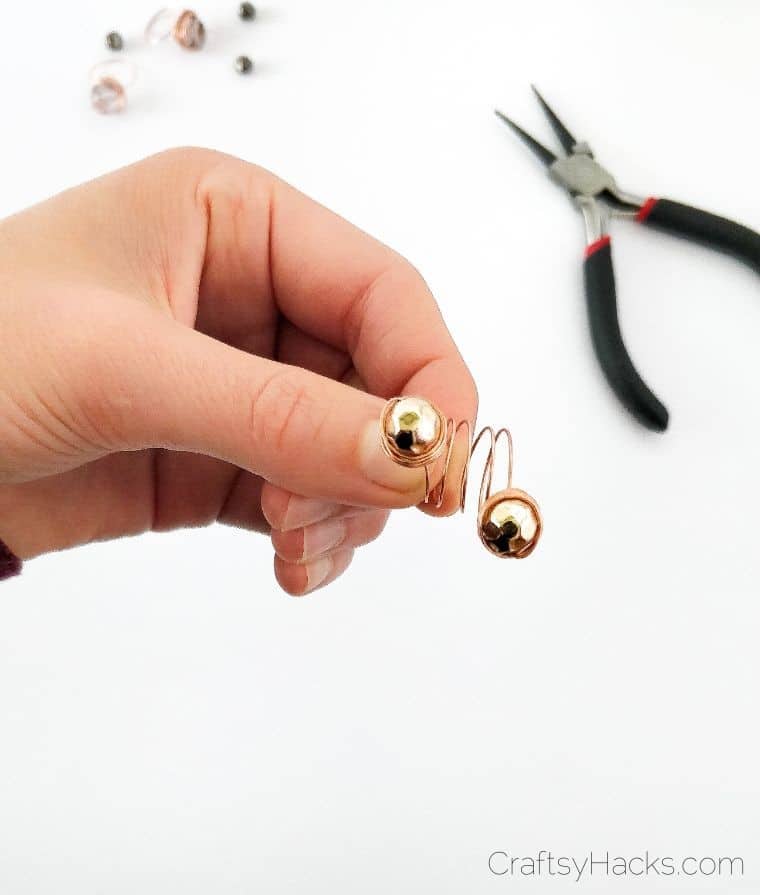
Just tuck that in with your pliers.
Repeat the entire process on the other tail of the wire.
see to it you dont bend the middle out of shape as you work!
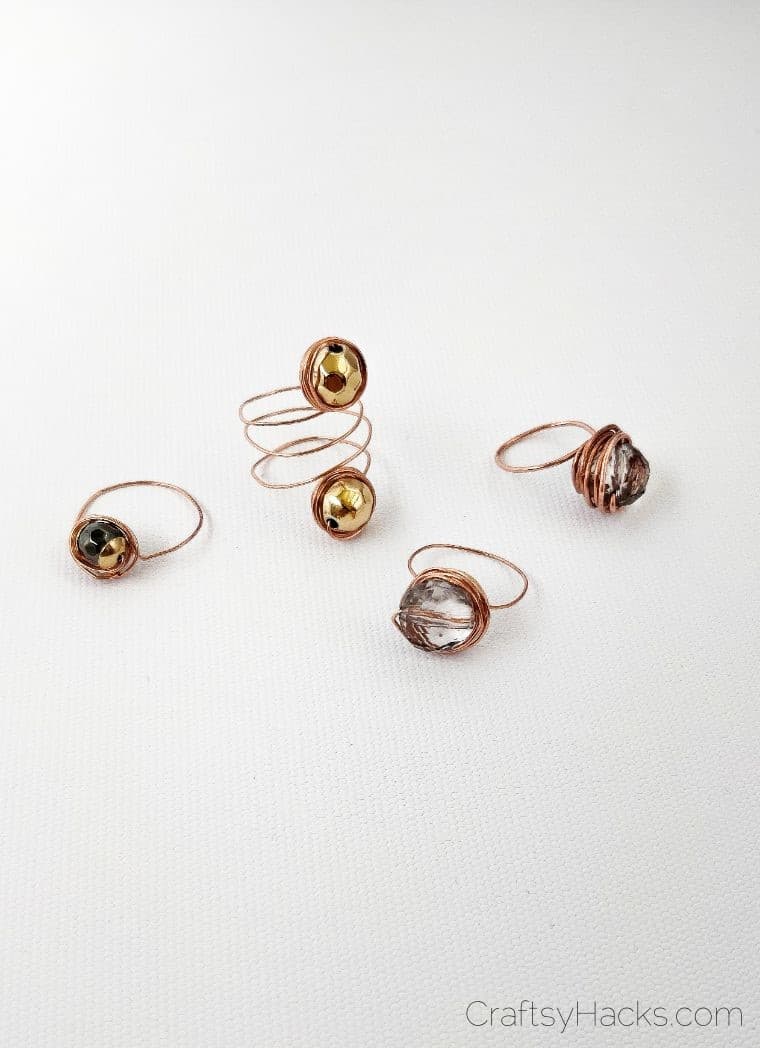
And there you have it!
A beautiful ring is worthy of your very own Etsy store.
What is the Best Wire for Making Rings?
When were talking about wire, the most important thing to get right is the gauge.
The higher a wires gauge is the thinner its diameter.
So, for example, 22 gauge wire is 6mm around.
21 gauge wire is 7mm.
The thinner your wire is (or the higher its gauge), the softer it will be.
That means its easier to work with!
If youre feeling a little more confident and experienced, go for the 8mm wire.
Its tougher to manipulate but perfect for anyone who has worked with wire before.
Otherwise, stick to 6mm or 7mm.
Who Can Make These Wire Rings?
The great thing about these rings is their customisability.
you’ve got the option to make them for virtually anyone and everyone.
However, theyre thebest craft for teenagersand adults to make!
If youre an adult coveting something for your unique style, these work perfectly.