We previously used the same fabric for making thisoversized zippered pencil caseas well as thisknitting needle organizer.
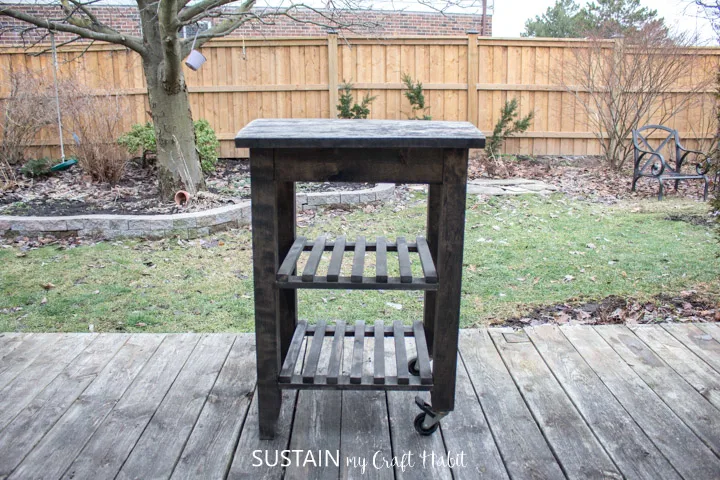
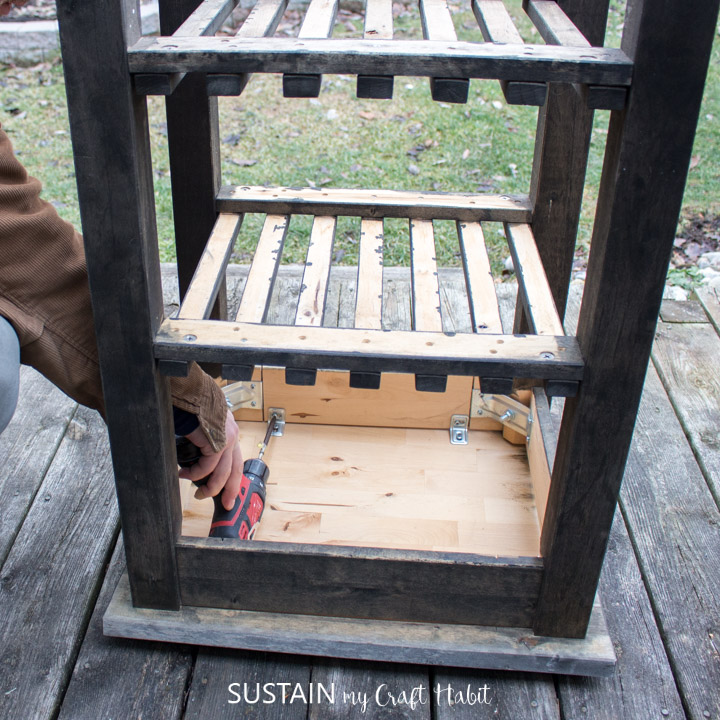
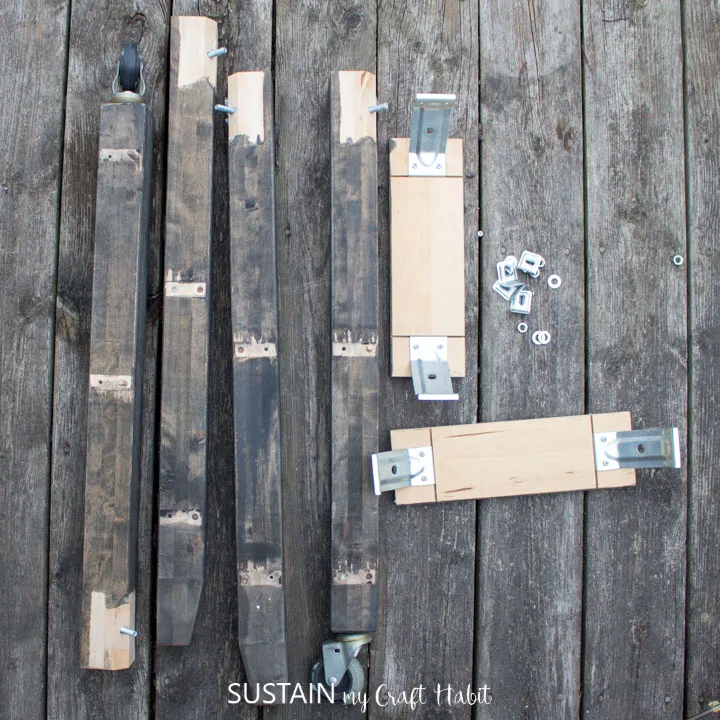
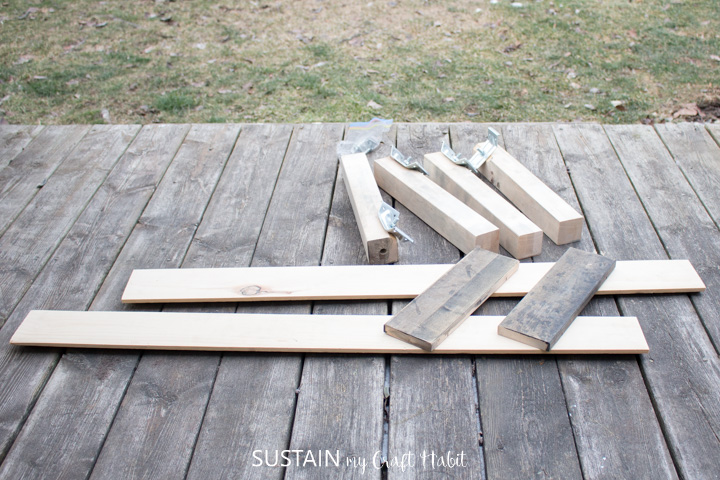
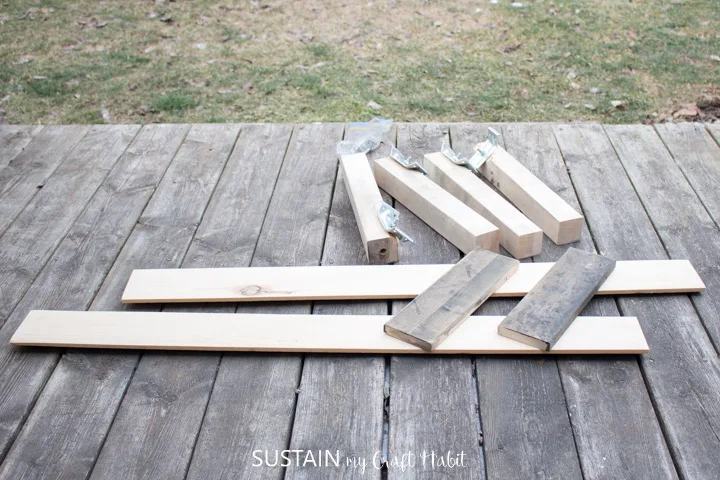
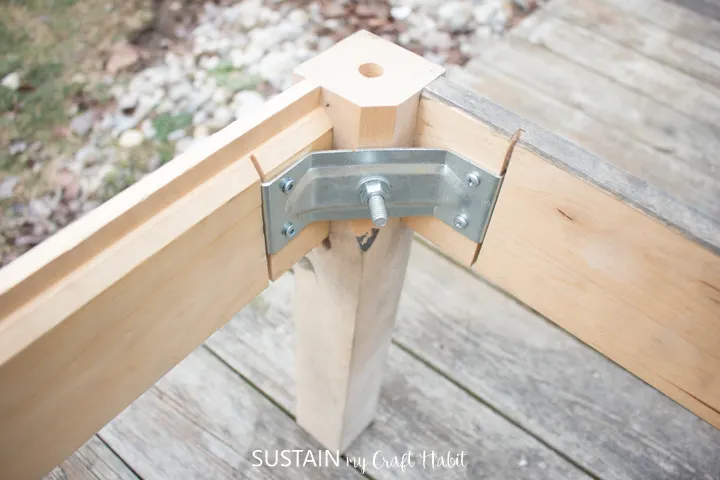
We reused the legs, frame as well as all the hardware to make our tufted bench!
Materials:
Disclosure: This post continues affiliate links for your shopping convenience.

KEEP PILE
it’s possible for you to find ourfull disclosure policy here.
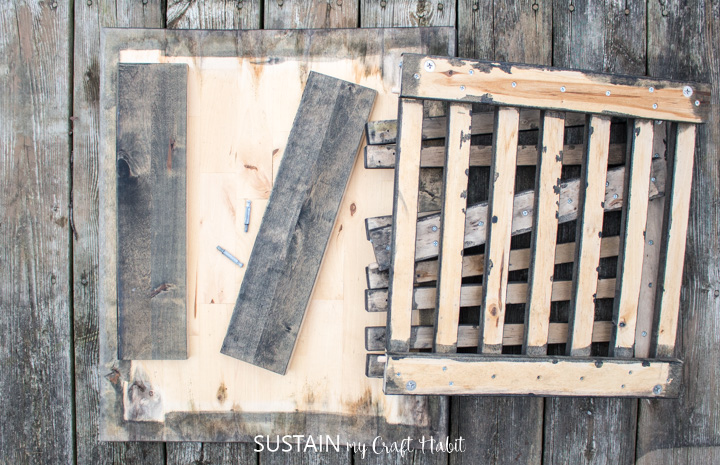
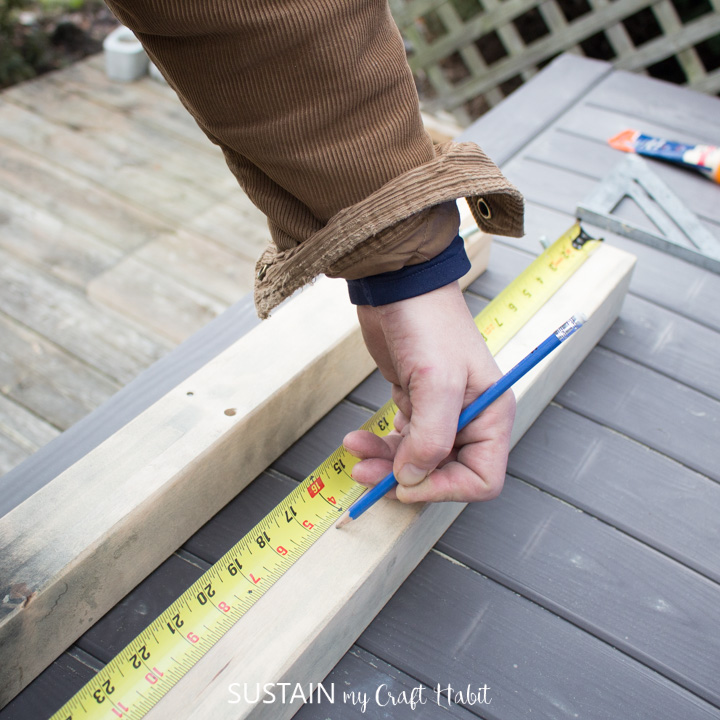
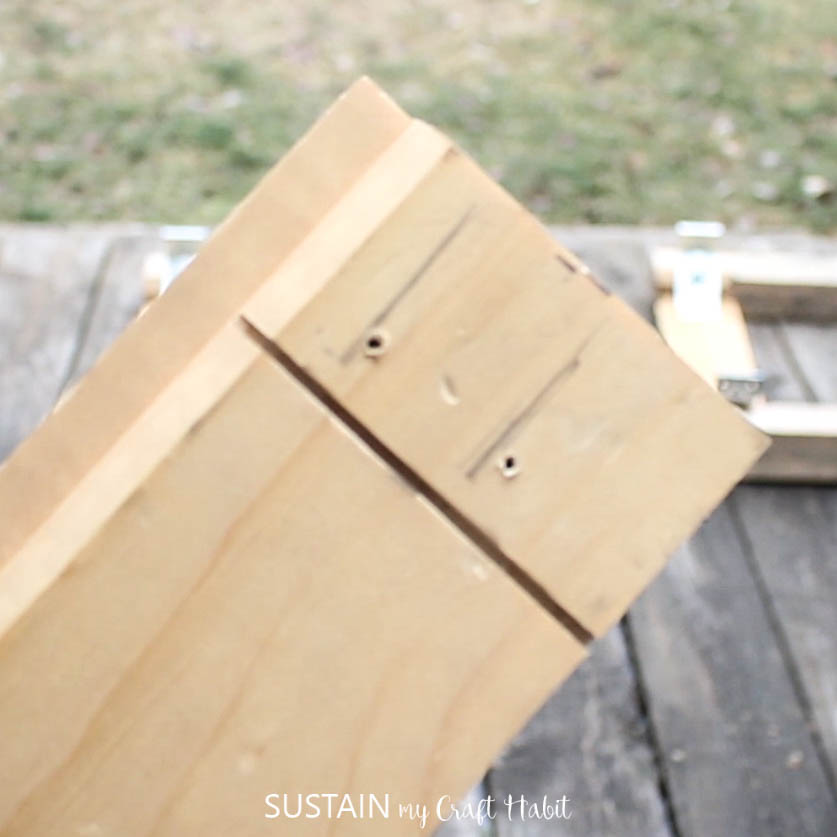
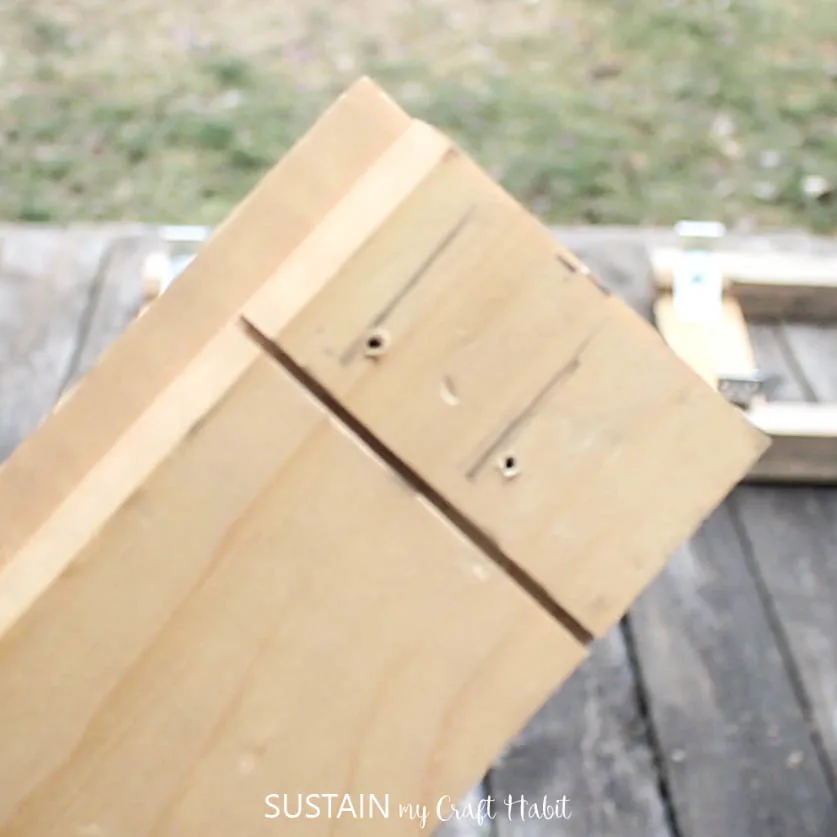
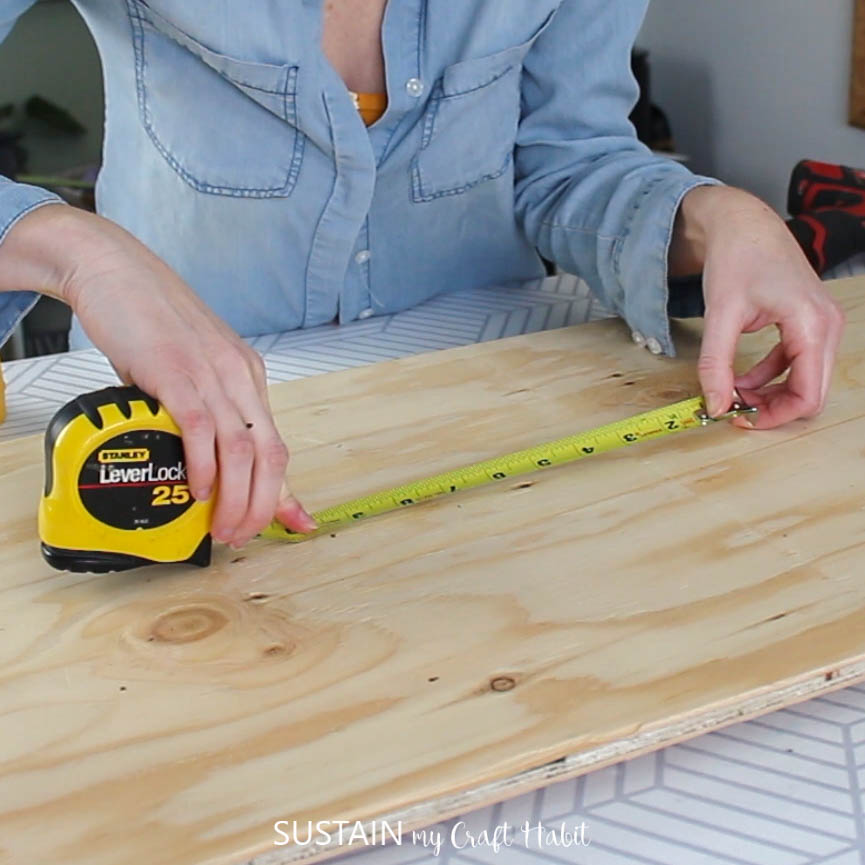
Using a pencil and square, we marked the length for cutting.
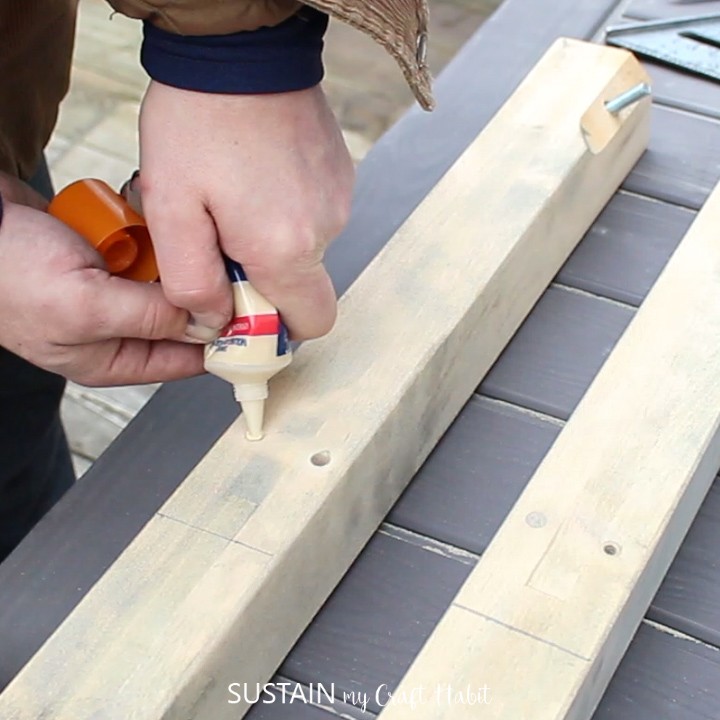
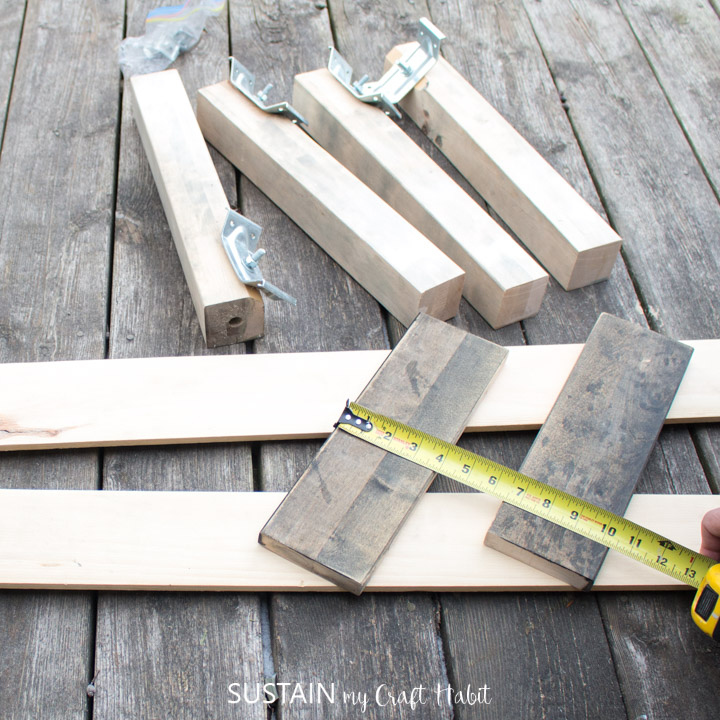
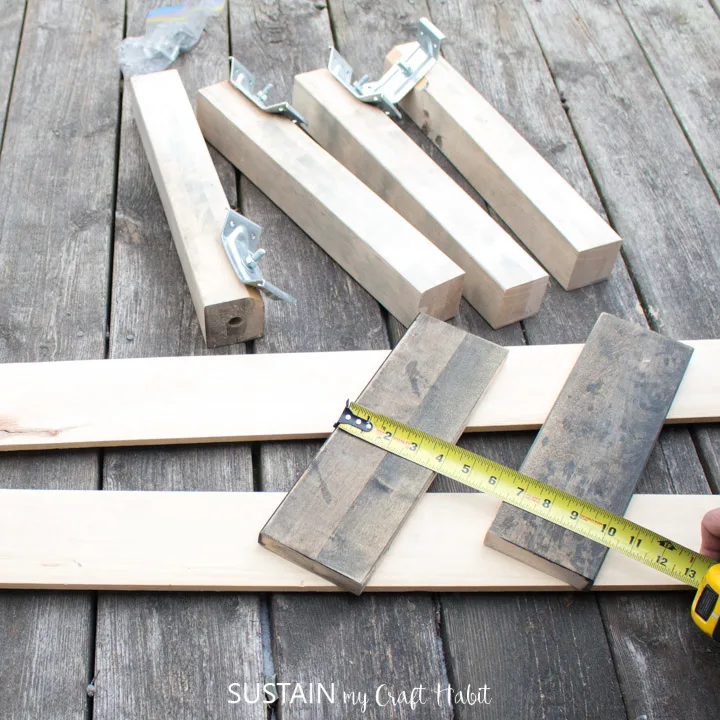
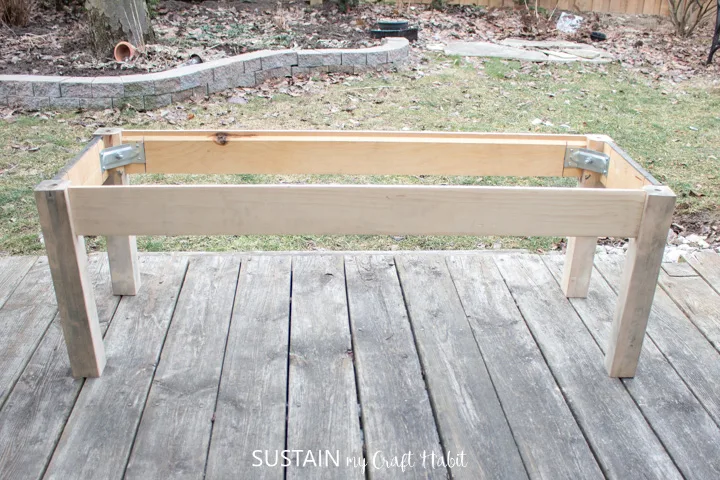
Next, we cut the pieces for the base of the bench seat.

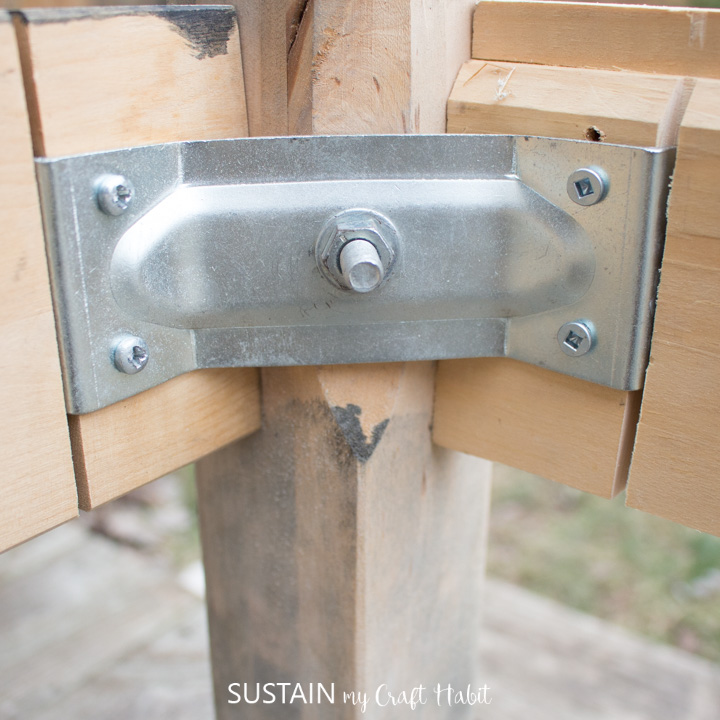
With all the piecees prepped, we assembled them together to form the bench frame.
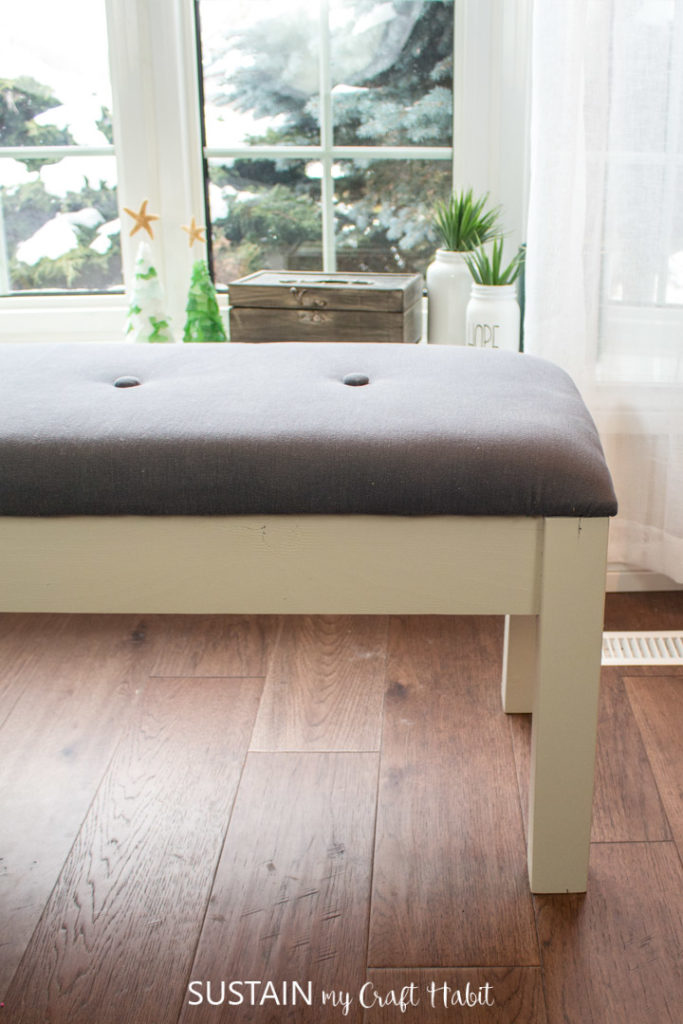
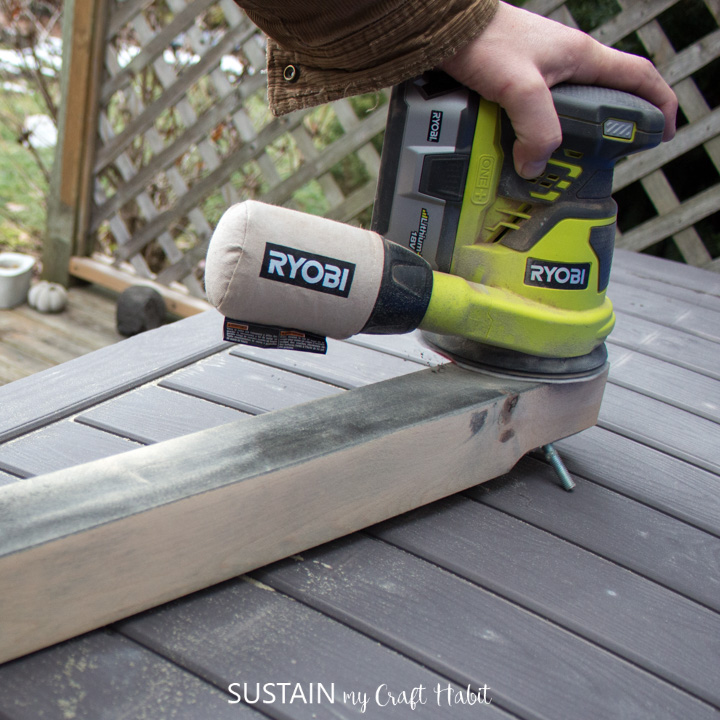
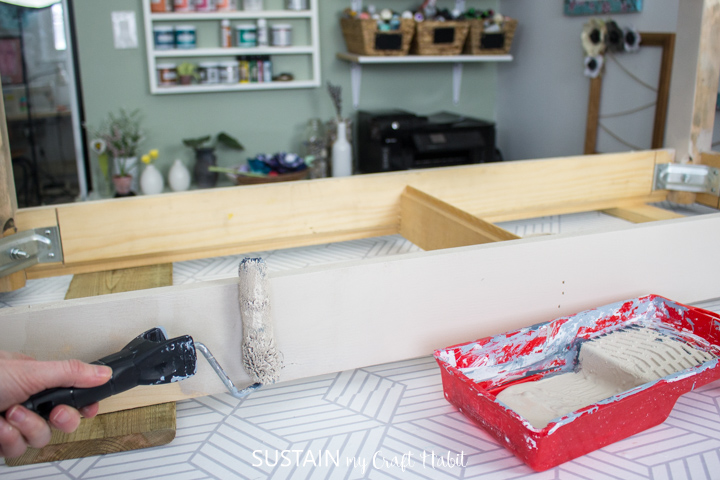
Paint the bench frame in any color of your choosing.
We chose a durable satin enamel paint in a natural biege color.

Determine how many tufted buttons to attach to the bench seat.
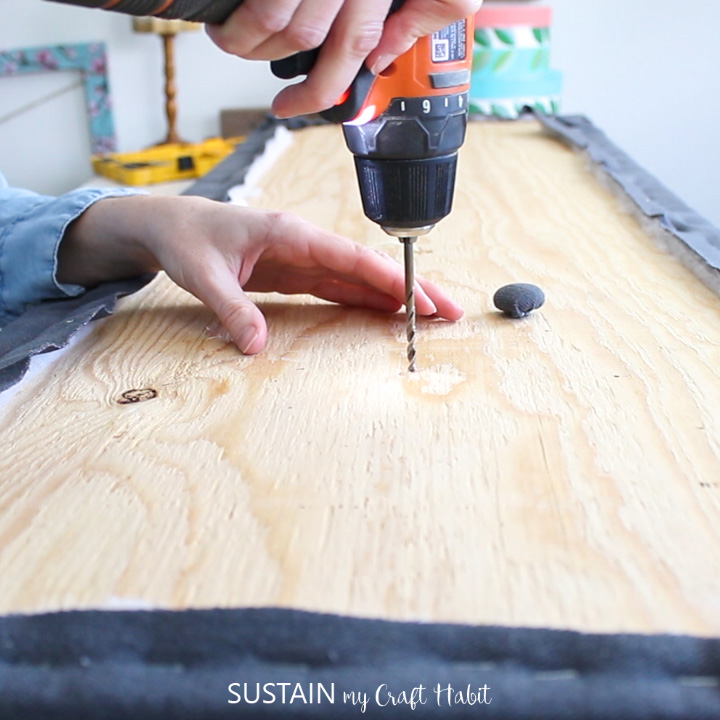
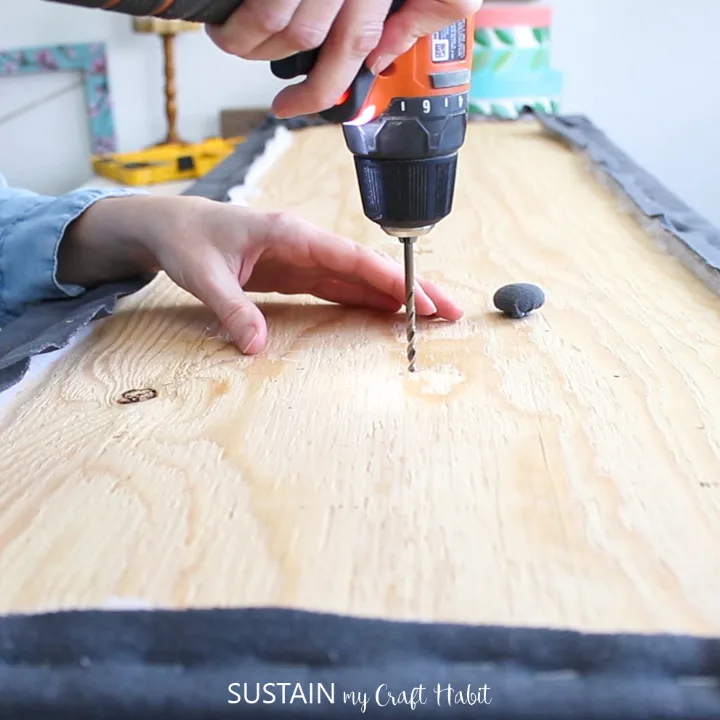
Then measure and mark the placement for the tufted buttons with a pencil on to the plywood.
Drill out two holes side by side (at least 1/8 apart) in the marked spots.
Use a drill bit that is about a 1/4 thick.
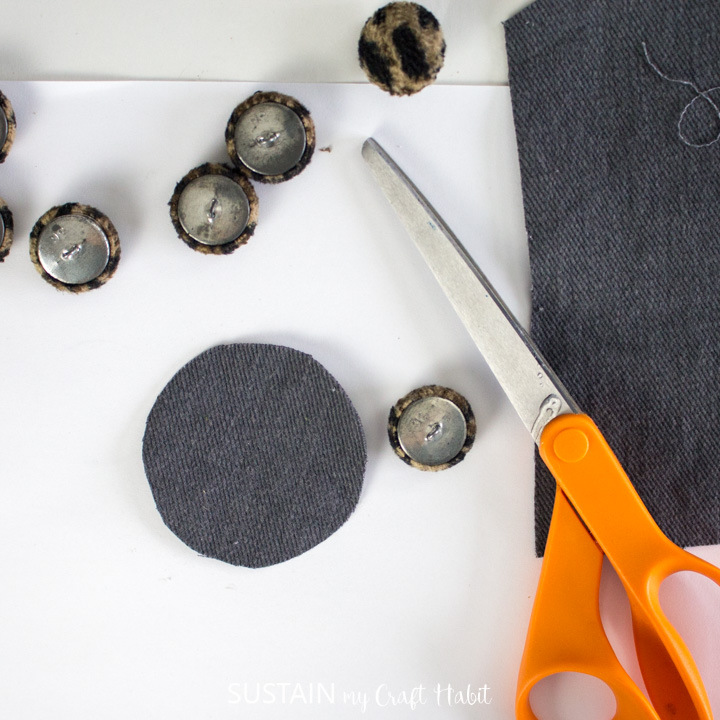
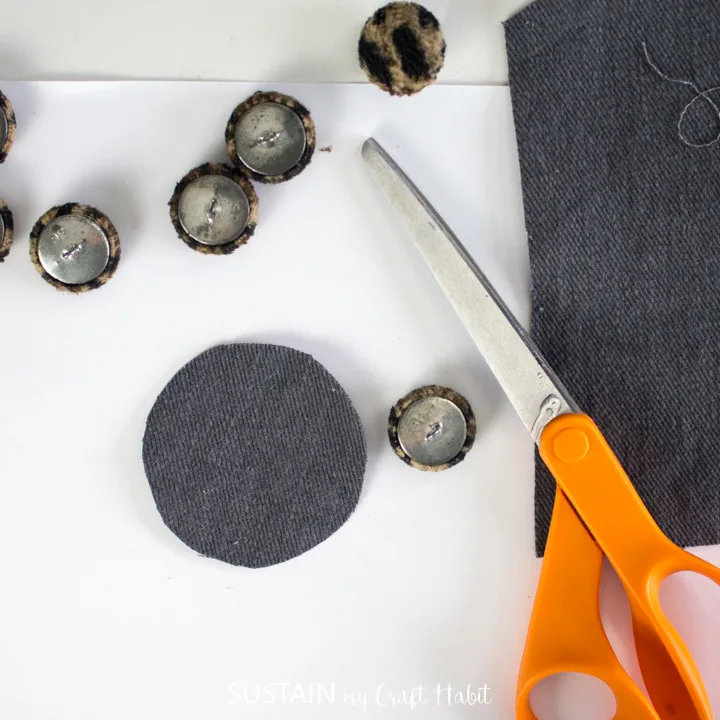
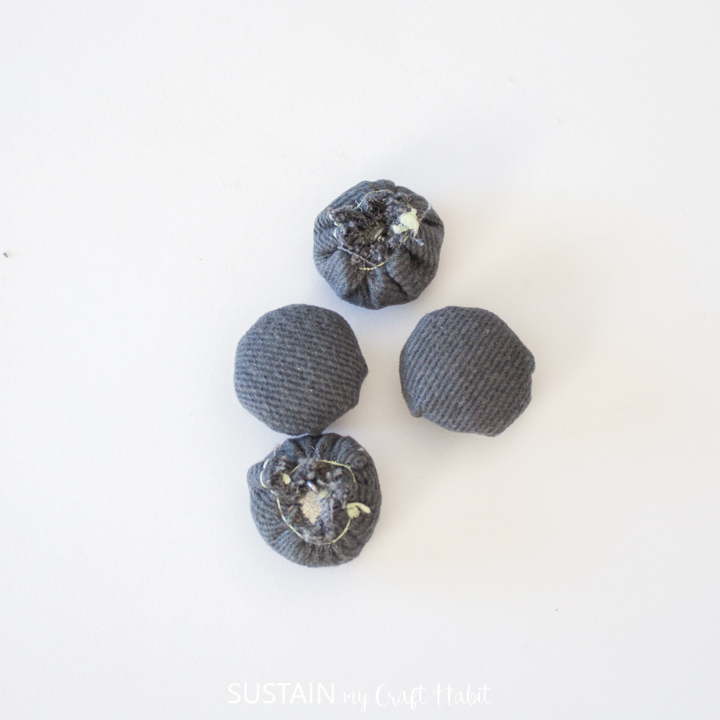
If youre using a fabric button covering kit, follow the instructions on the packaging to cover your buttons.
In our case, we are reusing fabric covered buttons from an old jacket to use for our bench.

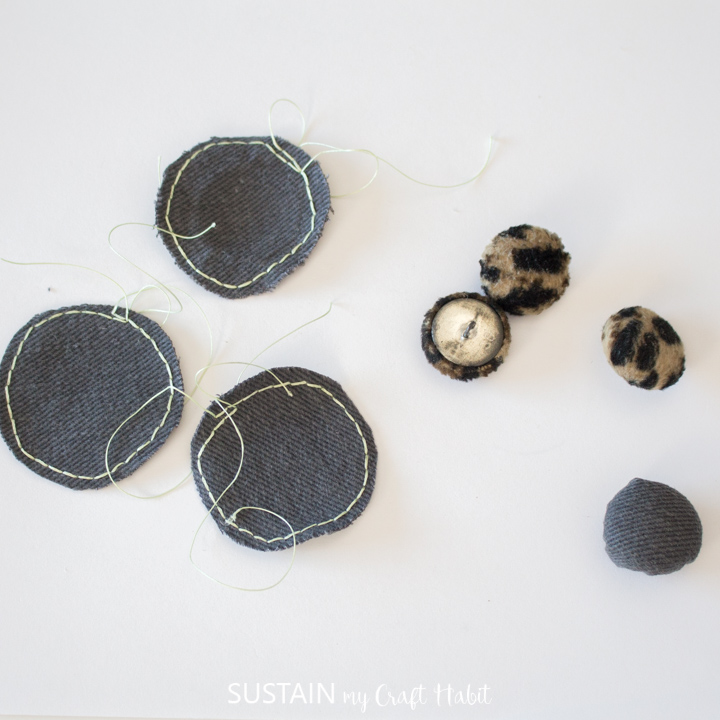
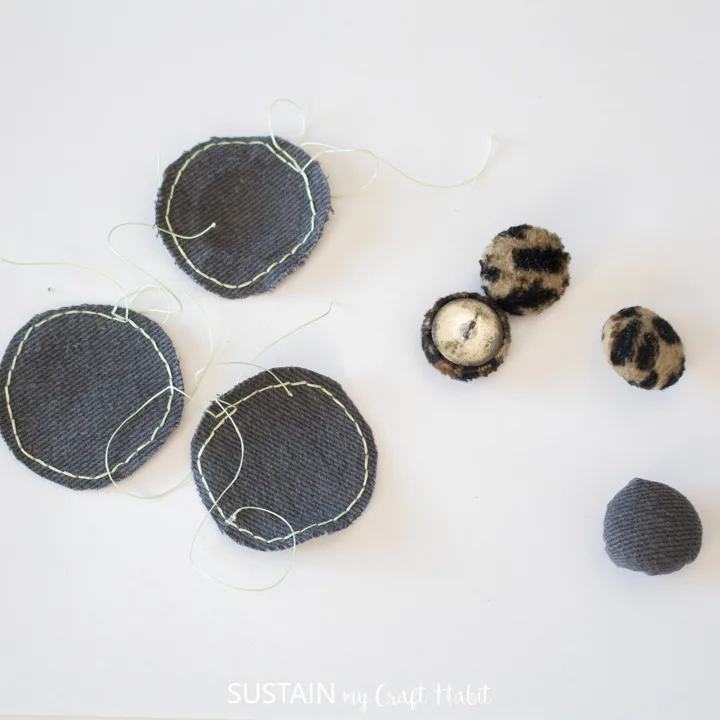
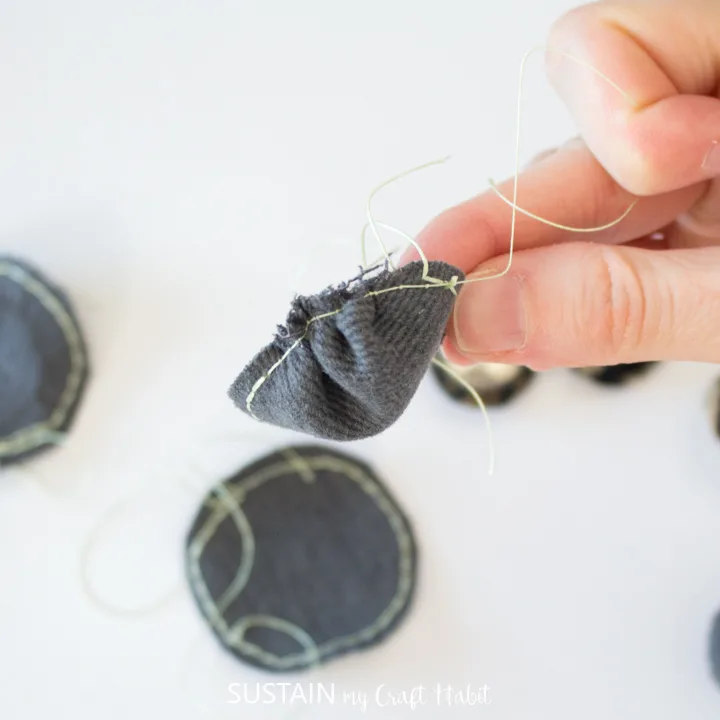
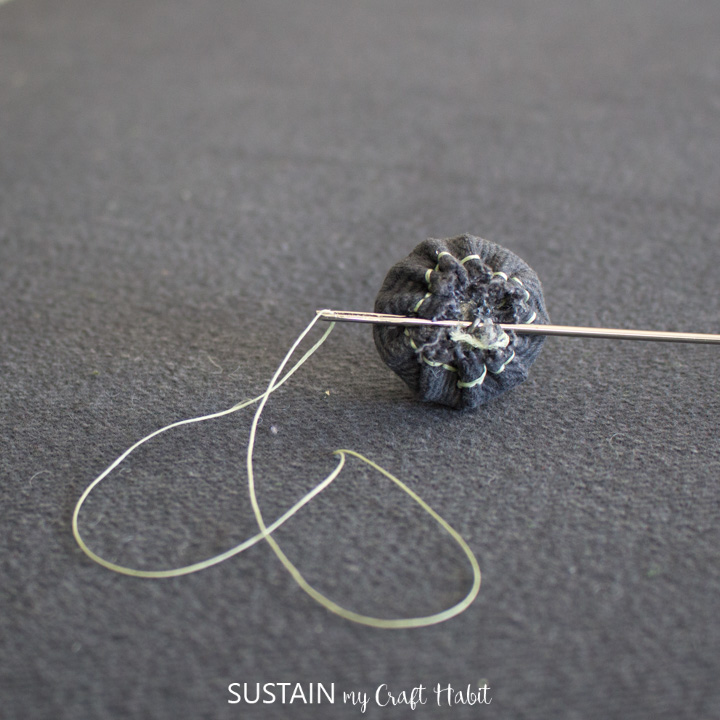
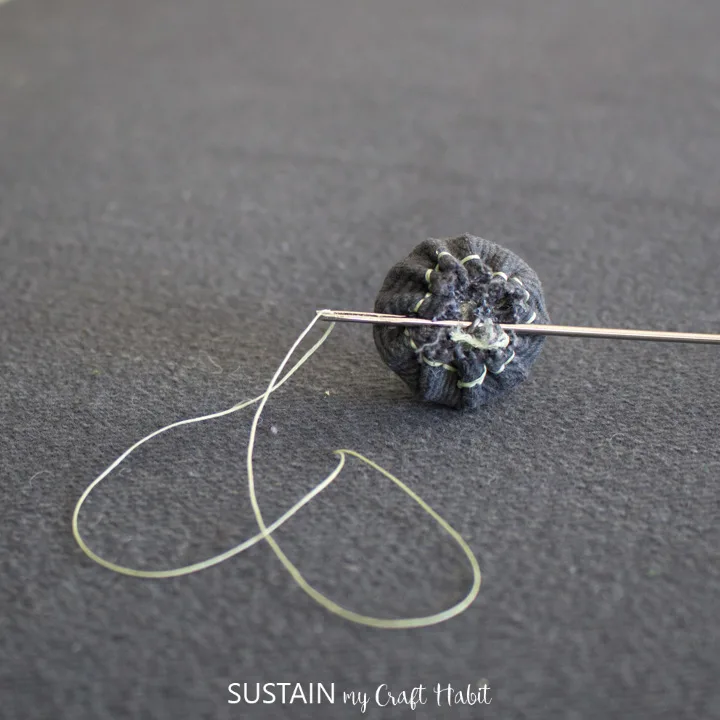
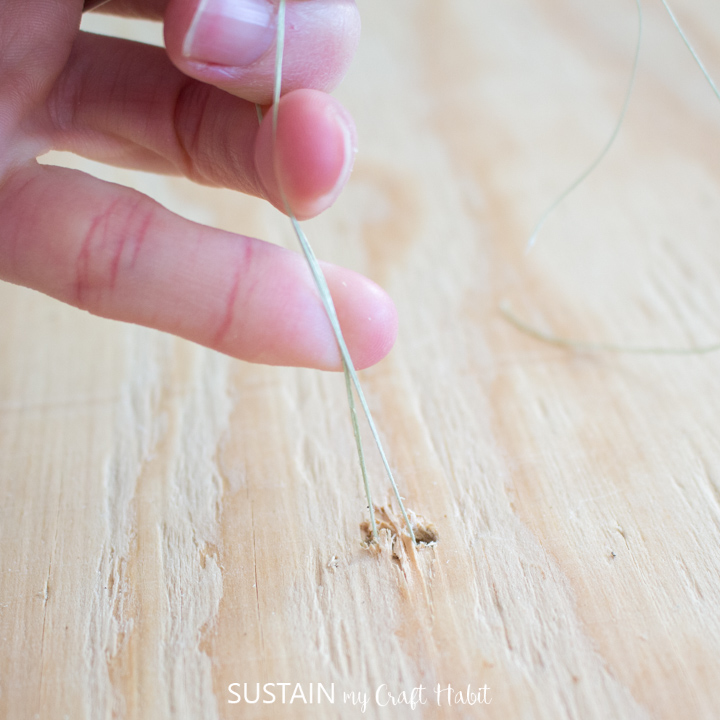
Pull on the long thread ends to cinch in the circle.
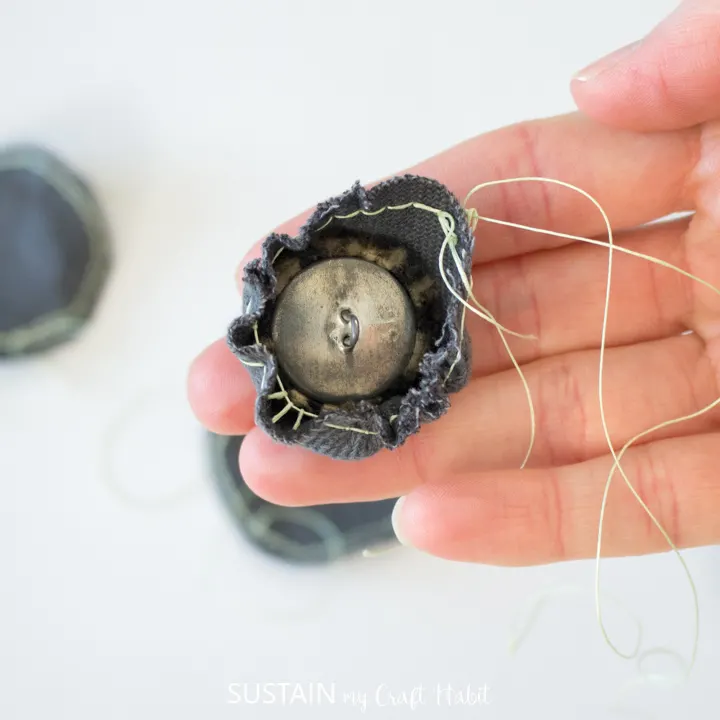
As the circle cinches, insert the button inside with eyelet side facing out.
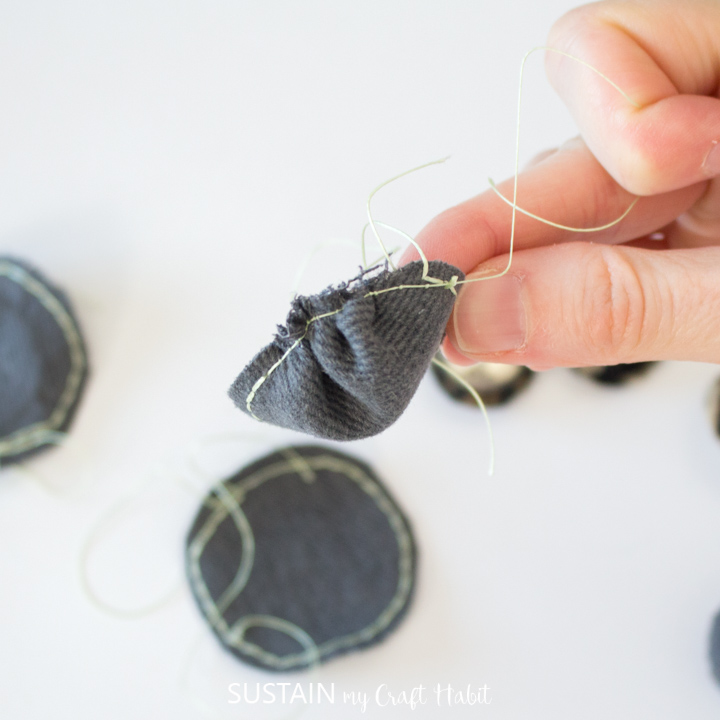
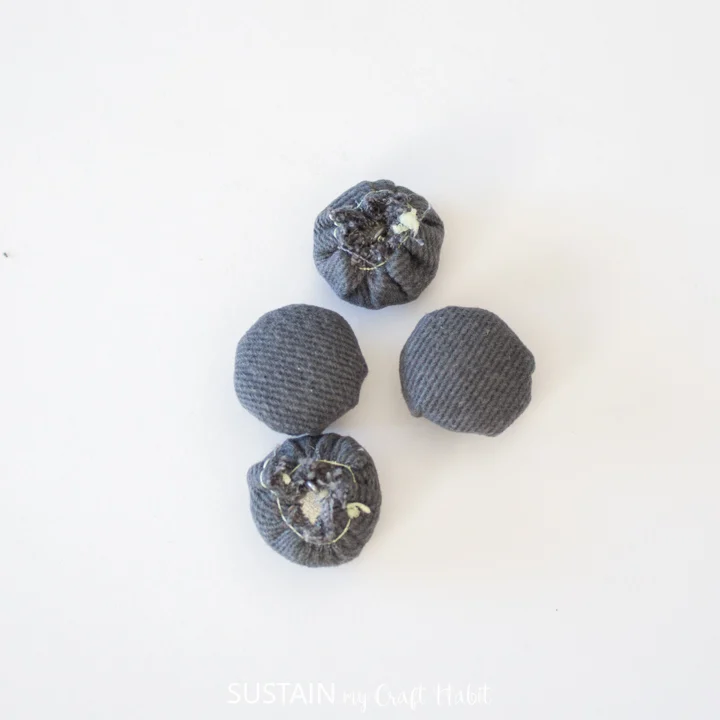
Keep pulling on the thread to tighten the fabric cap around the button.
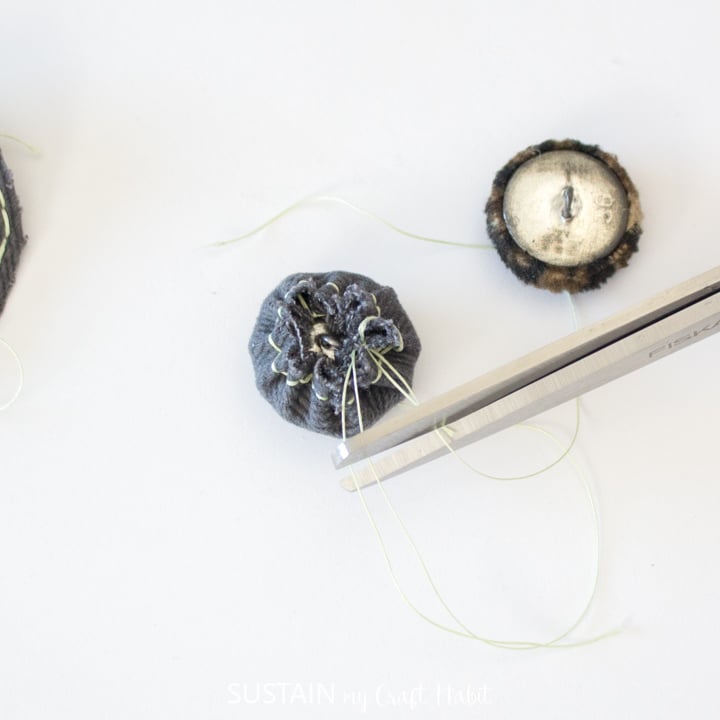
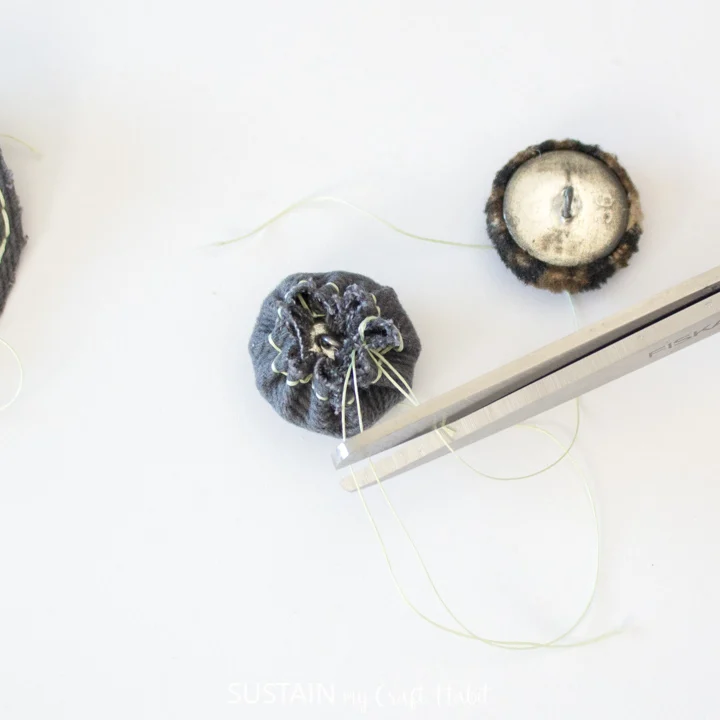
Tie off the ends to secure.
If needed add hot glue gun underneath the fabric to help hold it further.
Repeat for as many buttons that are needed.

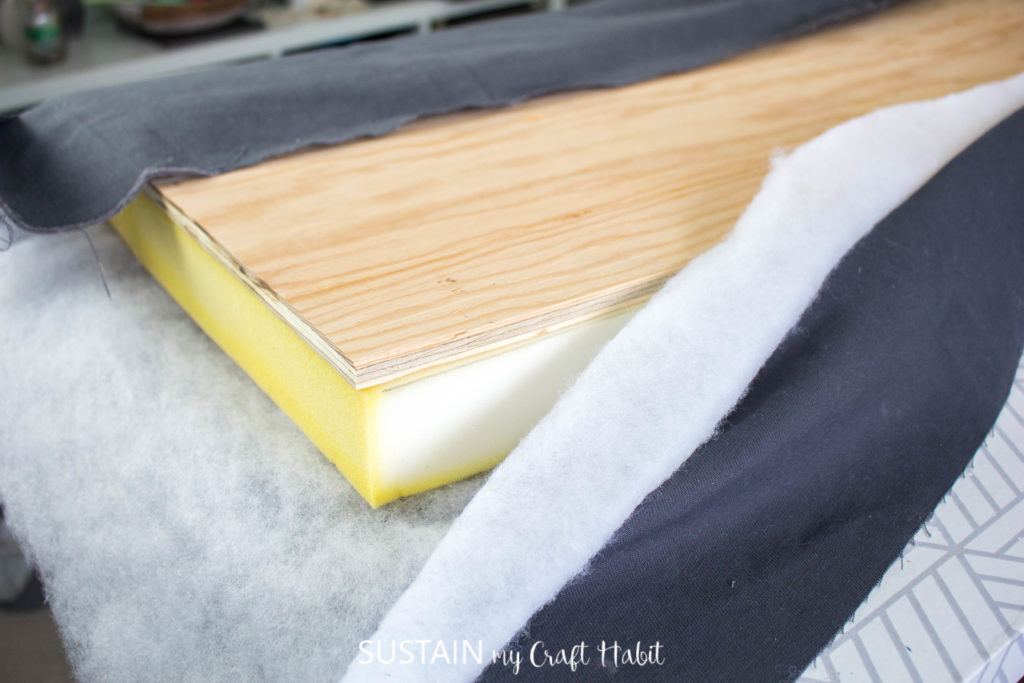
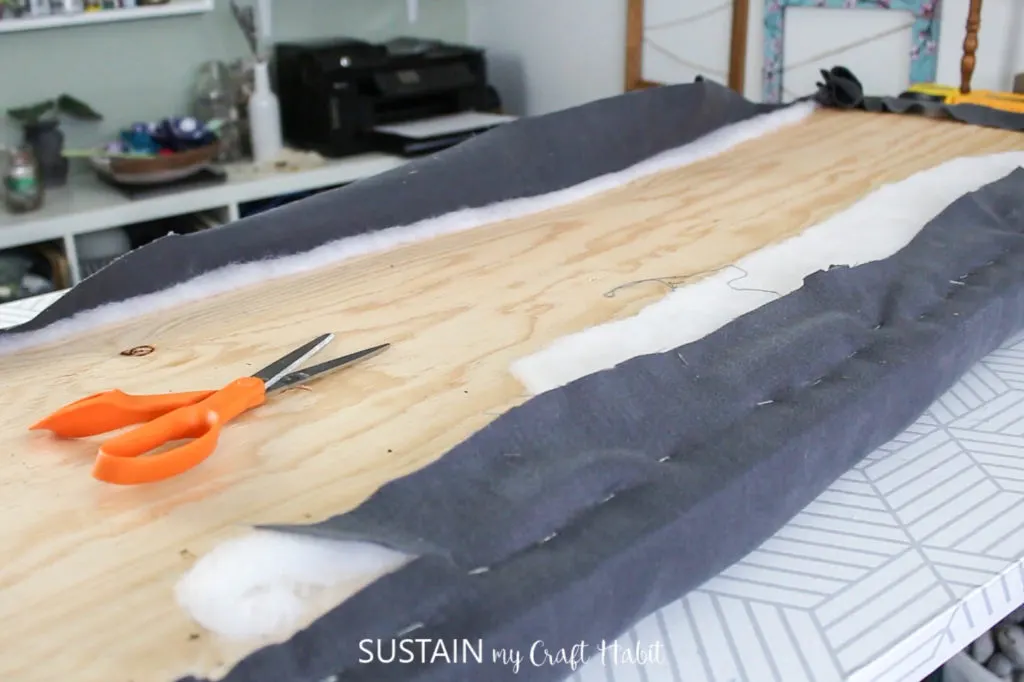
check that the right side of the fabric is facing down.
Ensure you have at least 4 extra fabric and batting all around the plywood.
Keep the center of the bench parallel with the finished edge of the fabric (selvedge).
Cut the fabric to the needed size.
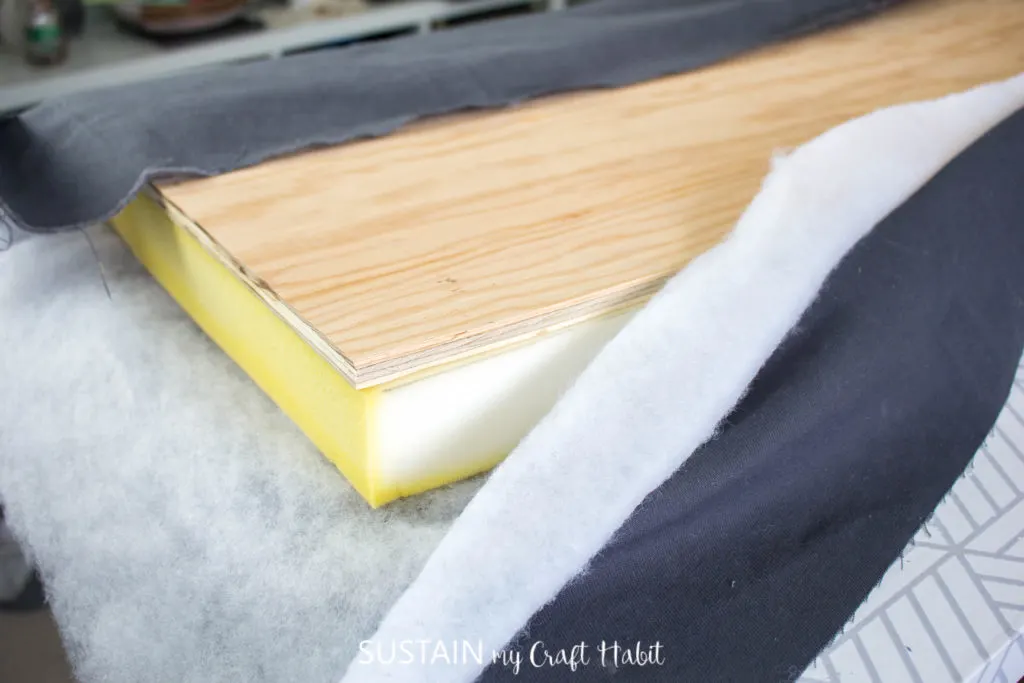
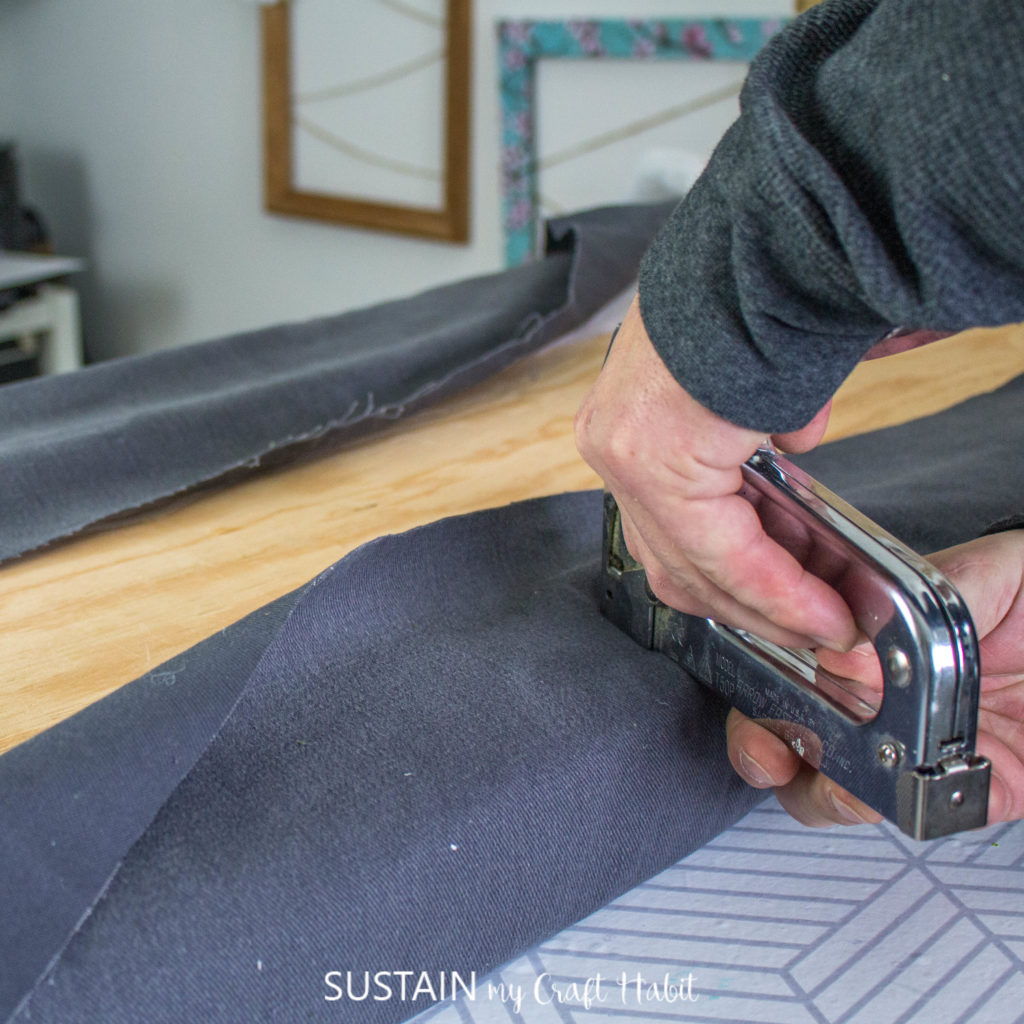
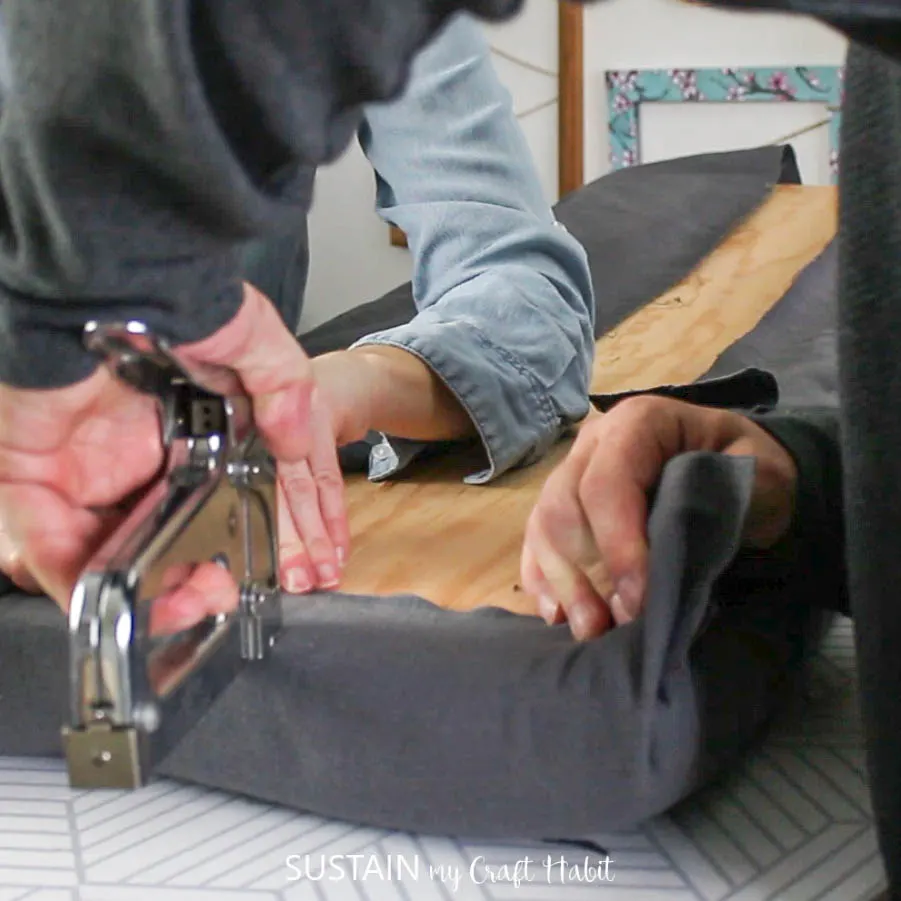
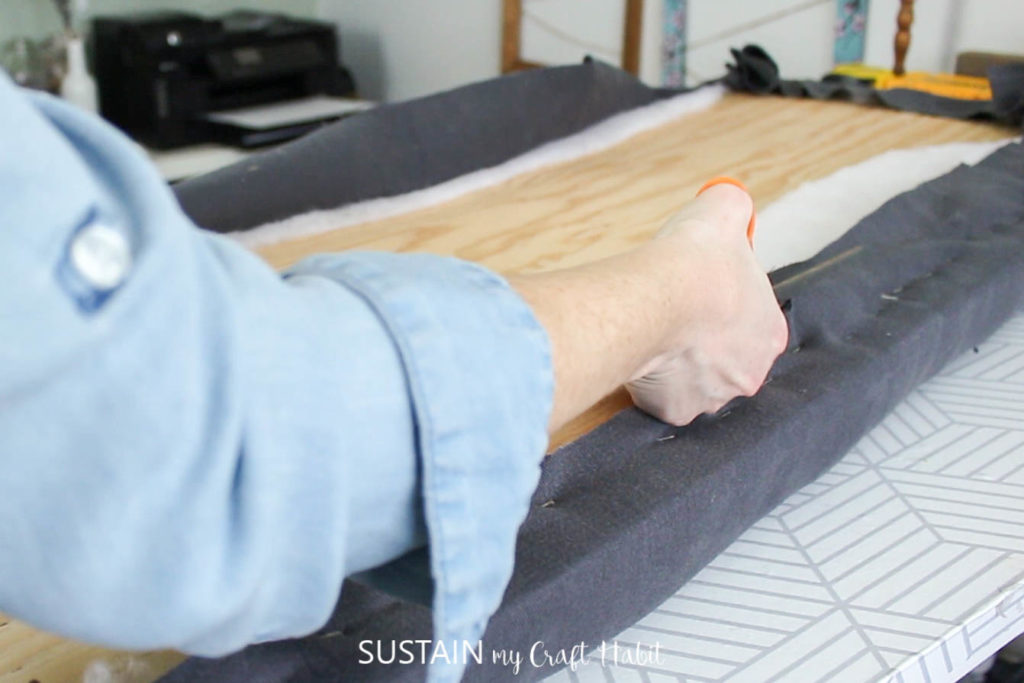
Take the center of the fabric along one side and fold it up and around the bench seat.
Secure it in place with a staple gun.
Continue along one side until you are about 2 from the corner.
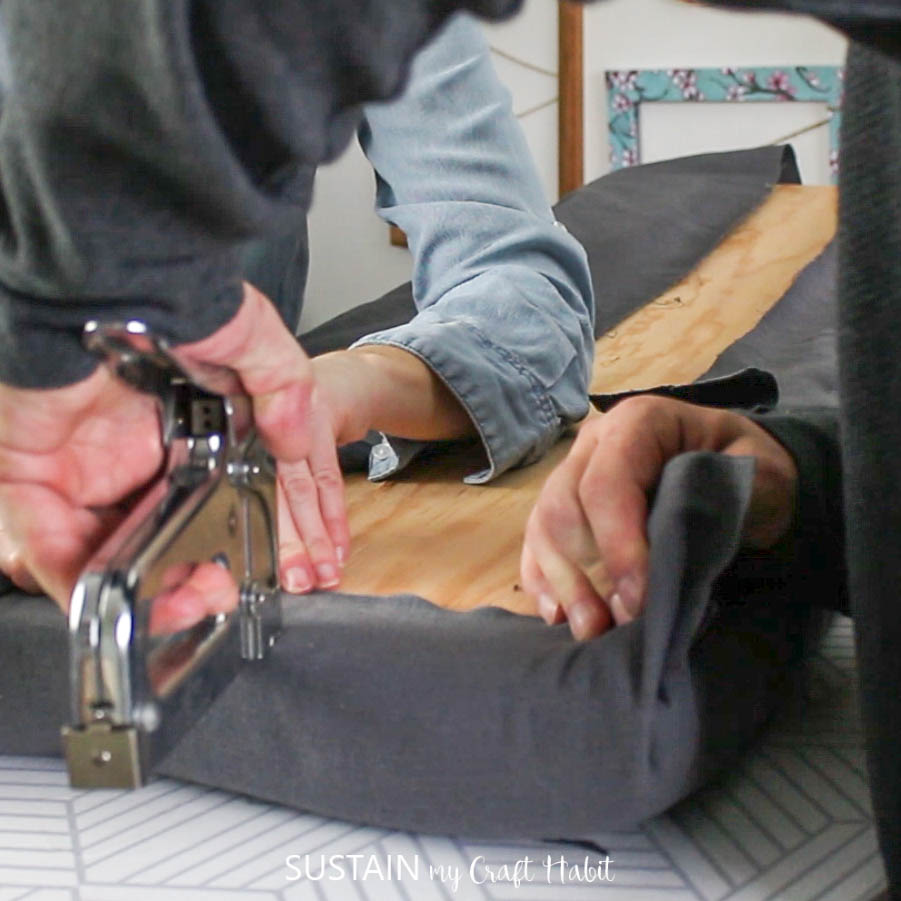
Take the opposite side and pull snugly to staple t inn place.
Another set of hands if you have them is helpful here!

Continue along this side until you get about 2 from the corners.
Repeat this with the other two shorter sides.
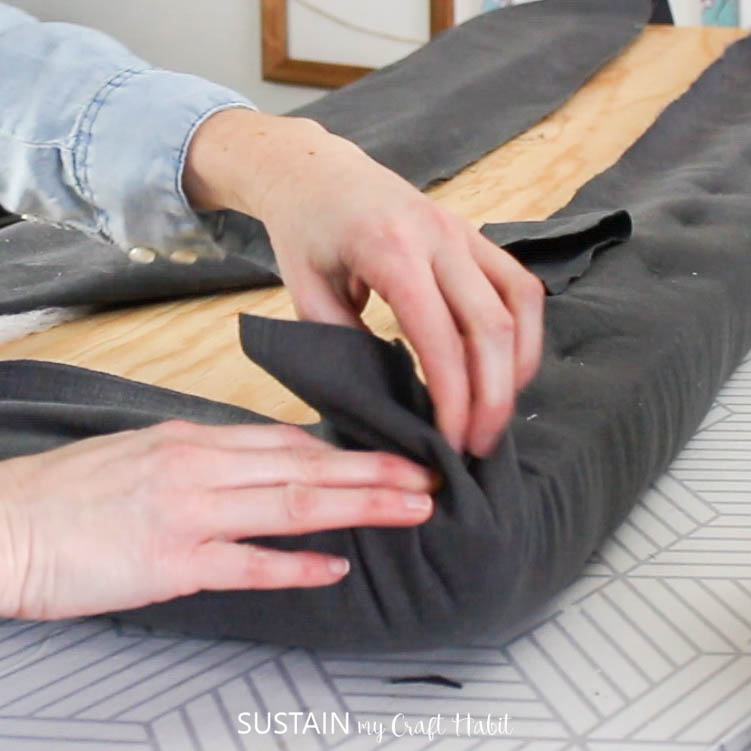
Cut excess fabric at the corner and secure in place with several staples.
Repeat on all four corners.
I purchased these long needles for this project (the only purchase I made for this DIY!)
and used the 6.8 long needle.

I suggest to double or triple up on the thread for this step to ensure its really strong.
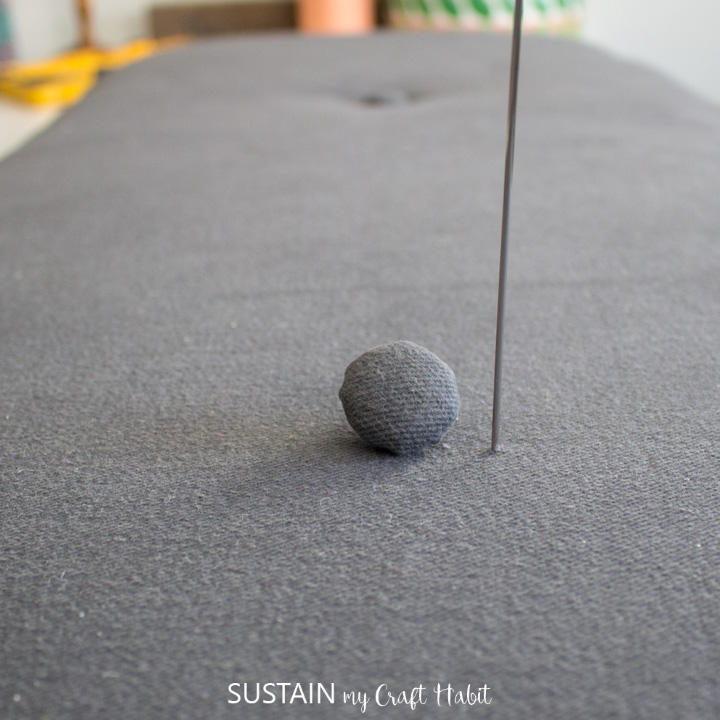
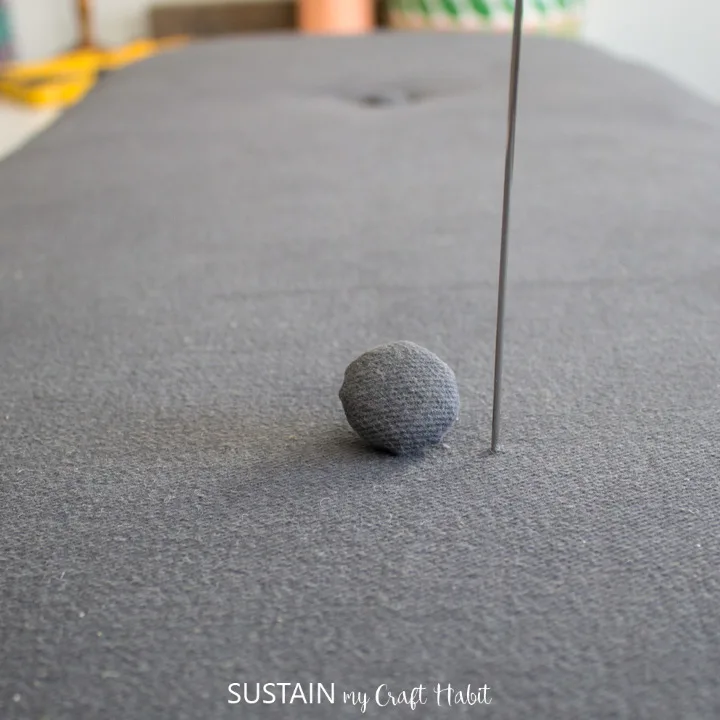
verify you keep the needle as straight as possible so it lines up in the center of the bench.
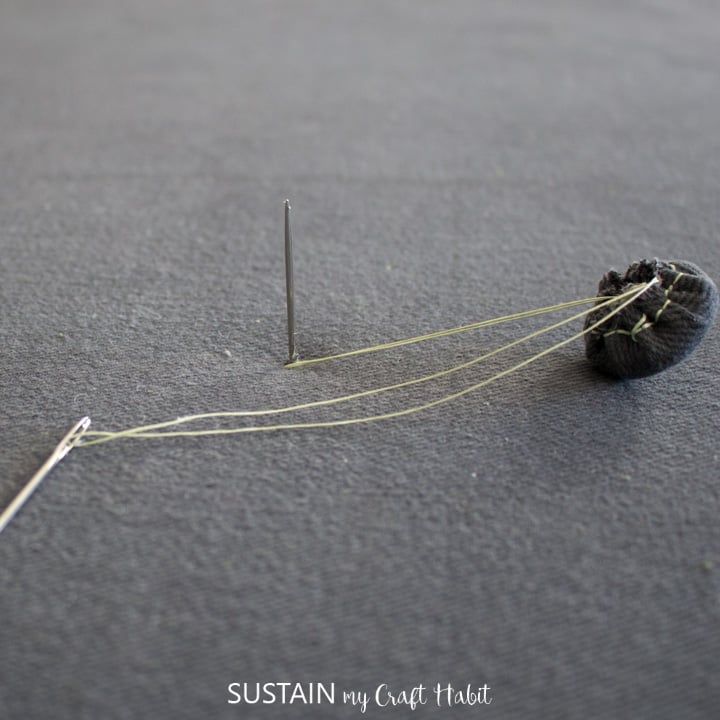
Thread the needle through the eyelet on the back of the tufting buttons.

KEEP PILE
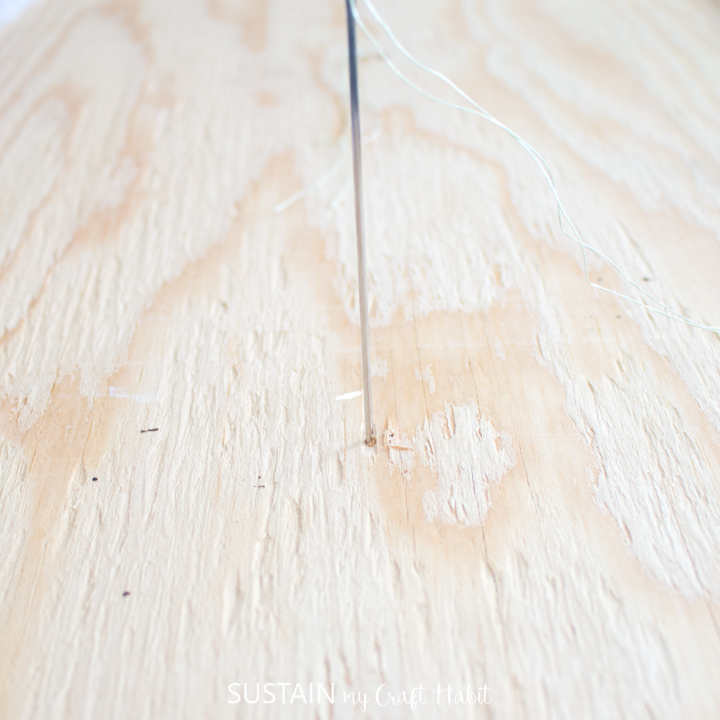
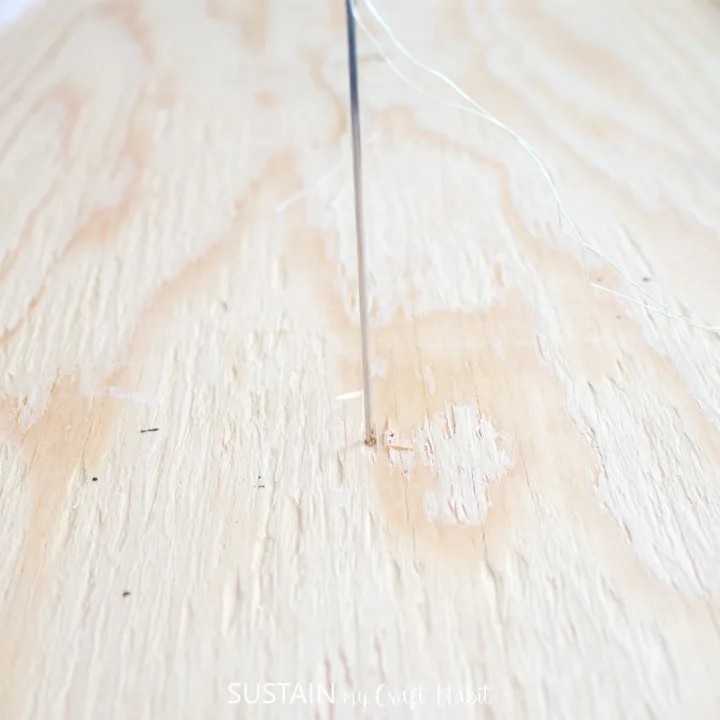
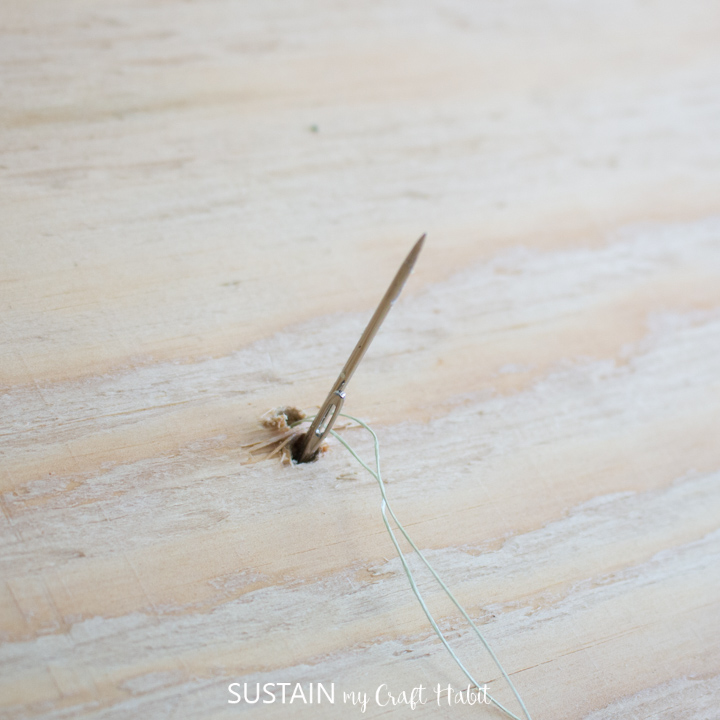
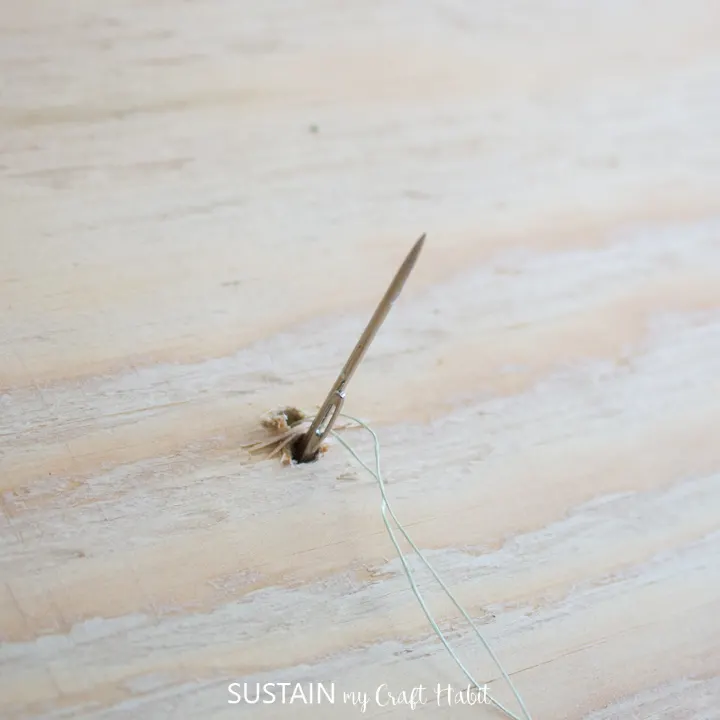
Ill be honest, this part is tricky!
It took me a bit of time to work the needle through the right hole.
Once through, pull the needle all the way and remove the other needle.
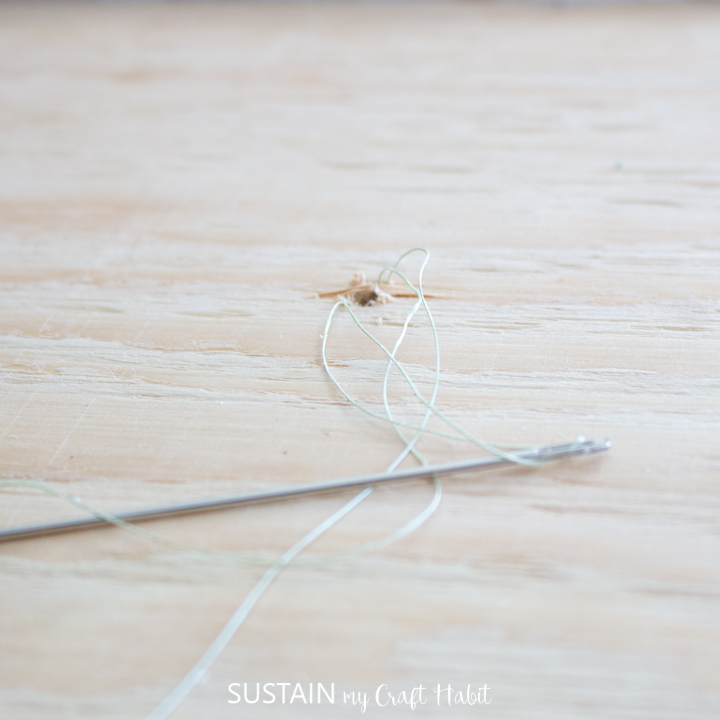
Cut off the needle at the eye.
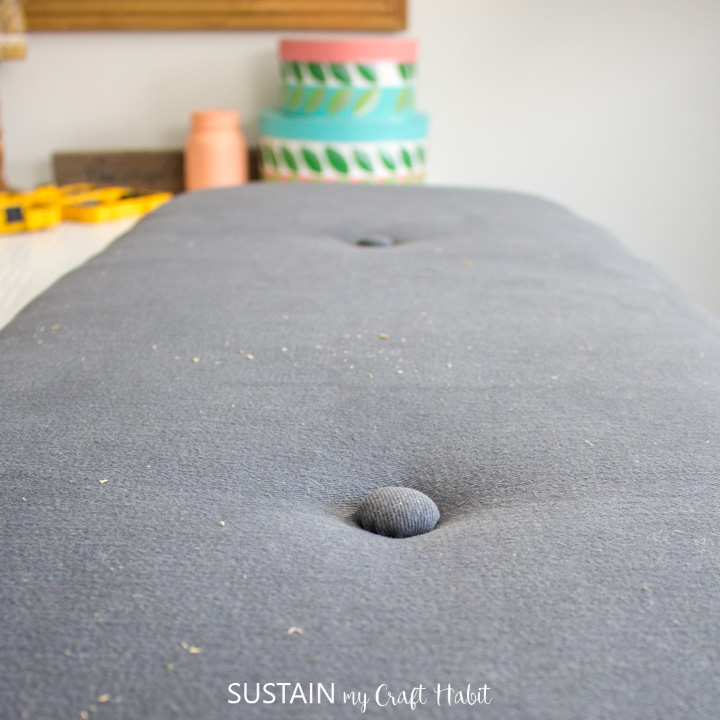
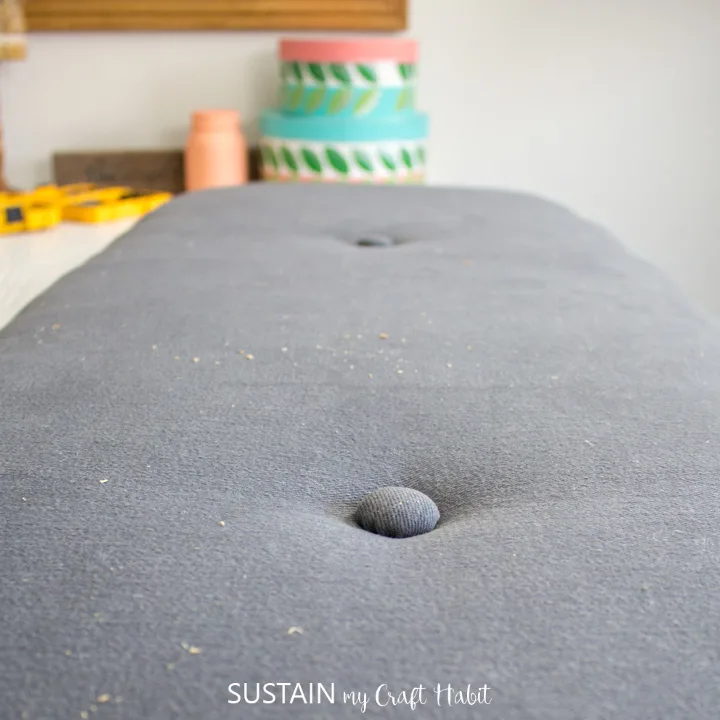
Pulling the thread ends tightly, tie the two ends together into a secure knot.
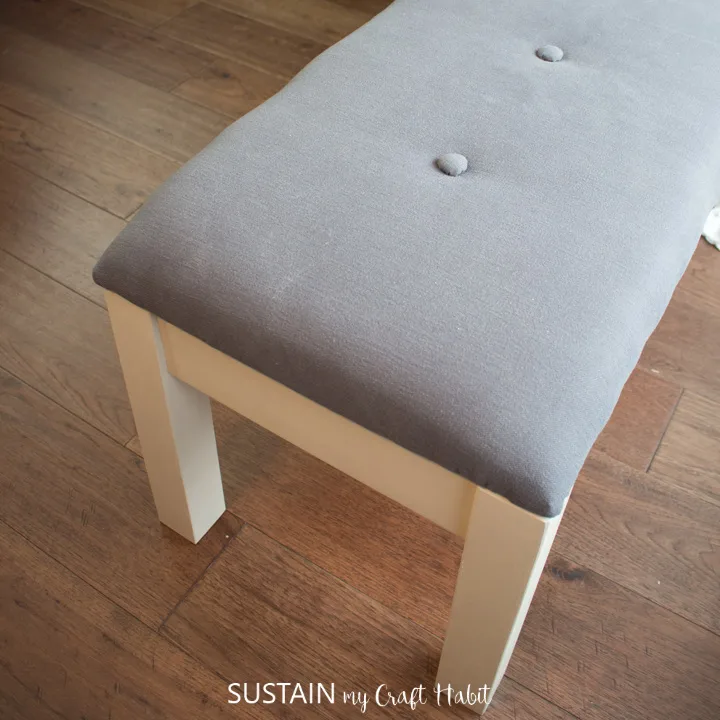
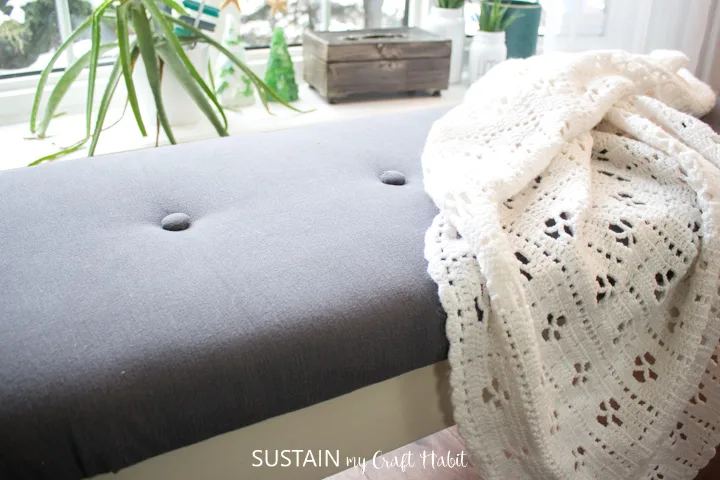
When you flip the bench seat over, the tufted button will be in place.
TOSS PILE
Repeat with the other tufting buttons until finished.
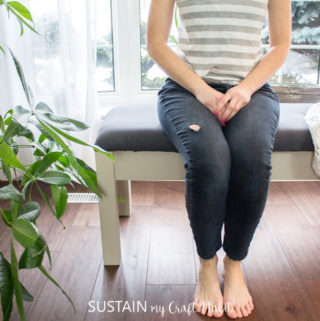
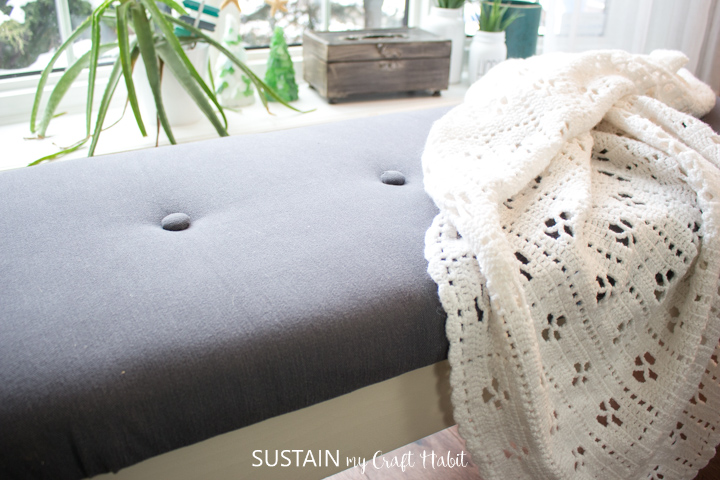
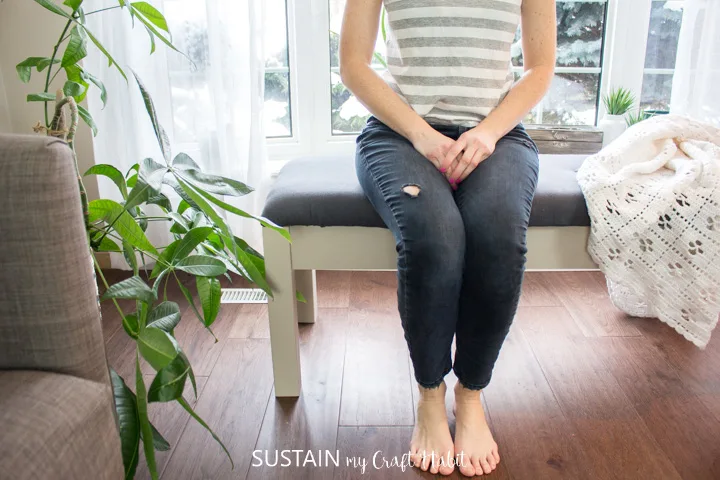
Place the upholstered bench seat onto the painted frame.
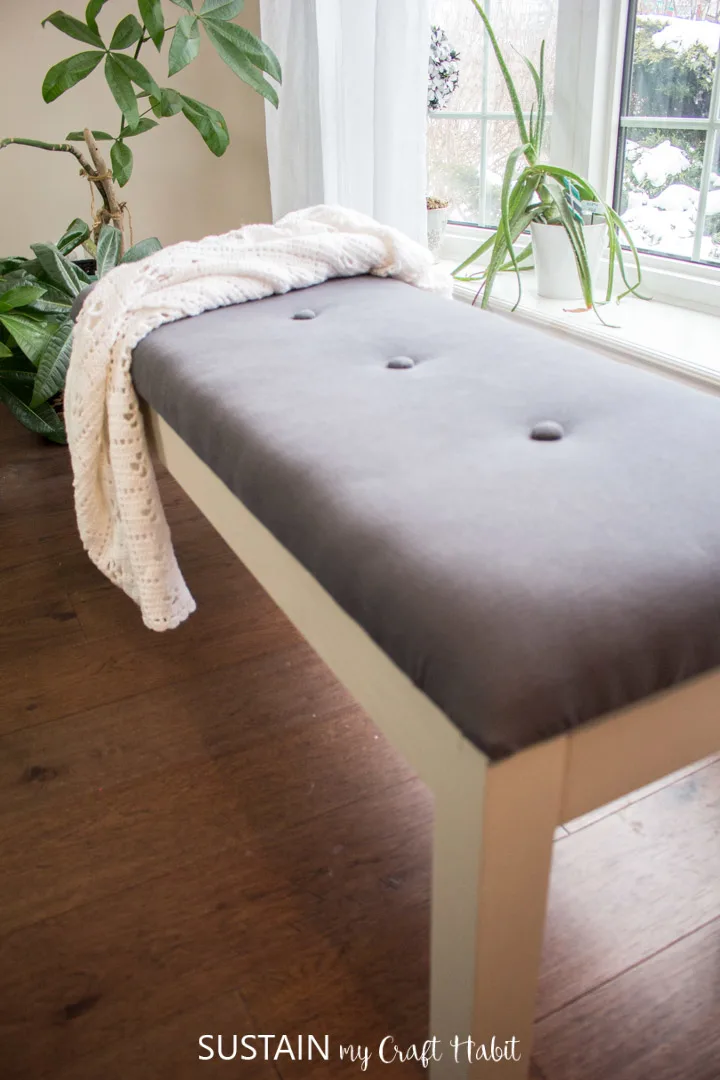
Once done, the DIY tufted bench is complete!

Check out these DIY furniture makeovers:
Like it?
Pin it for later!
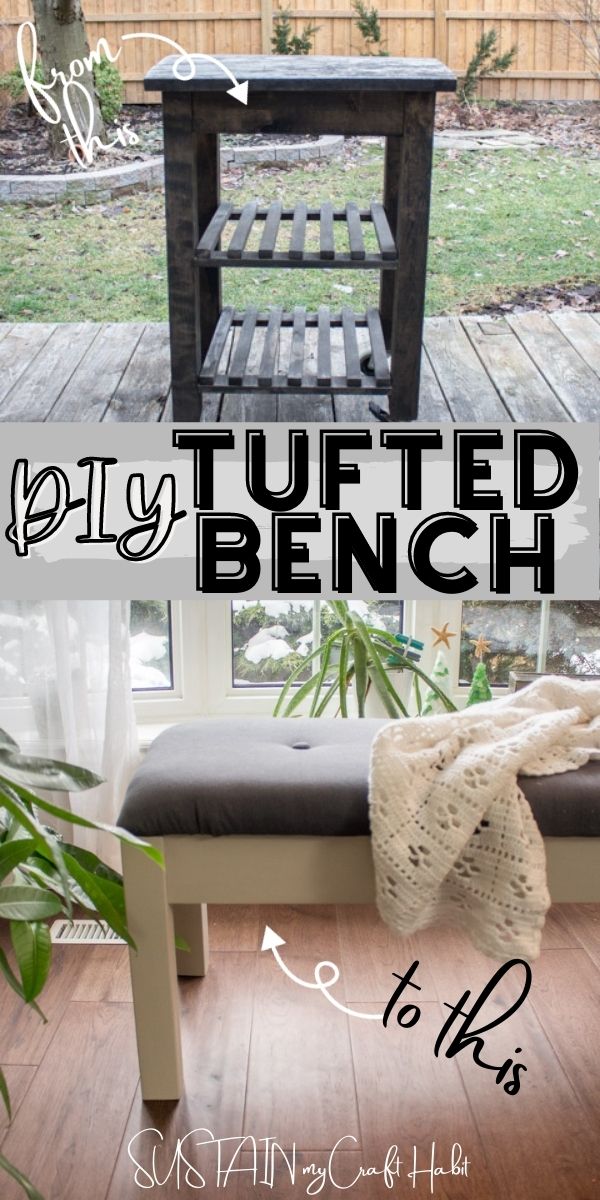
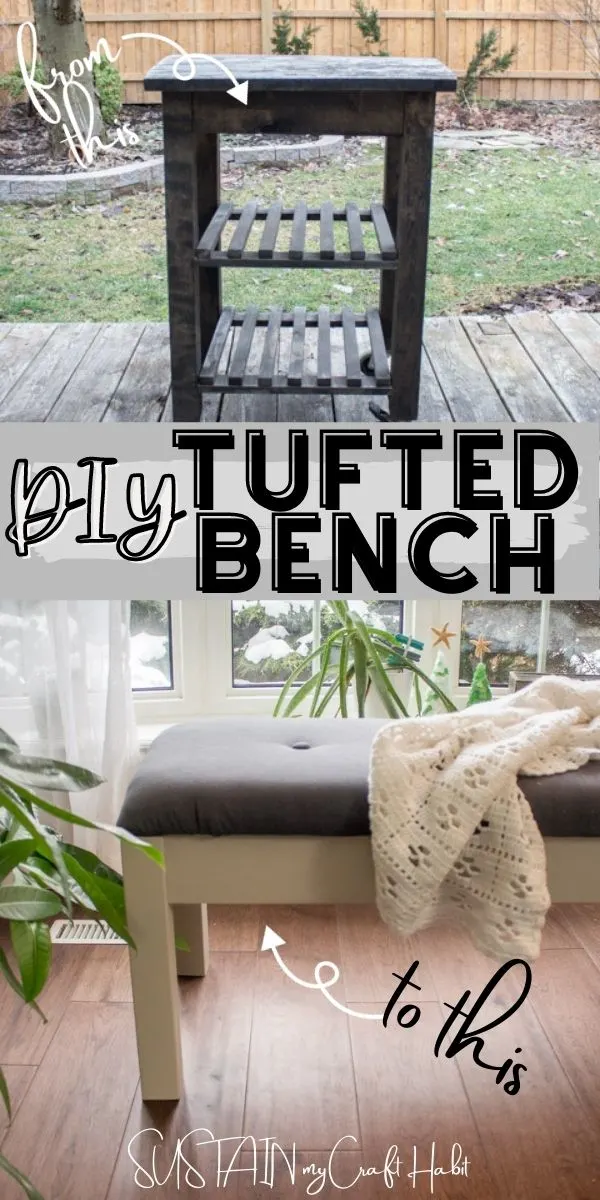
DIY Tufted Bench with Canvas Upholstery
Materials
Instructions


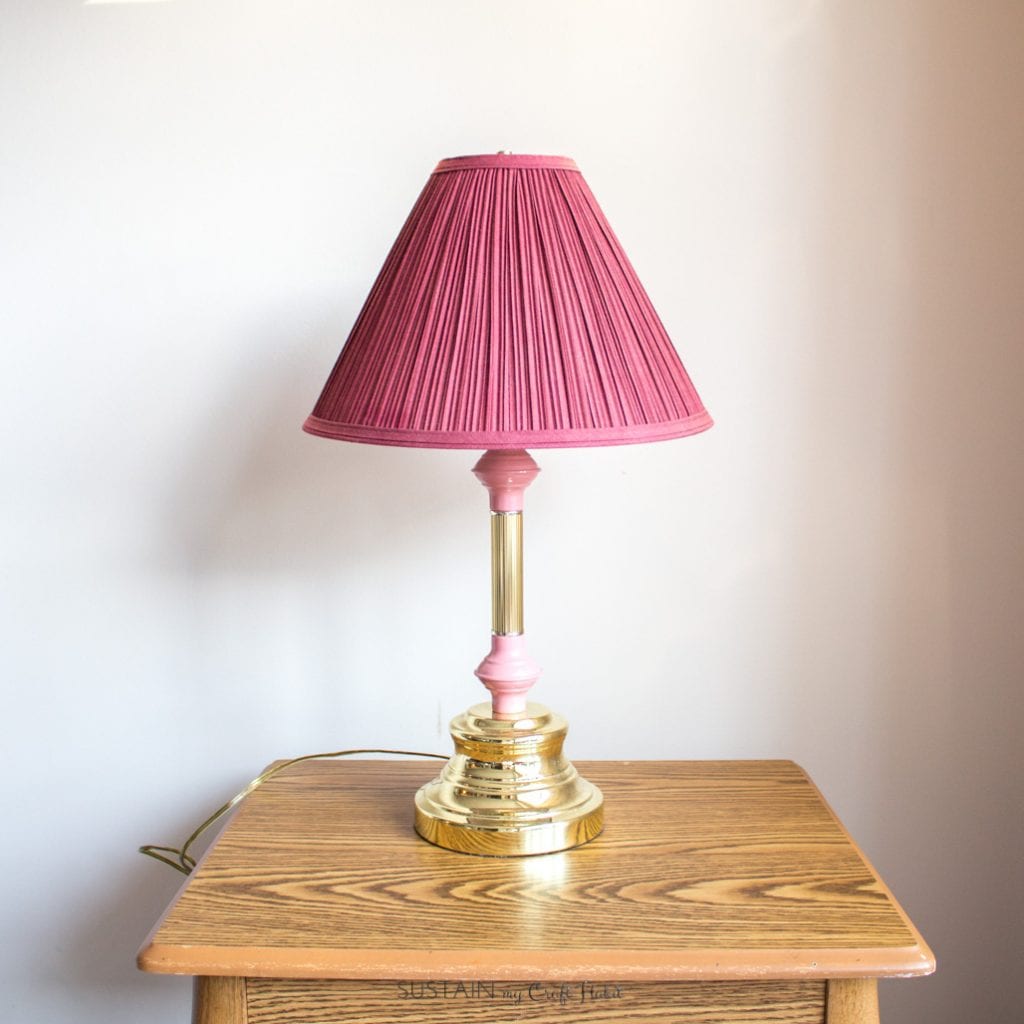
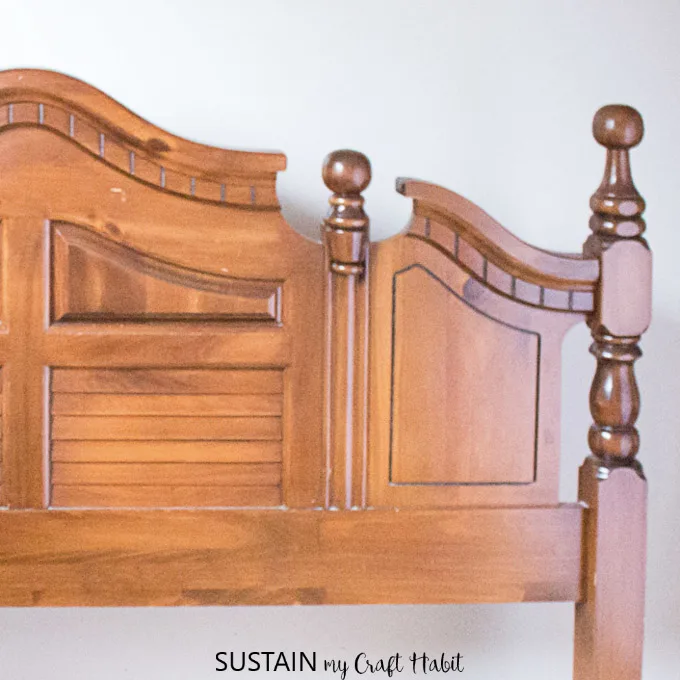
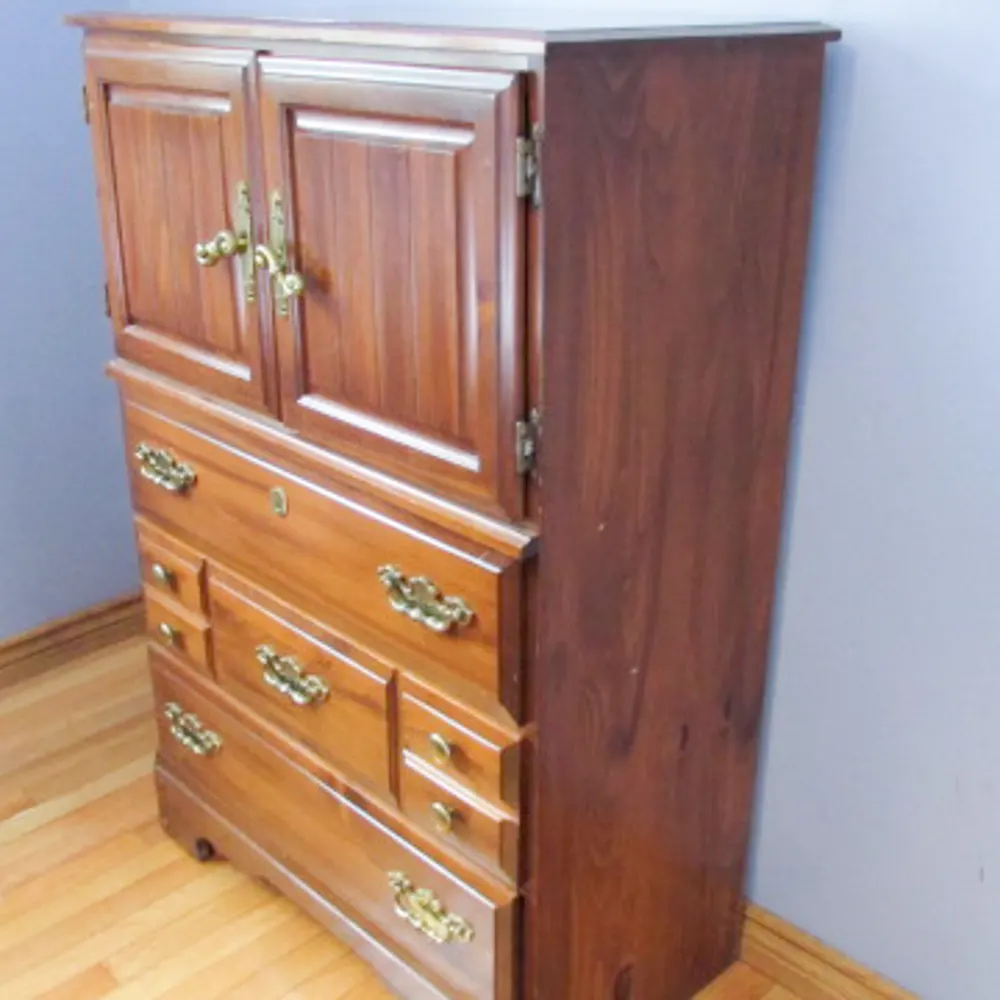
The “Before”
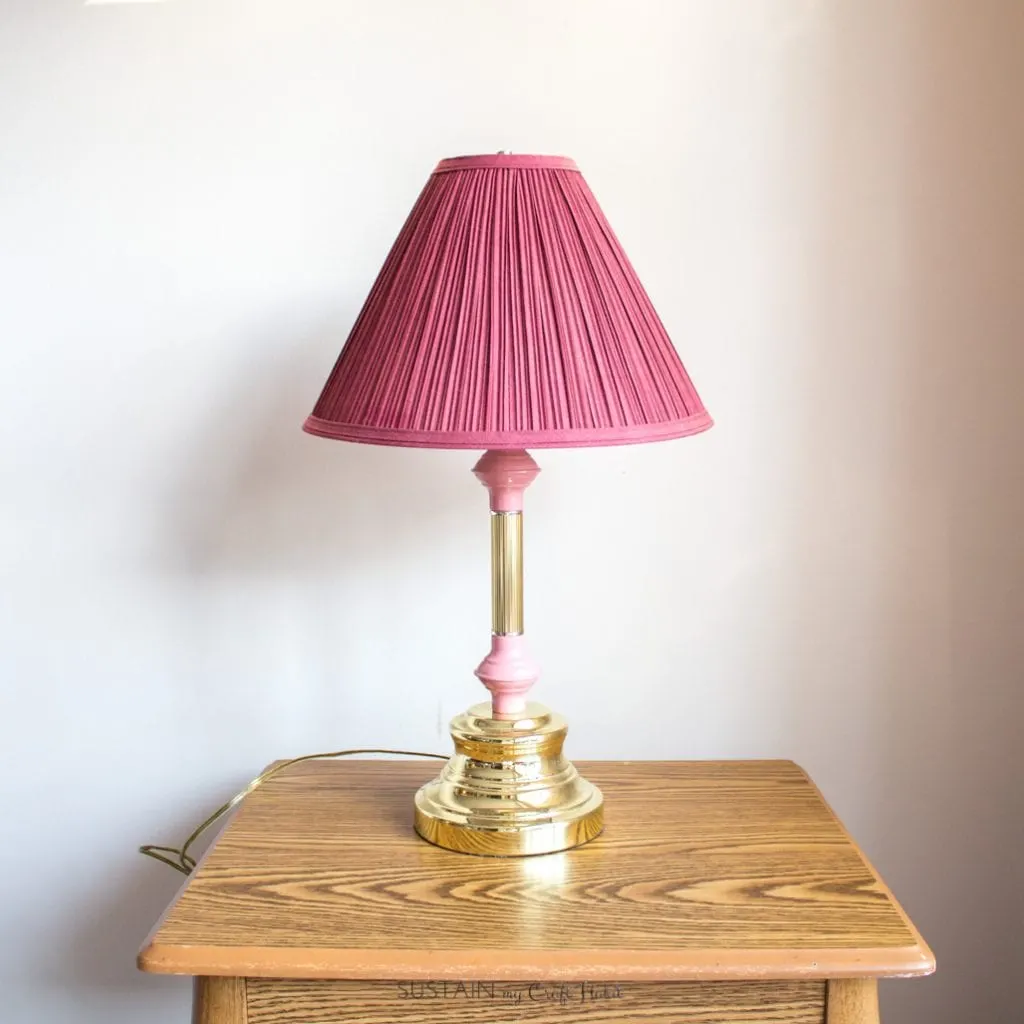
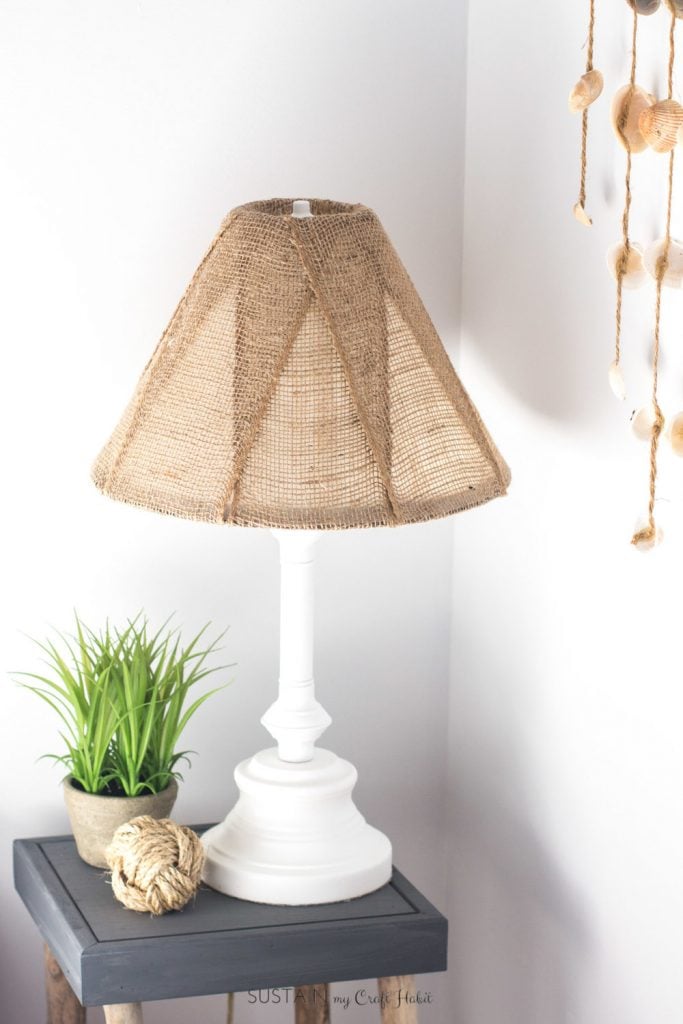
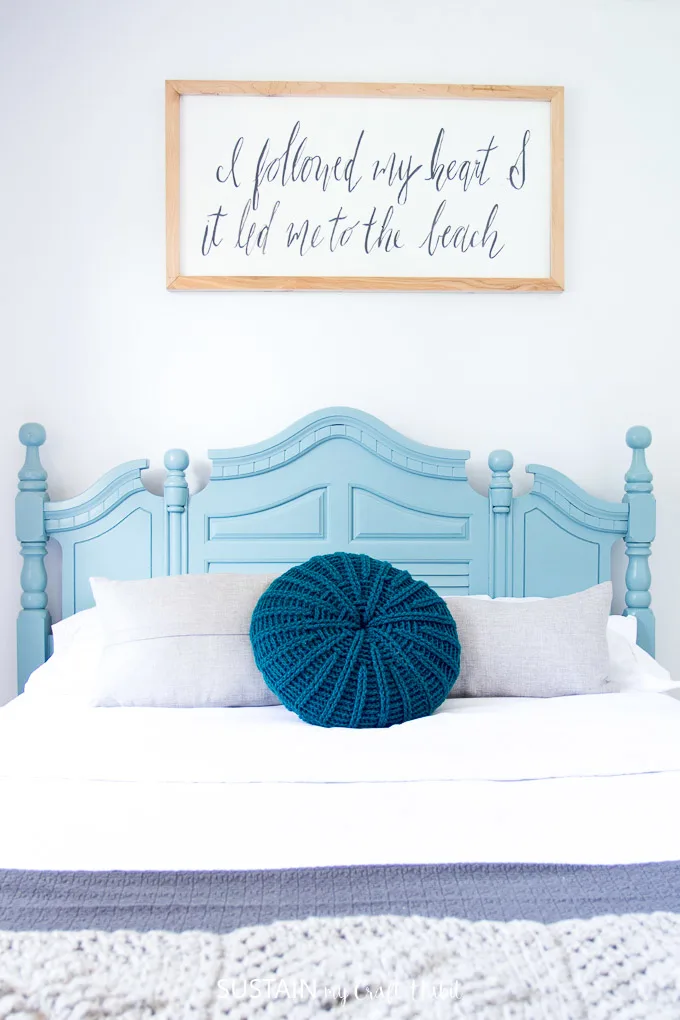
The “After”

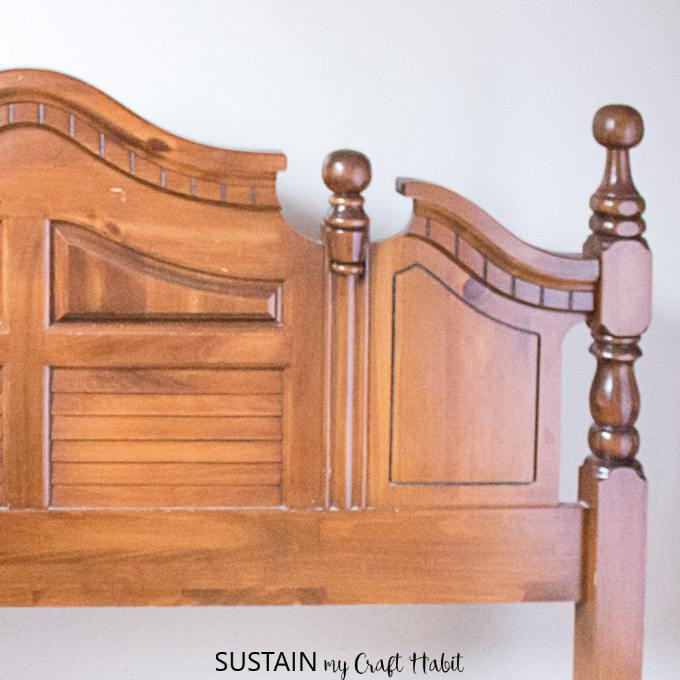
The “Before”
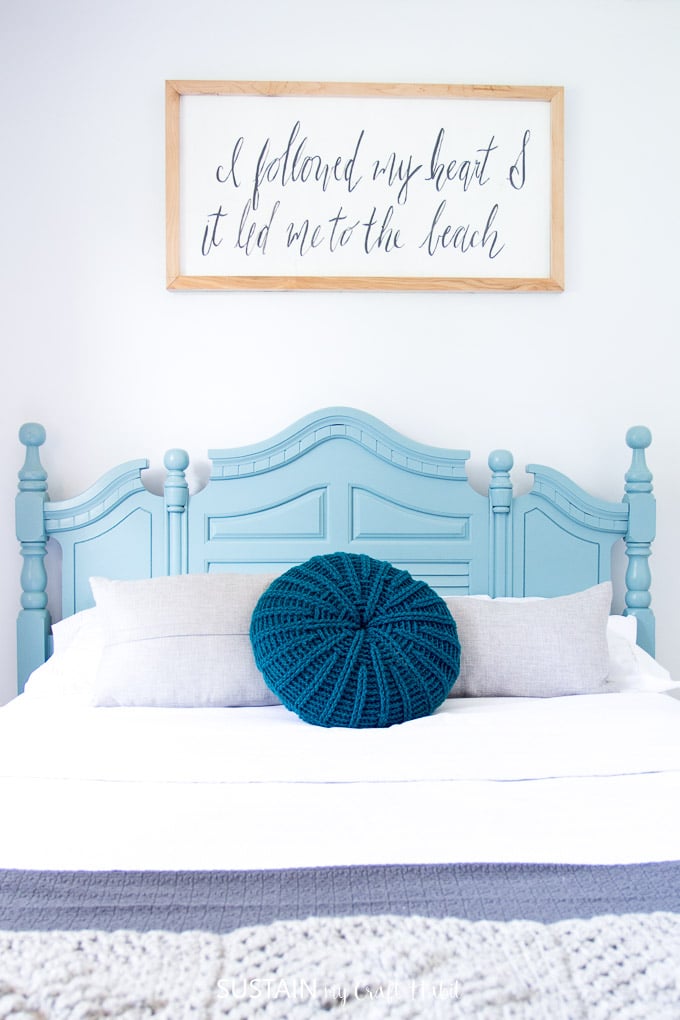
The “After”
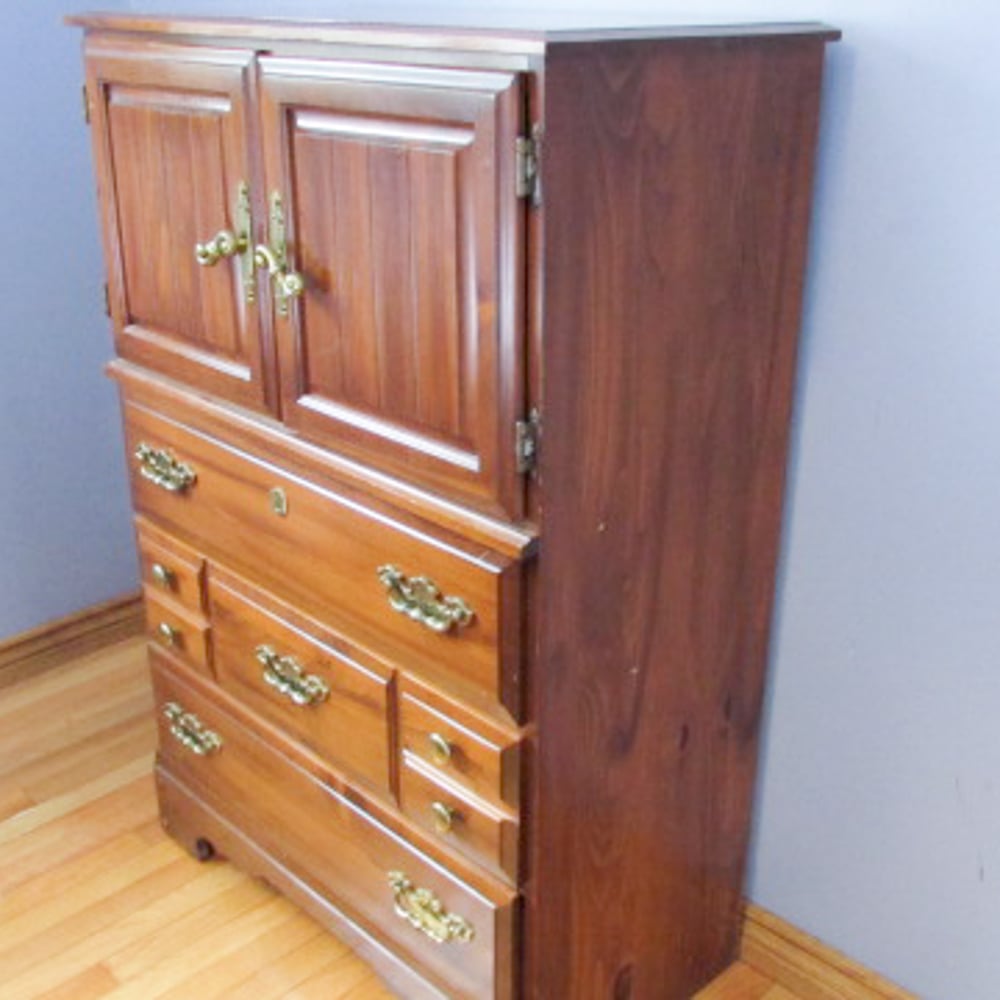
The “Before”

The “After”