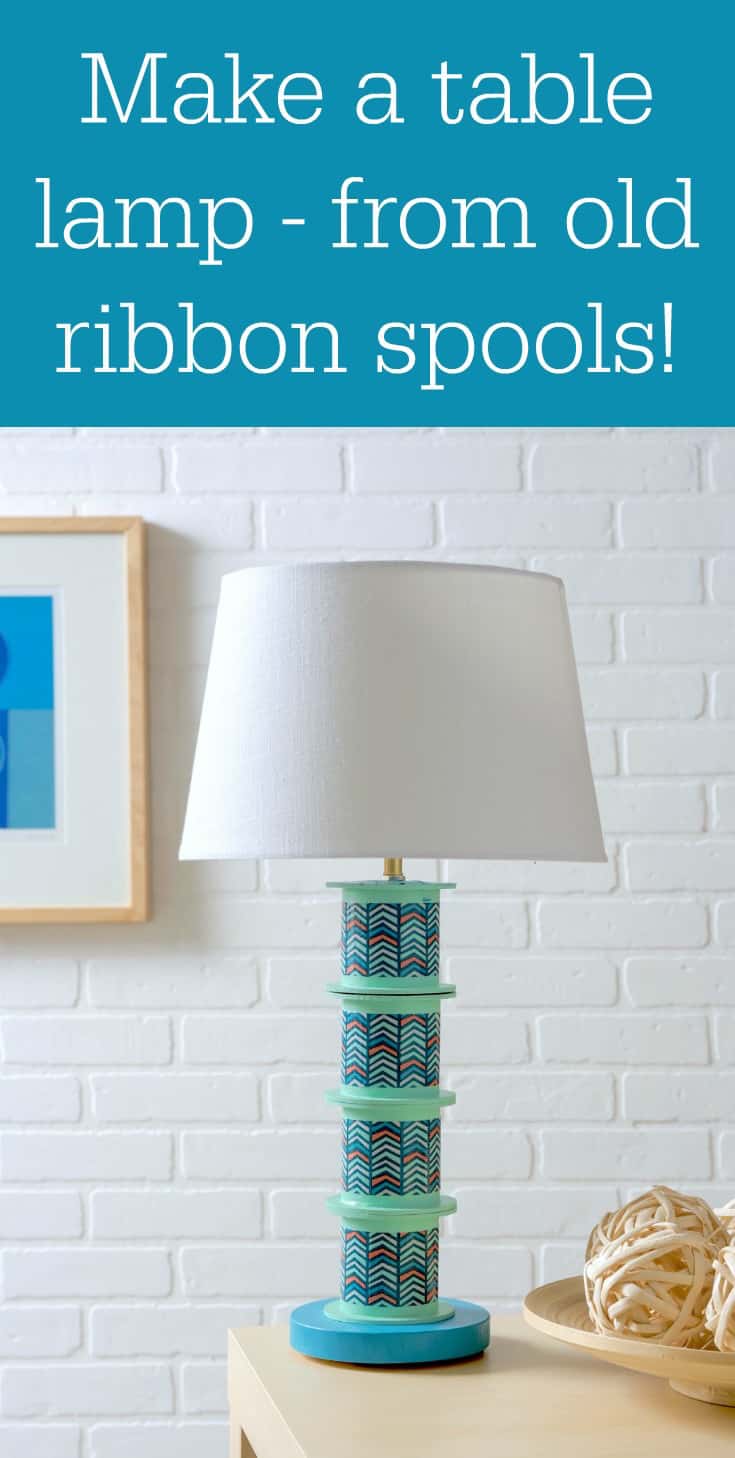
Learn how to make a DIY table lamp out of old ribbon spools!
you might use this tutorial to make a lamp out of anything.
Its easy and you dont have to be an electrician.
Trust me, you’re able to handle this if you have some experience with crafting.
I never thought I could make my ownDIYtable lamp.
Ill be honest, I was a little intimidated by wiring.
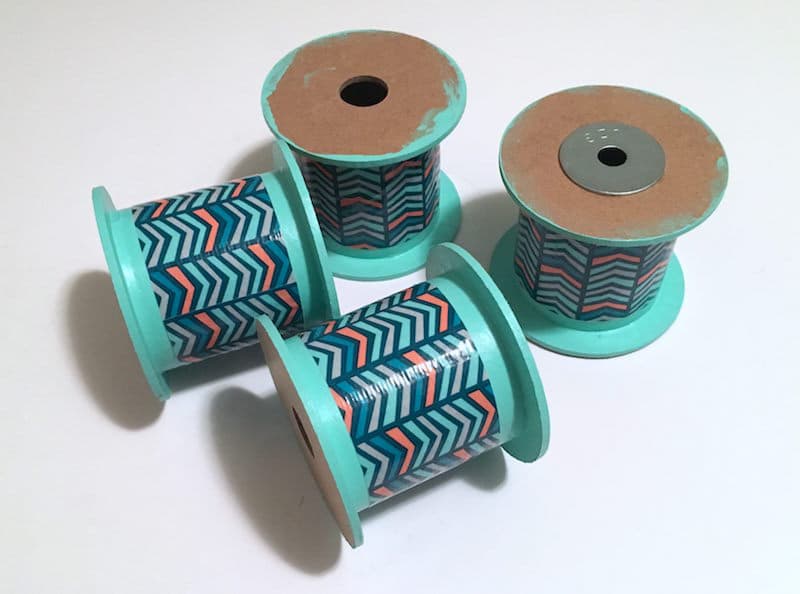
But then I complete a different project, and afterward was left with four very sturdy MDF spools.
I just couldnt bring myself to throw them away.
In my mind the spoolswerea lamp, just waiting for me to assemble them.

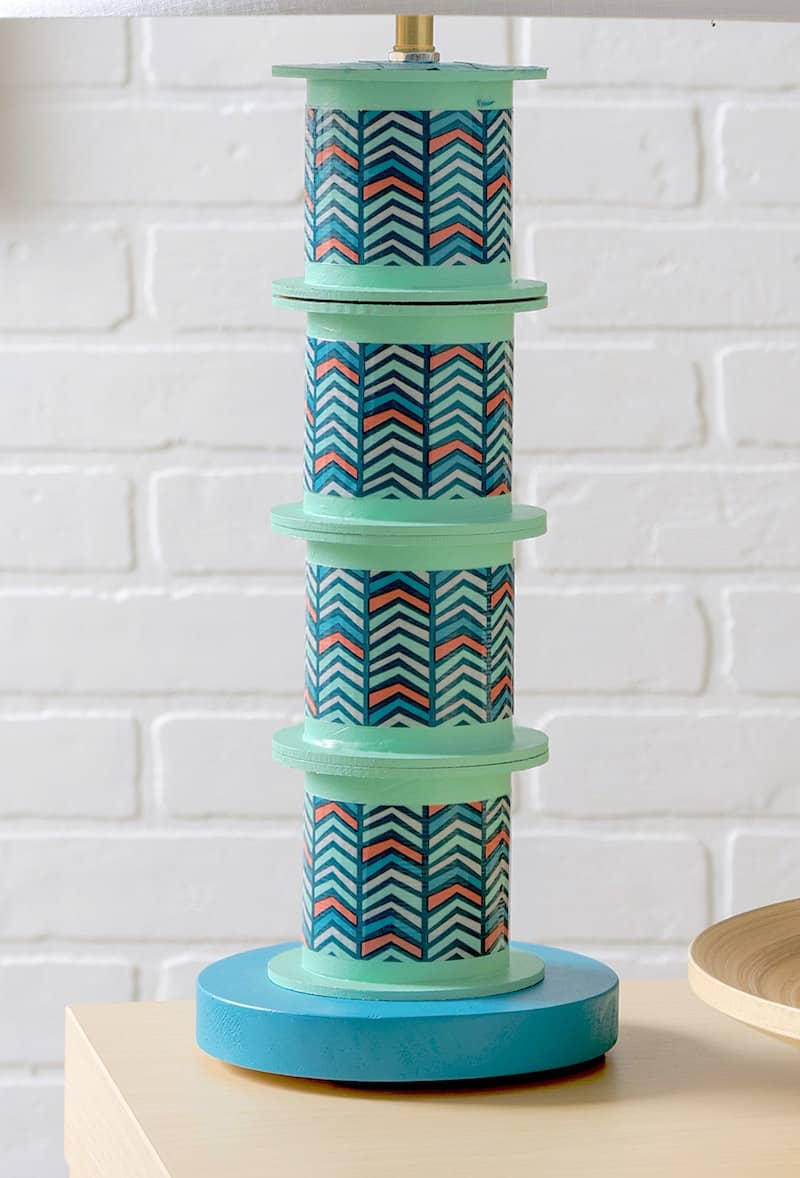
Not only that, but the spools were also the perfect width to place a delightful pattern ofDuck Tape.
I shouldve known there were tutorials online for everything anyway (hello, Im a blogger!).
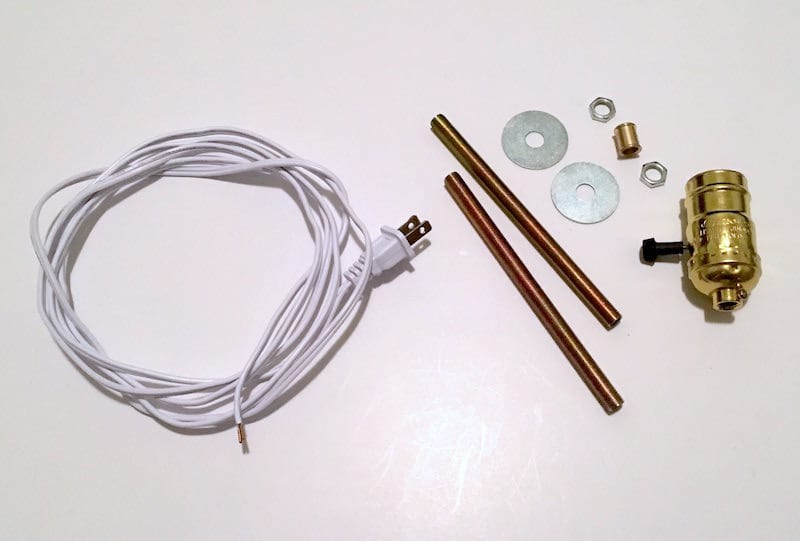
We bought the lamp assembly parts in that one section, which made it quite easy.
Heres how to construct a DIY table lamp fromribbonspools!
You might be asking yourself where the heck youre going to get spools well, check outeBay!
They have a ton in various sizes (begging to be made into a lamp!).
Here are the DIY table lamp supplies we used!
We only needed one, so we returned the extra one.
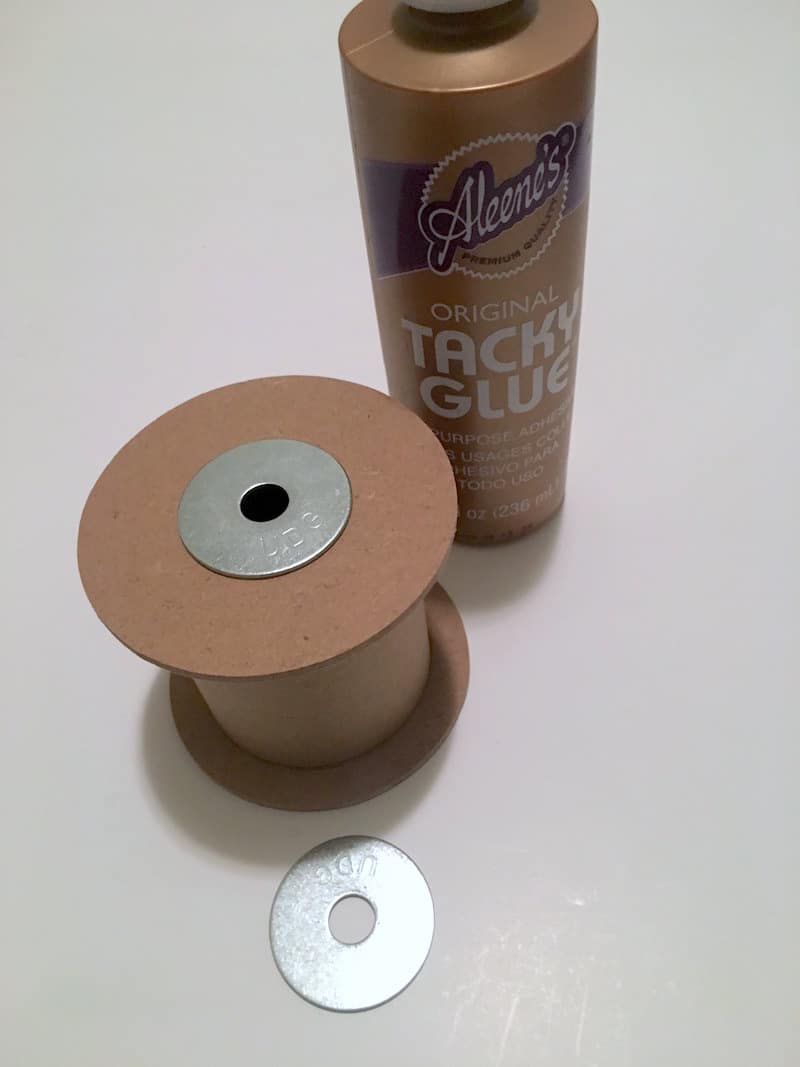
The center hole of the washers should be slightly larger than the fixture pipes.
You want the pipe to be secure and stable.
You want the holes to be in the center of the spool hole.
Just eyeballing it is fine.
Once your washers are dry, paint the spools in a coordinating color with your Duck Tape.
Let dry and cover all spools with Duck Tape in the centers.
At the same time, paint your wood plaque with a contrasting color and let dry.
The wood plaque is going to be your base.
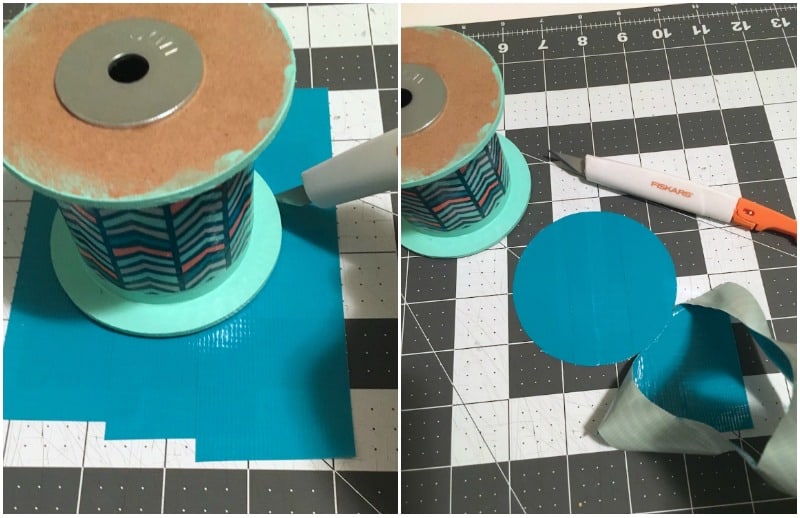
Do this by placing three pieces of Duck Tape down, overlapping, on a craft mat.
Place the spool down and trim a circle out with a craft knife.
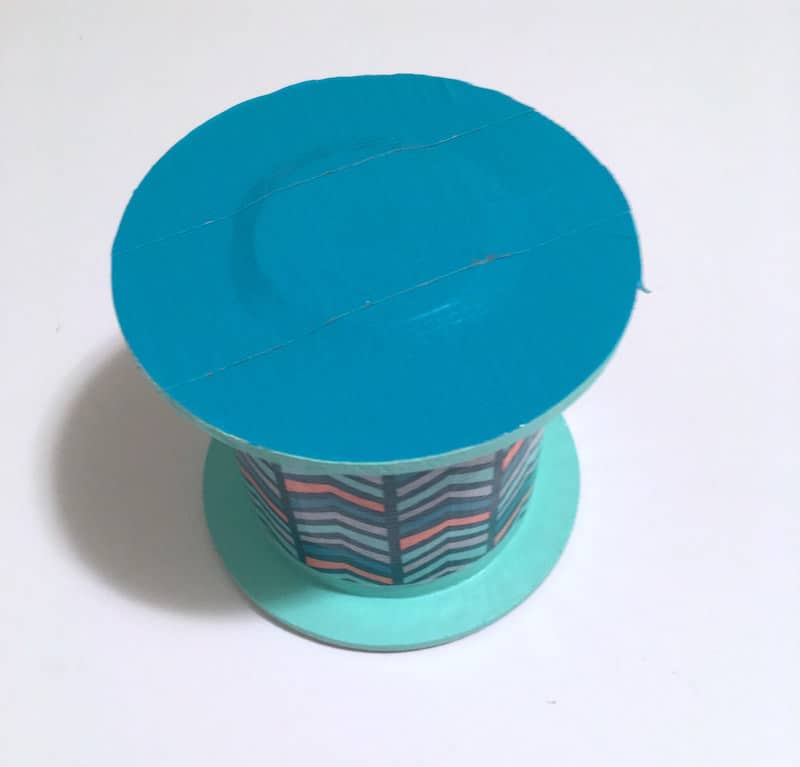
Place the Duck Tape circle on one side of the spool with the washers and smooth down.
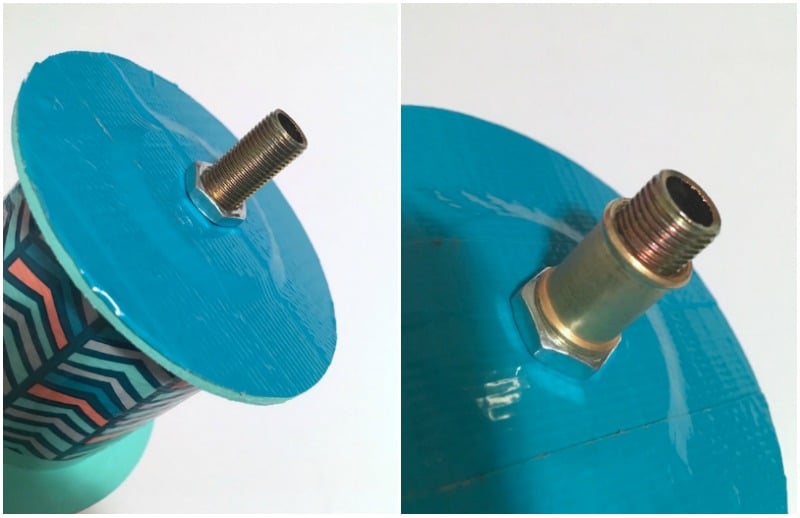
Cut a hole into the top Duck Tape with the craft knife and stick the fixture pipe through.
Leave about 1/2 of the fixture pipe exposed and tighten down a locking nut with the wrench.
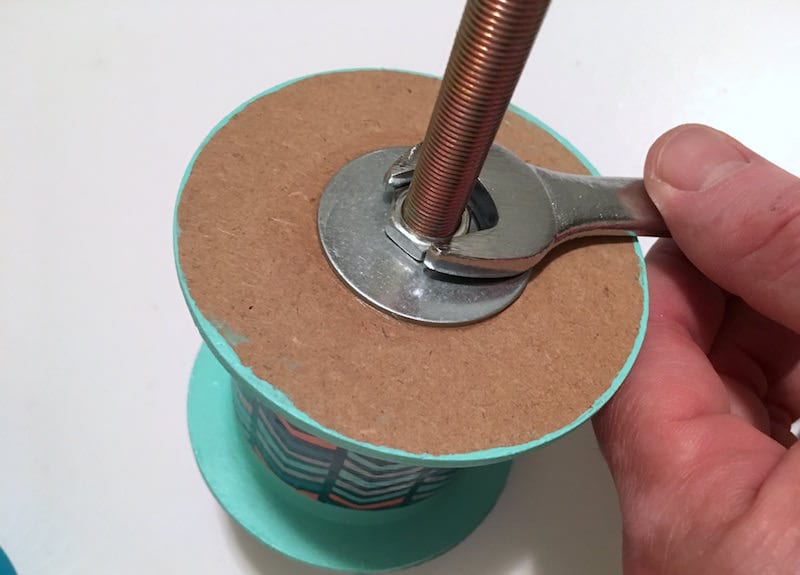
Then put a coupling on top of that and tighten down.
This is the top of your DIY lamp.
Turn the spool over and tighten down a locking nut on the other side as well.

Your fixture pipe should be nice and secure inside your top spool.
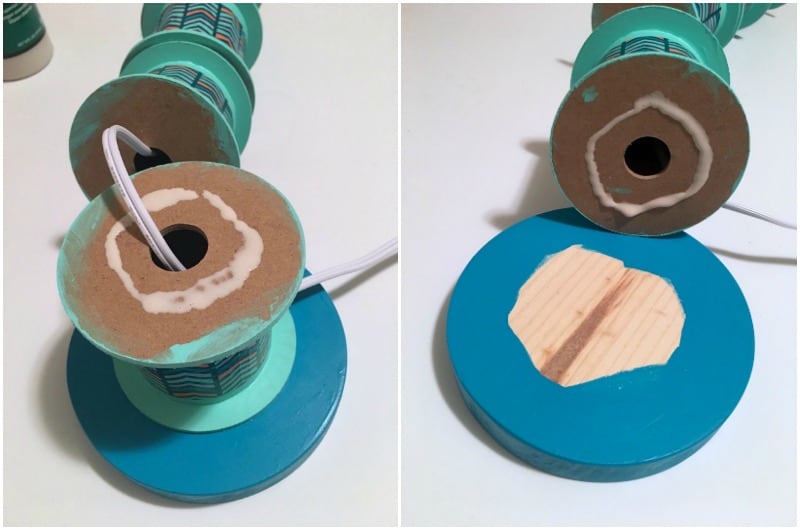
Select one spool that is going to be the bottom.
This is much easier.

Now youre going to string the lamp!
Besides that, you could have the other two spools in the middle.
At this point youre going to glue the spools.
The next step is to wire the lamp.
Youre going to tie an underwriters knot and then attach the two wires to the socket.
Youll pull the cord and the knot will tighten and the socket terminal will sit into the socket base.
Your lamp kit will come with instructions but heres a video as well:
Its REALLY an easy process.
Way easier than I thought!
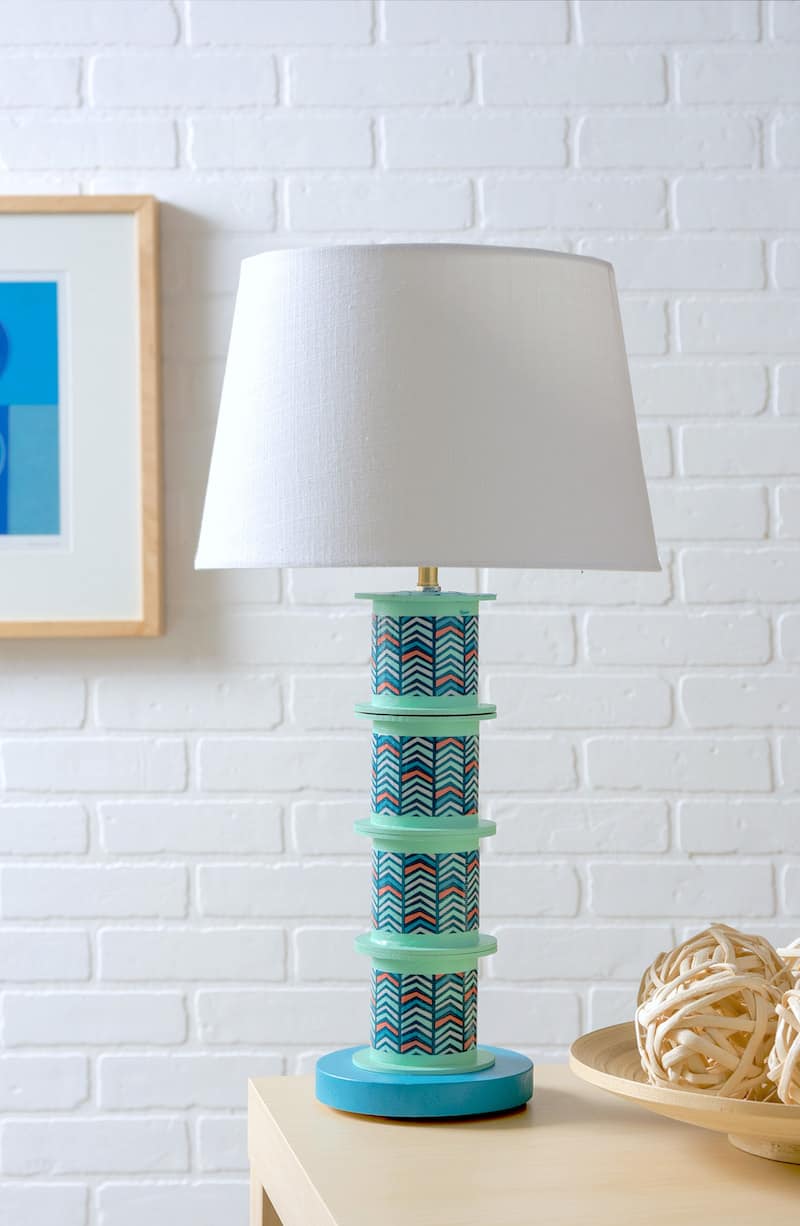
Im so in love with my DIY table lamp!
I really cant believe I made it myself.
Oh, and in terms of a lamp shade, I used aSlip-UNO shade.
My lampshade is from Target.
Do you feel comfortable making your own DIY lighting now?
I promise its not hard.
Give it a try!
