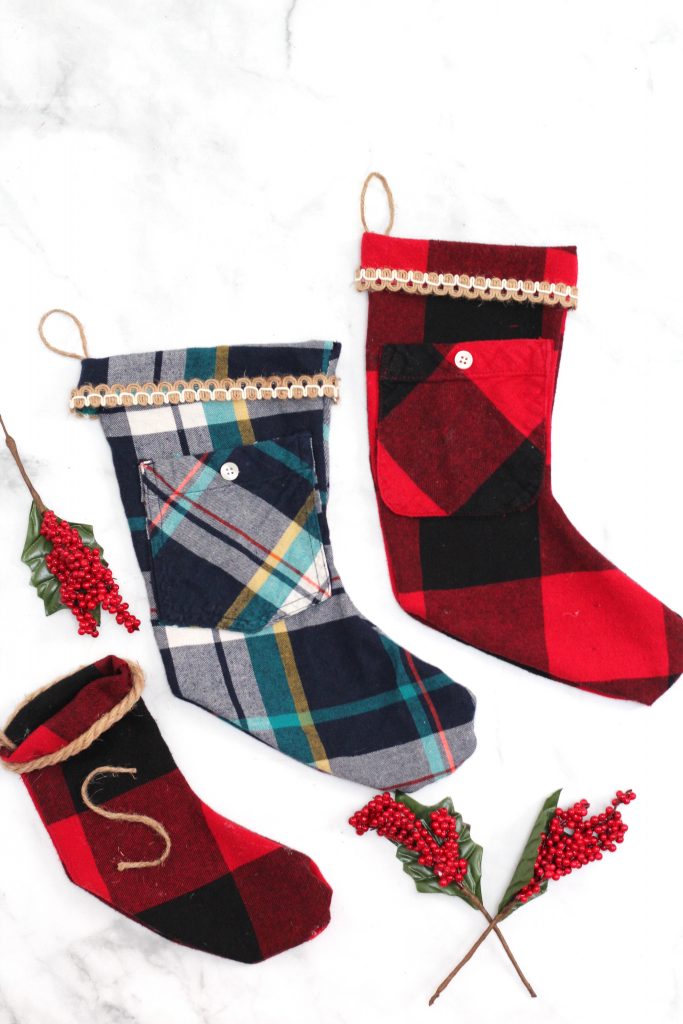
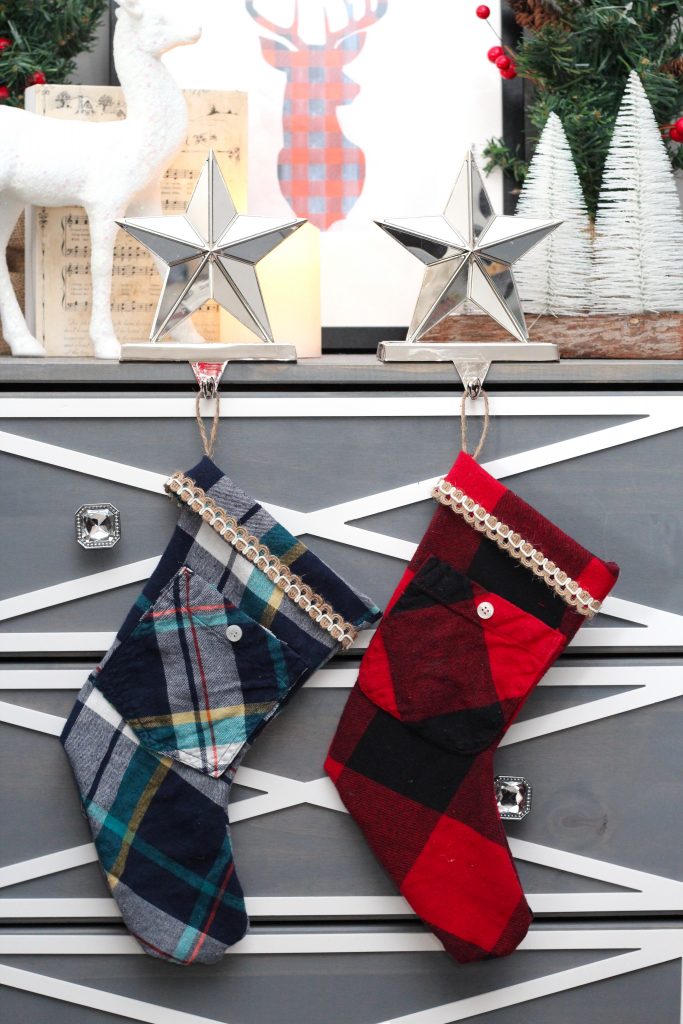
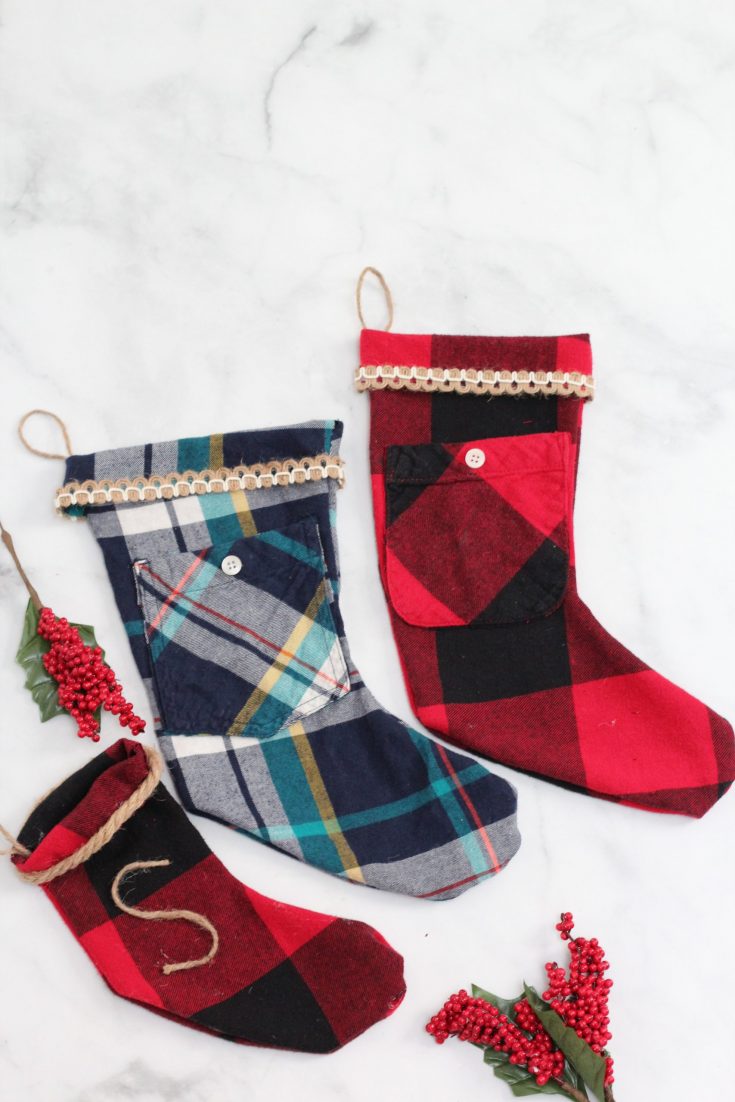
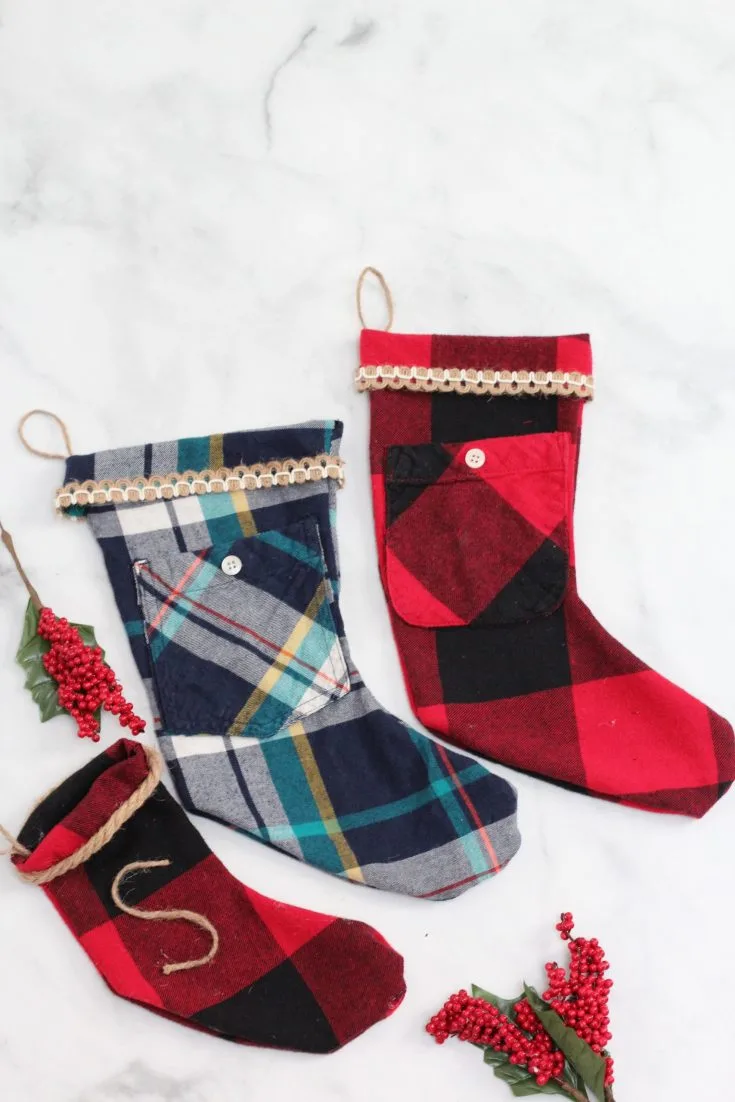
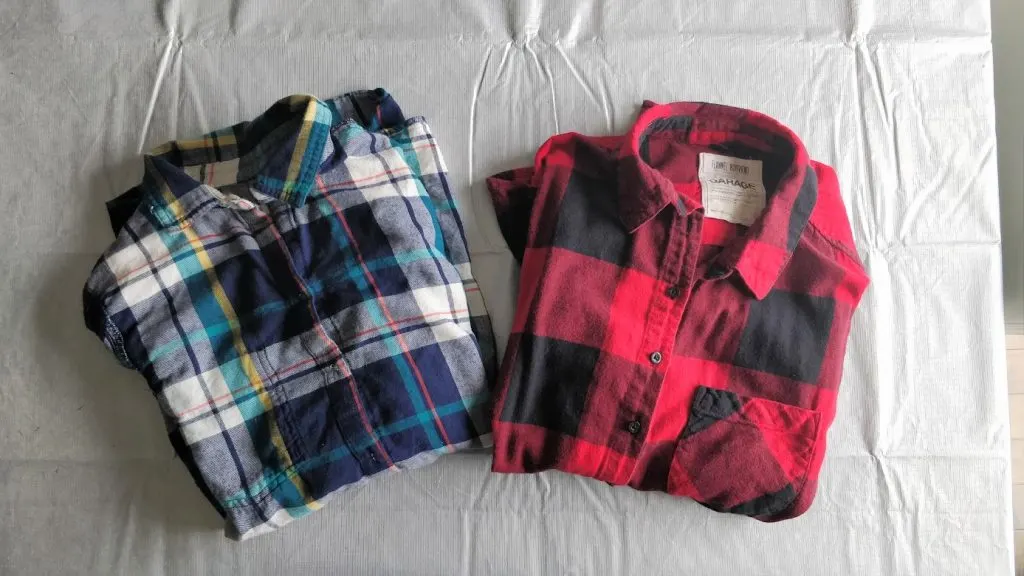
Learn how to make DIY stockings using your old flannel shirts or even sweaters.
No sewing experience required!
Learn how to make these cute DIY stockings out of old flannel shirts, no needle and thread needed.
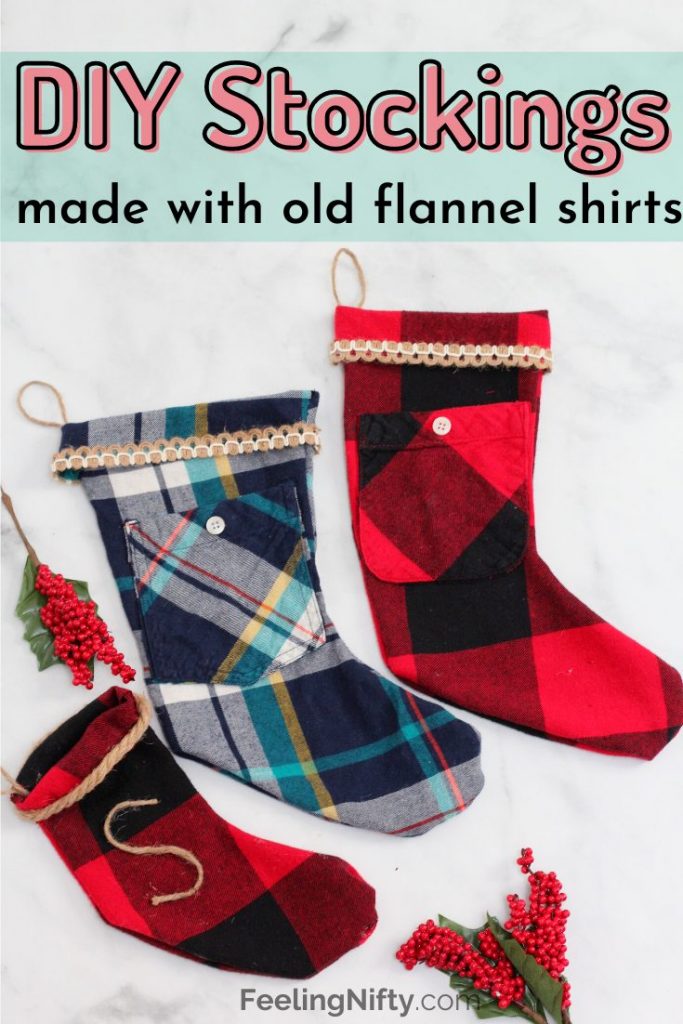
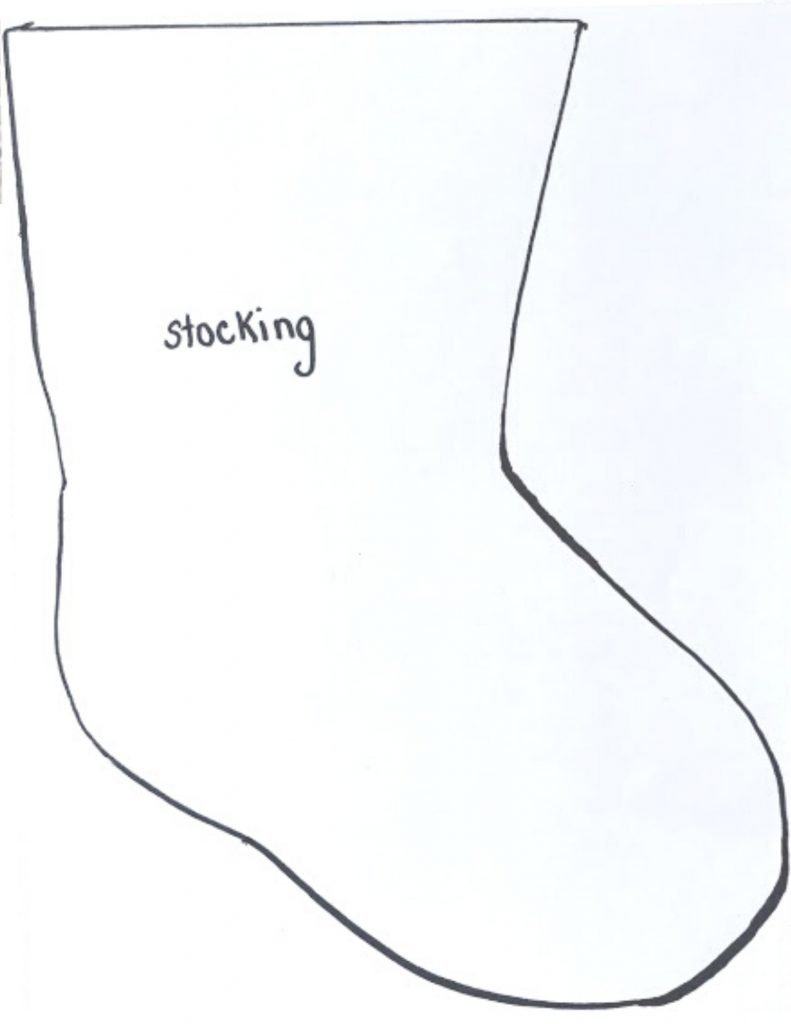
Includes a free printable stocking pattern below.
Well, it started out a sewing project and then it quickly turned into the no-sew variety.
I admit sewing is my crafting achilles heel.

The fabric glue I used is from my favorite brand in glues Aleenes.
Ive used their regular tacky glue which I totally love.
Its strong but non-toxic at the same time which is why I love it.
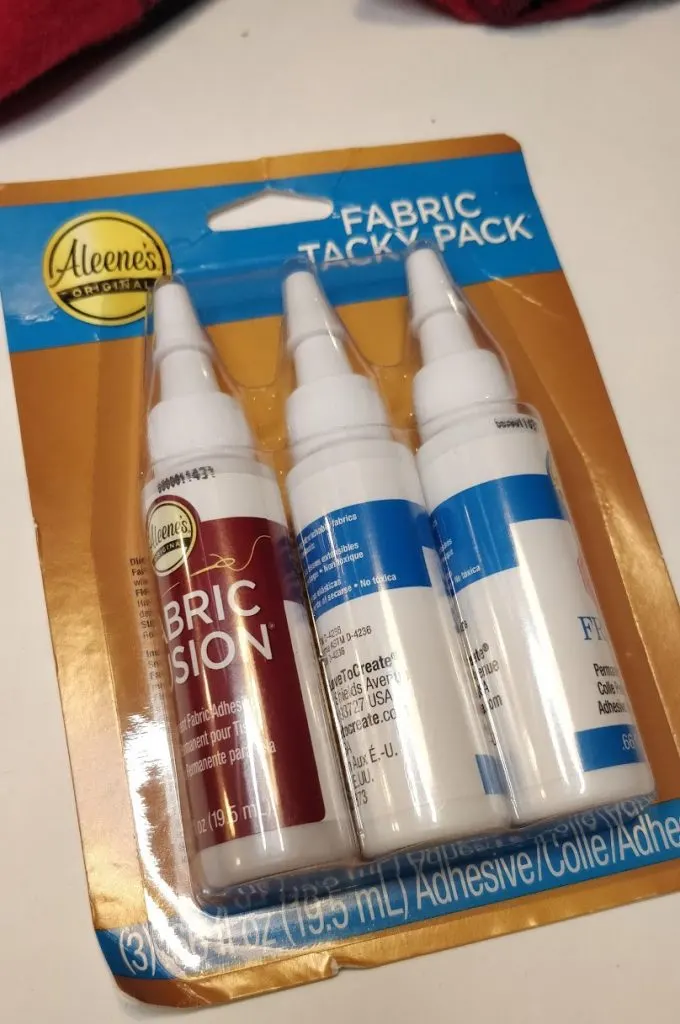
The nice thing with fabric glue is the bond is permanent even when washed.
This was my first time using theAleenes Fabric Fusion glue, but it was easy to use.
If you apply too thick a line of glue, the clean edges of the stocking might get affected.
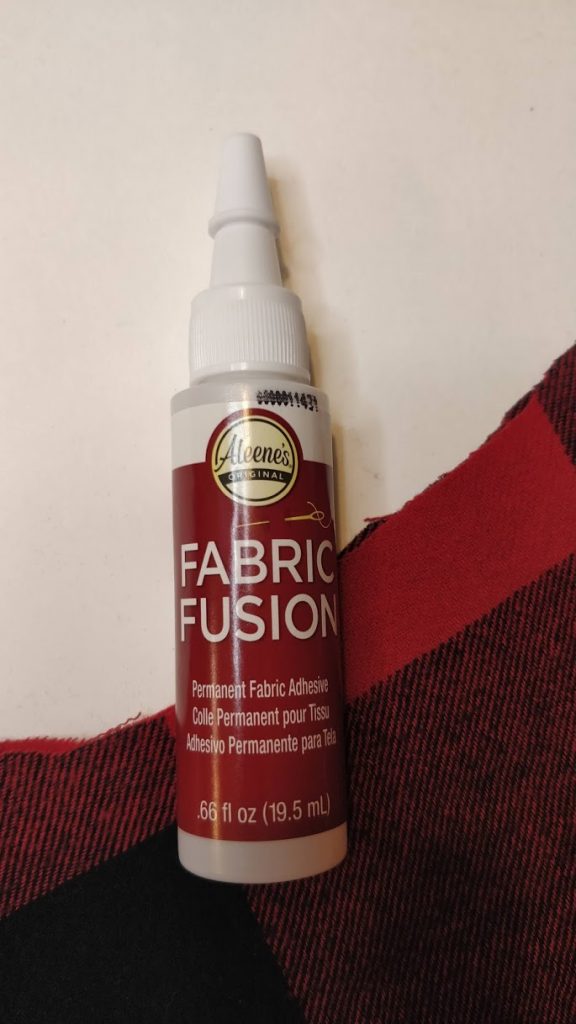
So Aleenes applicator tip made it super easy to make nice thin lines.
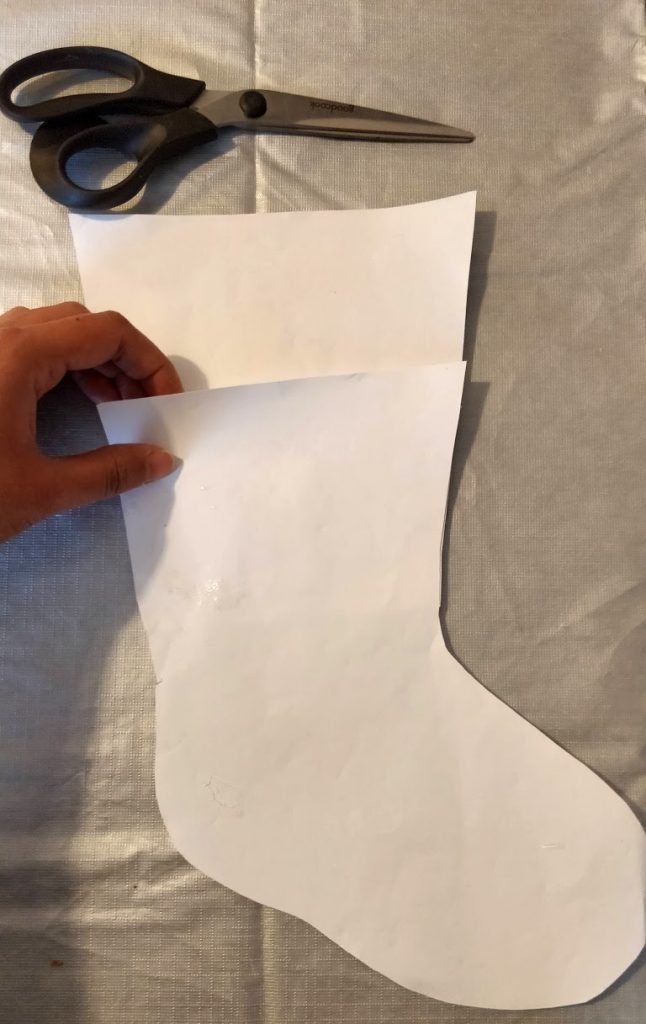
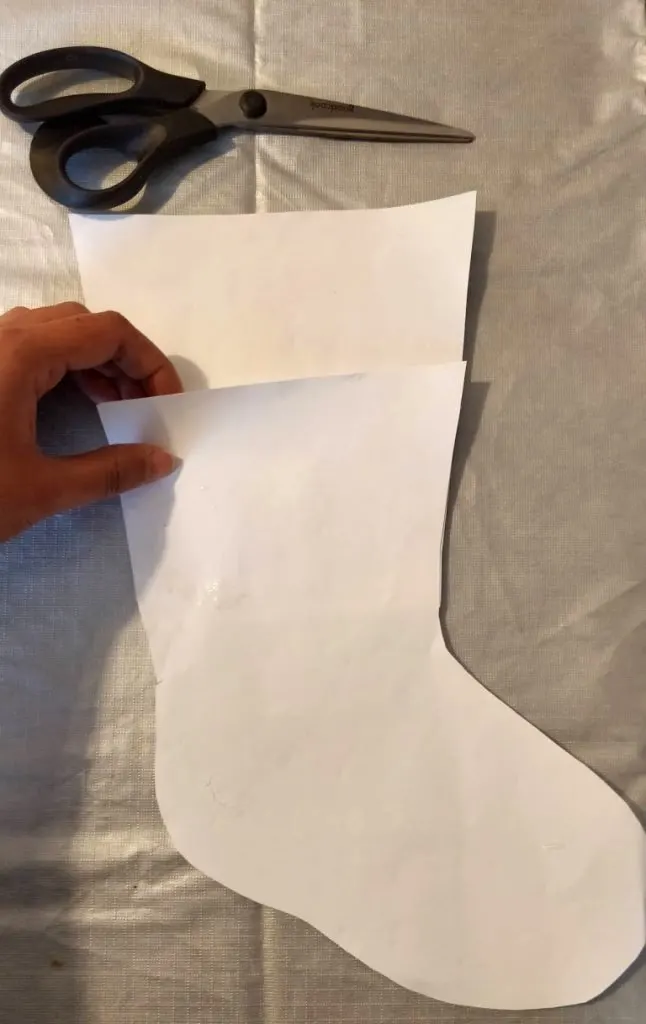
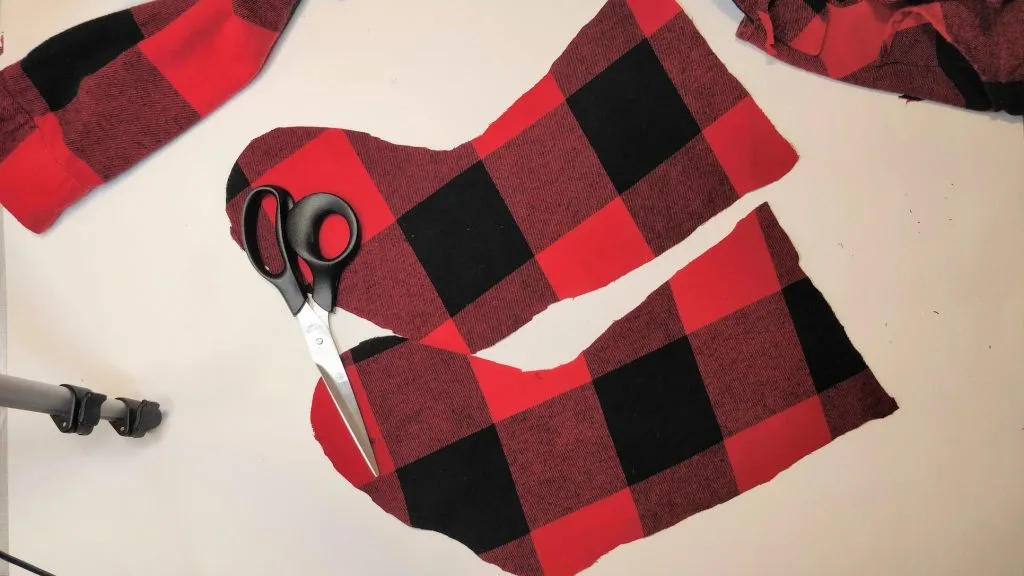
Simply print out the pattern ( at the end of this post) on any standard printer.
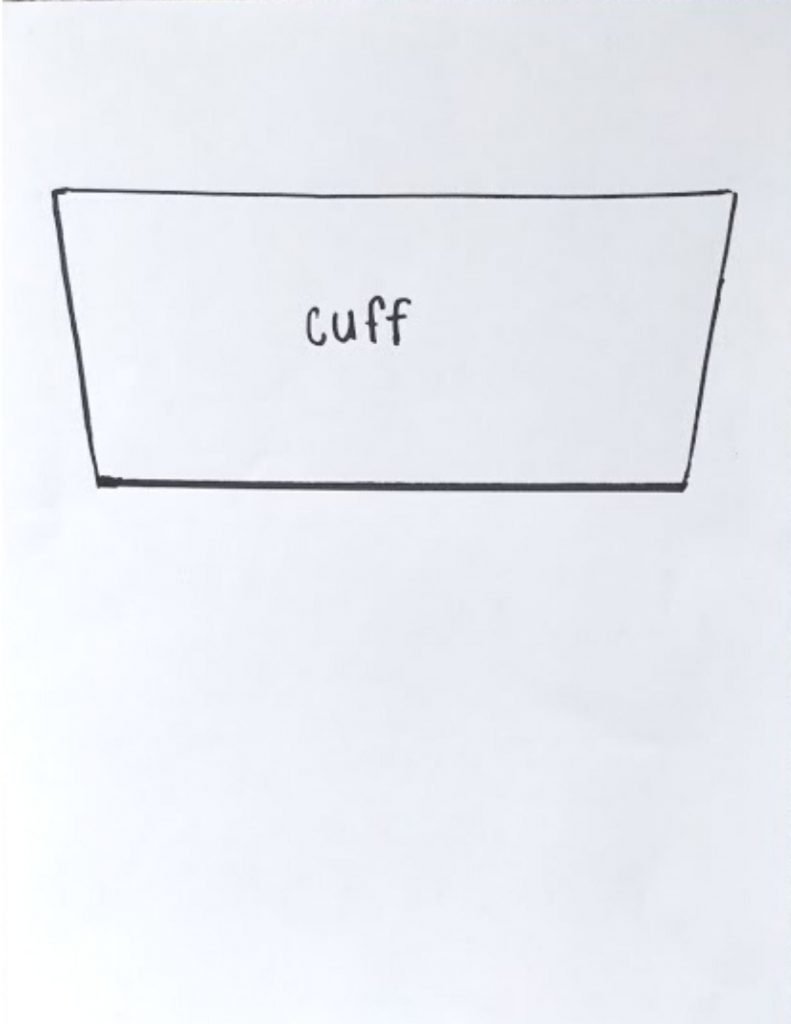
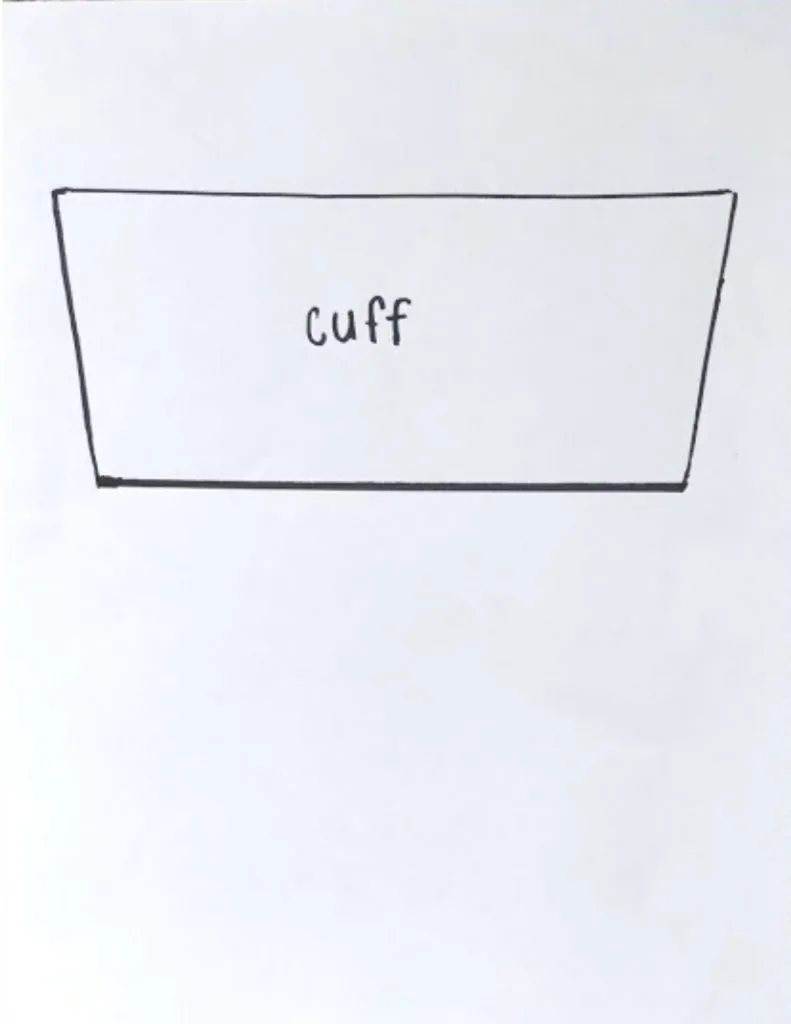
The pattern includes the stocking and the cuff.

Cut both out and tape them together so that you have a full size stocking.
Ive included both the stocking and the cuff separately for both cases.
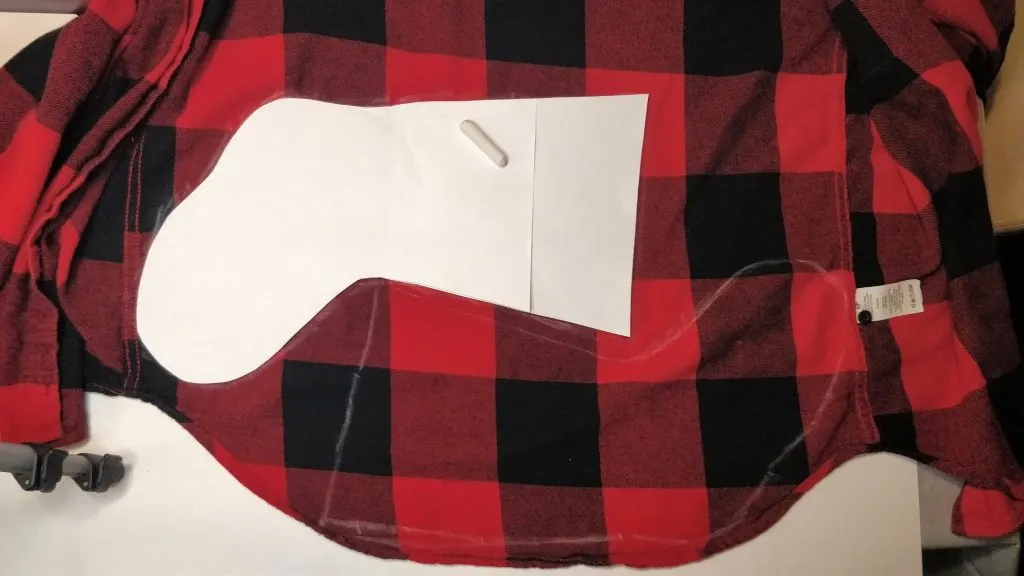
I used white chalk for the tracing.

Alternatively you’re able to pin the pattern to the fabric and cut without tracing.
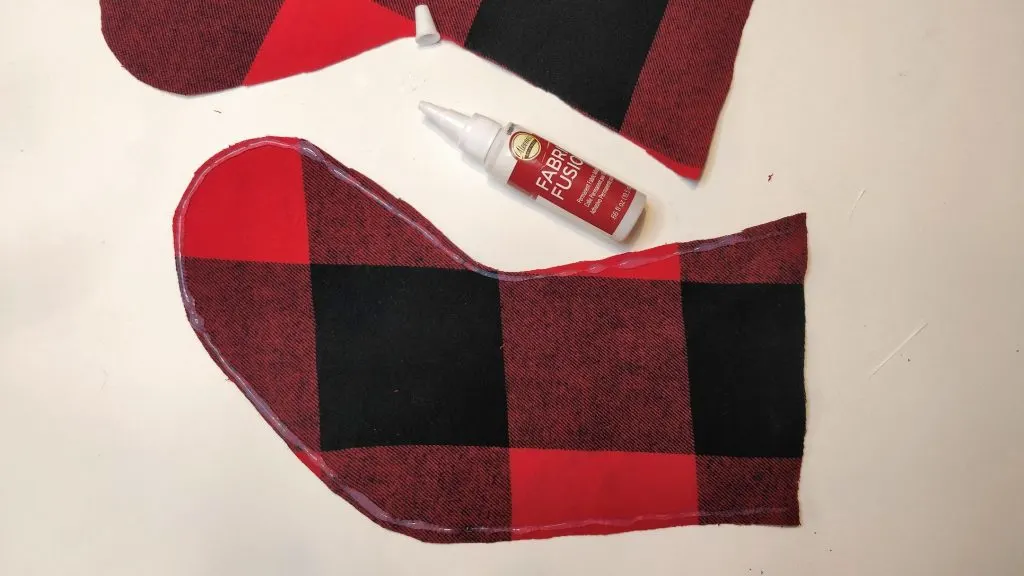
Next, using your Aleenes fabric glue, squeeze out a thin layer of glue along 1 stockings edge.
Dont glue the top straight edge (that will be the opening of the stocking).
Doing it all in one go with wet glue, was a bit challenging.
Once the stocking is glued, wait for the glue to dry.
My glue said 2-3 hours, but I let it dry overnight.
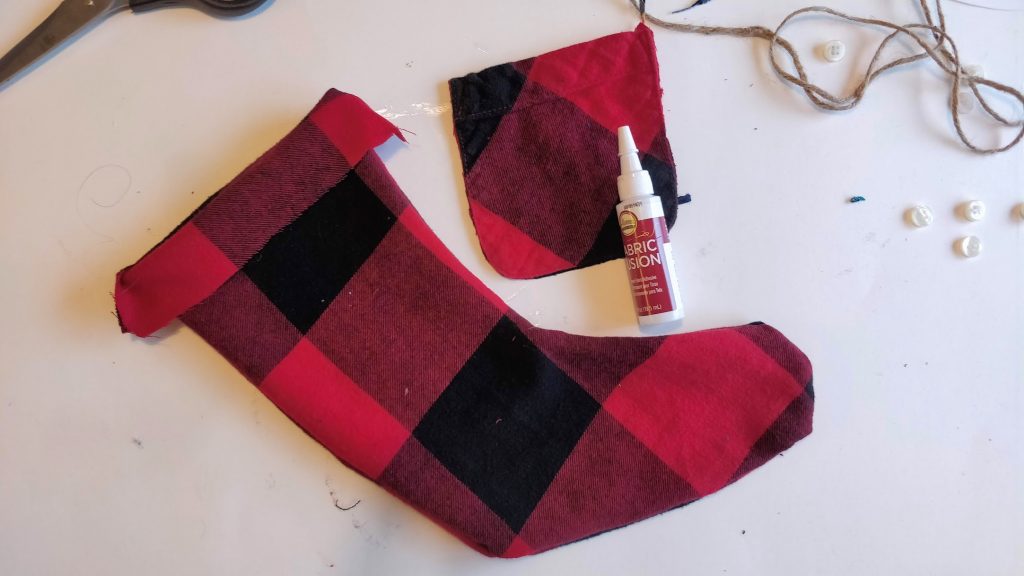
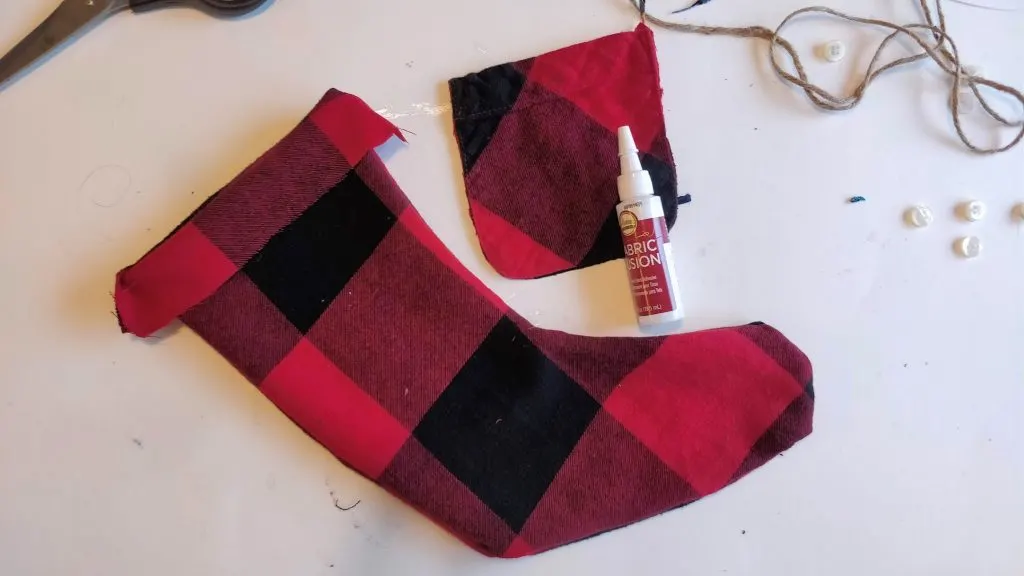
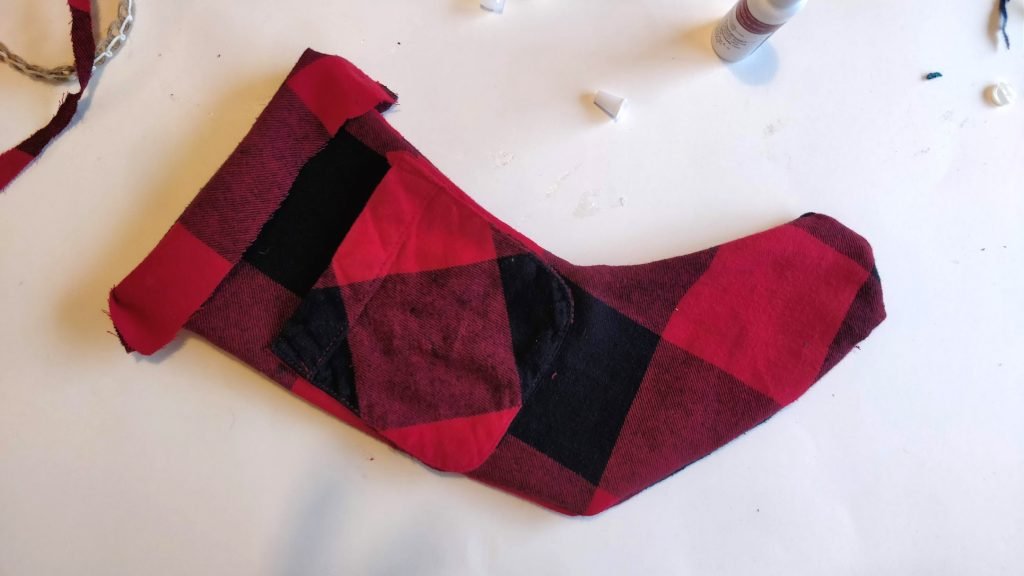
Once your glue is dried, turn your stocking inside out.
Your final stocking shape should be nice and clean with the glued seam on the inside of your stocking.
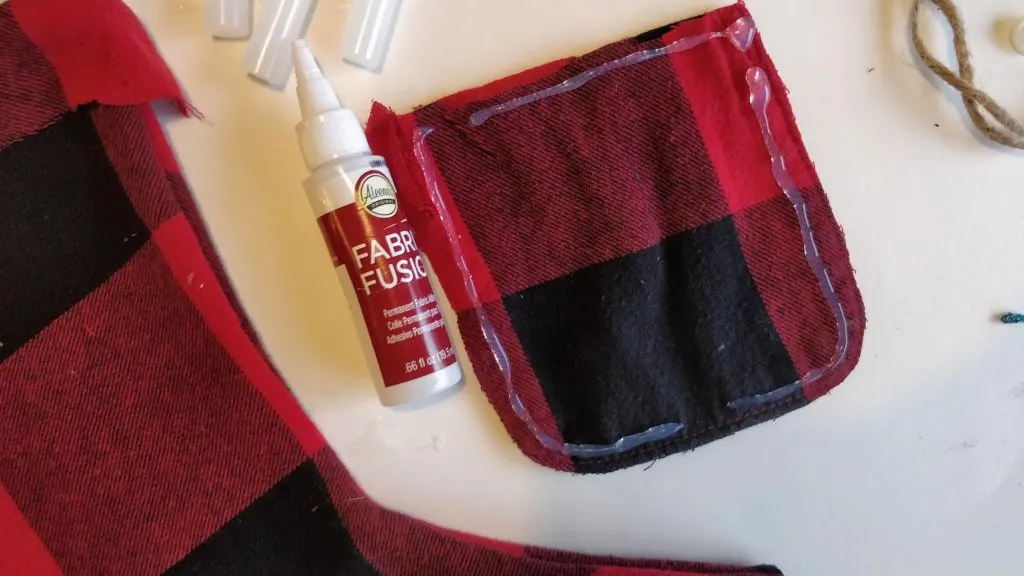
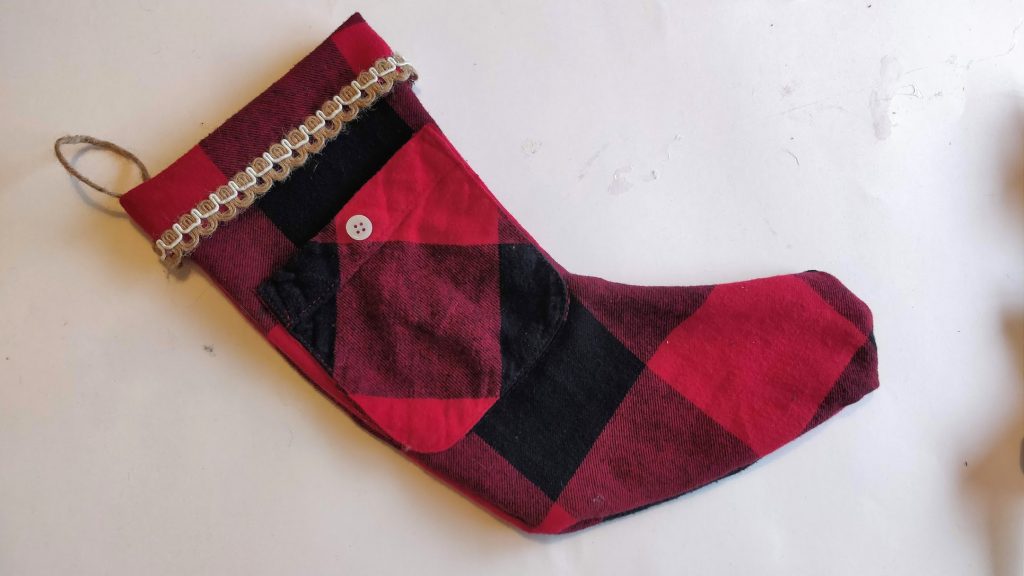
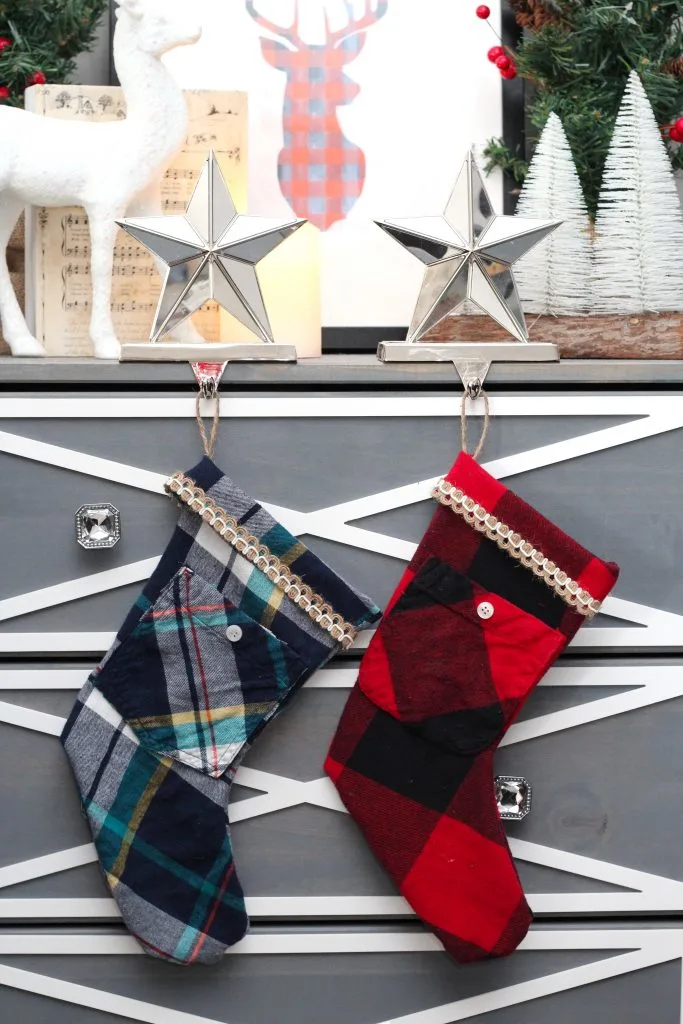
This would also make a nifty extra pocket for stocking stuffers like like money, gift cards and trinkets!
First cut-out your pocket from your shirt with the backing still on.
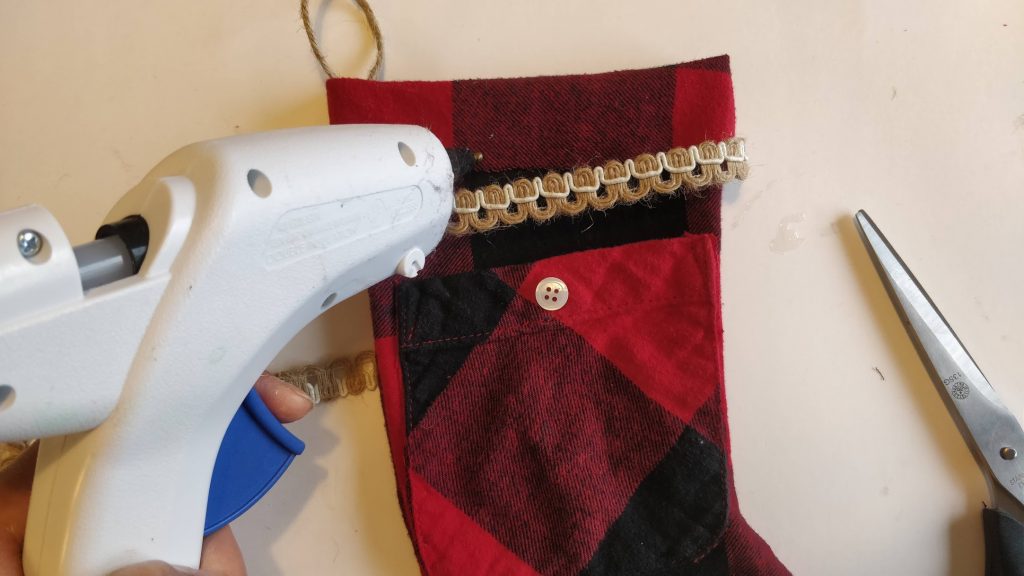
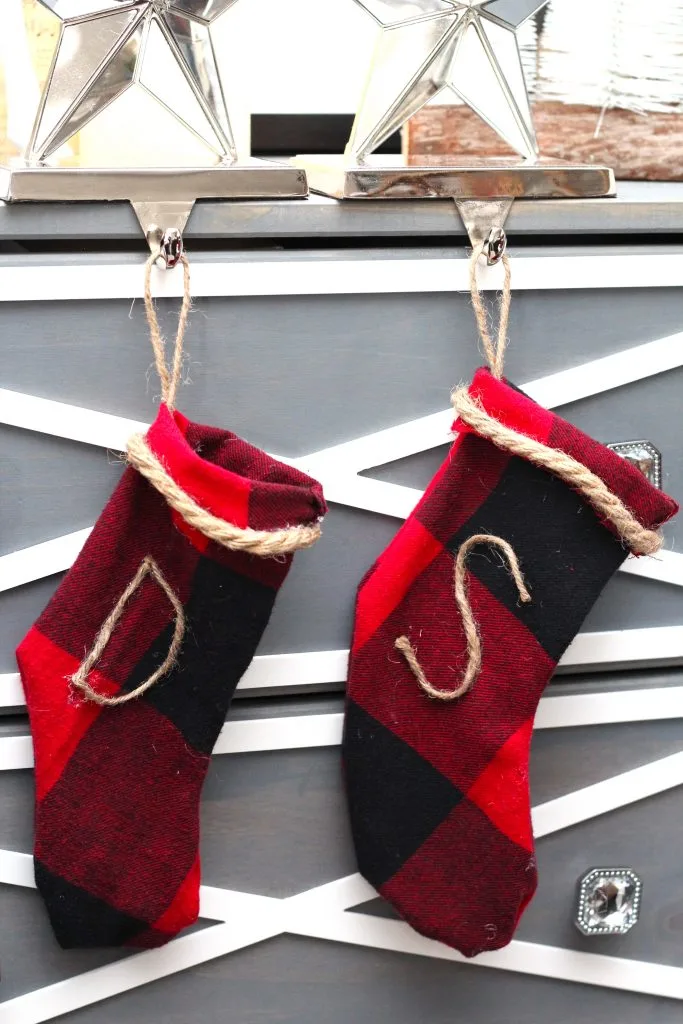
I like the rustic and earthy look of the twine paired with the plaid.
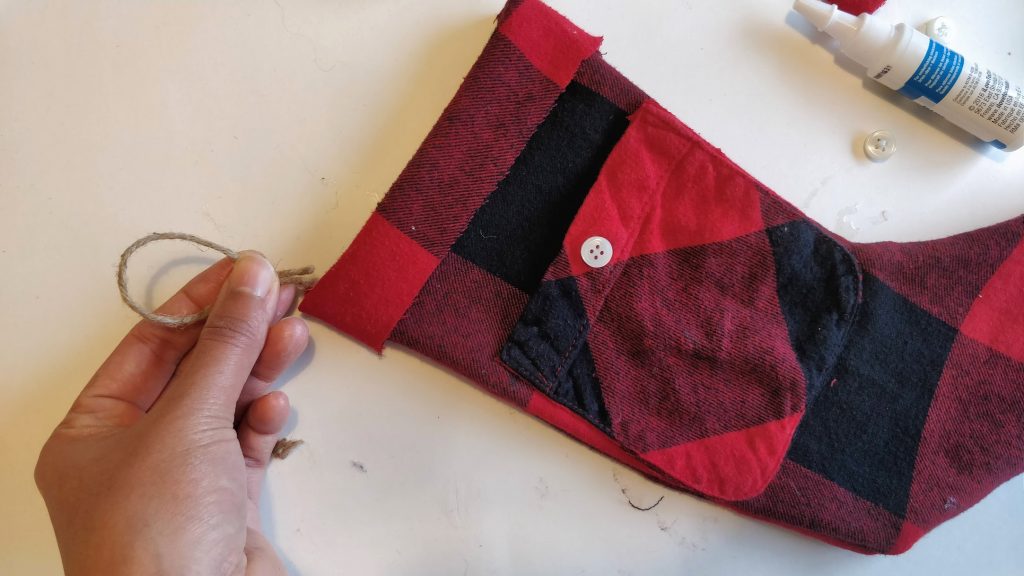
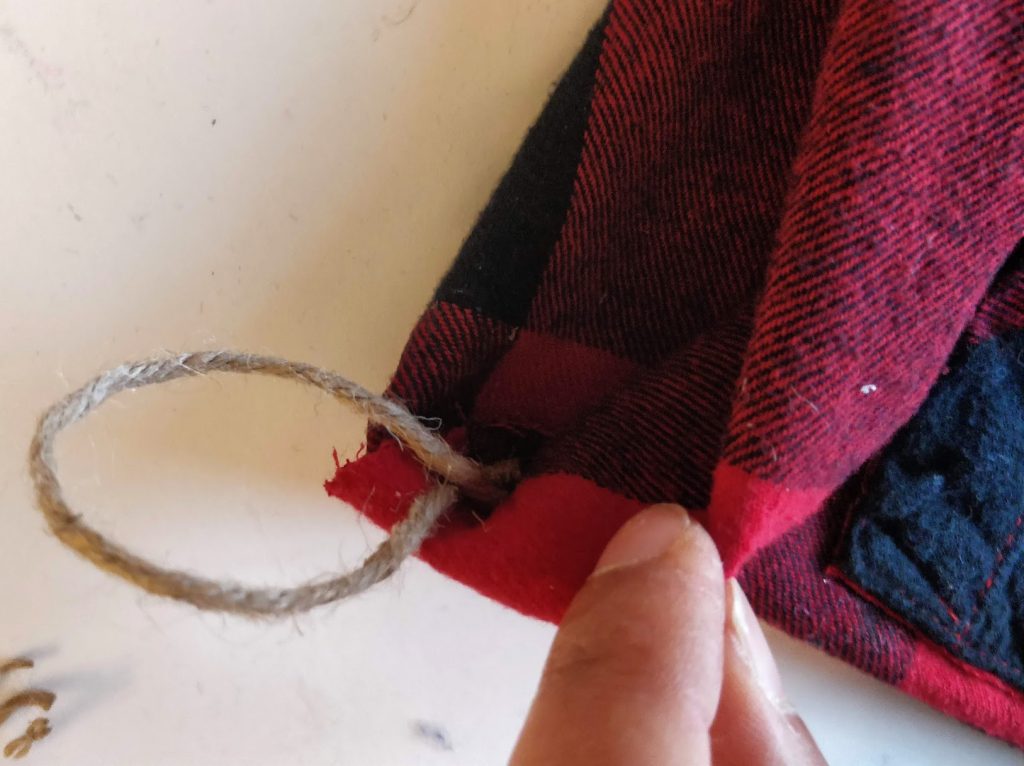
Cut a 4 inch piece of string, form into a loop shape with your fingers.

This makes the cut edge of the stocking cleaner.
Since we cut it with a scissor, it will prevent the edges from fraying.
you’re able to use your fabric glue or even a hot glue gun for this step.
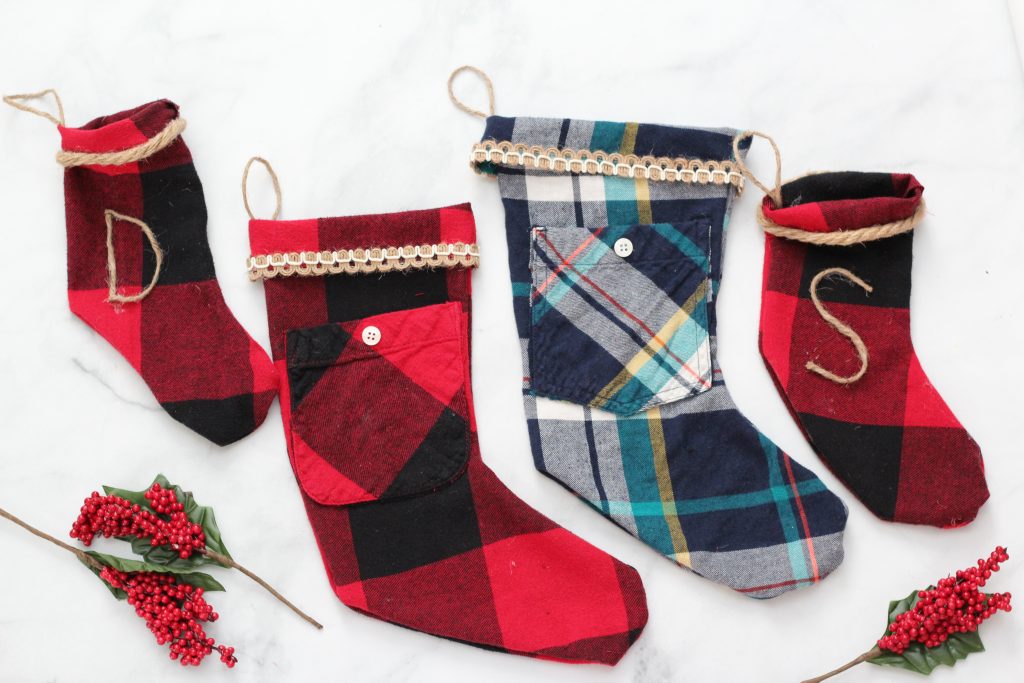
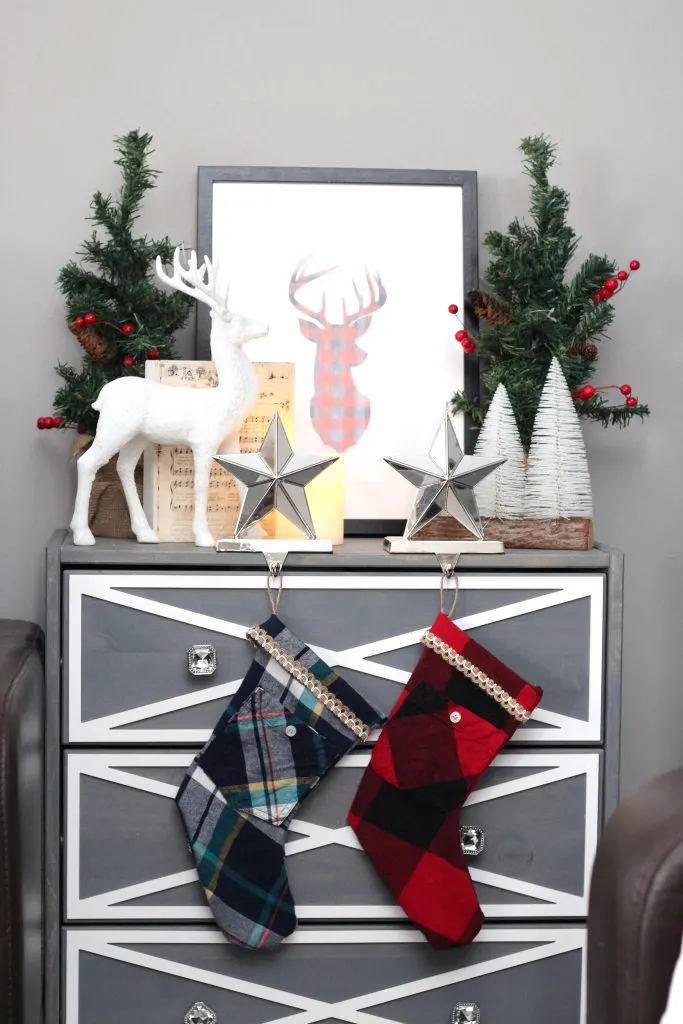
Another idea is to personalize and put names on stockings or initials on the front.
I did this with my mini stockings.
It was easy and I think it looks cute!

Print out both the stocking pattern and the cuff pattern on a 8.55 x11 sheet of paper.
Cut the shapes out.
The cuff should extend the stocking by 2.5 inches.
I left 0.5 inch at the bottom to tape or glue it to the stocking shape).
Did you make this project?
Love this tutorial?

kindly pin it for later!