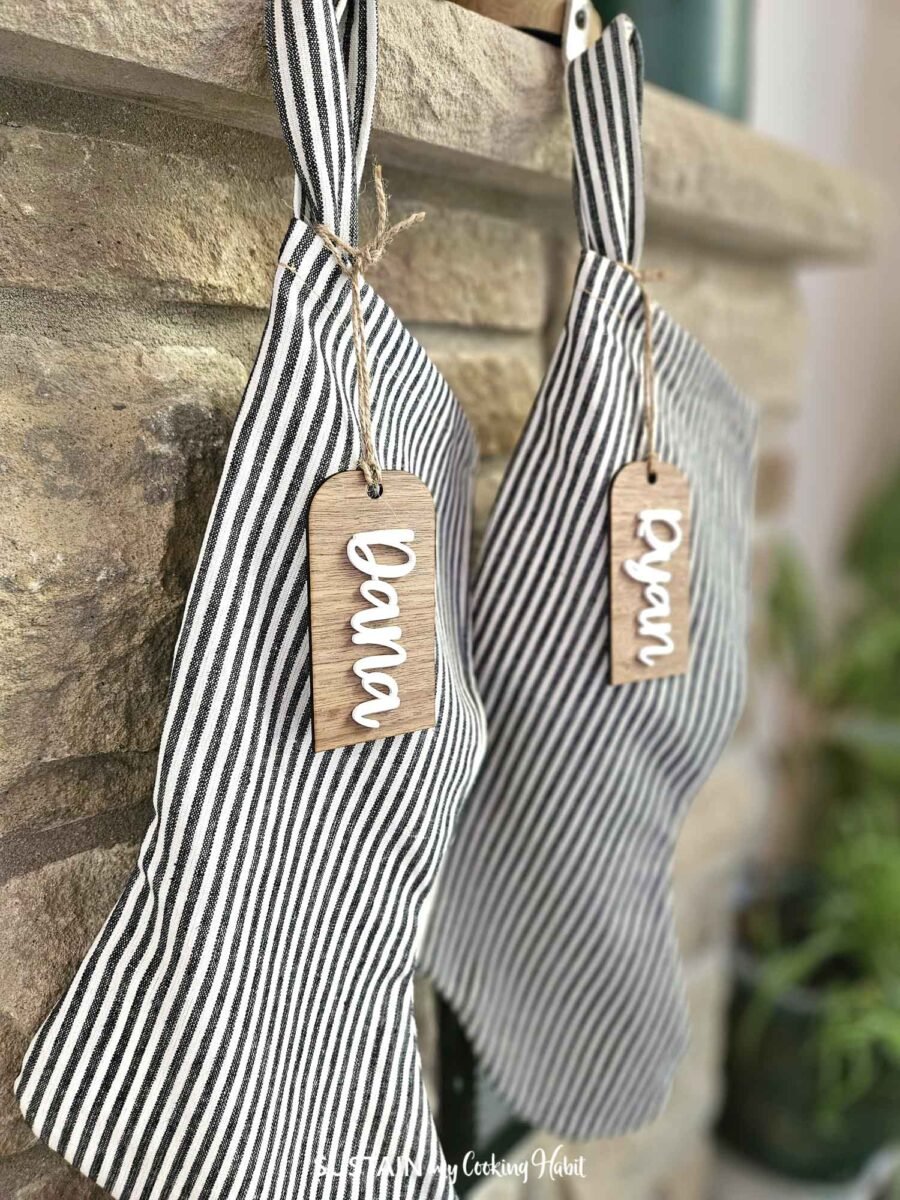
To prevent wood splitting, ensure your hanging hole is at least 1/4 inch from any edge.
Finally, store your finished tags flat in tissue paper to prevent warping or damage during the off-season.
Getaccess to our resource libraryfilled with cut files and other xTool craft ideas!

Materials Needed
Disclosure: This post contains affiliate links for your shopping convenience.
it’s possible for you to readour full disclosure policy here.
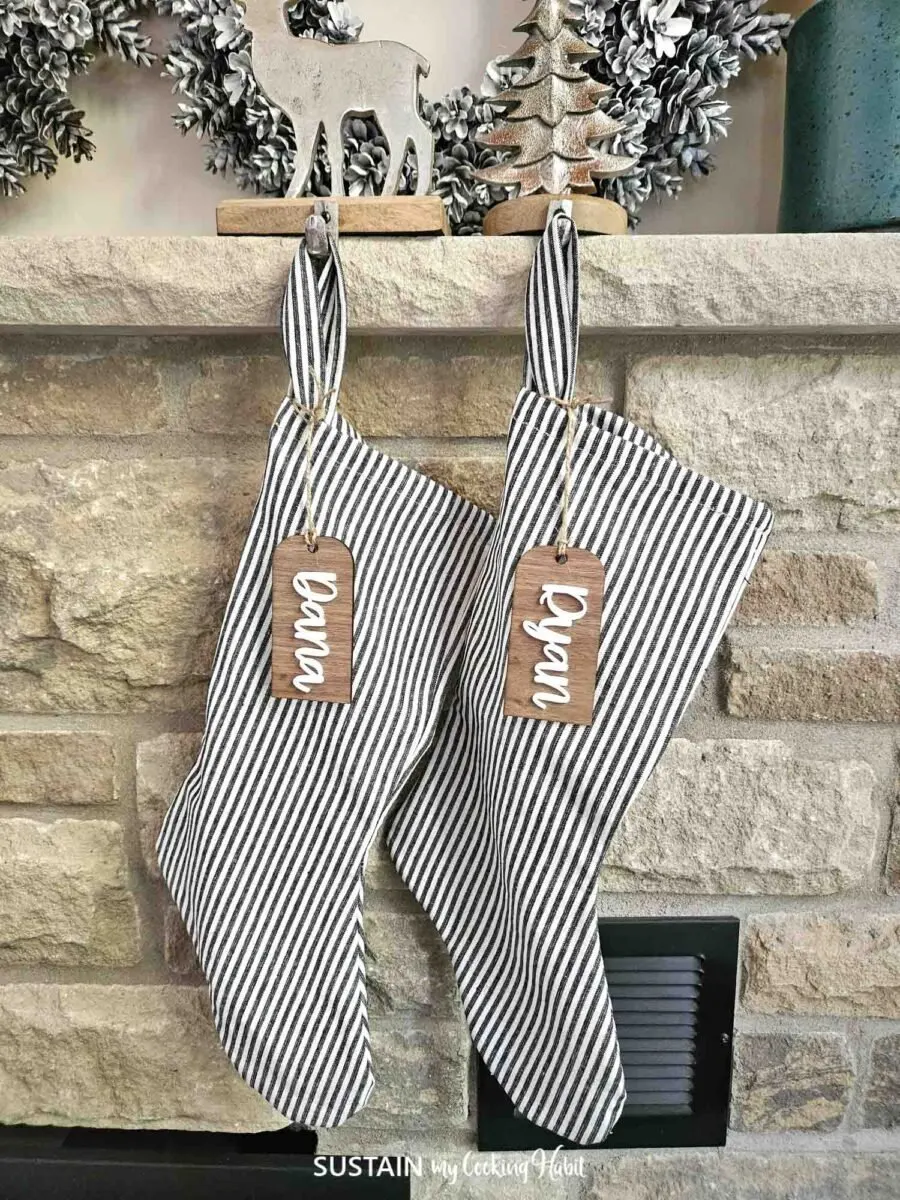
How to Make Stocking Tags with xTool
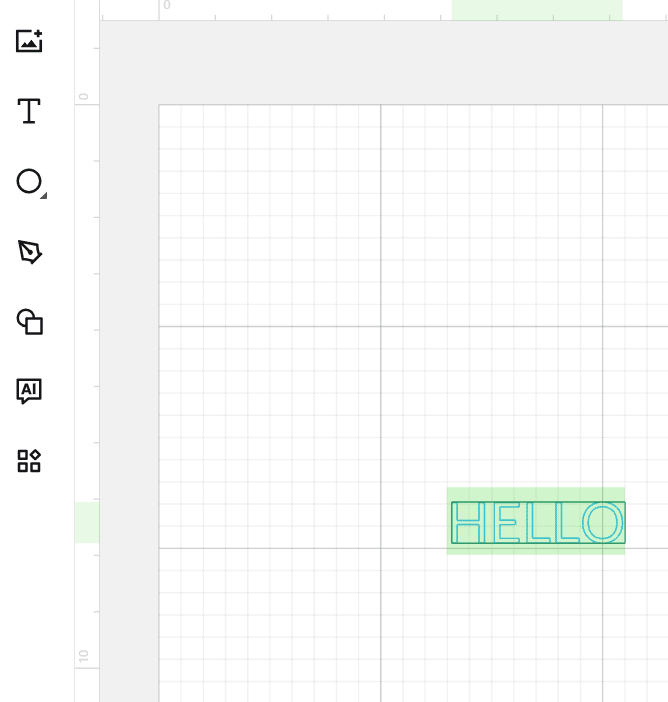
Open Creative Space and select new project.
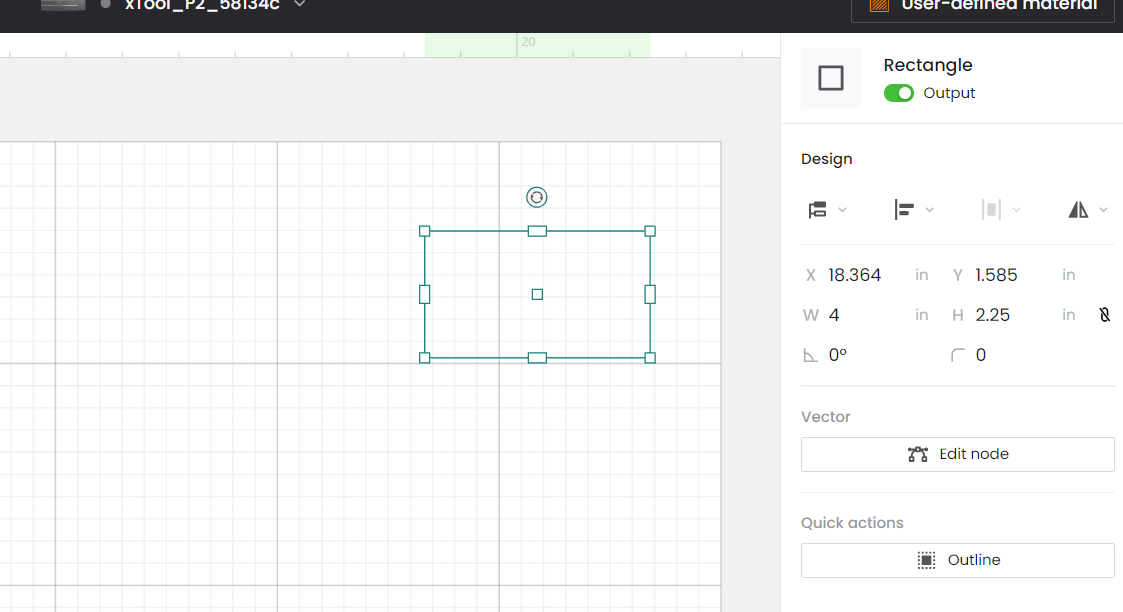
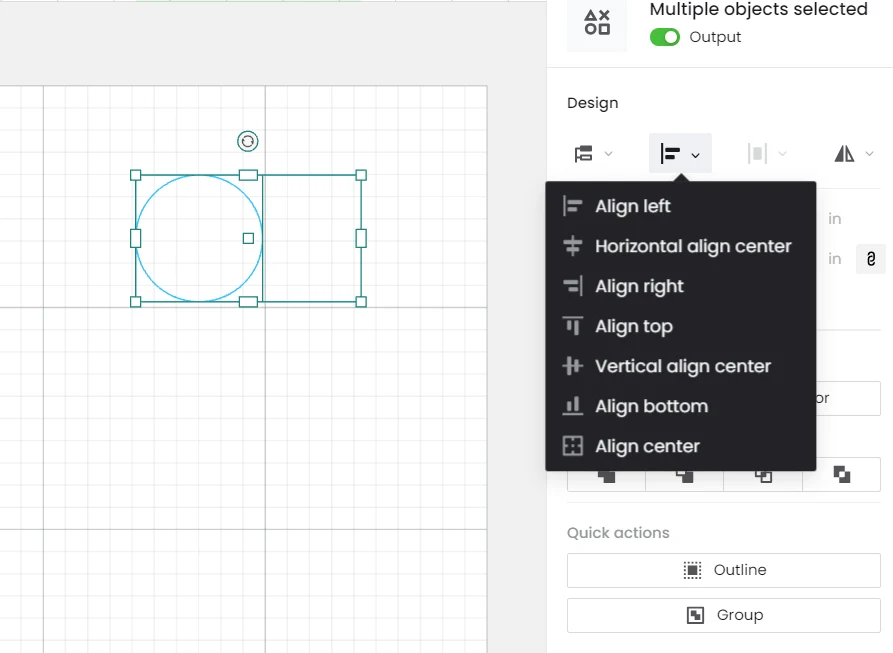
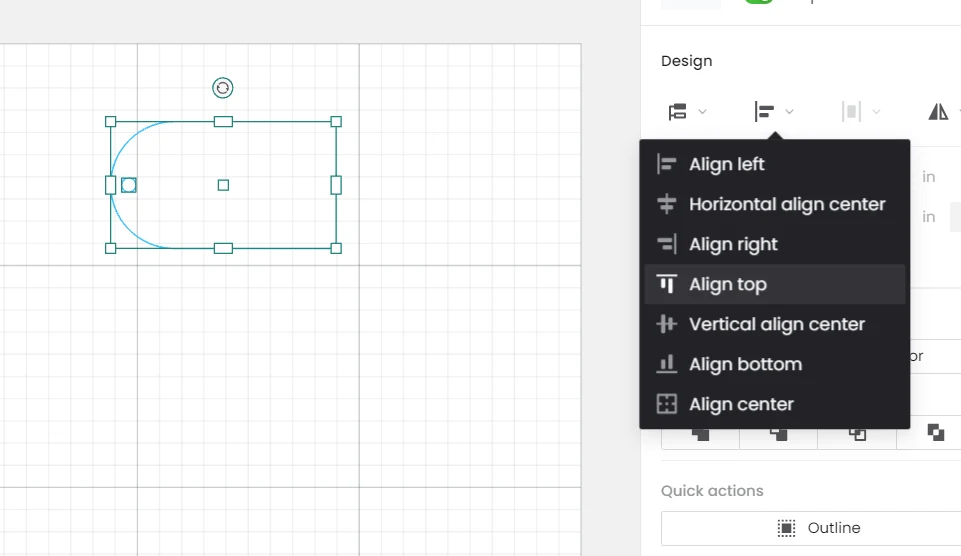
Insert a rectangle shape on to the canvas and size it to 4w x 2.25 high.
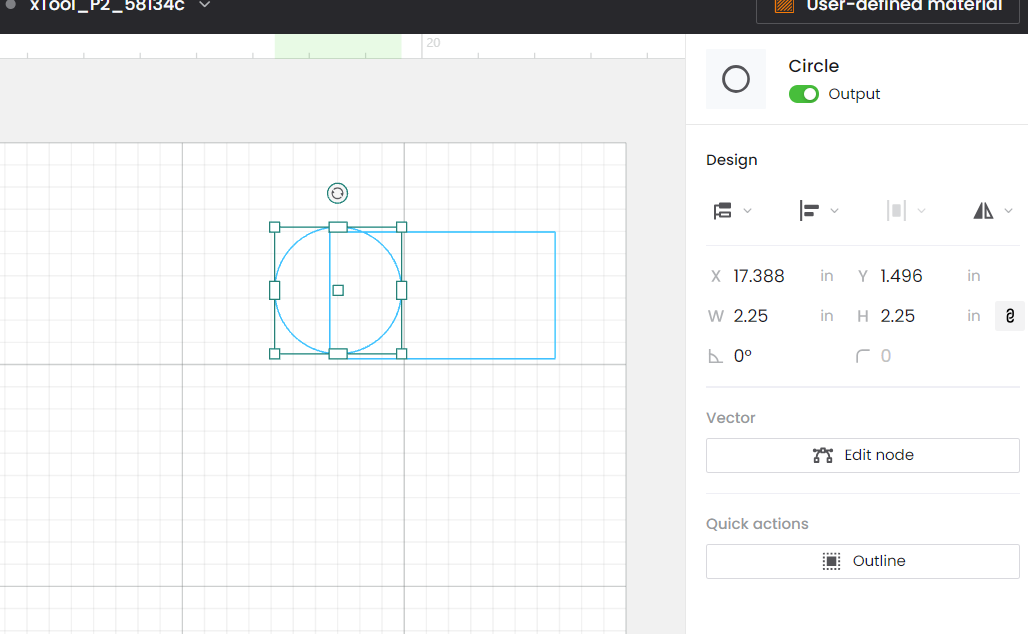
Insert a circle shape on to the same canvas and size it to 2.25 diameter.
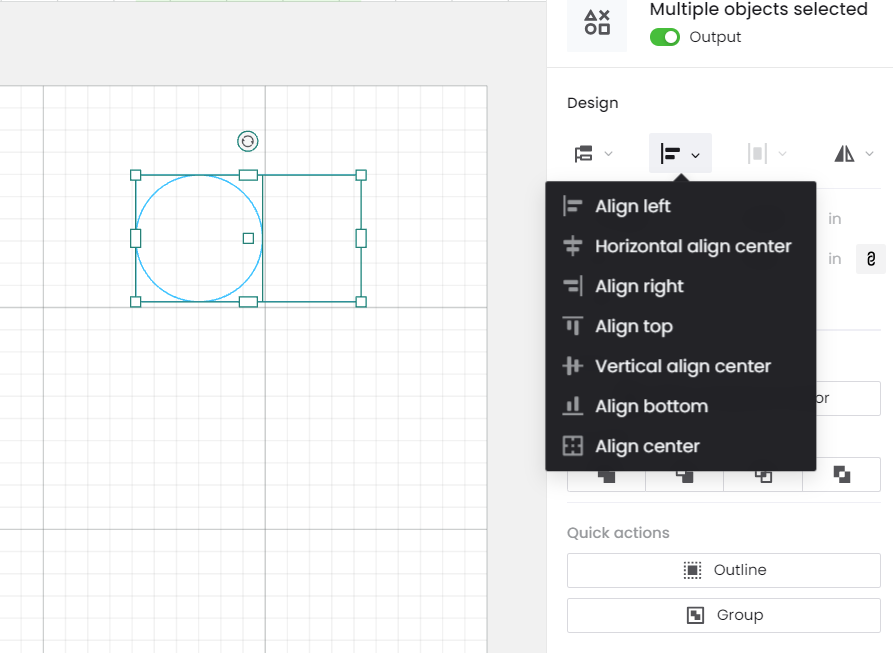
Align the two shapes to the LEFT and the BOTTOM.

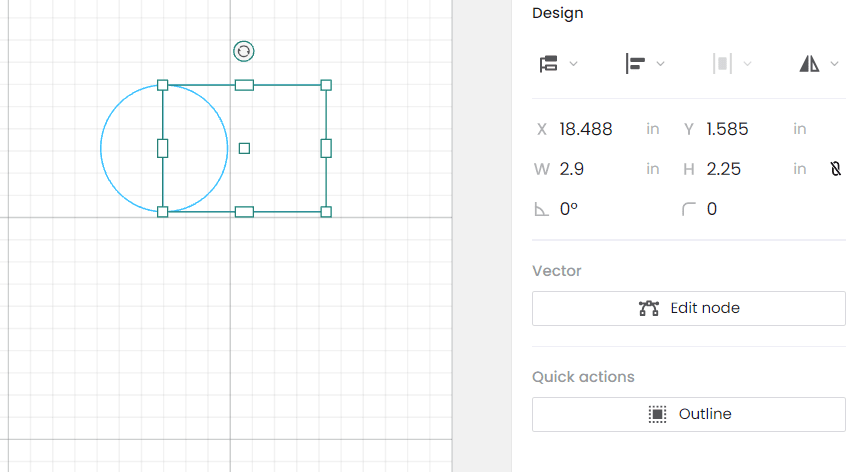
Reduce the width of the rectangle by half the circle shape as shown.
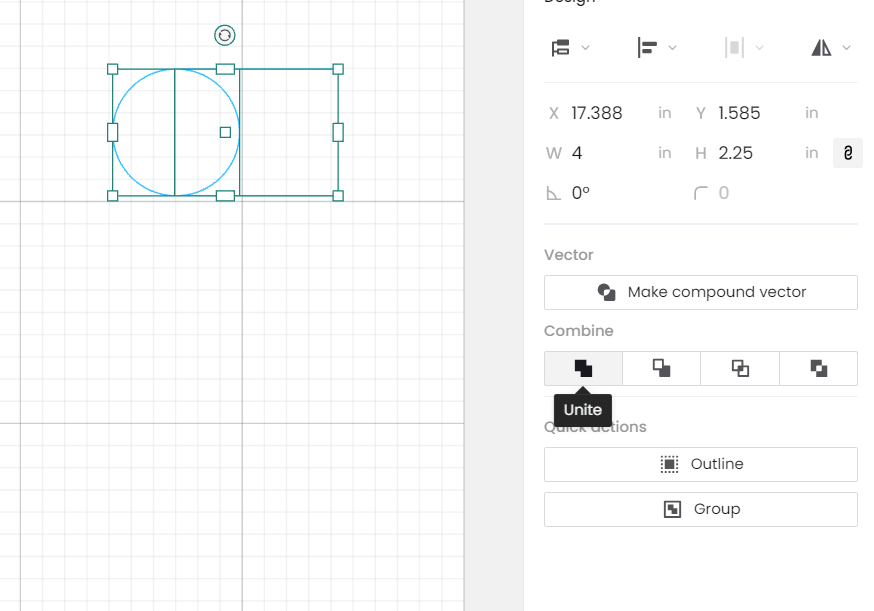
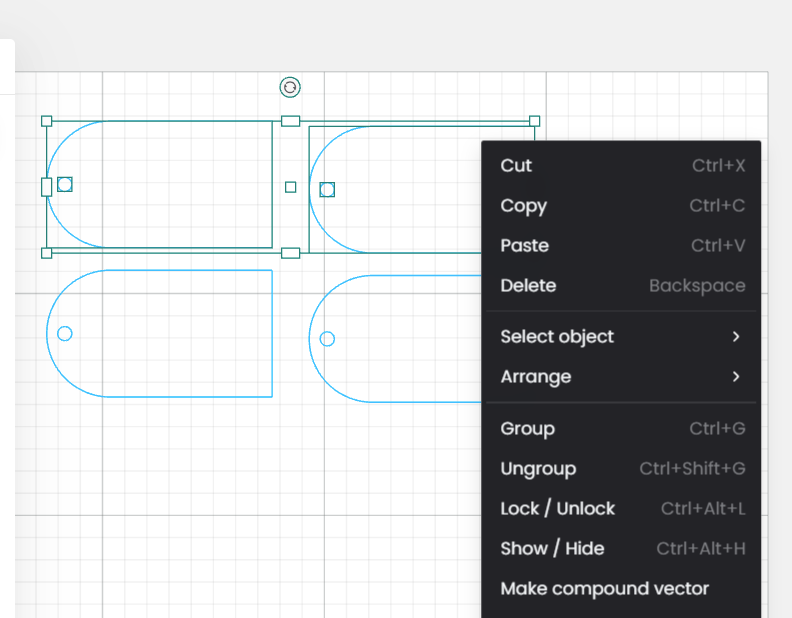
Select both shapes at same time and UNITE the shapes together.
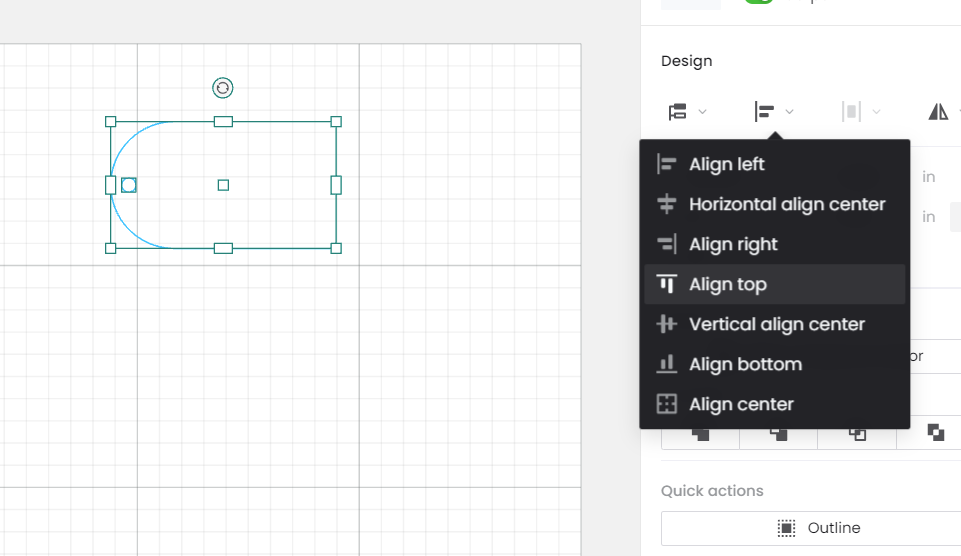
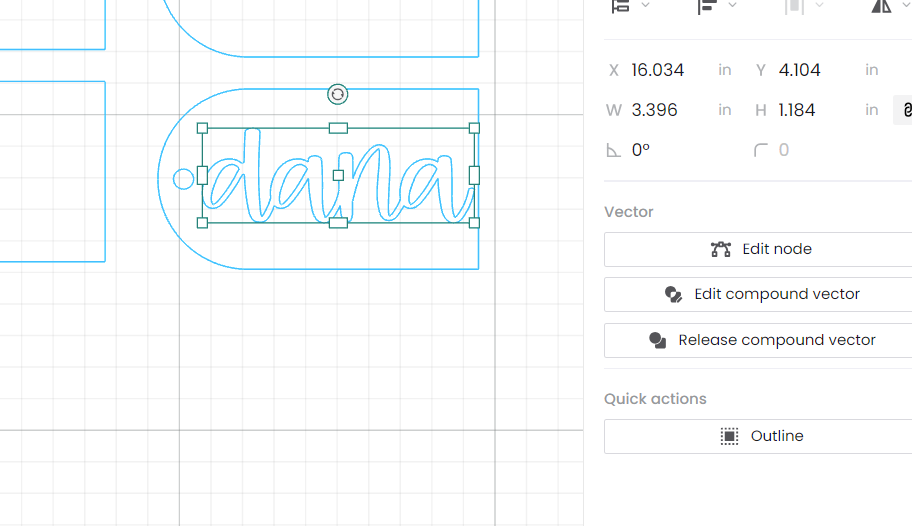
Add a small circle shape (14 diameter) for the hanging loop at the top of the tag.
confirm its centered on the tag and group the shapes together.
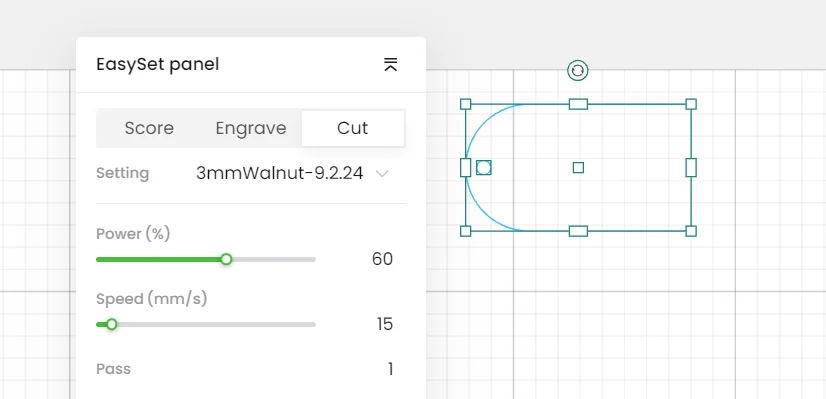
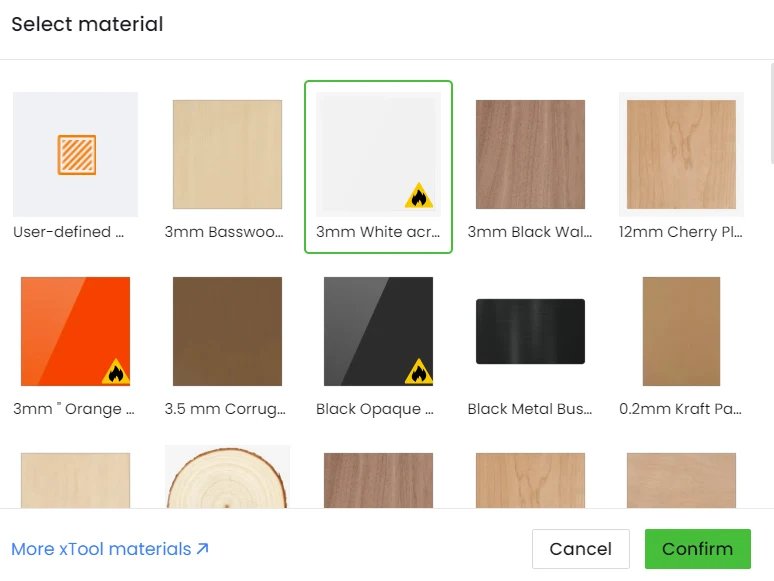
Set the material bang out to 3mm Walnut and use your preferred walnut cut tweaks.
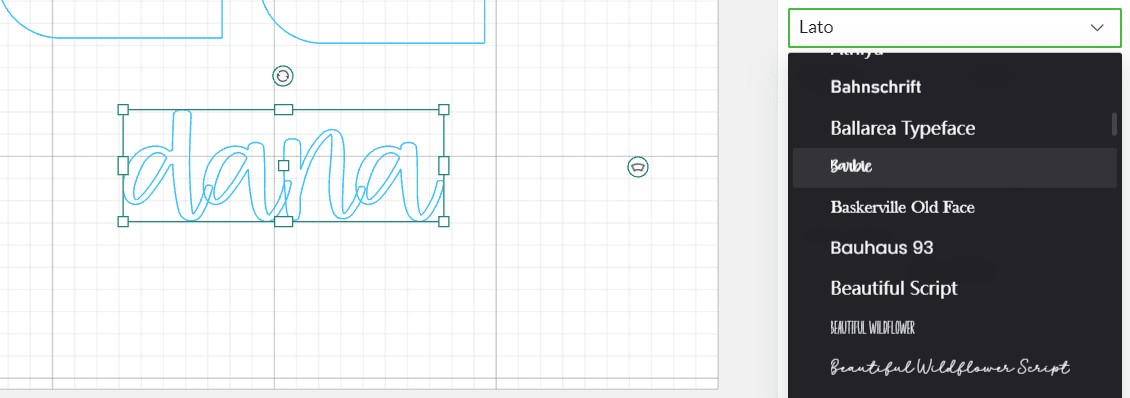
Next, create the name for the tag by inserting a text box.

throw in out the name and choose the writing font style you want to use.
In our case, we use barbie downloaded fromCreative Fabrica.
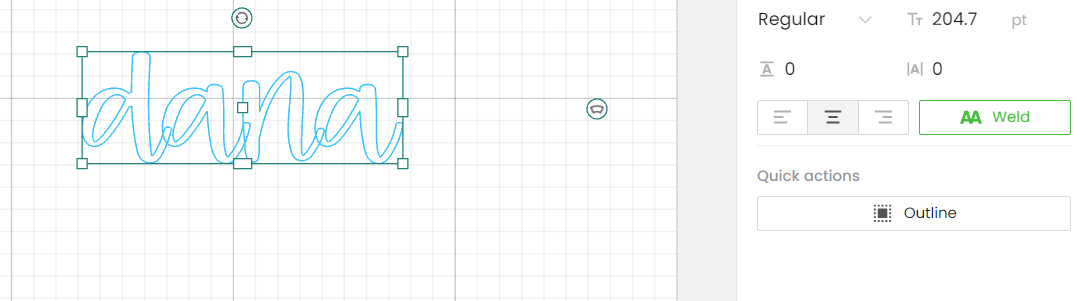
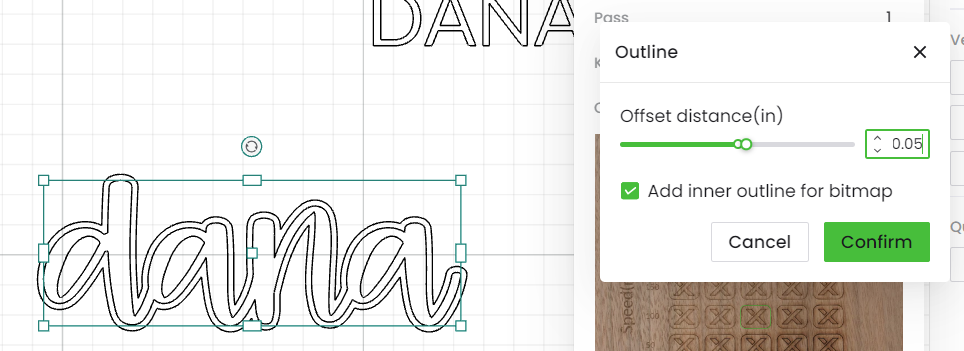
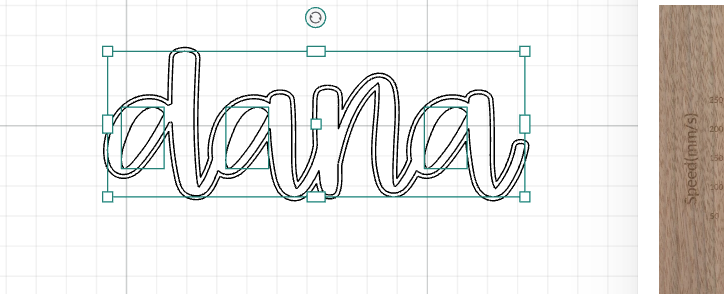
Ensure the letters are WELDED together before cutting.

In my case, I like 0.05 offset.
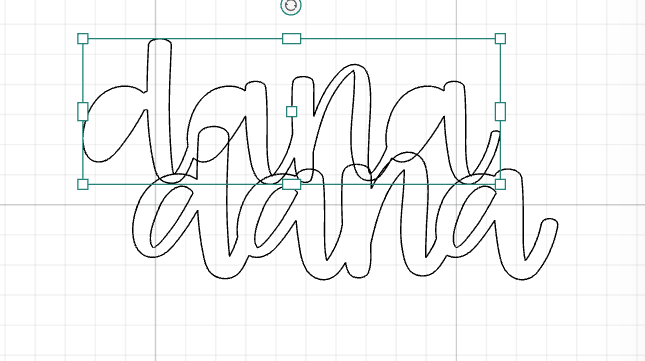
Then release the compound and delete the thinner, inner lettering.
In our case, the recommended controls work best for acrylic sheets.

Insert the acrylic material into the xTool P2 and refresh your screen.
Position thenames onto the surface and proceed to cutting and follow the prompts on the screen.
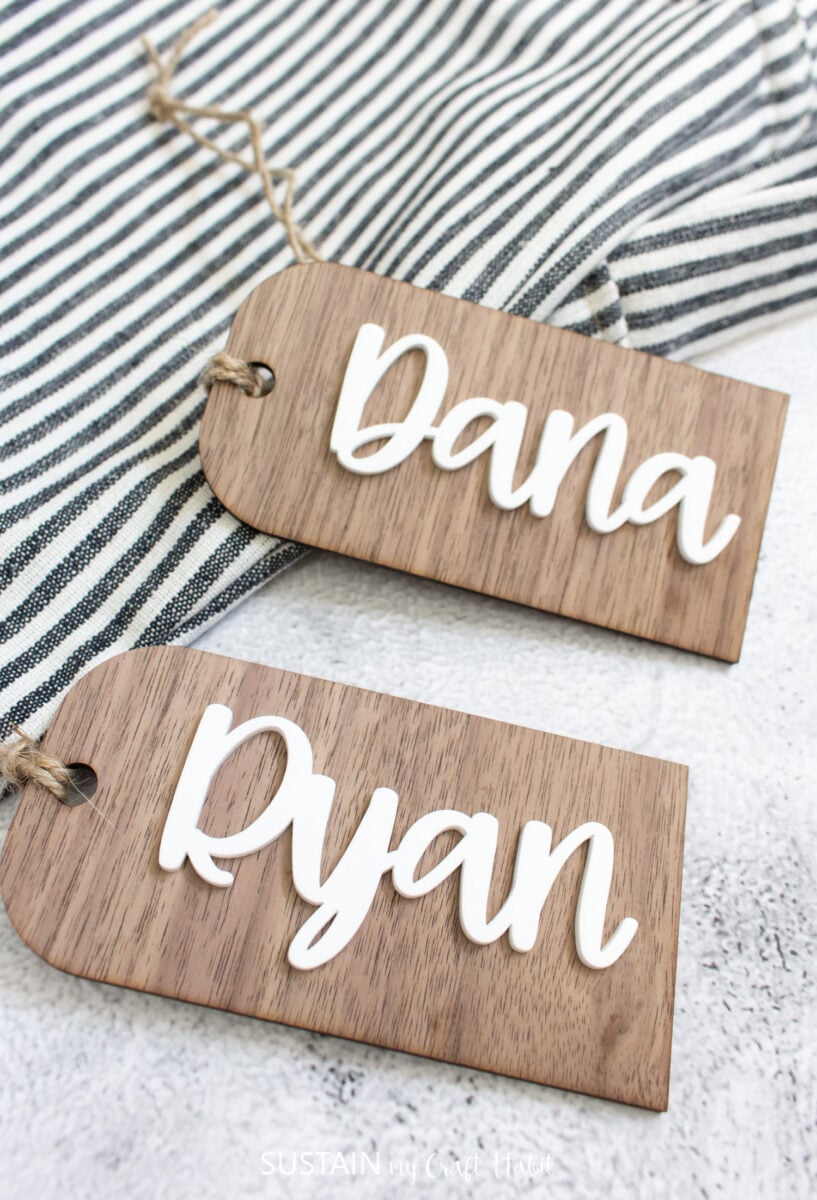
When cutting is complete, remove the names and peel away the paper layer on both sides.
Proceed with cutting using your desired parameters (we like 65% power with 15mm/sec).
Pin it for later!
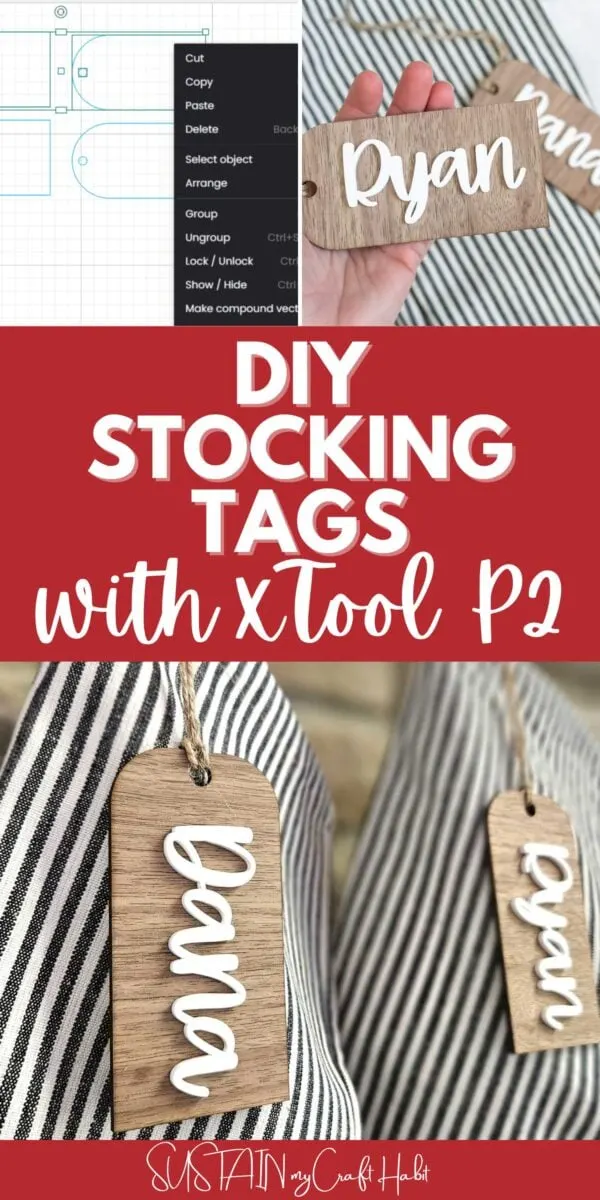
DIY Stocking Name Tags with xTool
Materials
Instructions