HomeDIY
This post may contain affiliate links:full affiliate disclosure.
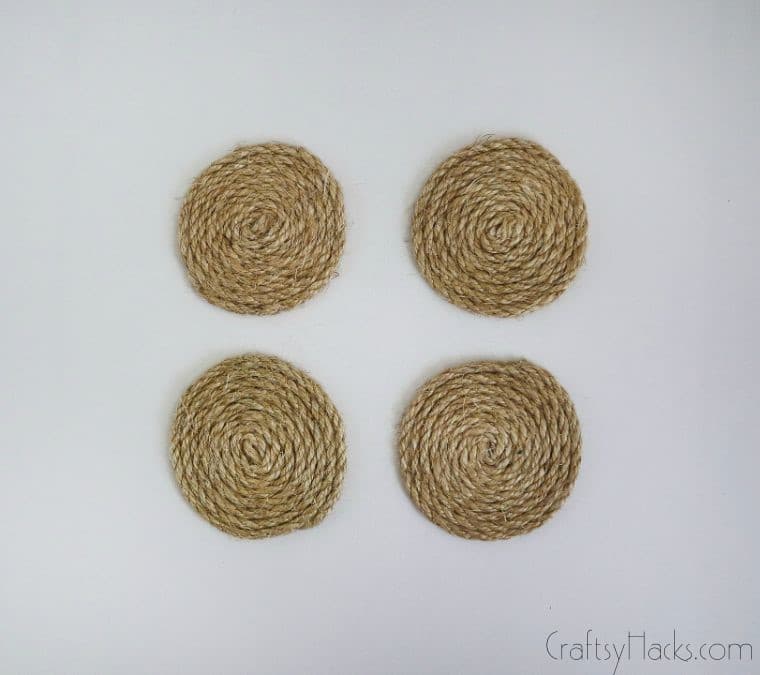
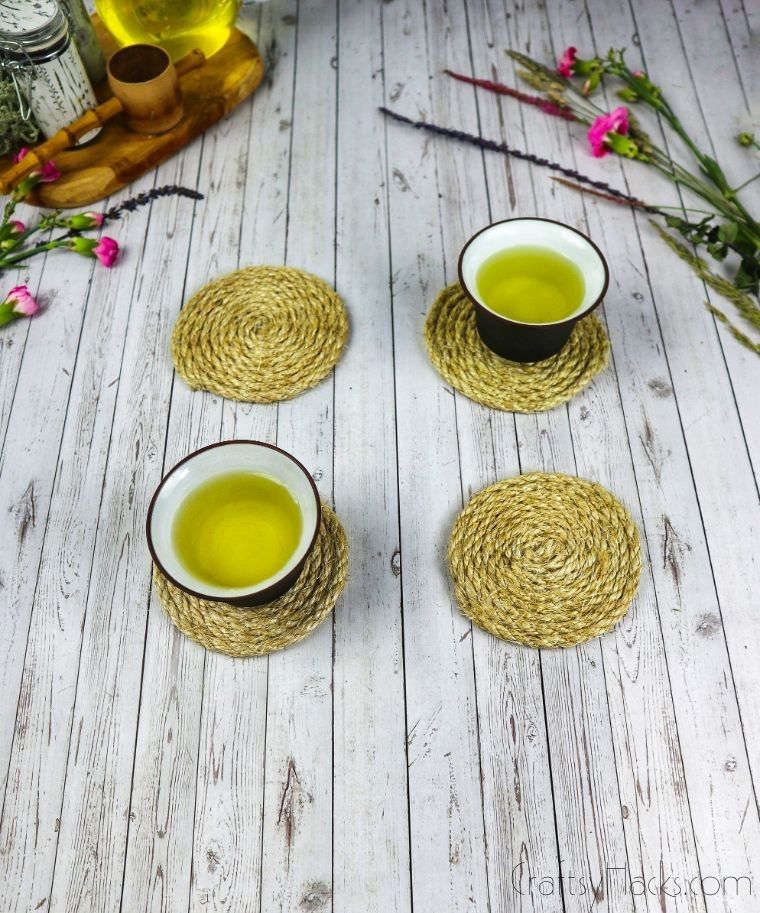
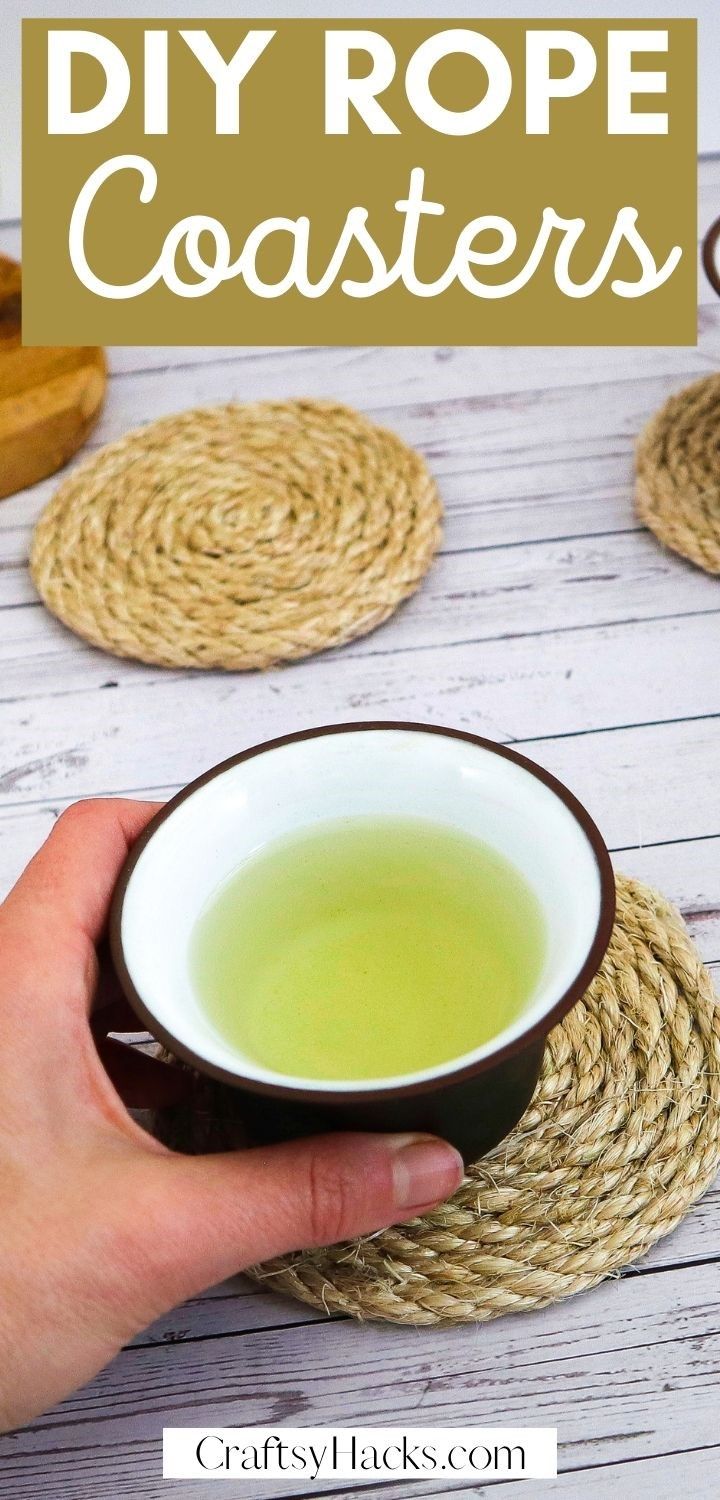
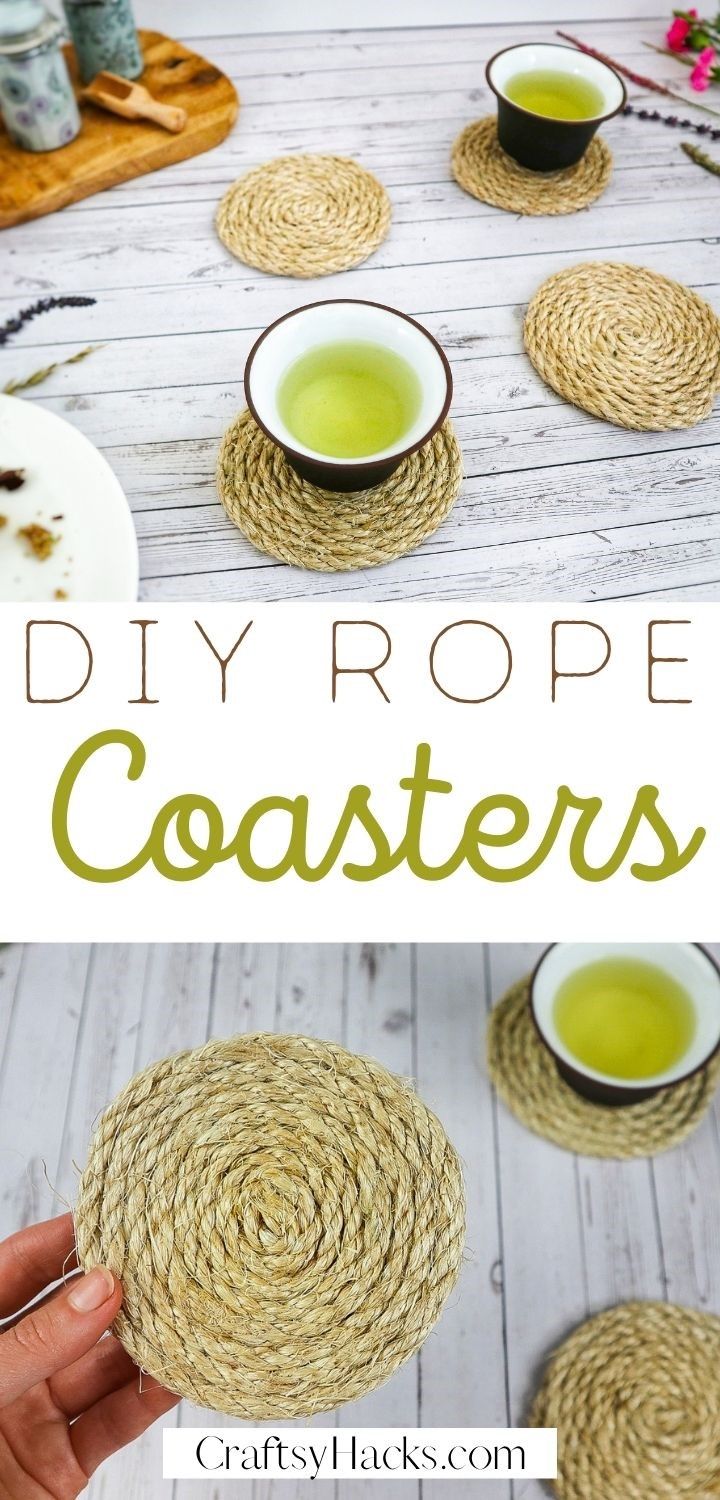
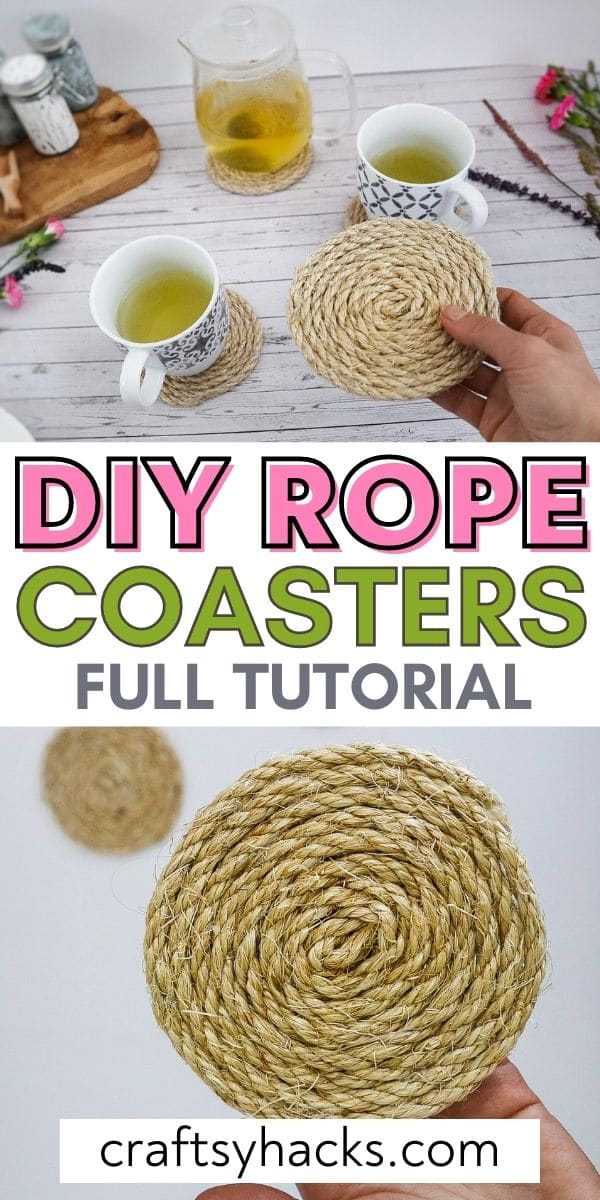
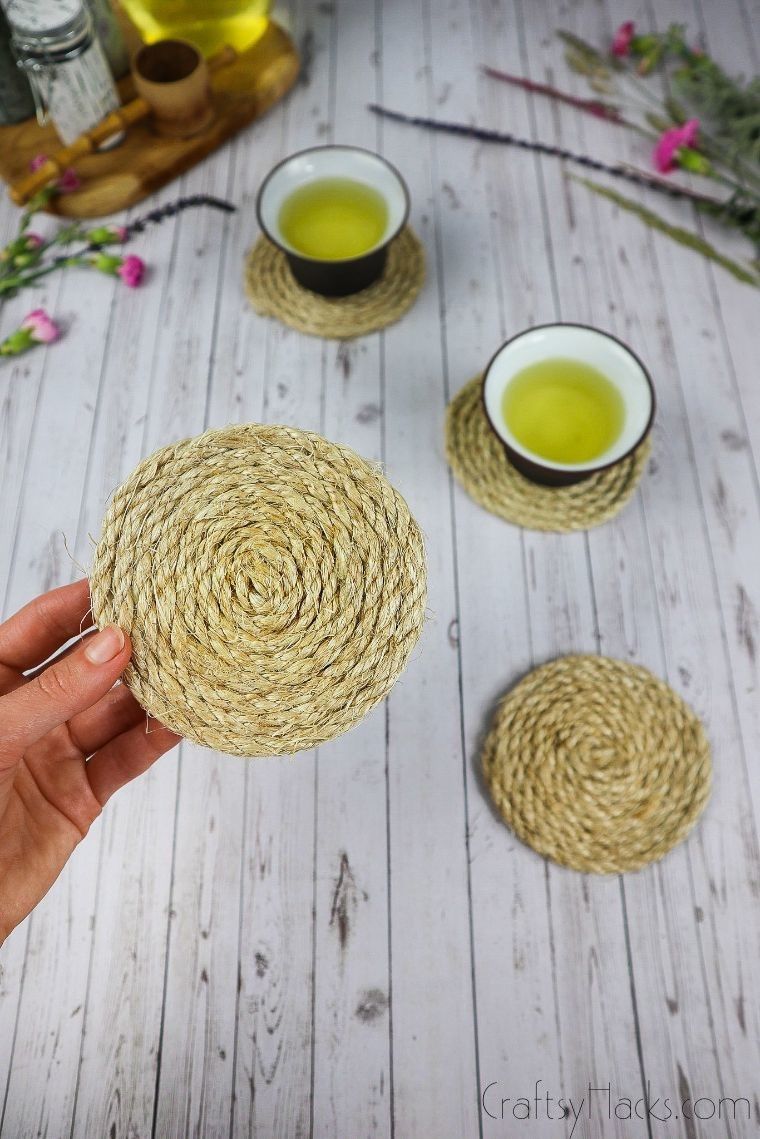
Simple and easy to make DIY rope coasters.
Theyre a good addition to your home that will keep your tables nice and clean!
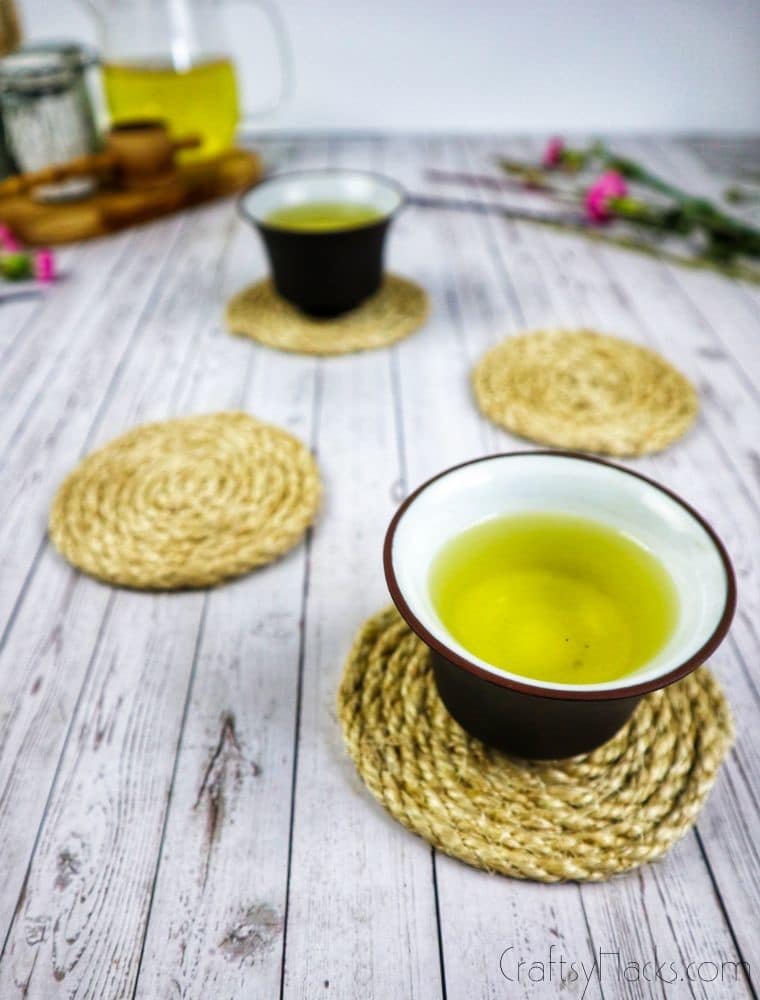
Did someone say beach vibes?
This is exactly the thing many people drop a lot of money on in their local home goods store.
Or, go with an entirely different kind of material altogether!
So, lets get crafting.
Step One
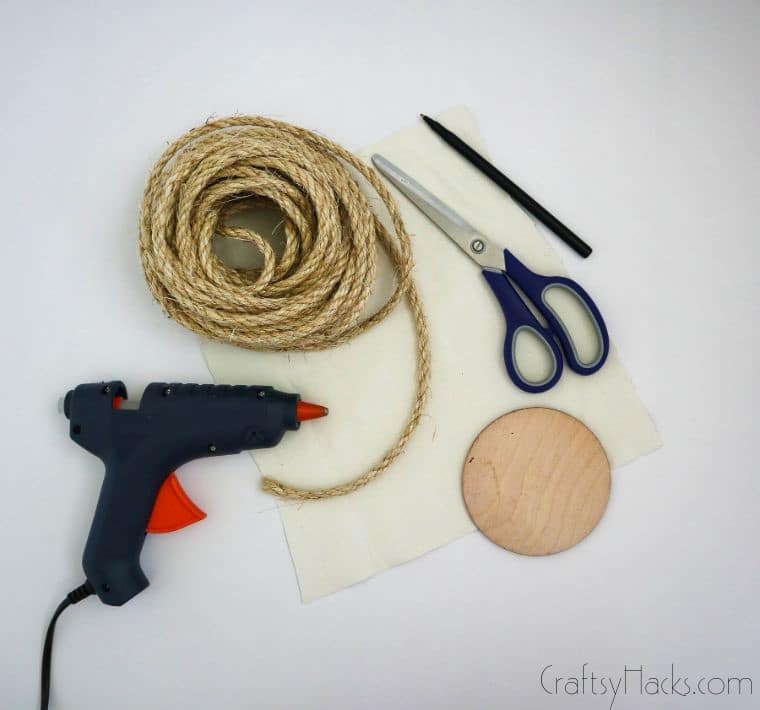
Once youve picked out all your materials, its time to get started.
it’s possible for you to use anything for the base of your coaster.
I chose fabric because its flexible and light.
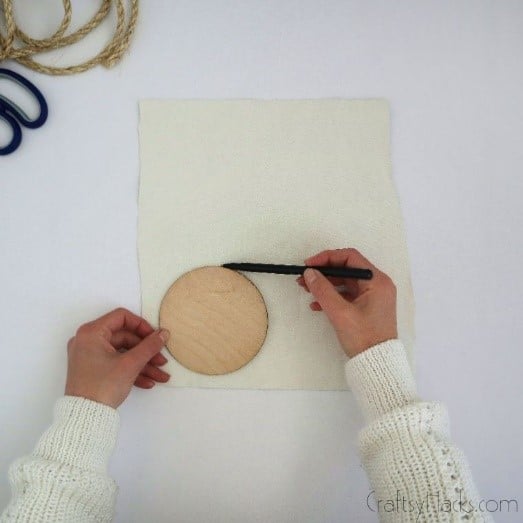
So, youll need a base shape.
Here I used a circle of lightweight wood, but cardboard or CD would work just as well.
Now, trace out the shape of your base on the material with a pen.
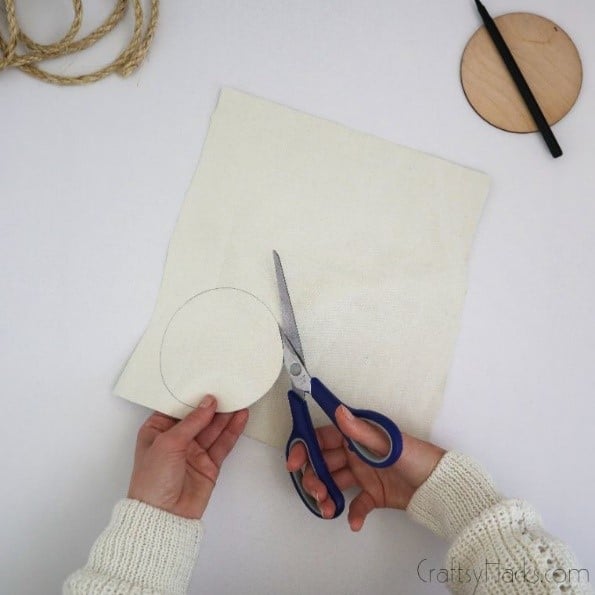
Step Two
Grab your scissors and cut the piece of fabric out.
double-check youve chosen a sturdy fabric that doesnt fray.
After all, theres nothing worse than your craft breaking down after a few uses.
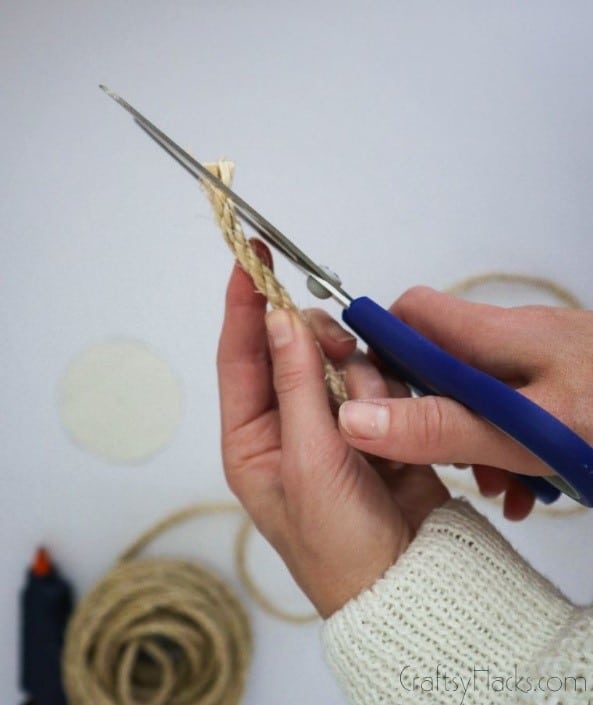
Step Three
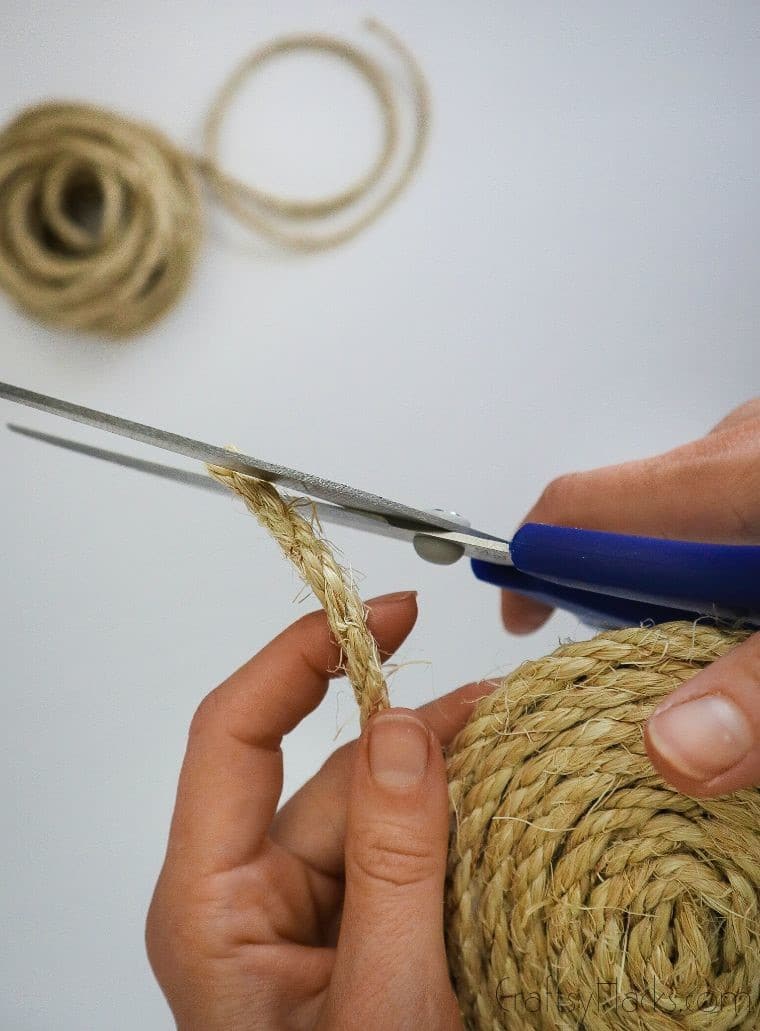
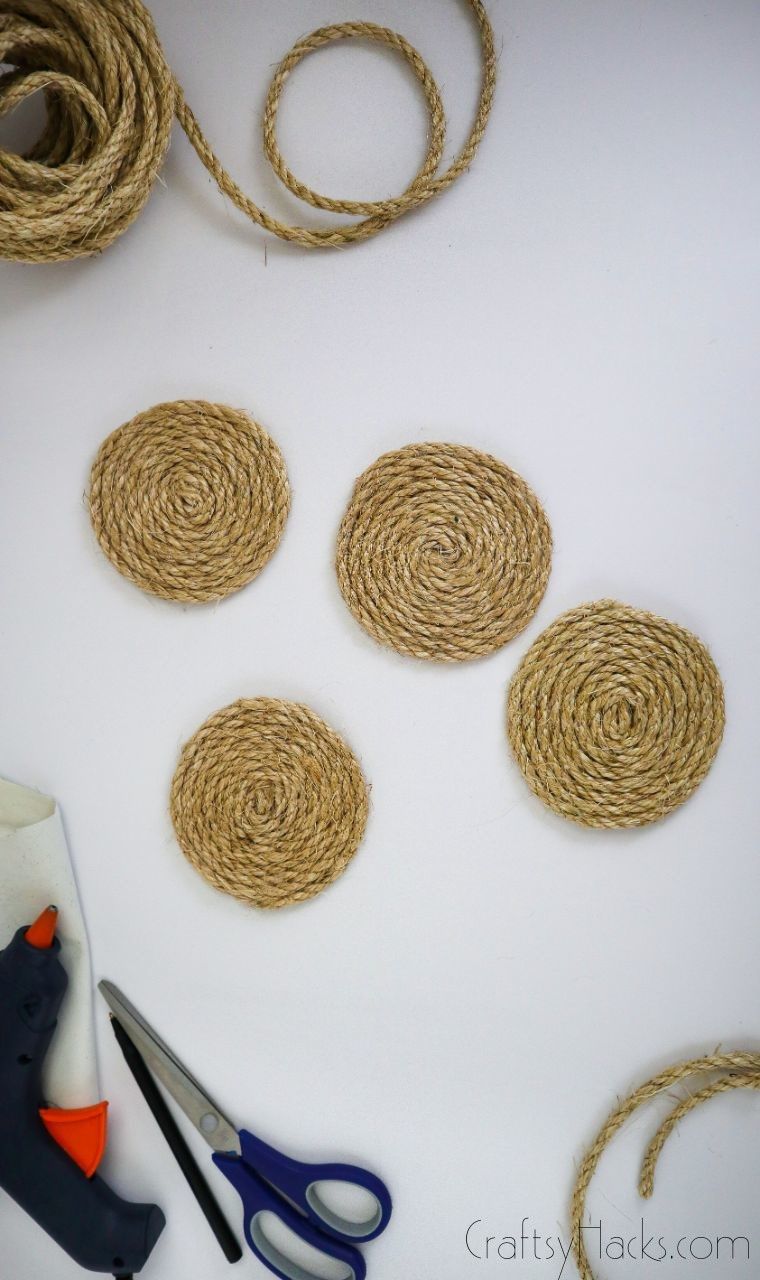
Next up, its time to prep the rope.
Wind the rope around into the shape until you find the length you gotta create the coaster.
Then, cut that length out.
Its better to have too much than not enough, so err on the side of caution.
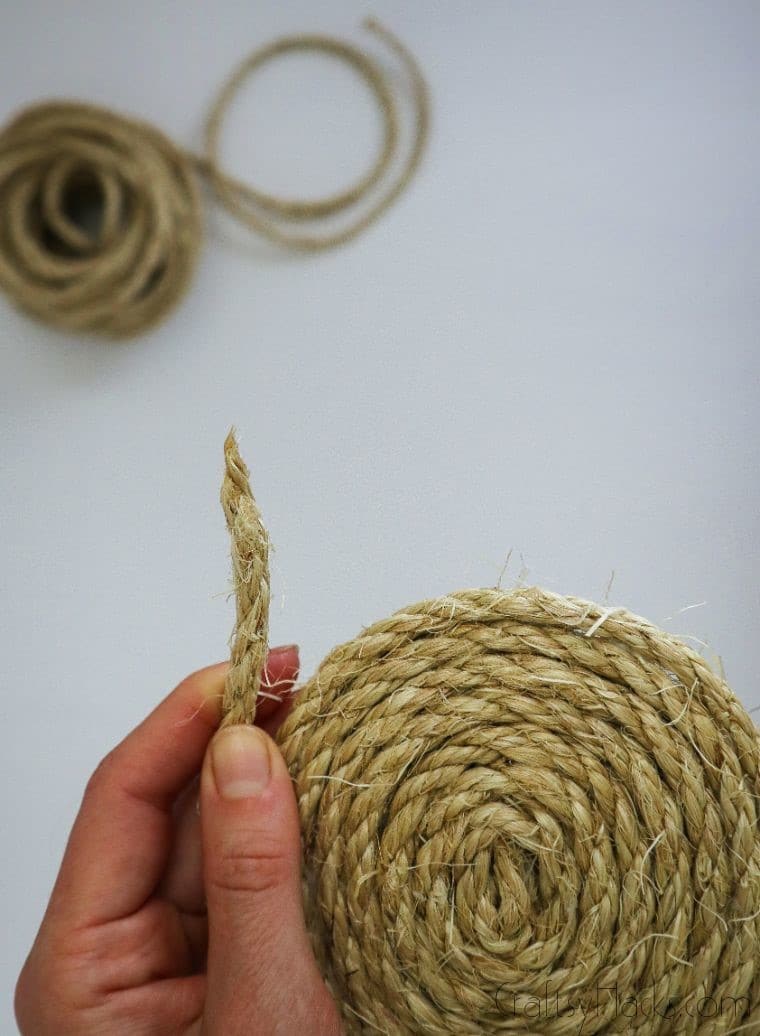
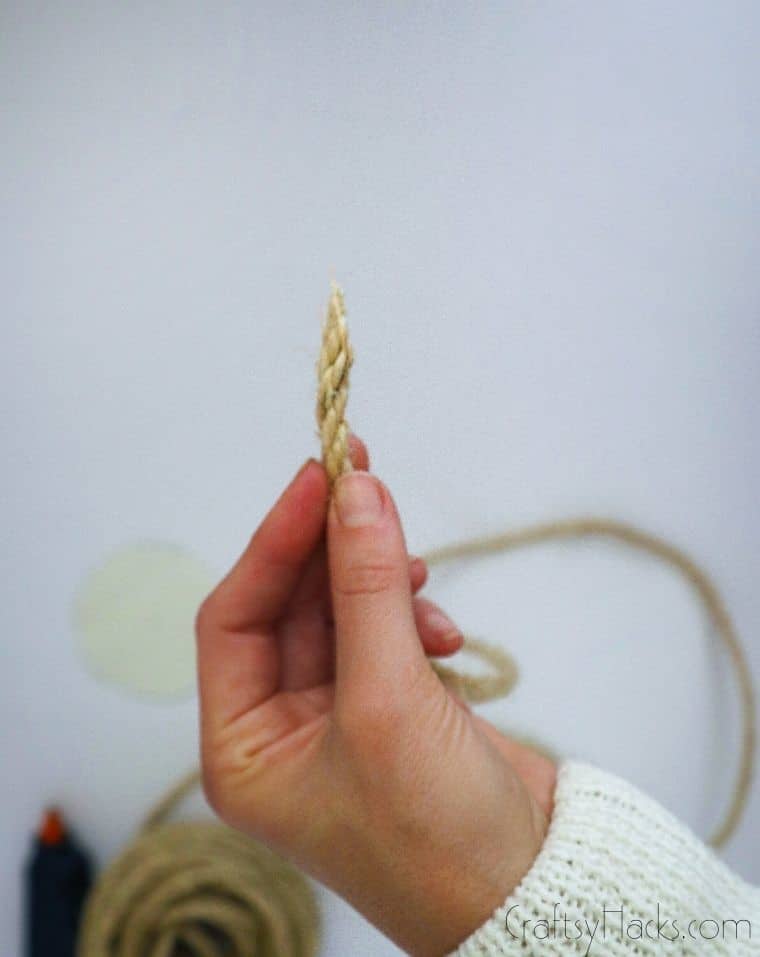
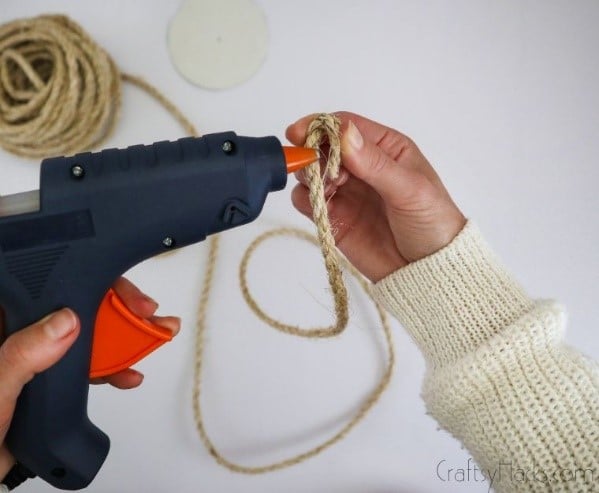
I found that cutting on an angle would make the tip pointed.
Step Four
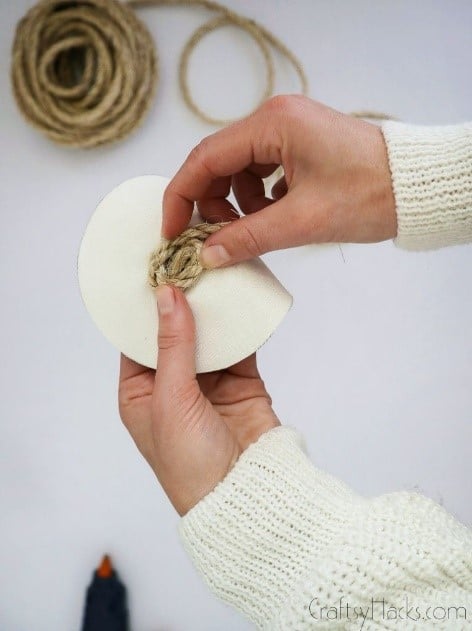
Now its time to whip out the hot glue gun.
Bring angled tip back onto the main body of the rope in a loop shape.
Glue this shape in place, making sure the loop is nice and tight.
This is going to form the coasters center.
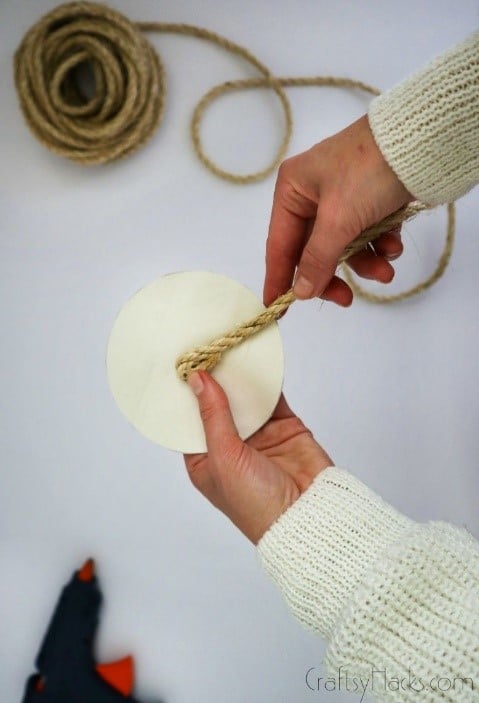
Take the glued loop and glue it right on top of that dot.
This will be the start of the coaster.
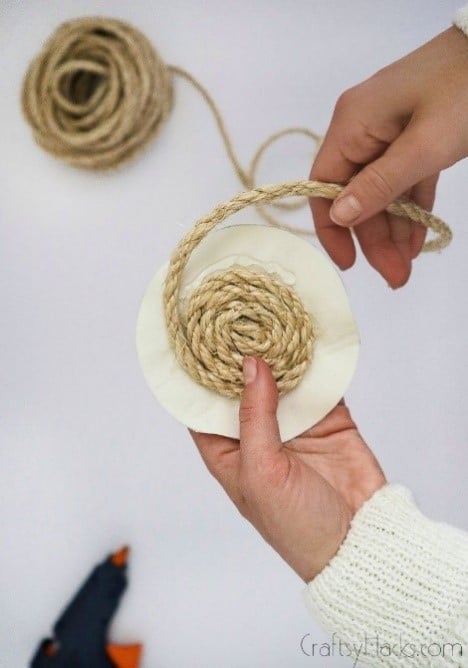
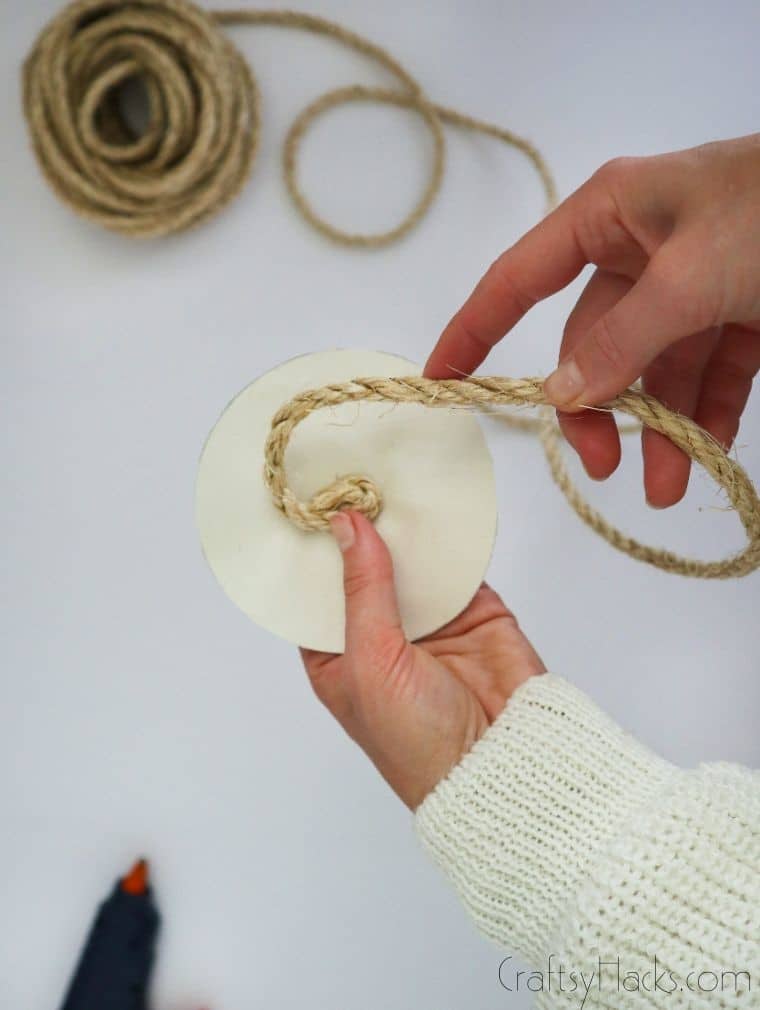
Use hot-glue to hold the loops in place, adding some wherever you think its needed.
confirm youre holding the loops in place long enough for the glue to get tacky before continuing to wind.
Otherwise, this will start to get very messy very quickly!
Step Seven
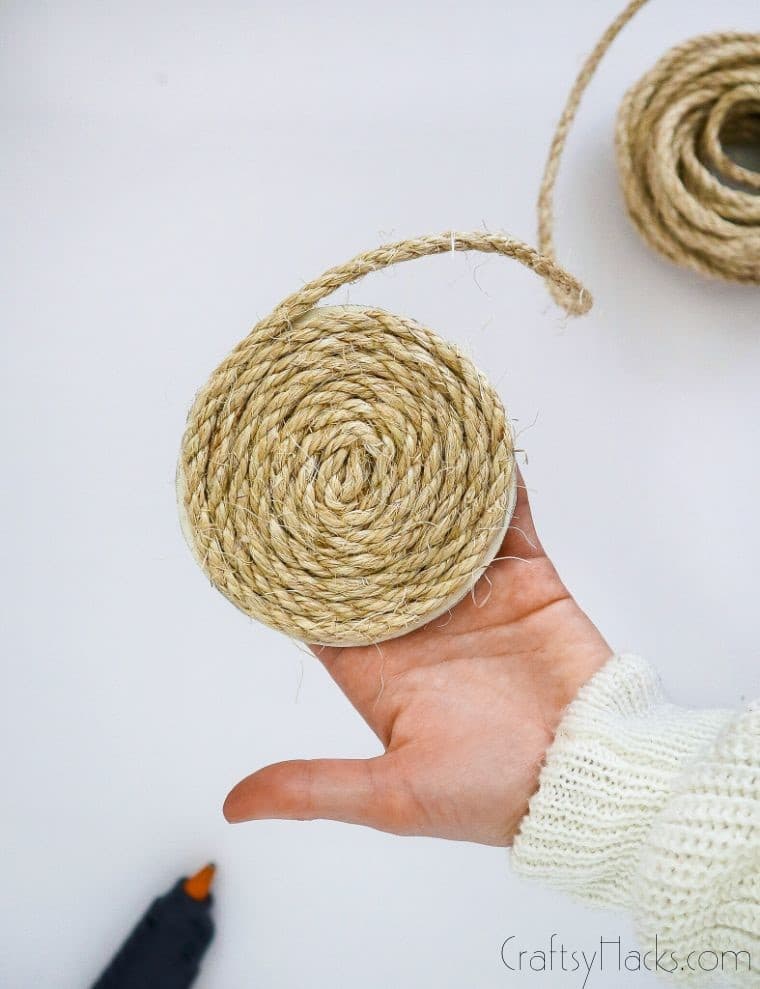
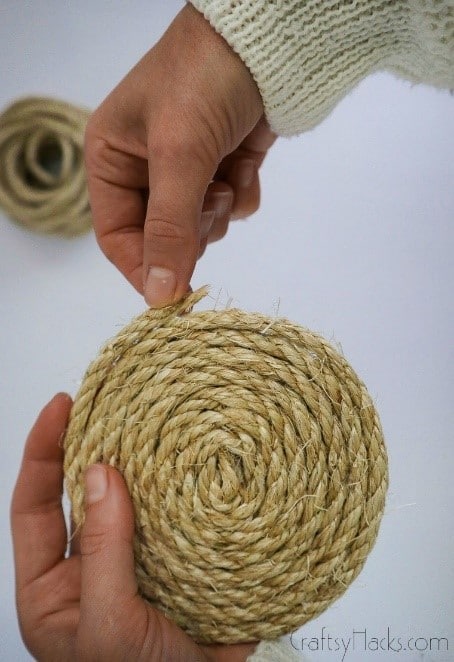
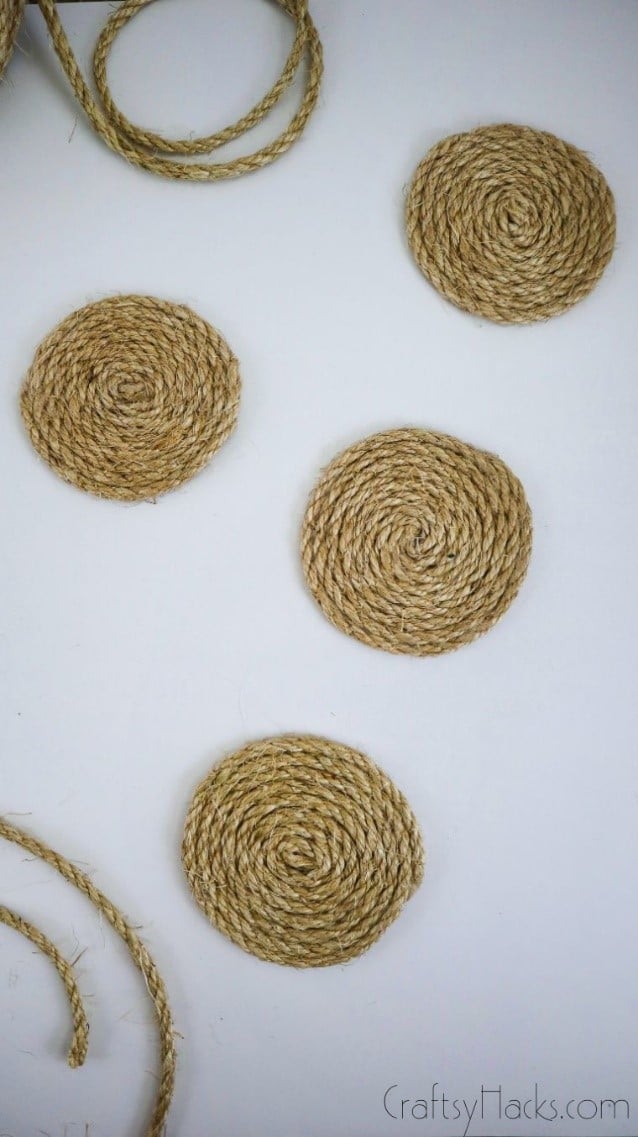
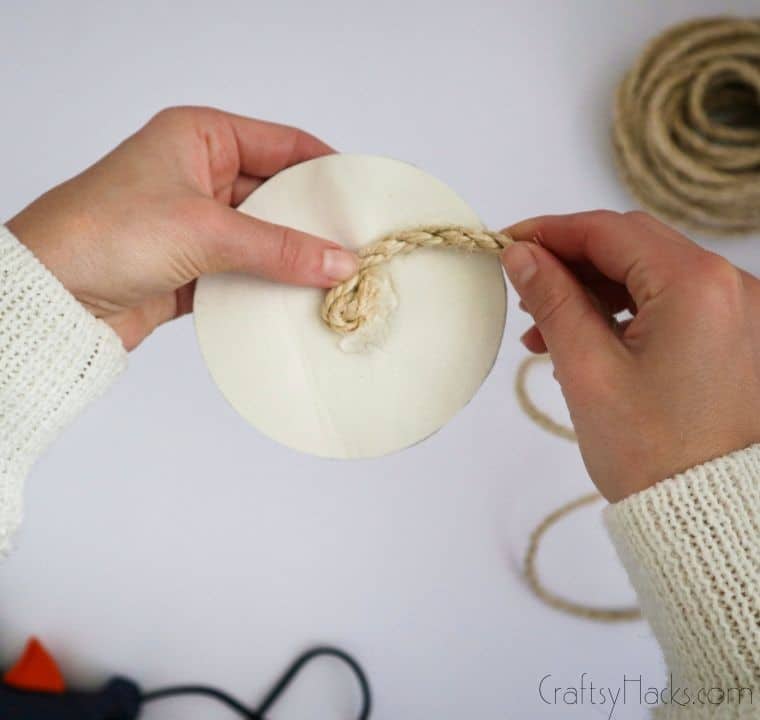
Keep on going!
This helps to build a strong coaster that wont unravel as you put it through its paces.
Keeping the loops tight also gives you a much prettier result!
Lay glue as the foundation, then wind the rope on top of that.
Thatll give you a nice, strong bond.
Dont put too much, though!

Step Eight
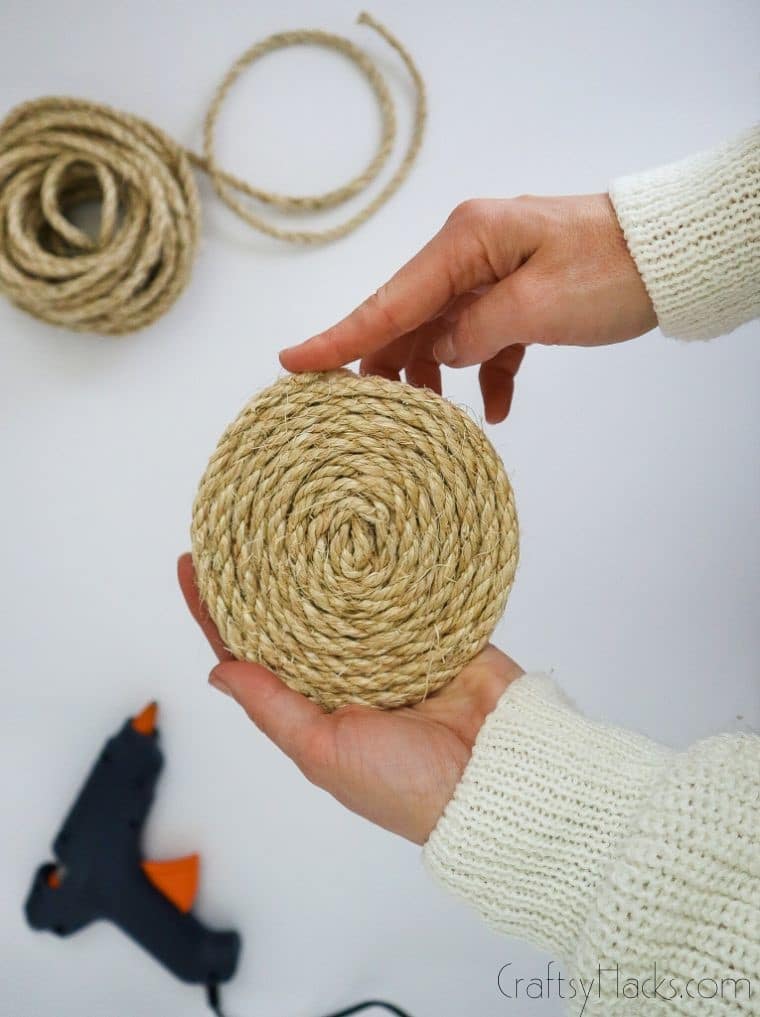
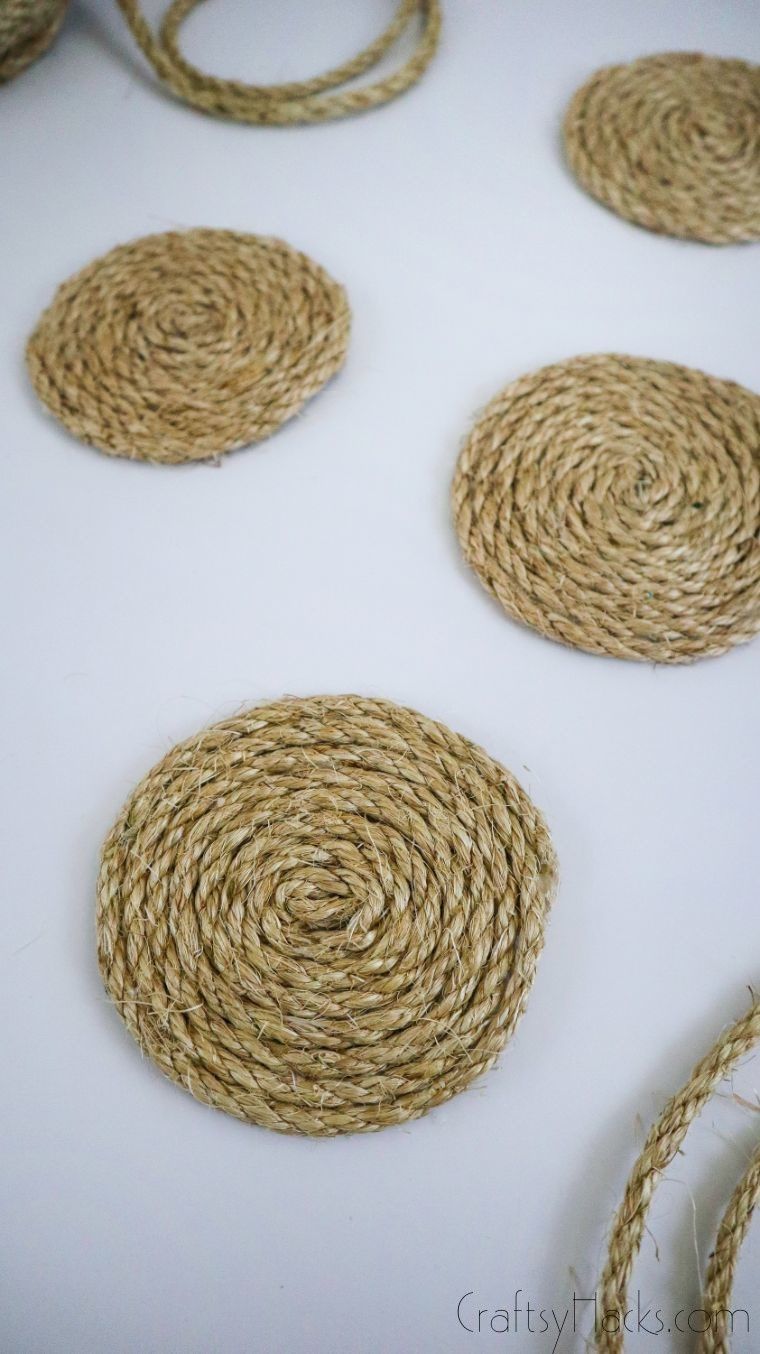
Stop winding once you reach the edges of the base.
Step Nine
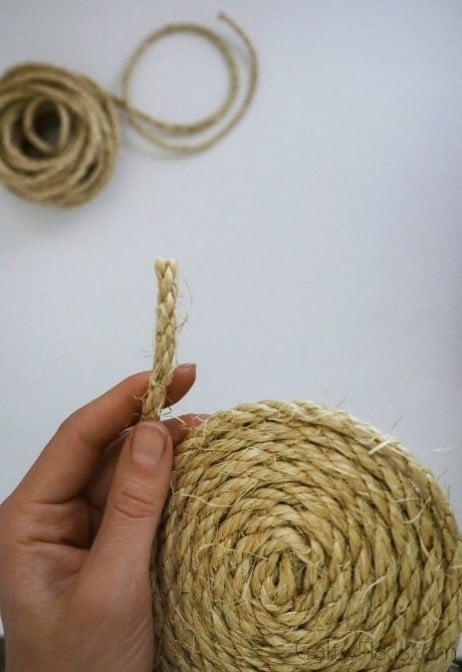
Gluing the rope down as it is can make your circle look a little uneven.
This is because the ropes end is fairly bulky, creating a distorted look even when tucked in.
To counteract this, well cut the rope at an angle just like when we created the starting loop.
Cut at an angle to create a pointed tip.
Then, glue the point down to the finish.
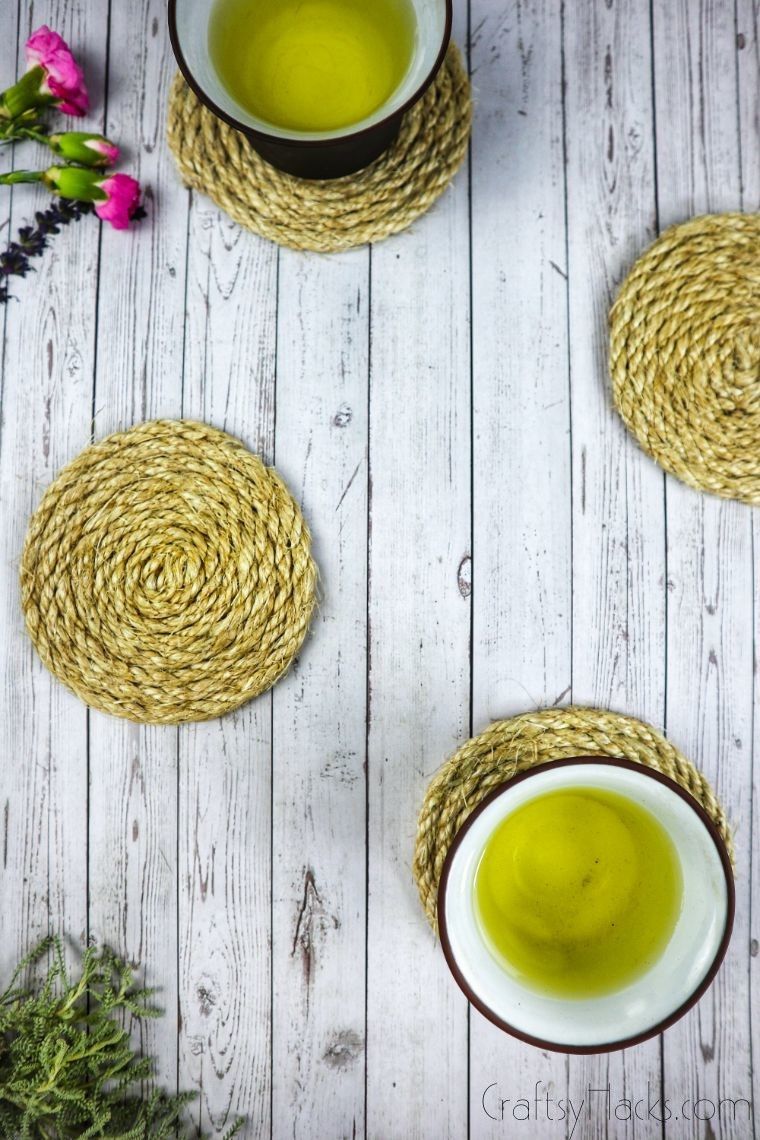
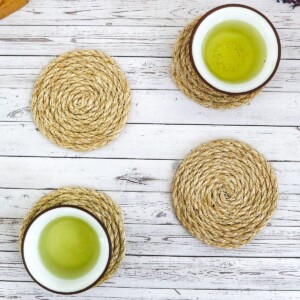
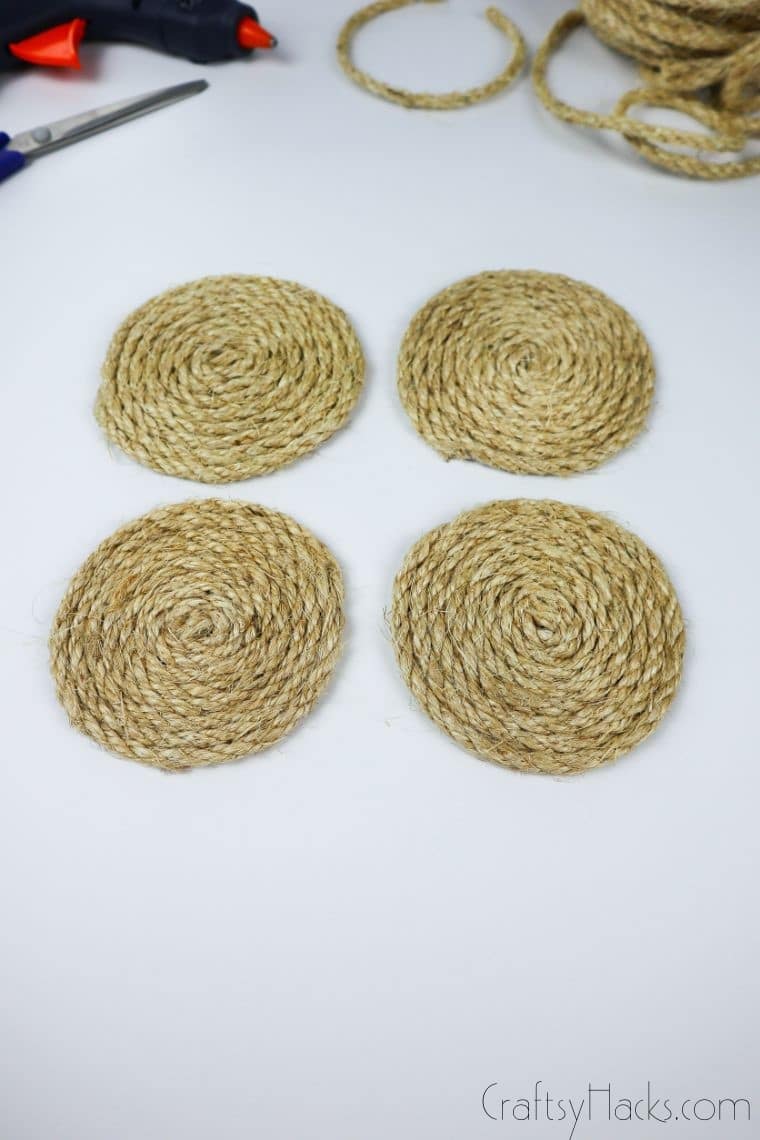
There you have it!
One rope coaster down, however many more you want to go.
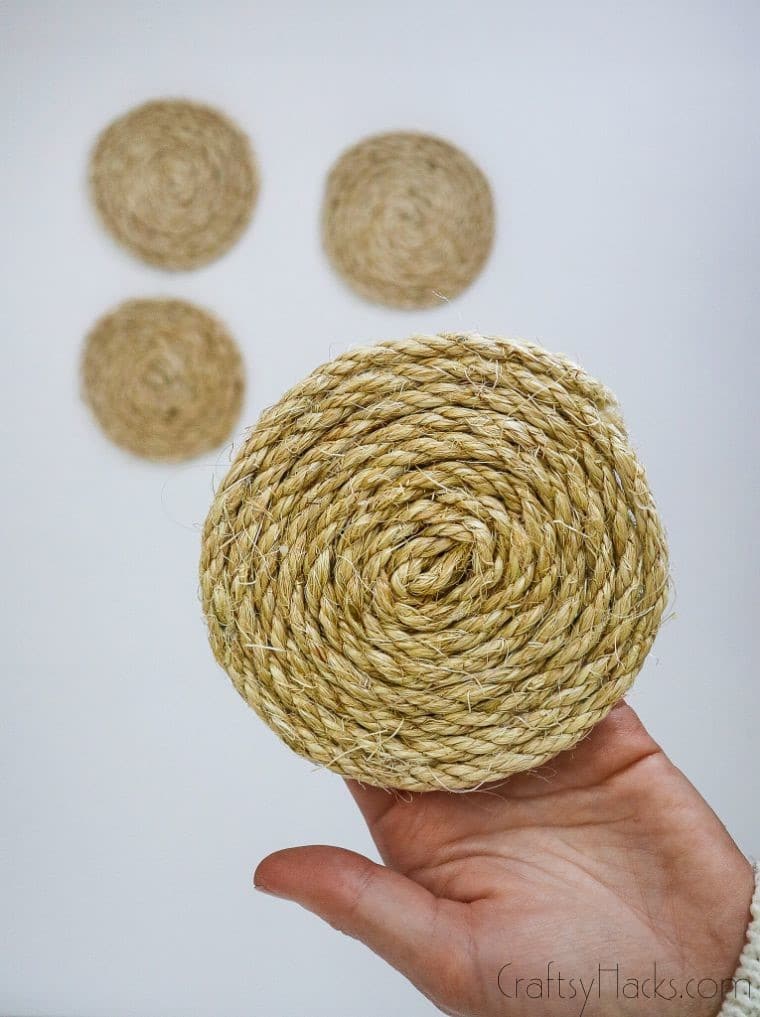
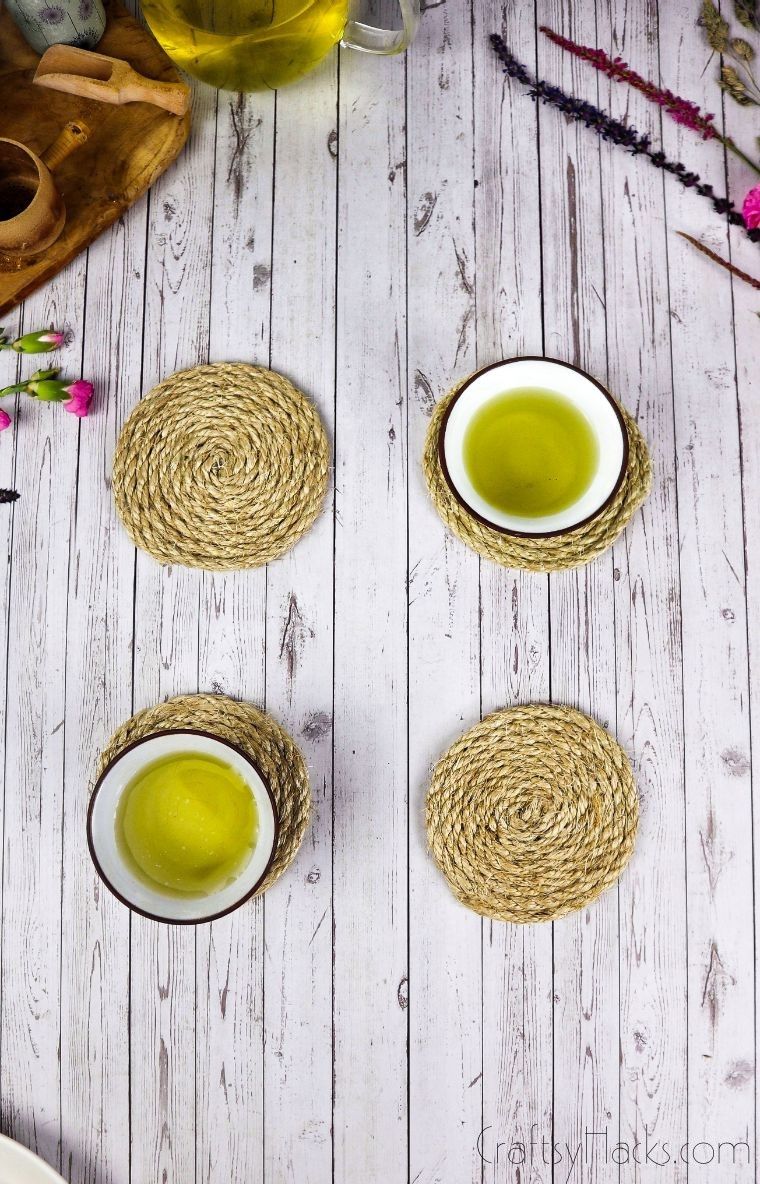
What Can You Use These Rope Coasters For?
Thanks to how easy it is to make these coasters, you might make them any size you like.
That means it’s possible for you to use them for pretty much anything in your home!