HomeOrganization
This post may contain affiliate links:full affiliate disclosure.
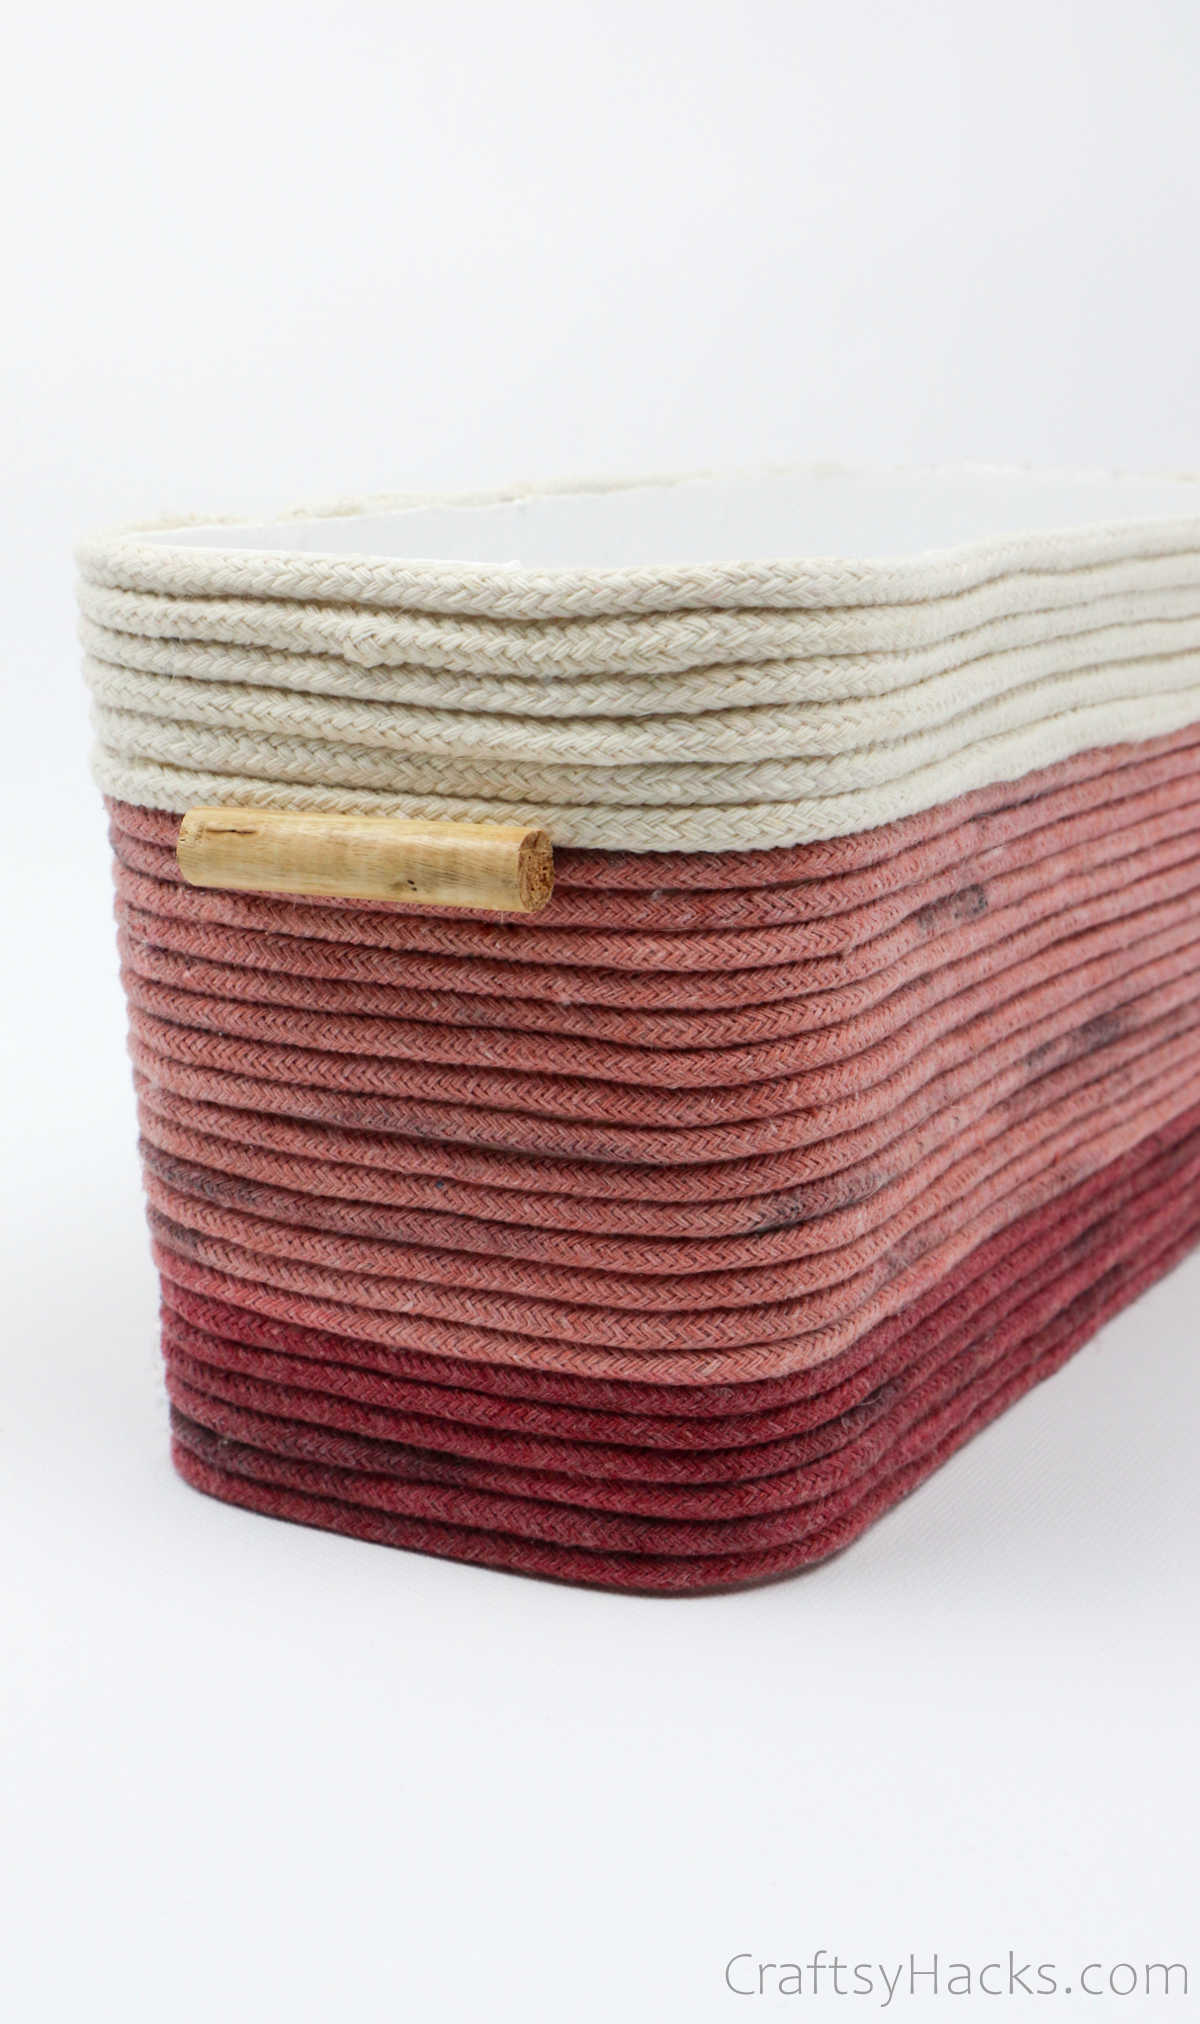
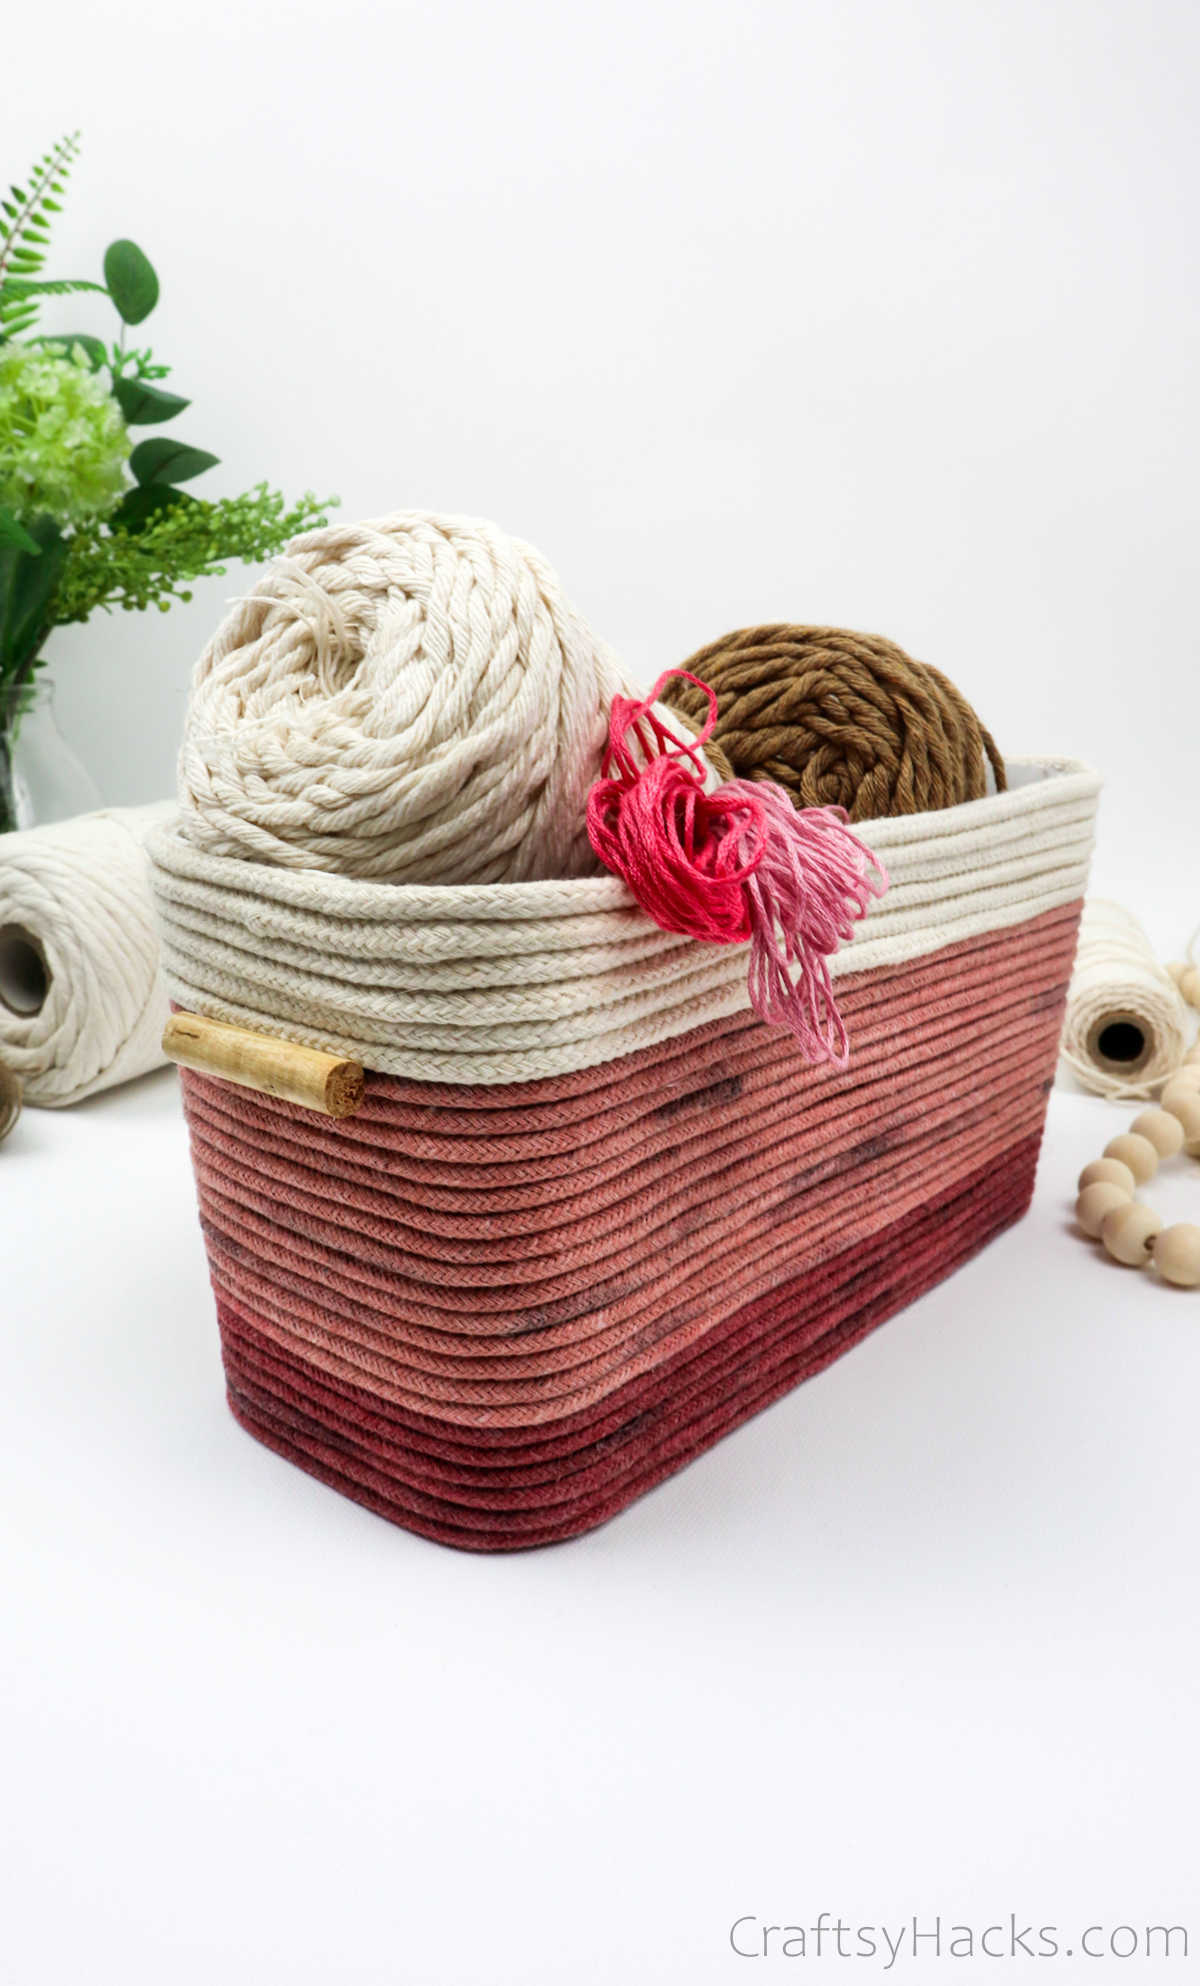
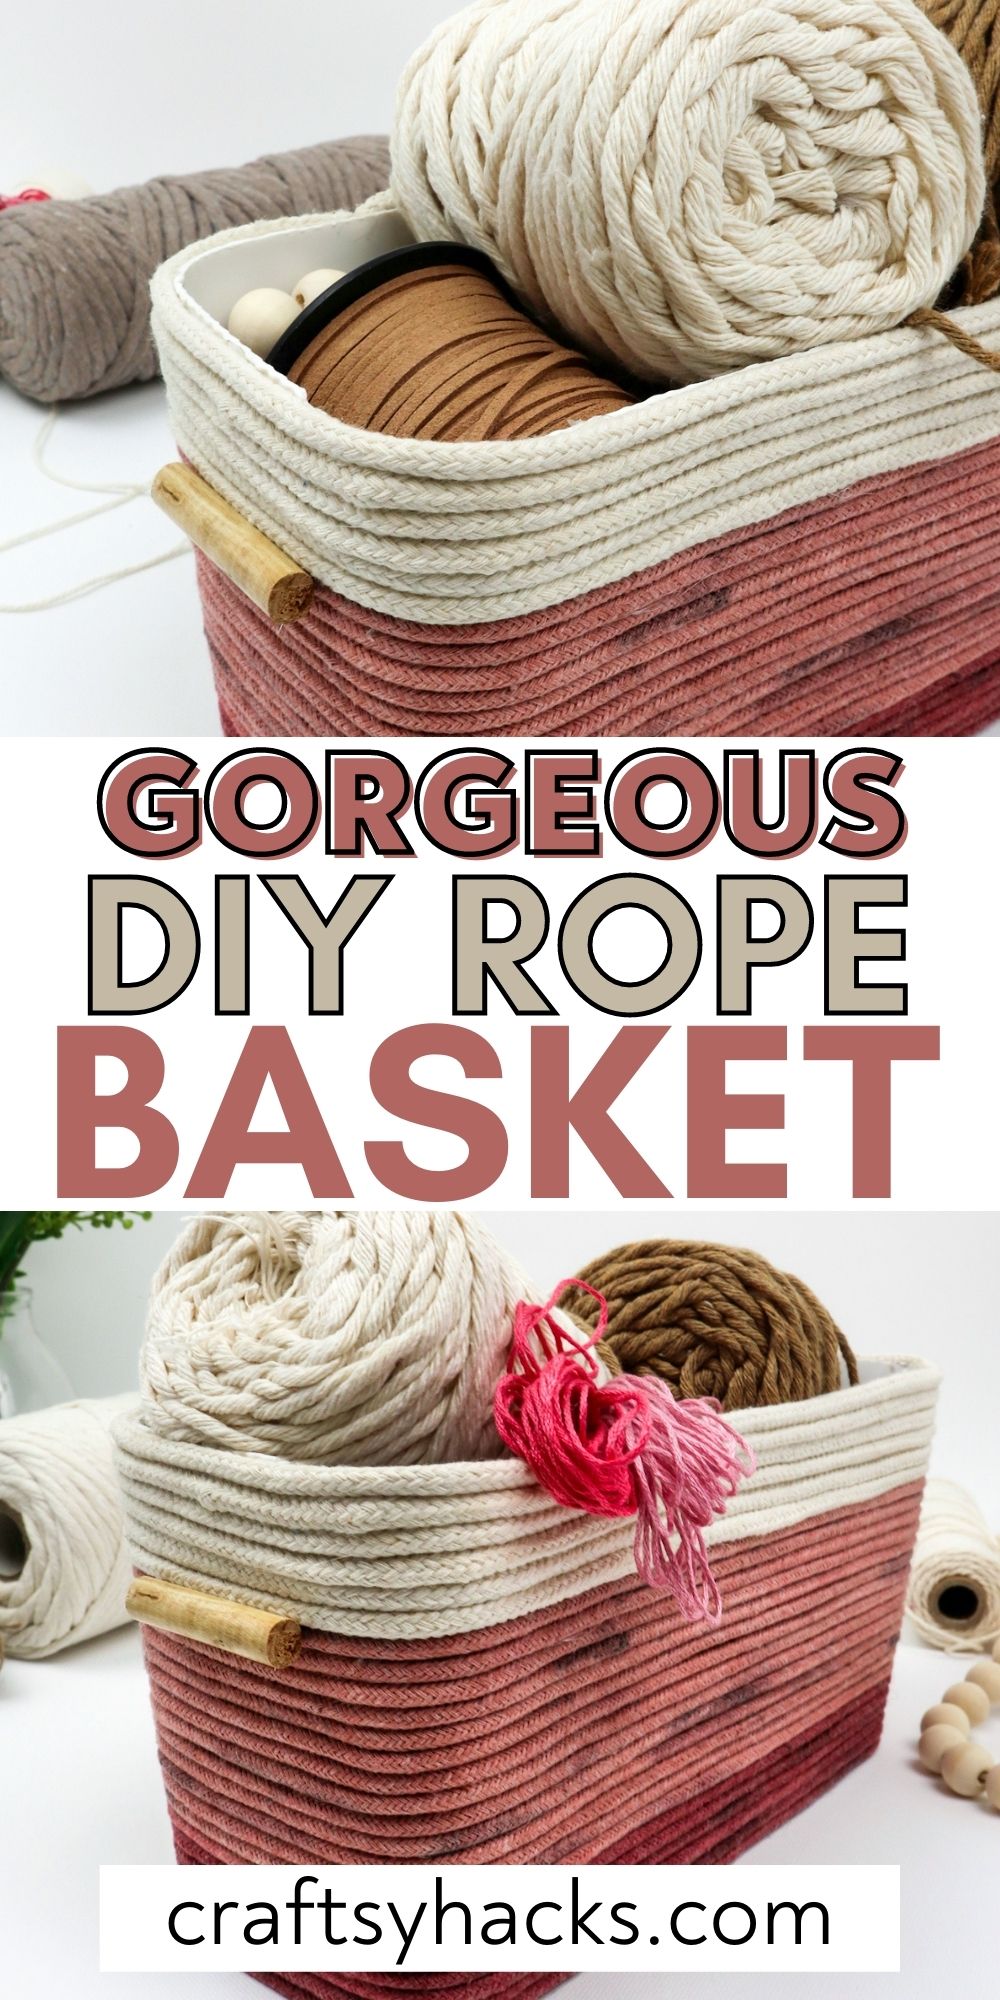
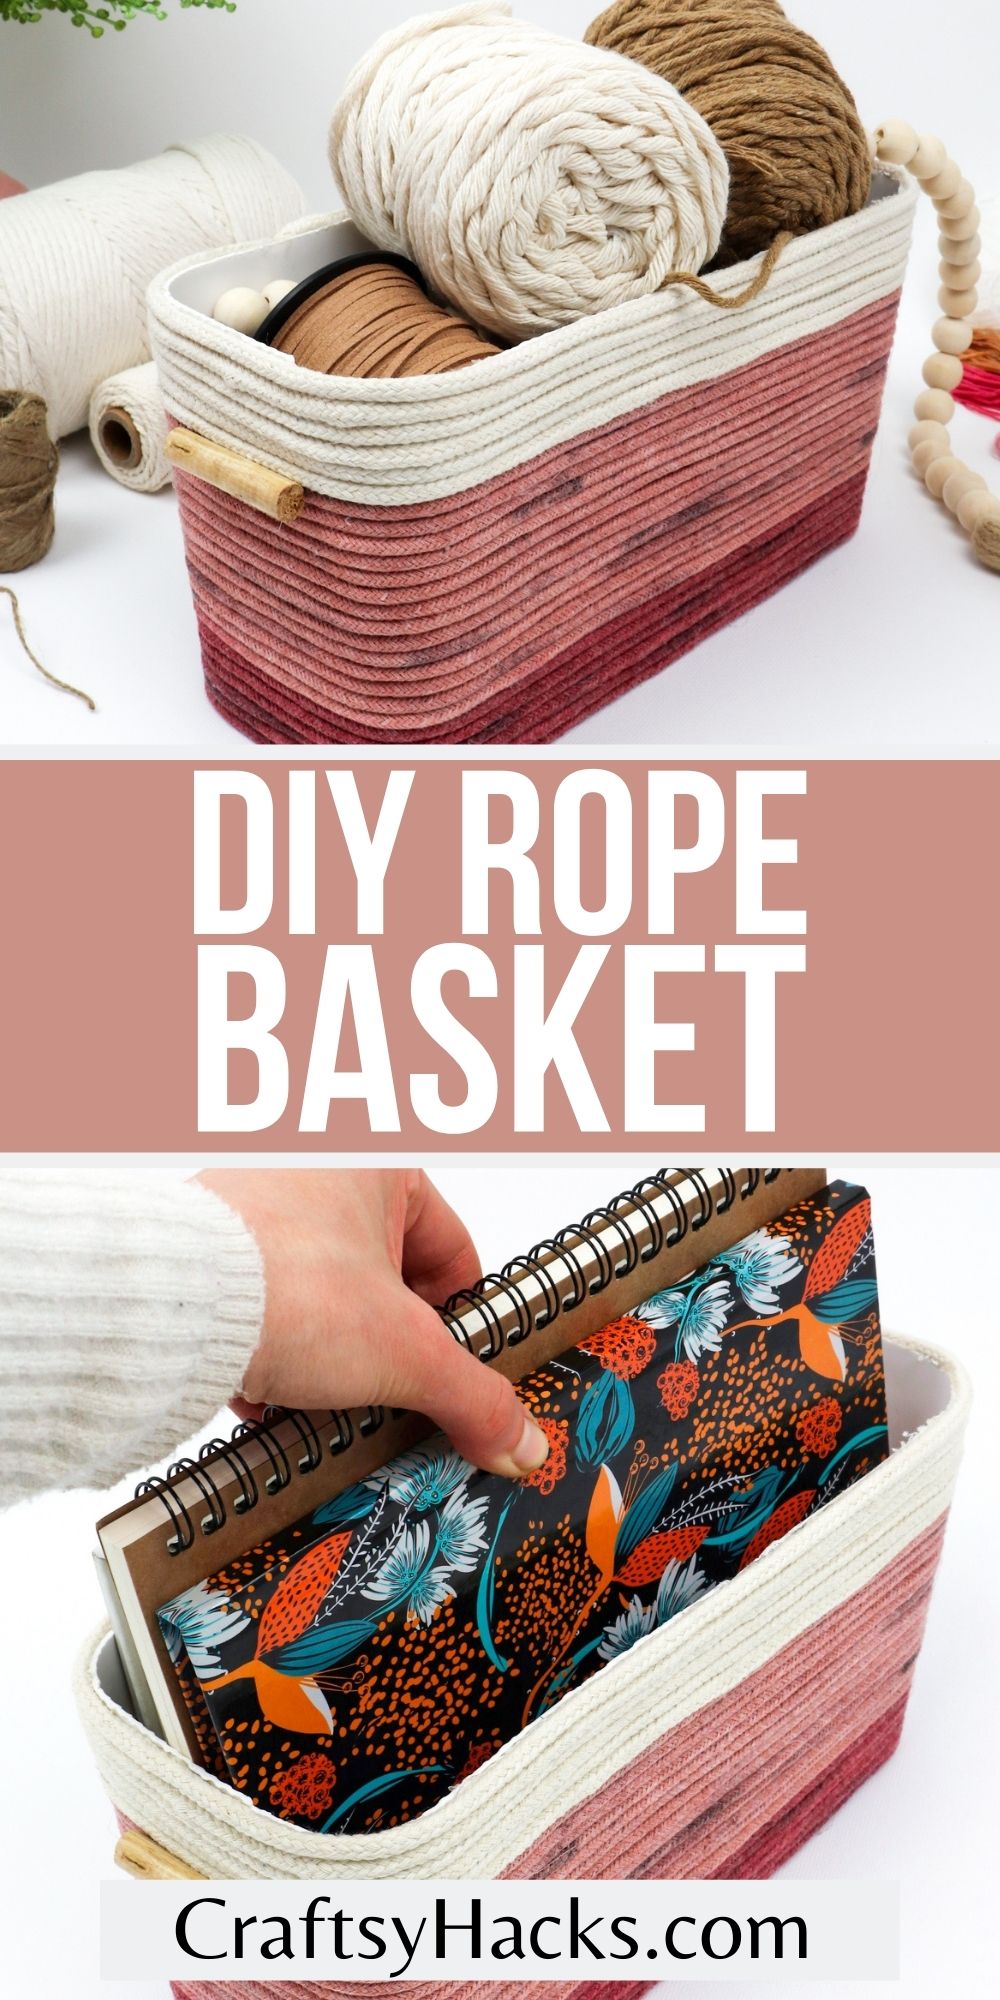
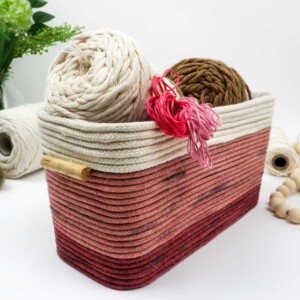
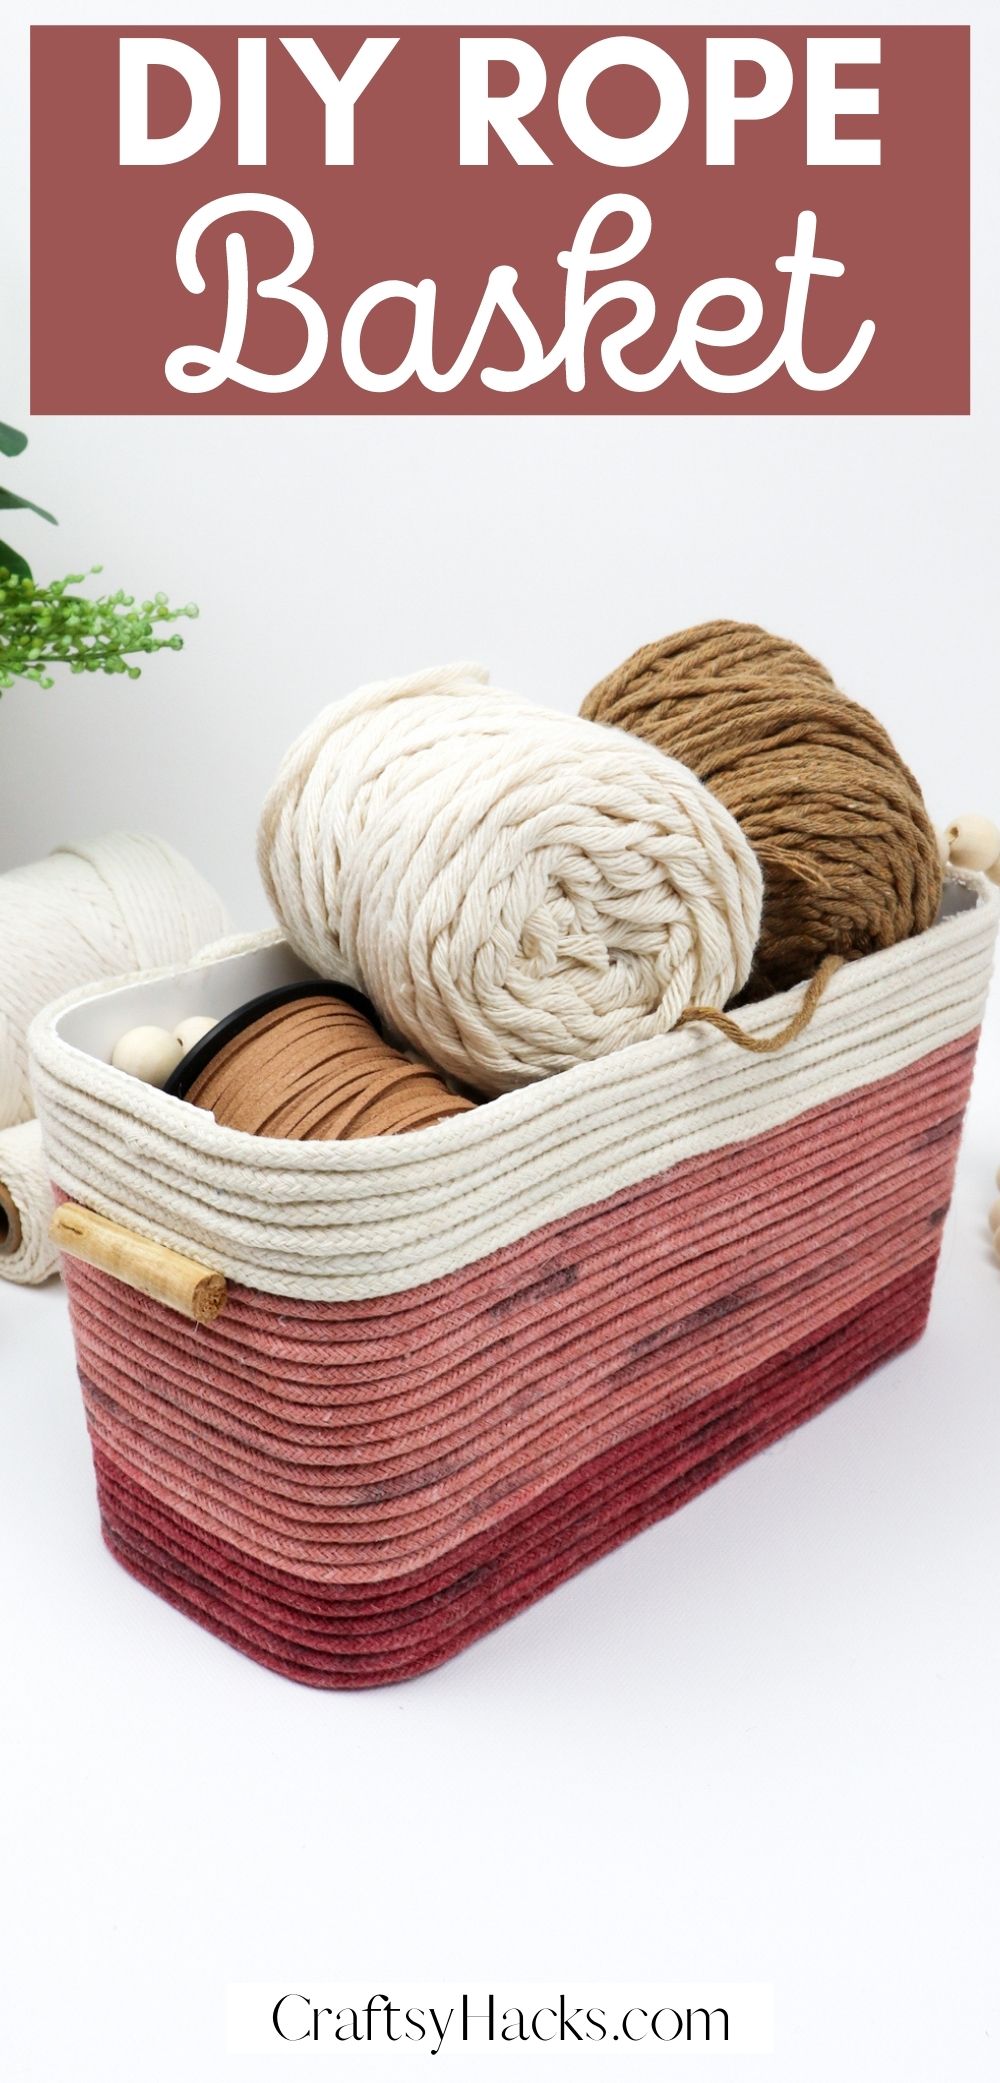
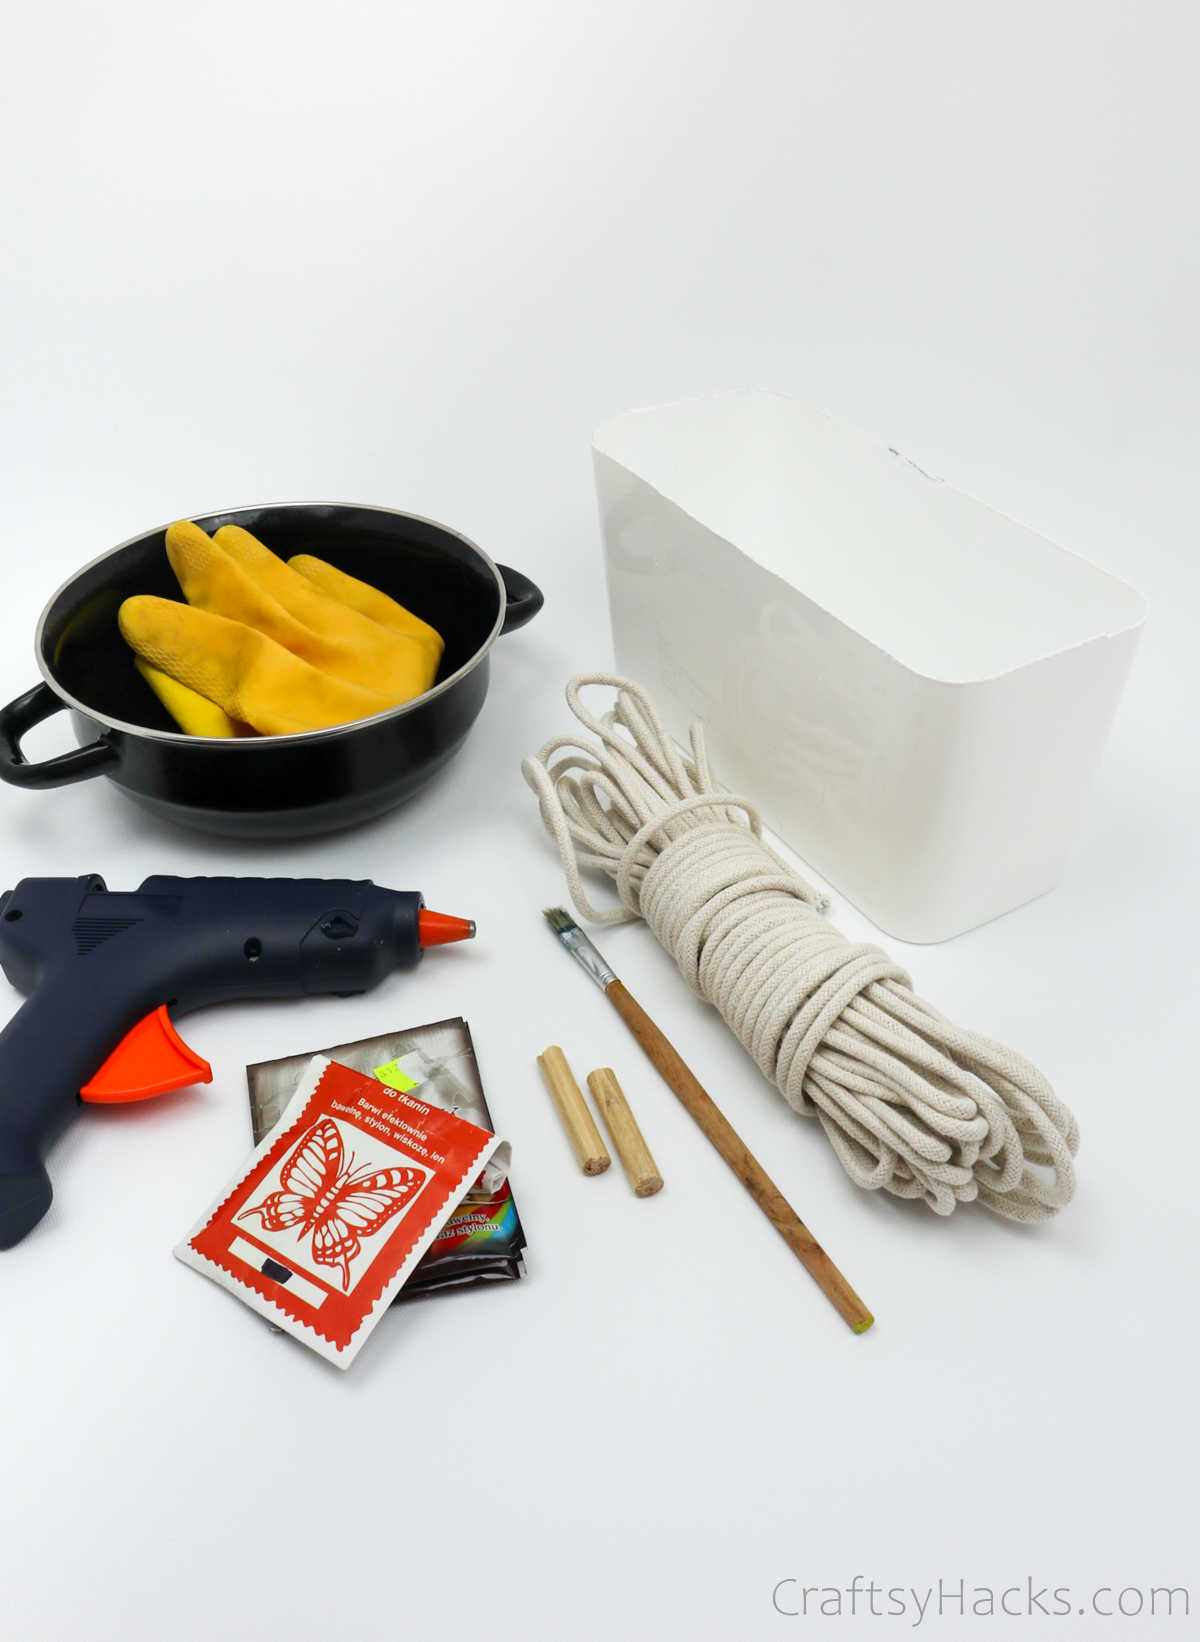
Upcycle your boxes by making this DIY rope basket.
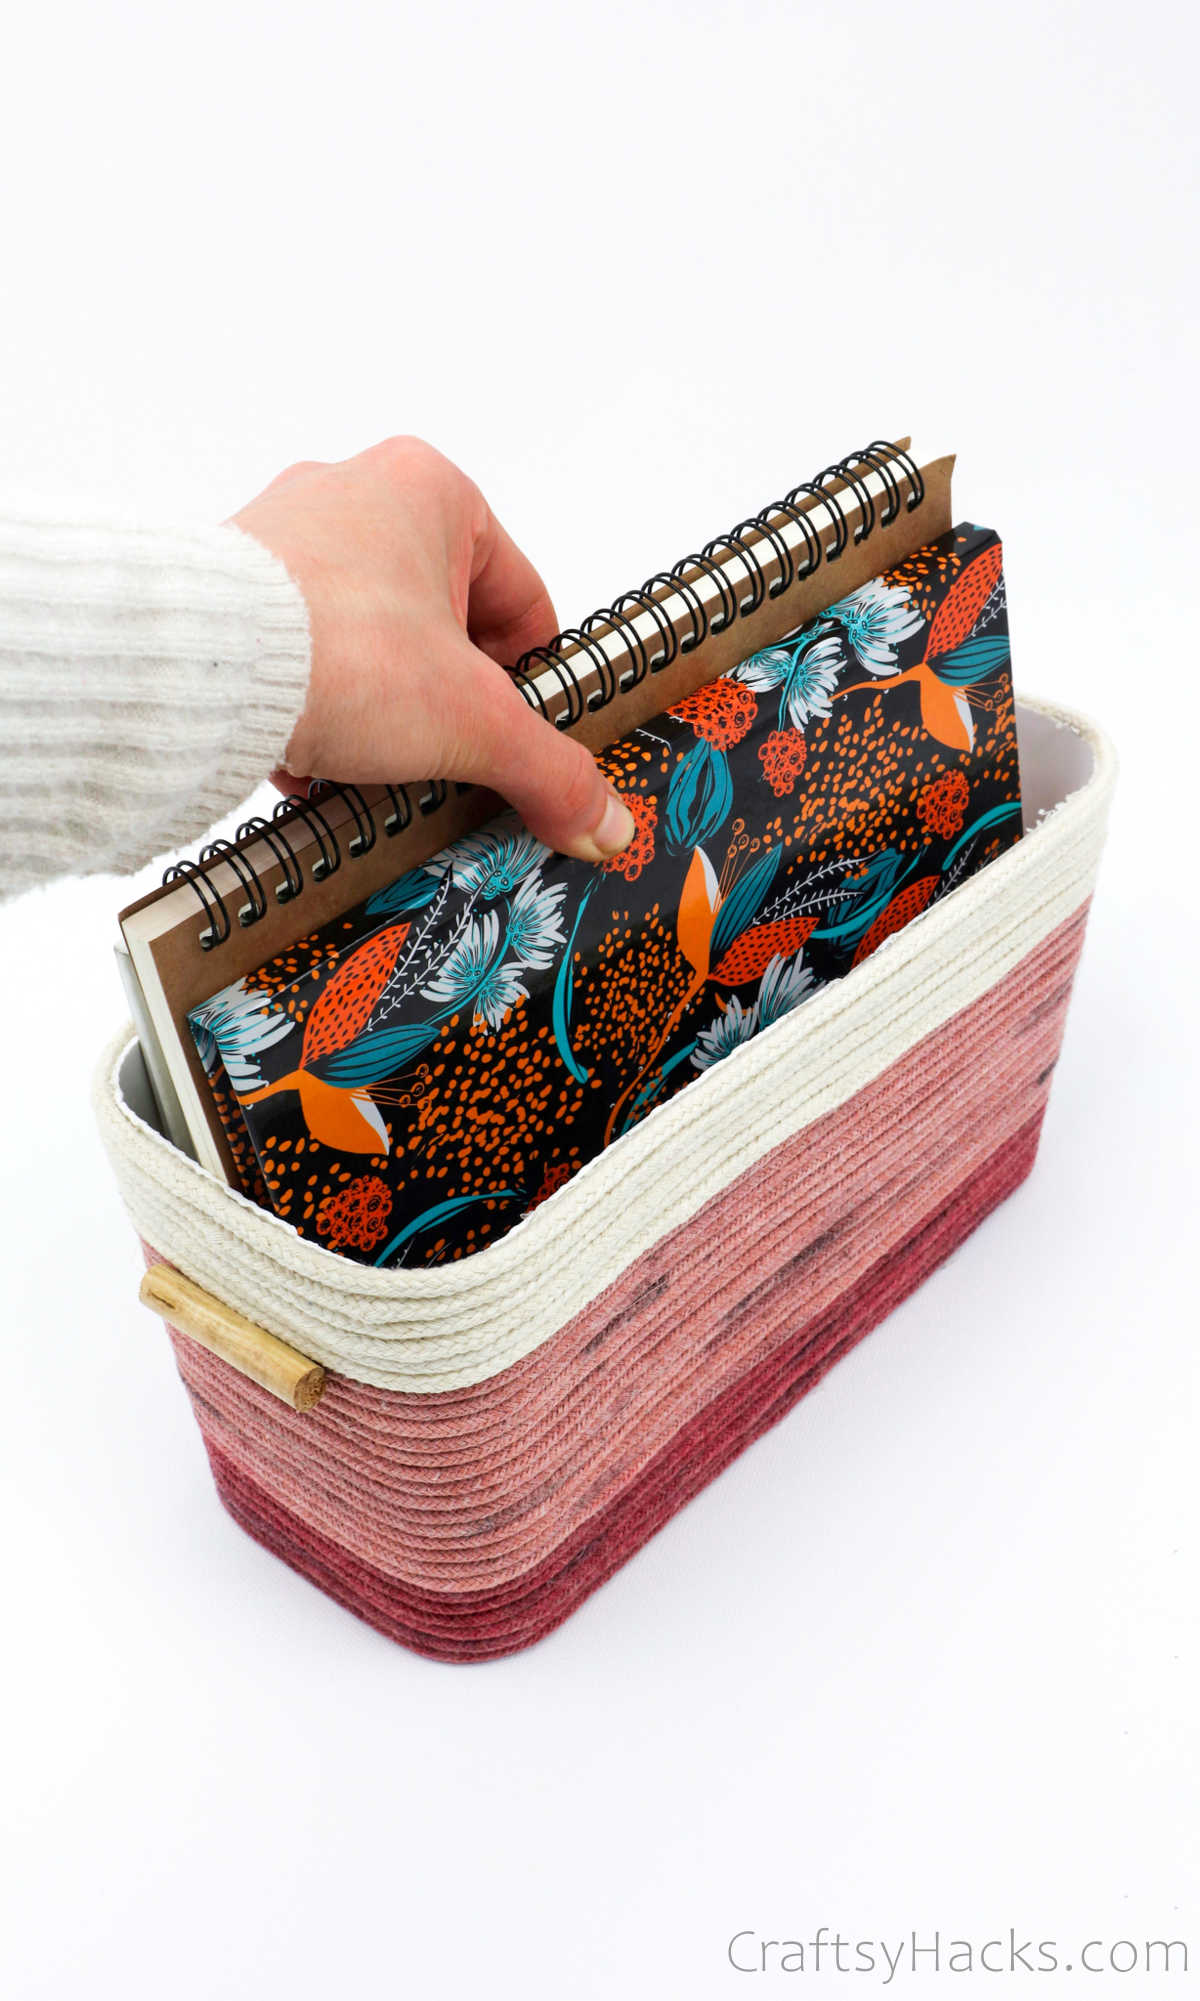
A great organizer for increasing your storage space in style.
Are you a fan of macrame crafts?
In under an hour, youll have a gorgeous rope basket.
How to Make DIY Rope Basket
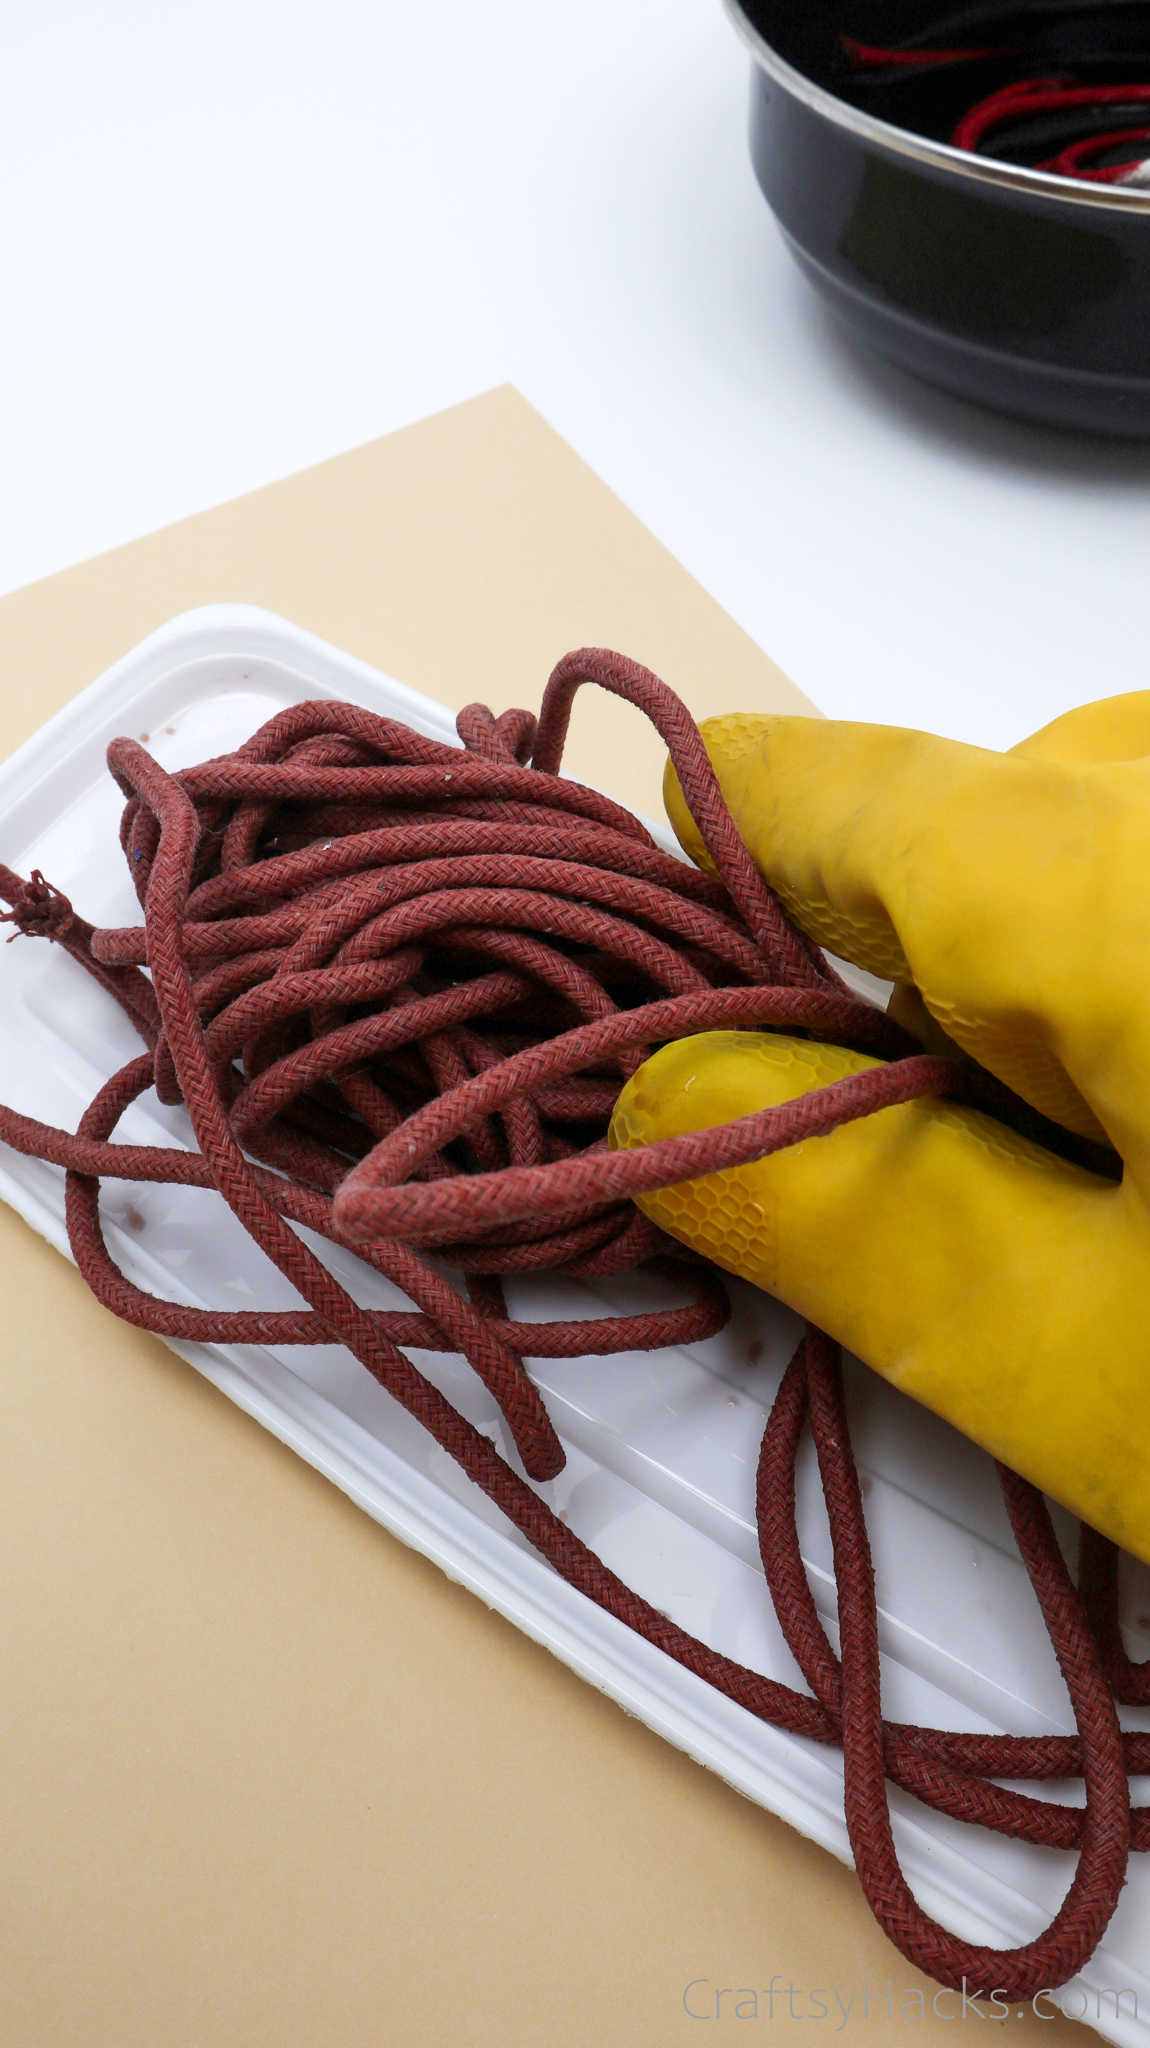
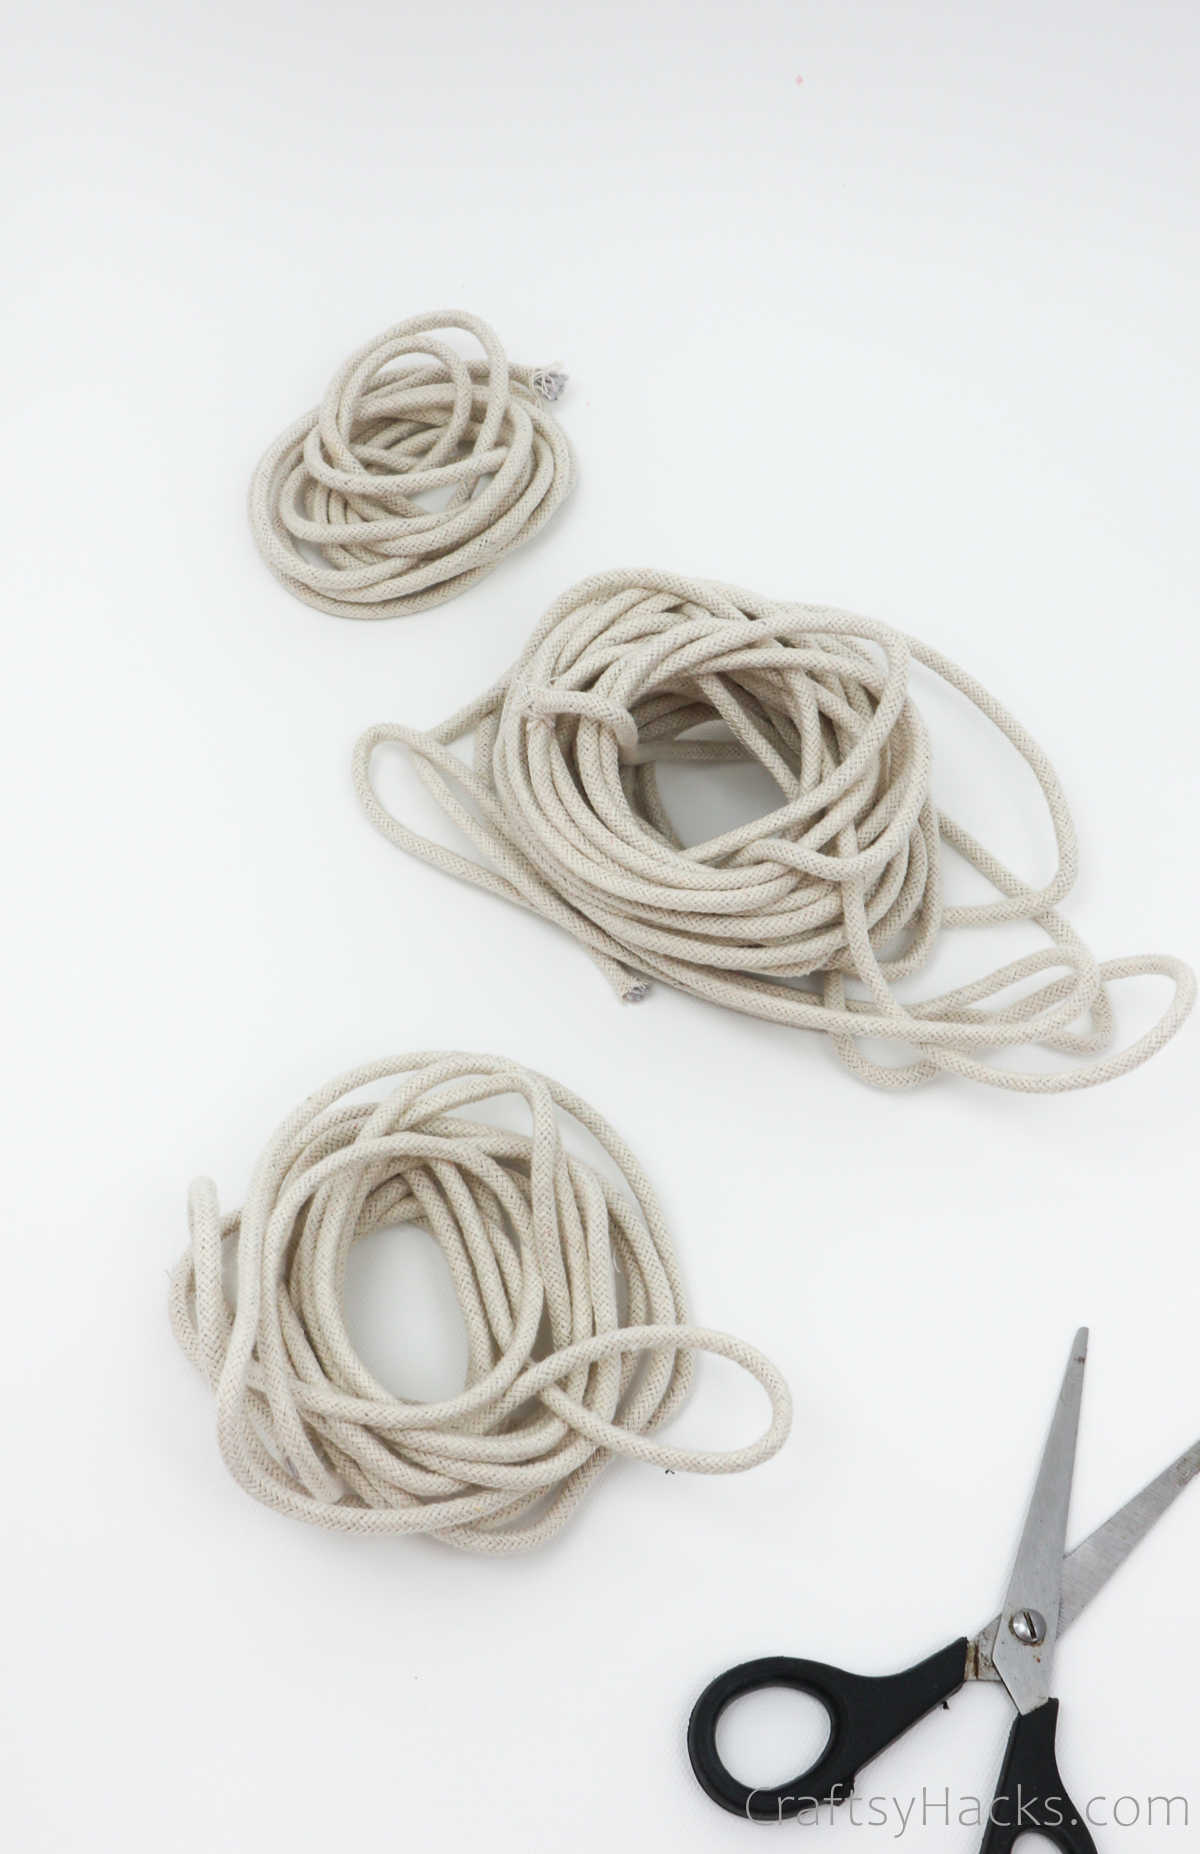
It all comes down to the rope you plan to use.
Its much easierand practicalto buy some run-of-the-mill rope and then dye it using food dye.
Youll be able to experiment with color and patterns.
Youll also have that added satisfaction of taking your crafting skills one step further by starting from scratch.
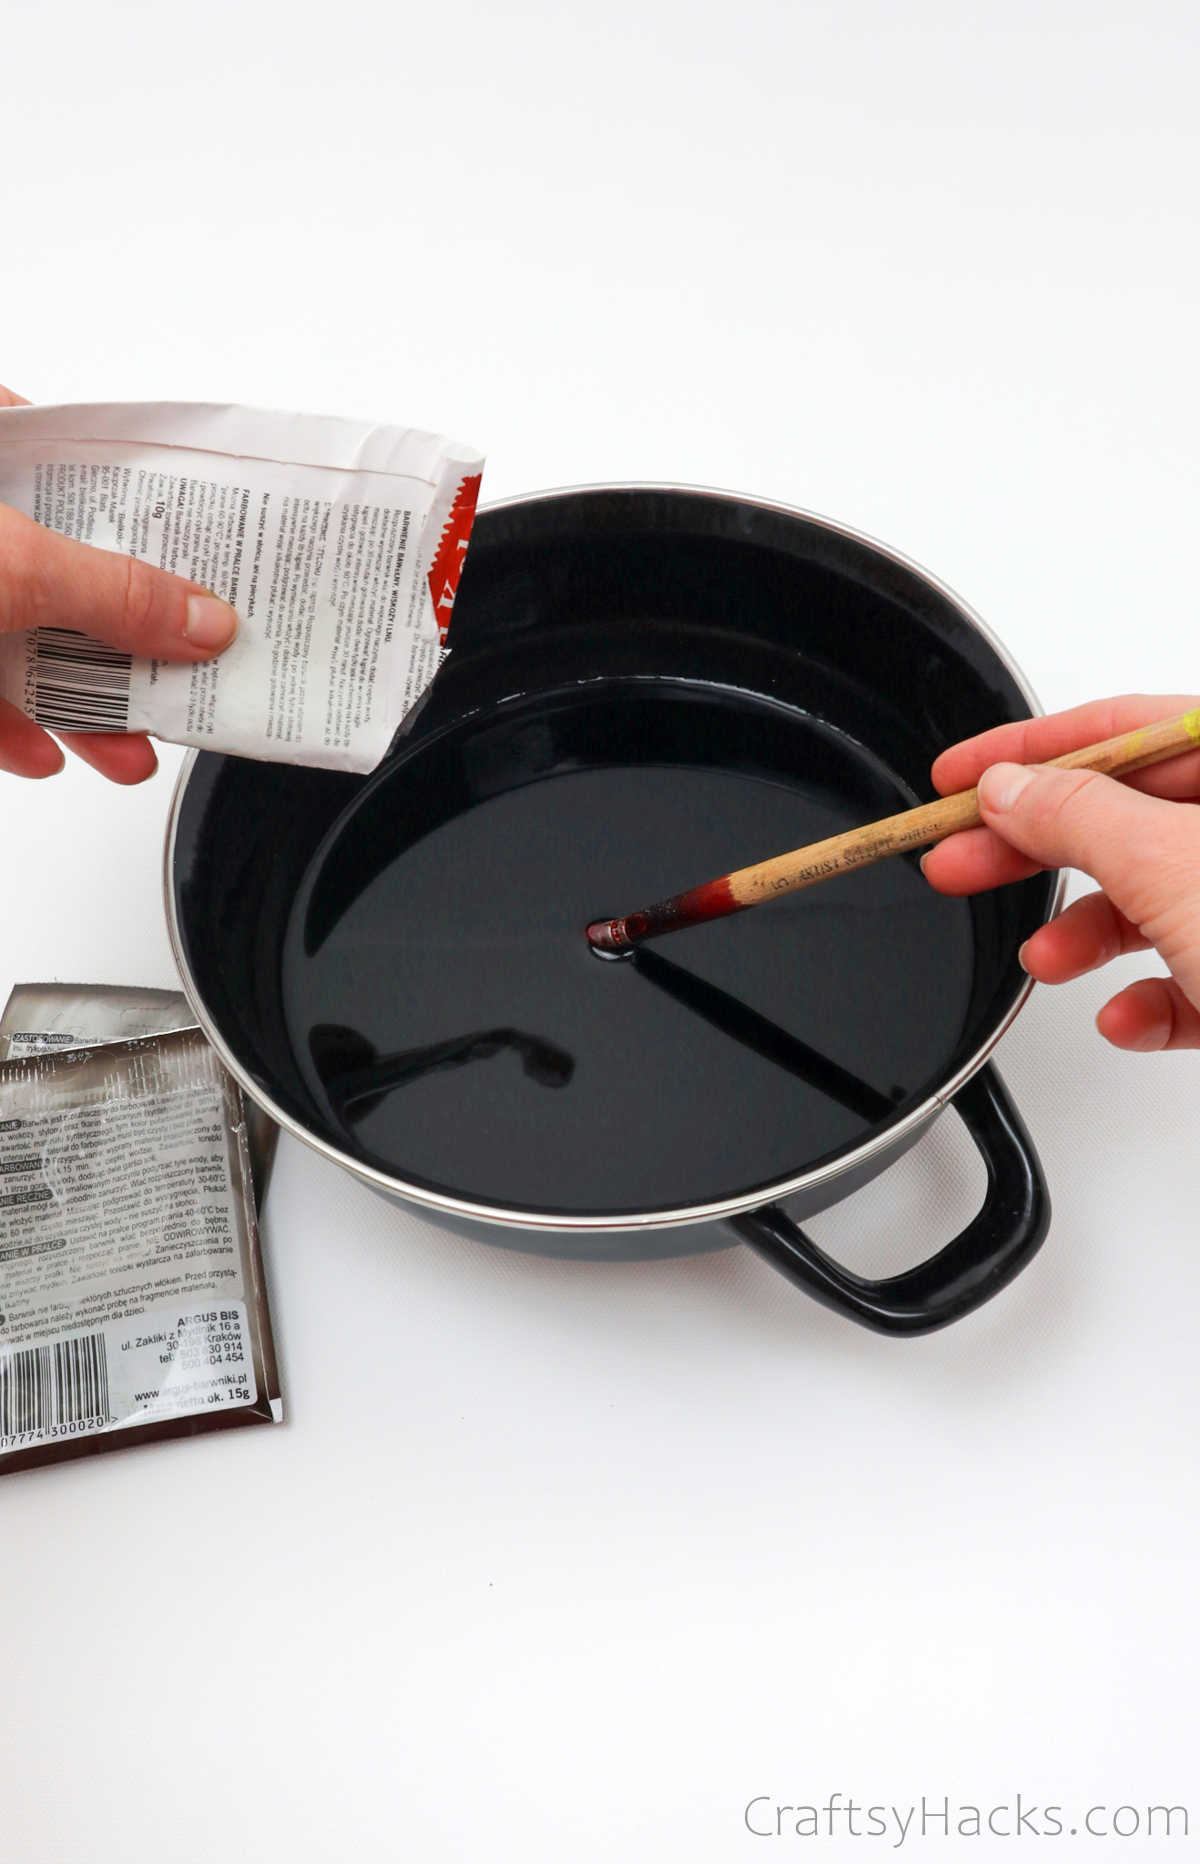
Step 2
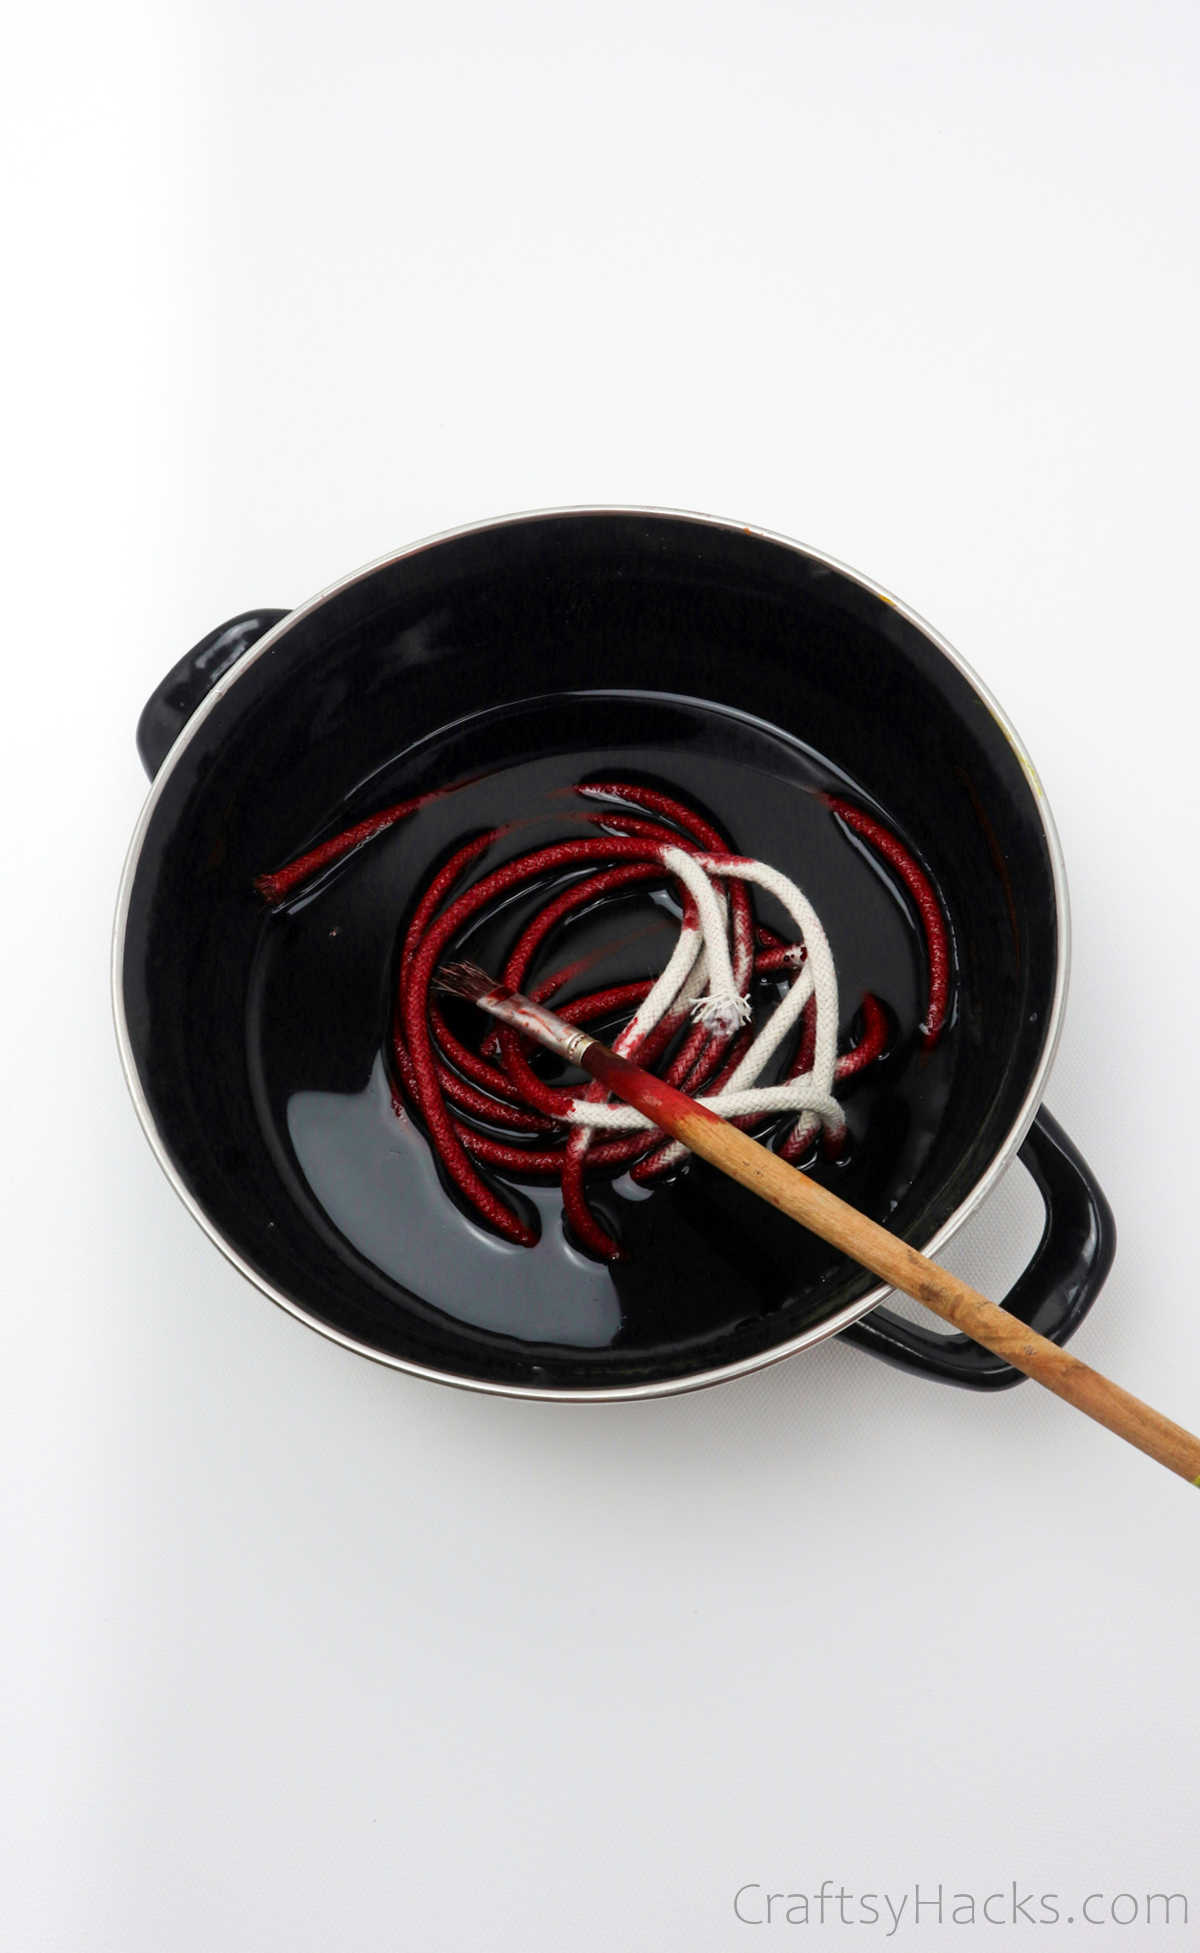
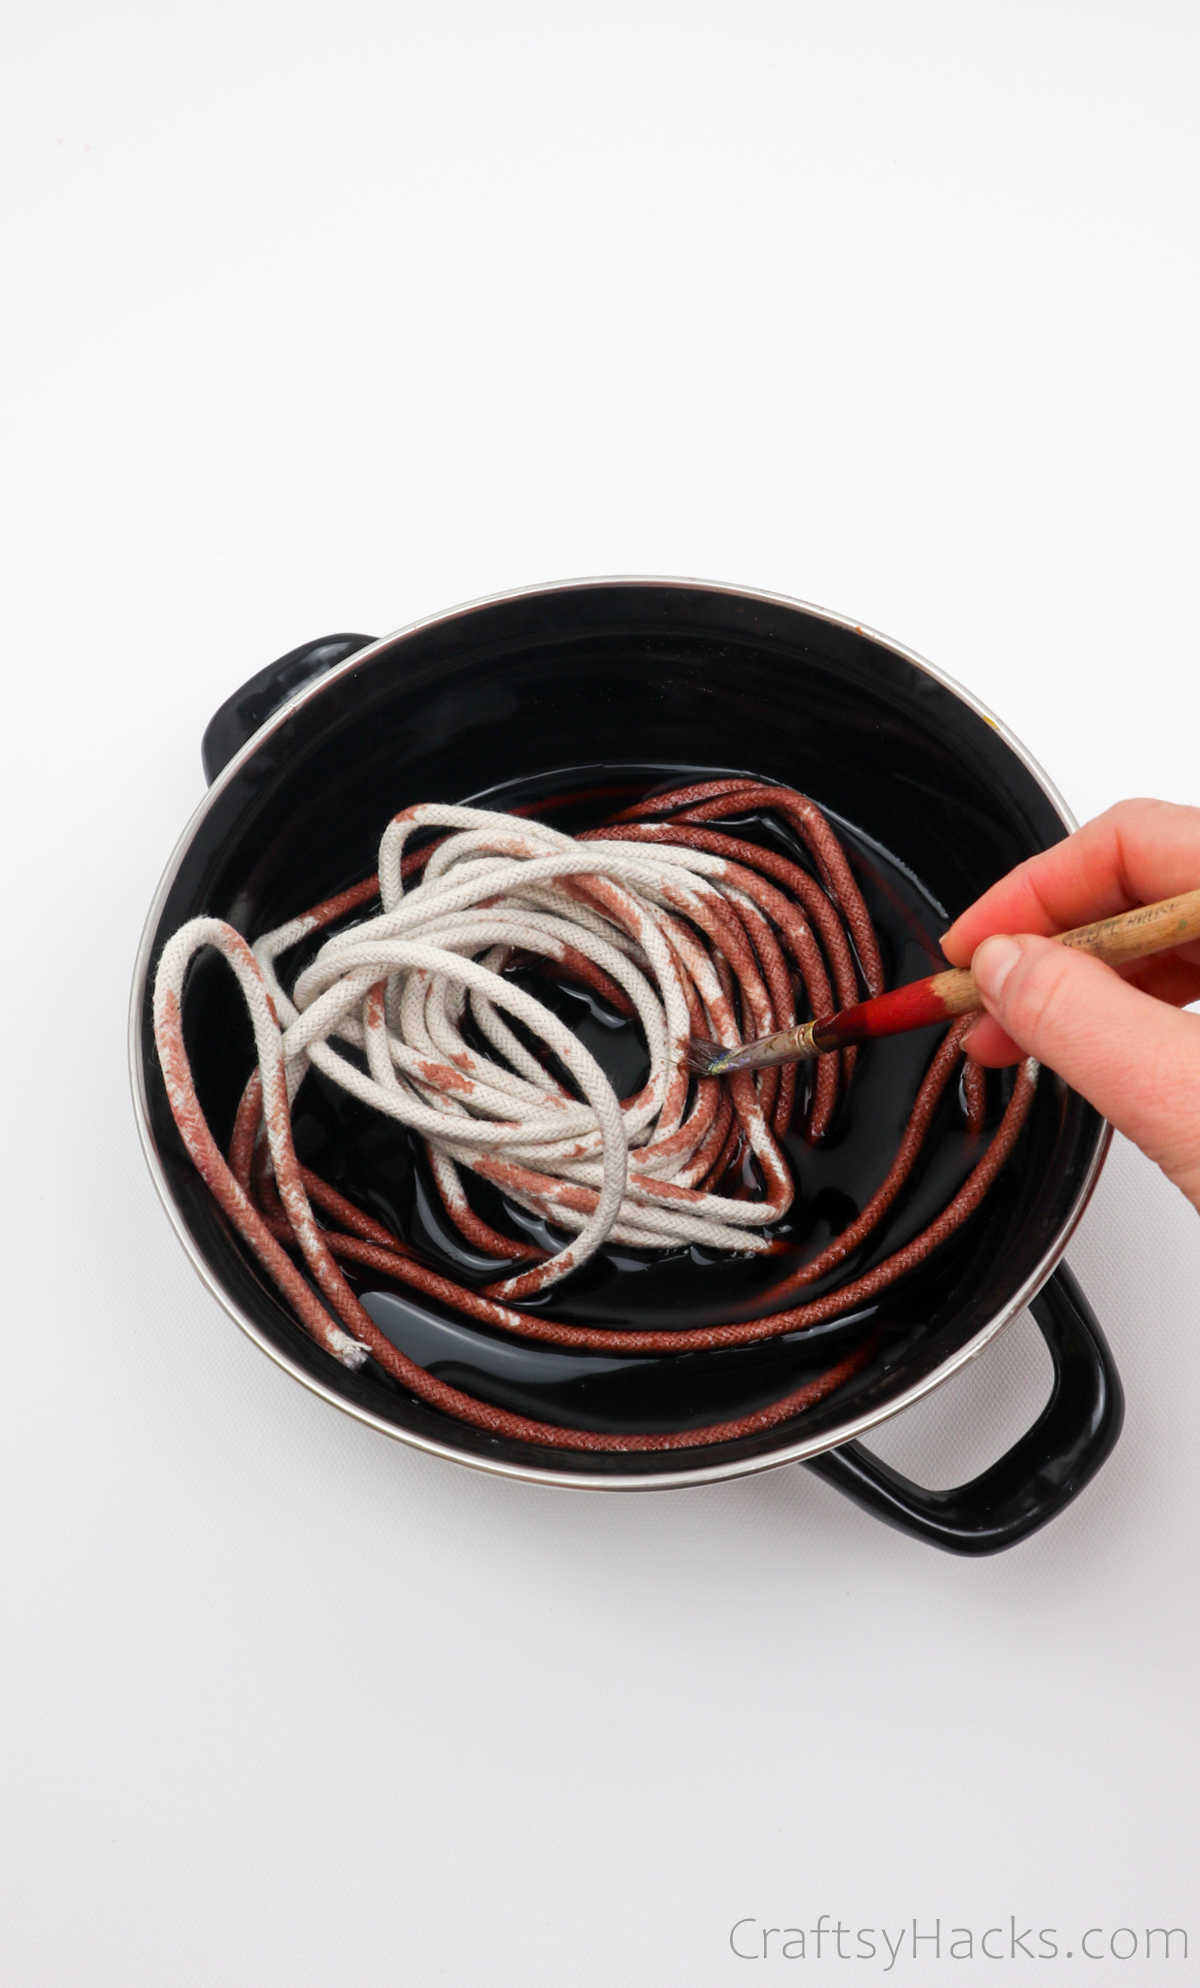
Step 2 is the fun part-dying!
Grab your food color(s) of choice and mix it with some water.
Dont forget to don protective gear like gloves.
This will help you avoid staining your fingers and nails.
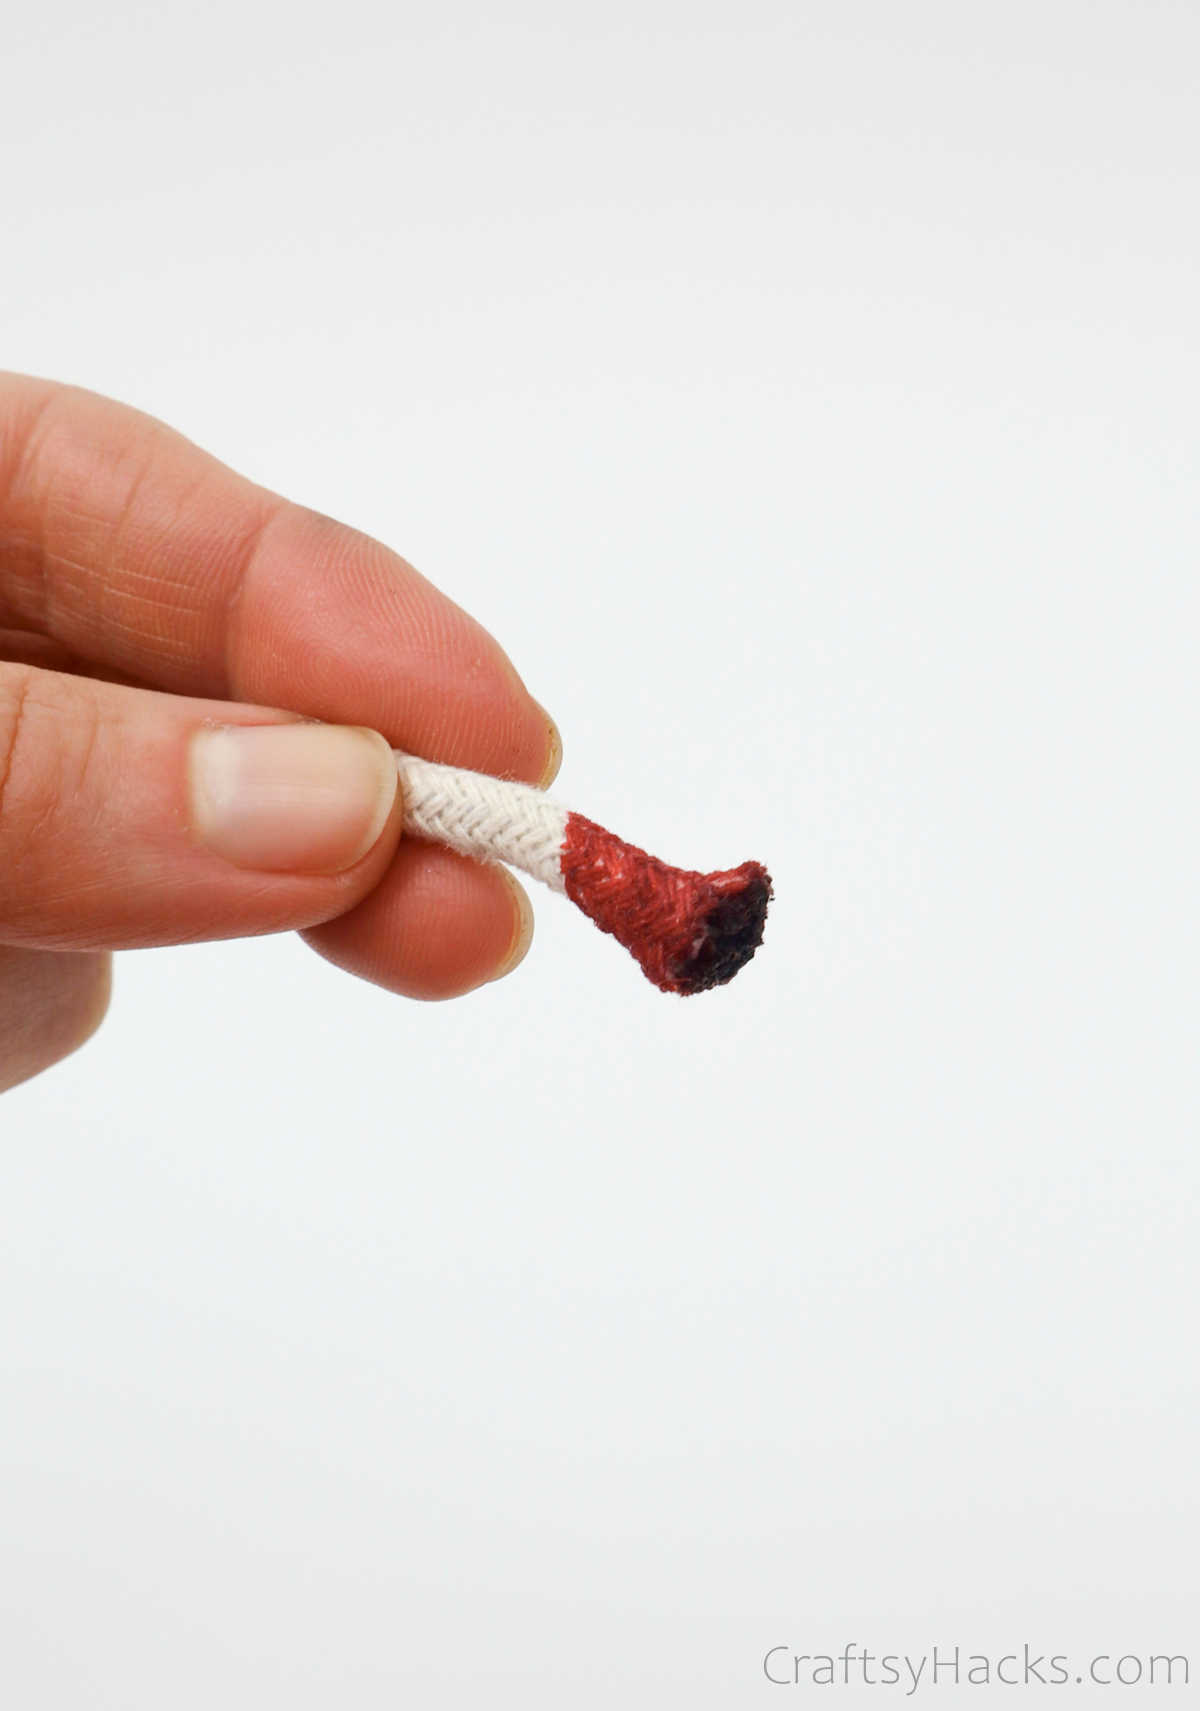
Ensure that the dye coats the rope evenly.
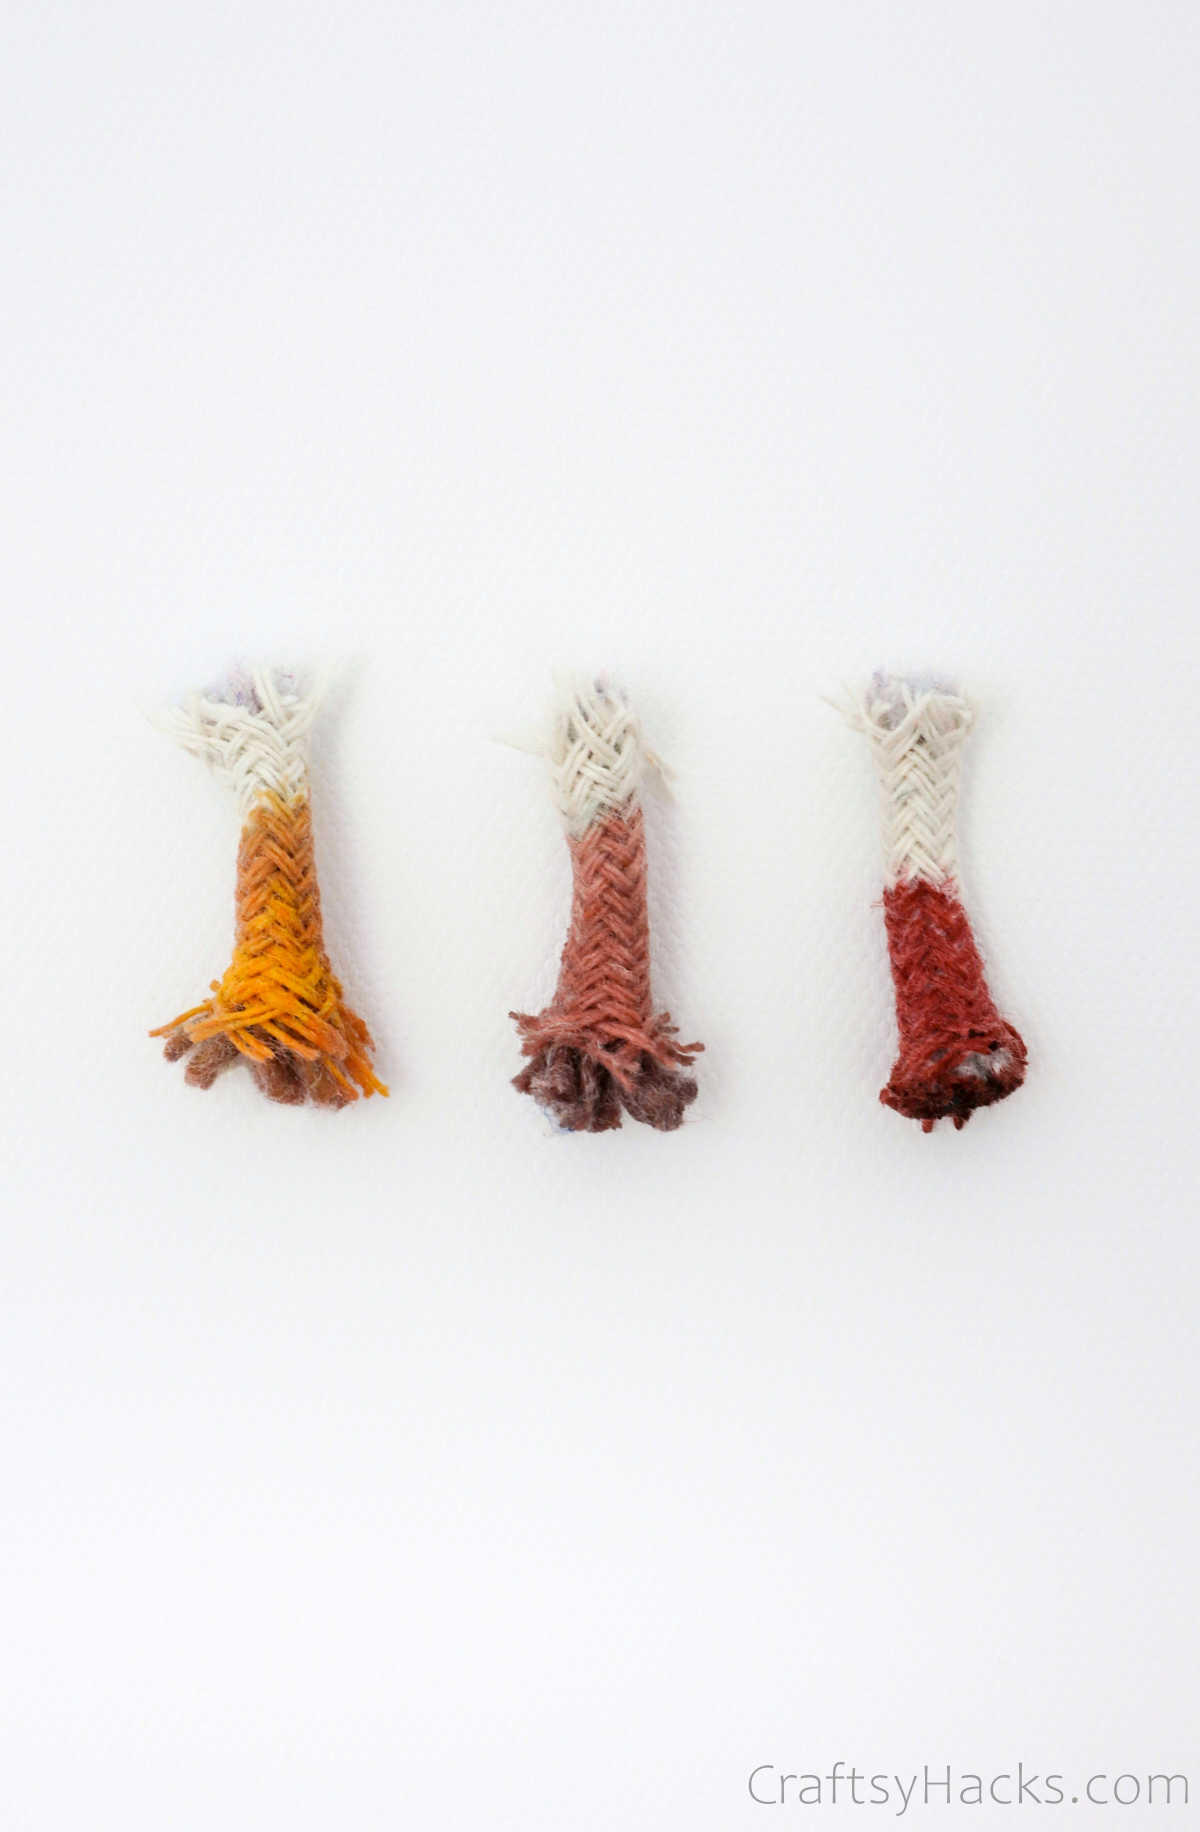
Swirl the rope around until its fully colored and you dont see any white patches.
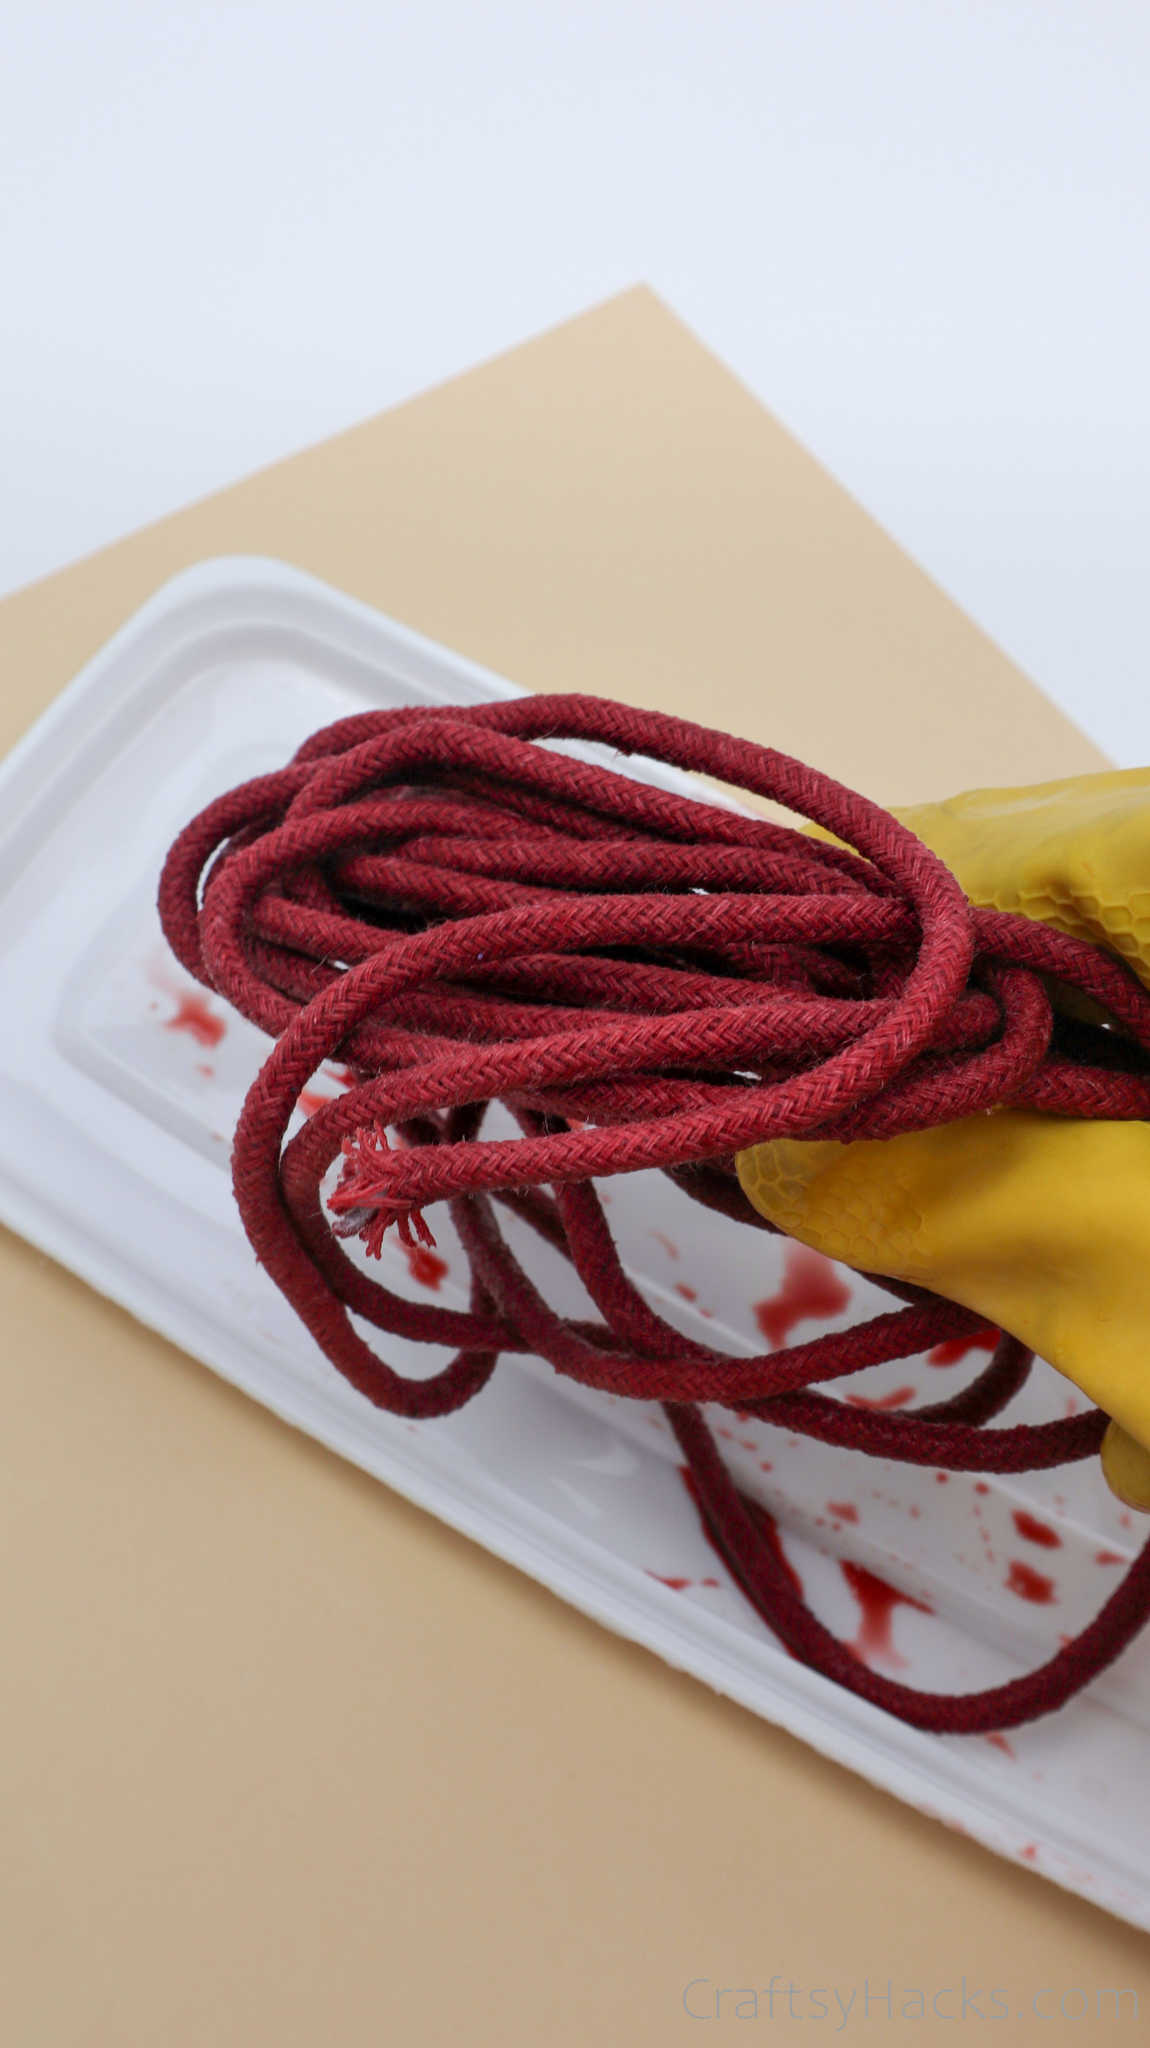
Your dyed rope should look like this when youre done with it.
Set it aside and allow it to dry.
Repeat this step with all your rope until you have all the colors you need.
Allow the rope to drycompletelybefore you use them.
Step 4
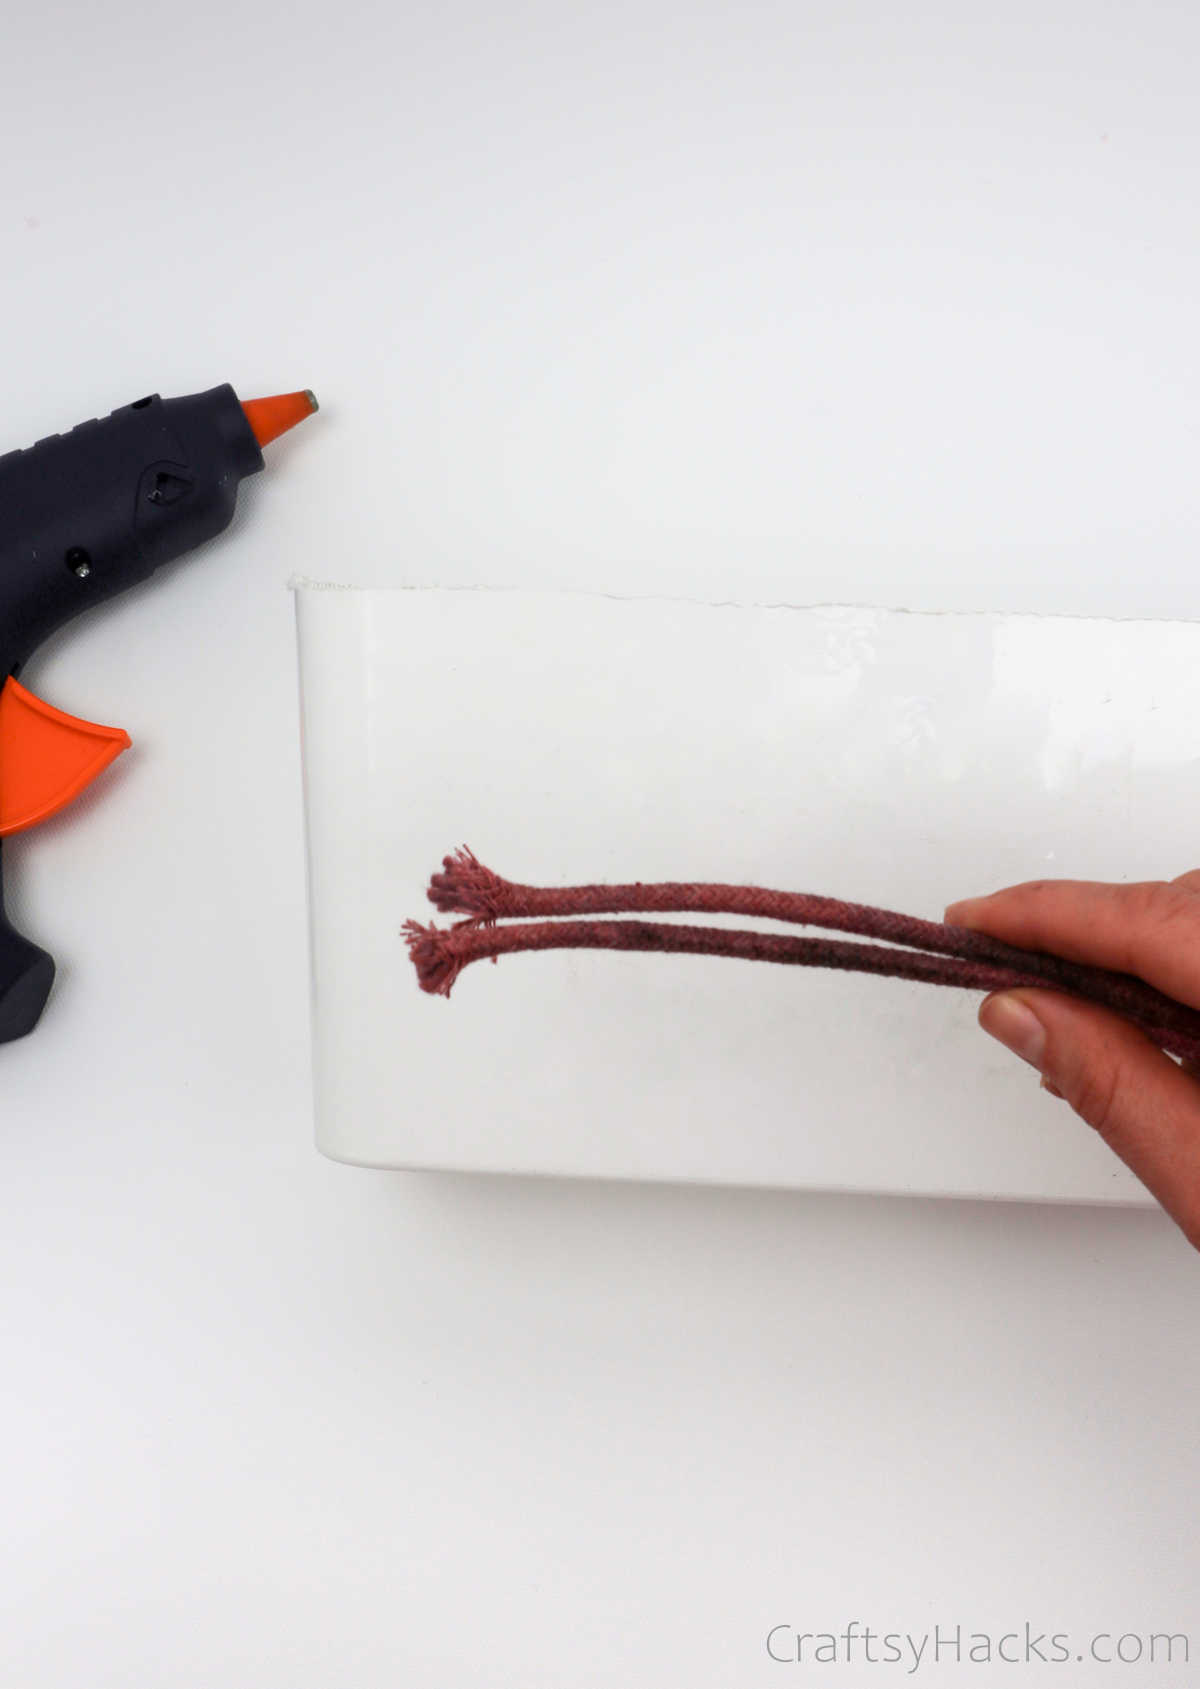
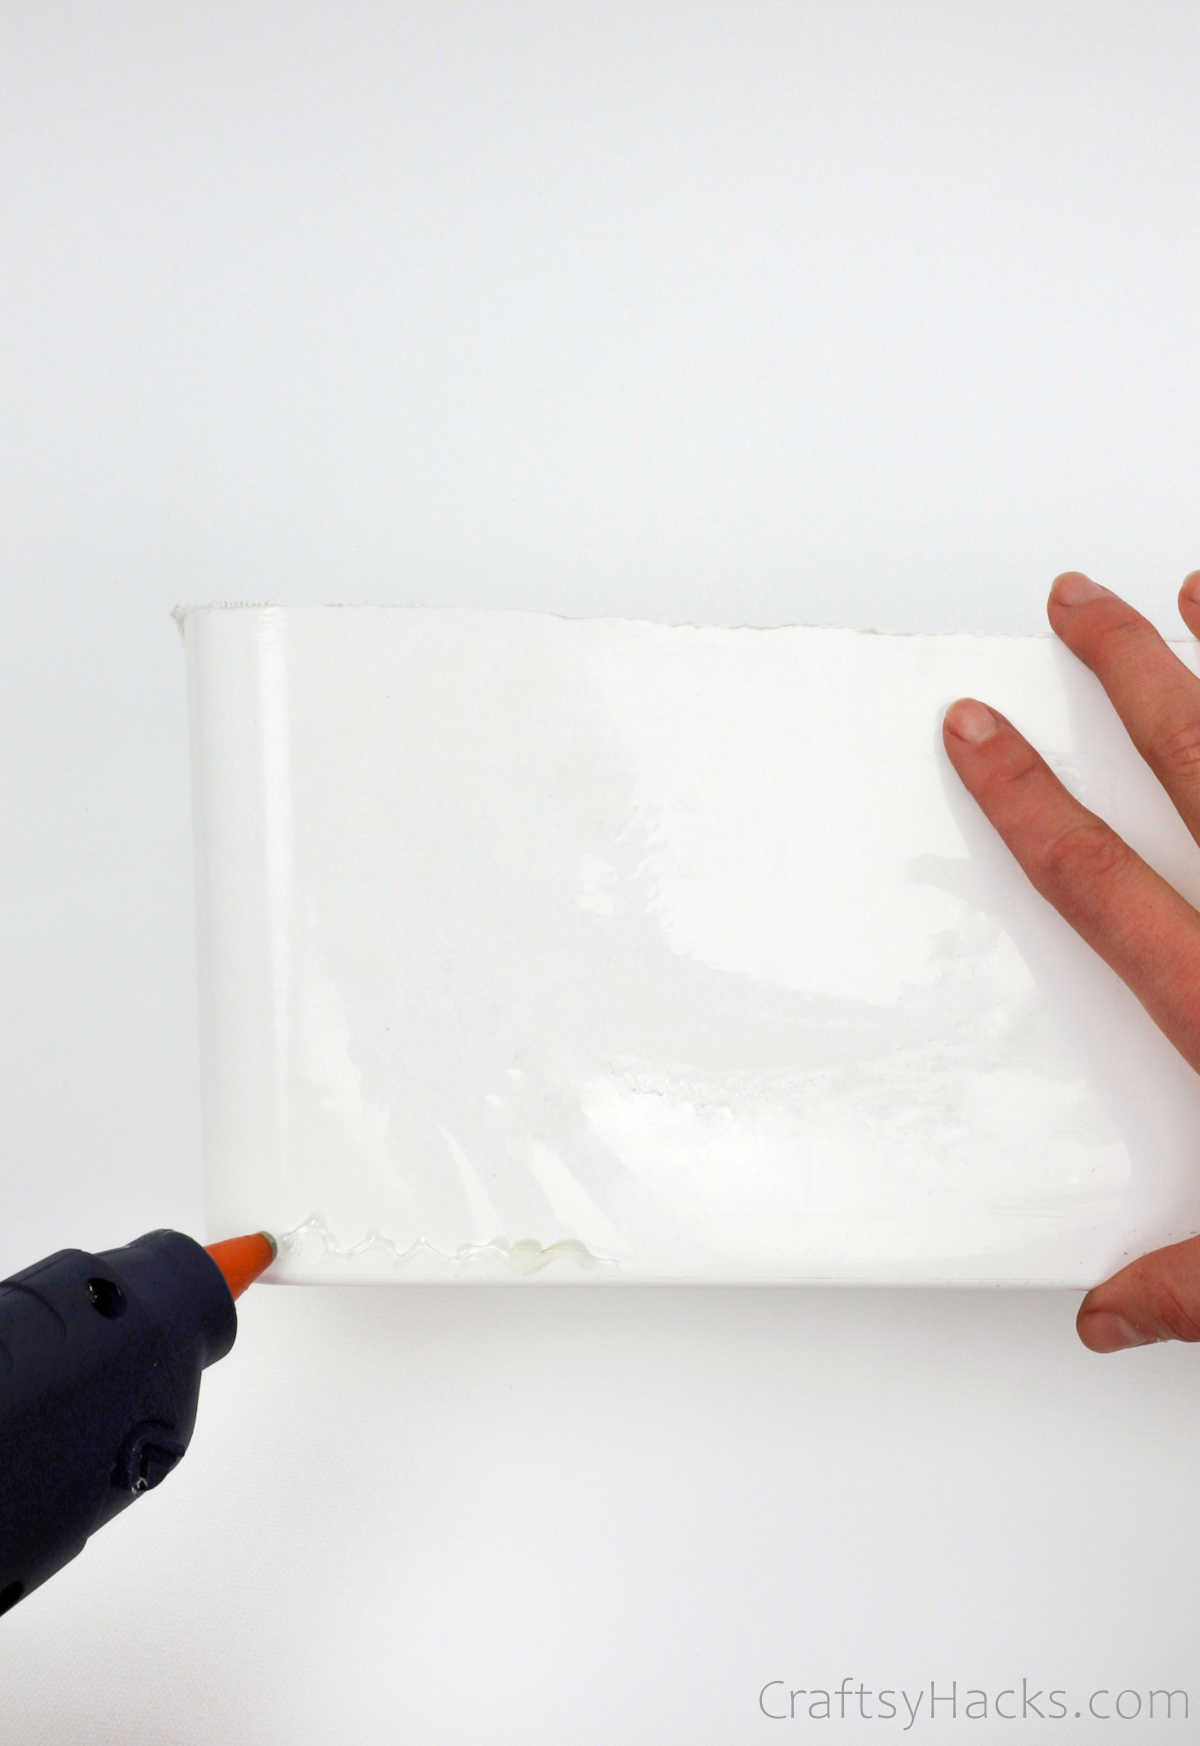
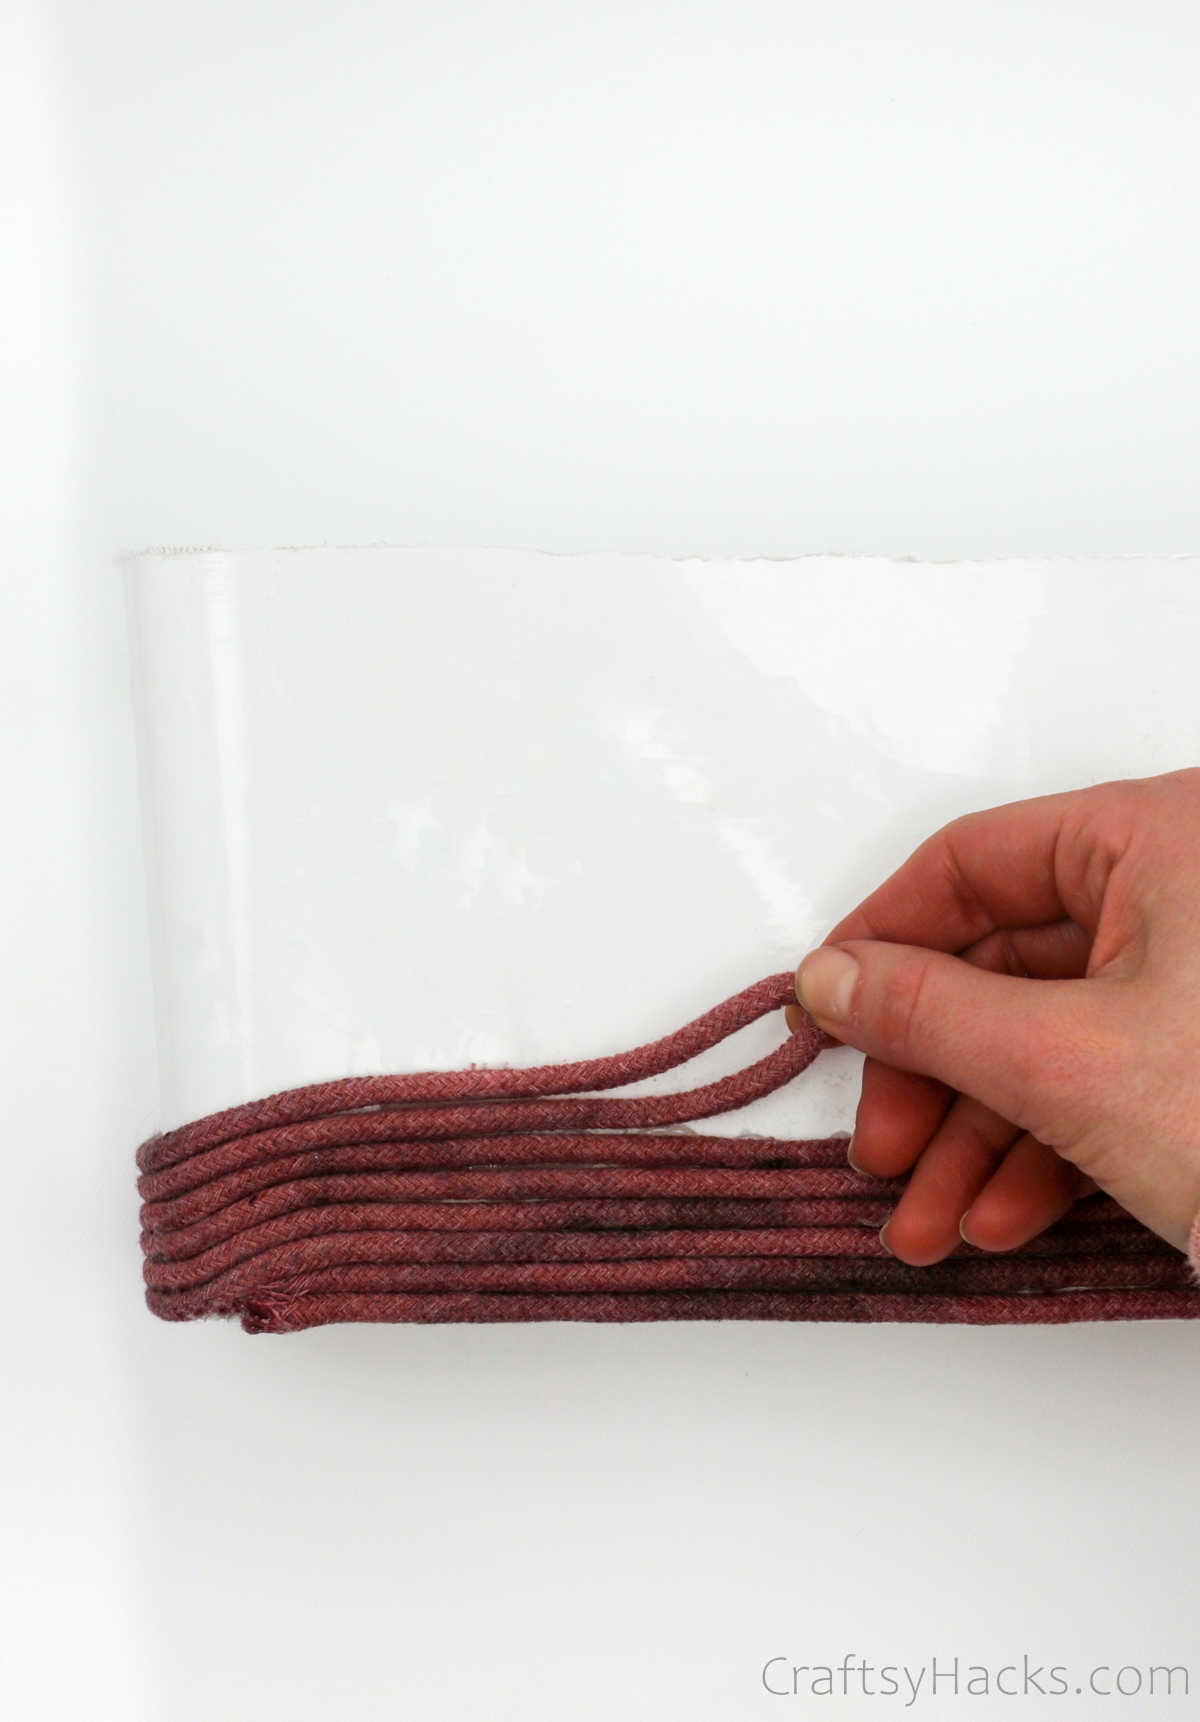
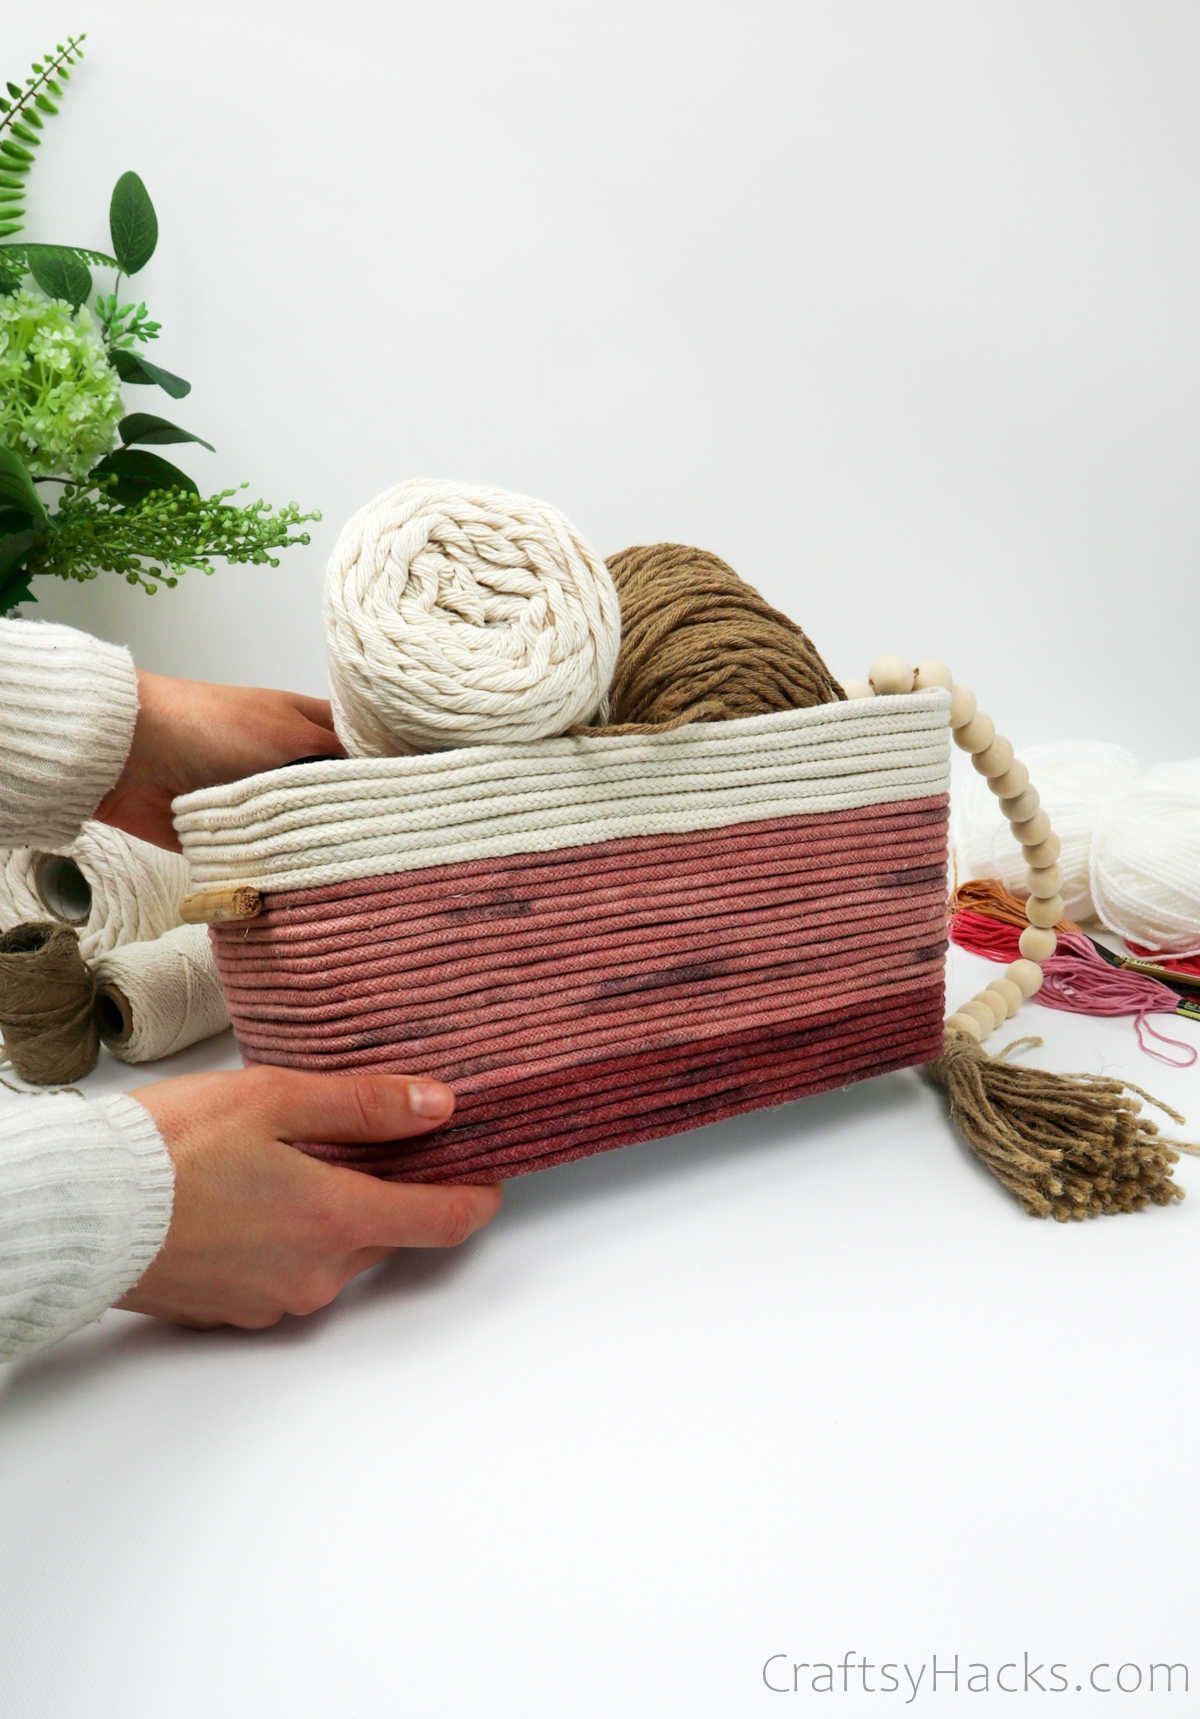
Its time to start wrapping the rope around the basket.
So get out your trusty hot glue gun and have it ready to use.
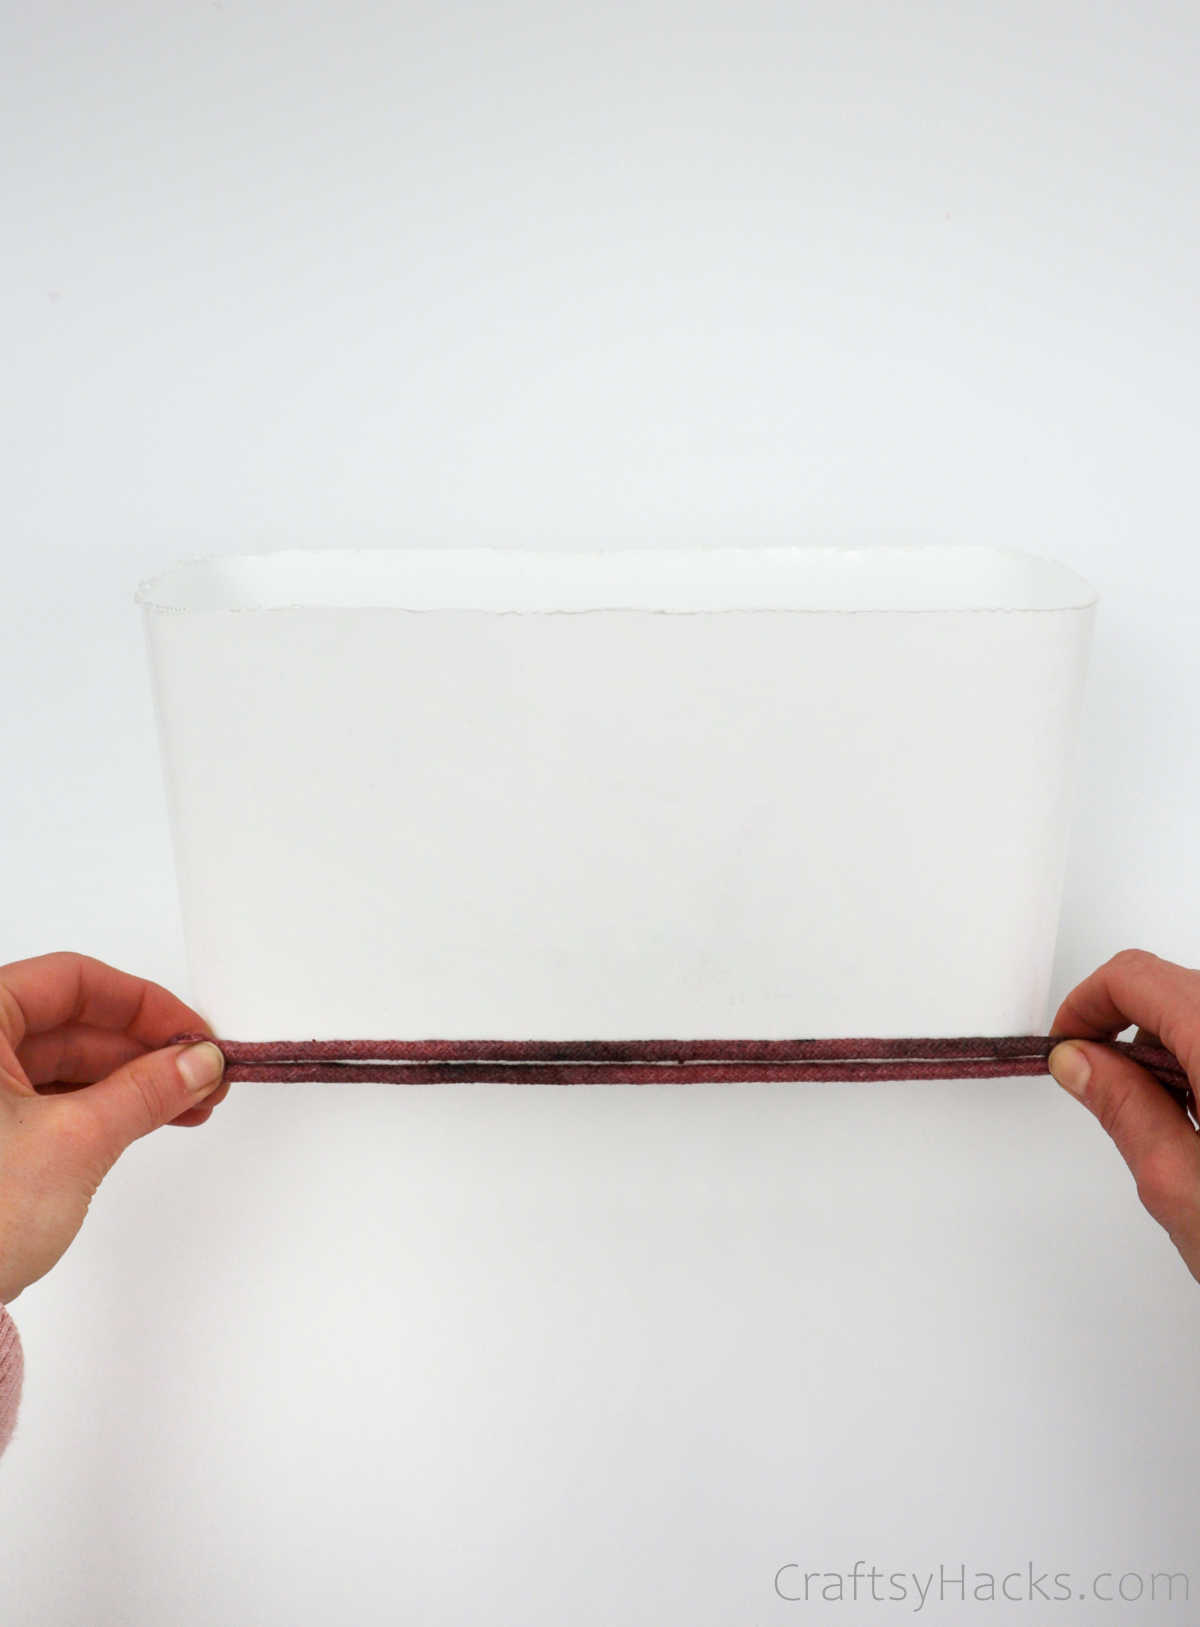
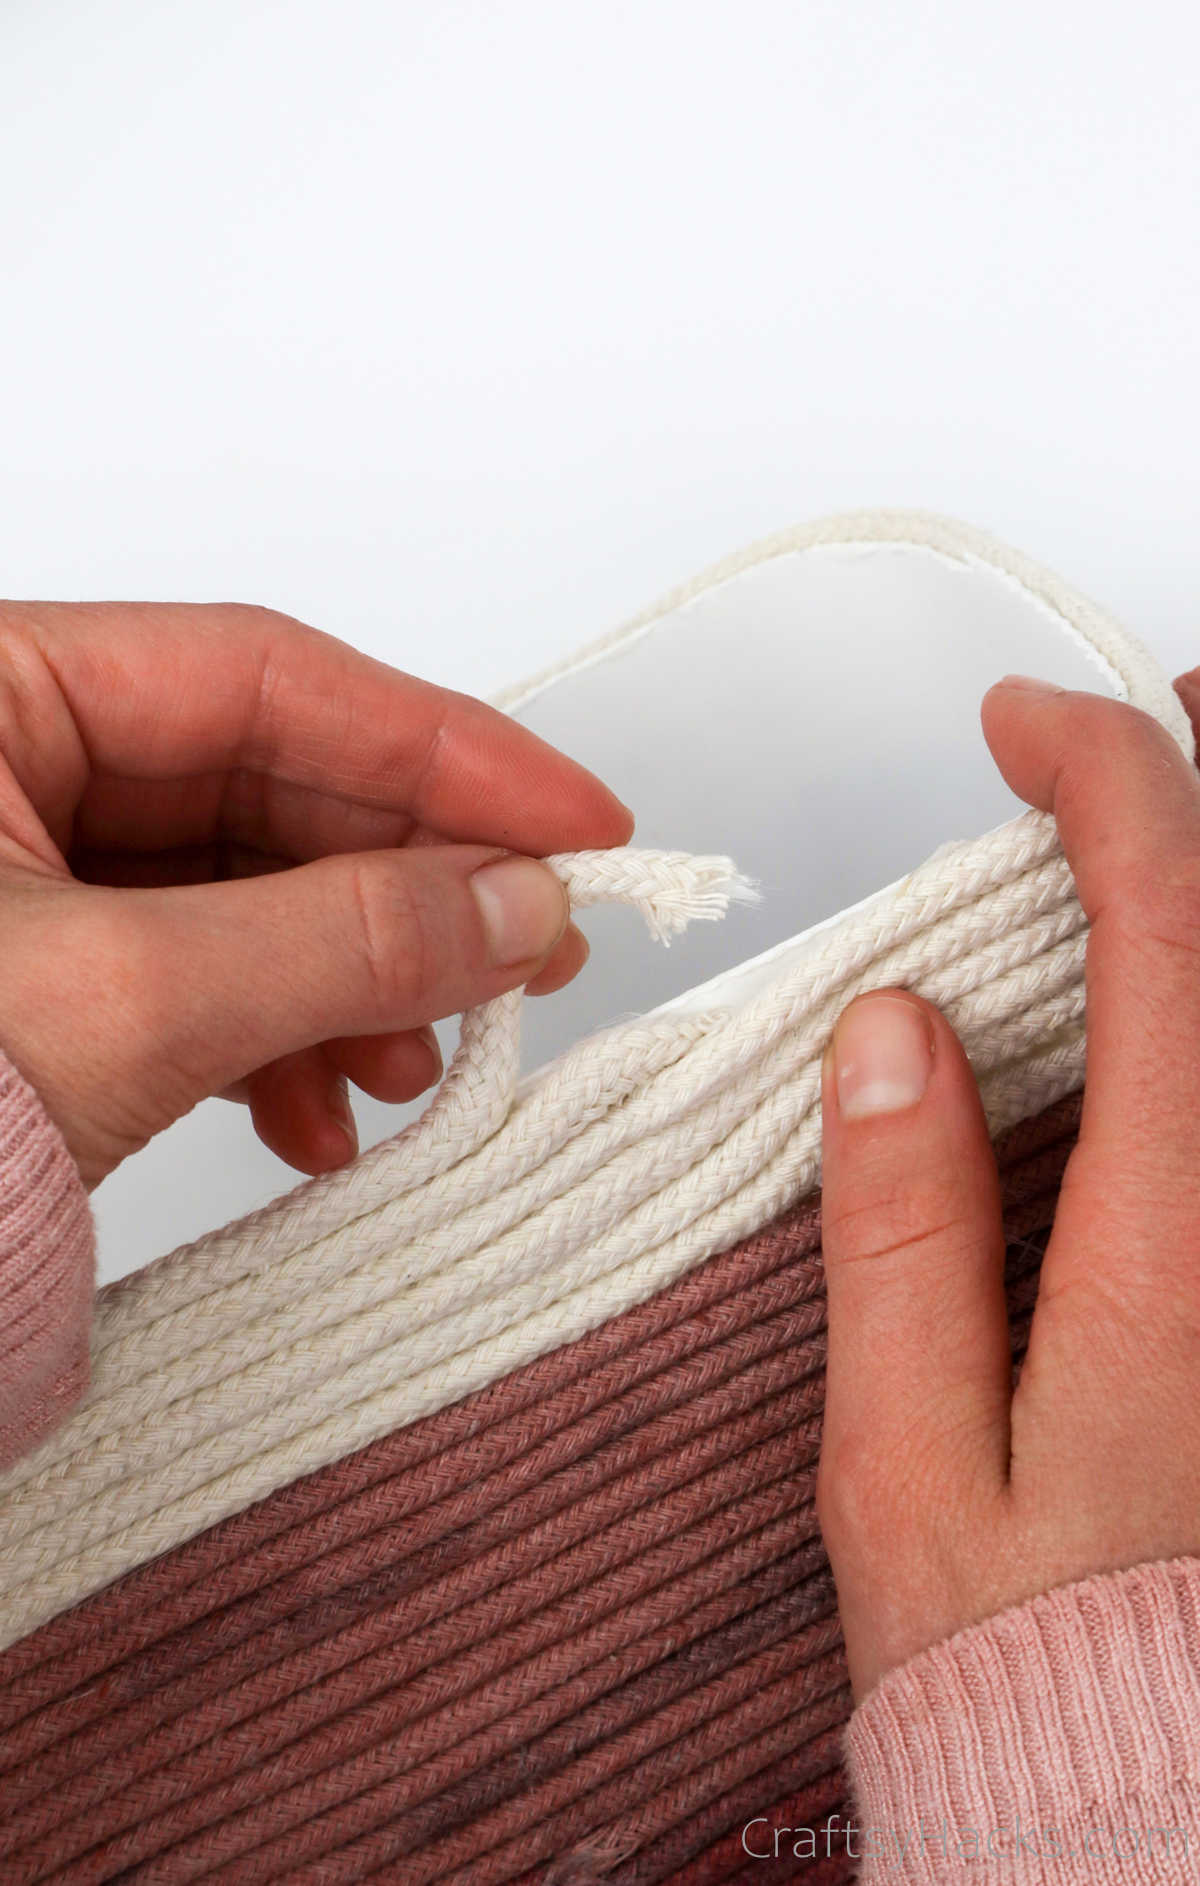
Grab two ends of the rope and align them with each other.
Grab your rope and slowly start winding it around the base where you applied glue.
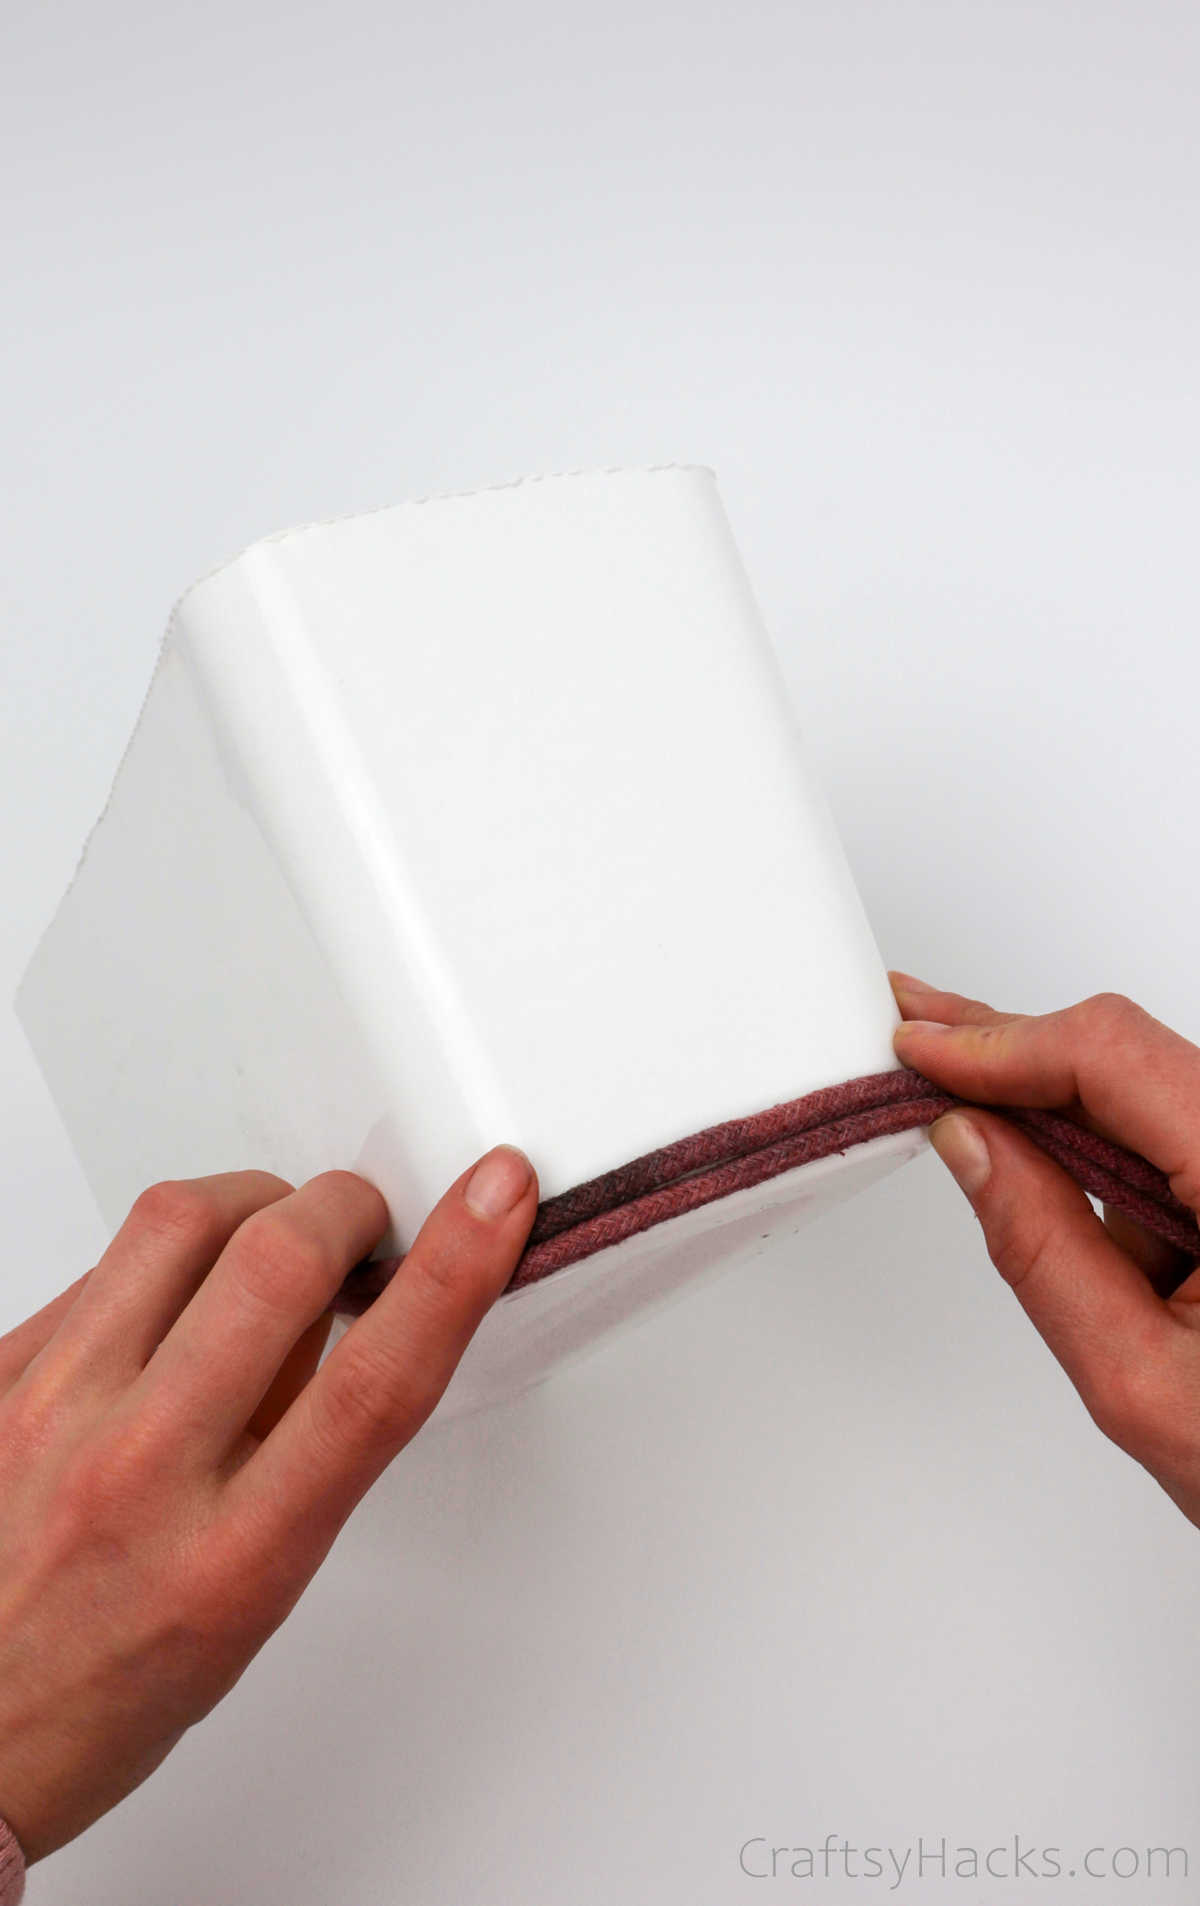
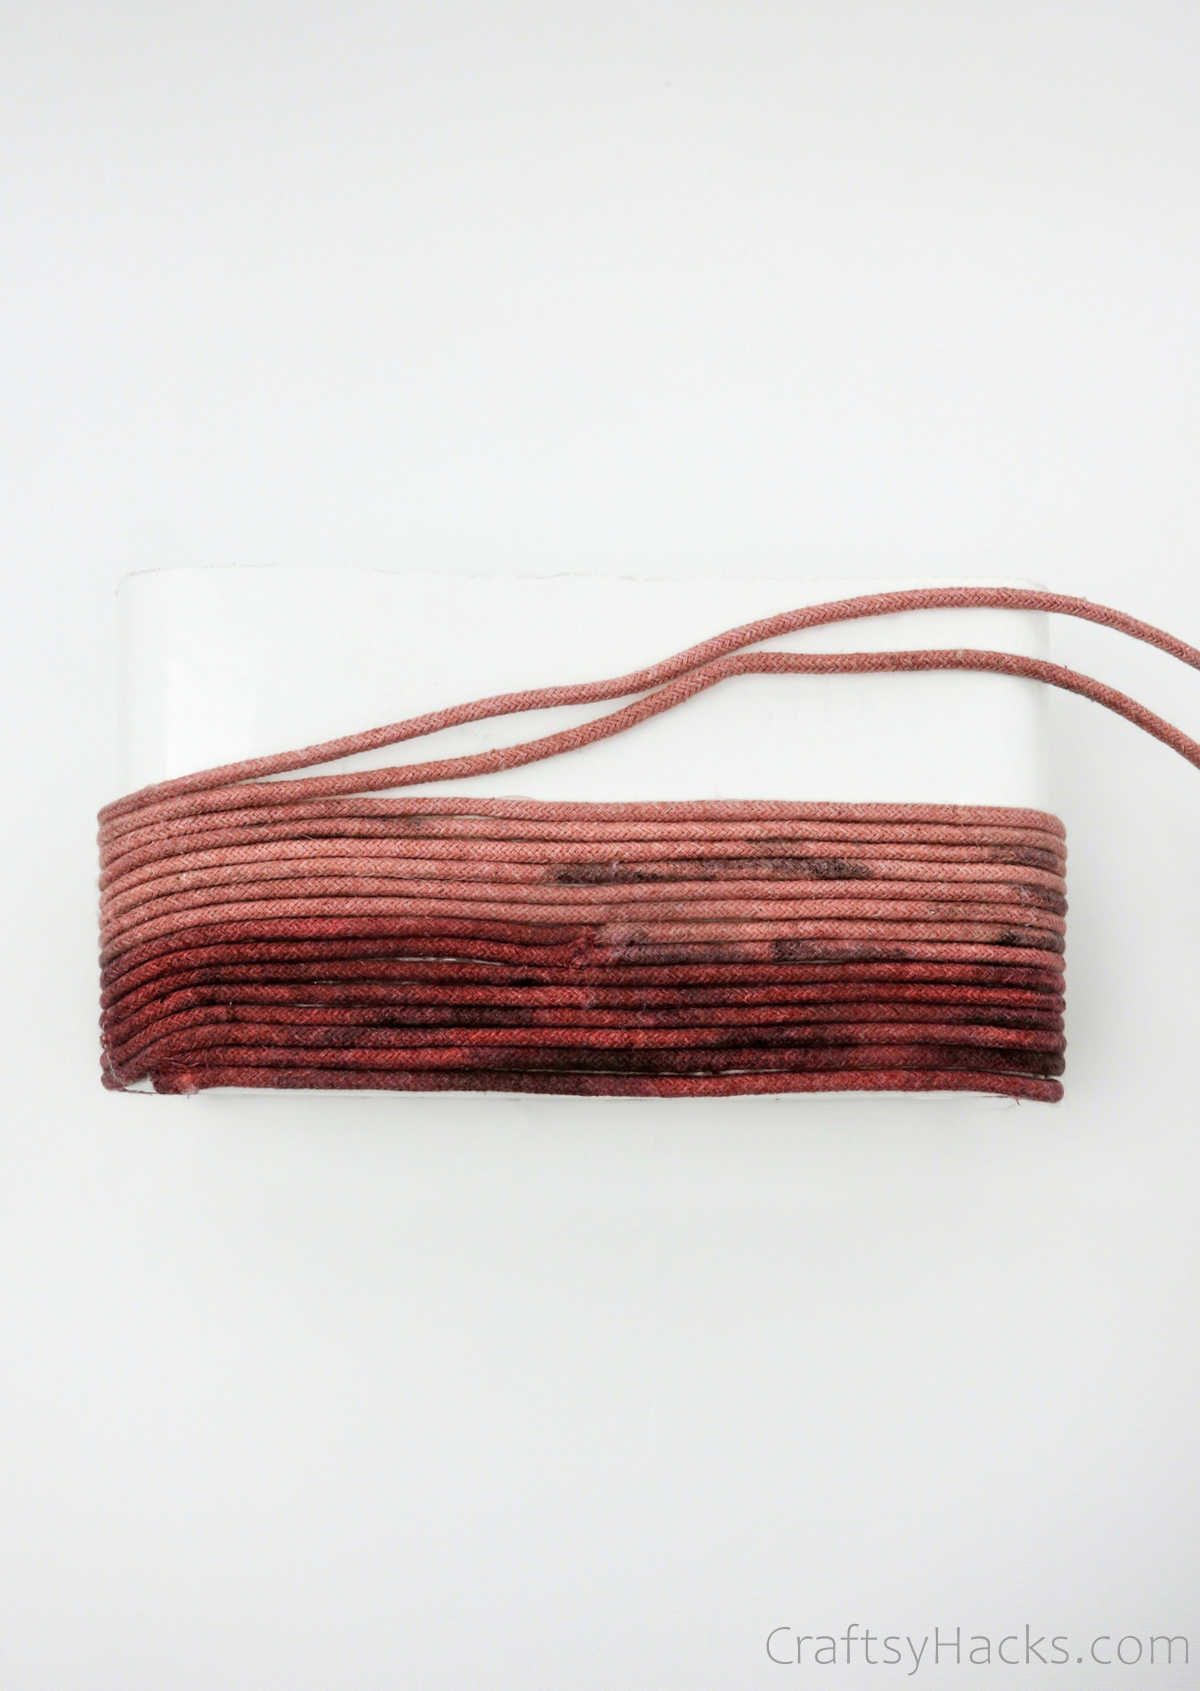
Every time you turn your rope at the edges, check that you smoothen it out.
Also, ensure that the rope is taut as you wind it around.
Then proceed to wind the rope around and around.
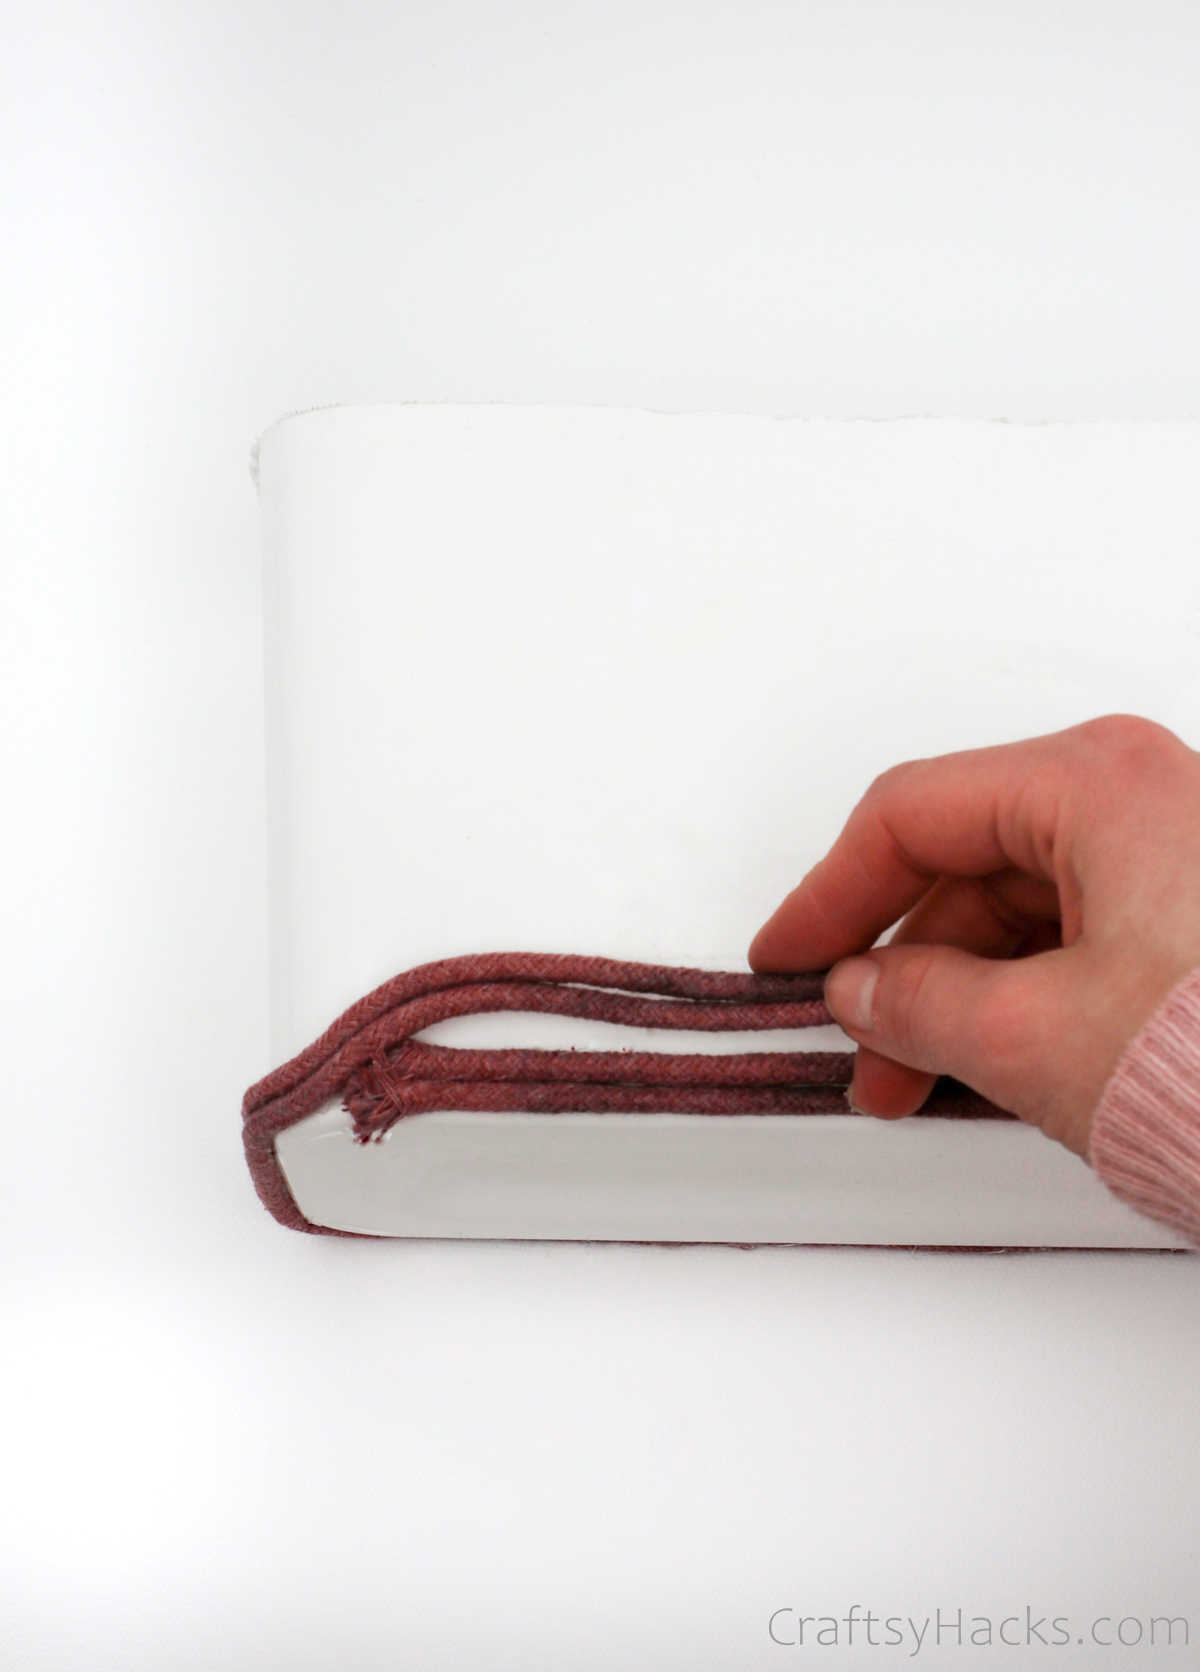
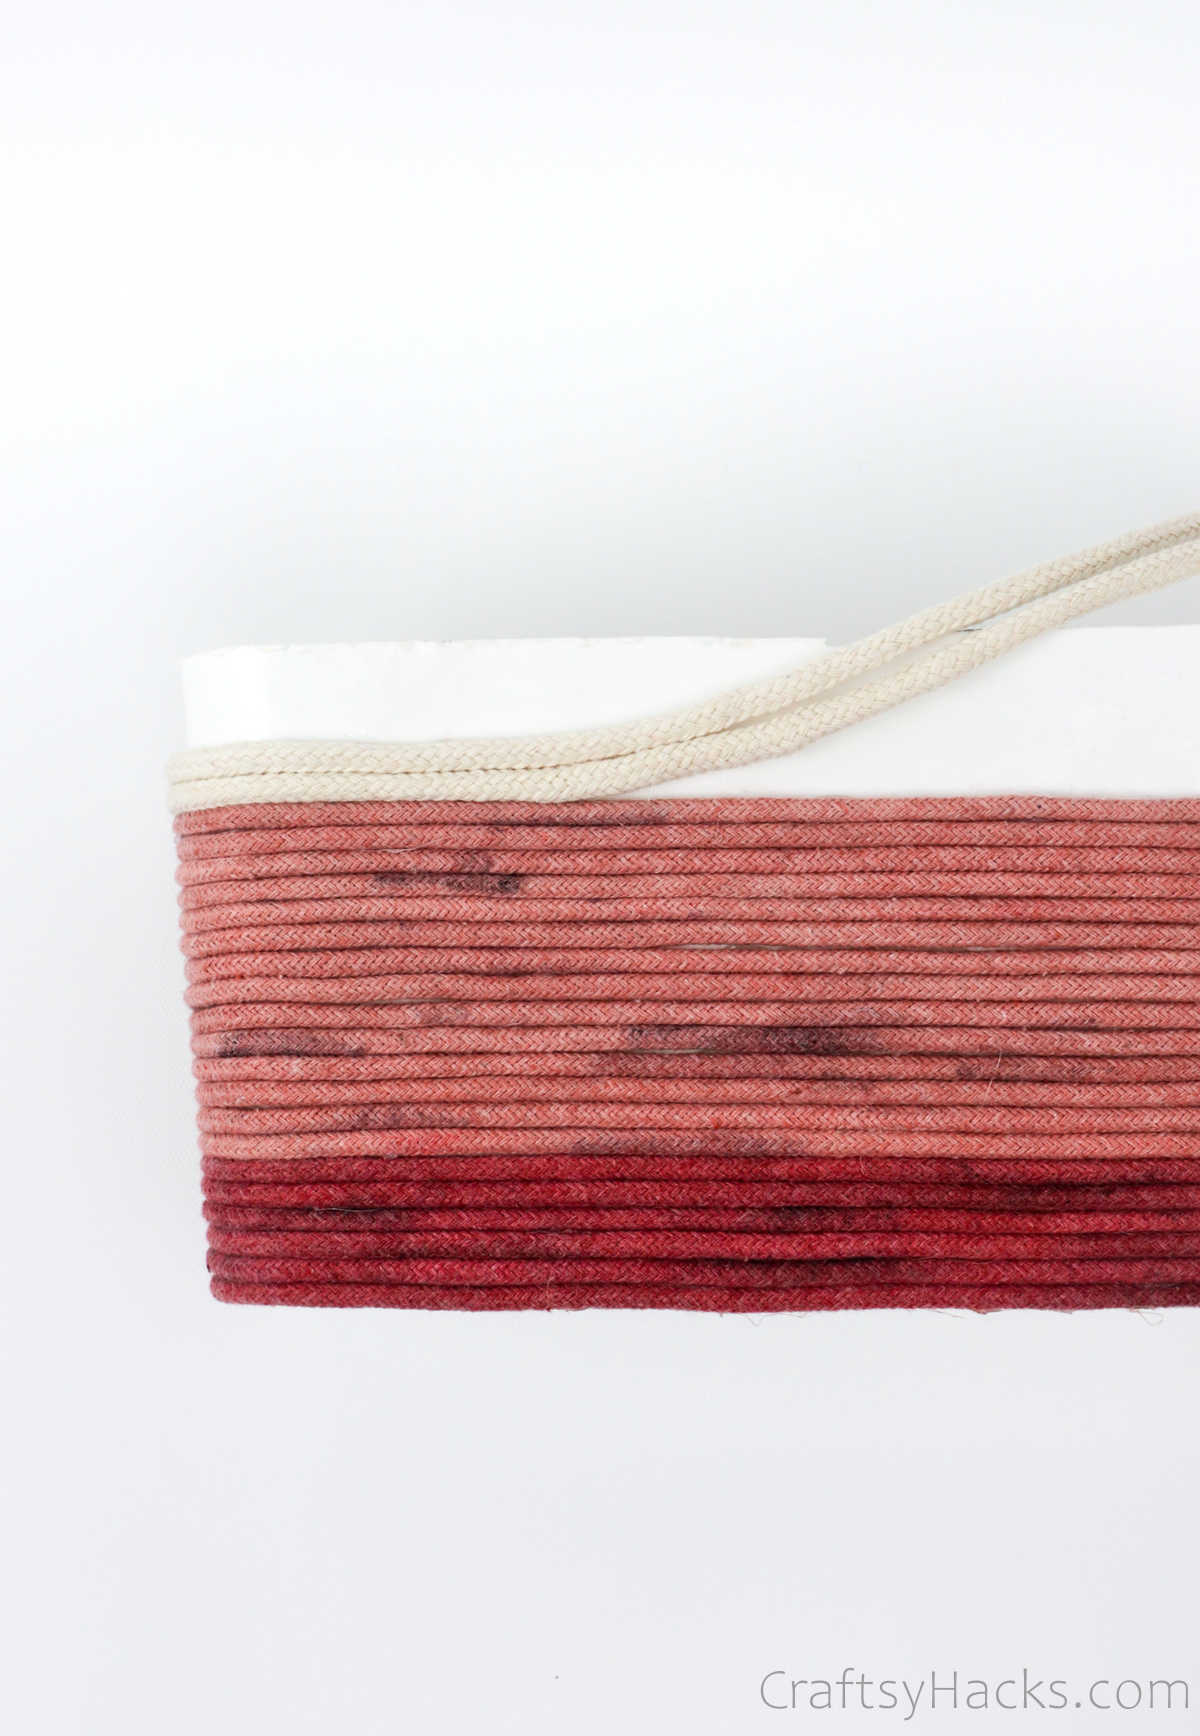
This step is pretty much all it’s crucial that you repeat to complete the basket.
Enjoy the processit can be quite soothing!
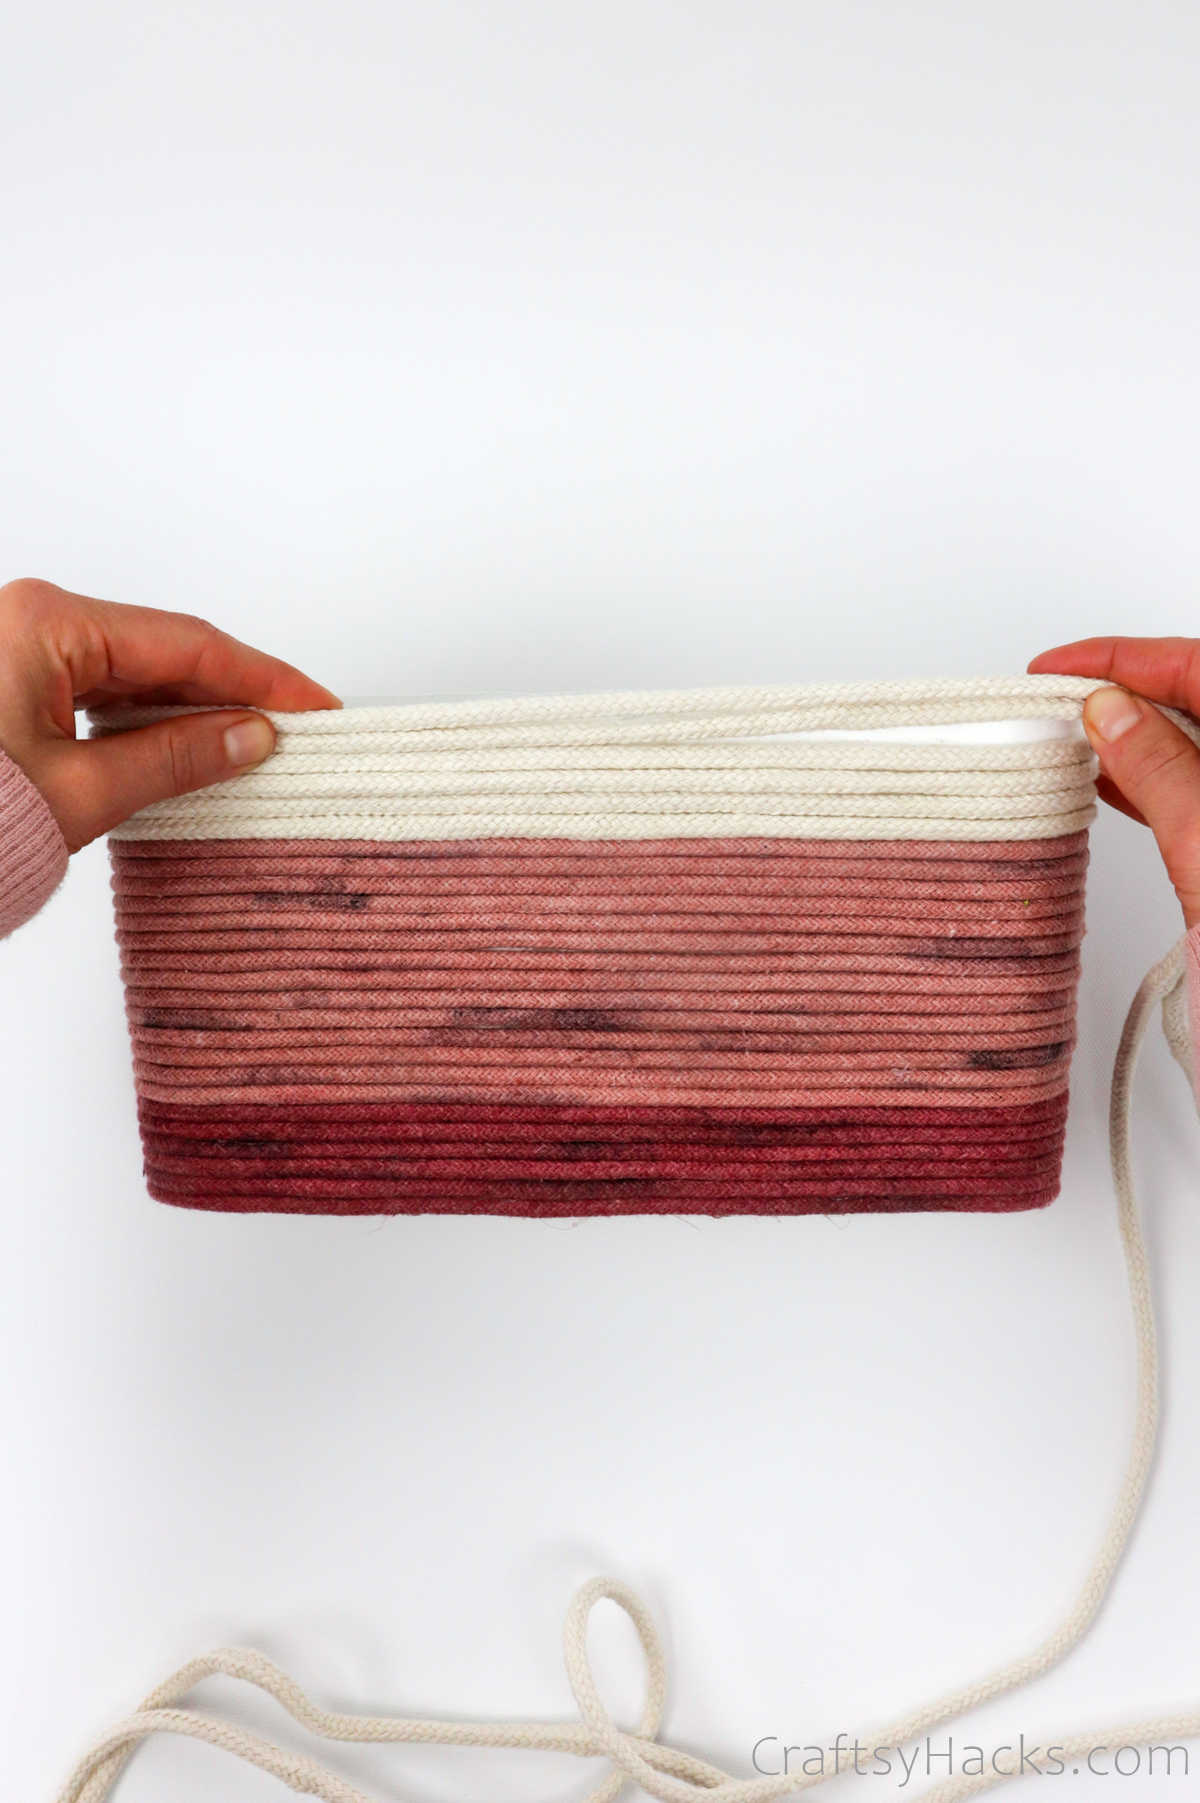
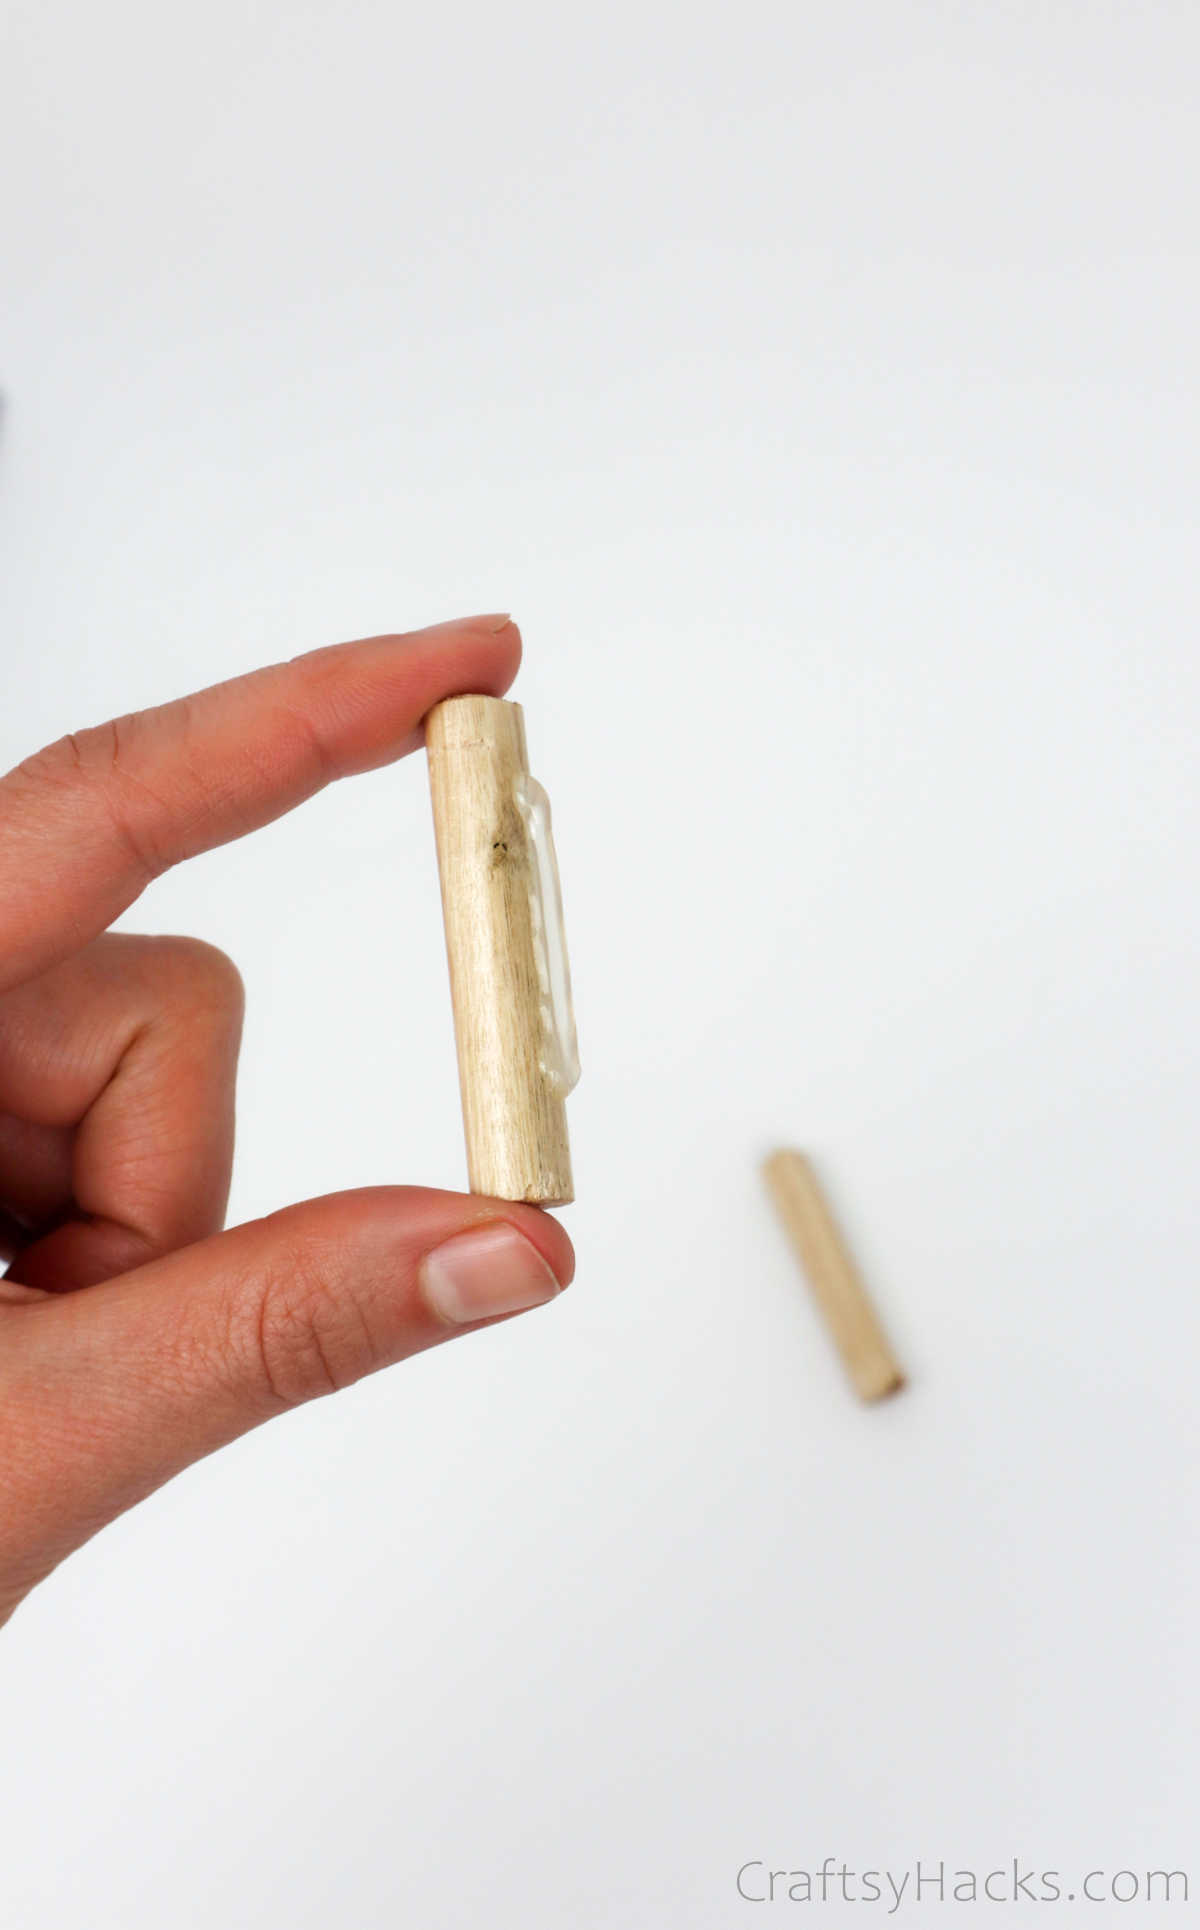
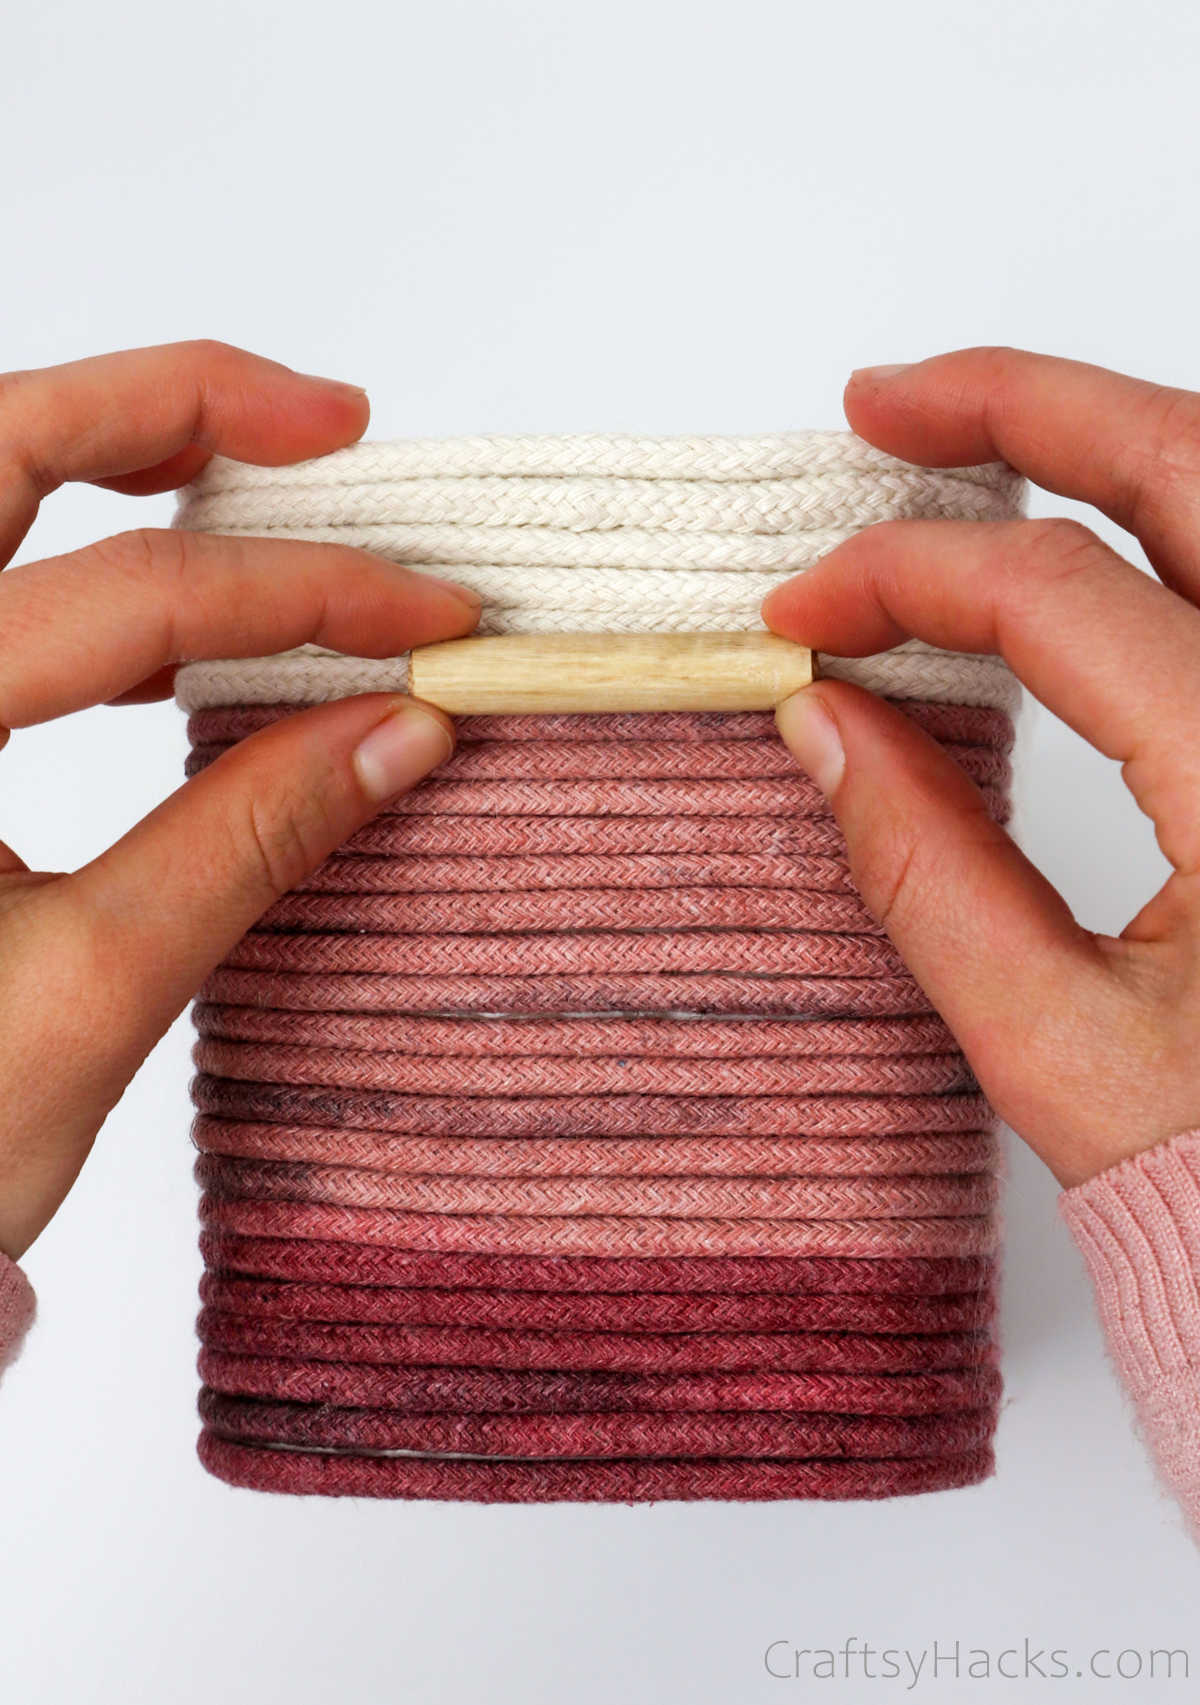
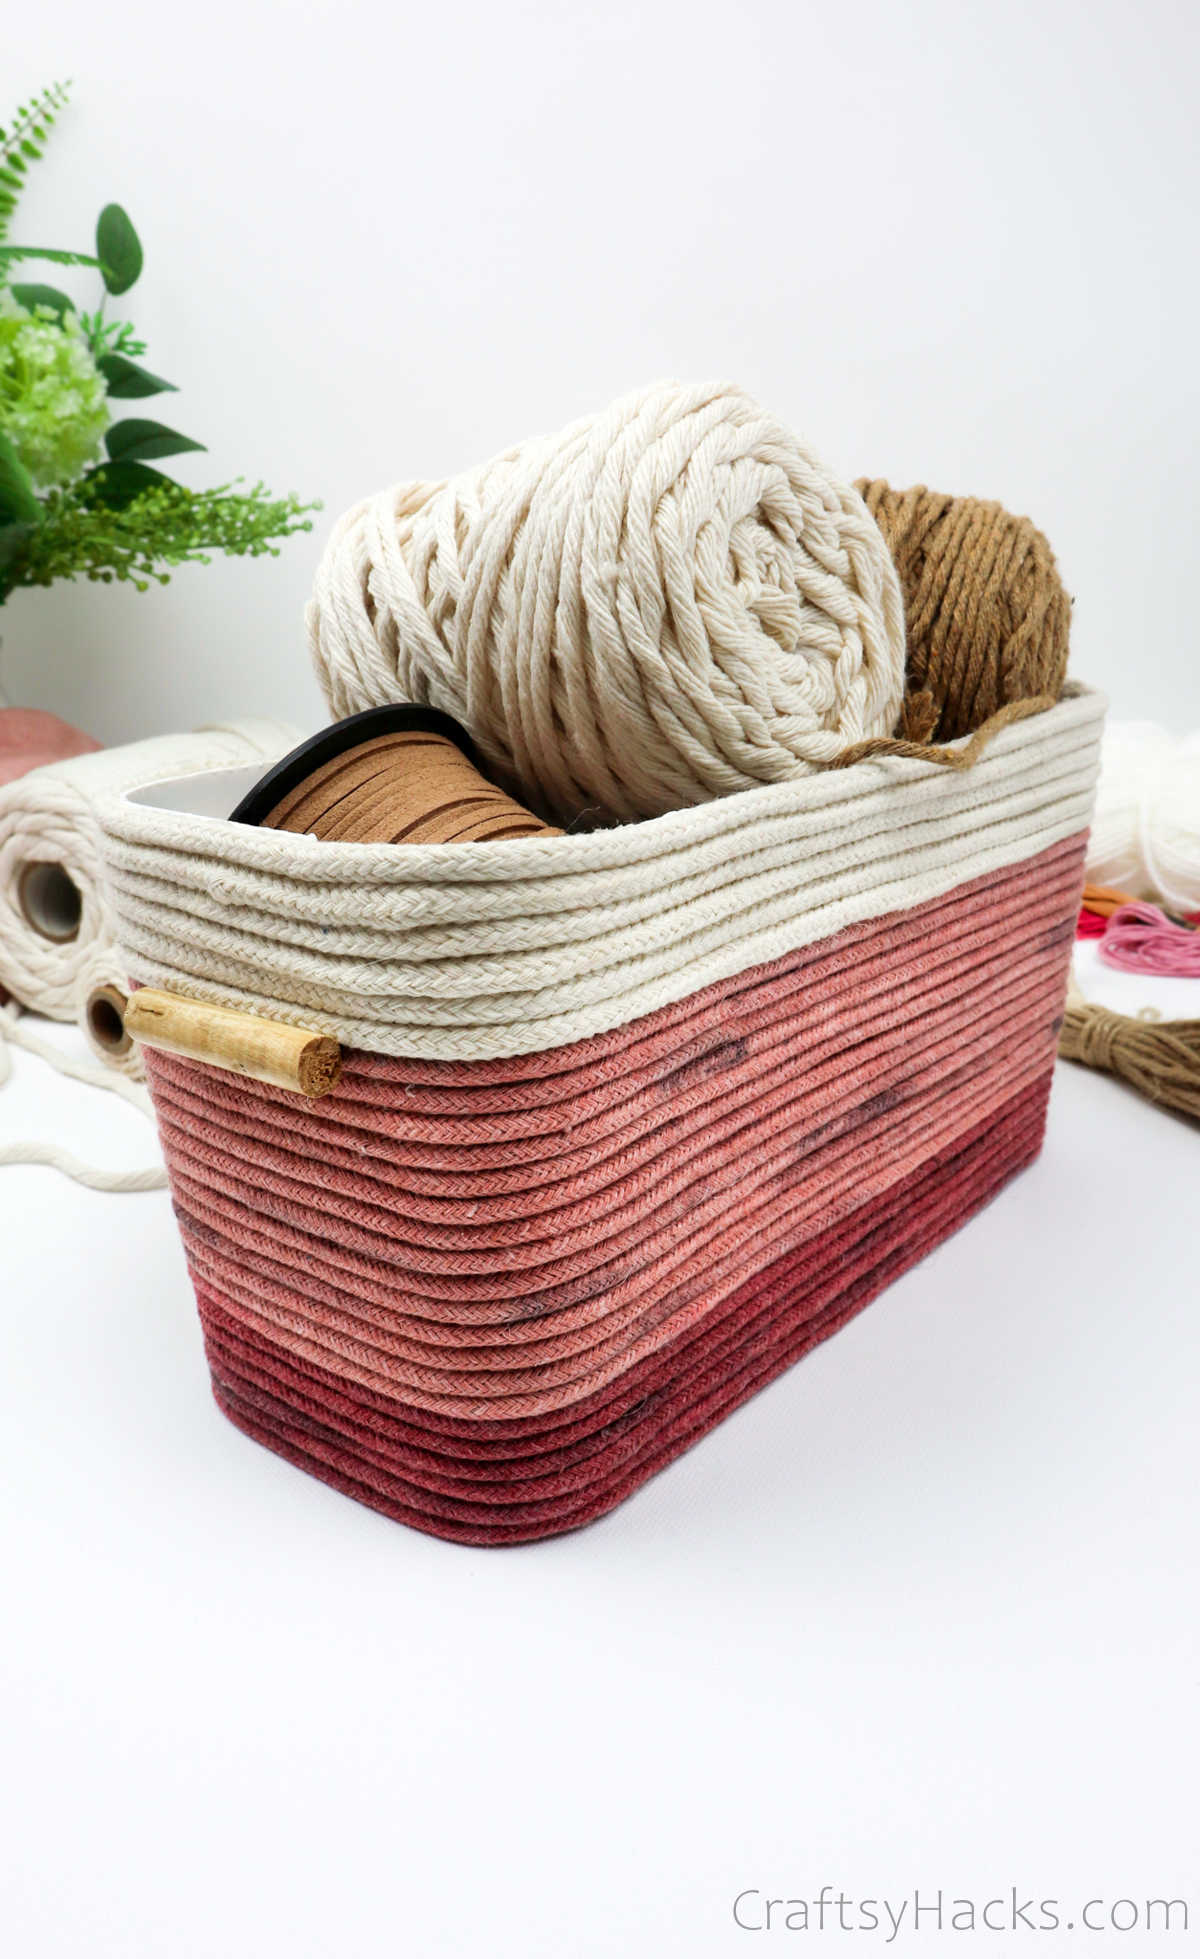
Take a stub of wood and apply hot glue along its length.
Dont forget to do the same for the other side!
Now, all thats left for you to do is wait for your basket to dry.